_GOTOBOTTOM
Armor/AFV: IDF [Israeli Defense Forces]
Armor and AFVs of the IDF army from 1947-today.
Hosted by Darren Baker
M109 Rochev Alef 1982 AFV Club
GTDeath13
Visit this Community
Attica, Greece / Ελλάδα
Joined: June 12, 2015
KitMaker: 921 posts
Armorama: 919 posts
Posted: Saturday, July 28, 2018 - 06:44 AM UTC
This is going to be a build log of the Rochev by AFV CLub plus some RIICH tracks and Legends stowage set. I will try to depict a vehicle during the 1982 operations in Lebanon.


A very good review of the kit and helpful guide was published here:
http://web.ipmsusa3.org/content/idf-m109a2-rochev

Some photos of the period:


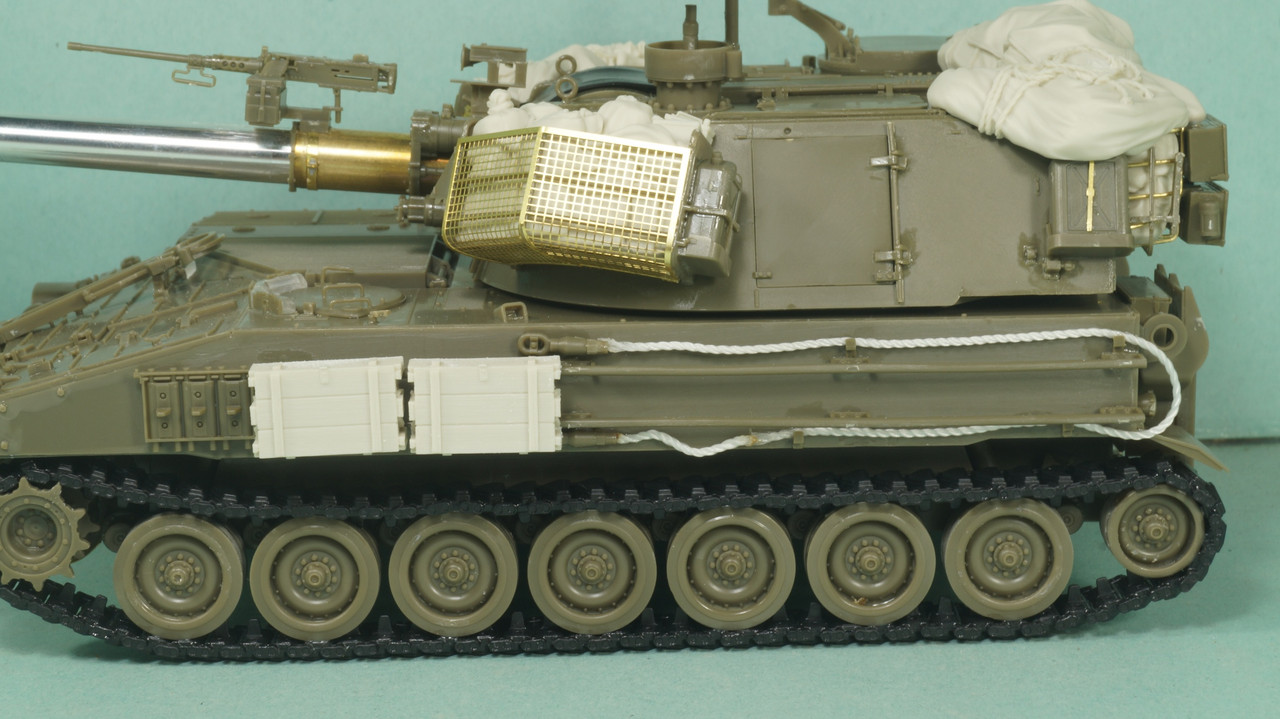
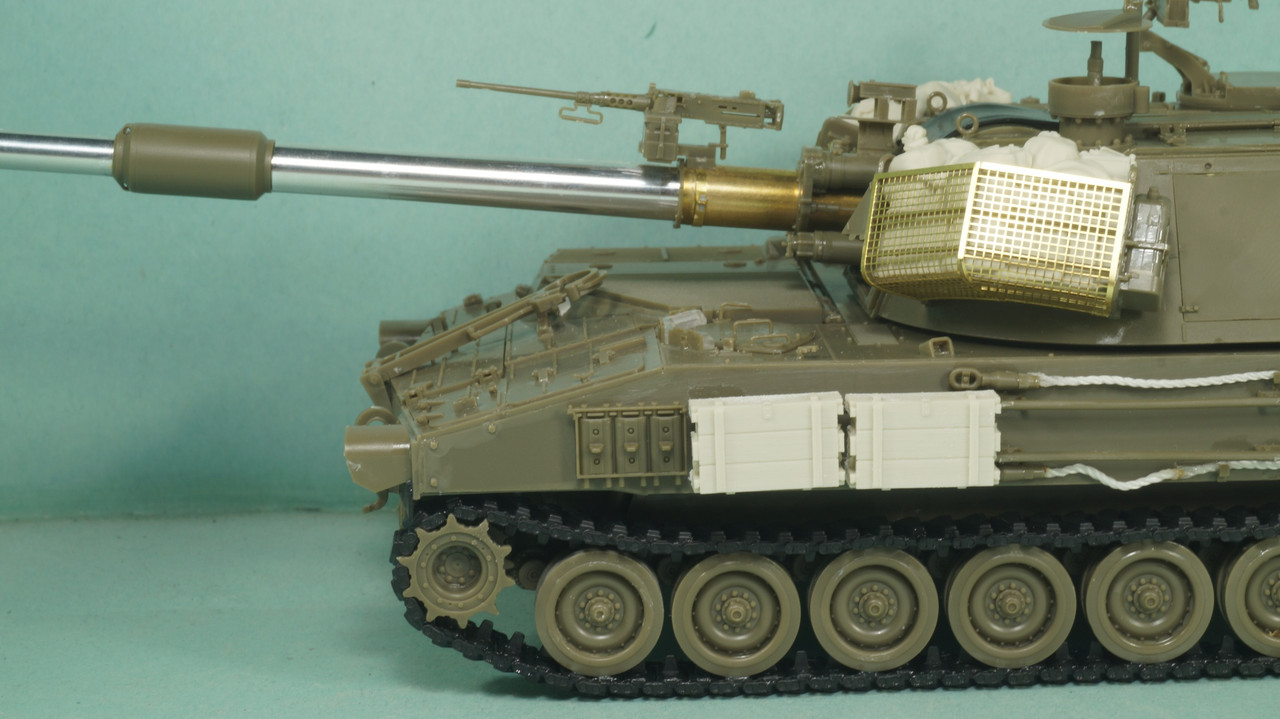
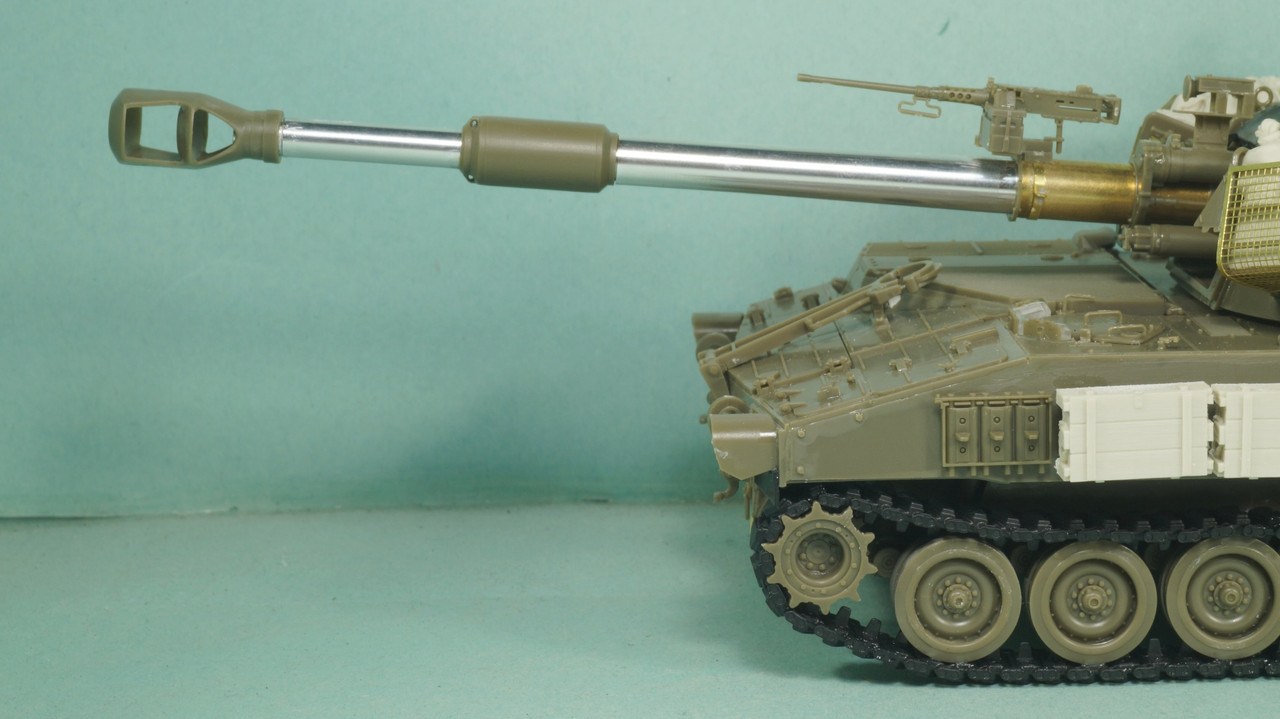
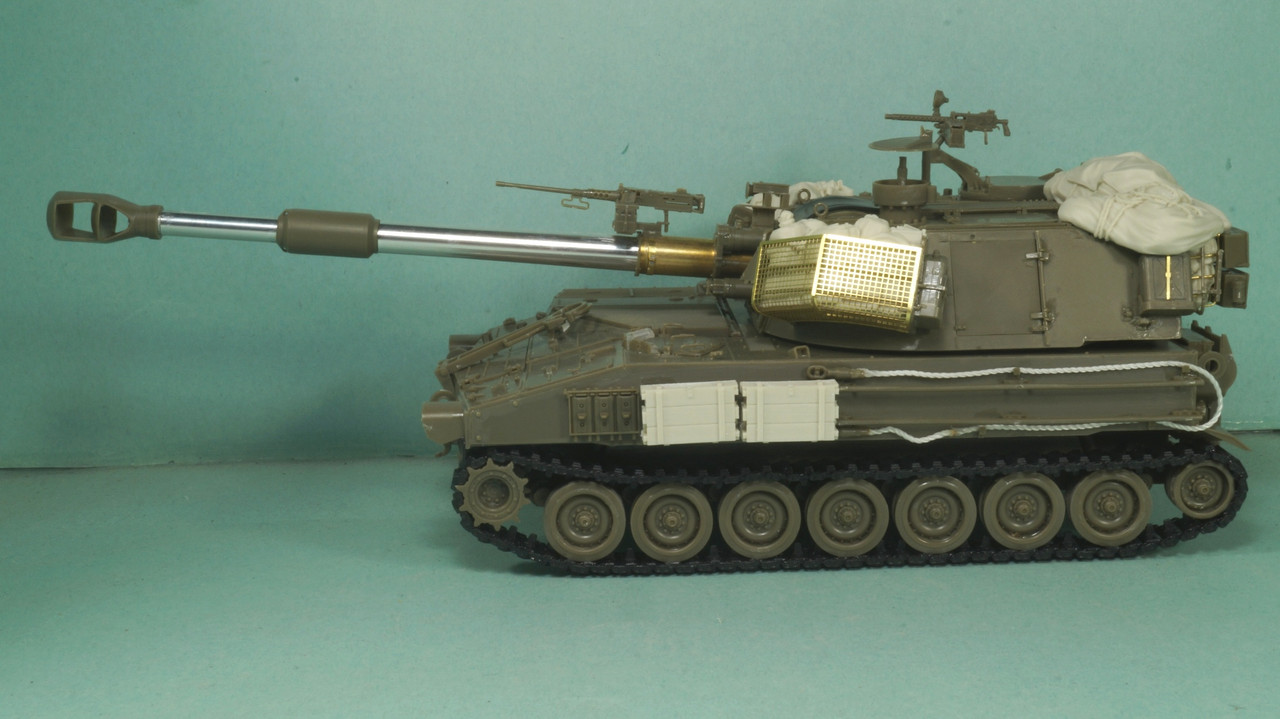
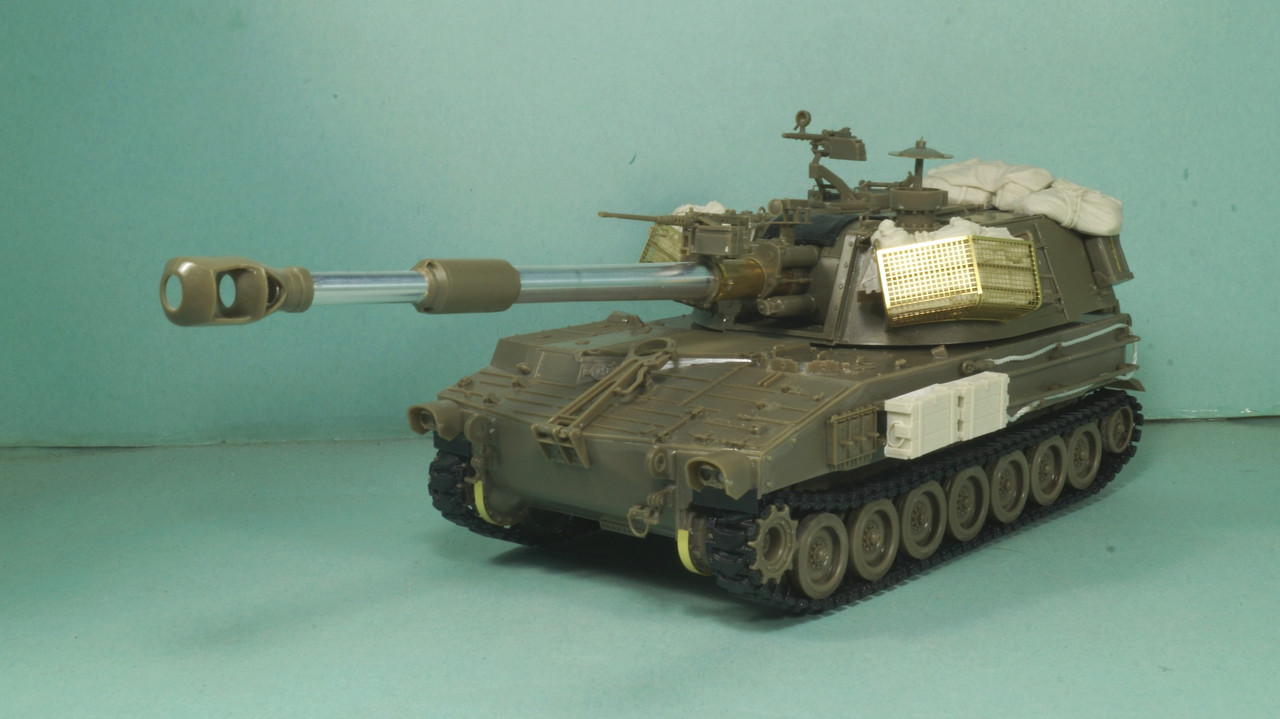
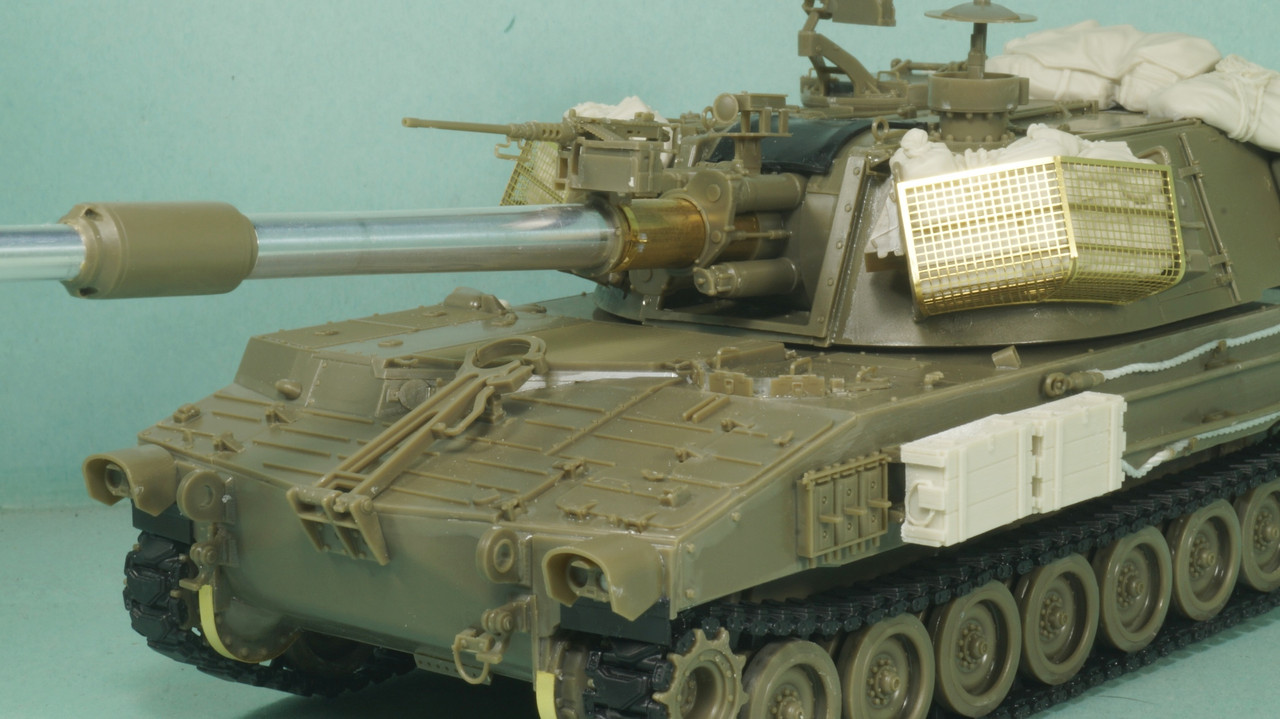
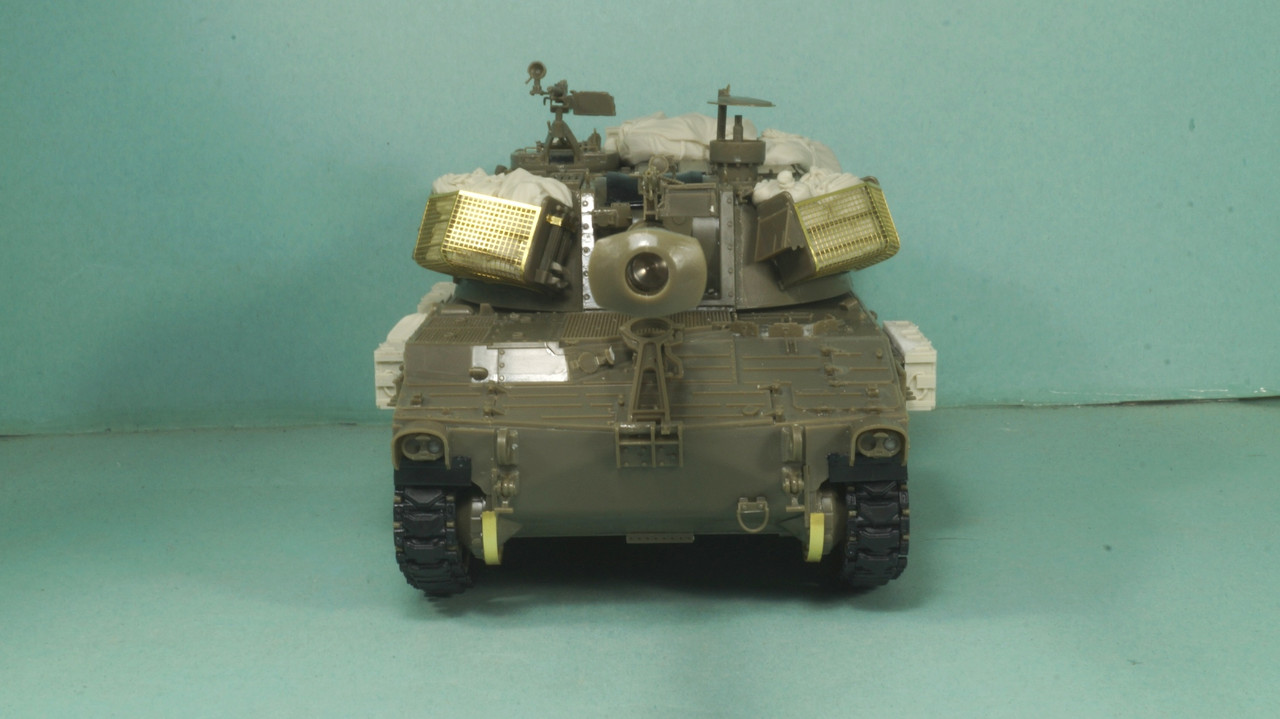
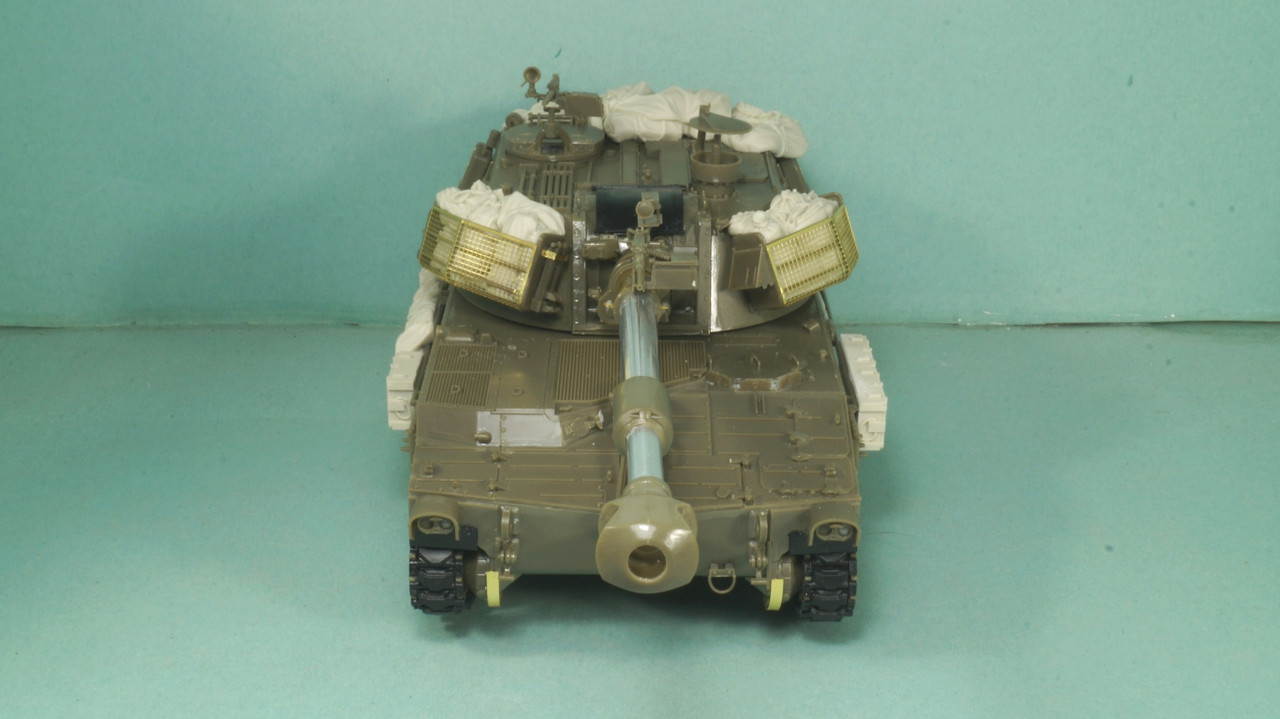
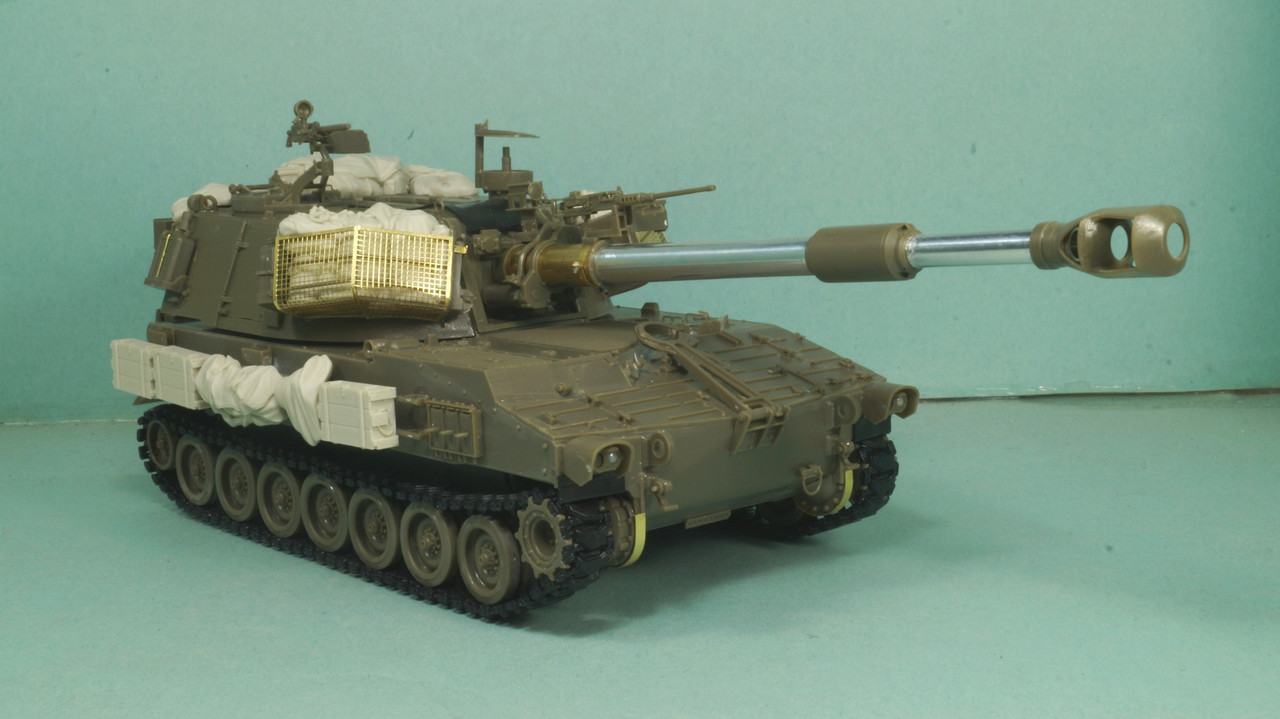
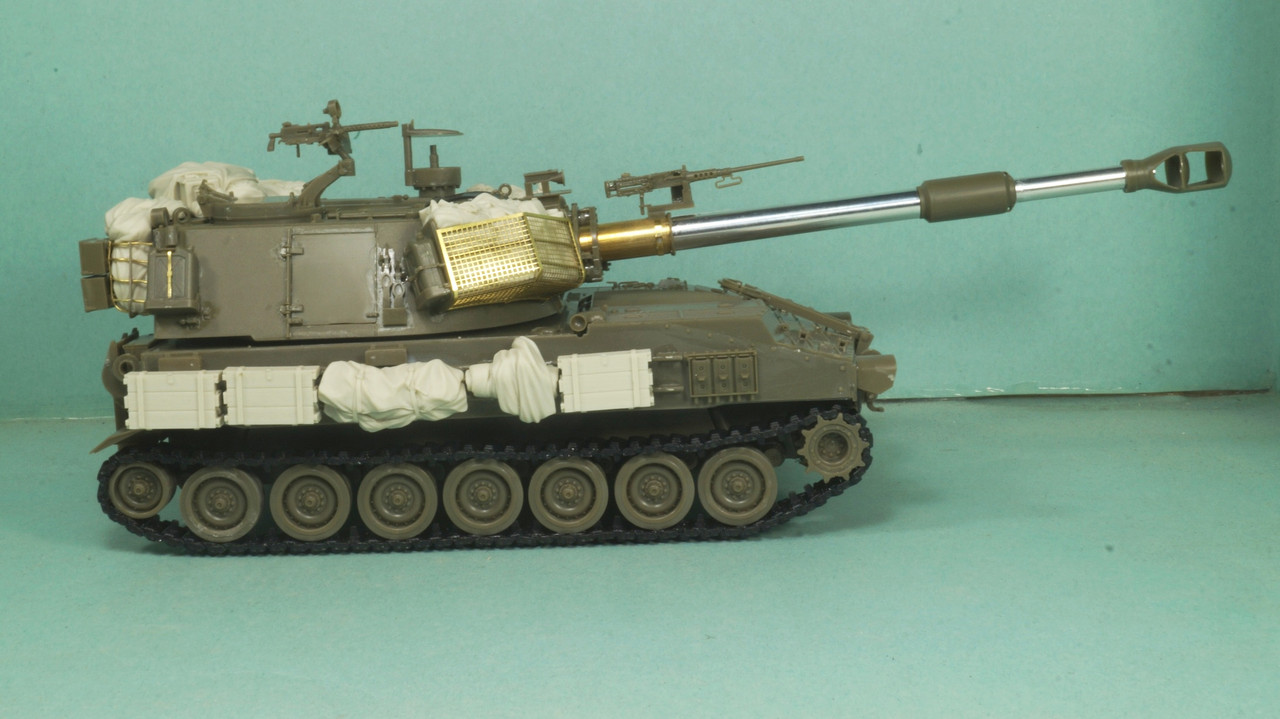
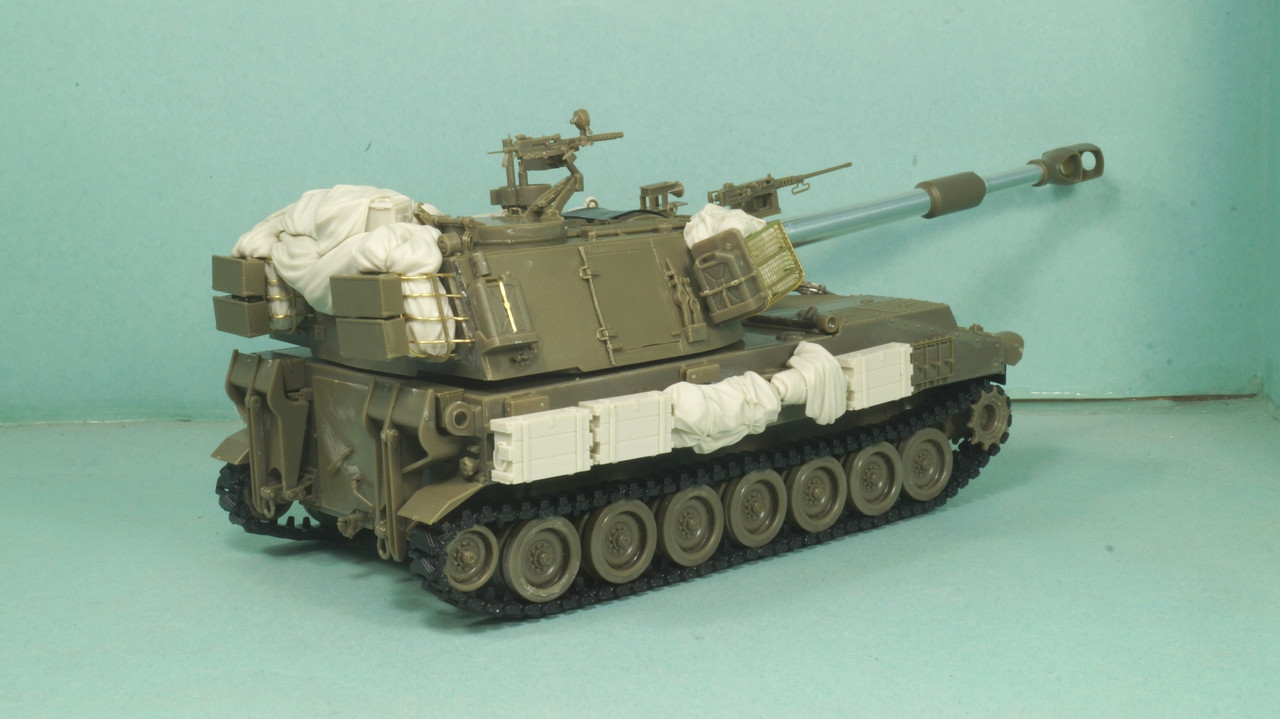
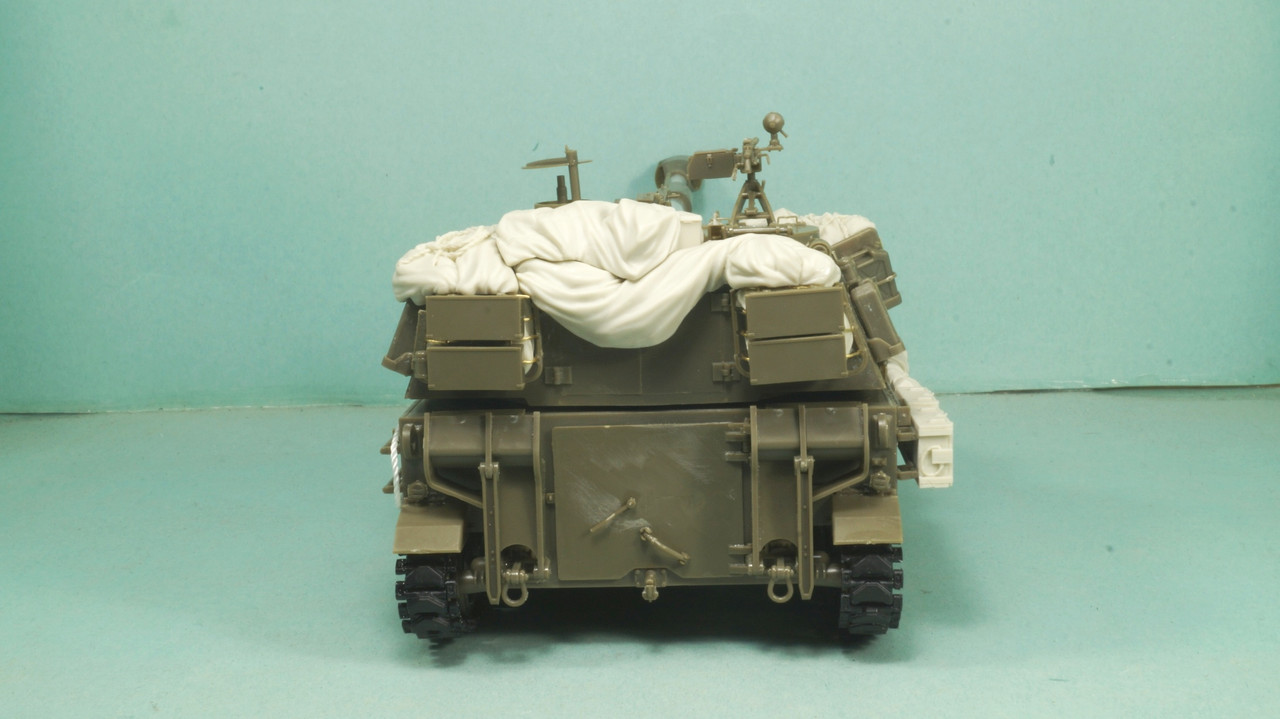
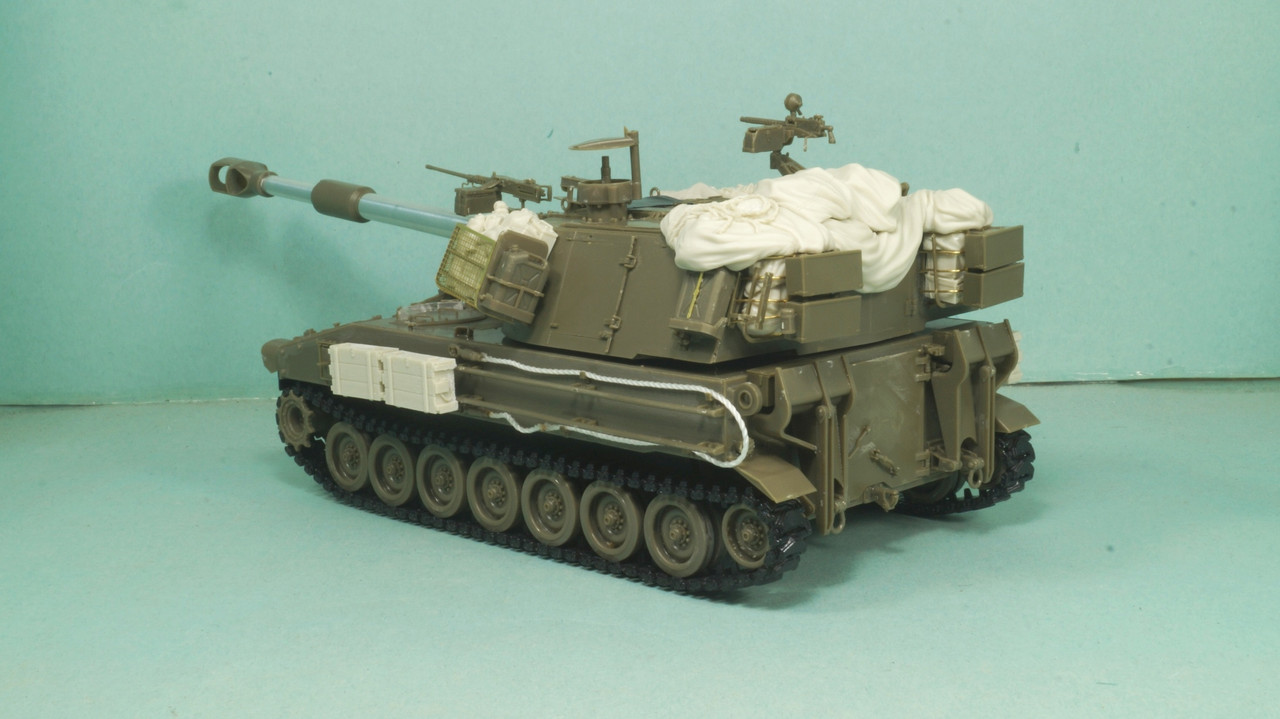
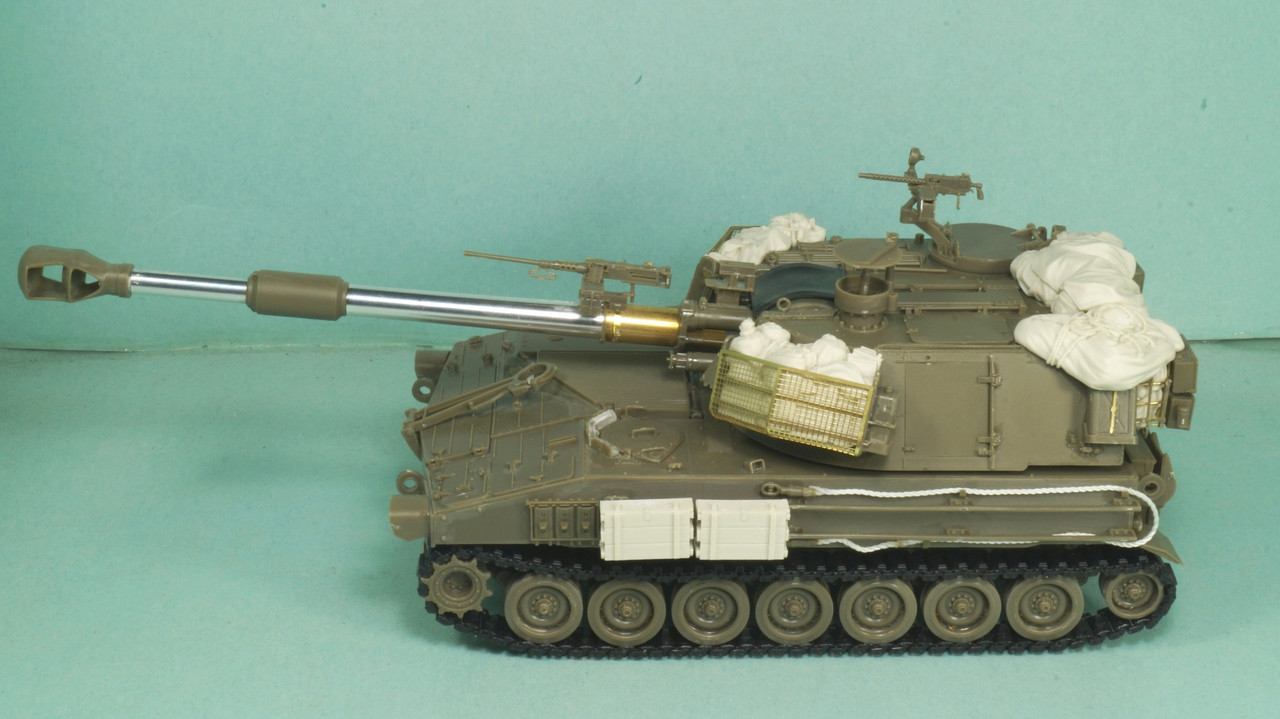
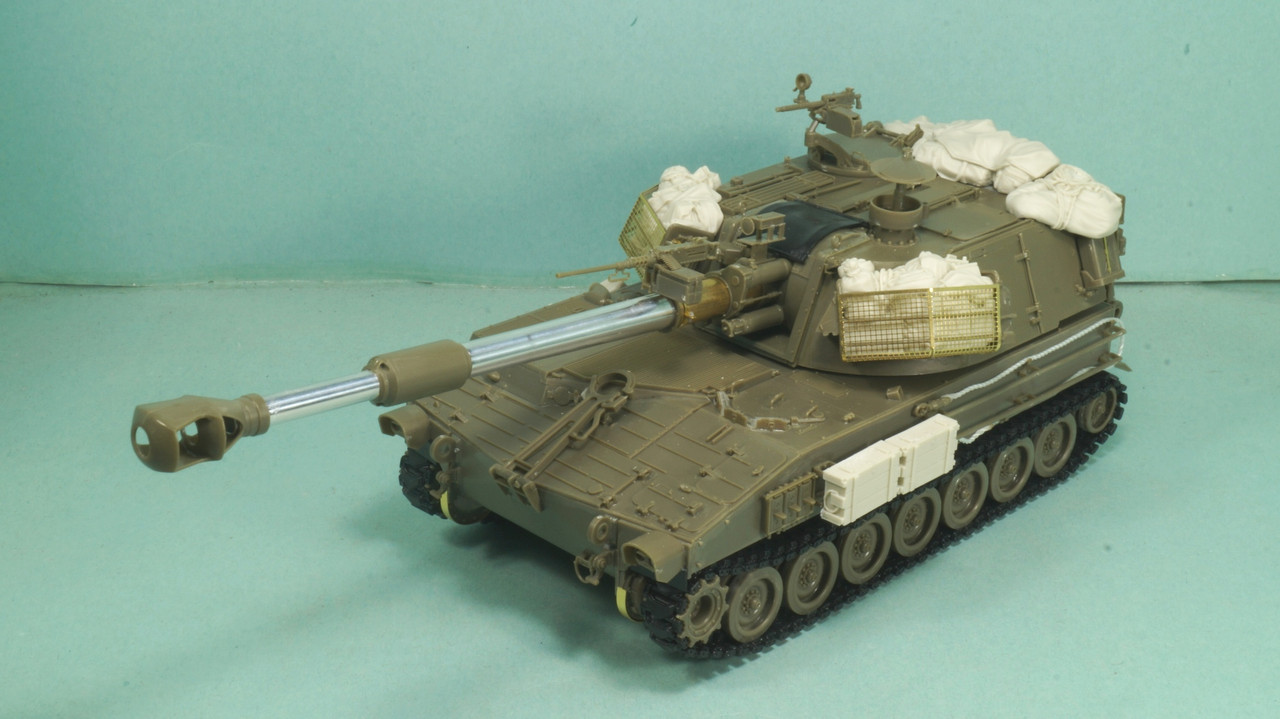
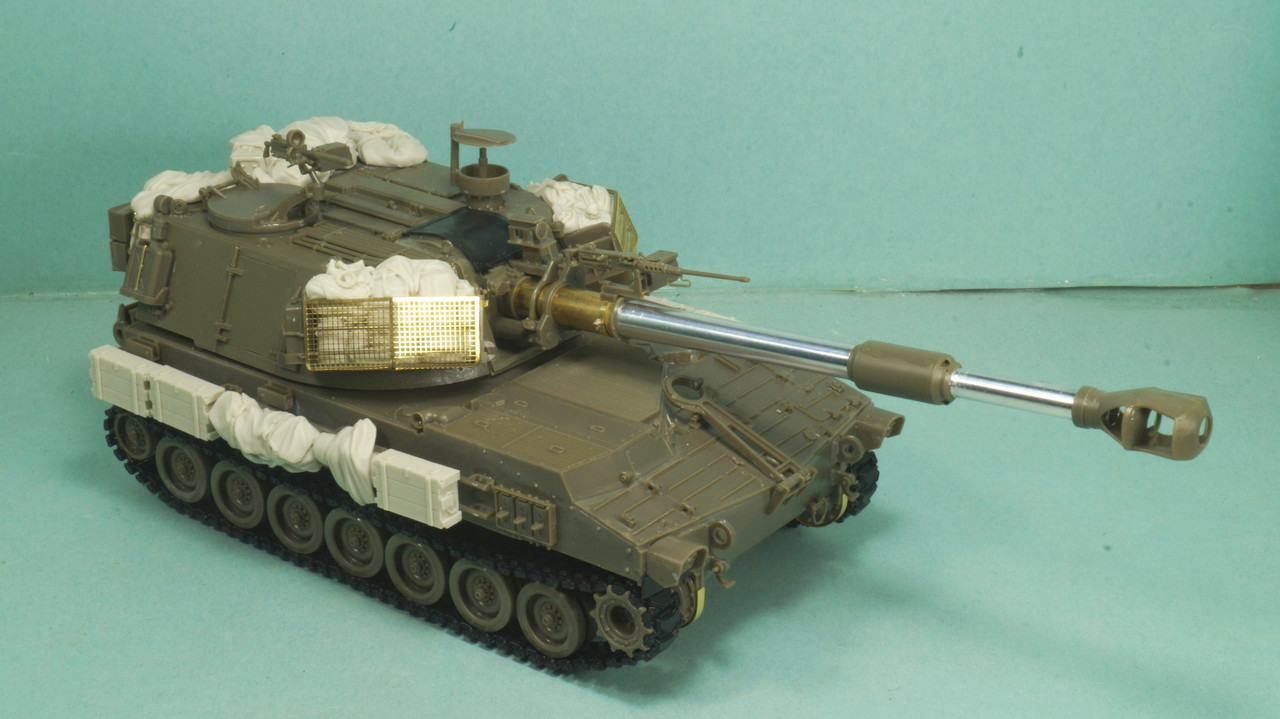
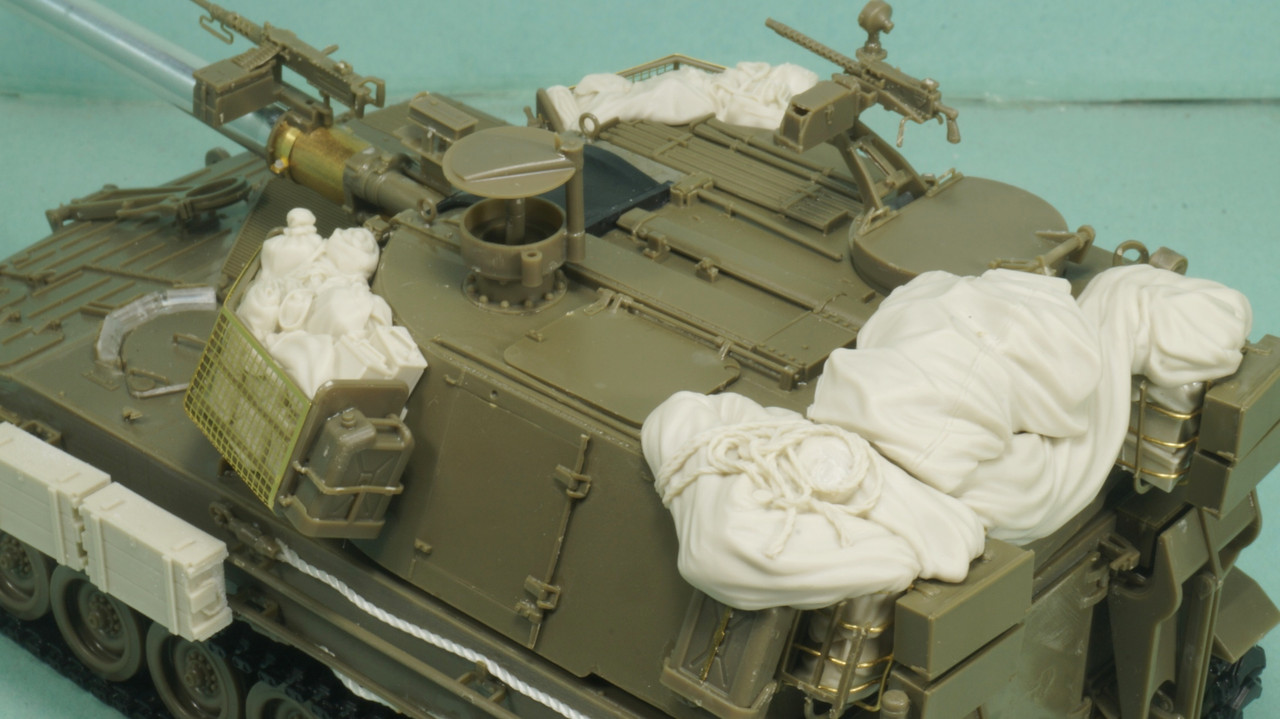
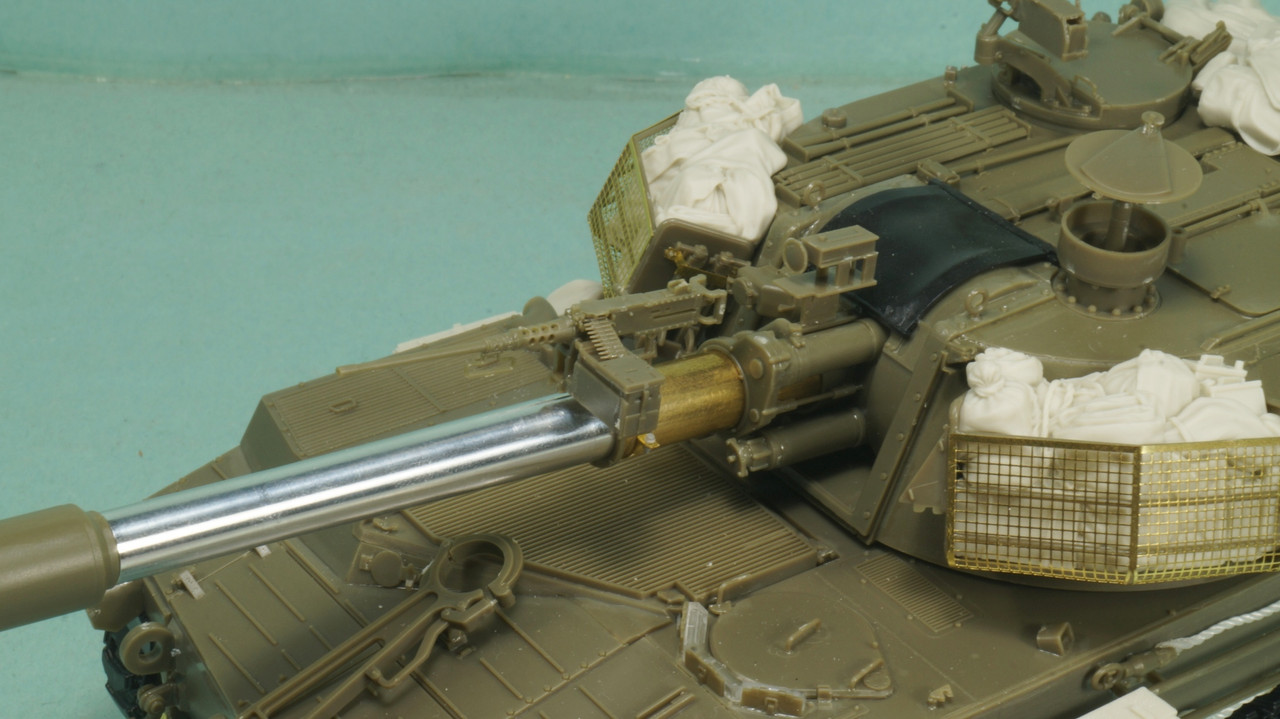
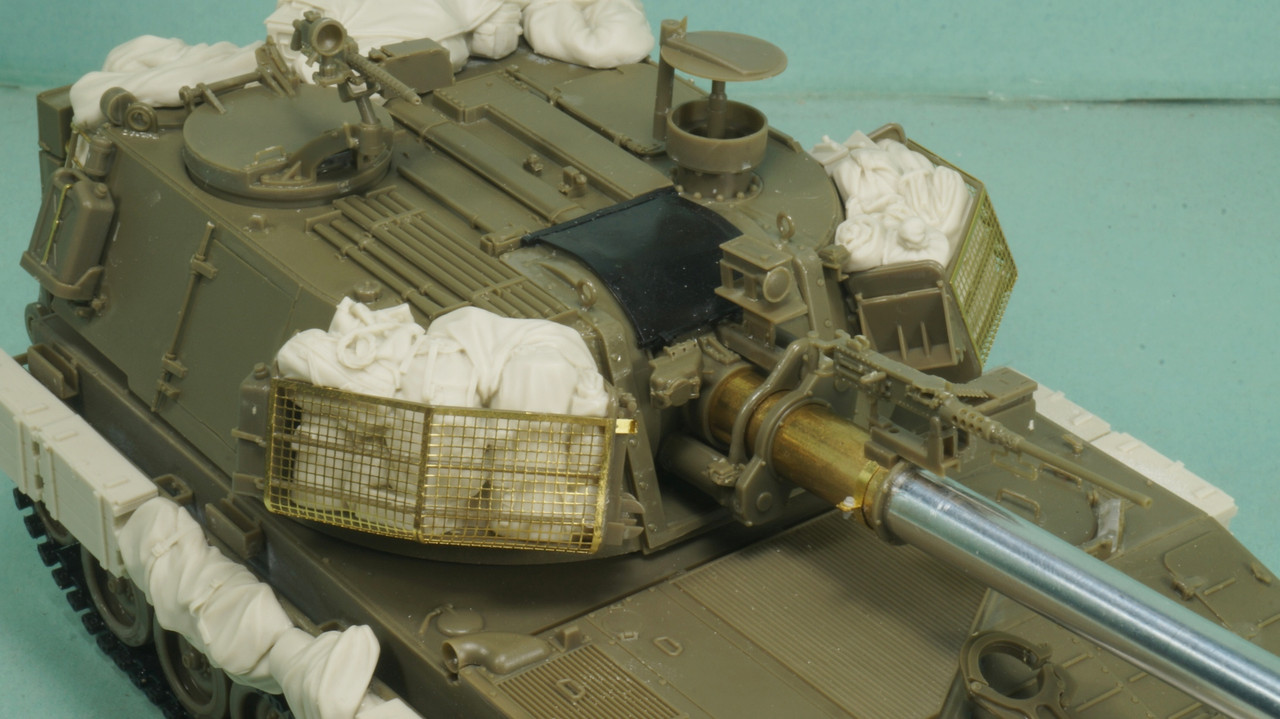
I started by following the first 4 steps of the instructions and then procceeded to step 8 and added the engine deck parts and the rear upper hull (part F1) in order to get a rigid assembly and ease parts alignment. I will not add the big engine deck grille yet, in order to assemble the suspensions and thus have easier access to the hull interior.


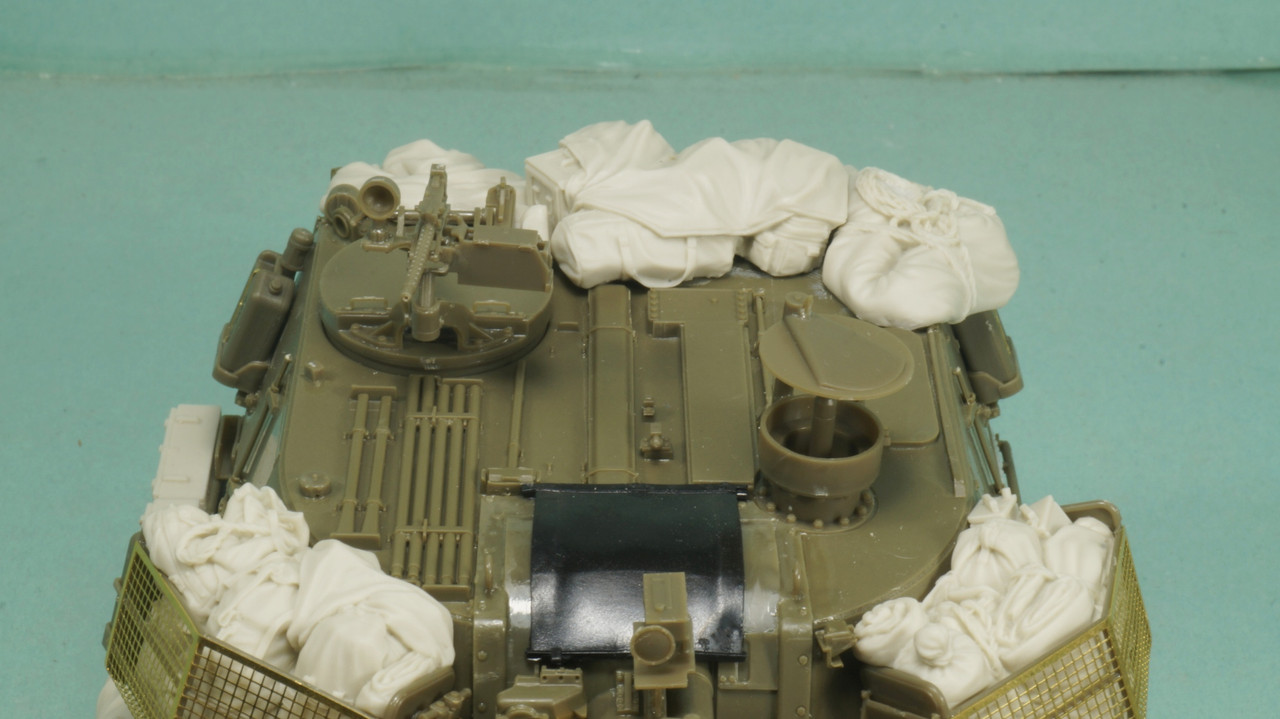
Some sinkmarks and some sims require filling and sanding, something hat will be done prior to installing the suspension, wheels and tracks.

Comments and suggestions are always welcome
varanusk
Staff MemberManaging Editor
ARMORAMA
Visit this Community
Santa Cruz de Tenerife, Spain / España
Joined: July 04, 2013
KitMaker: 1,288 posts
Armorama: 942 posts
Posted: Saturday, July 28, 2018 - 10:02 PM UTC
Nice project Nikos, and lots of photos. That will help other ones to build it for sure!
marcb
Visit this Community
Overijssel, Netherlands
Joined: March 25, 2006
KitMaker: 1,244 posts
Armorama: 1,226 posts
Posted: Saturday, July 28, 2018 - 10:57 PM UTC
Nice!

For 1982 I would definitely opt for the .30 cal mg's instead of the MAG's.

https://www.pinterest.co.uk/pin/746753181936724797/?lp=true
ReluctantRenegade
Visit this Community
Wien, Austria
Joined: March 09, 2016
KitMaker: 2,408 posts
Armorama: 2,300 posts
Posted: Saturday, July 28, 2018 - 11:34 PM UTC
Never noticed some IDF M109s had coax .50 cals...Is it for in line-of-sight fire support spotting?


GTDeath13
Visit this Community
Attica, Greece / Ελλάδα
Joined: June 12, 2015
KitMaker: 921 posts
Armorama: 919 posts
Posted: Sunday, July 29, 2018 - 01:01 AM UTC
The 0.50 cal were ysed for ranging, the vehicles were also used for direct fire (bunker basters).


Quoted Text

Nice!

For 1982 I would definitely opt for the .30 cal mg's instead of the MAG's.

https://www.pinterest.co.uk/pin/746753181936724797/?lp=true

The 0.30 cal is included in the kit. Thank you for pointing that out.
Removed by original poster on 07/29/18 - 18:20:09 (GMT).
GTDeath13
Visit this Community
Attica, Greece / Ελλάδα
Joined: June 12, 2015
KitMaker: 921 posts
Armorama: 919 posts
Posted: Sunday, July 29, 2018 - 06:25 AM UTC
The wheels of the kit proved to be a huge PITA. Each wheel is in two parts with three sprue gates on every part. Also the inner side of the outer wheel has 4 pinmarks that have to be removed. All wheels need sanding.

The idles/tensioners also consist of two halves and require some sanding.

The sprockets are easily assembled without any problems.


The suspension is positionable, but not workable, since the first and last wheel do not have a wroking suspension arm. There are torsion bars supplied and are easily aligned and secured to place. Since I am putting the model on a display base I glued everything securely in place.

The tensioner arms might prove difficult to align correctly, so I glued in place the tensioner wheels and the last road wheel on each side.


18Bravo
Visit this Community
Colorado, United States
Joined: January 20, 2005
KitMaker: 7,219 posts
Armorama: 6,097 posts
Posted: Sunday, July 29, 2018 - 07:43 AM UTC

Quoted Text

The wheels of the kit proved to be a huge PITA. Each wheel is in two parts with three sprue gates on every part.


While true, this is one of the features that sets it apart from the old Italeri kits. Looking forward to seeing it finished.
GTDeath13
Visit this Community
Attica, Greece / Ελλάδα
Joined: June 12, 2015
KitMaker: 921 posts
Armorama: 919 posts
Posted: Tuesday, July 31, 2018 - 07:33 AM UTC

Quoted Text


Quoted Text

The wheels of the kit proved to be a huge PITA. Each wheel is in two parts with three sprue gates on every part.


While true, this is one of the features that sets it apart from the old Italeri kits. Looking forward to seeing it finished.


This is true.But they could have done it without the pinmarks on the inside of the outer wheel.

And may I add that I spoke too soon. The Riich tracks proved to be way more time consuming and required lots of work in order to put them together. It took me almost 10 hours for both sides. It maight have taken even longer had I not thought the Italeri jig I had. It helped a lot.


GTDeath13
Visit this Community
Attica, Greece / Ελλάδα
Joined: June 12, 2015
KitMaker: 921 posts
Armorama: 919 posts
Posted: Tuesday, July 31, 2018 - 07:59 AM UTC
After the tracks were done I returned to the instructions.

On step 2 of the instructions you are advised to drill some holes to the side of the hull, parts E4 and E5. The size of the holes should be about 1.5 mm. You are also advised to drill some holes in order to use part D10s = bolts. It would be a lot easier not to drill holes and glue the bolt part of D10 straight onto the hull sides. You can do the same for part D15.

On step 9 of the instructions you add the hinges on the engine deck. If you are planning to use the Legend stowage set find the rolles canvas piece Legend supplies and do some dry fits before gluing the hinges in place, since you need to leave some of them out. I personally think that this stowage part is not neccessary nor nice, since there is really no point in adding that on the engine deck.

On Step 11 I decided not to add the photoetch grille (G4) to the exhaust, since it is he wrong type and most potos do not show a grille on the exhaust at the time period I am interested in.

On step 12 do not use parts G2 and G3. They are later additions.

On steps 19 and 20 do not use part G18.

The hull is almost done, only some stowage left to be added and a couple more details like straps and tie downs. Remember to check your references for specific details on the time frame of your model.


GTDeath13
Visit this Community
Attica, Greece / Ελλάδα
Joined: June 12, 2015
KitMaker: 921 posts
Armorama: 919 posts
Posted: Wednesday, August 01, 2018 - 08:55 AM UTC
The gun is a pleasure to build, superb fit and super glue use was kept to a minimum. The alignment of the parts is superbly engineered and pretty straight forward.


I have provided close up photos of the positioning of parts B12 and D1 (the mount for the muzzle velocity radar), since I had trouble figuring out where they sould be placed.


ArtyG37B
Visit this Community
British Columbia, Canada
Joined: August 13, 2009
KitMaker: 420 posts
Armorama: 416 posts
Posted: Wednesday, August 01, 2018 - 10:58 AM UTC

Quoted Text


I have provided close up photos of the positioning of parts B12 and D1 (the mount for the muzzle velocity radar), since I had trouble figuring out where they sould be placed.


Great work on the gun so far. looking to see more updates. B12 & D1 are not mounts they are part of the recoil system. the MV radar mounts on top of B12.
I noticed that the tracks are loose. any chance of being able to remove a link? Proper tension has the track just off the 3rd road wheel (should be able to put your finger between the road wheel and the track).
Again great looking build so far looking forward to more.
GTDeath13
Visit this Community
Attica, Greece / Ελλάδα
Joined: June 12, 2015
KitMaker: 921 posts
Armorama: 919 posts
Posted: Wednesday, August 01, 2018 - 11:40 AM UTC
[quote]
Quoted Text


Great work on the gun so far. looking to see more updates. B12 & D1 are not mounts they are part of the recoil system. the MV radar mounts on top of B12.
I noticed that the tracks are loose. any chance of being able to remove a link? Proper tension has the track just off the 3rd road wheel (should be able to put your finger between the road wheel and the track).
Again great looking build so far looking forward to more.


Nicely put about parts B12 and D1, did not know the correct terms.

The tracks are glued in place, so no correction can be made on this one, but will keep that in mind for the next builds (3 more m109s to come). Only when I saw your comment did I notice the track position on photos, so my mistake for not checking the references.

Many thanks for the input.
GTDeath13
Visit this Community
Attica, Greece / Ελλάδα
Joined: June 12, 2015
KitMaker: 921 posts
Armorama: 919 posts
Posted: Thursday, August 02, 2018 - 03:42 AM UTC
Some thoughts on the Legend stowage set:

The set is pretty thorough and there are plenty of nice items included.
The fit is perfect but you have to leave out all the bits and pieces that go on the model where the stowage is supposed to sit.
The stowage would optimally suit a mid 90's vehicle and not a 1982 vehicle like the one I am building.
It would be nice if the set included the matresses included in the Doher conversion set for the left side of the hull.

There is a single drawback to this set:
The large rolled canvas pieces for the turret rear include a raised rear light on the left side, which is characteristic of the Doher and not the Rochev, plus require you add the raised light on the right side of the turret in order to fit properly.


Maki
Staff MemberSenior Editor
ARMORAMA
Visit this Community
Croatia Hrvatska
Joined: February 13, 2002
KitMaker: 5,579 posts
Armorama: 2,988 posts
Posted: Thursday, August 02, 2018 - 05:08 AM UTC
Absolutely great work so far. I love these IDF beasts and you are doing them justice. Keep it up.

Mario
ReluctantRenegade
Visit this Community
Wien, Austria
Joined: March 09, 2016
KitMaker: 2,408 posts
Armorama: 2,300 posts
Posted: Thursday, August 02, 2018 - 05:39 AM UTC
The usual high standards Nikos, keep up the good work!
GTDeath13
Visit this Community
Attica, Greece / Ελλάδα
Joined: June 12, 2015
KitMaker: 921 posts
Armorama: 919 posts
Posted: Saturday, August 04, 2018 - 06:53 PM UTC

Quoted Text

Absolutely great work so far. I love these IDF beasts and you are doing them justice. Keep it up.

Mario


Quoted Text

The usual high standards Nikos, keep up the good work!


Thank you both
GTDeath13
Visit this Community
Attica, Greece / Ελλάδα
Joined: June 12, 2015
KitMaker: 921 posts
Armorama: 919 posts
Posted: Saturday, August 04, 2018 - 07:10 PM UTC
Assembly is almost done.

I had serious issues with the rear turret baskets and ended up scratchbuilding them.Perhaps I should have installed the plastc parts first and thern fit the resin stowage, although due to shrinkage of the resin I may have ended up with quite a gap between the resin parts.

The forward turret baskets have no positioning marks or holes and one has to almost guess were to place them. The resin here helped quite abit, since it is designed to fit at a specific position. Of course this is the posistion the guy who made the prototype had put the baskets on his model... Oh my...

The 0.50 cal mg mount is provided by AFV Club but not mentioned in the instructions, it is on sprue A. So is the 0.30 cal mg and its parts on sprue U. The 0.50 cal mg is from the m109a2 kit, since I have the Doher conversion for it and it was not needed. The strap that secures the mount to the gun is improvised, since there is no clear photo of this part.

The instructions quide you to place the wire rope on the turret roof but this is not the case with the Rochev. You have to make a bigger wire rope and place it at the left side of the hull. Leftover parts P18 can be used as suspension points.

Straps and ropes are left to be done for the stowage, as well as six matresses that go to the left of the vehicle.

I also need to add the wire to the velocity radar.

Comments and suggestions are always welcome and appreciated.


GTDeath13
Visit this Community
Attica, Greece / Ελλάδα
Joined: June 12, 2015
KitMaker: 921 posts
Armorama: 919 posts
Posted: Monday, August 06, 2018 - 07:37 AM UTC
I added the stowage on the left side of the vehicle, the cable for the velocity radar and some bits here and there.

I will check to see if I have forgotten anything and the model will be primed.


ArtyG37B
Visit this Community
British Columbia, Canada
Joined: August 13, 2009
KitMaker: 420 posts
Armorama: 416 posts
Posted: Monday, August 06, 2018 - 10:07 AM UTC
Looking REALLY good! can't wait to see it with paint on.
One question though, how are you going to depict the gun?
deployed ready to fire? or packed up on the move?
GTDeath13
Visit this Community
Attica, Greece / Ελλάδα
Joined: June 12, 2015
KitMaker: 921 posts
Armorama: 919 posts
Posted: Monday, August 06, 2018 - 10:35 AM UTC

Quoted Text

Looking REALLY good! can't wait to see it with paint on.
One question though, how are you going to depict the gun?
deployed ready to fire? or packed up on the move?


Thank you for the kind words.

The answer to your question is difficult. The vehicle will have the turret facing forwards (12 'o clock) and the elevation of the gun is the same you see in the photos. It is not supposed to be ready for indirect fire, but not packed and on the move. The IDF used the guns for direct fire as well, like a bunker buster. This kind of what I am trying to show, inspired by photos similar to the following ones:


ReluctantRenegade
Visit this Community
Wien, Austria
Joined: March 09, 2016
KitMaker: 2,408 posts
Armorama: 2,300 posts
Posted: Thursday, August 09, 2018 - 12:14 AM UTC


According to the capture, the wooden crates are sand-filled.
GTDeath13
Visit this Community
Attica, Greece / Ελλάδα
Joined: June 12, 2015
KitMaker: 921 posts
Armorama: 919 posts
Posted: Friday, August 10, 2018 - 10:57 PM UTC
The model has been primed, some cleanup needed and a little spot on the muzzle brake needs some filling. Next up, preshading.


ReluctantRenegade
Visit this Community
Wien, Austria
Joined: March 09, 2016
KitMaker: 2,408 posts
Armorama: 2,300 posts
Posted: Saturday, August 11, 2018 - 12:07 AM UTC
Coming along nicely, Nikos. Remind me, what’s your preferred IDF color?
GTDeath13
Visit this Community
Attica, Greece / Ελλάδα
Joined: June 12, 2015
KitMaker: 921 posts
Armorama: 919 posts
Posted: Saturday, August 11, 2018 - 12:21 AM UTC

Quoted Text

Coming along nicely, Nikos. Remind me, what’s your preferred IDF color?


mid '70s and earlier color: Modelmaster 2138 IDF sand/grey

mid '70s early 80's Vallejo 71141

1982 up until 1993 Vallejo 71142 or AK Real colors RC095

Modern IDf color: AK Real color RC094 with 25% Nato Green
 _GOTOTOP