


So lets go to the painting stage
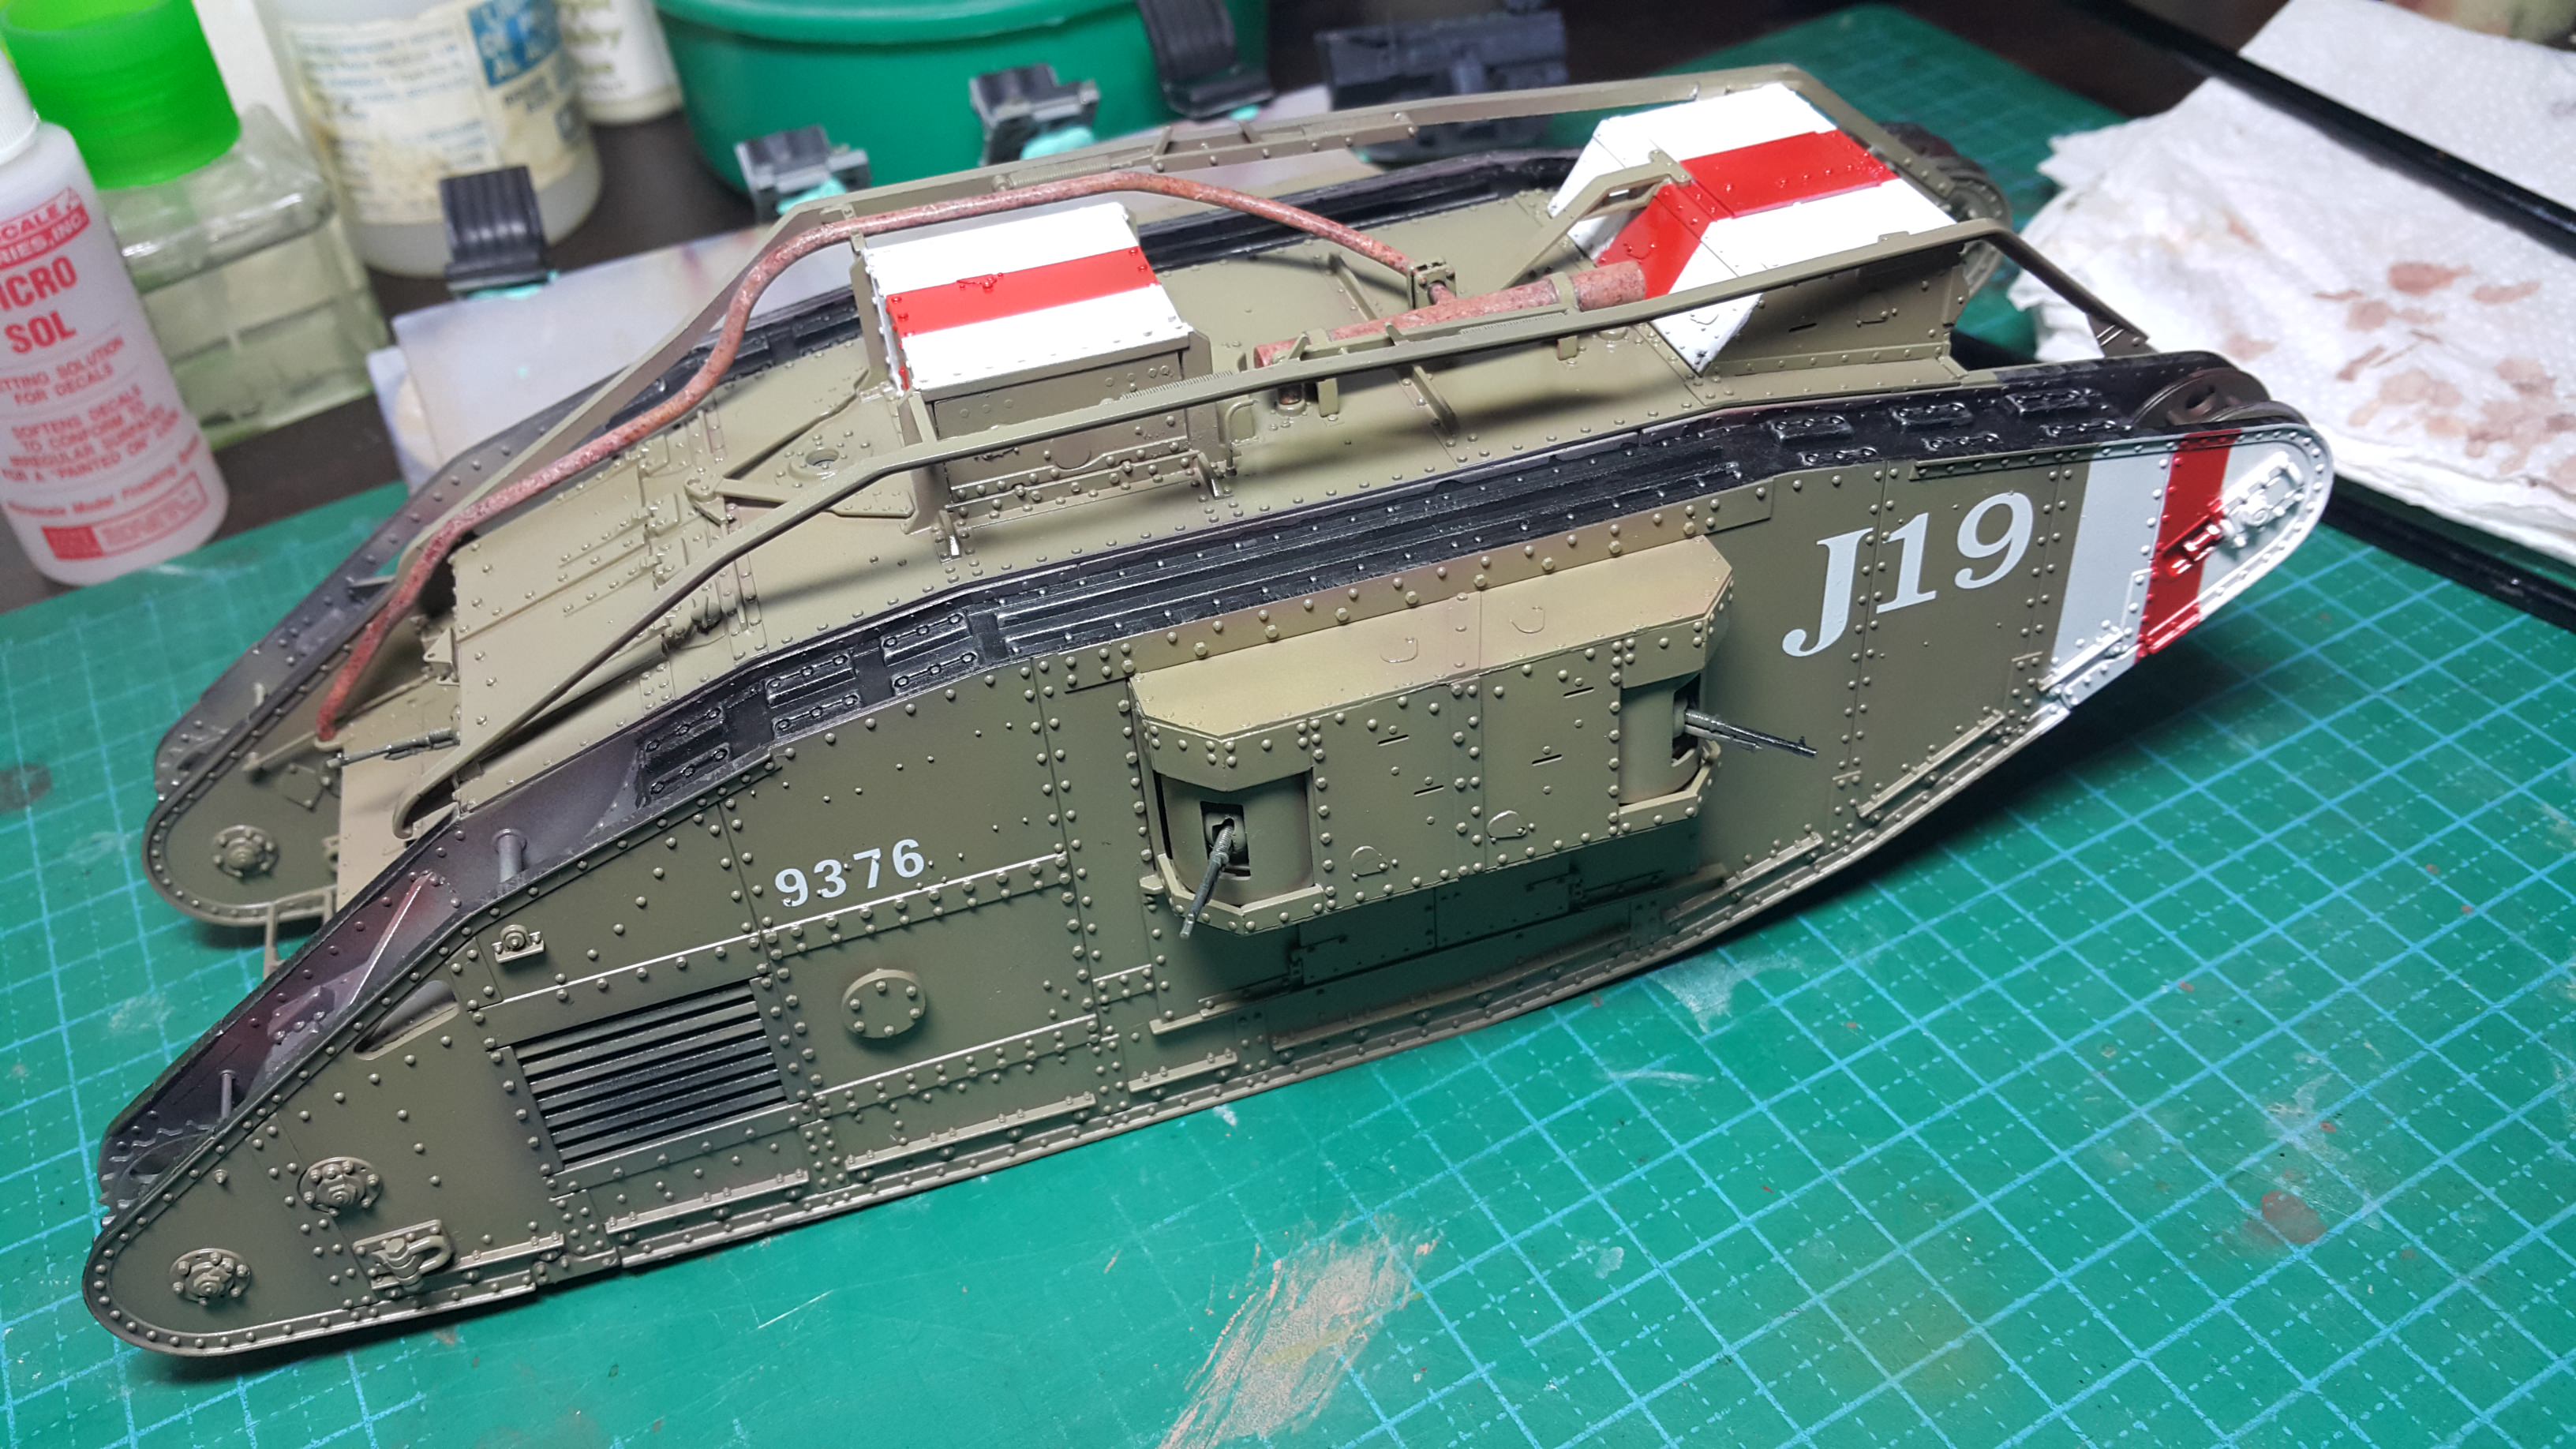
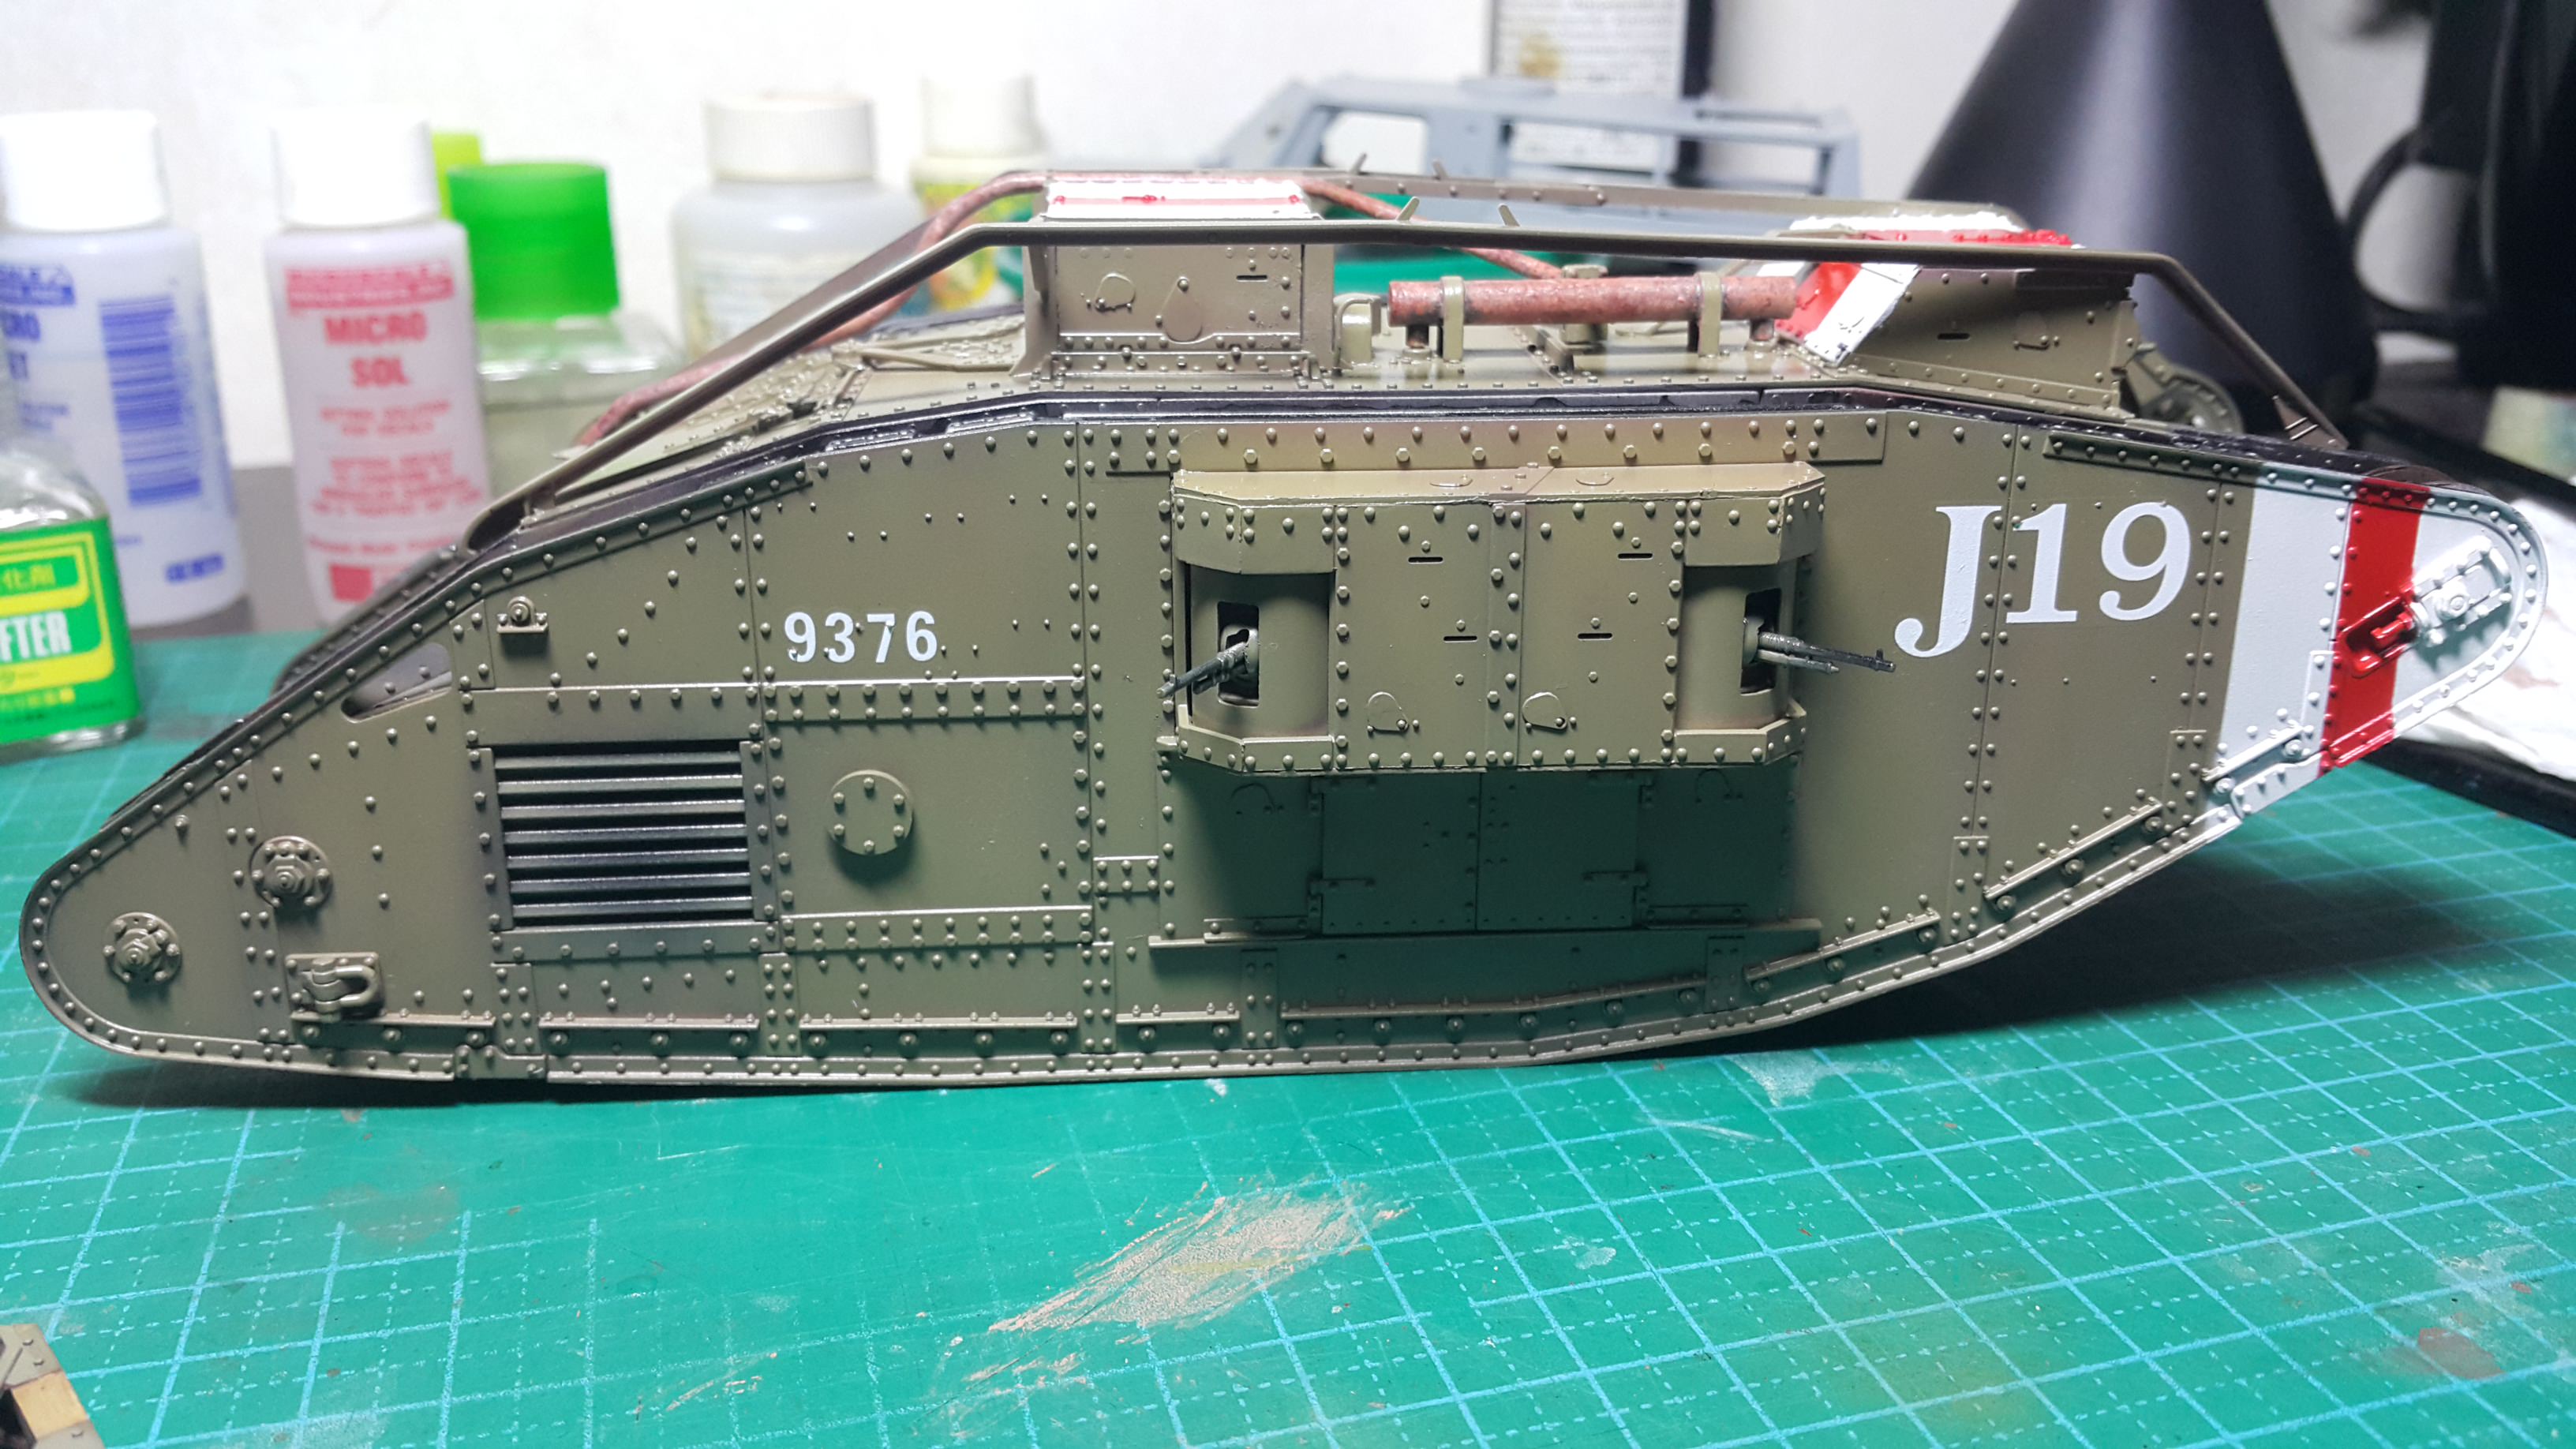
I primed the model with Mr Surfacer 1200 and then i preshade with hull red. Then i spray the entire model with Mig Ammo British Khaki.
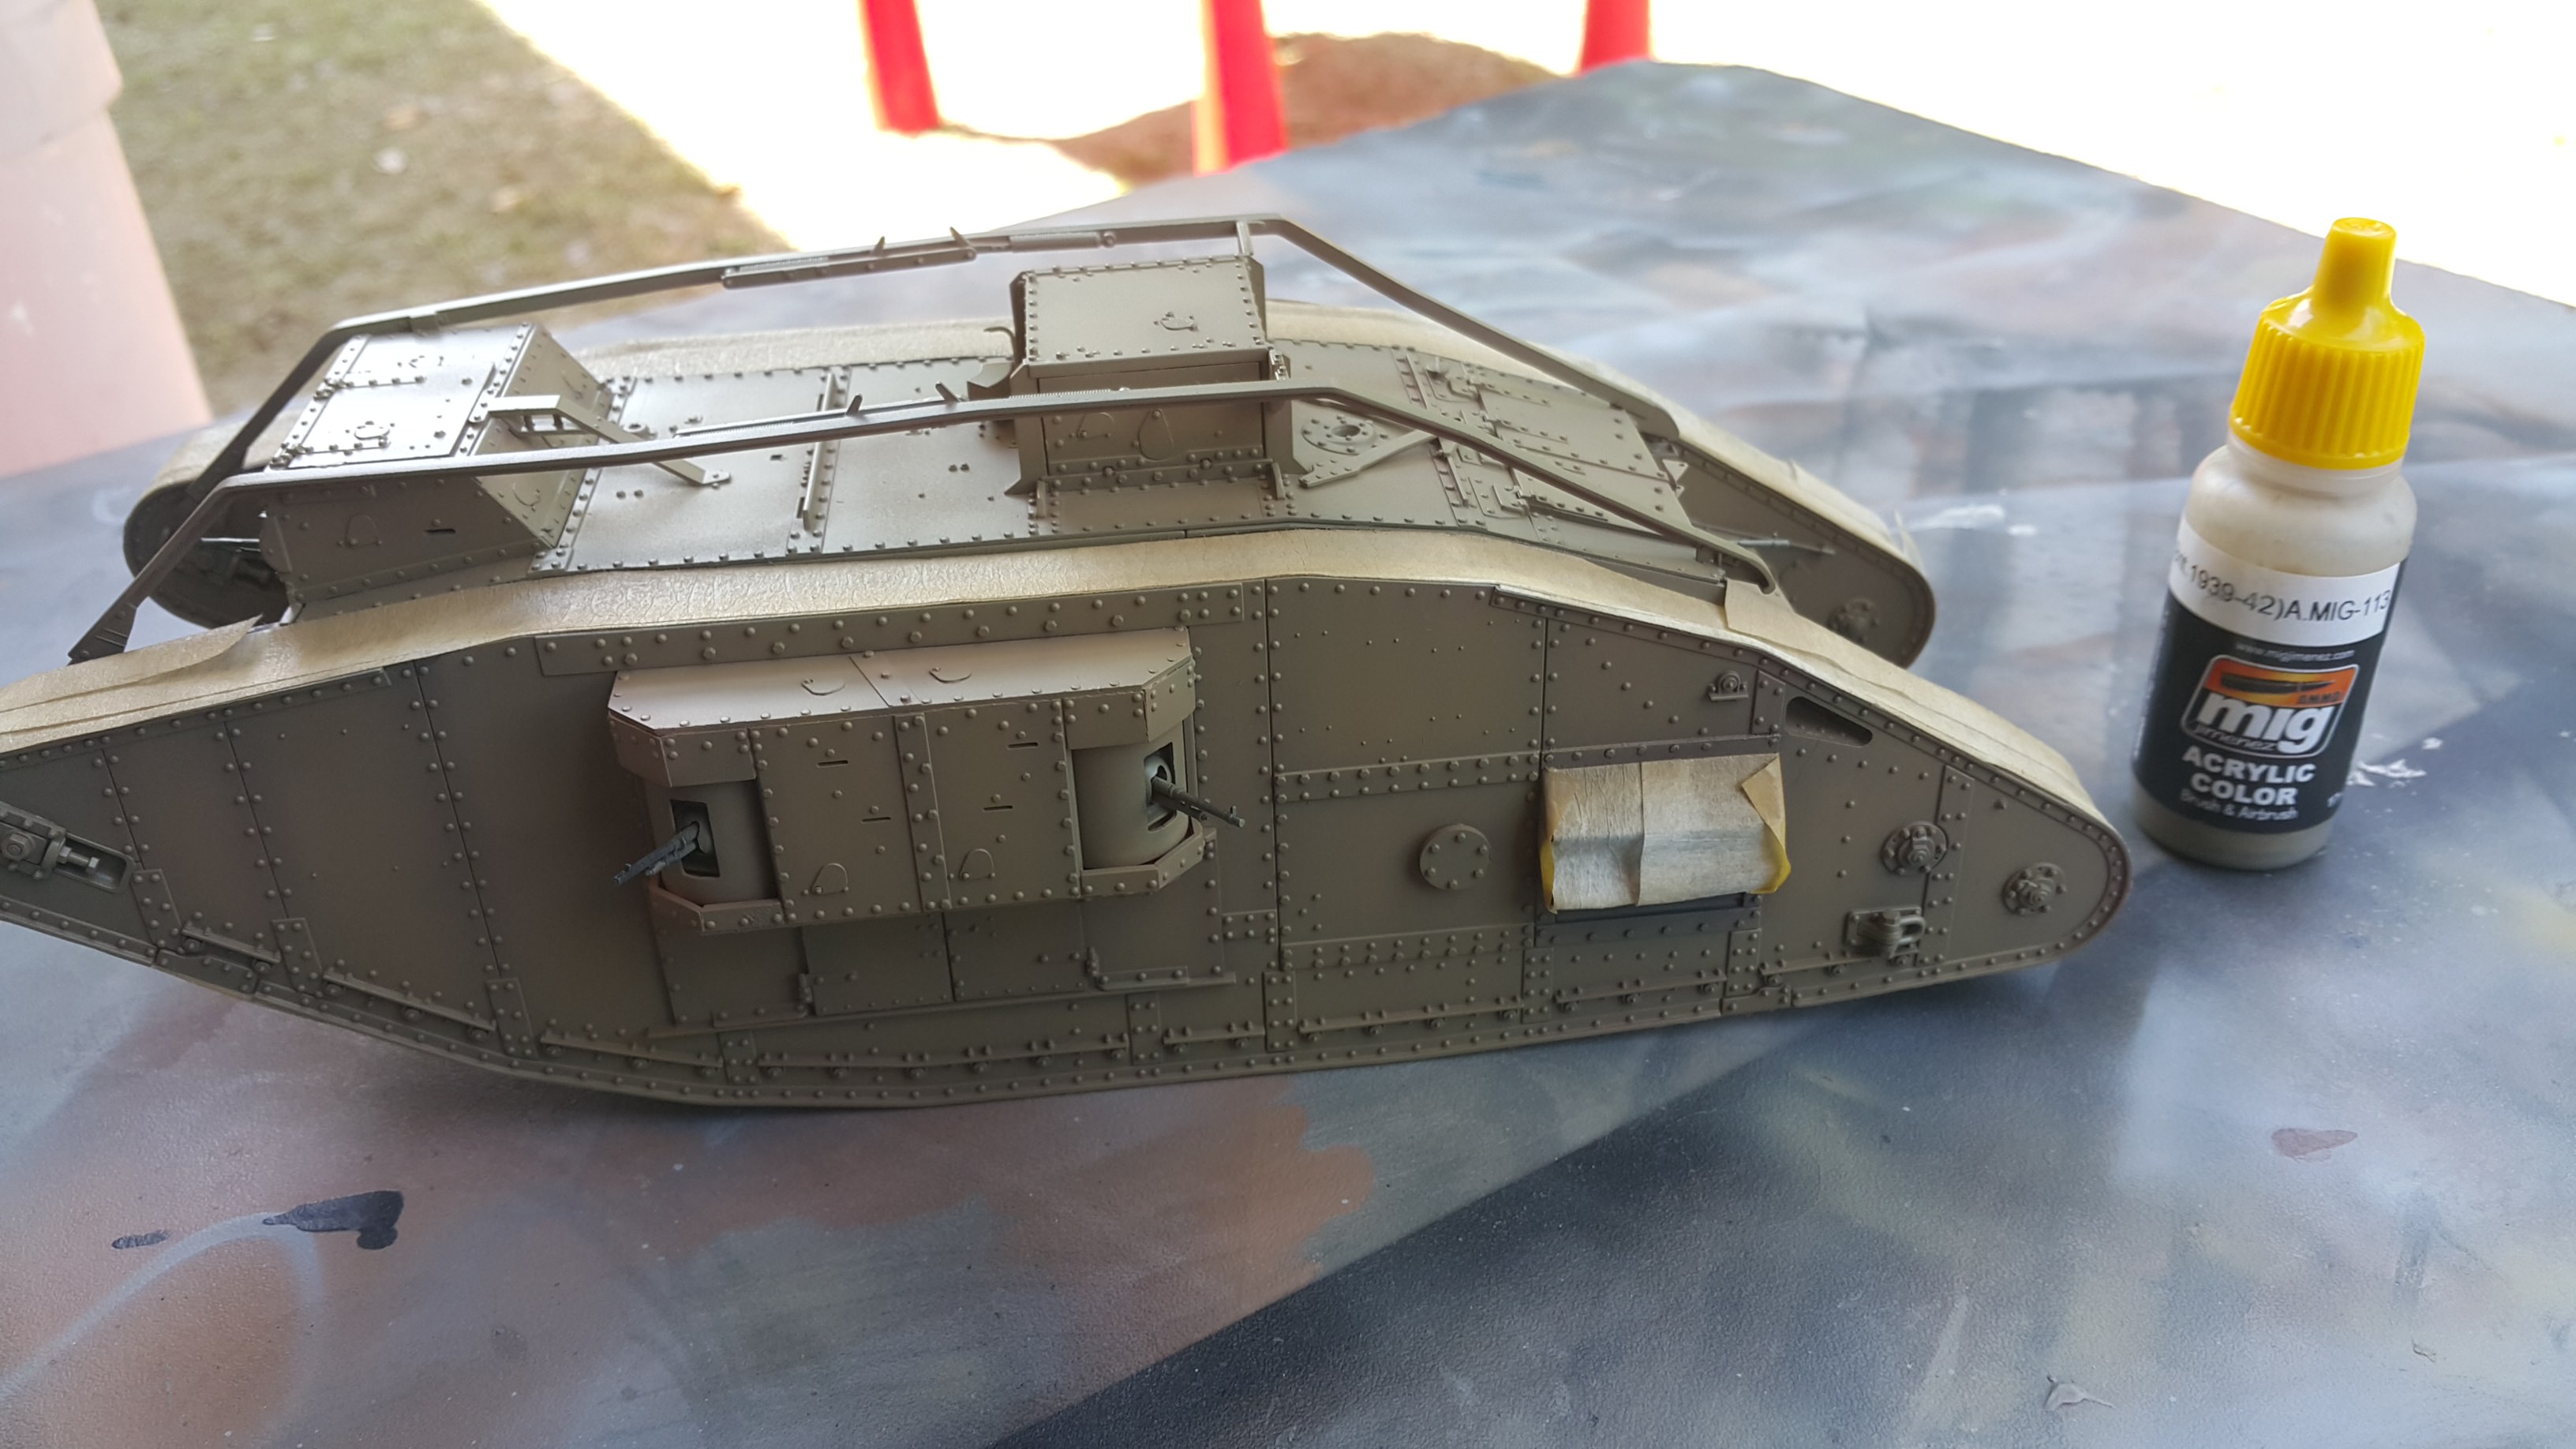
This is my first time using mig ammo thinned with mr. leveling thinner which works like a charm. Im surprised to see the coverage of mig ammo was really solid. The opacity is good.
Next i masked the area to be painted with the red n white stripe. I painted the white and then red using mr.color.
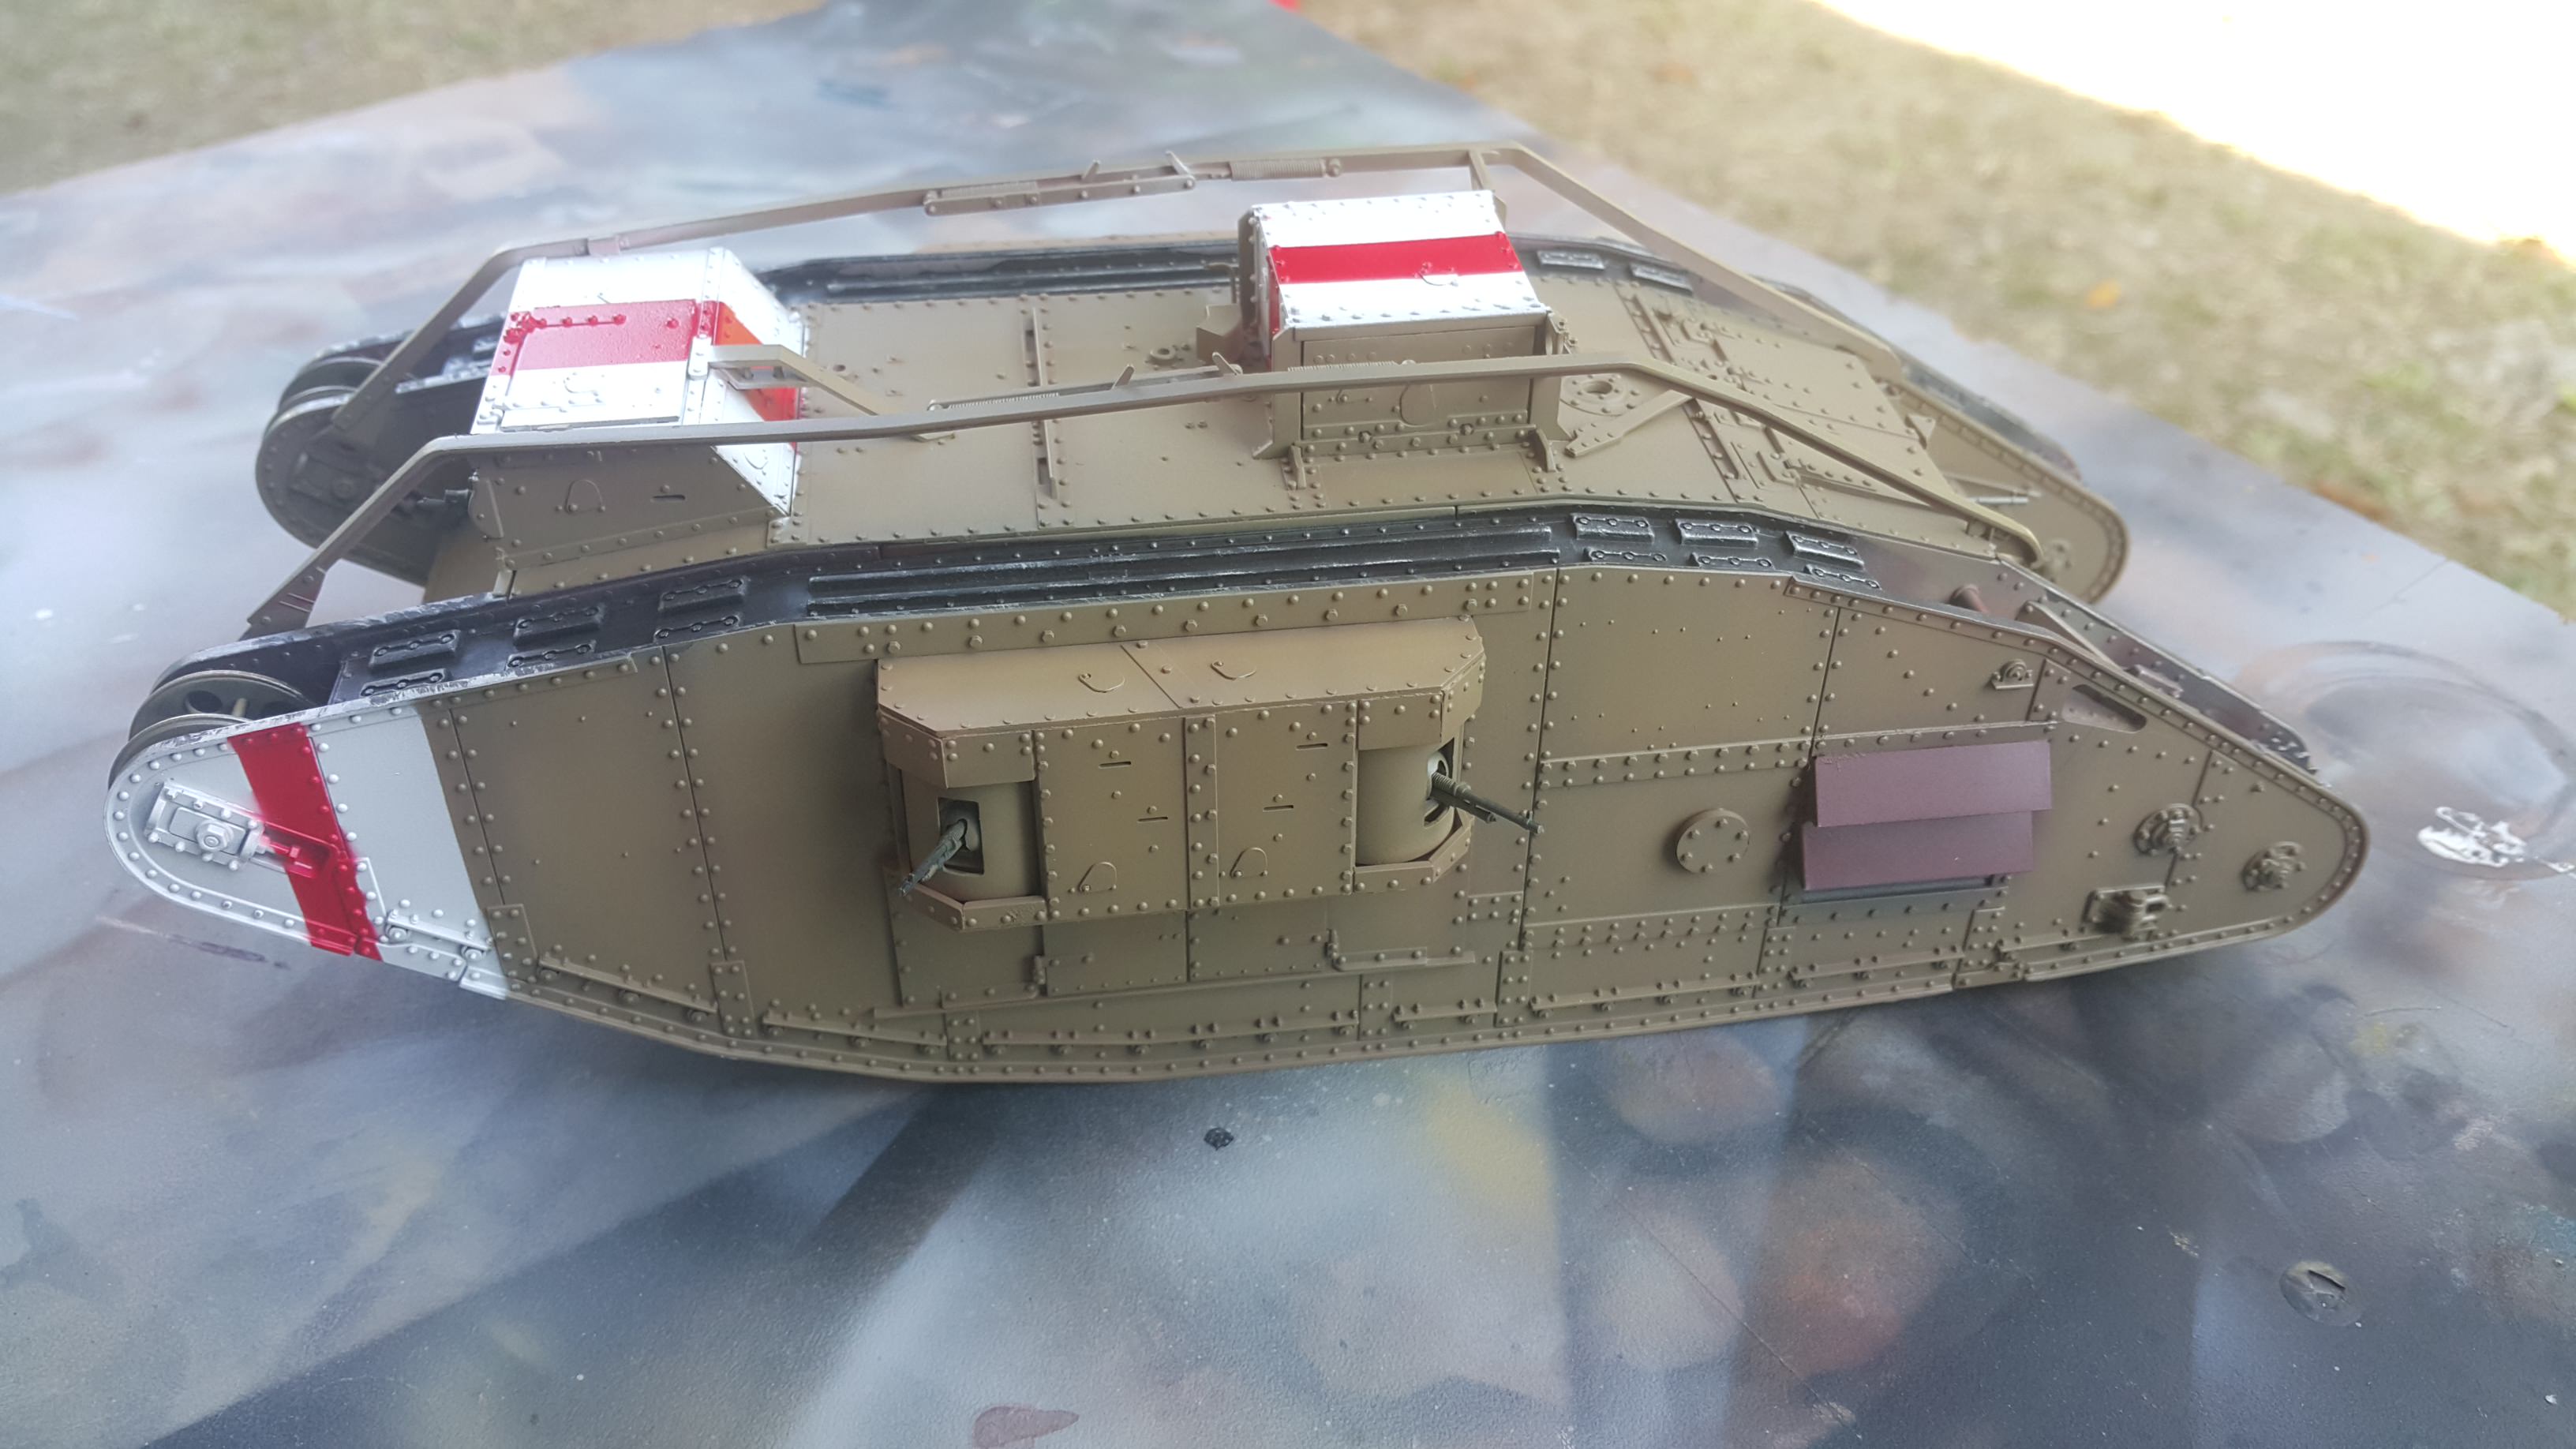
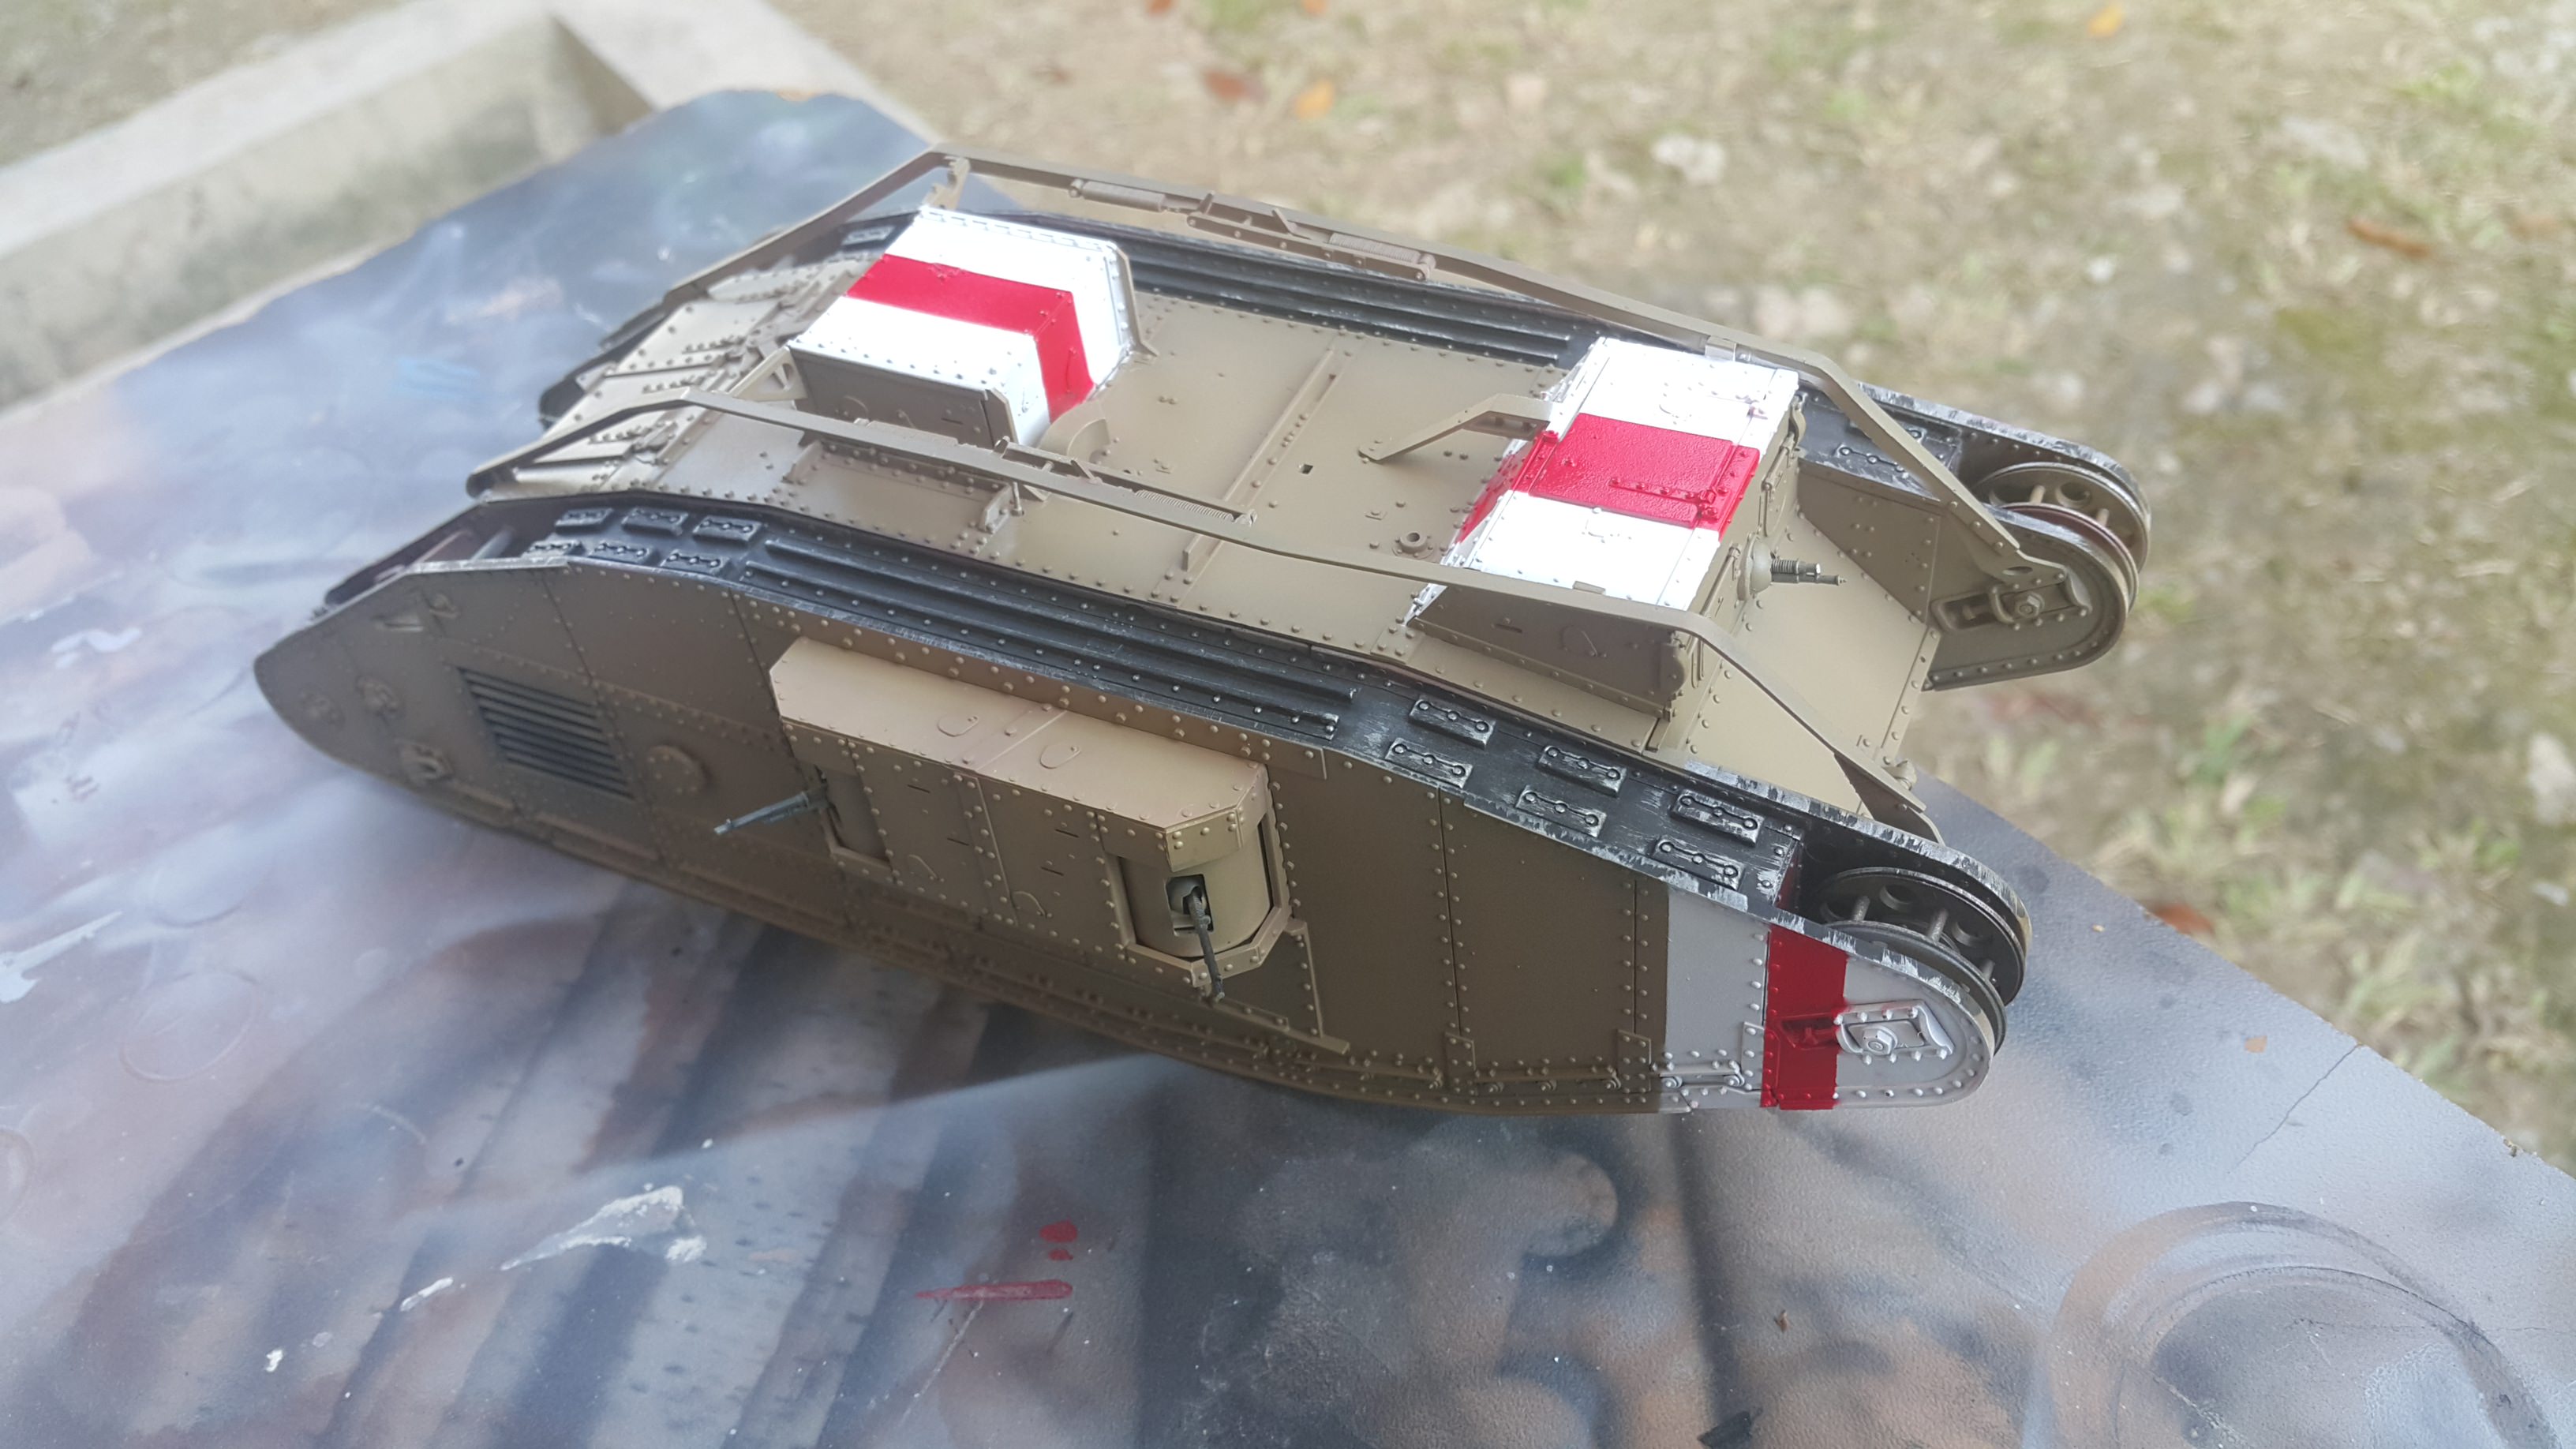
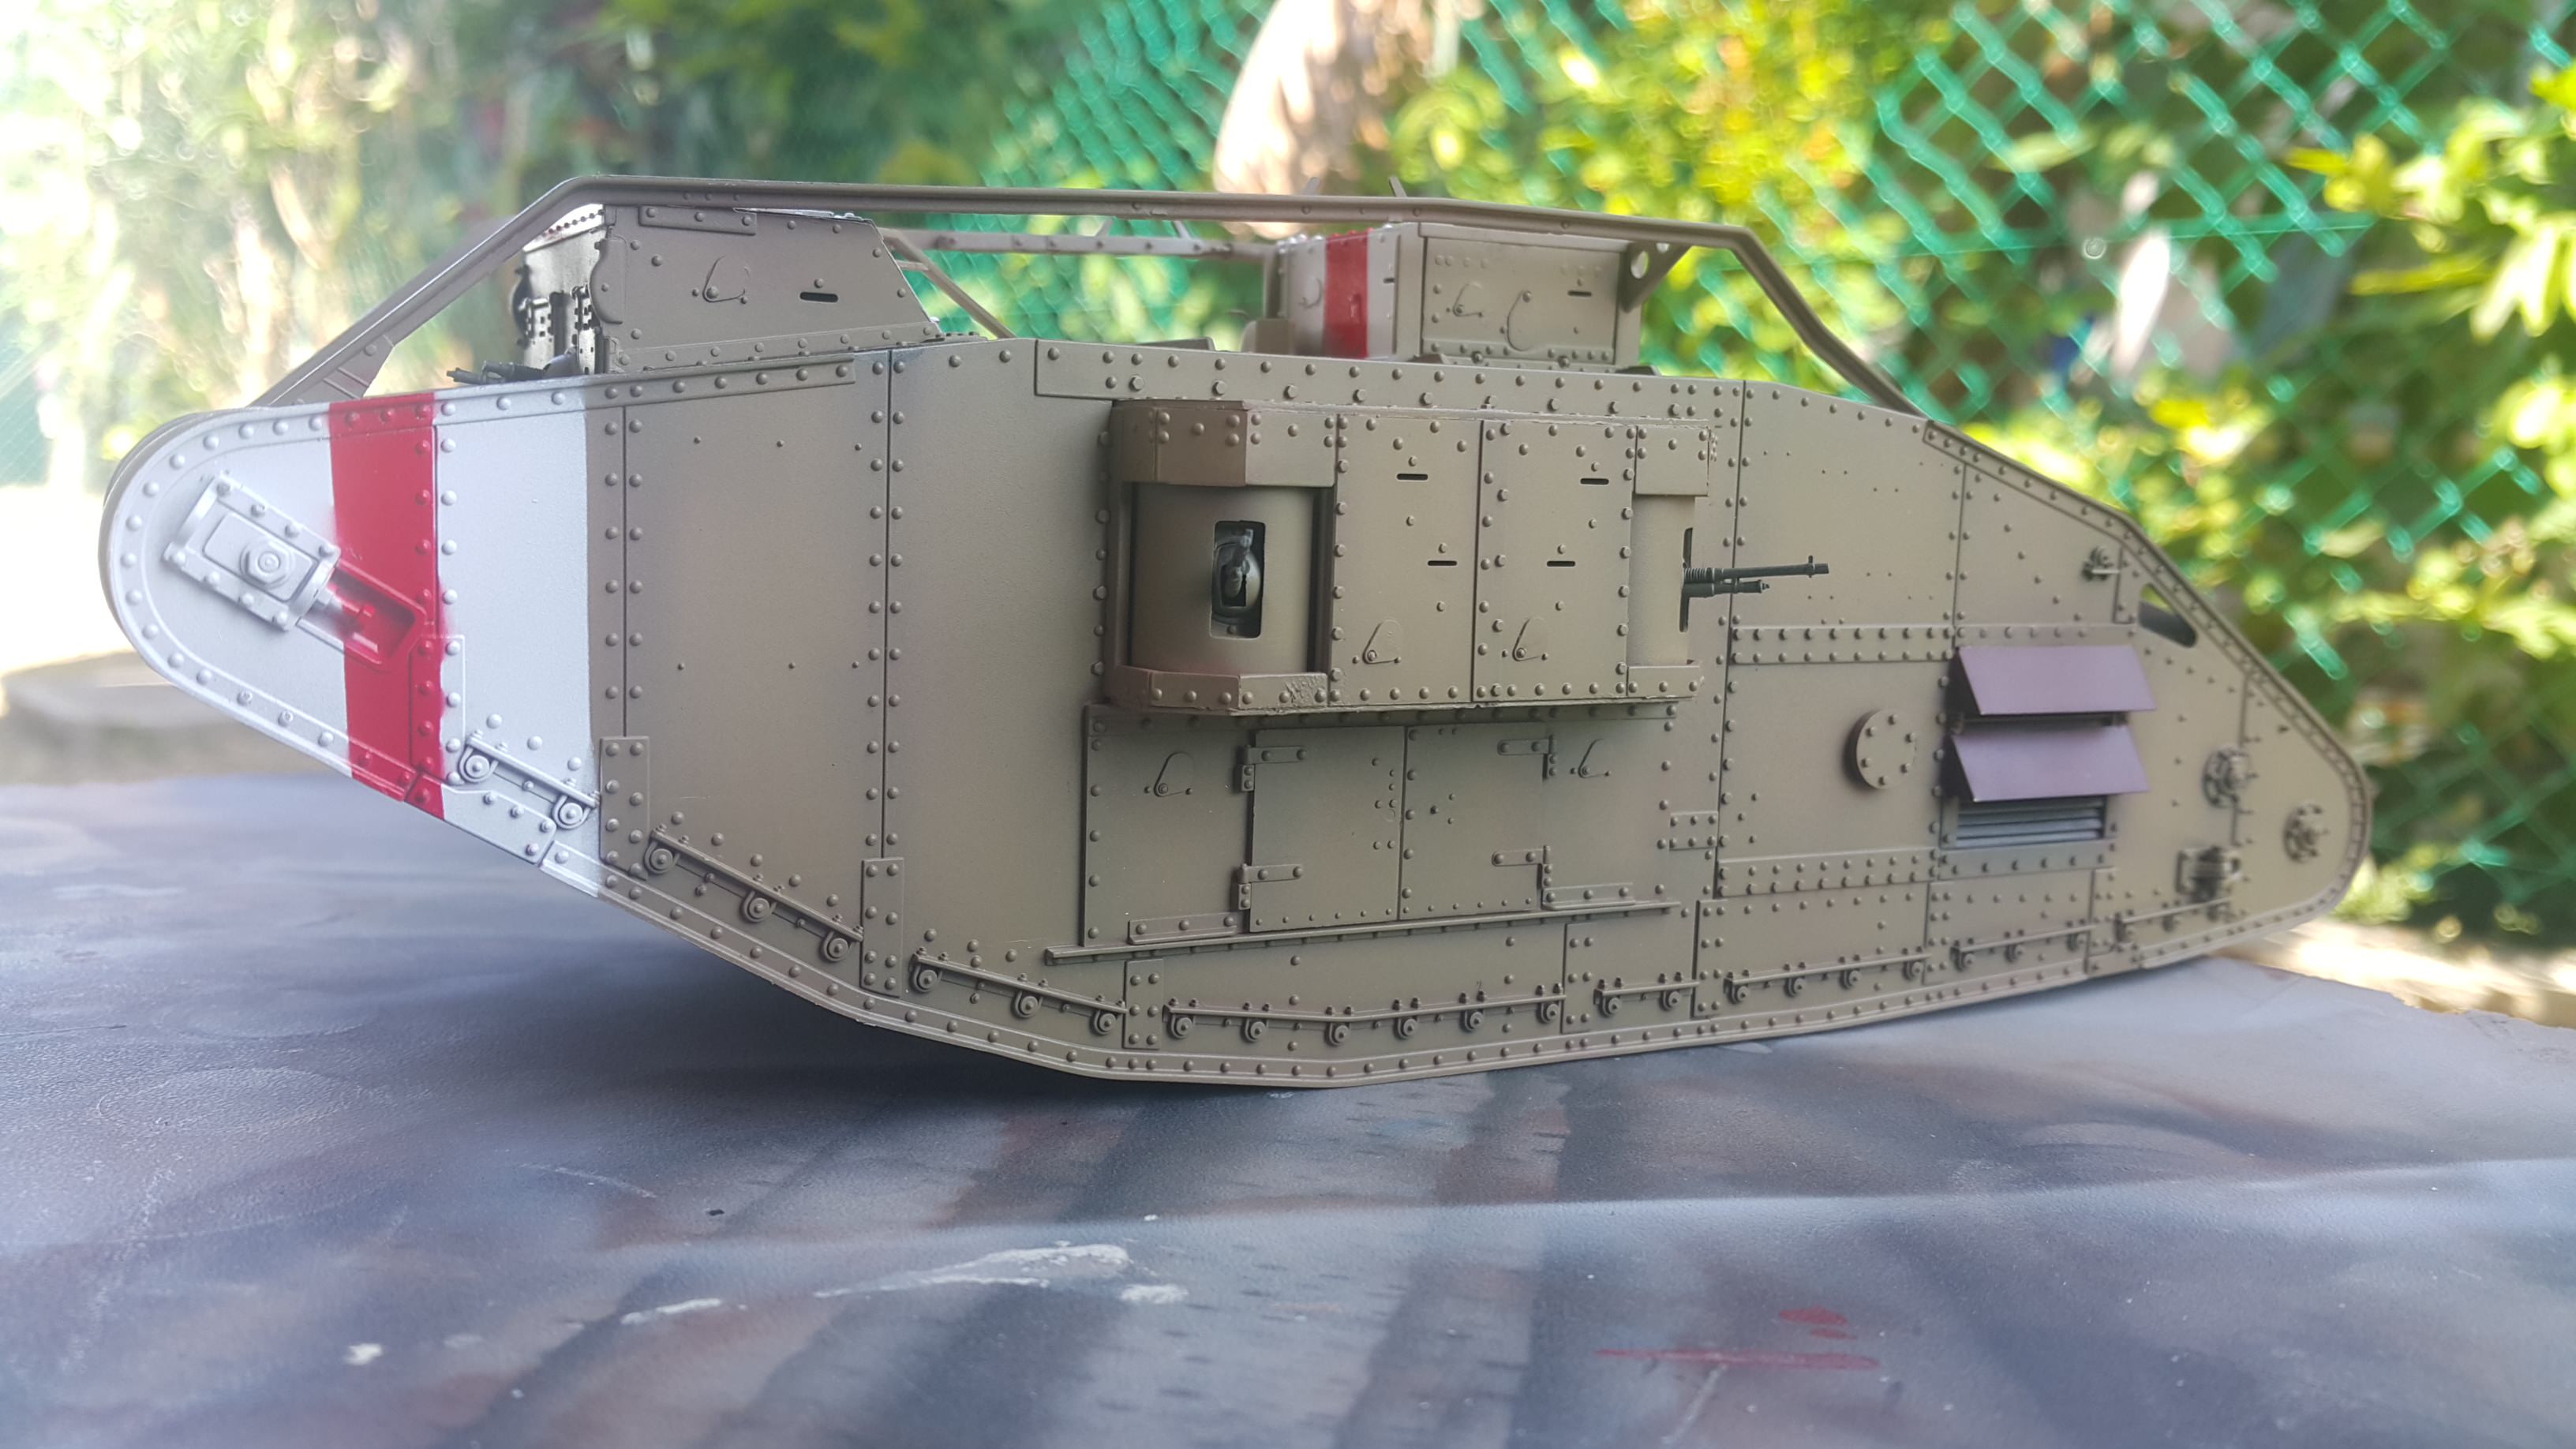
Afterthat i spray with Future before applying the decals. I chose the J19 marking and there are only 4 decals that need to be placed. Decals responded well with setting solutions.
While waiting for the decals to dry, i move on to the crib - trench crossing device. I dont like the plain looking plank so i replicate the wooden texture with saw blade and scribber.
Left side shows the plank after texturing.
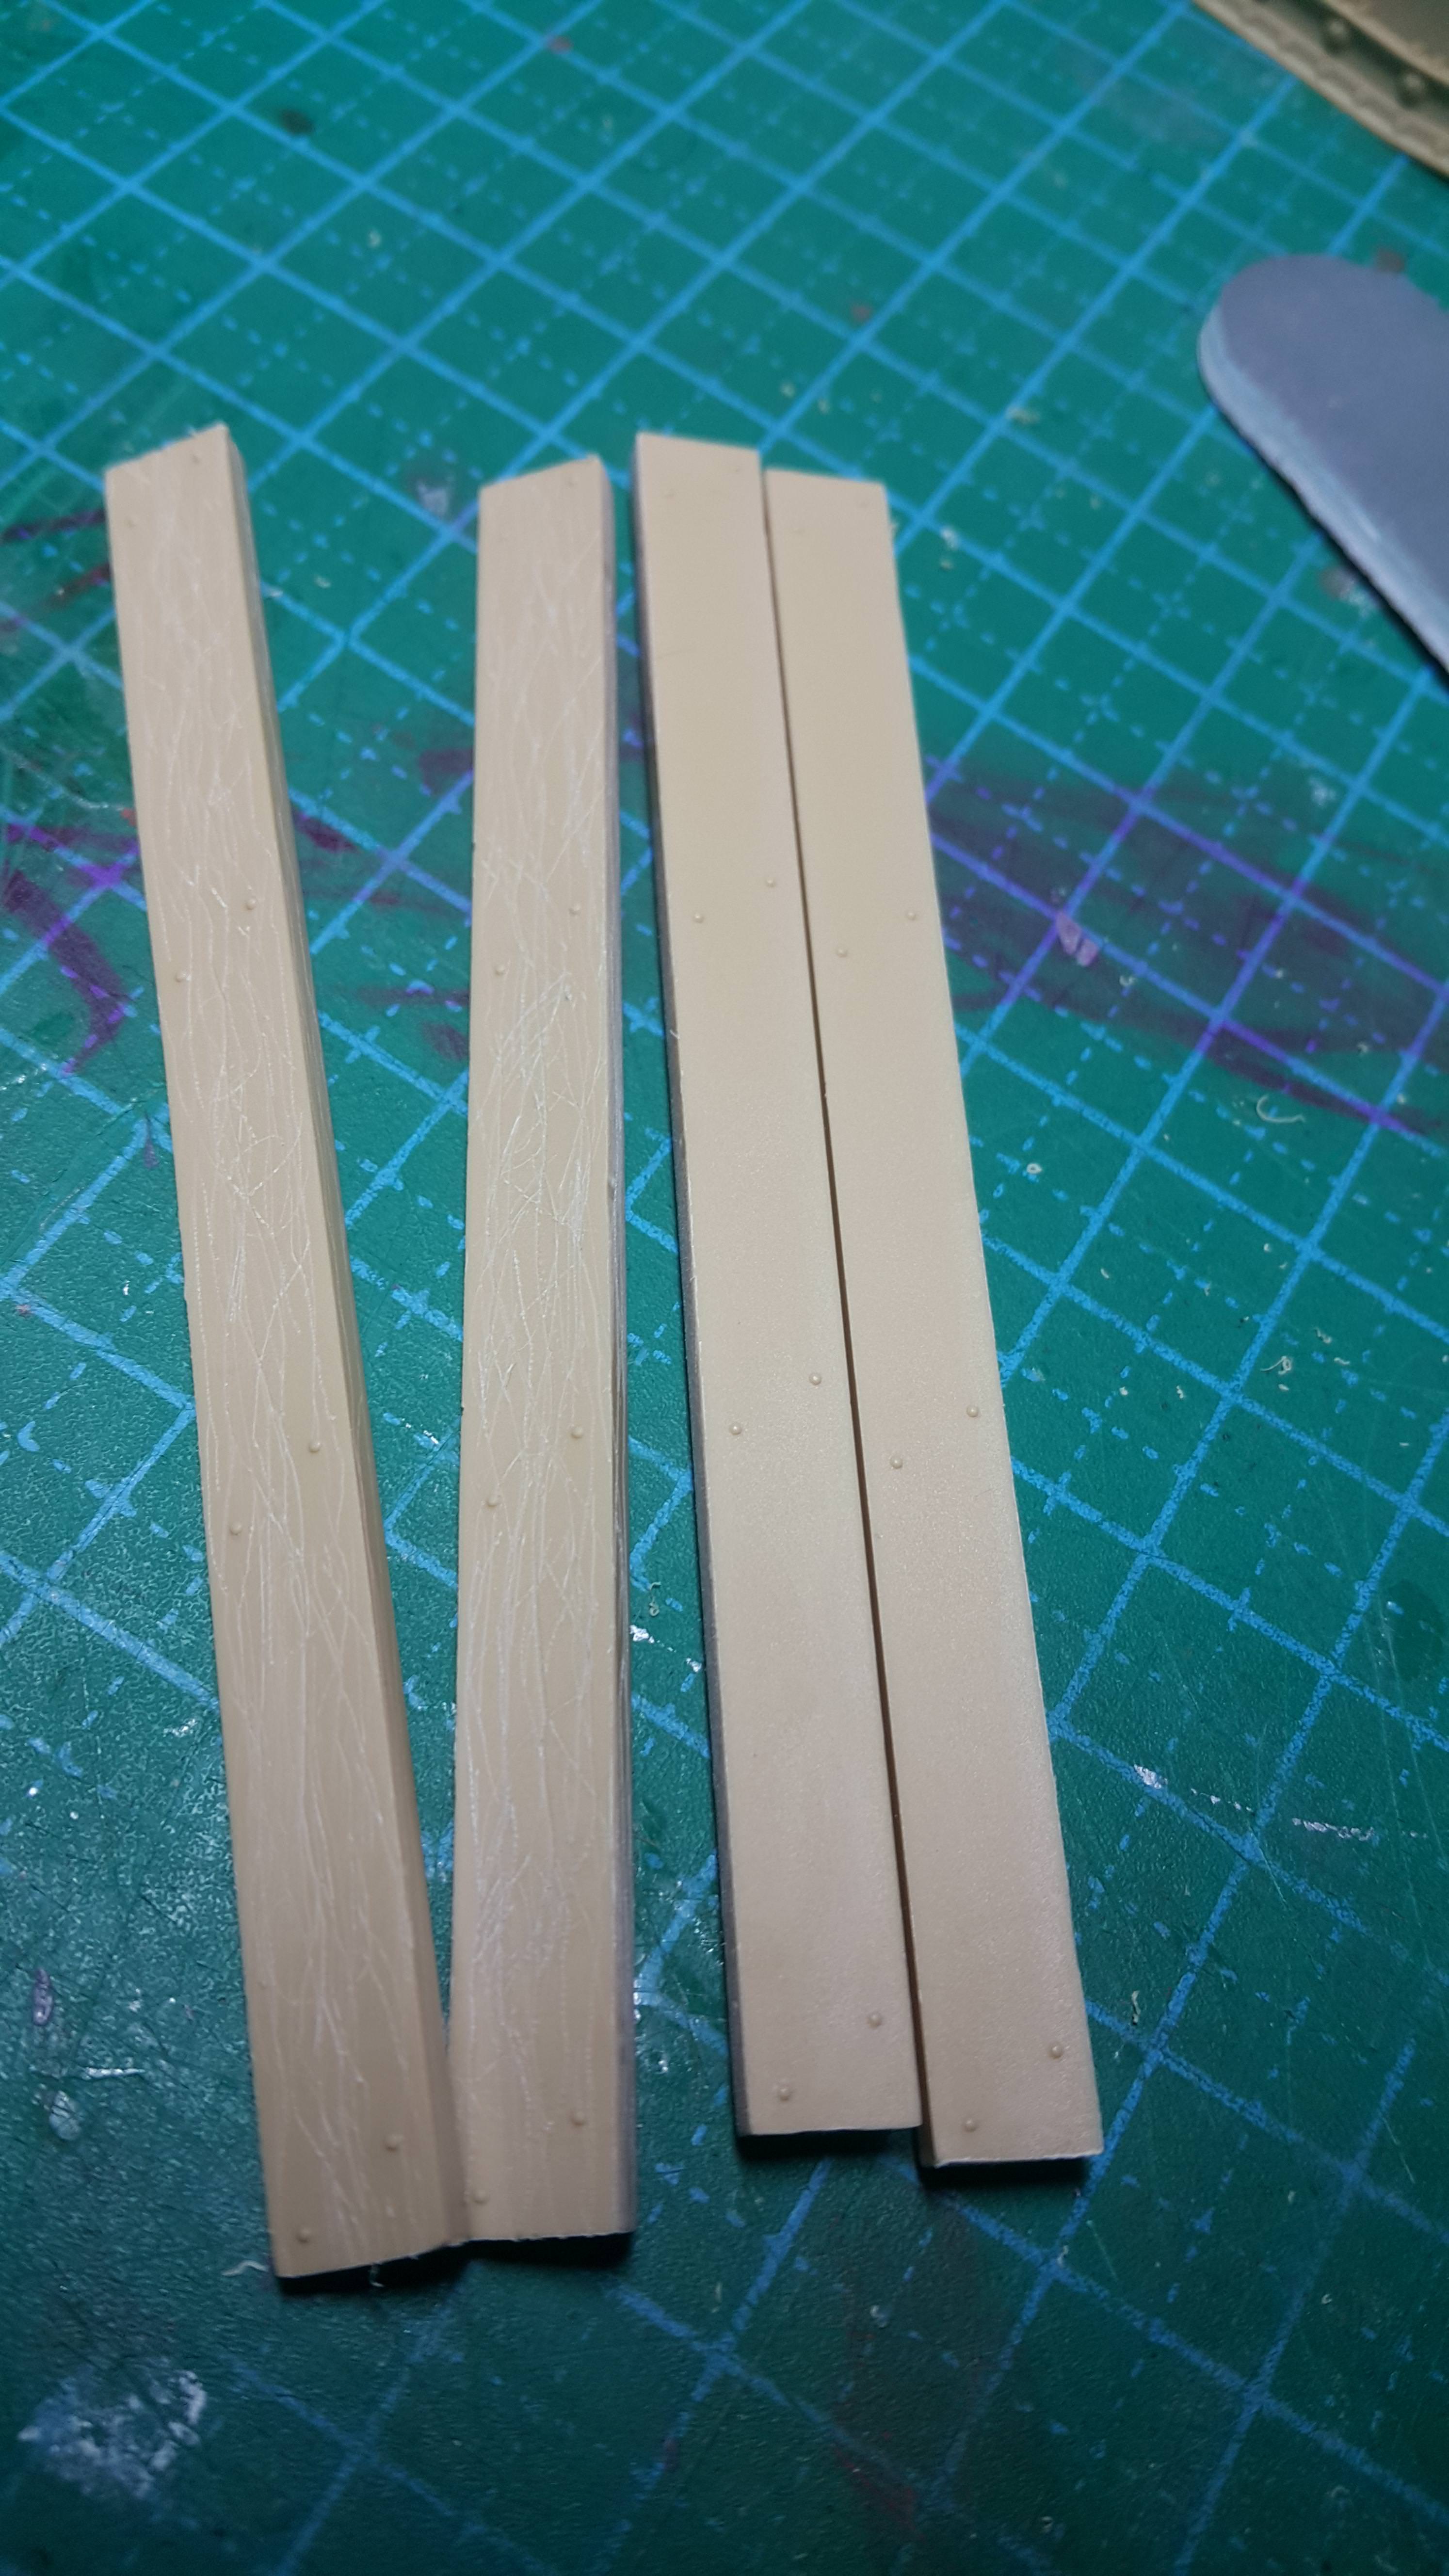
All the other 'wooden' parts are treated the same way and then i paint with mig ammo new wood. Next a few washes of raw umber, sepia, red brown were applied as in this photo

Next is the track. The tracks are mounted on the sprue with 3 attachment points that need clean-up. The instruction called for 91 link each side so its 91x2=182 links multiple by 3 to get the idea of how much cutting stroke is required.


A sharp and good cutter will help

The tracks are design to be workable. Despite the time consuming clean-up process, the assembly of the tracks is really easy. U just snap a link to another until you hear click sound. MY 7 y.o twins help me with the track assembly which they said is easy to do it.


test fit the tracks

Like i told earlier, the wheels wont be visible at all but i do paint them all with black.
The exhaust is painted with black then i applied earth, red, brown rust shade of various tone onto it to replicated worn out and rusted exhaust.
Next step is my favorite step which is weathering.
I faded the color with buff color. then i post-shaded with black and brown n smoke as a mixture. After drying, i applied oil-dot techniques on the surface


While waiting for the oil to dry, i paint the crib. The 'metal parts' were painted with blue grey. I further enhance the wooden effect with yellow, white and then burnt umber wash

Test fit the crib


Back to the tank...
Weathering part 2 - paint chip
I like heavily chipped tanks so i used sponge method with dark brown and black all over the place for the chipping paint effect.
vertical streaking is done with AK interactive products


Phewwww.... this is all the progress for this build over the last 30 days... thanks for looking.
Will be back for more progress...
Zaidi


