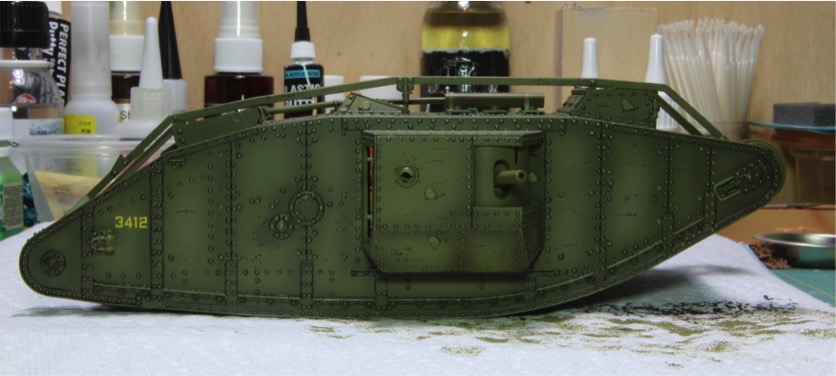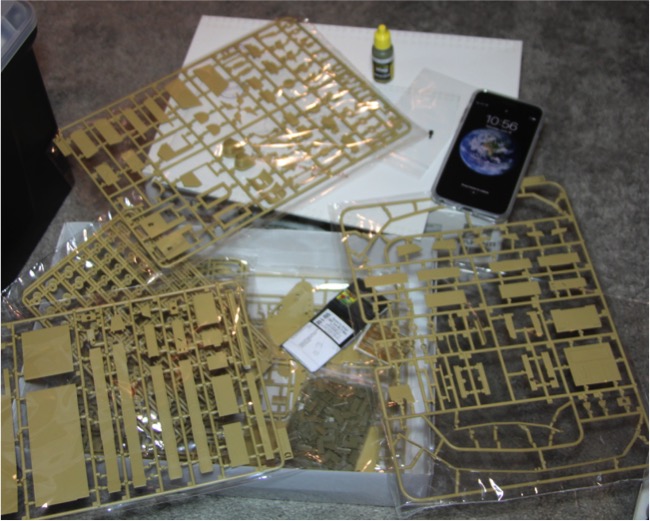
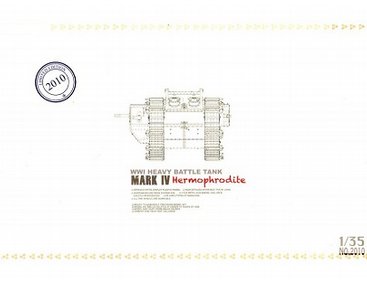
Terrible photo I realize, if you could read any part of it you would see that I started back in June. The kit, following the theme, is the Takom Mark IV Hermaphrodite.
So a little history for those that dont know, The Mk I through Mk V tanks all came in two versions, a male version which had 6 pound naval guns and machine guns, or the female version which was armed with all machine guns. The side sponsons containing the armament were interchangeable and bolted on. The female tanks were intended to attack infantry positions and not engage in tank vs tank engagements. Germany ended up capturing a large number of British tanks which they used against their former owners and it became clear that the female tanks were basically defenseless against other tanks. To remedy this, a number of the female tanks had a male gun sponson fitted to one side. This new version was called a composite tank or more commonly a hermaphrodite (it was a less PC time in 1918). The problem with the Mk IV hermaphrodite depicted in this kit, is that only Mk V tanks were converted. Theres no evidence that I can find of Mk IVs in this configuration. Fortunately, for the modeler Takom includes almost everything you need to make a male or a female in this kit. The only missing part is a 6 pounder gun barrel for the second gun. Since I decided to build a Mk IV male I purchased a set or Aires gun barrels to go with this kit. This set includes turned metal 6 pounder gun barrels and a set of turned brass Lewis guns as well.
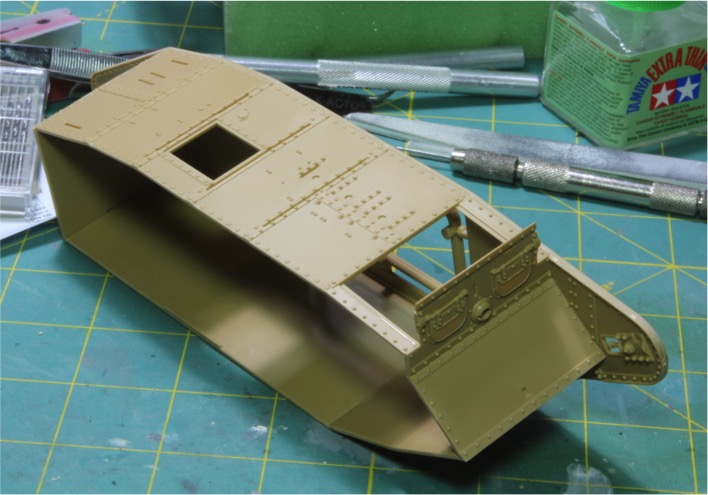
Enough carrying on, lets get caught up. I chose a different assembly method then the kit instructions and I assembled all the pieces that make up the hull by attaching them to one of the side plates. This helped make sure everything was aligned and provided some rigidity to the assembly.
Next up, I modified the forward Lewis gun mount by adding a piece of plastic stock over the inside of the mount hole with a hole drilled in the center. This will allow me to slip the Lewis gun barrel in from the outside near the end. The kit gives you full guns but this wont be seen and I was trying a avoid damaging the gun, or worse knocking it into the body of the tank later.

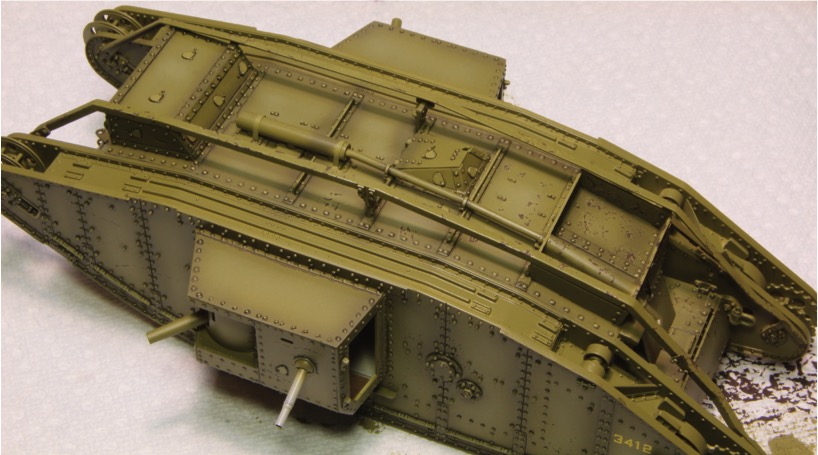
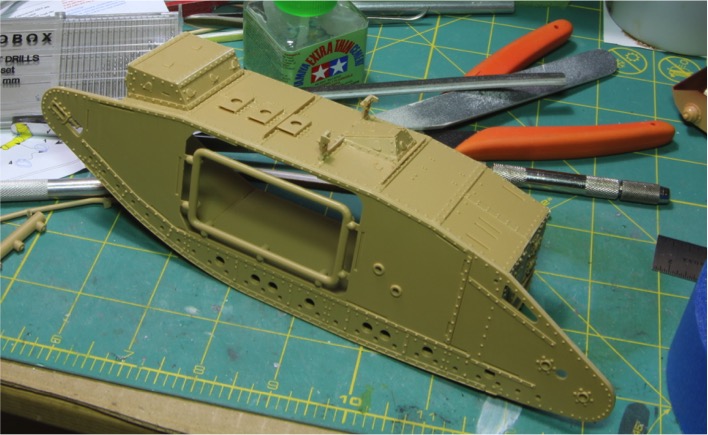
I pretty much just followed the directions from here. Added pieces to the top;
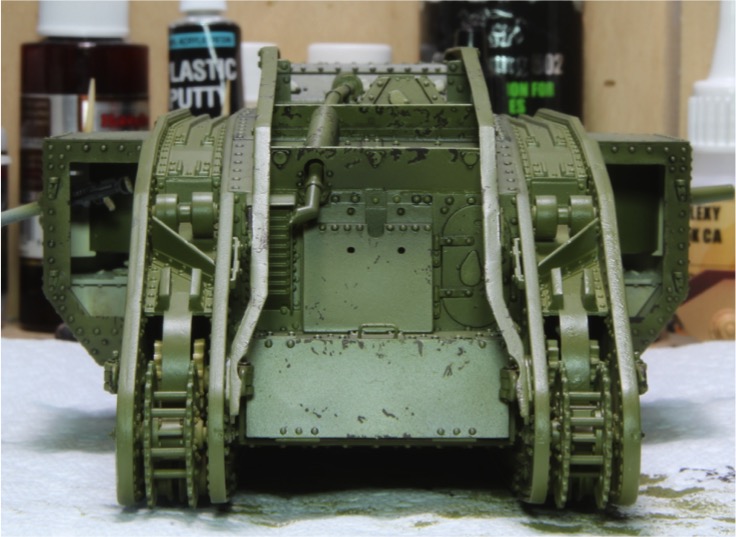
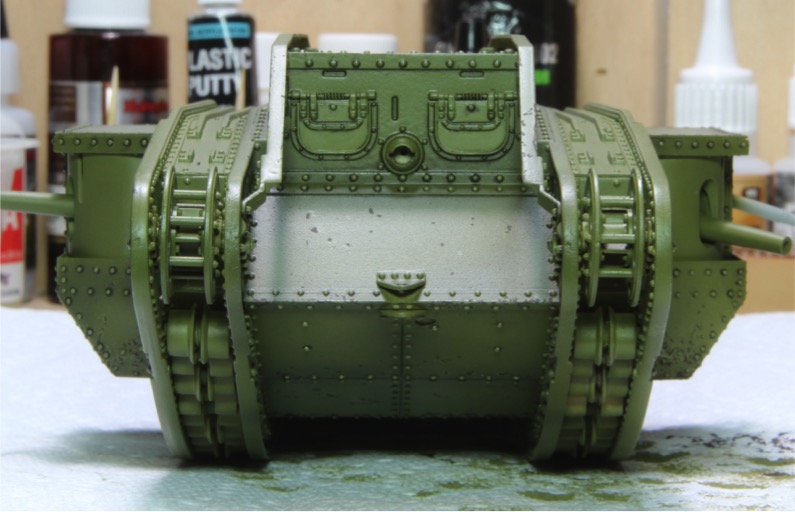
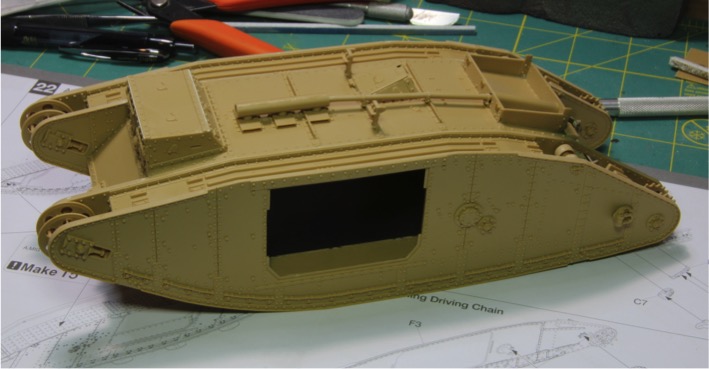
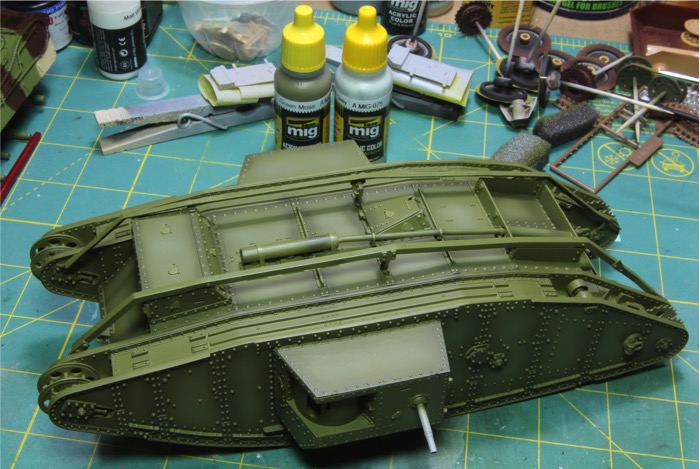
completed the rear of the tank;
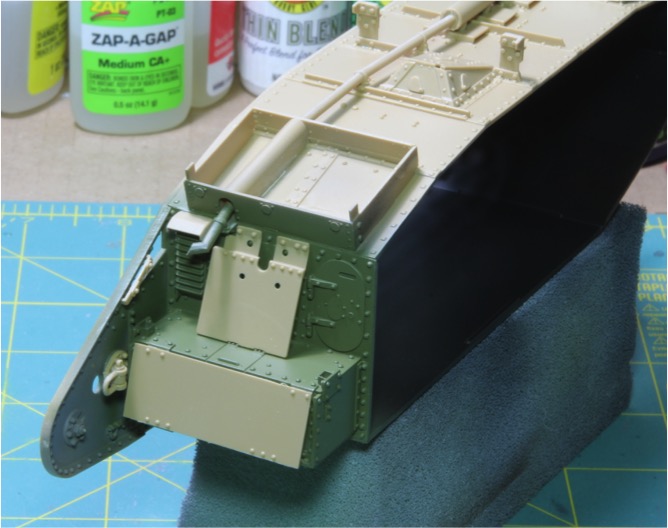
I did primer and paint the rear before adding the extra armor and bits because that was going to be difficult to paint around later. As you can see I went with an overall Green Moss color scheme using Ammo MIG paint.
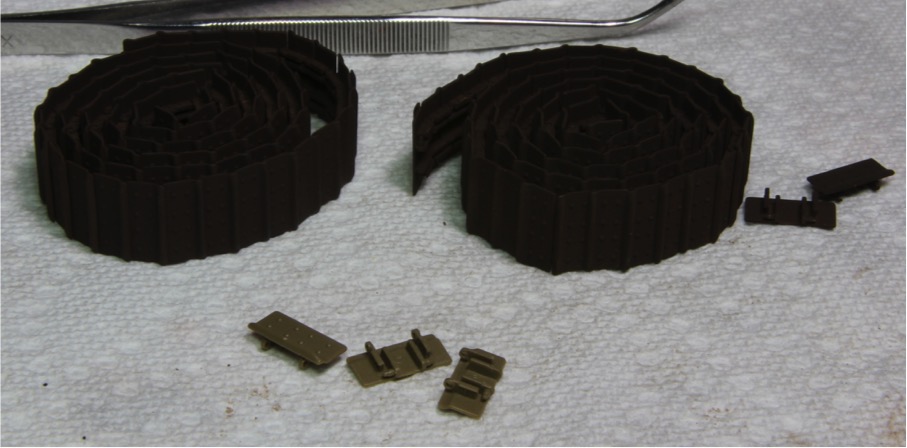
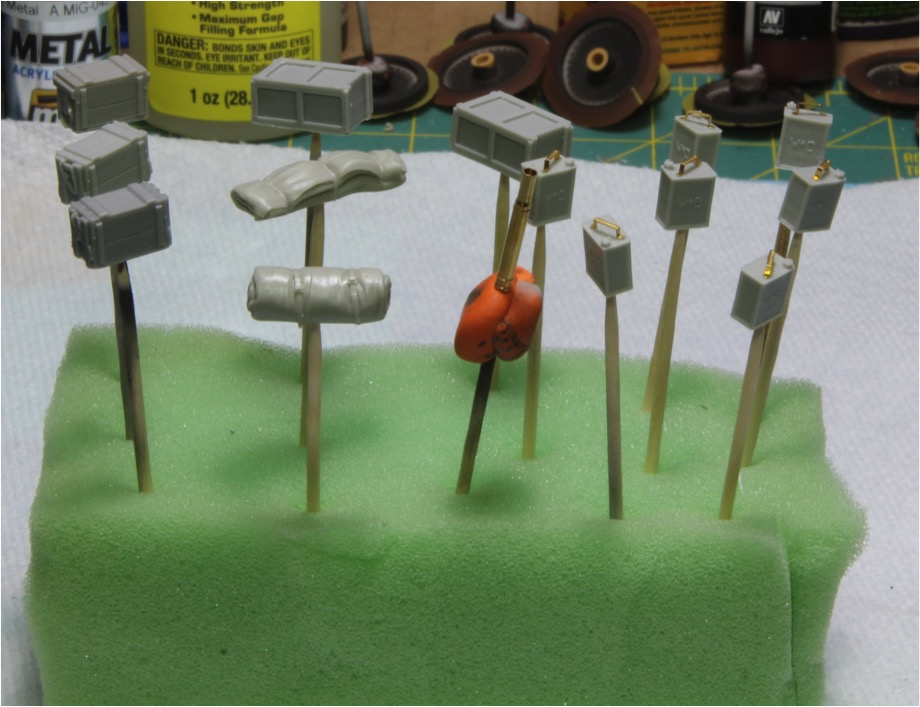
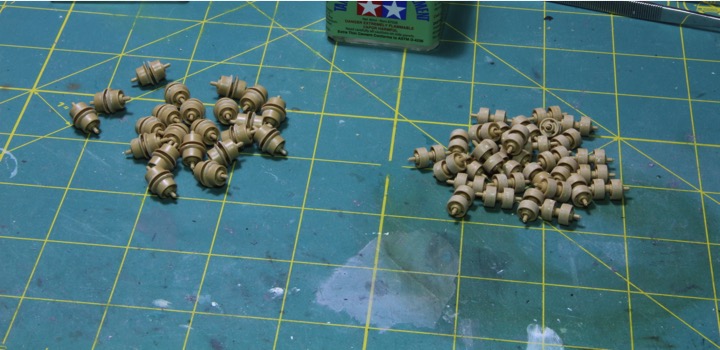
Next up, the dreaded wheels. There are a lot of wheels for this kit, each one is made up of three separate pieces. These pictures are just for one side.
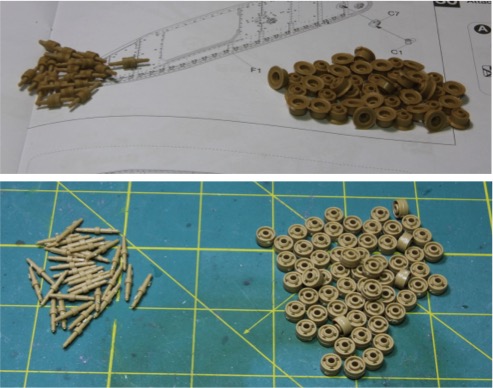
Both types assembled;
and the wheels, as well as the other parts for the interior, installed;
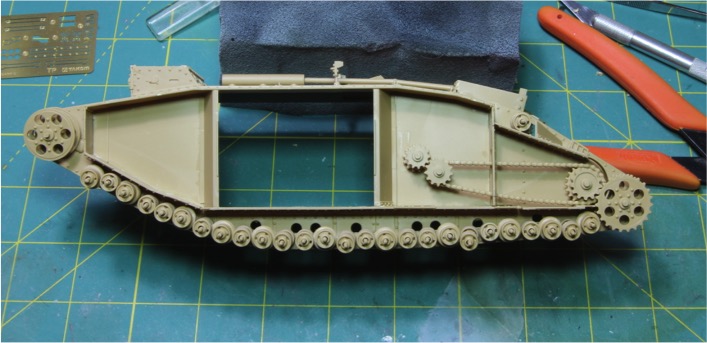
I struggled a little more getting this version put together as opposed to the MK I I was working on in the spring. Not sure what was different. I did all the work on the wheels for both sides at the same time to easy assembly later, and finally got it all together.
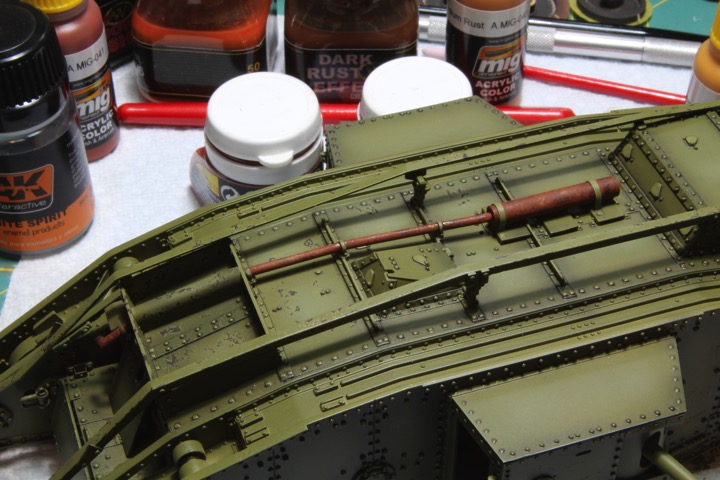
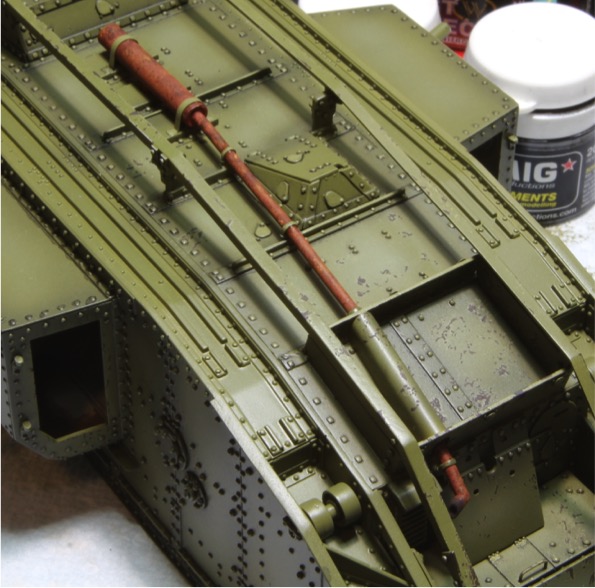
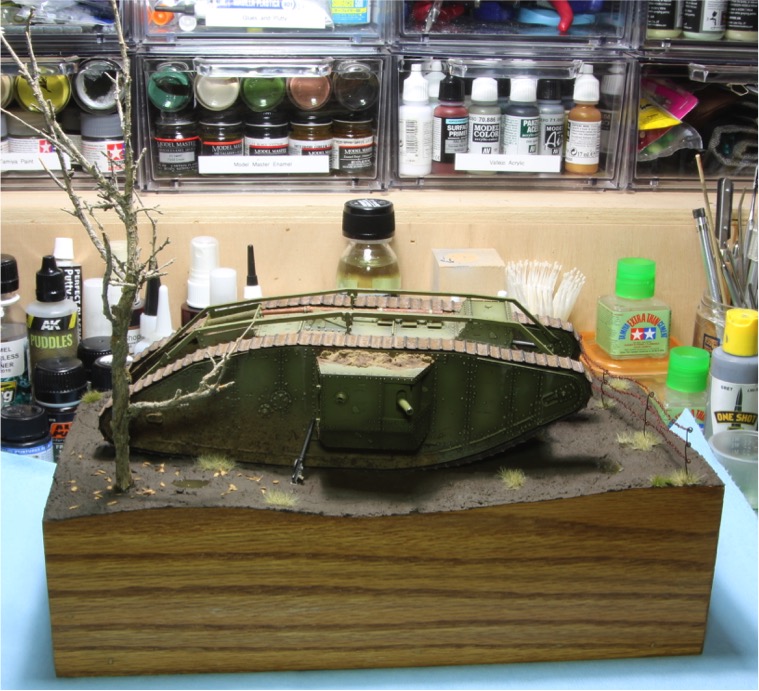
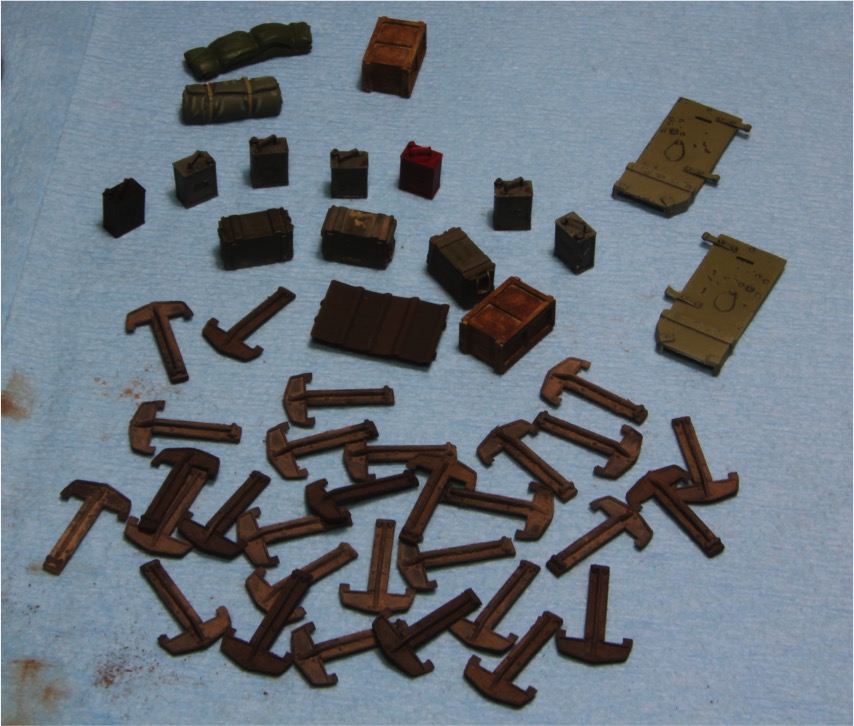
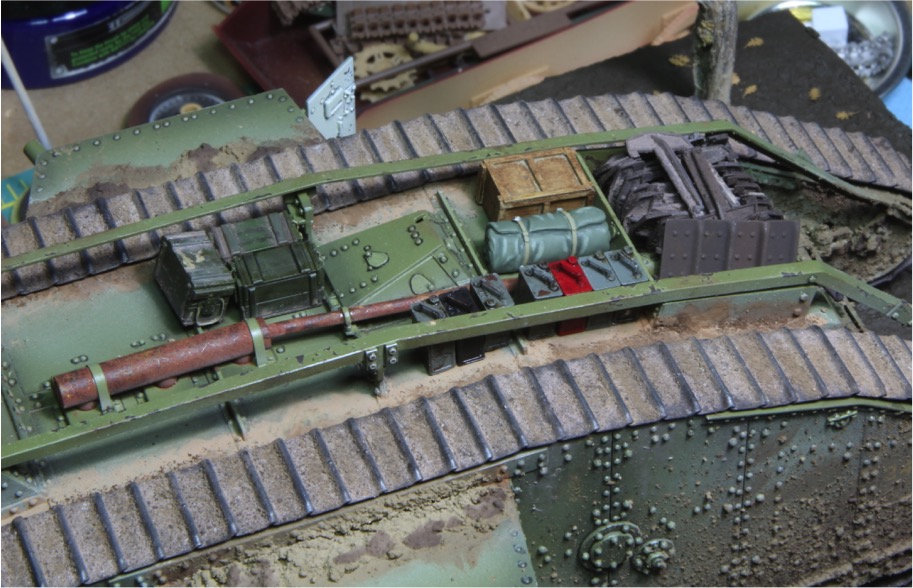
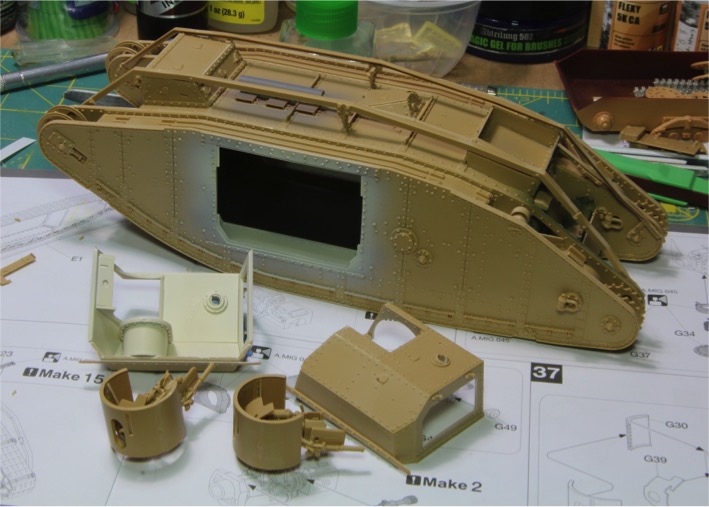
I finished adding all the detail parts to the hull and then moved onto the sponsons. I found the instructions for the MK IV male kit and printed a copy of the instructions for the sponson that was not supposed to be built with this kit, and then I assembled them both using the supplied parts. I intend to place the tank on a small display base with the doors open, so I did some basic finishing of the interior. First I painted everything in Ammo German interior ivory. I have no idea if this is correct, but I saw another build inline that used this color, so I followed suit.
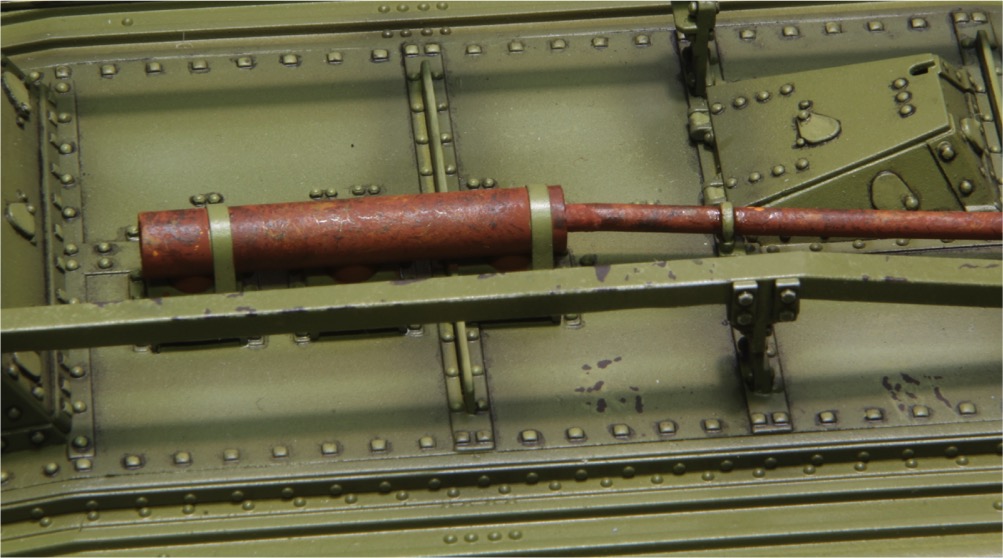
Then I detail painted the guns, and added some dirt and mud to the interior. WW I battlefields were notoriously dirty places Im sure that the crews tracked all sorts of mud into these beasts.

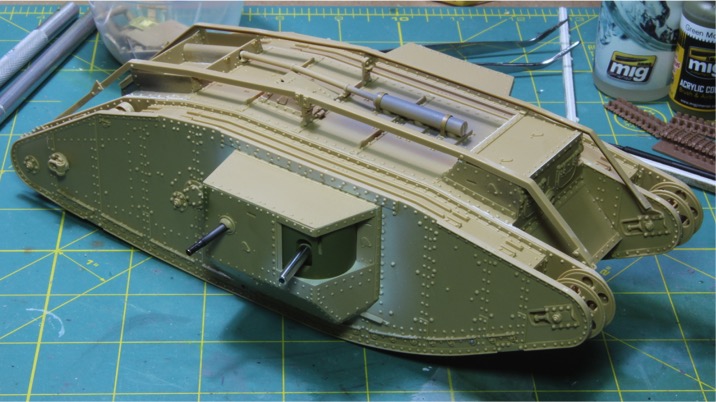
Im not thrilled with the outcome, but its all a learning process for me at this point. It should be noted that I had to remove the mounting posts for the guns because they didnt fit properly. So I snipped off the post, aligned the gun with the opening and glued them to the base.
Then I just glued them into place, basically ending the major assembly.
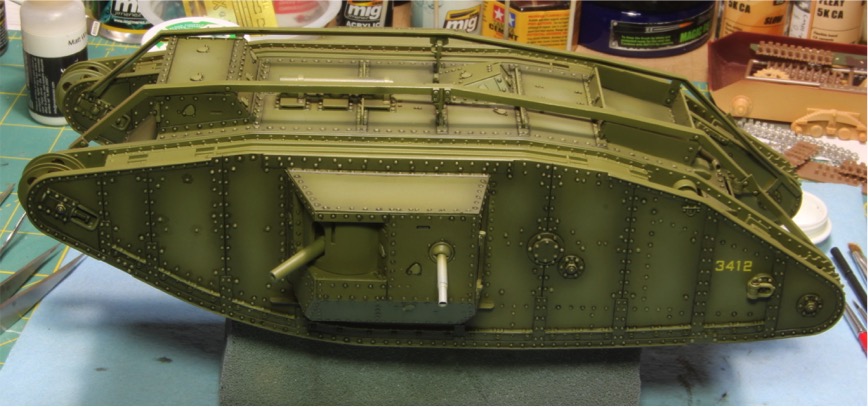
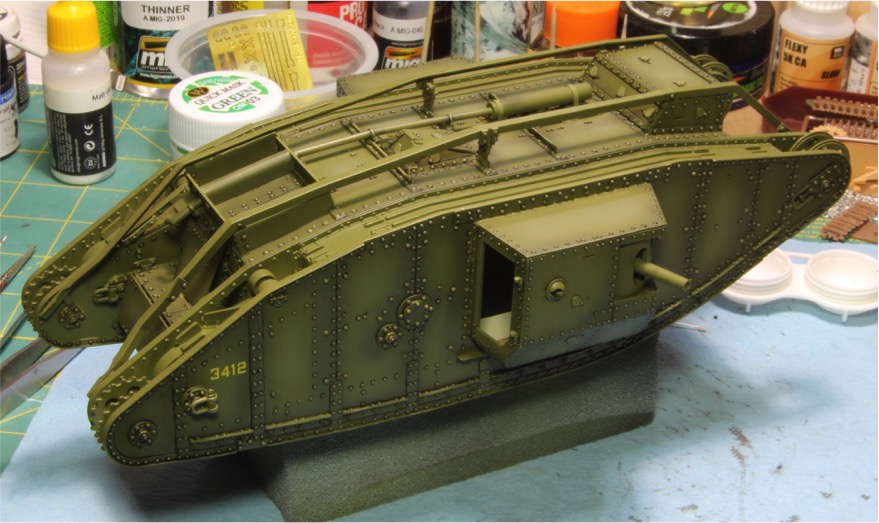
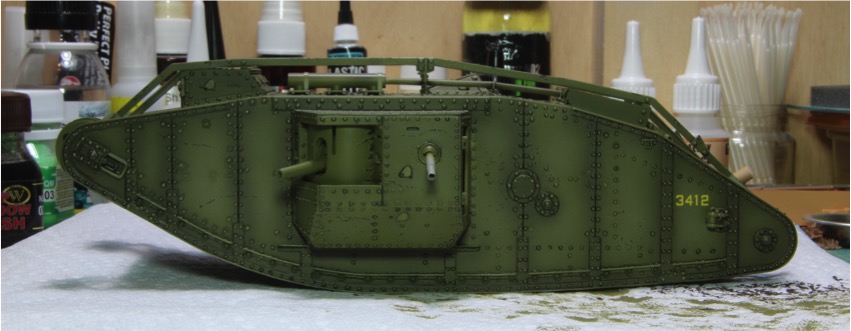
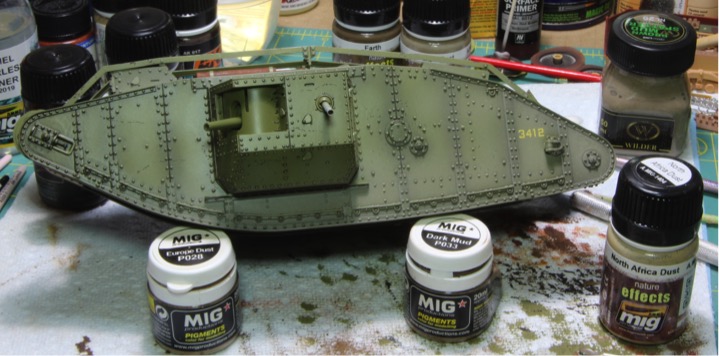
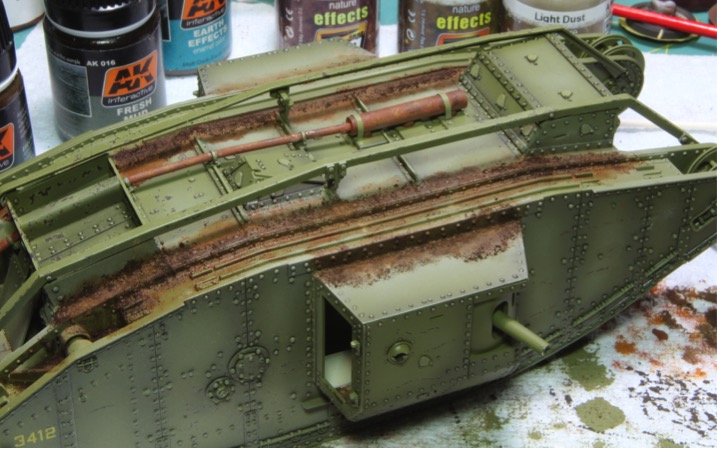
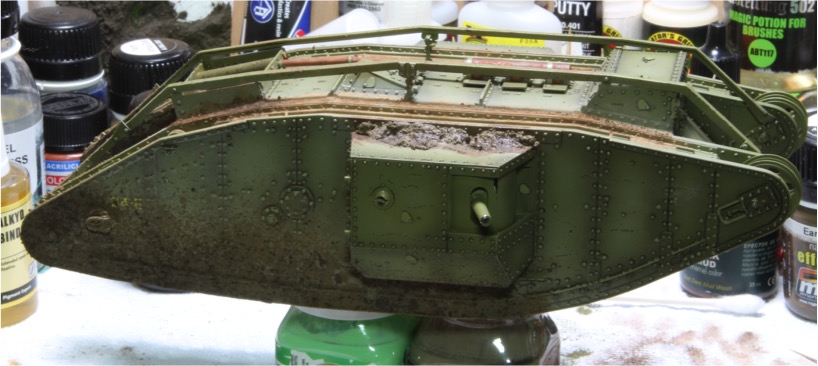
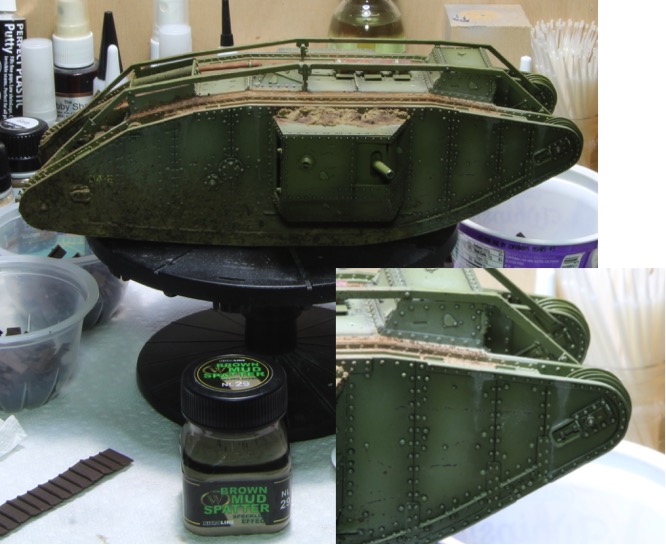
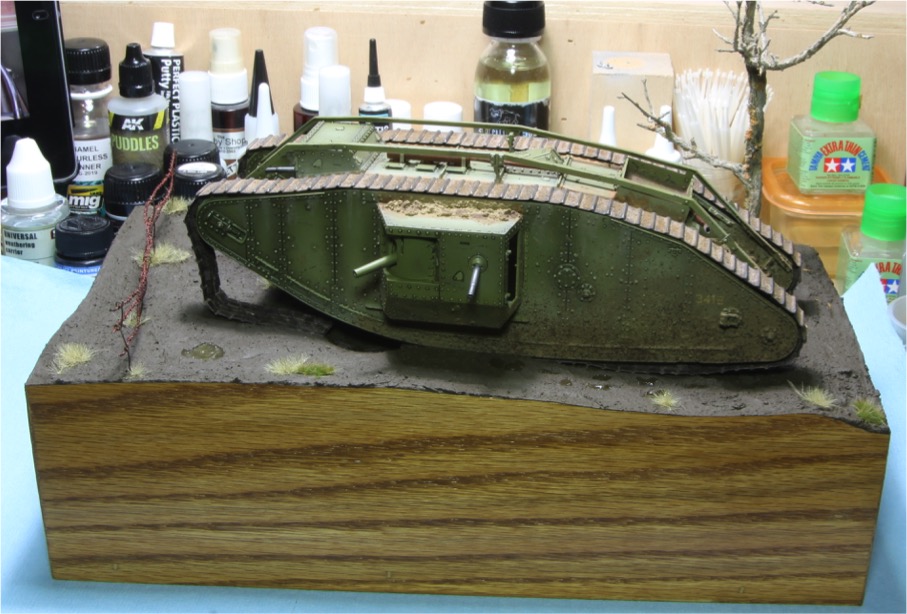
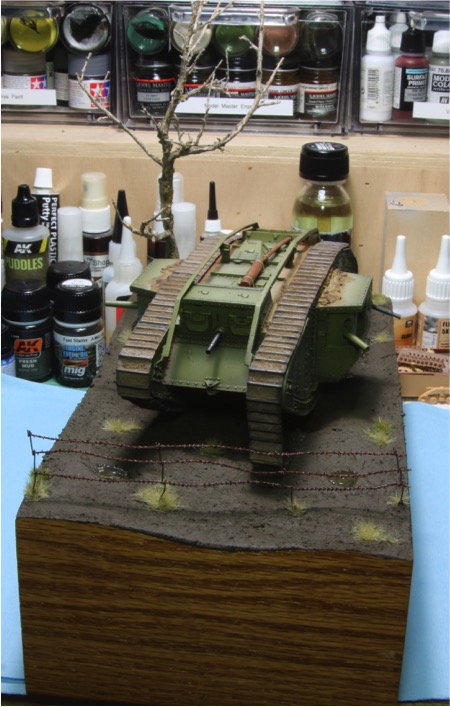
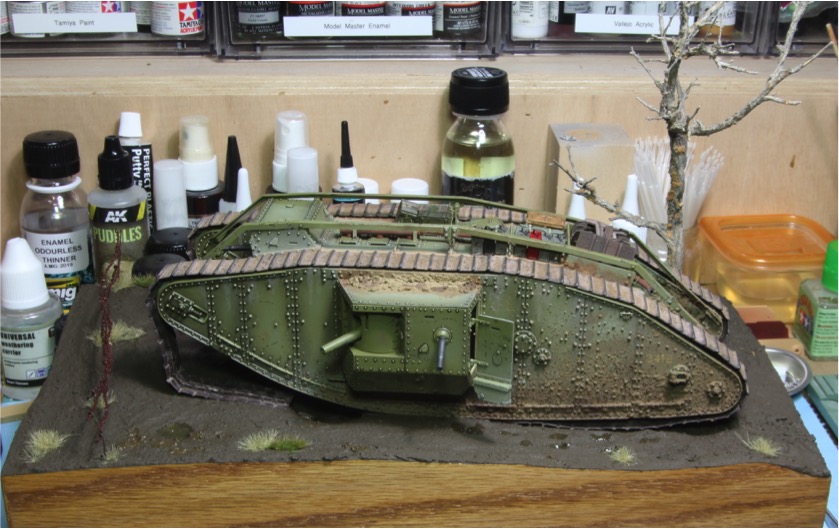
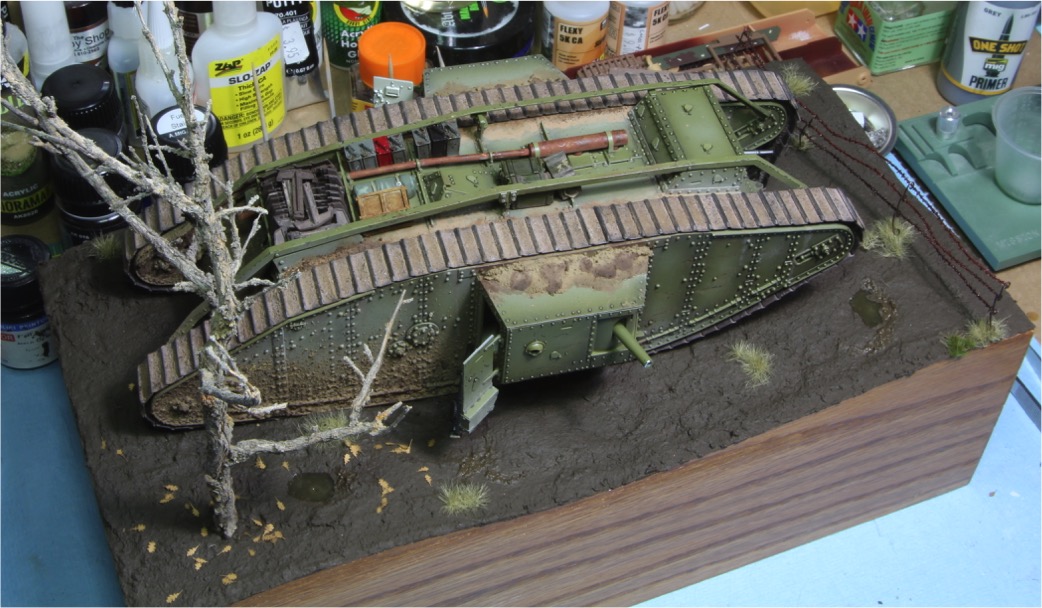
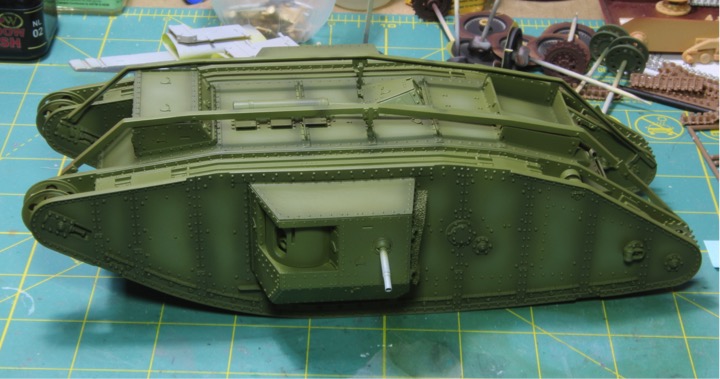
After a coat of Tamiya primer, the tank was base coated in Green Moss, then post shaded with a darkened version of the base color along the rivet and panel lines, and a lightened version in the center of the different panels.
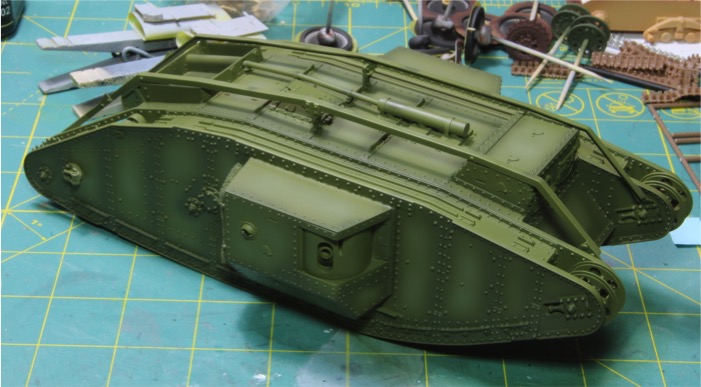
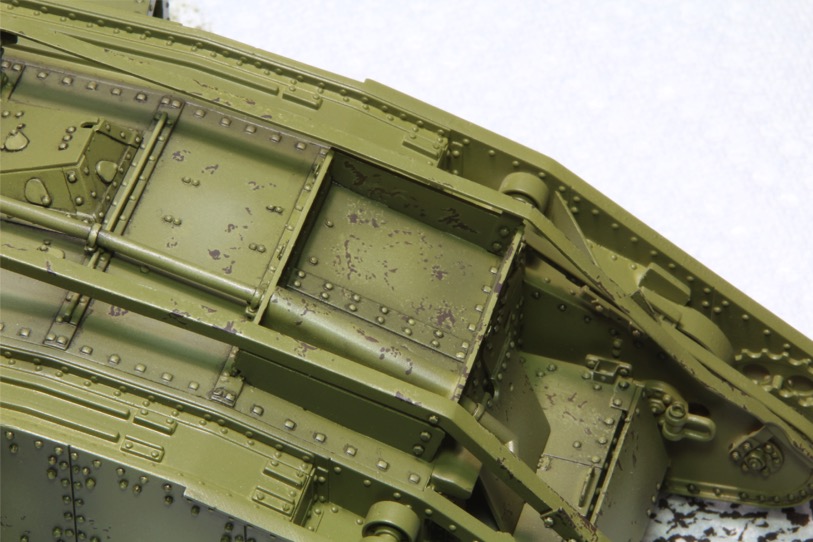
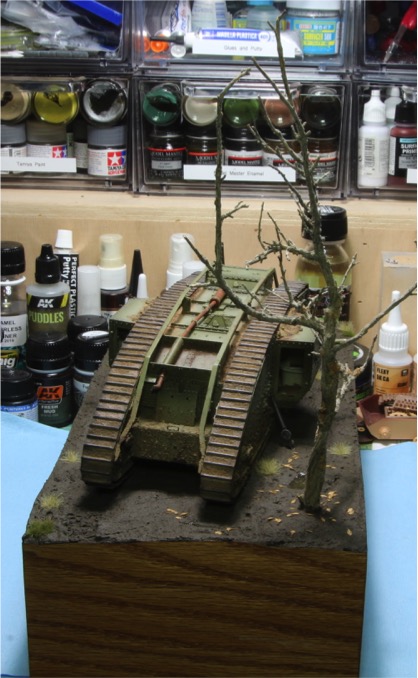
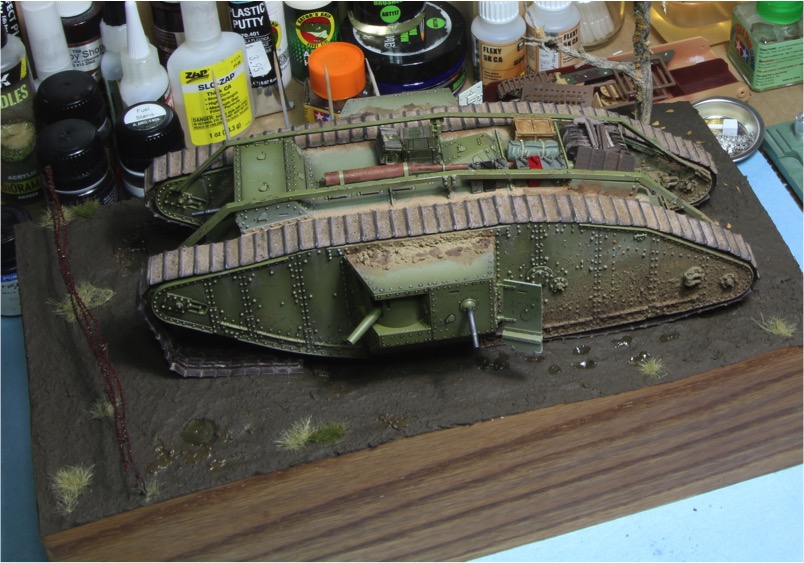
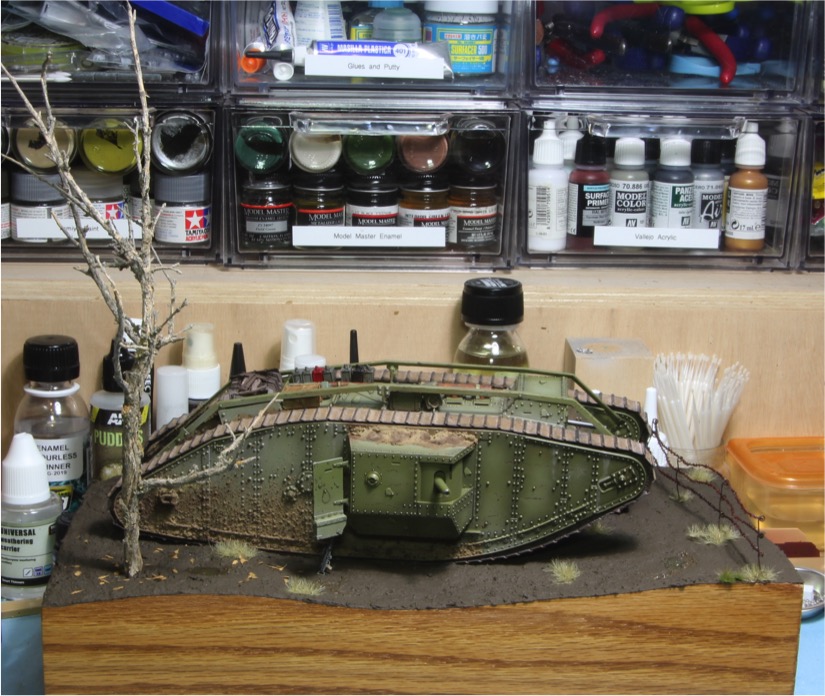
Next I made a lighter version of the green color and I highlighted all the raised details. Yes thats right, all the raised details, including all the rivets! I spent about a week doing it to try to keep from going insane. Its not as obvious in these pictures, but it turned out well.
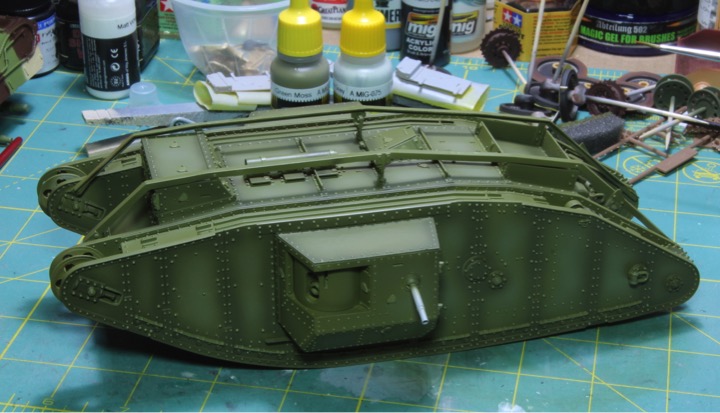
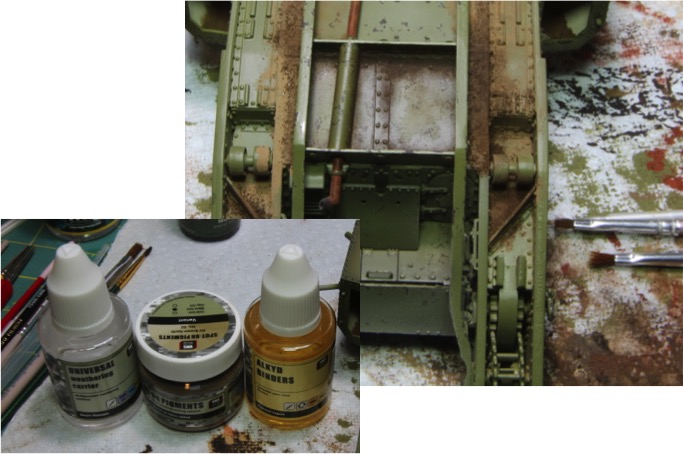
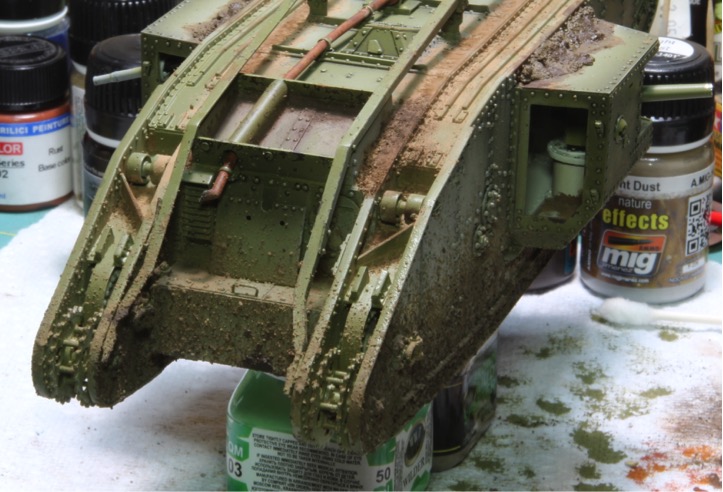
Once I got to this point I started really getting nervous. Tank weathering is a skill I do not yet have a handle on and I typically ruin the model at this point. But I finally bit the bullet and got started. Be back in a second...