And when I make a move, I don't play around.
As I alluded to a few months ago here:
https://armorama.kitmaker.net/forums/271290&page=1#2289407
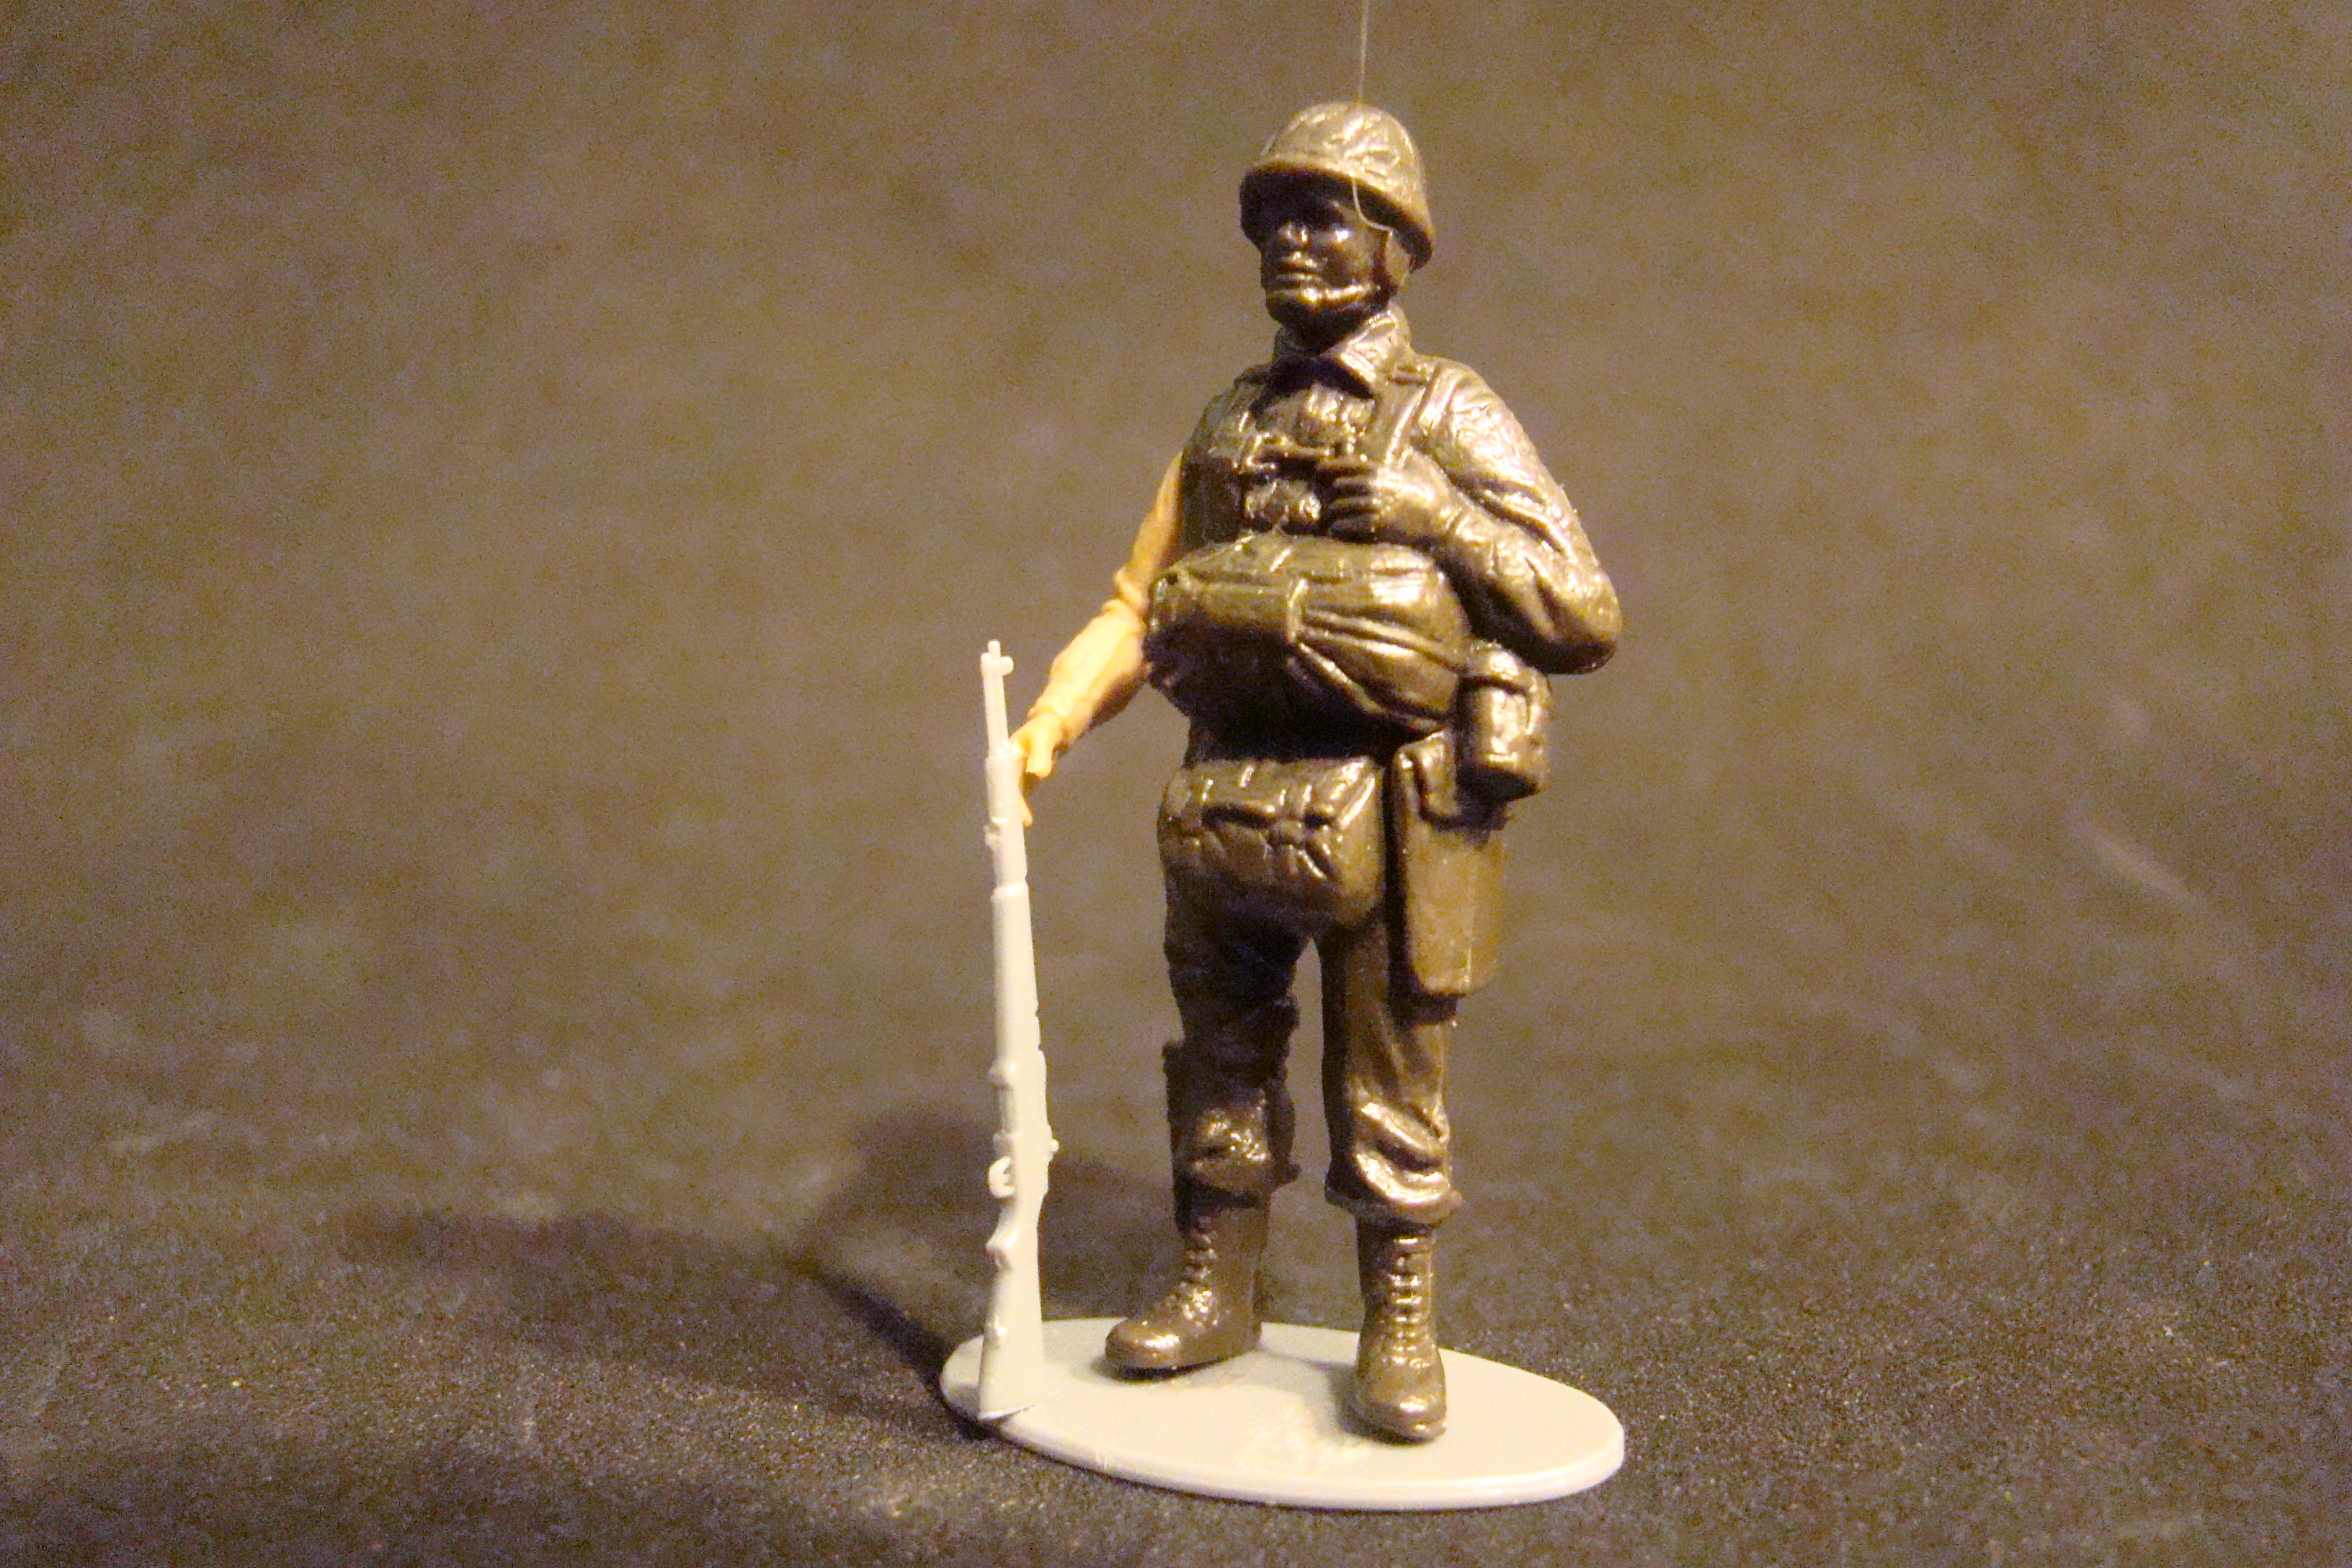
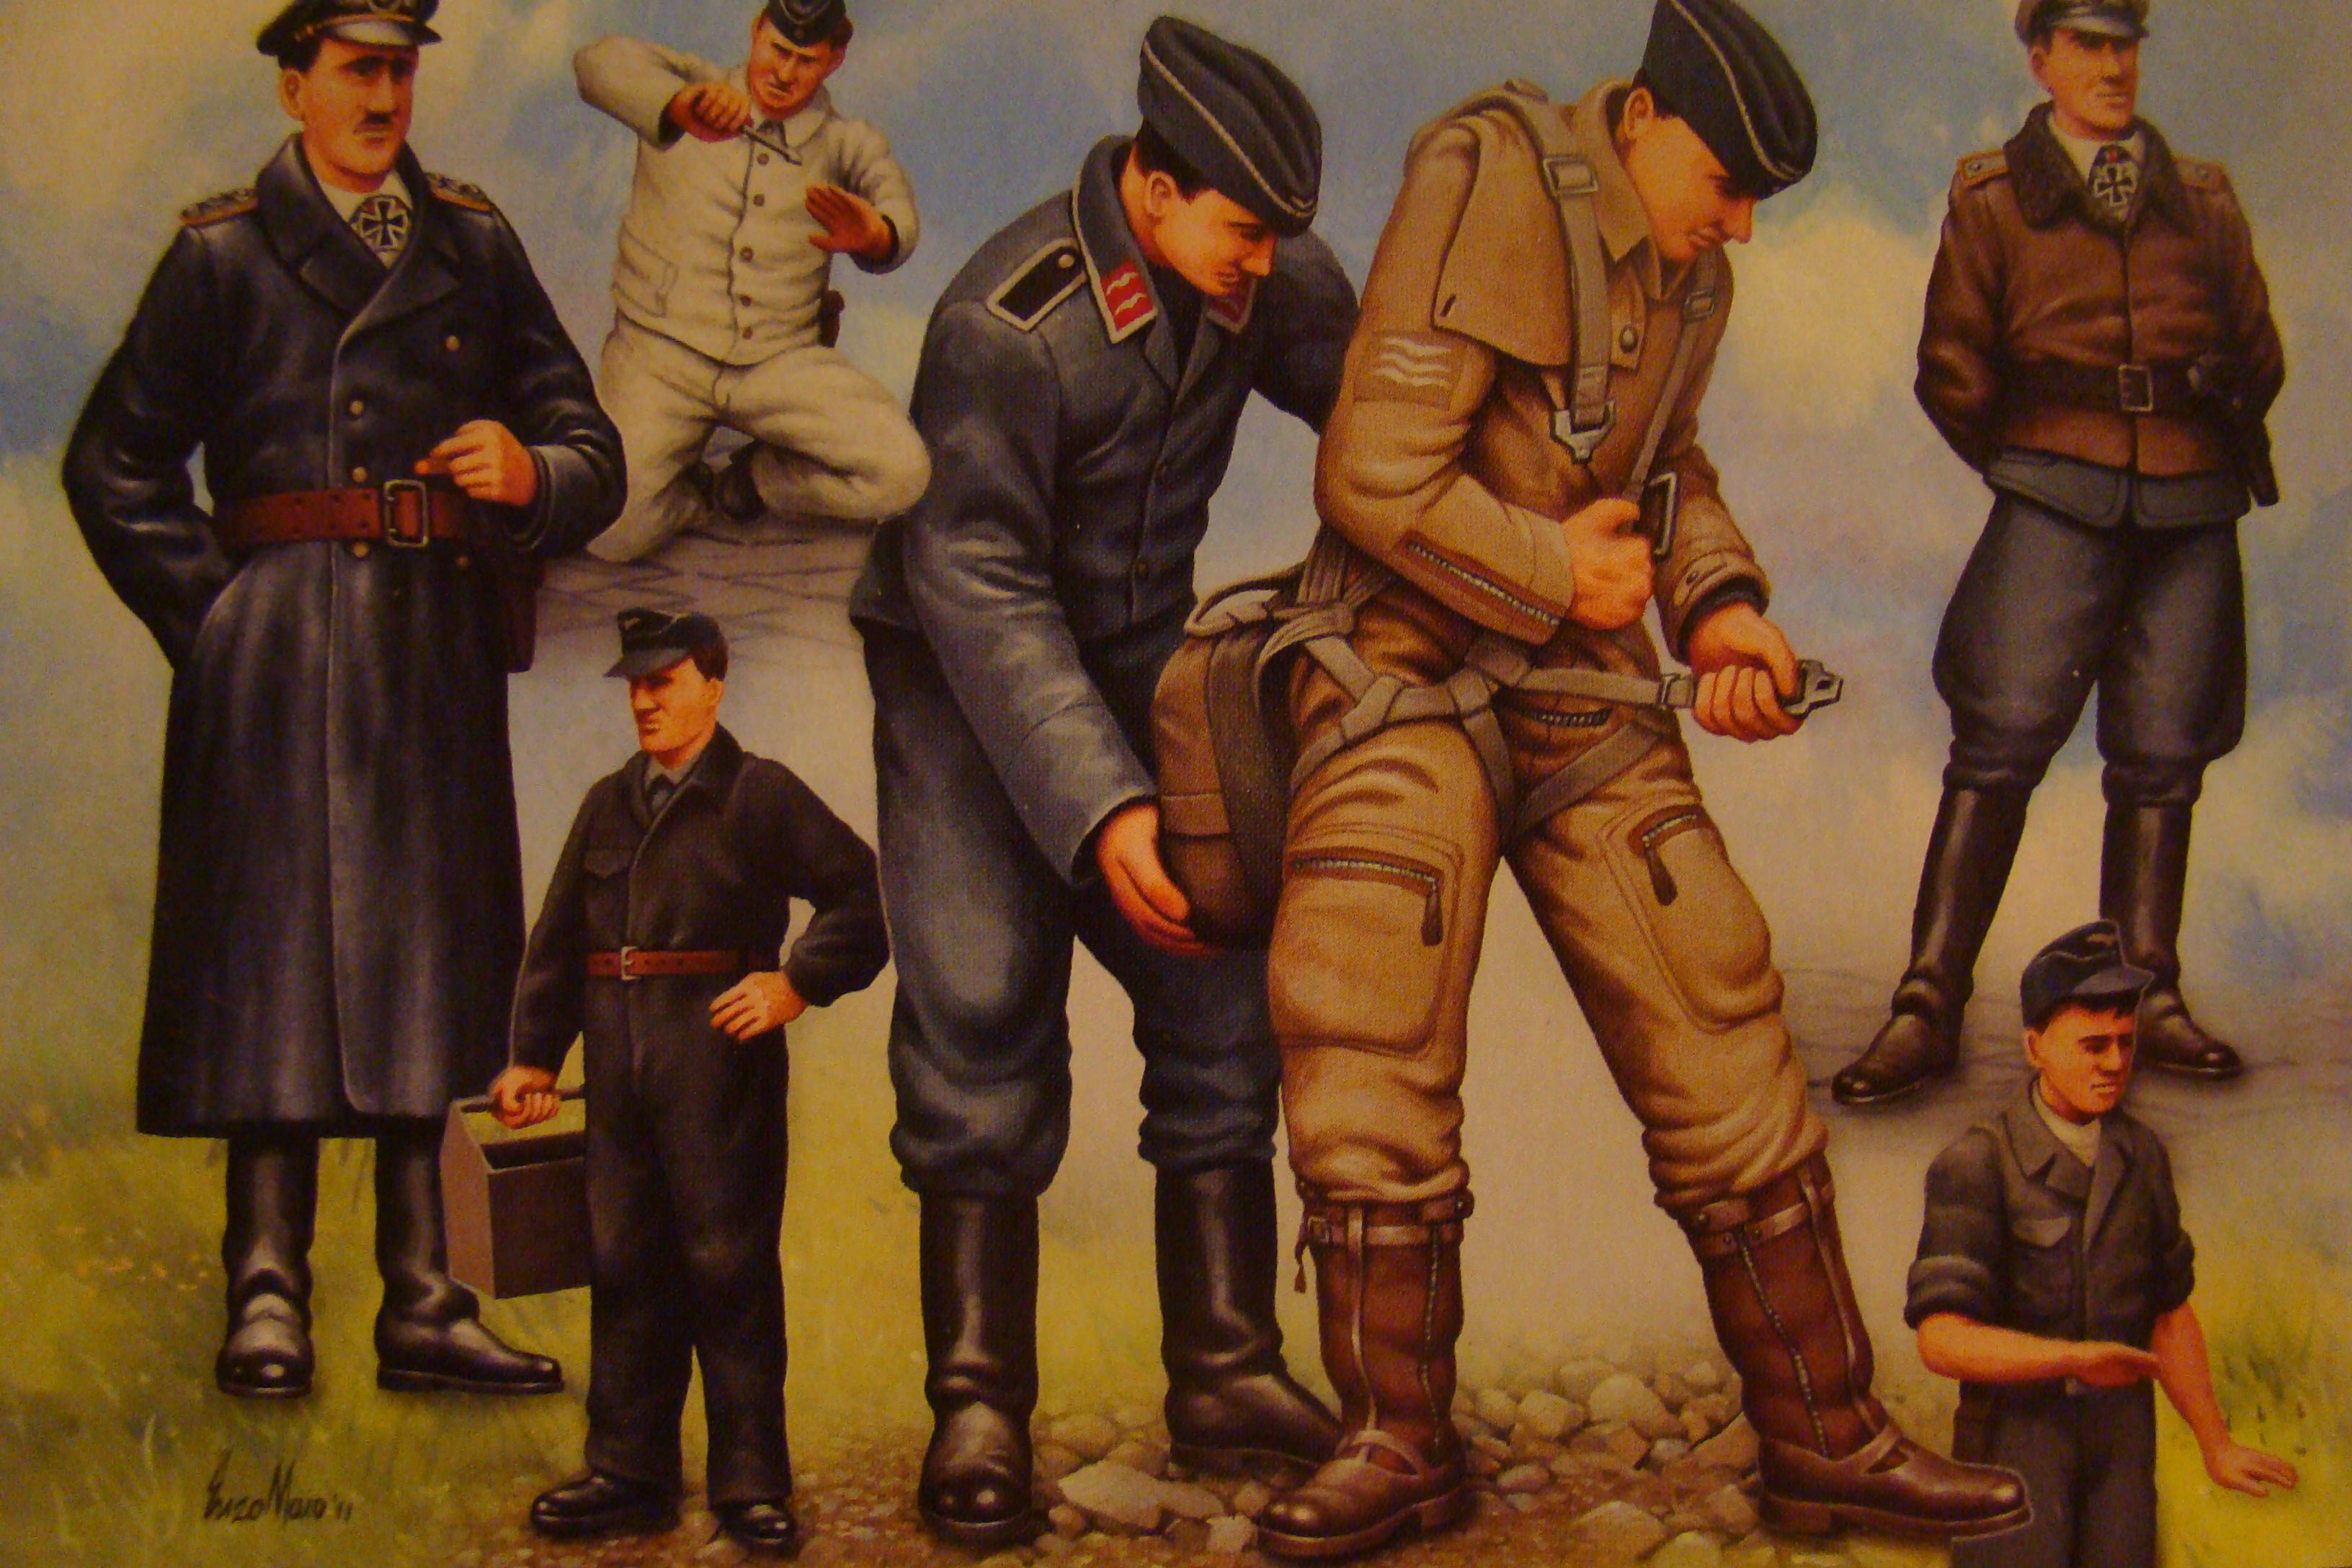
these Tamiya figures do not play well with others, although they do mix well with one another, they're still so far off it's not even funny. Still, they can be pretty useful if kept apart from the masses.
More to follow.
Dioramas
Do you love dioramas & vignettes? We sure do.
Hosted by Darren Baker, Mario Matijasic
Meanwhile, I Move to the Childlike 1/48 Scale
18Bravo
Colorado, United States
Joined: January 20, 2005
KitMaker: 7,219 posts
Armorama: 6,097 posts
Joined: January 20, 2005
KitMaker: 7,219 posts
Armorama: 6,097 posts
Posted: Wednesday, November 21, 2018 - 09:54 AM UTC
Biggles2
Quebec, Canada
Joined: January 01, 2004
KitMaker: 7,600 posts
Armorama: 6,110 posts
Joined: January 01, 2004
KitMaker: 7,600 posts
Armorama: 6,110 posts
Posted: Wednesday, November 21, 2018 - 12:08 PM UTC
That's what I thought, too, some ten years ago...and I was sorely disappointed. Bronco and AFV/Rainbow released a few excellent kits, but Tamiya's are sooo simplified.
jrutman
Pennsylvania, United States
Joined: April 10, 2011
KitMaker: 7,941 posts
Armorama: 7,934 posts
Joined: April 10, 2011
KitMaker: 7,941 posts
Armorama: 7,934 posts
Posted: Wednesday, November 21, 2018 - 12:20 PM UTC
I am interested to see what you come up with here.
J
J
18Bravo
Colorado, United States
Joined: January 20, 2005
KitMaker: 7,219 posts
Armorama: 6,097 posts
Joined: January 20, 2005
KitMaker: 7,219 posts
Armorama: 6,097 posts
Posted: Wednesday, November 21, 2018 - 02:38 PM UTC
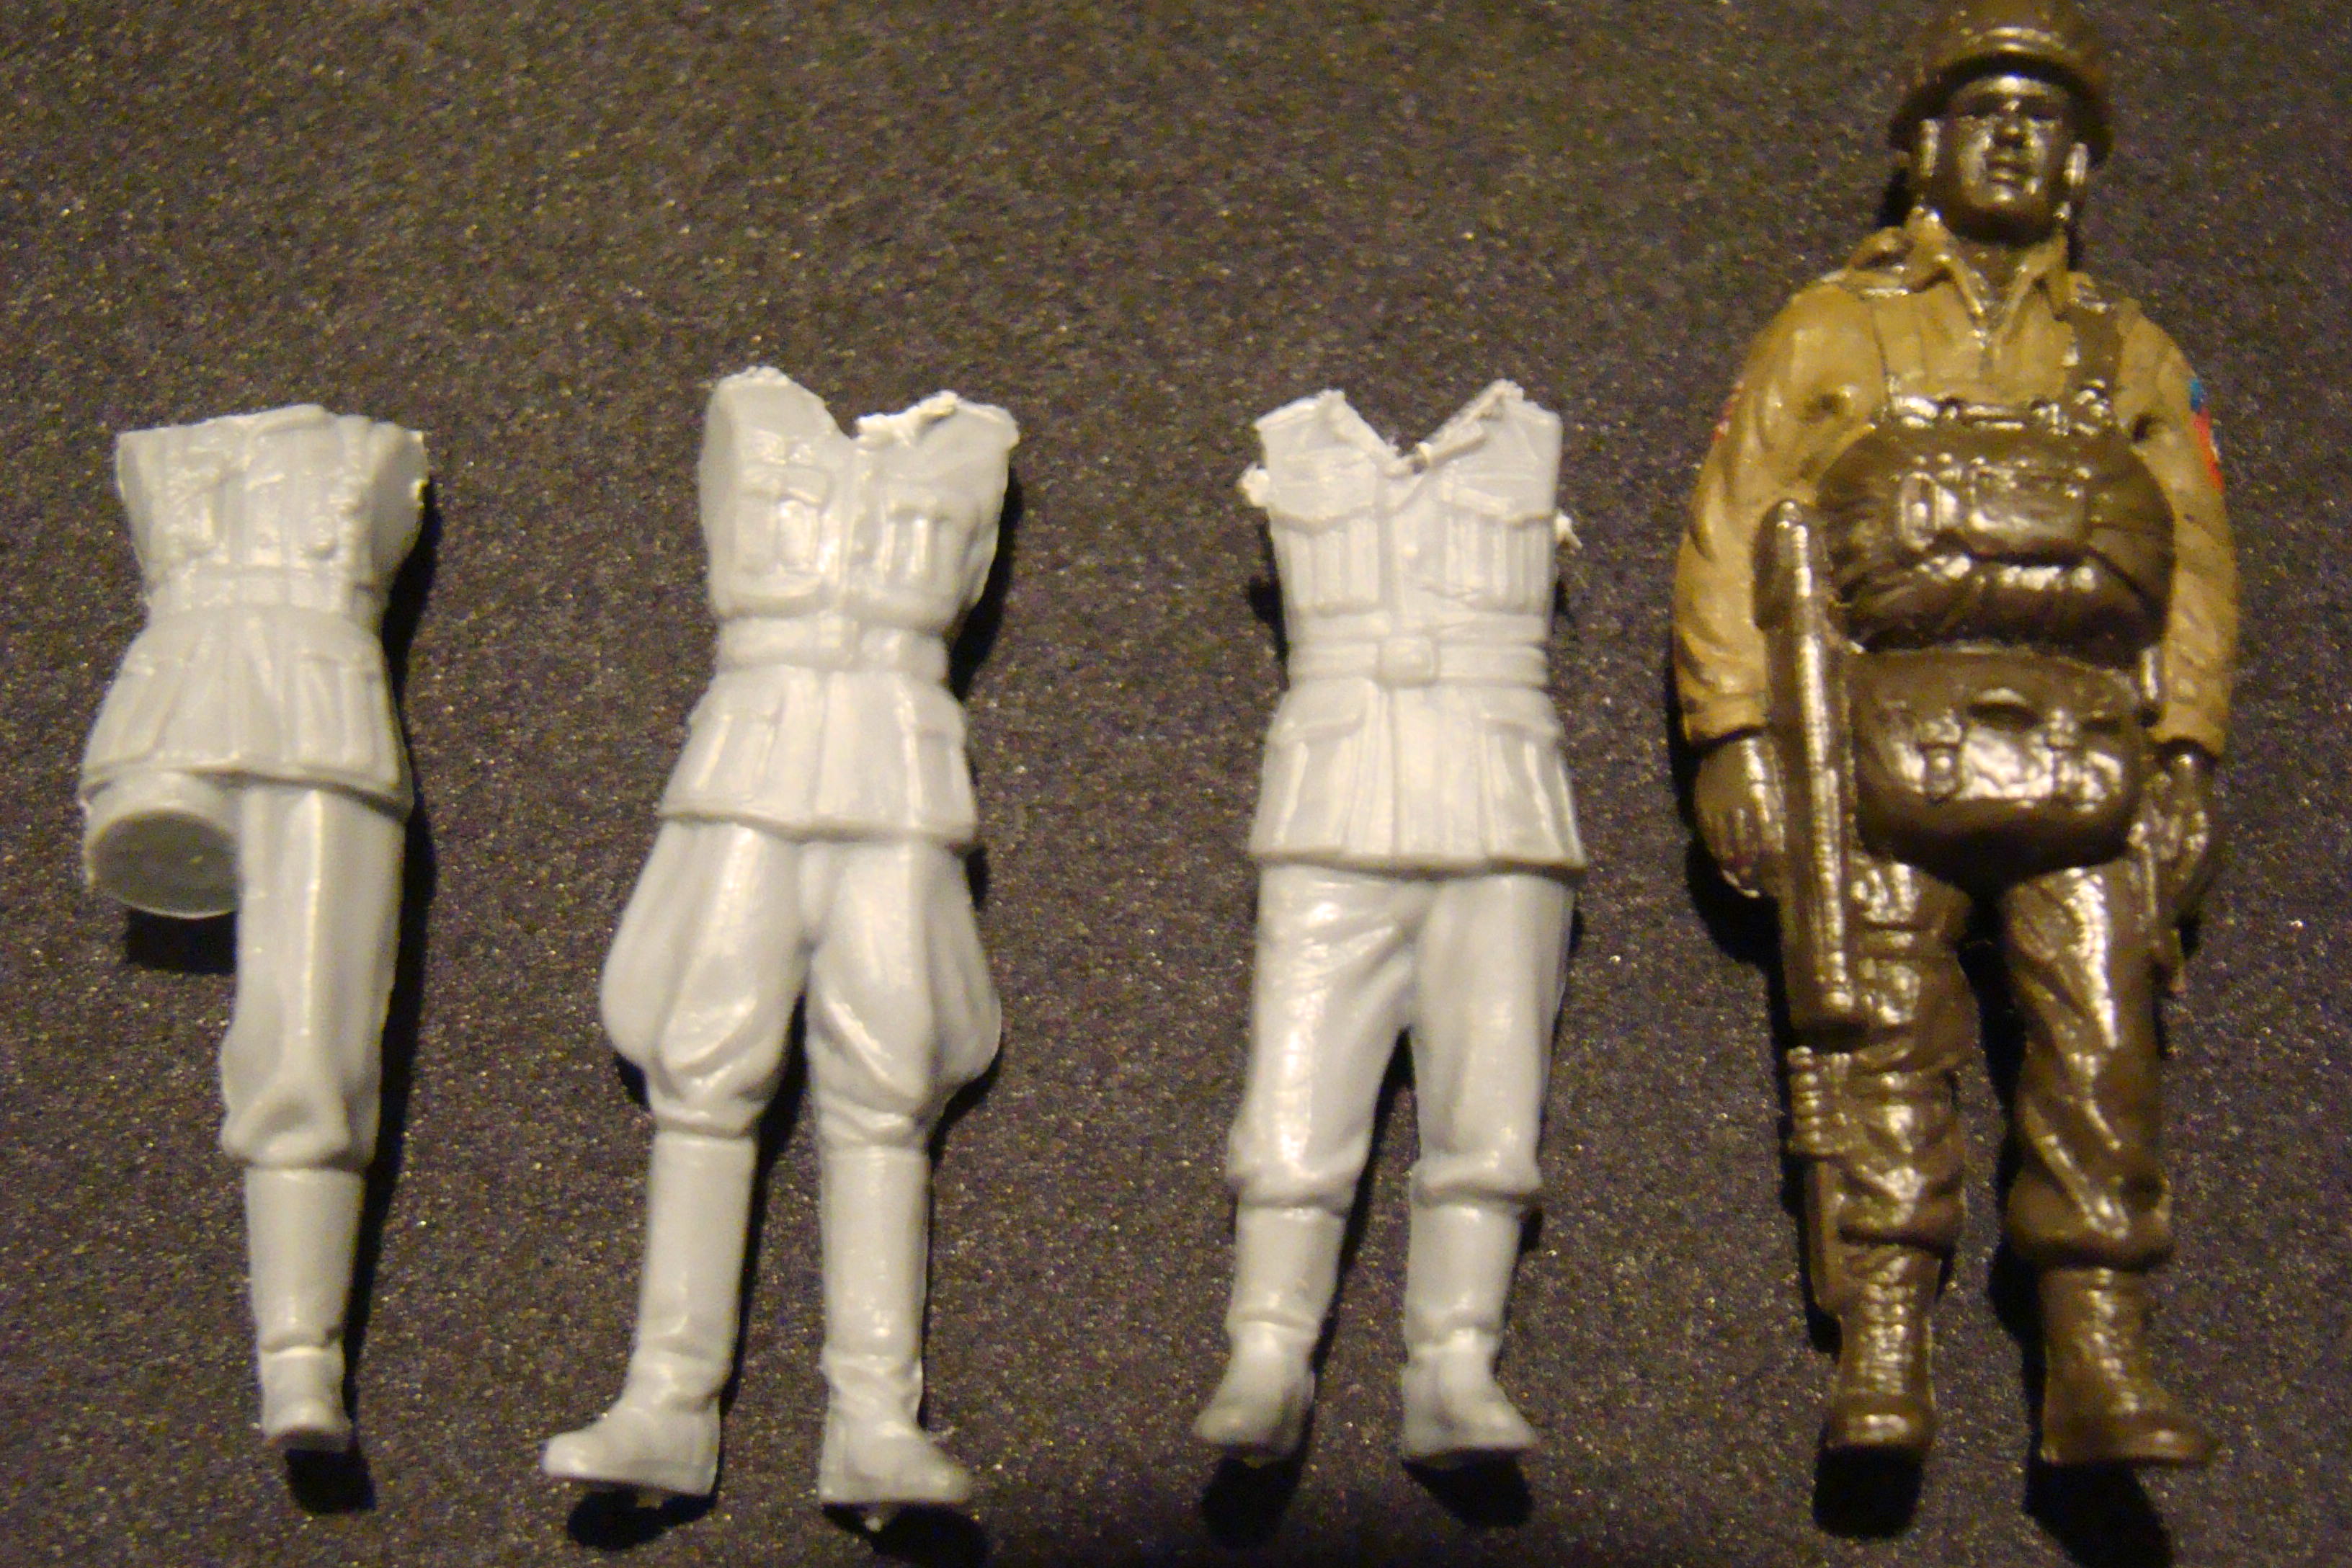
As I mentioned in the other post, these Tamiya German figures scale out horribly compared to the 1/48 paratroopers in Monogram's C-47 kit. The Monogram figures, with boots and helmet, scale out to almost exactly 6'0".
They're missing their heads because I purchased them solely for their brain housing groups.
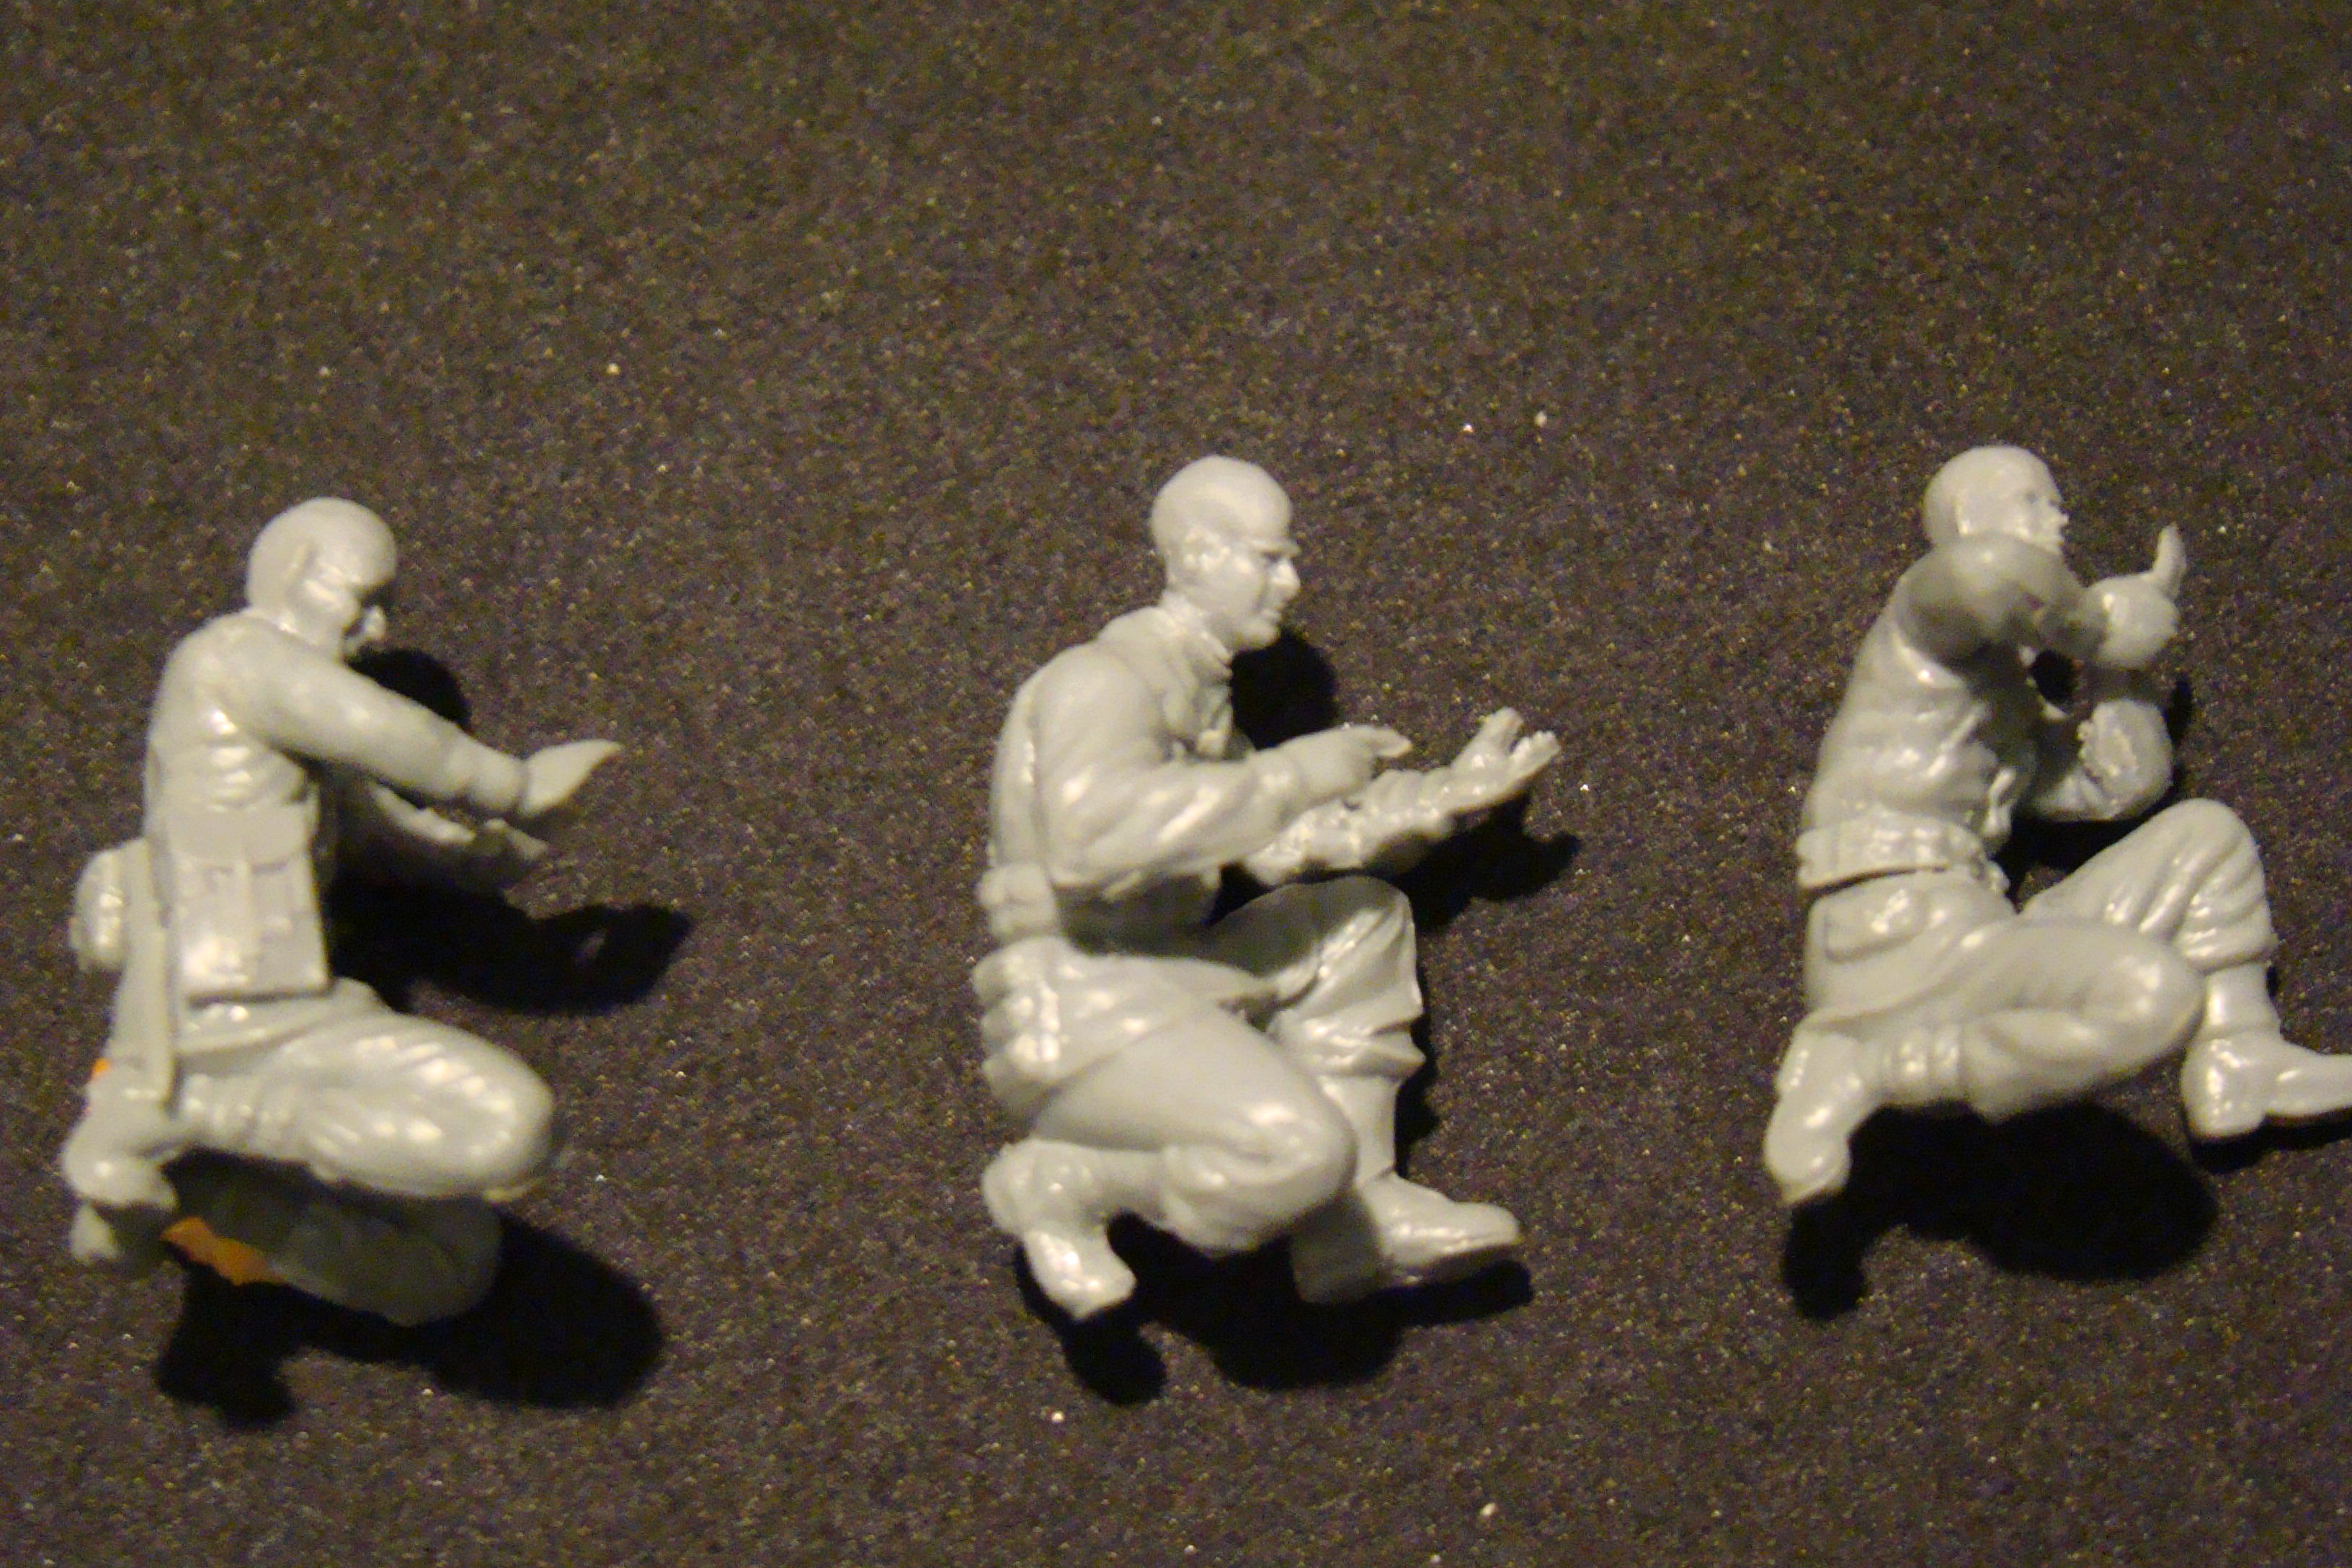
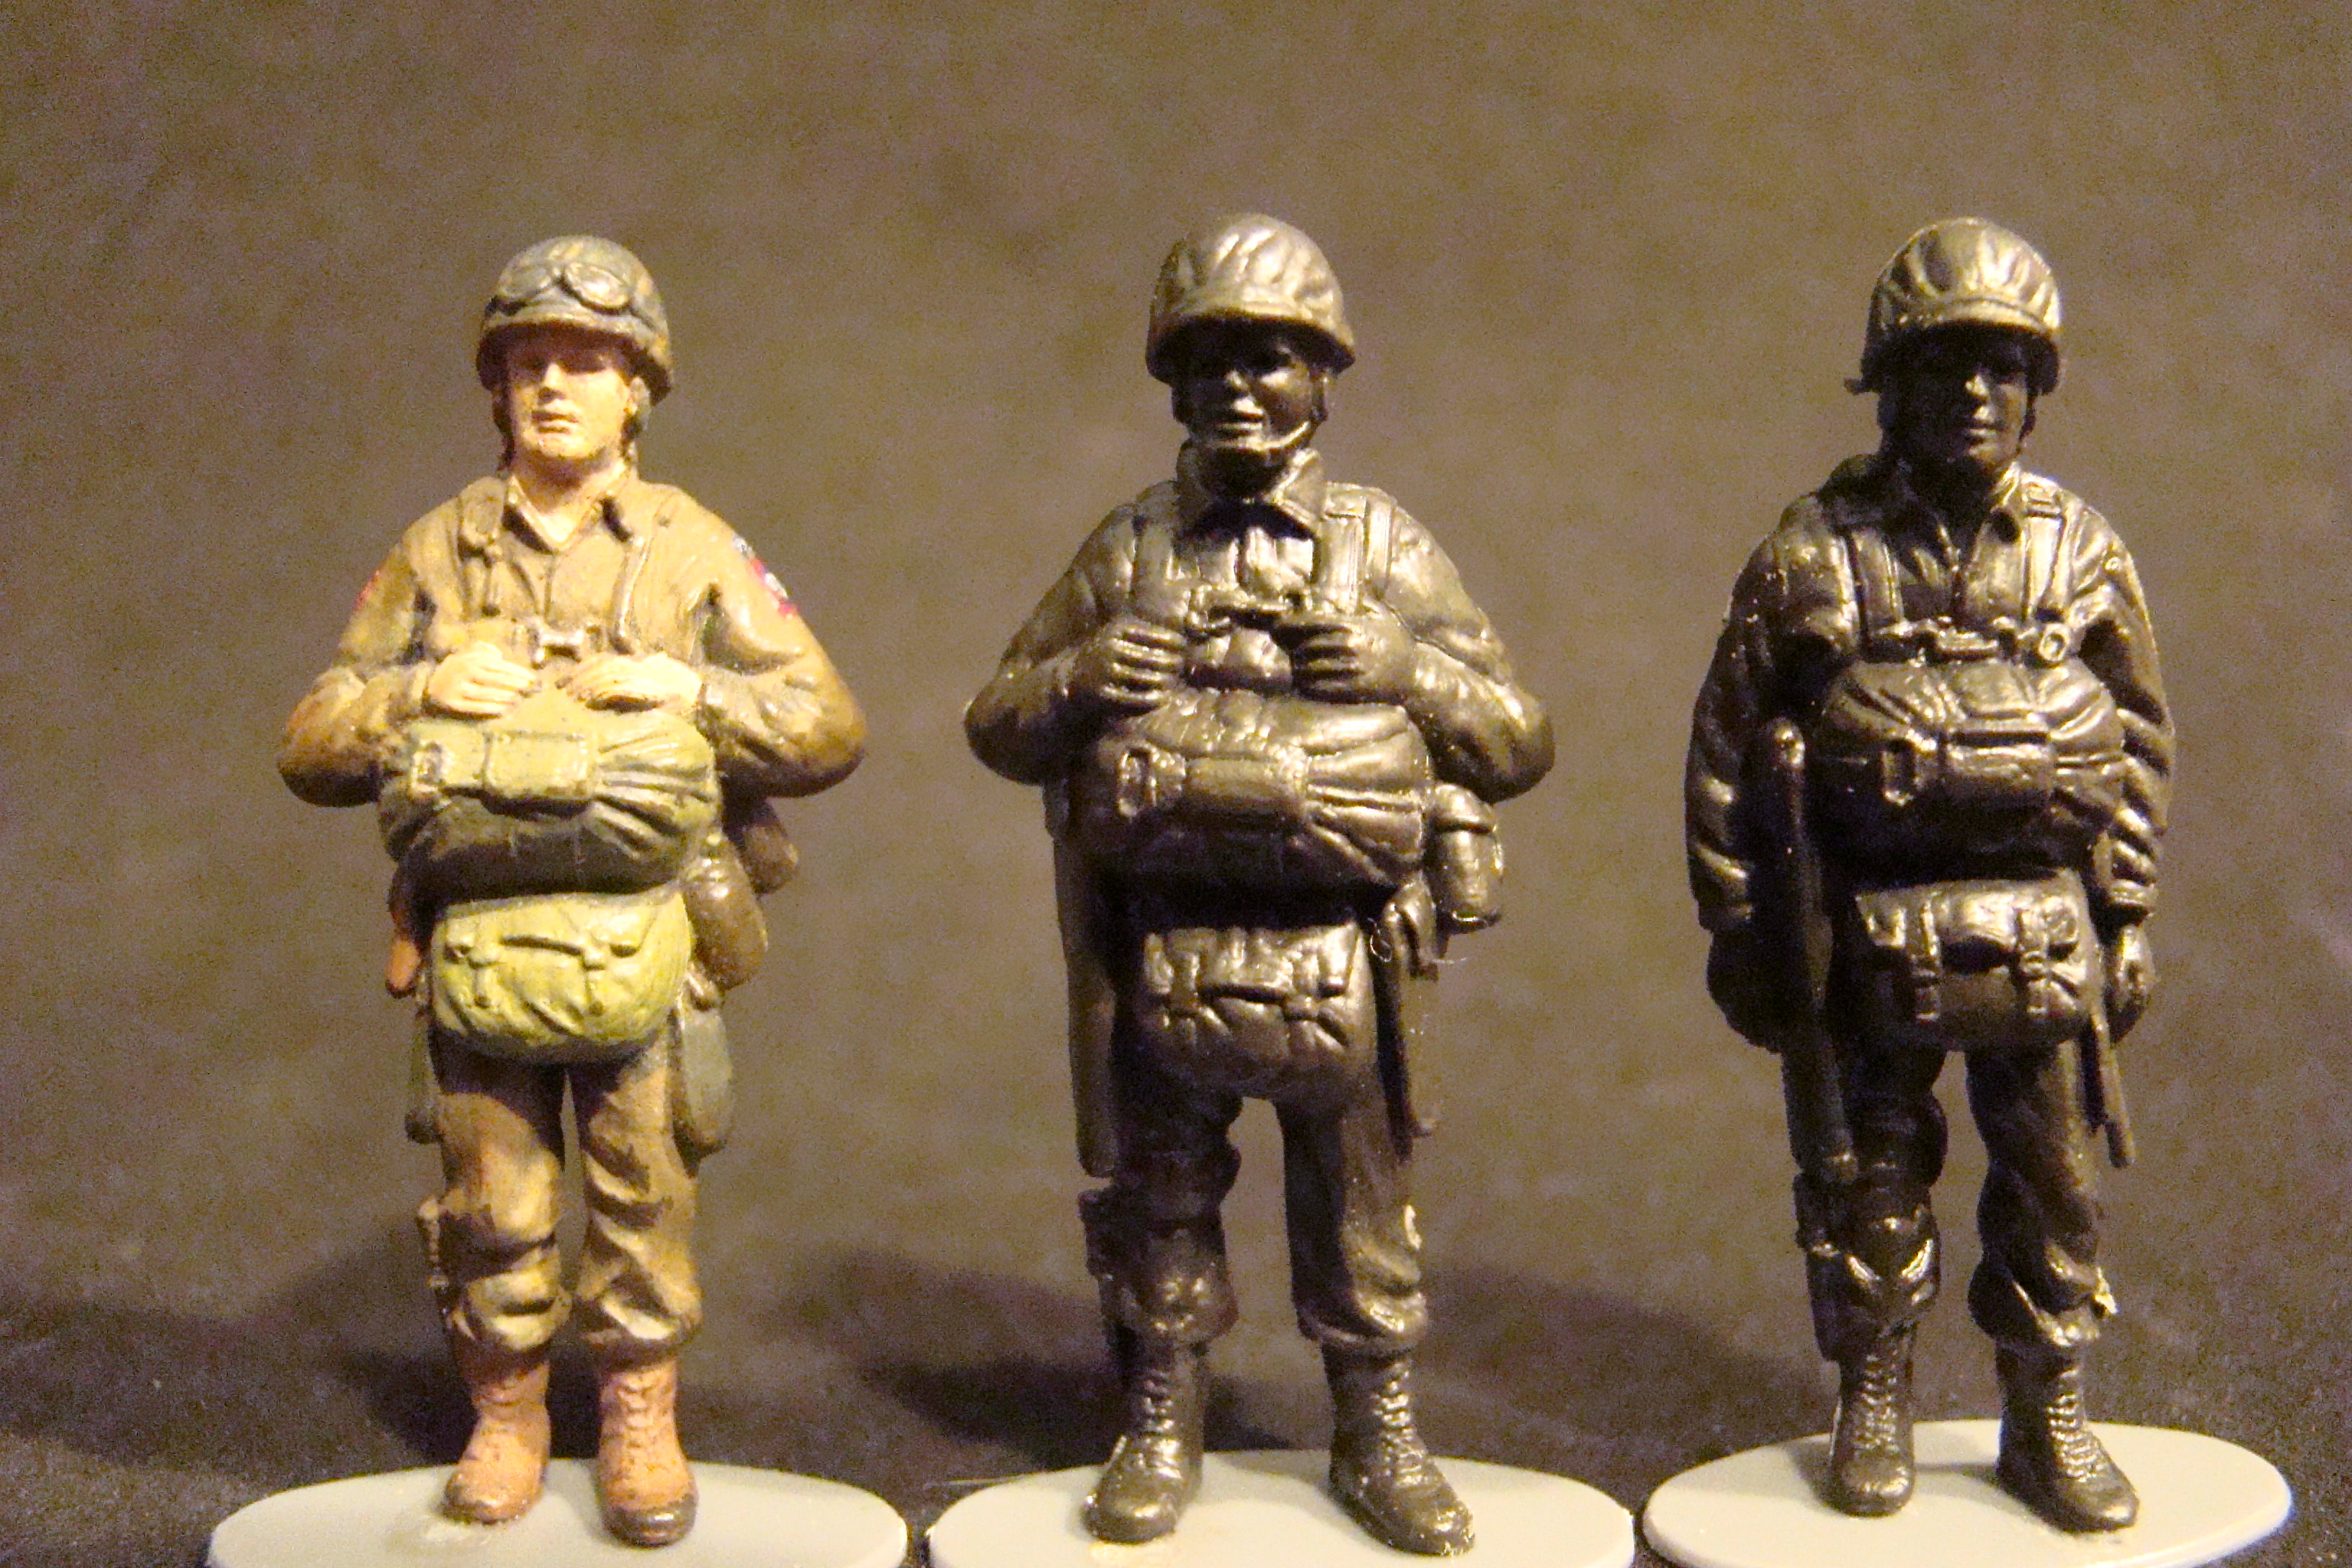
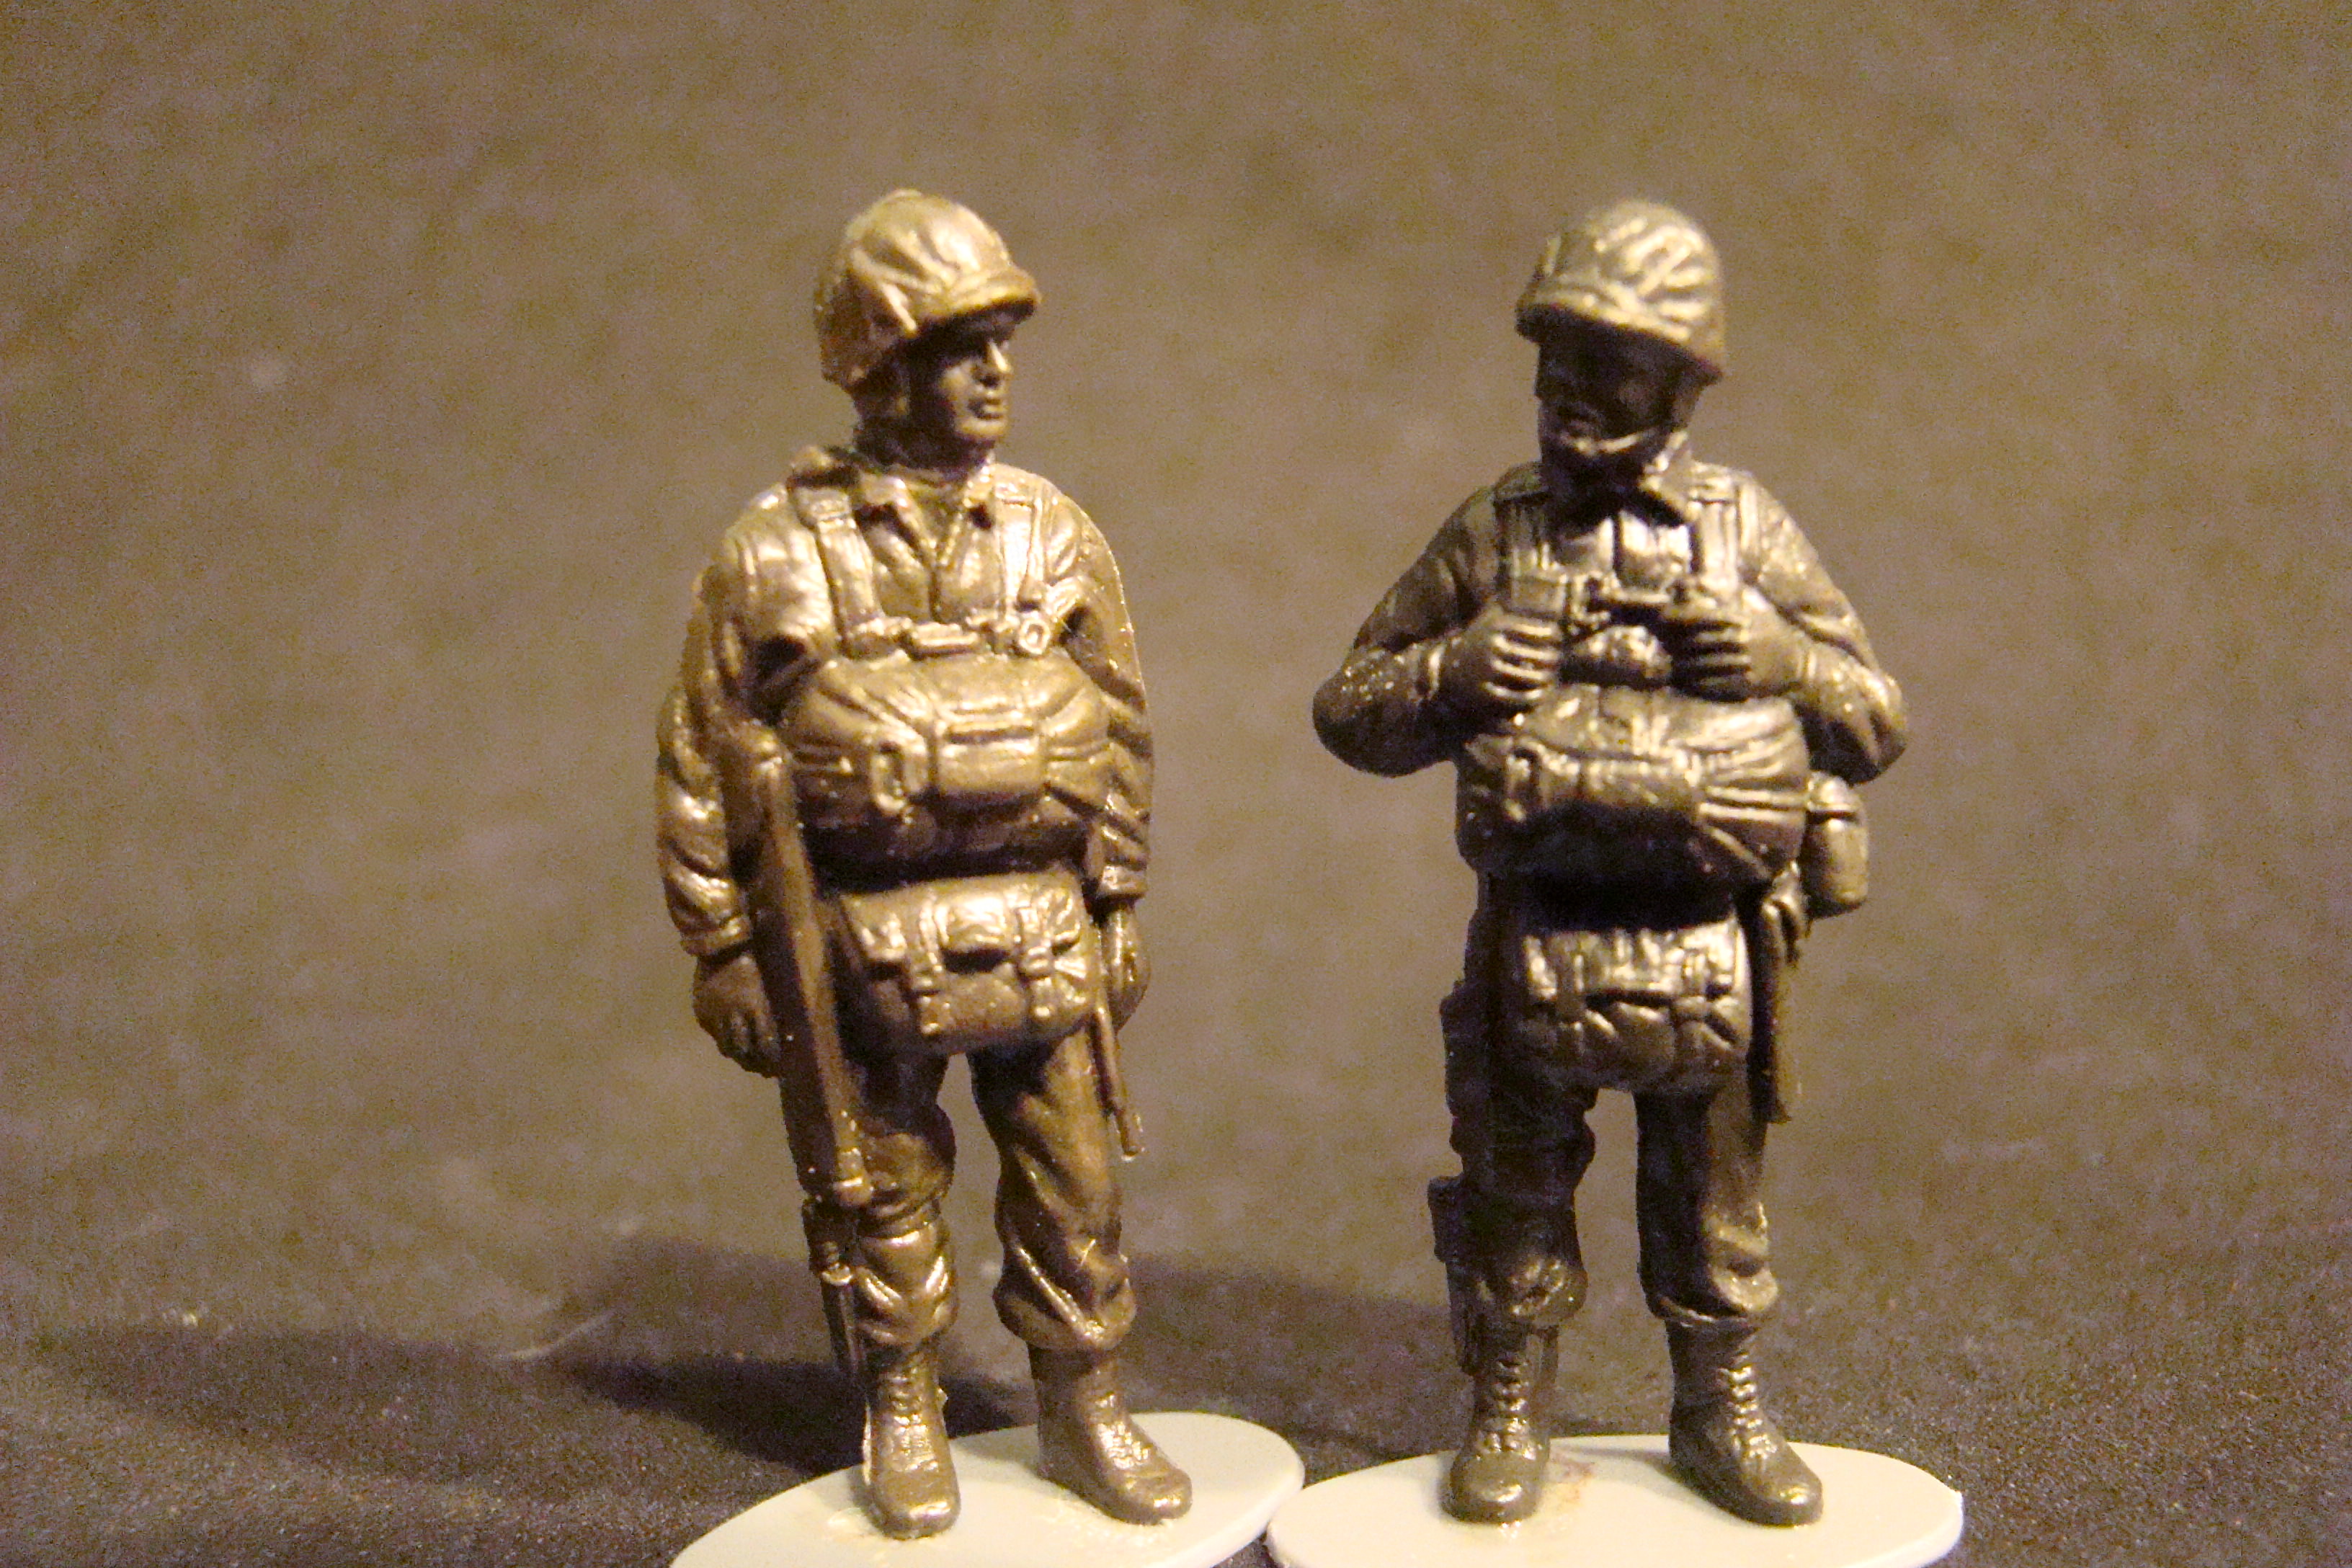
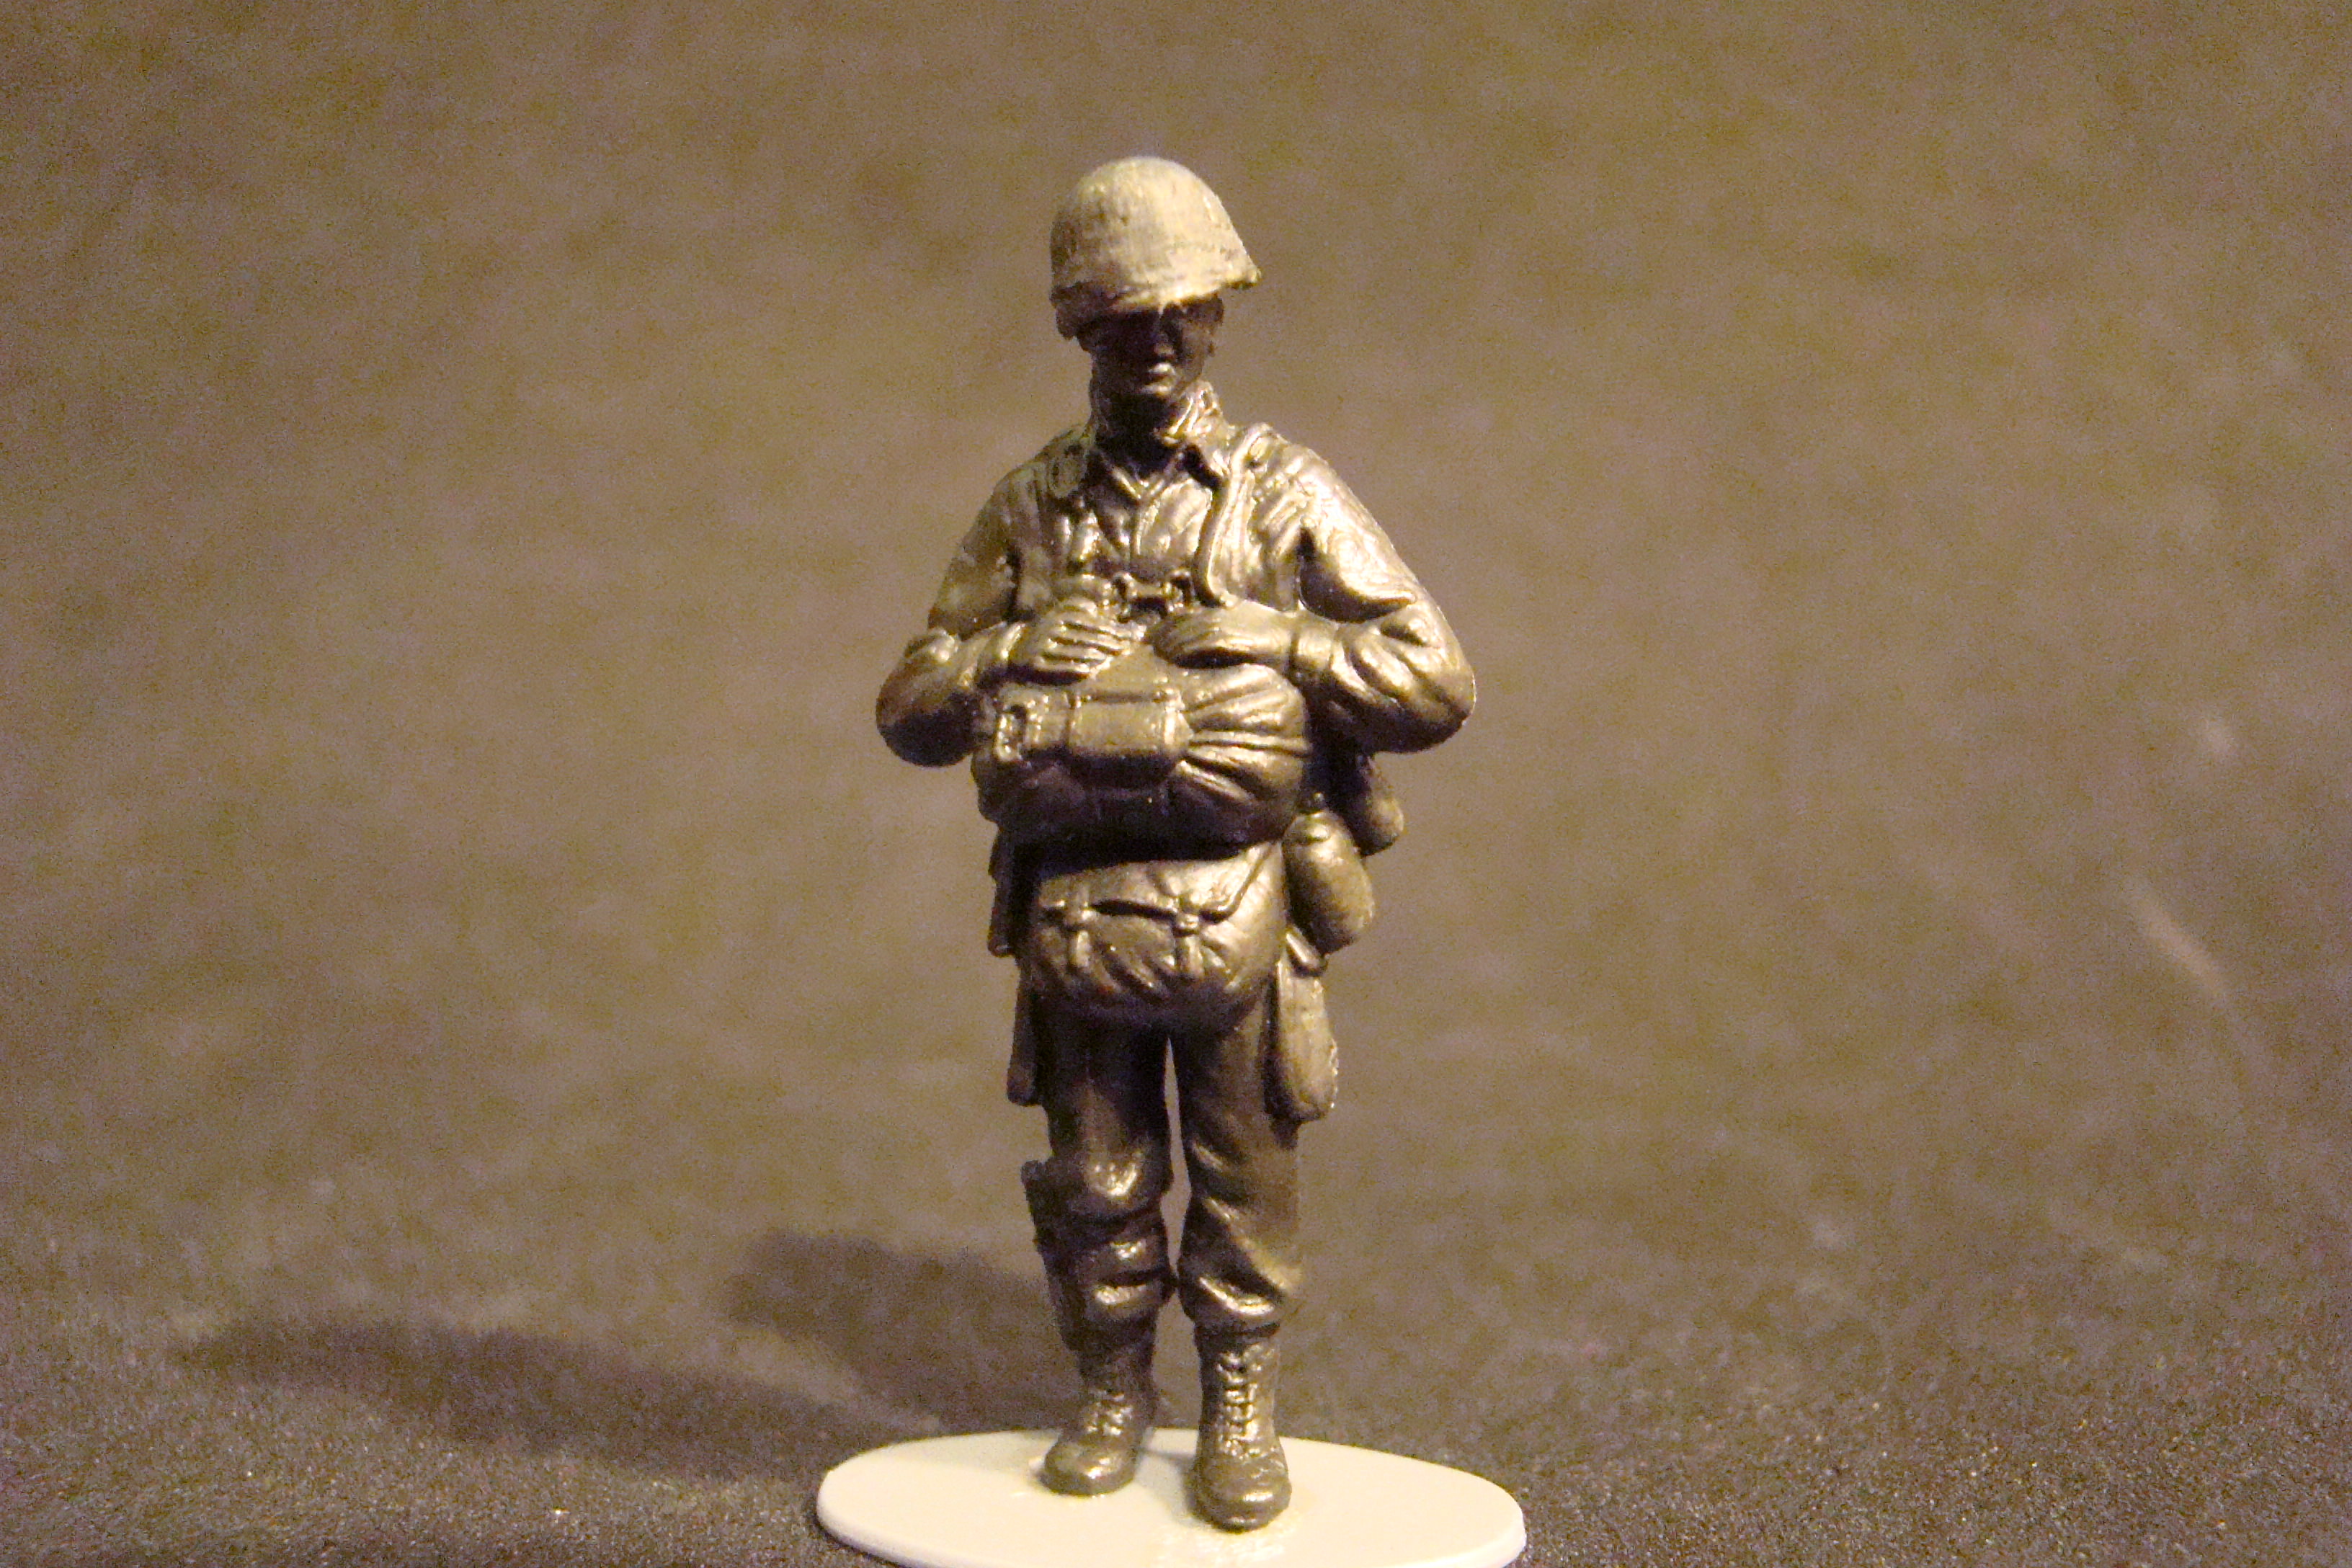
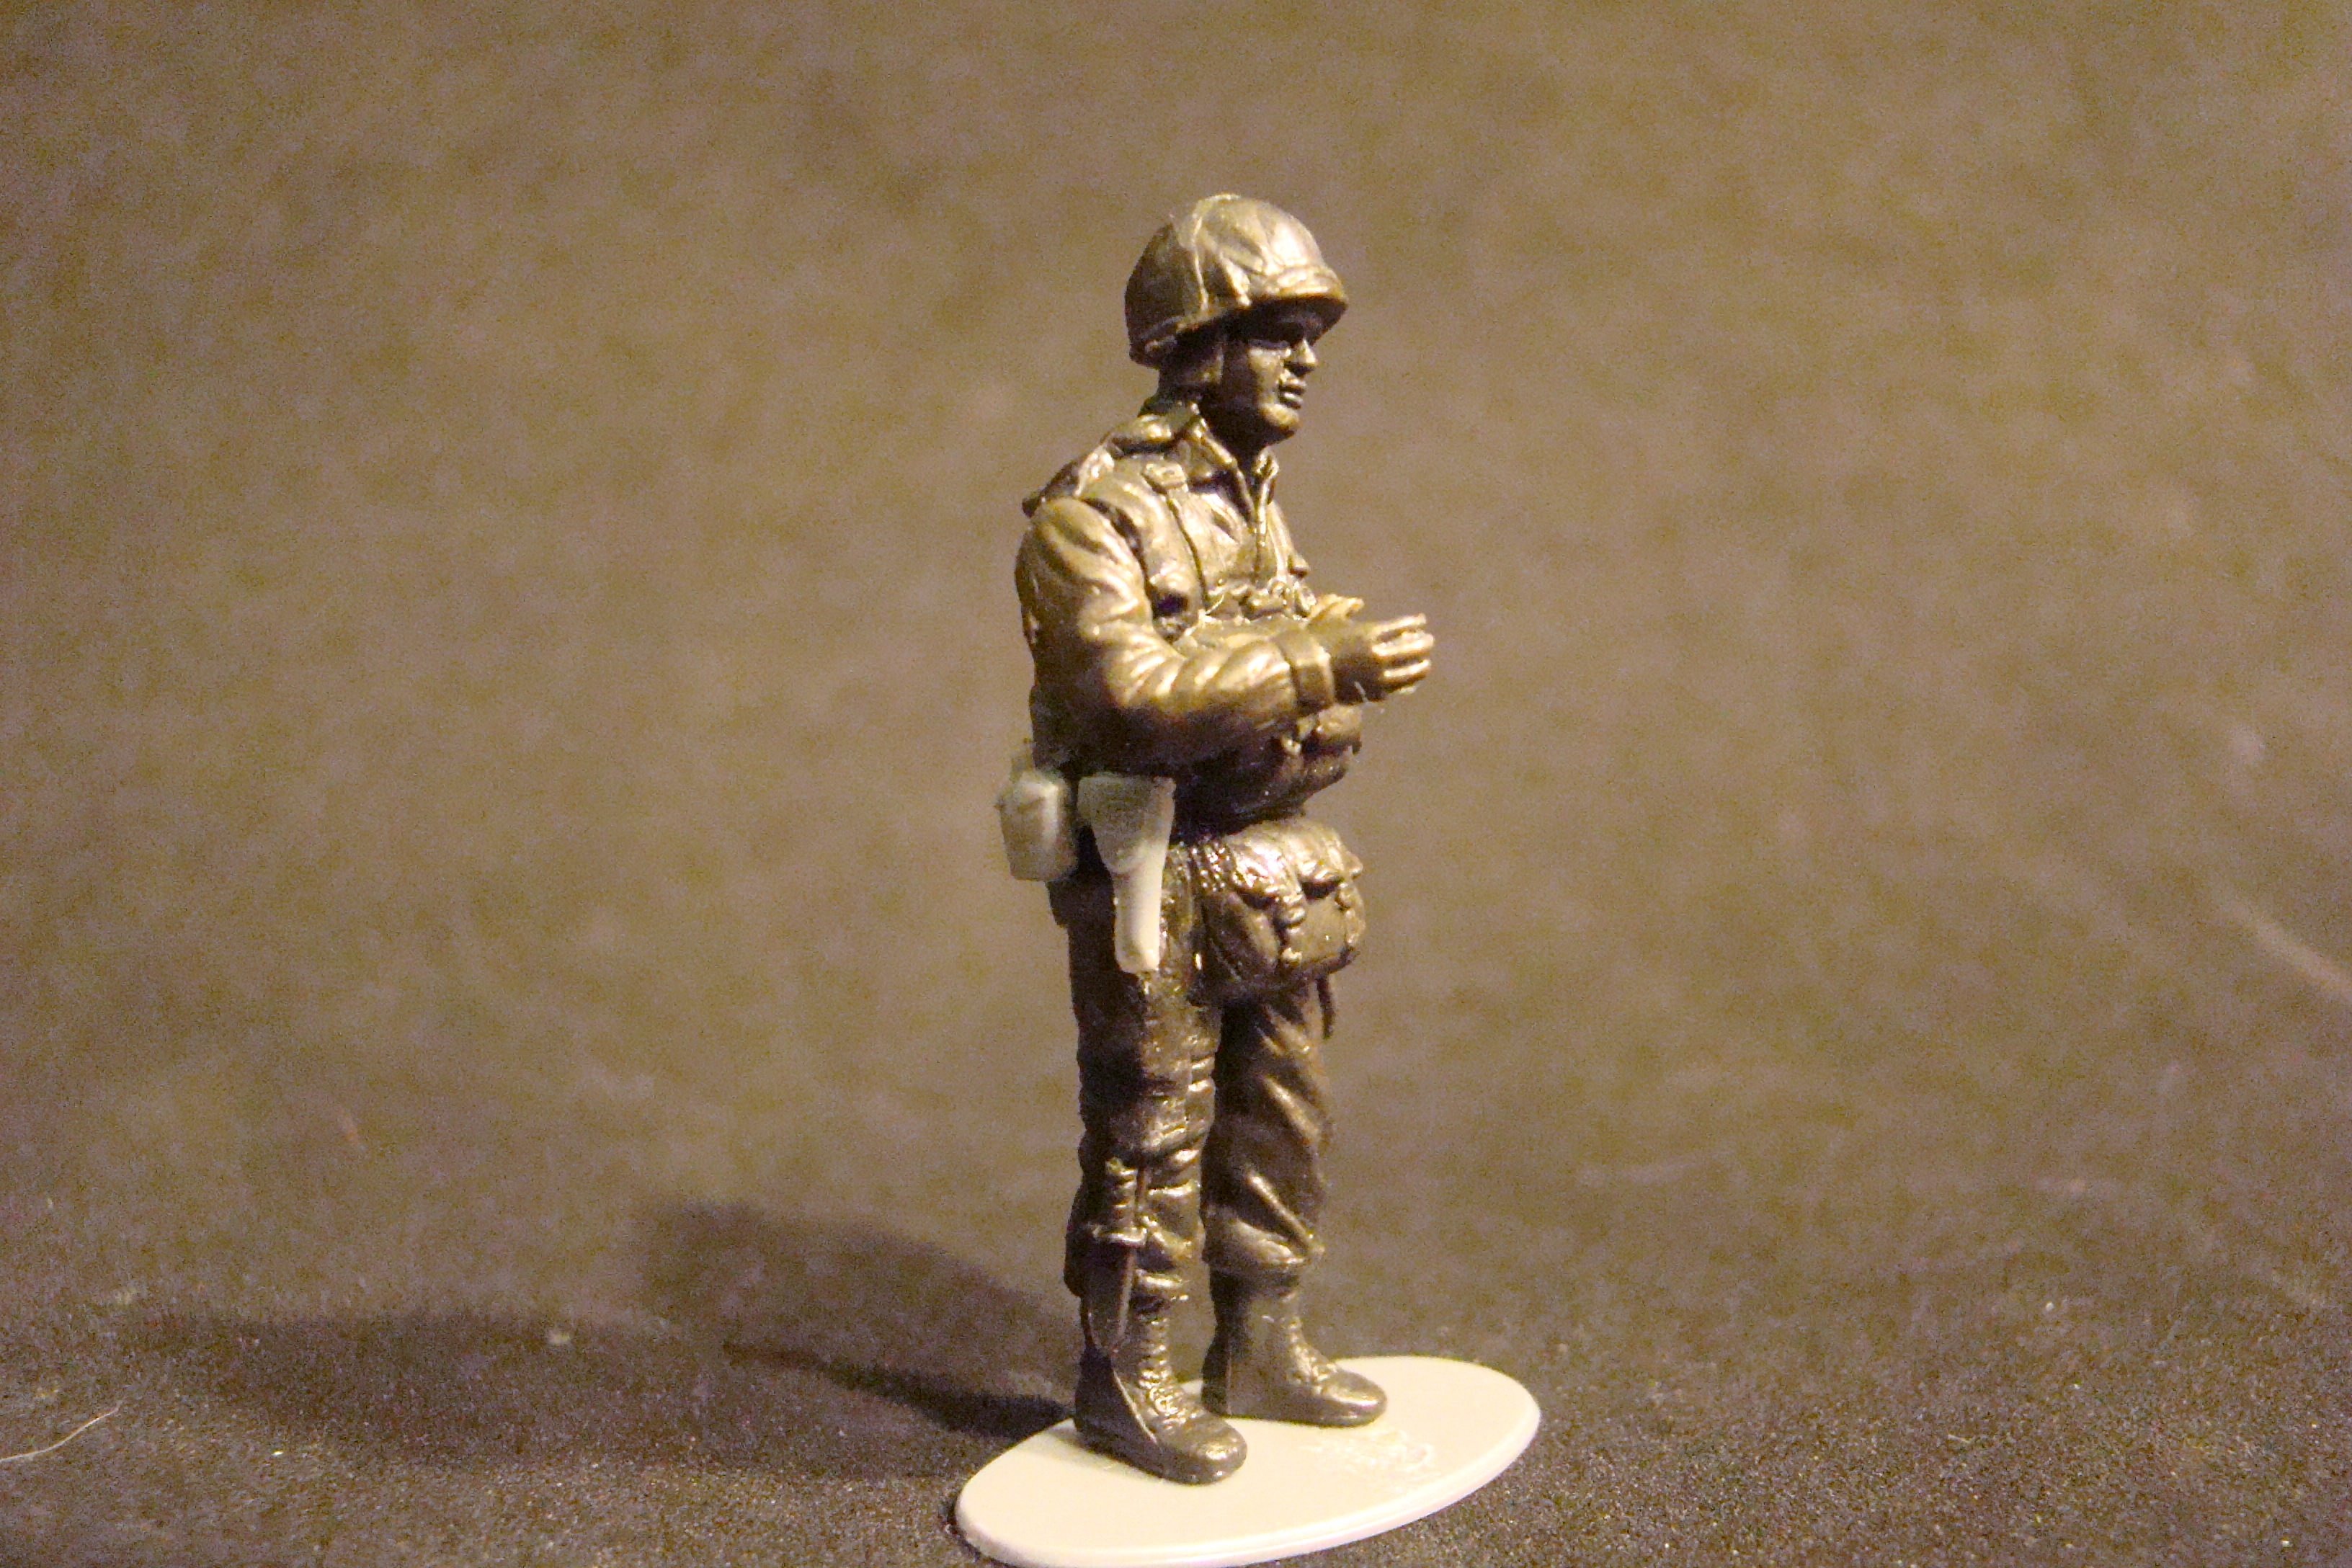
These are the Tamiya US infantry, all in similar poses. Since they represent 101st Division paratroopers, they needed Mohawks. As they all came with half heads, I had to swap for the German ones, and then trim off the garrison caps. I'm happy with the progress. The guy on the left still needs a little definiton to the back of his neck.
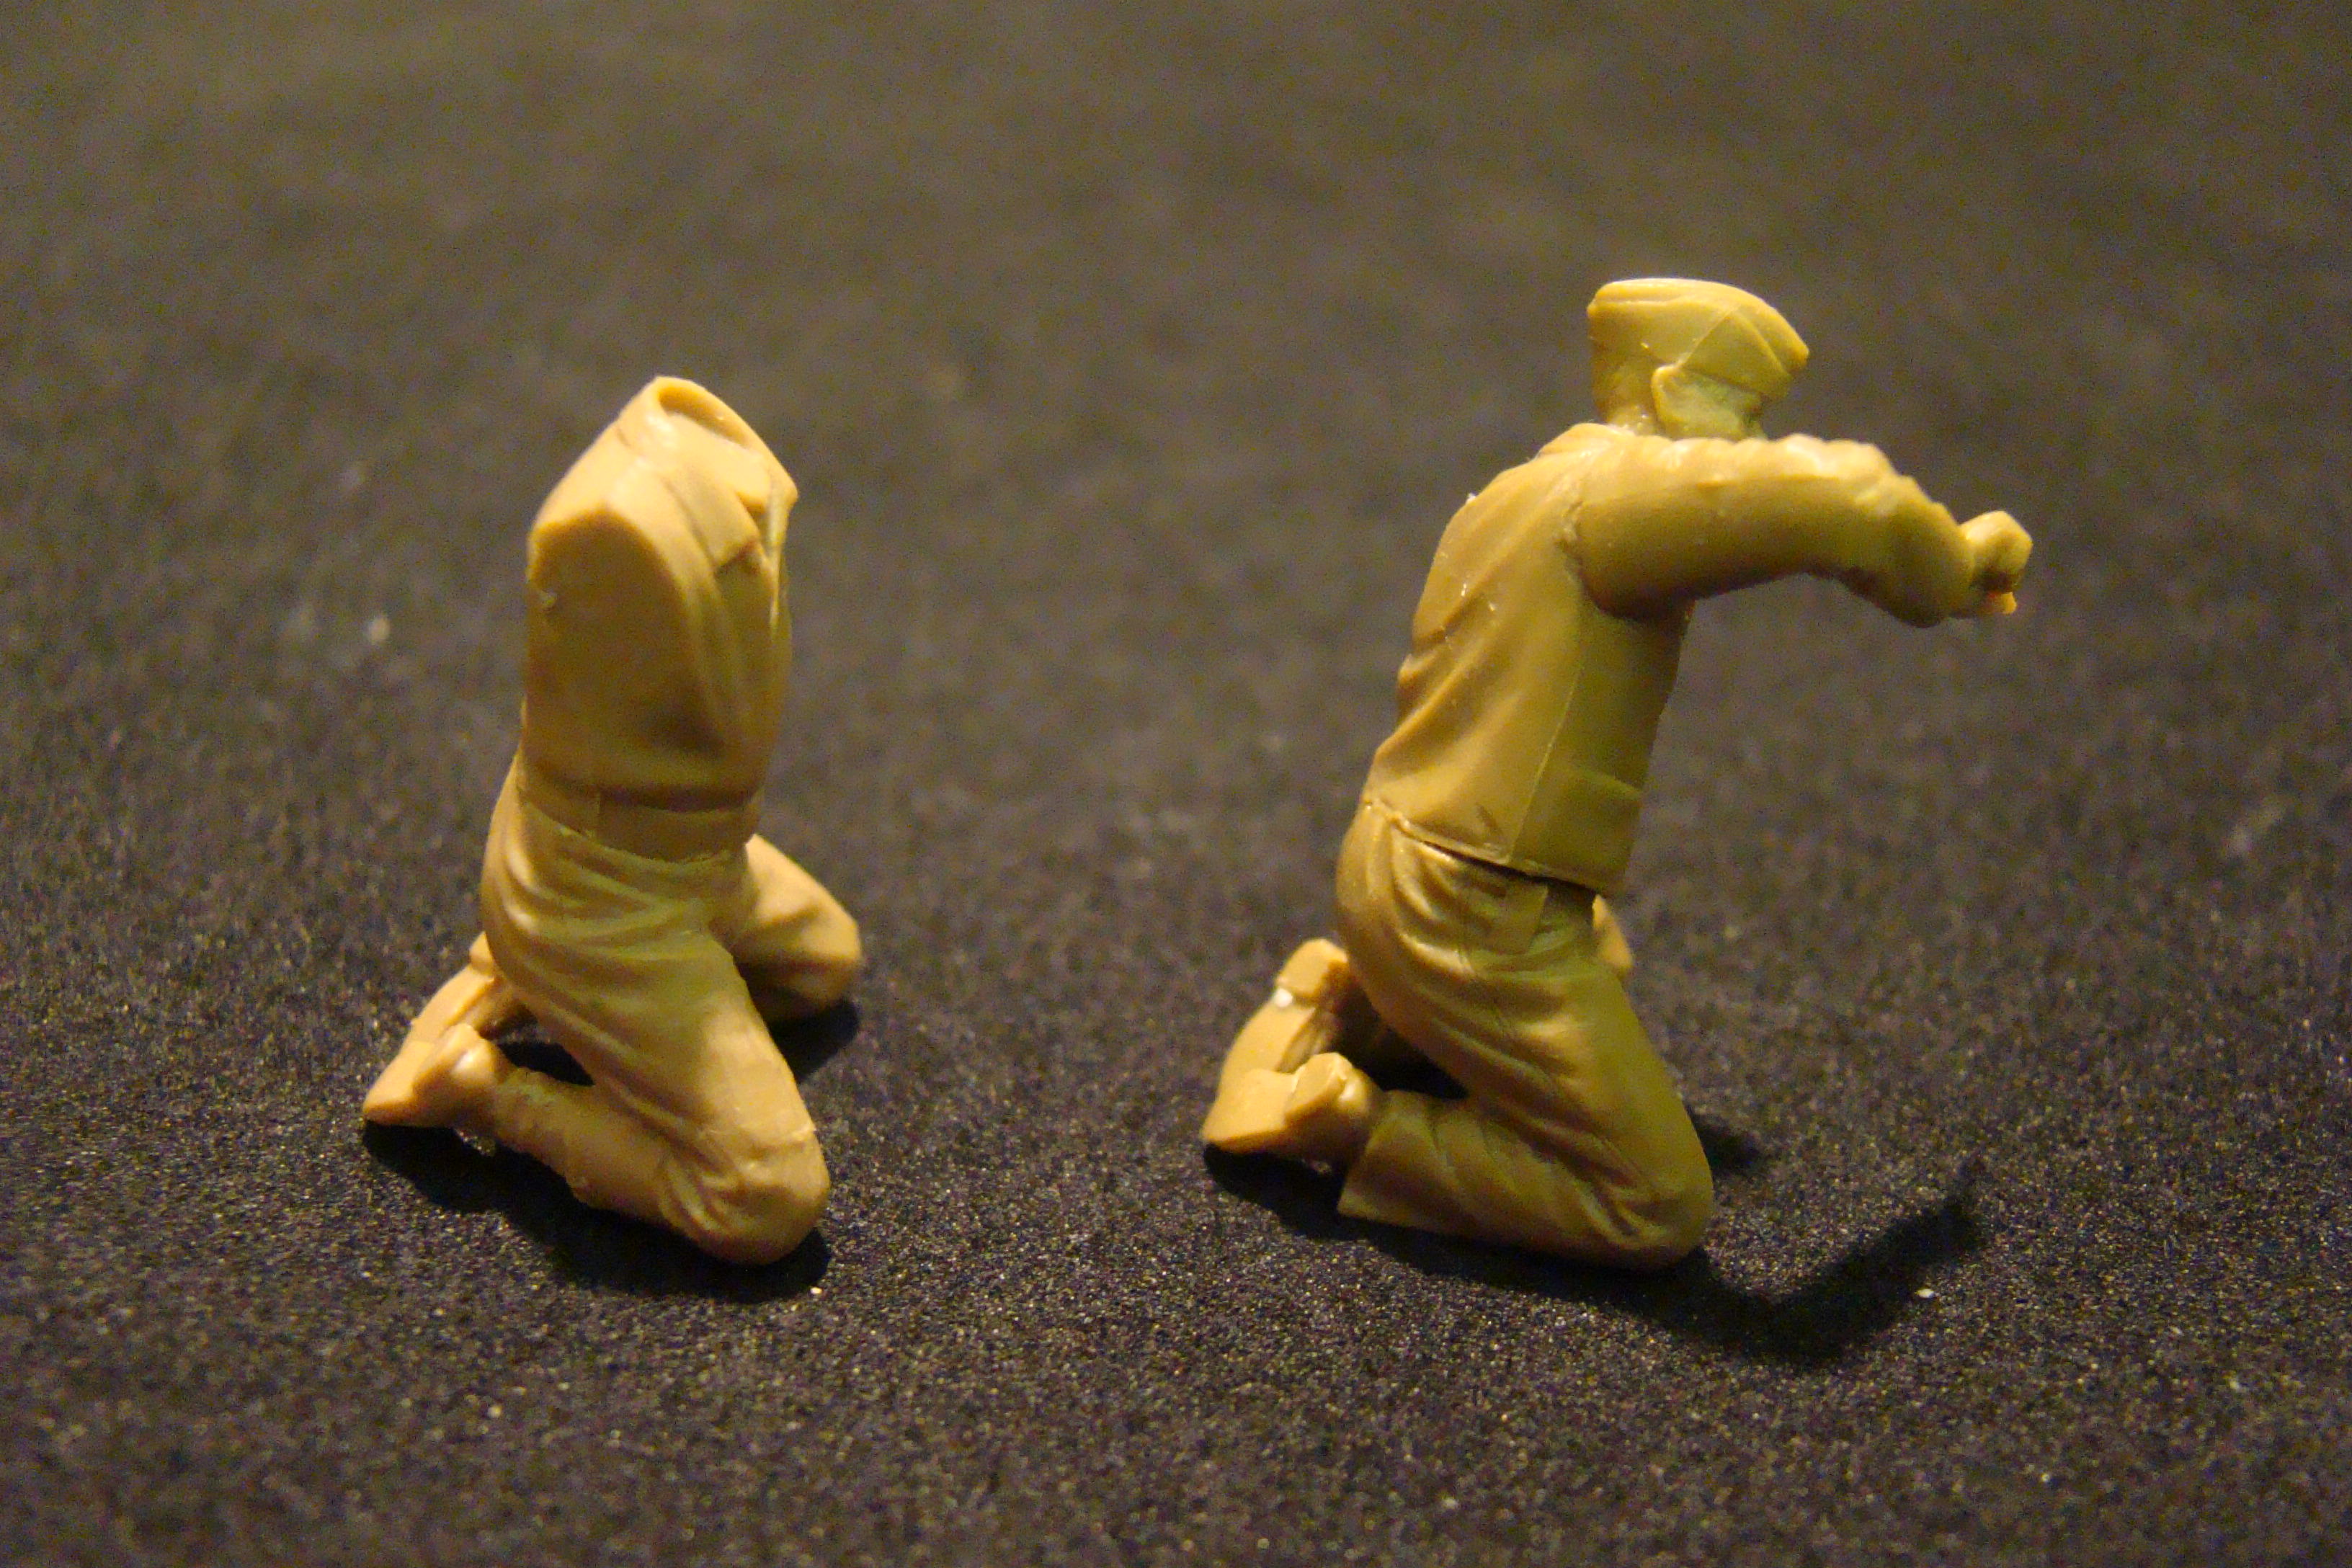
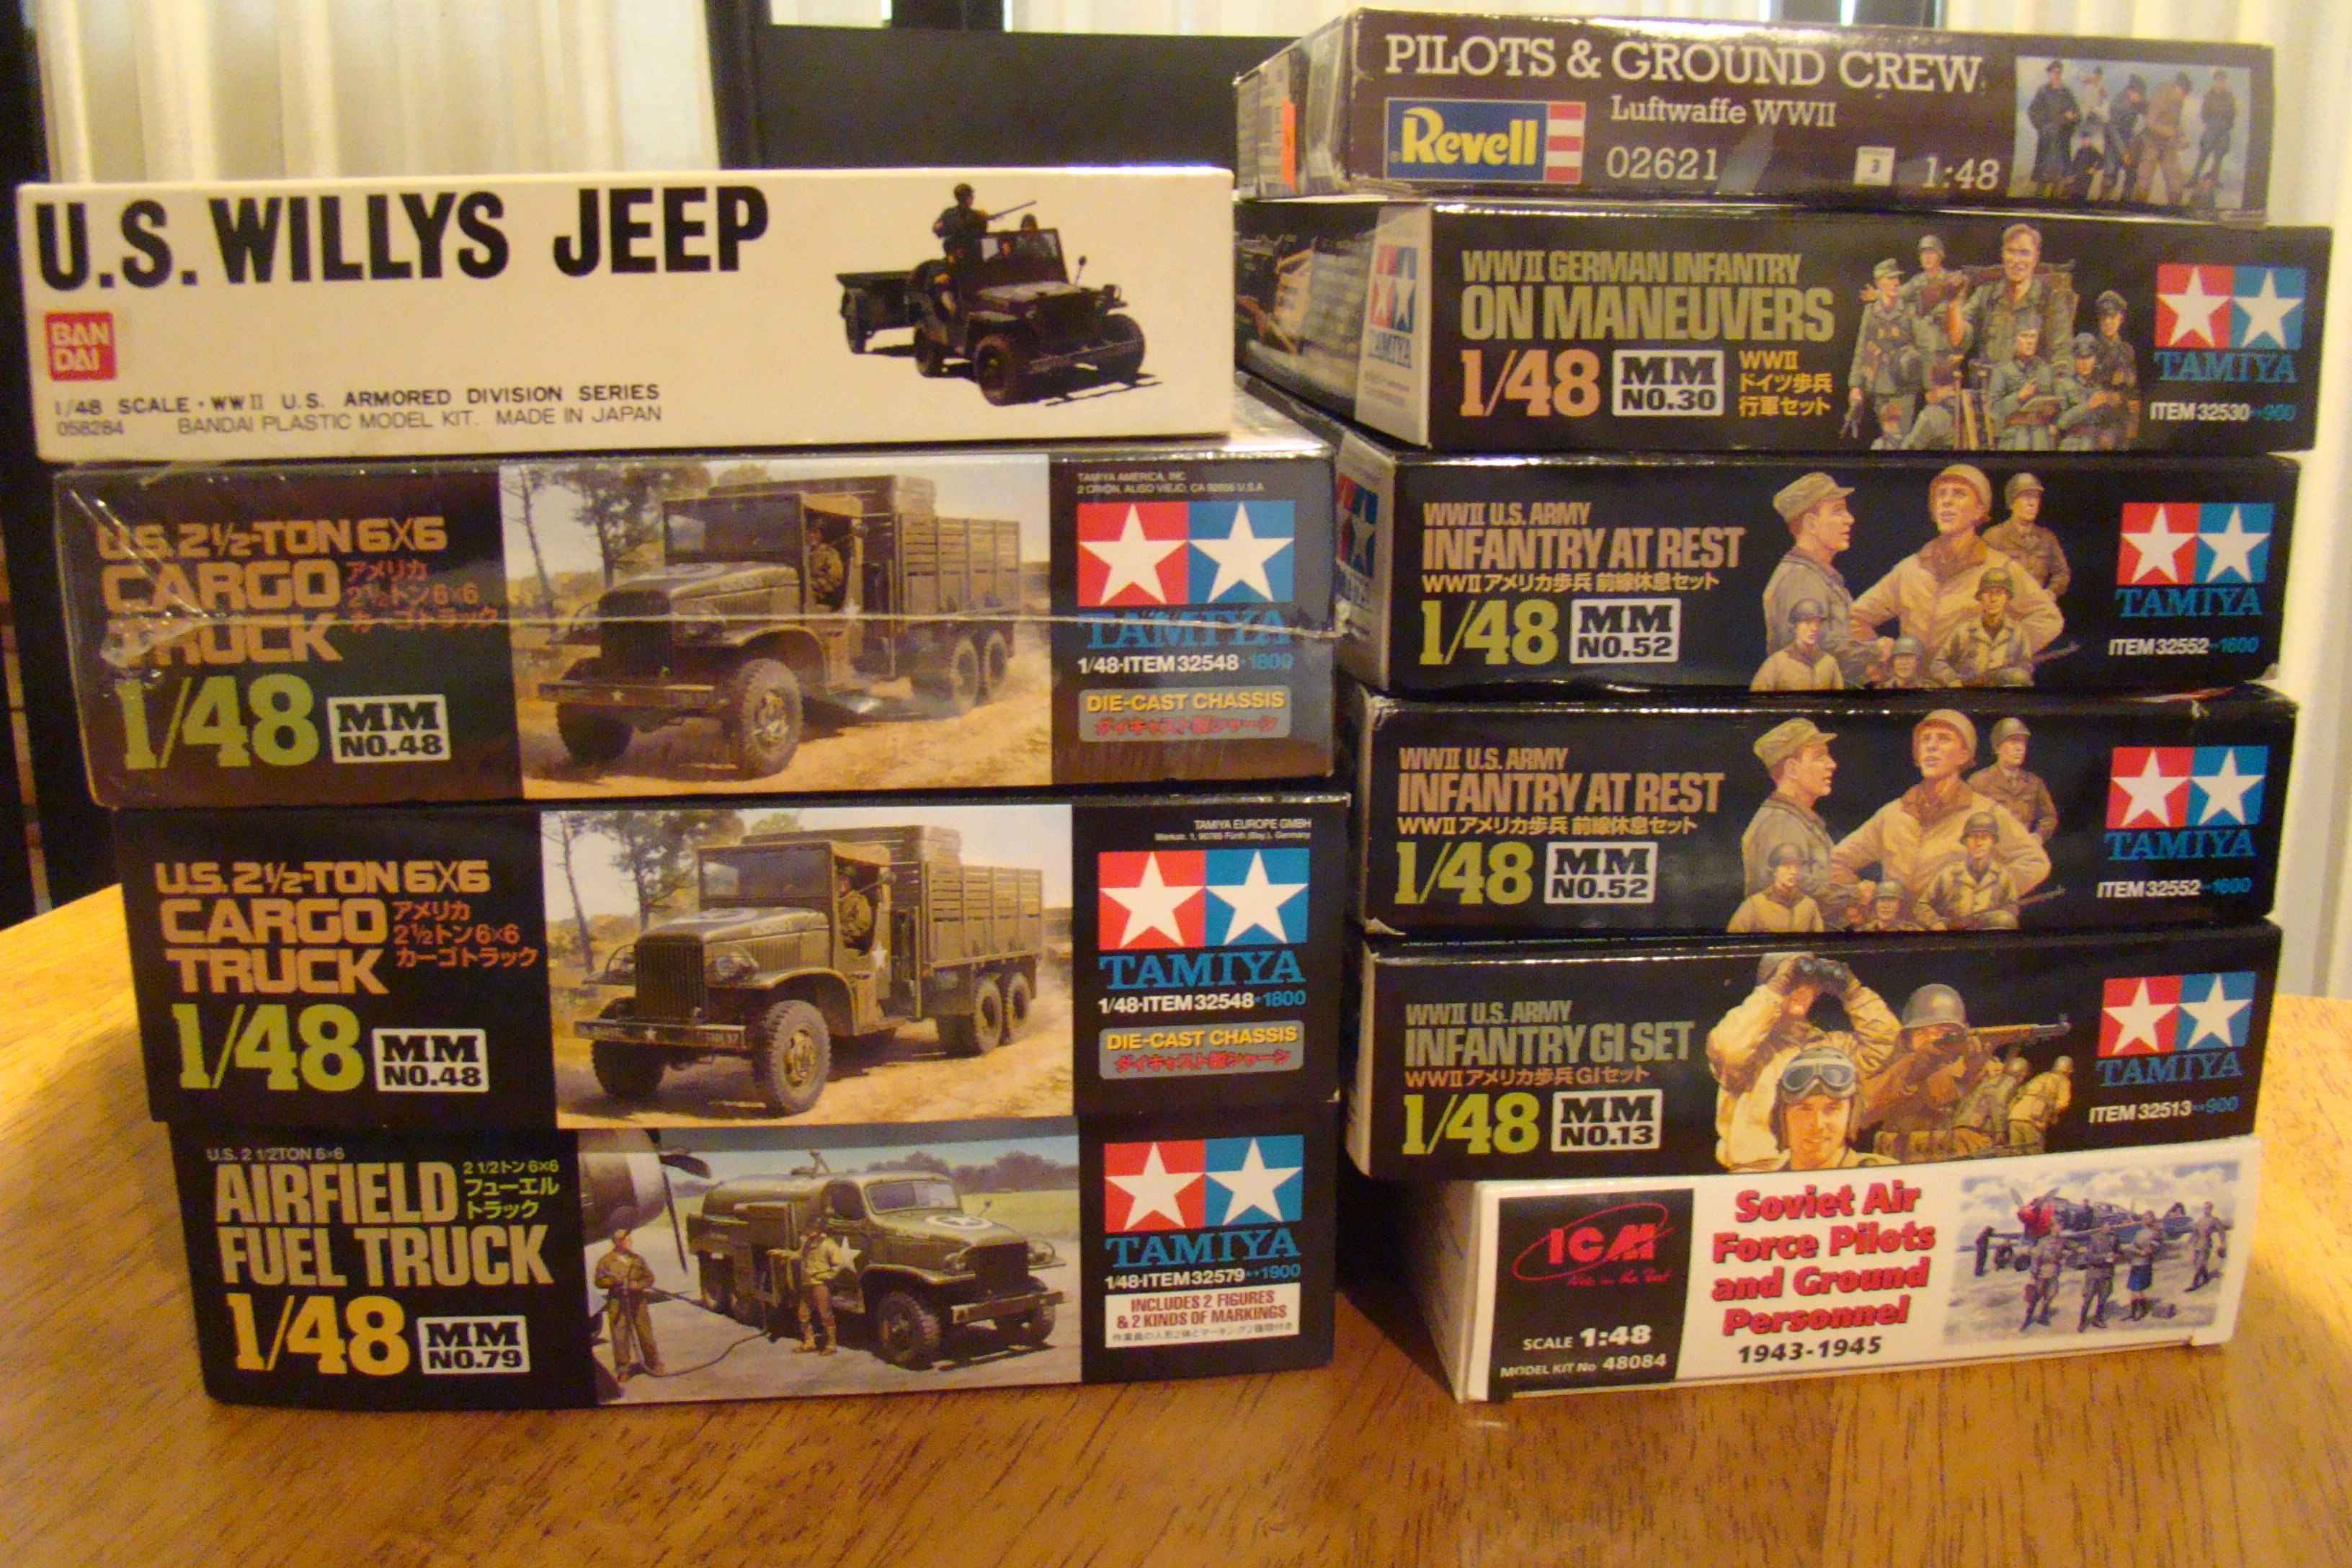
Similarly posed figures from Revell and ICM. Interestingly, they both share the same lower body. Both sets' figures match the Monogram figures size much better, so I'll probably end up converting them.
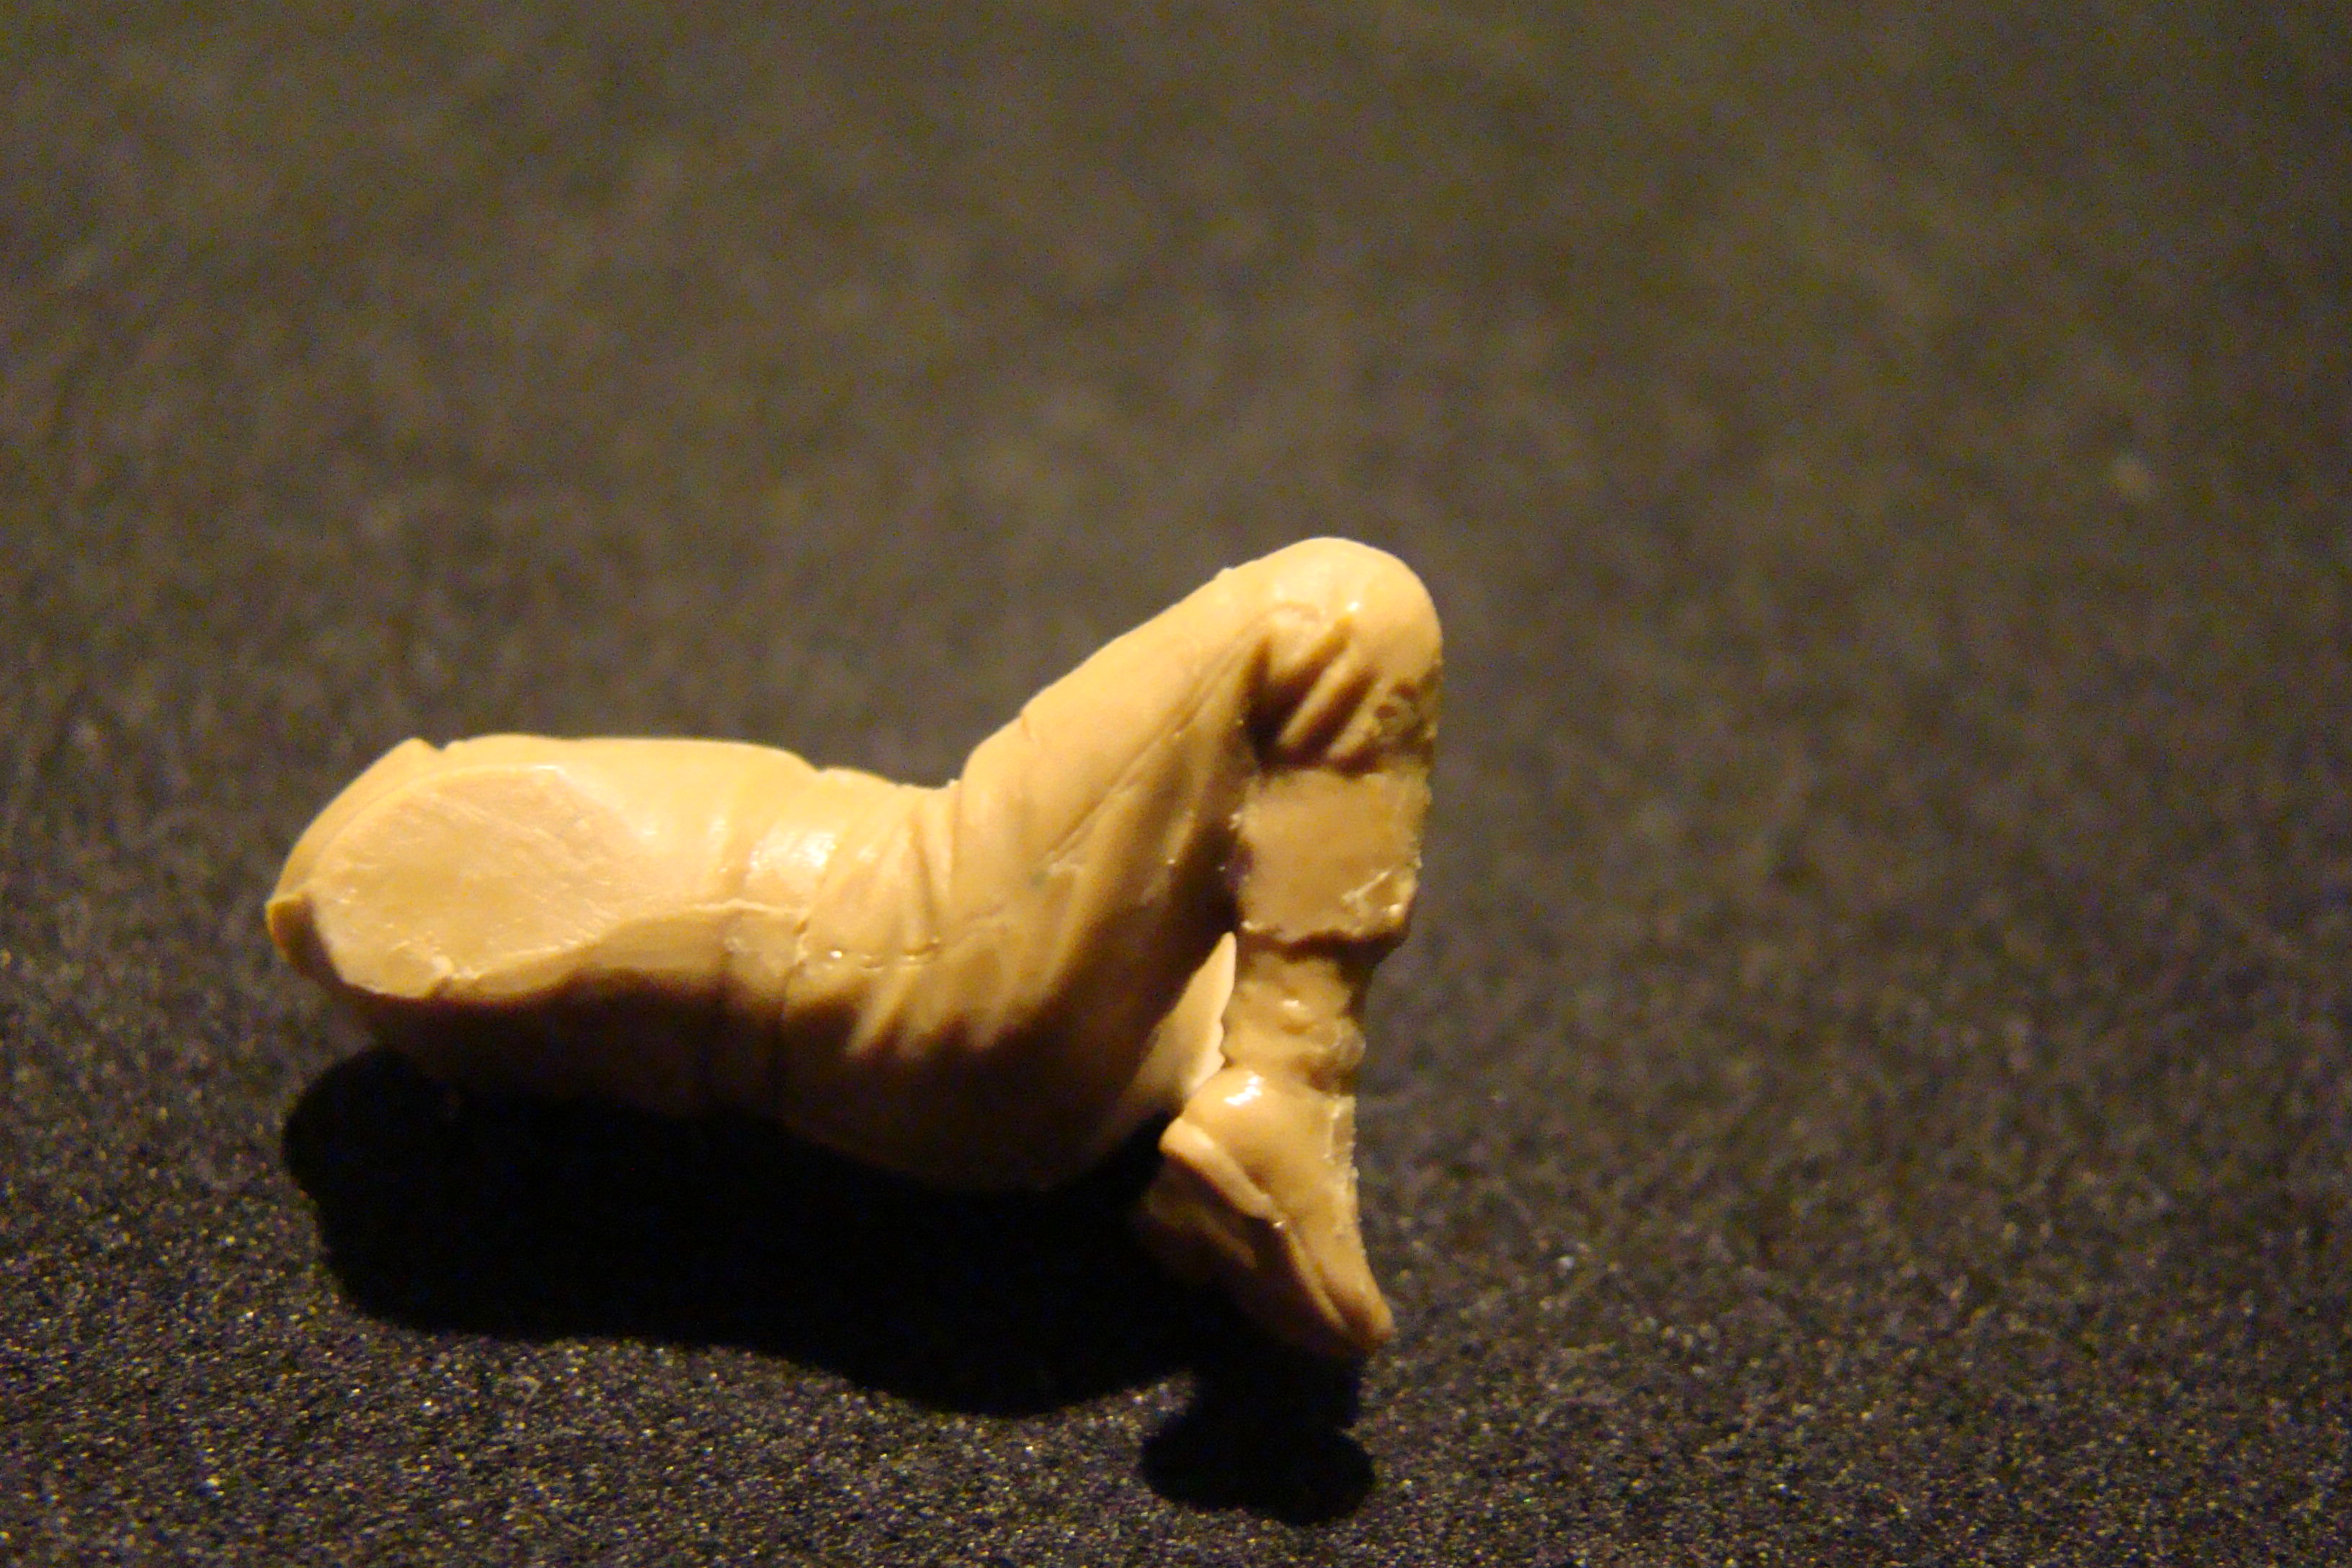
The start of any paratrooper conversion - the jump boots! Just a little whittling session with a no. 11. The flattened portion is to accomodate a Hawkins mine. Now I just need to add cargo pockets.
HansBouwmeester
Namibia
Joined: March 30, 2015
KitMaker: 346 posts
Armorama: 343 posts
Joined: March 30, 2015
KitMaker: 346 posts
Armorama: 343 posts
Posted: Thursday, November 22, 2018 - 06:36 AM UTC
I moved to the toddler scale of 1/56
but I do agree, there's a lot of work to be done on your 1/48 figures and it seems that there are different
1/48 scales......
but I do agree, there's a lot of work to be done on your 1/48 figures and it seems that there are different
1/48 scales......
18Bravo
Colorado, United States
Joined: January 20, 2005
KitMaker: 7,219 posts
Armorama: 6,097 posts
Joined: January 20, 2005
KitMaker: 7,219 posts
Armorama: 6,097 posts
Posted: Tuesday, November 27, 2018 - 11:15 AM UTC
It's amazing what you can accomplish once you decide not to watch NFL. For some folks that's an extra 15 hours per week.
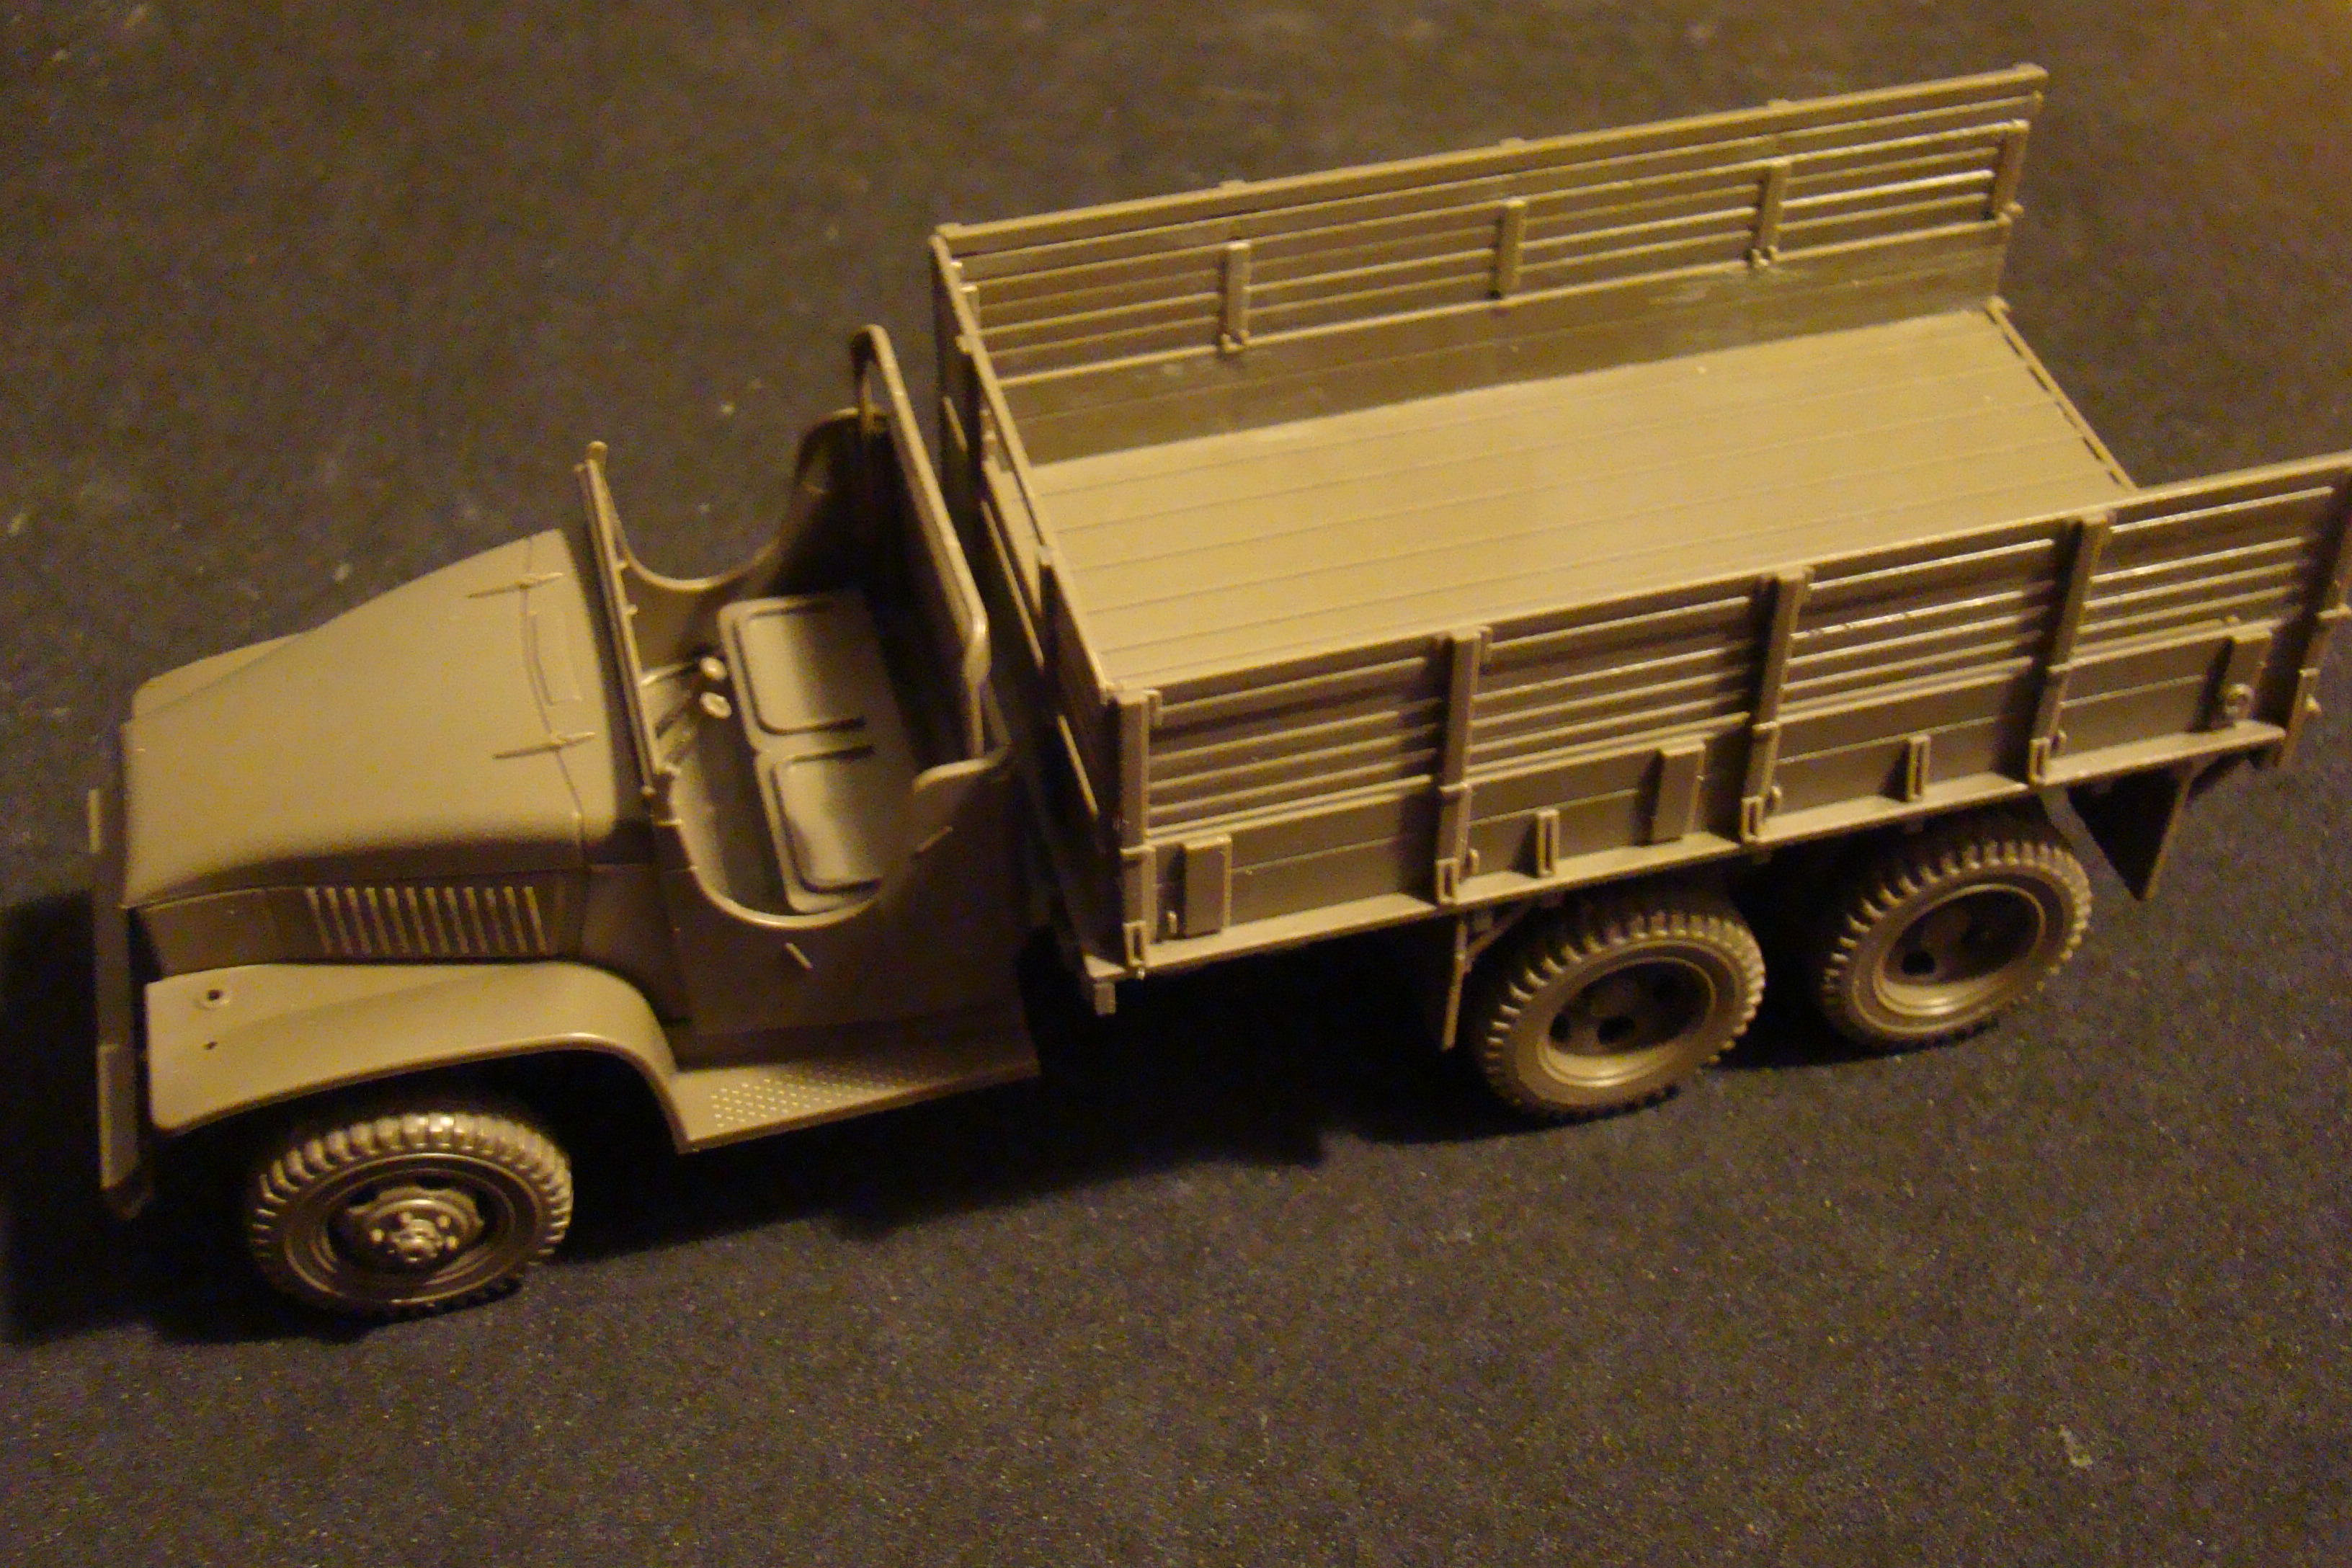
First up, the GMC CCKW - mostly finished except for a few of the fiddly bits. The usual Tamiya quality - the kits practically falls together. The only issue (that no one seemed to notice in any review) is that the screw holding the cab is offset to one side. You don't even have to tighten it all the way before it draws the cab off to one side. I noticed it in several online builds - now I know why. The remedy is simple - CA.
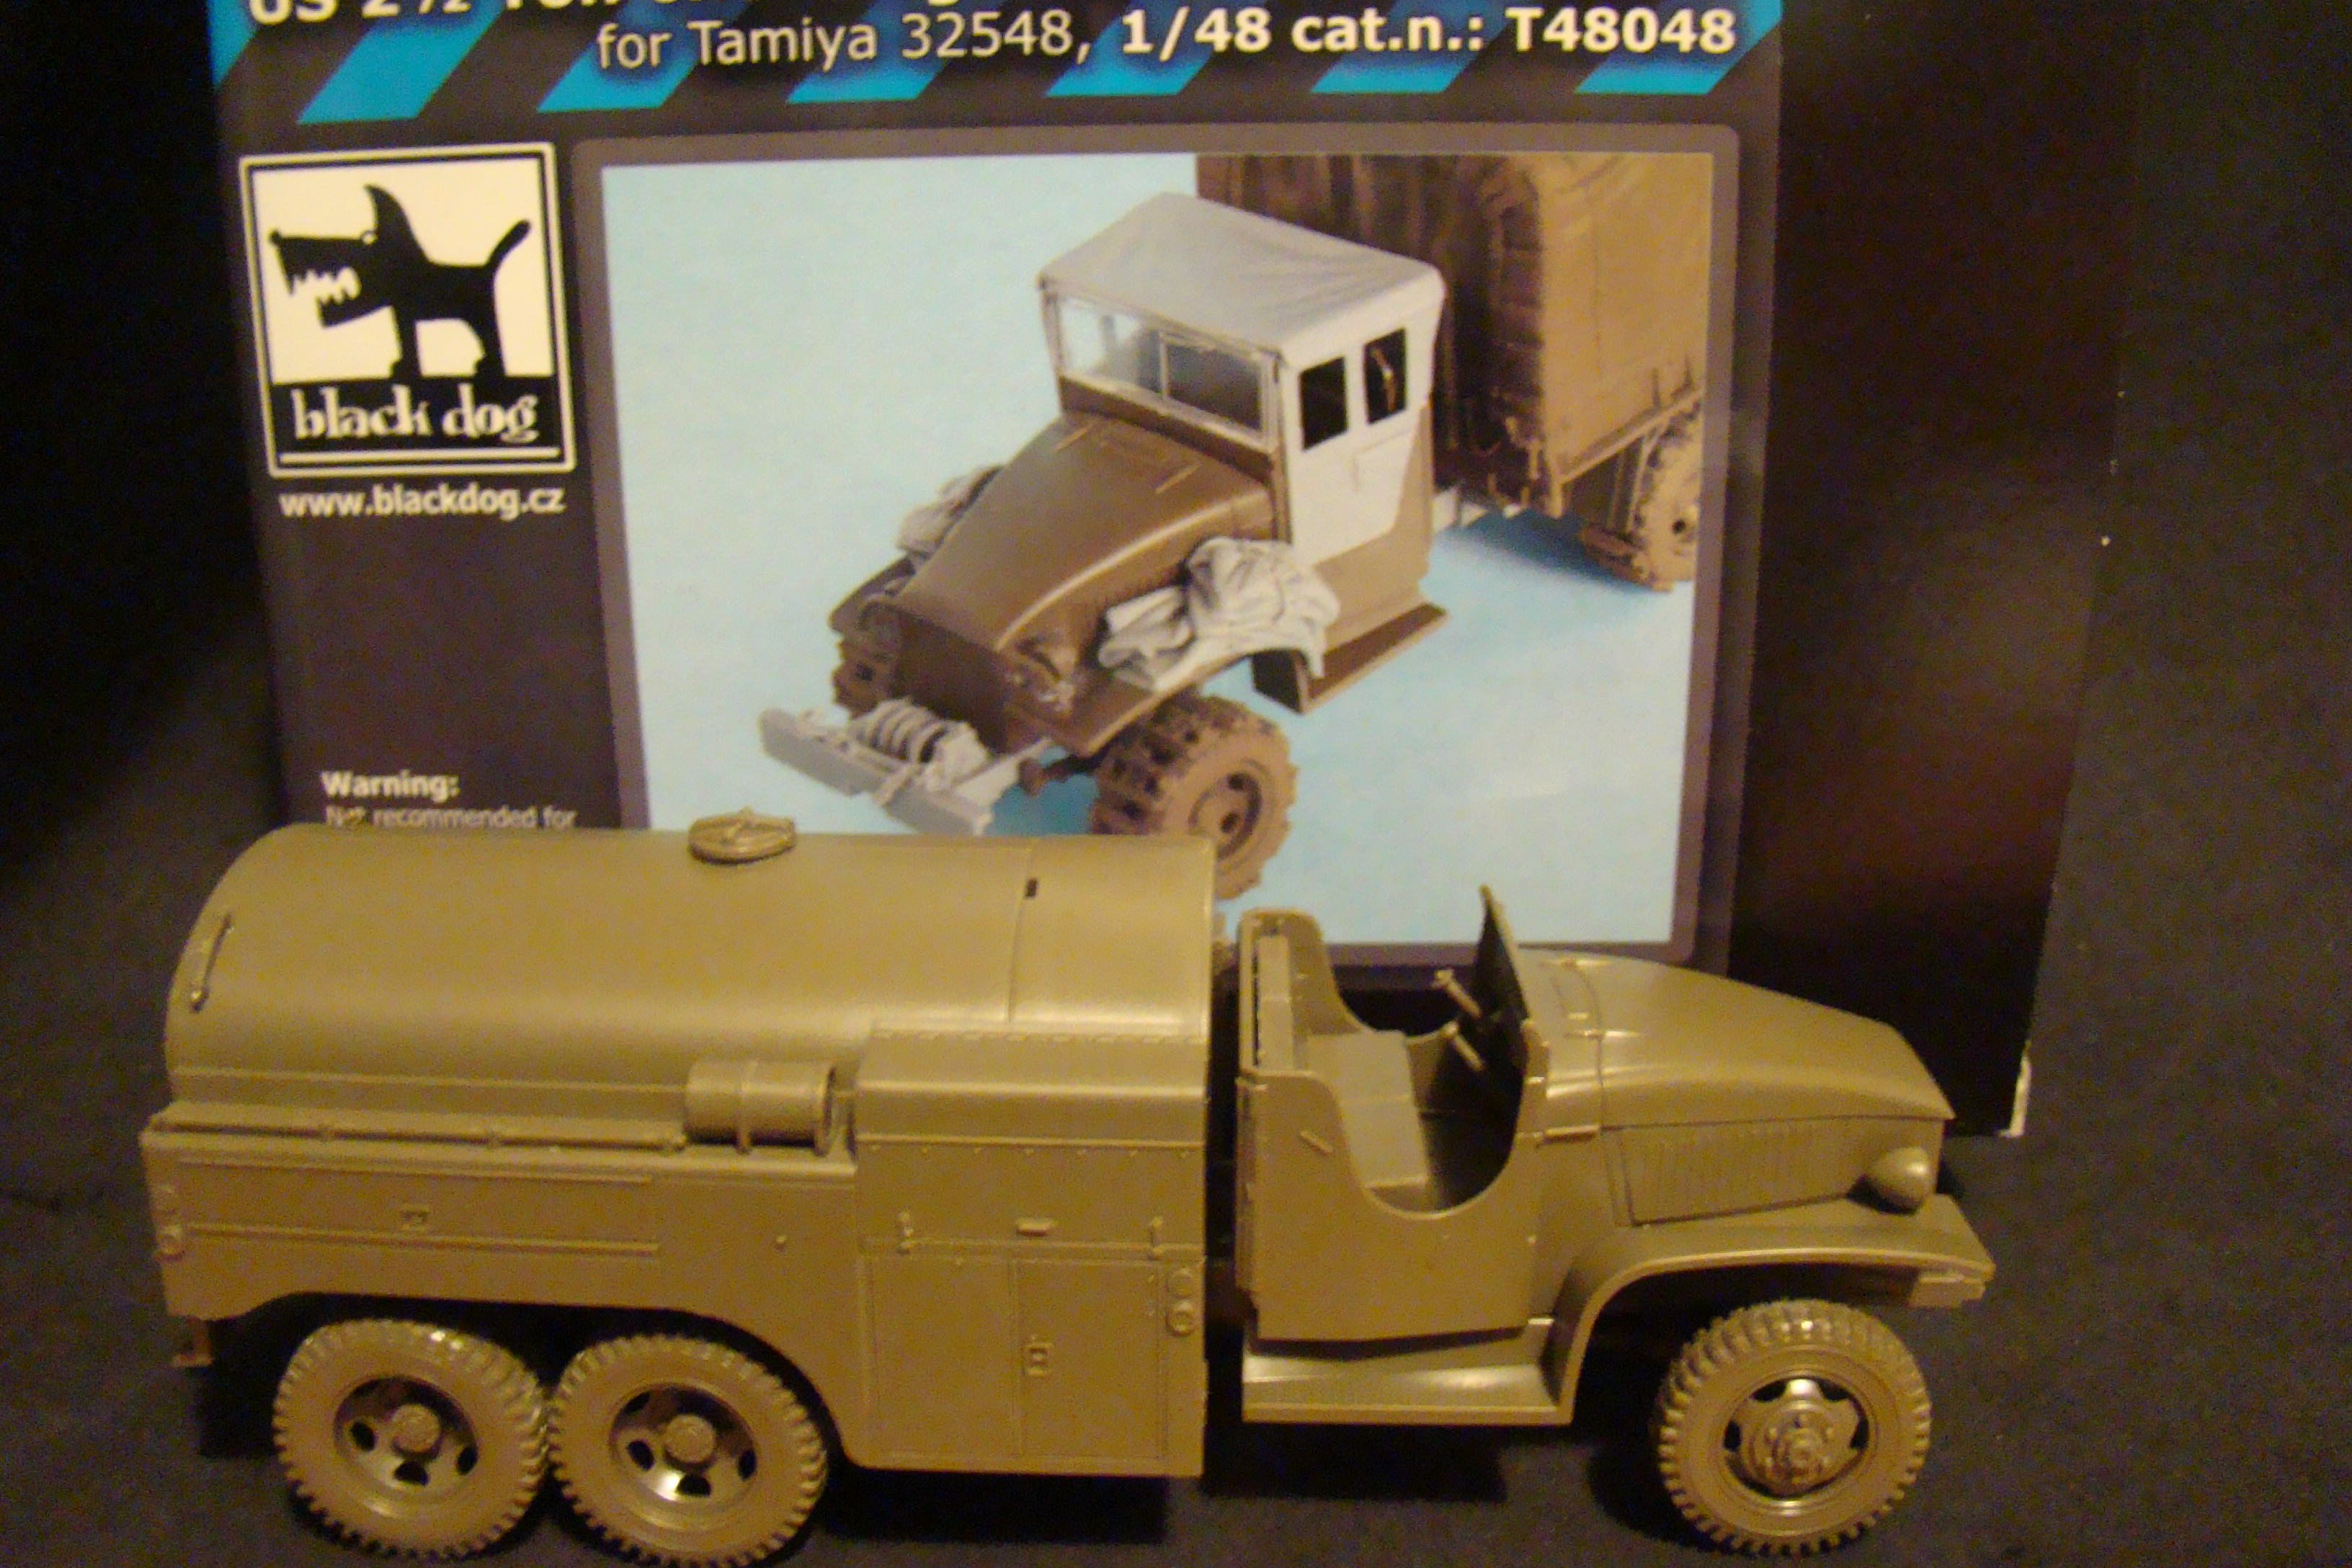
The next one was absolutely the easiest kitbash ever. I swapped the open cab from another kit for the closed cab in the refueler kit. The refueler does away with the metal frame on the CCKW kit.
I'll use the Black Dog set in the background for the soft top and doors. I'm not real pleased with it, but more on that later.
I've got enough parts left over to build another version. Mavbe I'll knock that out tonight.
18Bravo
Colorado, United States
Joined: January 20, 2005
KitMaker: 7,219 posts
Armorama: 6,097 posts
Joined: January 20, 2005
KitMaker: 7,219 posts
Armorama: 6,097 posts
Posted: Wednesday, November 28, 2018 - 01:14 PM UTC
So I decided to take all of my leftovers and make this:
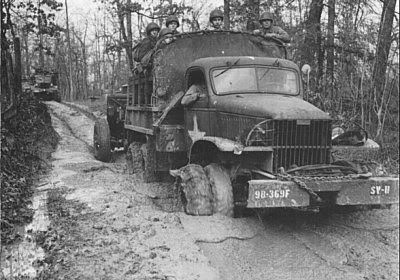
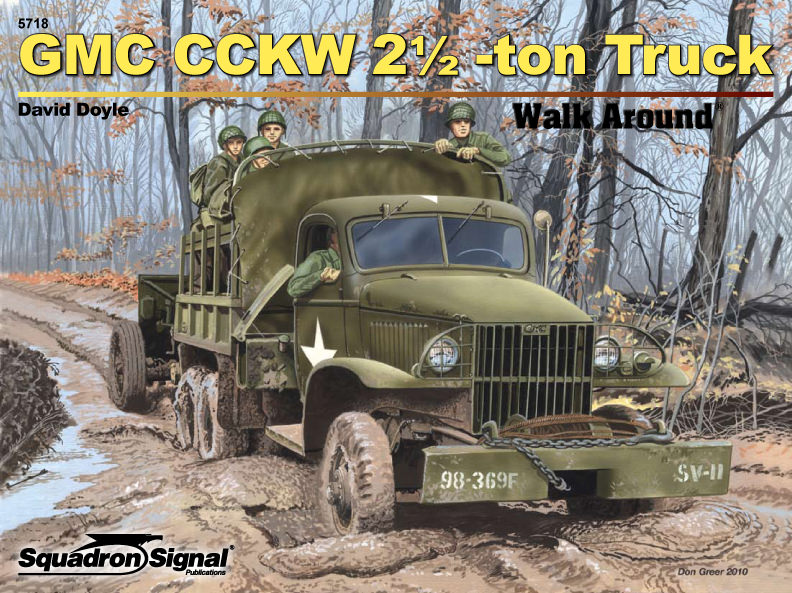
Strangely, Squadron has it on the cover of their walk around, and yet the artist elected to omit the most interesting aspect of the photo. WT ? I feel your pain, Lev Davidovich.
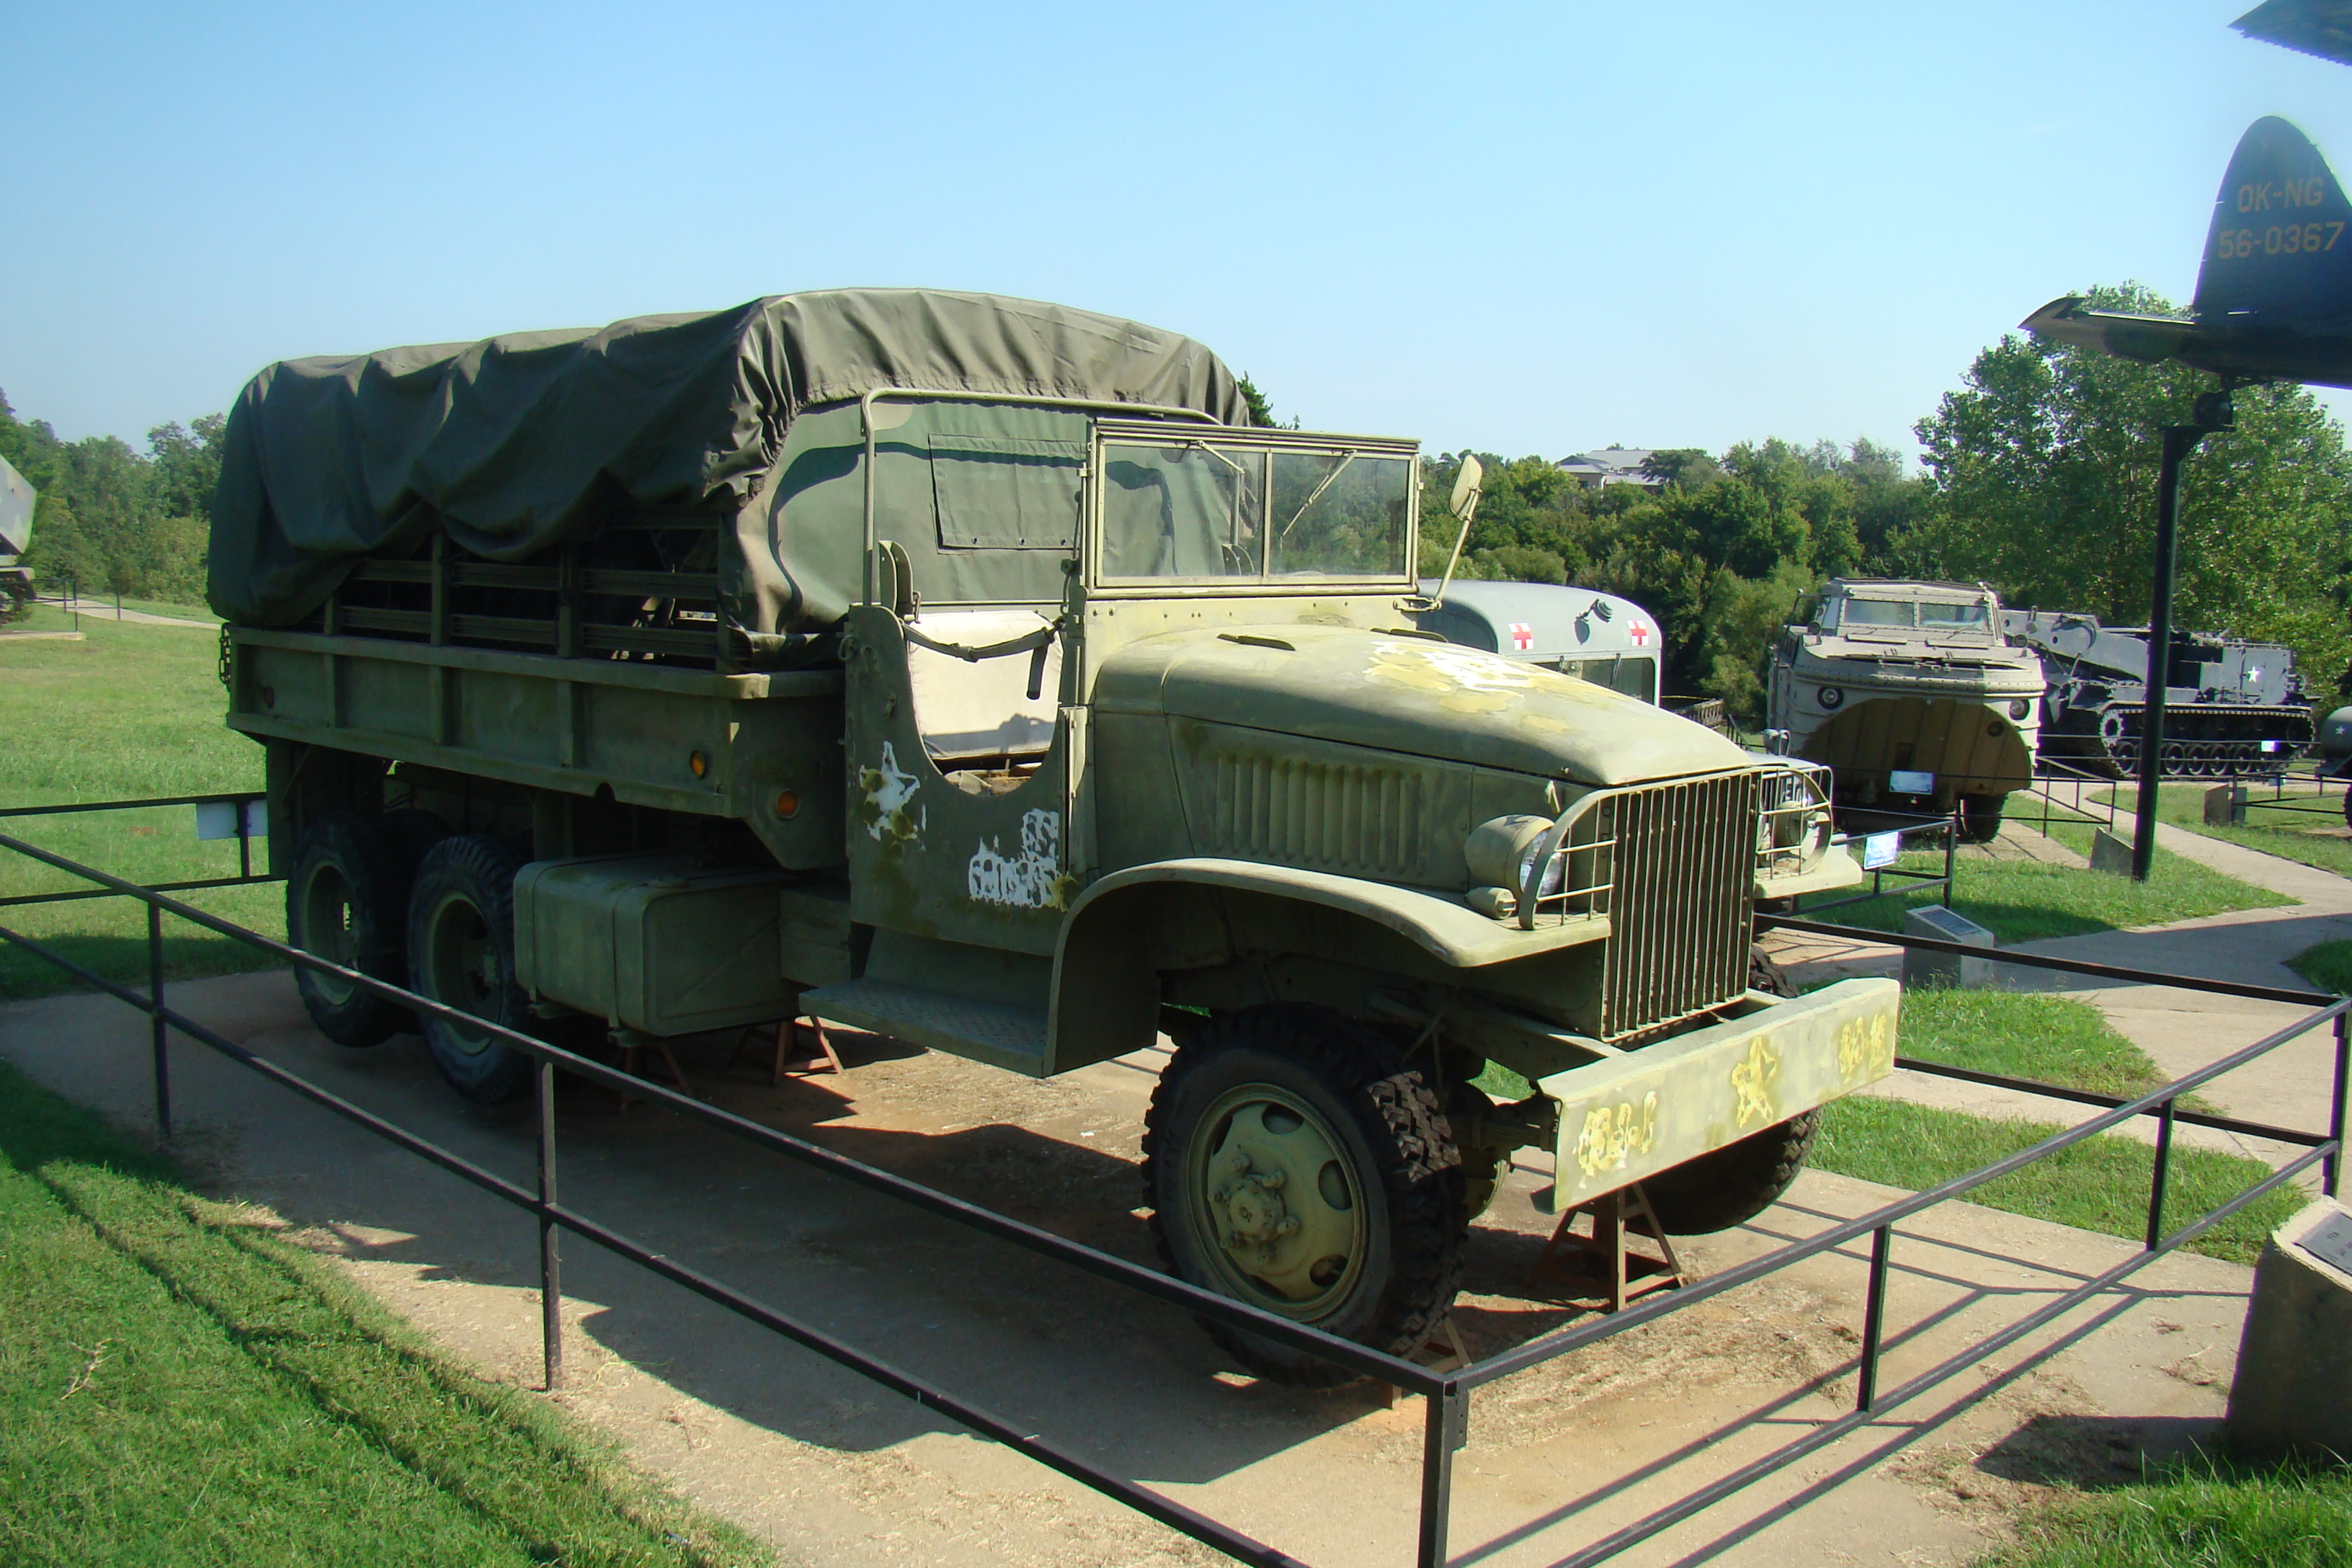
I myself do not own this excellent tome, so I'll be using my own references obtained at the 45th Infantry Division Museum in OKC. If you've never been there it's worth a visit, and it's exactly one minute from I-35.
Since it's a steel cargo box I can use it later when I decide to convert the hard cab, but for now this is where I stopped last night:
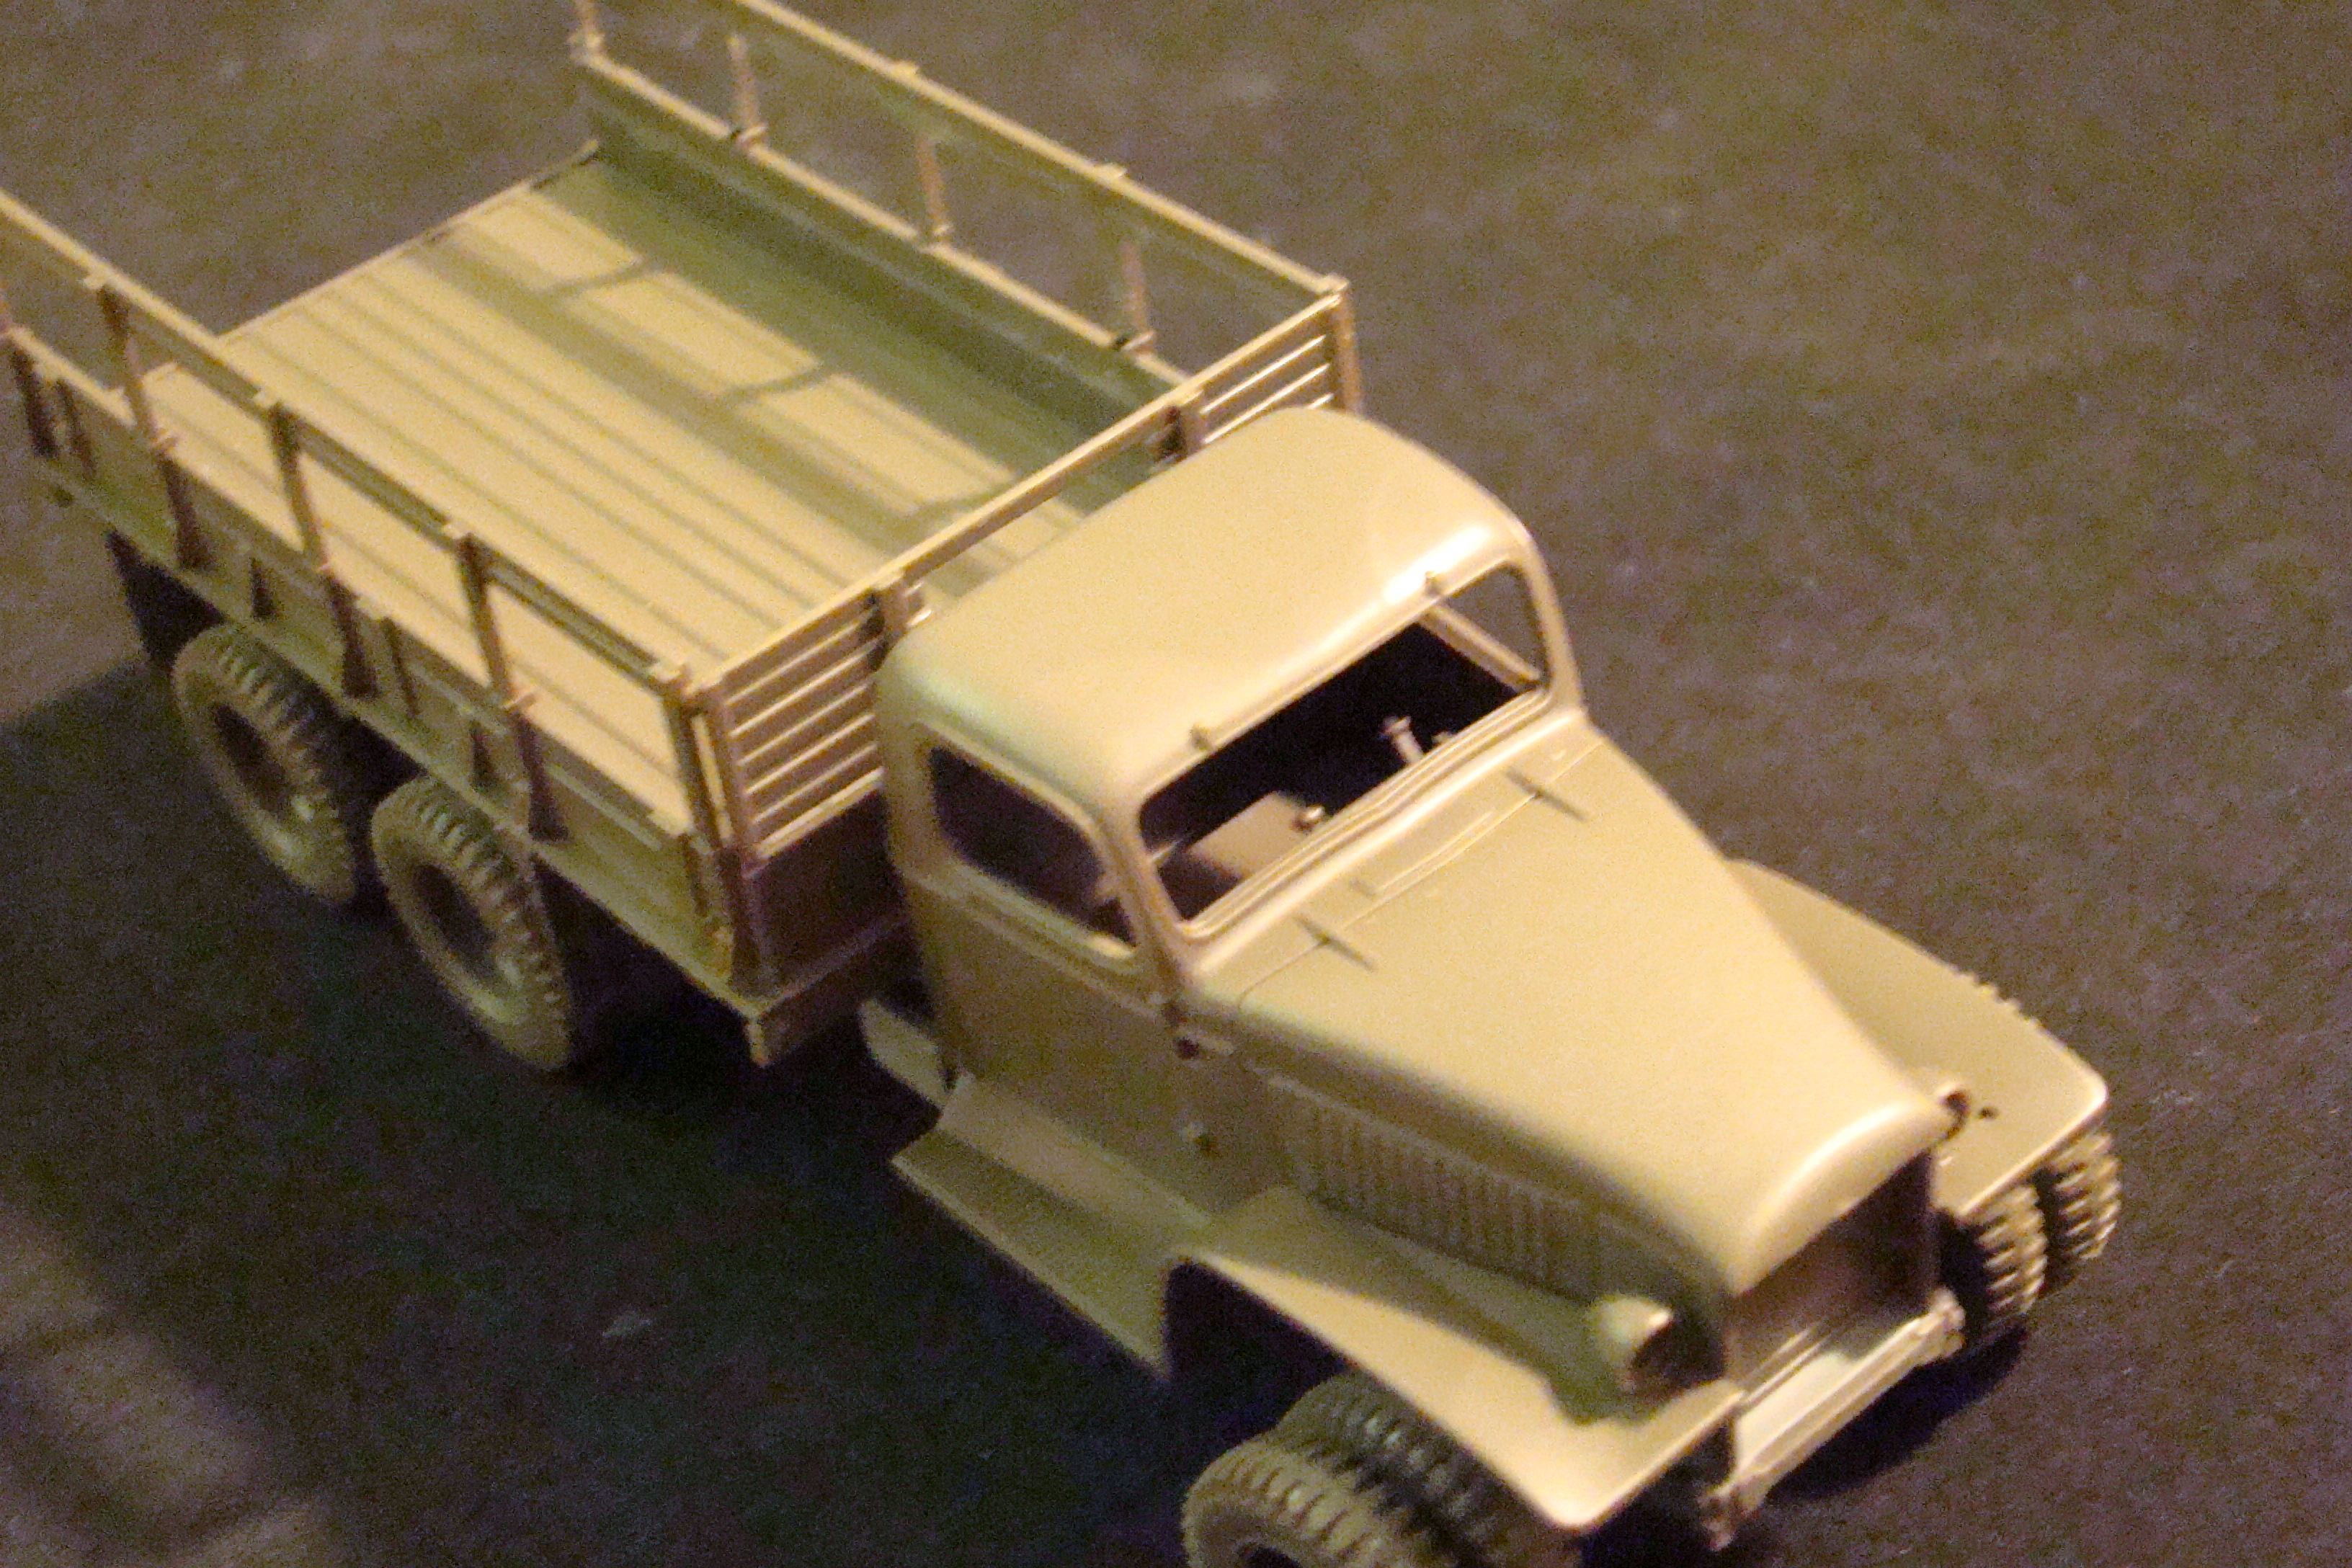
Of course before I purchased the tanker I read some reviews. I won't dime anyone out, but one reviewer who cranks 'em out like a Cookie cutter on a conveyer belt, might have mentioned the fact that Tamiya mysteriously decided to leave out the rear cab window - as in there's no opening. I'll have to cut it out and glaze it myself. Things like that are kinda important, not how many parts are in the sturdy top opening box.
Other than some lack of detail, the cab for the tanker is a gem and once again practically falls together. And despite yet another review, the doors fit perfectly as you can see - no need to shape them. Oh, and the same guy apparently had trouble getting the cab to fit correctly, and added extra bits to the wheel well to hide a huge gap. I'm still scratching my bal, ahem, shaved head on that one.
All I need to do is add the winch and bumper from Black Dog. Oh right - I said there'd be more on that so here goes: It sucks. Not highly recommended! Not a single part that I actually want to use was cast well. The only two that were are the bundles of stowage on the fenders, which I can't even use on the closed cab because they interfere with the perfectly fitting doors.
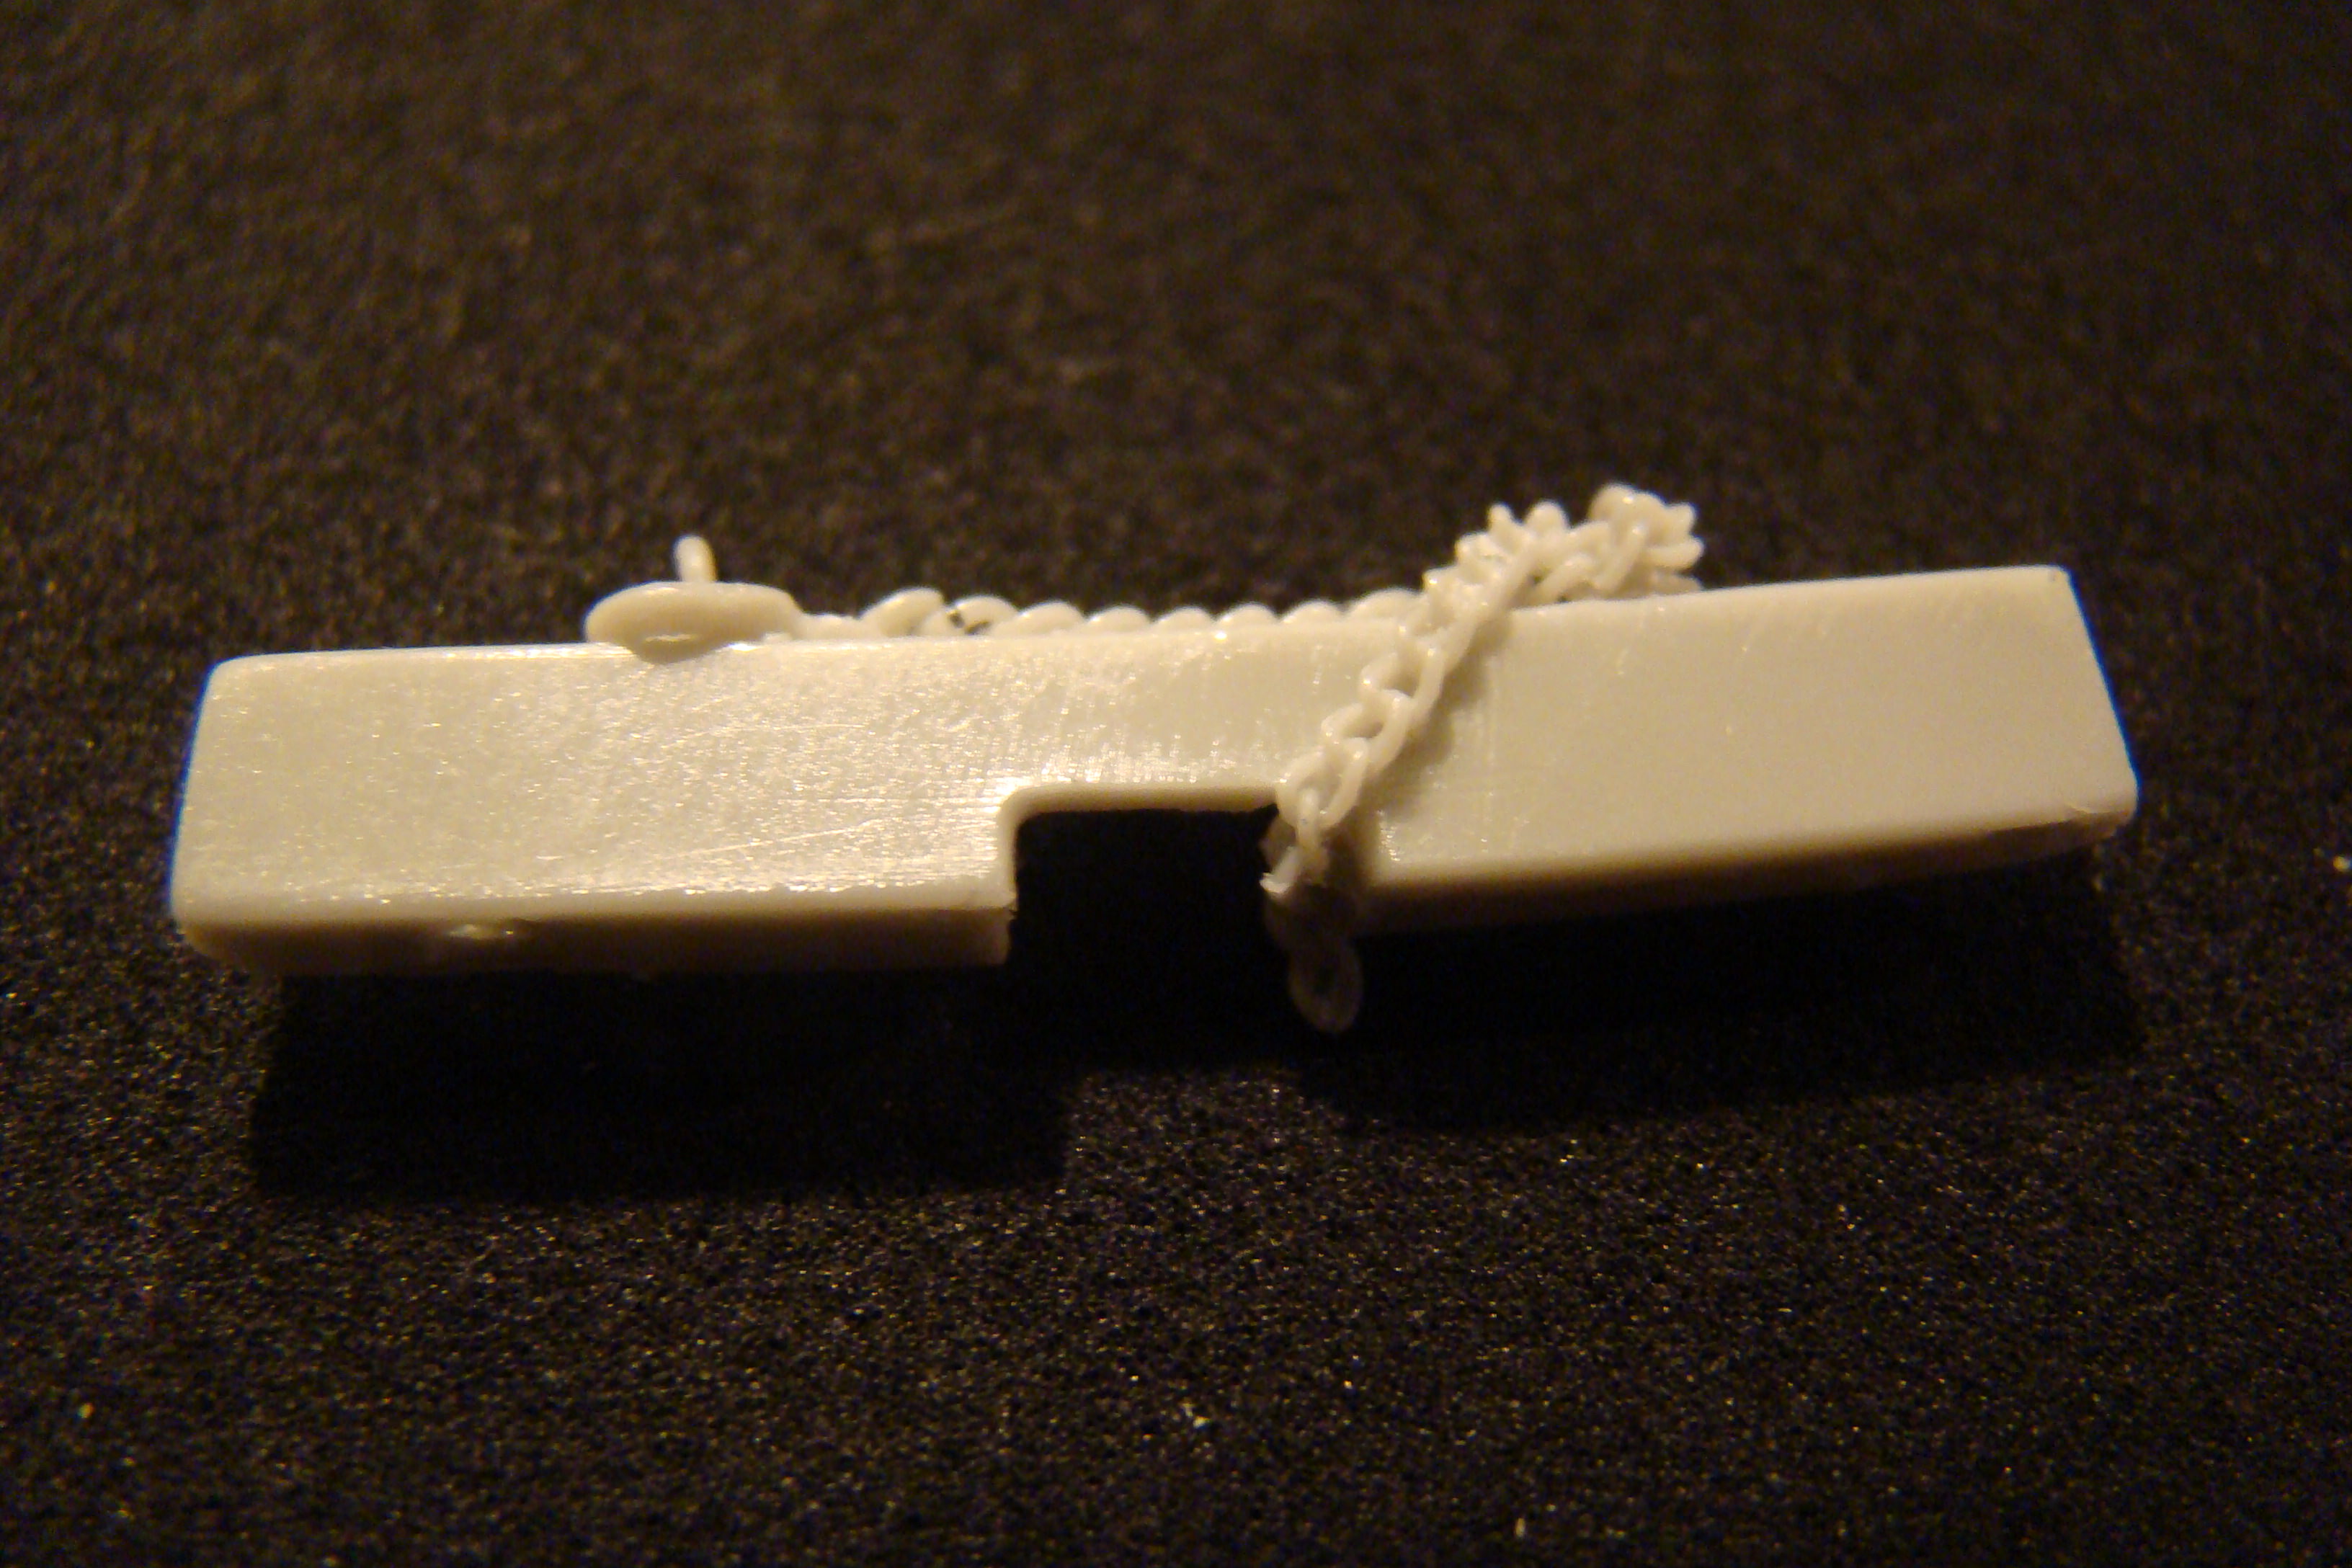
That's not lens distortion - that's a warped bumper. I'll add my own combat damage, thanks.
The winch housing is no better. In addition to being warped and inaccurate, its mount is completely fictional.
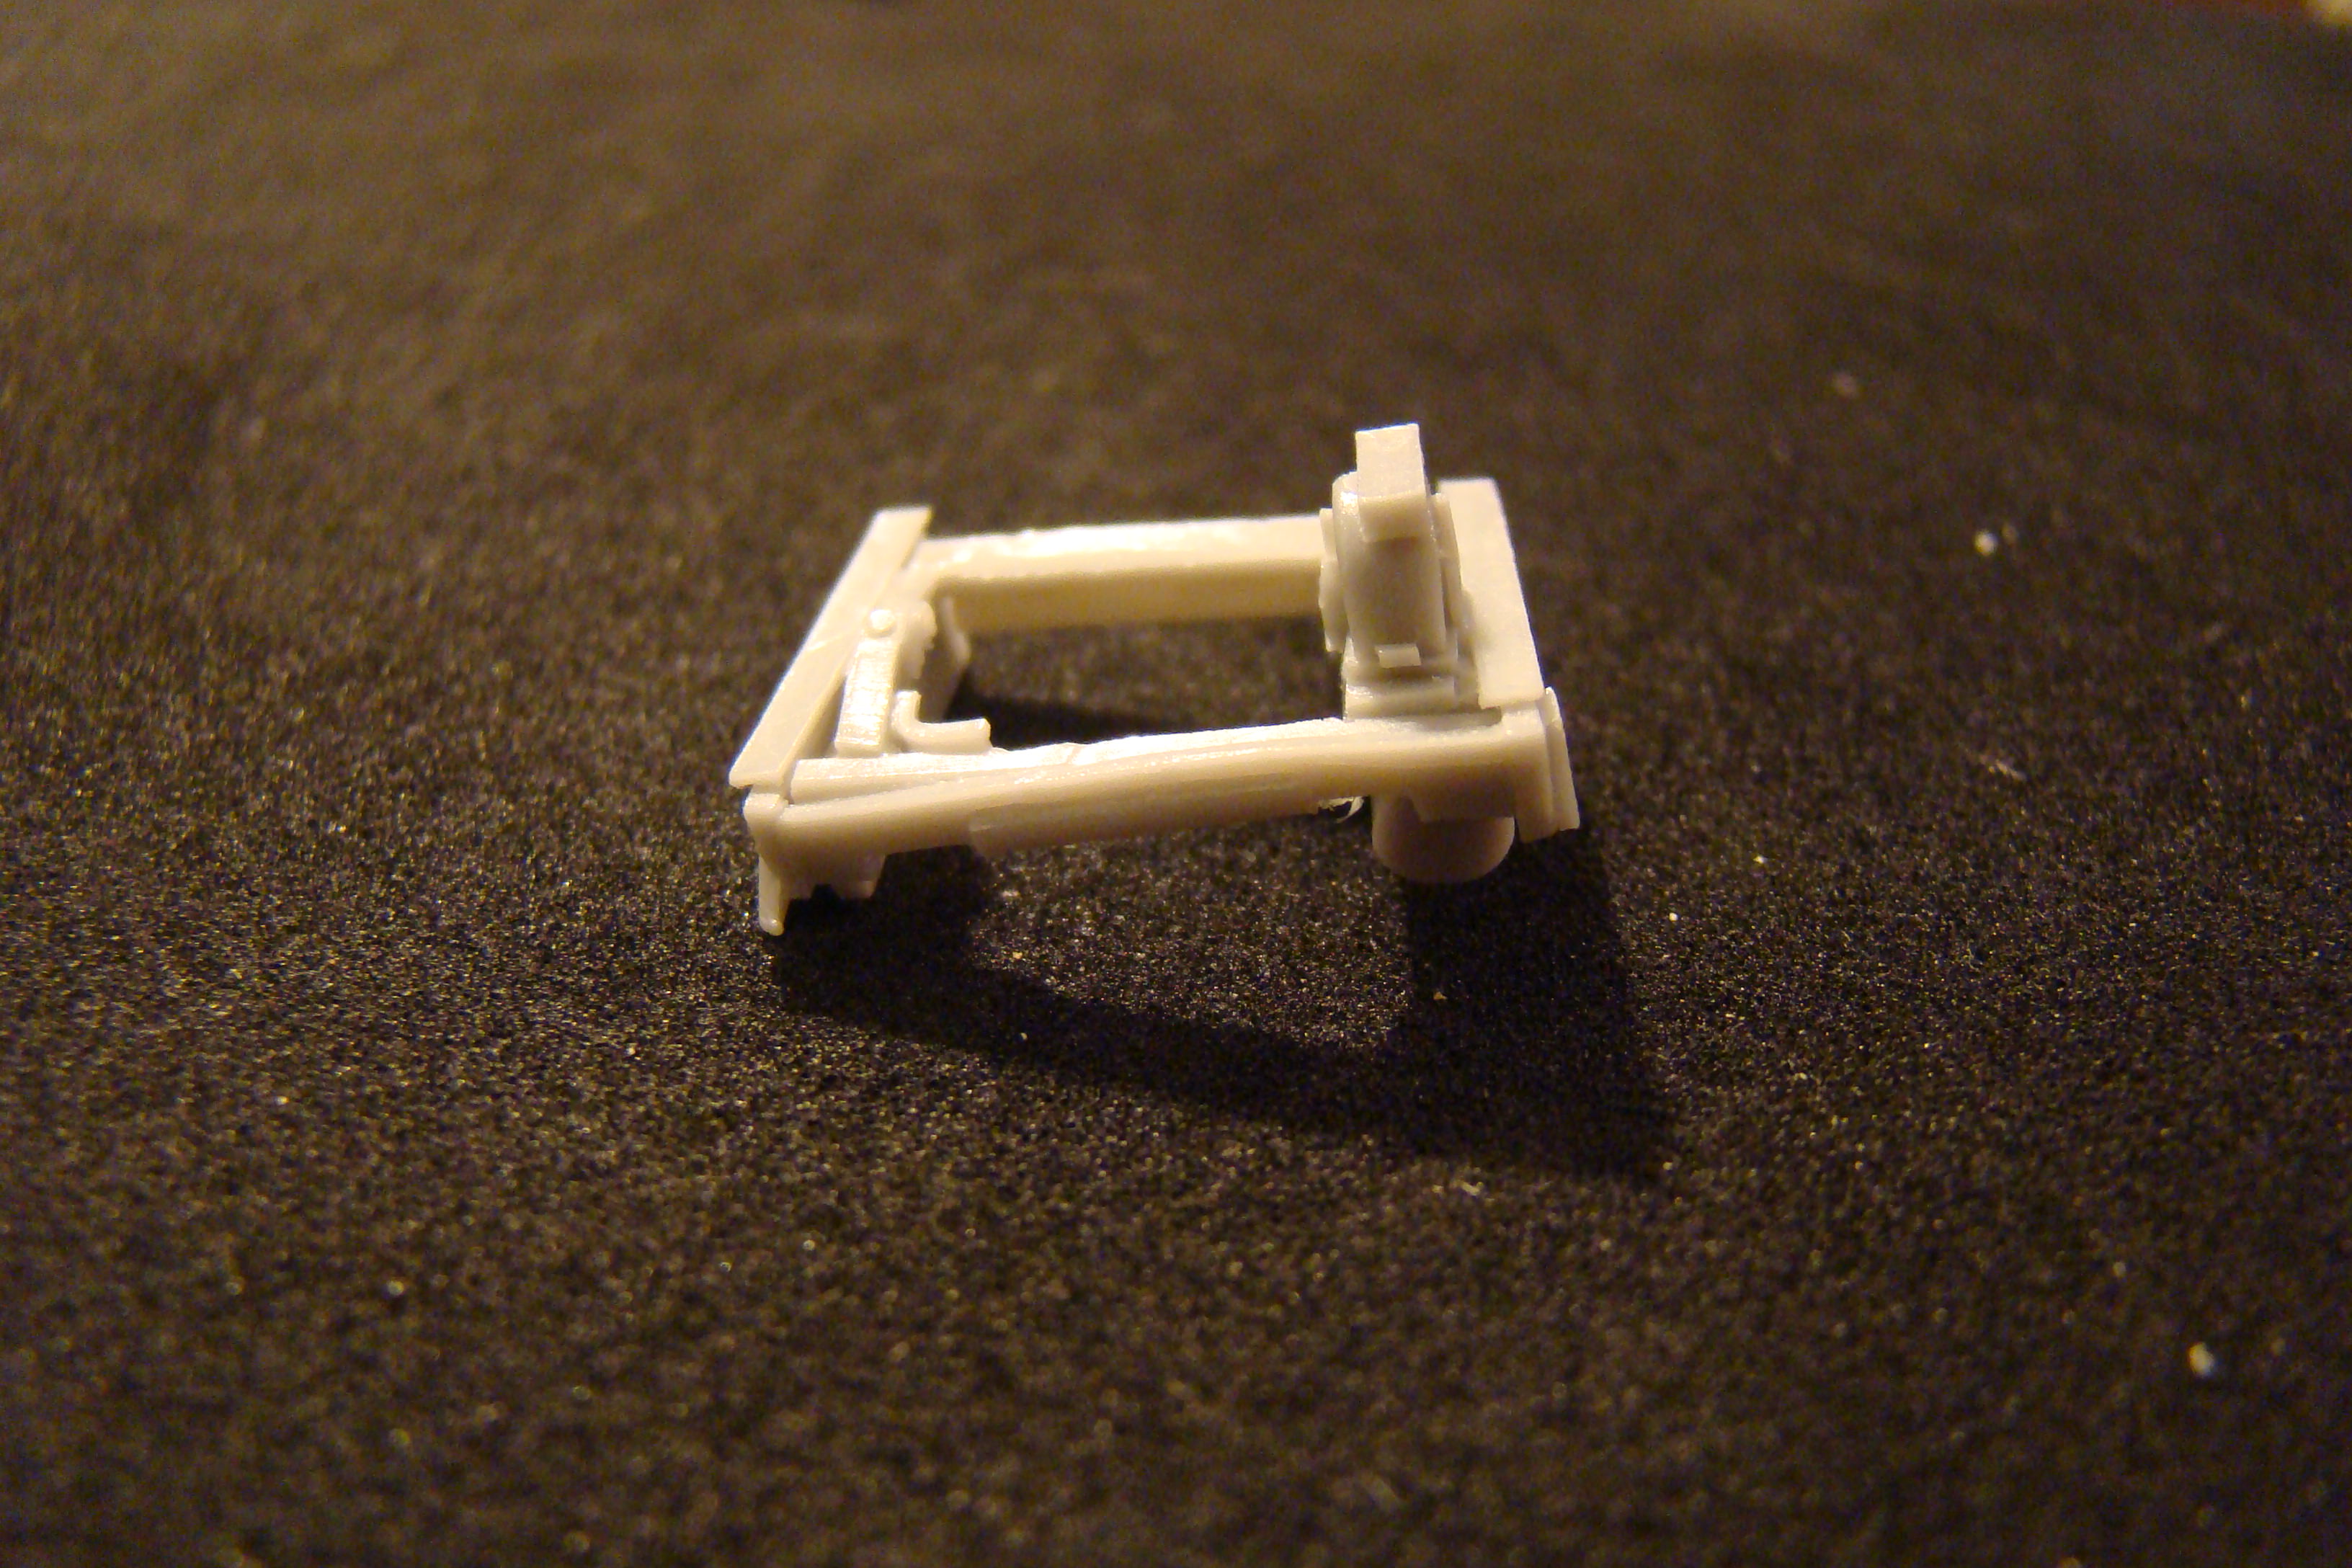
Thankfully those Infantry at Rest kits I have all come with extra Jerry cans, so I'll hide the mounts by putting a couple behind either side of the bumper.
Even the winch reel is a mess - incompletely cast. At least I can hide that by rotating it.
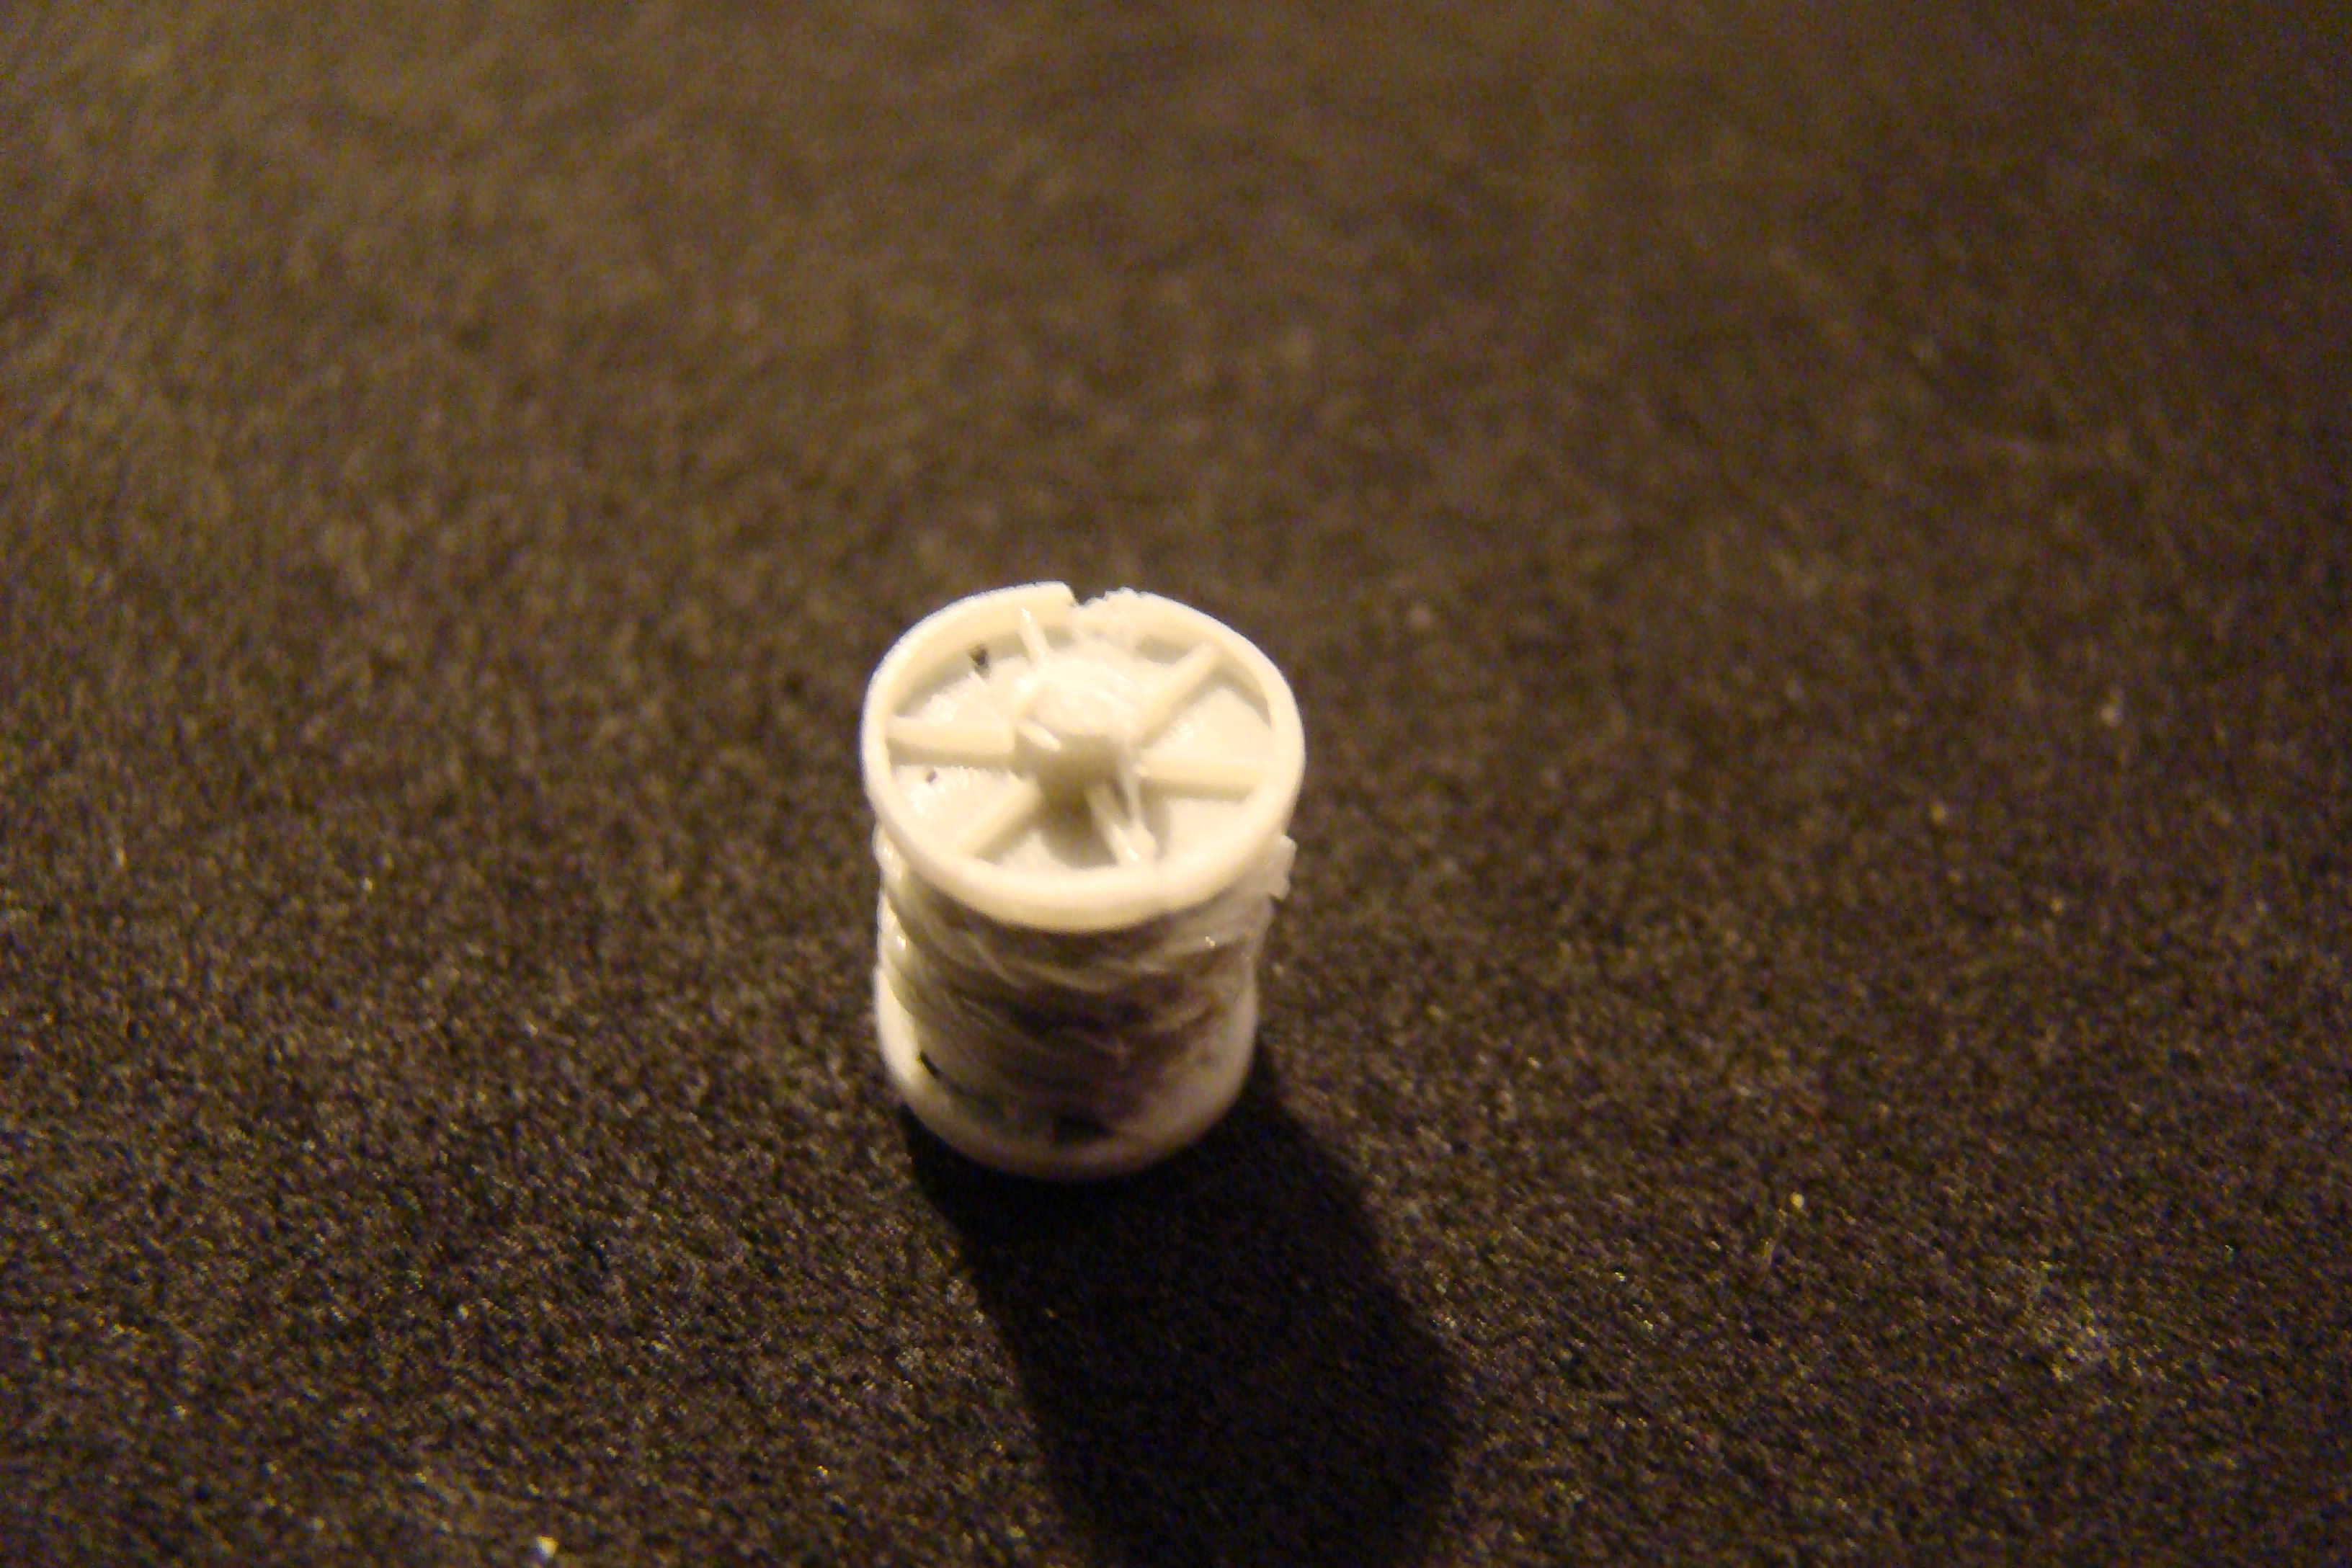
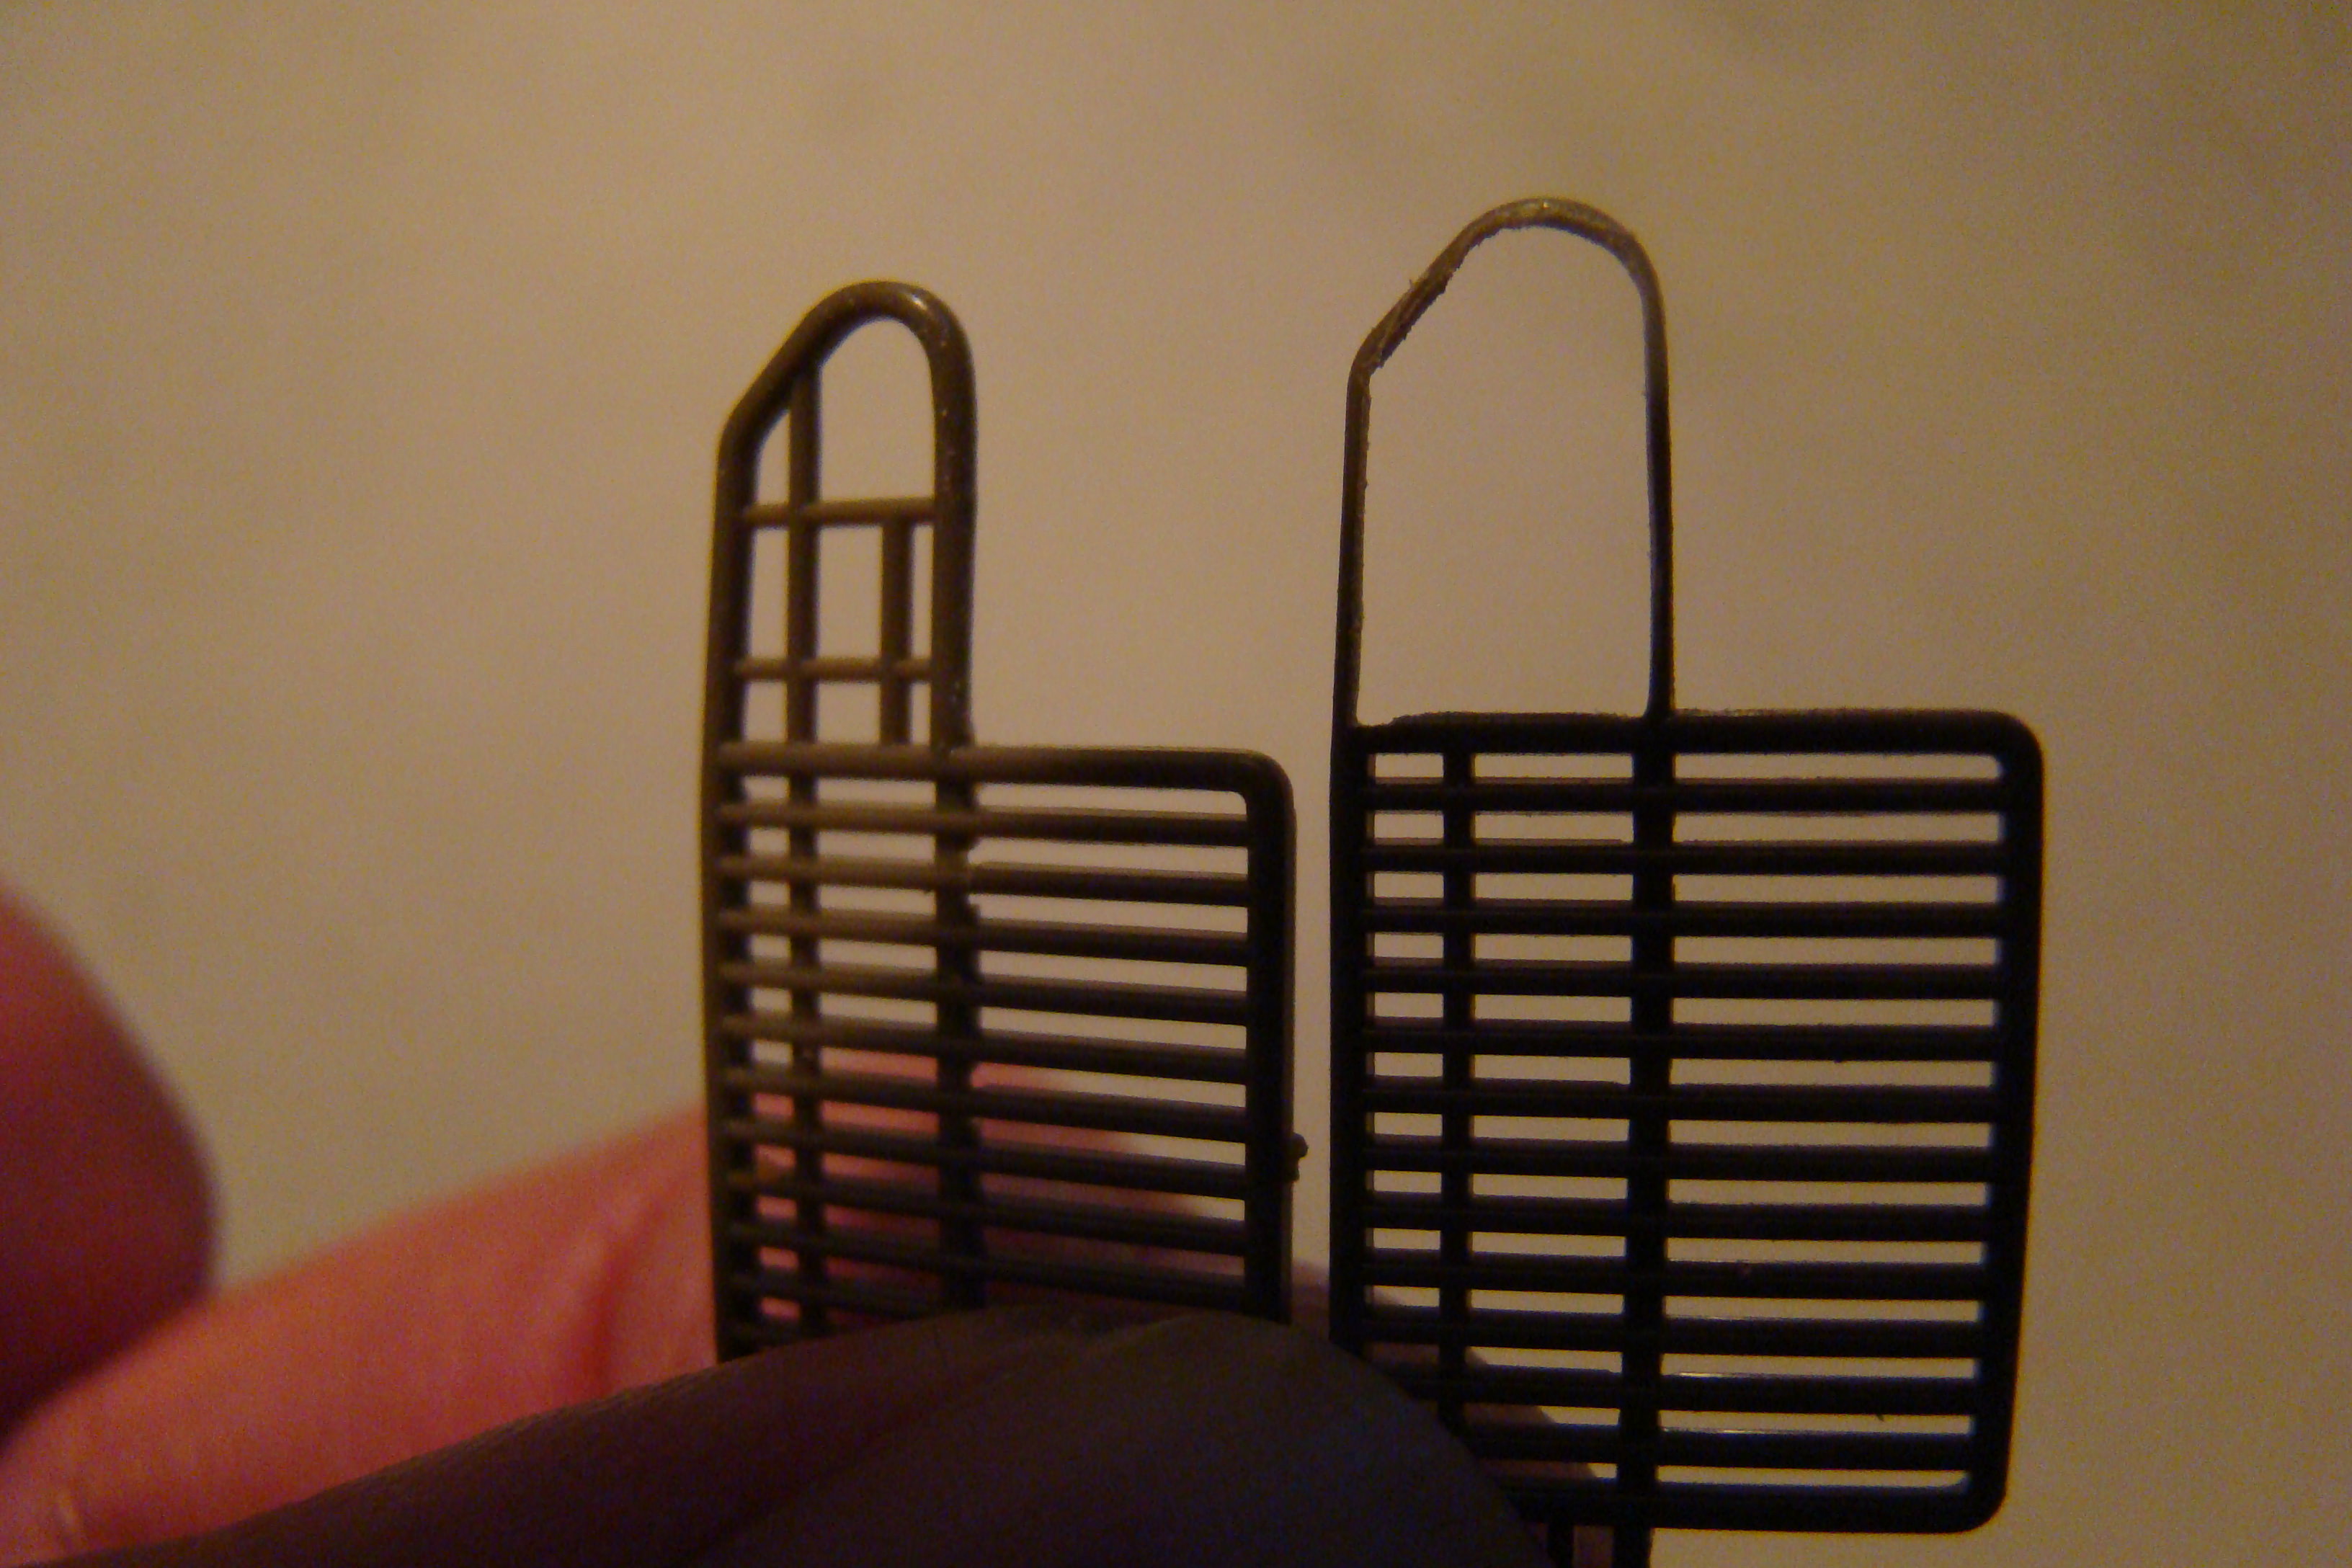
Now I can start a little extra detailing, beginning with the brush guards. This is a method I've been doing to 1/35 armor for about thirty years, so why not 1/48? Off to a good start:
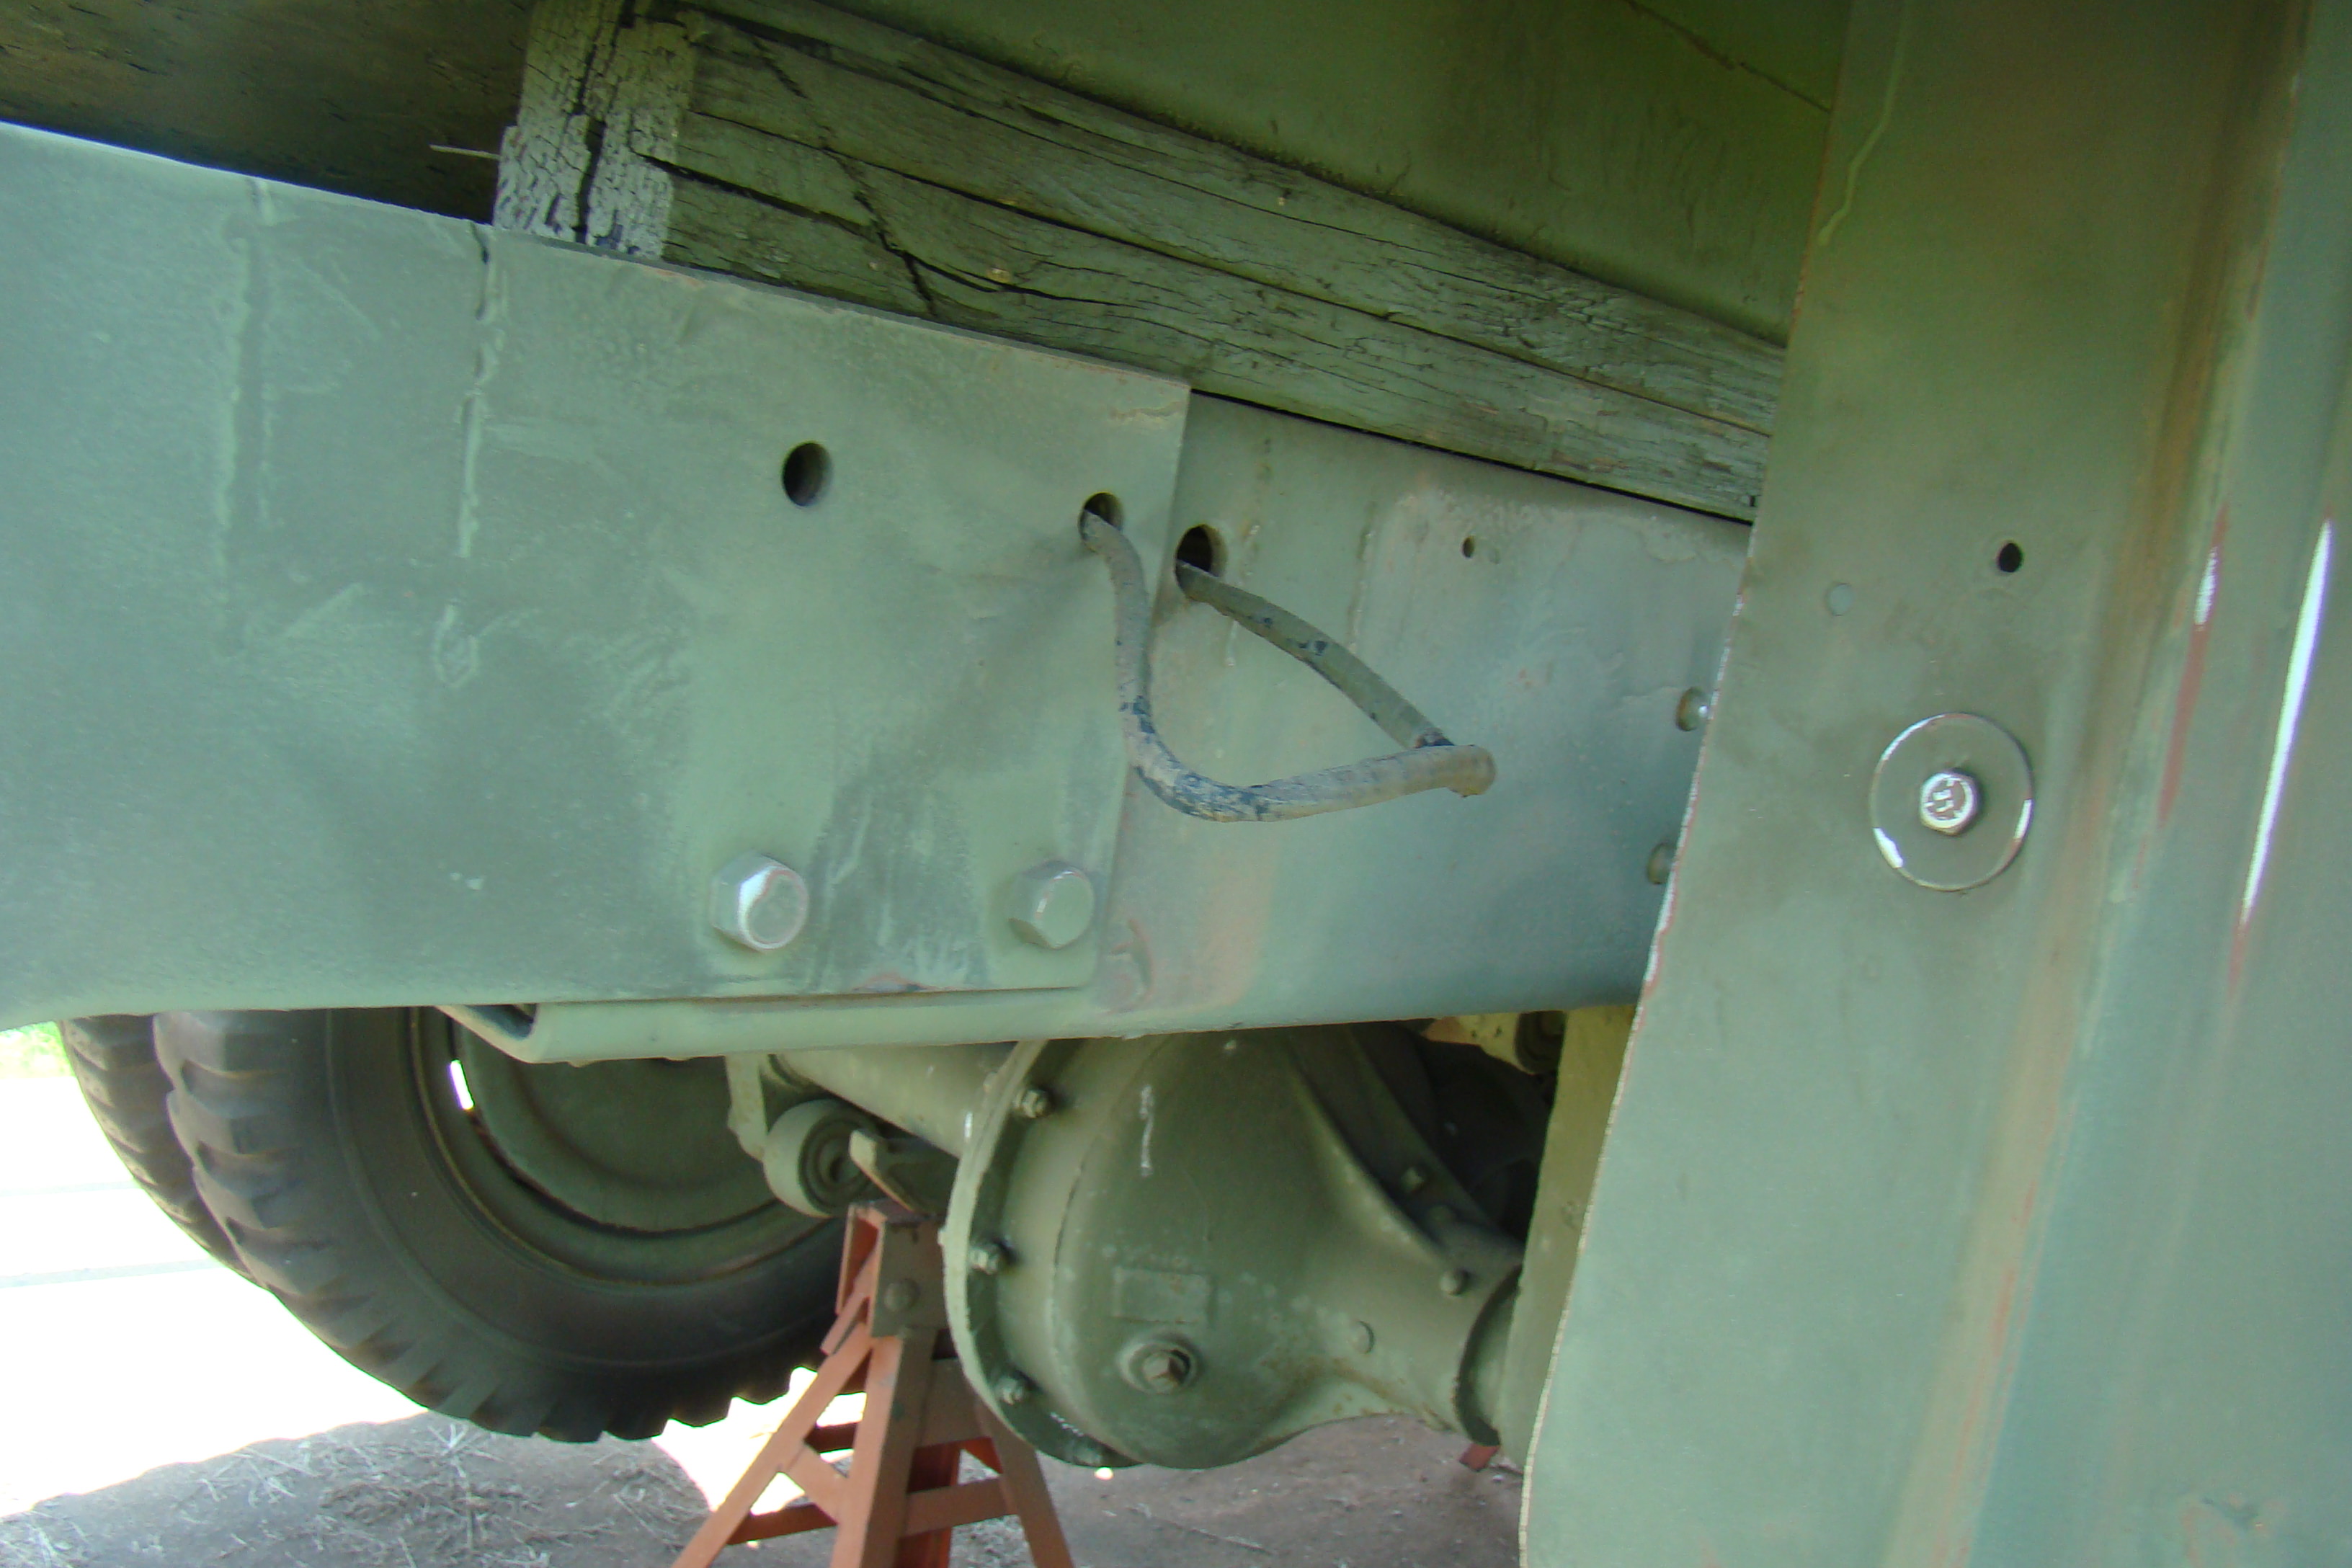
And of course a lot of underside detail, including the missing steering box and arm. Great review, by the way. I'm glad to know we used a lot of these during WWII...
A lot of it will go unseen, but the bolts on the differentials are always fun, because you can actually see them.
TTFN
18Bravo
Colorado, United States
Joined: January 20, 2005
KitMaker: 7,219 posts
Armorama: 6,097 posts
Joined: January 20, 2005
KitMaker: 7,219 posts
Armorama: 6,097 posts
Posted: Sunday, December 02, 2018 - 02:54 PM UTC
So to say I'm moving to 1/48 scale is not quite accurate.
I'm returning to 1/48 scale after, well, a few years.
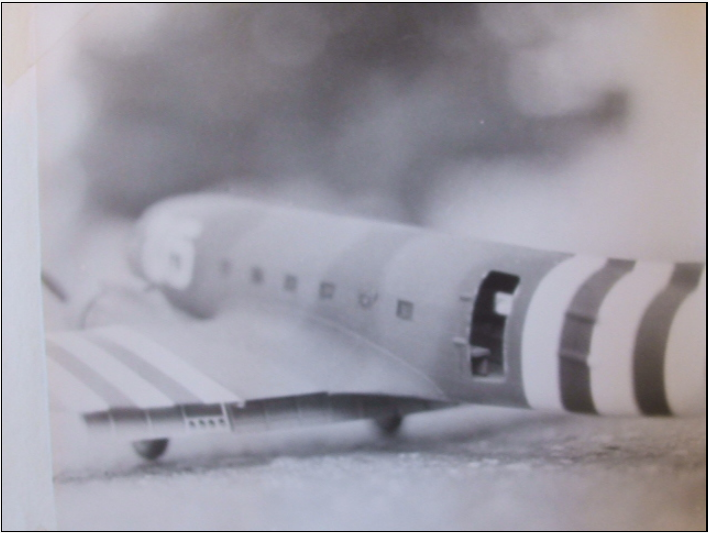
As a kid, I couldn't afford the Tamiya kits my friend on the next street could, so I had nearly every 1/48 Bandai kit there was. Later I was able to graduate to the Monogram 1/35 scale kits, where I became enamored with Shep Paine's diorama inserts. So much of what I still do now stems from things learned from him. My favorite was the C-47 diorama, which I copied as faithfully as I could. This photo is from when I was a 20 year old SF qualified paratrooper with 10th Group:
It's a WIP, but the model faithfully reproduces Shep's two tone paint job, scratch built flaps, and later, the bundles slung underneath the fuselage.
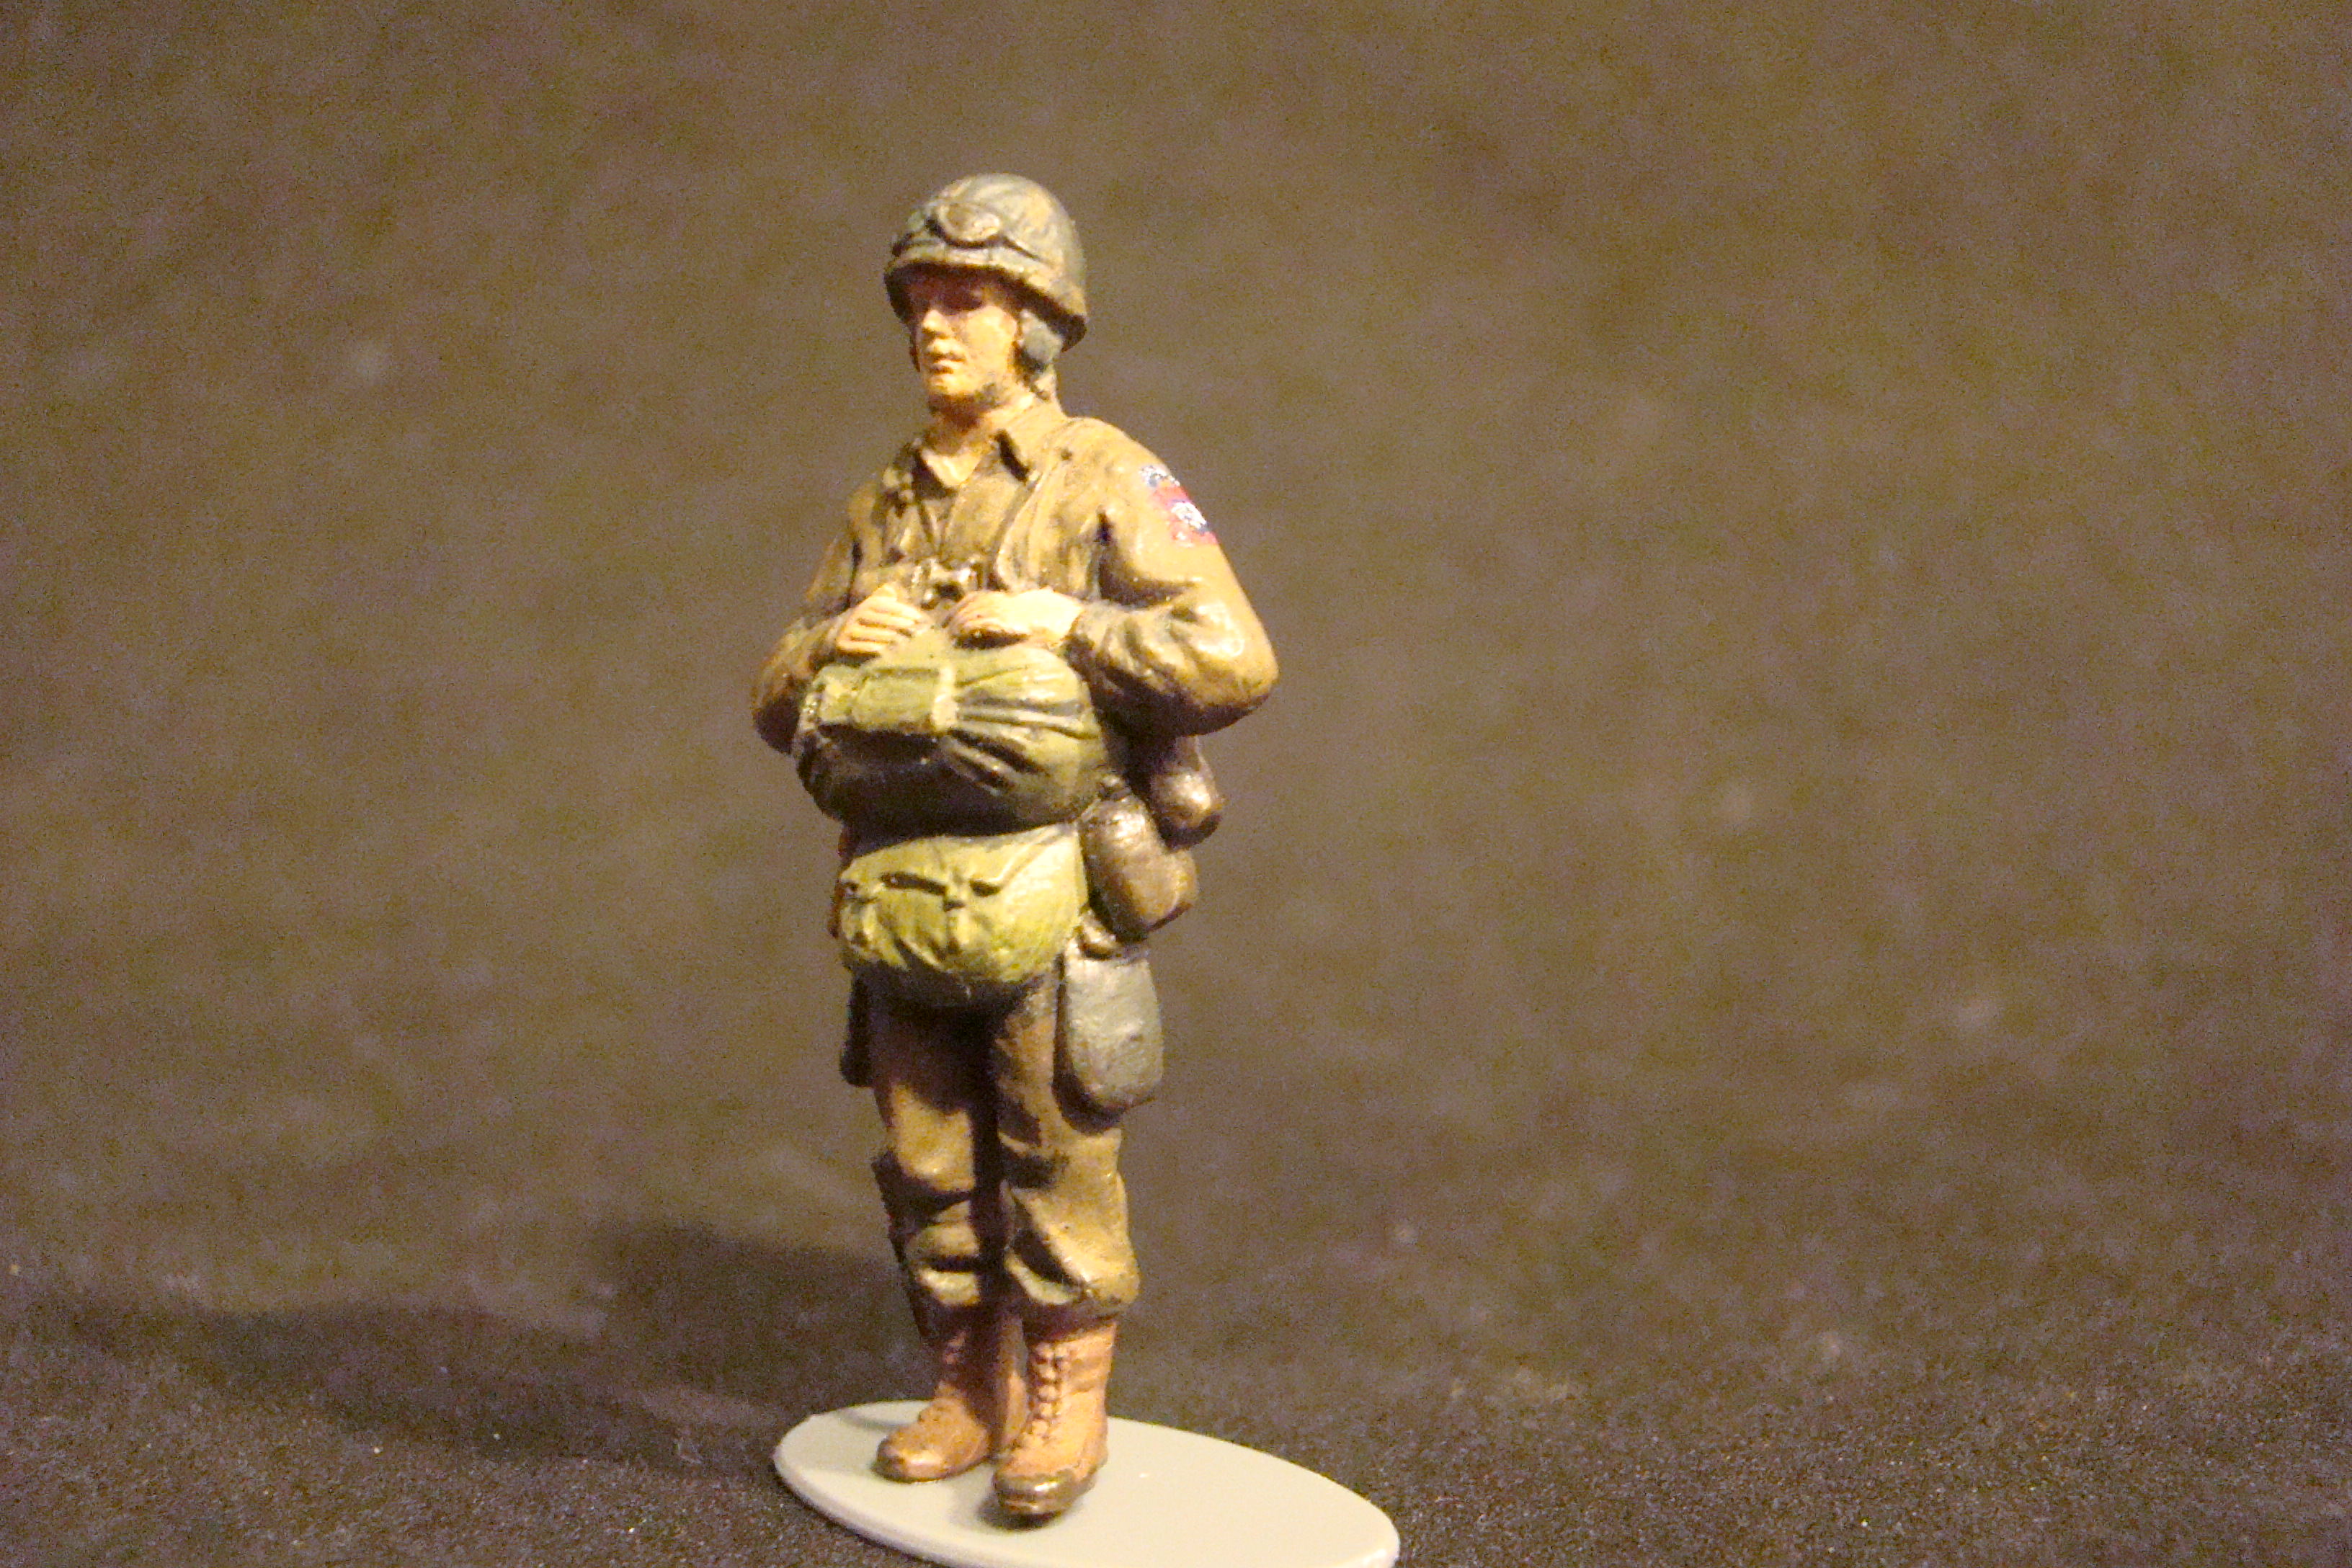
I even have a few of the figures still, with all of their inaccuracies - US flags and no Mae West vests:
As I'm sure many of you know, the kit came with nine paratrooper figures, three each of three slightly different poses. Unfortunately none have the the trooper's hand covering the reserve ripcord grip, which would have been very prototypical. The last thing you want is an accidental deployment, especially in the aircraft.
Having the arms molded to the bodies is a bit more work, but once again, Shep Paine was right - just turning their heads can add a lot of interest:
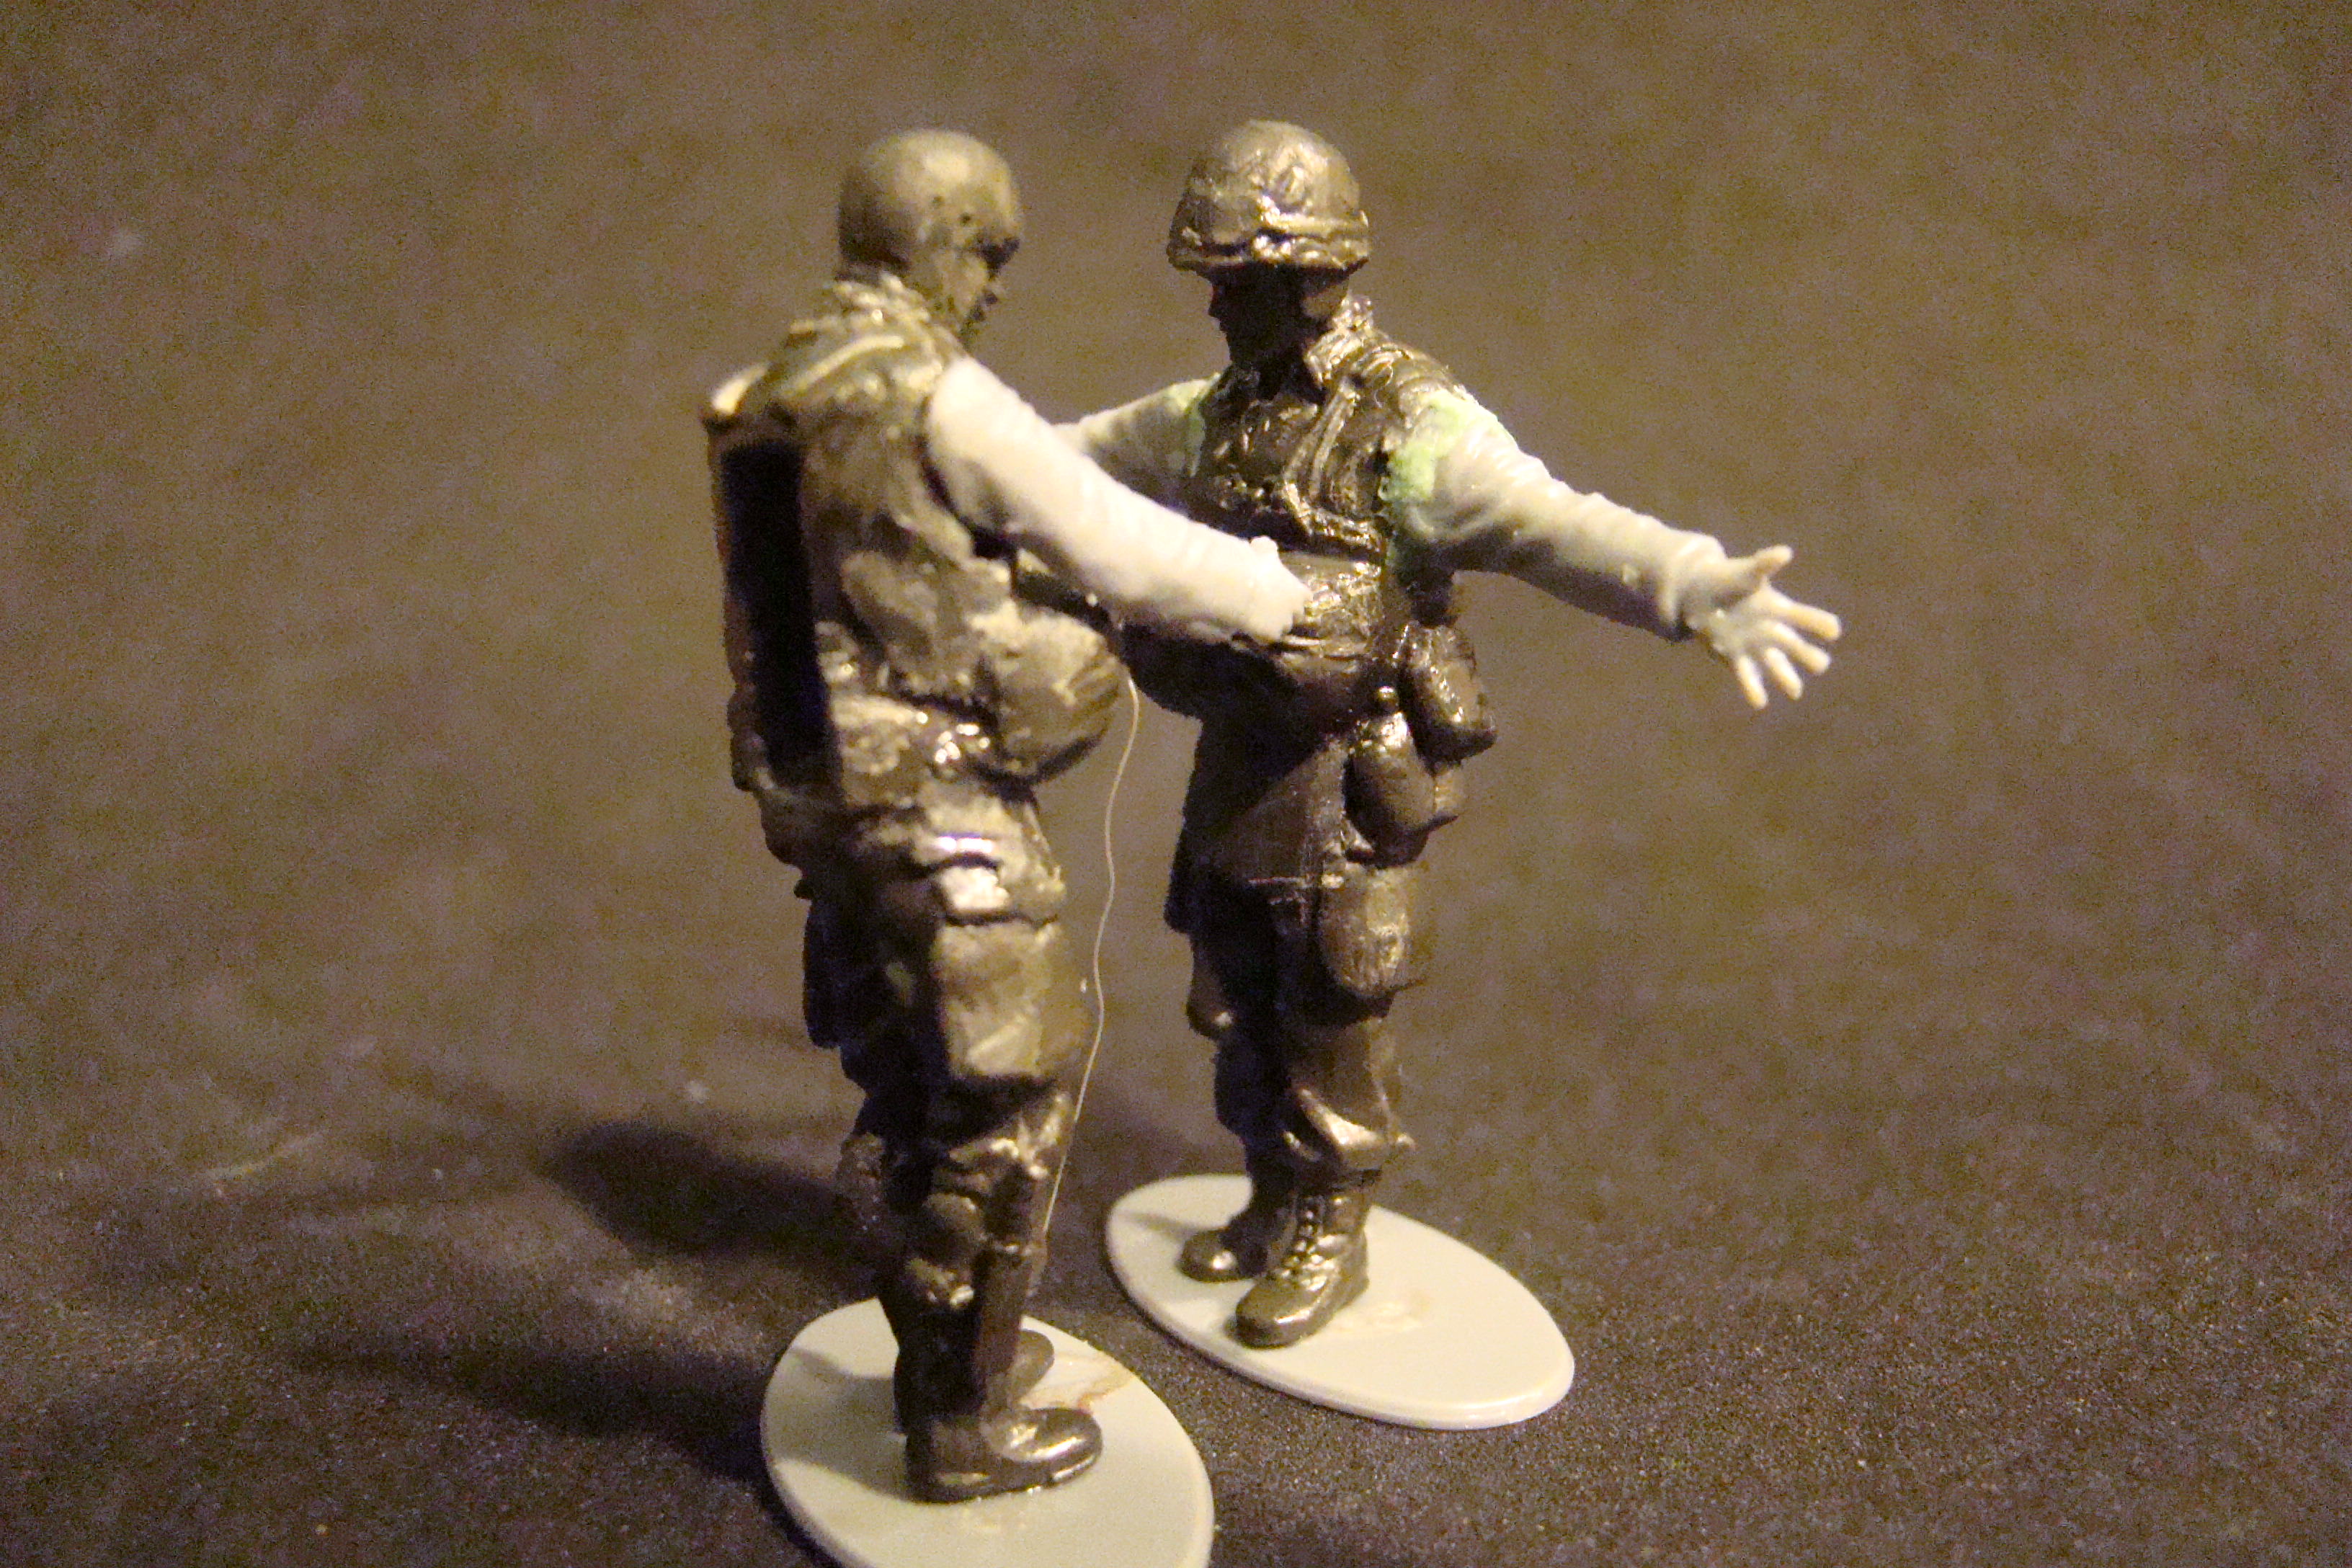
And tilting the helmet to make him "that guy" is kind of interesting as well:
I may have said the Tamiya figures are not compatible, but Revell and ICM arms work well, as does the equipment from the Tamiya Infantry set:
Hopefully the diorama will not include the dog hairs.
These are two of my favorites. The jumper on the right still gets a lot more equipment added to him, so I had to remove his musette bag. The jumpmaster will get some ears from a Revell figure, a more refined head, and a homemade grease gun.
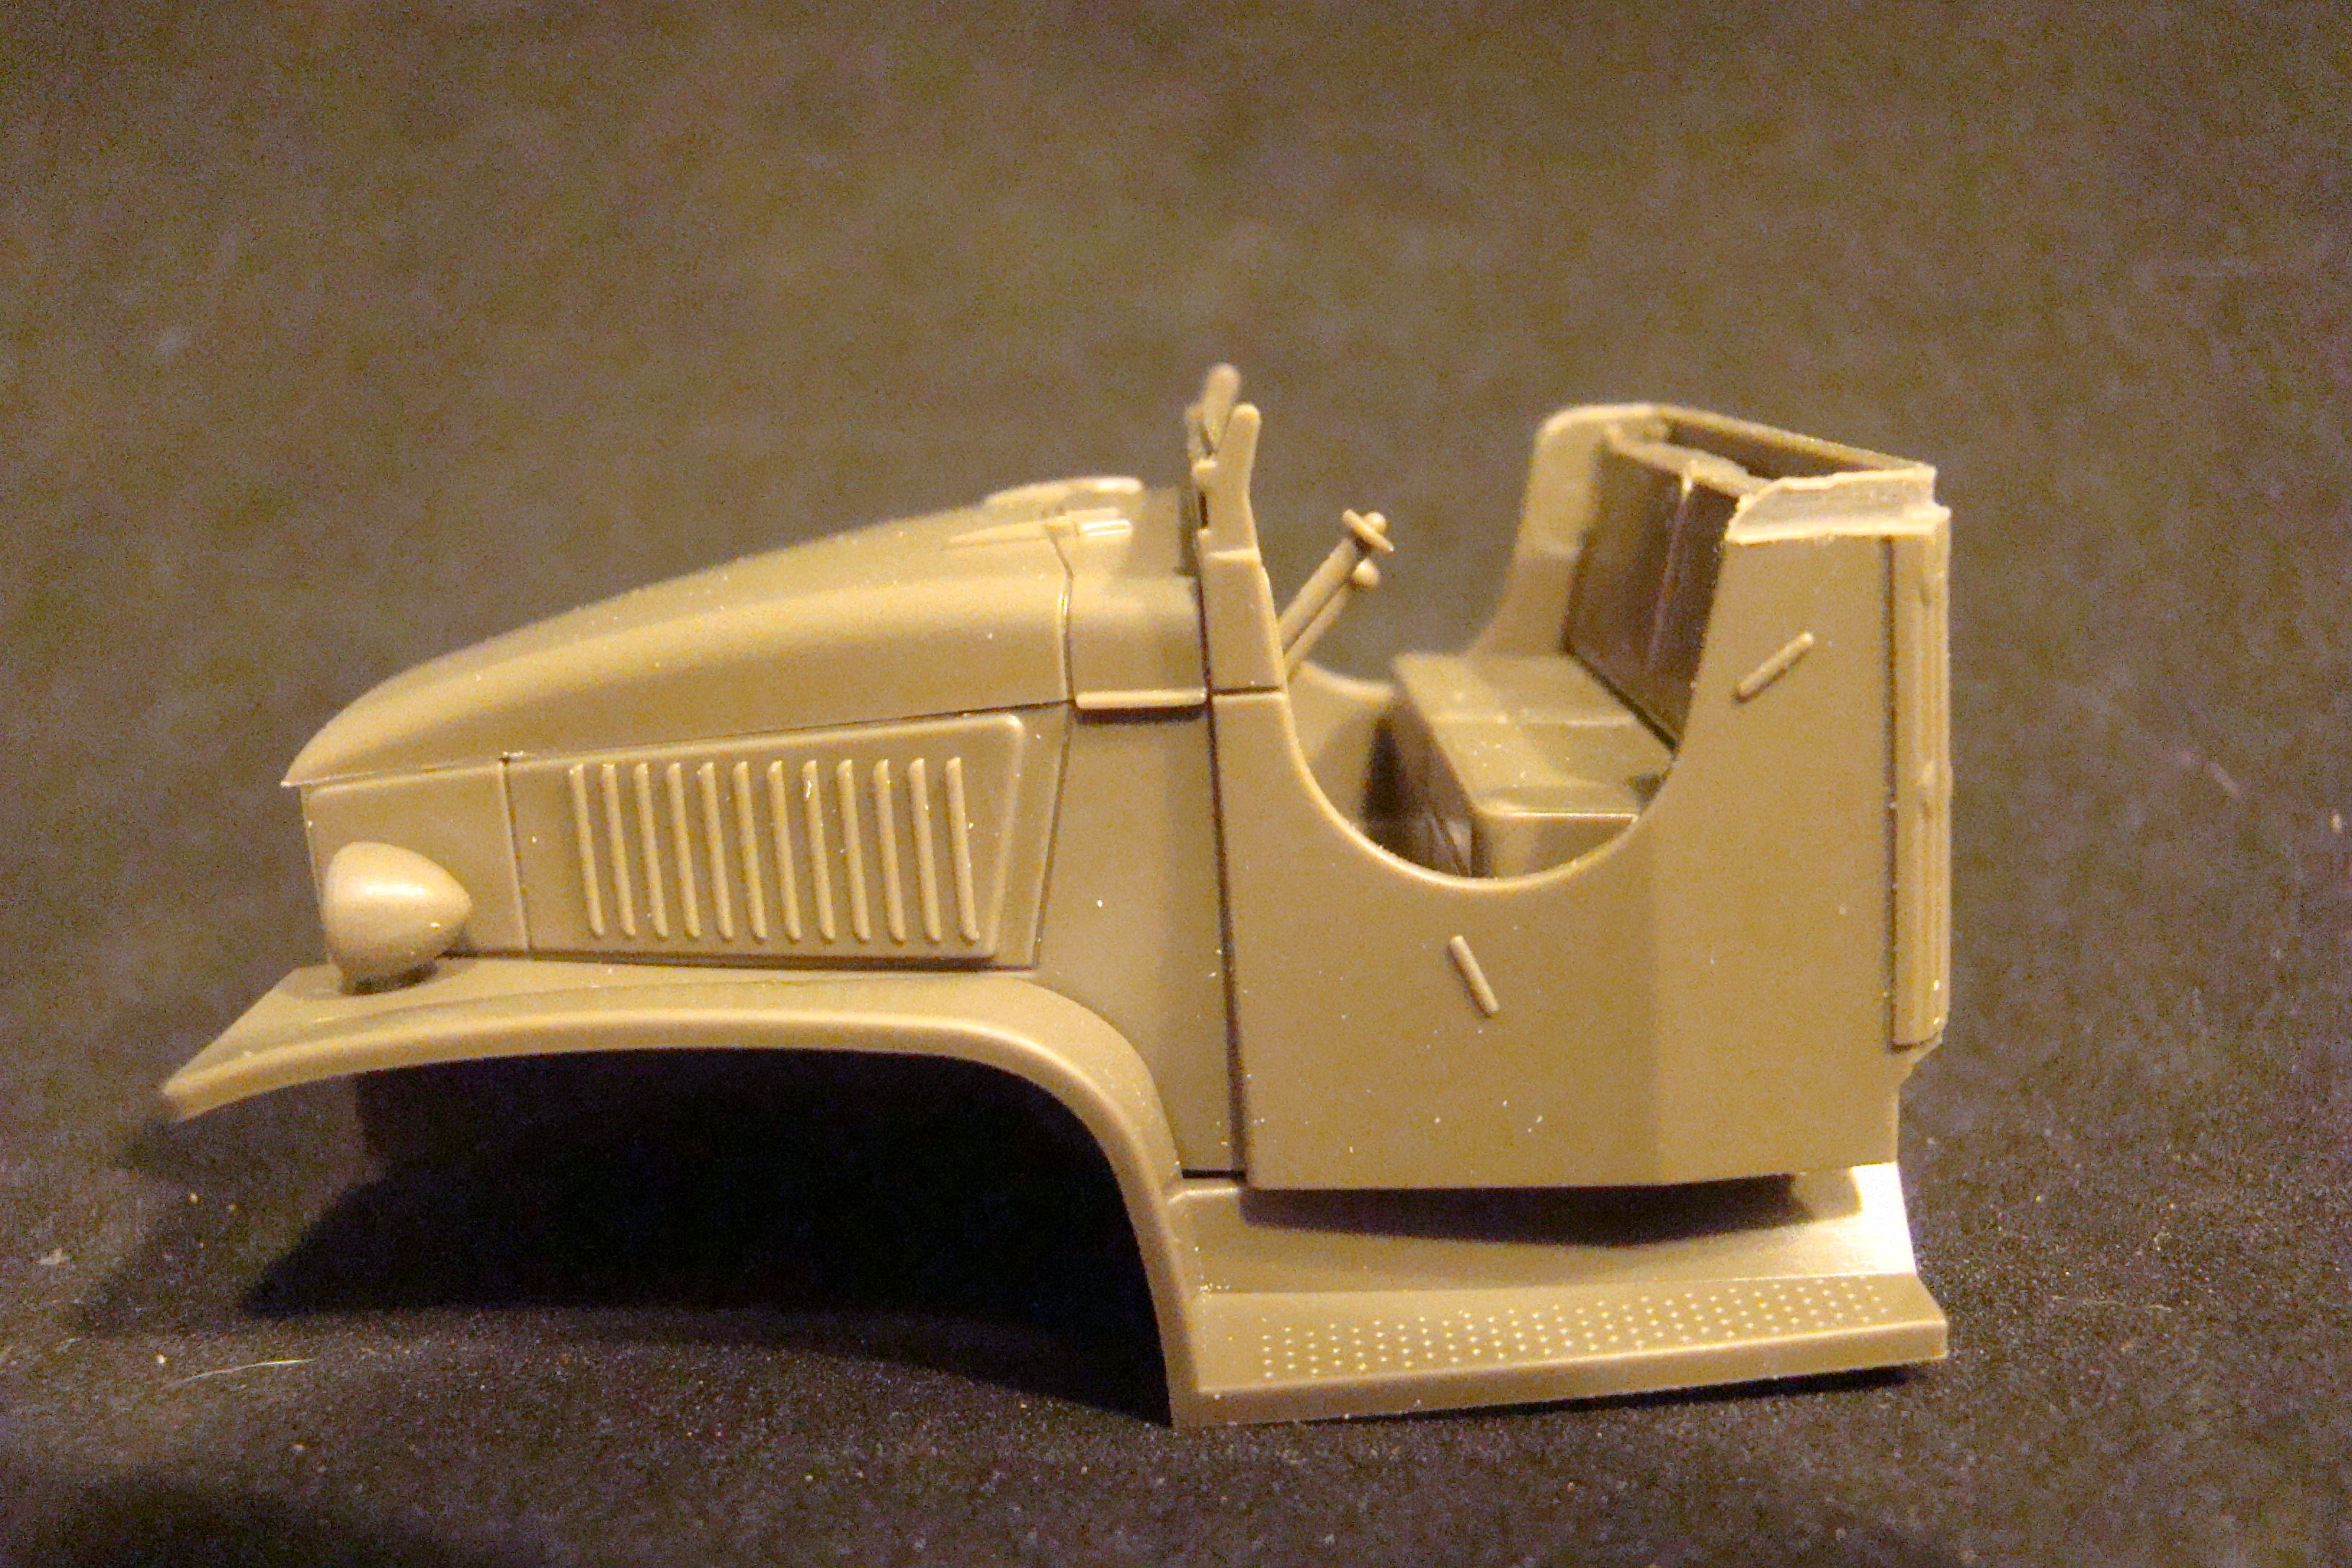
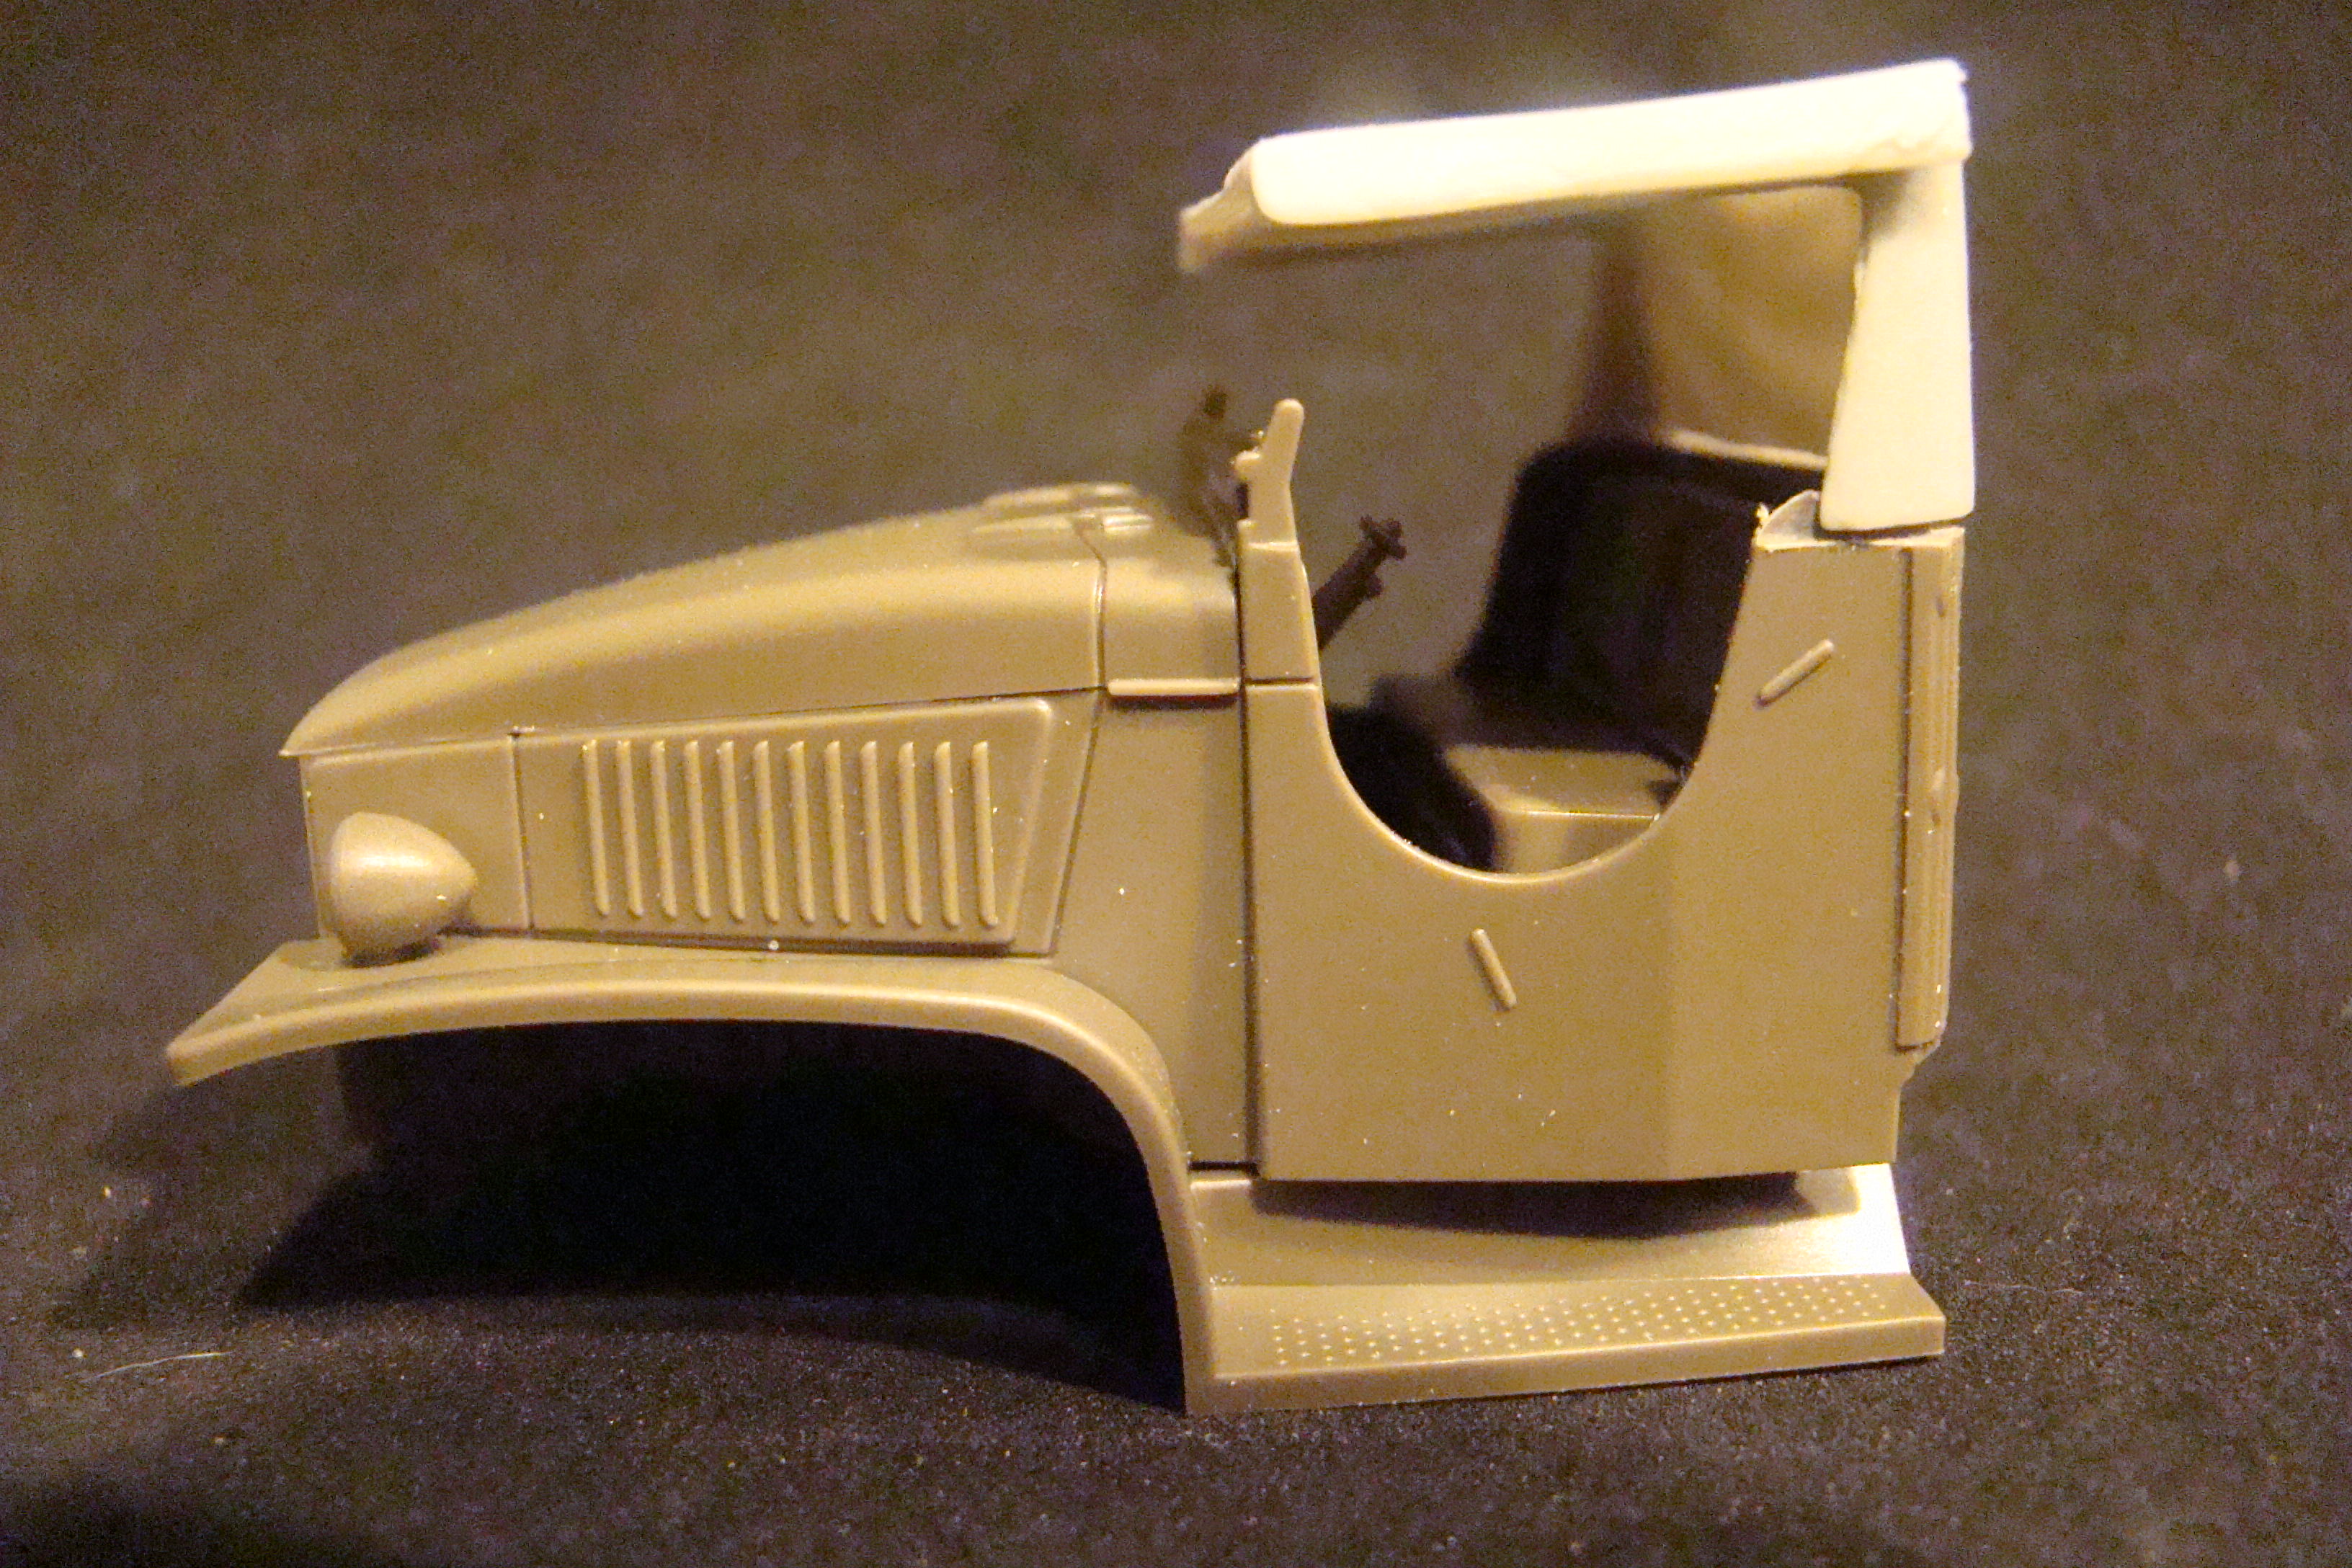
So that dio is making a little progress. The fuel truck is coming along as well. Once again, I can't say how disappointed I am in the Black Dog set - the canvass top was too narrow to fit on the cab. There's no way I wanted to thin the resin from inside and risk thinning it out too much, so filed a lip on the rear cab instead:
Now the canvass fits tightly enough no glue is yet necessary. I'll finish assembly once the windshield is installed and painted:
My fix may have other benefits as well - now that the canvass and the rear of the cab are almost flush with one another, the canvass doors should lie down flatter as well. Before they did not. Well, that's about all I can show for my efforts last week. Too many other things keep grabbing my attention, bike, gun, laser saber projects... And the 75th anniversary is just around the corner.
justsendit
Colorado, United States
Joined: February 24, 2014
KitMaker: 3,033 posts
Armorama: 2,492 posts
Joined: February 24, 2014
KitMaker: 3,033 posts
Armorama: 2,492 posts
Posted: Sunday, December 02, 2018 - 03:05 PM UTC
This one definitely grabs my attention... looking good so far! 🤩
Cheers!🍺
—mike
Cheers!🍺
—mike
panamadan
Minnesota, United States
Joined: July 20, 2004
KitMaker: 1,513 posts
Armorama: 1,449 posts
Joined: July 20, 2004
KitMaker: 1,513 posts
Armorama: 1,449 posts
Posted: Sunday, December 02, 2018 - 03:38 PM UTC
fun to watch.
Dan
Dan
18Bravo
Colorado, United States
Joined: January 20, 2005
KitMaker: 7,219 posts
Armorama: 6,097 posts
Joined: January 20, 2005
KitMaker: 7,219 posts
Armorama: 6,097 posts
Posted: Wednesday, December 12, 2018 - 01:33 PM UTC
I few more sticks of paratroopers found the DZ thanks to Kevlar06. Time to get back track or we'll never beat back the Germans. Speaking of whom, Revell makes this little set I couldn't pass up:
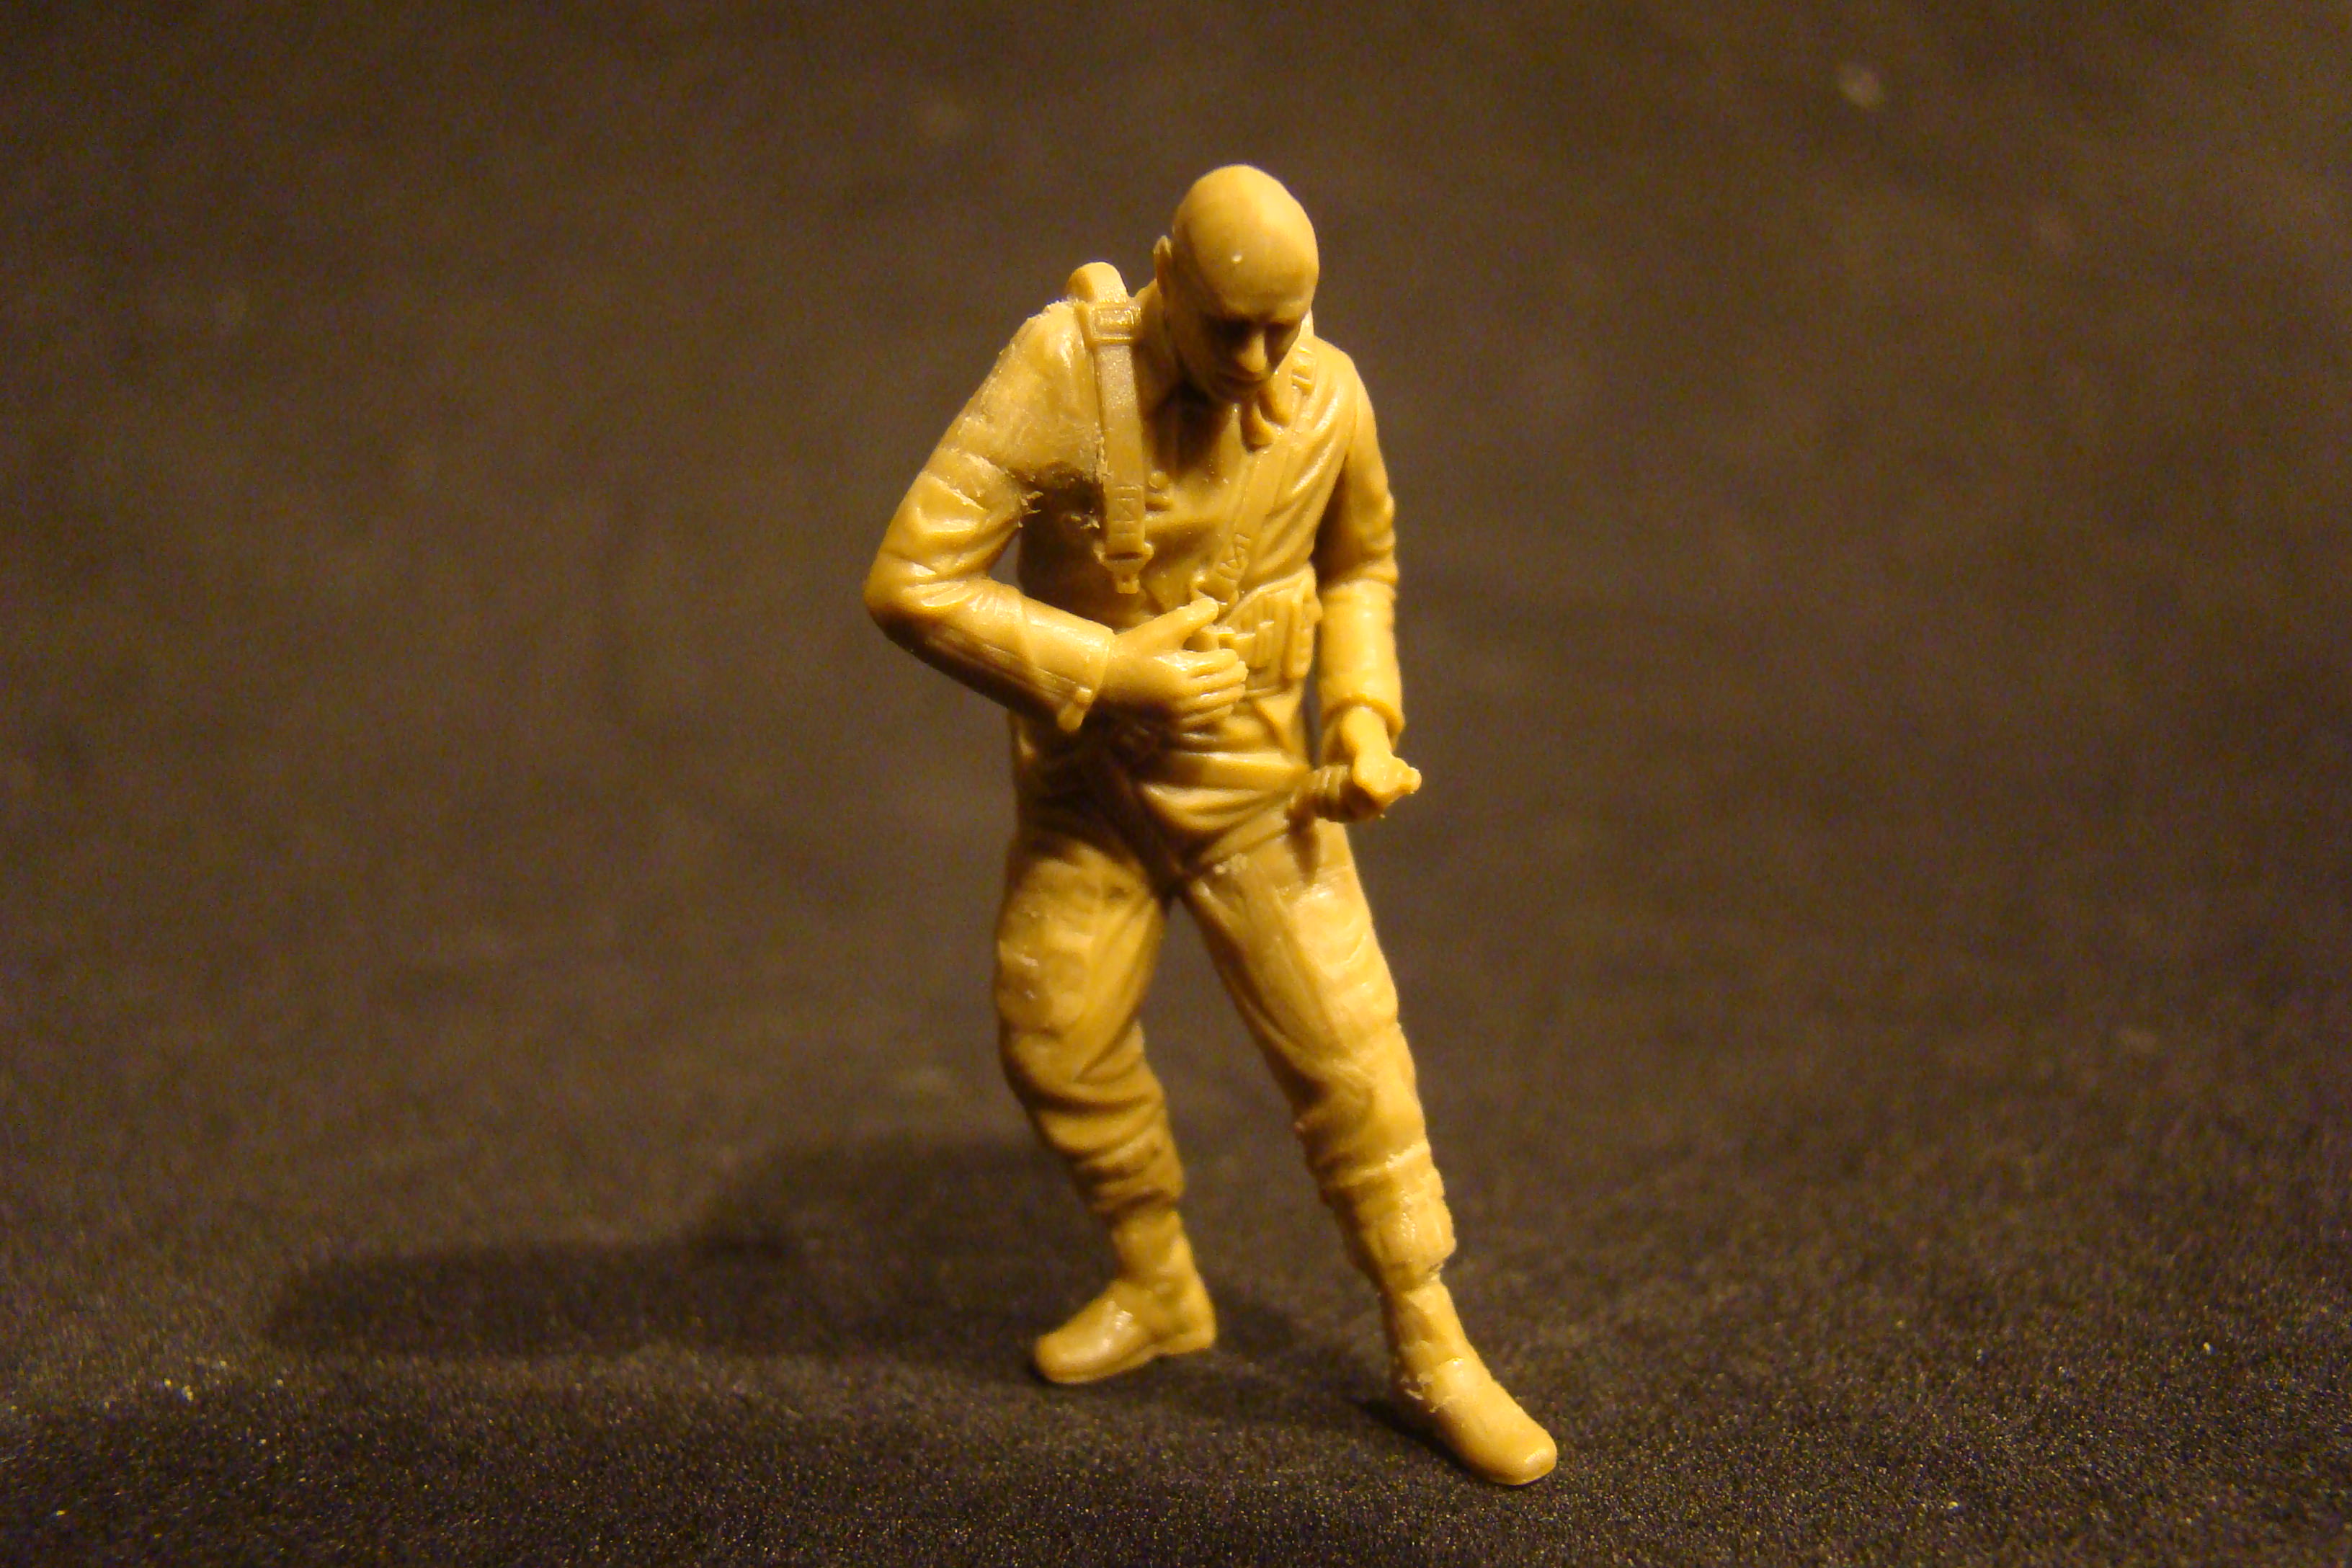
So once again a little surgery required to turn German pilot boots into US jump boots. Add a new head ripe for a Mohawk, and there's another trooper. Although designed for a different parachute, the Monogram one will look fine once added on. A leg strap is a leg strap no matter what:
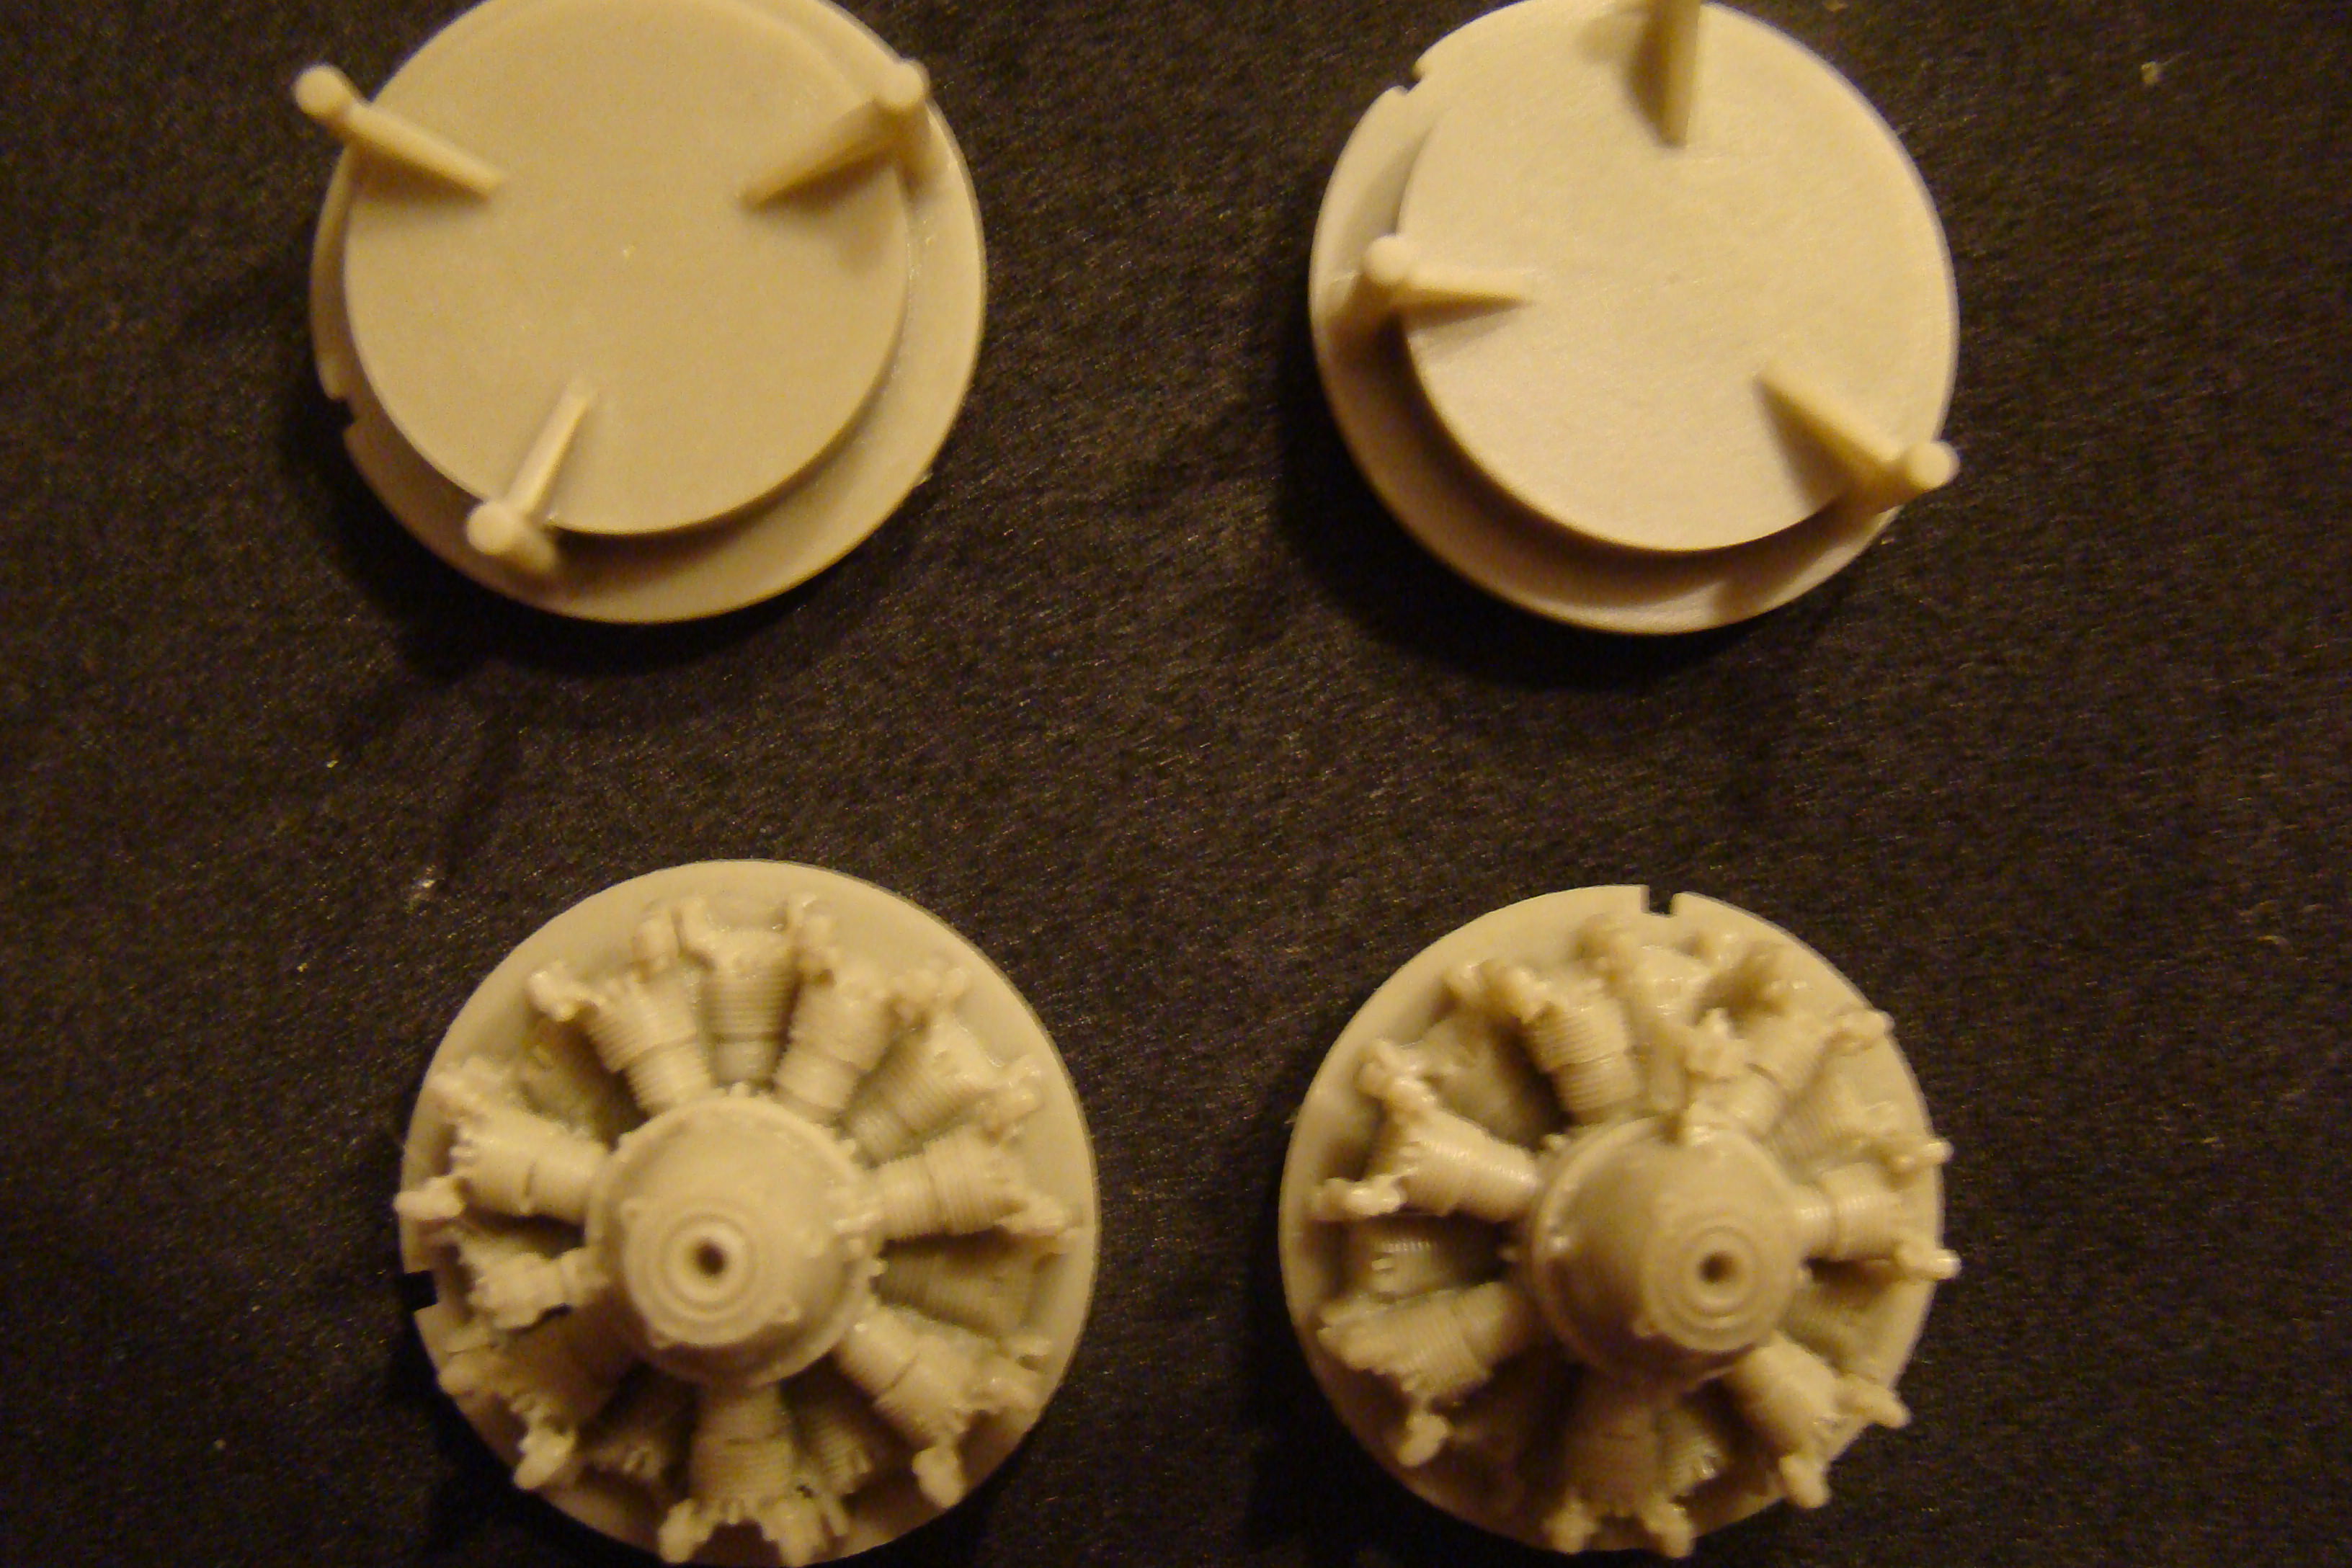
Now on to the main attraction - that aircraft refueler needs something to refuel. Monogram or Trumpeter? I have two Monogram kits and a Trumpeter kit, but the Trumpeter kit has post war props among other deficiencies, so it's the good old Monogram kit for now. I purchased these resin engines for it, but they lack push rods and spark plug wires. I may as well have just detailed the kit parts.
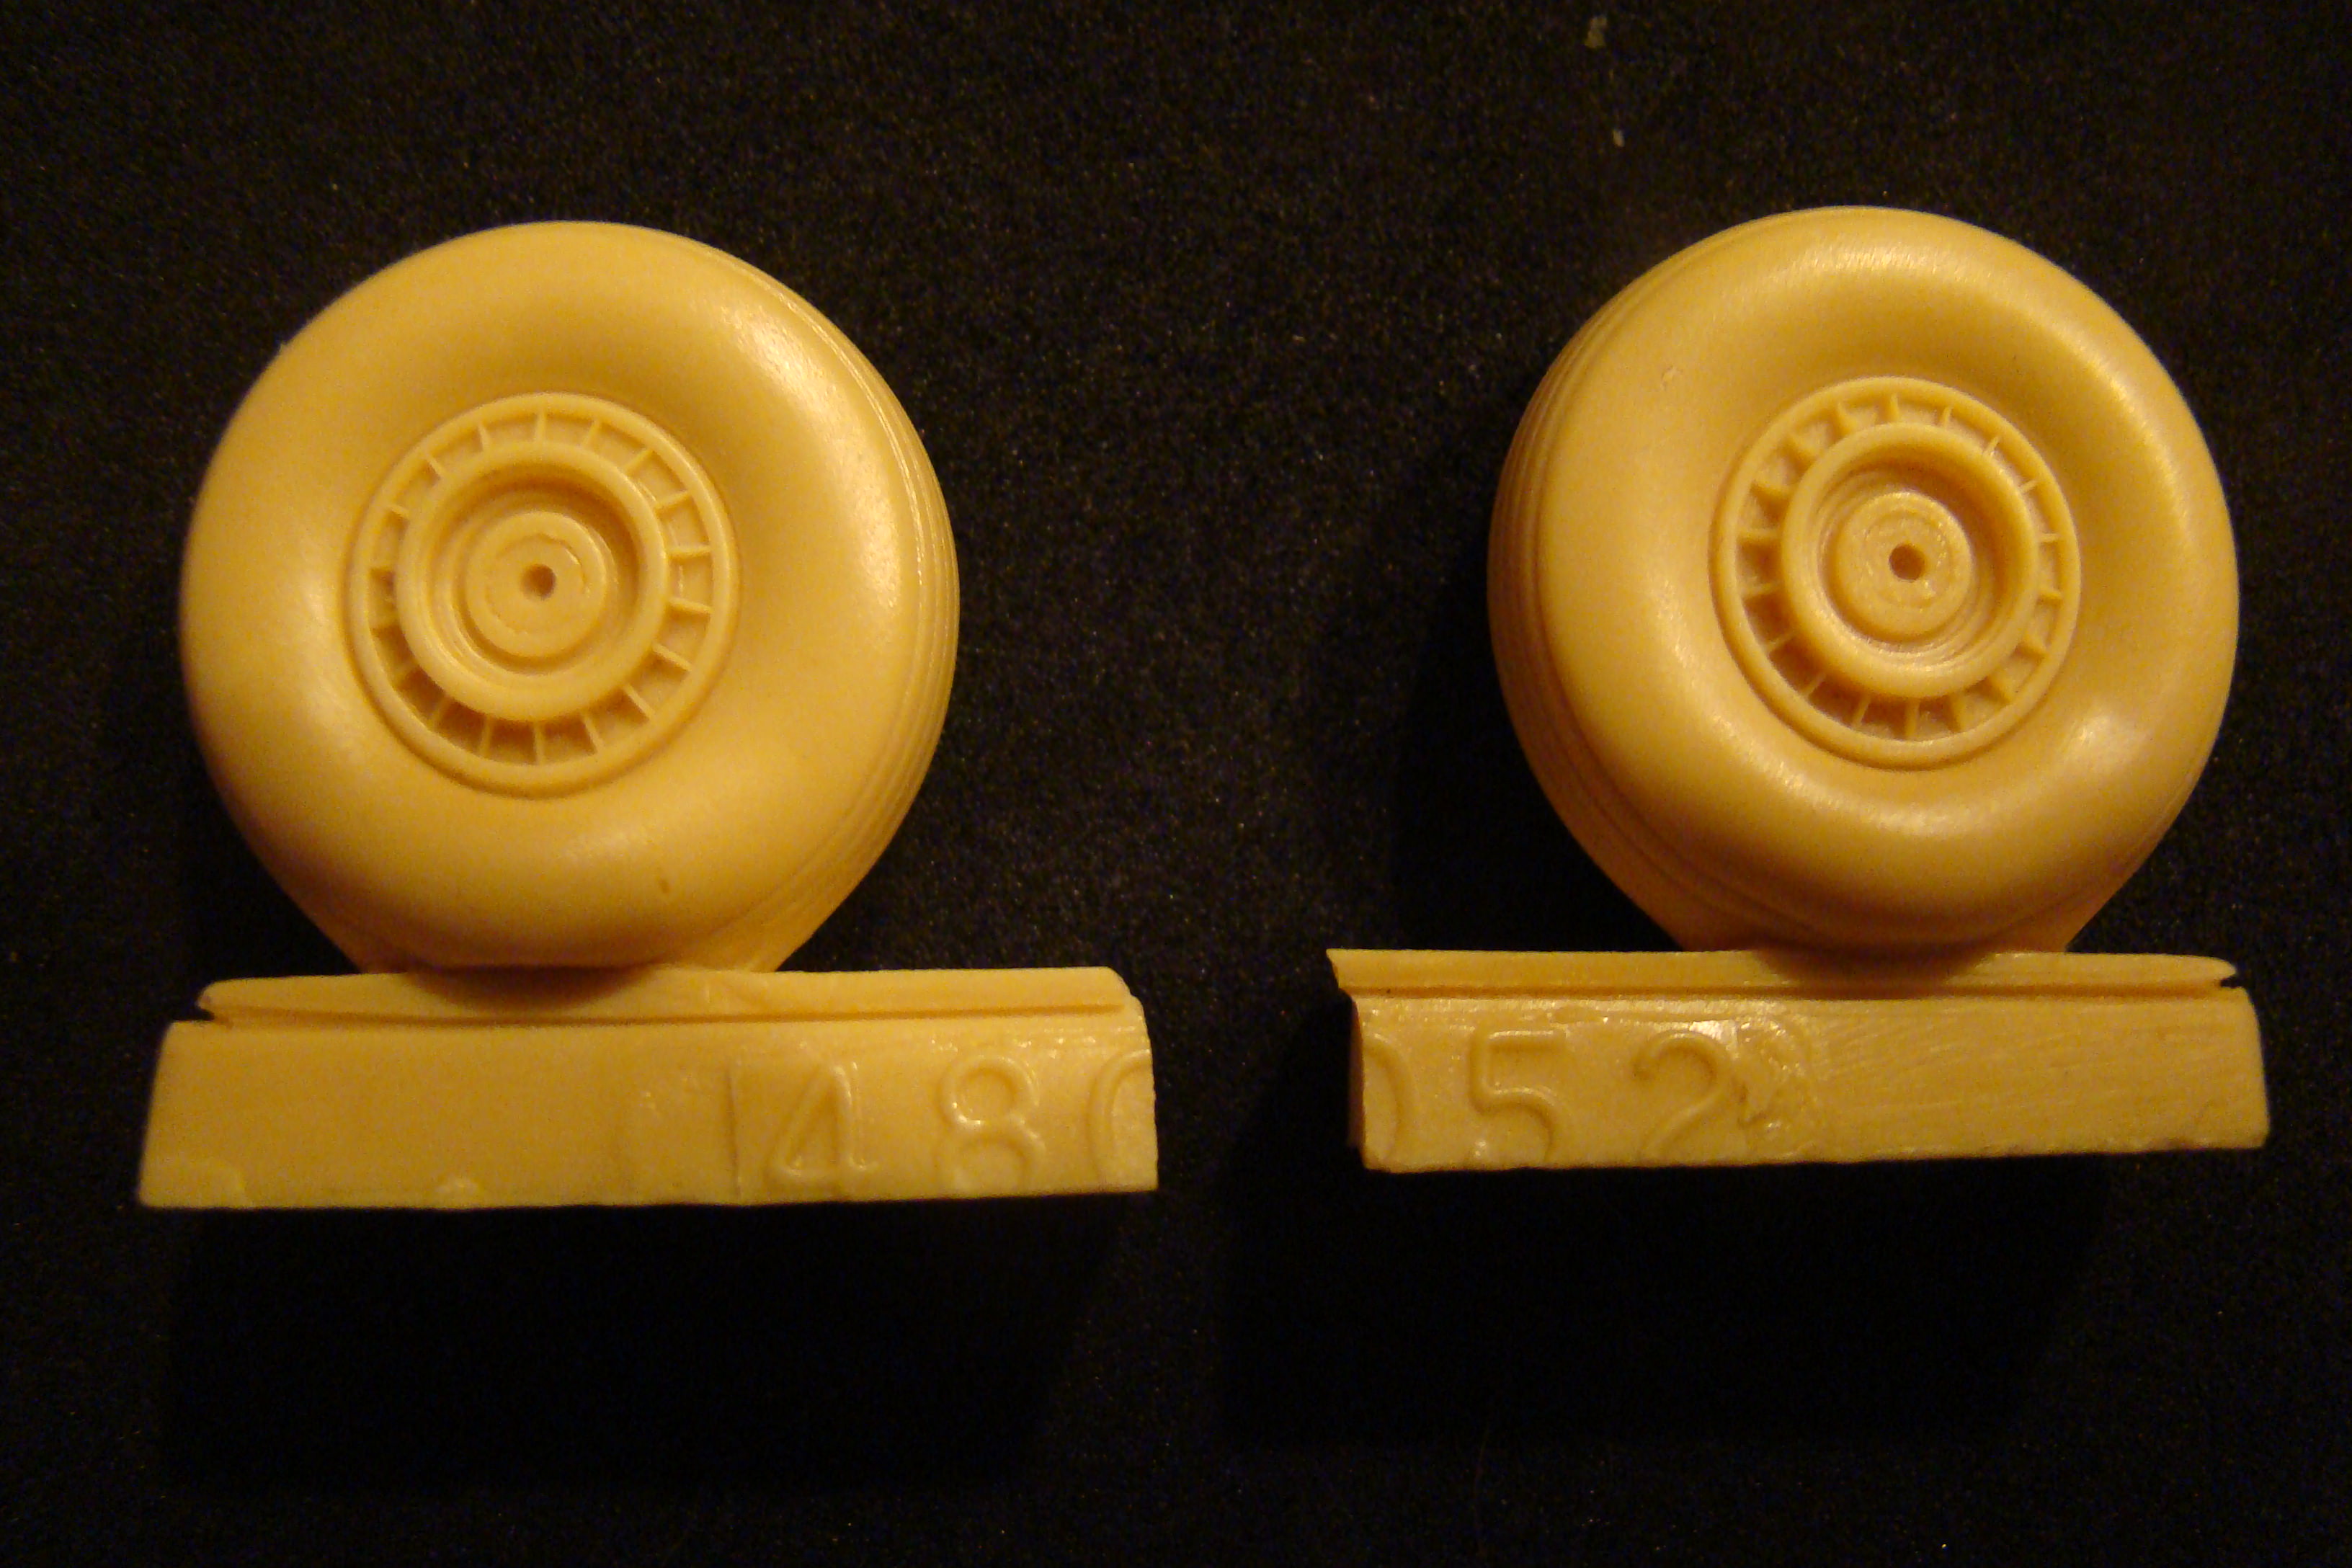
Also got these resin wheels. There's been plenty of discussion as to whether of not they bulge. They do. But not on a nearly empty plane. They'll have to wait for another project in the wings. (get it?)
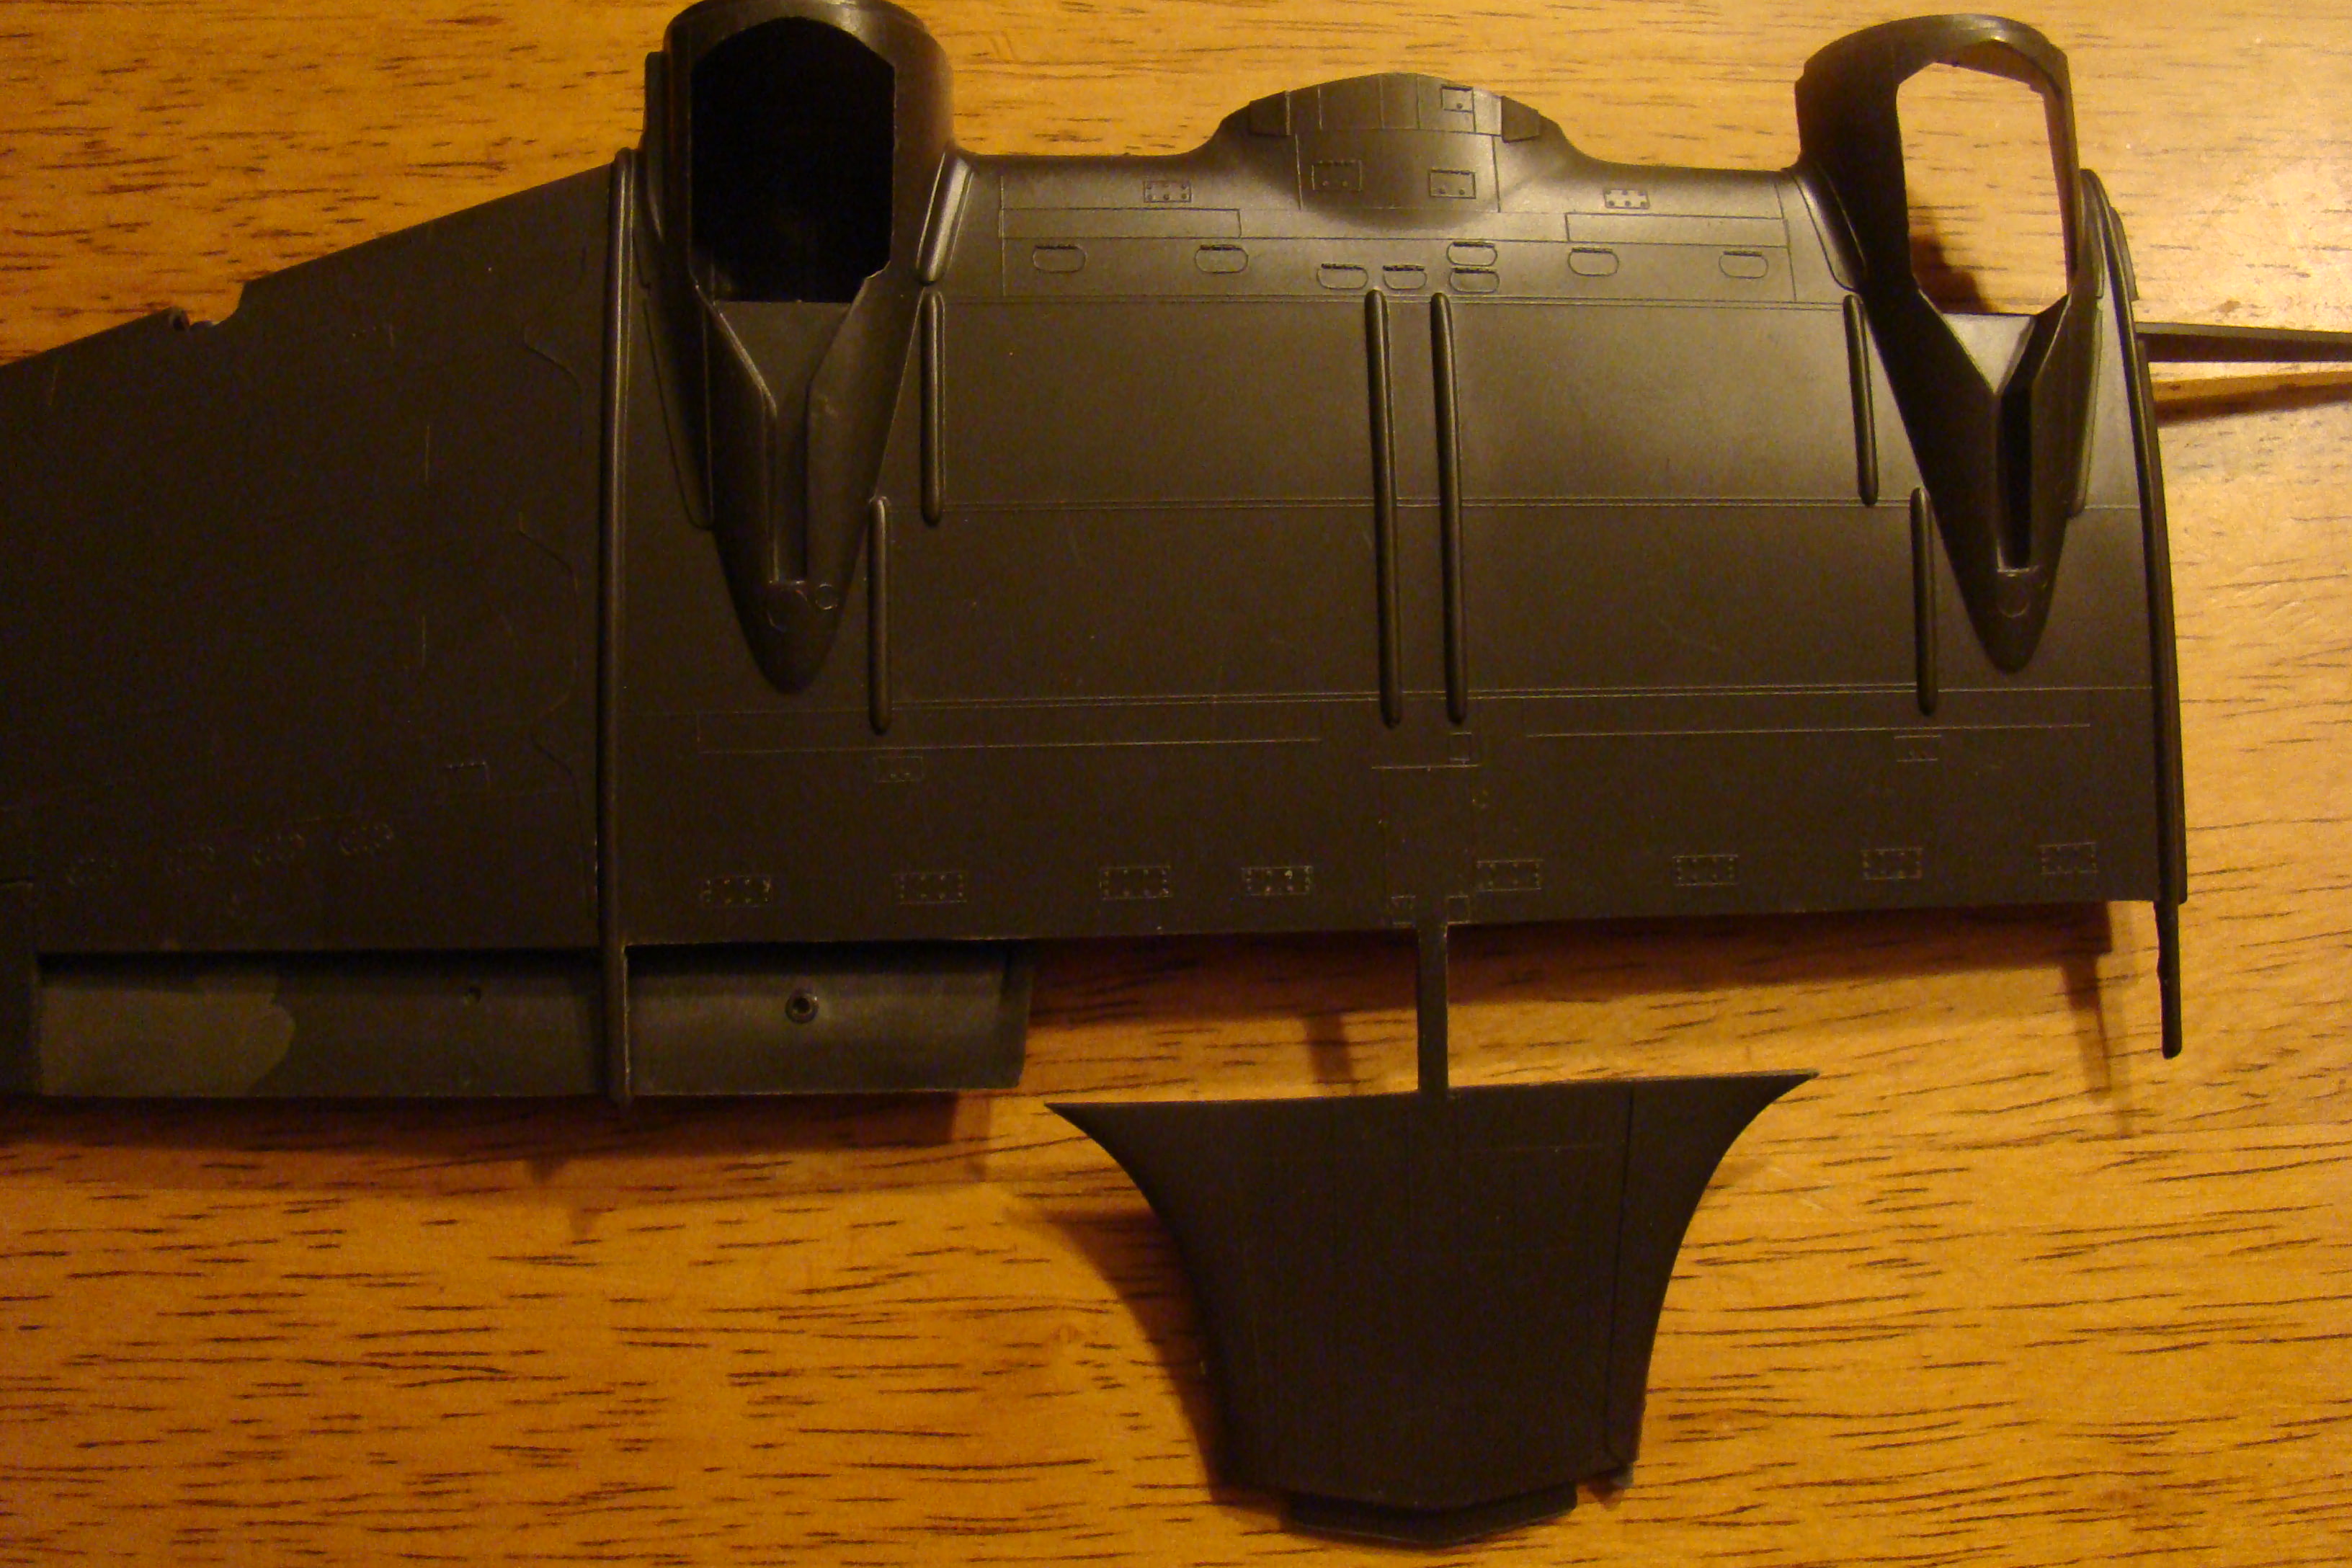
On my original build I lowered the flaps just as Shep Paine did. Problem is, I can't find any photos of C-47s with flaps lowered on D Day. Not a one. A few paintings maybe. But I like the look, so I went with it. After some careful cutting:
Instead of completely scratch building the flaps I'll add internal ribs to the Trumpeter flaps, which are separate pieces. Then I'll use the Eduard photo etch flaps on the Trumpeter kit.
Whuh? Why not use the Trumpeter flaps on the Trumpeter kit, and the Eduard ones on the Monogram kit?
Because I choose not to.