_GOTOBOTTOM
Armor/AFV: Axis - WWII
Armor and ground forces of the Axis forces during World War II.
Hosted by Darren Baker
Meng KT build
Kaktusas
Visit this Community
Vilnius, Lithuania
Joined: April 12, 2017
KitMaker: 196 posts
Armorama: 196 posts
Posted: Monday, November 26, 2018 - 08:03 PM UTC
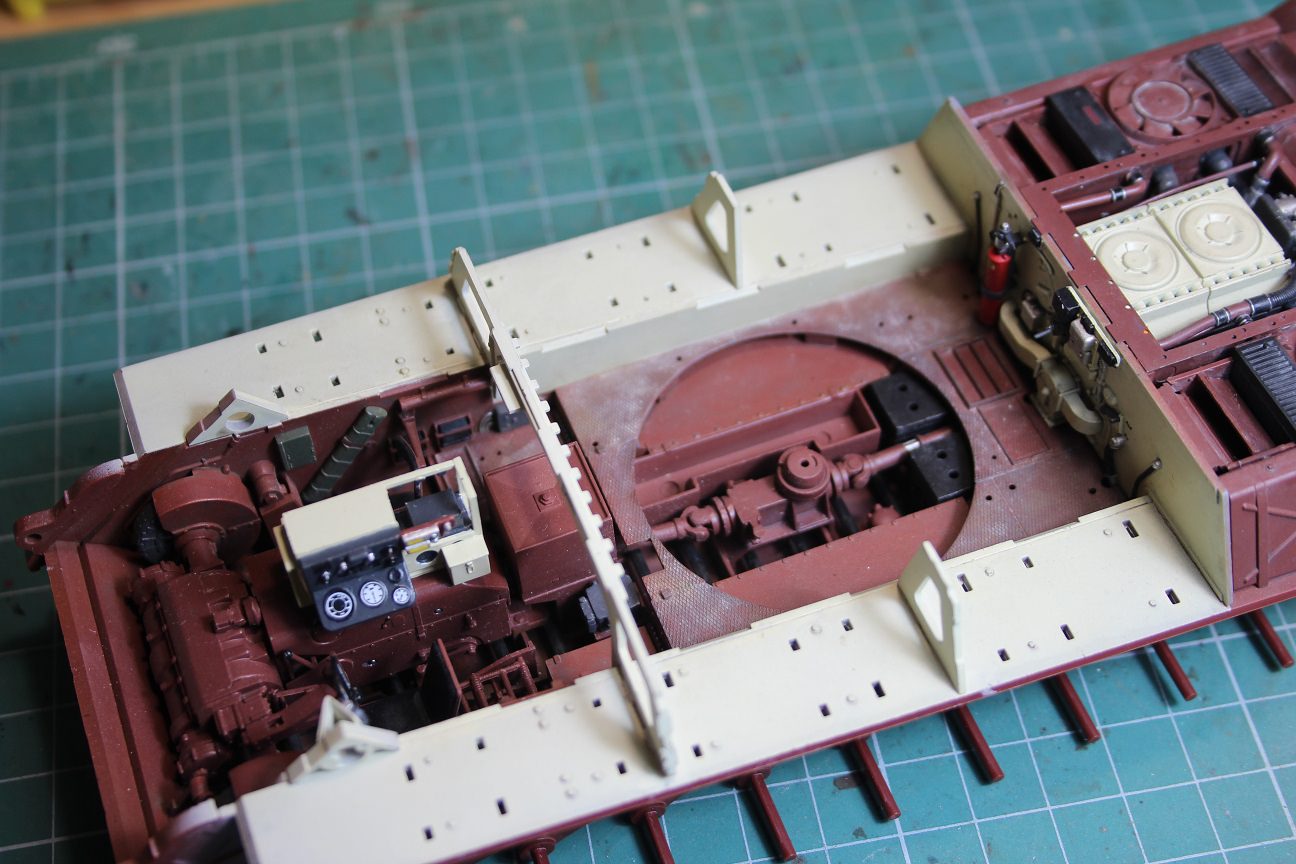
Few weeks ago i have started Meng King Tiger with interior. Havent had much time to post progress, as i was busy cleaning up the parts
To be honest, cleanup is one of the most tedious tasks with this kit. You cannot test fit too much with it. And even if you do, eventually, there will be fit problems here and there due to paint build up etc. My go on this kit is to cleanup and assemble amount of parts that have to be painted and fitted until i need to dry fit next step parts (as it will be somewhat impossible to paint/weather them afterwards).
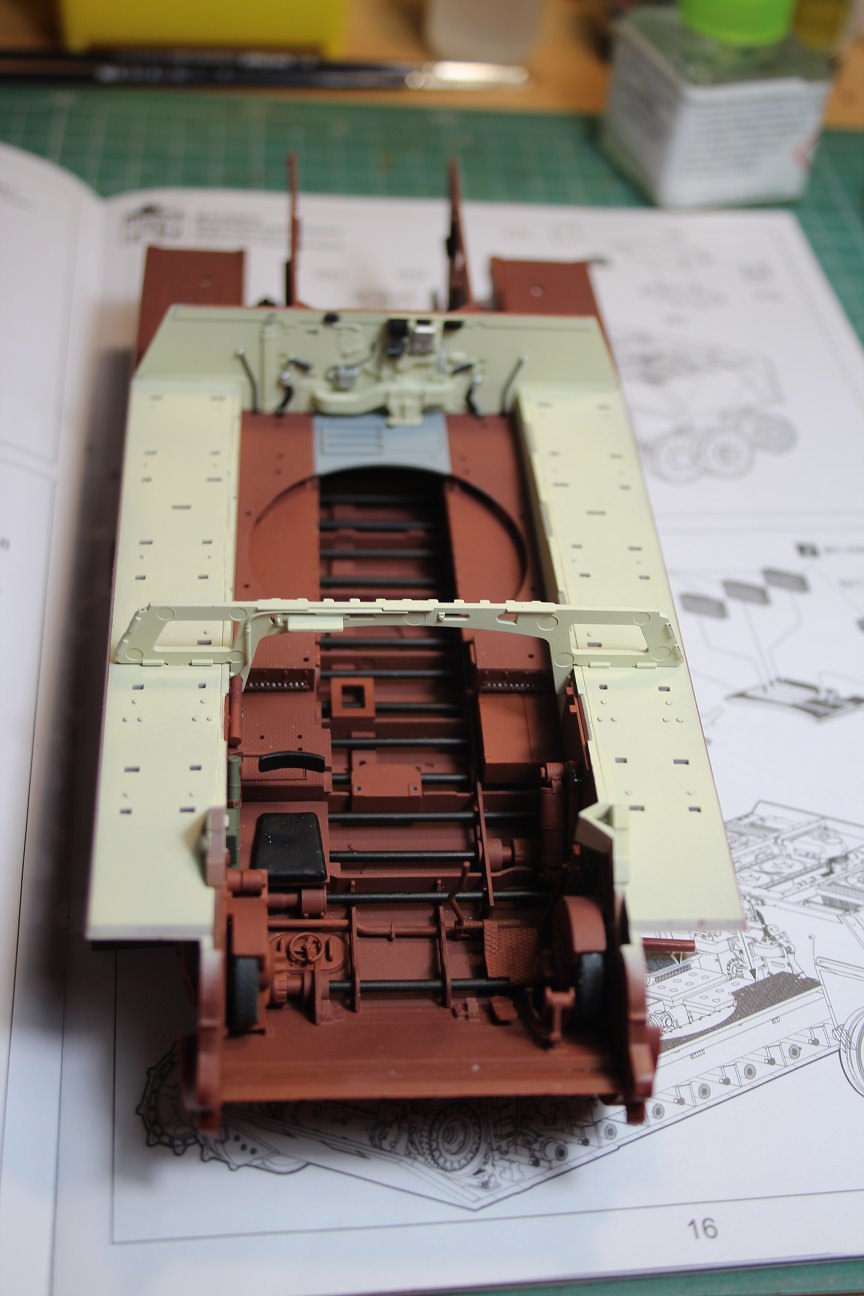
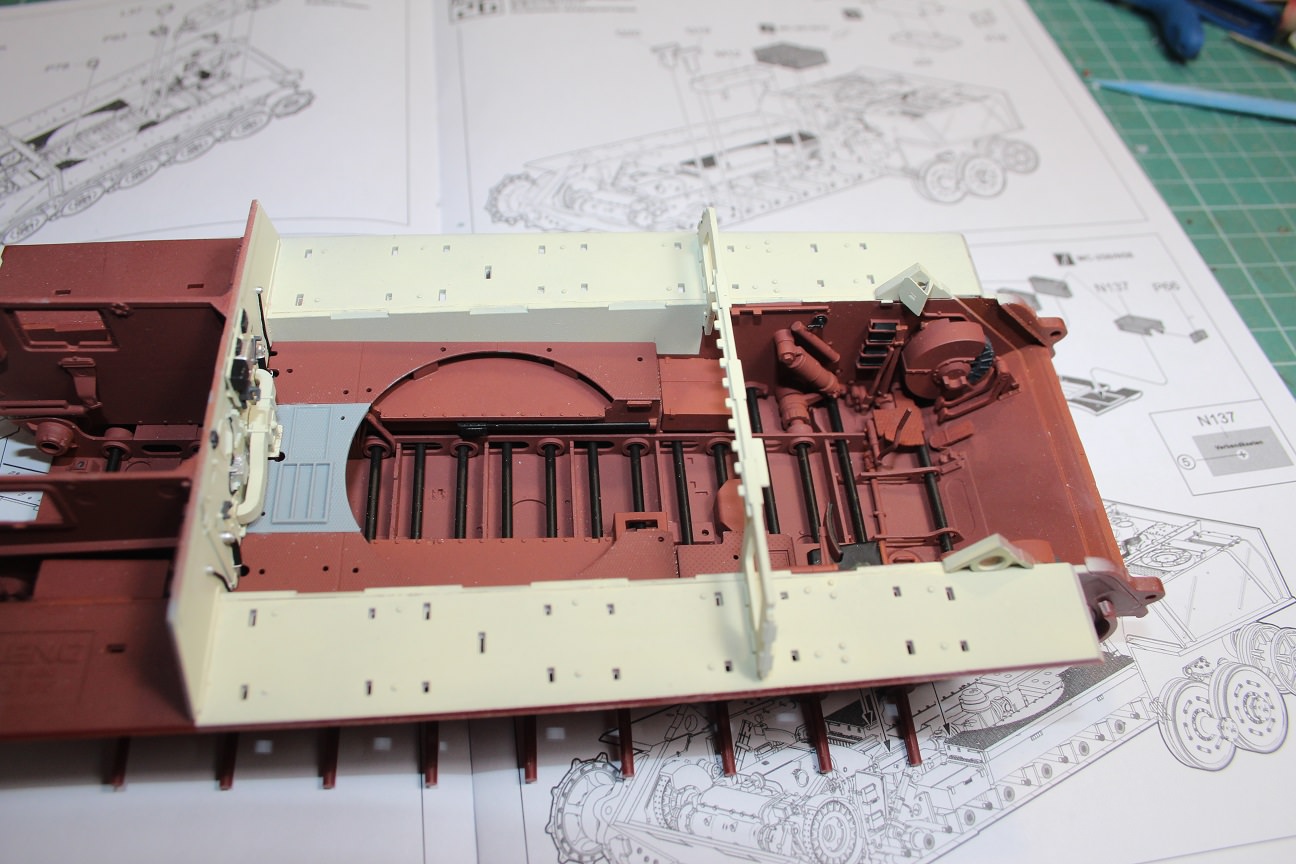
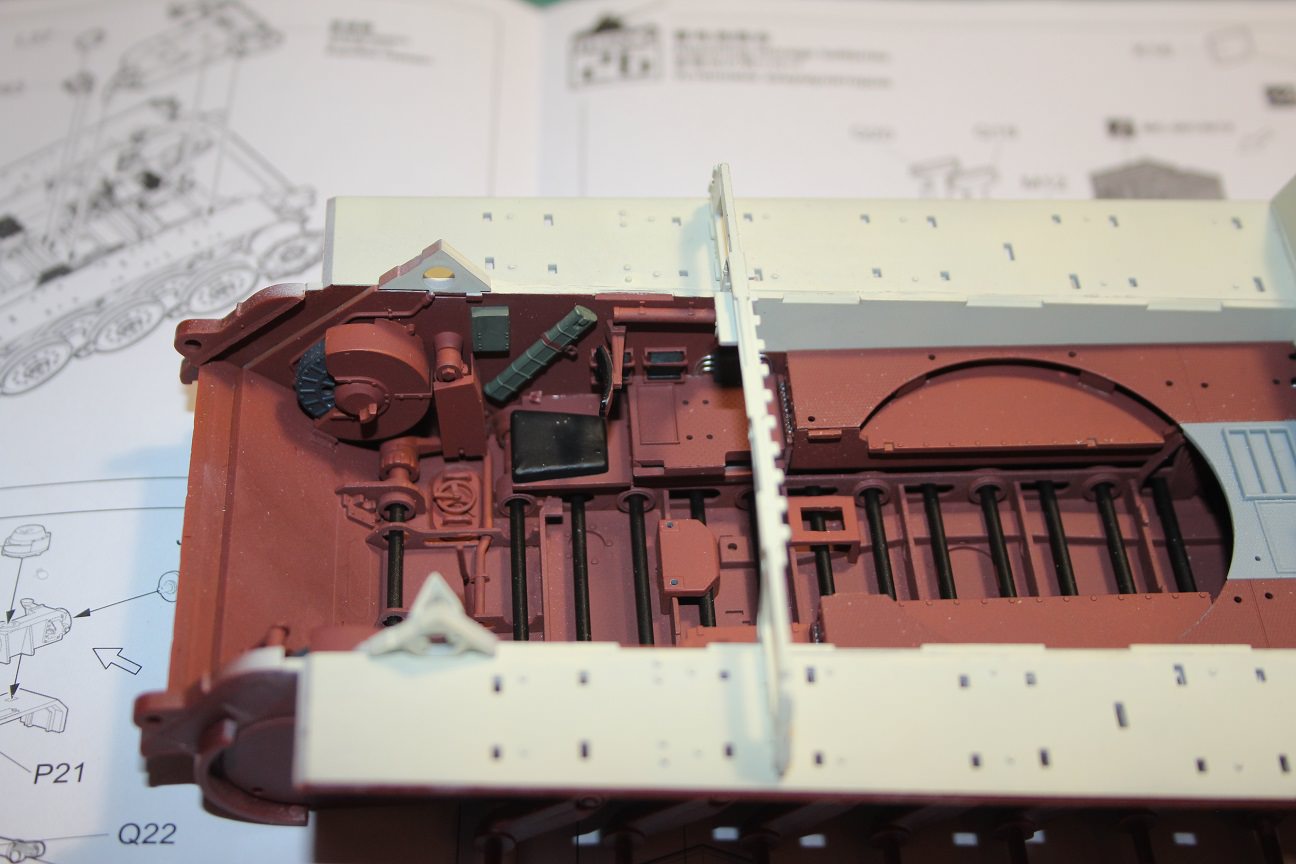
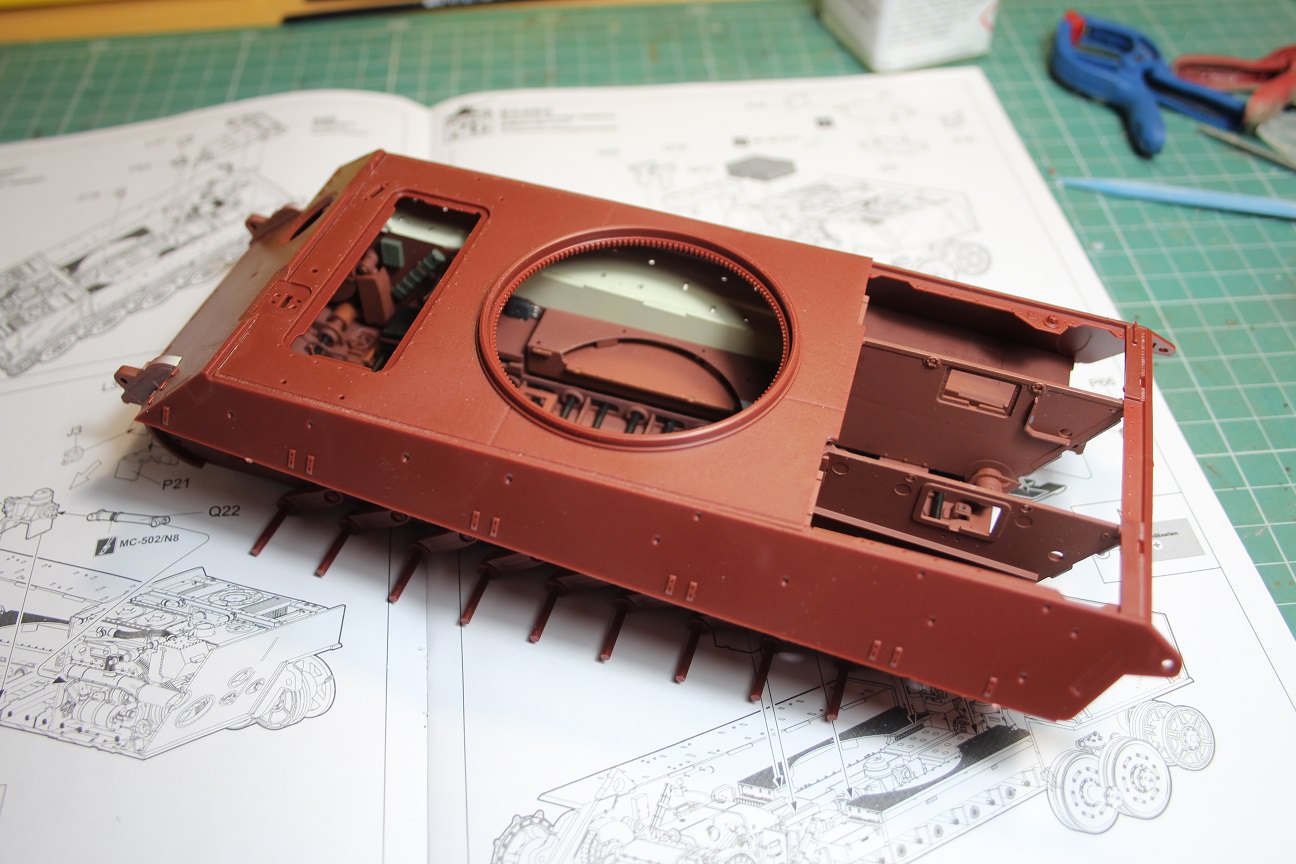
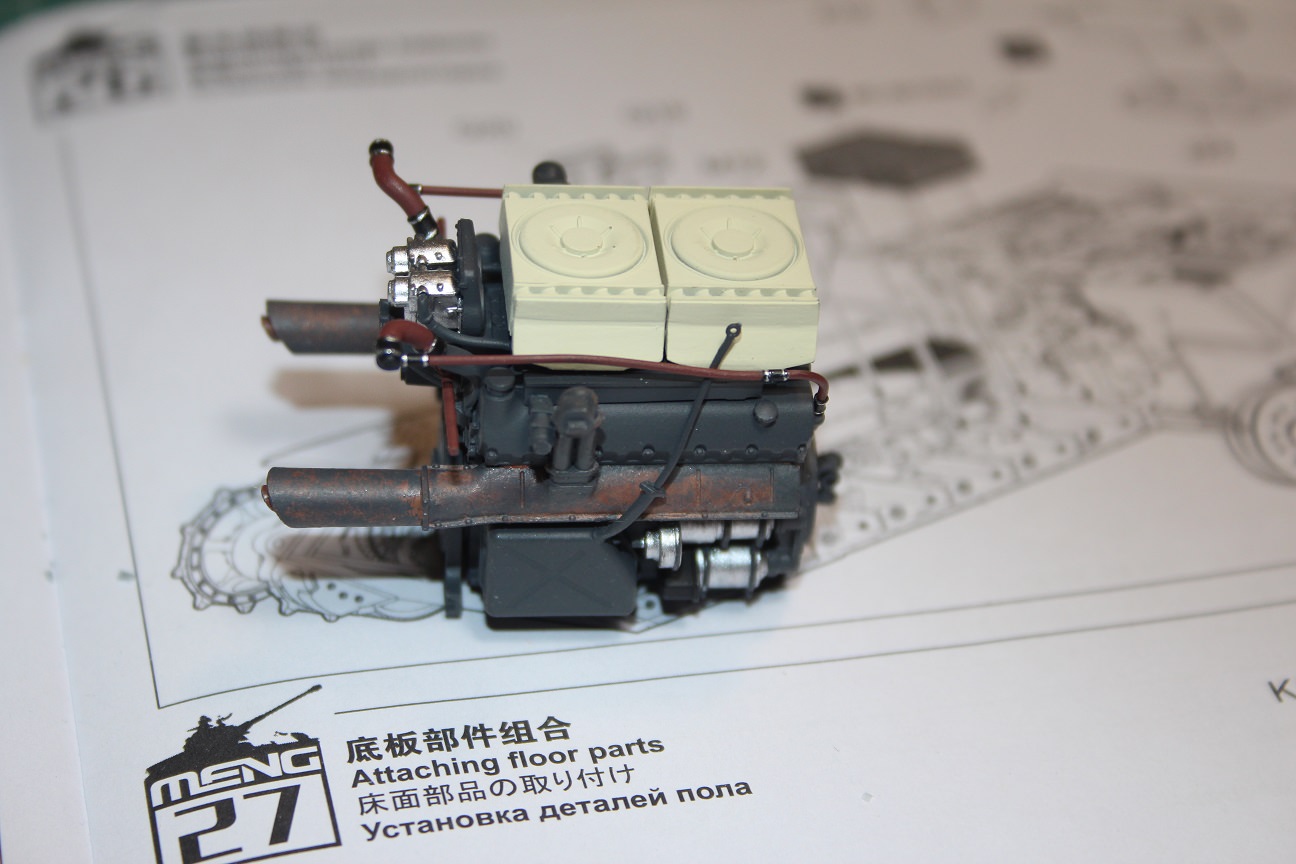
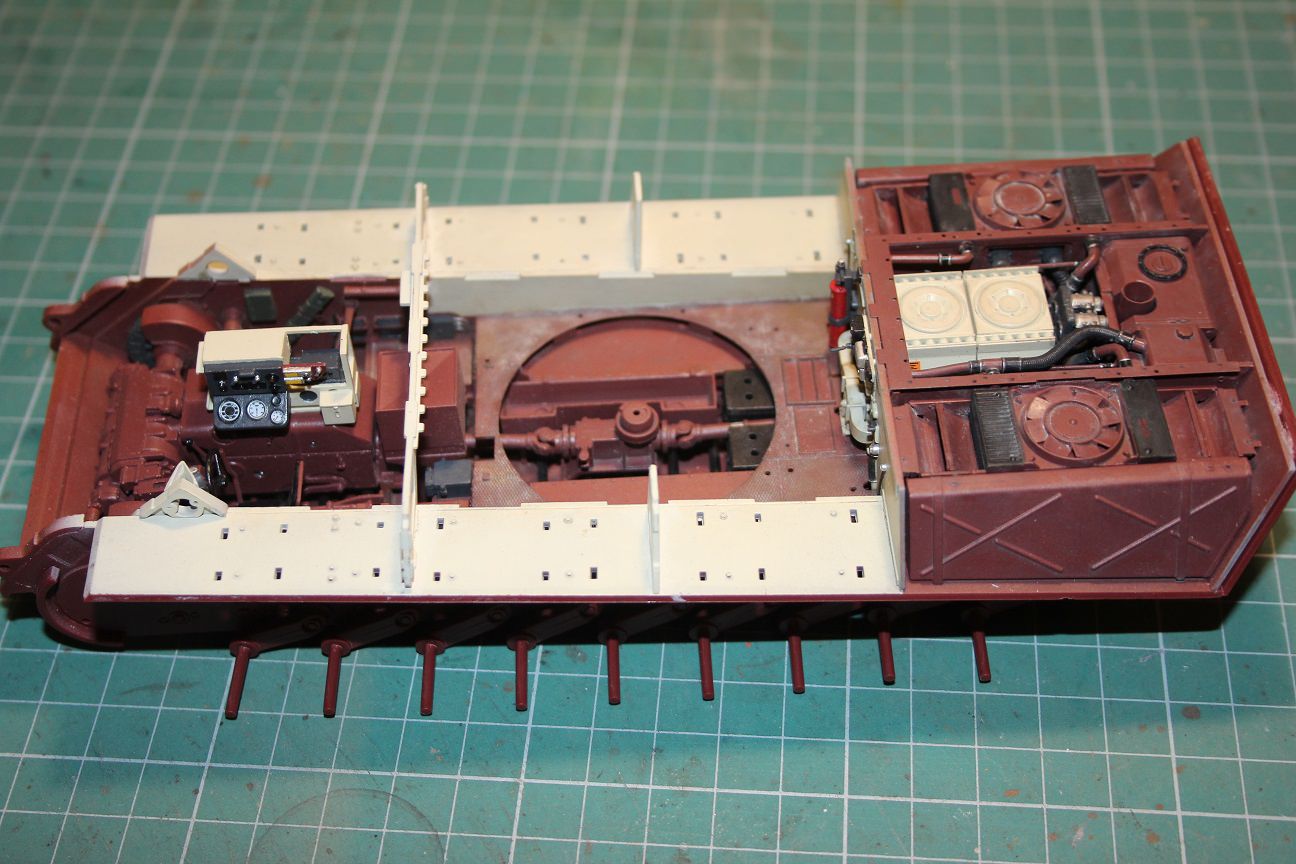
Tricky part was to install interior sides after painting them. Minor misalignment will obstruct suspension work-ability. As well, fit of suspension arms to the torsion bars is VERY loose, allowing you to install them with +/- 5 degrees tolerance.. For me, it is minor issue, as i will glue them in place, as i will put wheels and tracks on (they are movable, not workable, but thats ok, as all i need is to make sure all wheels touch ground and tank sits straight).
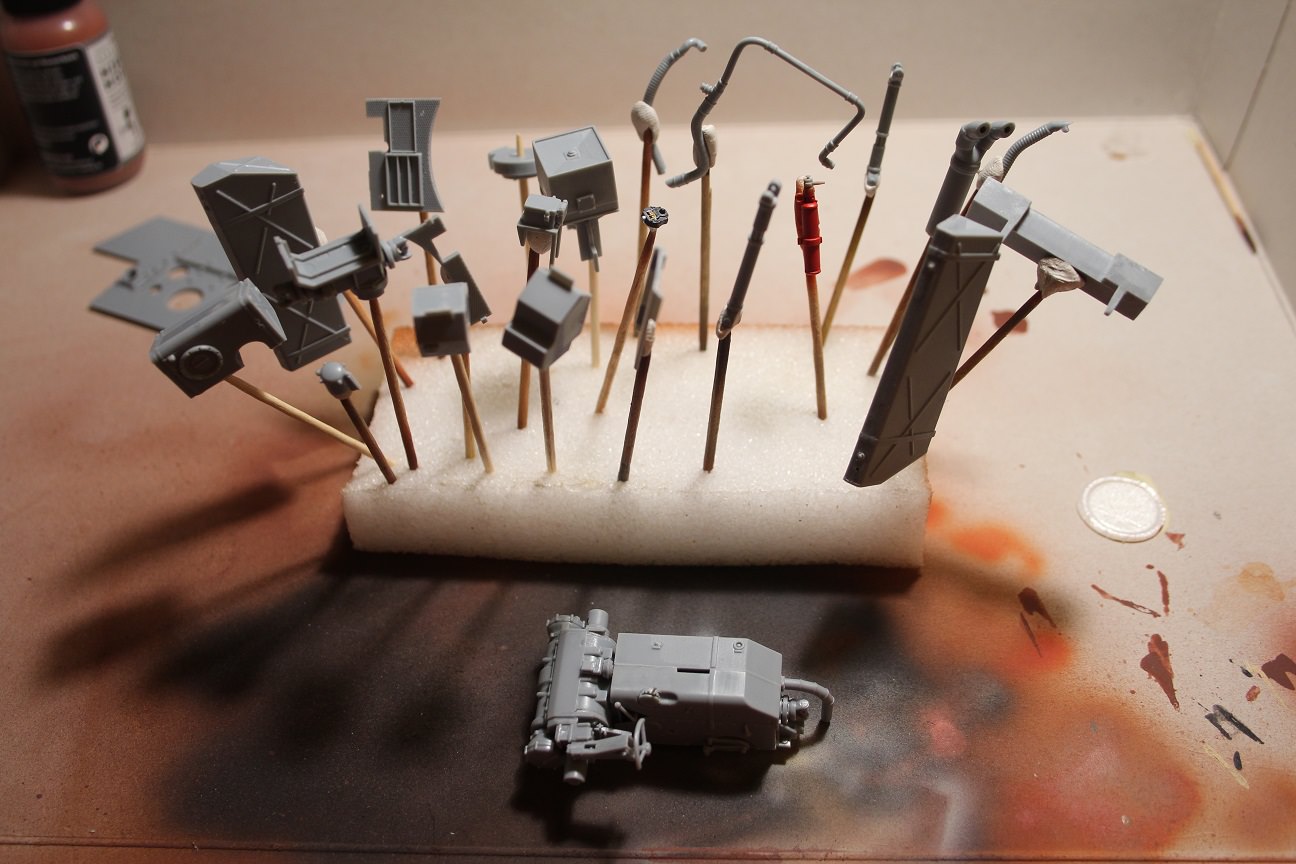
paint shop is very busy now days....
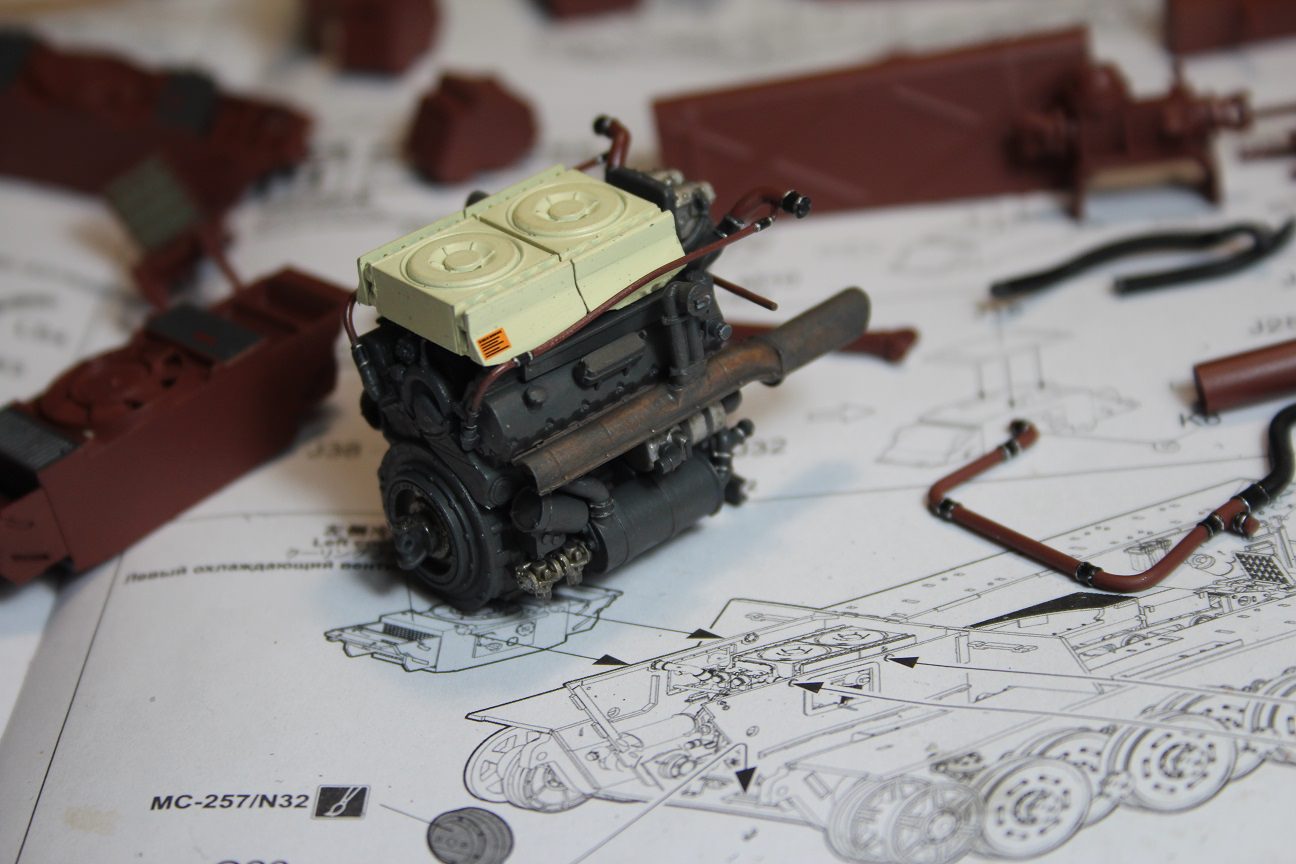
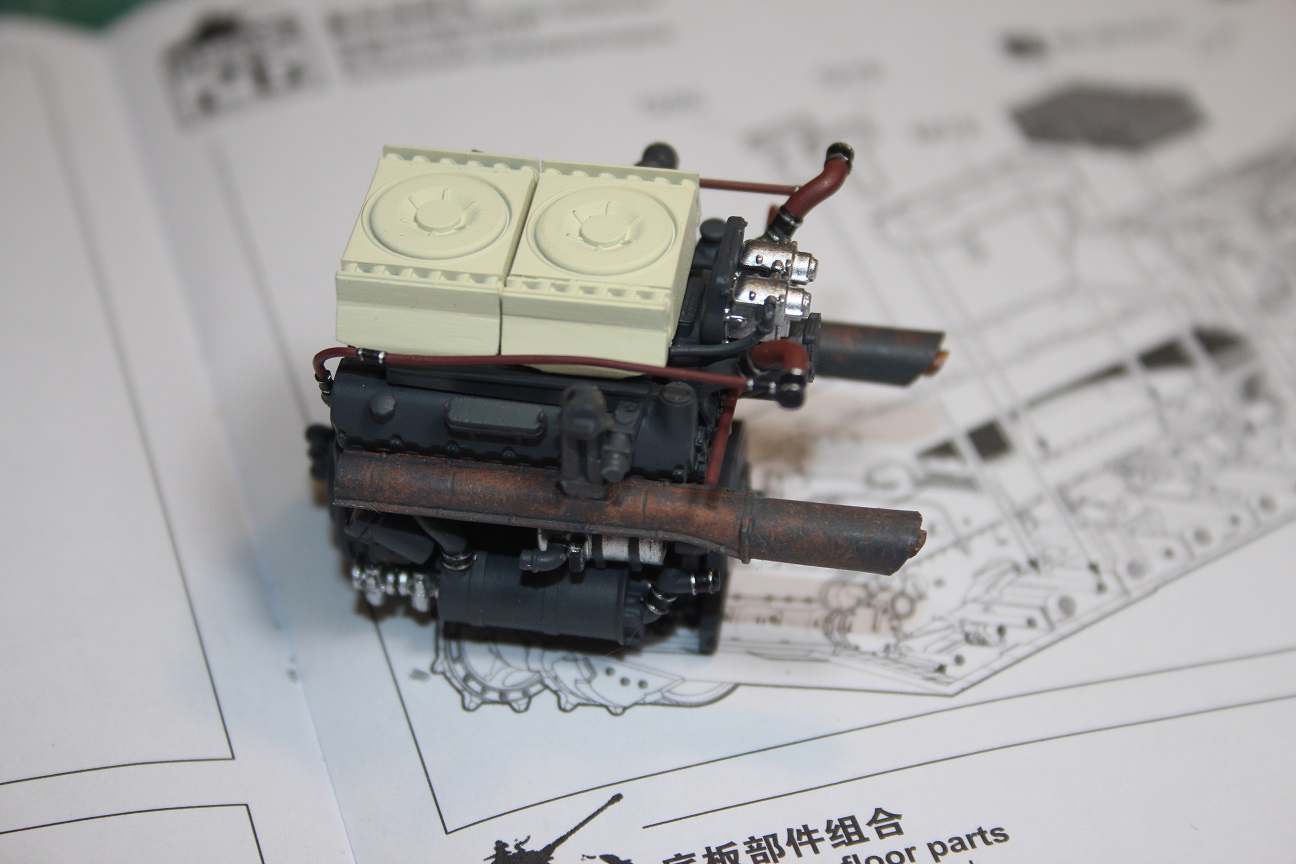
some grime on the engine before it goes in:
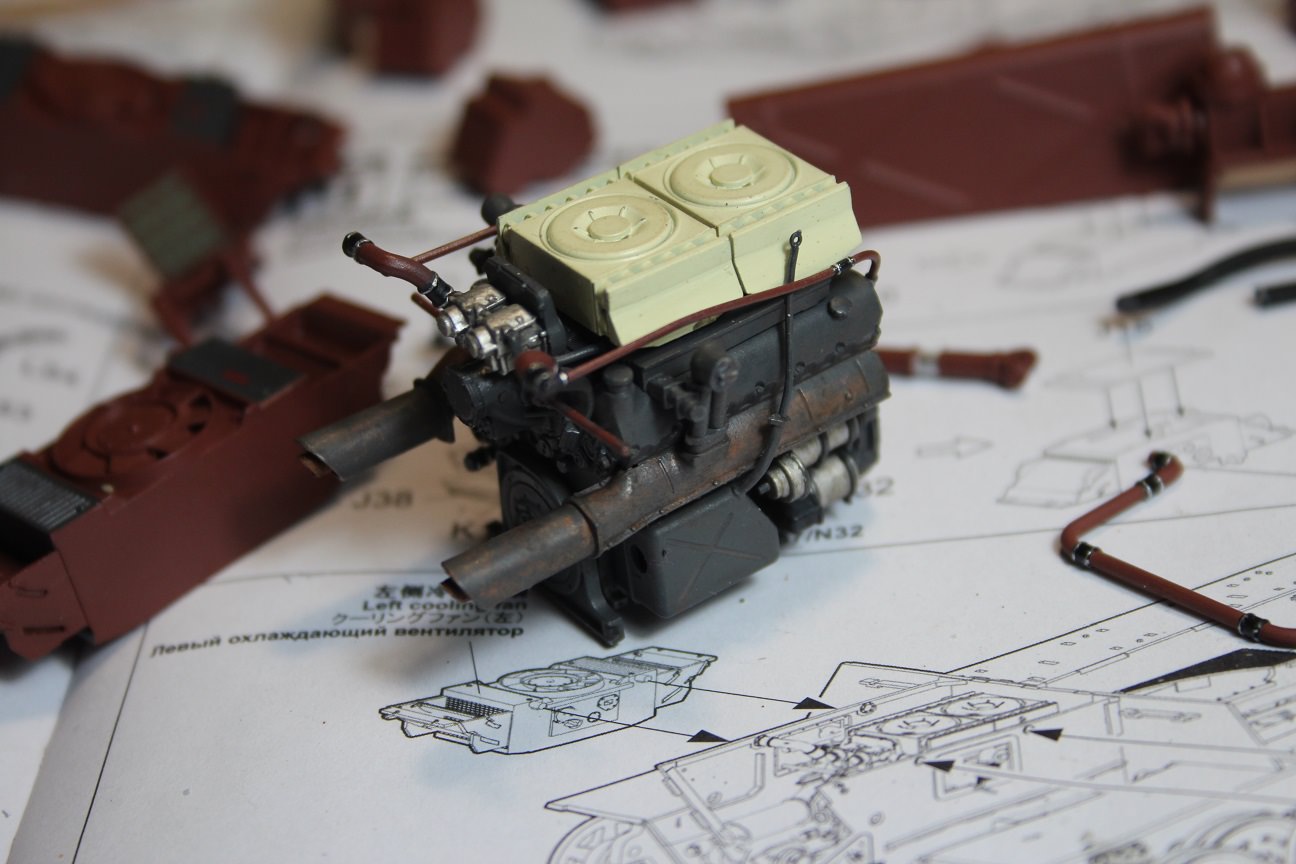
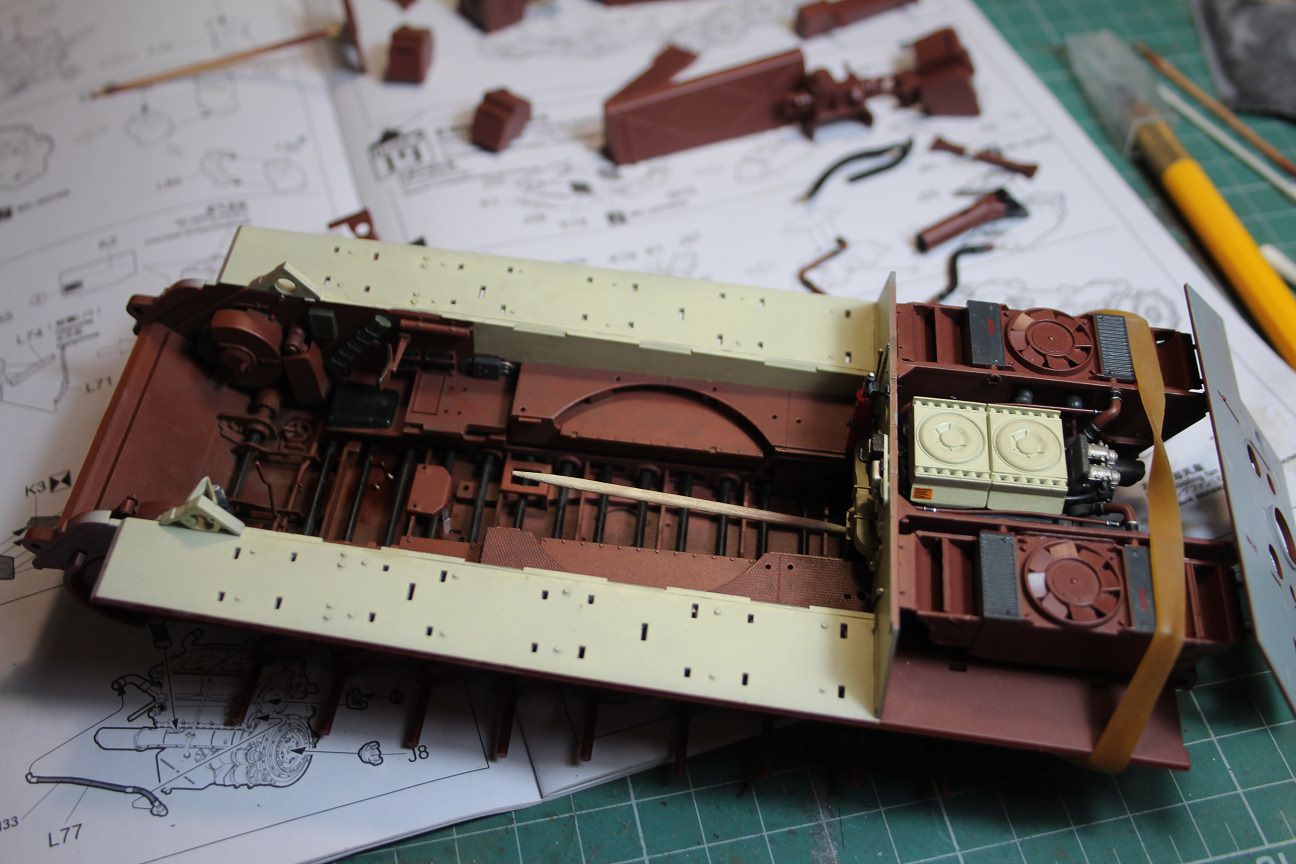
Engine was very difficult to "convince" in to its place. Some touch painting should be expected after the install. Toothpick plays function of engine support while the glue sets (there is only cooling pipes and back support holding it in place).
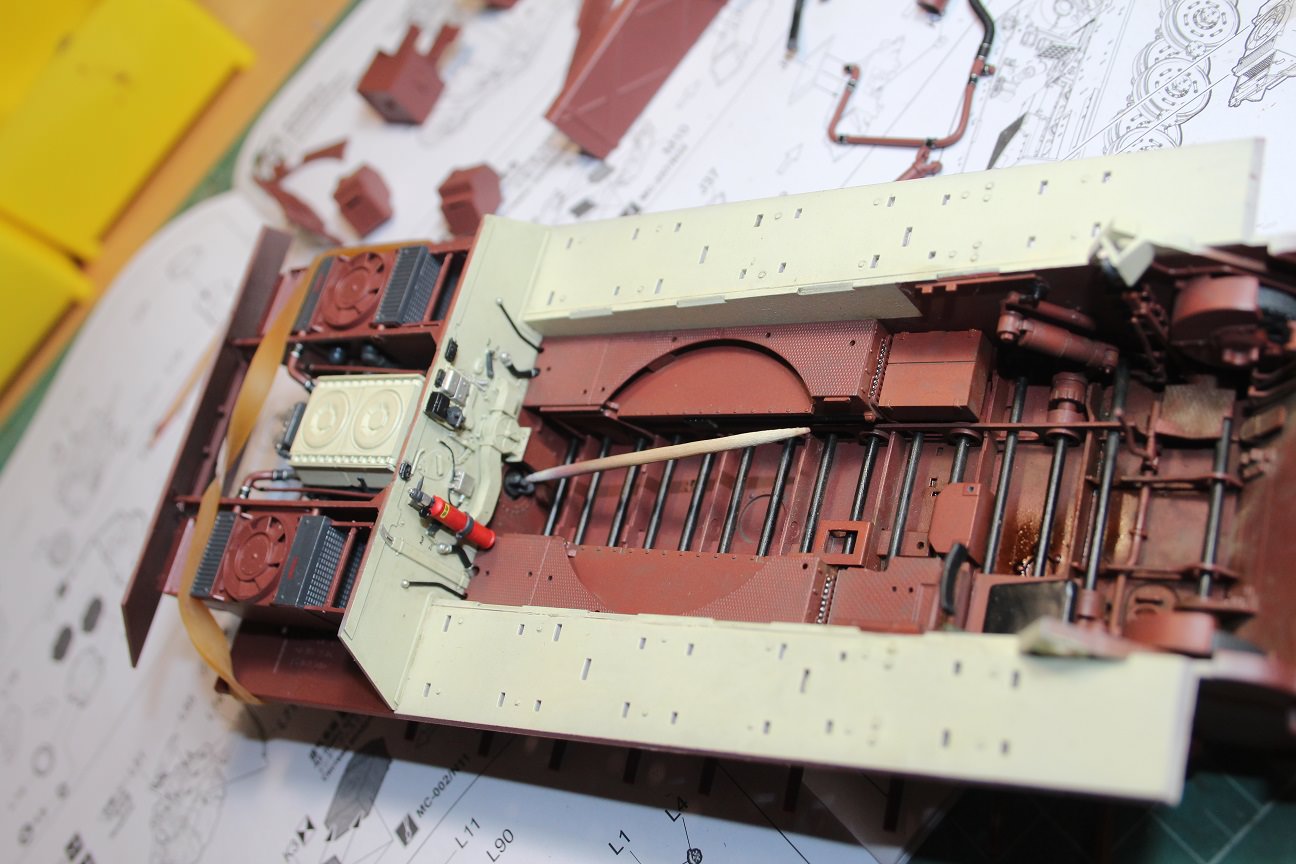
Rear engine wall plays role of alignment jig, to make sure that the engine room side plates are parallel while the glue sets.
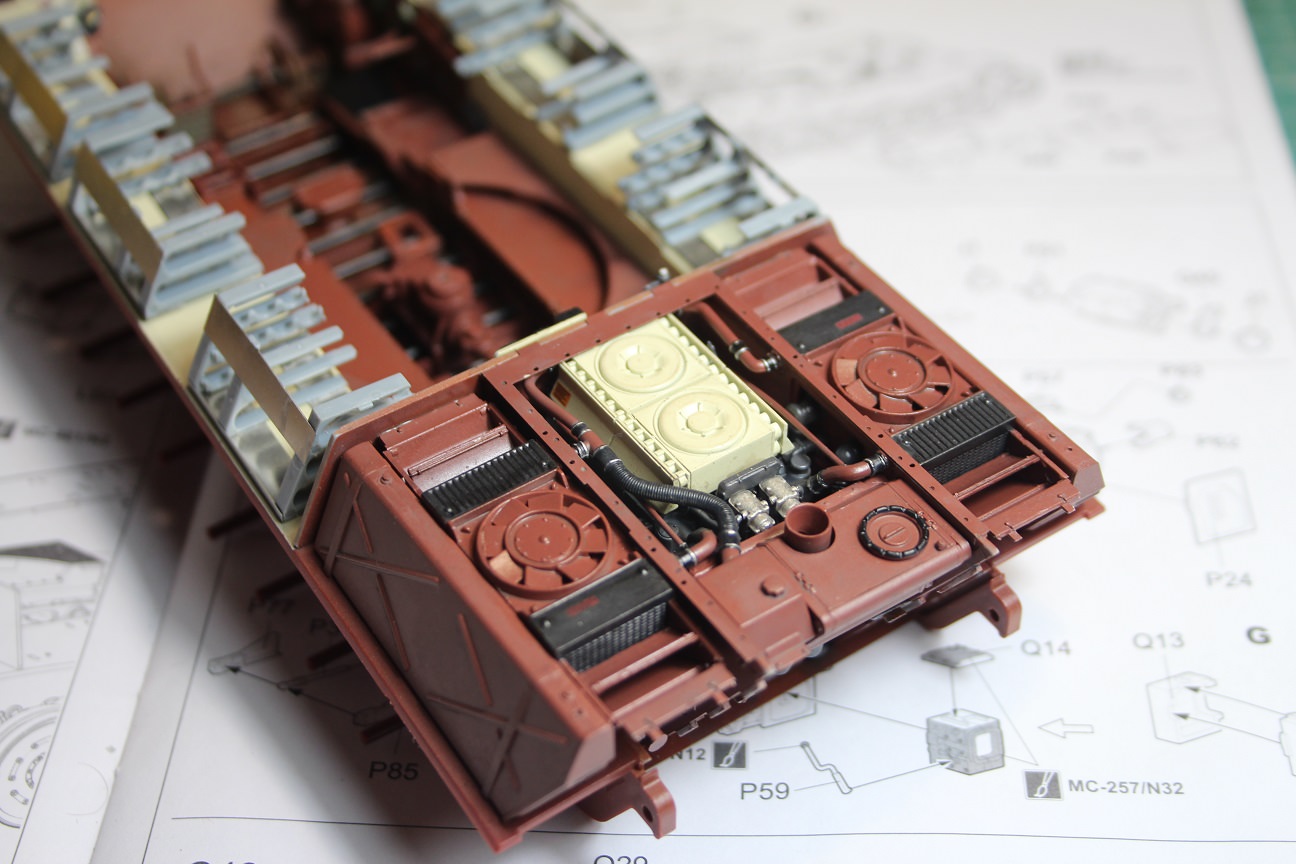
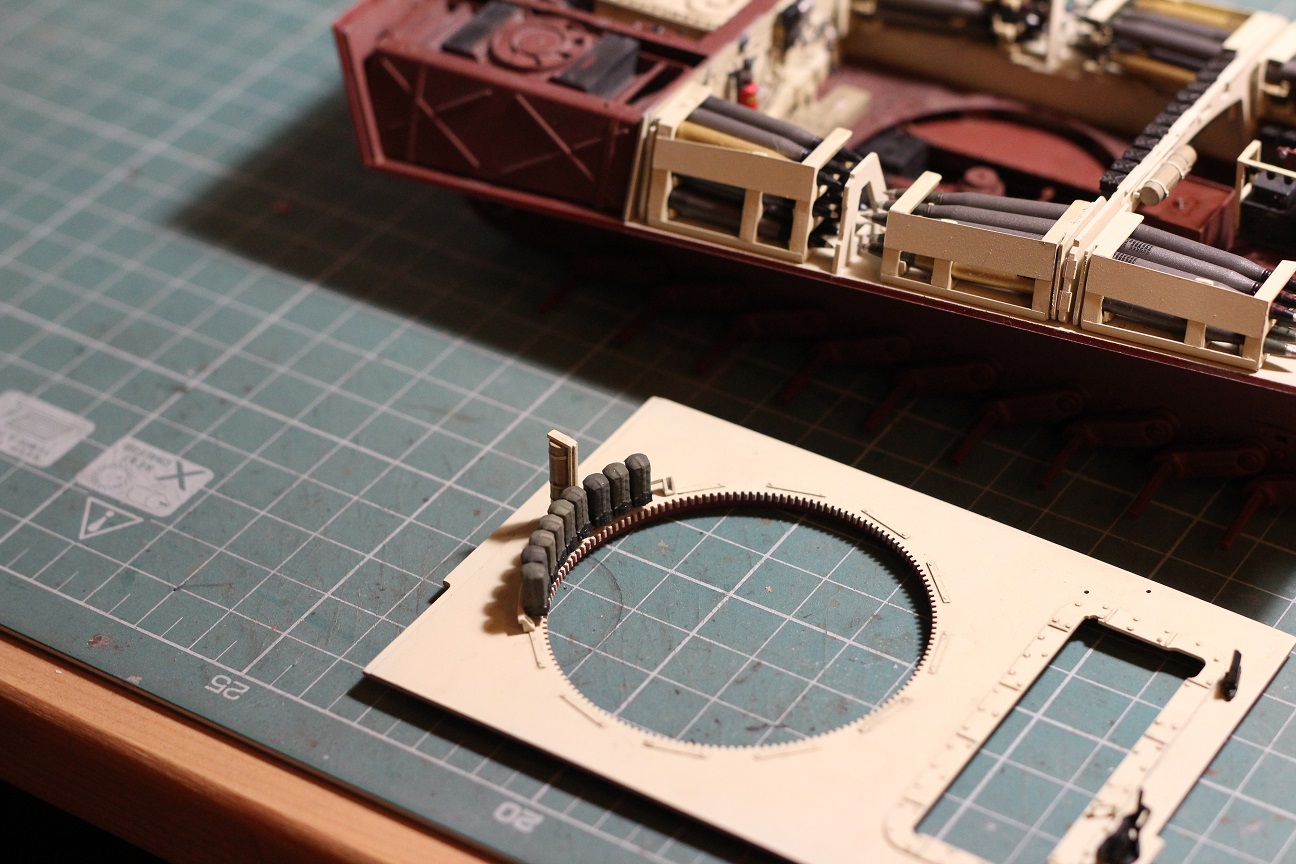
Engine room is nearly finished. Some dust and grime will be added bit later on. Meanwhile, back to cleanup, got many ammunition rounds to clean
Some notes on the kit. I plan to finish it as s.SS Pz.Abt. 101 #223, this means ambush camo. Theres lots of very useful information in ML forums and 1/16 KT build group on Taptalk. Their work on the big cats is realy inspiring. Level of detail in this kit is very good, it might benefit from some super detailing. Unfortunately, it is very crowded, and much smaller than Trumpeters 1/16 kit, making access to all those details and wires complicated. After all, im looking for a relaxed winter build, not some more white hair For example, by the time it was produced, my kingtiger probably had no deep wading tube on the back of the engine. Removing one would have required some surgery and scratch building new coolant and fuel tank mounting plate. Then those tanks wouldn't fit Then i would probably want to replace hull bracing, as ones in the kit look like they are at least 5 times thicker than in real KT. However, almost none of above is visible on finished kit. For me, this one is bit on small and crowded side for any more details
Blaubar
Visit this Community
Rheinland-Pfalz, Germany
Joined: December 15, 2016
KitMaker: 261 posts
Armorama: 246 posts
Posted: Monday, November 26, 2018 - 09:01 PM UTC
Despite all your hardship with all the tiny parts in this crowded little space, it will pay off in the end. Looking good so far.
Were the torsion bars always blackish?
/Stefan
Kaktusas
Visit this Community
Vilnius, Lithuania
Joined: April 12, 2017
KitMaker: 196 posts
Armorama: 196 posts
Posted: Monday, November 26, 2018 - 10:35 PM UTC
As far as i understand, torsion bars were not painted, blueish/black hue is their natural color. Probably gunmetal would be bit closer than satin black. Either way, contrast looks good
In 1st Panther project book, on page 73 there is picture of new/unused torsion bars, and they look dusty, but blueish/black in color. It does not mention if they are original, or fabricated on order tho.
bat-213
Visit this Community
Canada
Joined: December 30, 2011
KitMaker: 902 posts
Armorama: 788 posts
Posted: Wednesday, November 28, 2018 - 05:44 PM UTC
well done on your kit ,looks great so far .
Blaubar
Visit this Community
Rheinland-Pfalz, Germany
Joined: December 15, 2016
KitMaker: 261 posts
Armorama: 246 posts
Posted: Wednesday, November 28, 2018 - 07:02 PM UTC
Thanks there, I had never paid attention to the torsion bar colour before.
varanusk
Staff MemberManaging Editor
ARMORAMA
Visit this Community
Santa Cruz de Tenerife, Spain / España
Joined: July 04, 2013
KitMaker: 1,288 posts
Armorama: 942 posts
Posted: Wednesday, November 28, 2018 - 08:22 PM UTC

Quoted Text

As far as i understand, torsion bars were not painted, blueish/black hue is their natural color. Probably gunmetal would be bit closer than satin black. Either way, contrast looks good
In 1st Panther project book, on page 73 there is picture of new/unused torsion bars, and they look dusty, but blueish/black in color. It does not mention if they are original, or fabricated on order tho.


Nice proyect, looks very good so far!

As for the torsion bars color, I had the chance to see a real one from a Pak40 and it was satin black. No blue at all, just black.
andyman
Visit this Community
New York, United States
Joined: October 11, 2002
KitMaker: 142 posts
Armorama: 134 posts
Posted: Friday, November 30, 2018 - 04:01 AM UTC
I have this kit but haven’t started yet. I’ll be following closely.
It’s looking good.
Andy
tankglasgow
Visit this Community
Scotland, United Kingdom
Joined: October 04, 2010
KitMaker: 275 posts
Armorama: 260 posts
Posted: Friday, November 30, 2018 - 06:15 AM UTC
I read your post with interest after completing the Takom KT with interior. It's looking good, keep the posts coming. I hope your rear panel fits better than mine did.
Kaktusas
Visit this Community
Vilnius, Lithuania
Joined: April 12, 2017
KitMaker: 196 posts
Armorama: 196 posts
Posted: Sunday, December 02, 2018 - 07:26 PM UTC
Thanks for comments!
Rear wall was realy tricky to install. I still feel it is some 0.3-0.4mm short from where it is supposed to sit during "dry and clean" test fit. Quick test fit with upper hull shows there shouldn't be issues with this, if there will be any, i got the right answer - MUD. Anyway, design of both of these panels is somewhat better suited for "exterior only" version, where paint will not be interfering with fit. Another place, where fit is critical, but not obvious at the beginning, is possible gaps between inner side panels and the hull. When you slide those panels in, make sure you check : alignment of holes for suspension, then make sure there is absolutely no air gap between those panels. This gap will squeeze fuel tanks and floor panels inwards, making fit of floor parts P67 and P94 difficult (you will have to squeeze them in, and P94 will just bend). Eventually, this minor thing will result in interference with turret basket floor (not enough space for it). Unfortunately, i found this out the hard way, now i have to sand the edge of turret basket a little bit. Anyway, hers the progress pictures:

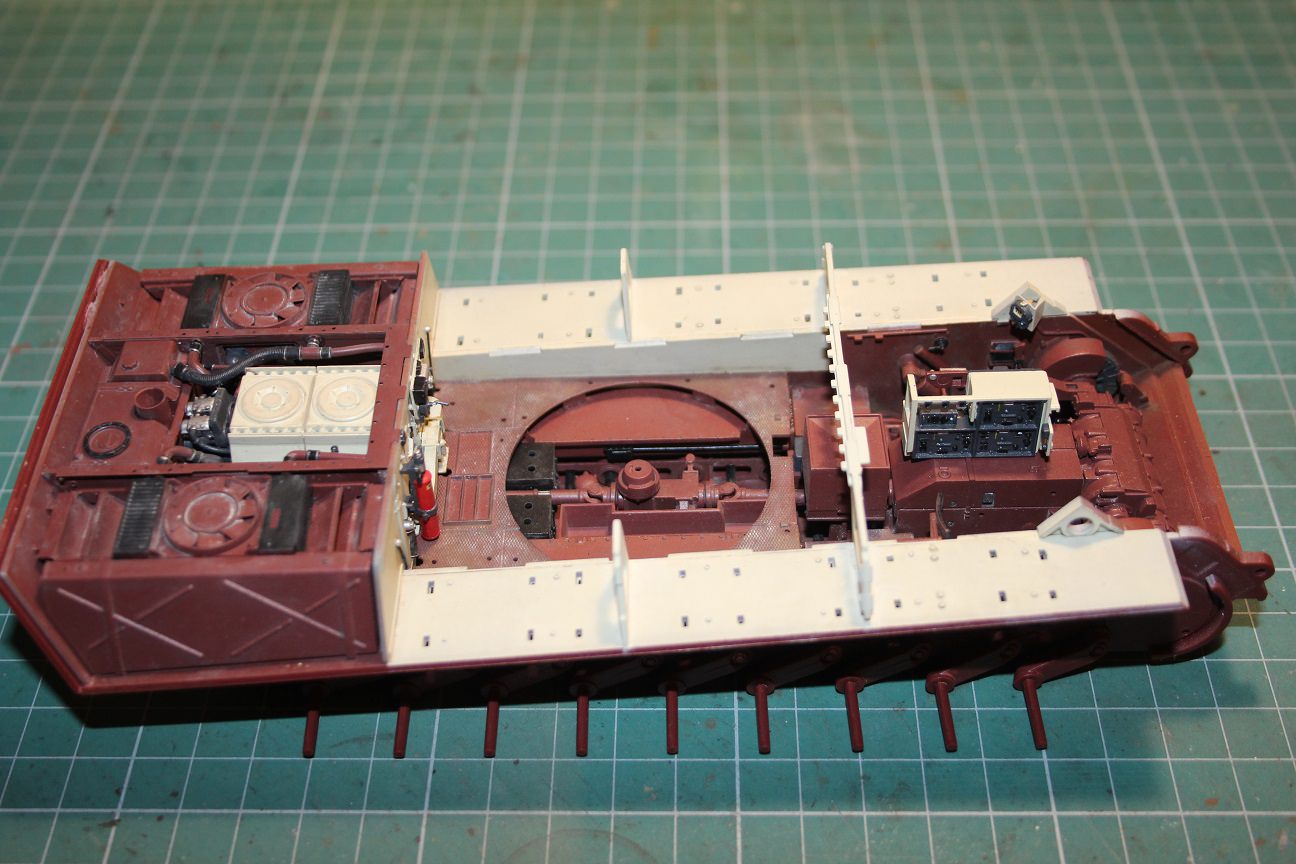
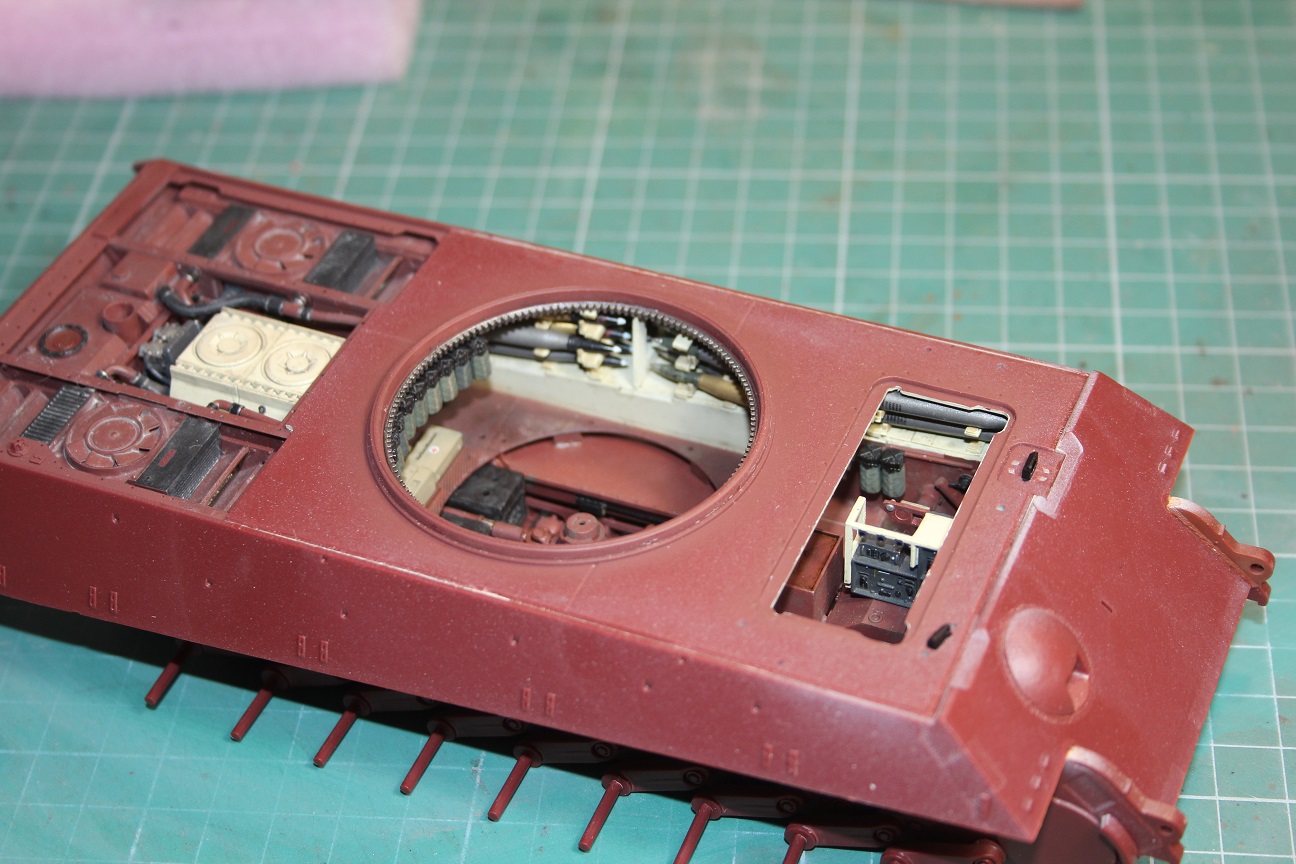
Painted and installed gearbox, radio rack, and remaining hull components. As well, started adding pigments on the floor. Its a first iteration, so i will remove some here and there, then add some oil and damp effects.

As far as i understand, tachometer decal is wrong for use in KT. Looks ok tho, so i will consider this as field replacement

I dont plan to add additional wiring, as interior is realy busy on its own. It is tempting tho. I just realized i havent advanced much with ammunition cleanup, and now i got like 25 MG34 ammo sacks to clean and paint as well
Kaktusas
Visit this Community
Vilnius, Lithuania
Joined: April 12, 2017
KitMaker: 196 posts
Armorama: 196 posts
Posted: Wednesday, December 19, 2018 - 10:07 PM UTC
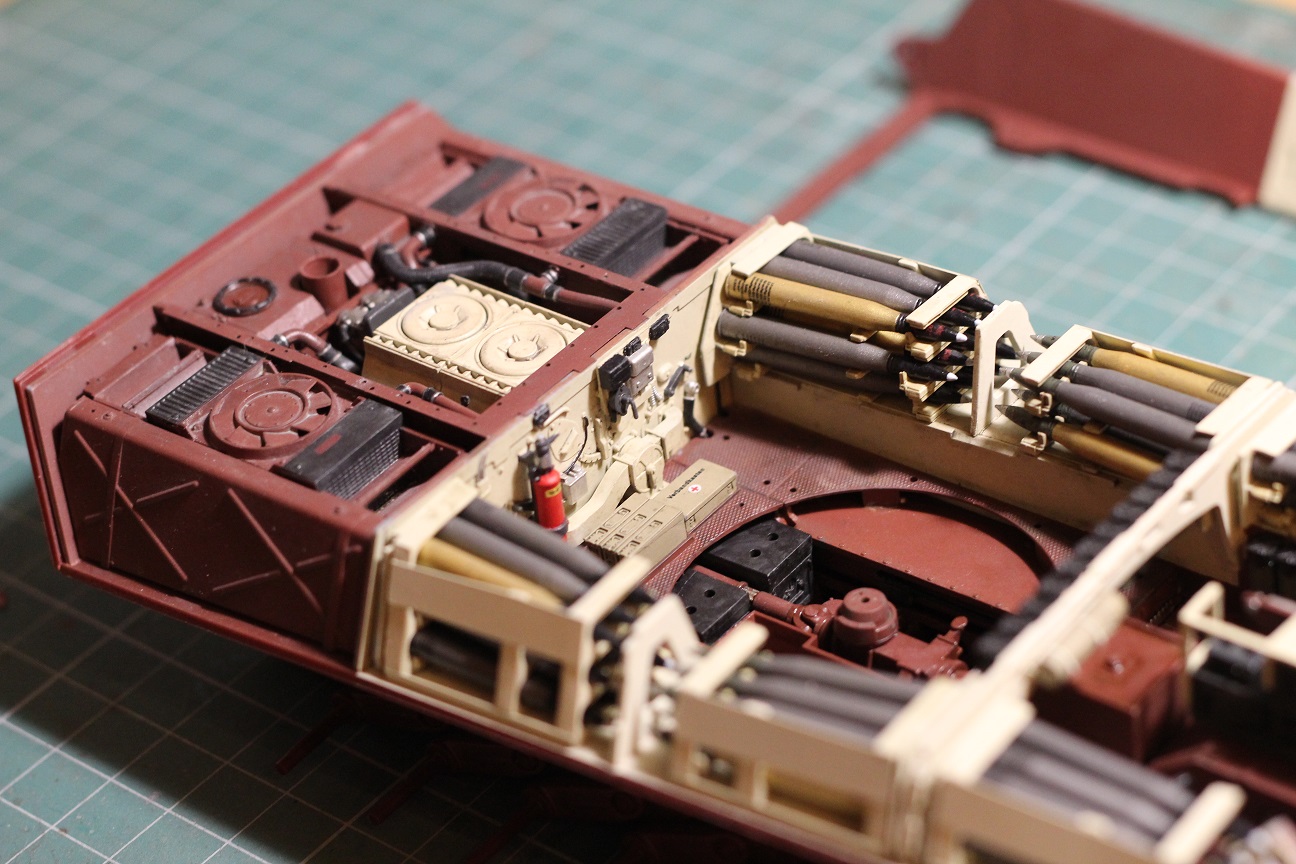
Have been very busy last few weeks, not much progress to report. Painted ammunition, and started adding decals. Next, some varnish, and minor weathering, although might do this in ammo racks too. Looks like candy tray, doesnt it?
Kaktusas
Visit this Community
Vilnius, Lithuania
Joined: April 12, 2017
KitMaker: 196 posts
Armorama: 196 posts
Posted: Wednesday, January 02, 2019 - 08:27 PM UTC
During last week, i have progressed a little bit on this kitten.


The lower hull, and its weathering is pretty much complete (i might add some darker dried mud on the floor to make it "more interesting" (i must admit, this sounds weird if one says it loud)). Other than that, its time to close down the hull , and hide all the work inside.
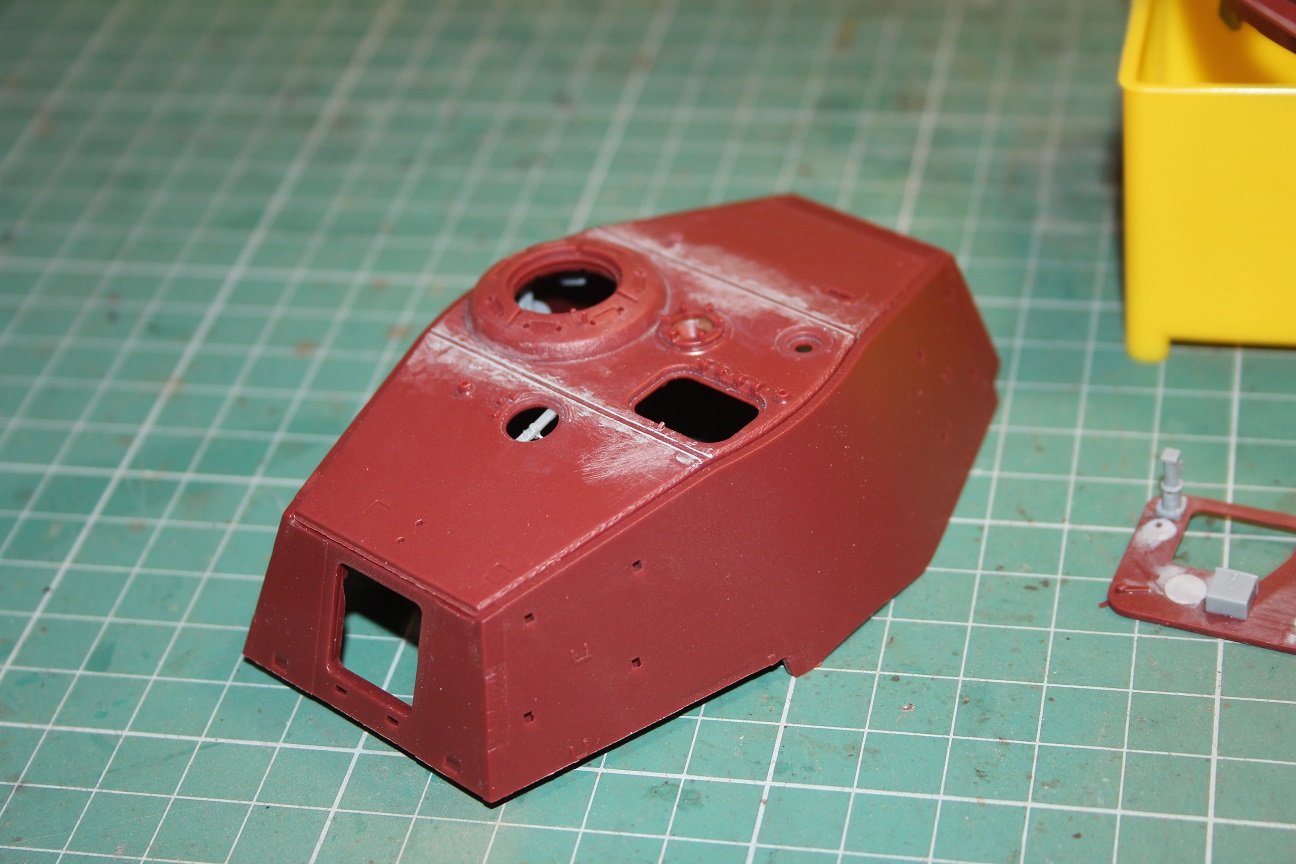
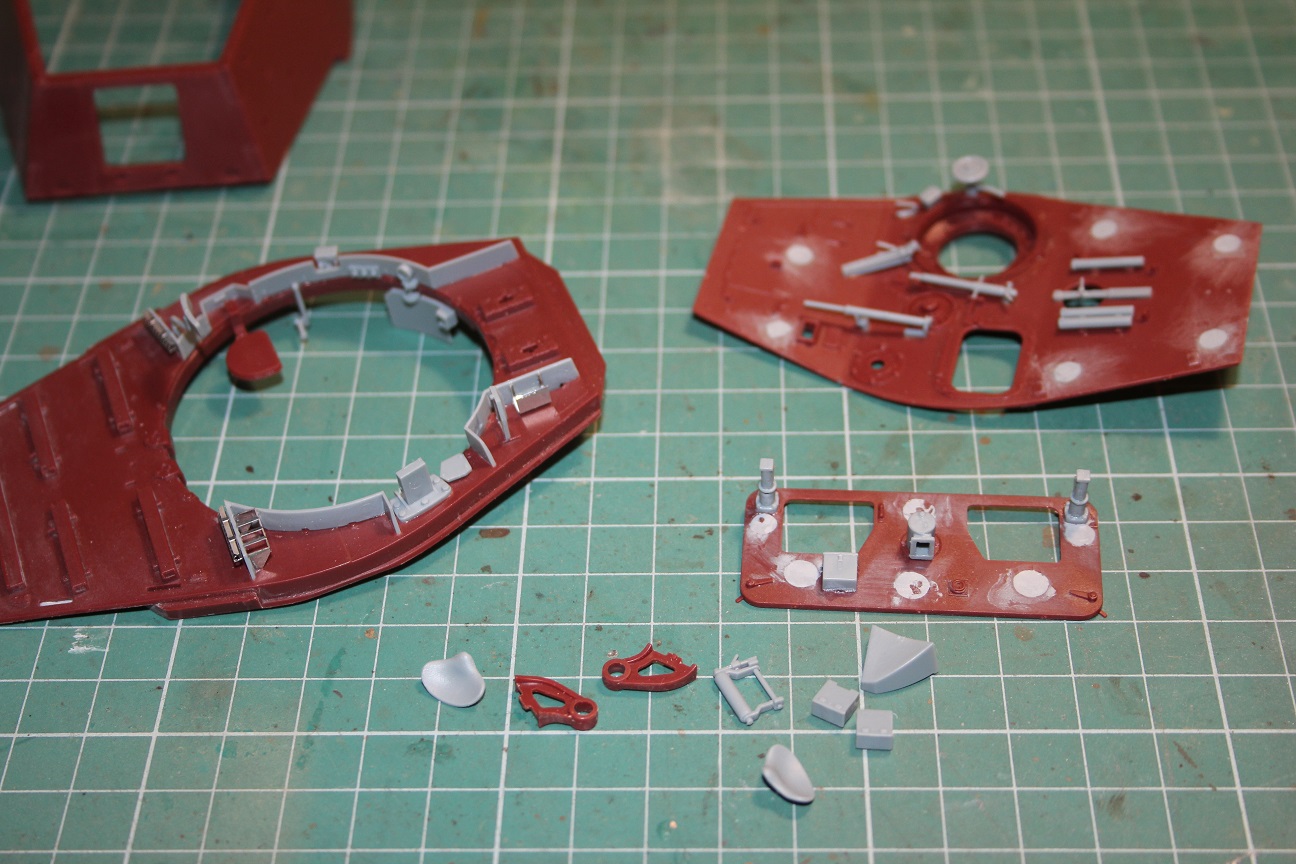
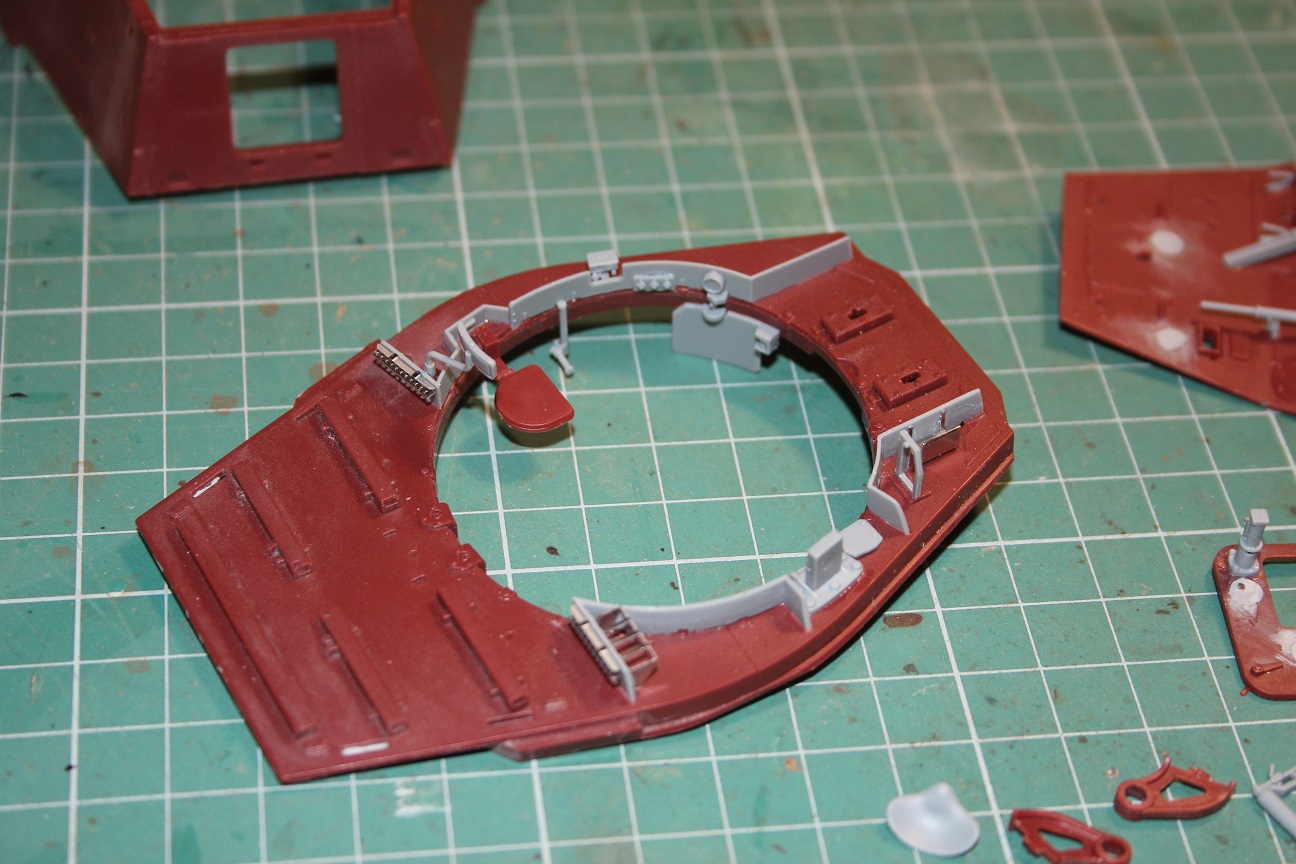
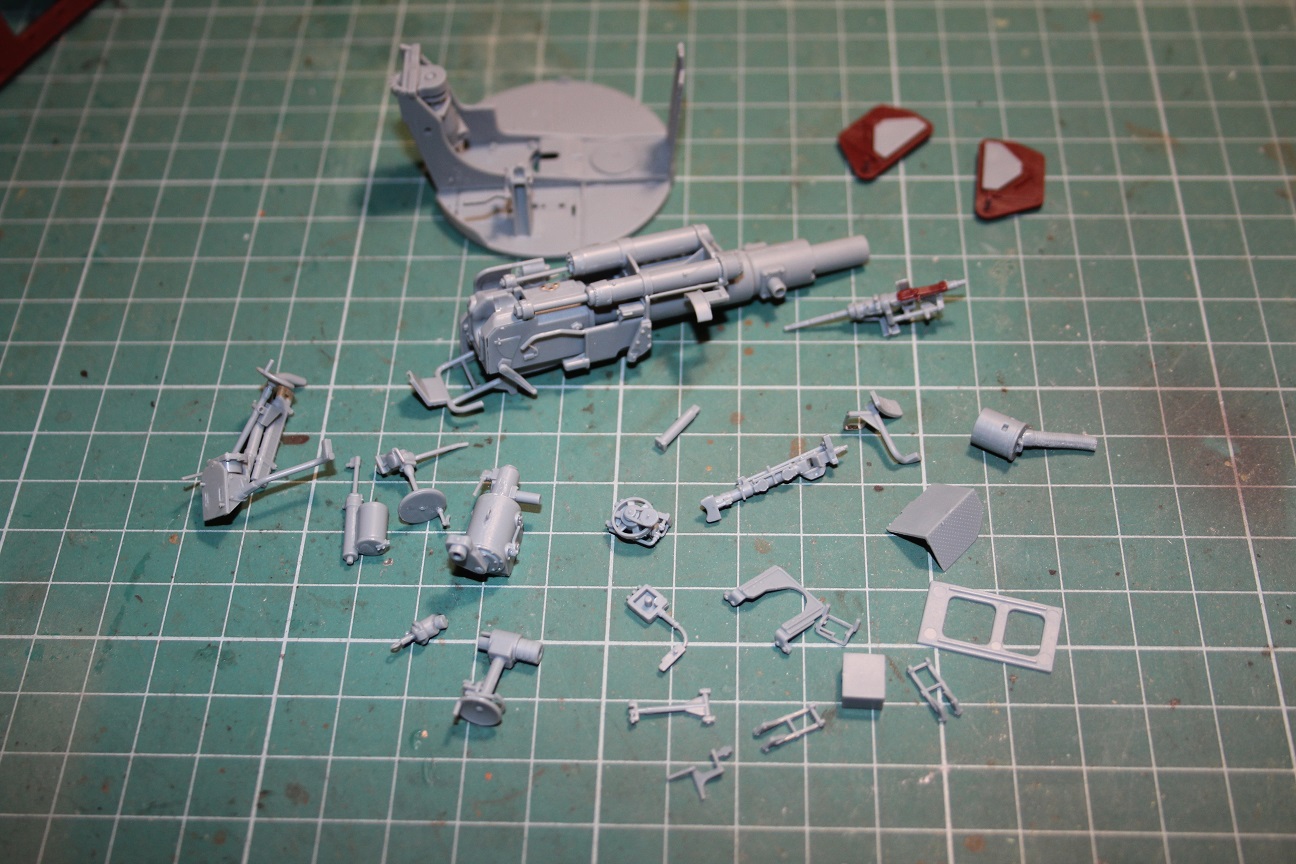
Meanwhile, done most of the stuff for turret internals, before painting the sub assemblies. As well, filled turret bottom, turret roof sinkholes and too wide weld lines, and many other sinkholes.


Some more nasty sink holes to take care off:


I need to make protrusion on the driver and RO hatches, so it mates with catches on the drive train access hatch. You can see catches on the corners of this plate. Those were locking hatch in open position, so it doesn't smash drivers head if one decides t brake suddenly.
Overall, its very nicely detailed kit. In most areas, it is very accurate, although some details are bit crude, but they are hidden deep inside this cat. Same goes with conical shape of some parts, which is needed to improve sprue release from molds (for example battery boxes). All of this is not realy an issue, when you put the kit together, but i can imagine some scratch building would be absolutely necessary, if you decide to do a repair dio for example.
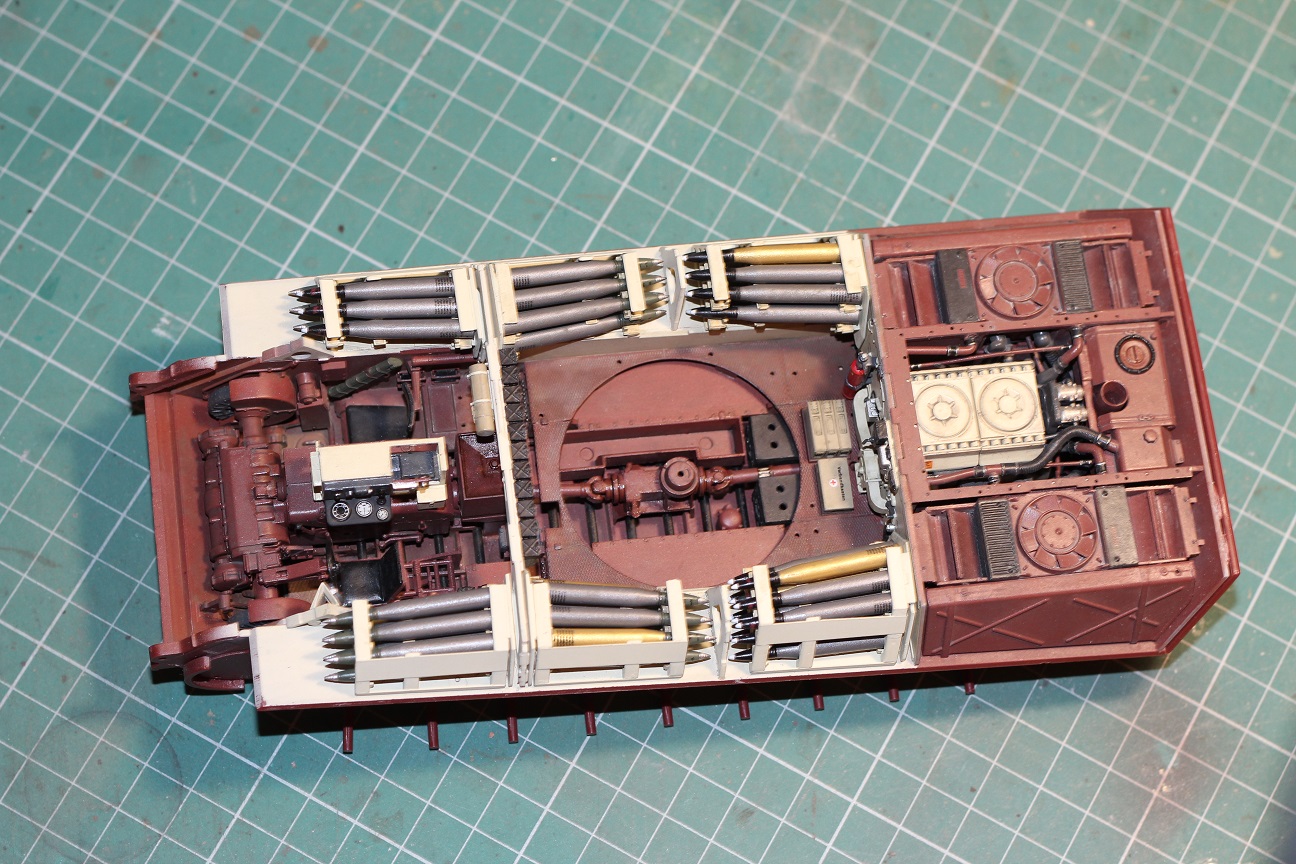
My only concerns are paint guide, instruction annotations, and possibly display concept of the kit:
1) Paint guide. It is better ignored all-together (im referring to interior paint guide). Instructions suggest to use AK colors, from their KT interior set, which includes white interior color. Although later on, AK realized this is wrong (their true color line), they still sell this set with white color. For the color guide, one will have better luck fallowing David Parker or Liejon Schoot builds, which are way more accurate.
2) Build instructions. Is it too much to ask for naming parts and assembles (im not referring to hull fuel tanks that Meng calls "hull storage box" (probably used to store fuel )). Anyway, calling parts in correct names, would show that manufacturer understand what is this weird shaped plastic piece in real tank, and second, it would greatly aid in searching for reference material, for ones that strive for accuracy. It is hard to find reference for something you cant even name.
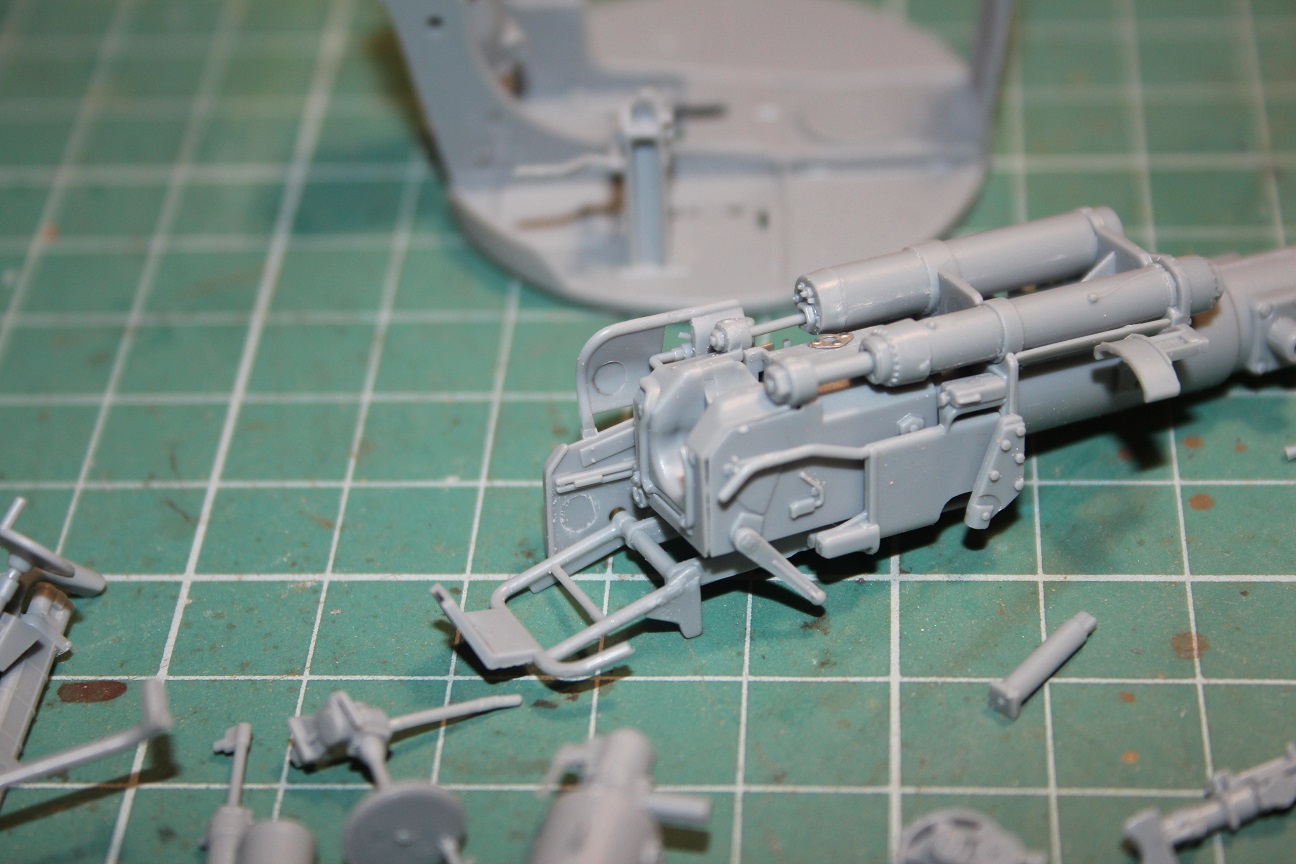
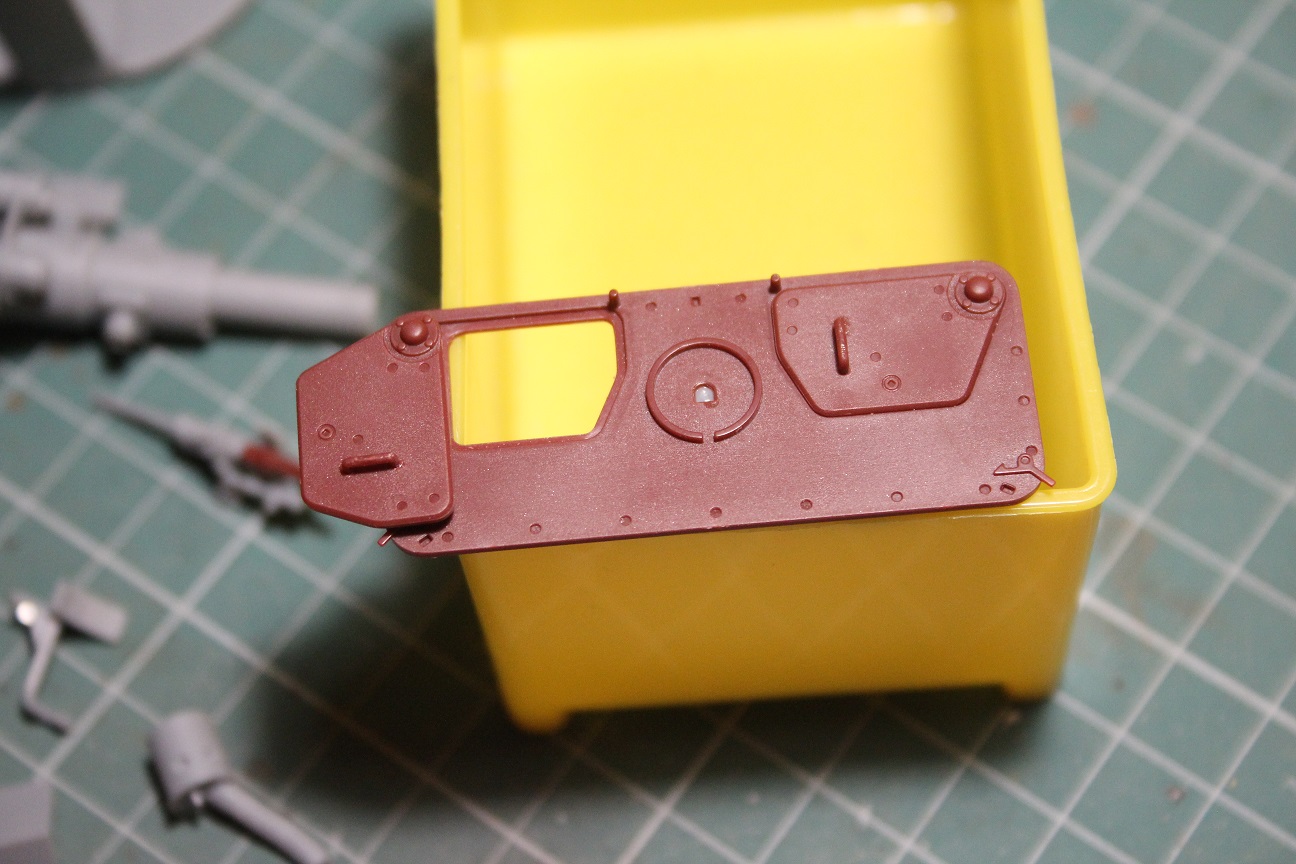
3) Display concept. It seems, that according to Meng, tank should be buttoned up. Totally. Even spent shell eject hatch on the turret roof has its locking mechanism molded in "closed" position. Driver and RO hatch open levers are molded in closed position, there is no easy way to attach those hatches as they are not supposed to lay on the hull.. You can leave drive train access plate removable, but then radio rack is supposed to be attached to it, not to drive train (it has brackets that are attached to the housing, but the rack itself hangs from the roof.). Turret roof and hull roof cannot be removable, as they wrap a little bit, and dont stay flush if left unattached. So realy the entire tank is designed to be assembled completely, and any deviation from buttoned up tank will require some sort of engineering and scratch building from the modeler.
Never the less, great kit, and fun build.
ivanhoe6
Visit this Community
Wisconsin, United States
Joined: April 05, 2007
KitMaker: 2,023 posts
Armorama: 1,234 posts
Posted: Thursday, January 03, 2019 - 01:14 AM UTC
Thanks Darius for sharing all of your awesome, hard work. Looking forward to the day when your KT "crosses the finish line" !!!
165thspc
#521
Visit this Community
Kentucky, United States
Joined: April 13, 2011
KitMaker: 9,465 posts
Armorama: 8,695 posts
Posted: Thursday, January 03, 2019 - 03:42 AM UTC
Amazing build going here, following closely!

The KT really was a bit of a jig-saw puzzle on the inside wasn't it?
Kaktusas
Visit this Community
Vilnius, Lithuania
Joined: April 12, 2017
KitMaker: 196 posts
Armorama: 196 posts
Posted: Thursday, January 03, 2019 - 07:25 PM UTC
Indeed it was Michael The layout itself is very rational, however, most of the components are massively over engineered. Just take driver and r/o hatches as an example. With all the additional latches levers etc. they dont do job any better than hinged hatches seen on pz3/4 or late series panthers. Engine room is very neatly designed with almost no free space left. It somewhat reminds power plant designs of post war era (even engine with all the peripherals is somewhat squared for optimal fit.
Along with panther, Kt is remarkable from engineers point of view. Maybe not the best concept of the tank (engine choice, drive train layout etc), but for the given engine and layout it was engineered to the point where not much left for the desire. It is wrong to state that post war tanks haven't got any heritage from those designs. For science, error or failure is also and result. Same goes for the engineering. It is good to know what NOT to do when you design a tank
Kaktusas
Visit this Community
Vilnius, Lithuania
Joined: April 12, 2017
KitMaker: 196 posts
Armorama: 196 posts
Posted: Monday, January 07, 2019 - 07:13 PM UTC
Build goes on.
Have enclosed hull. Fit is OK, maybe it would benefit from some sort of tabs on hull roof, so it catches with hull sides. Forgot to install hull MG, but this shouldn't be an issue with transmission access plate off.

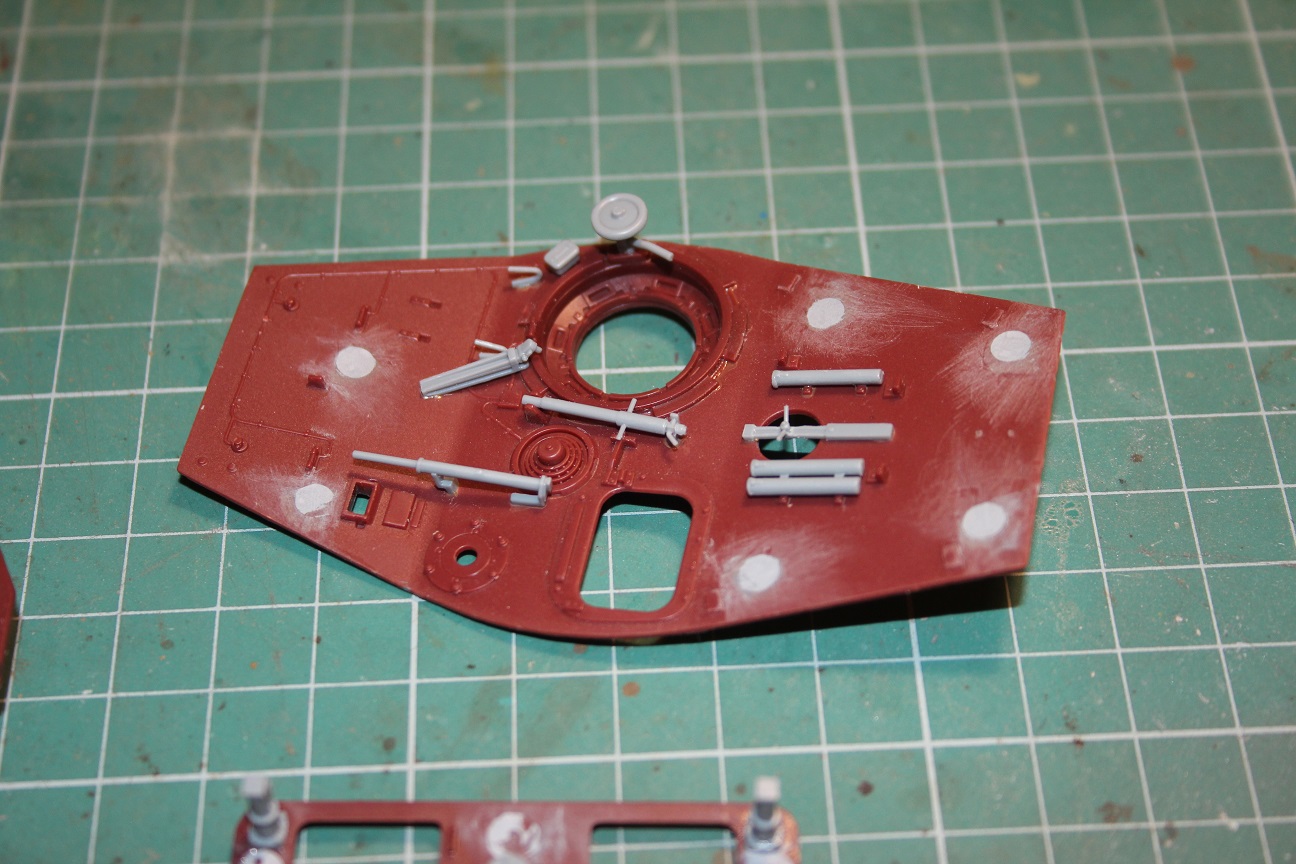
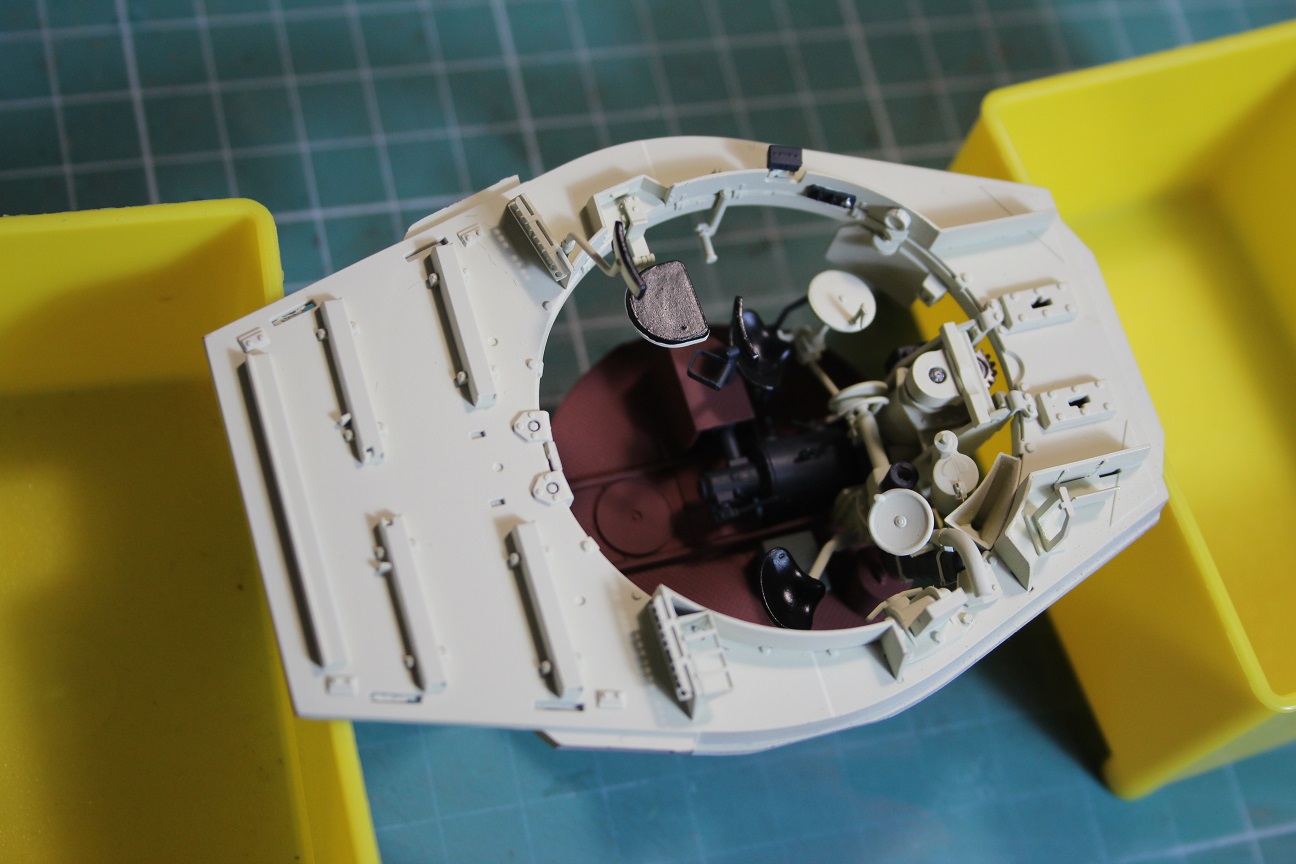
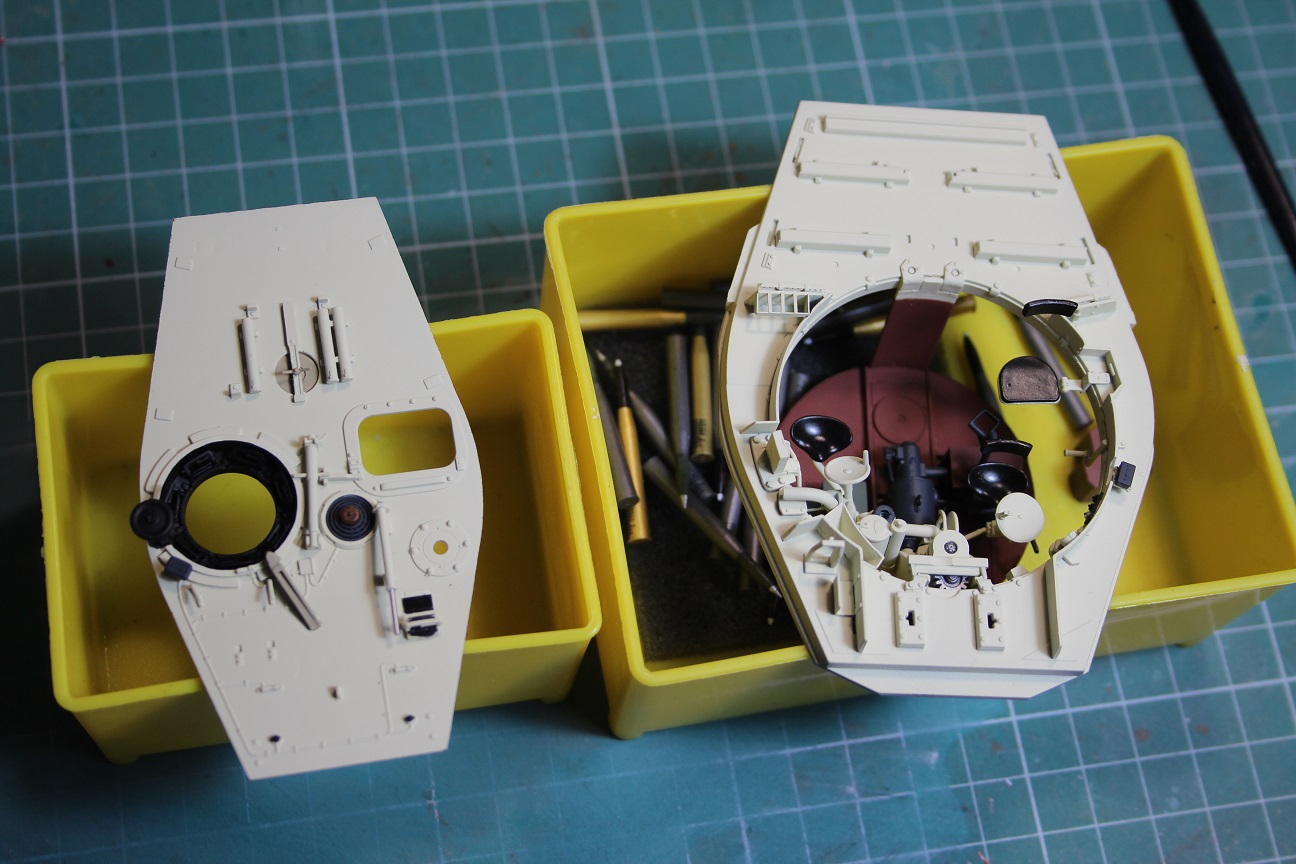
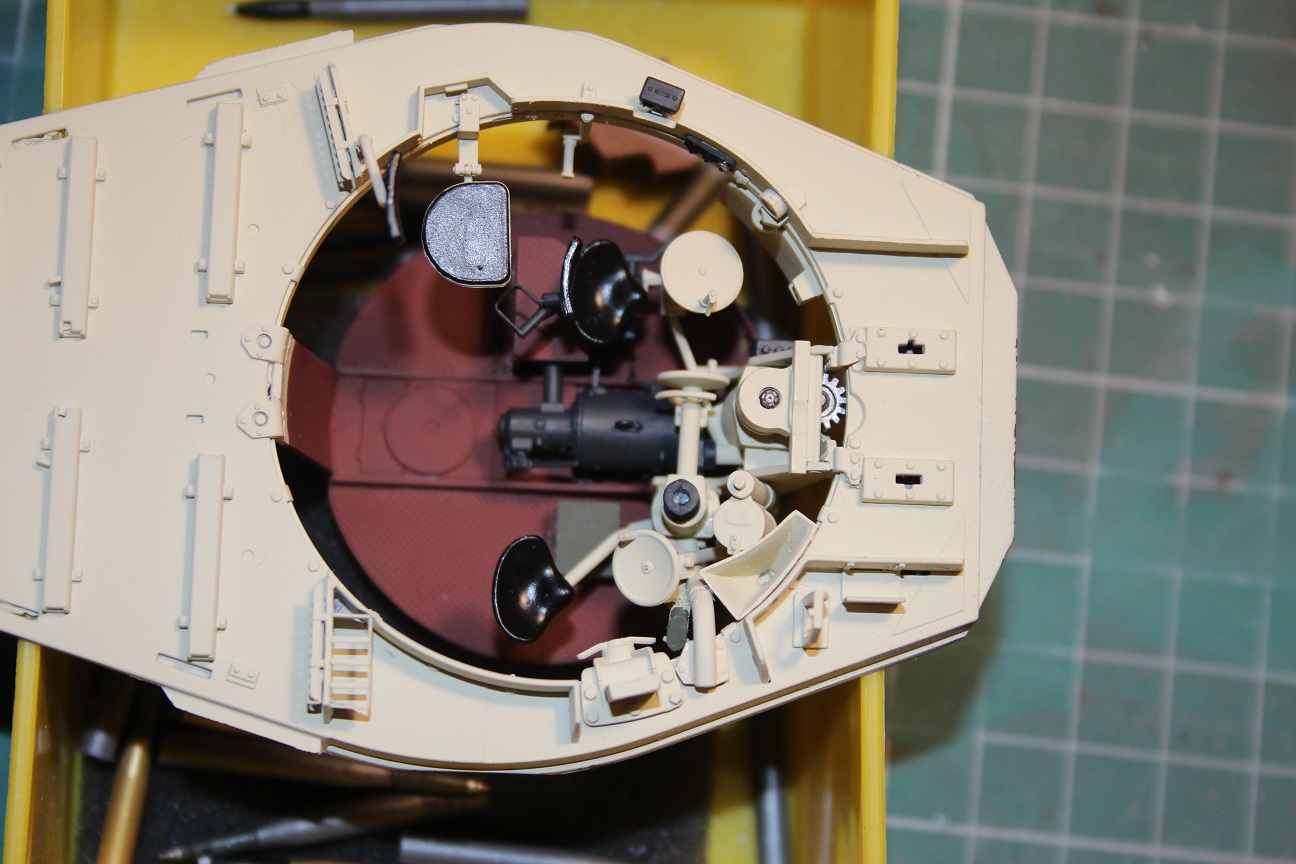
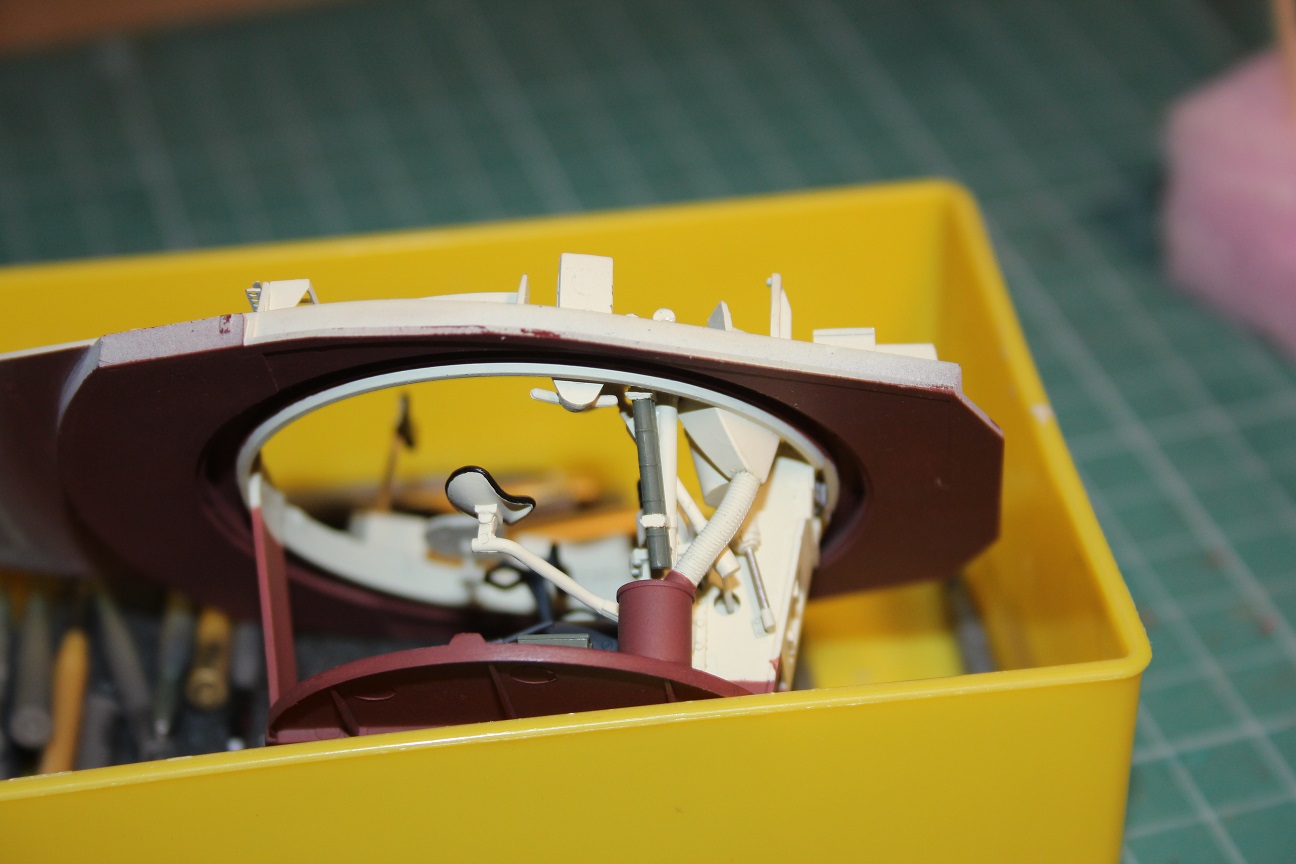
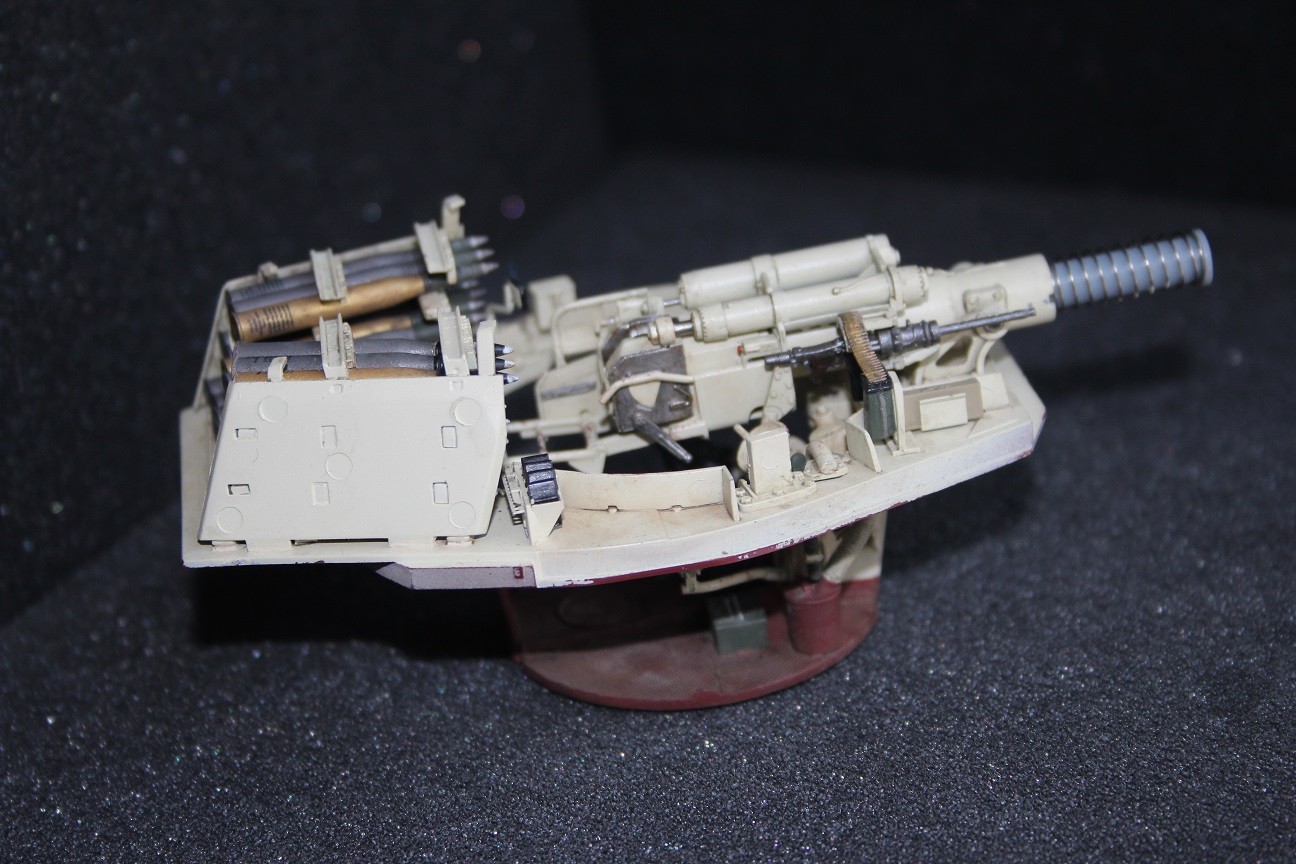
Lots of painting this weekend. Base coated and painted most of the turret internals:


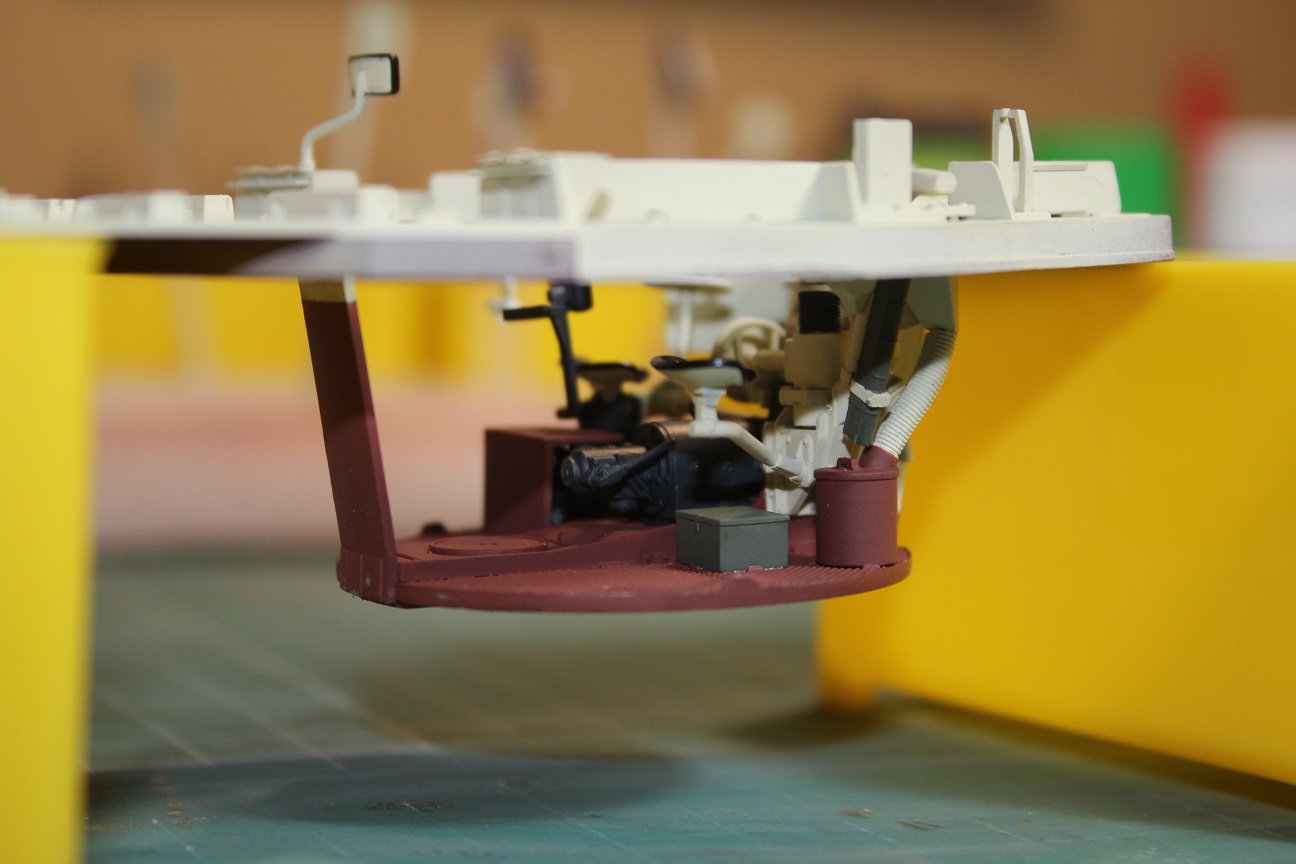
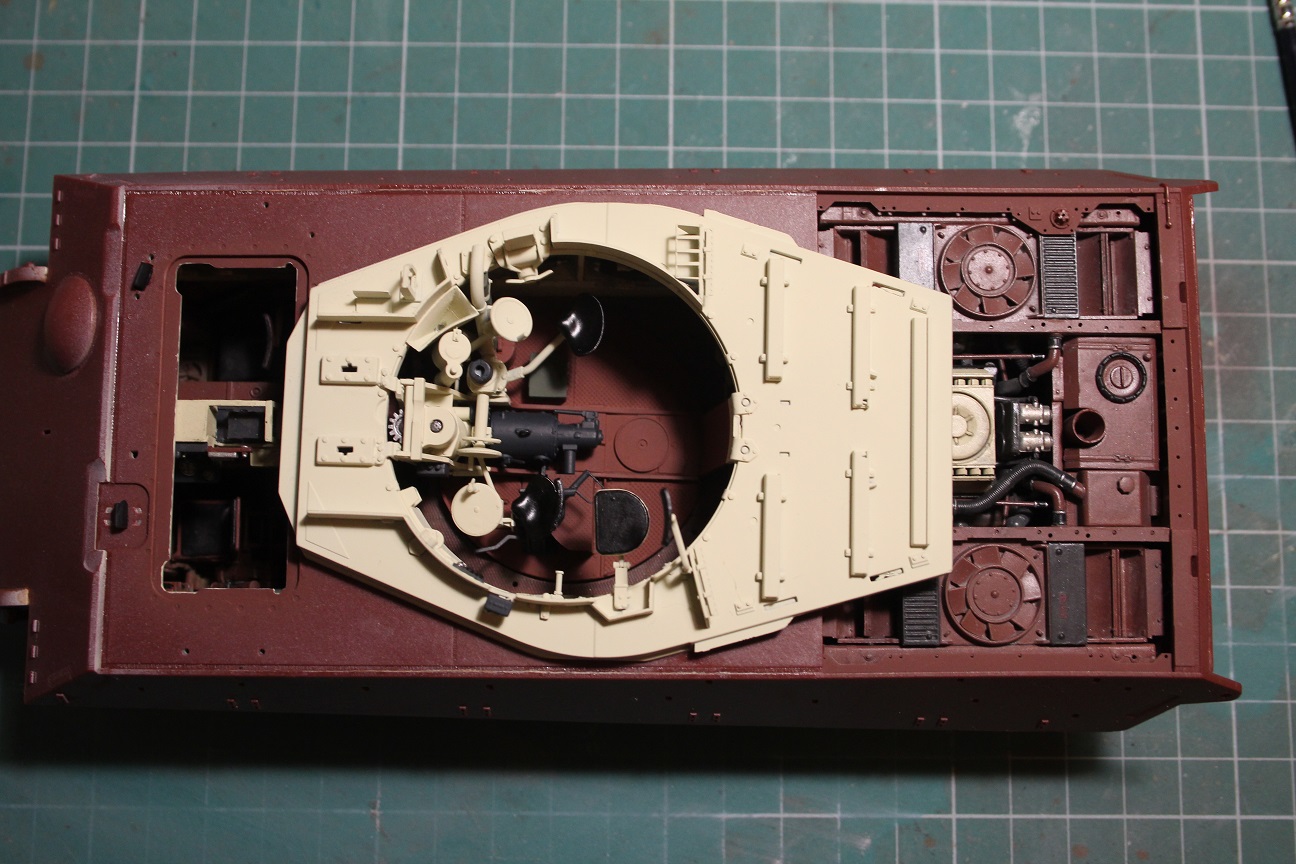
And test fitted to the hull:

There are few issues. First, it seems that turret basket floor is shifted backwards, about 0,5mm. This results in lifted turret front, as basket floor sits in the ring on the hull floor. Rear turret mount is flexible, front is rigid. On front mount, there are two small tabs holding turret basket 0,5mm or so backwards. I will remove them, so basket shifts forward. Will damage paint a bit, but already scratched some paint trying to figure out what parts interfere. Next thing, is bracket on the loader side ( with MG barrel case). This part is too high, and there is about 1mm gap between it, and plate mounted on the turret. It is actually one of turret basket supports, so they should mate. At given state, i dont see easy way to fix this issue. I could not test this before painting, and assembling everything together, as this would make painting and masking extremely difficult. On the bright side, there is no way to see it, once hull top is added, therefore, i will leave it as is. But ones doing cutaway should take a closer look at this part. Btw, removing tabs, and sliding entire assembly downwards doesn't work, i have already tried this. Main gun elevation mechanism will interfere with hydraulic pump unit. So the only decision would be shortening the tube.
And final mishap is placement of MG spare barrel container. It should be shifted backwards, as in actual tank it was placed so that lid could be opened, and barrel removed, without taking off the container itself. In Meng version, container sits bellow tubular bracket, therefore barrels would be inaccessible. This is hard fix, as this location is dictated by reduction of internal turret ring diameter, because of plastic thickness. This one is there to stay as well.
Kaktusas
Visit this Community
Vilnius, Lithuania
Joined: April 12, 2017
KitMaker: 196 posts
Armorama: 196 posts
Posted: Wednesday, January 09, 2019 - 07:21 PM UTC
I have fixed the fit issues mentioned above. All of them.

Removing small tabs from front mounts allowed adjustment of basket position. I would suggest to glue rear support first, then, fit turret on the hull, and adjust front. Solves everything. I understand, it is difficult to ensure that there will be no mismatch between hull floor and turret basket floor. Alignment of those parts depends on accurate placement of multiple components. Therefore fixing front turret basket supports when turret is on the hull allows some minor adjustment, and that's all you need.

For Mg barrel container, its bottom bracket is in good position, but upper is not. In Meng kit, it is supposed to be parallel to the turret mounting bracket, while on KT it was offset, so you can access the barrels. All i had to do, is break off upper support, and glue it bit backwards. It doesn't hide alignment recess on the bracket, but it is not visible, unless you know what to look for. And finally, that turret bracket itself. I cut out the excess. I suggest to cut bracket above MG barrel container bracket, and fit it on assembled turret. This way, you will have no seams to worry about, plus, you will be able to adjust.
Kaktusas
Visit this Community
Vilnius, Lithuania
Joined: April 12, 2017
KitMaker: 196 posts
Armorama: 196 posts
Posted: Wednesday, January 09, 2019 - 07:22 PM UTC
Oh, and while i fixed some stuff, i did some boo-boo'I noticed that loader seat is pointing towards front, while it should be rotated towards gun. Noticed this while resizing my own pictures. Fixed already.
Kaktusas
Visit this Community
Vilnius, Lithuania
Joined: April 12, 2017
KitMaker: 196 posts
Armorama: 196 posts
Posted: Sunday, January 27, 2019 - 07:18 PM UTC
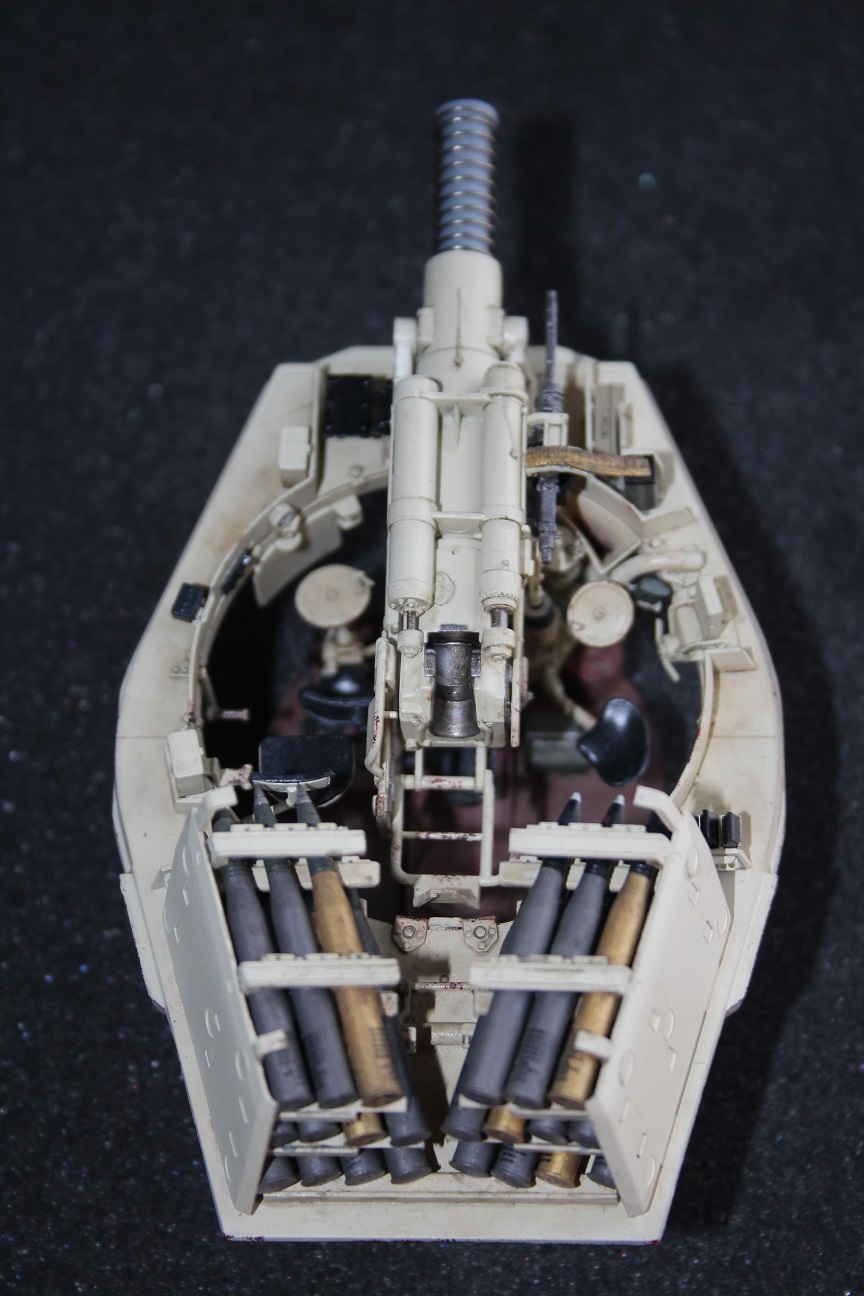
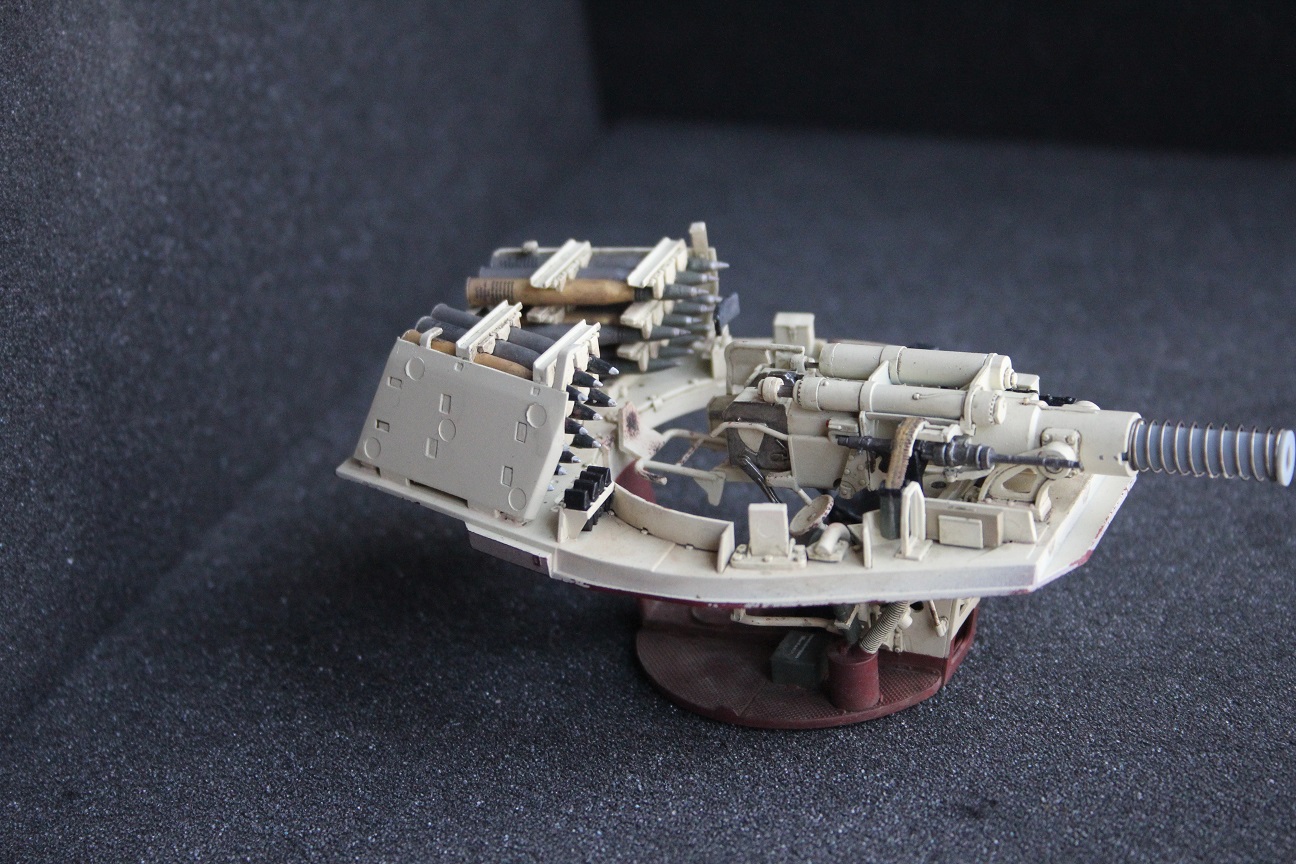
Finished work on turret internals. Weathering done as well, so its time to assemble everything.


As well started adding components on the hull:

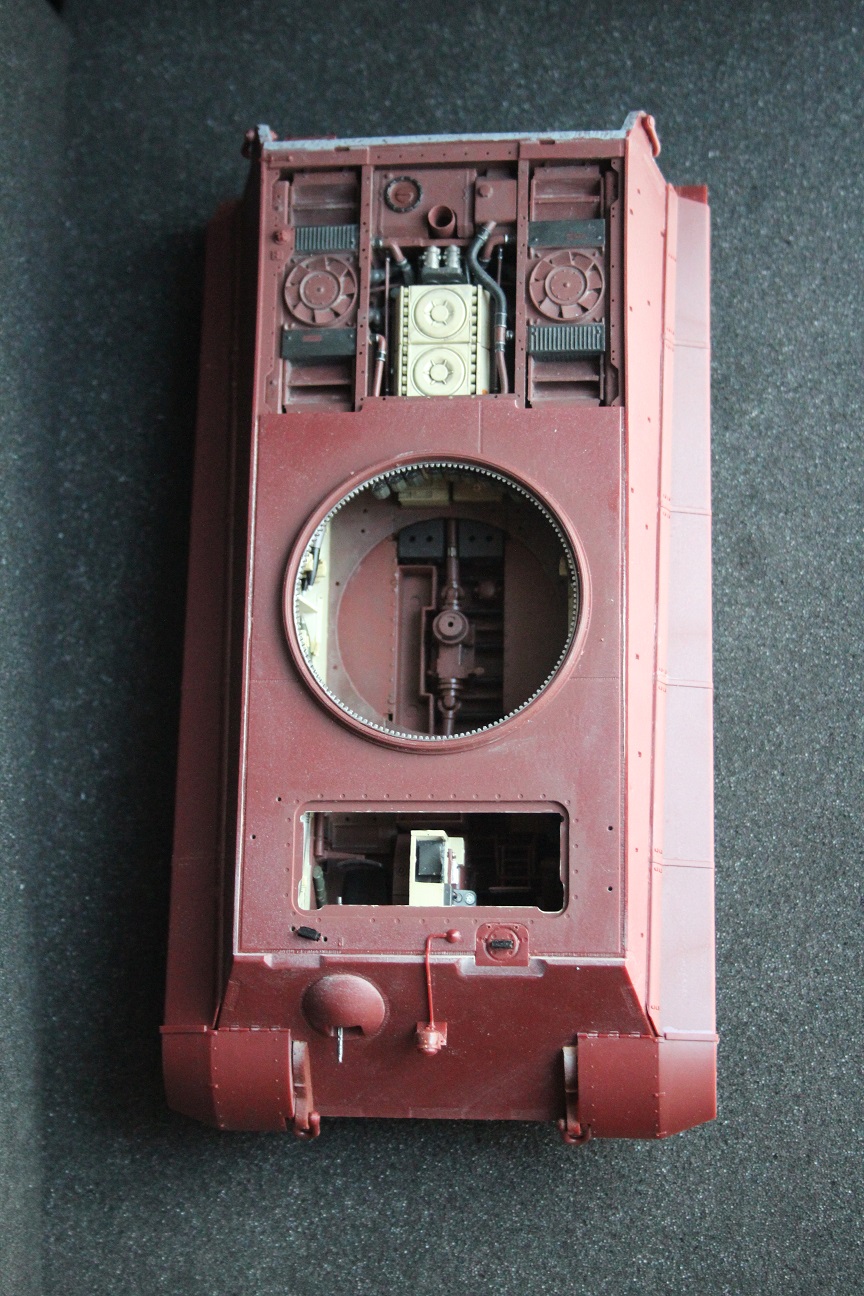
Drilled out and hinged engine access hatch. Initially, i thought i will leave entire panel removable, but it is wrapped slightly, thus it wont sit flush.. There should be flange where engine hatch rests, but it is not molded in this kit. Had to scratch build it from thin styrene sheet.

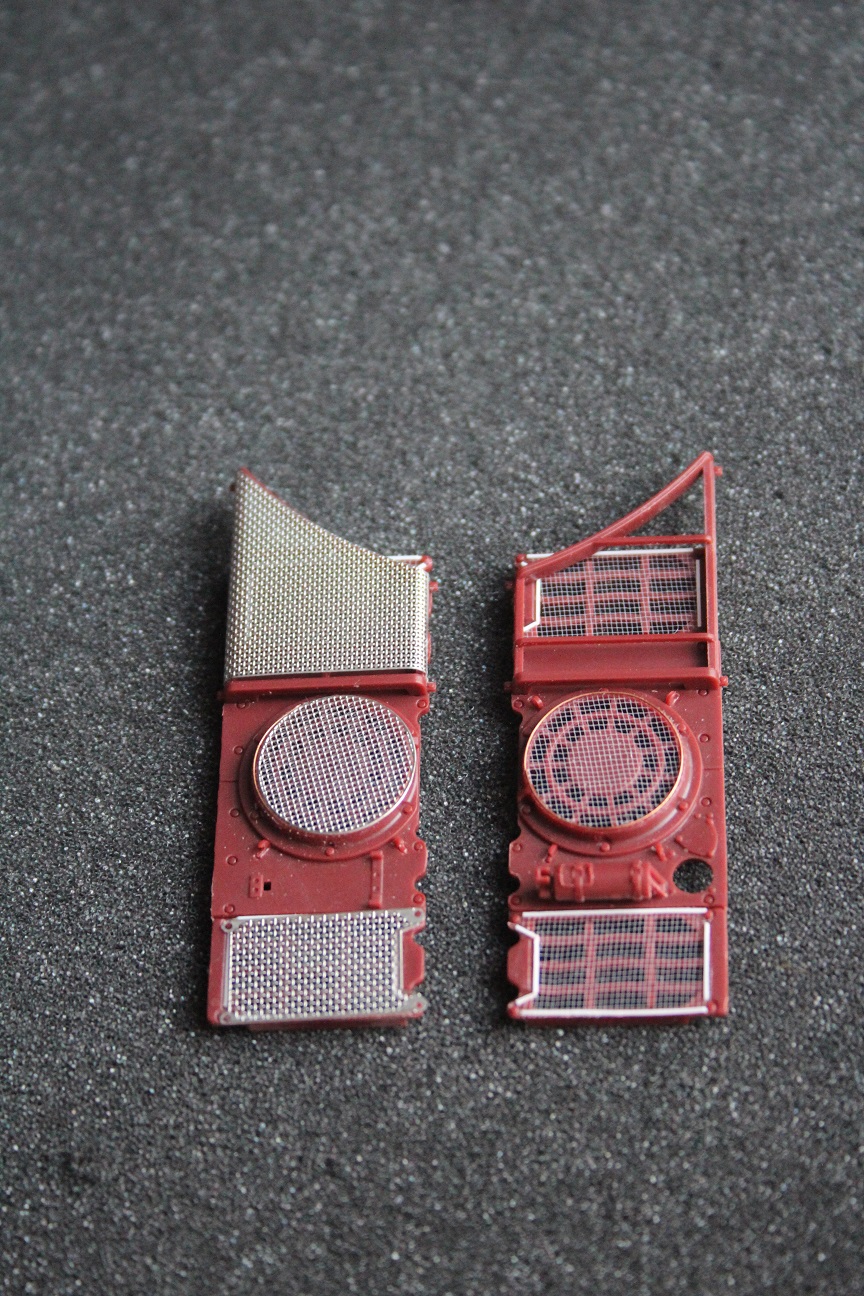
Next, is radiator and fan covers. PE mesh supplied with kit is somewhat ridiculous. I have replaces finer screens with some organza mesh. I still got to source heavier mesh for additional screens. Actually, i got some form older Tamiya kits, but its plastic, and i have yet to find the way to glue them. CA doesn't really work on this one.

Im thinking of replacing them with some PE, but this will halt work on the kit, as i got to source some.
165thspc
#521
Visit this Community
Kentucky, United States
Joined: April 13, 2011
KitMaker: 9,465 posts
Armorama: 8,695 posts
Posted: Sunday, January 27, 2019 - 07:24 PM UTC
Finally - a spring loaded recoil on a tank gun.

Wonderful innovation and a well done built all arround.
Kaktusas
Visit this Community
Vilnius, Lithuania
Joined: April 12, 2017
KitMaker: 196 posts
Armorama: 196 posts
Posted: Monday, February 04, 2019 - 07:15 PM UTC
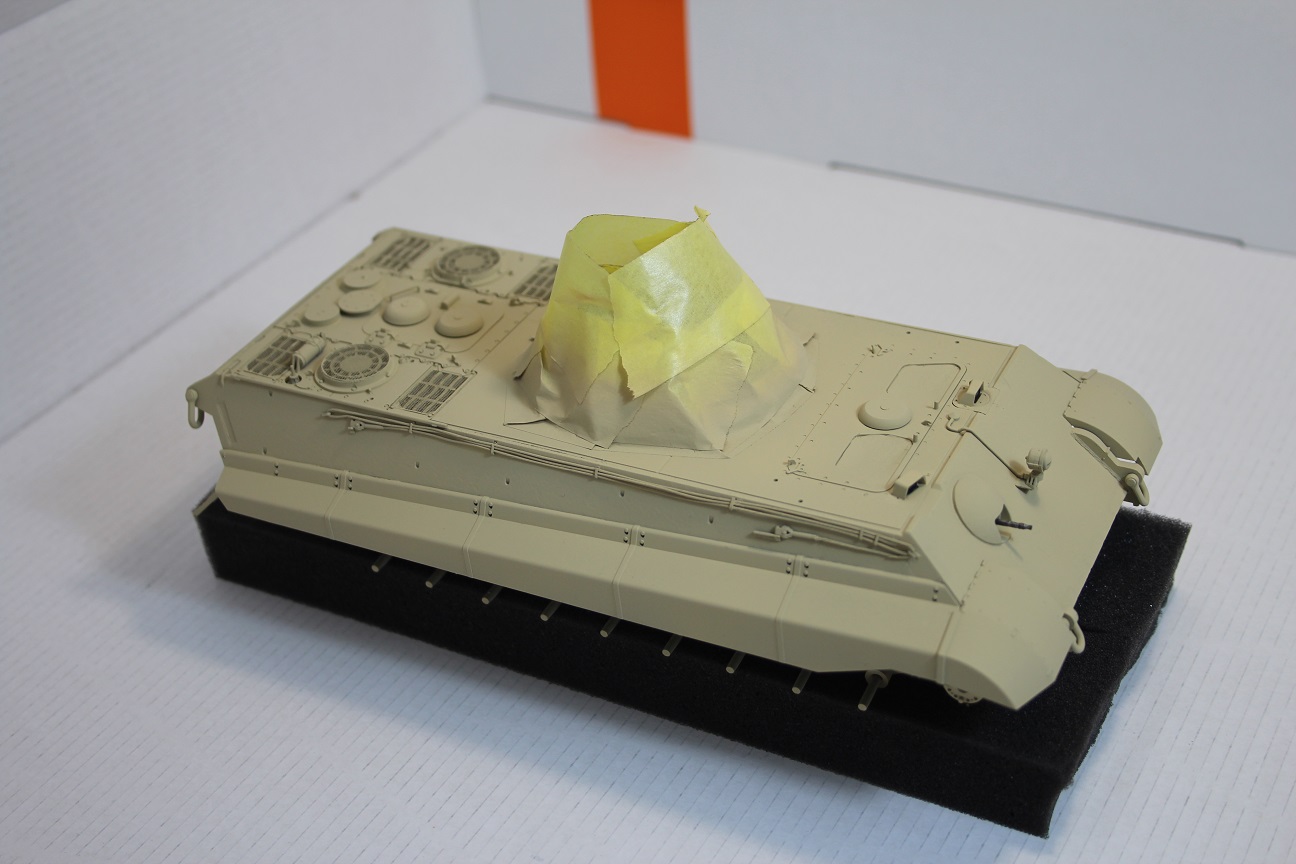
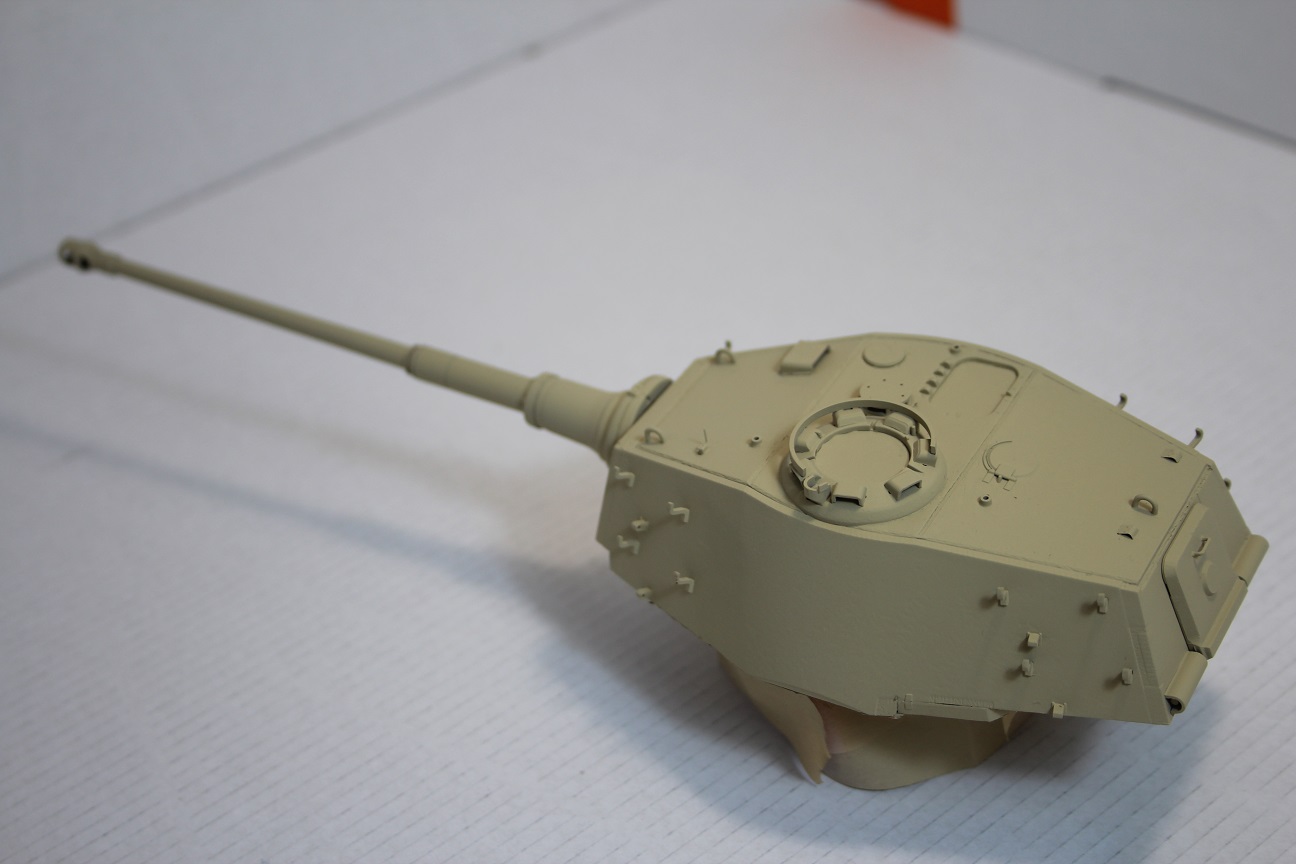
Base coat is on!


Finally no more red/brown tank on desk

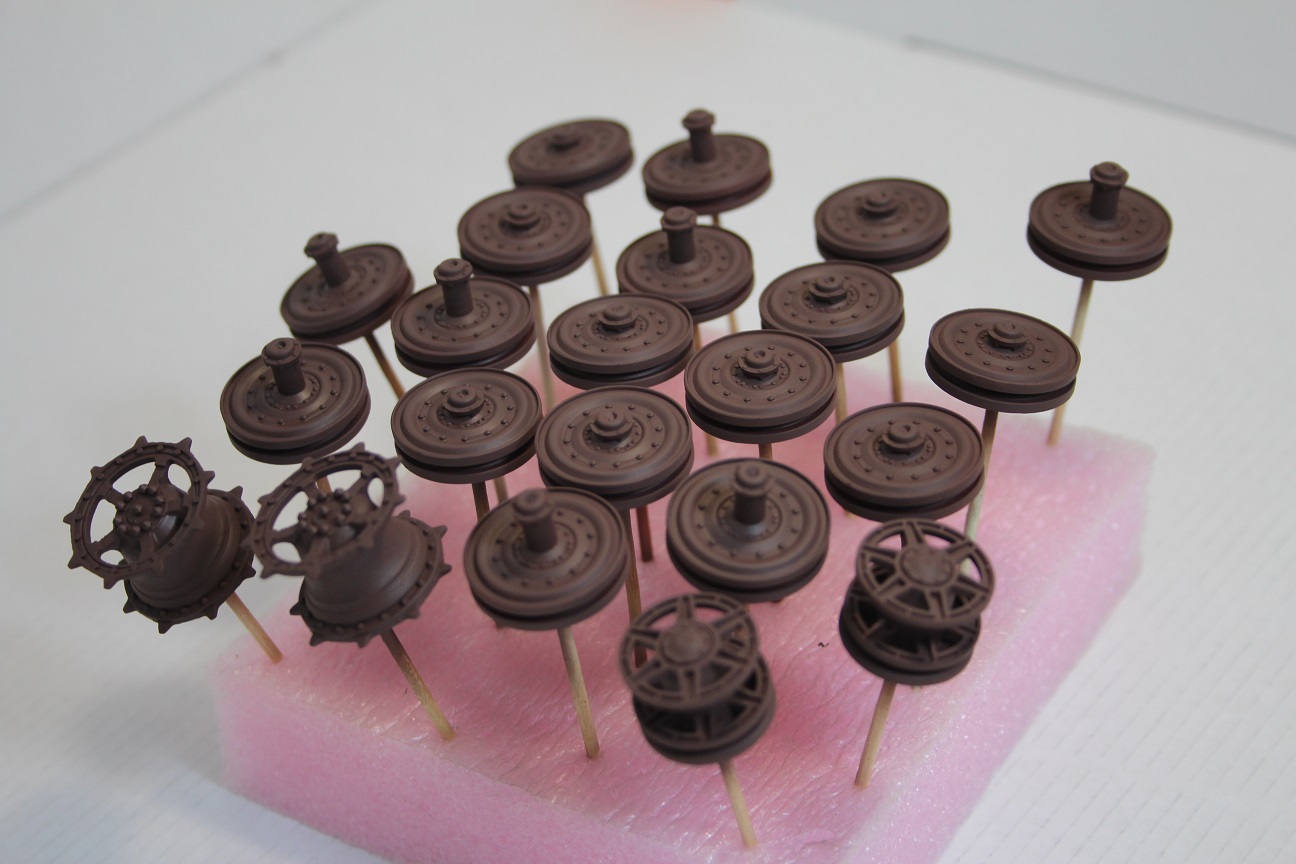
Now i will let base coat dry little bit more, so its less sensitive to masking tape. Started assembling tracks as well, those separate link ones are great. Only downside is the time it takes to insert those two small pins (actually it takes longer than track cleanup).
Anmoga
Visit this Community
Spain / España
Joined: November 18, 2004
KitMaker: 456 posts
Armorama: 333 posts
Posted: Monday, February 04, 2019 - 08:58 PM UTC
Hi Darius,

Excellent king tiger model.

May I ask you what color did you use to paint the ammo?

Thanks in advance,
Angel
phantom8747
Visit this Community
Alabama, United States
Joined: March 09, 2015
KitMaker: 281 posts
Armorama: 273 posts
Posted: Tuesday, February 05, 2019 - 02:01 AM UTC
That KT is looking great.Bought the Meng kit last week and ordered interior and workable track set to go with it.Thanks for all the photos of the progress you've made.Can hardly wait to see final results.BTW what did you paint the turret interior with?
Kaktusas
Visit this Community
Vilnius, Lithuania
Joined: April 12, 2017
KitMaker: 196 posts
Armorama: 196 posts
Posted: Tuesday, February 05, 2019 - 02:17 AM UTC
Angel,

For the ammunition, i have used AMMO brass (im not happy about paint itself, but color is good). For parkerised steel i have used 50/50 Ammo Steel/gunmetal mix. Then, i have mixed RLM66 with some steel (tiny bit for metallic shine) And dull coated the shells. It might sound difficult, but actually process is very straight forward and controllable. Benefit is, if you scratch the dull coat, you reveal the shinier steel. I have experimented with mix, till i got desired effect. Easiest way to do, is to coat some empty sprue with shell base color, then adding drop of paint into airbrush cup till you get desired shade. Its very thin layer, as paint is also diluted about 50/50.
For the shell weathering, i have found diluted Ammo Engine grime to be very good. Use it almost like filter, easy to remove excess, and shells dont look uniform. Quick and easy.

Bob, turret interior is Mission models Elfenbein (MMP-082). Red oxide and field gray parts are also direct from bottle (also MMP).
Anmoga
Visit this Community
Spain / España
Joined: November 18, 2004
KitMaker: 456 posts
Armorama: 333 posts
Posted: Wednesday, February 06, 2019 - 10:47 PM UTC
Thanks Darius for your help.

I will try your mix for parkerized steel.

Regards,
Angel
Kaktusas
Visit this Community
Vilnius, Lithuania
Joined: April 12, 2017
KitMaker: 196 posts
Armorama: 196 posts
Posted: Sunday, February 24, 2019 - 07:09 PM UTC
It took me a while to get myself together ant start work on hard edge cammo. It took long enough, so i have completed major assembly on Marder Im building for Italian campaign
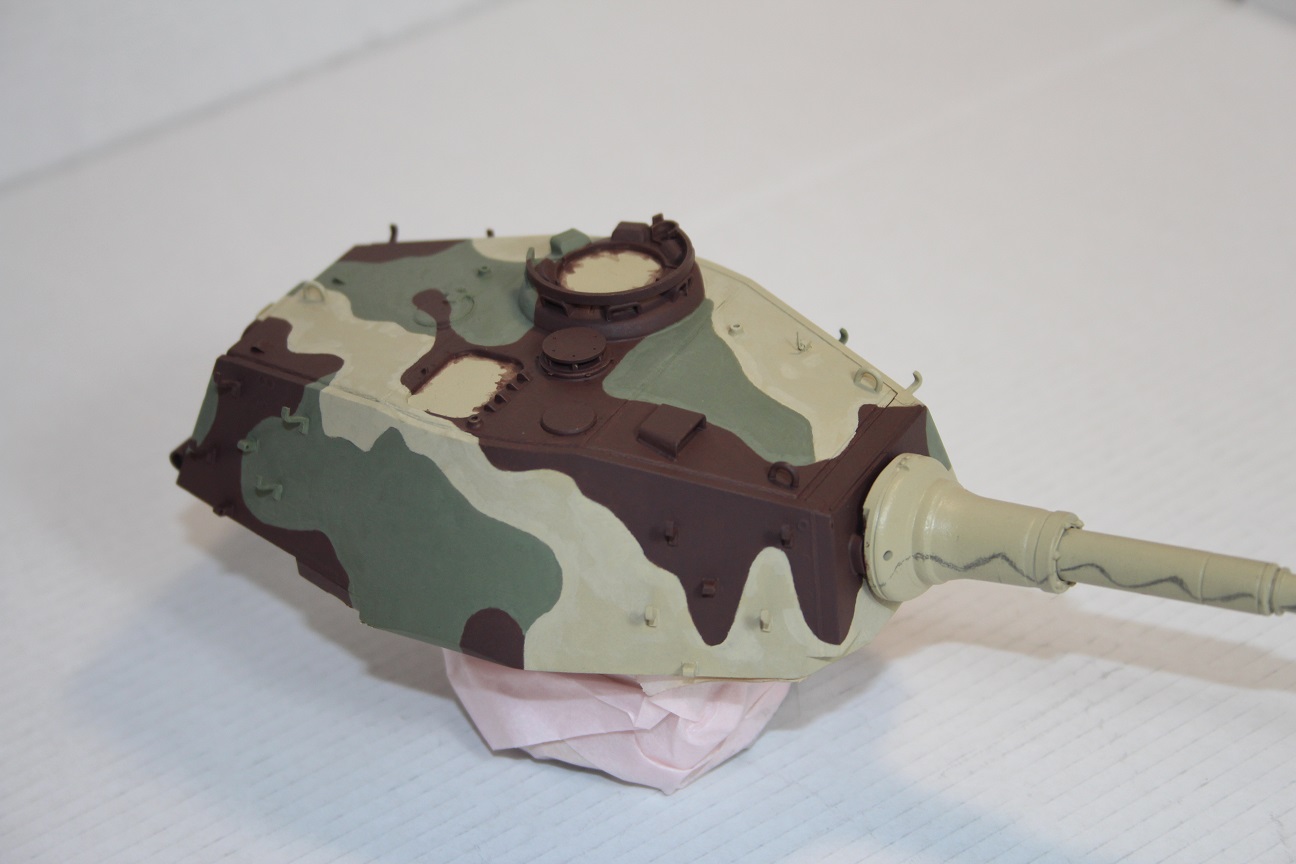
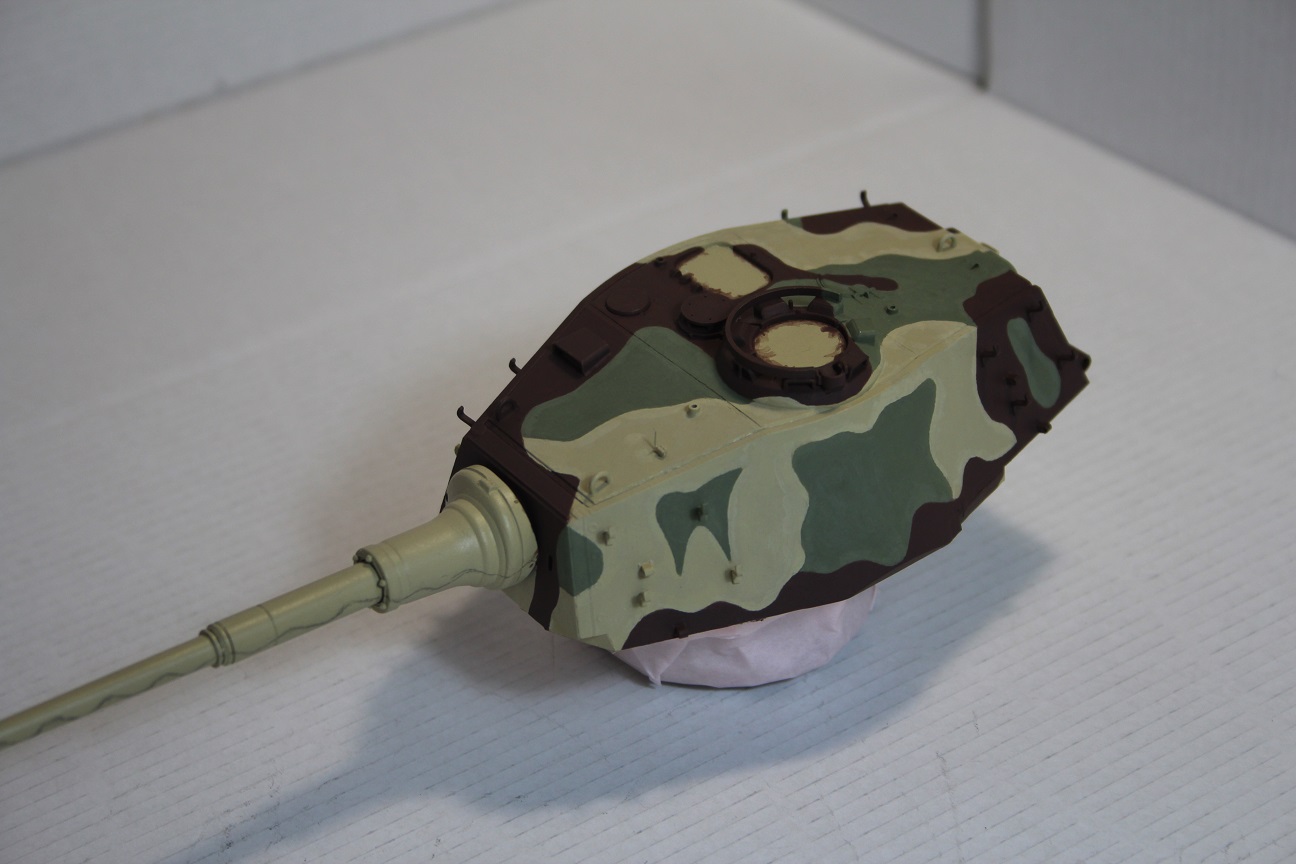
. Its takes ages to do it with a brush, but even longer with the masking tape (if got pattern to fallow). Done most of work on turret, minus the barrel and mantlet. Got to touch up here and there too. Will add the dots when entire tank cammo is finished, for more consistent results.


 _GOTOTOP