_GOTOBOTTOM
Armor/AFV: Axis - WWII
Armor and ground forces of the Axis forces during World War II.
Hosted by Darren Baker
Amusing Hobby Panzer 38D with PAW 600
dutik
Visit this Community
Germany
Joined: October 03, 2010
KitMaker: 134 posts
Armorama: 134 posts
Posted: Friday, December 14, 2018 - 08:50 AM UTC
Wow! Quite a mouthful of a name for such a small tank!

Very nice kit. Good fit, low parts count, clickable single link tracks, PE for the grilles, that's it. A real quick build:
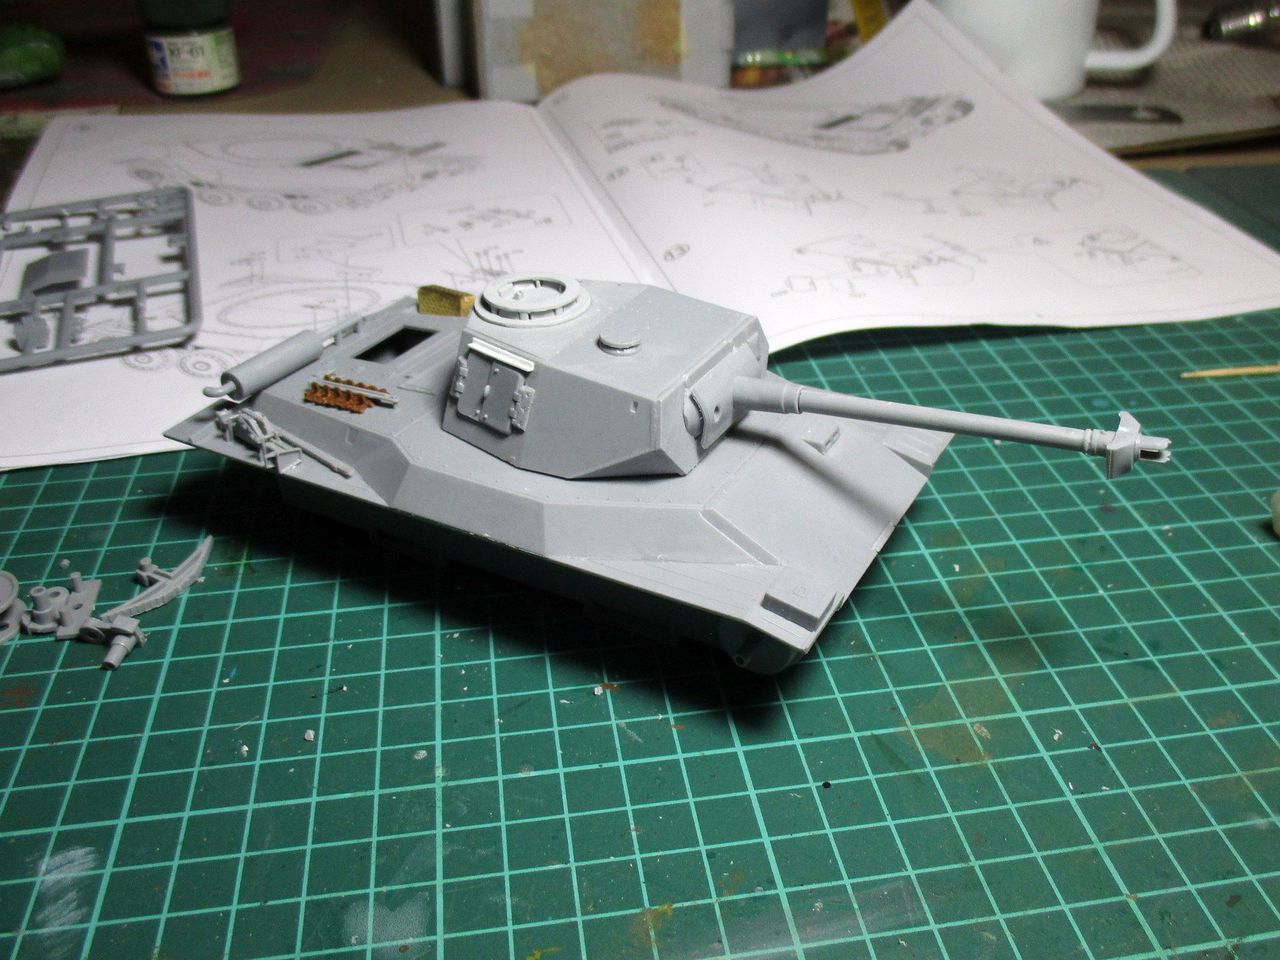


A few parts are not so well detailed, so I replaced the simplyfied toolbox with a spare PE part for a Hetzer. I want also to replace the Notek light with a better one and add some extra details here and there. One thing lacking are any vision devices except the drivers visor. This is not AHs fault (hey, I mean Amuusing Hobby, not Adolf Hitler ). This was just a development project. Vison devices had yet to be specified. So I used a leftover Stug III cupola. This device was in production, so it could have been choosen for the tank production. Finally I broke the rain guards (very flimsy parts) and had to make my own ones...

Enjoy!
- dutik
dutik
Visit this Community
Germany
Joined: October 03, 2010
KitMaker: 134 posts
Armorama: 134 posts
Posted: Sunday, December 16, 2018 - 07:41 AM UTC
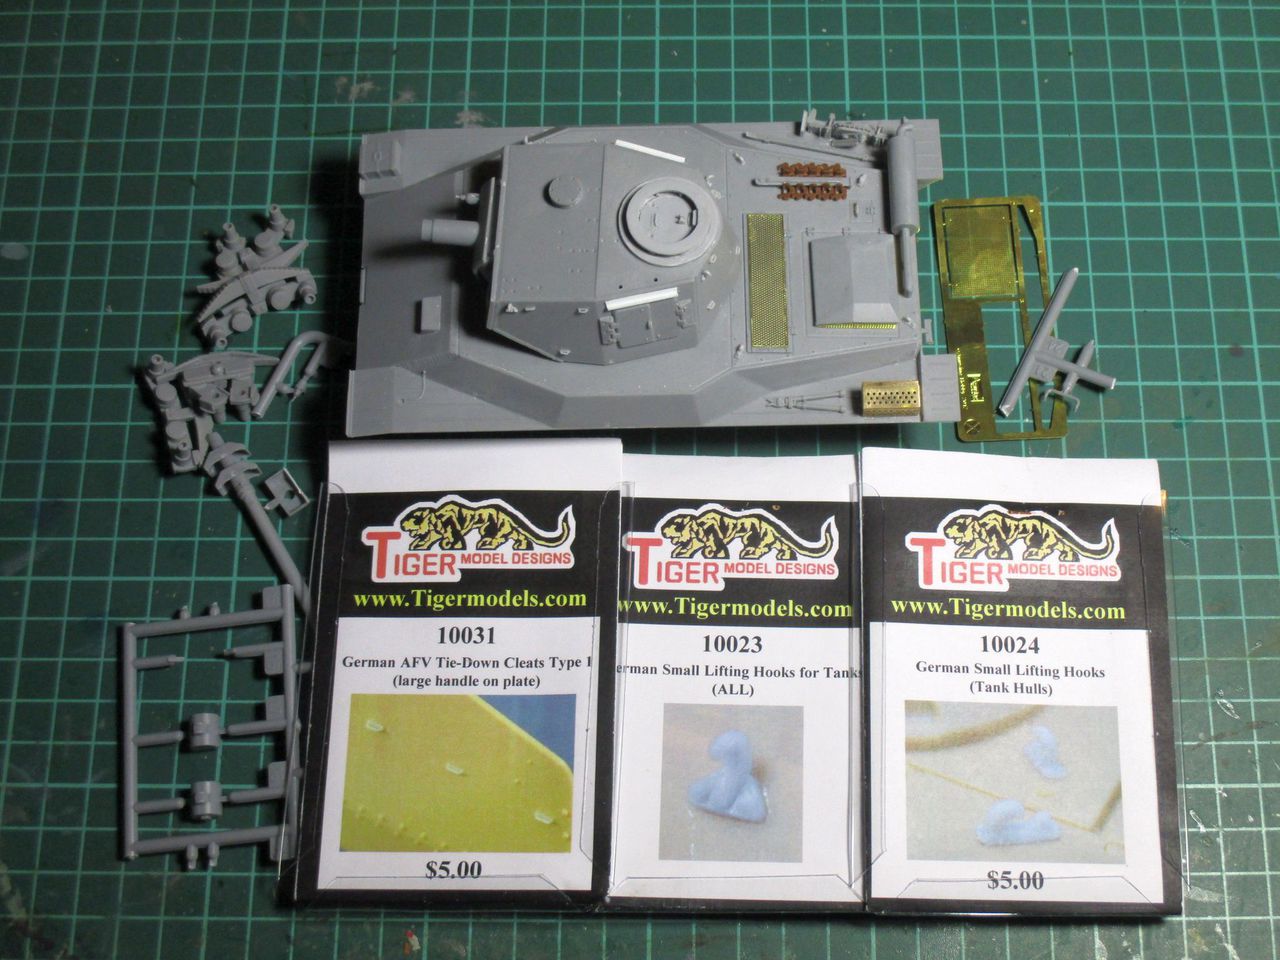
A lifting hook from the turret got tweezer-launched, so I replaced all lifting hooks with resin parts from TMD. The turret and engind deck also looked very plain, so I added more resin details: eyelets for camouflage materials and lifting hooks at the engine deck. Looks much better. Busy like a real tank


35 more parts to be added (except tracks), then I am ready to start painting.

Enjoy!
dutik
Visit this Community
Germany
Joined: October 03, 2010
KitMaker: 134 posts
Armorama: 134 posts
Posted: Tuesday, December 25, 2018 - 08:29 AM UTC
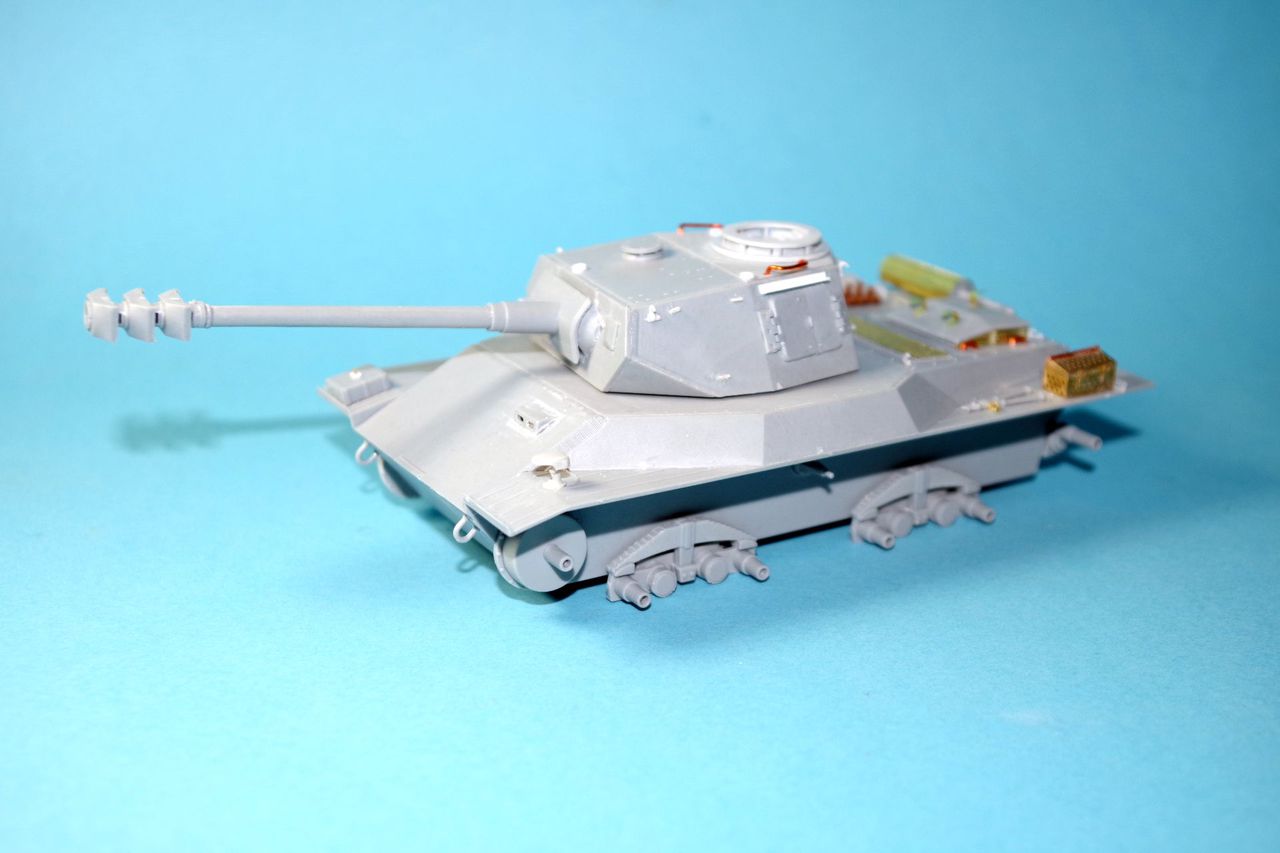
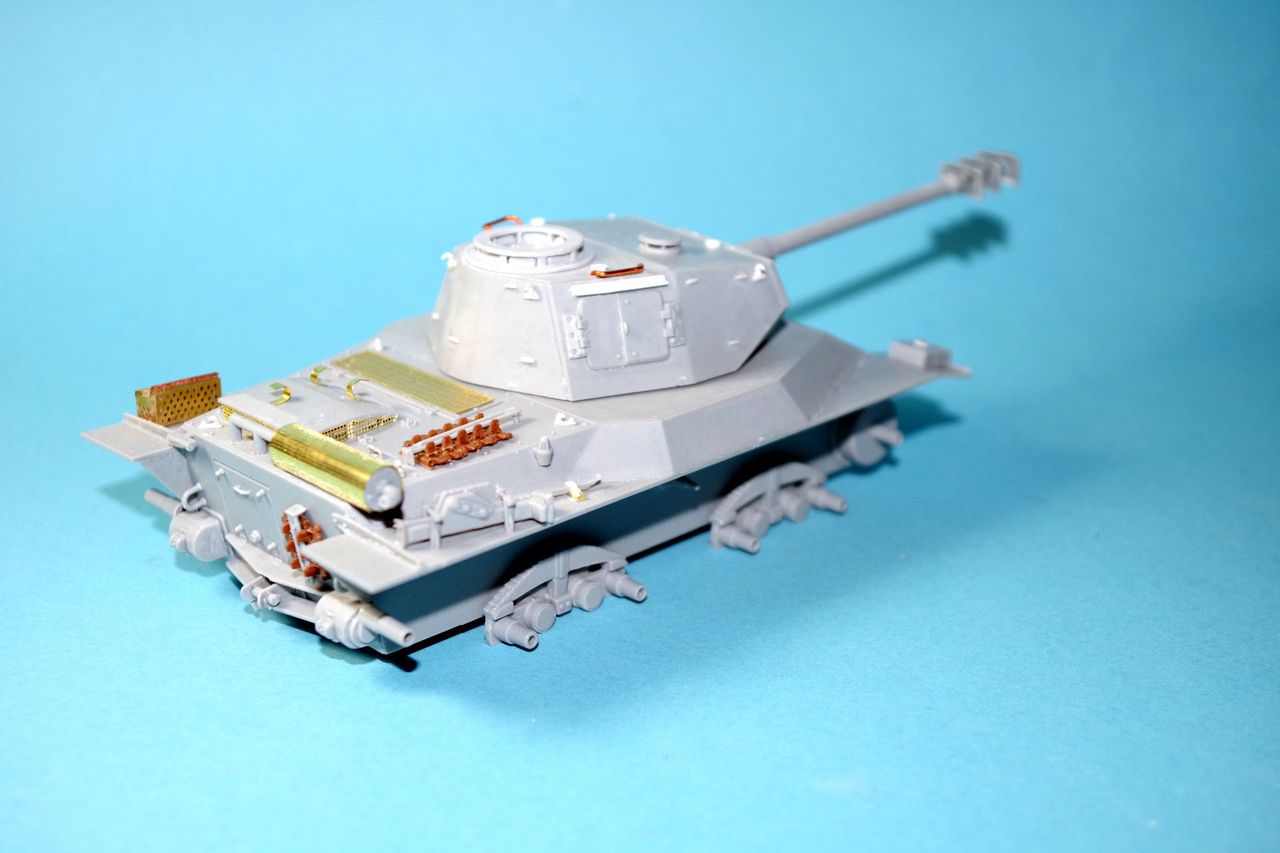
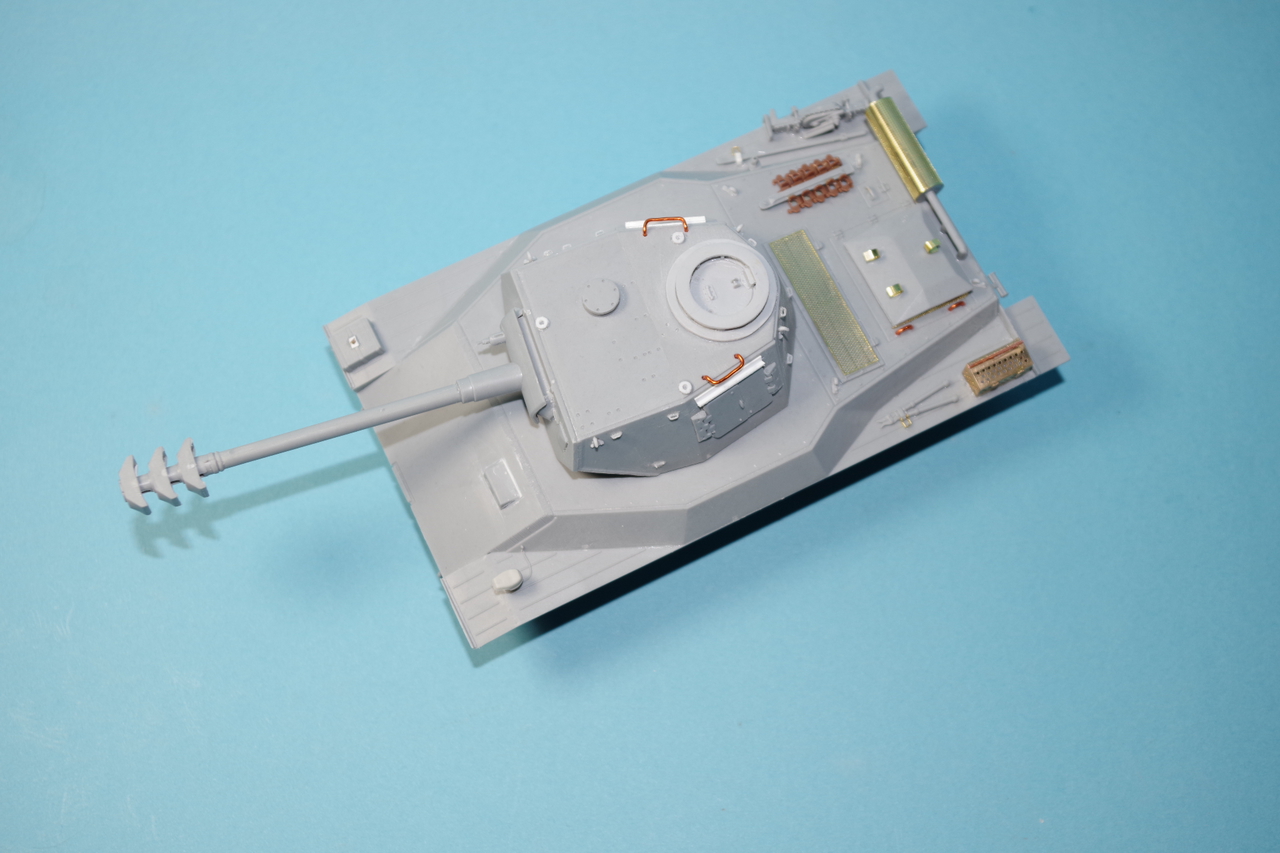
Ready now for painting. added more details omissed by AH. The special german tool clamps, holders for a towing cable, a resin Notek light, a wingnut at the jack block, some handles. I suggest the to build the gun in this order:
1. Add the gun barrel to the mantlet.
2. Build up the muzzle brake away from the mantlet. This makes alignment of the flimsy parts much easier.
3. Glue the muzzle brake to the barrel.

Photos:


Enjoy!
- dutik
dutik
Visit this Community
Germany
Joined: October 03, 2010
KitMaker: 134 posts
Armorama: 134 posts
Posted: Thursday, December 27, 2018 - 12:43 AM UTC
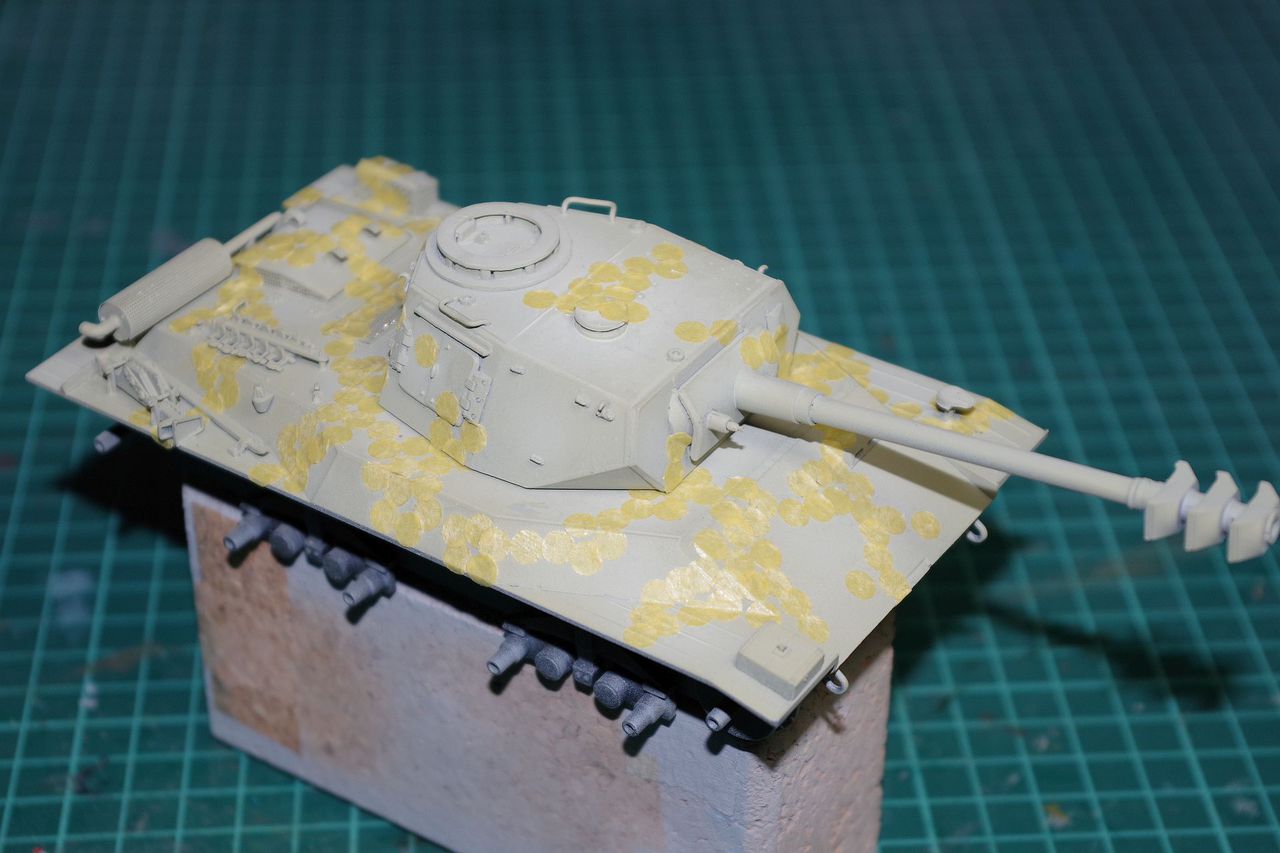
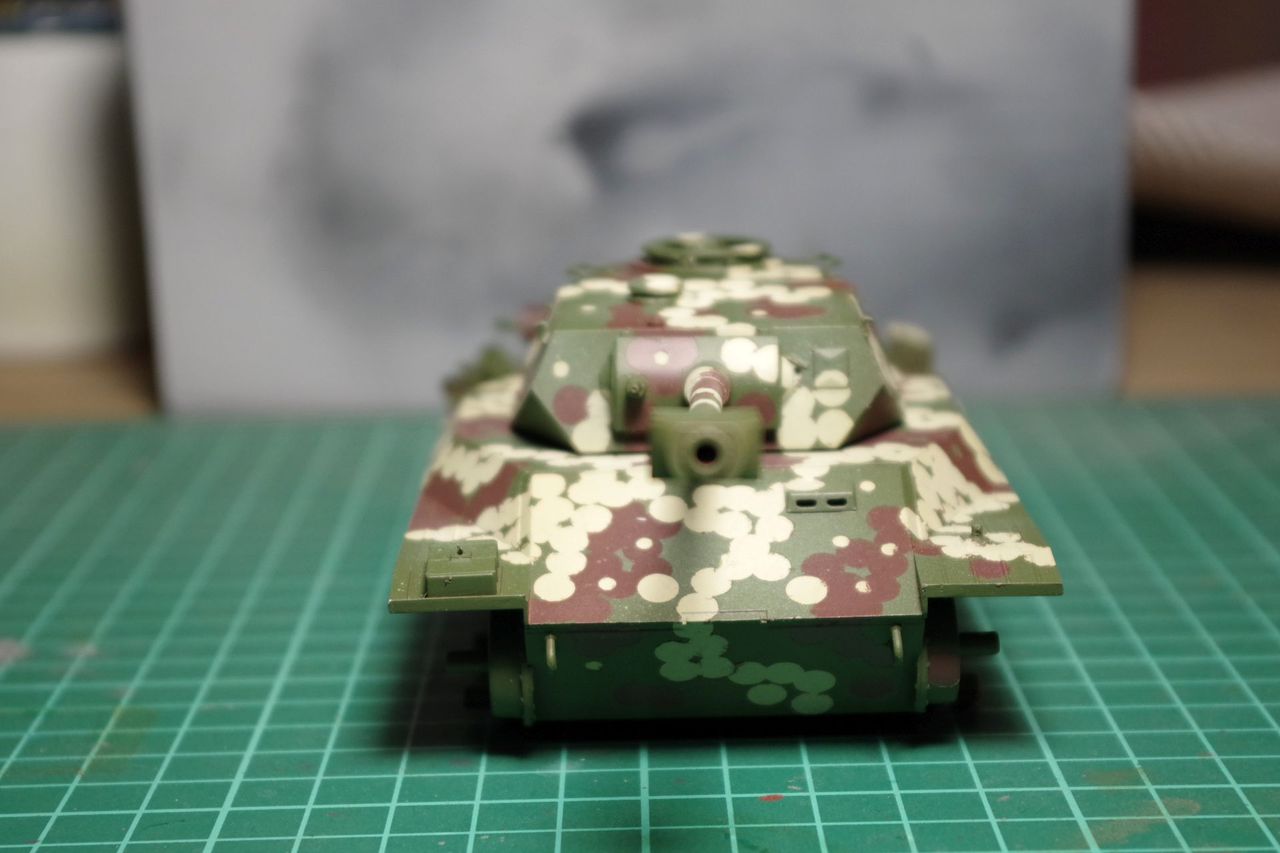
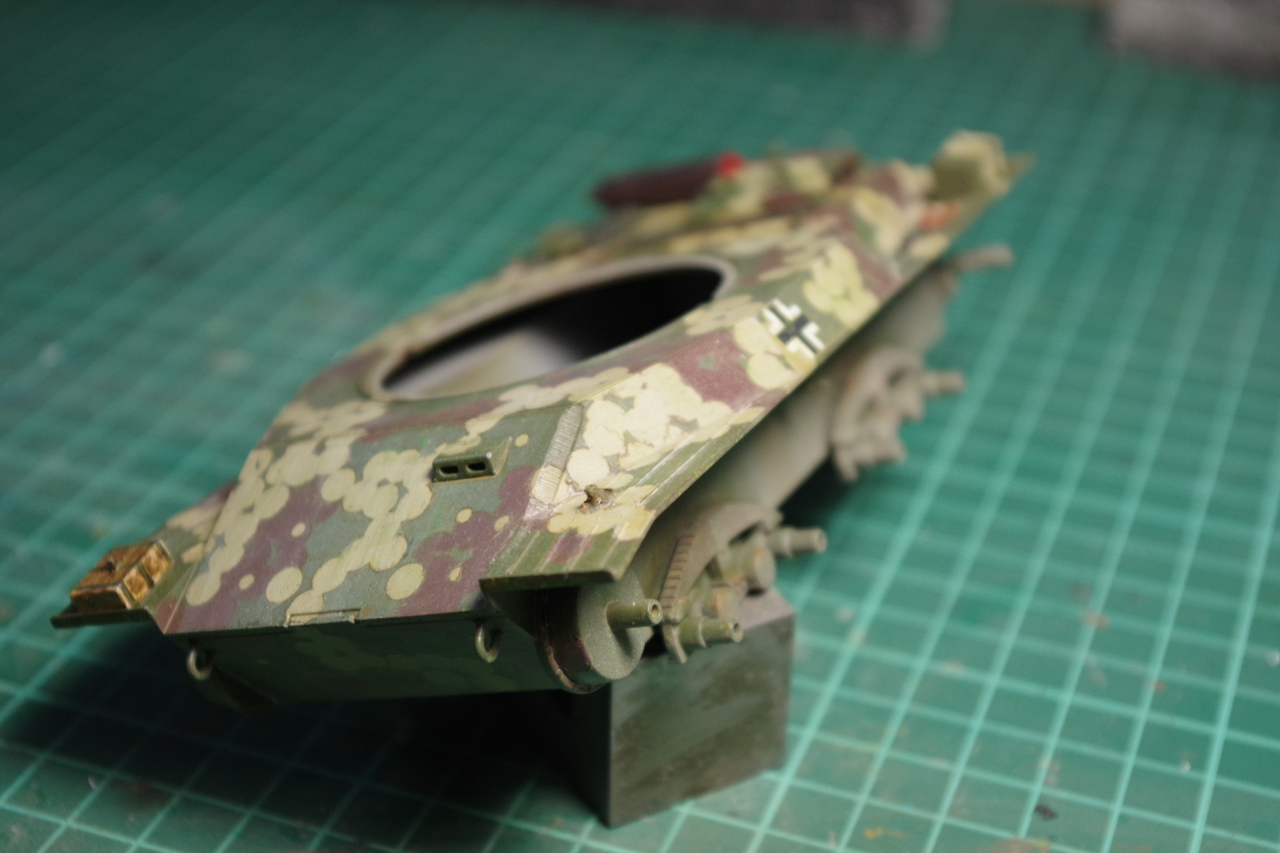
Airbrushed the Dunkelgelb (yellow) and started the disc camouflage:


Body color is green, as per late war tanks. I paint and mask the secondary colors first and spray at last the whole thing green.

Regards
- dutik
MCR
Visit this Community
Arizona, United States
Joined: July 15, 2004
KitMaker: 464 posts
Armorama: 407 posts
Posted: Thursday, December 27, 2018 - 10:59 AM UTC
Looking good so far and I agree with you 100% on not thinking the Germans would leave their crews blind like the kit depicts.
I have the same kit though I'm taking a slightly different angle on the build. I'm imagining it as a "last ditch" weapon and making a lot of simplifications/modifications to the hull and turret. It's been fun so far.
Looking forward to seeing yours finished!

Mark
Cantstopbuyingkits
Visit this Community
European Union
Joined: January 28, 2015
KitMaker: 2,099 posts
Armorama: 1,920 posts
Posted: Thursday, December 27, 2018 - 12:05 PM UTC
How does the driver get in the tank?
HooFlungDung
Visit this Community
California, United States
Joined: November 14, 2005
KitMaker: 23 posts
Armorama: 15 posts
Posted: Thursday, December 27, 2018 - 01:35 PM UTC
Successfully completing the driver training course.
dutik
Visit this Community
Germany
Joined: October 03, 2010
KitMaker: 134 posts
Armorama: 134 posts
Posted: Thursday, December 27, 2018 - 08:43 PM UTC

Quoted Text

How does the driver get in the tank?


From behind through the turret hatches. Just like at the Hetzer, which has also no drivers hatch.

...

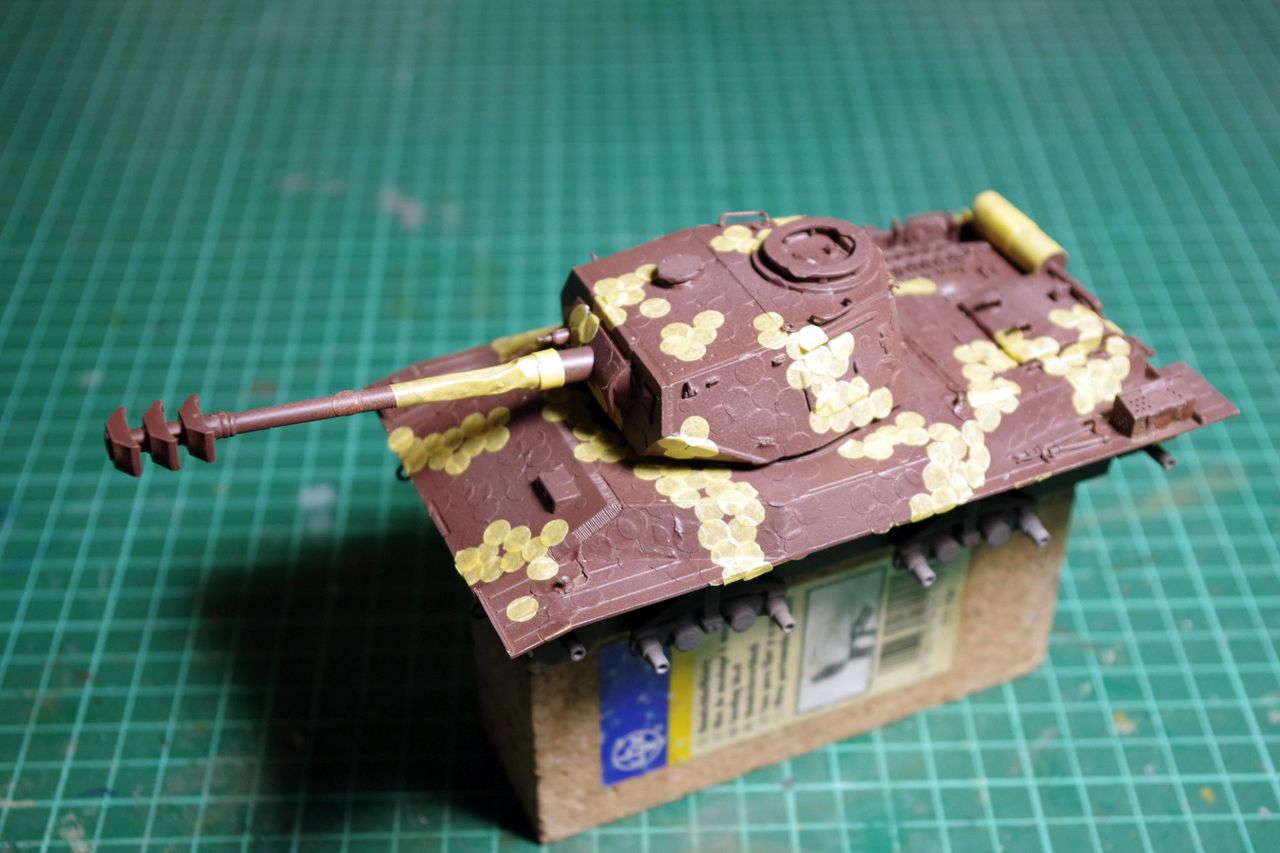
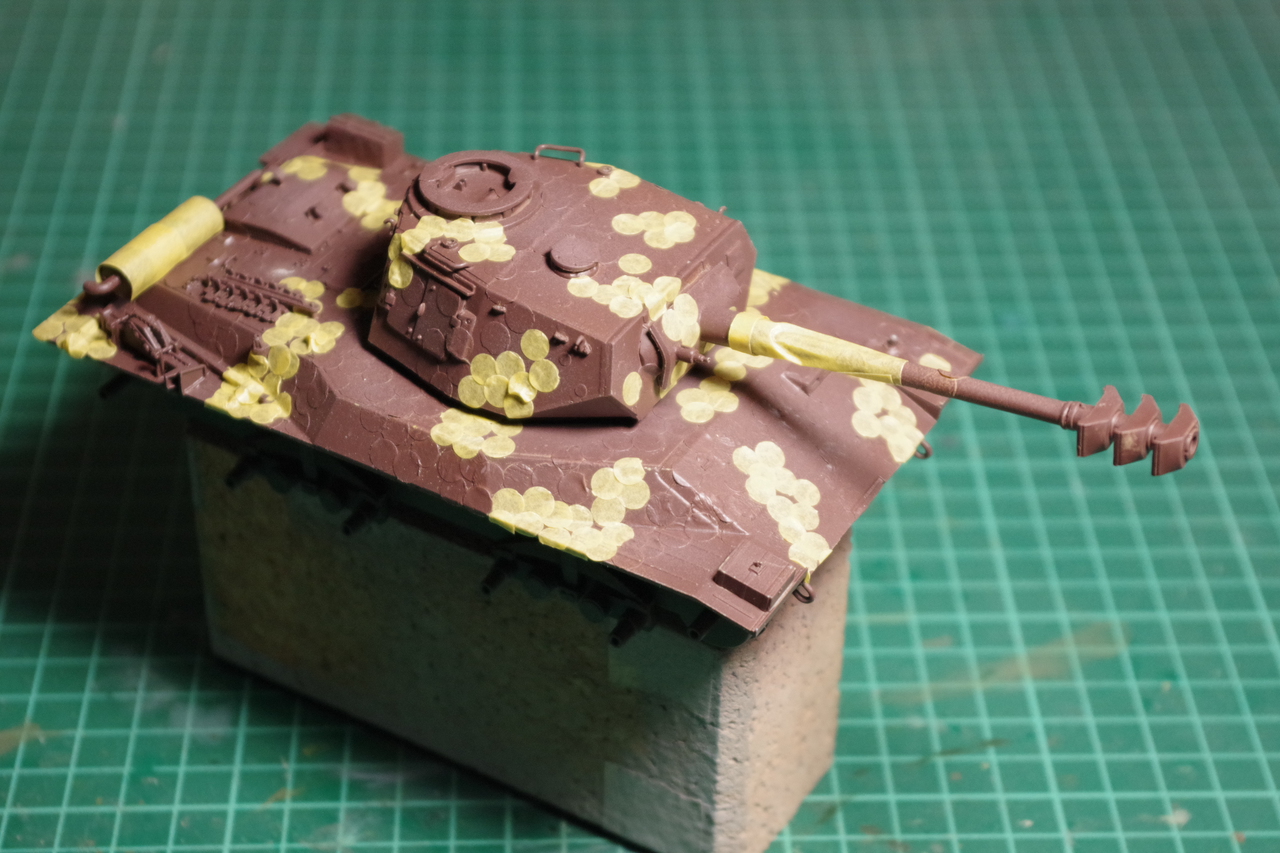
Airbrushed the brown and masked it.


Broke off the Notek light. As always - flimsy parts are at a risk. Will add a new one after painting.

Enjoy!
- dutik
dutik
Visit this Community
Germany
Joined: October 03, 2010
KitMaker: 134 posts
Armorama: 134 posts
Posted: Friday, December 28, 2018 - 10:45 PM UTC
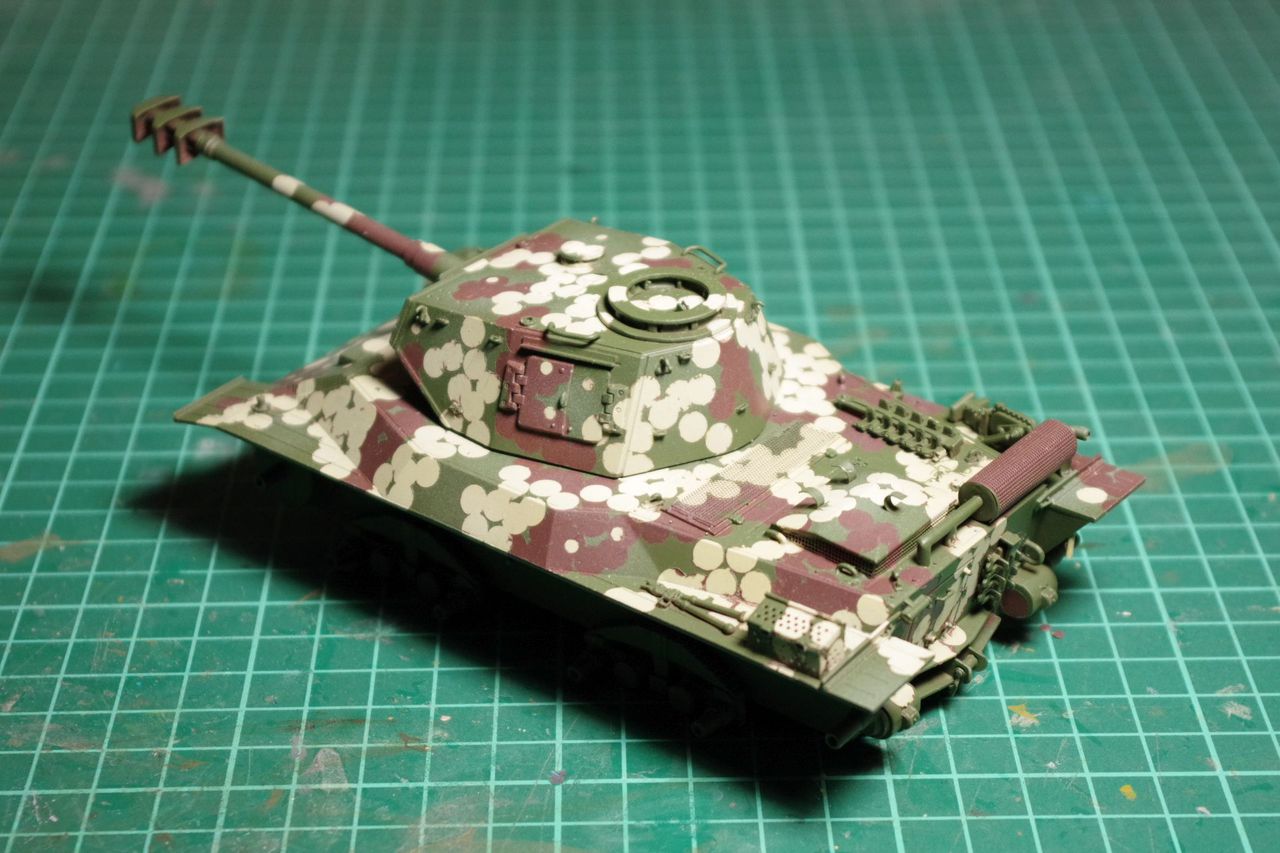
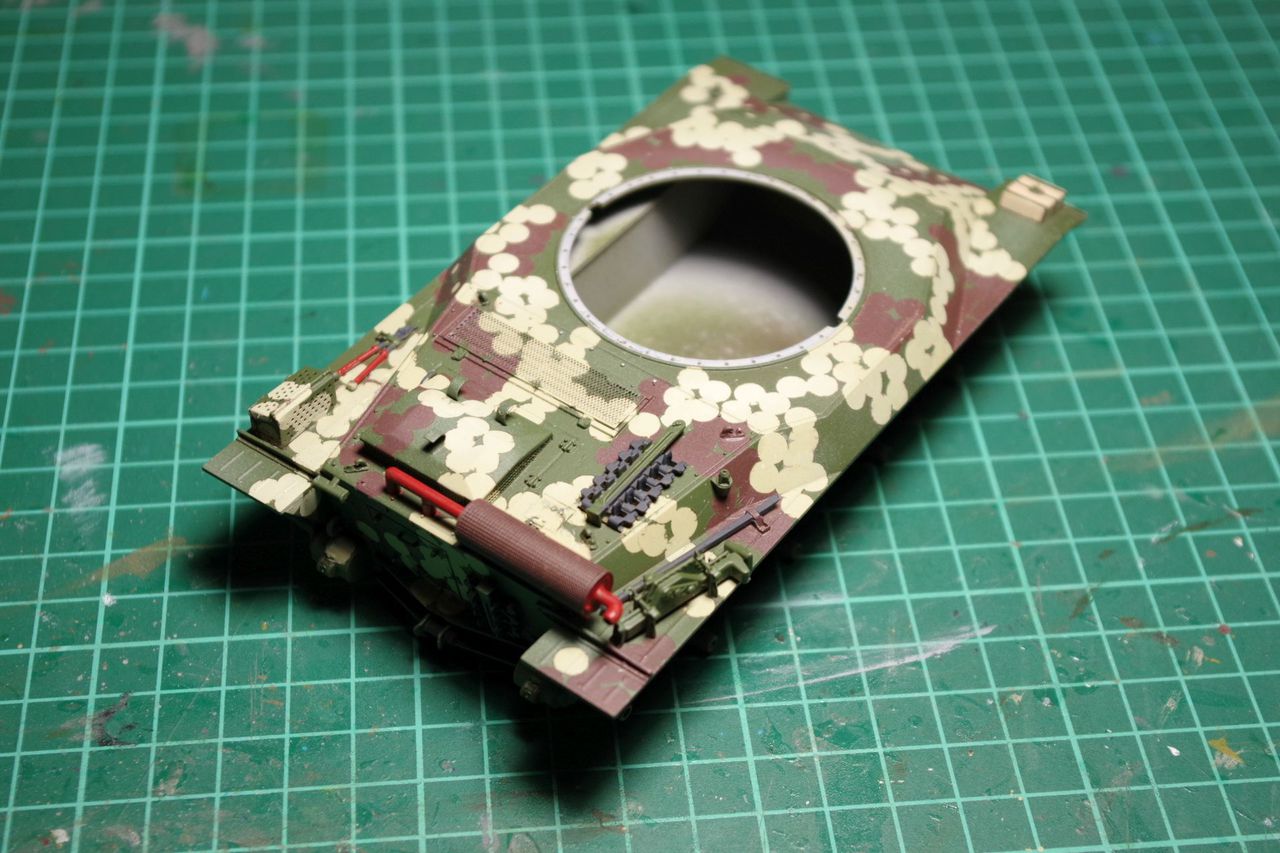
Green is on, masks are gone:


Set it aside to dry thoroughly. Next steps are painting the details (tools, exhaust, spare track links), correct some paint spots and adding a protective coat of varnish to start wheatering.
Meanwhile there are some gaps to fill at the wheels and to build up a set of Friul tracks.

Enjoy!
- dutik
dutik
Visit this Community
Germany
Joined: October 03, 2010
KitMaker: 134 posts
Armorama: 134 posts
Posted: Monday, December 31, 2018 - 05:23 AM UTC
Painted the details with the base colors. Clear cote following.


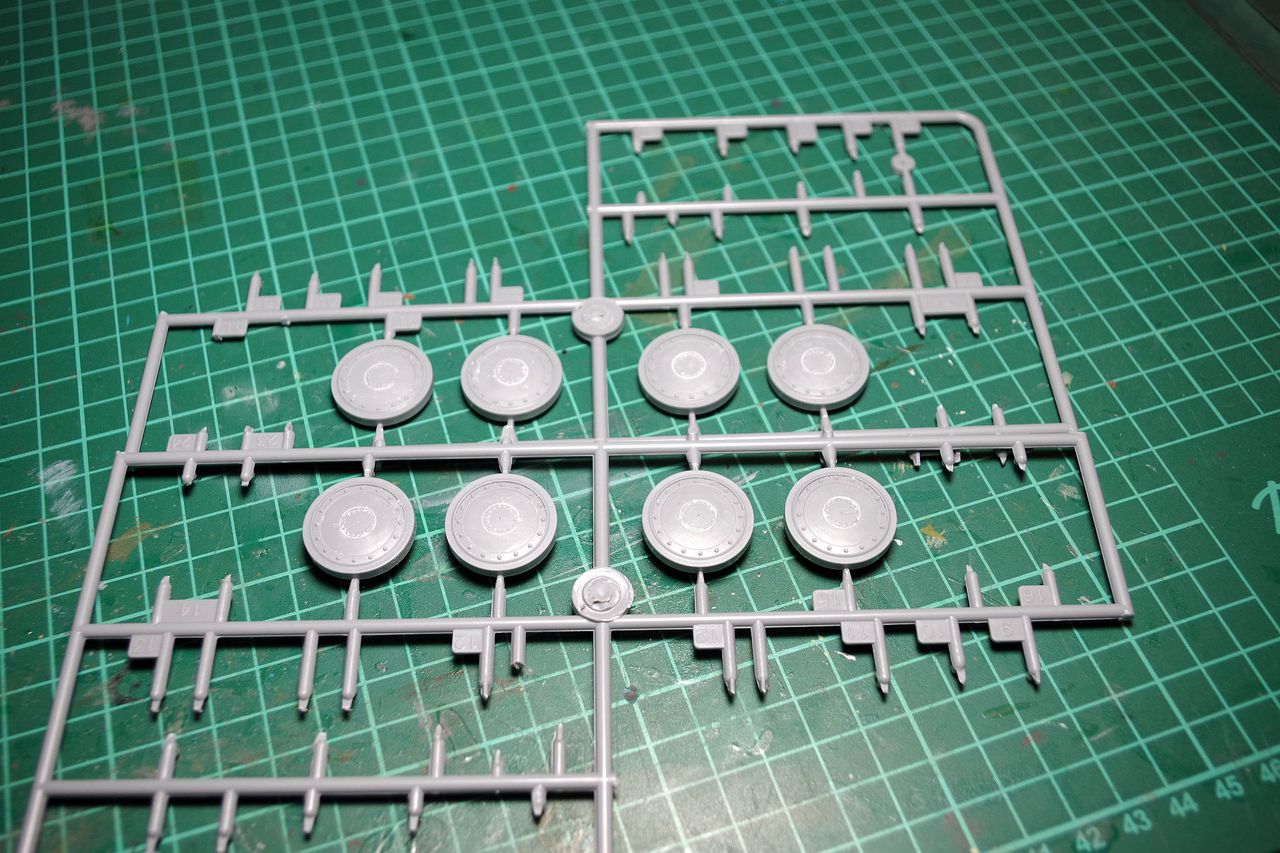
AH decided to give you a fully workable suspension: movable swing arms, all wheels turning, working single link track. You may drive around your tank on the carpet, making some tank noises of your choice

Well, I don't need this feature, so I had to fill the gaps between the whell hubs and the wheels. Used some Vallejo plastic putty and removed the unwanted residues with a q-tip. Done.


Enjoy
- dutik
GazzaS
#424
Visit this Community
Queensland, Australia
Joined: April 23, 2015
KitMaker: 4,648 posts
Armorama: 2,248 posts
Posted: Monday, December 31, 2018 - 01:31 PM UTC
Dutik,
Haven;t seen you around in a while! Nice build! The camo came out great. I wonder how the little PZ 38 chassis would have coped with the weight of a power operated turret.

Gaz
Cantstopbuyingkits
Visit this Community
European Union
Joined: January 28, 2015
KitMaker: 2,099 posts
Armorama: 1,920 posts
Posted: Tuesday, January 01, 2019 - 08:28 AM UTC
But the Hetzer has all the crew in the same compartment. The driver has right through the turret and fighting compartment to get in and out.
dutik
Visit this Community
Germany
Joined: October 03, 2010
KitMaker: 134 posts
Armorama: 134 posts
Posted: Tuesday, January 01, 2019 - 09:03 AM UTC
Quite right. The Hetzer driver had to move over the seats of the loader and the gunner to reach his position. One hatch for 3 crewmembers only. While not featuring a drivers hatch too, the situation in the Pz 38D would have been somewhat better: The driver had only to bypass the seat of one other crewmember - the gunner - to reach his own seat. And the Pz 38D had a hatch more for the crew than the Hetzer. Not fully perfect, but a better solution indeed.

Regards
- dutik
Cantstopbuyingkits
Visit this Community
European Union
Joined: January 28, 2015
KitMaker: 2,099 posts
Armorama: 1,920 posts
Posted: Wednesday, January 02, 2019 - 03:42 PM UTC
The distance to move rather than the amount of intervening seats is what makes this tank more unwieldy (and dangerous in combat) to navigate
dutik
Visit this Community
Germany
Joined: October 03, 2010
KitMaker: 134 posts
Armorama: 134 posts
Posted: Wednesday, January 09, 2019 - 07:21 AM UTC

Quoted Text

Dutik,
Haven;t seen you around in a while! Nice build! The camo came out great. I wonder how the little PZ 38 chassis would have coped with the weight of a power operated turret.

Gaz


You are welcome!

Well, was busy the last year with 15mm/ 1:100 Flames of War tanks and a littel bit of tank modelling too. Nothing to write home.

...

Still adding filters. One per day, than waiting two days to dry thoroughly. Slow business. But I will start chipping and fading soon.


Enjoy!
- dutik
dutik
Visit this Community
Germany
Joined: October 03, 2010
KitMaker: 134 posts
Armorama: 134 posts
Posted: Friday, January 18, 2019 - 09:12 AM UTC
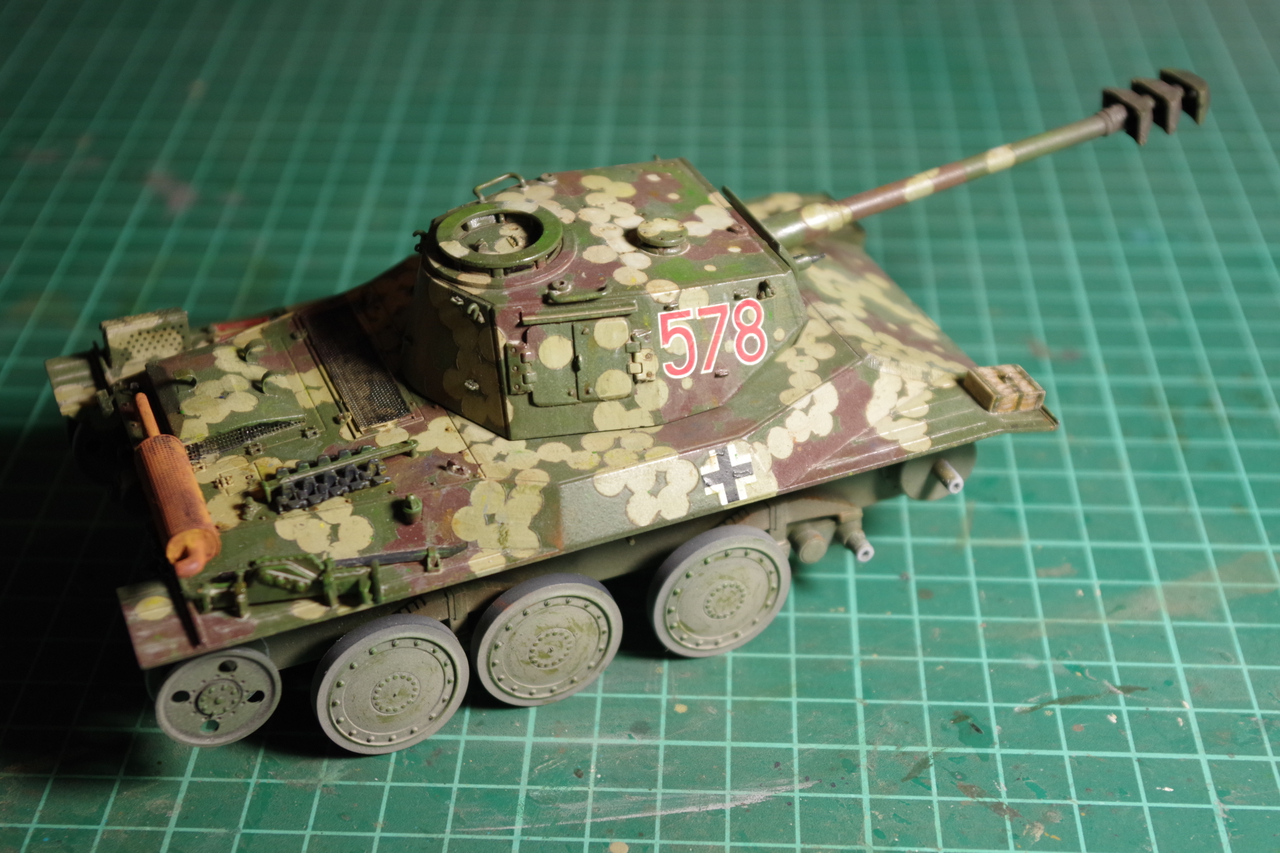
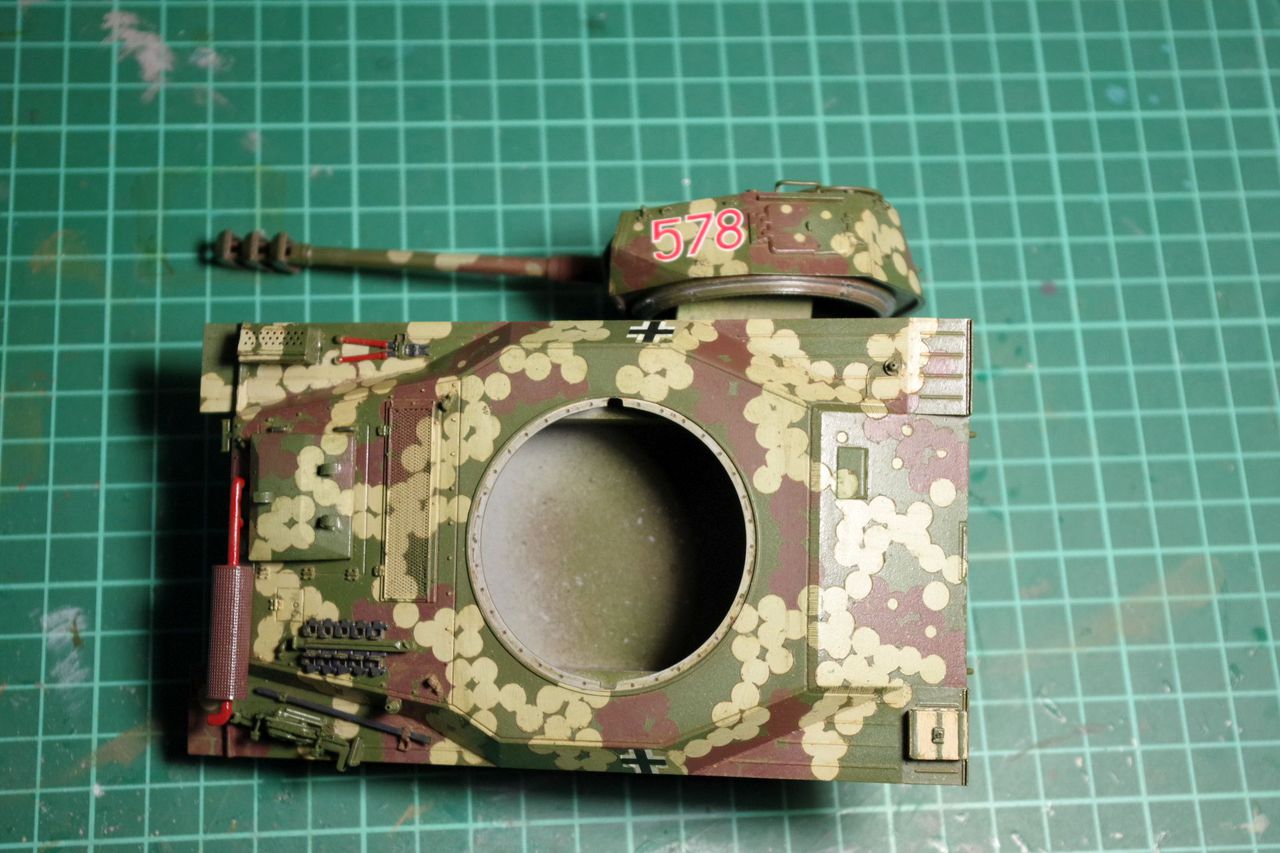
Added decals, clear cote, applying pin washes and paint fading with oil paints.

Old image. Need a new one.

More to come
- dutik
dutik
Visit this Community
Germany
Joined: October 03, 2010
KitMaker: 134 posts
Armorama: 134 posts
Posted: Friday, January 25, 2019 - 10:47 PM UTC
Also added paint chips. New images:


Enjoy!
- dutik
dutik
Visit this Community
Germany
Joined: October 03, 2010
KitMaker: 134 posts
Armorama: 134 posts
Posted: Wednesday, February 20, 2019 - 08:26 AM UTC
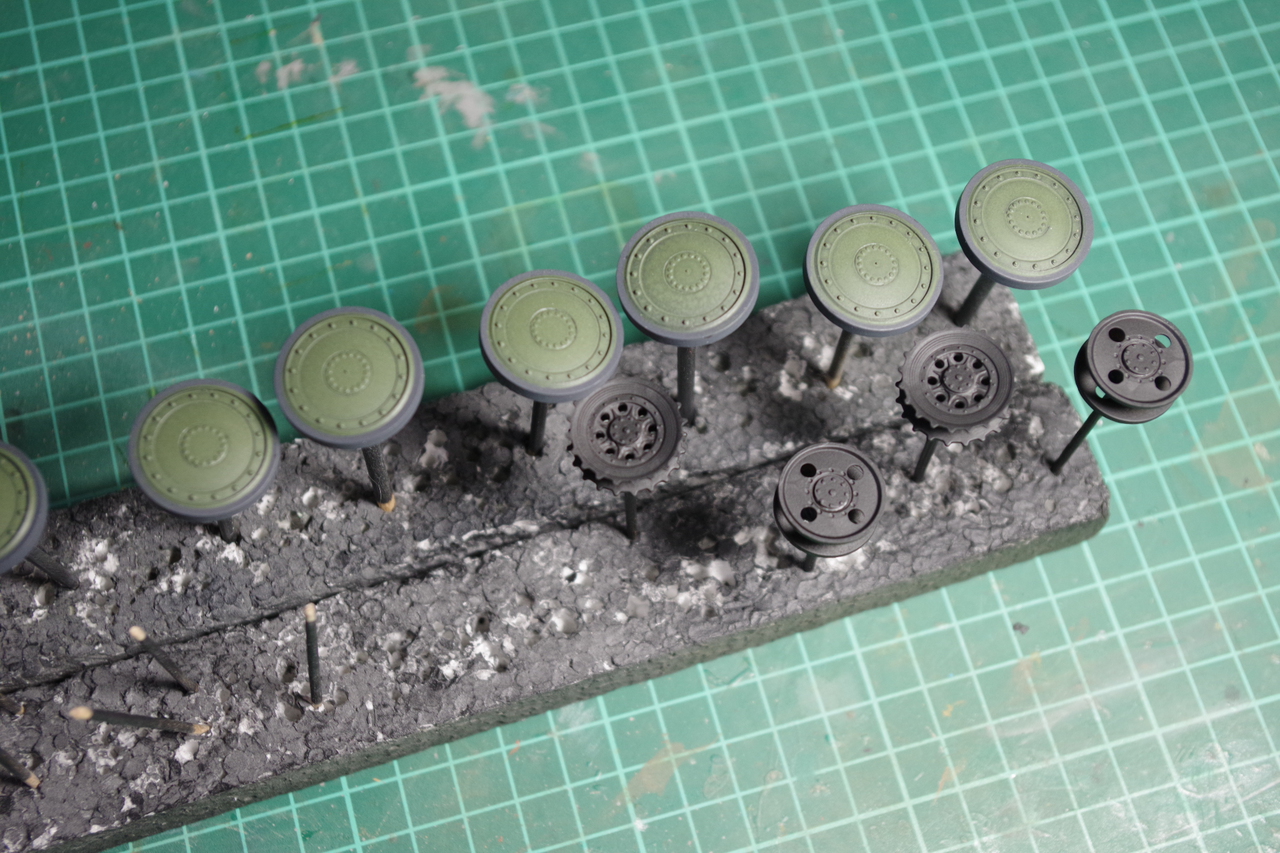
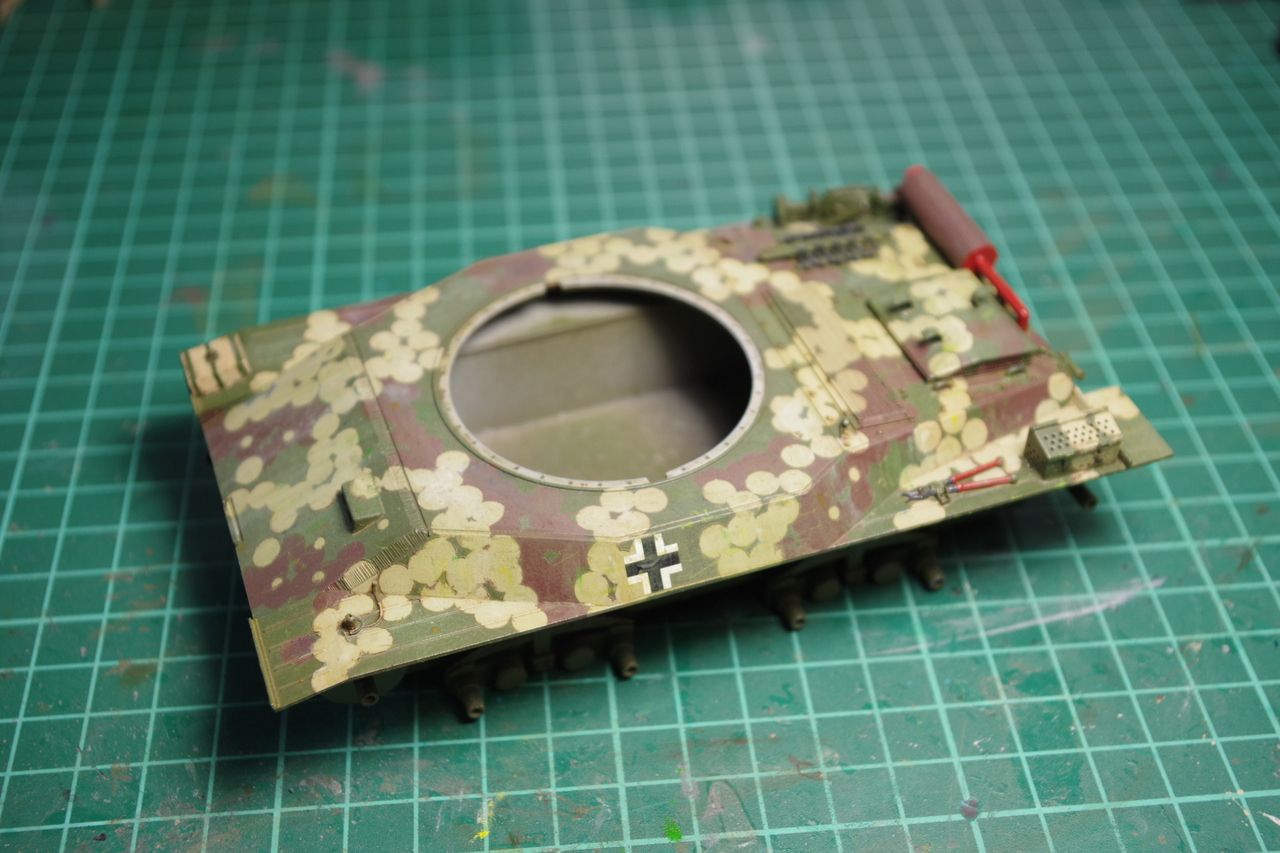
Finished the wheatering . Added a light overspray with Tamiya Buff from below, some "European dust" pigments from above. Some details(exhaust, jack, vision blocks) still need some paint.


Started painting the wheels.


Tracks come from Friul and will be colored using burnishing fluid.

Enjoy
- dutik
dutik
Visit this Community
Germany
Joined: October 03, 2010
KitMaker: 134 posts
Armorama: 134 posts
Posted: Saturday, March 16, 2019 - 10:30 AM UTC
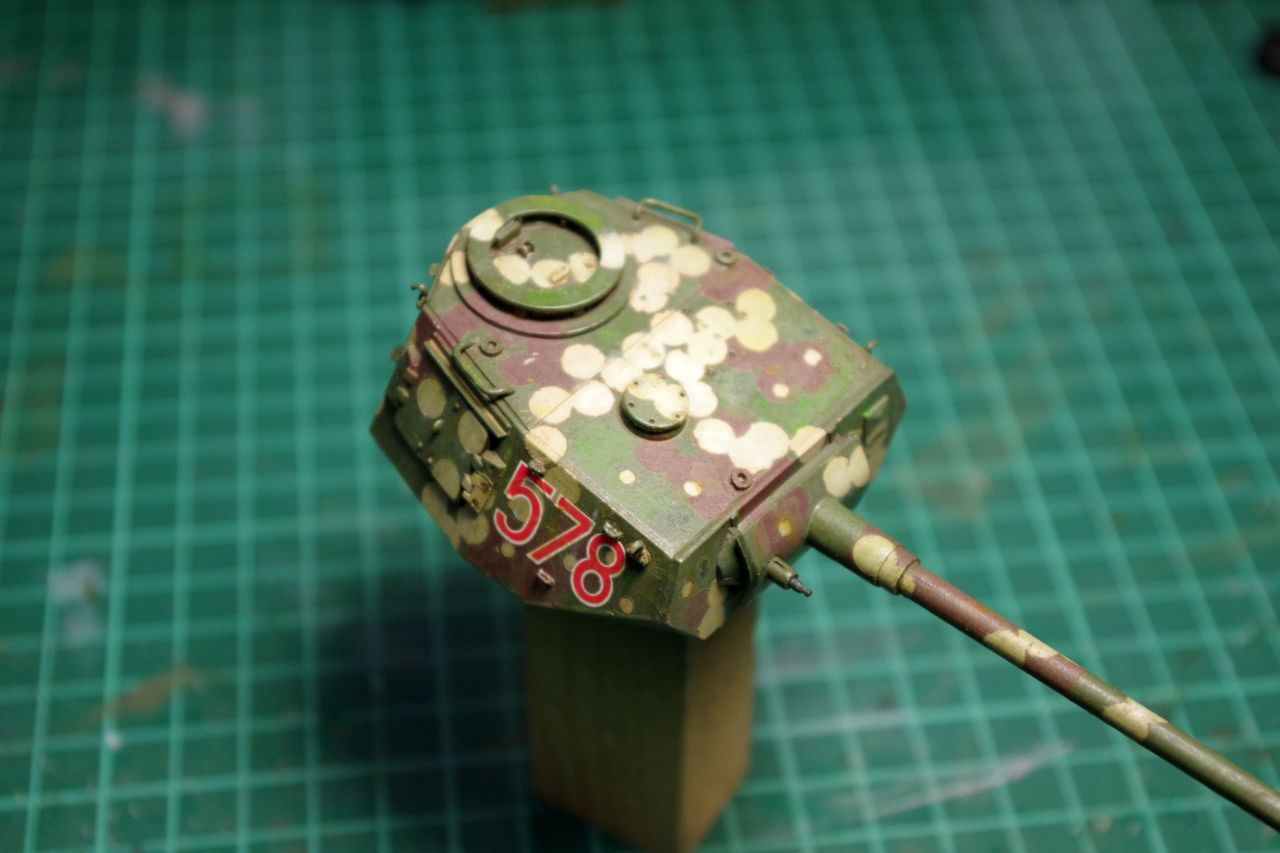
Wheels painted, exhaust and small parts too:


Painting the tracks (Friul) now.

Enjoy!
- dutik
dutik
Visit this Community
Germany
Joined: October 03, 2010
KitMaker: 134 posts
Armorama: 134 posts
Posted: Saturday, March 23, 2019 - 06:03 AM UTC
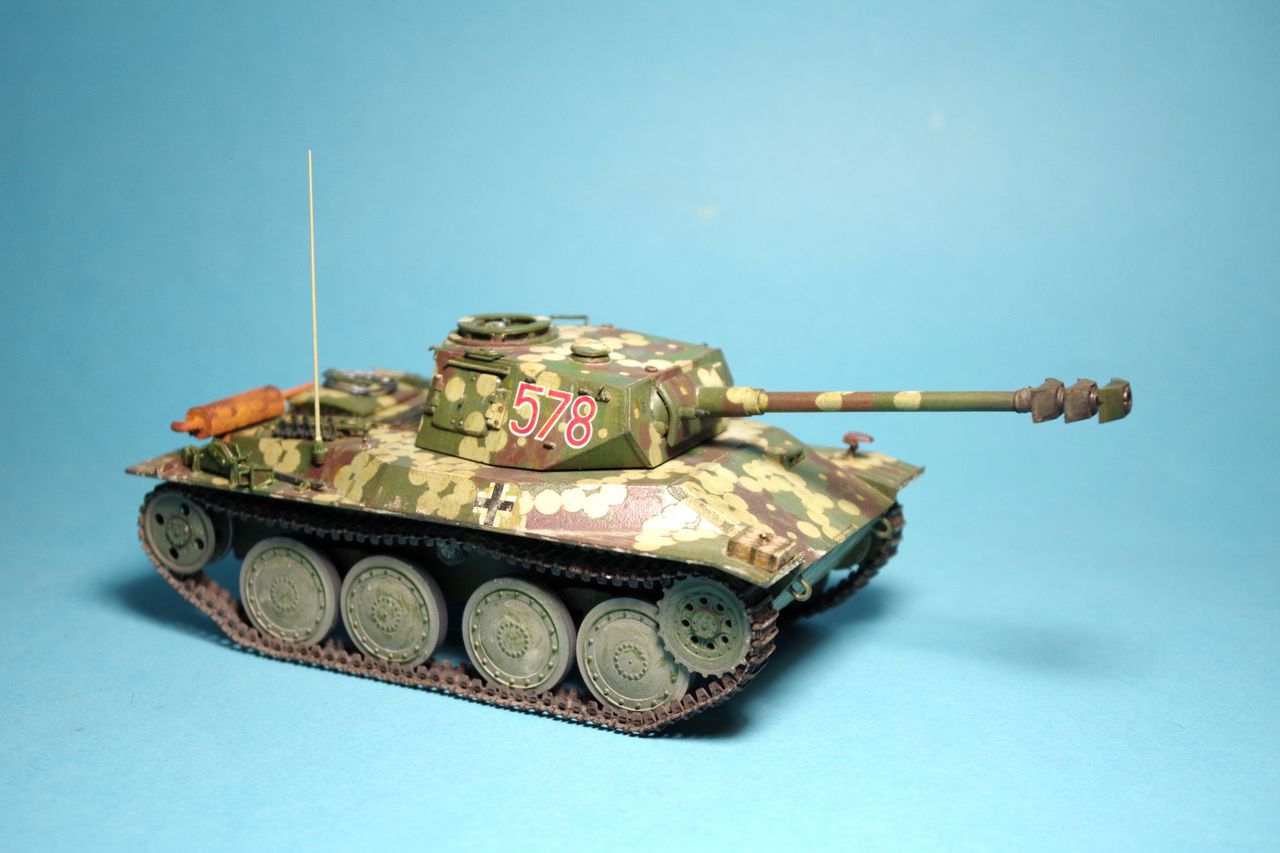
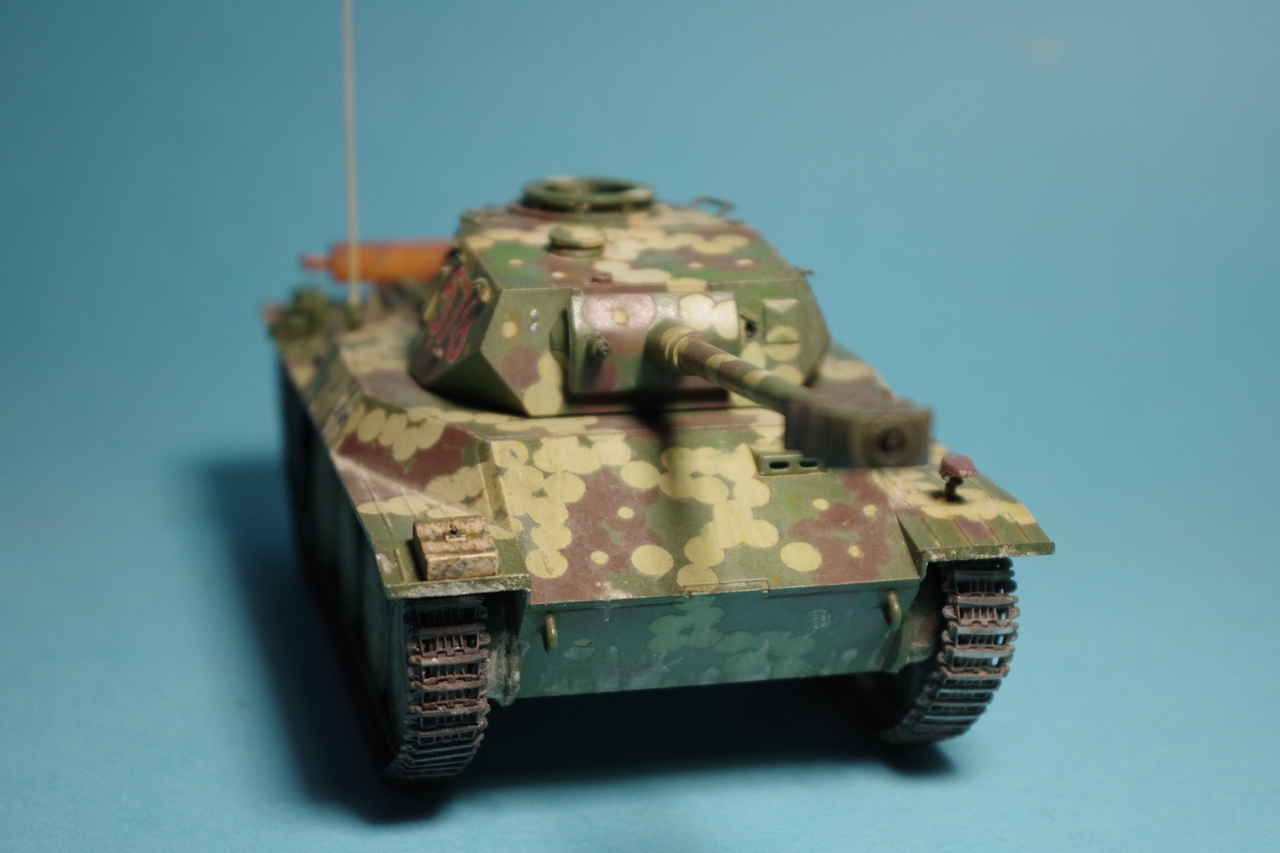
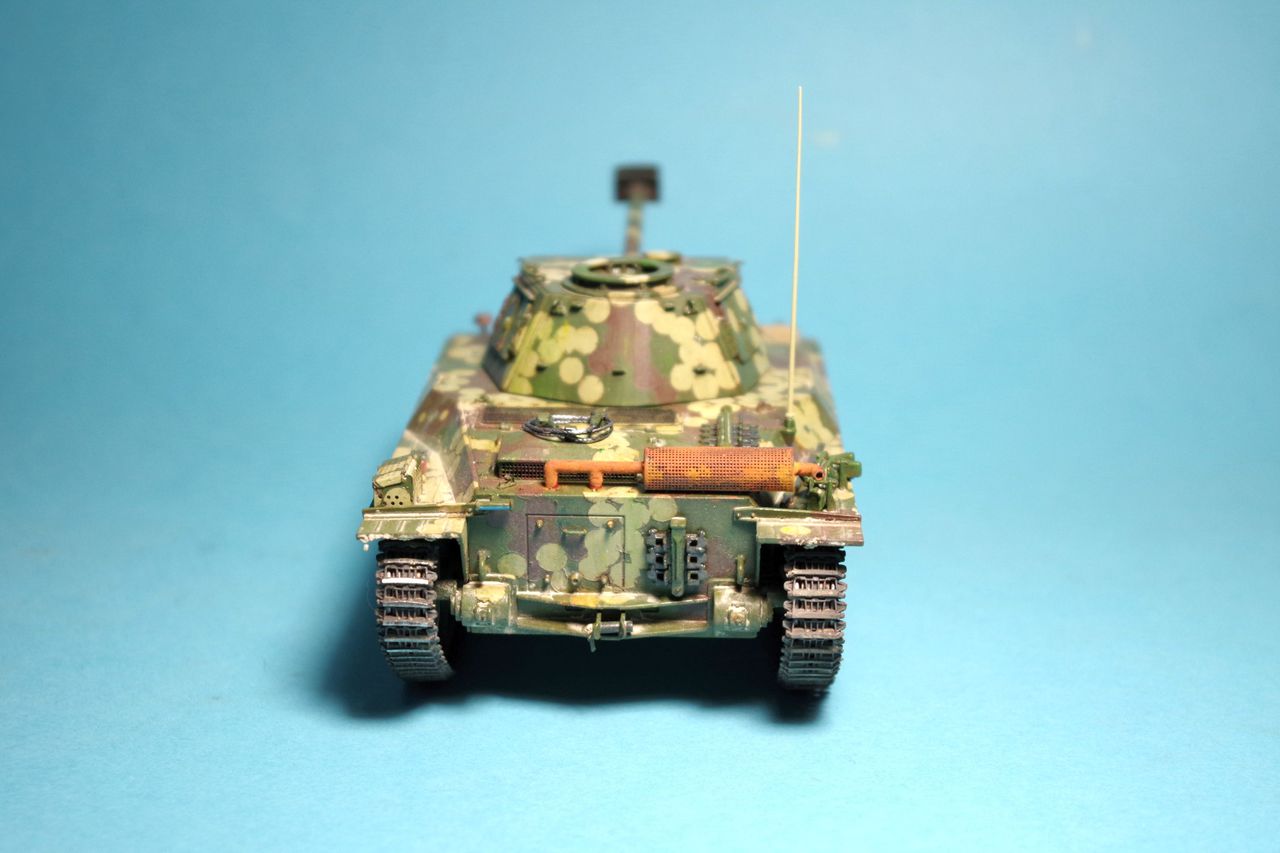
Finished!


Enjoy!
- dutik
dutik
Visit this Community
Germany
Joined: October 03, 2010
KitMaker: 134 posts
Armorama: 134 posts
Posted: Saturday, March 23, 2019 - 06:18 AM UTC
Well, this was a fun build. Really nice kit. The kit was only lacking a commanders cupola or other kind of sighting devices - well, they were lacking at the original drawings too, and a towing cable and mount (just 3 hooks at the air intake). Beside this I replaced the Notek light for a resin part (better details), and added Friul tracks to avoid building up the tracks by gluing styrene single links and added an antenna rod. I also replaced the styrene tool box with a PE one and added a number of small hooks for camouflage material around the turret.

I goofed somewhat the paint job. I missed to sand down the paint after removing the masks, so I have a lot of visible edges around the dots... Next time.

All in all a nice kit. Recommended!
- dutik
 _GOTOTOP