_GOTOBOTTOM
Dioramas
Do you love dioramas & vignettes? We sure do.
German DAK CMP F15 Truck / Flak 30
SRAMSEY
Visit this Community
South Carolina, United States
Joined: January 28, 2010
KitMaker: 28 posts
Armorama: 27 posts
Posted: Thursday, January 17, 2019 - 06:02 AM UTC
Well guys, I have been a member here for a while but this is my first blog on the site. I am really impressed with the great work that occurs in this site. I will be building LZ Models German CMP F15 with a Flak 30.


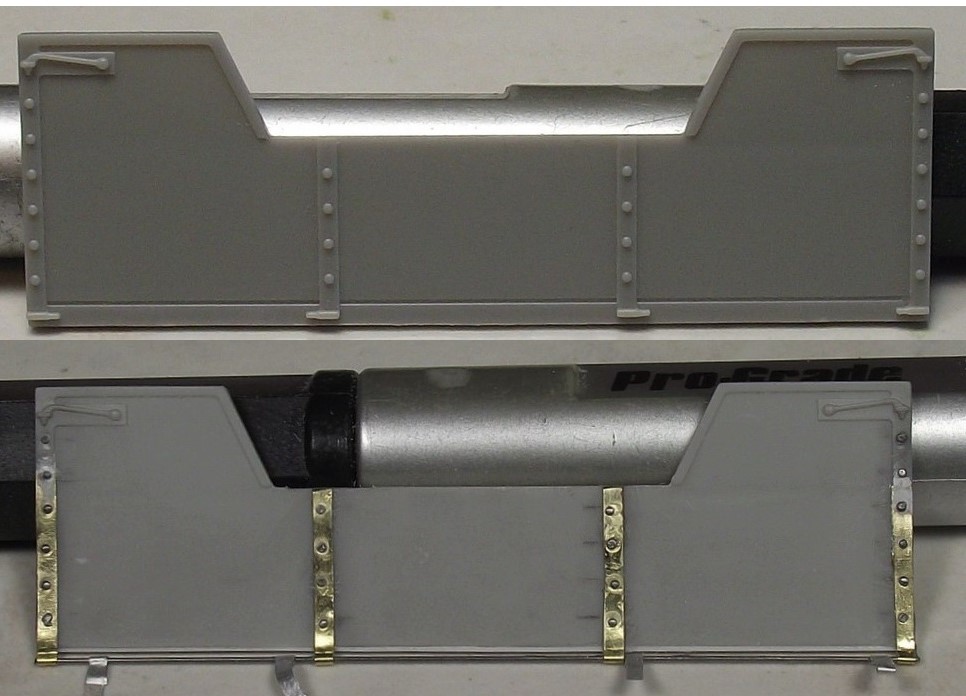
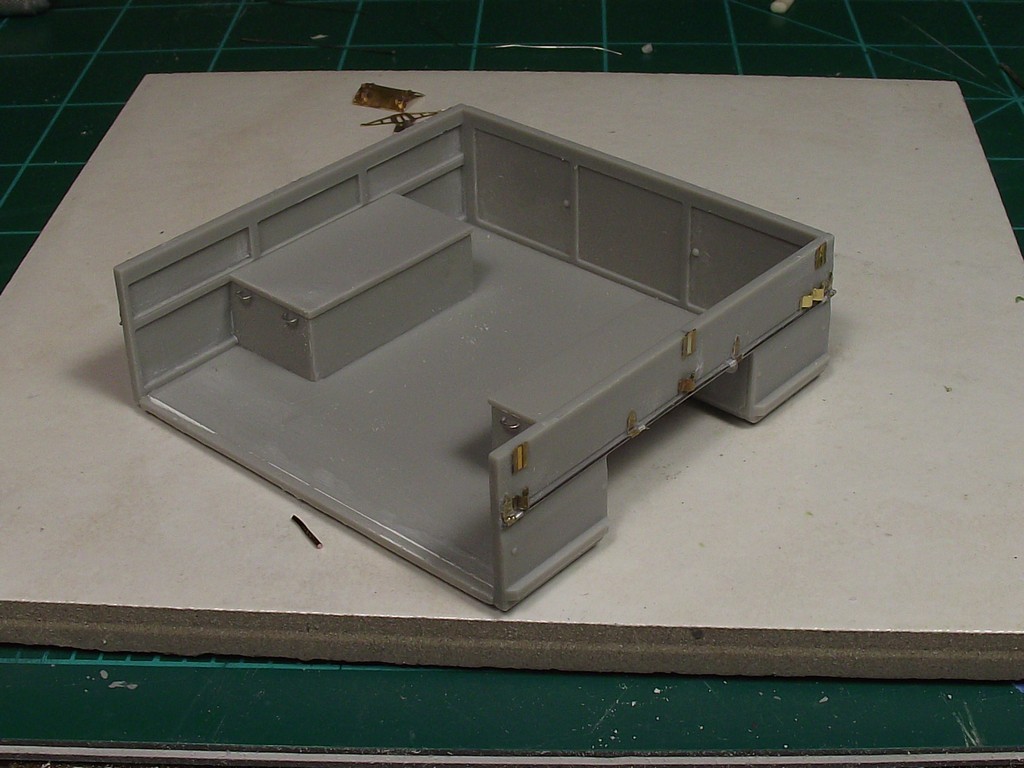
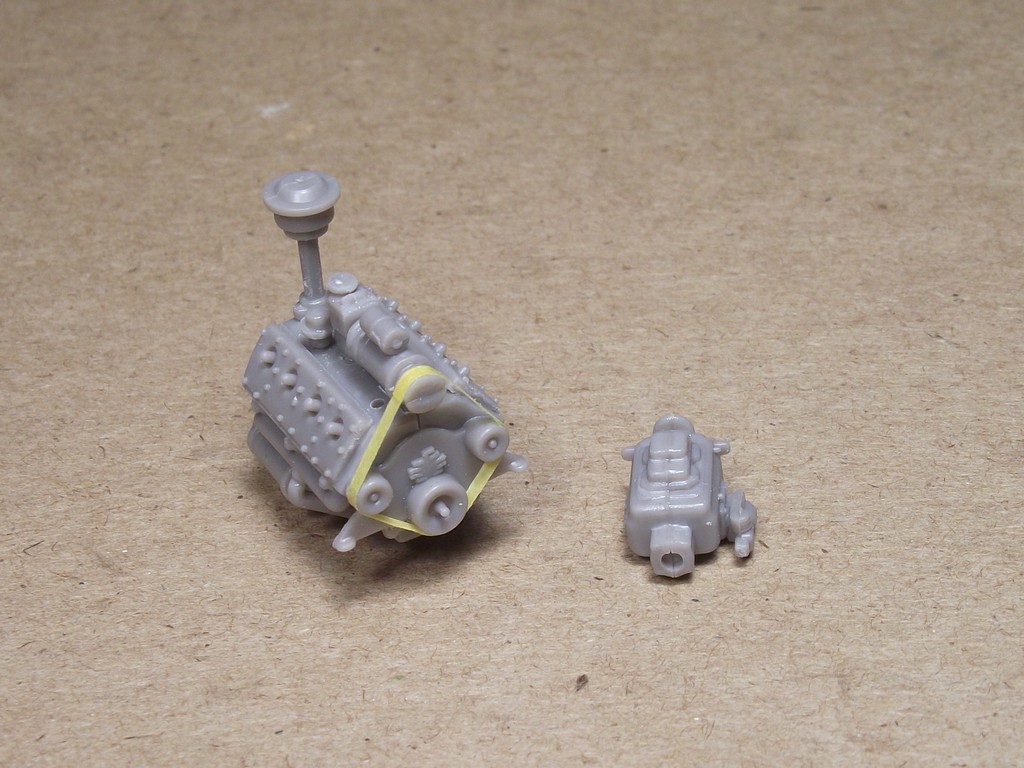
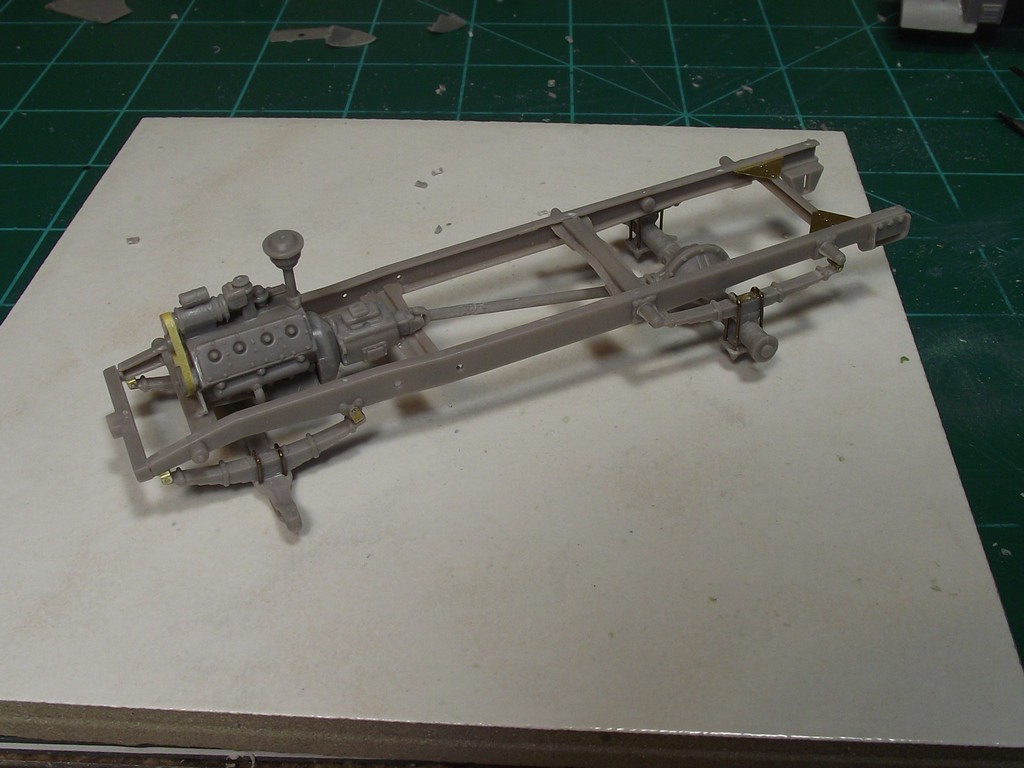
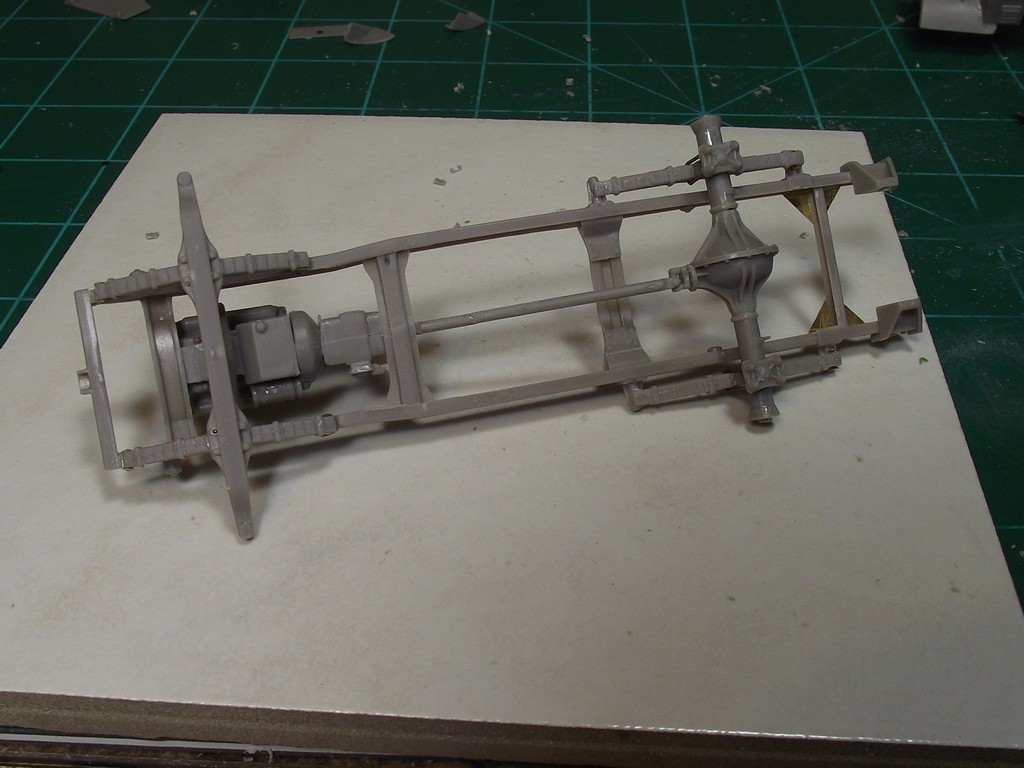
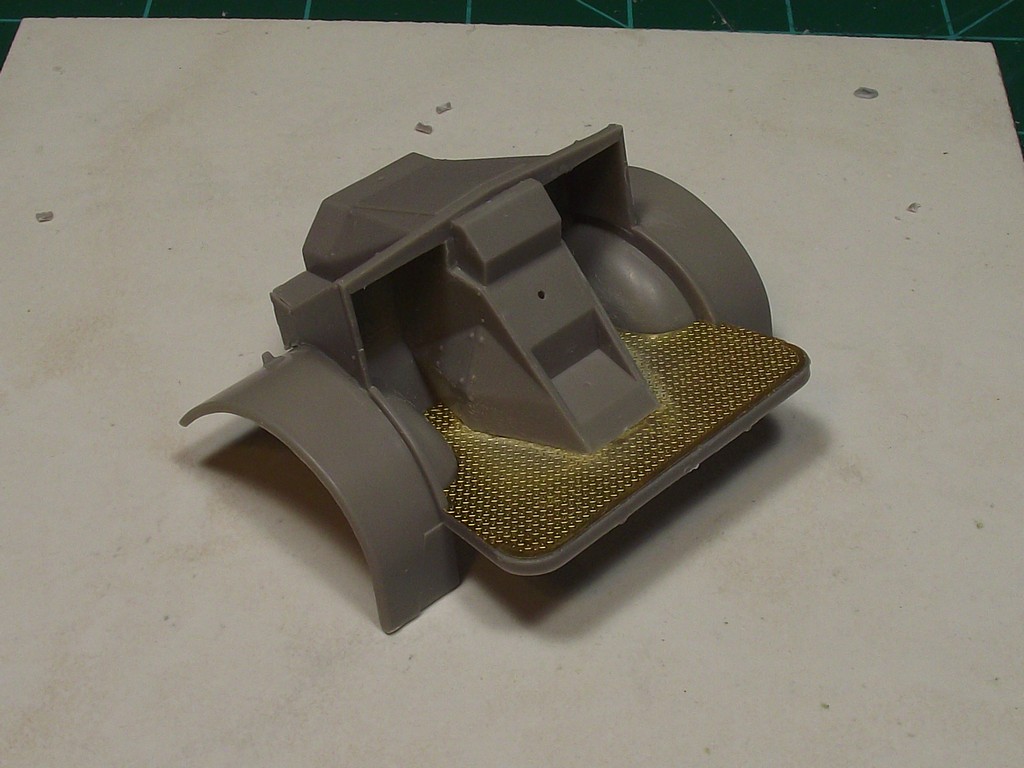
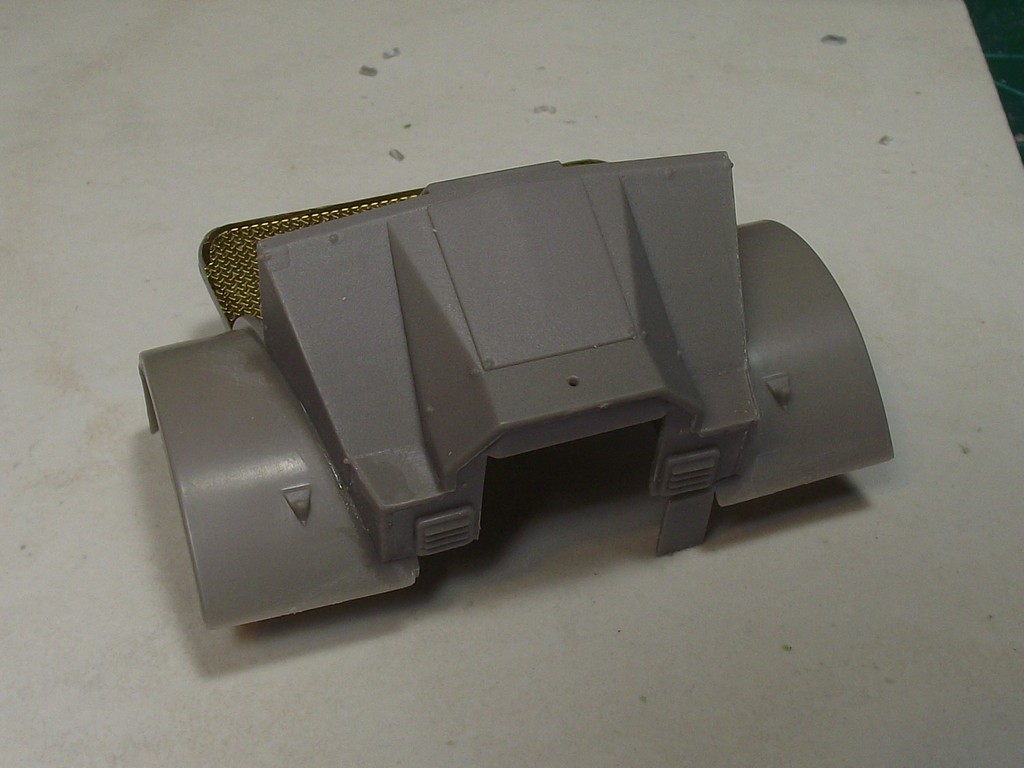
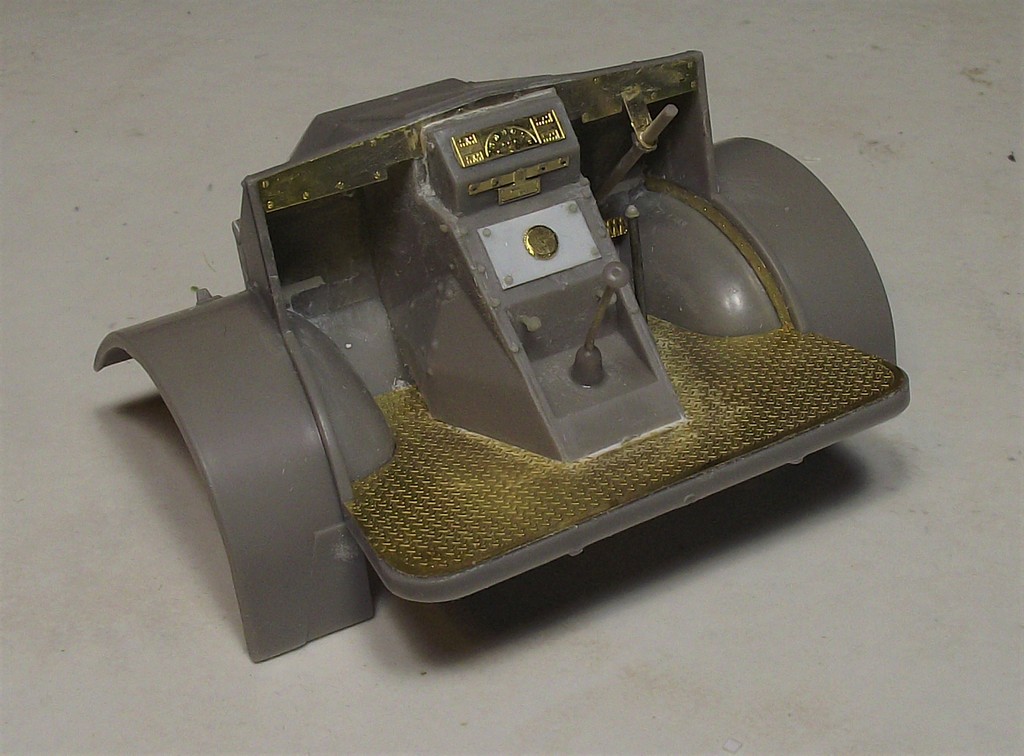
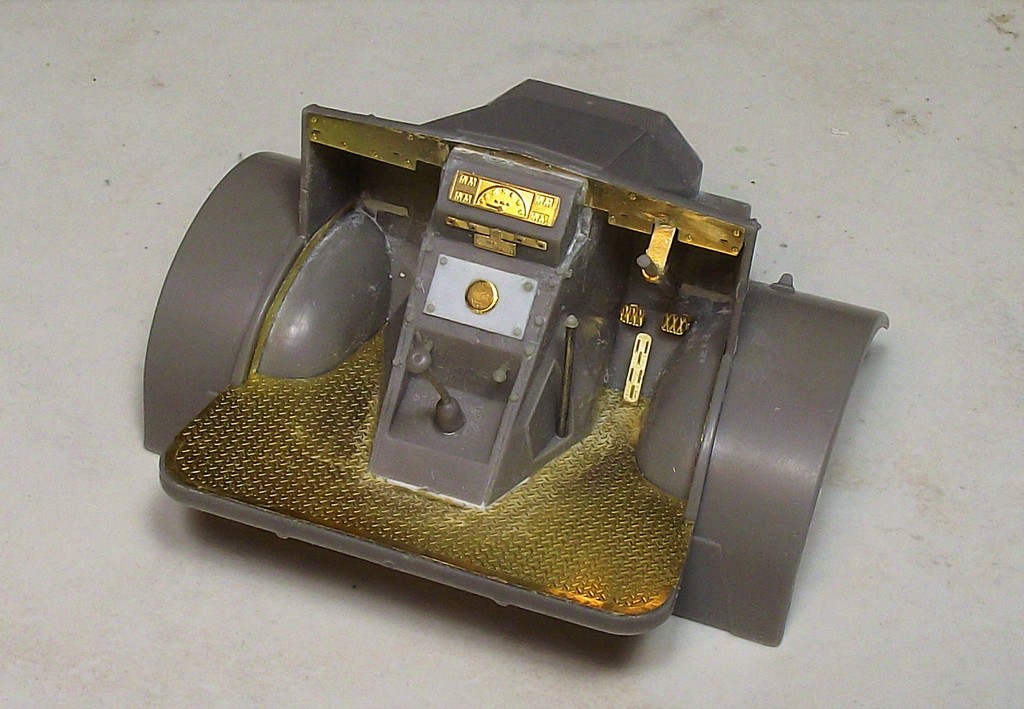
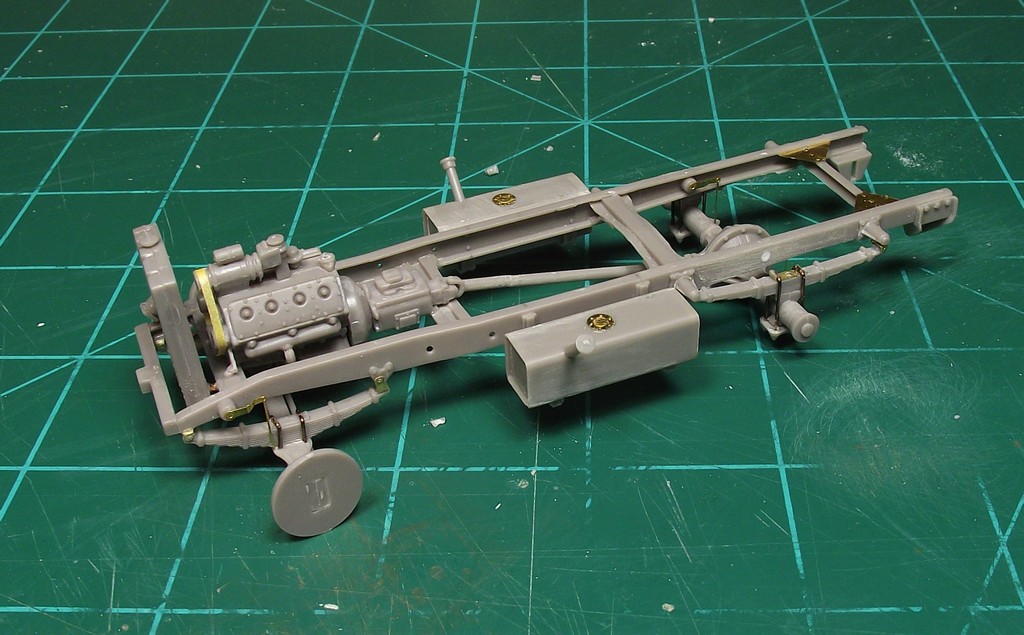
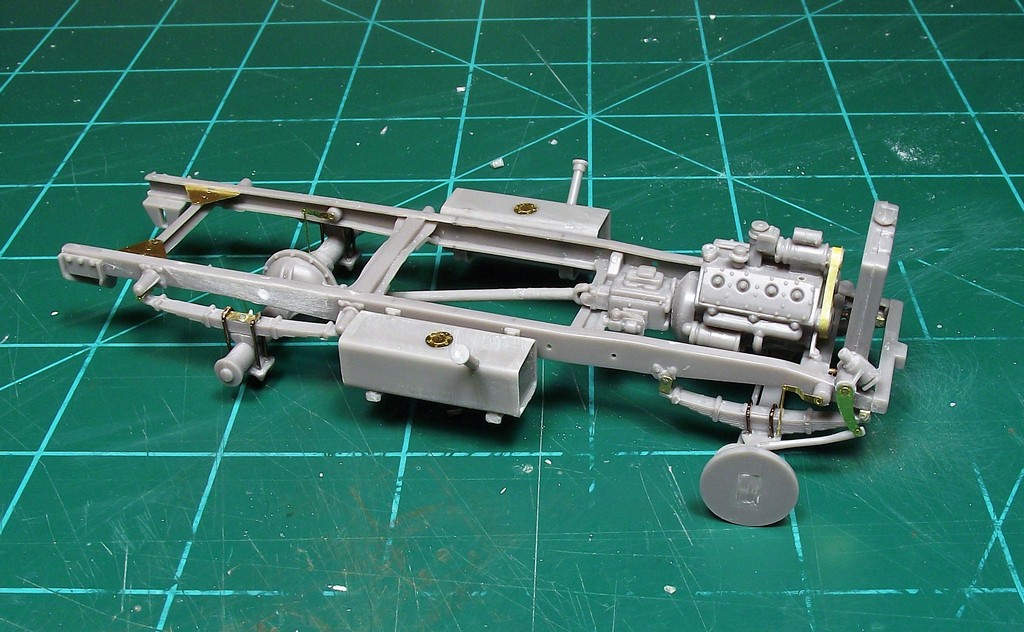
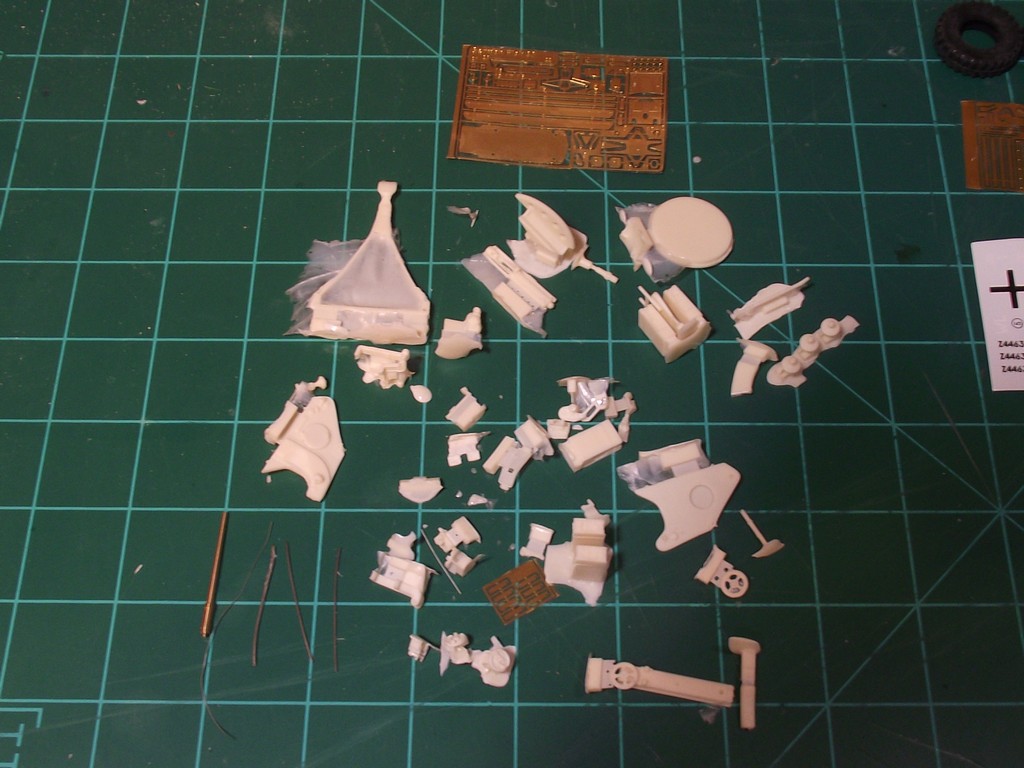
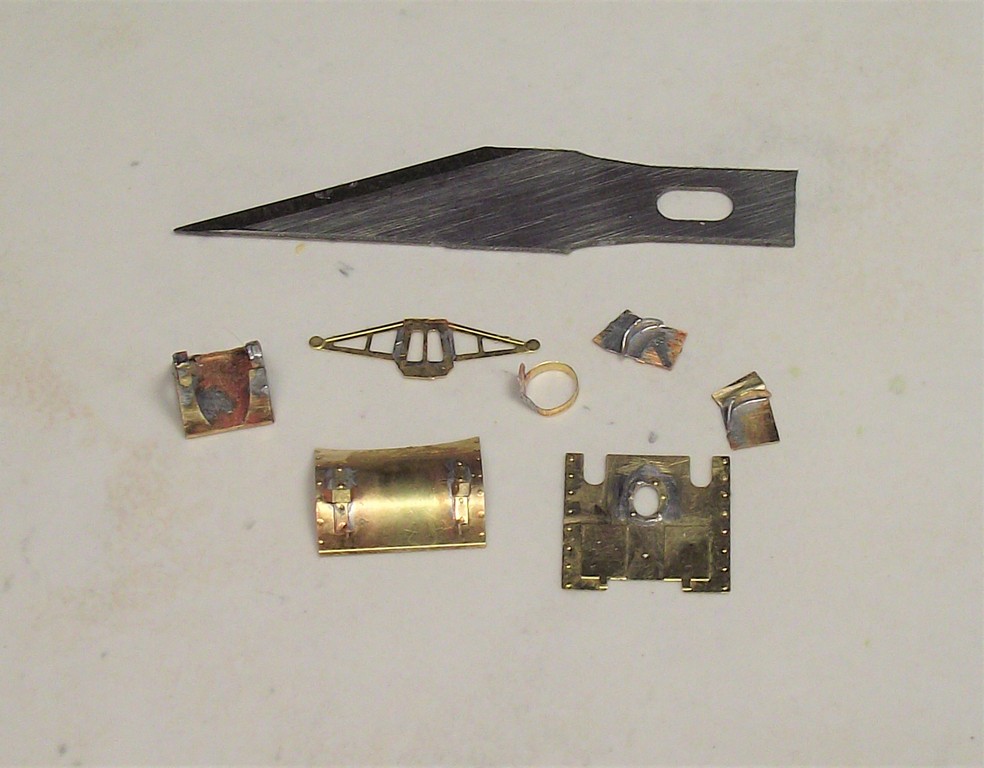
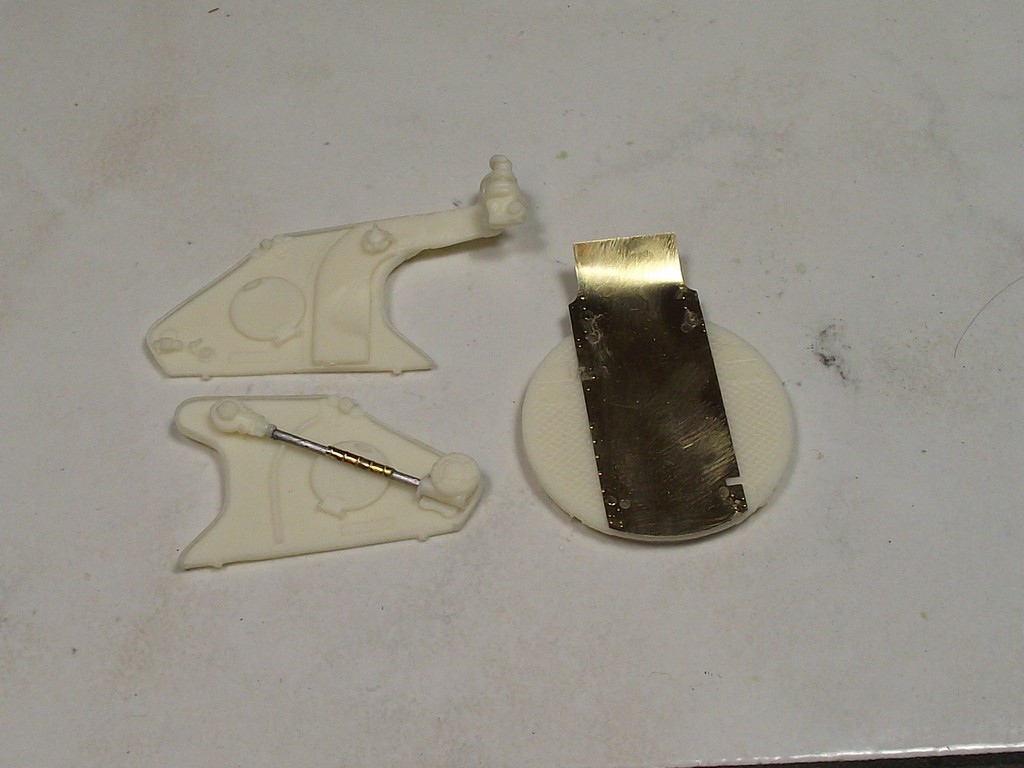
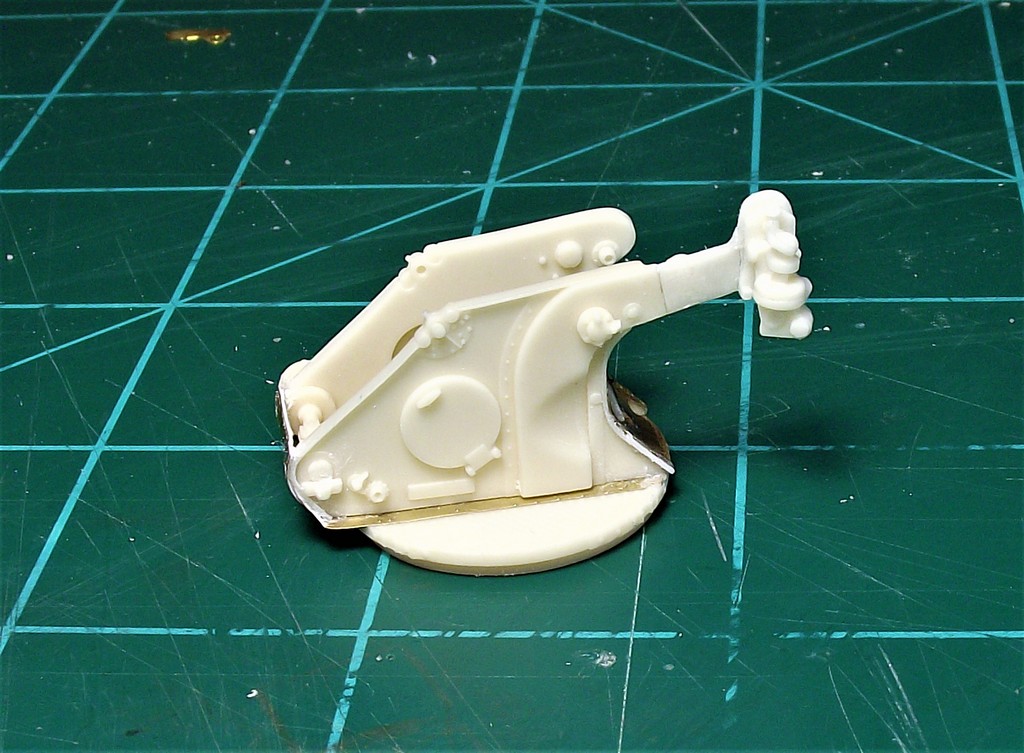
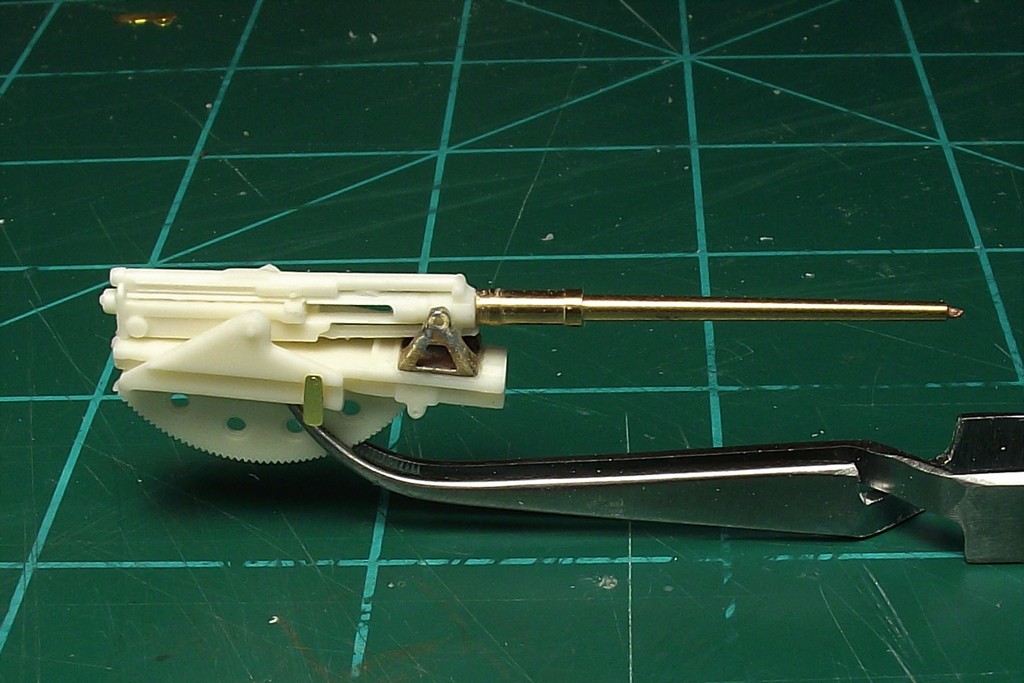
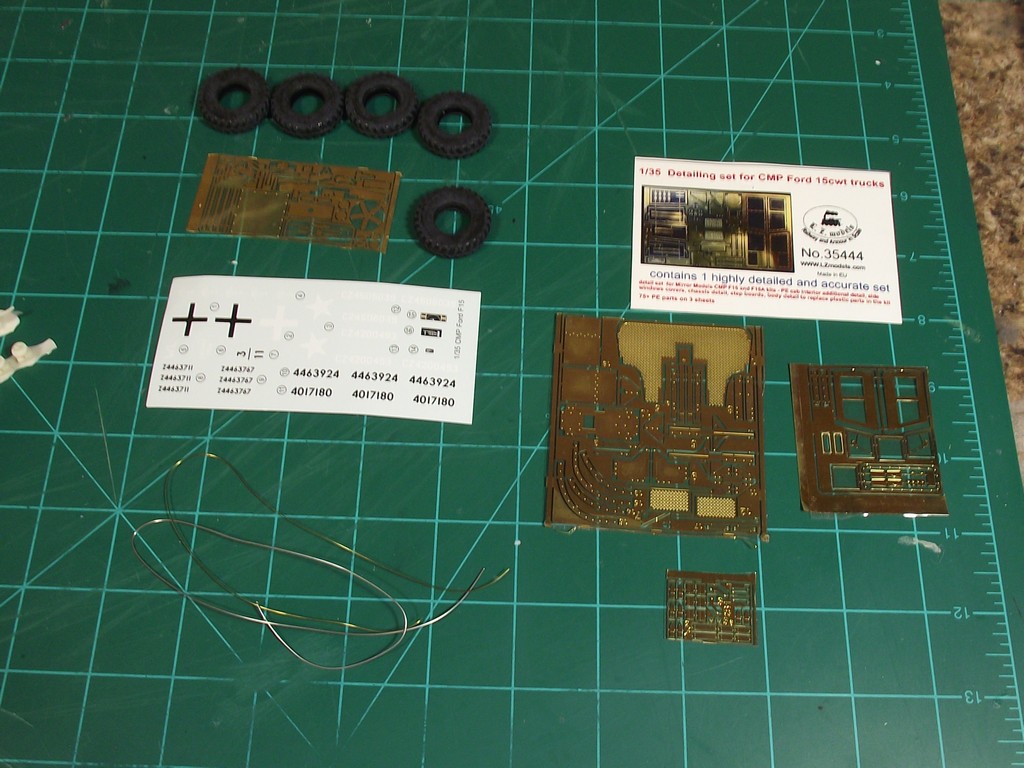
This kit was re-released several years ago. The original kit was all resin. The new kit includes a CMP F15 Truck from Mirror Models, a Resin Flak 30 and some extras. The kit includes 5 rubber tires, which I will most likely replace with a Resin Set. There are a few pieces of wire and some photo etch. I picked up an extra PE detailing set which will really improve some of the kit parts. The Flak 30 will require a lot of clean up, but it also includes some nice PE.


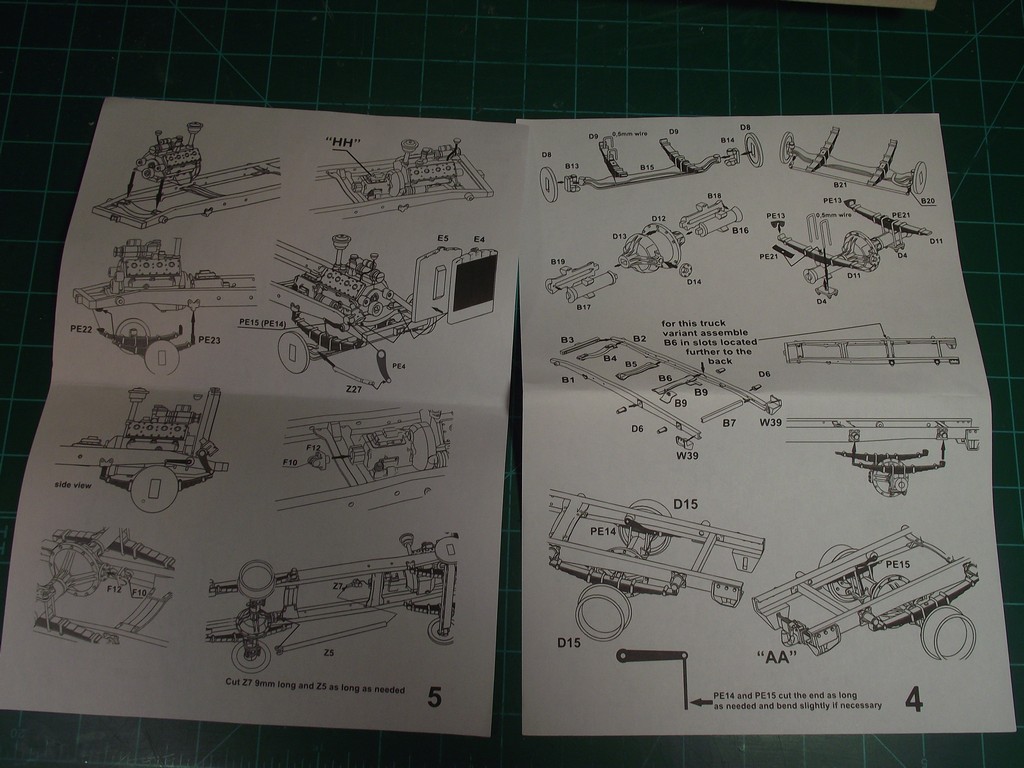
The instruction are not very good at all and will really require a lot of test fitting. There is no excuse for instruction to look like this in a modern kit.


Thanks for looking.

Shawn


SRAMSEY
Visit this Community
South Carolina, United States
Joined: January 28, 2010
KitMaker: 28 posts
Armorama: 27 posts
Posted: Thursday, January 17, 2019 - 06:14 AM UTC
OK, well now that I know my pictures posted I can so you where I am at with this build.

The Flak 30 is Resin , and I have never built a resin model before. My hopes was that a Flak 38 may fit in the bed, if things did not go well with the resin kit. So, I started this build a little backwards and started with the bed of the truck.


Lots of clean up needed here along with all the side pieces.


The extra PE provides some nice detail. Before and after pics.


For this diorama I wanted to show the tail gate down. Of course I could have just glue it in the down position, but it just would not have looked right. Cutting the bottom section of off the rear tailgate and gluing that to the floor, I then used some spare PE sheets, homemade bolt heads, foil and small gauge wire.


Most of the work won't be seen, but I do thinks this looks better and more realistic.


The Flak 38 will not fit, so onto the Flak 30.

Shawn

hutch2336
Visit this Community
England - North, United Kingdom
Joined: May 22, 2011
KitMaker: 73 posts
Armorama: 54 posts
Posted: Thursday, January 17, 2019 - 06:26 AM UTC
Hi Shawn
Looks good
Time to get that Flak 30 sorted out
Regards
Steve H
KBalczo
Visit this Community
Indiana, United States
Joined: November 16, 2018
KitMaker: 27 posts
Armorama: 25 posts
Posted: Thursday, January 17, 2019 - 06:38 AM UTC
Shawn,

Looking good. Thanks for the step by step assembly.
jrutman
Visit this Community
Pennsylvania, United States
Joined: April 10, 2011
KitMaker: 7,941 posts
Armorama: 7,934 posts
Posted: Thursday, January 17, 2019 - 06:52 AM UTC
Nice detail work so far!
J
strongarden
Visit this Community
Florida, United States
Joined: May 14, 2012
KitMaker: 730 posts
Armorama: 624 posts
Posted: Sunday, January 20, 2019 - 06:44 AM UTC
Nice start Sean, Ill be following!

Regards
Dave
SRAMSEY
Visit this Community
South Carolina, United States
Joined: January 28, 2010
KitMaker: 28 posts
Armorama: 27 posts
Posted: Thursday, January 24, 2019 - 10:43 AM UTC
Thanks for following guys.

Well the bad news is the Flak 30 was an epic failure on my part. It has been binned. Will have to figure something out, to replace it.

But I have been moving forward on the build.

Starting with the chassis, it has pretty good detail comprising of 15 pieces. No real problems here other than having to be careful with part alignment.


Engine has some nice detail, but none of it will be seen.


Adding the bits and pieces to the frame. Main problem here was the front leaf springs. The instructions called for PE parts that were not included in the kit. So I had to make them.


Onto the cab. This was pretty challenging lining / squaring everything up. I think everything is correct so far but time will tell. The extra detail set really provided a really nice floor board. If it was not for this the floor would be smooth.


I'm trying my best to finish this build, especially since it is my first blog on the site, but it sure has been very challenging to say the least.

Shawn
jrutman
Visit this Community
Pennsylvania, United States
Joined: April 10, 2011
KitMaker: 7,941 posts
Armorama: 7,934 posts
Posted: Friday, January 25, 2019 - 05:47 AM UTC
Yes well,Rome wasn't built in a day my friend,
Keep driving on!
J
cheyenne
Visit this Community
New Jersey, United States
Joined: January 05, 2005
KitMaker: 2,185 posts
Armorama: 1,813 posts
Posted: Friday, January 25, 2019 - 07:07 AM UTC
Shawn , very nice work man , keep at it !!!
Dioramartin
Visit this Community
New South Wales, Australia
Joined: May 04, 2016
KitMaker: 1,476 posts
Armorama: 1,463 posts
Posted: Saturday, January 26, 2019 - 08:20 PM UTC
Interesting kit choice Shawn – the “instructions” could be worse e.g. silhouettes. No need to rush on our account, looks promising
SRAMSEY
Visit this Community
South Carolina, United States
Joined: January 28, 2010
KitMaker: 28 posts
Armorama: 27 posts
Posted: Monday, February 04, 2019 - 04:49 AM UTC
Thanks for checking in Jerry, Cheyenne, and Tim.

I have actually been pretty busy with this one. I have several updates for you.

First off the cab. Some extra details added here including a hand brake and PE.


Onto the chassis, which has some fiddly PE parts. Again the instructions are not great, so some of this may not be completely accurate.


Shawn

SRAMSEY
Visit this Community
South Carolina, United States
Joined: January 28, 2010
KitMaker: 28 posts
Armorama: 27 posts
Posted: Monday, February 04, 2019 - 04:56 AM UTC
Onto the Flak 30. This is my second go around. The first one was a major flop. Luckily I found another one on EBAY for $20.00.

Lots and lots of flash to be cleaned up.


He is the base that had some major warping going on. I had to put it in hot water and straighten it out the best I could. Not perfect but it will have to work.


I don't have alot of experience soldering so why not practice. I could have practiced on something a lot bigger though.


Some pretty good detail here.


ON a positive note a metal barrel was provided.


Thats it for now.

Shawn
jrutman
Visit this Community
Pennsylvania, United States
Joined: April 10, 2011
KitMaker: 7,941 posts
Armorama: 7,934 posts
Posted: Monday, February 04, 2019 - 04:57 AM UTC
Nice work on all those fiddly bits,
J
 _GOTOTOP