Comes in a nice big box filled with sprues
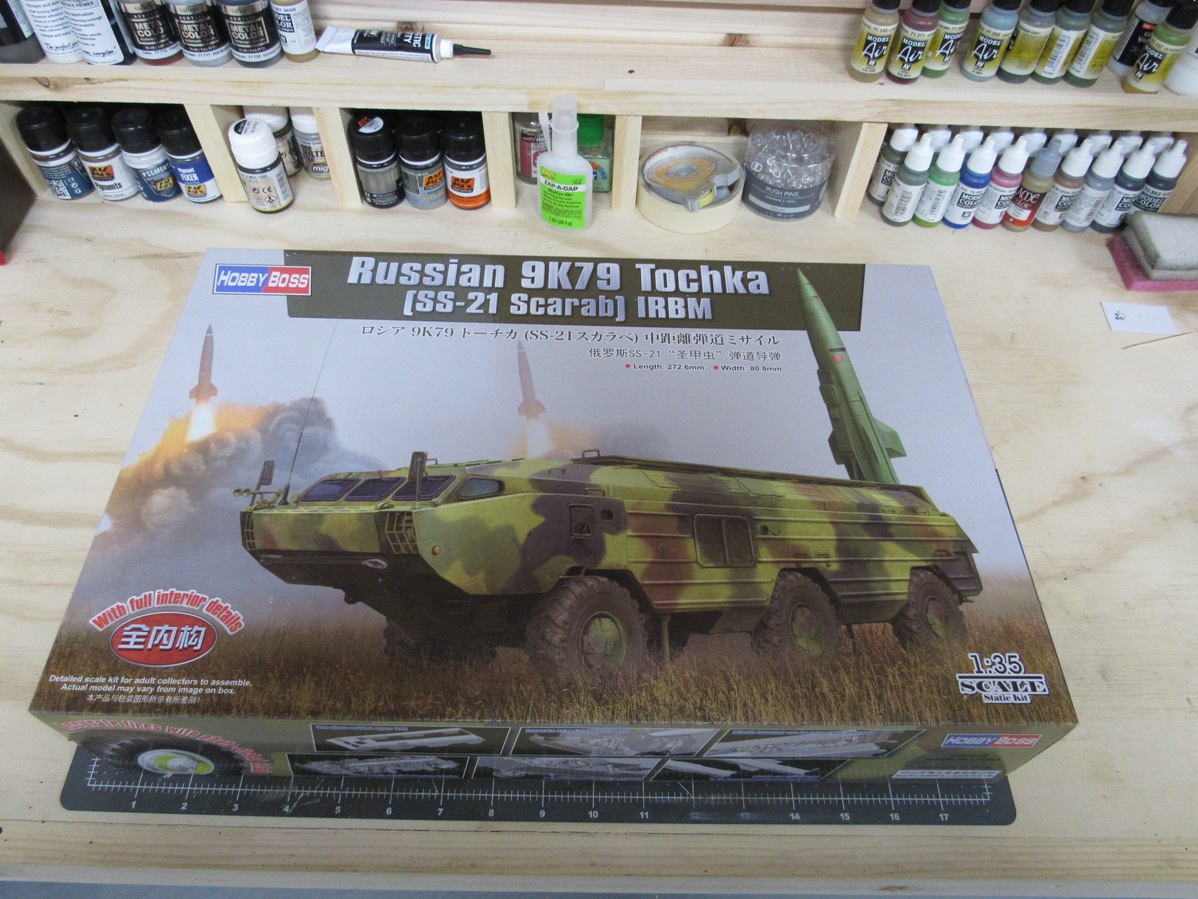
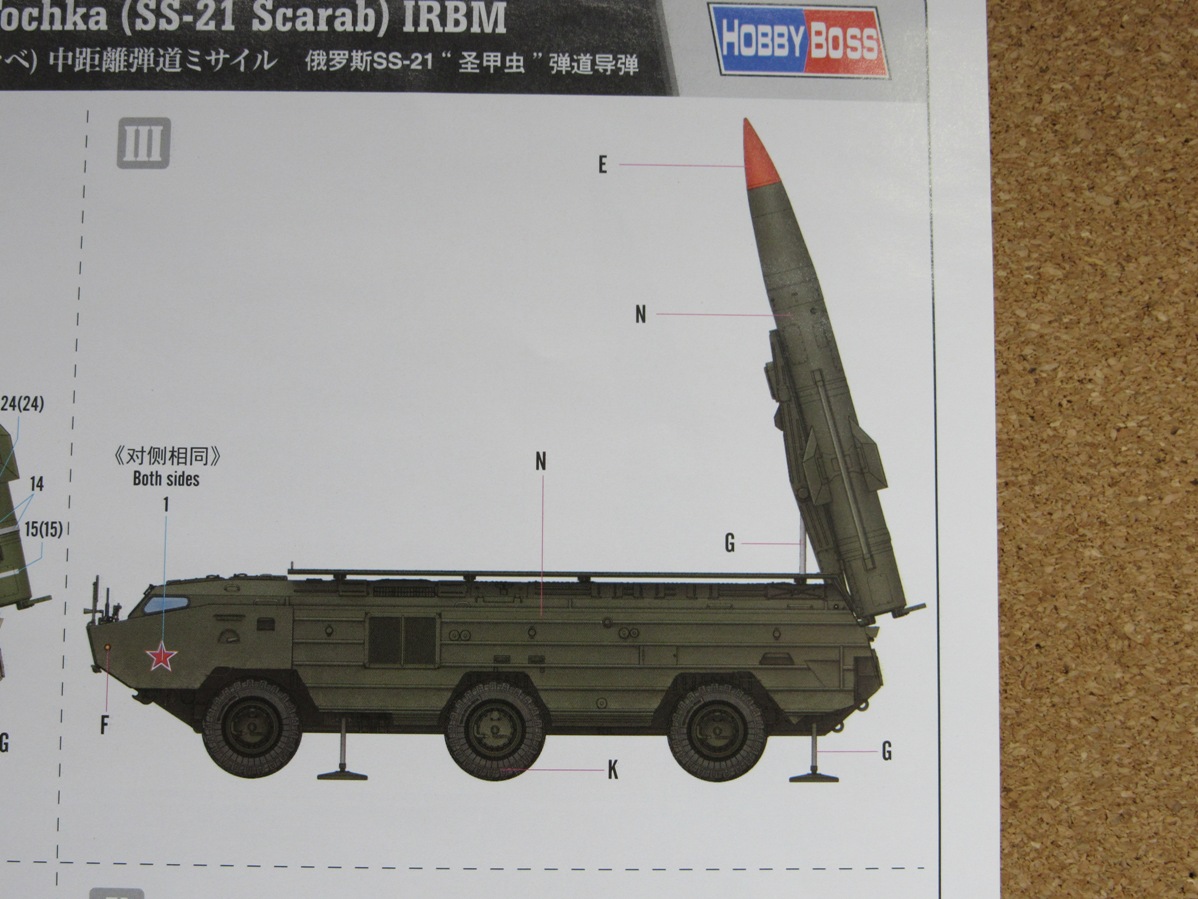
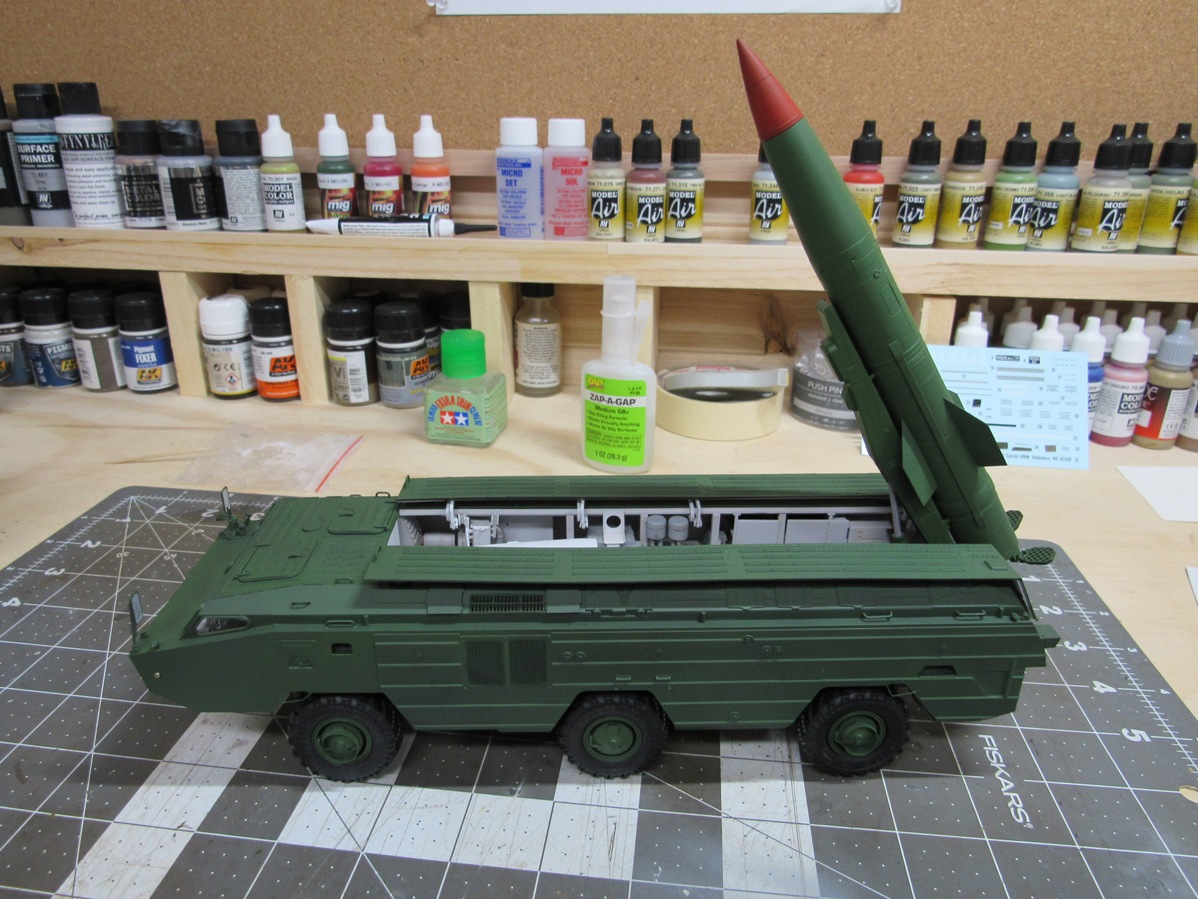
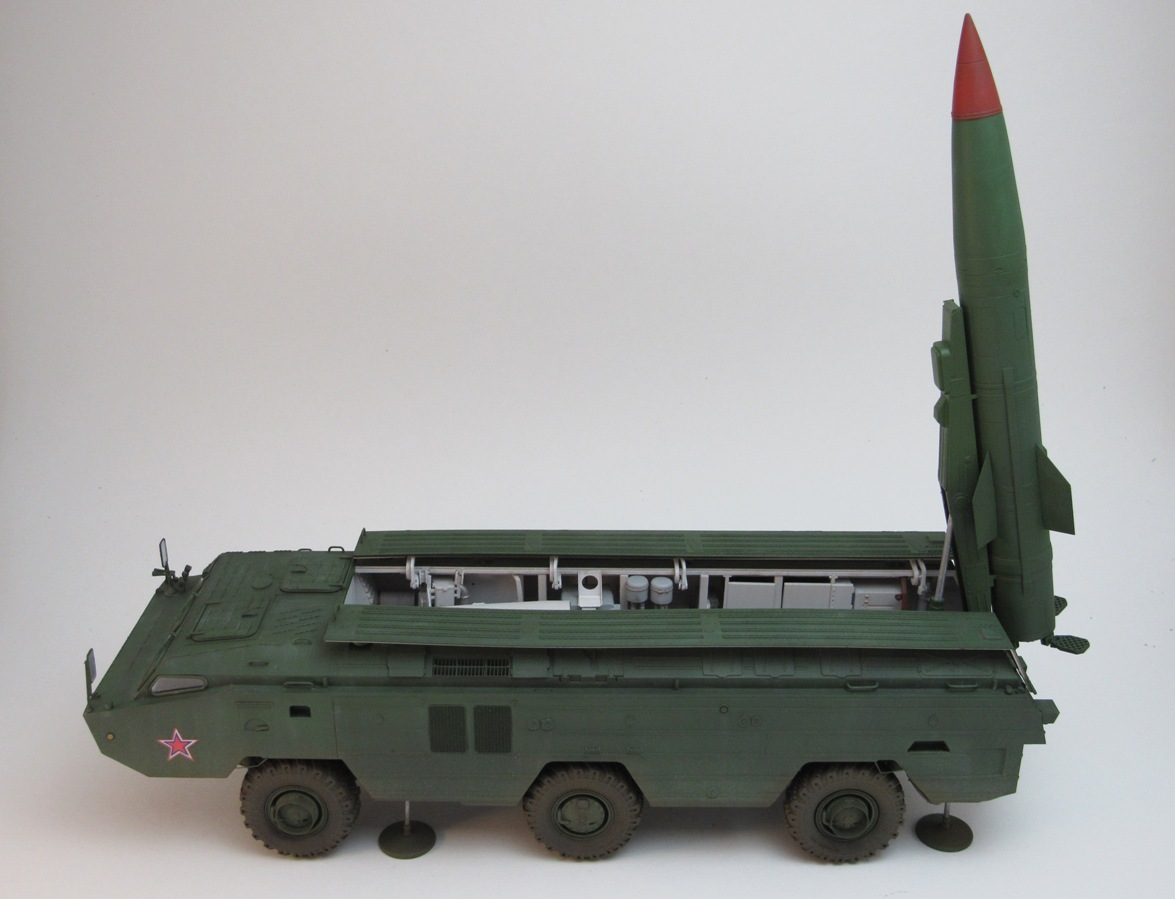
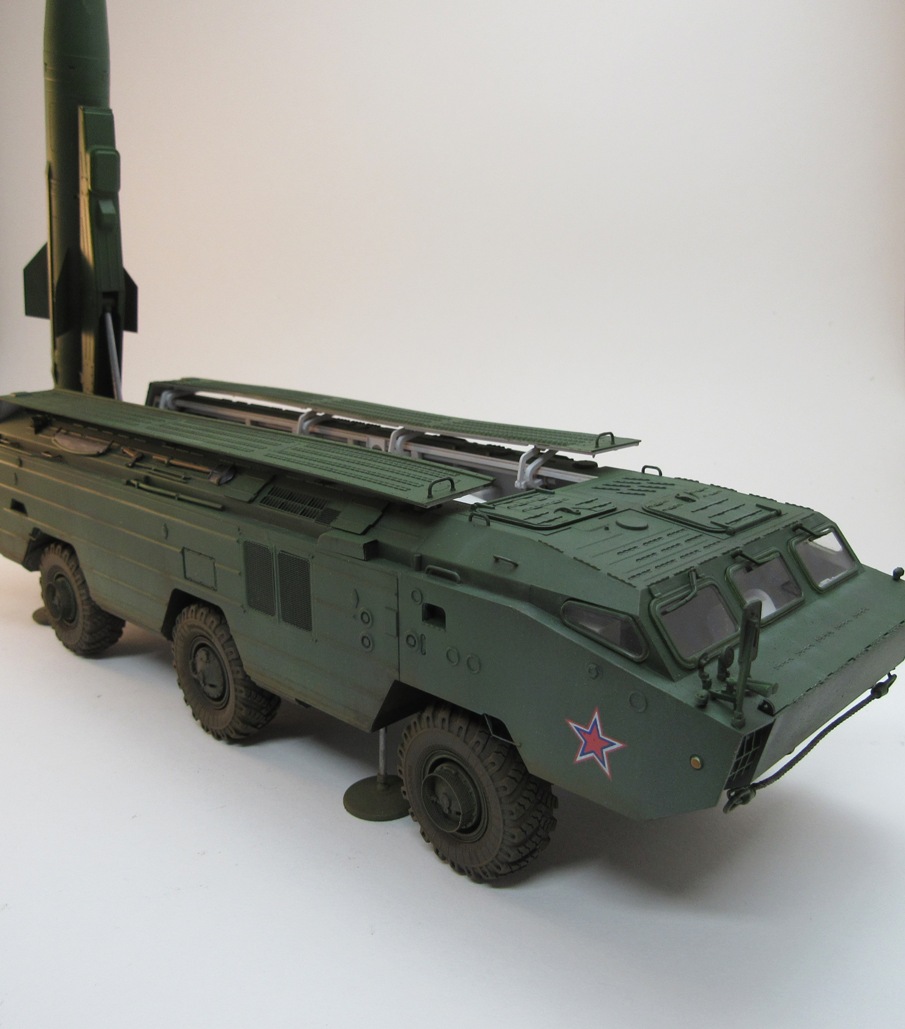
I plan on doing this camo scheme. I believe there are another 4 choices.
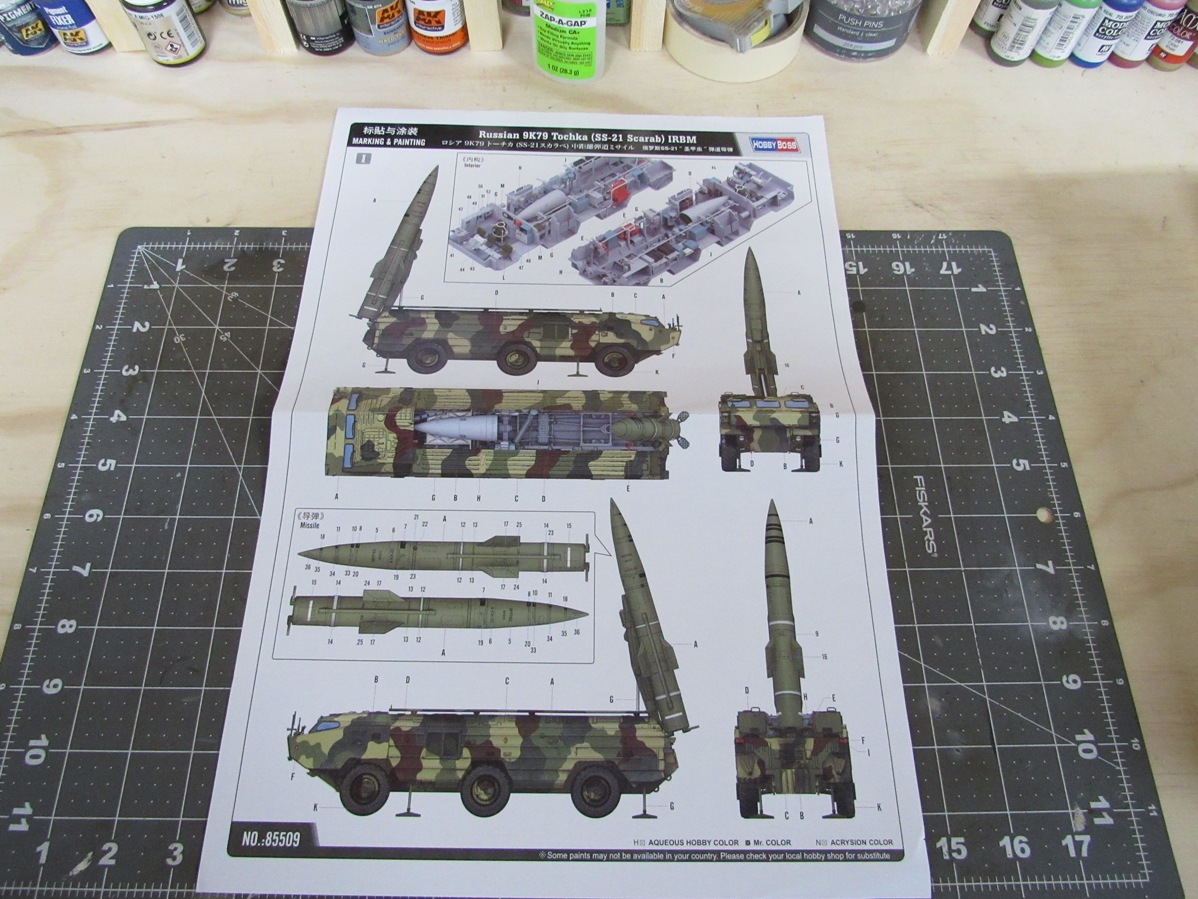
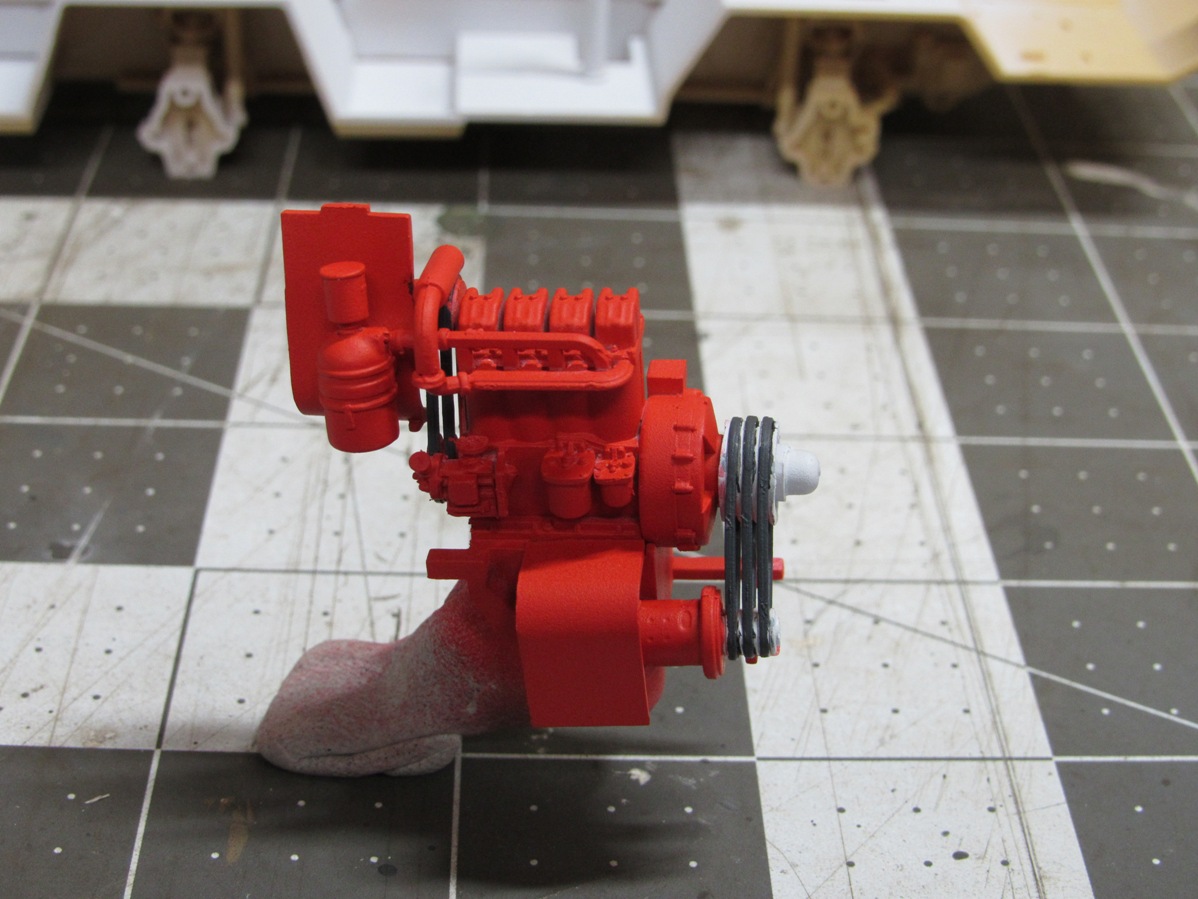
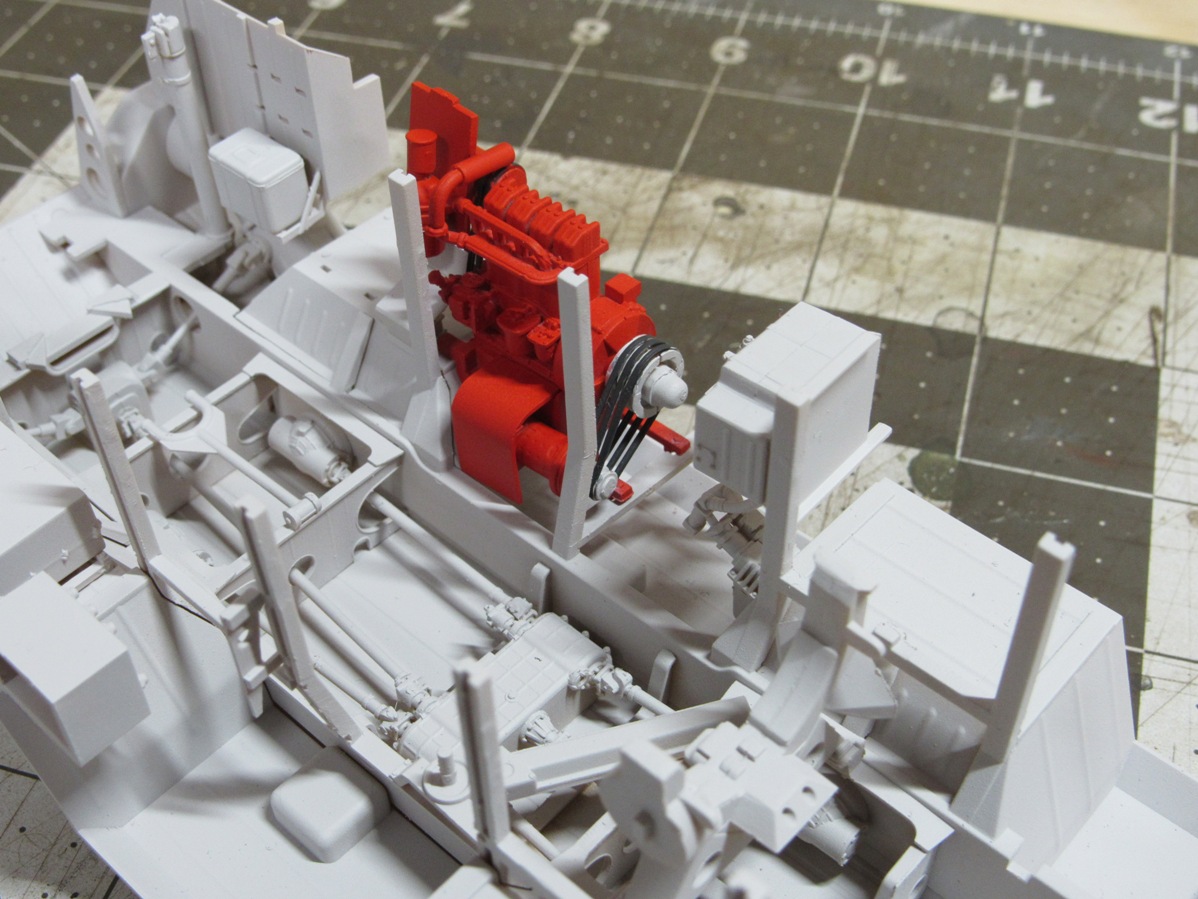
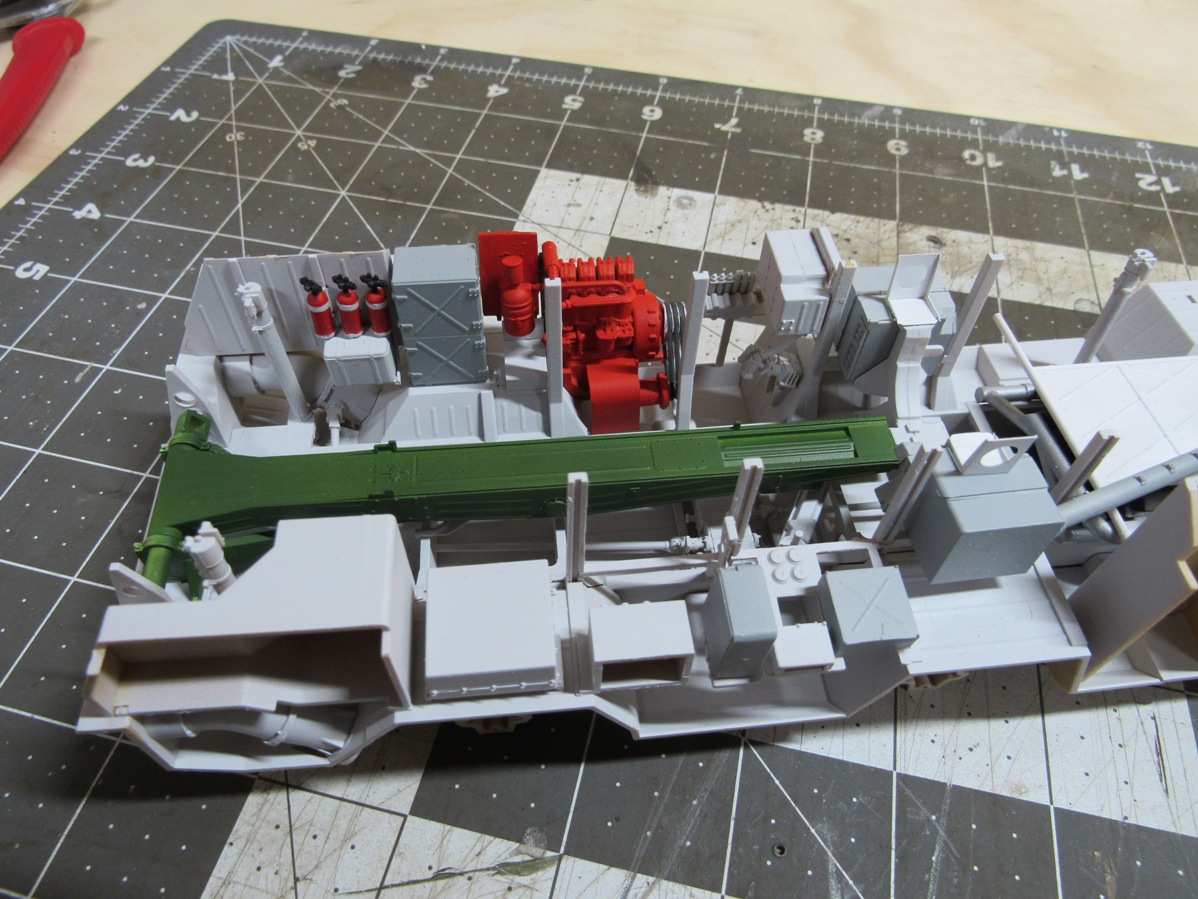
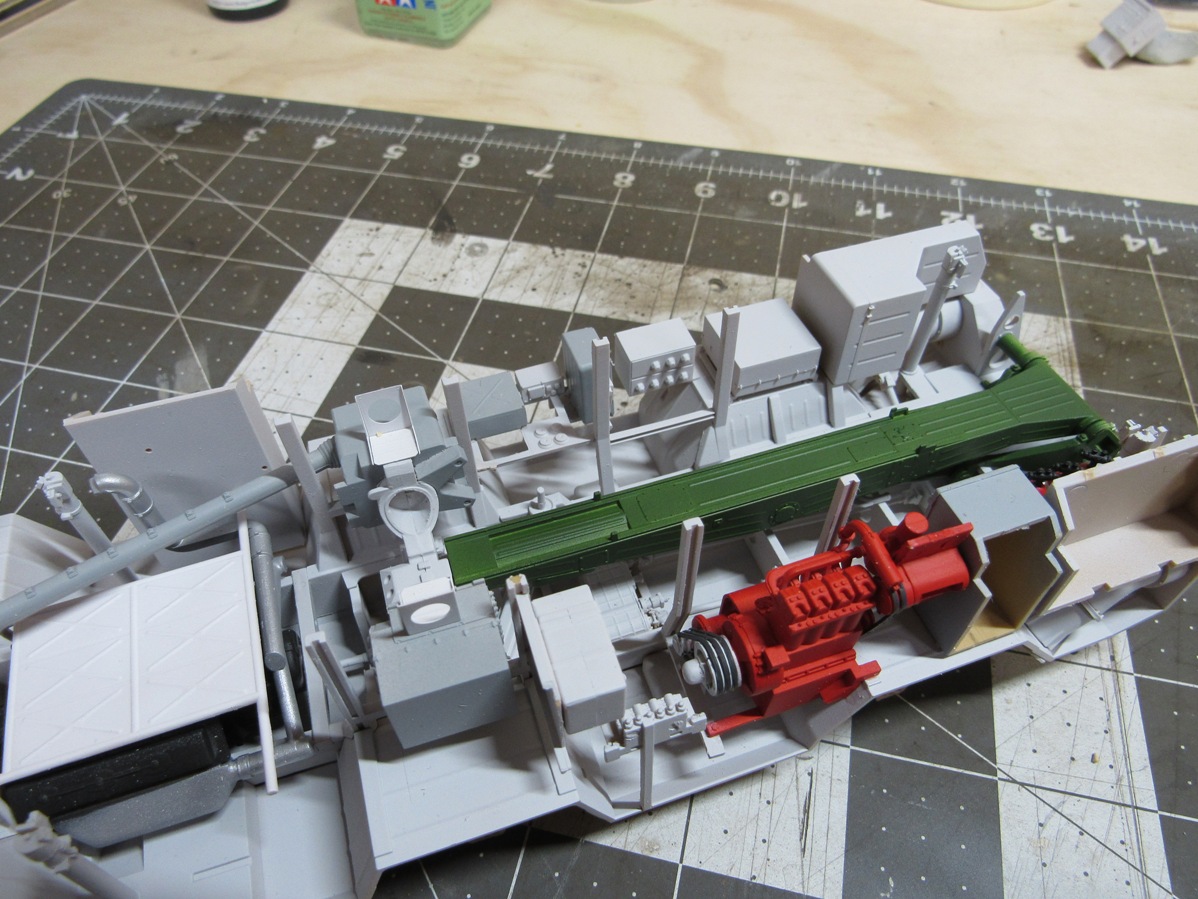
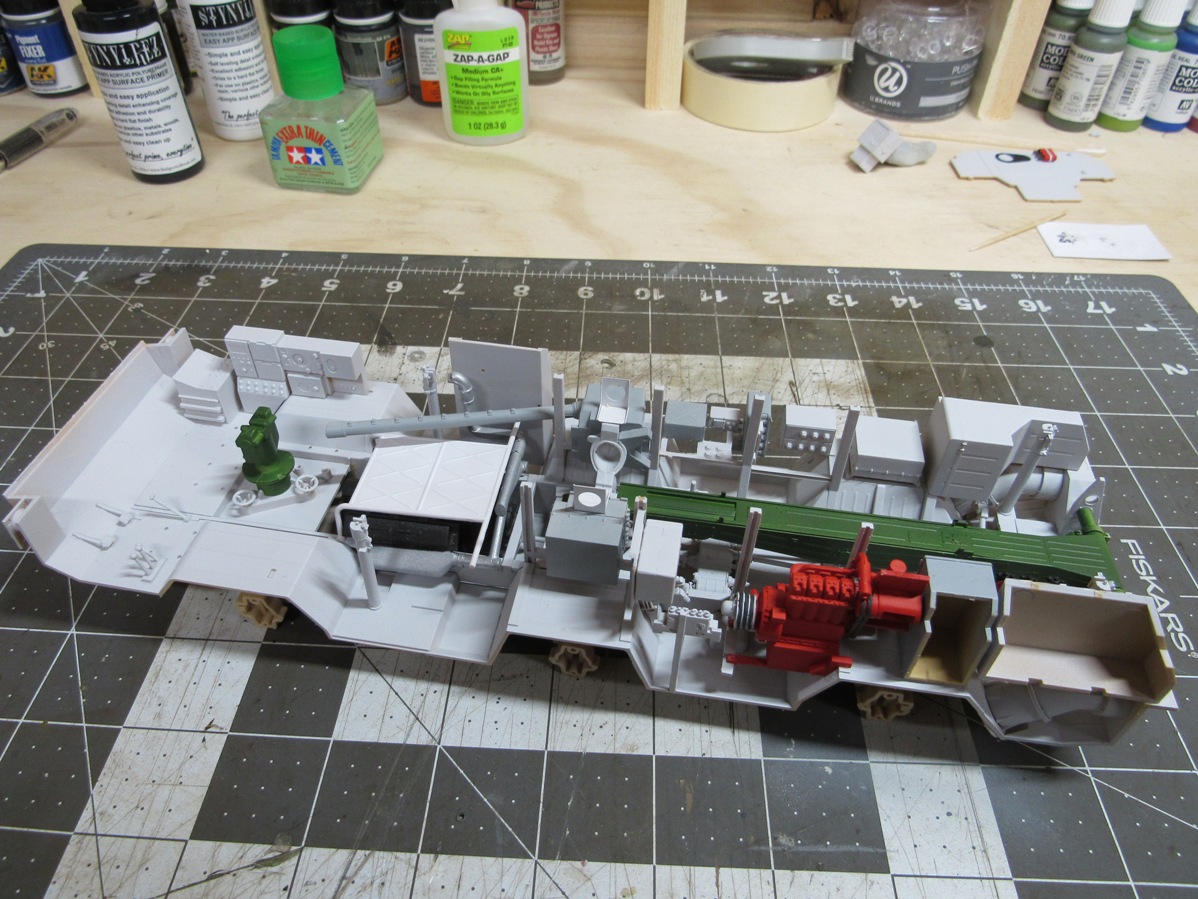
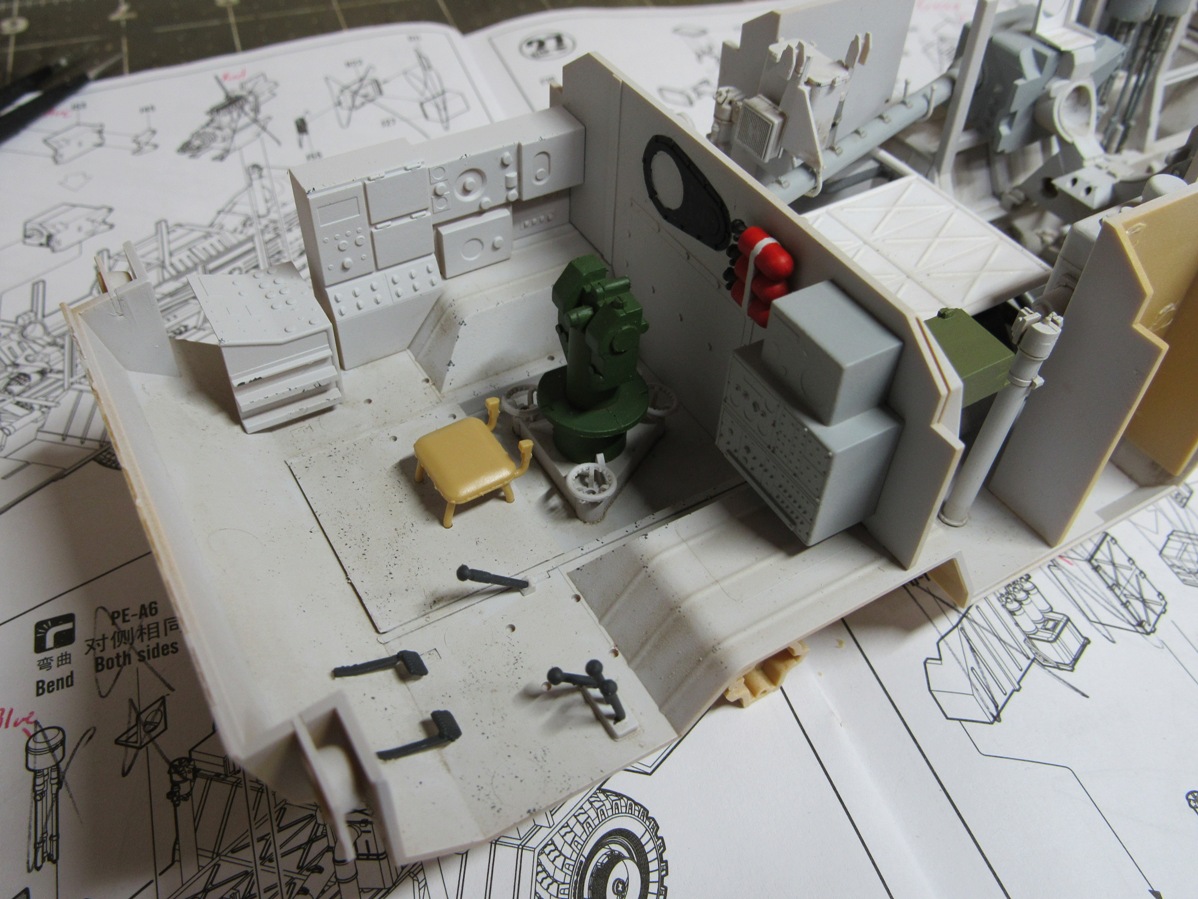
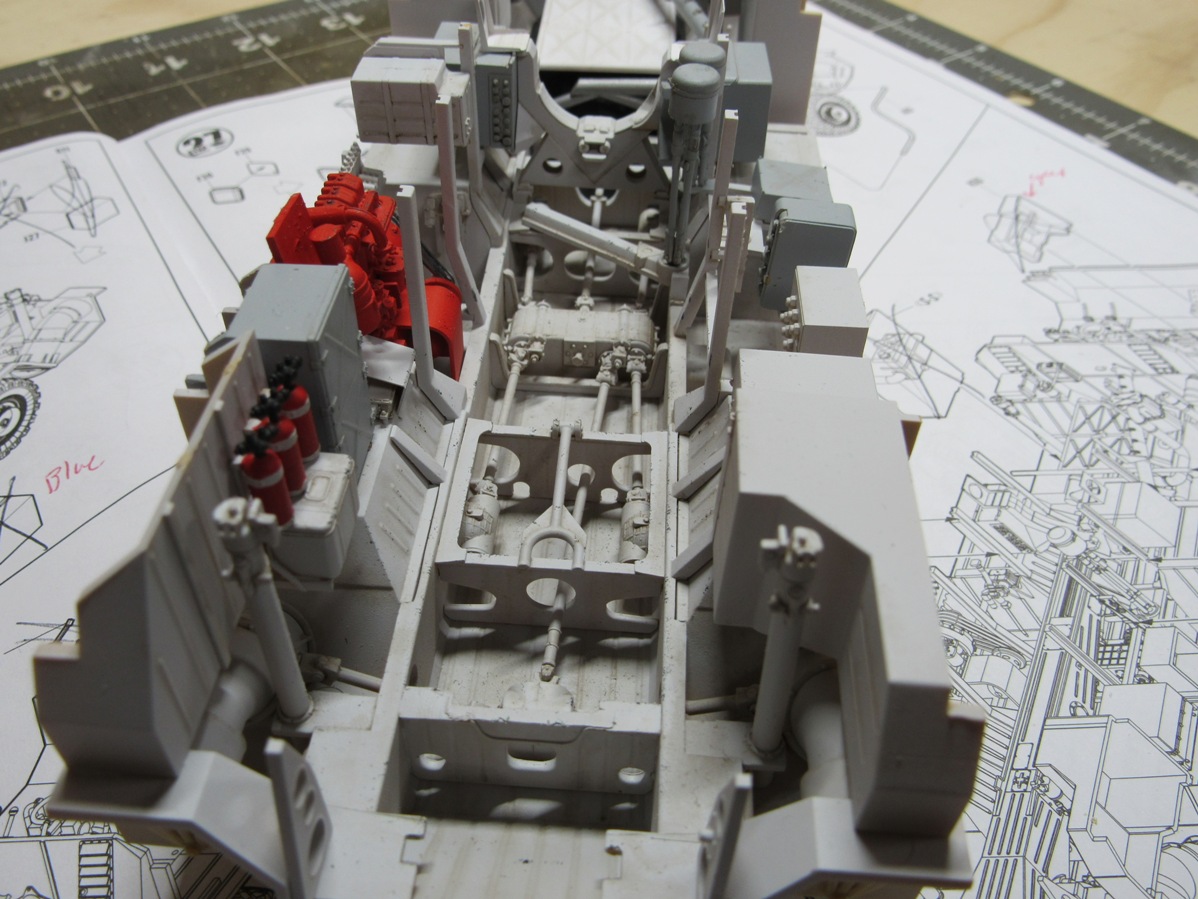
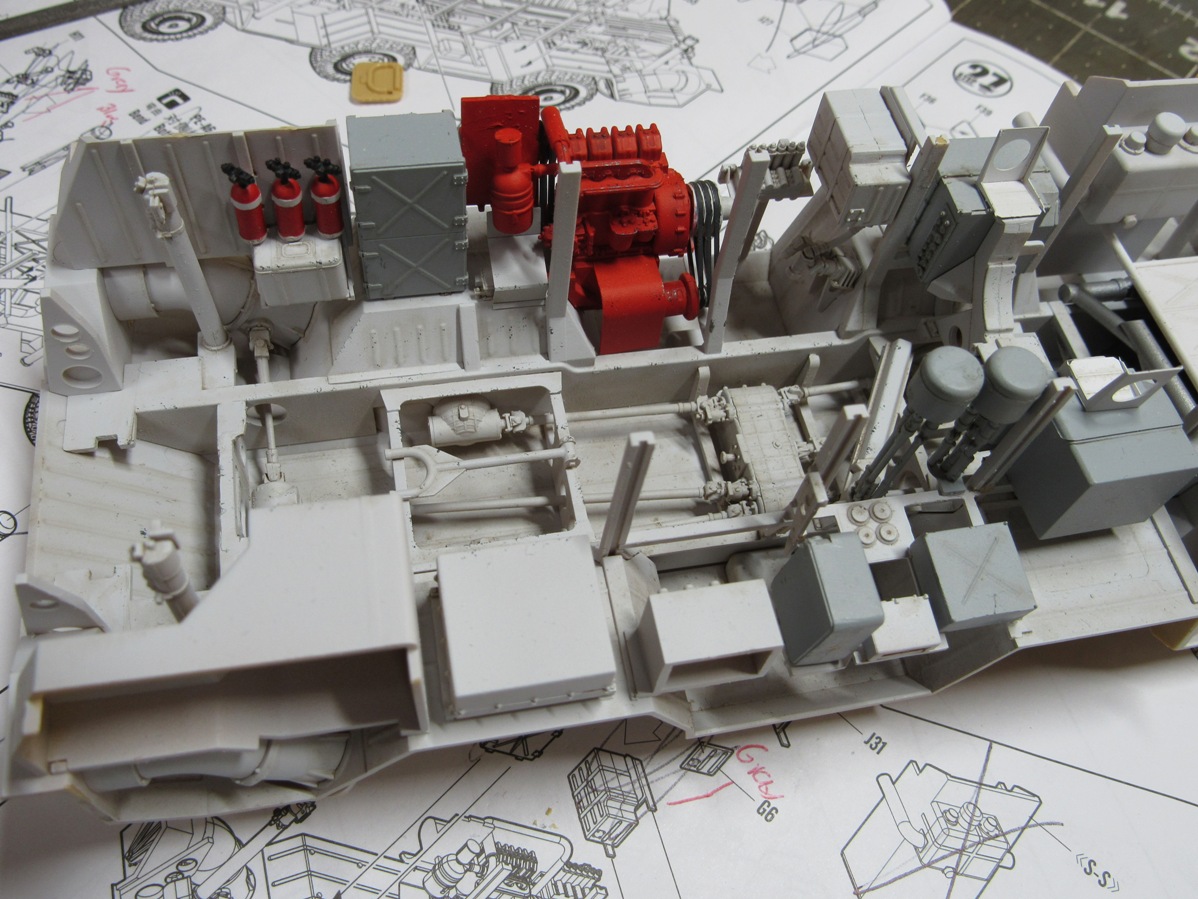
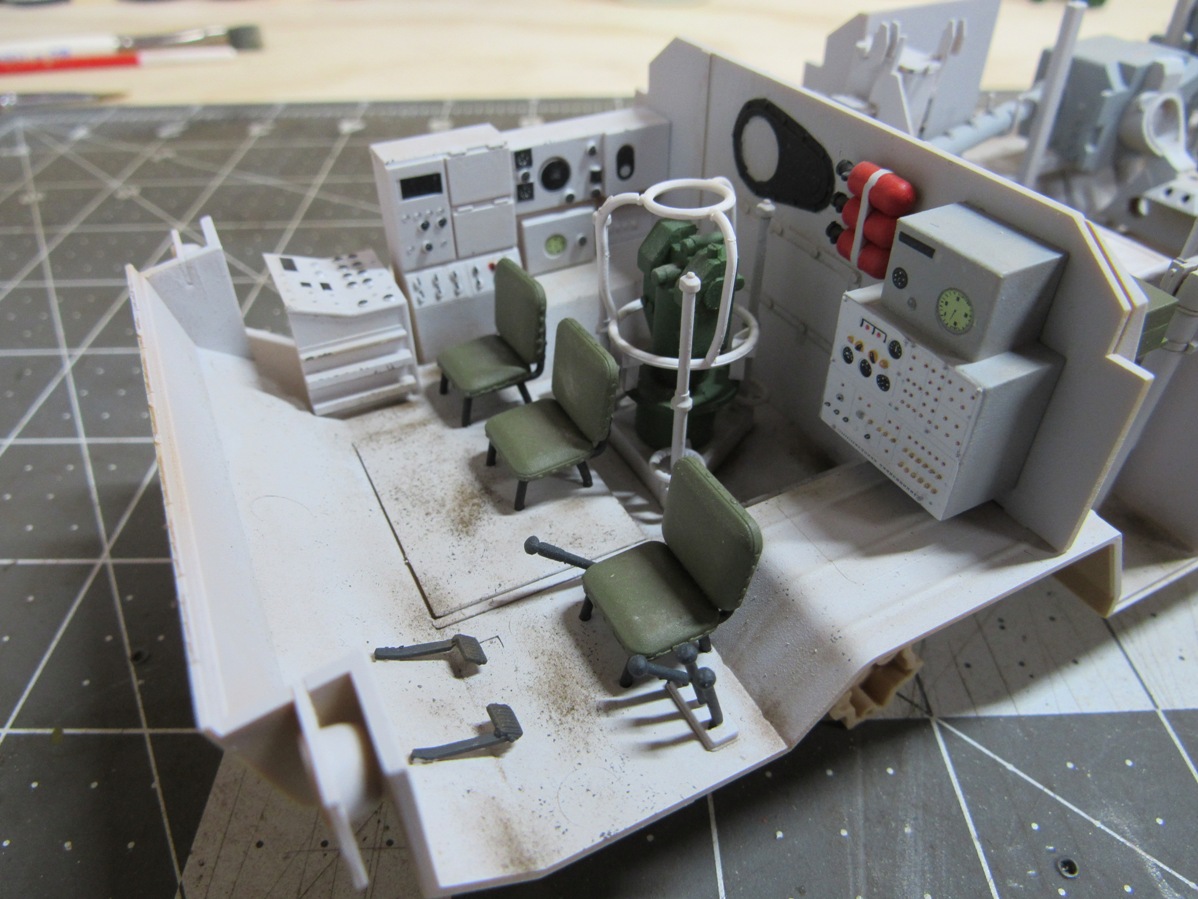
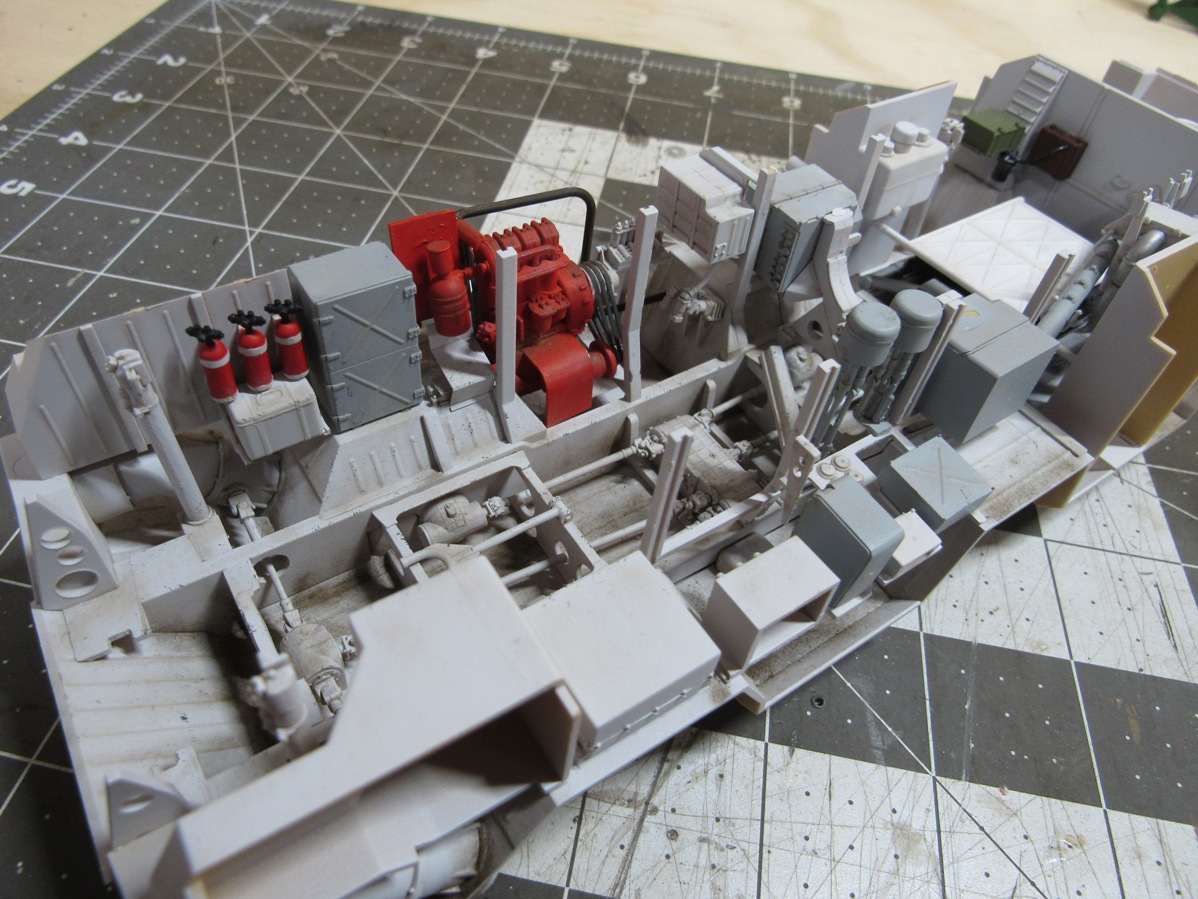
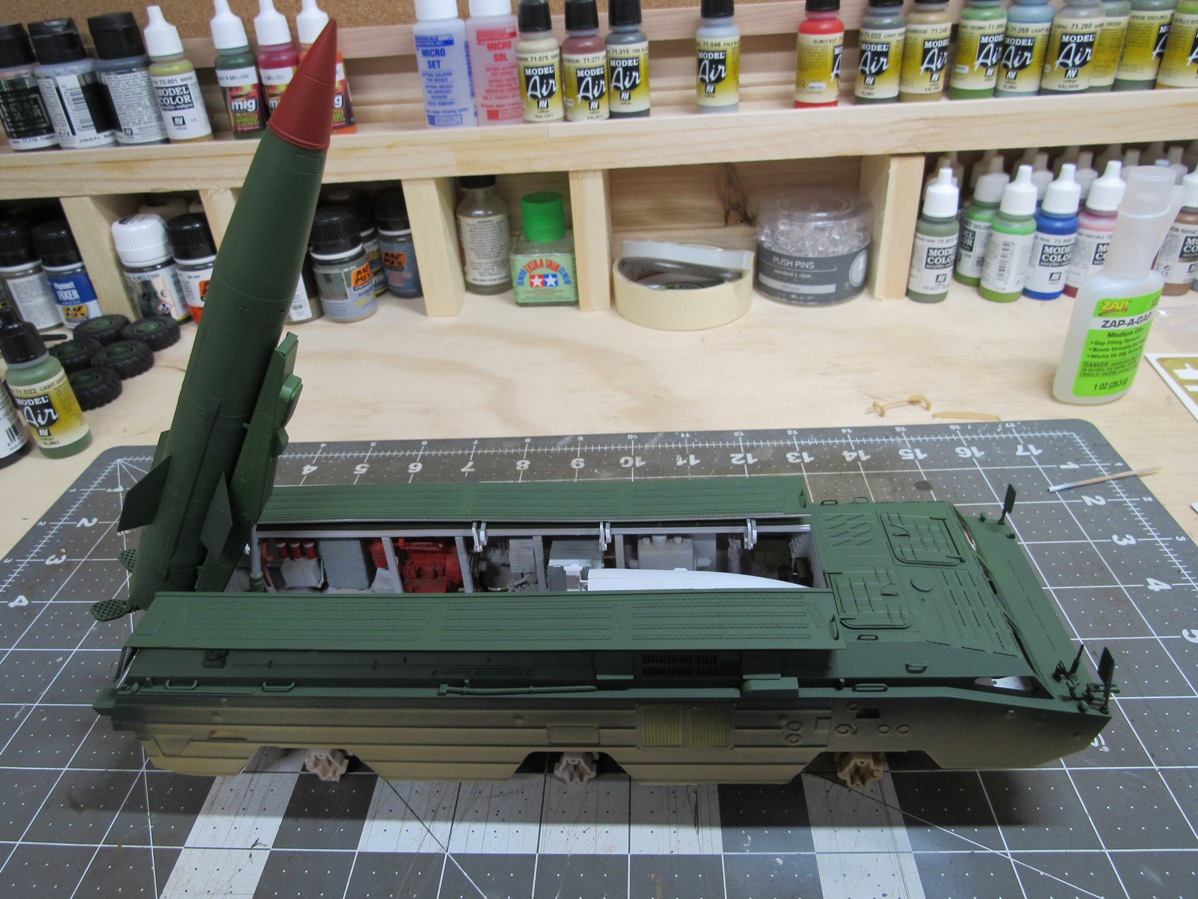
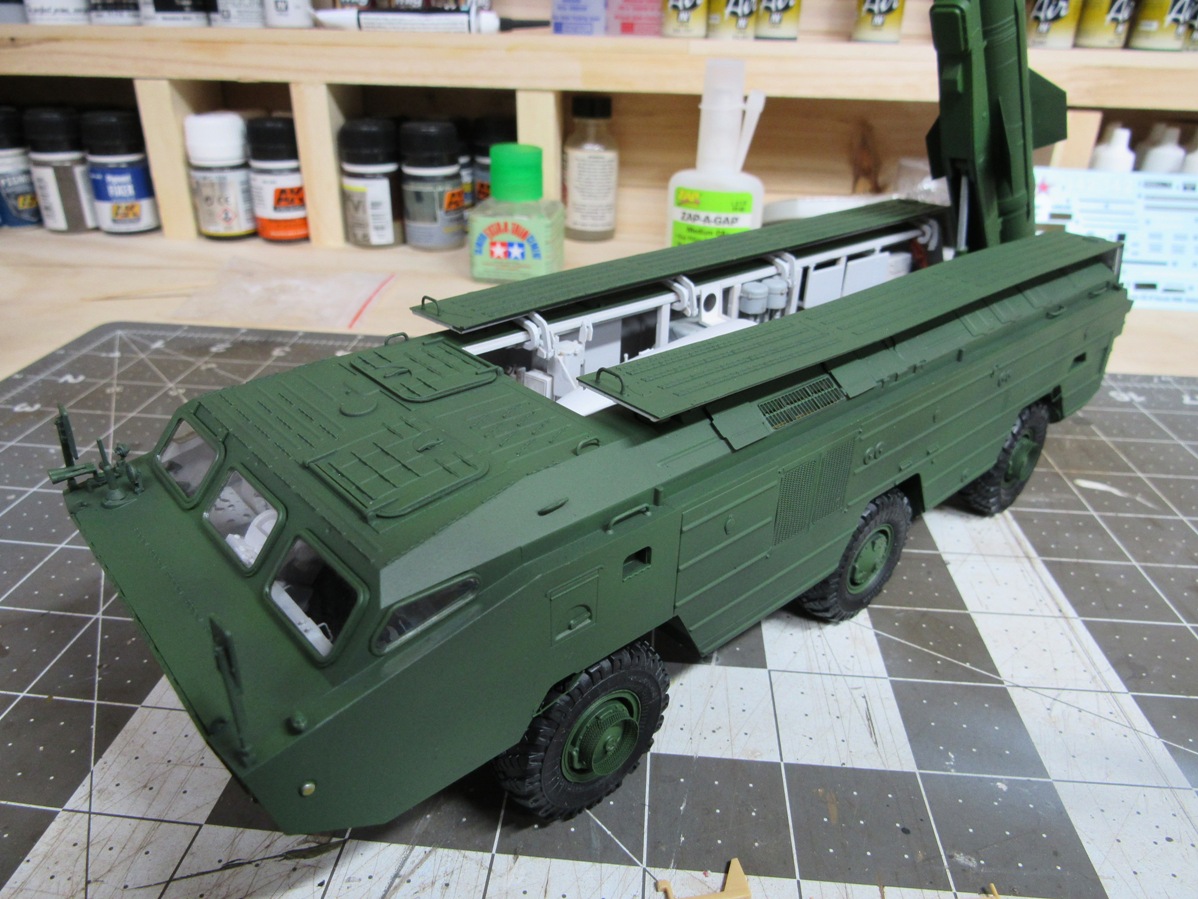
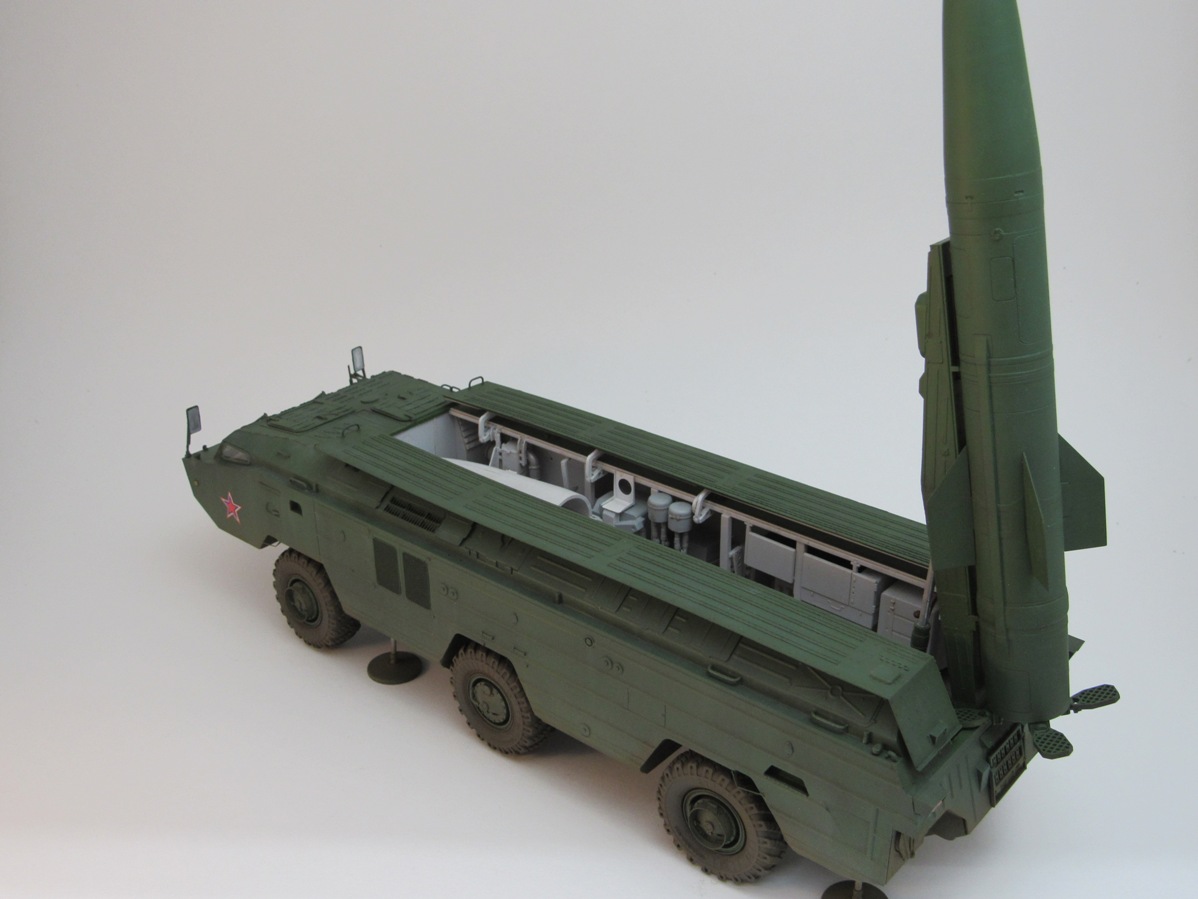
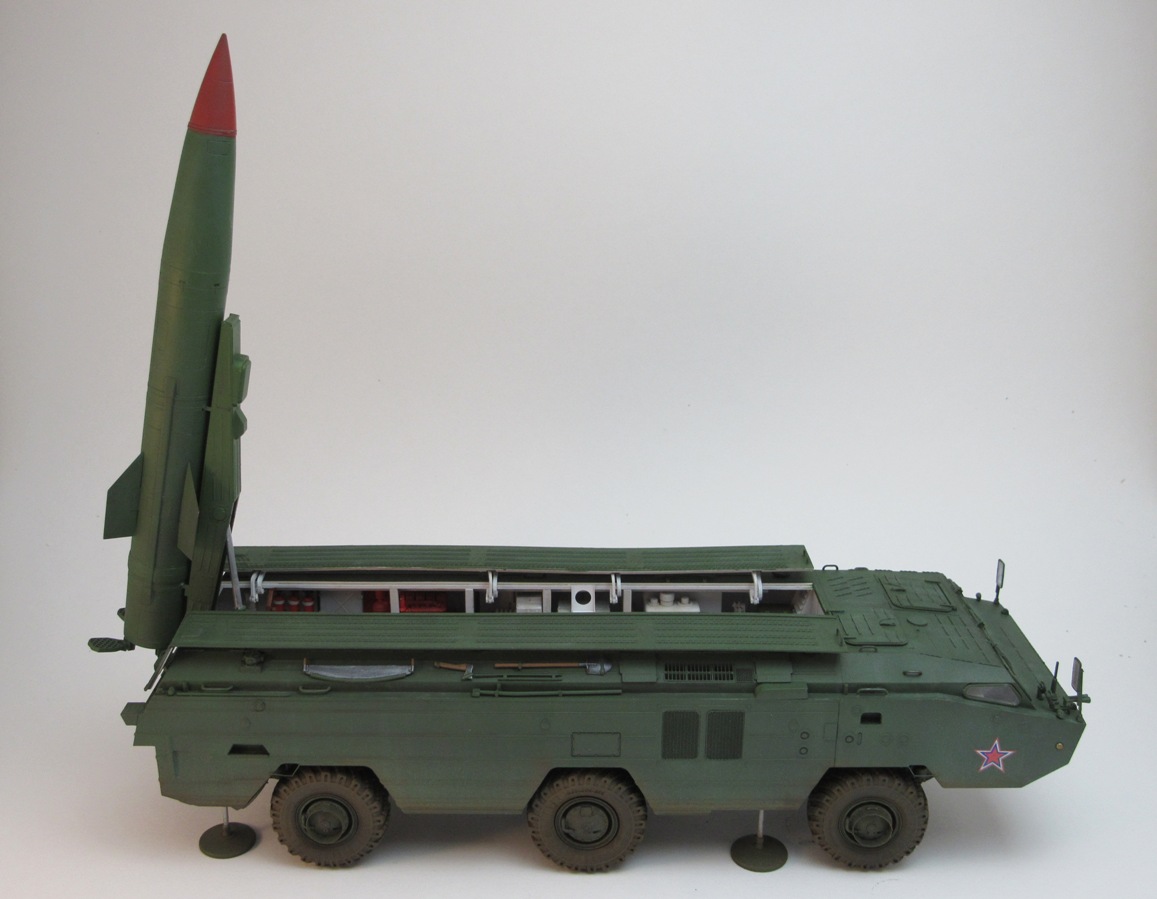
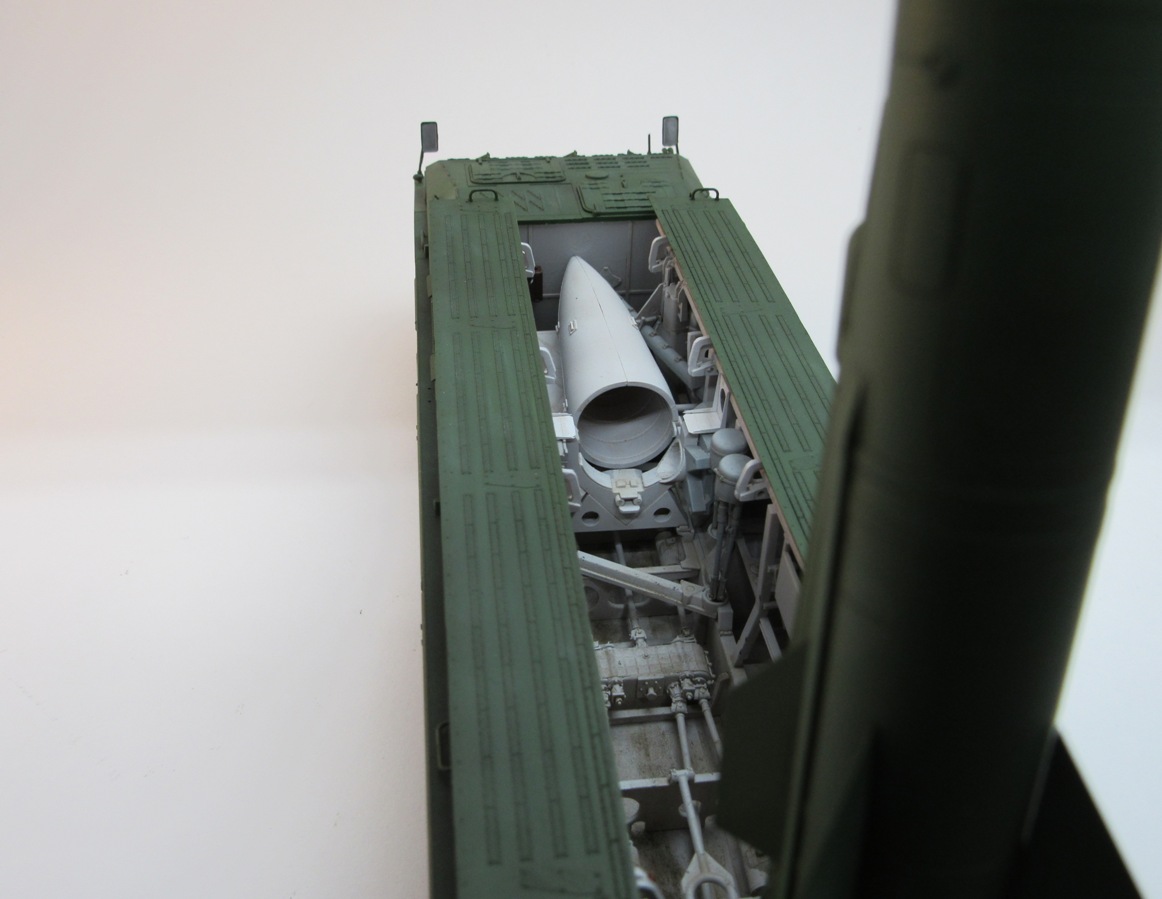
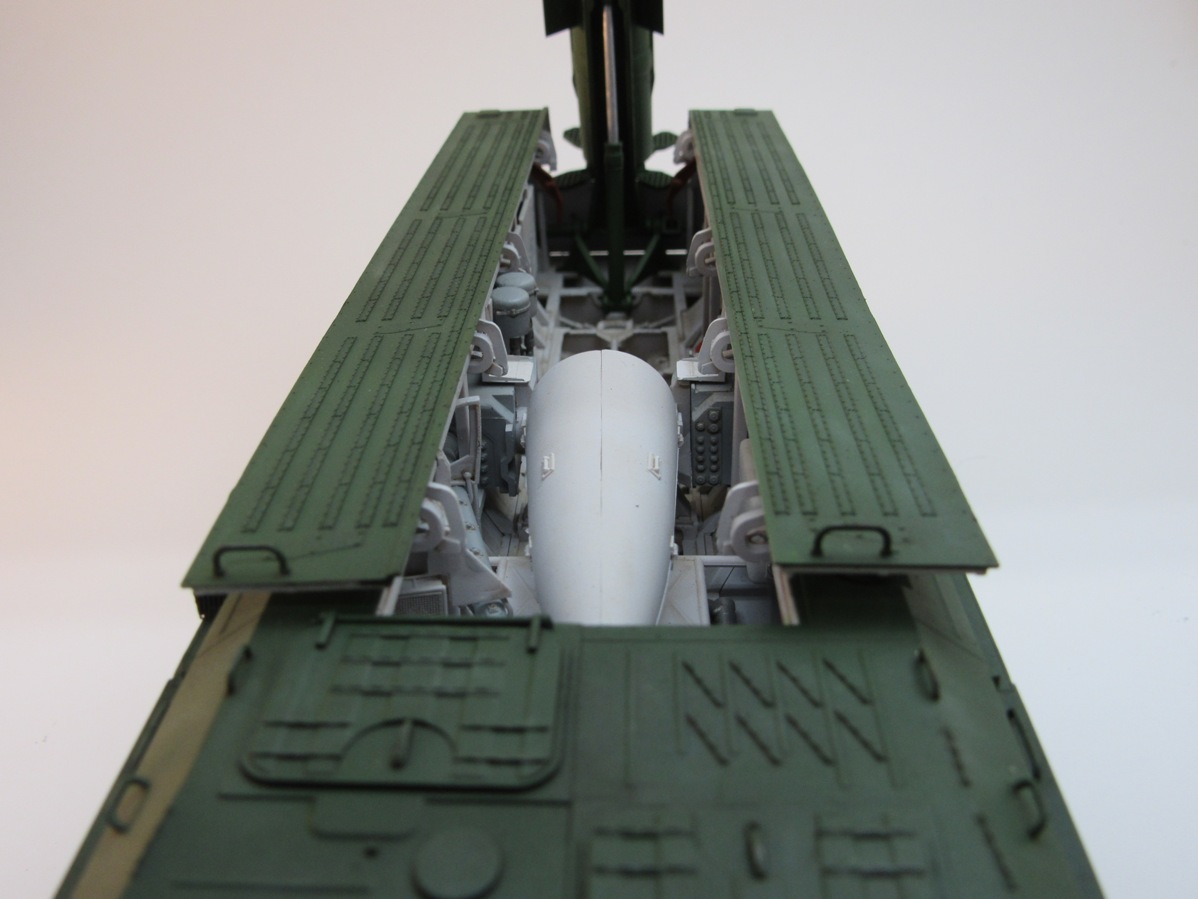
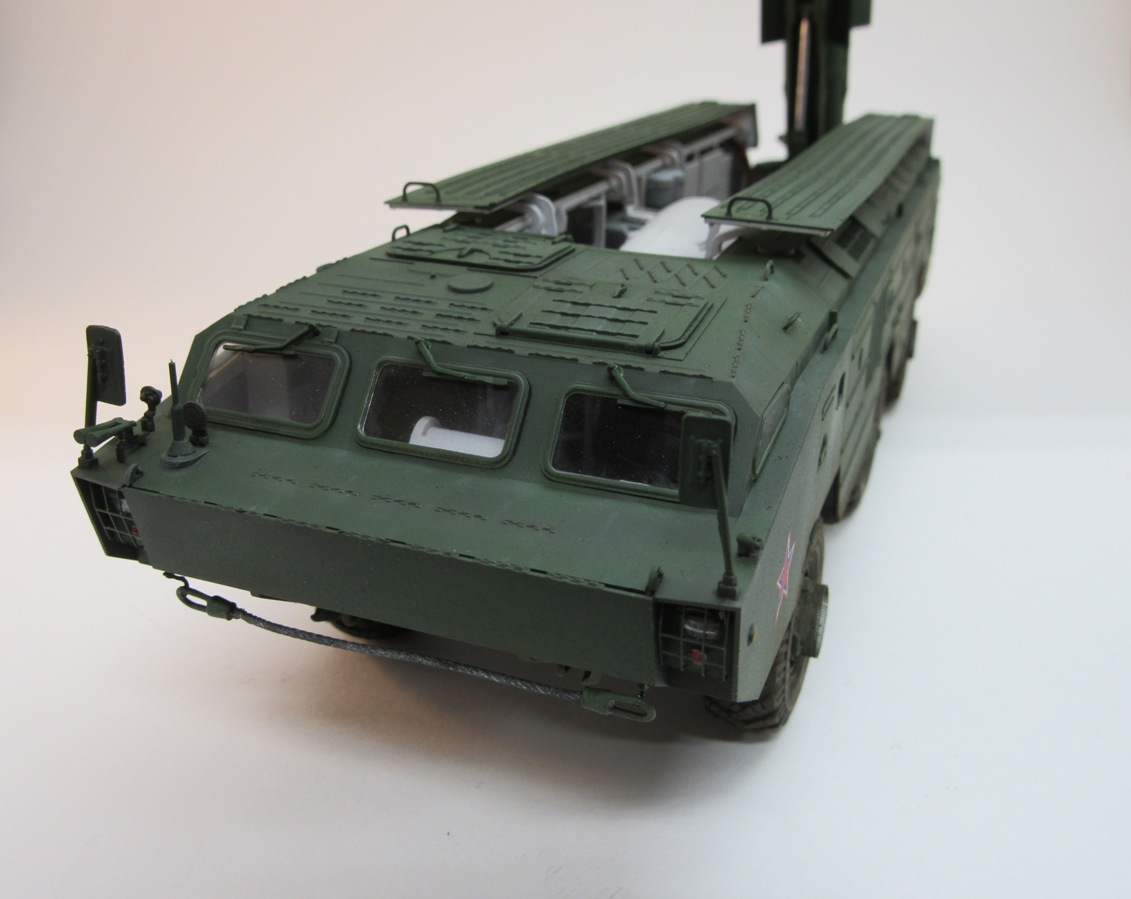
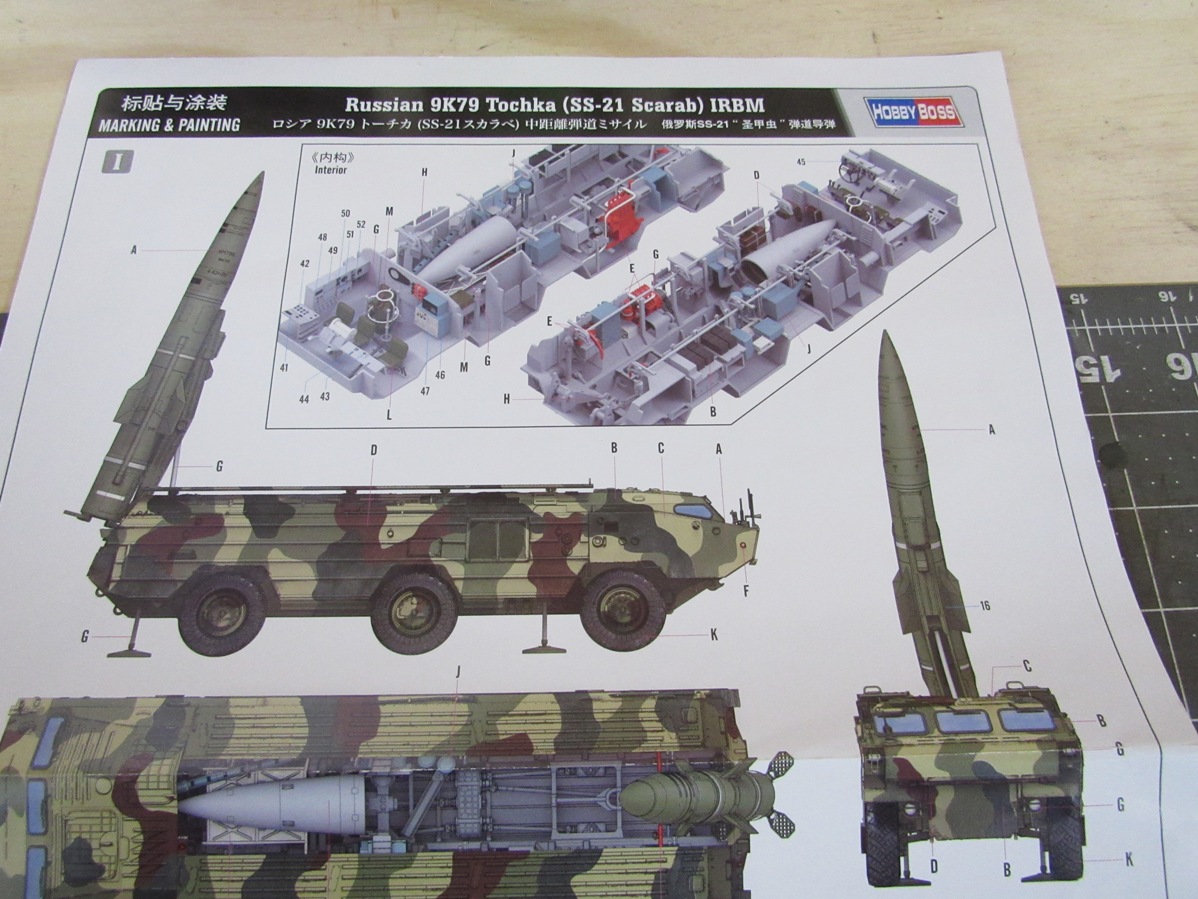
Also comes with an interior painting guide which is a nice touch as I plan to model this in the firing position.
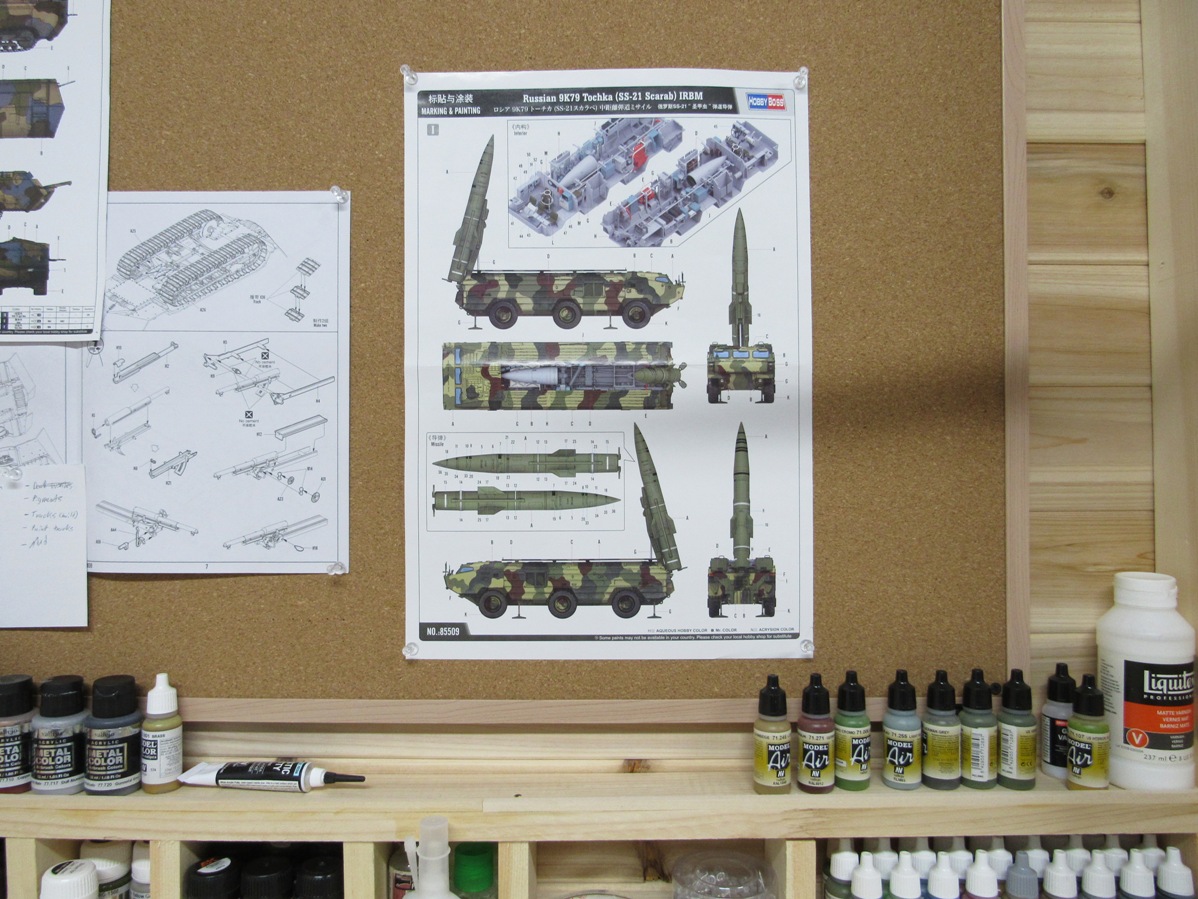
Having a corkboard on the bench is pretty handy for model making
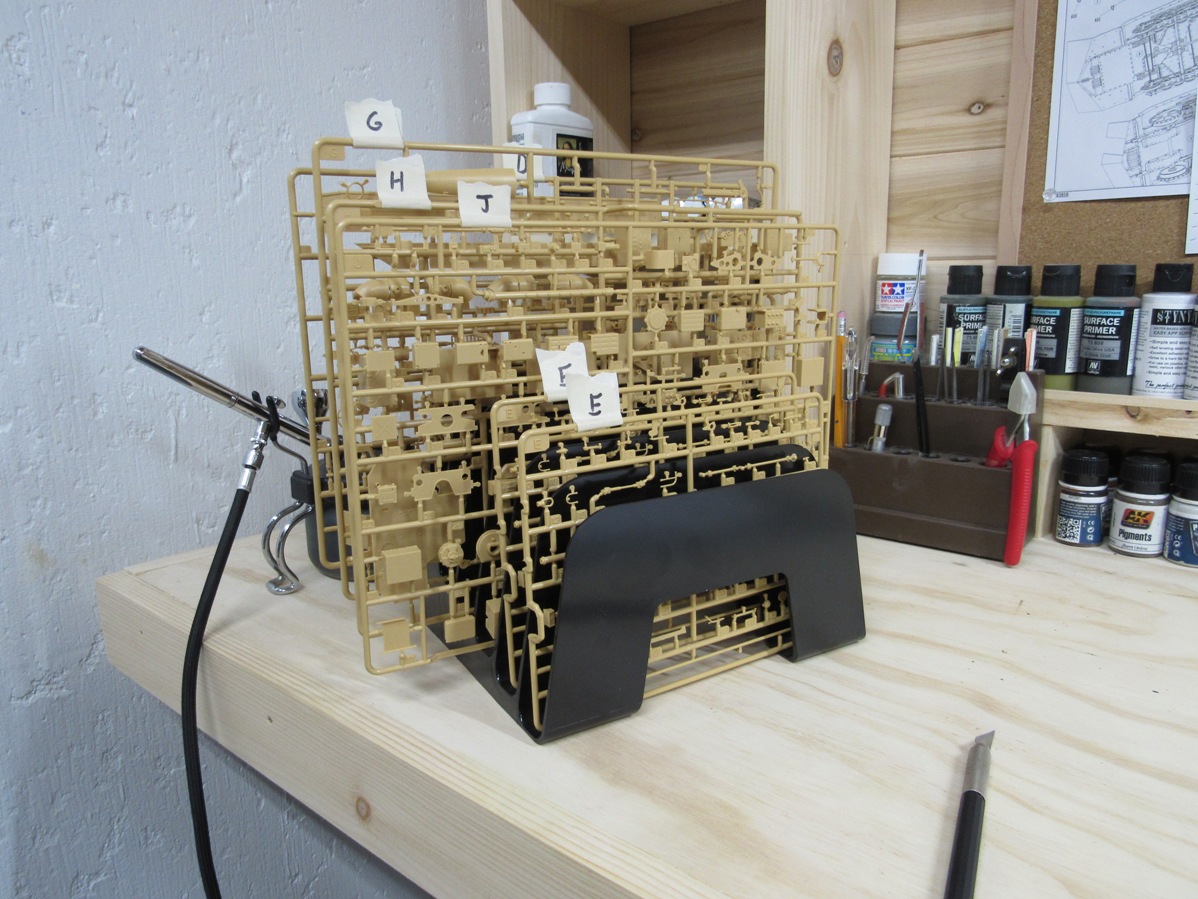
And after organizing the sprues, it's time to get started
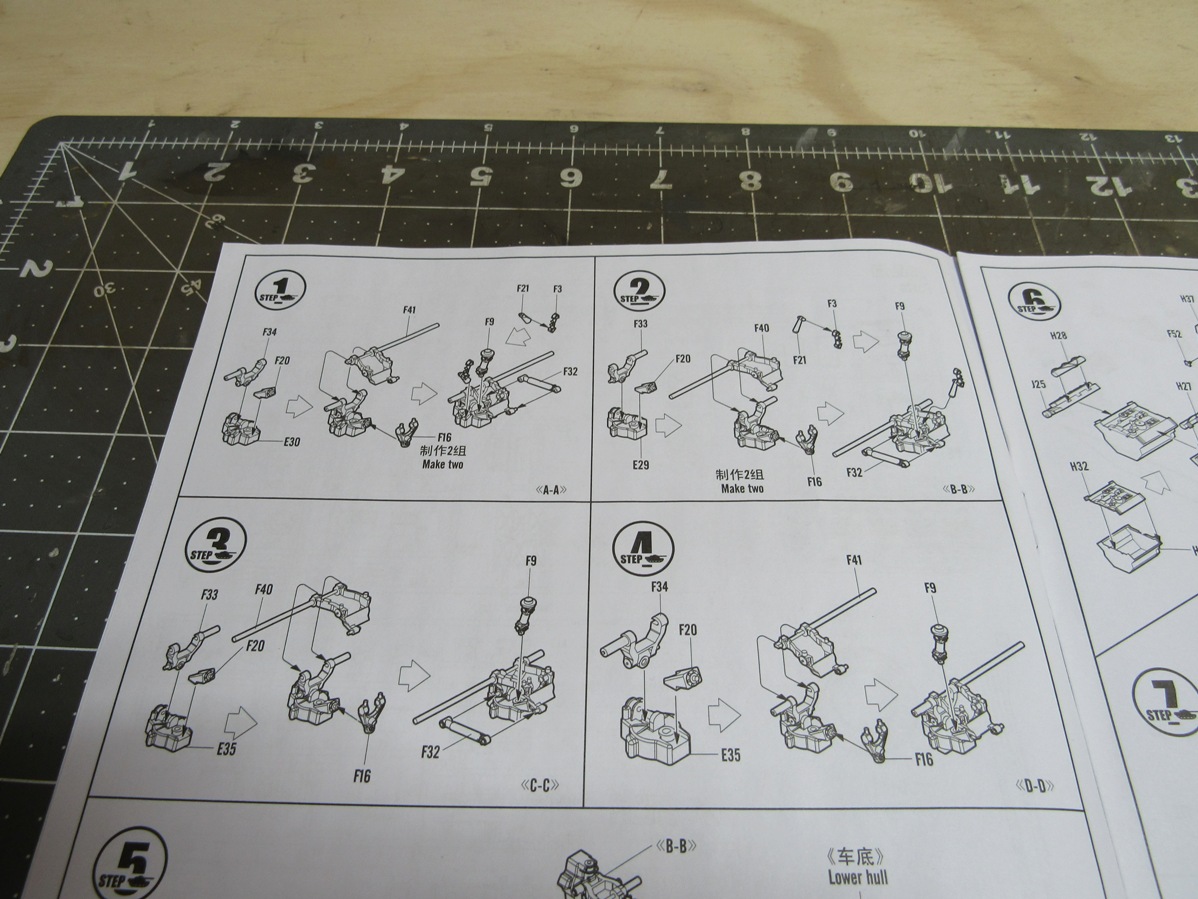
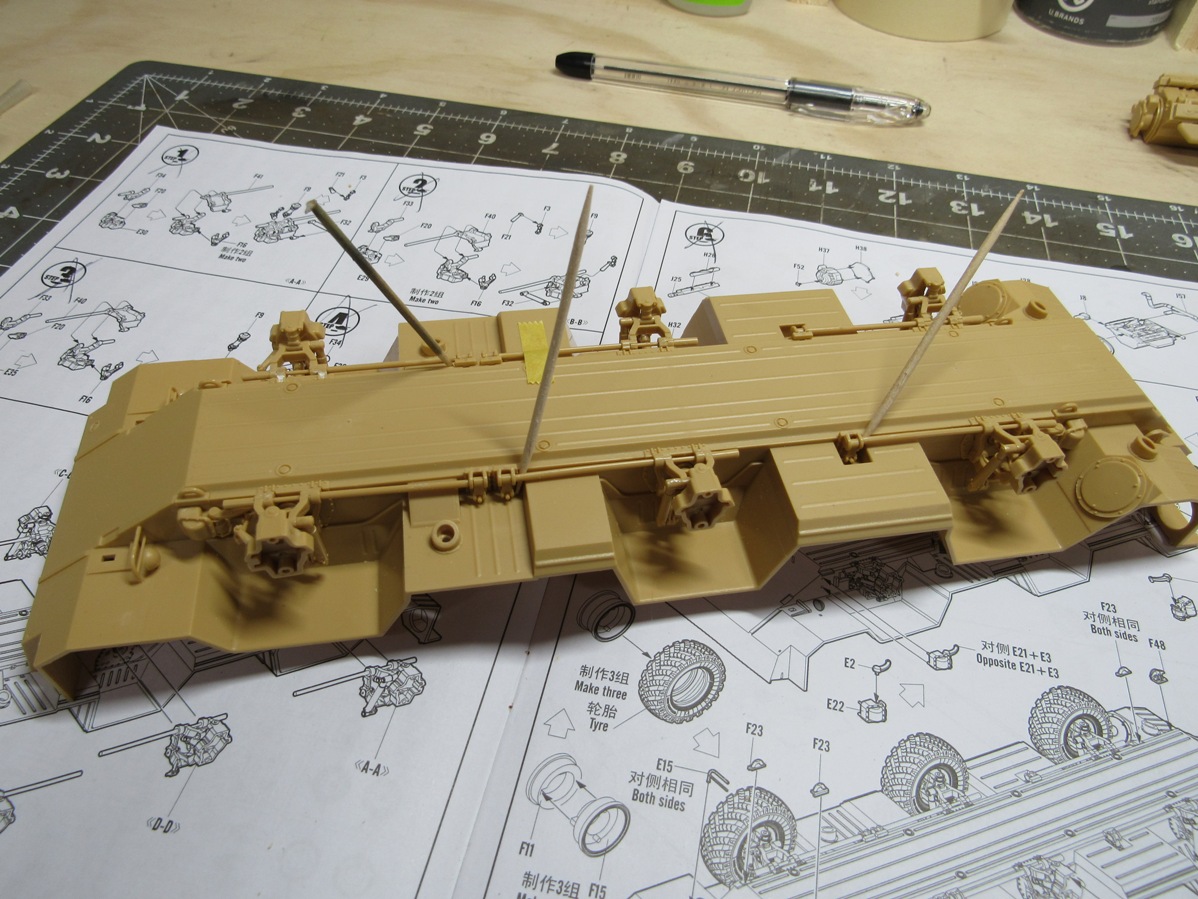
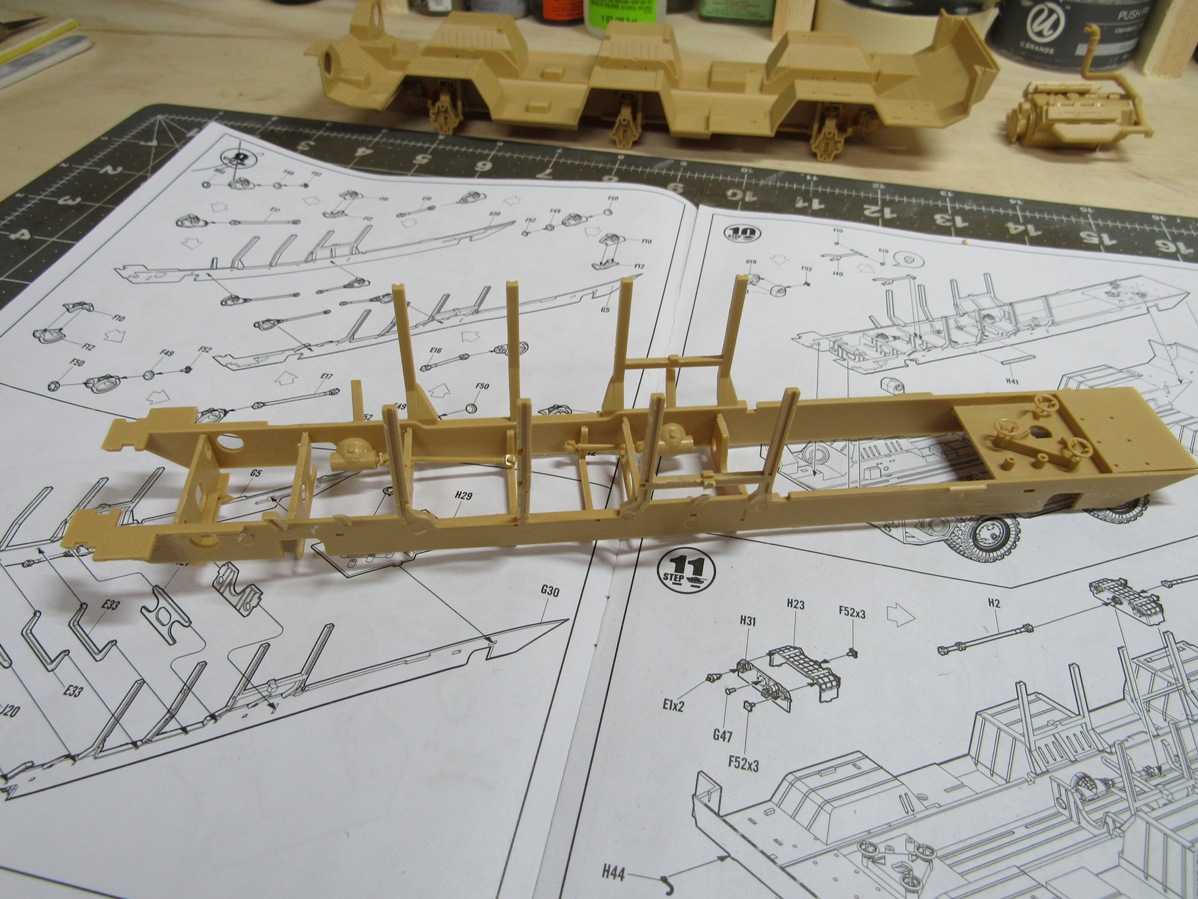
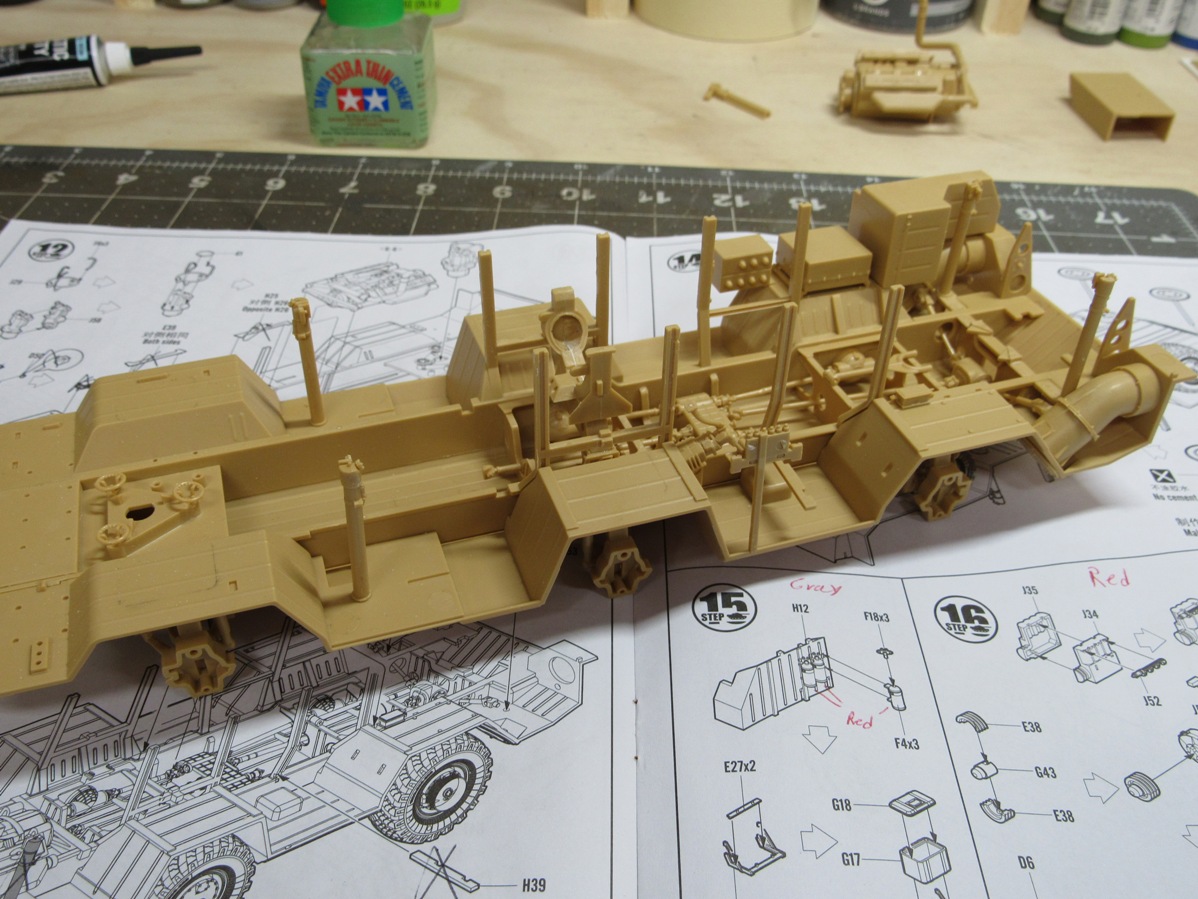
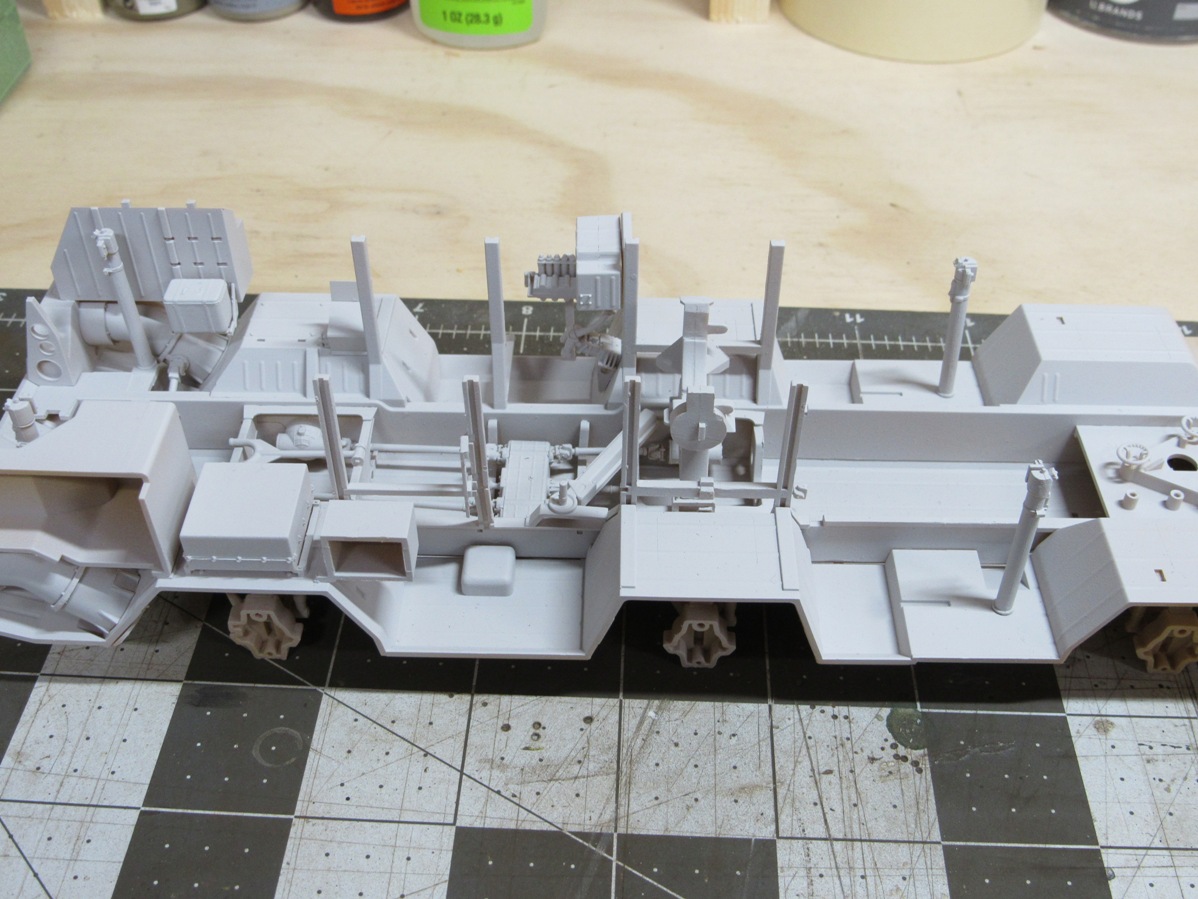
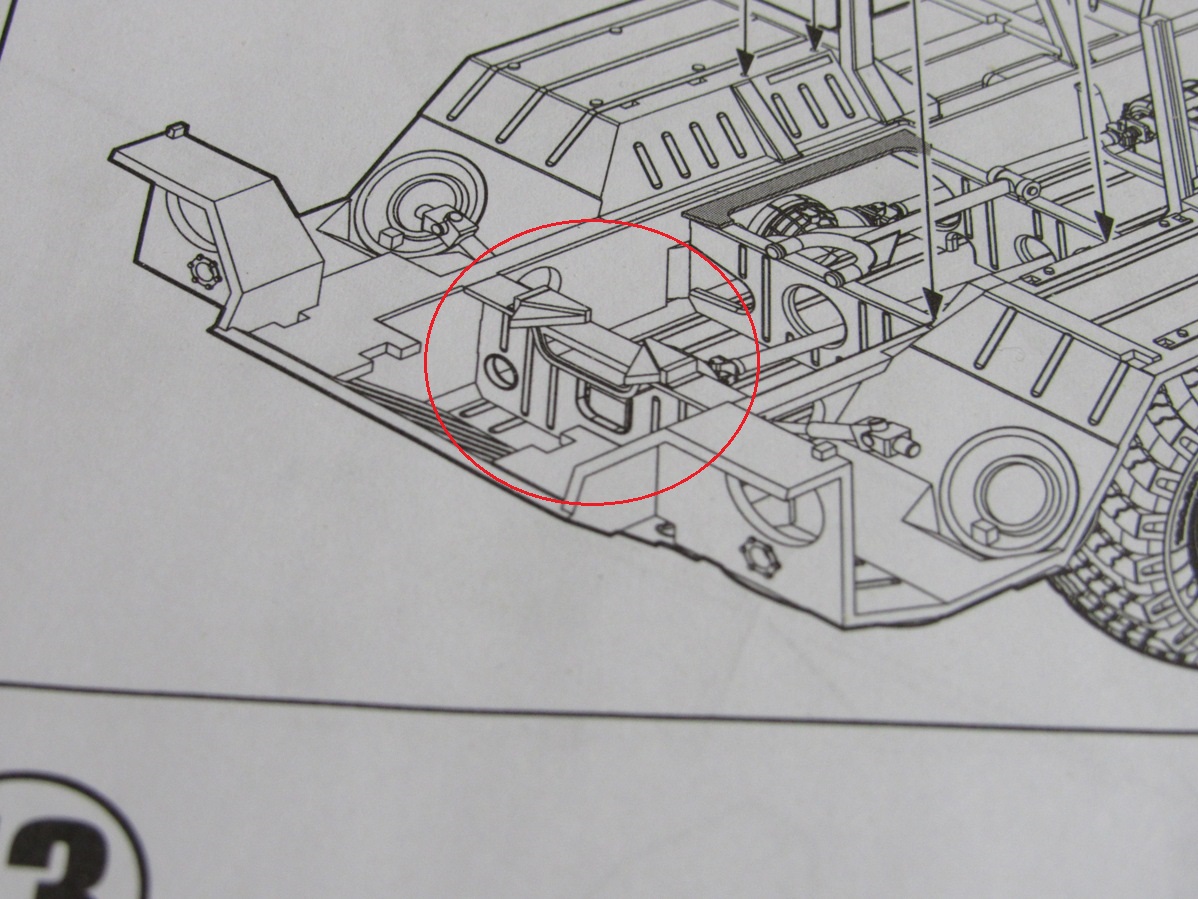
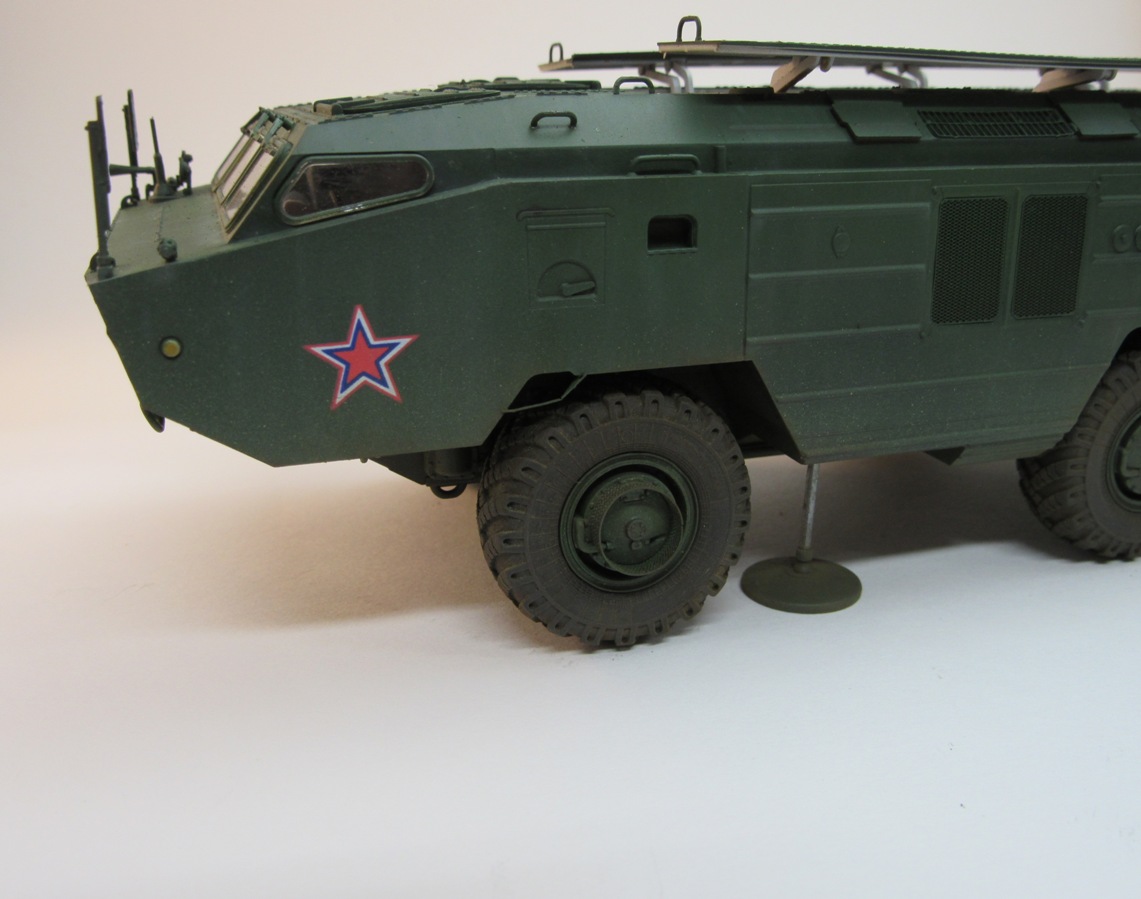
The first 4 steps cover the building of the suspension mounts for the 6 wheels. And true to form, I didn't even make it past the first step before I disregarded their instructions. They have you build the entire suspension/drive assembly, and then mount it to the hull. It's a tight fit on an assembly that isn't strong enough to really be pushed in place. So what I did was build each in two parts. The first part gets mounted to the hull like so,
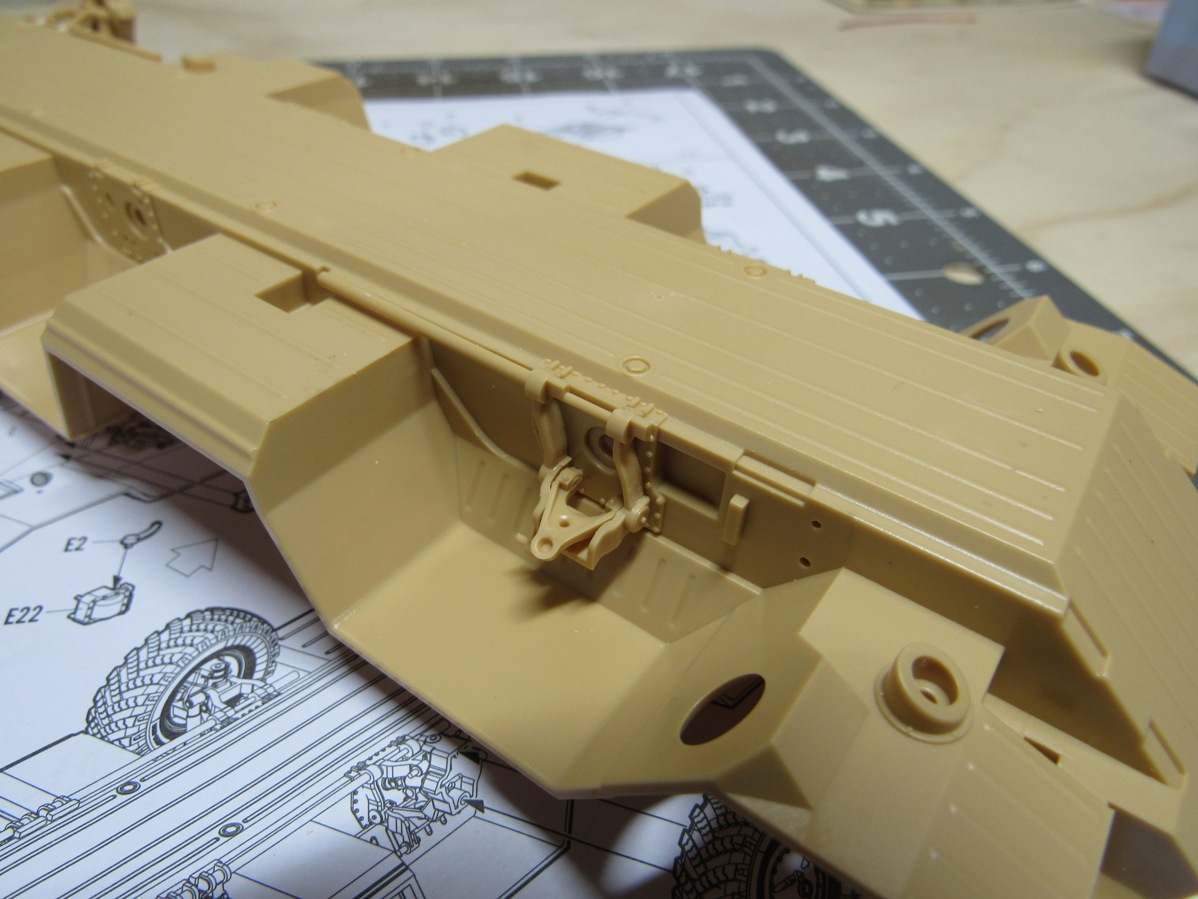
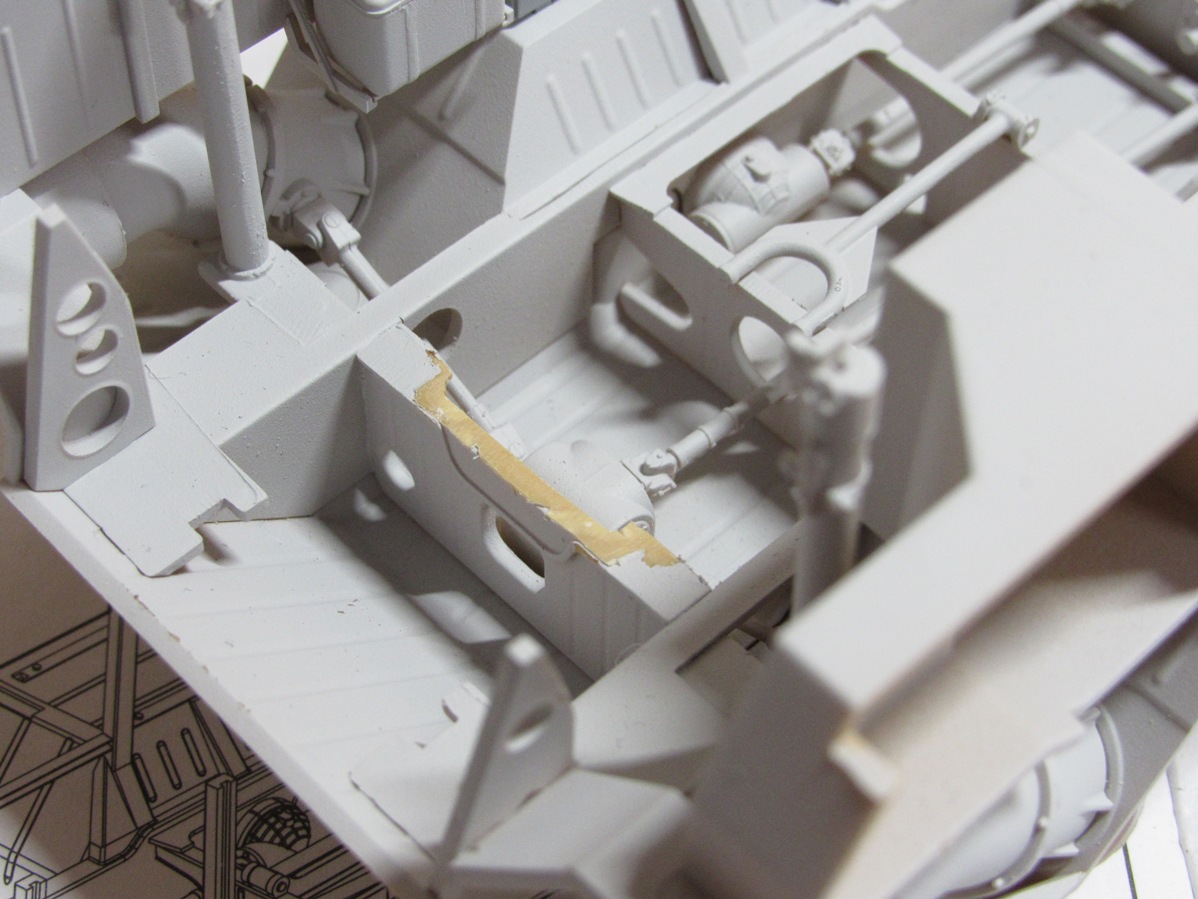
Much easier to press those parts in place. Then I take the rest of the suspension and drive assembly and finagle it in place

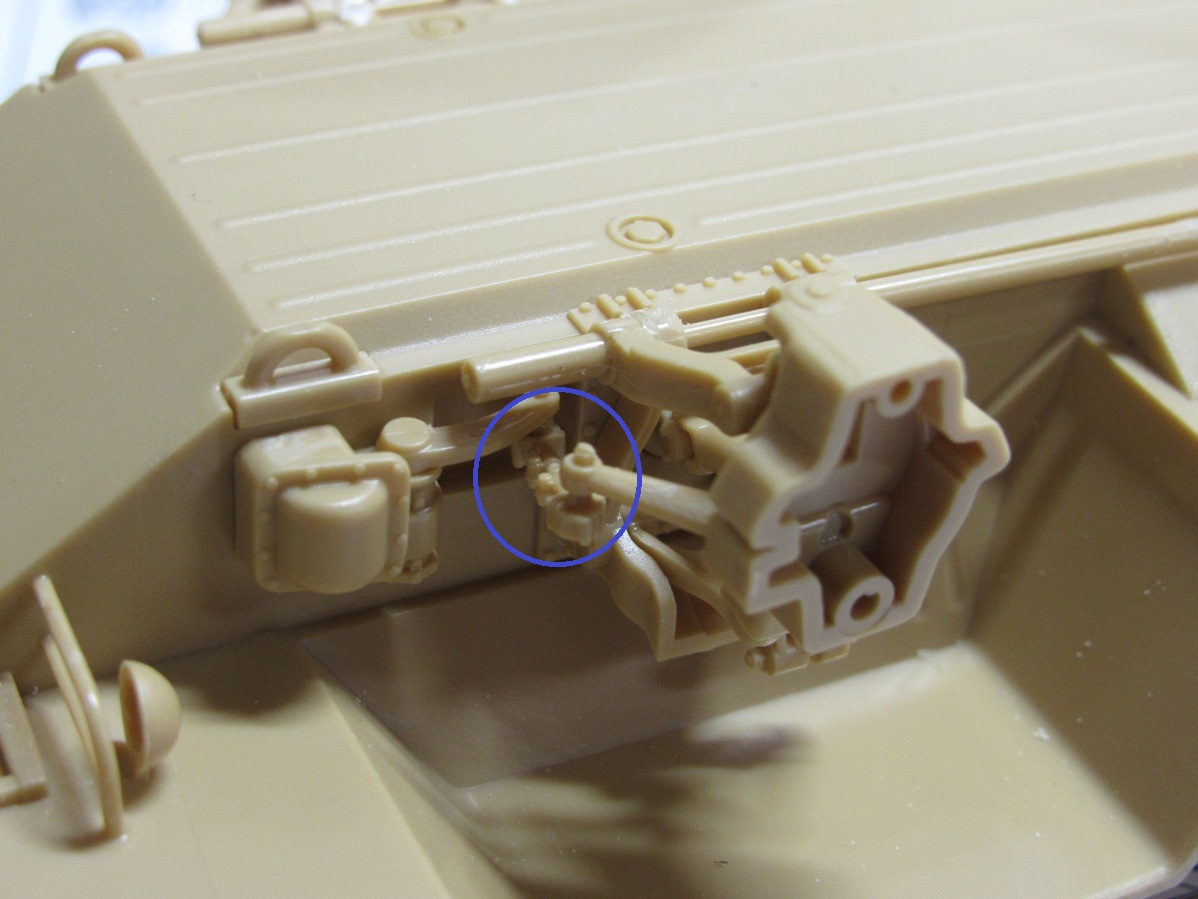
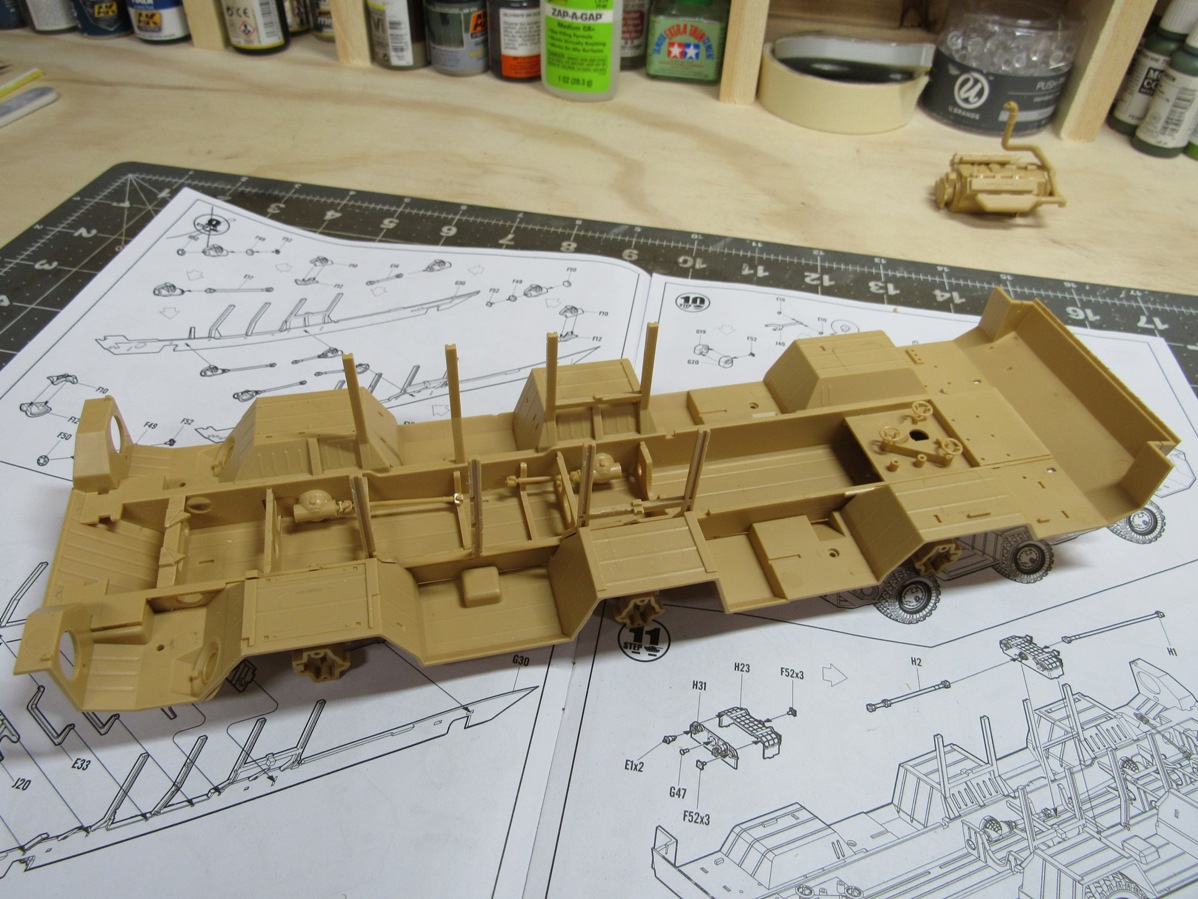
The shock absorber and steering linkage can be added after that's in place.
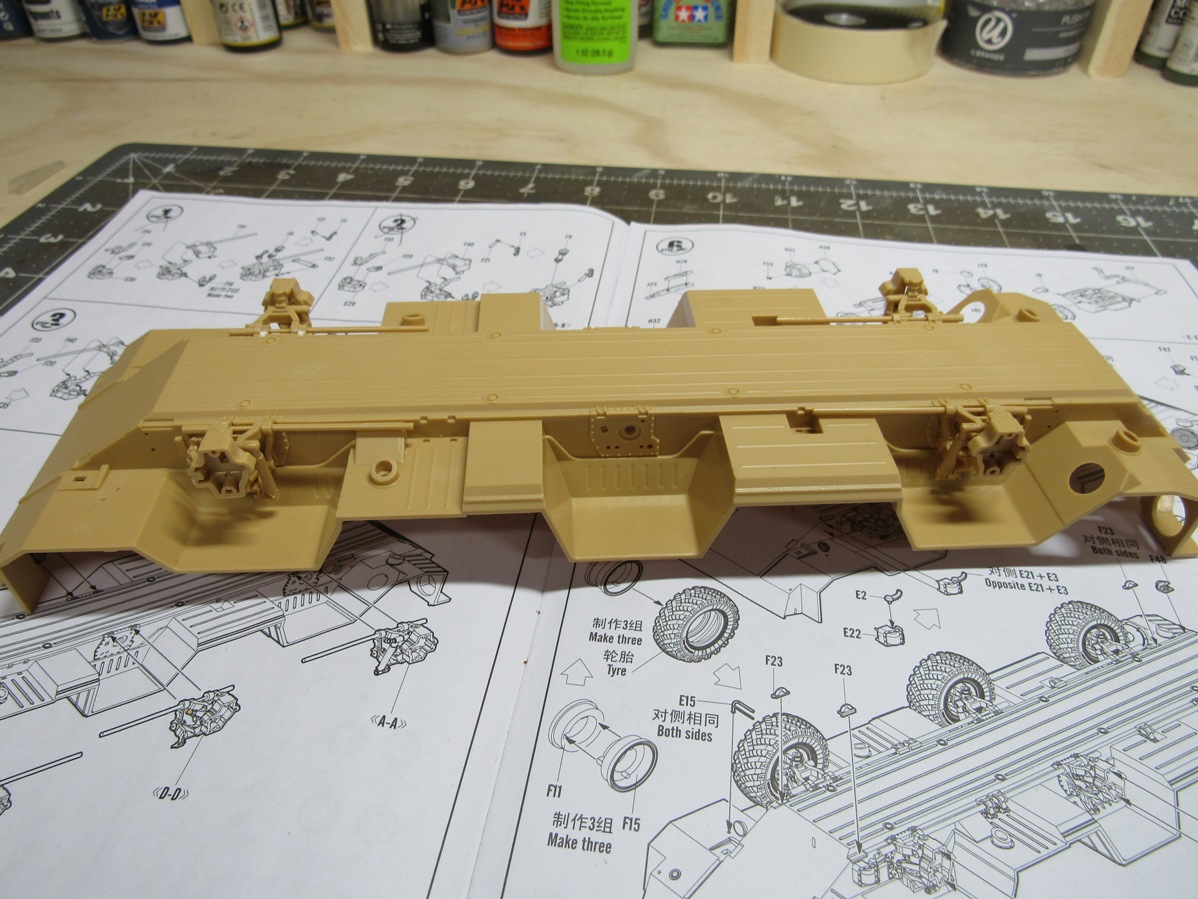
And that's the first two steps done. More to follow.