Hi all
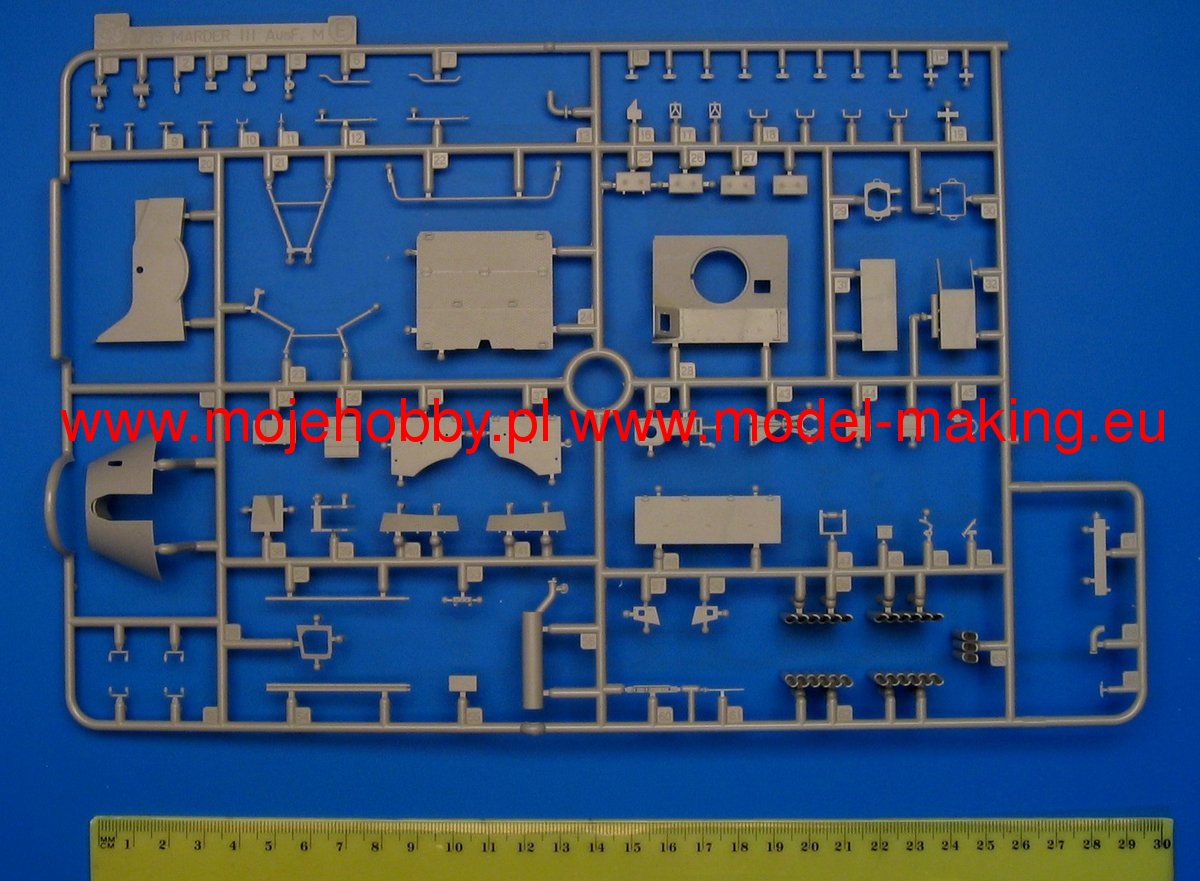
As the title says...does anyone have Dragon's Marder III M kit (6424) in their stash & completed it to the point they have the sides added?
I recently moved house & seem to have lost part E70 which is attached to the LH wall. I need to know from someone who has built the kit, if this is a part I can accept not being there bc the ammo cylinders cover the area, or it needs to be there bc it's an integral part of that wall. The 2nd part to that question is perhaps someone could supply me with some dimensions of E70, so I can my make my own from styrene strip.
Cheers
Armor/AFV
For discussions on tanks, artillery, jeeps, etc.
For discussions on tanks, artillery, jeeps, etc.
Hosted by Darren Baker, Mario Matijasic
Need some help with my Marder
chauvel

Joined: February 14, 2015
KitMaker: 155 posts
Armorama: 154 posts

Posted: Tuesday, October 01, 2019 - 01:39 AM UTC
brekinapez

Joined: July 26, 2013
KitMaker: 2,272 posts
Armorama: 1,860 posts

Posted: Tuesday, October 01, 2019 - 04:51 AM UTC
I am at work but unless someone beats me to it I will get back to you in about six hours.
chauvel

Joined: February 14, 2015
KitMaker: 155 posts
Armorama: 154 posts

Posted: Wednesday, October 02, 2019 - 11:07 AM UTC
Anyone else?
brekinapez

Joined: July 26, 2013
KitMaker: 2,272 posts
Armorama: 1,860 posts

Posted: Wednesday, October 02, 2019 - 02:09 PM UTC
Unfortunately my Flakpanzer is the M; my Marder III is an H.
Sorry.
Sorry.

RobinNilsson

Joined: November 29, 2006
KitMaker: 6,693 posts
Armorama: 5,562 posts

Posted: Wednesday, October 02, 2019 - 06:03 PM UTC
The kit number is 6464.
Images of sprues and instructions can be found here:
https://www.super-hobby.com/products/Marder-III-Ausf.M-Initial-Production.html#gallery_start
If you look at step 11 there is a smaller inside view in the upper left corner. I think that part E70 will be visible to the right (front) of part N2 in that diagram.
E70 fits between the side wall and the extended side of the lower hull, i.e. from the inside of part C3 all across the width of part C1. E70 will be glued against the outside of the lower hull, part X.
The ammo-bin is not wide enough, doesn't cover the whold width of the fender.
In the sprue image you can see the shape. The width and height are given by the remaining width of C1 and the sprue image

 |


