_GOTOBOTTOM
Armor/AFV
For discussions on tanks, artillery, jeeps, etc.
Tamiya Leopard 1A4
kunjuro
Visit this Community
Philippines
Joined: October 27, 2013
KitMaker: 520 posts
Armorama: 488 posts
Posted: Sunday, November 17, 2019 - 11:51 AM UTC
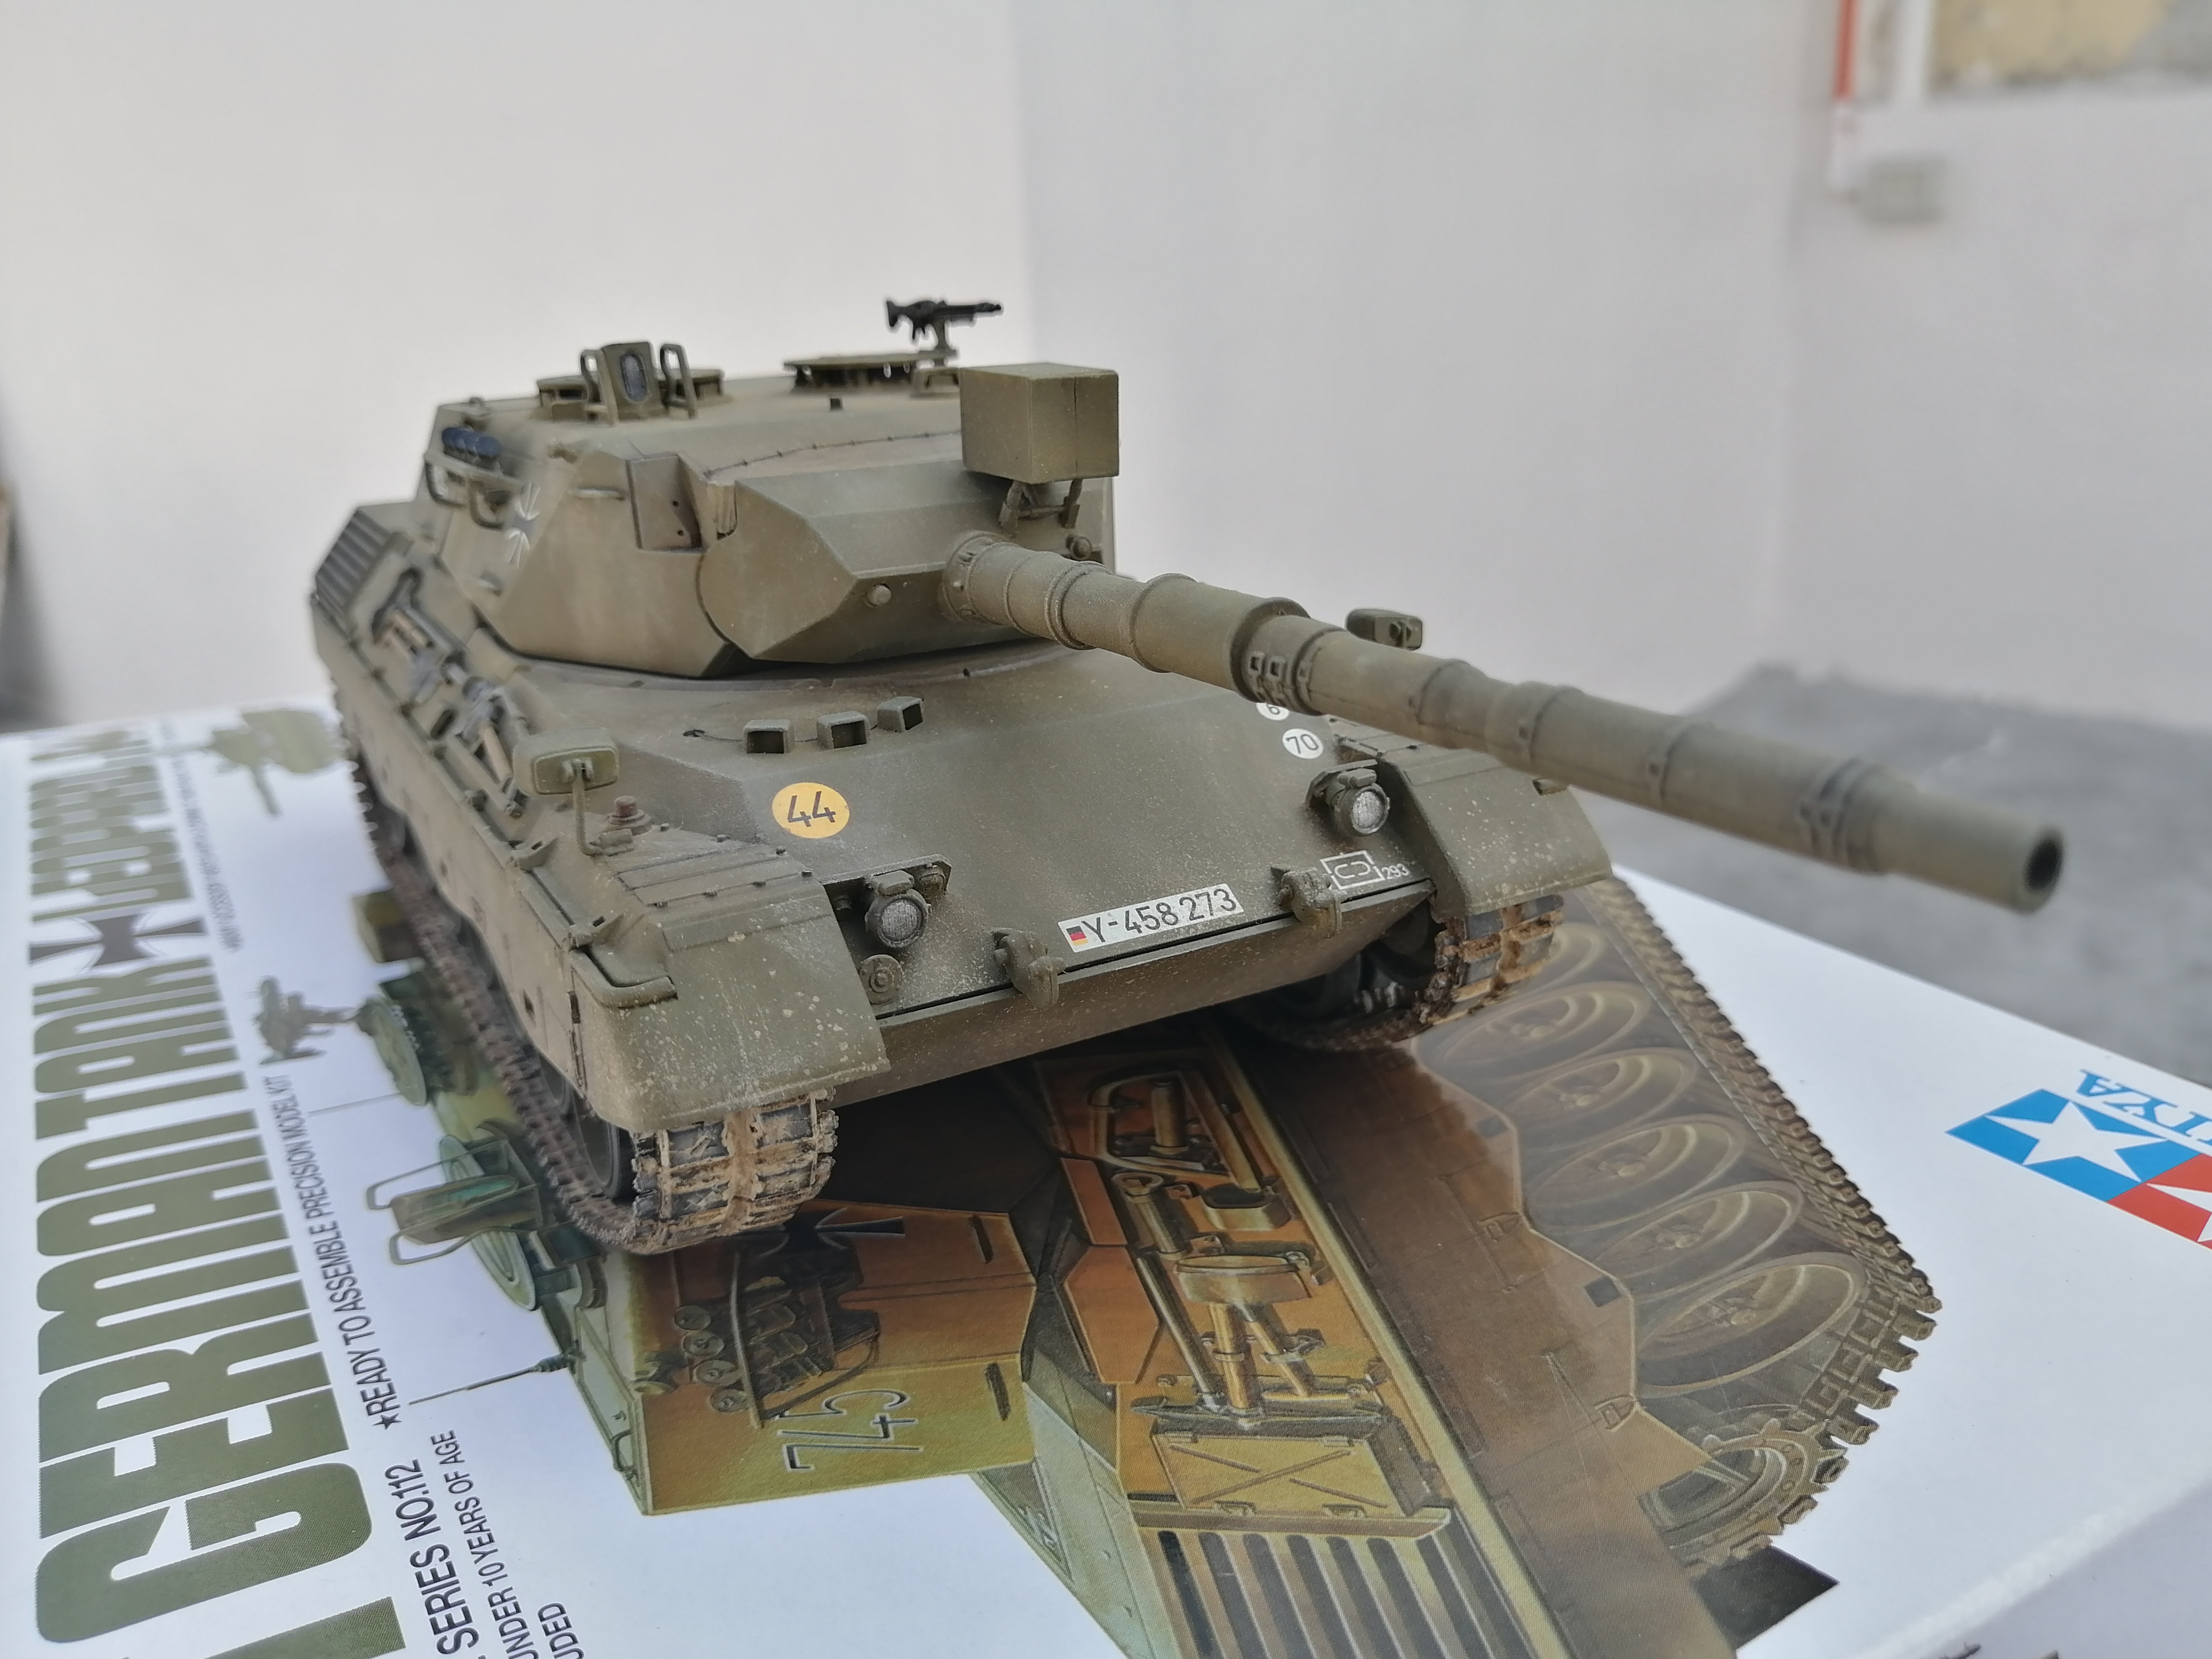
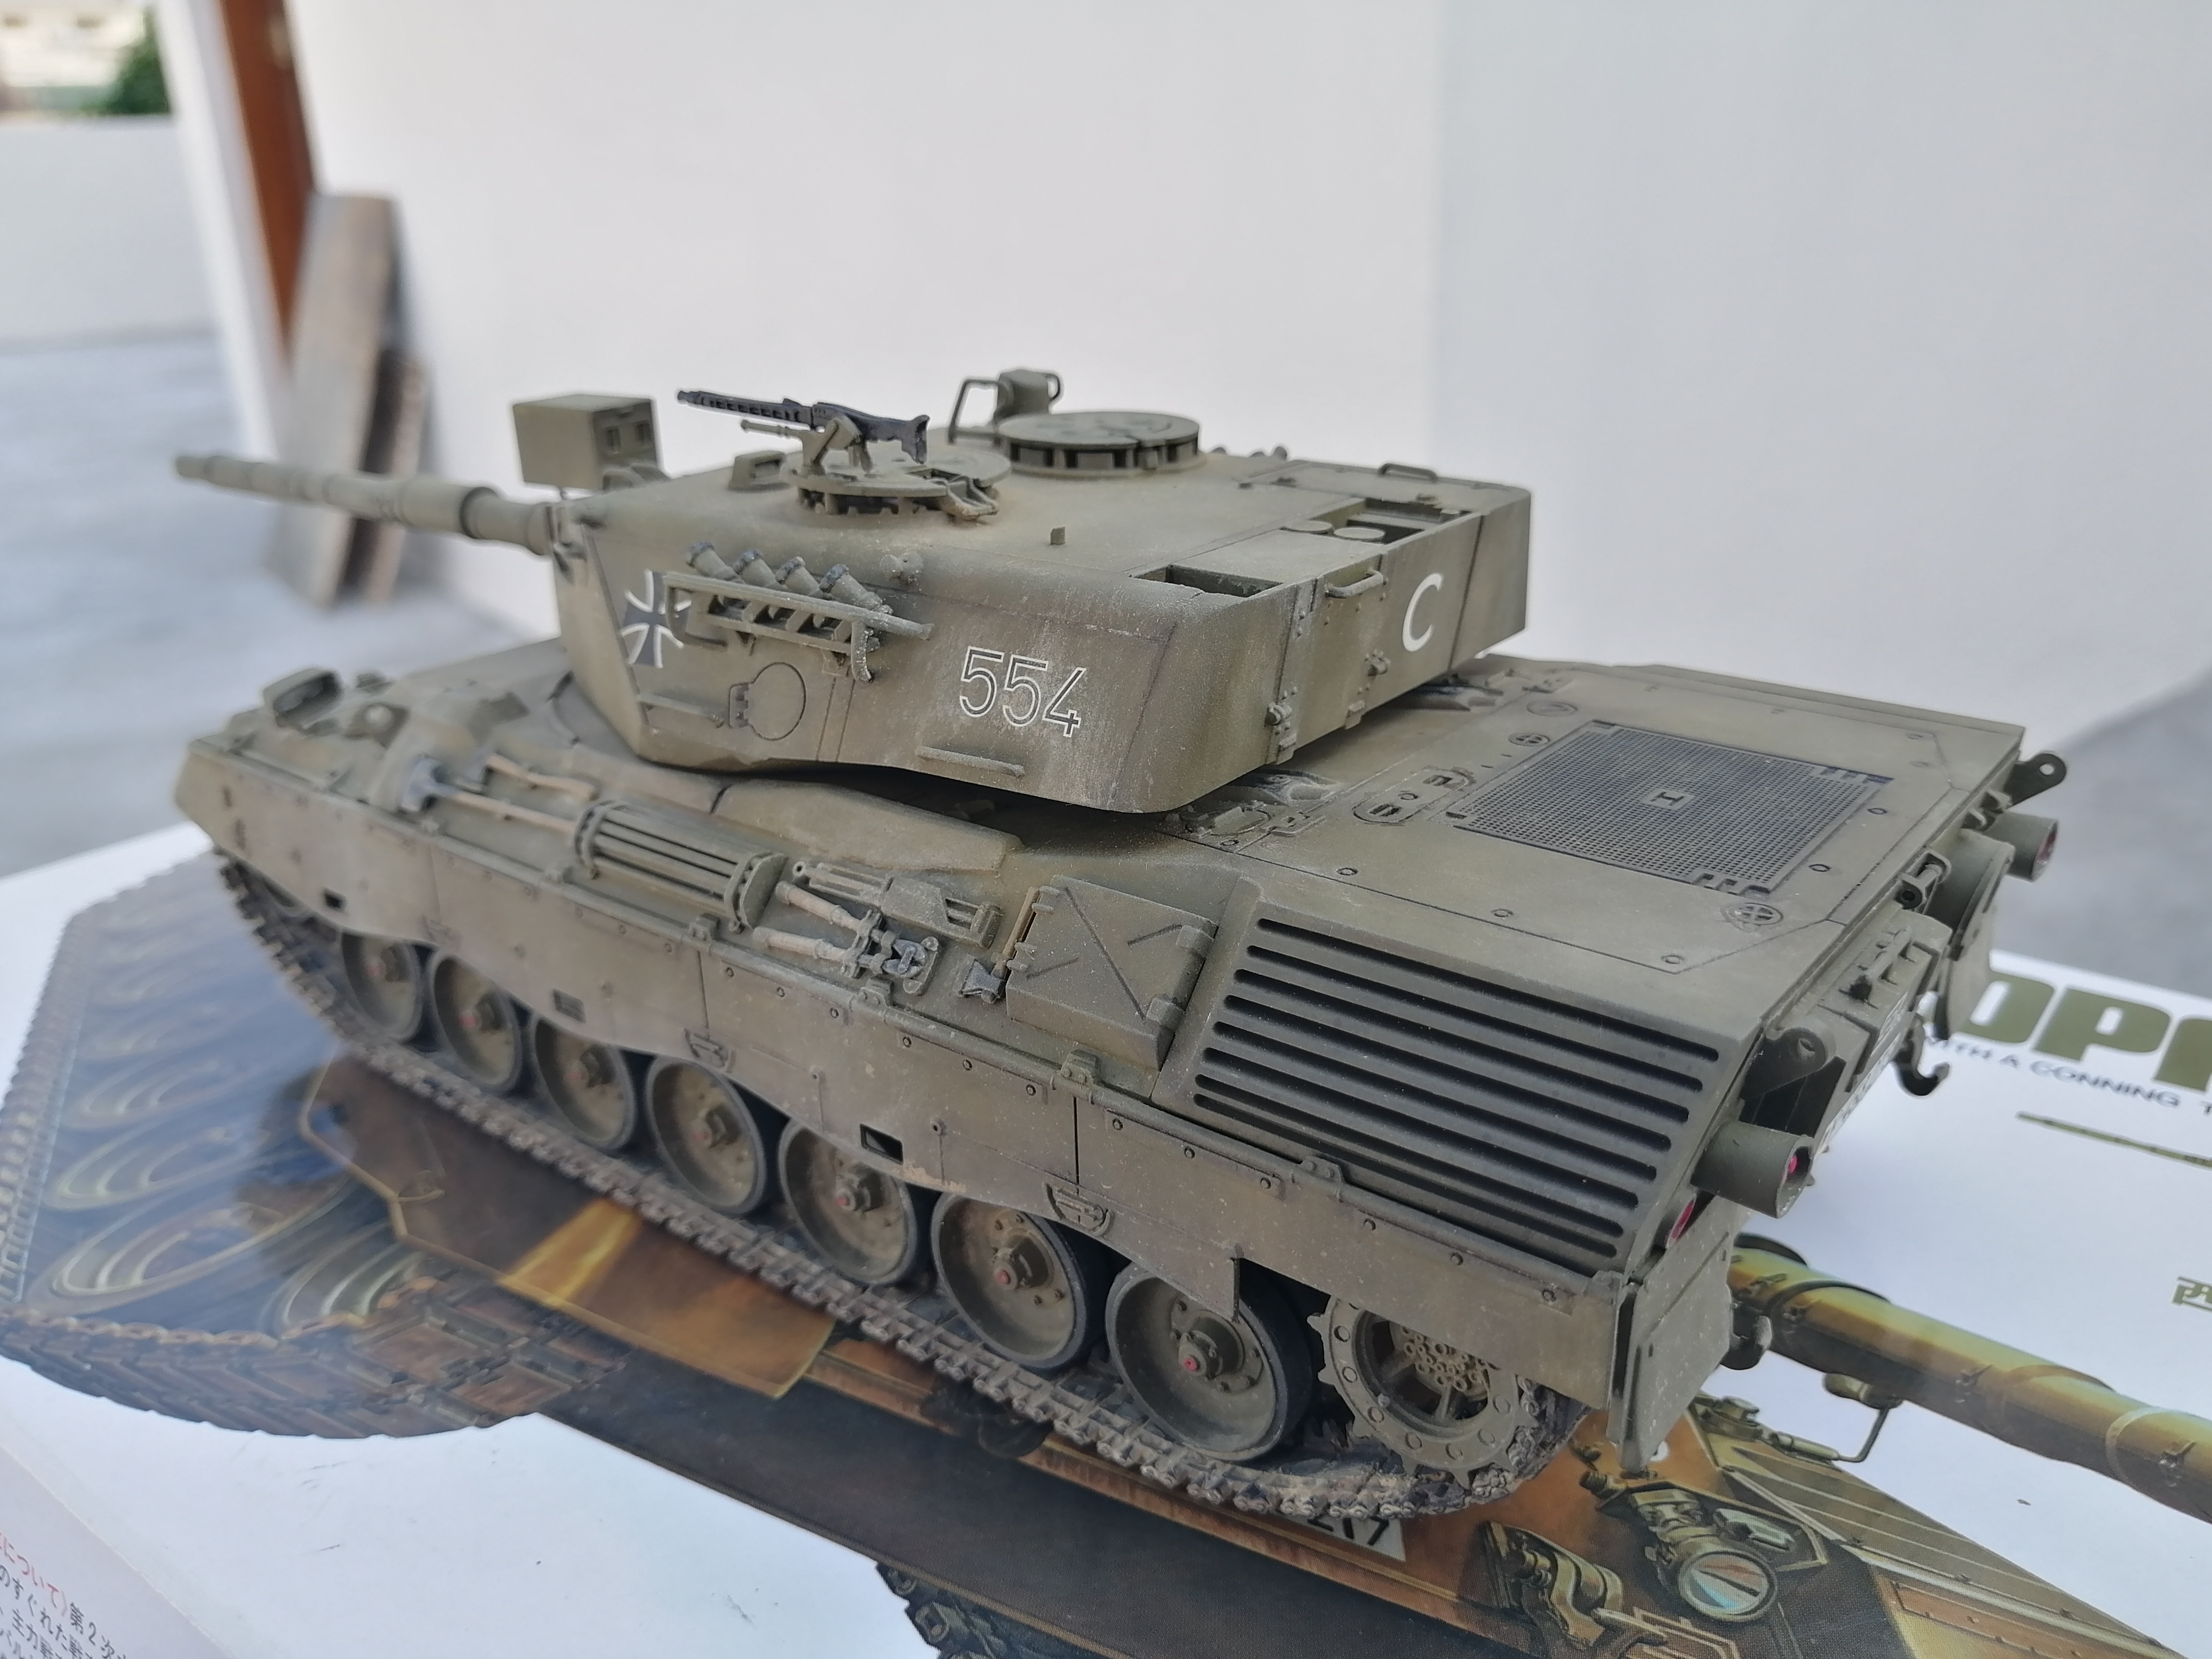
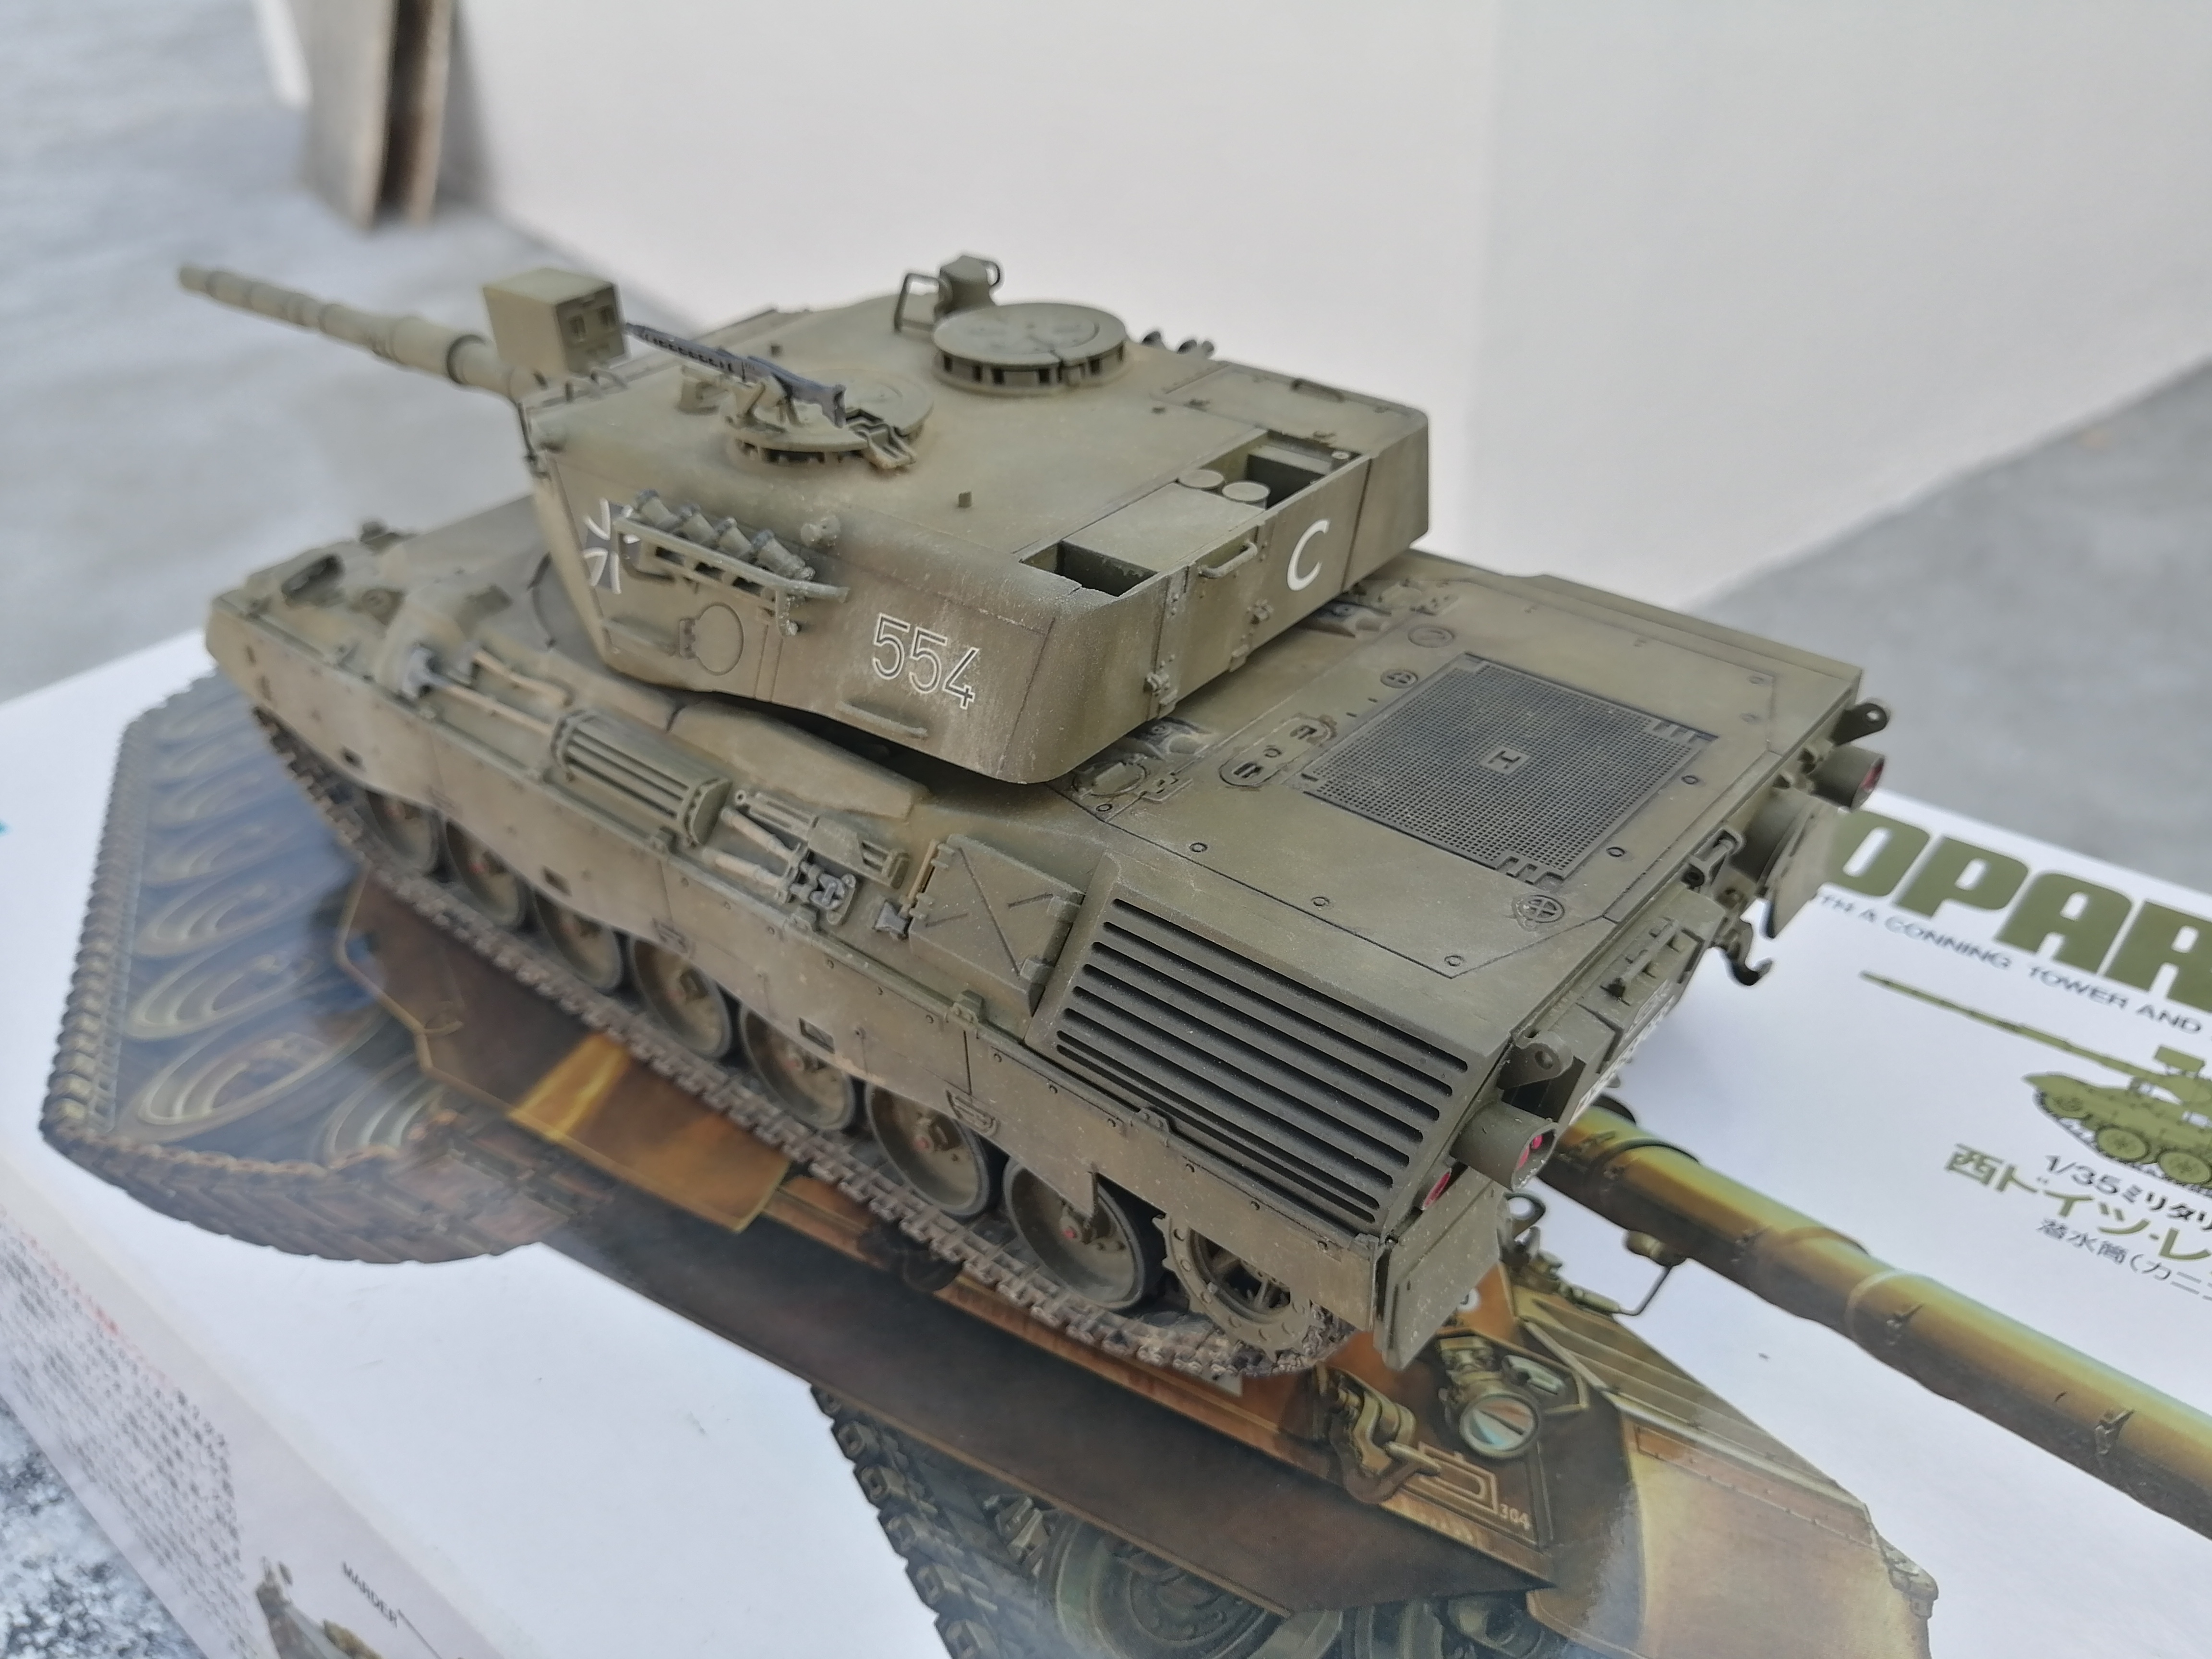
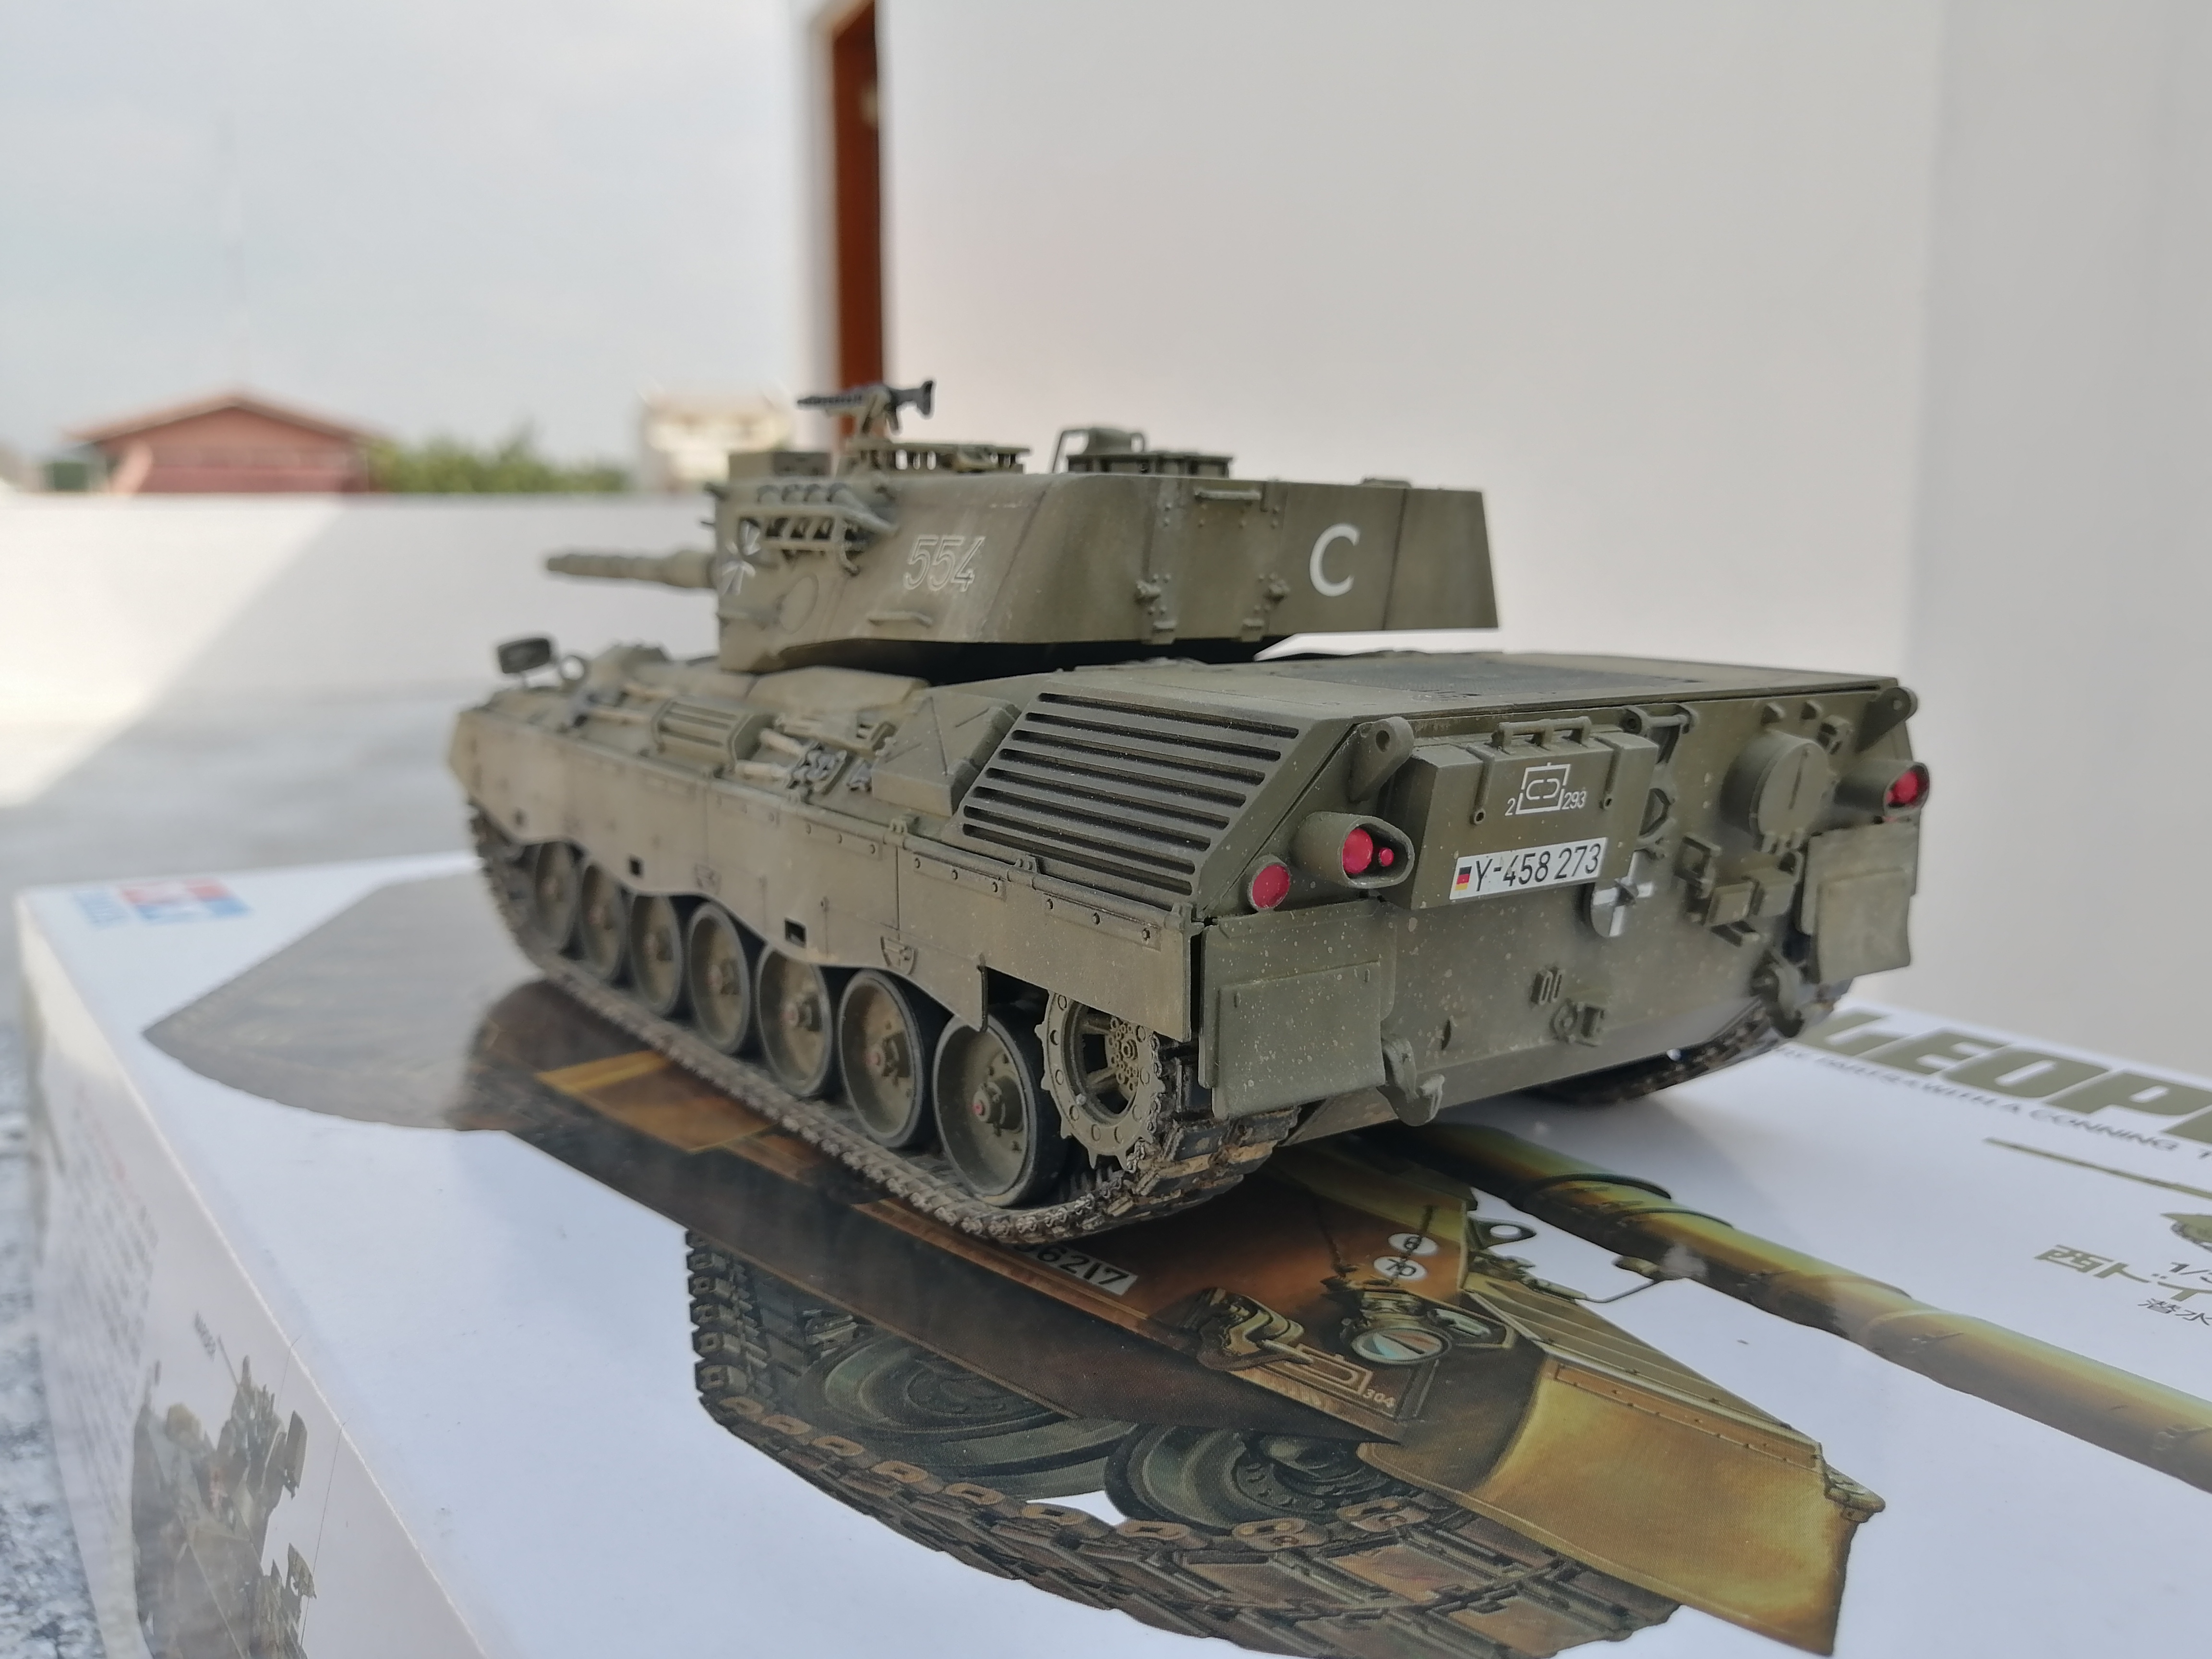
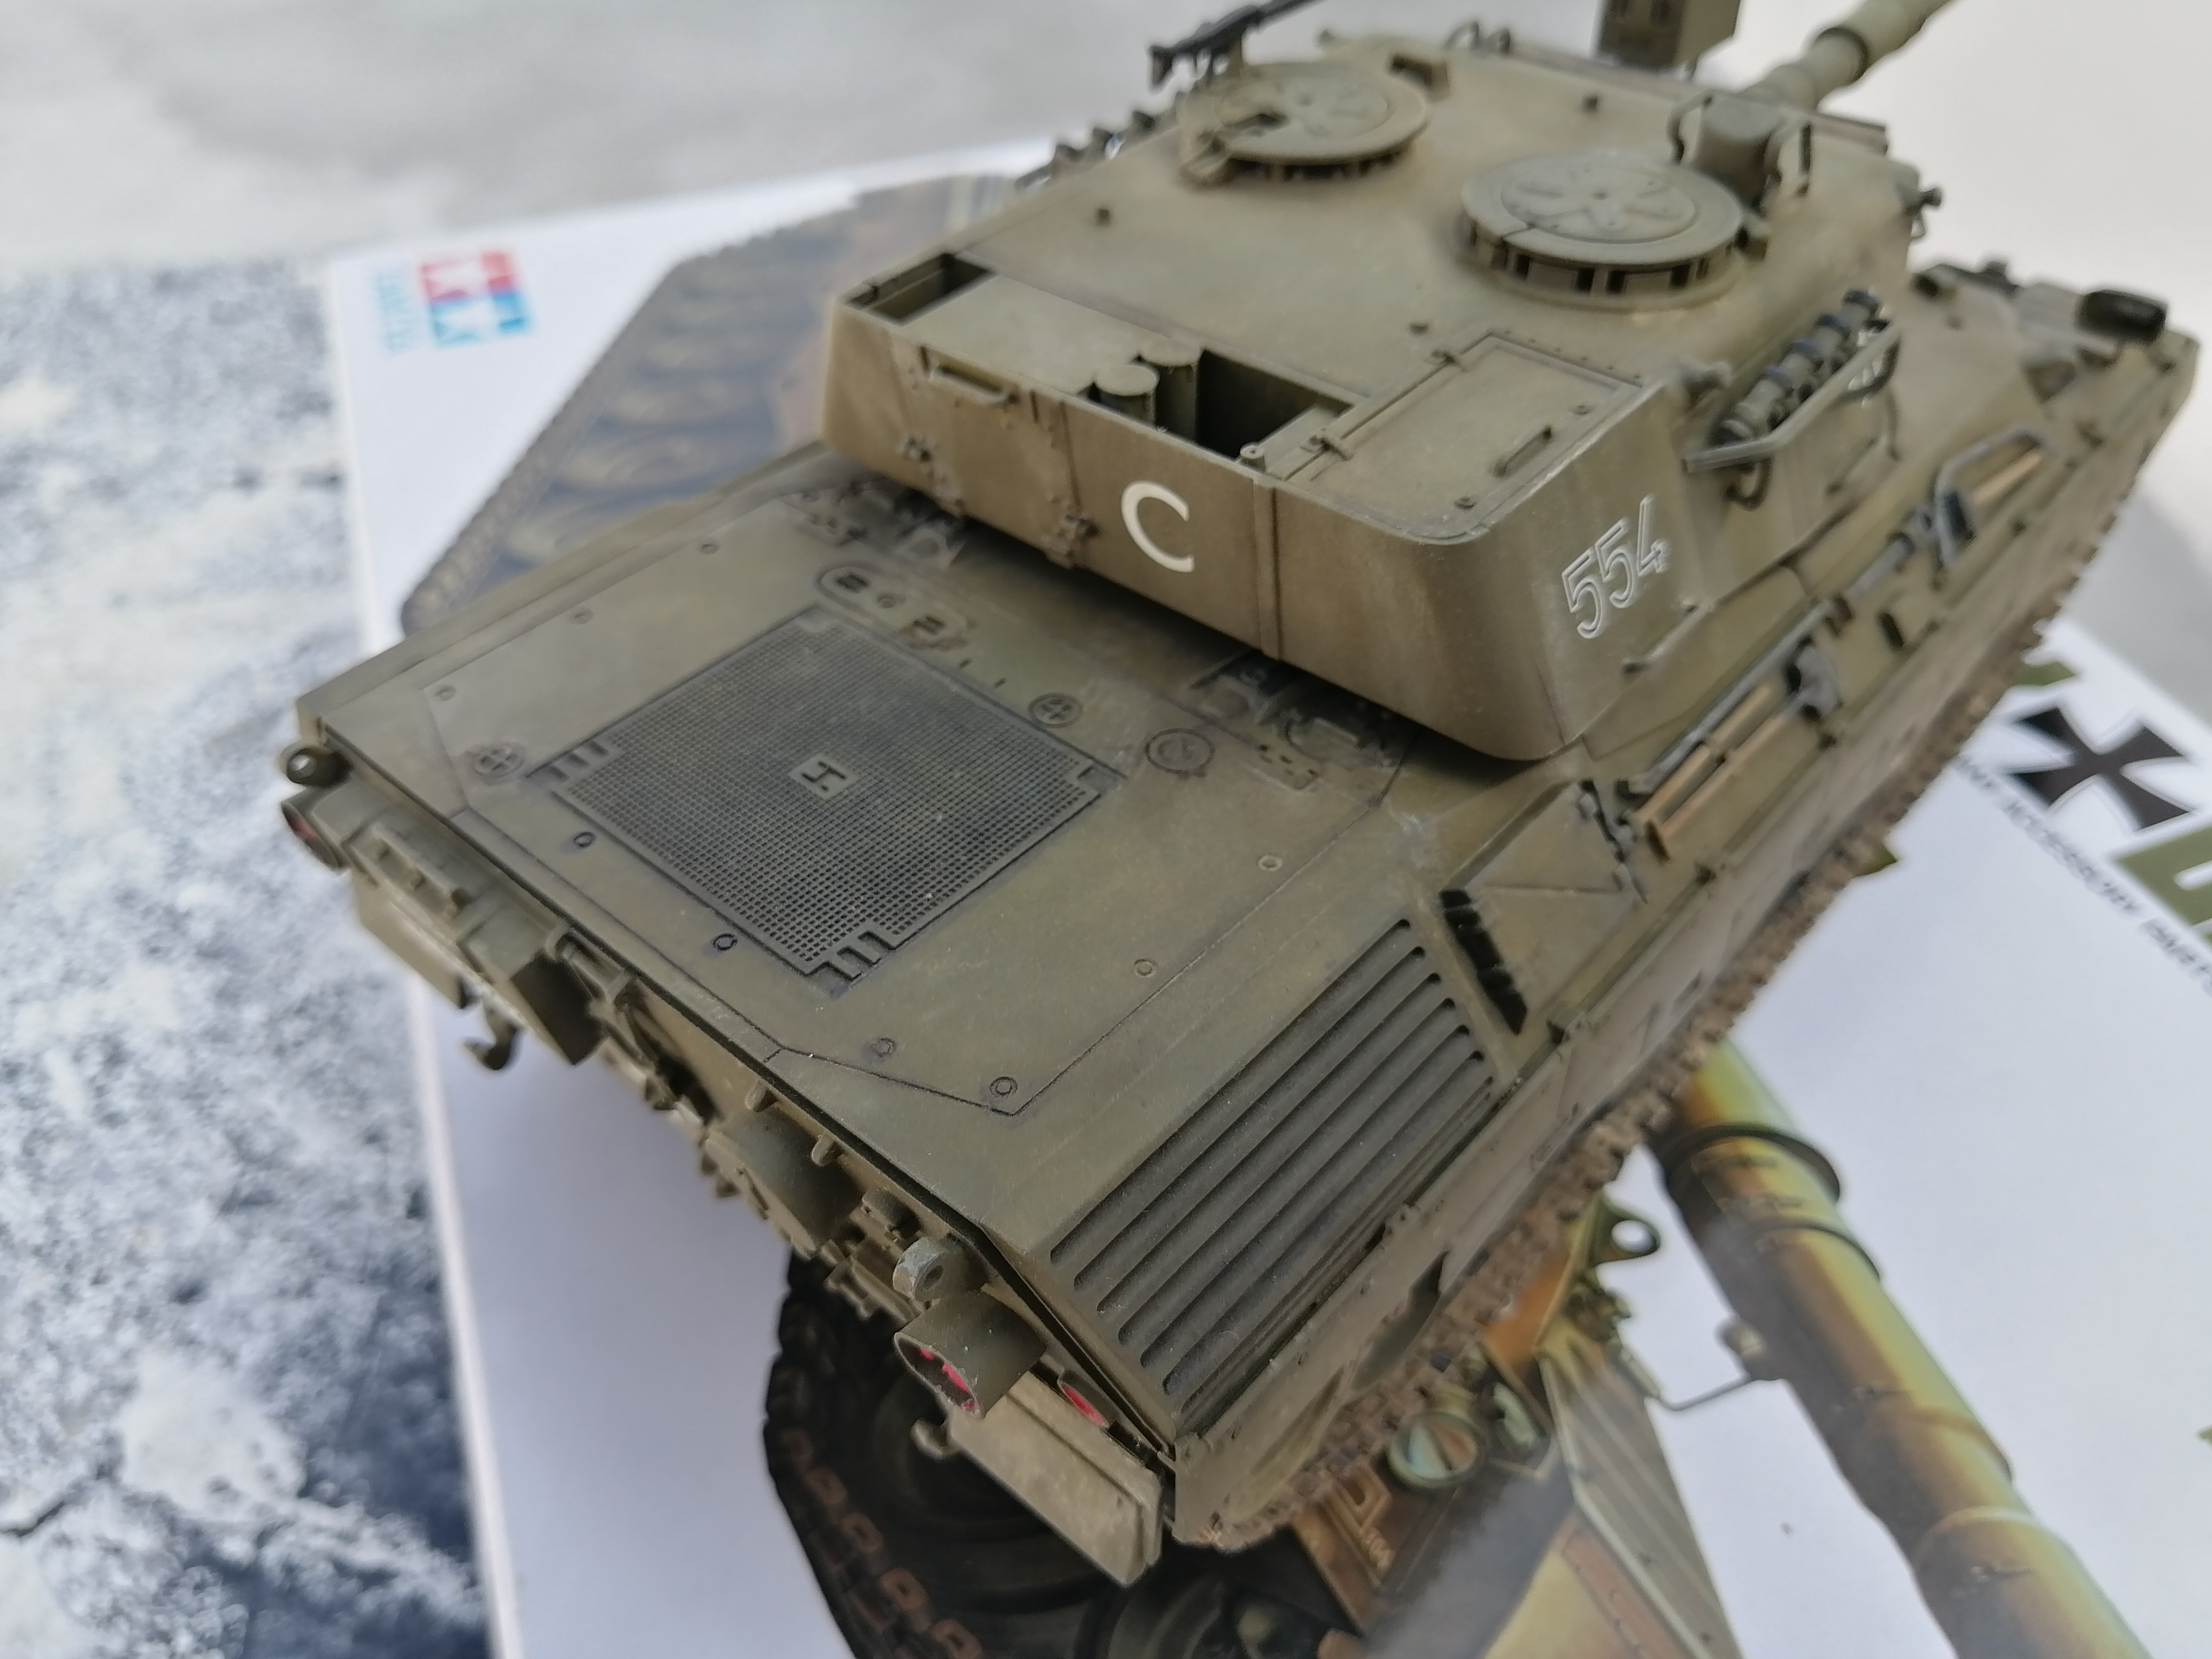
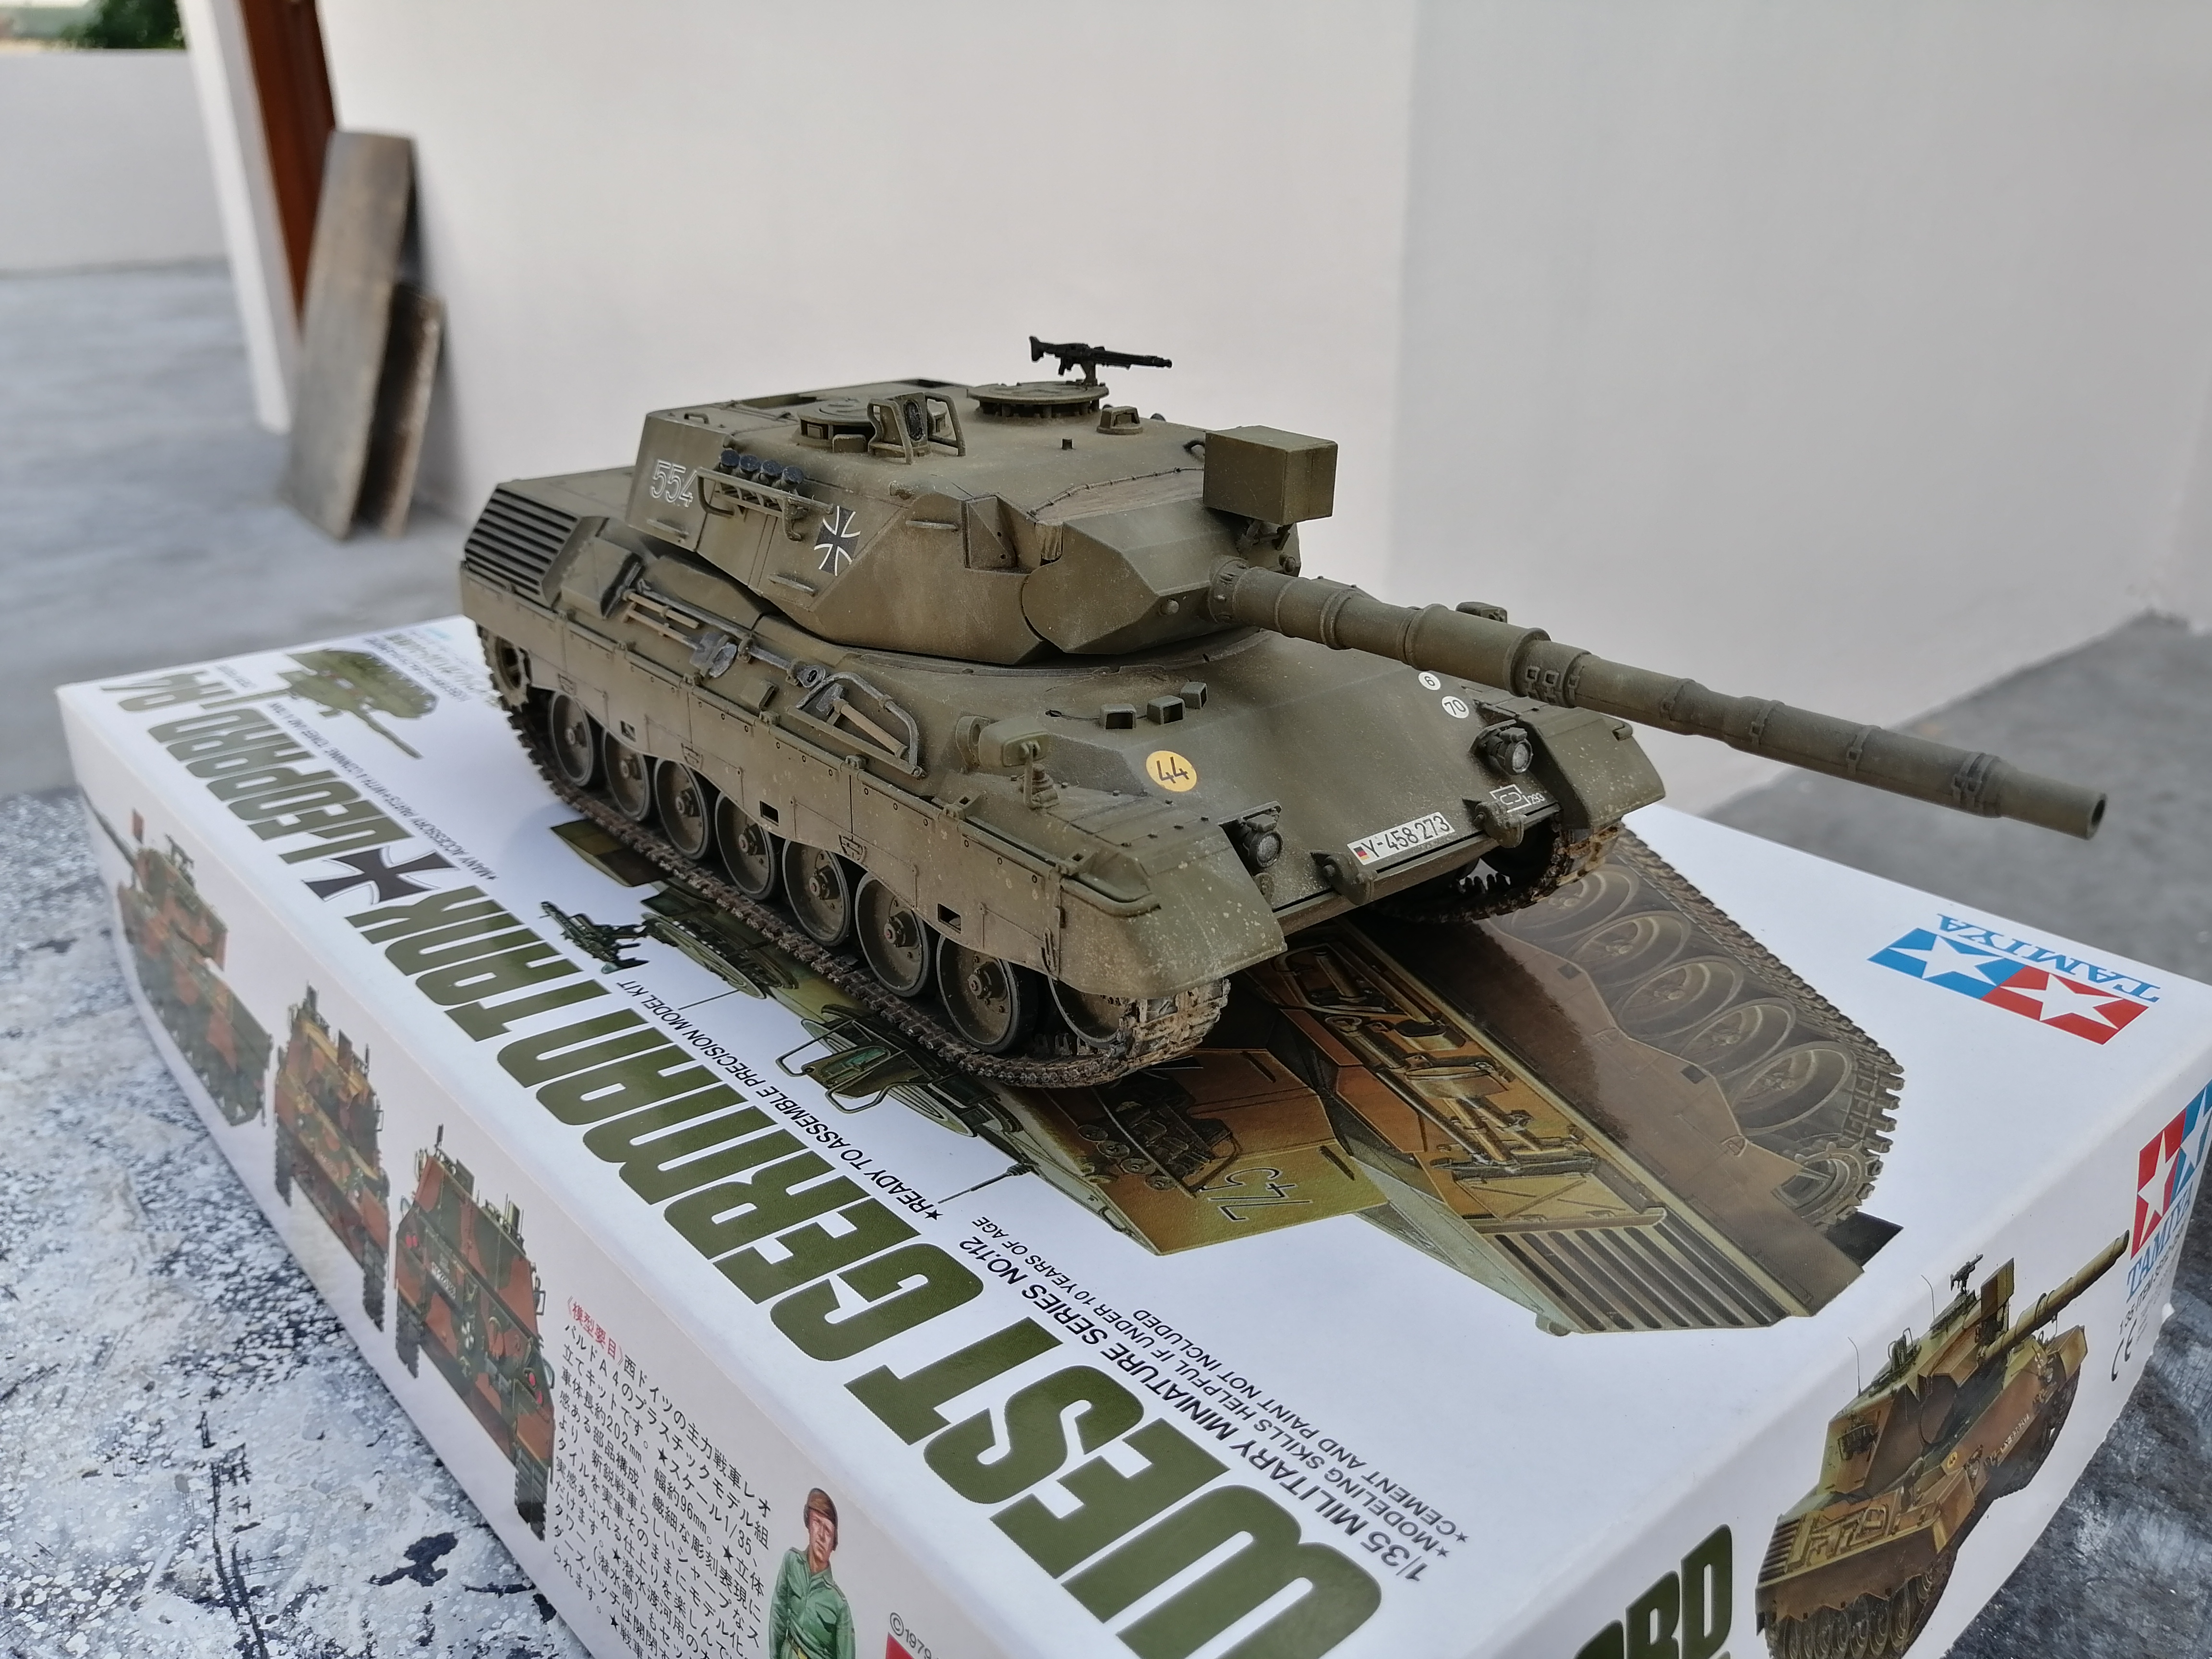
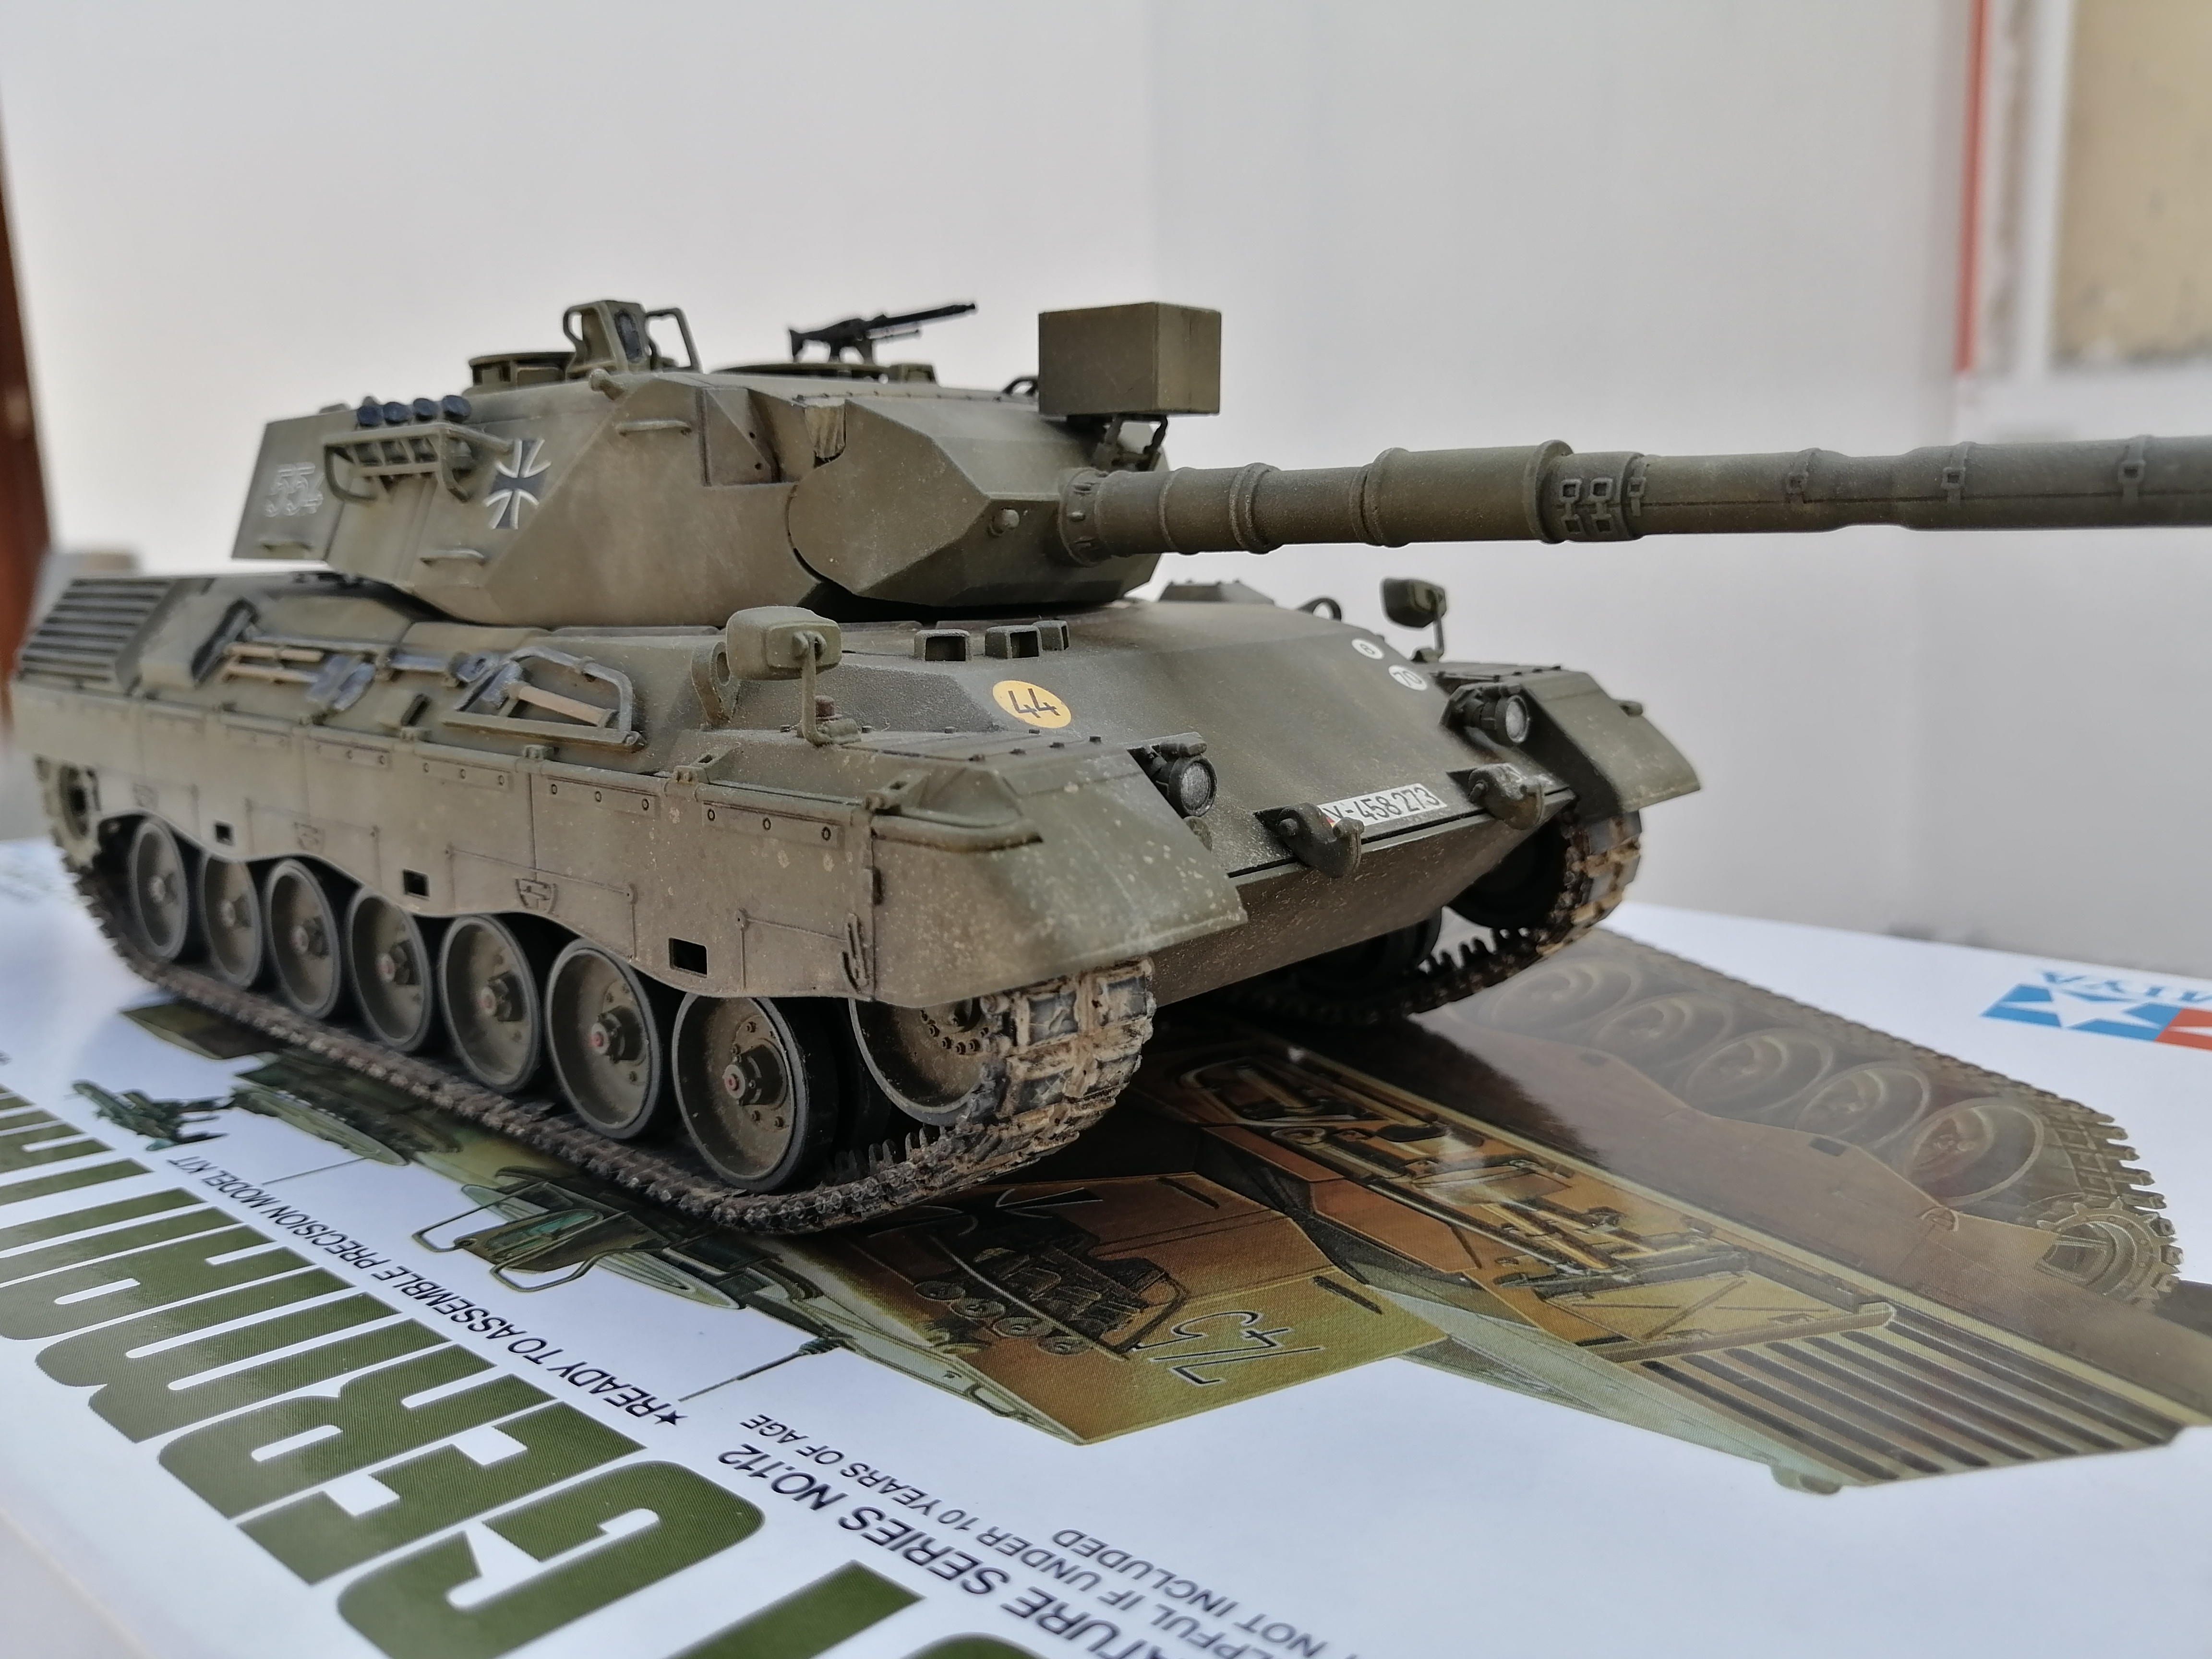
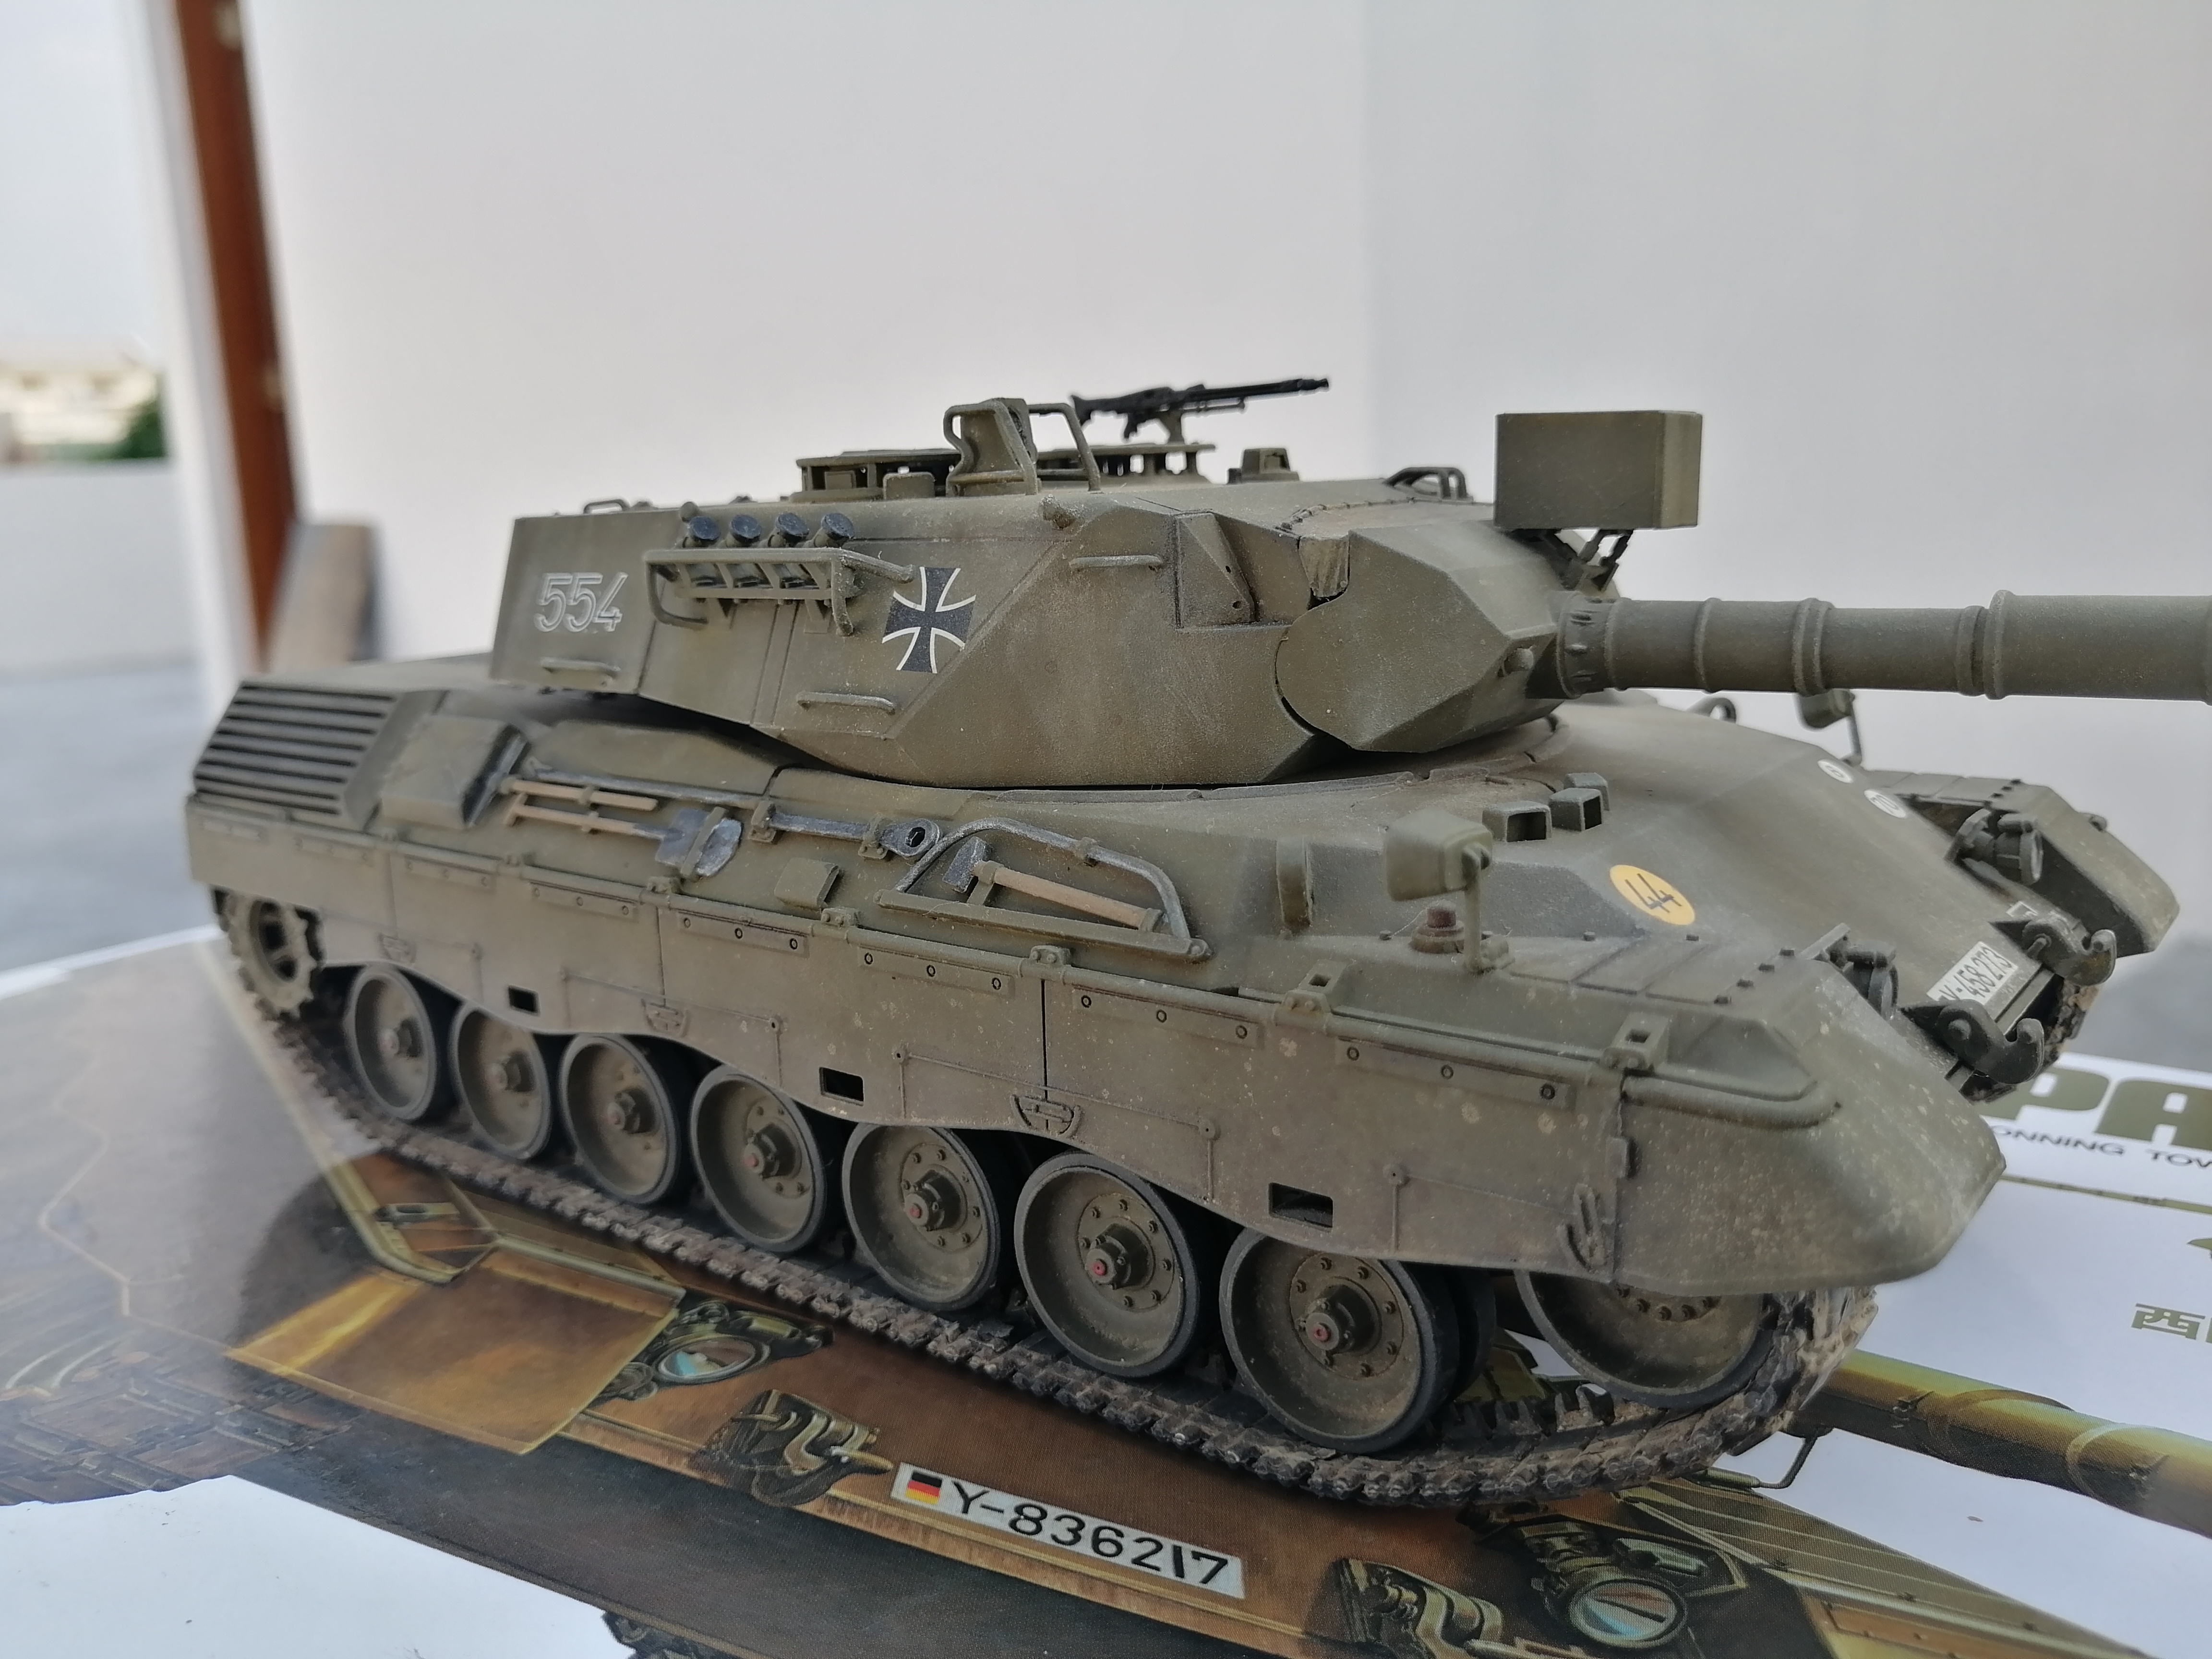
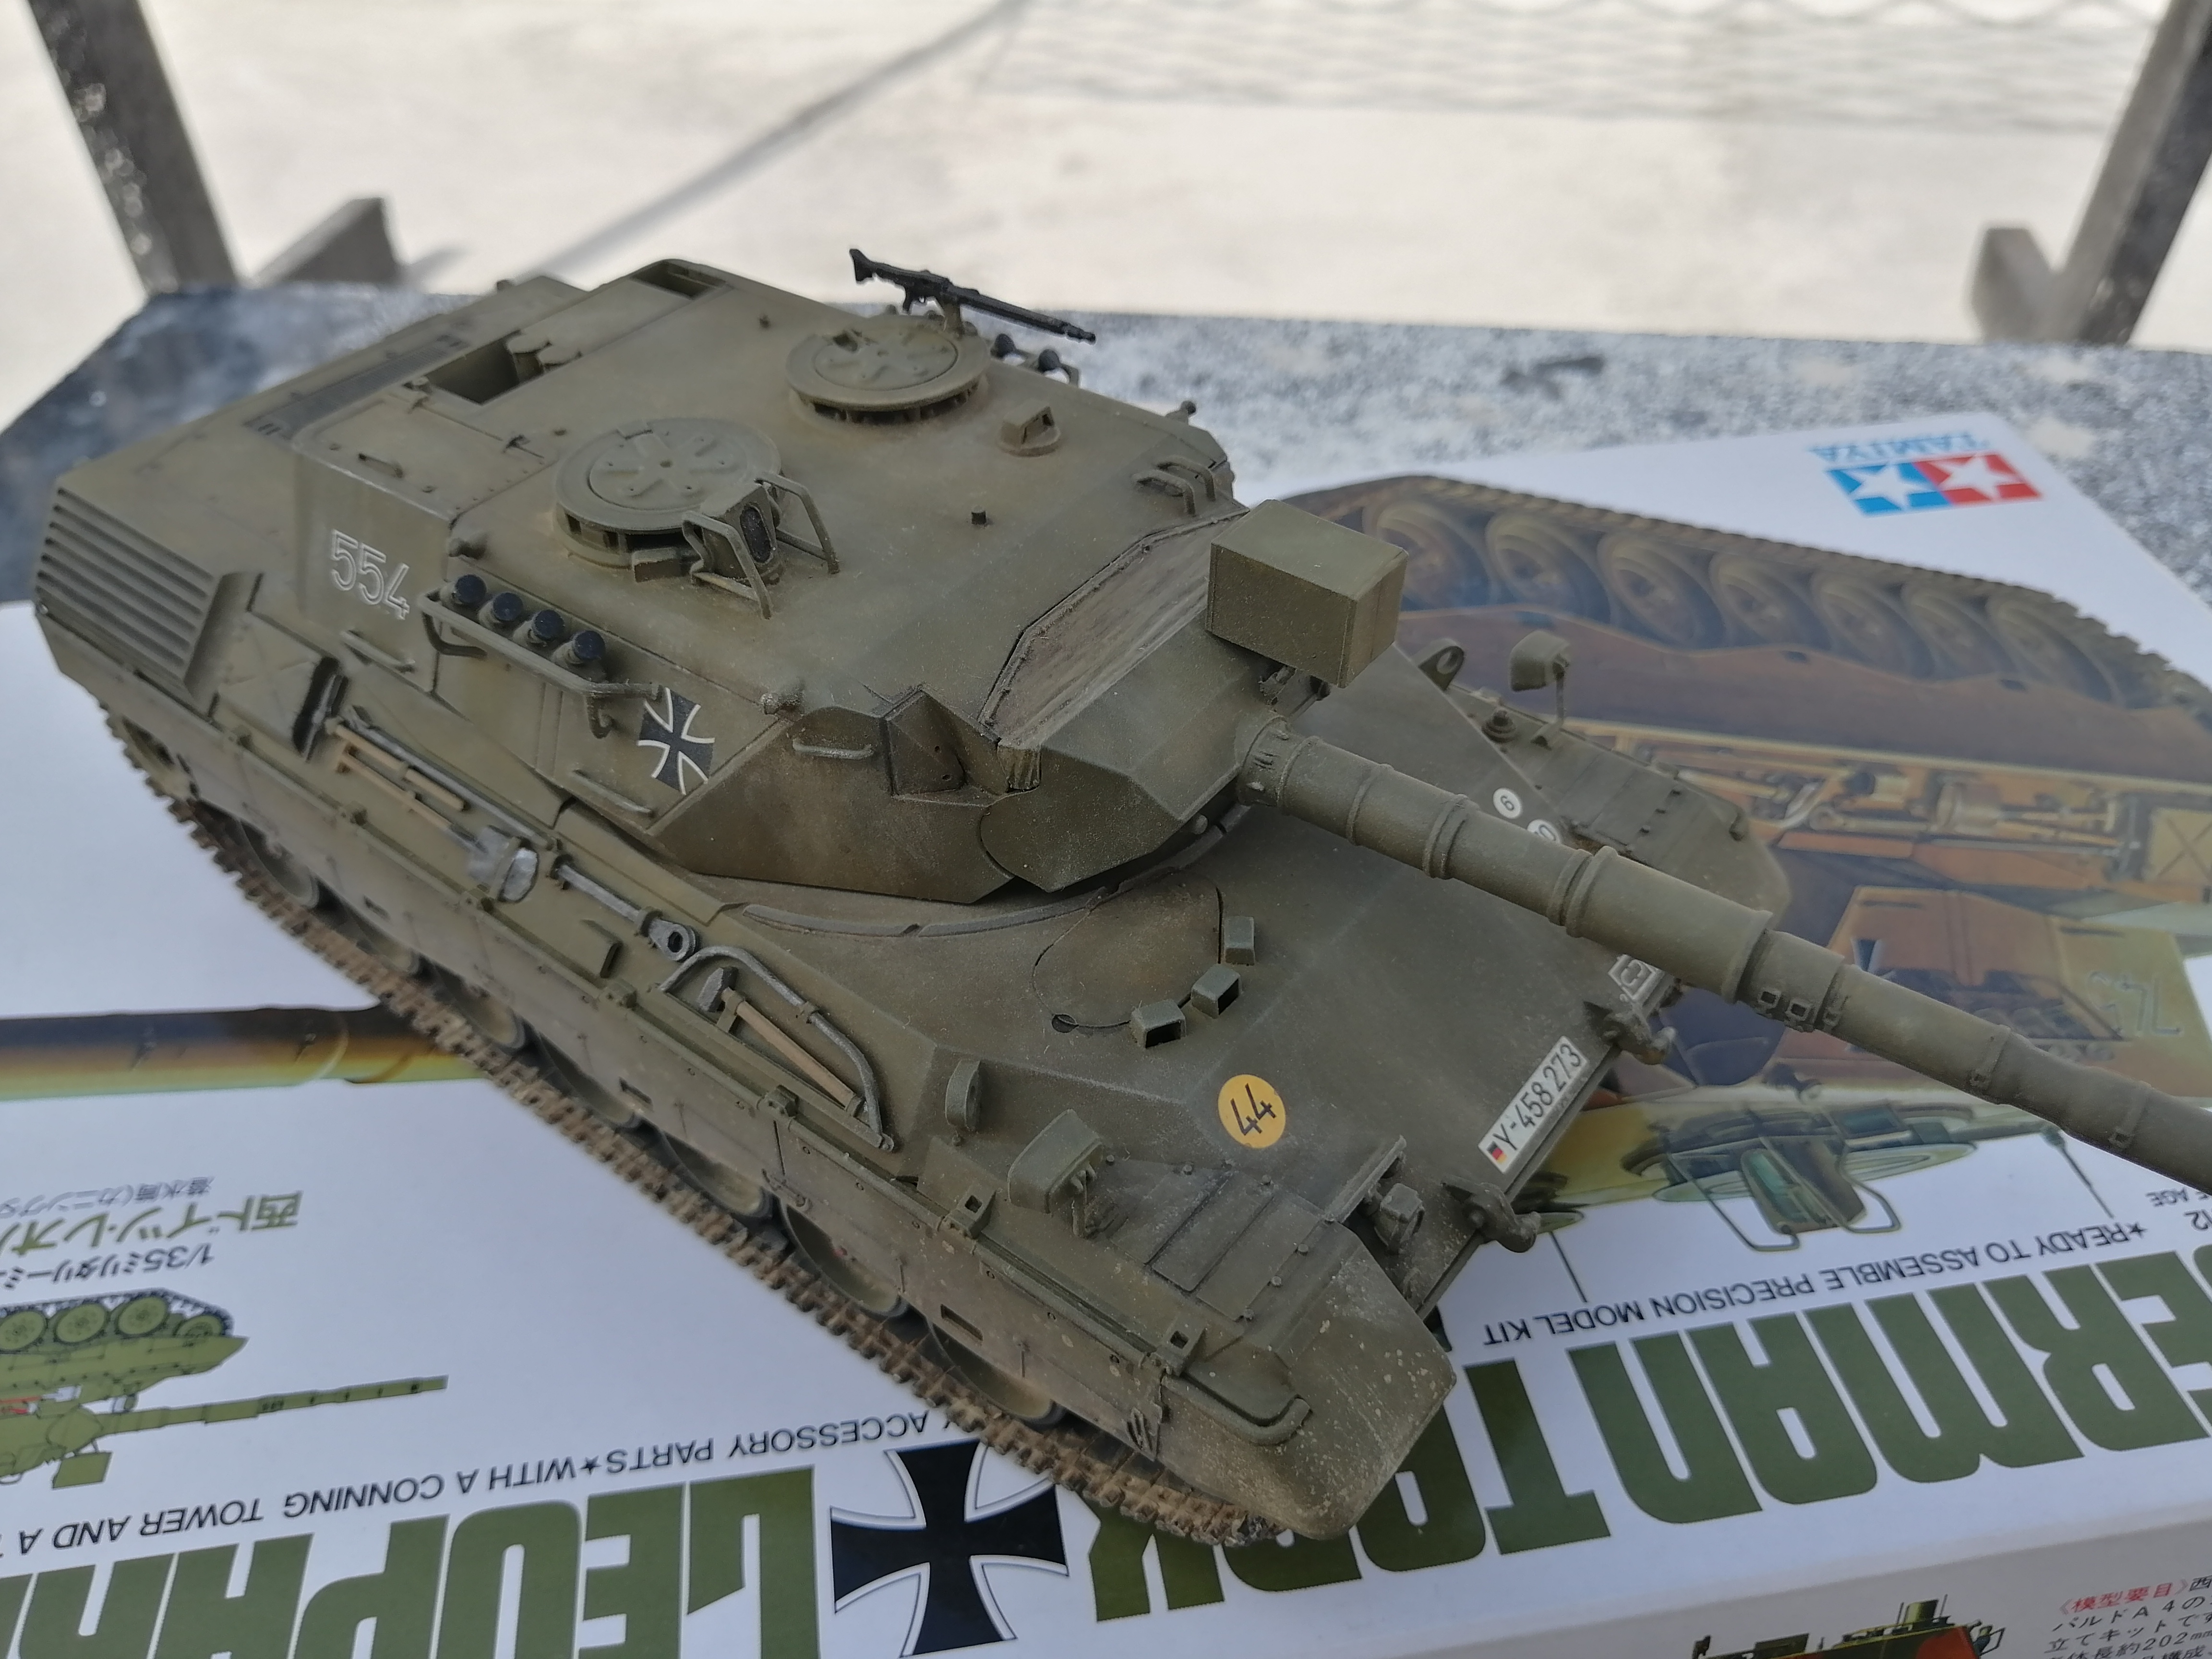
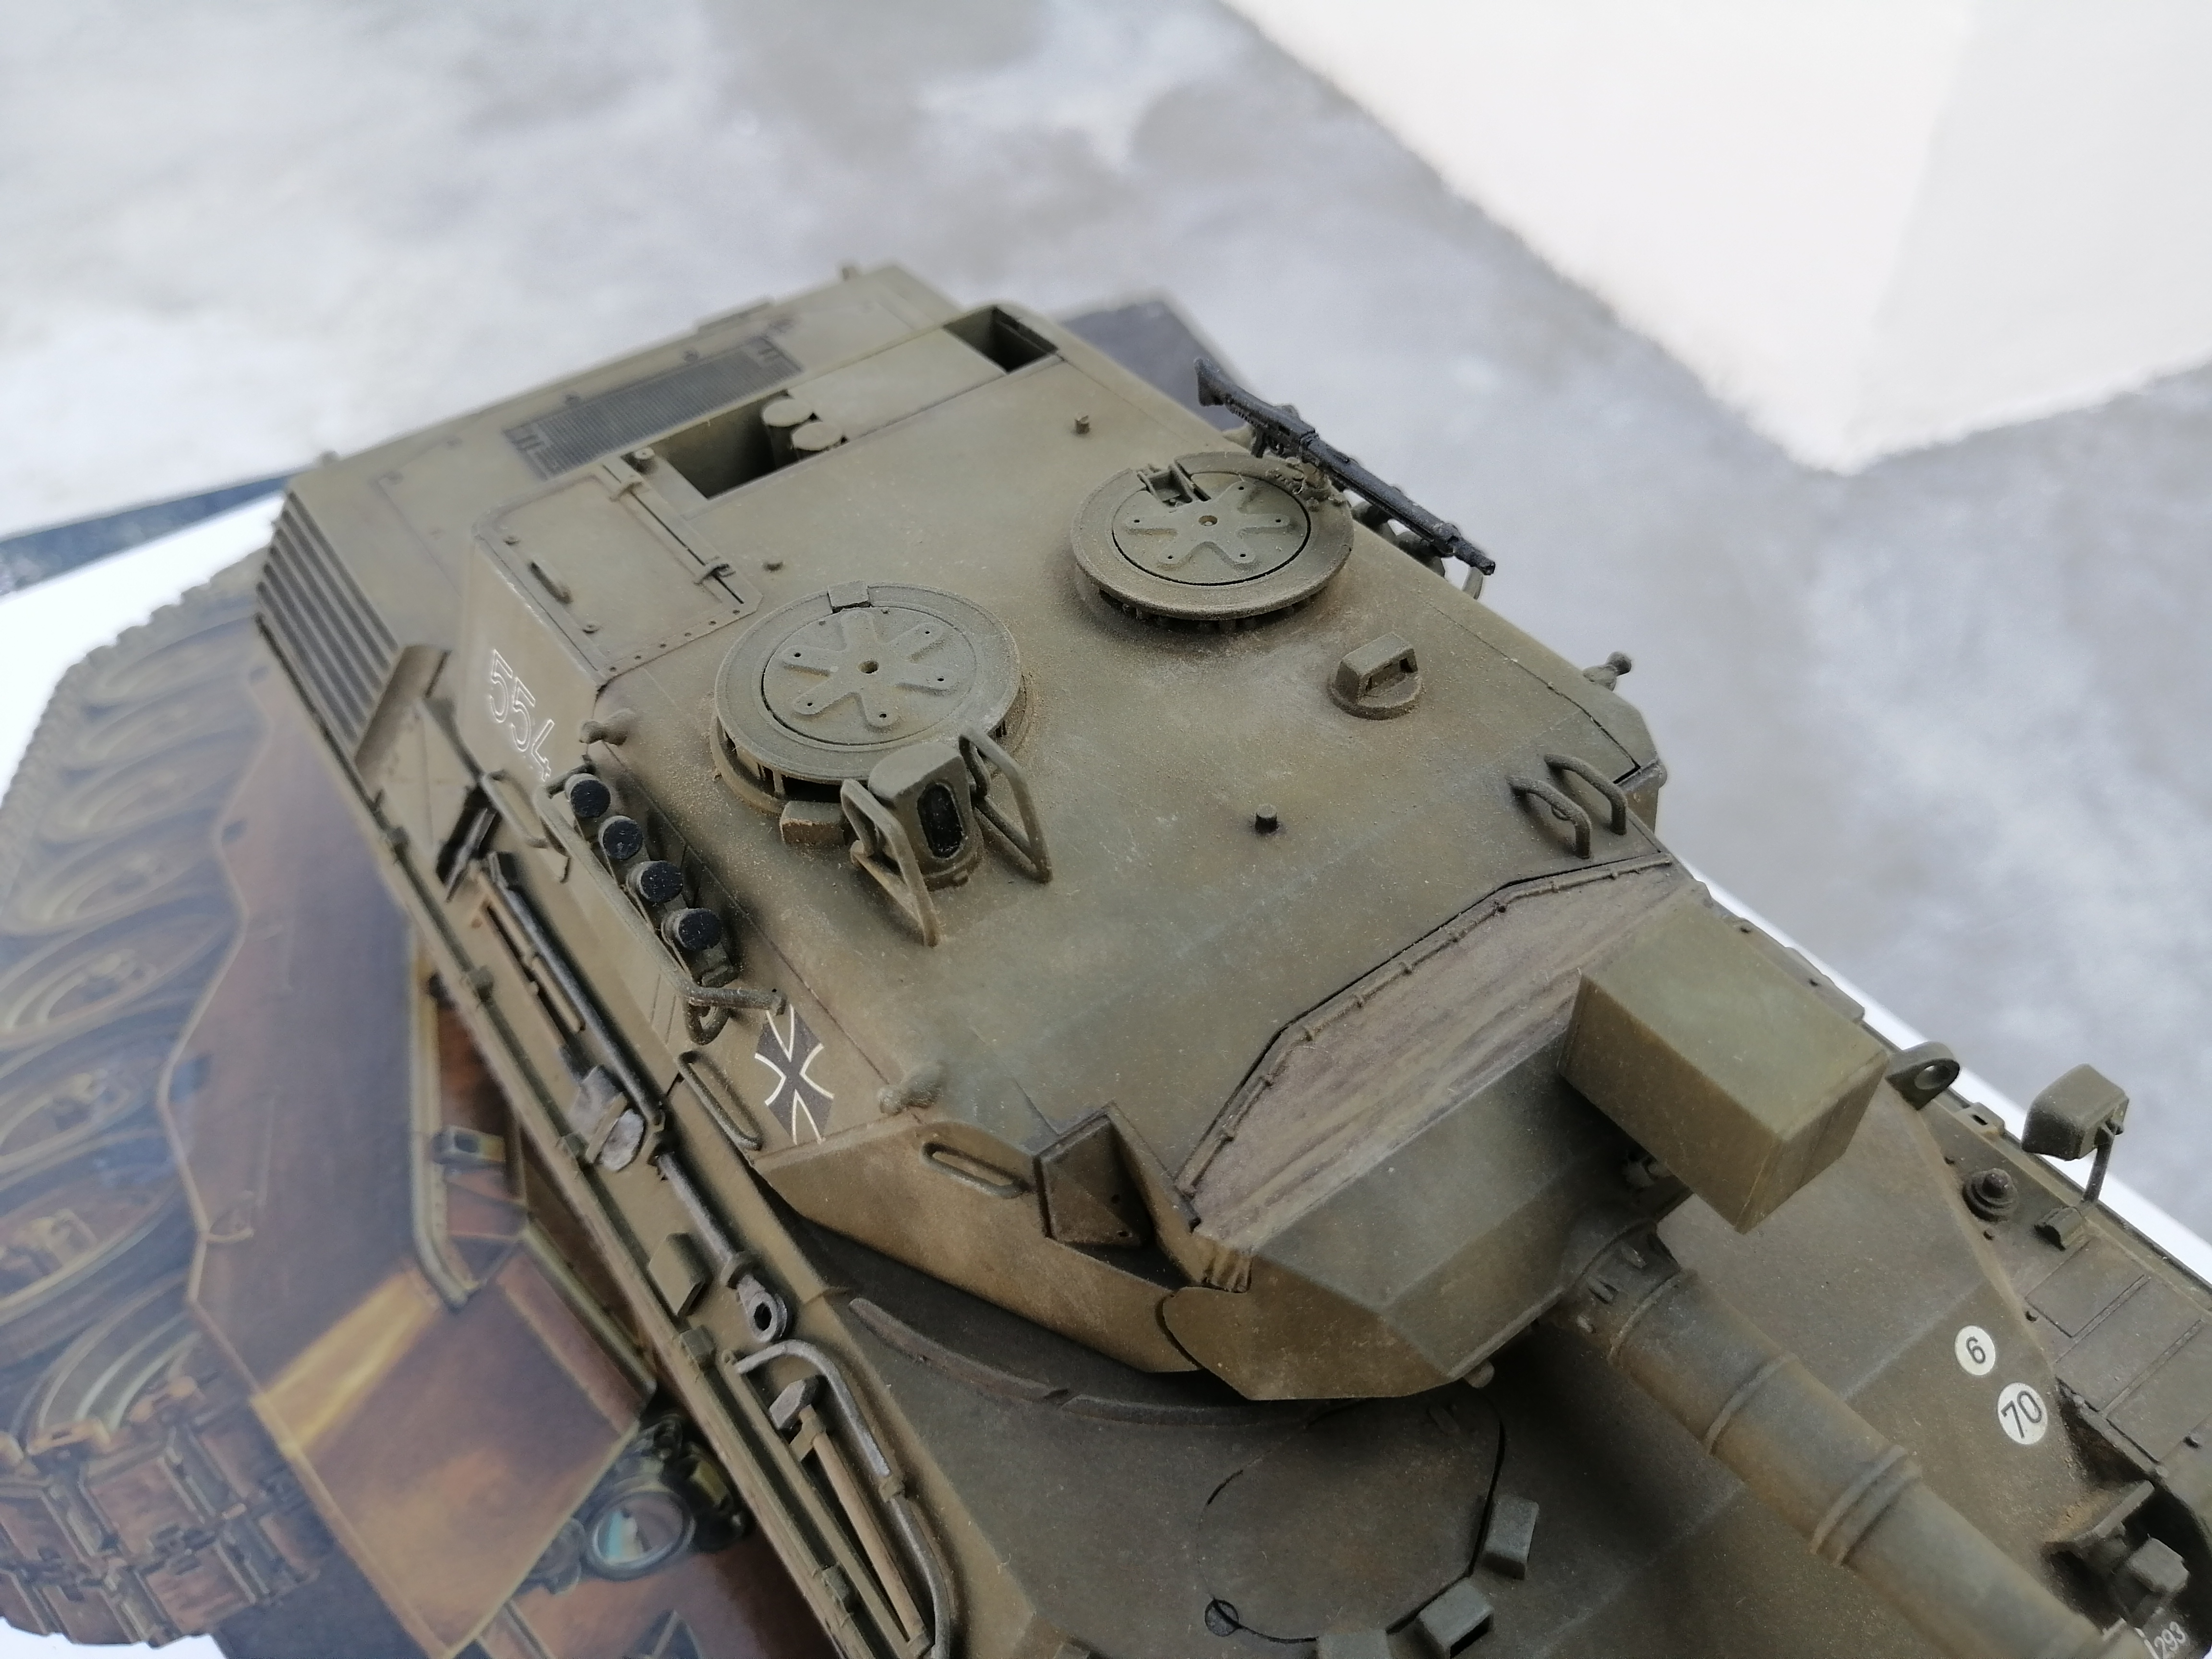
Hi lads, I'd like to share my current WIP - a Tamiya Leopard 1A3. I chose to build it OOB rather than correct some of the kit's faults (the most obvious would be the missing ice grousers/cleats that is supposed to be mounted in the front glacis). I'm planning to get a Meng Leo somewhere down the line so I'll leave it for that time.

After snapping some photos, the feedback I got so far was the need to weather the barrel a bit (needs some filters to bring it in line with the hull). Maybe some chipping as well? Did these cold war tanks still get some paint flakes/chipping or even rust? Would appreciate any suggestions or comments. Thanks!
griffontech
Visit this Community
Canada
Joined: November 21, 2007
KitMaker: 237 posts
Armorama: 231 posts
Posted: Sunday, November 17, 2019 - 12:32 PM UTC
First off, amazing work on a classic kit.
Take a look at the link. Depending on the timeframe, you can have some minor rust on bolts and fittings to add a splash of that rust-red colour.

http://data3.primeportal.net/tanks/dan_hay/leopard_c1/images/leopard_c1_03_of_45.jpg
grunt136mike
Visit this Community
Florida, United States
Joined: November 24, 2012
KitMaker: 1,896 posts
Armorama: 1,858 posts
Posted: Sunday, November 17, 2019 - 03:14 PM UTC
Hi;

Looking at your photo's you have done A Splendid job on A old Kit !!The only Tip's that I mite offer is that you try more Dry Brushing, also detail paint all of the Optics, Fill all seem and clean Mold Lines !! And A good thing to use is Notes; Take notes when you start A Build and especially when you Look at A really nice Build. Pick out details that will Help in your next kit. Another great source is reference; Build up Your references either from Book's & magazines or what you can see on the Net ! On Your Leopard; The Red Tail lites need to be weathered to tone down the Stark of the Red. And the line on the Glassis plate needs to be filled in.

Your On The Rite Path, Good Luck;
MIKE.
TopSmith
Visit this Community
Washington, United States
Joined: August 09, 2002
KitMaker: 1,742 posts
Armorama: 1,658 posts
Posted: Sunday, November 17, 2019 - 04:11 PM UTC
The Leo in the link needs maintenance. The rusty track, rust on smaller areas and the beat-up roadwheels tells a tail. I never saw a German Leo with any rust. They were always in good shape. Your model looks like a tank in good repair but has been in the field a while. Good. The issue I see is the gap between the upper hull and the rear plate in the last picture.
kunjuro
Visit this Community
Philippines
Joined: October 27, 2013
KitMaker: 520 posts
Armorama: 488 posts
Posted: Monday, November 18, 2019 - 01:48 AM UTC
Thanks for all the feedback folks.


Quoted Text

First off, amazing work on a classic kit.
Take a look at the link. Depending on the timeframe, you can have some minor rust on bolts and fittings to add a splash of that rust-red colour.

http://data3.primeportal.net/tanks/dan_hay/leopard_c1/images/leopard_c1_03_of_45.jpg


Thanks for sharing the photo! That's a lovely Canadian Leopard. I'm probably going to buy the Hobby Boss Leopard 1A5 when it comes out The Mexas kit is available locally too - but I really want the nice, lean shape of the basic leopard.


Quoted Text

Hi;

Looking at your photo's you have done A Splendid job on A old Kit !!The only Tip's that I mite offer is that you try more Dry Brushing, also detail paint all of the Optics, Fill all seem and clean Mold Lines !! And A good thing to use is Notes; Take notes when you start A Build and especially when you Look at A really nice Build. Pick out details that will Help in your next kit. Another great source is reference; Build up Your references either from Book's & magazines or what you can see on the Net ! On Your Leopard; The Red Tail lites need to be weathered to tone down the Stark of the Red. And the line on the Glassis plate needs to be filled in.

Your On The Rite Path, Good Luck;
MIKE.


Thanks Mike. I'll think about dry brushing a bit more around the details. I'll also see what i can do about the tail lights - how do you tone down the colors? Will a matt coat do or should I resort to something else?

I decided to leave the gap on the front plate as that's how the kit was designed (and it lets me lift the upper hull up via polycaps). Its a bit distracting though.


Quoted Text

The Leo in the link needs maintenance. The rusty track, rust on smaller areas and the beat-up roadwheels tells a tail. I never saw a German Leo with any rust. They were always in good shape. Your model looks like a tank in good repair but has been in the field a while. Good. The issue I see is the gap between the upper hull and the rear plate in the last picture.


Thanks mate. The gap in the rear hull was due to me handling the kit a bit roughly as I was taking it out for a photo. I adjust the upper hull to clip the lower hull properly. The gap on the front is the only thing I can't fix.
keo
Visit this Community
Nordjylland, Denmark
Joined: January 30, 2006
KitMaker: 613 posts
Armorama: 508 posts
Posted: Monday, November 18, 2019 - 04:53 AM UTC
It has always been my opinion that a good paint job beats a highly detailed one - and your model definitely proves this. Can’t wait to see what you can do with a good Leopard model tank.

Rust and chipping always appears on tanks after some time - never seen any without it. But for god’s sake, keep it down. I’ve seen modern tanks looking like scrap yard residents.
Ware and tear around the commander’s and the loaders stations would be realistic, as well as SMALL amounts of rust around the tow hooks.
grunt136mike
Visit this Community
Florida, United States
Joined: November 24, 2012
KitMaker: 1,896 posts
Armorama: 1,858 posts
Posted: Monday, November 18, 2019 - 10:42 AM UTC
Hi;

FYI; Invest in Tamiya Panel Liner, it comes in Black Brown, lite Grey, and there are other's from Vallejo !
The Panel Liner will Help A Great deal enhancing the Look of the vehicle, even the smaller areas such as Bolt details around Road Wheels will give it that special look !!
One other Hint I mite offer; Is to Practice on the Under Hull with Different Weather colors, as it will Help you in making which choice that you like the Best !
When ever I Build; I will Always try New technics or New Products on the Bottom Hull, and in My Build I always Paint and Detail the Bottom as the Top !!!!!

GOOD LUCK; MIKE.
 _GOTOTOP