Sorry Don & Tom I just now saw your additional question.
I brush a wet coat of Future on the model area to be decaled and immediately apply the wet decal. I might then blot around the edges of the decal to help remove the excess fluid and help the decal settle.
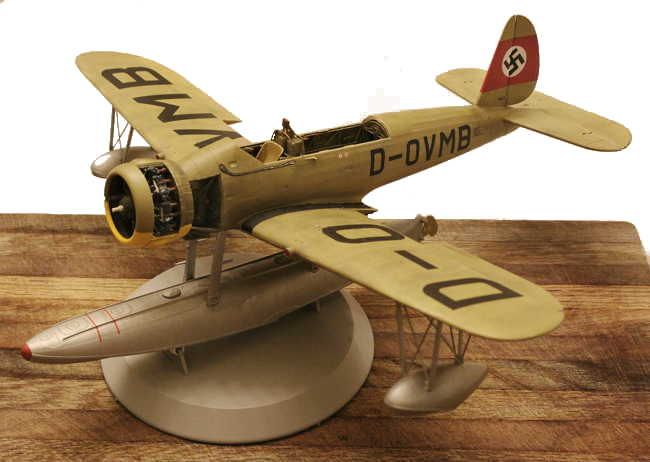
Please Note: You must brace the model so the surface being decaled is as level as possible. While doing the large wing lettering on the Arado I just had the model on its' stand as in the photo below. I came back few minutes later and one of the large letters had slid down the slope of the wing. Fortunately I was able to wet it some more and get the decal back in place before it set!
After the decal has had time to settle (or even once the decal has dried totally) I then put a topcoat of more Future over the decal to totally entomb it in the Future. This is normally enough to totally hid the edge of the decal film after a spray topcoat is applied.
Once dry I go over the model with the Matte Clear to level out the shine caused by the Future.
p.s. I show all these examples because on another site I got flamed badly for being "old fashioned" in this process. To me it's whatever works!
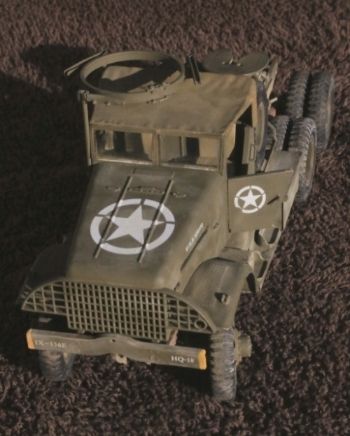
Here is the hood of a White 666 using the Future process:
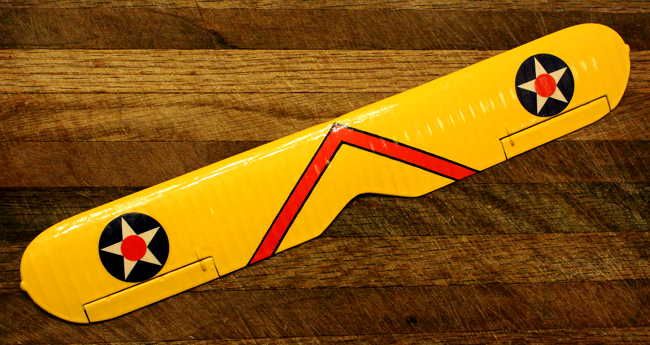
And an F3-F top wing with Future but ending up with a Gloss Clear topcoat:
Caterpillar D7 Dozer:
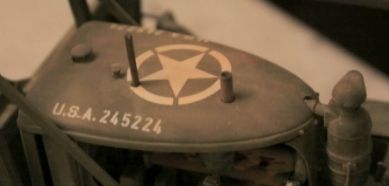
Home grown Mack NO using the Future plus Matte Clear (Tamiya TS-80) topcoat:

Arado 196B (WIP) - Future plus Matte Clear Tamiya rattle can spray topcoat:
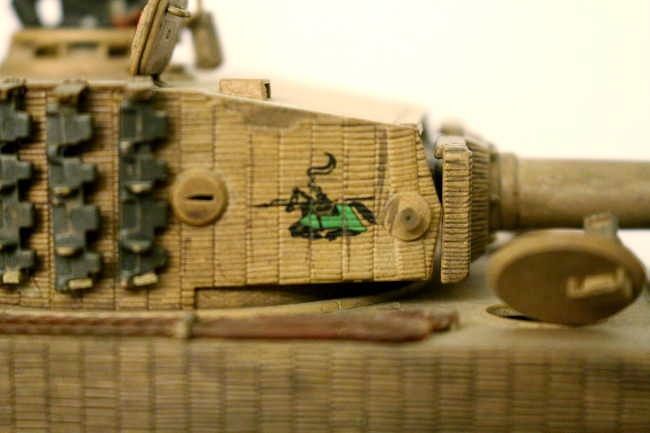
Tiger I with zimmerit. Jousting knight decal: Future + Decal + Future + Allow to Dry + Matte Spray + dark brown wash + pastels: