Hi Everyone,
I am sorry not reporting recently about the progress but there is a simple reason: there was hardly any time to catch up what I did.
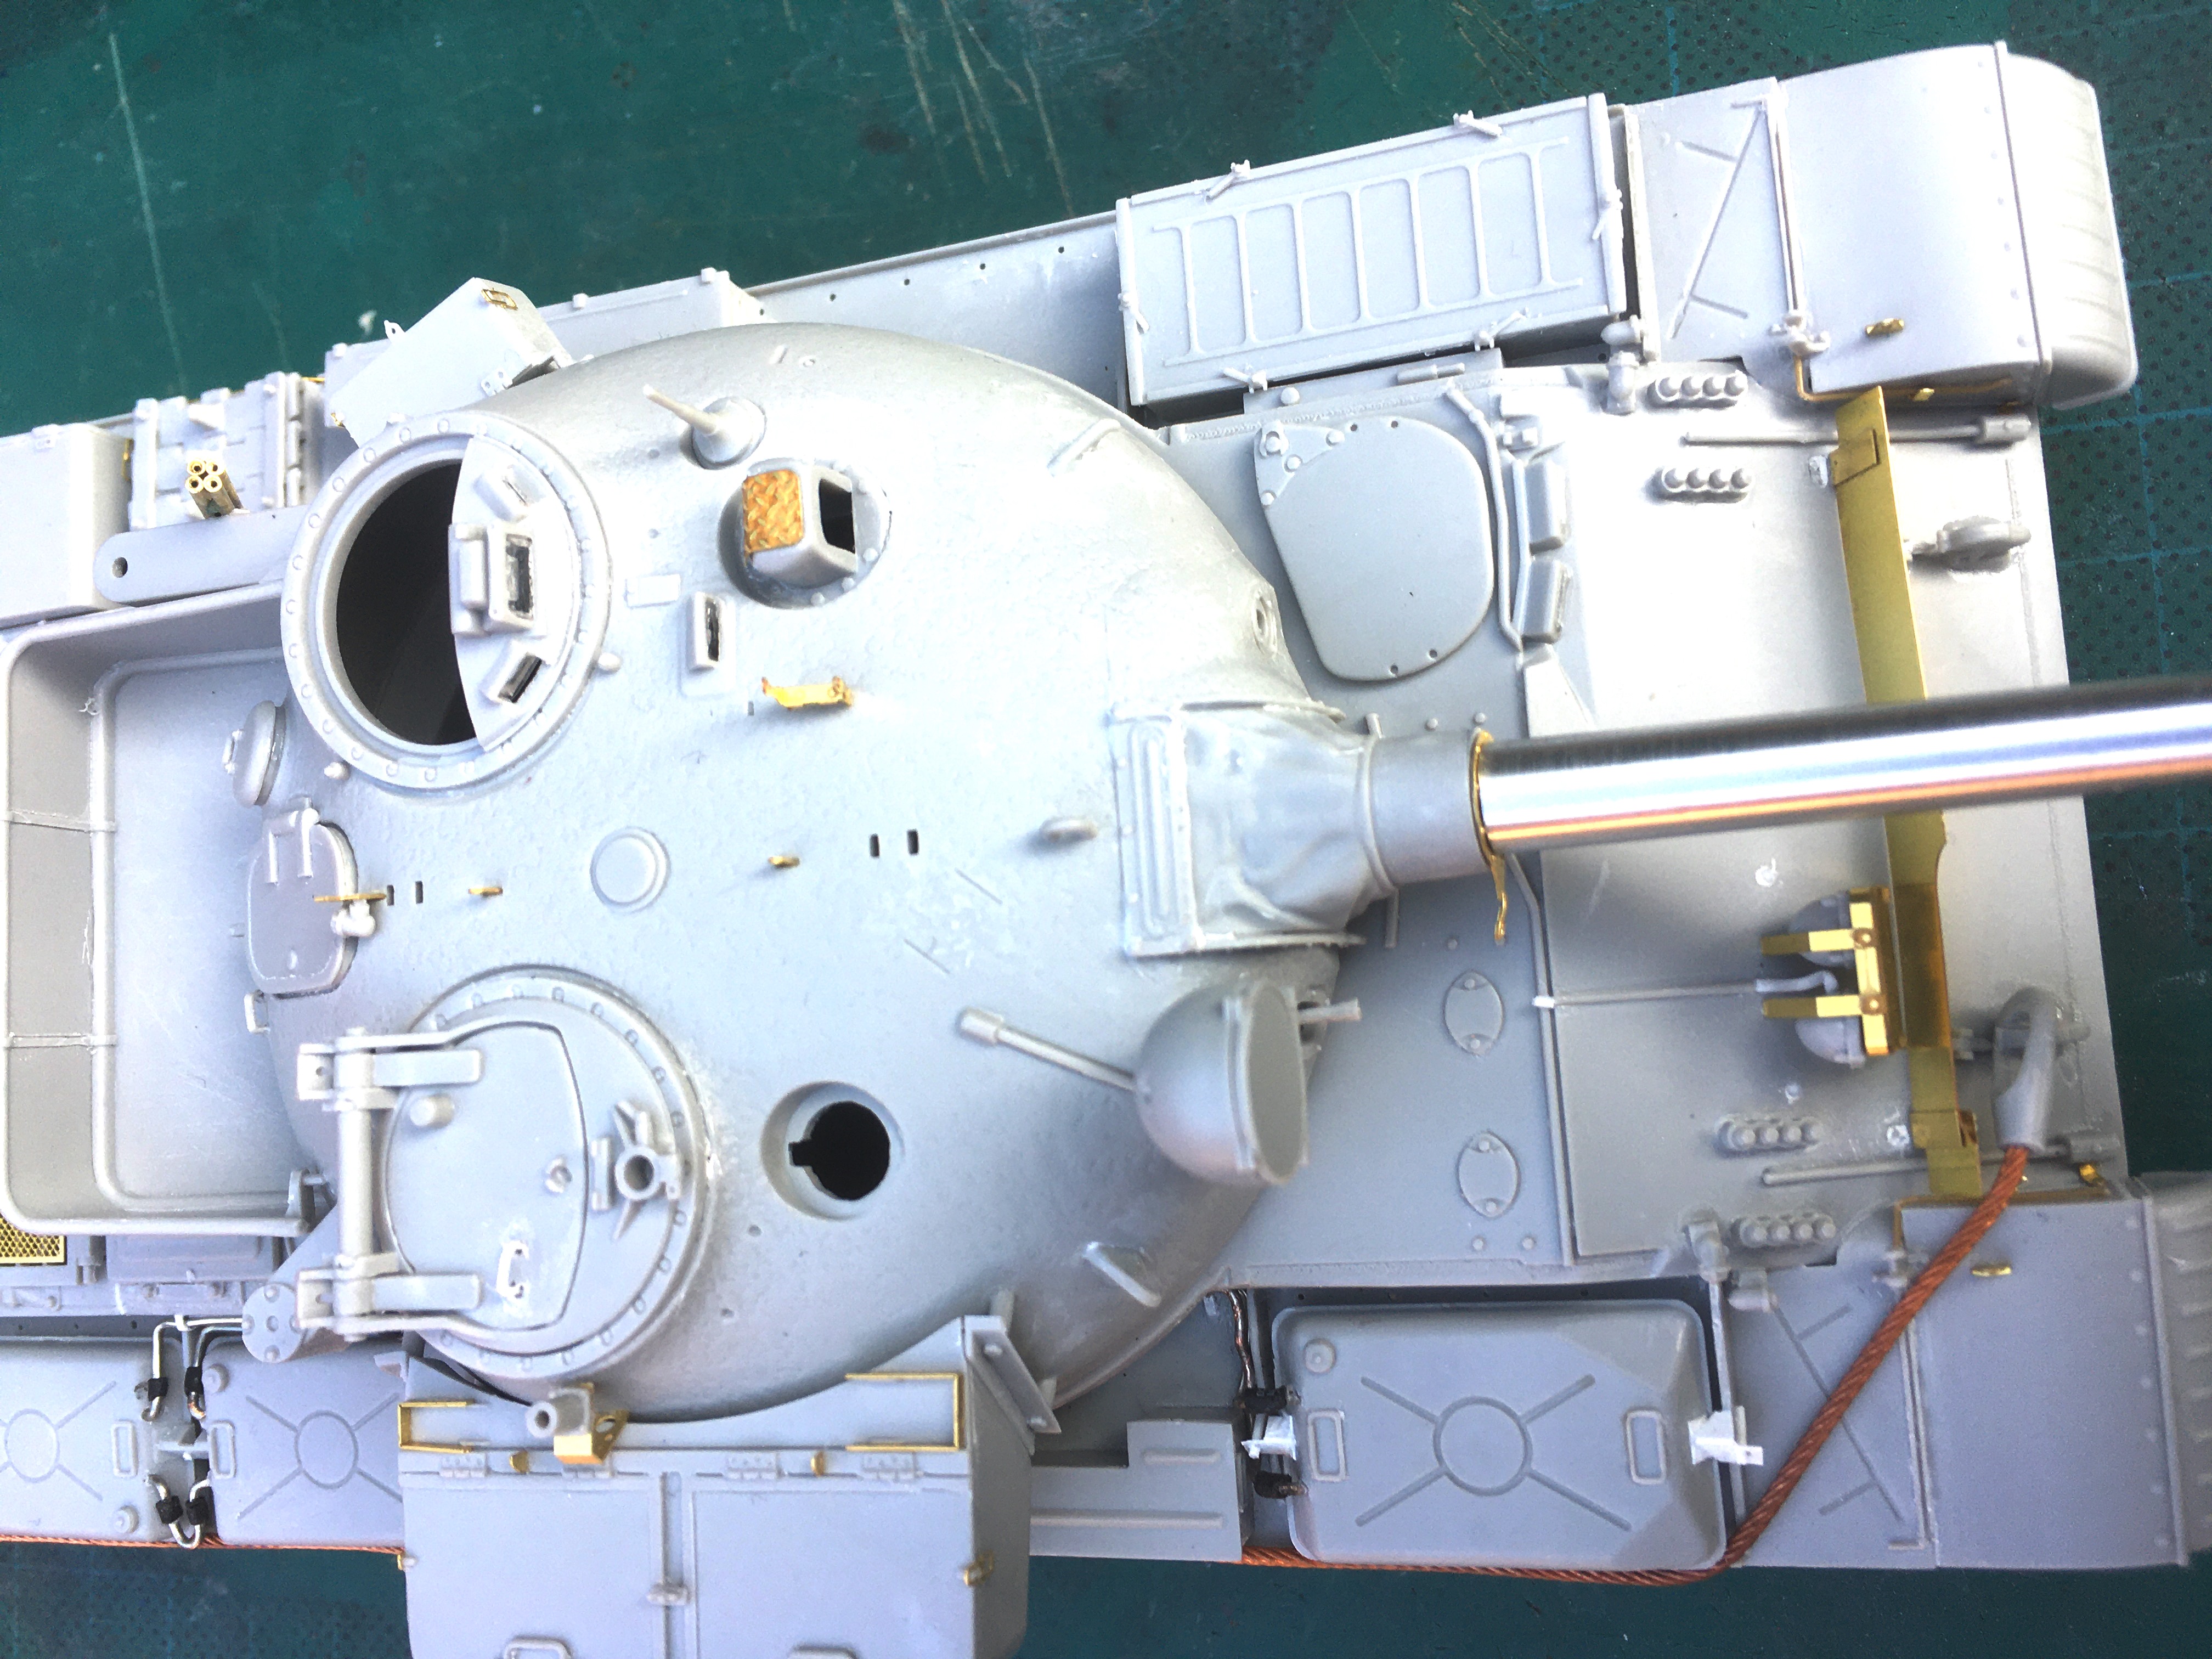
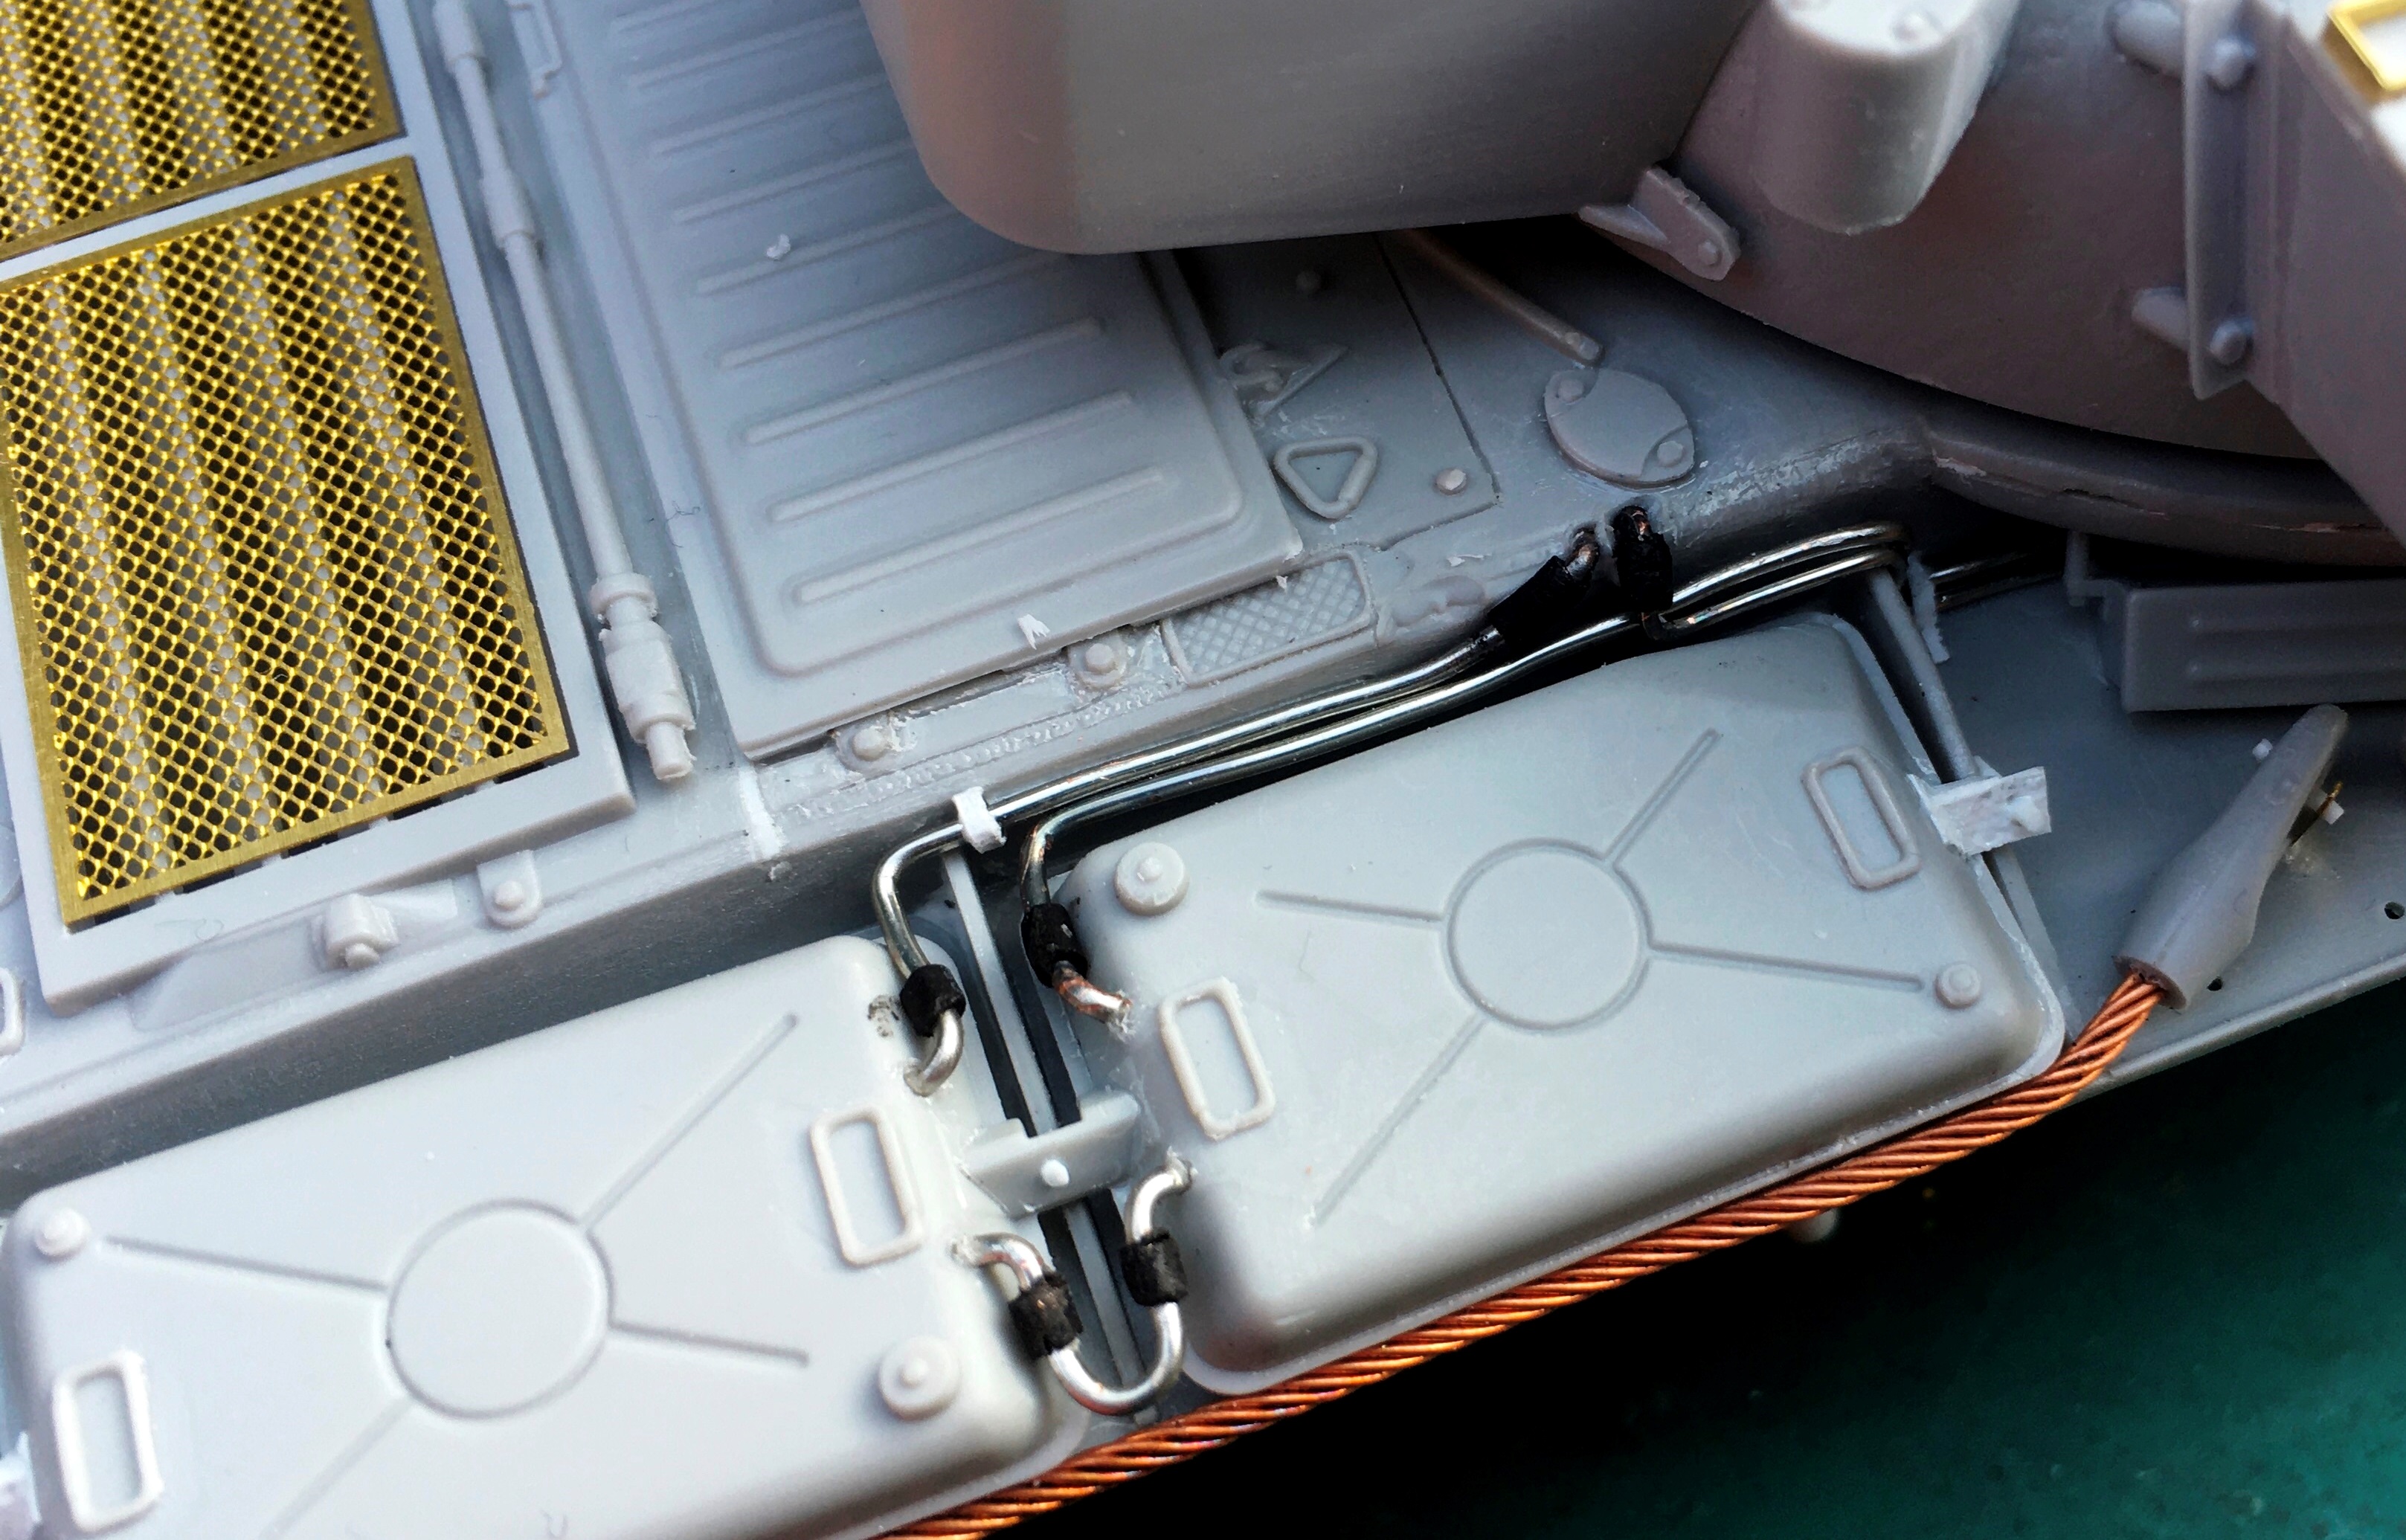
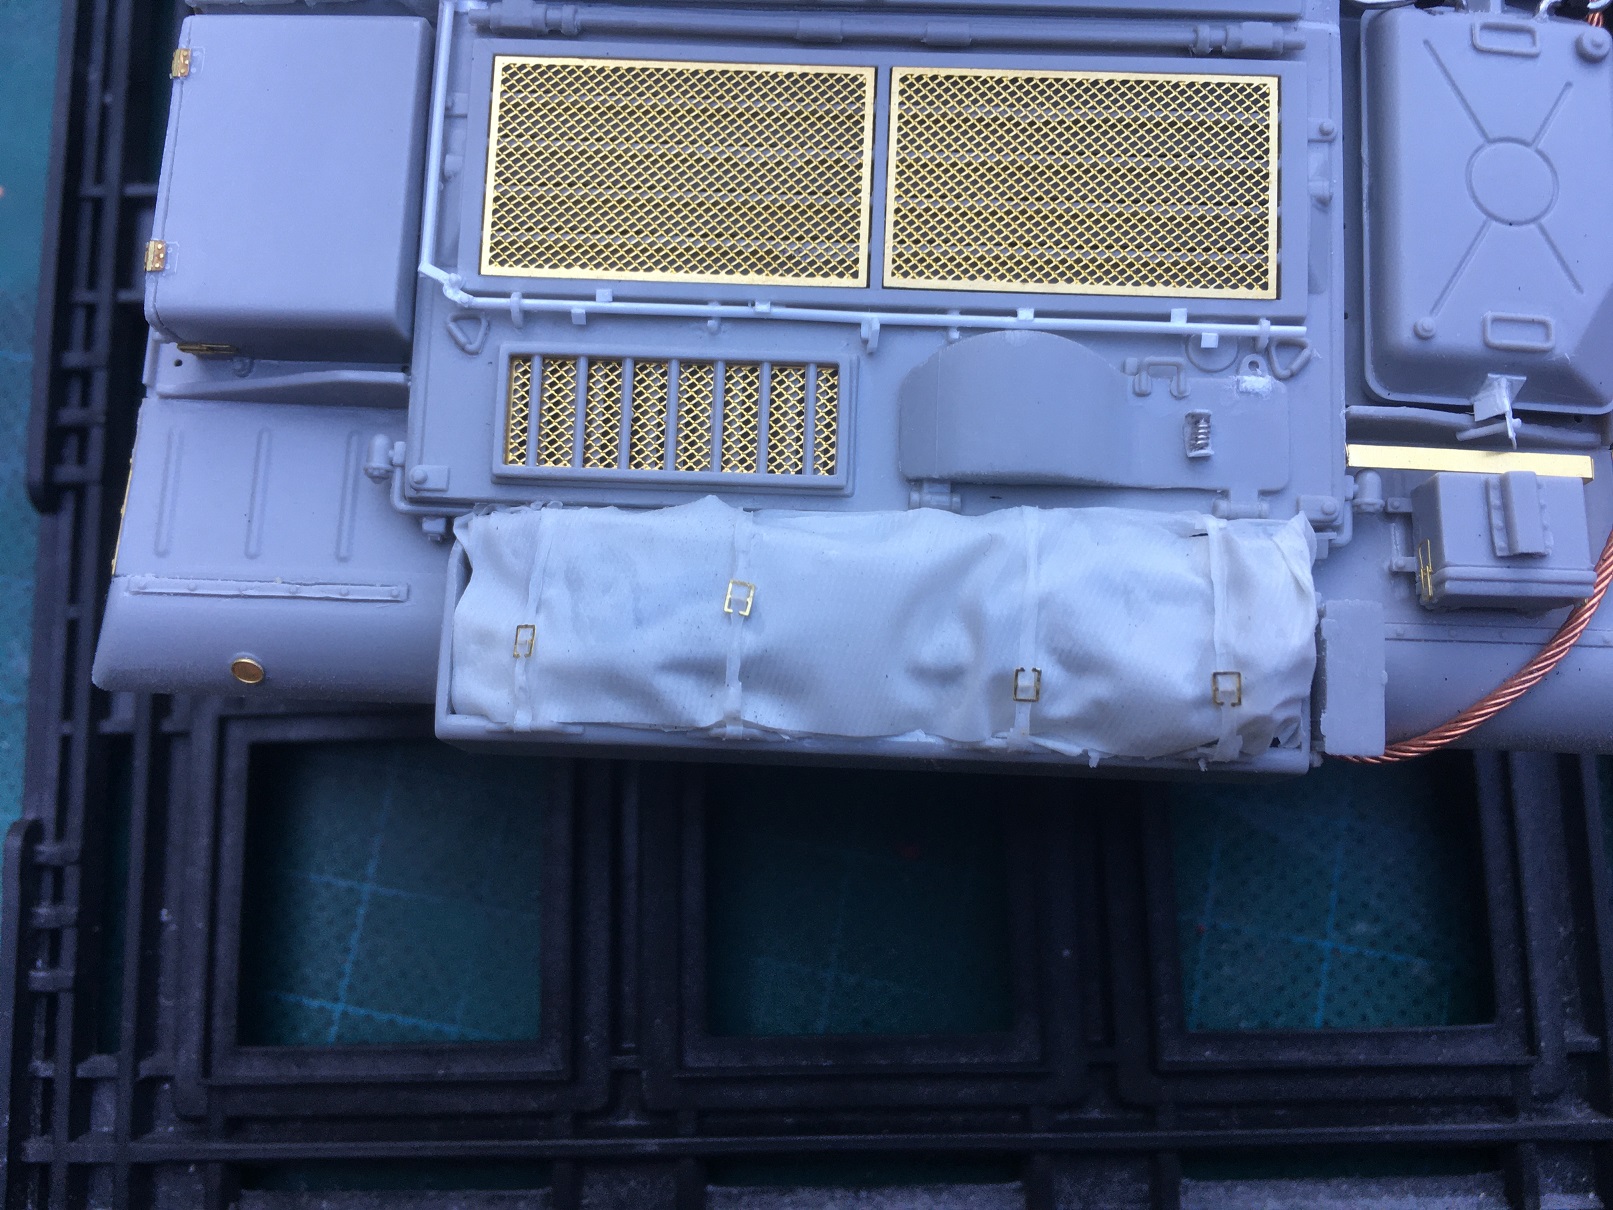
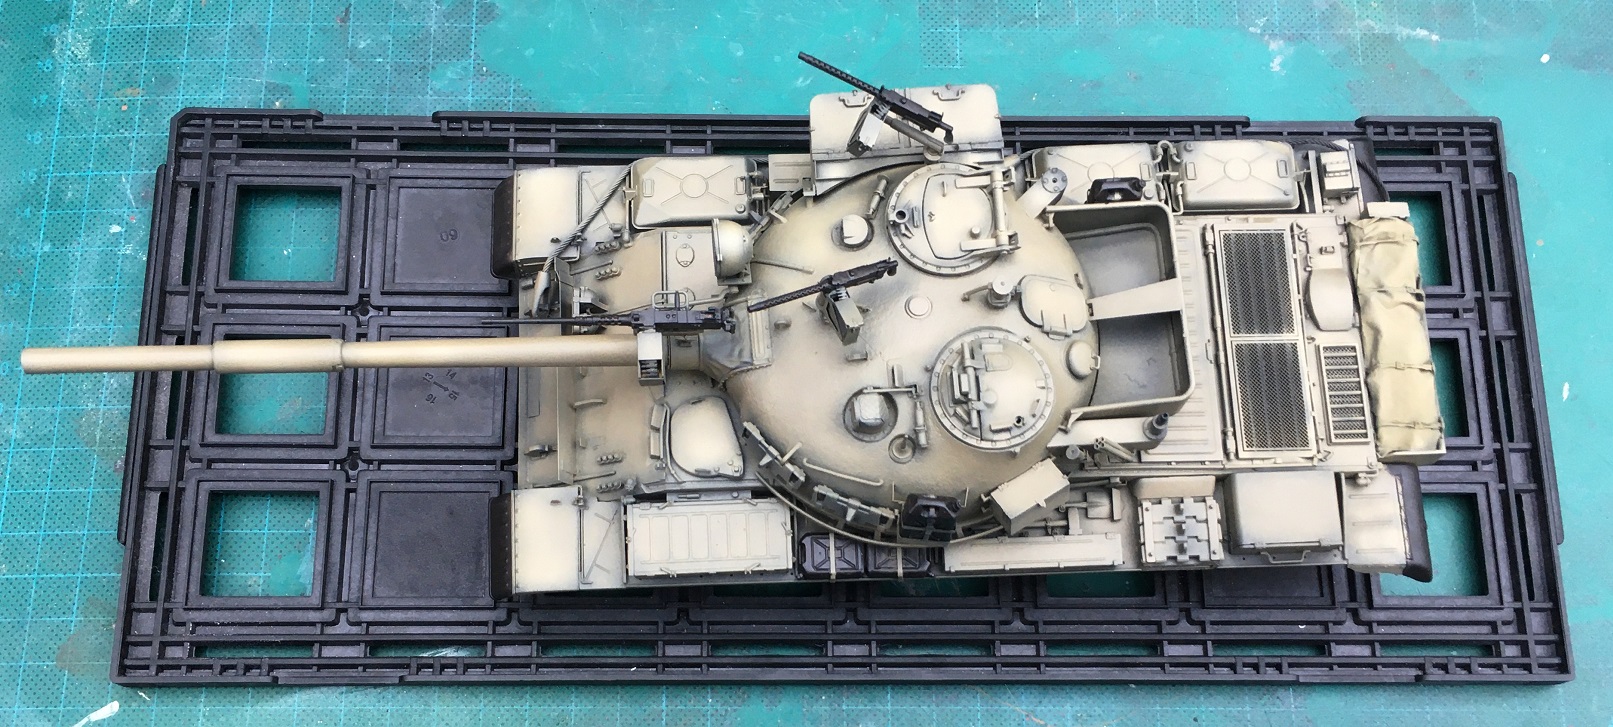
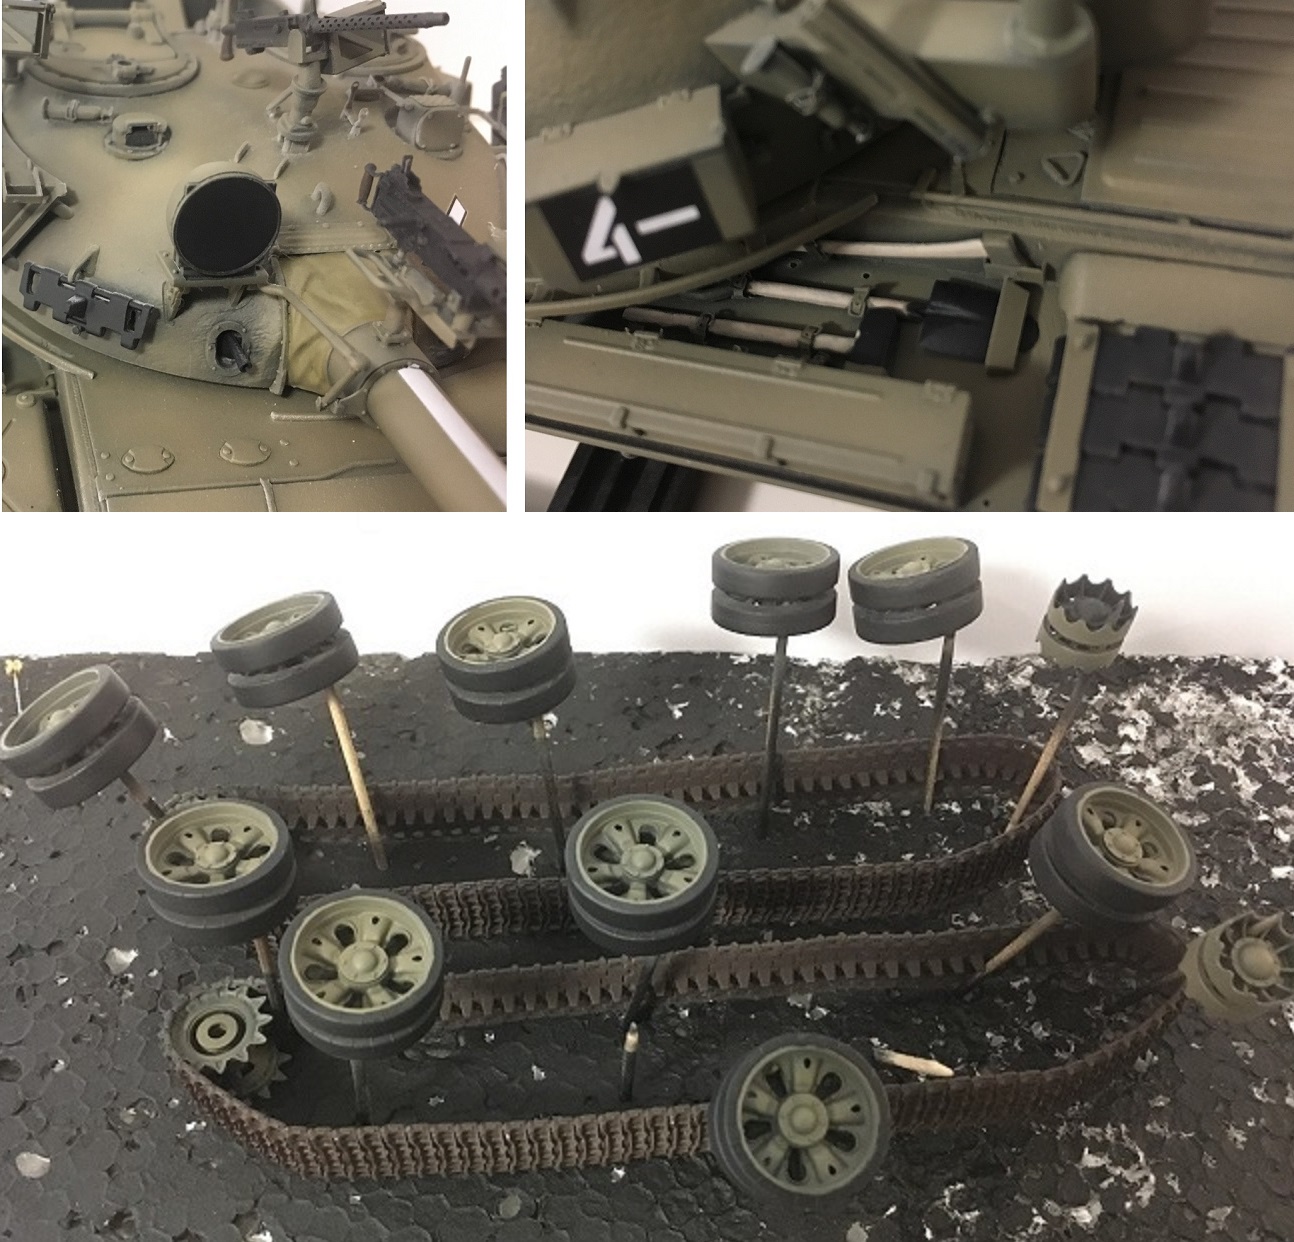
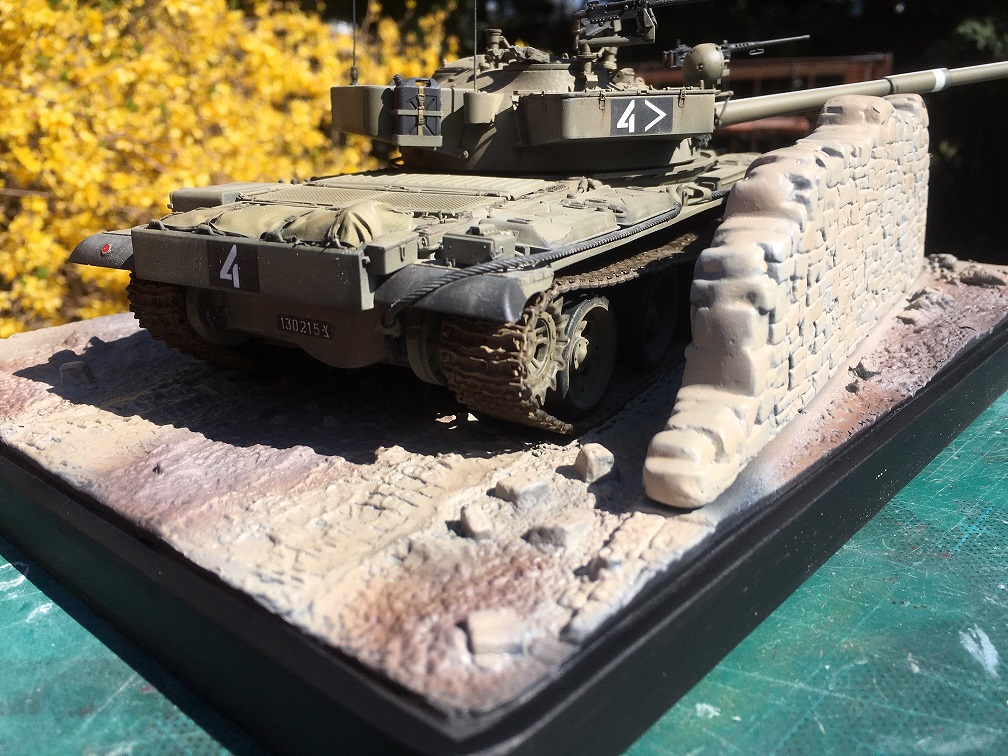
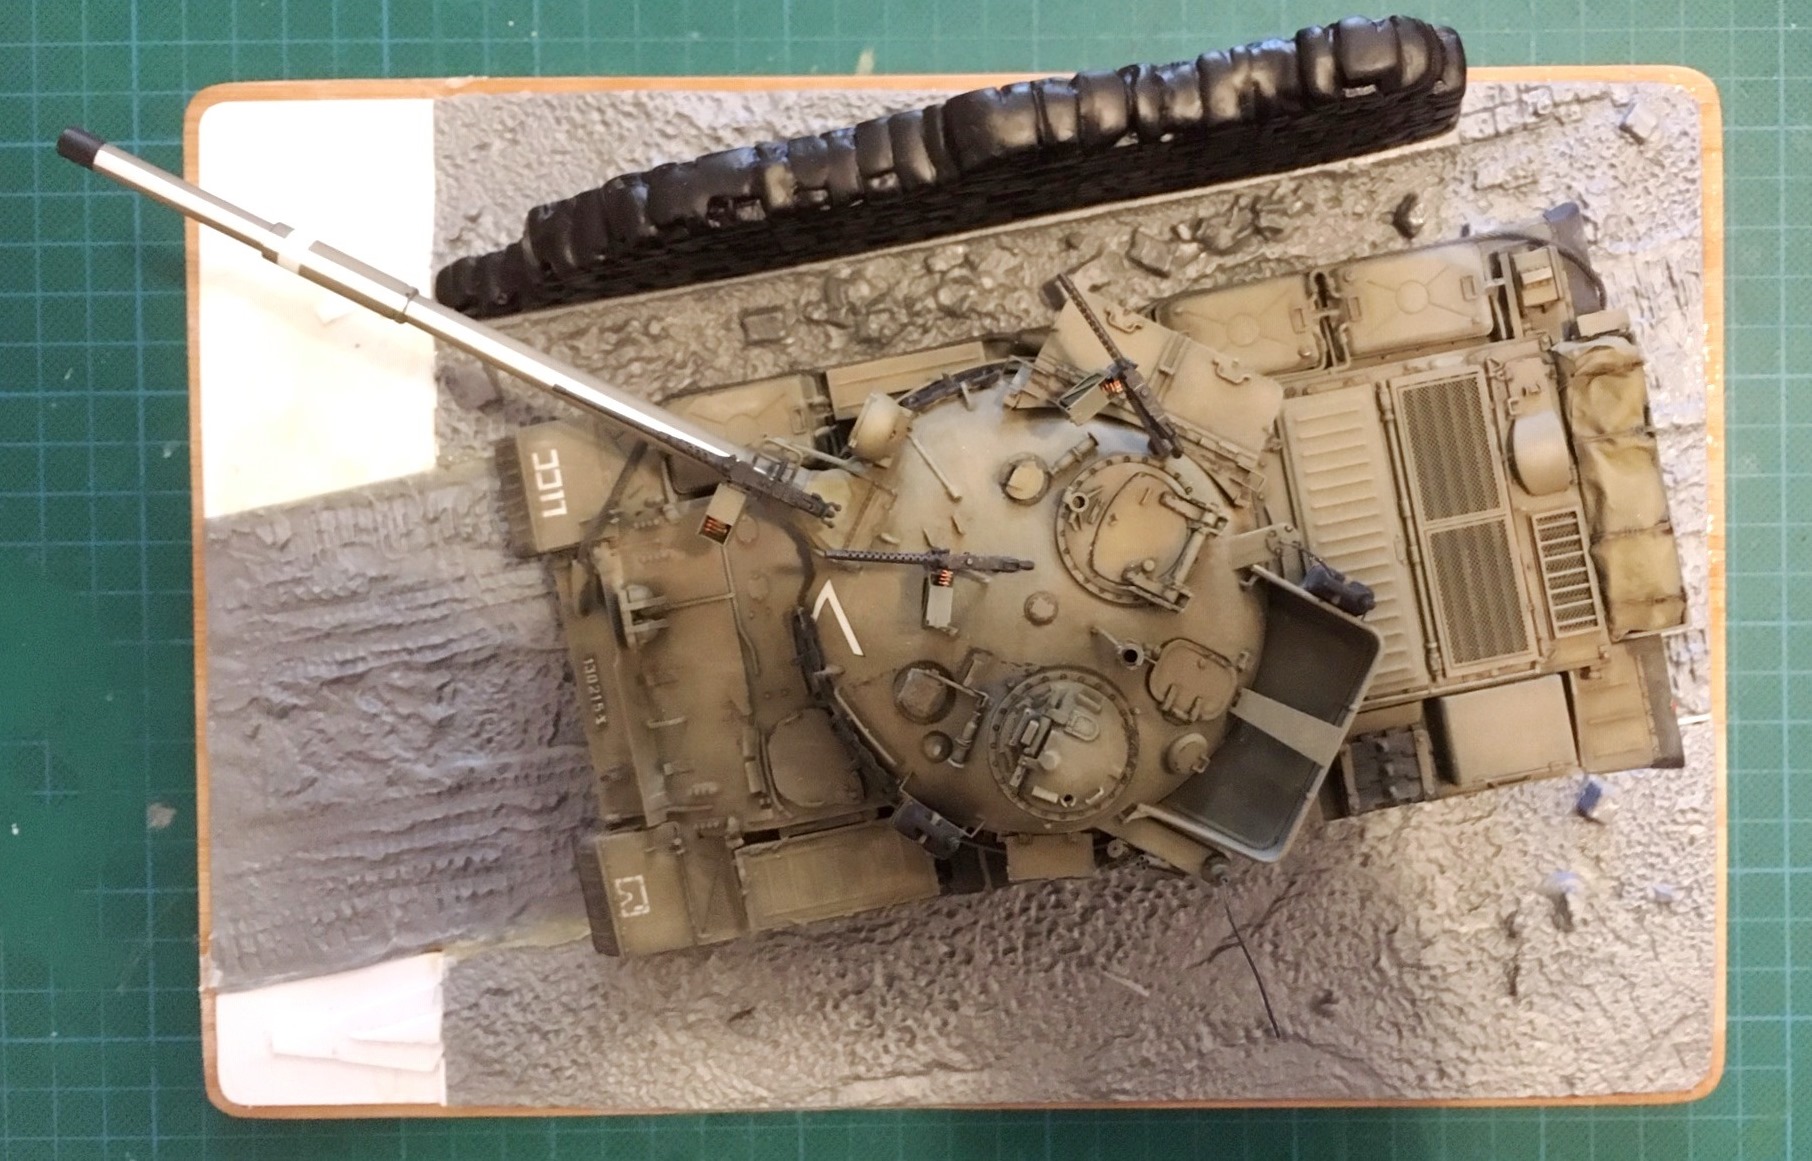
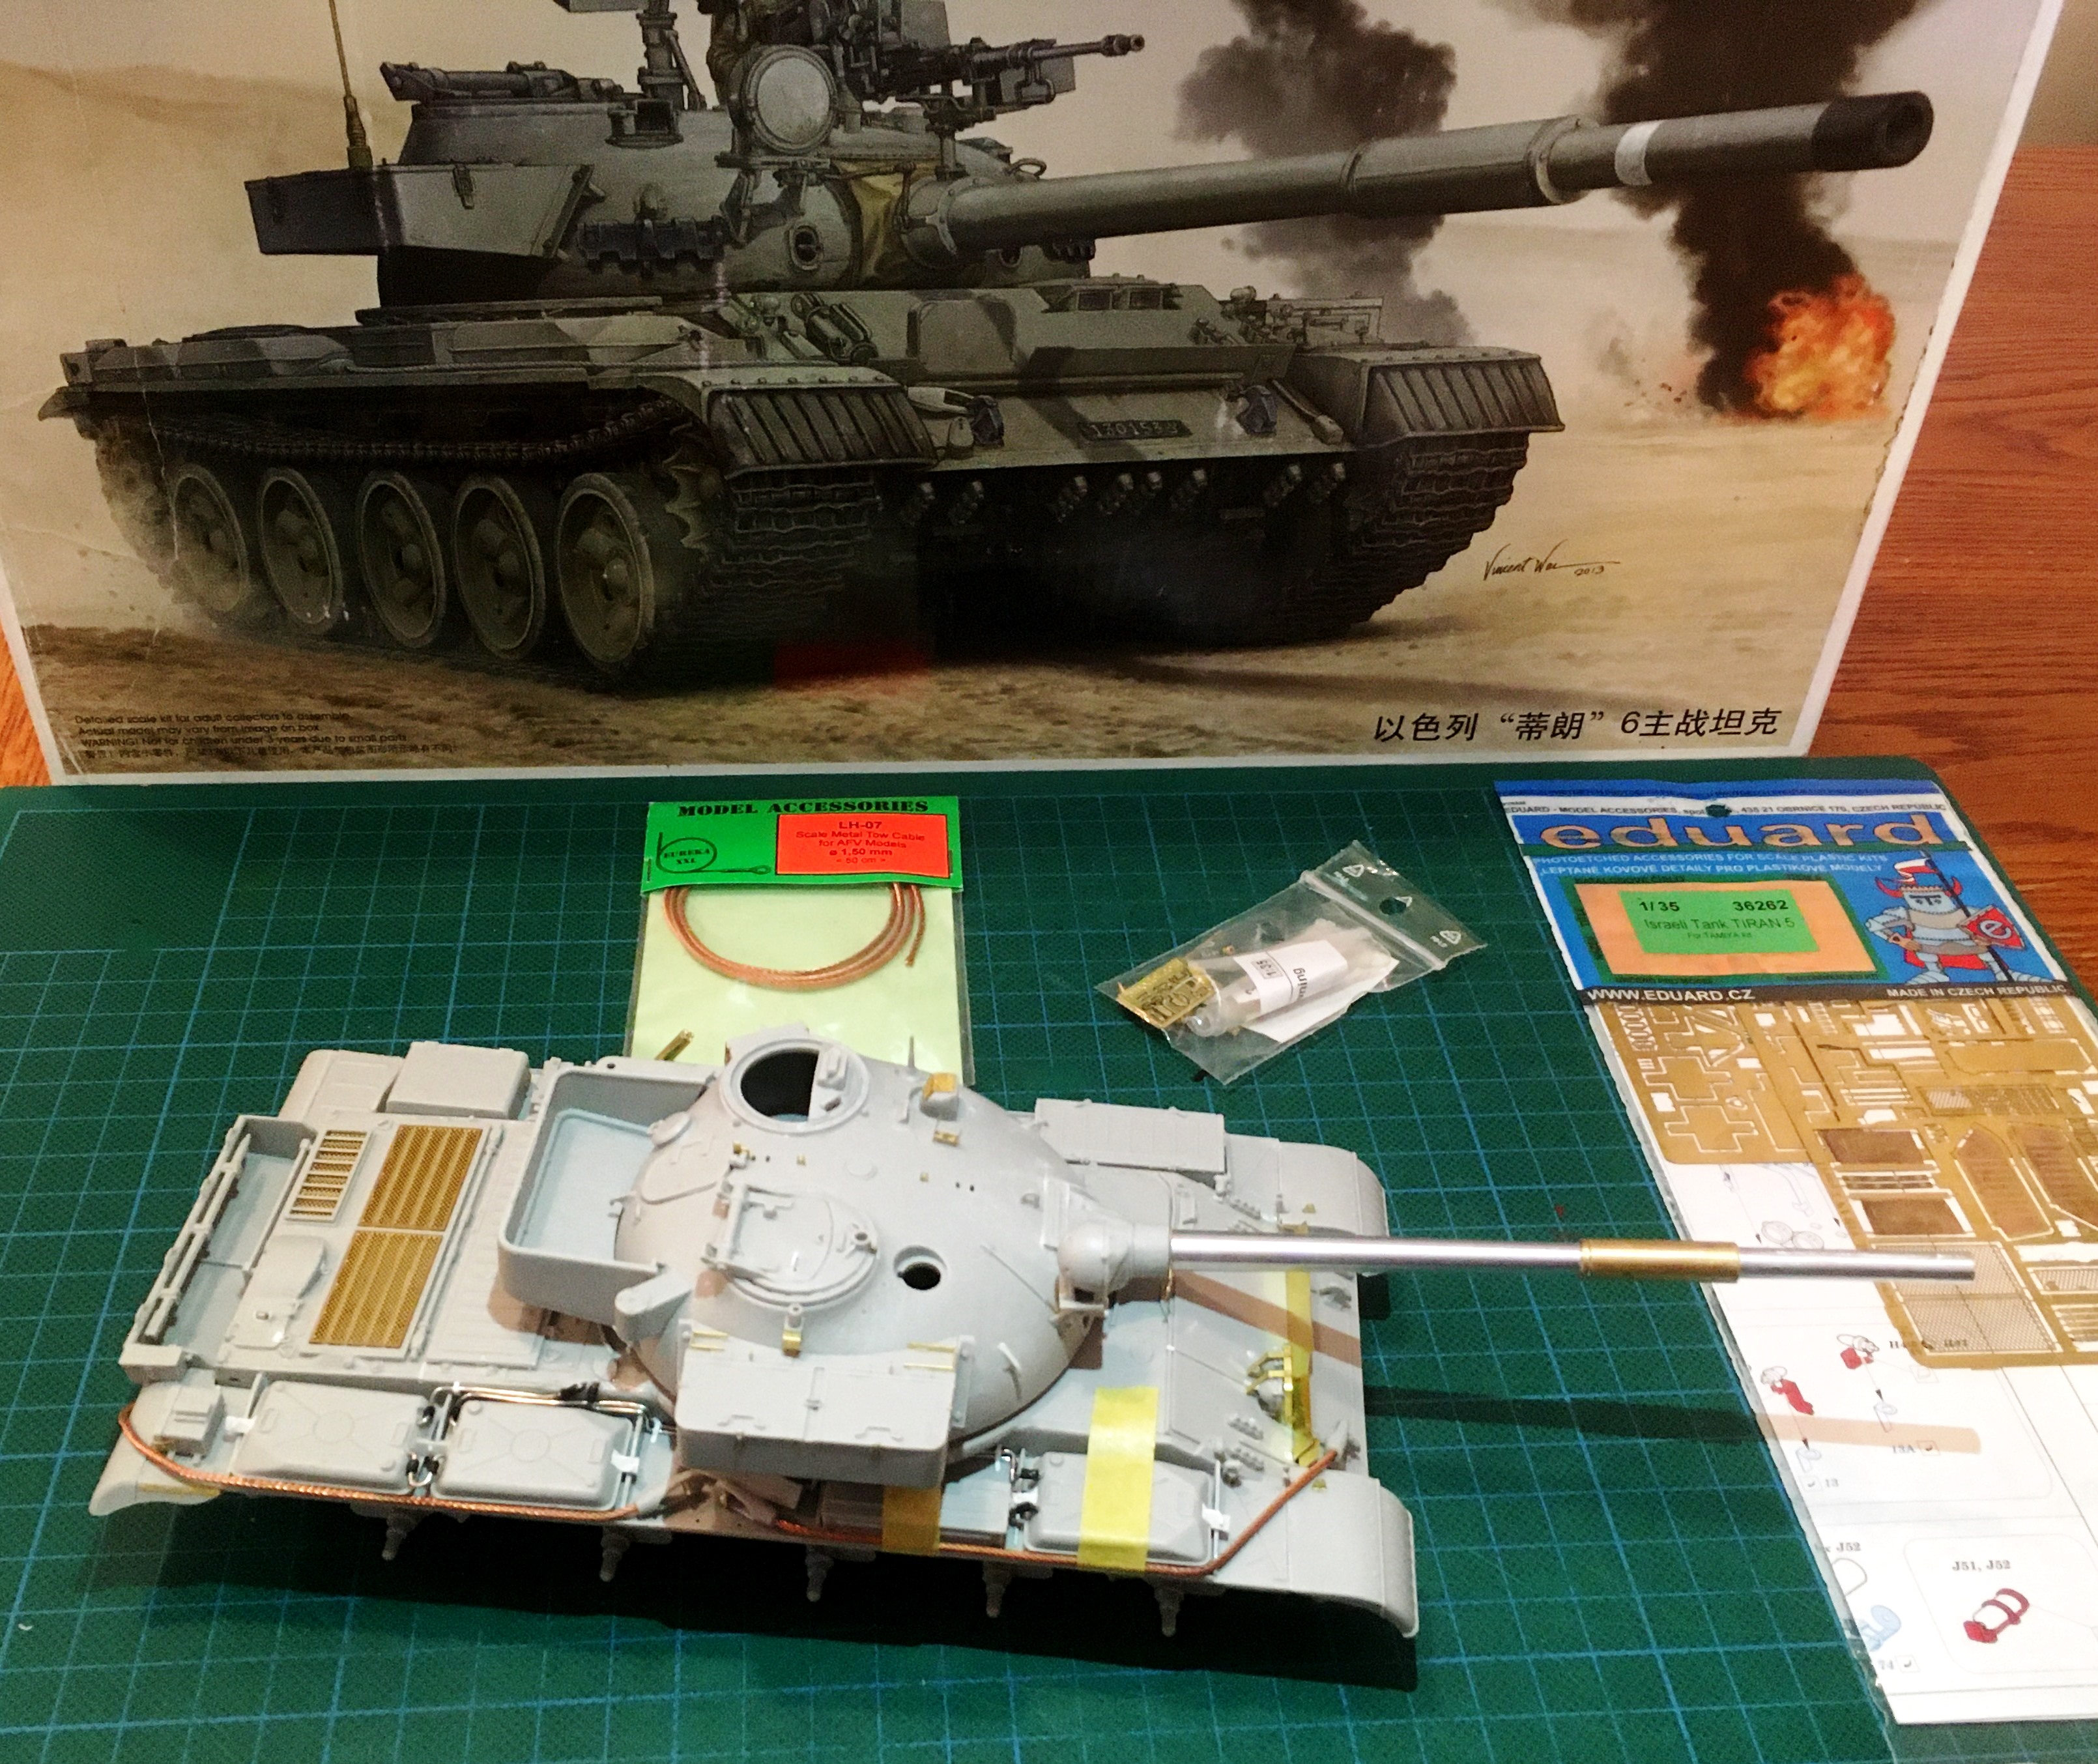
Actually the Tiran-6 painting process is finished by now, all filters, weatherings applied, minor details painted (except the fire extenguishers). The last step was to re-install the wheels and tracks which were removed during the building process as I usually do.
But this time the right side track was causing lot of problkems for me as it was strangely shorter than needed for the re-install process. It could happen that during the drying time I moved the loose tracks a bit closer to each other and also the top section was pushed downwards to have a more visile sagging. I have no clue but finally I was not able to put back the track and the wheels onto the hull. During the desperate attempts I finally broke the track (actually both sides) and I had to insert one-one extra tracks, too. Once it was put back, the right side track looks so silly that I lost all my motivation to finish the project. That is why there were no photos taken nor any progress reported.
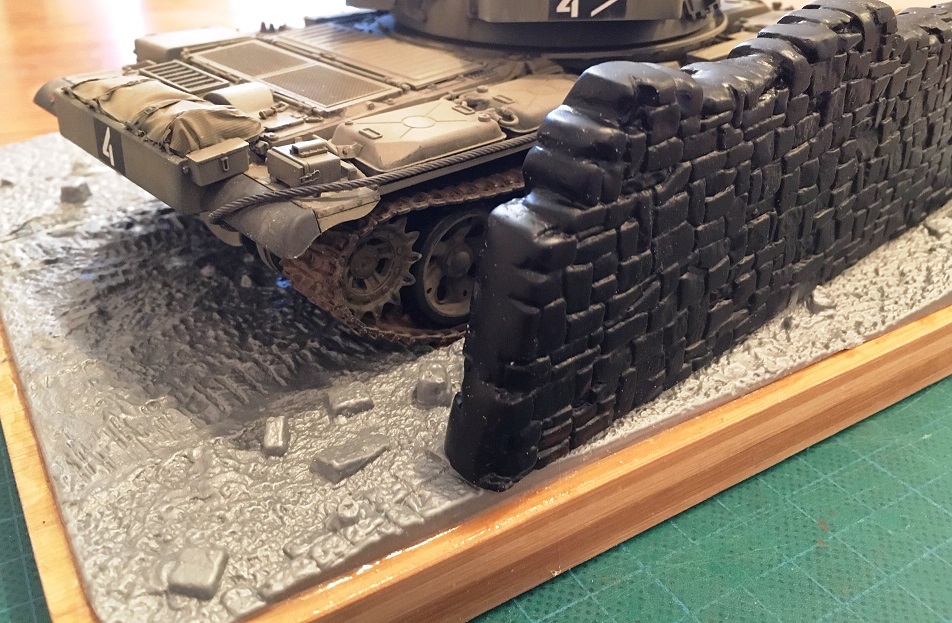
BUt surfing on the internet I have found the Miniart Country Road diorama which has a mid-high stone-wall section nearby the space designed for the scaled vechile. It was perfectly the same scenery which I imagined about the Tiran-6, partly hiding beside the wall somewhere in the Golan or Israel homeland or so.
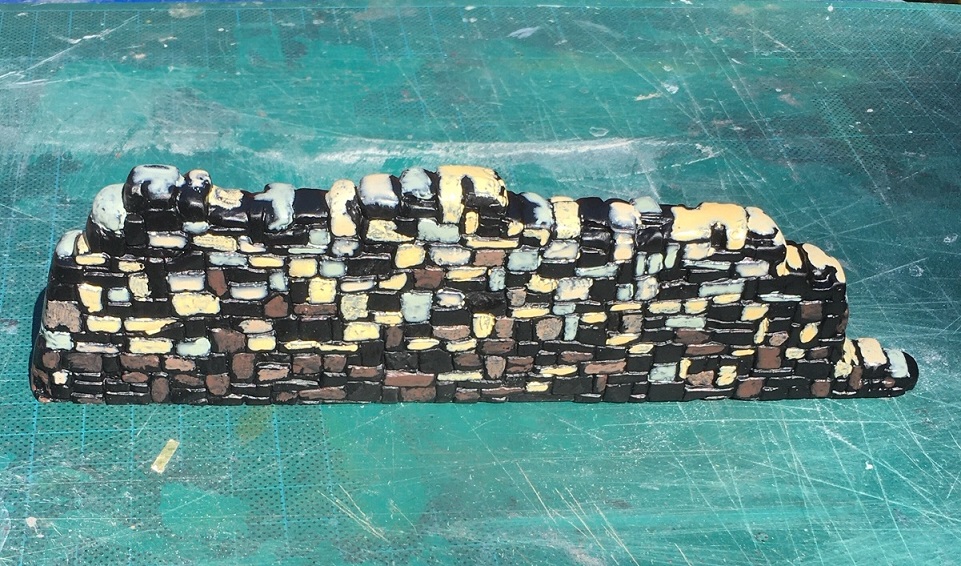
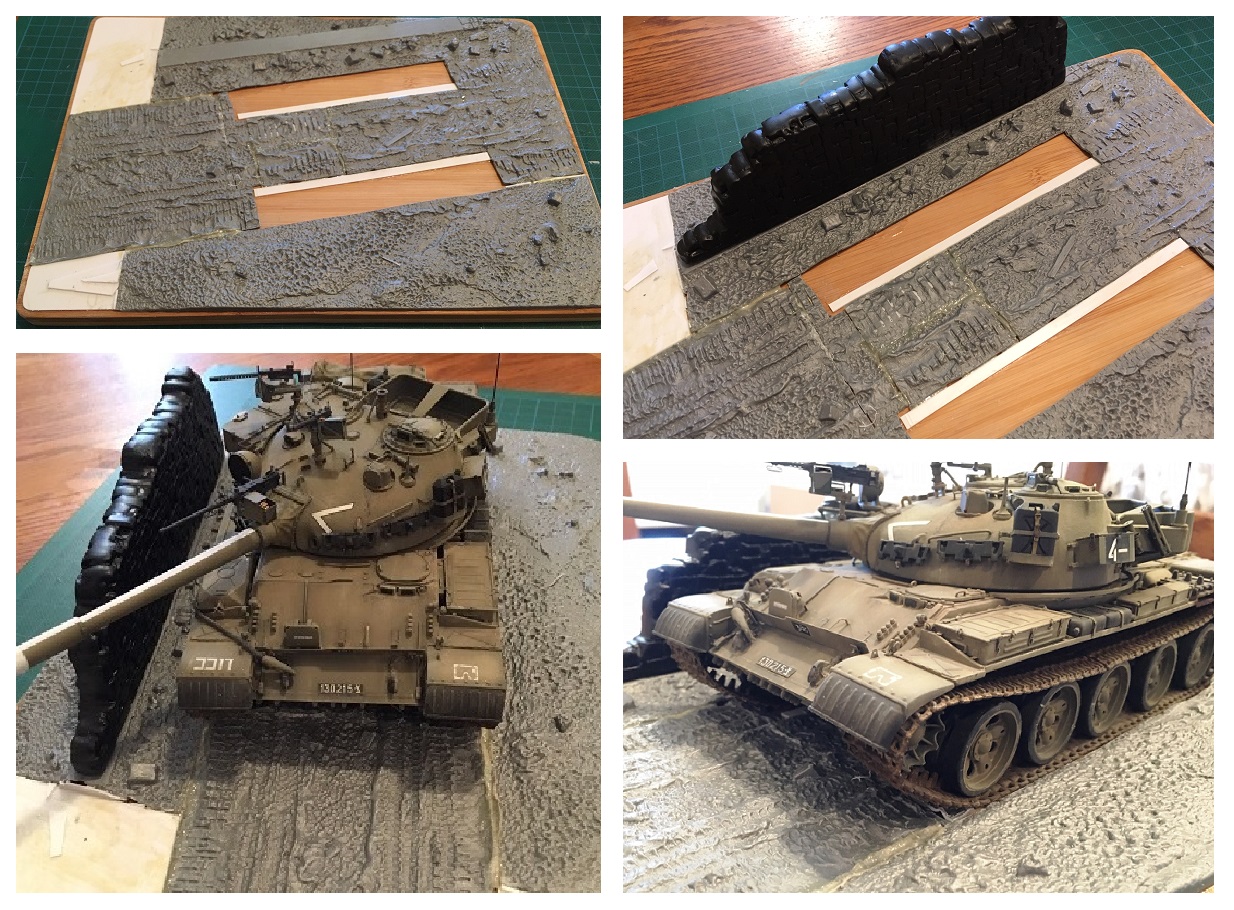
I ordered the Miniart dio set and once received it was looking very nice. The base plate was already cut by size but the wall shall be built from two halves. I have checked a buildlog on the internet where I learnt that it is highly recommended to use scriber for cutting the wall halves from the surrounding vacuum formed material and to glue them using reguilar modelglue.
https://www.youtube.com/watch?v=5q3tvTEt5HoAfter cutting out the wall halves I realized that there is hardly any "fit" or so, they are so much offset or on the top or on the bottom side. Also I learnt from the YT video that it is recommeded to apply surfacer or putty onto the top stones to have a nice, smooth, stoney (stony?) look, rather than the silly cut and awful look. And anyway, what would I expect from a cheap vacuum formed kit? It is not a Tamiya Shake&Bake set...
All this was done and after the putty dried (I let it dry for a whole day) I placed the Tiran and the wall onto the base plate and saw that the wall is bit higher than ideal. So I decided to cut off the very bottom row but as the halves were already glued together (stupid me...) it took me a good 15 mins to carefully scribe both sides and torn out the non-needed row.
The next challange was to sand-off the top surfaces. Actually it went OK where I applied enough putty but there were two small places w/o putty and the determined sanding resulted two holes. It was impossible to fill them up as the wall is full hollow (the filling material would simply fall inside) so i glued two littel plastic pieces onto the holes and applied some putty to uniform them into the wall-stone.
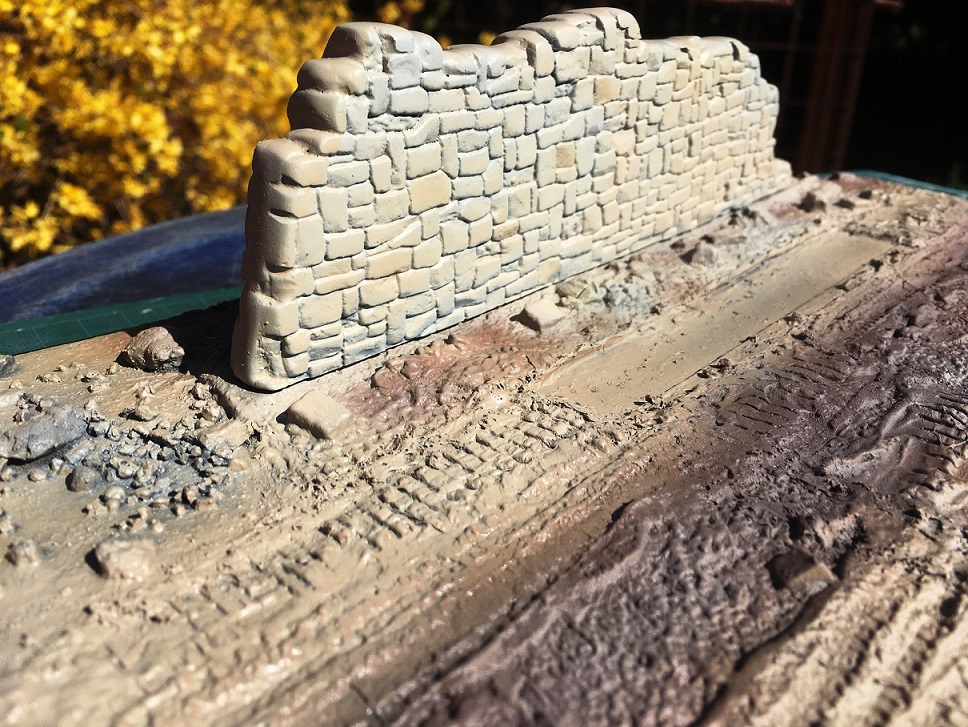
Another round of sanding resulting another small hole and a repeated touch-up was needed. Anyway, ther third attempt of sanding had a perfect result and I could prime the wall with Mr Gunze Black Surfacer 1500.
The next issue was the base plate. Although it is quite big, it was just a bit wider but much shorter than my regular wood base, so I had to do some heavy modification using my surgery skills.
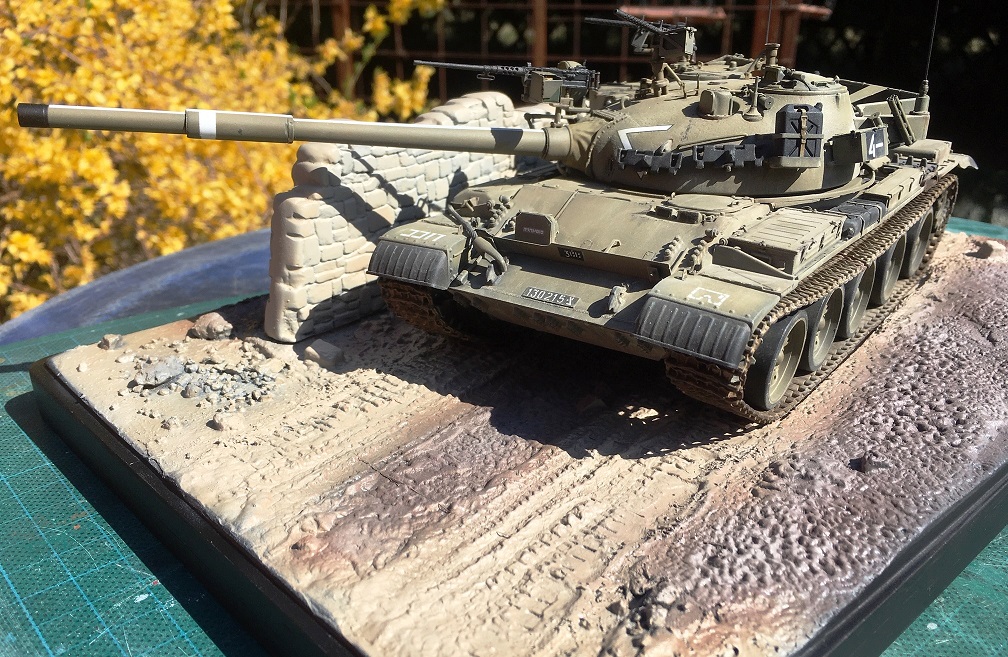
Actuially I think this diorama kit was designed for the WWII sceneries as the pre-formed vehicle (wheeled adn tracked) traces were a bit closer to each other than the Tiran track distance. Therefor the model was floating in the air when I placed it into its place. So I decided to cut out those sections where the model will be resulting the tank sitting into the diorama rather that foating above.
Also this decision helped me with the length problem. The removed mid section (under the model belly) was pushed forward until the edge of the wood base and I replaced it with those preformed traces which were not needed at all. Also some extra Evergreen styros were cut to fill up the missing areas (you can see them white in the photo here). All parts were glued onto the wood plate and put aside for a day.
Next evening I handbrused some PVA glue onto the joints and onto the styro plates and placed some small stoned and fine sand to imitate the Miniart surface (which looks pretty OK for me, to be honest). There was than a good coat of Mr Gunze Surfacer 500 and Tamiya Putty applied and carefully scribed to minimize the differences in between the original Miniart dio plastic and my implants.
The result is here.
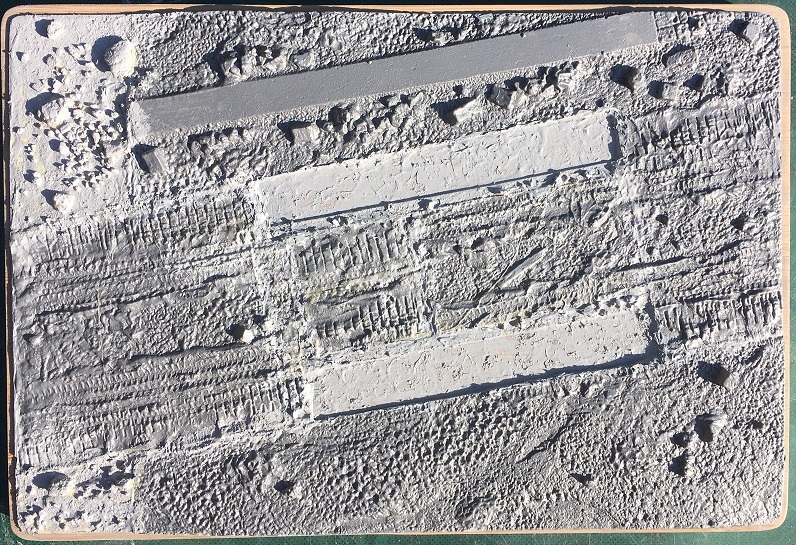
No, it is not a photo taken on the Moon surface from the NASA files but my dio, indeed! It looks AMAZING, isn't it?
After 10 minutes of delectation I sprayed the regular Black Priming Surfacer to prepare for painting. BUt that is another progress report.
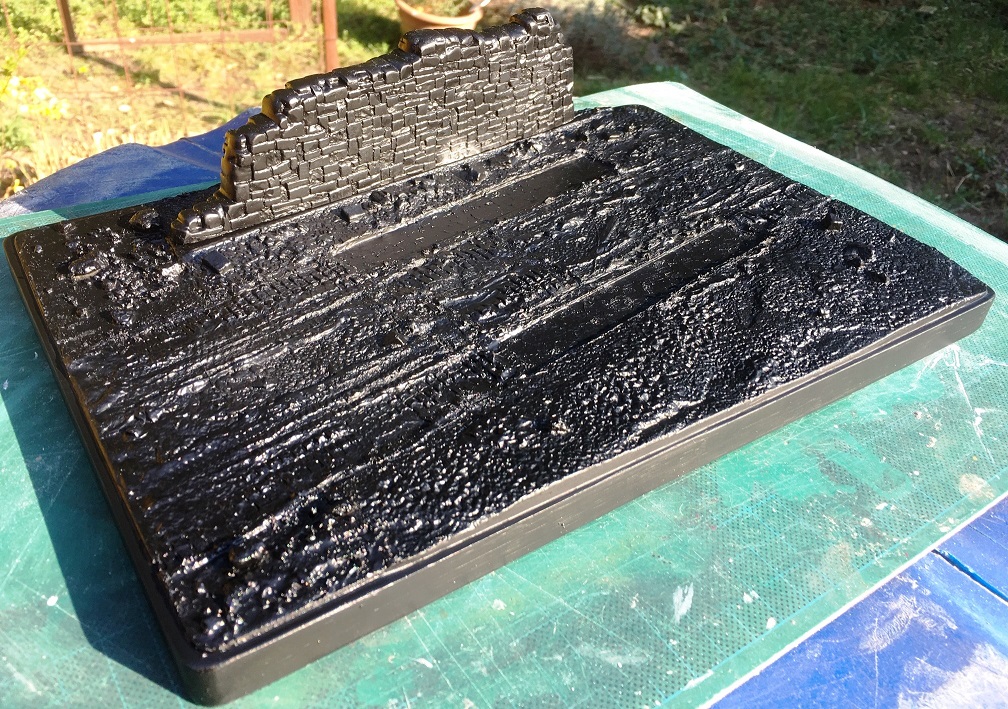
The wall is just temporarly put in place because I will need to add some putty right beside the track edges after the dio base will be painted, decorated with some veggies and finished. And a bit of a touch up...
Take care and #stayhome!
Tamás


 Tiran-6_WIP_01
 Tiran_6_WIP_06