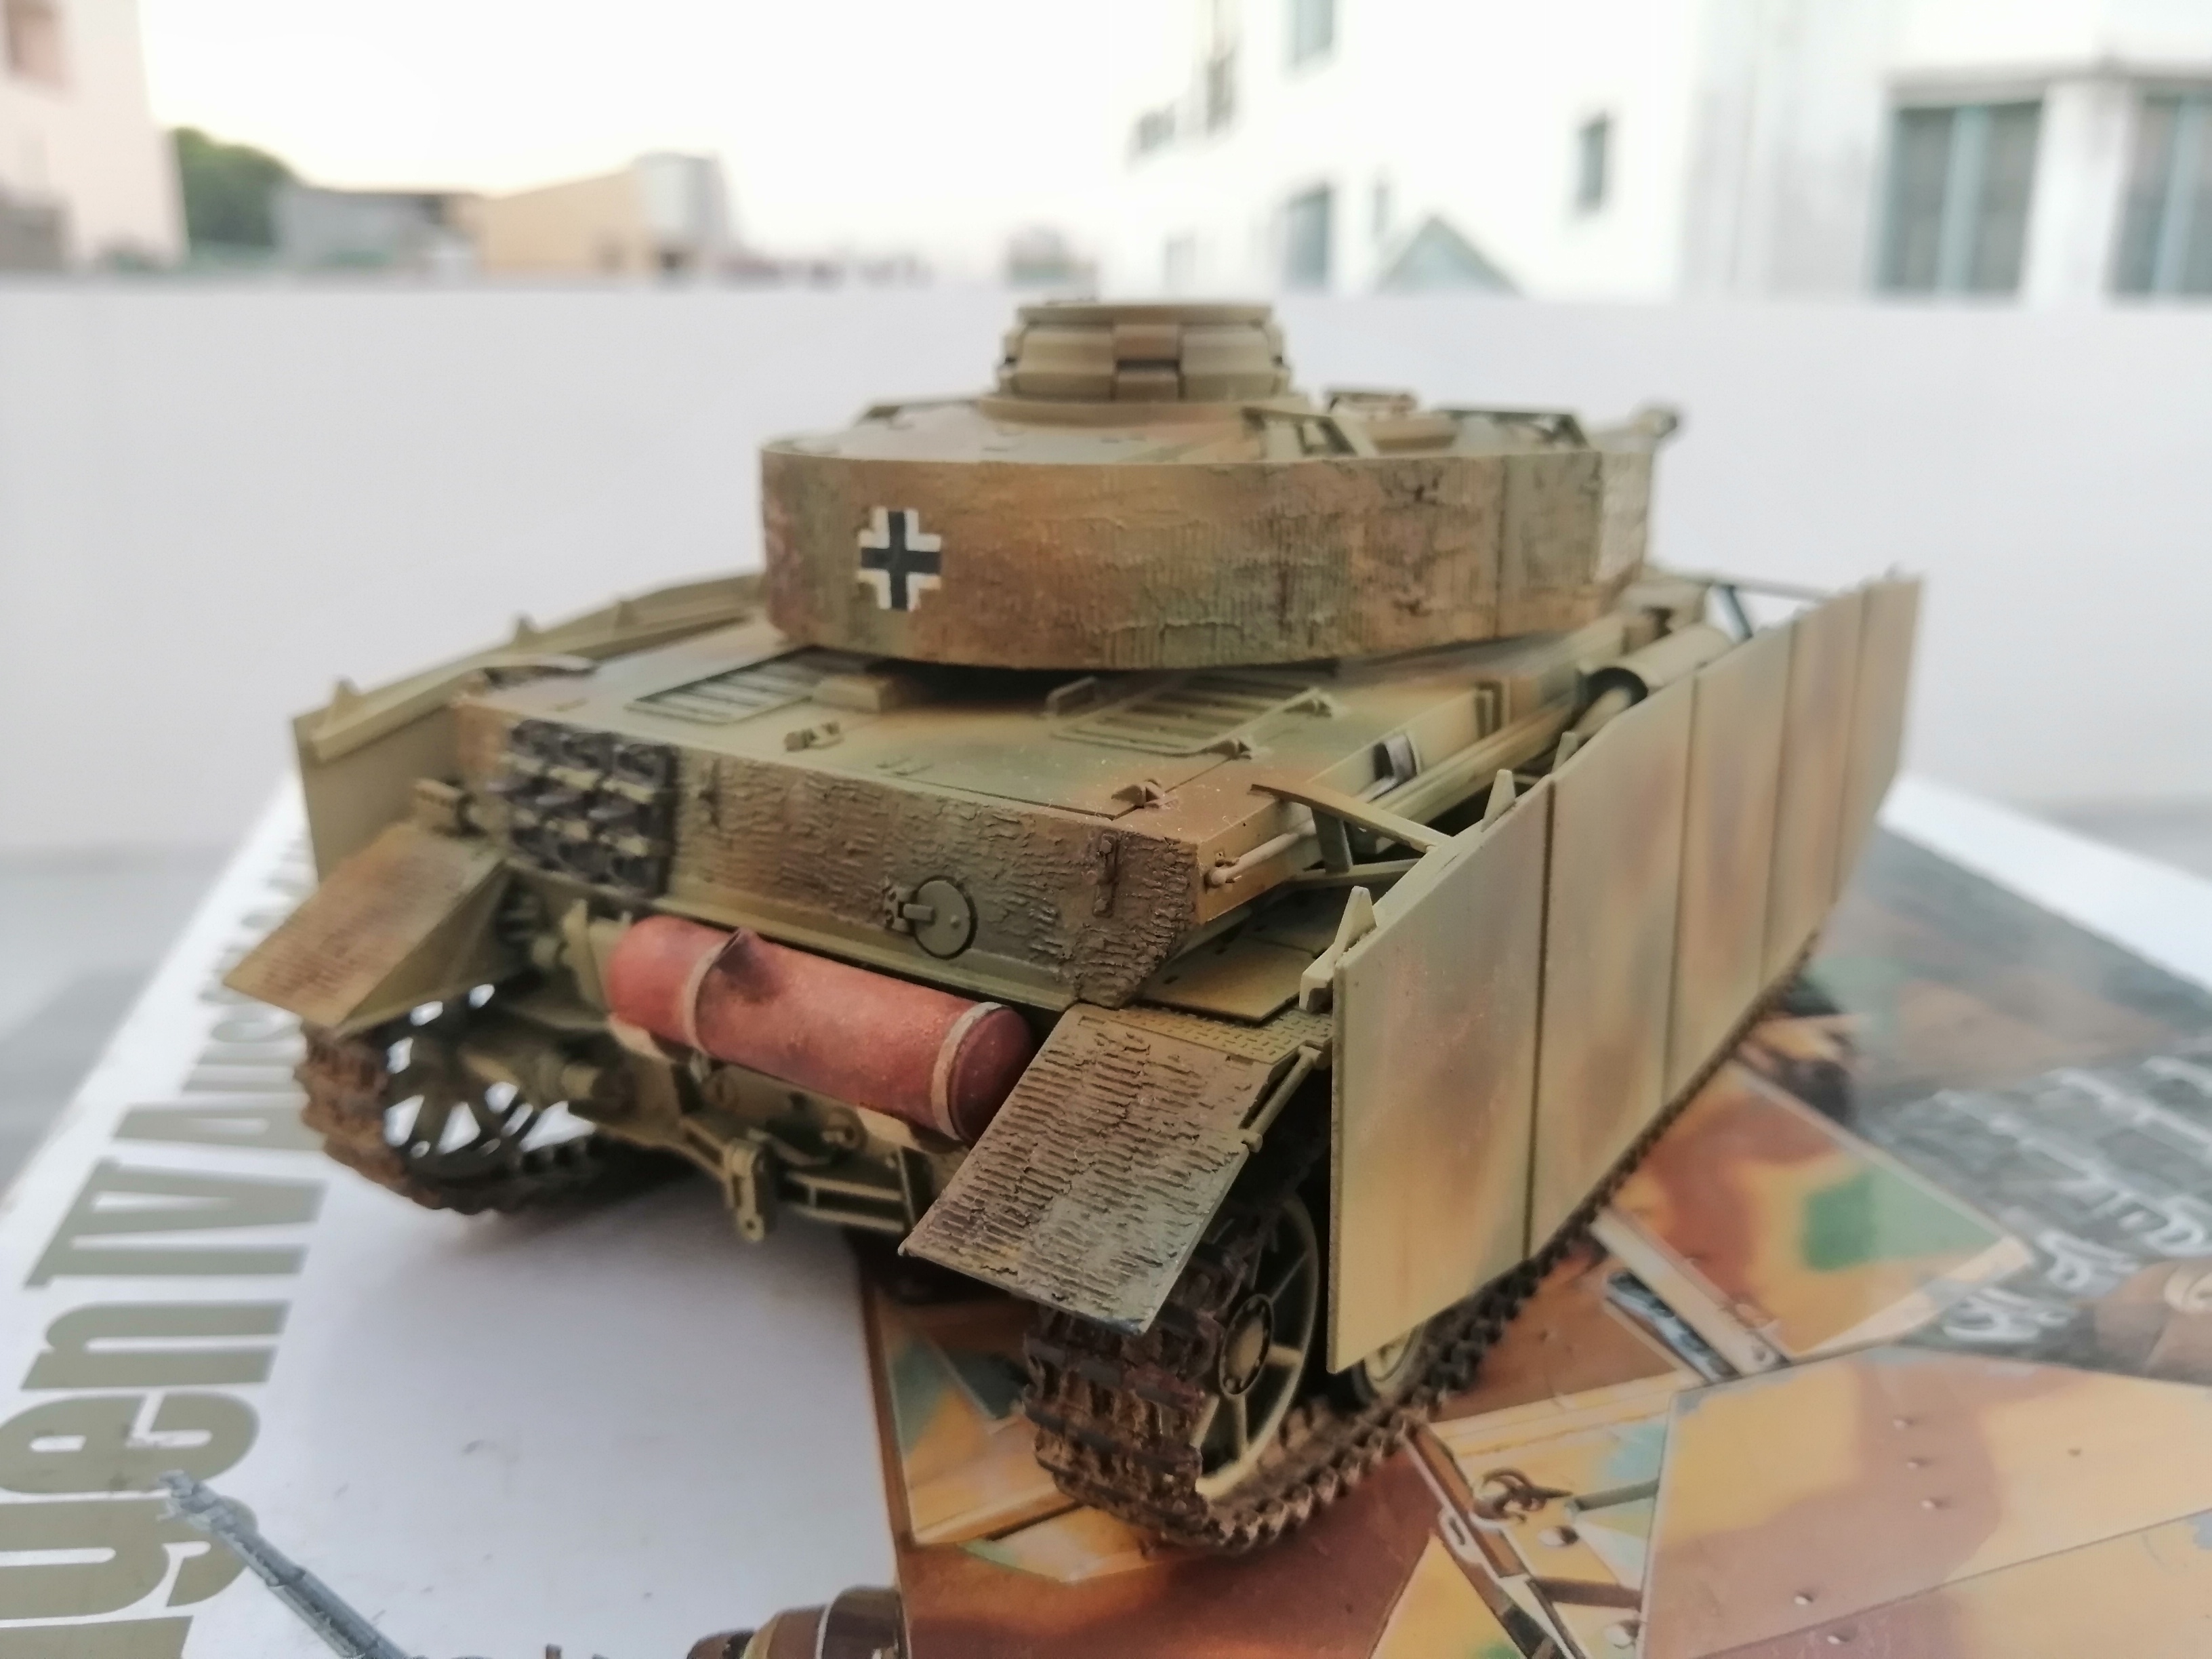
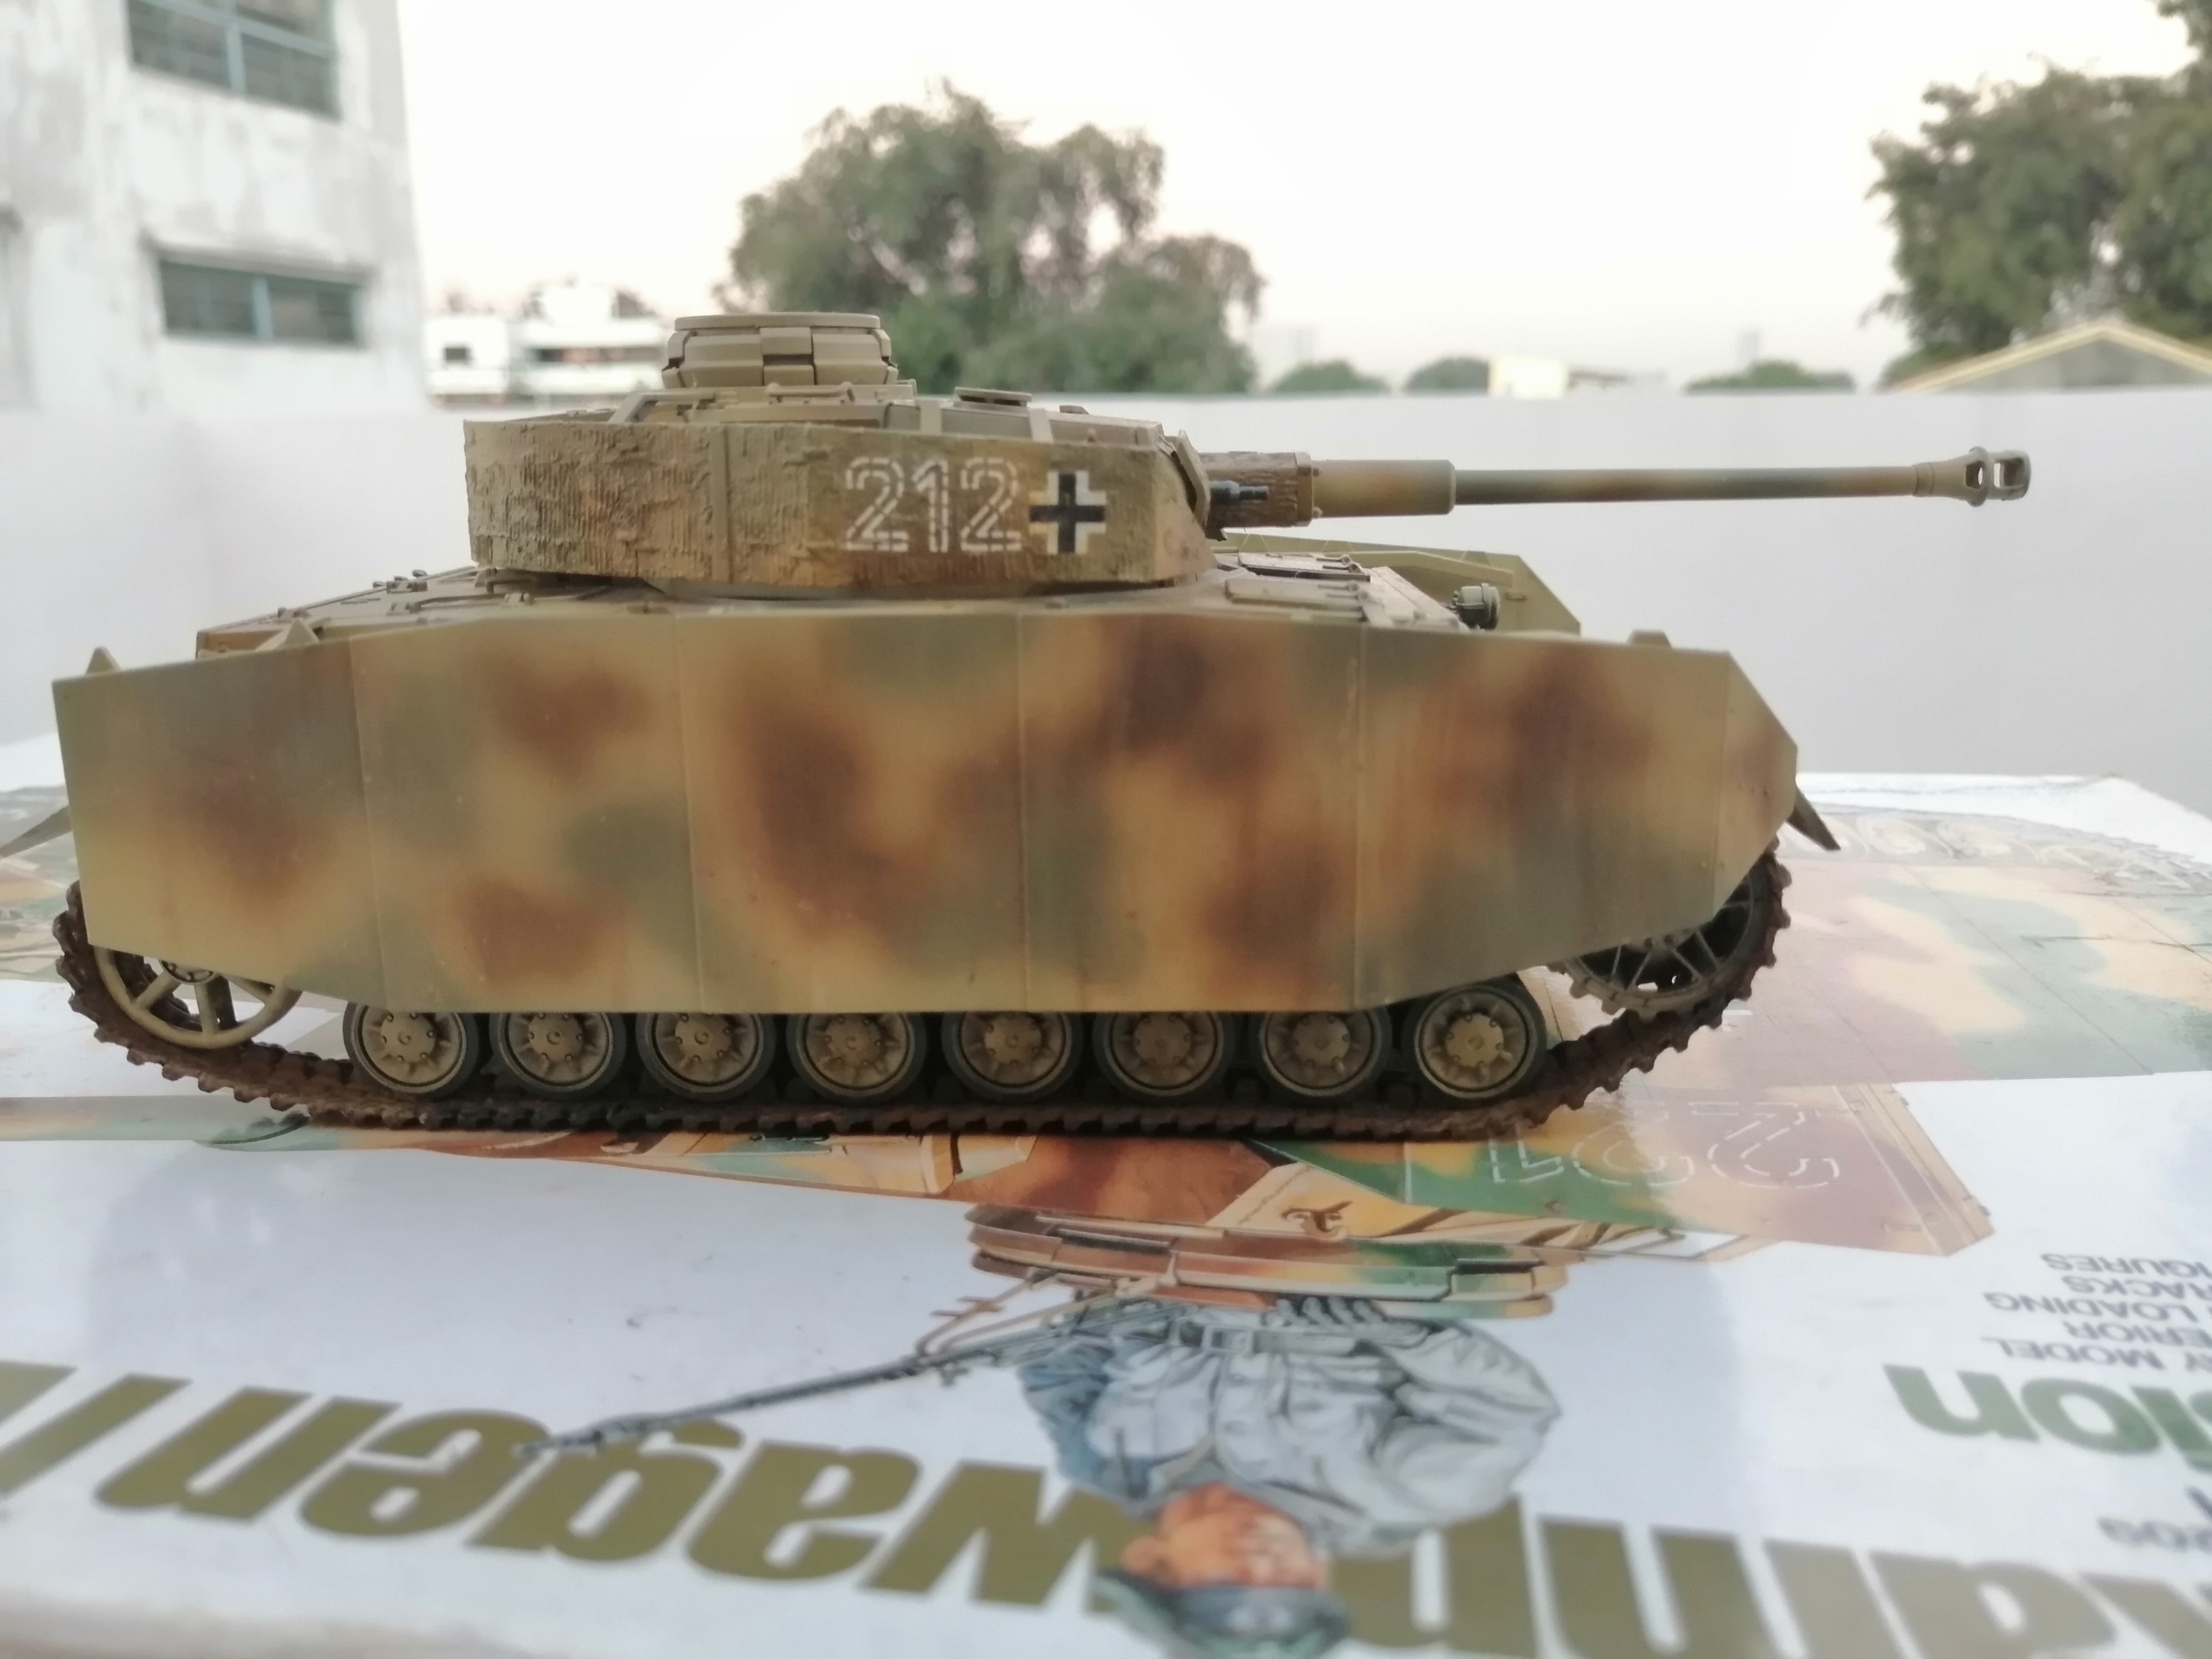
Philippines
Joined: October 27, 2013
KitMaker: 520 posts
Armorama: 488 posts
Posted: Wednesday, January 22, 2020 - 12:10 PM UTC
North Carolina, United States
Joined: January 21, 2004
KitMaker: 803 posts
Armorama: 740 posts
Posted: Wednesday, January 22, 2020 - 01:01 PM UTC
Nice job on the Zimm!!!
How did you do it, please?

#384
Nevada, United States
Joined: August 23, 2005
KitMaker: 1,426 posts
Armorama: 1,316 posts
Posted: Wednesday, January 22, 2020 - 01:08 PM UTC
Great Job!

Nova Scotia, Canada
Joined: November 17, 2015
KitMaker: 407 posts
Armorama: 373 posts
Posted: Wednesday, January 22, 2020 - 01:30 PM UTC
Awesome job on the 4h Nigel. I really like how the zim turned out as well as the paint job. Also curious as the others on your zim method. Thanks for sharing.......Dale
Philippines
Joined: October 27, 2013
KitMaker: 520 posts
Armorama: 488 posts
Posted: Wednesday, January 22, 2020 - 01:46 PM UTC
Thanks Dale, James and Joe!
For the zimmerit, I used Tamiya's Grey Putty for the base and a set of Trumpeter Zimmerit Roller Tools (https://www.super-hobby.com/zdjecia/8/2/9/1860_rd.jpg) to create the pattern. I suggest working by small sections: the tamiya putty dries fast. Also, keep cleaning your tools so that the putty doesn't form on the ridges. I find that the Tamiya Putty is better at making thin and more realistic/up to scale zimmerit than using two-part putty (although this method is a lot more forgiving and gives you plenty of time to reshape the zimm)
England - South West, United Kingdom
Joined: April 15, 2011
KitMaker: 134 posts
Armorama: 102 posts
Posted: Saturday, January 25, 2020 - 10:11 AM UTC
Have you forgotten the mg, or did it break off?
Do not leave your mind so open your brains fall out.
Philippines
Joined: October 27, 2013
KitMaker: 520 posts
Armorama: 488 posts
Posted: Wednesday, January 29, 2020 - 07:34 PM UTC
It actually went missing during the build :/ Also MIA is one of the track holders in the lower hull. I'll put them back on when I find them. I'll just pretend that someone removed the MG on the front hull in the mean time due to "maintenance". Haha
California, United States
Joined: May 25, 2009
KitMaker: 177 posts
Armorama: 153 posts
Posted: Saturday, February 01, 2020 - 12:20 PM UTC
Philippines
Joined: October 27, 2013
KitMaker: 520 posts
Armorama: 488 posts
Posted: Sunday, February 02, 2020 - 08:01 PM UTC
Thanks Marc

I really appreciate it.


 I really appreciate it.