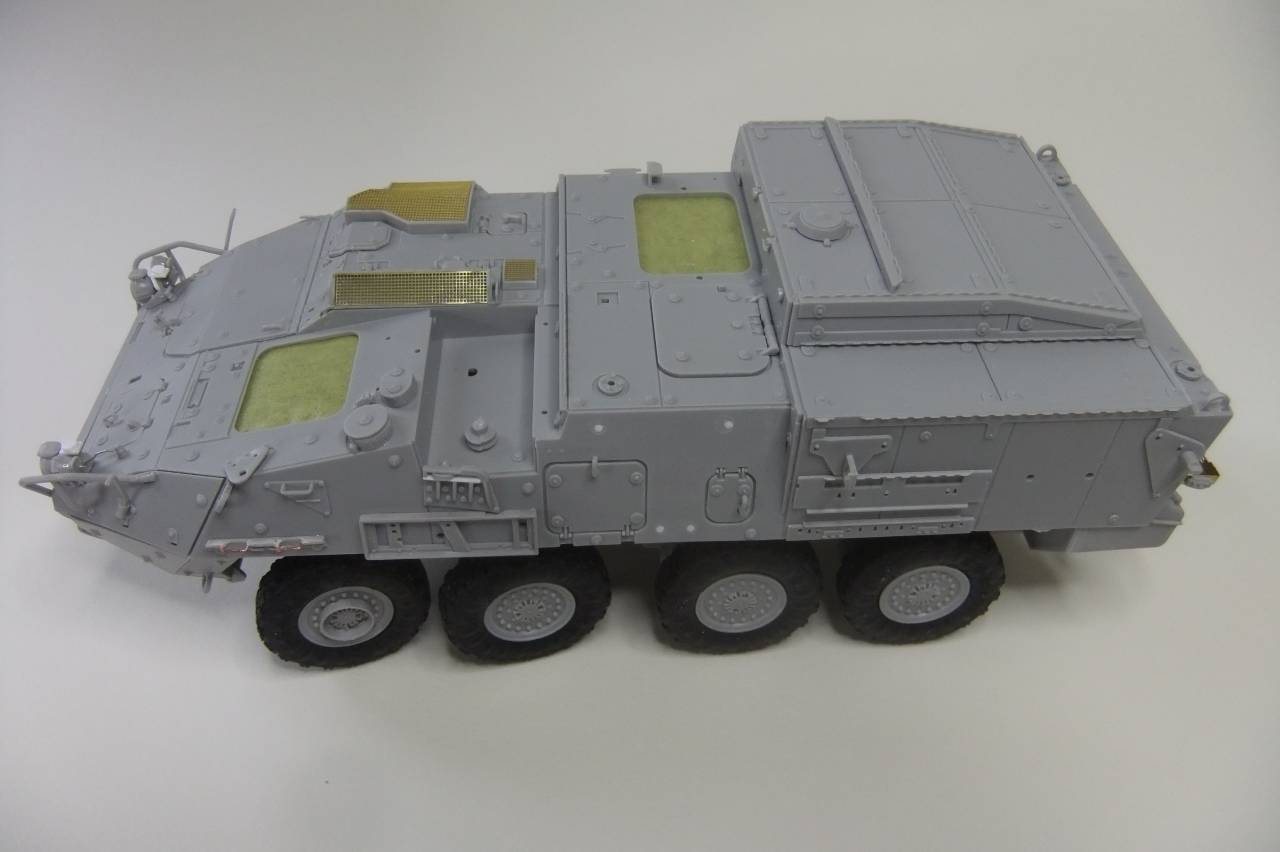
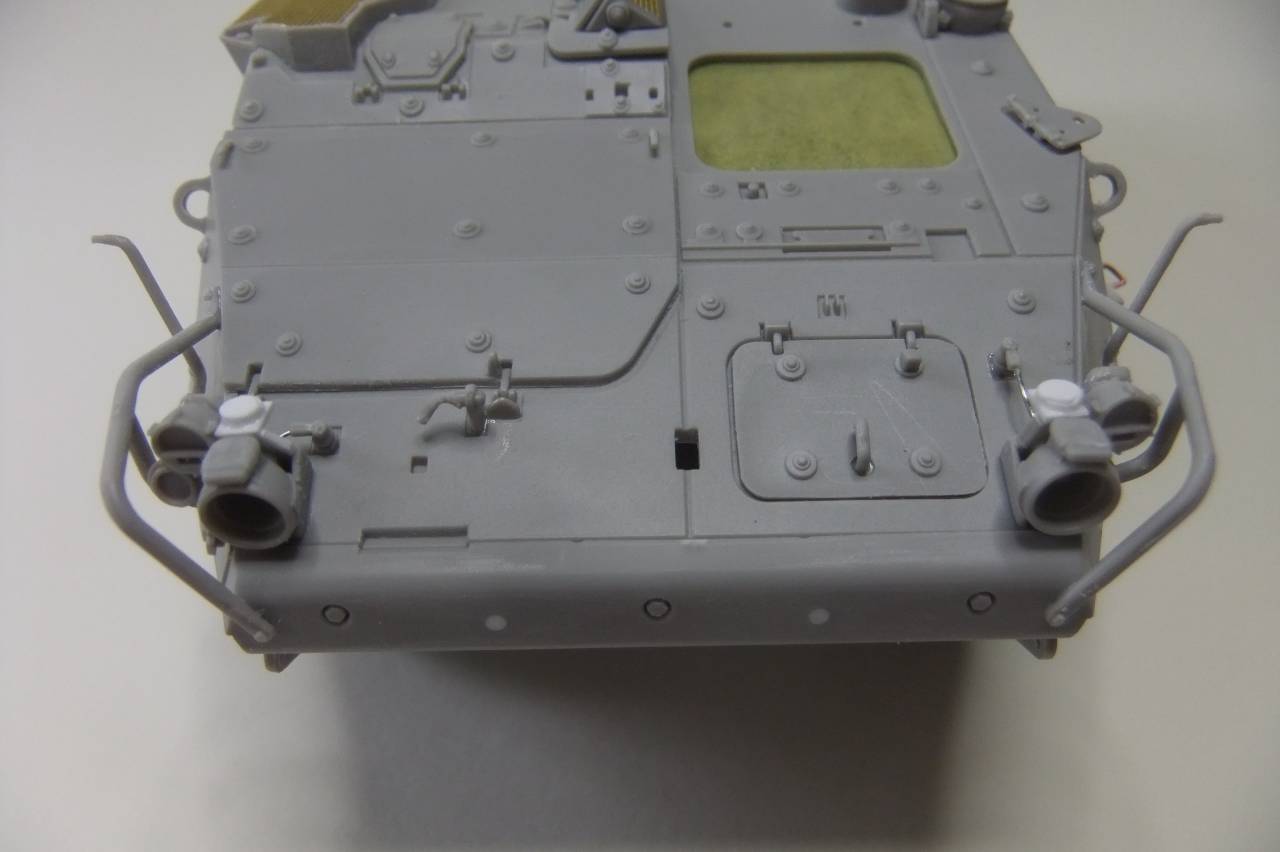
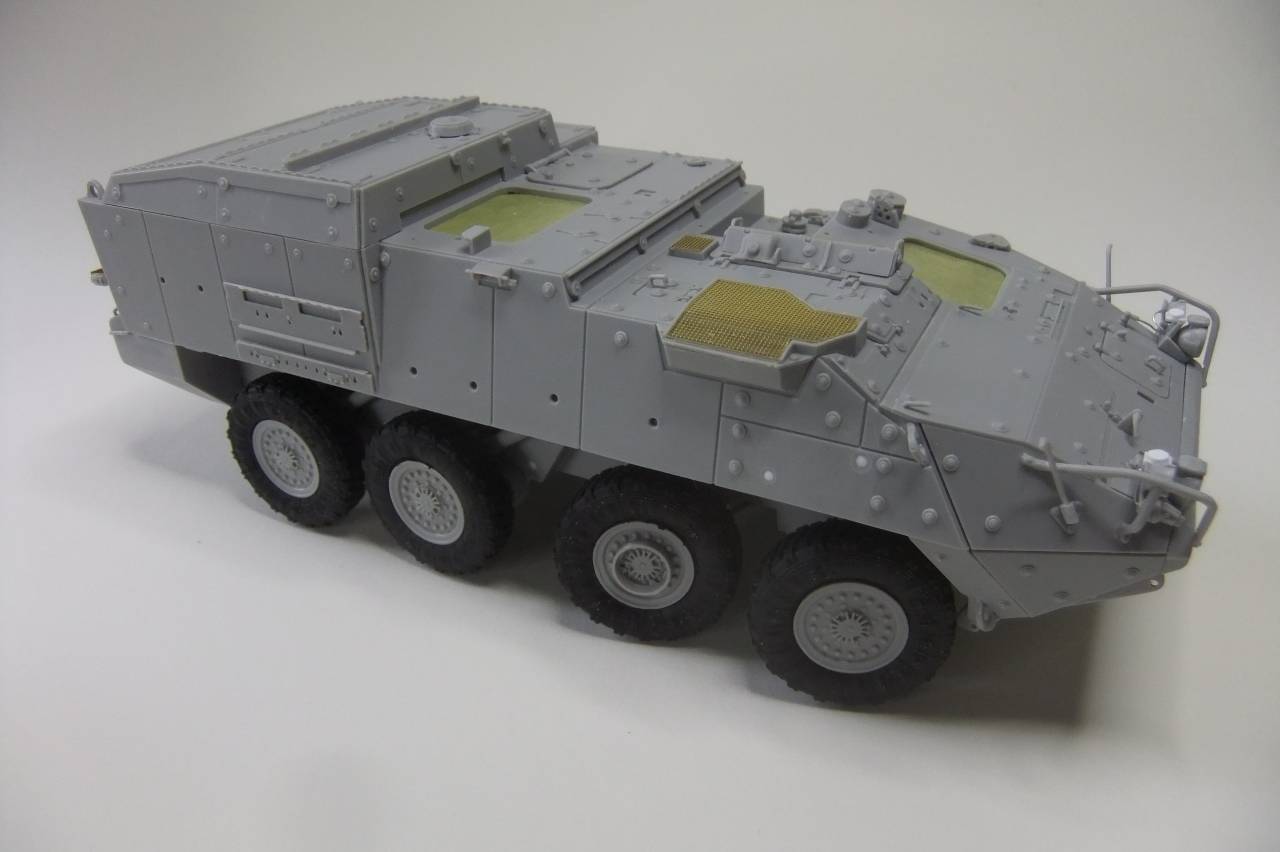
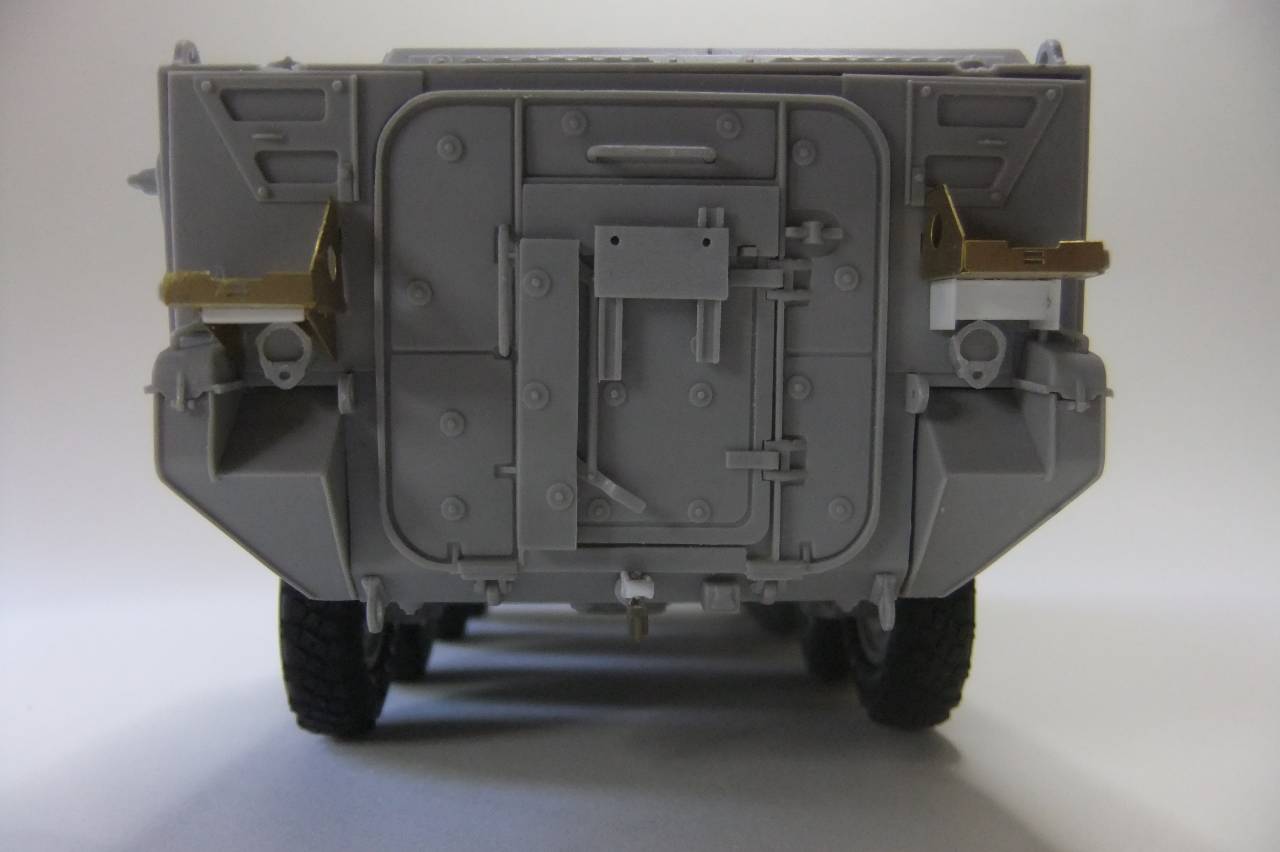
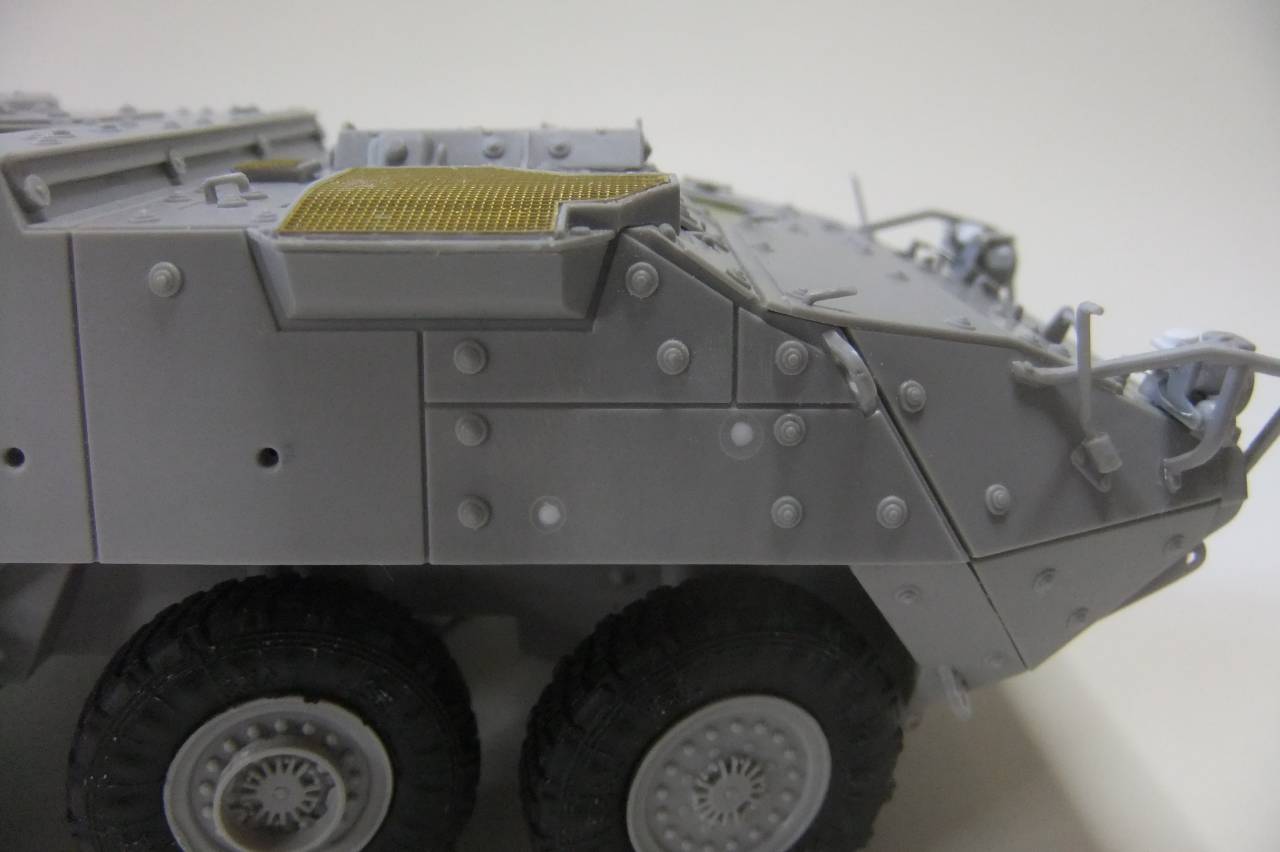
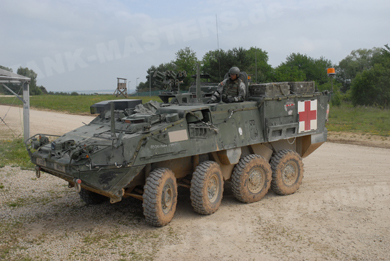
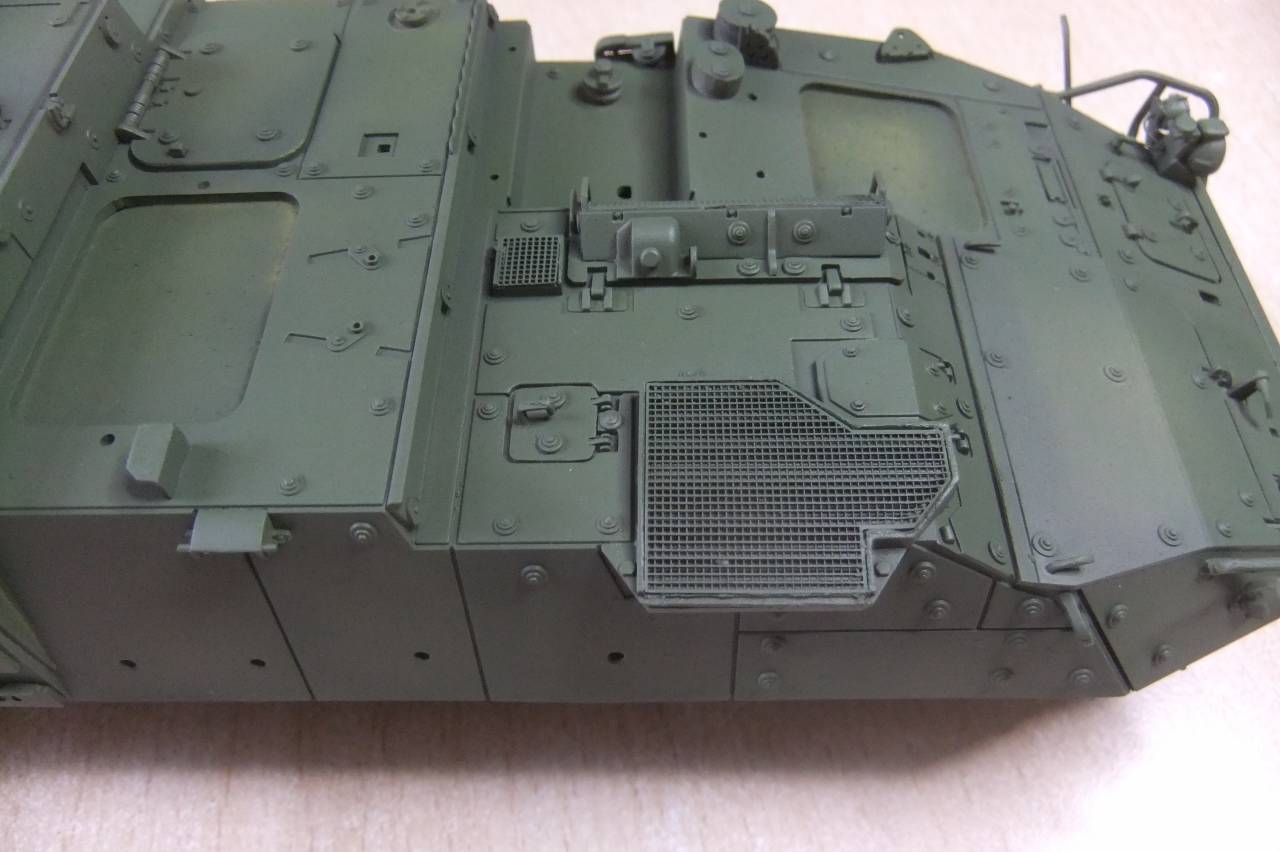
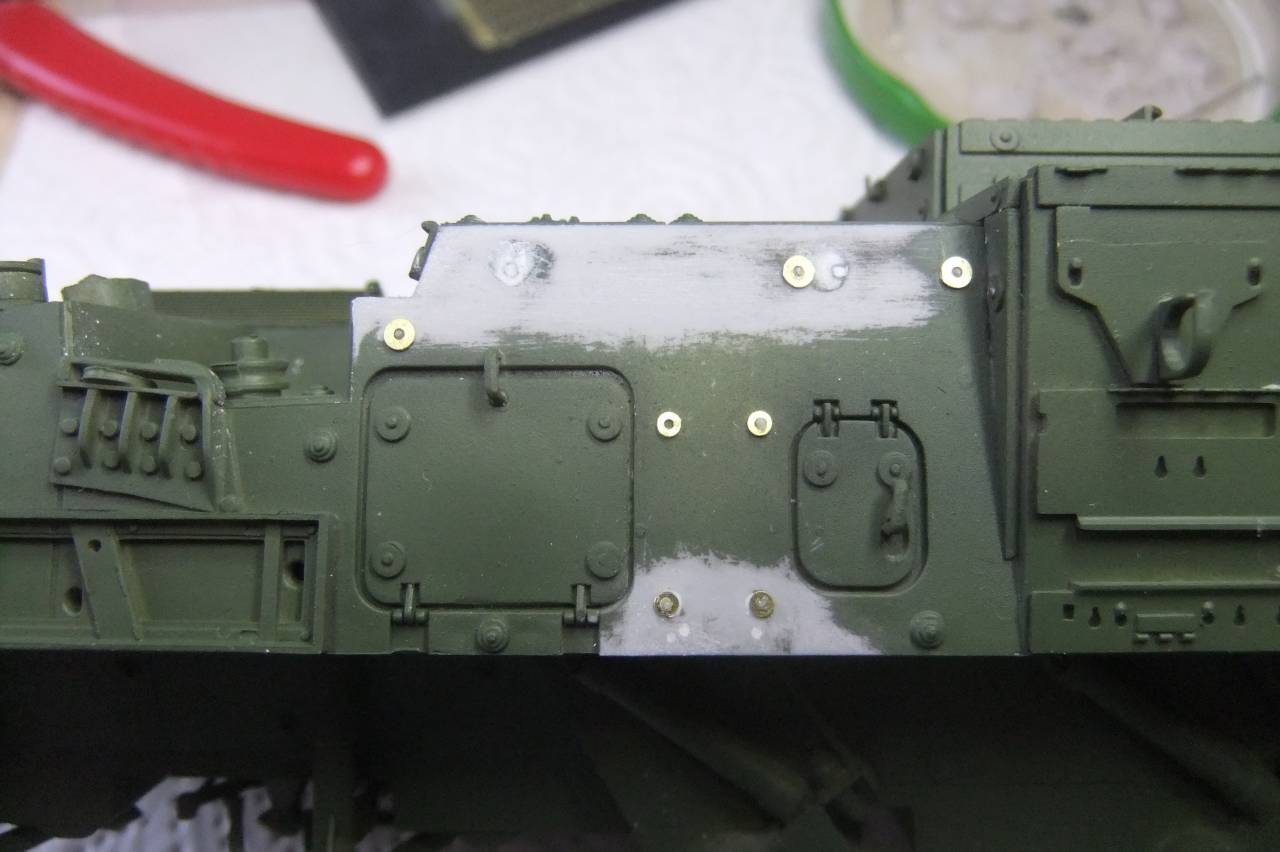
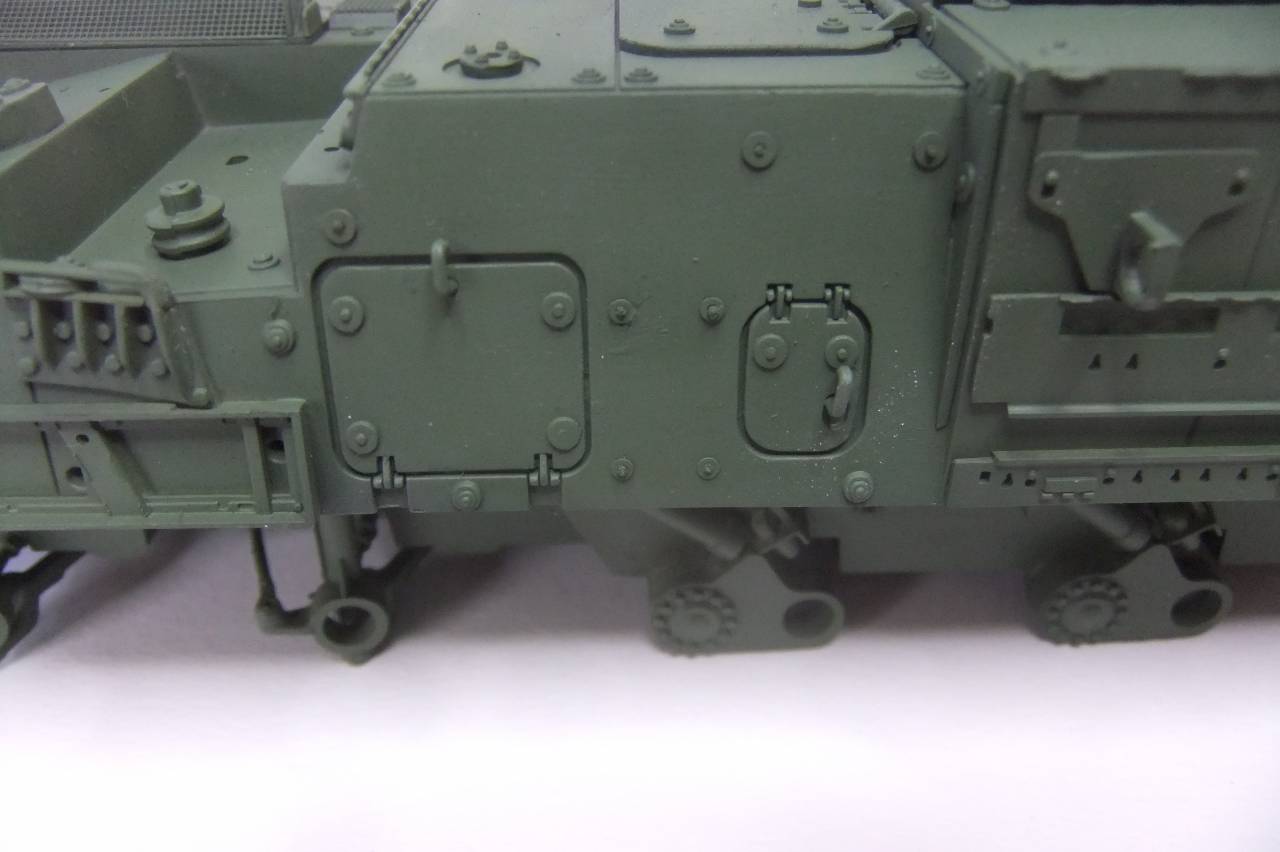
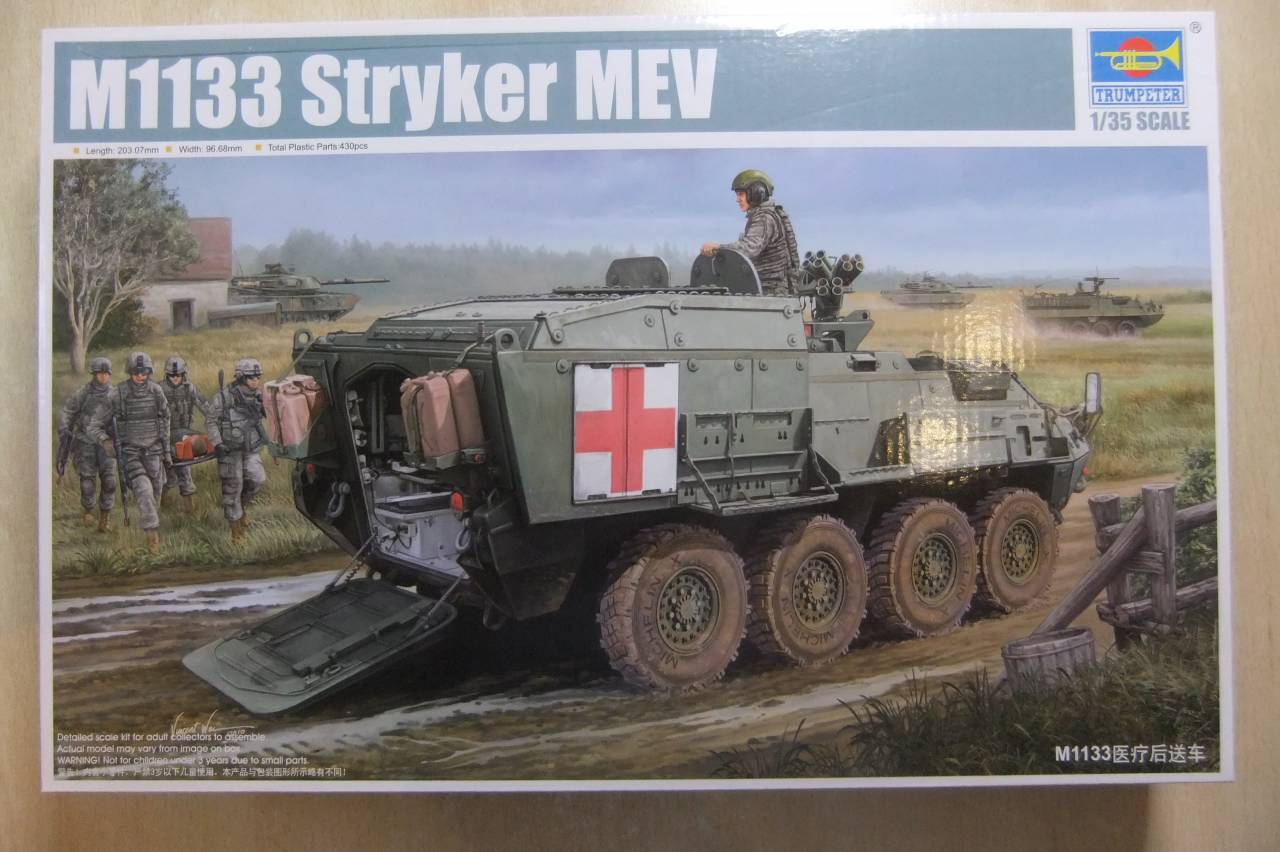
Another Stryker from Trumpeter, this time its a M1133 Medical Evacuation Vehicle.
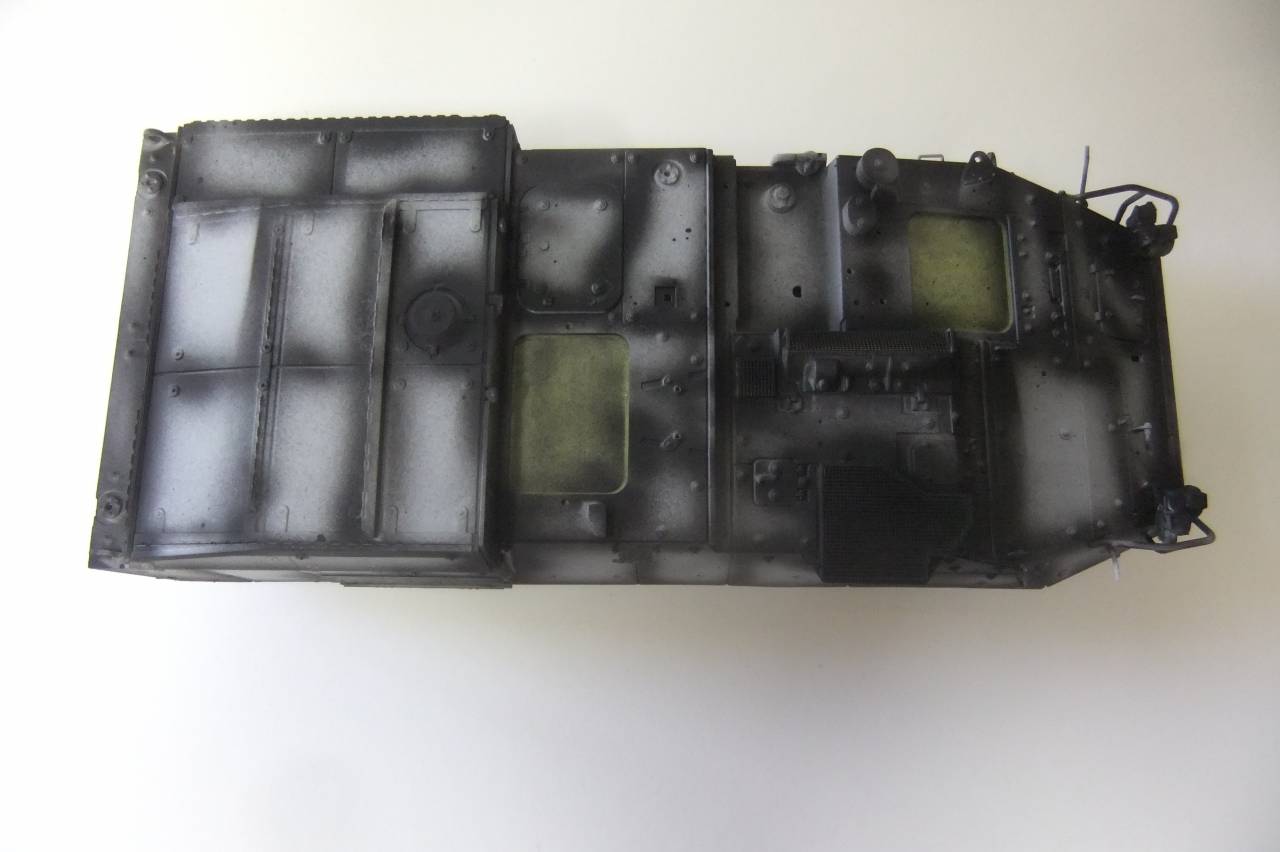
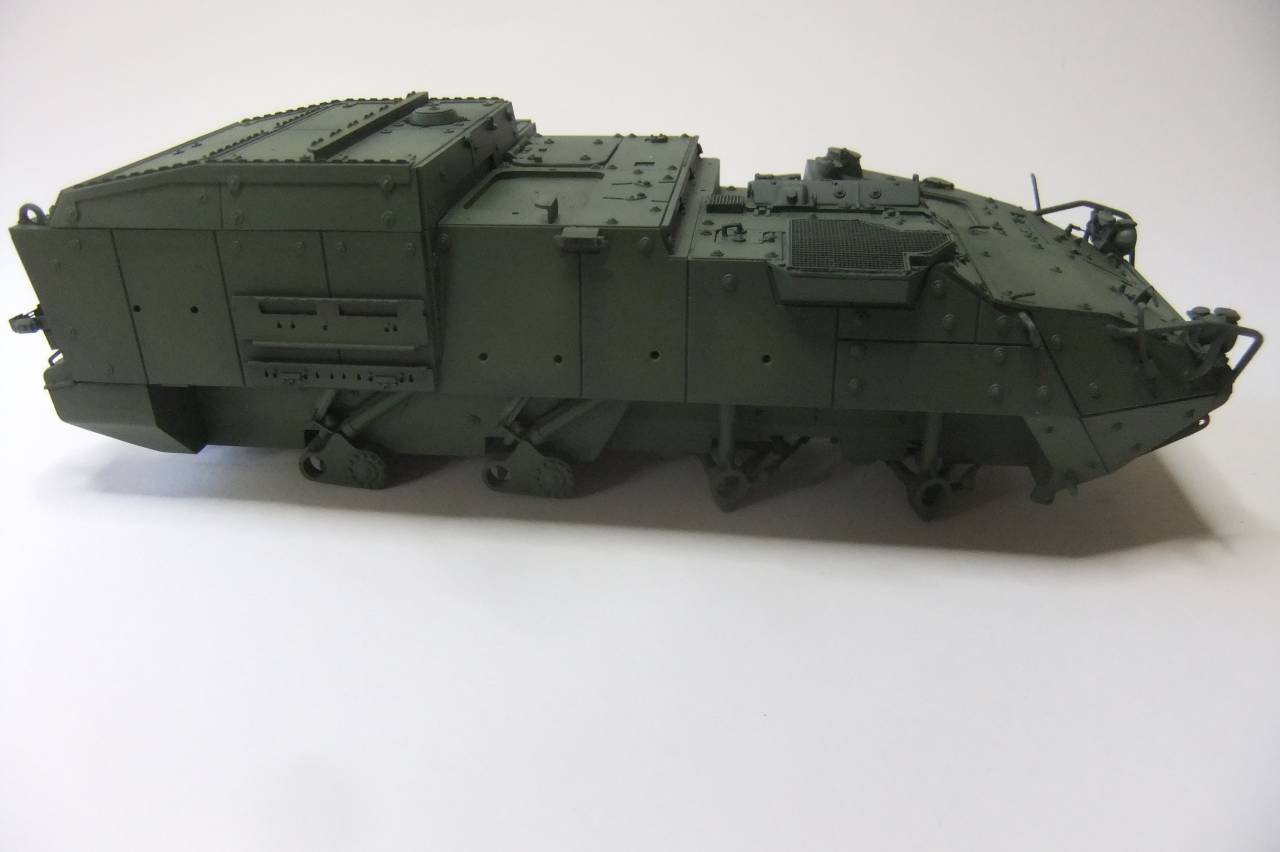
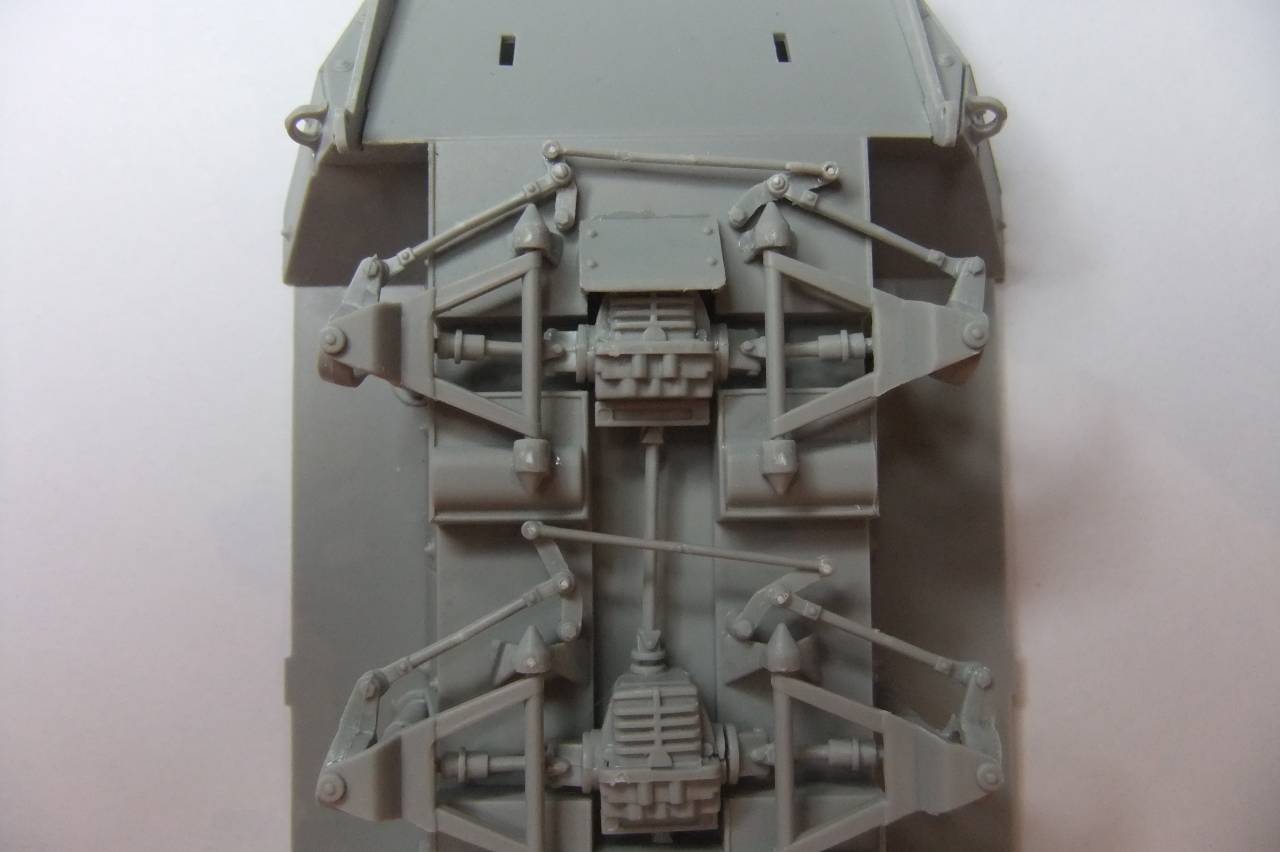
To make the model look more dynamic, I steered the wheels on the two front axes.
Also in order to put this Stryker on a diorama, when it should be finished.
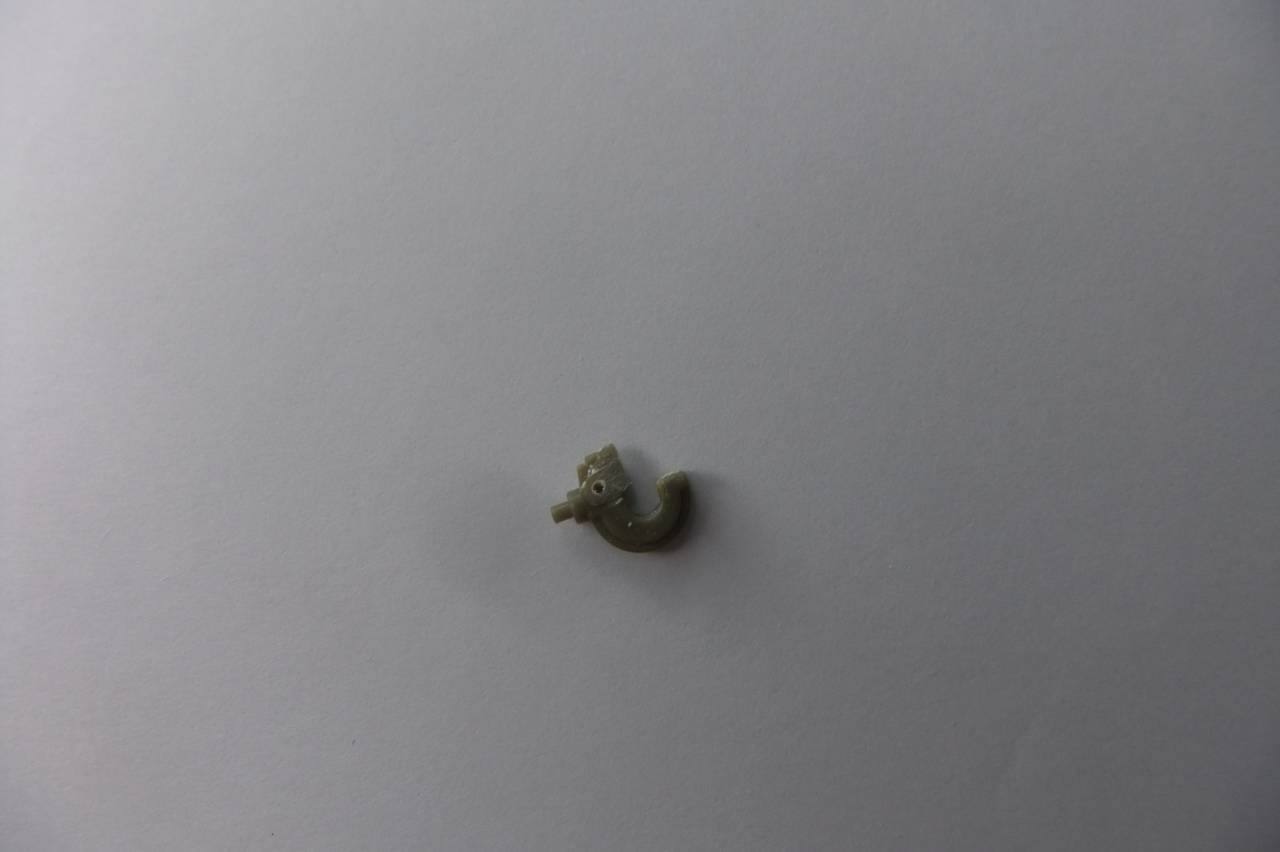
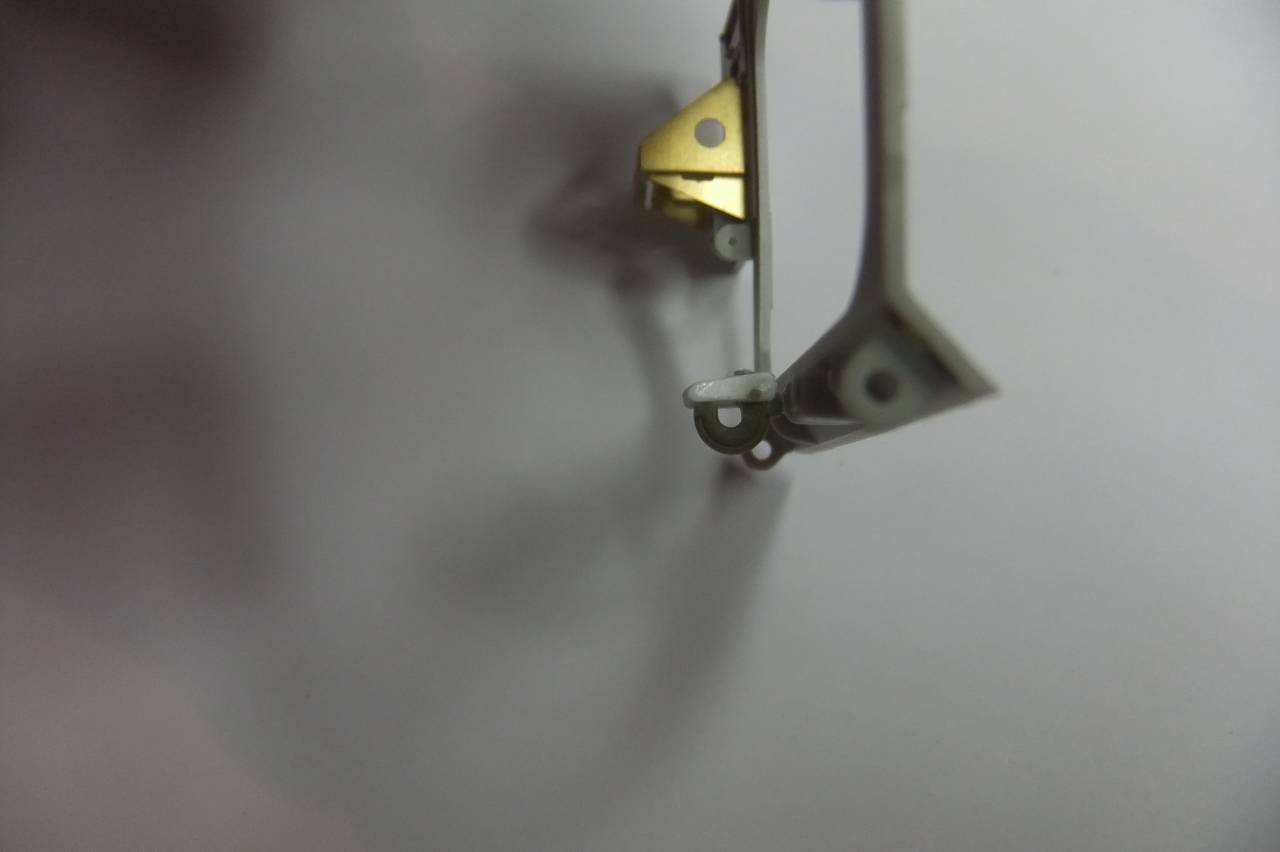
I started work, by drilling 0,6mm holes into the two kit parts A44.
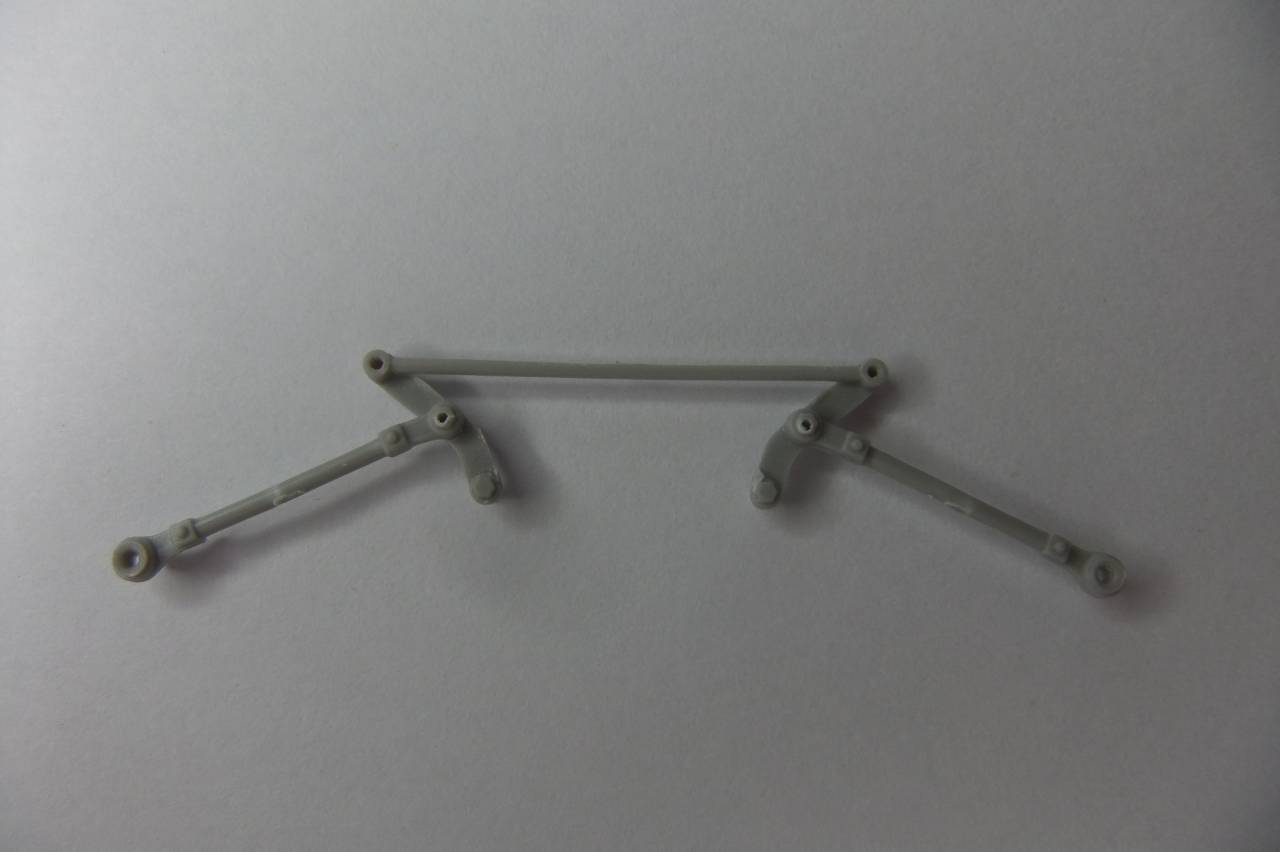
Then I took a new, sharp blade to cut the steering linkage part A44 into its five parts.

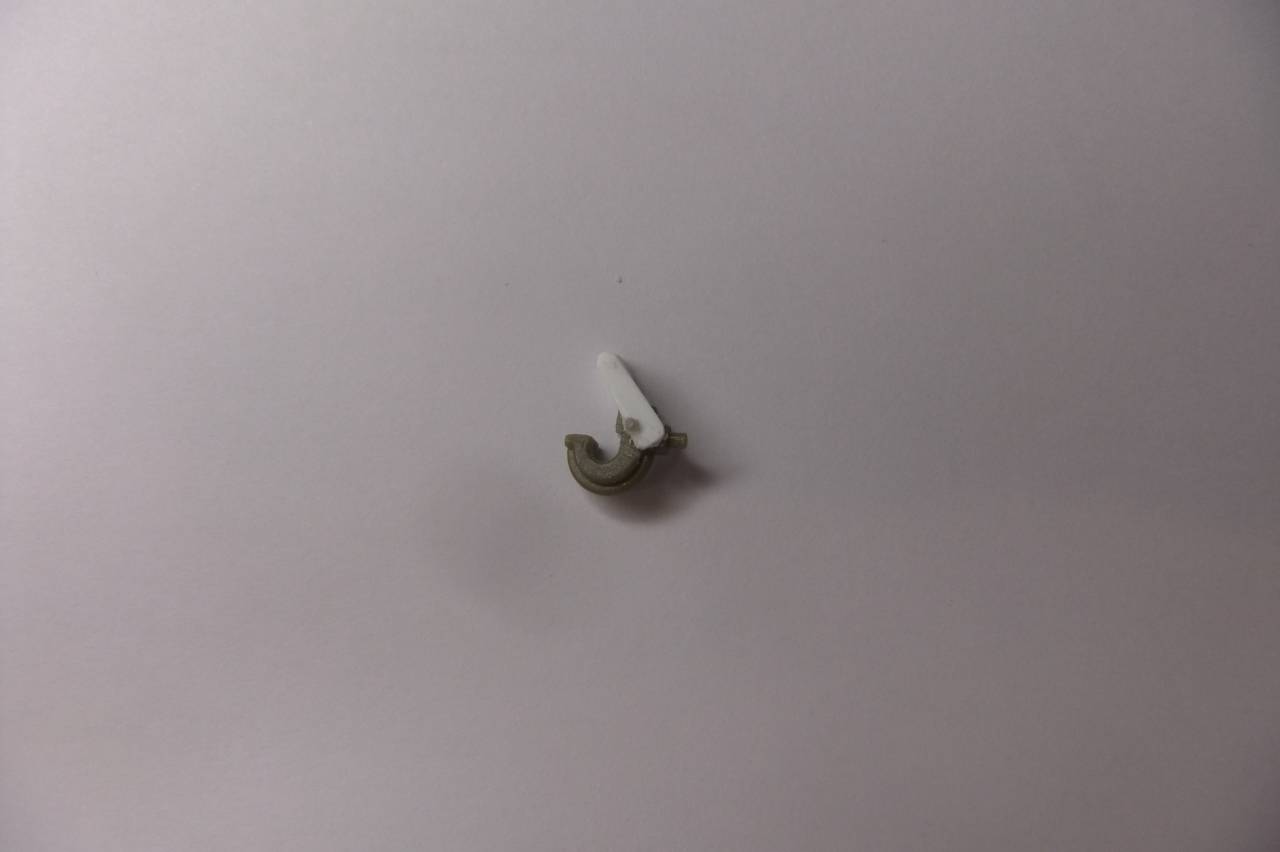
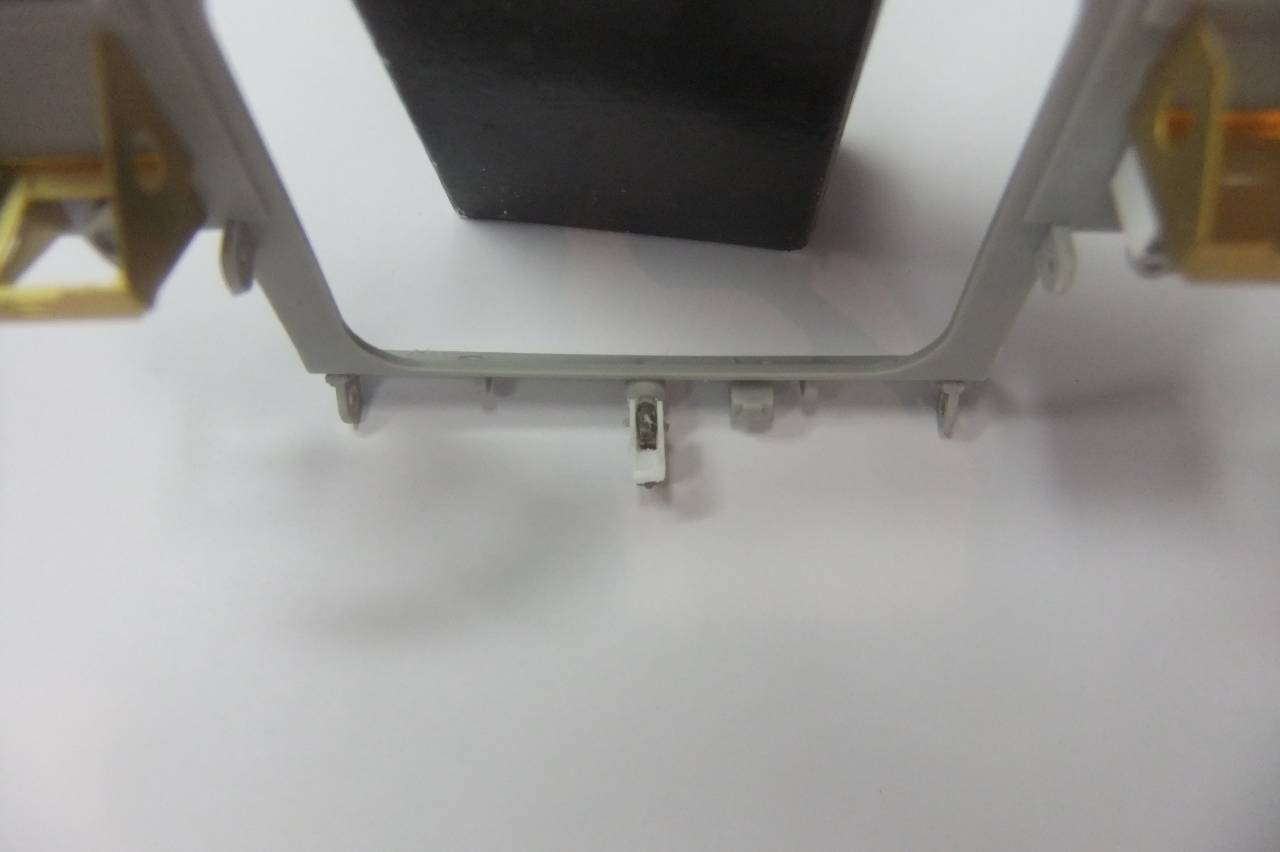
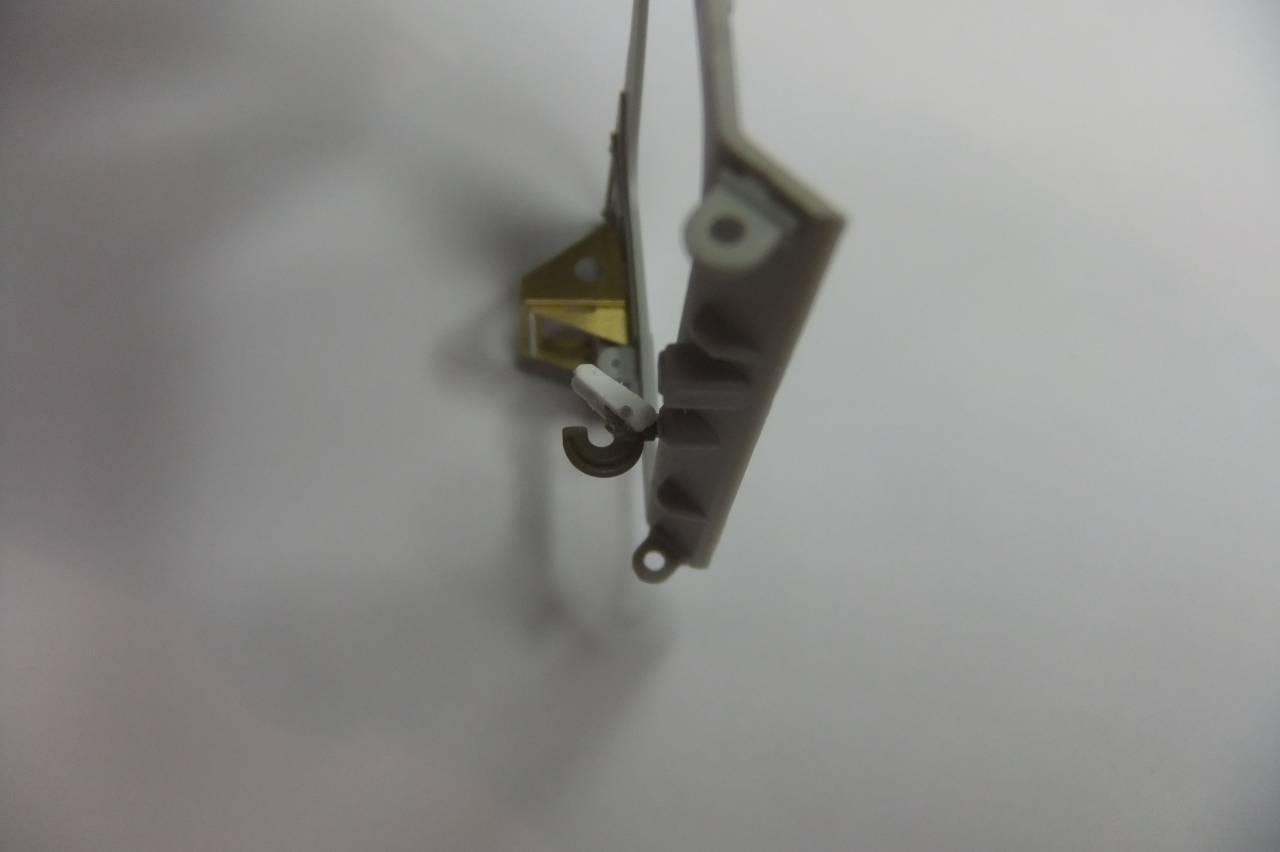
After that I took pieces of a 0,5mm rod (EVEREEN 218) to connect the steering parts together again. Now it was possible to bring the steering linkage in every wanted position.
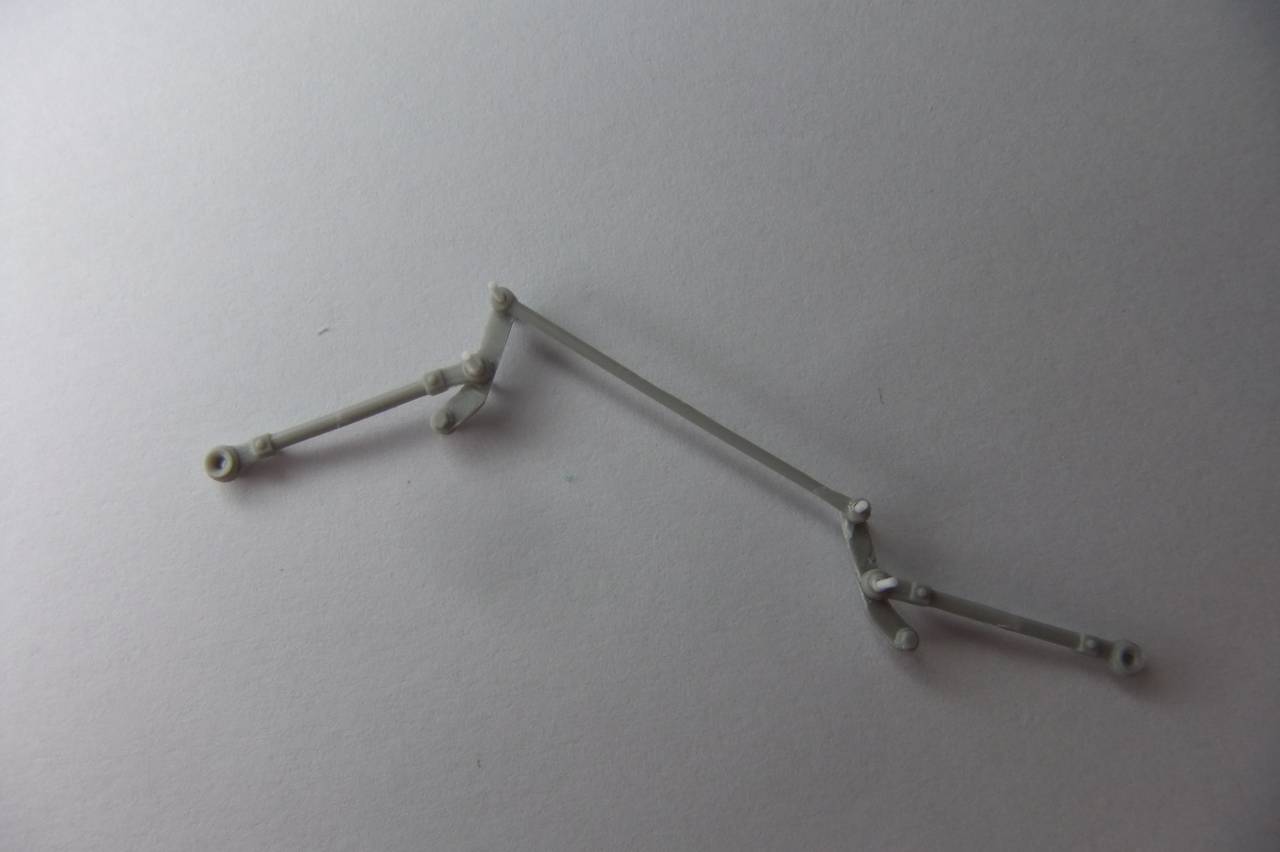
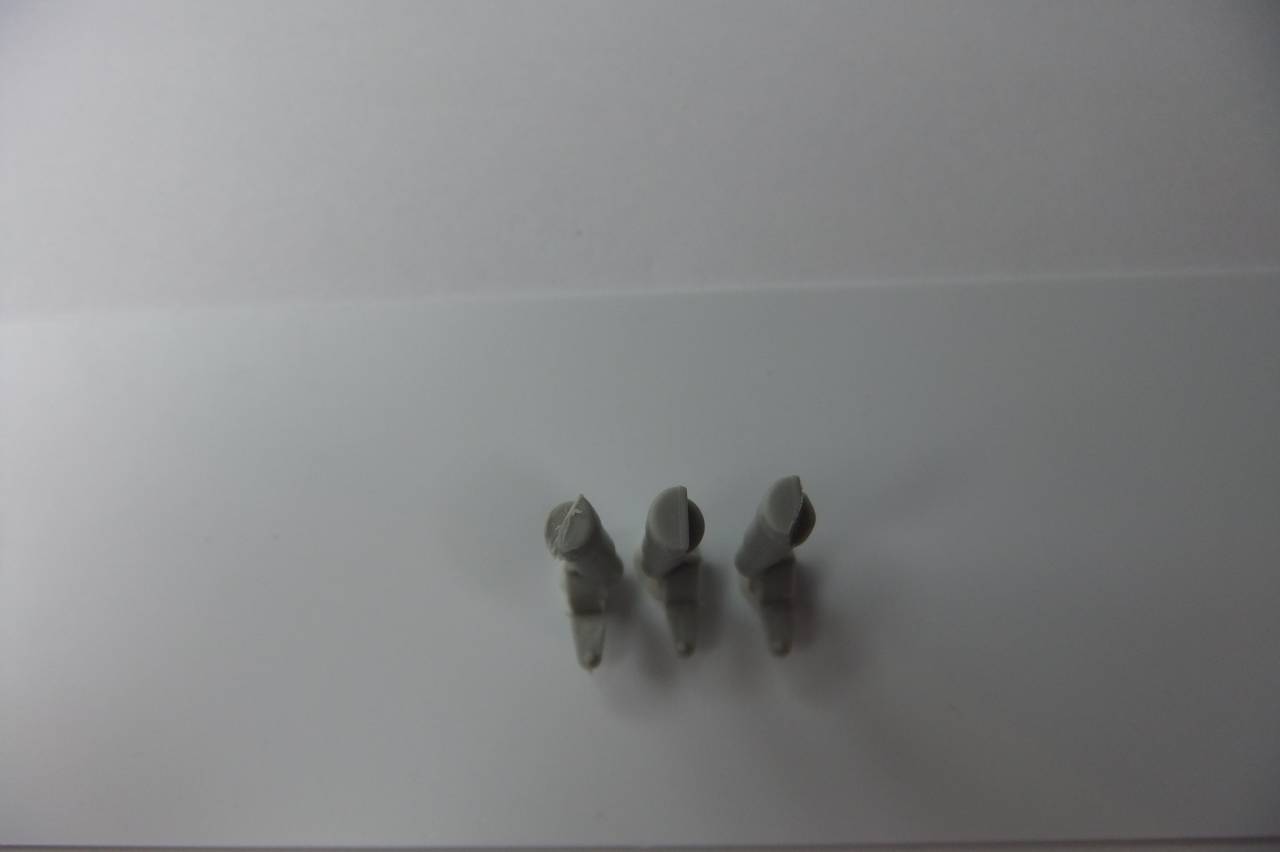
To make the wheels turn to the left side, I had to sand the shock absorbers A45 and A46 at their base. Due to the construction of the lower hull, the parts A45 have to be sanded at their rear side and A46 at their front side.
You dont have to be very careful doing this, because the fine tuning will be done later, when you align the axes to each other.
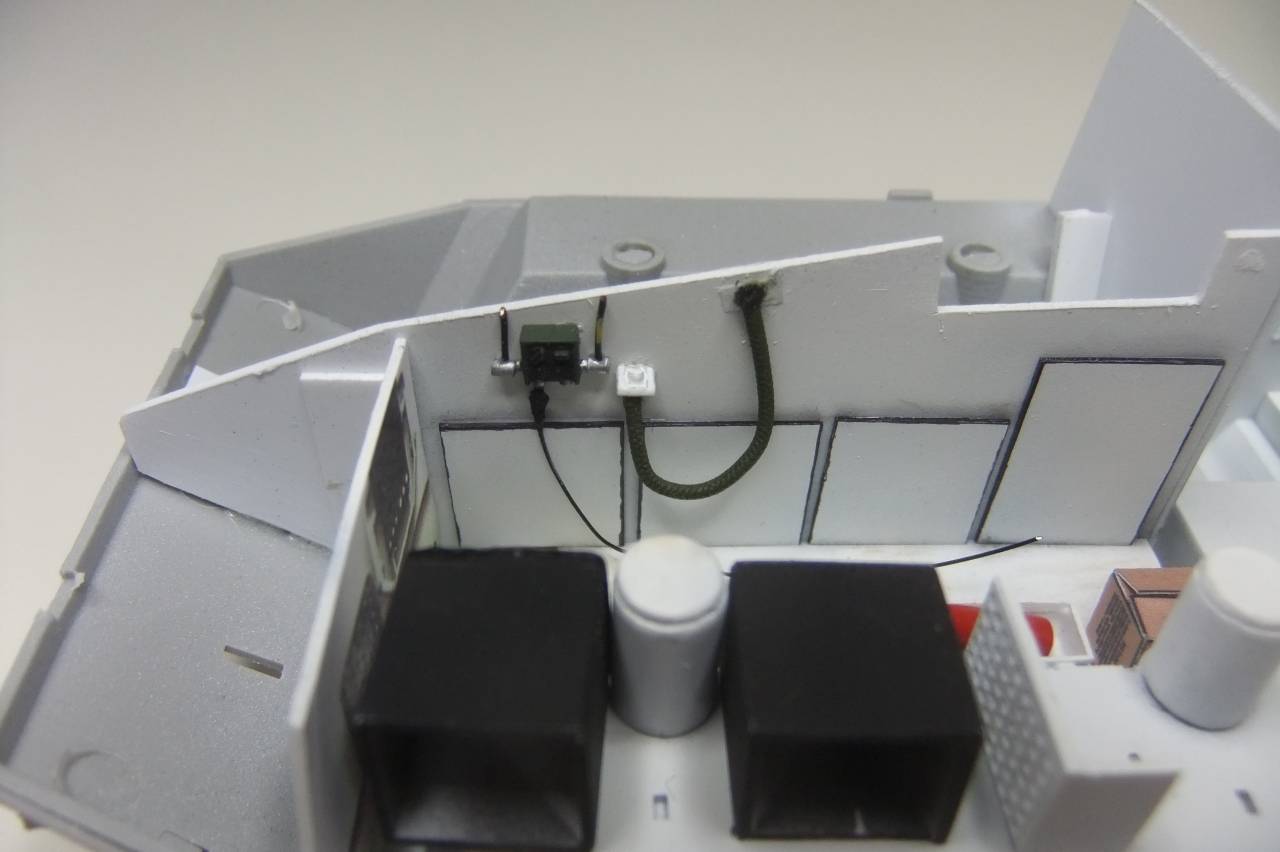
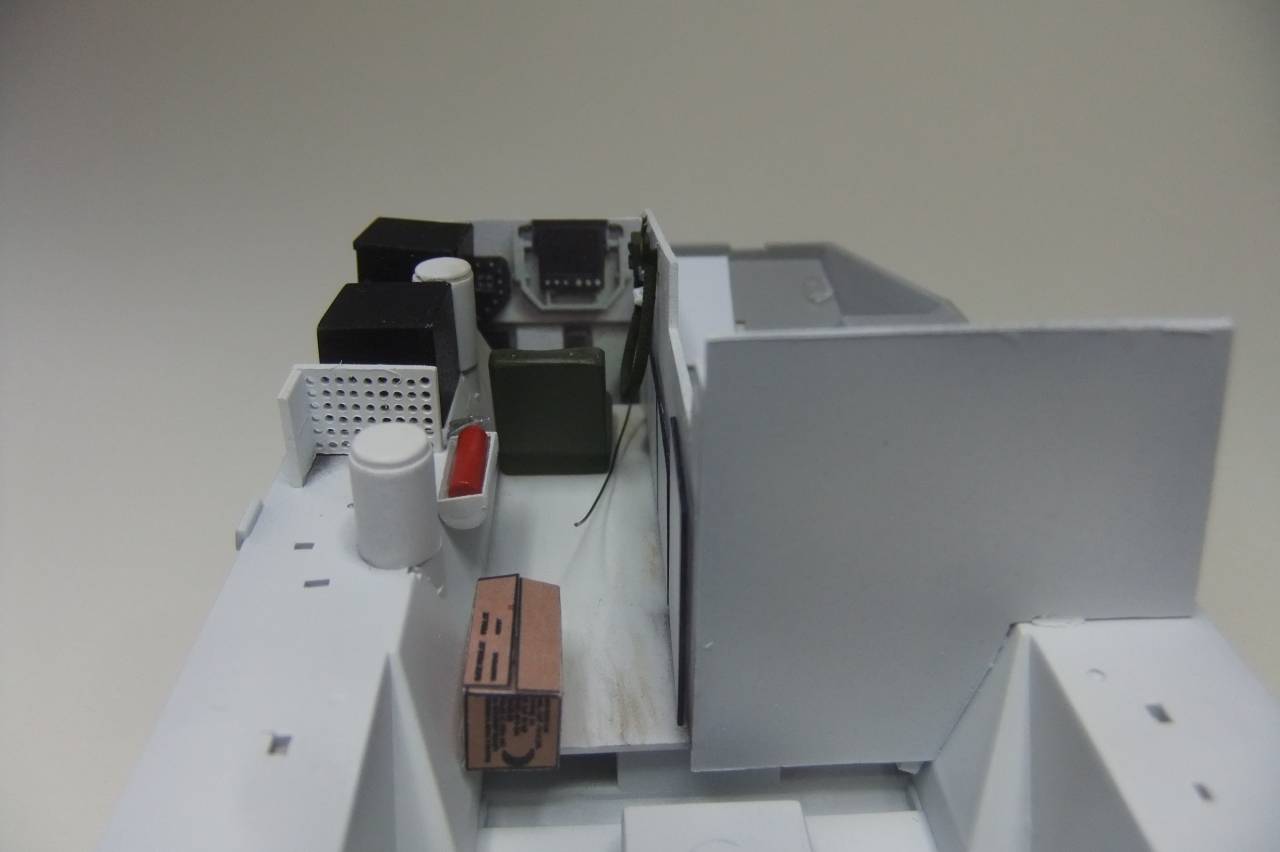
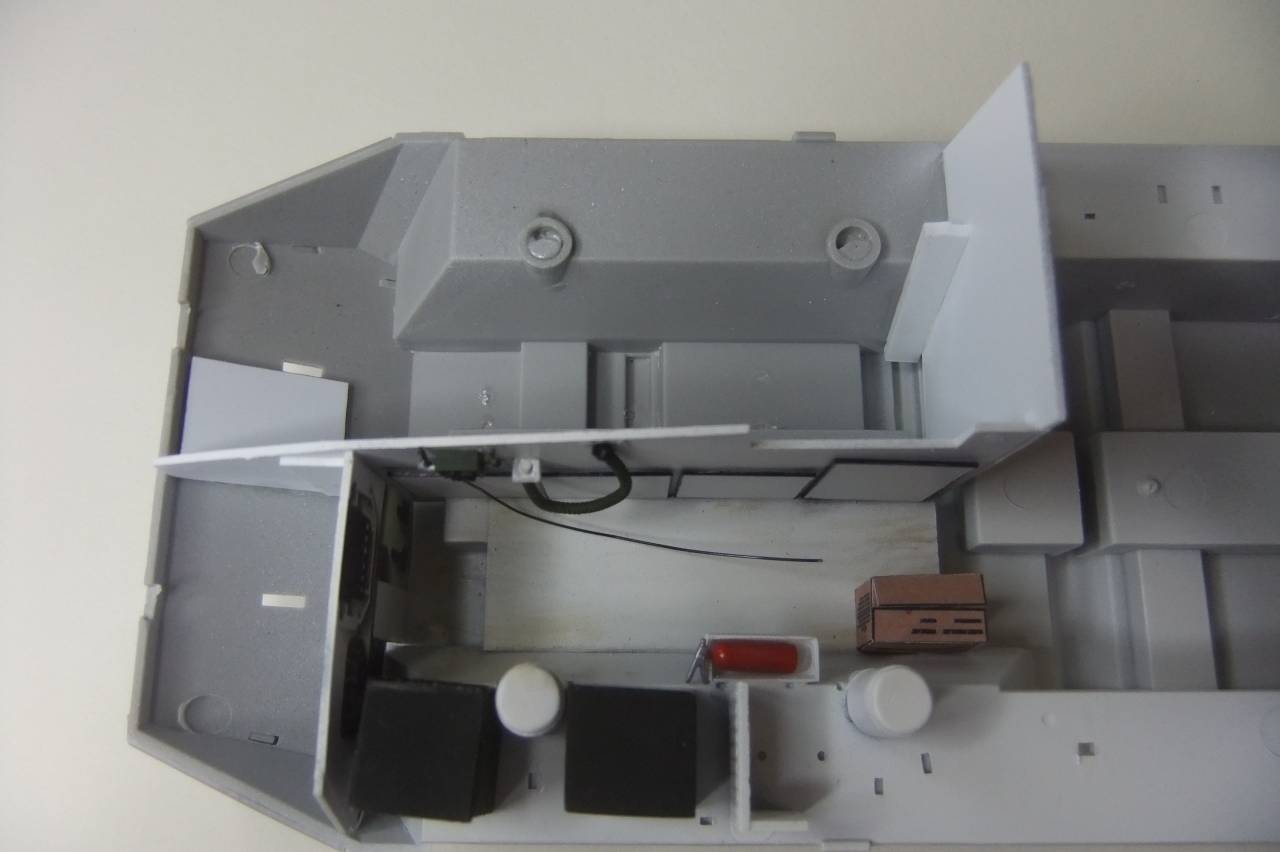
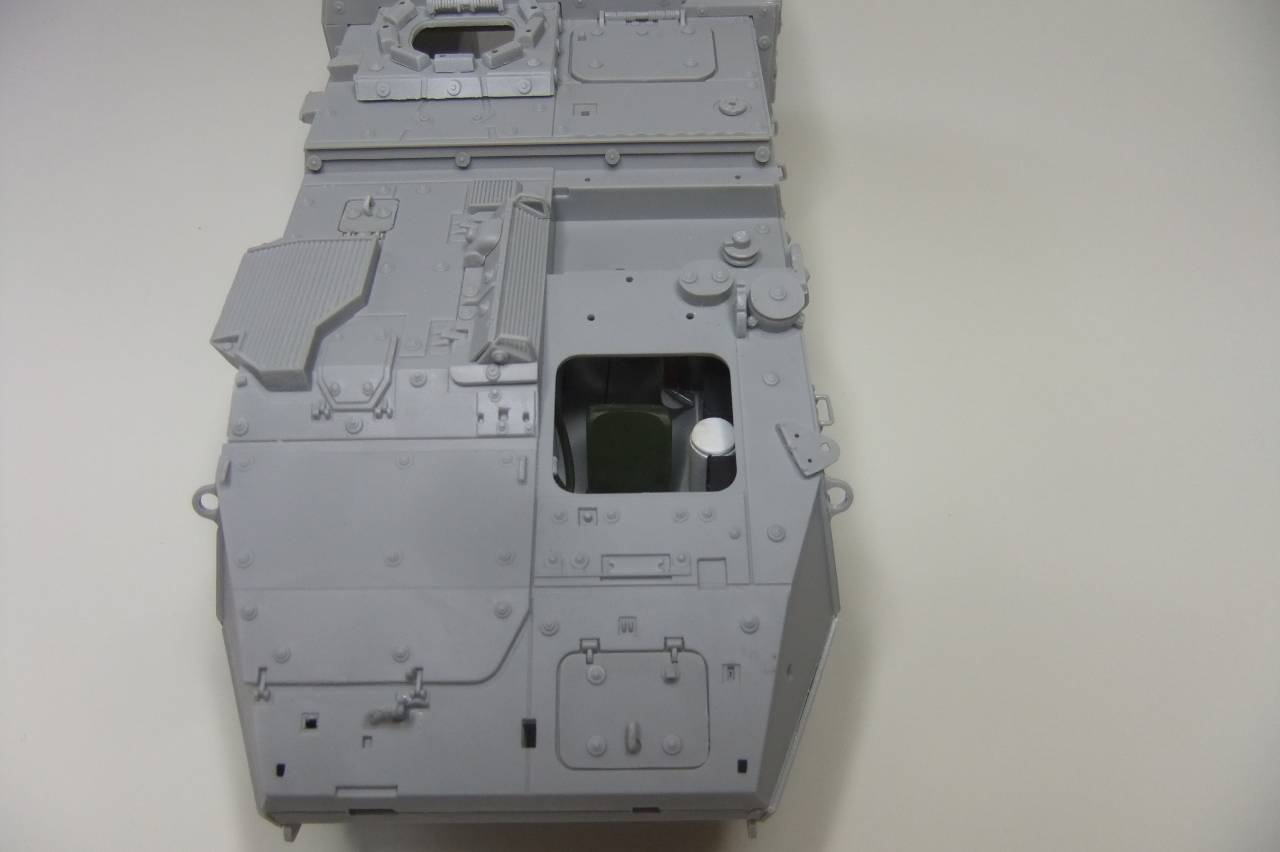
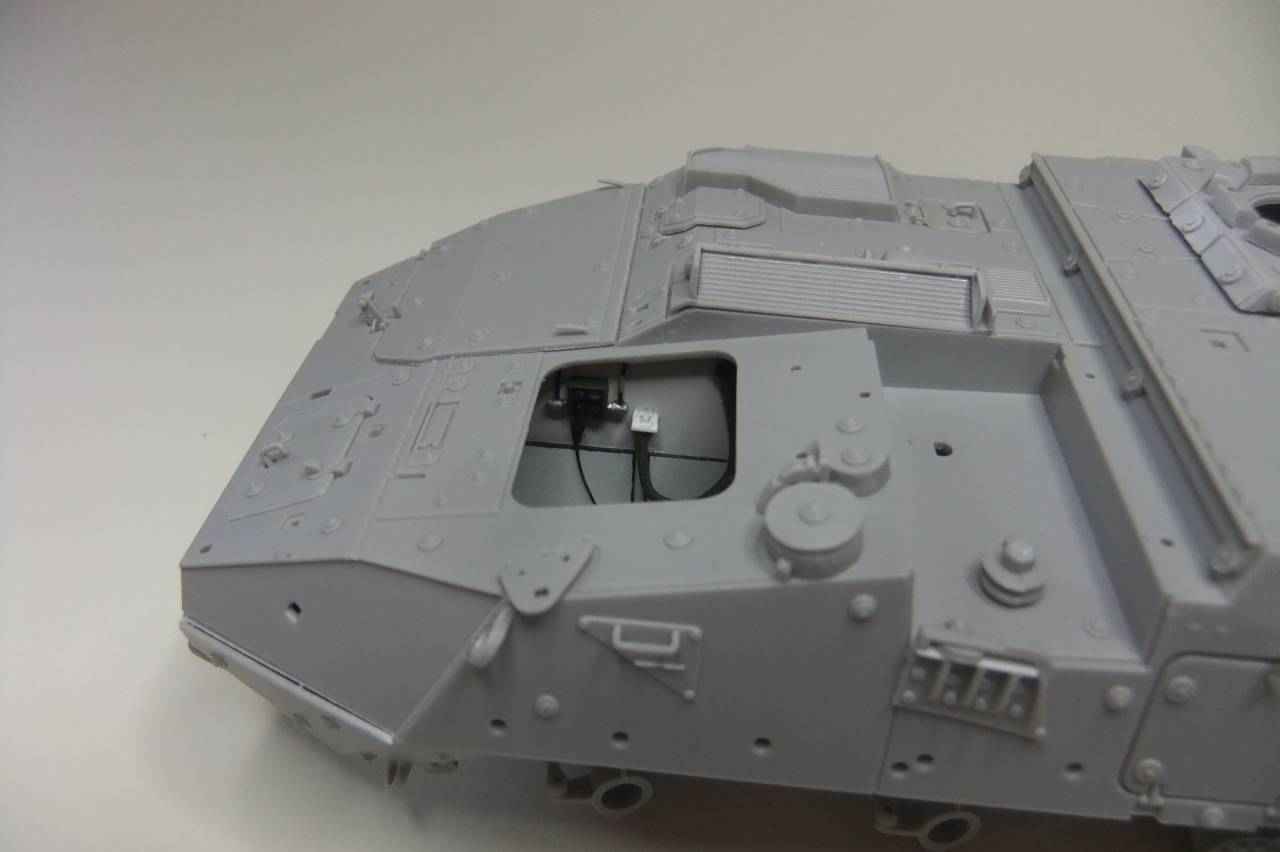
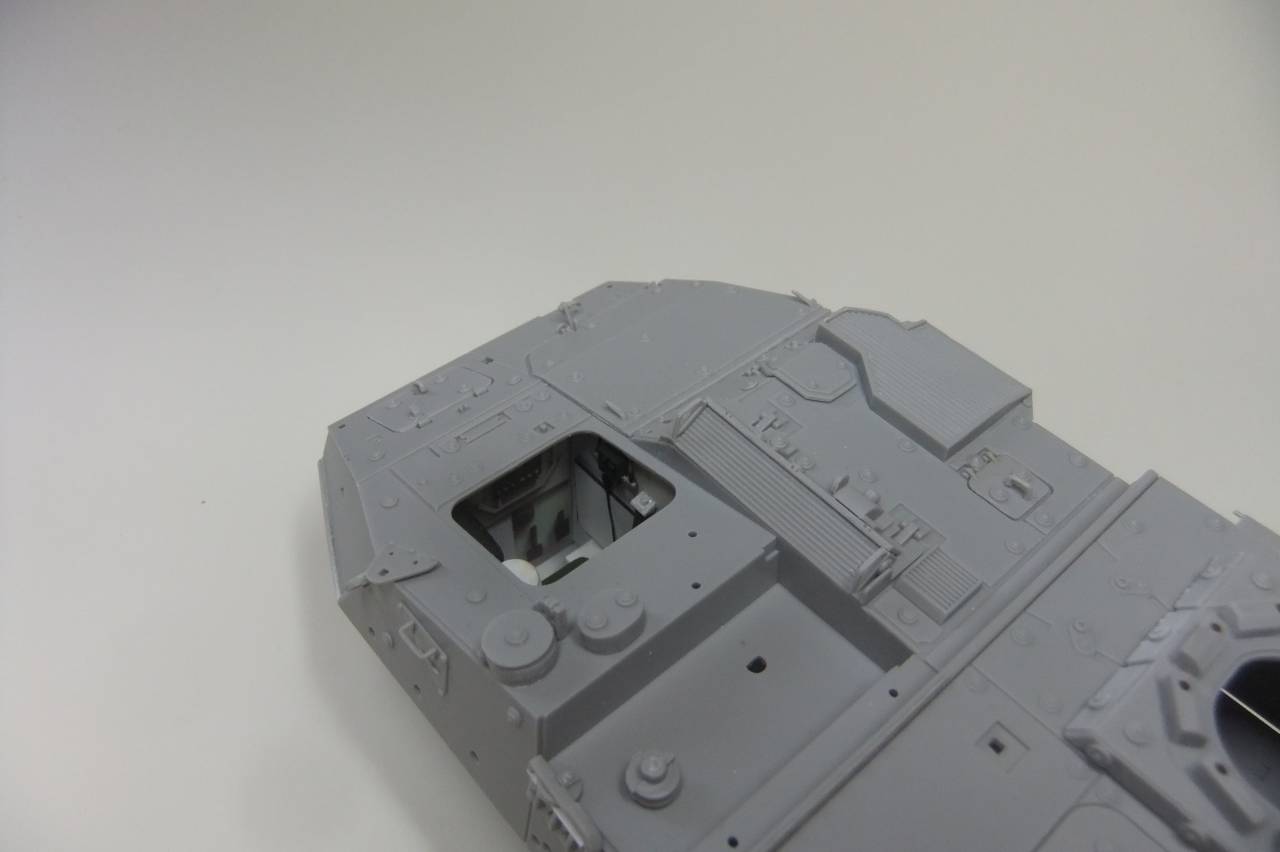
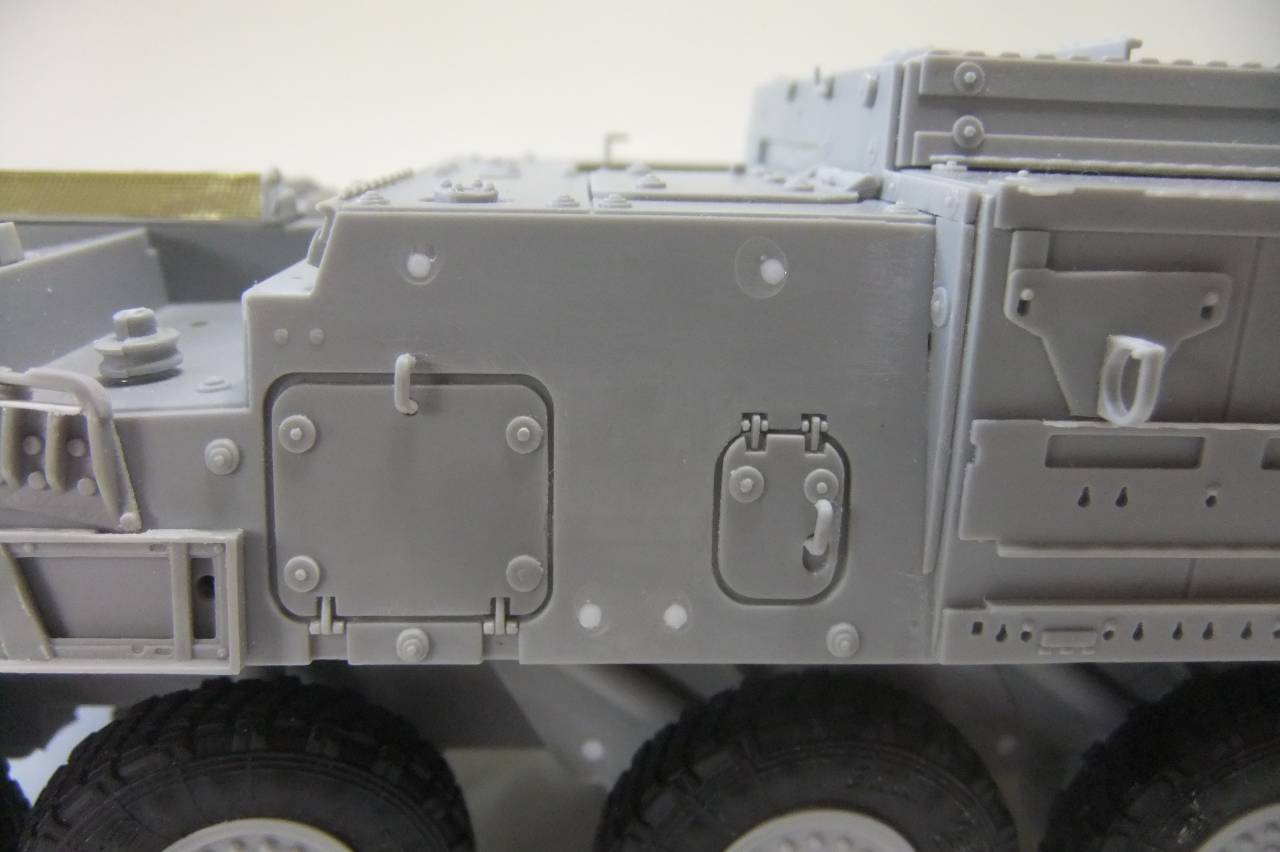
Driver compartment
Due to the open driver hatch, part of the driver compartment will be visible. I built the walls, using parts from the M1129 Stryker Mortar kit from Trumpeter as a template. I simply took a sharp knife and followed the contour.
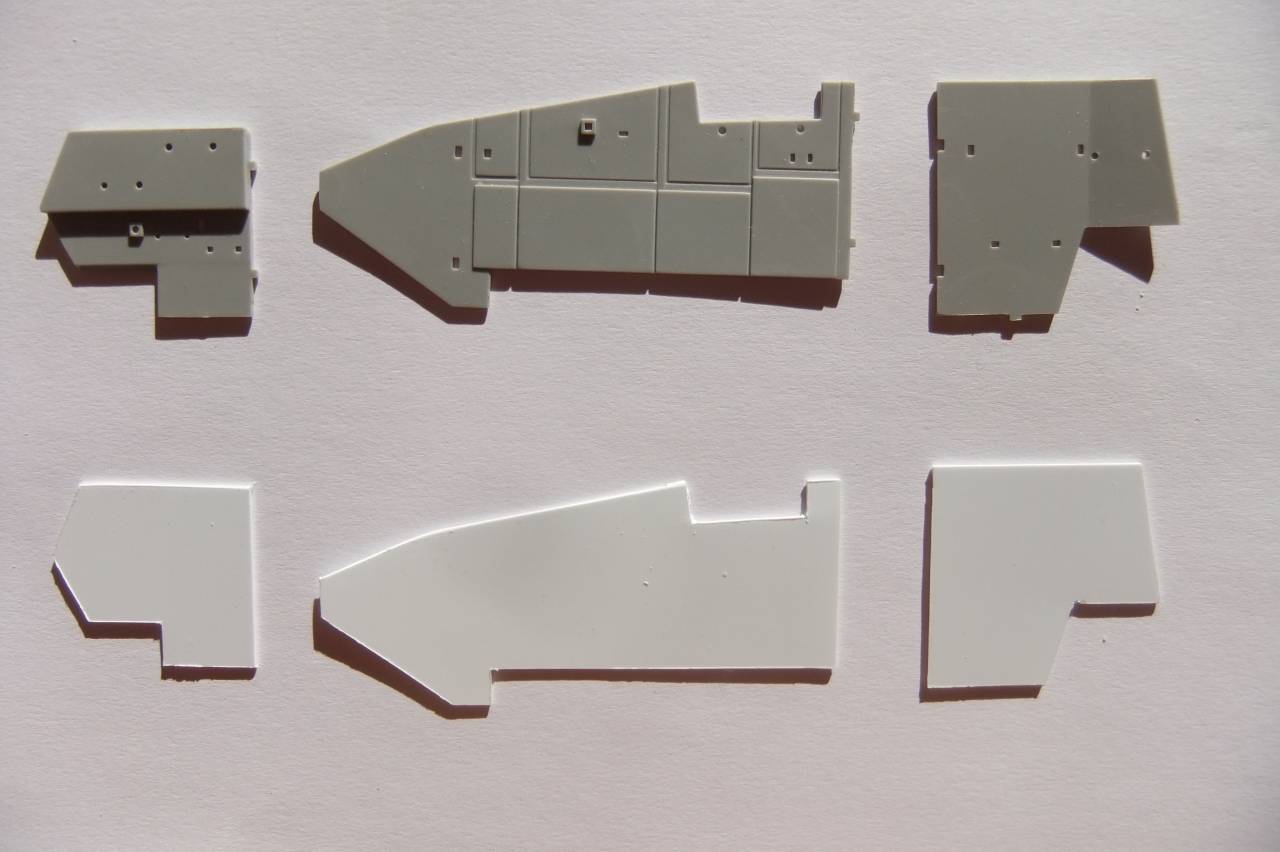
I glued everything together, once again using the Mortar Kits parts, as templates.
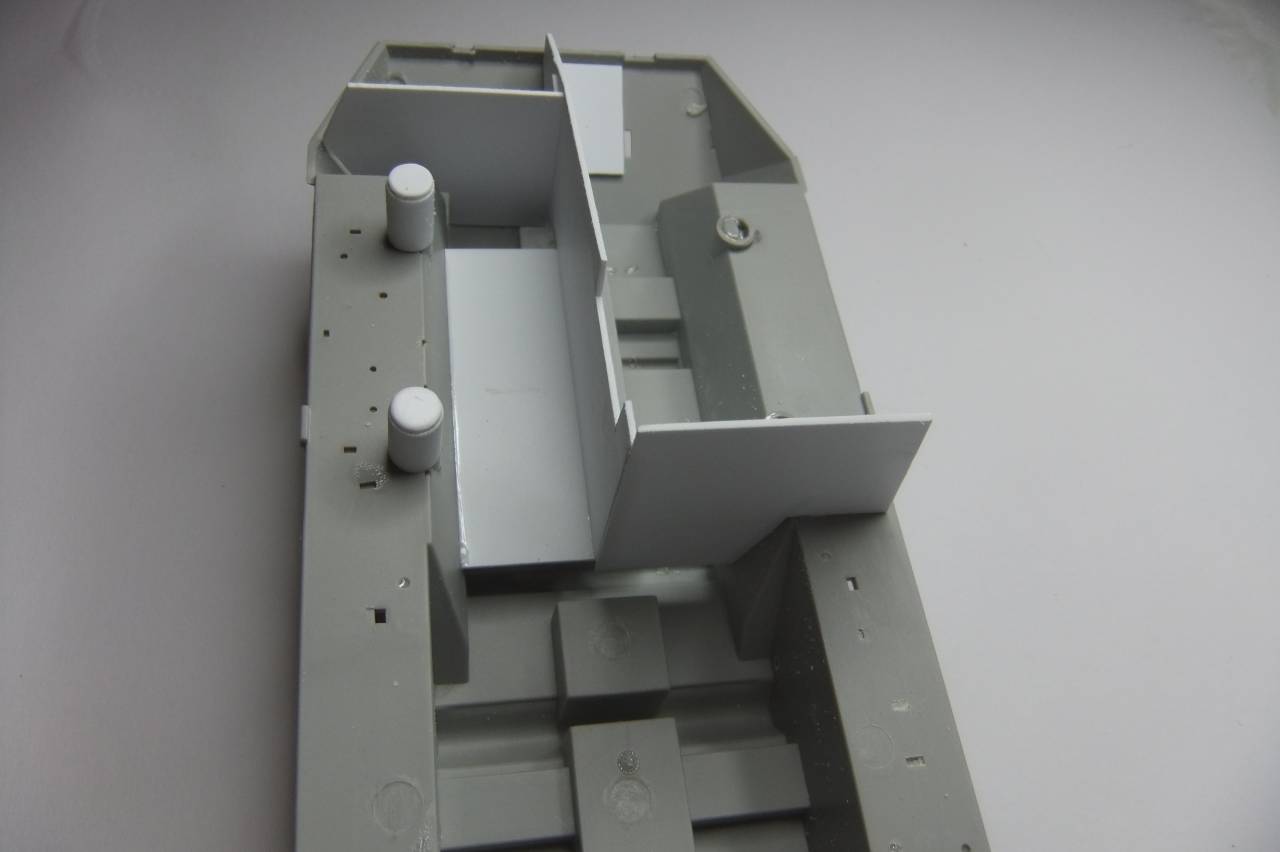
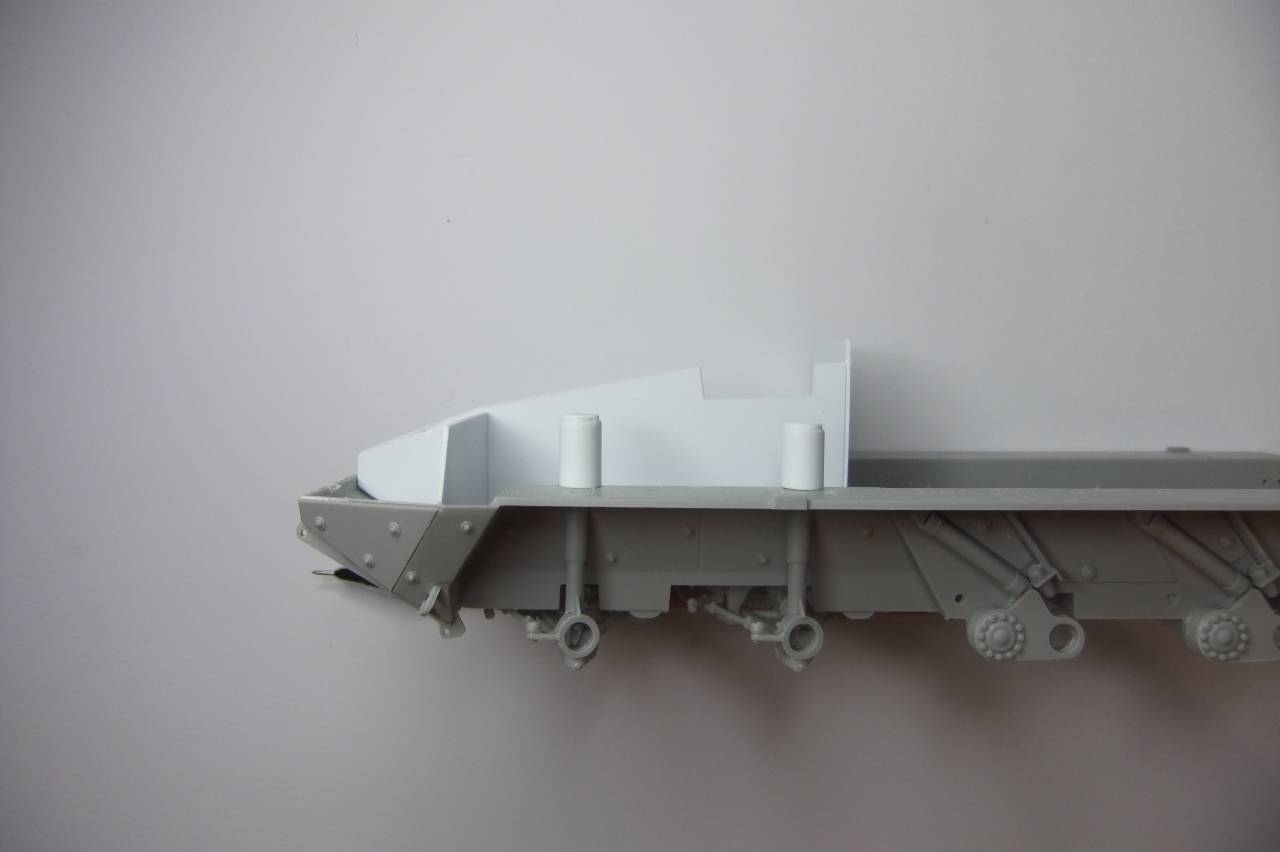
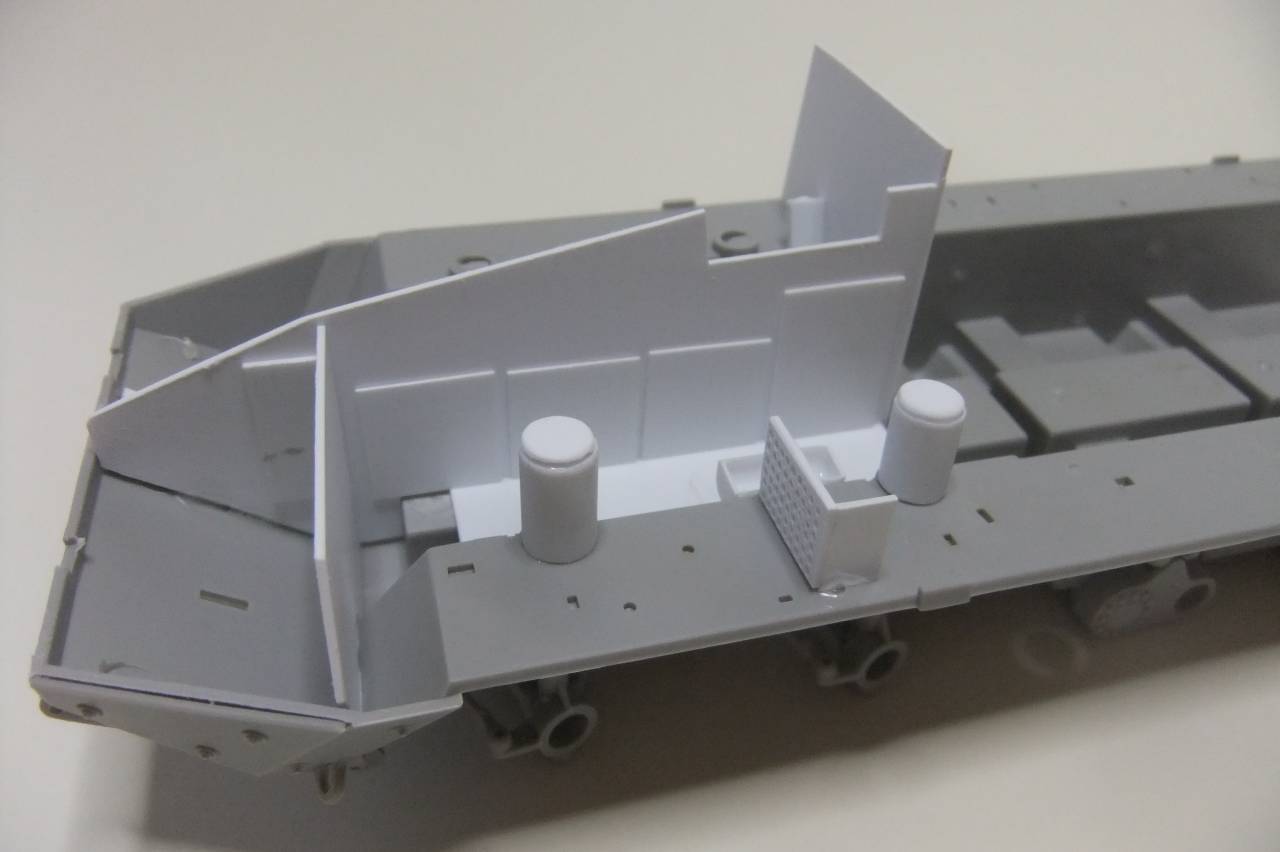
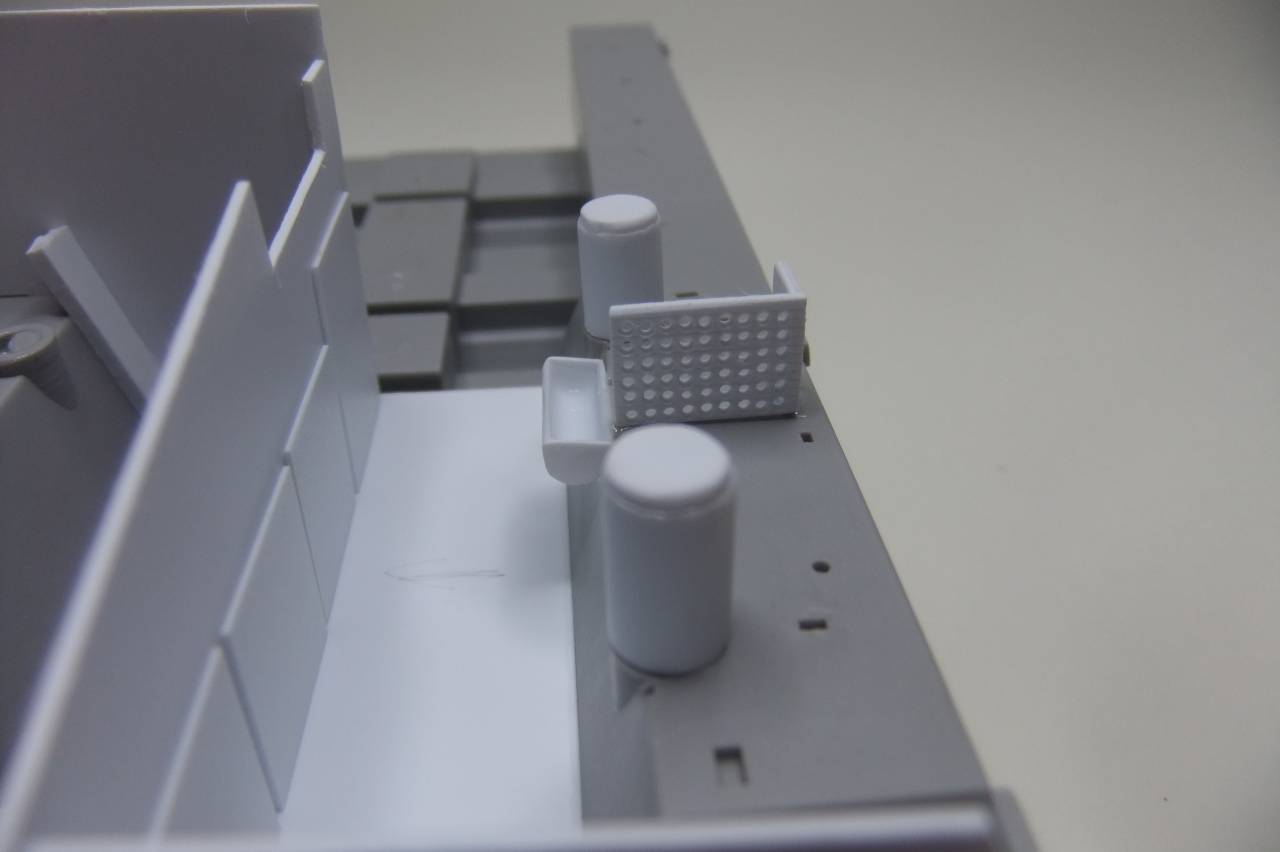
The cylinders were made from 6,4 mm tube (EVERGREEN 228) with different length: 11 mm the first and 9 mm the second one.
The little wall with the holes is actually the front part of a basket, jet through the open hatch, you wouldnt just see more than this wall. The holes are 1 mm in diameter, once more drilled, using the kit part as template.
The little half tube on the left side will further on hold the fire extinguisher.
So far for this time,
Peter