Gents,
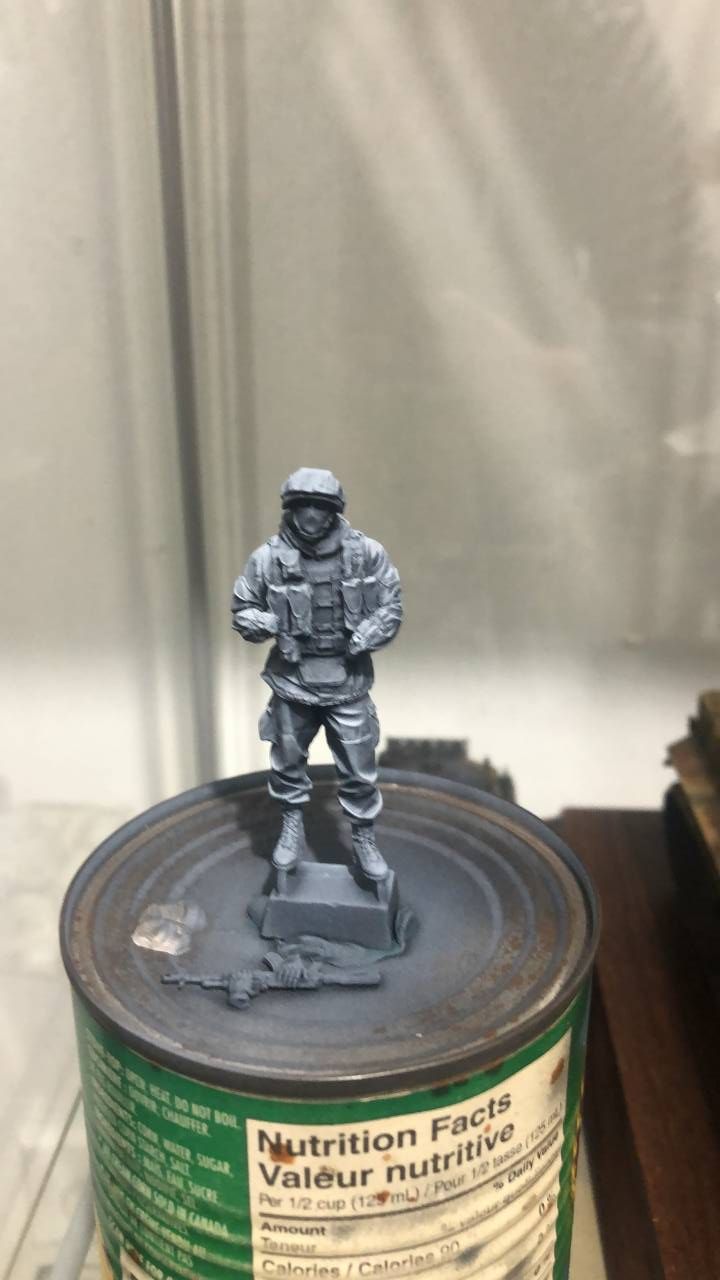
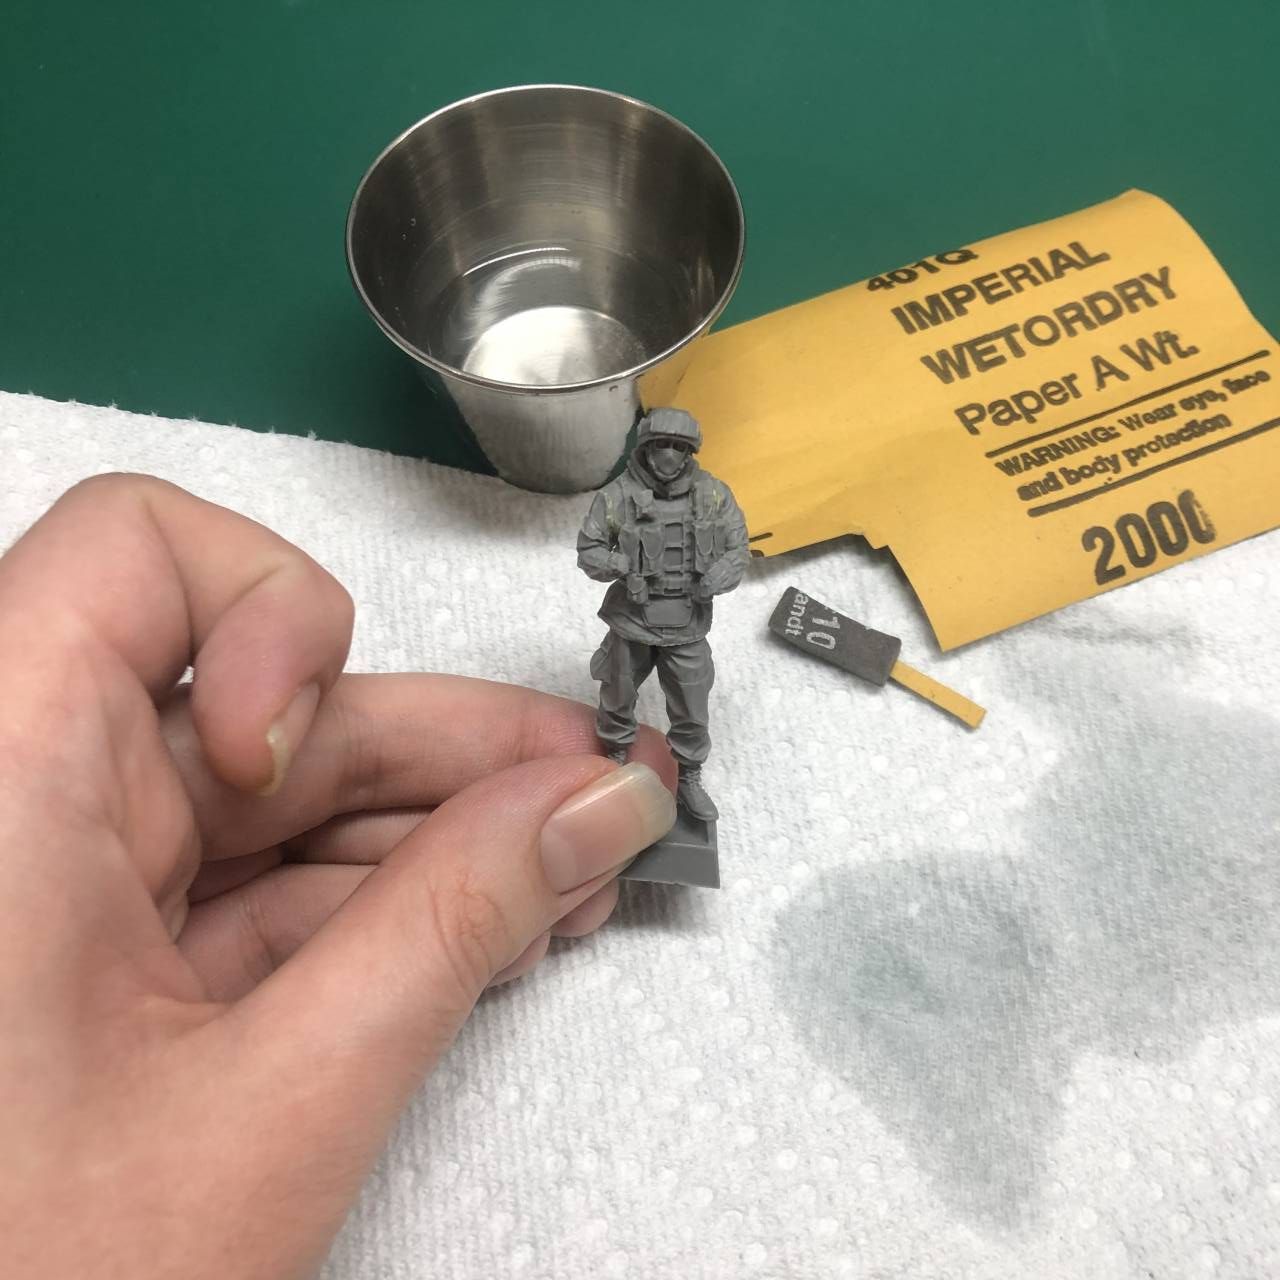
After priming the figure with Vallejo Surface Primer Black (73.602) I let the model cure for 36 hours. My current workshop is in a basement, so I find it can take an extra 12 hours for primers and varnishes to properly cure.
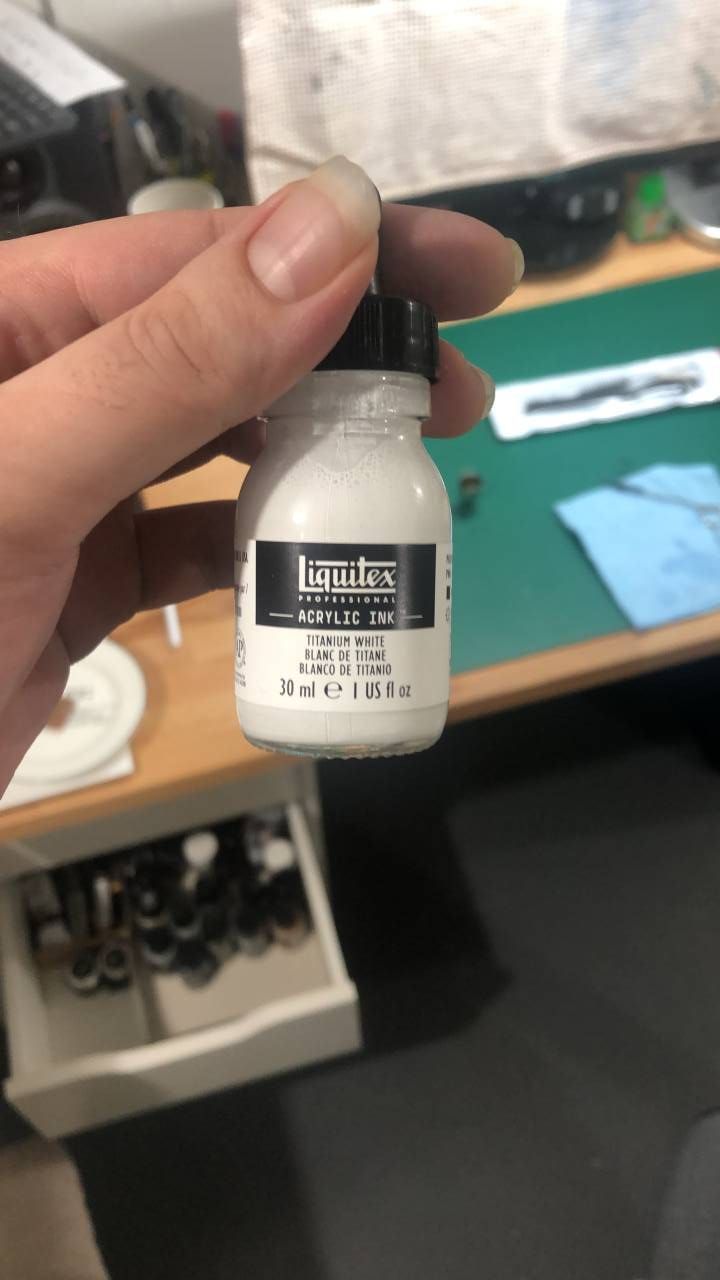
A zenithal highlight is then achieved by lightly misting the figure from above with Liqutexs Titanium White Acrylic Ink (432) . I use my workhorse Airbrush; a Grex XB 0.3 to achieve the finish. I spray the paint neat, un-thinned, and again let it cure for 12 hours.
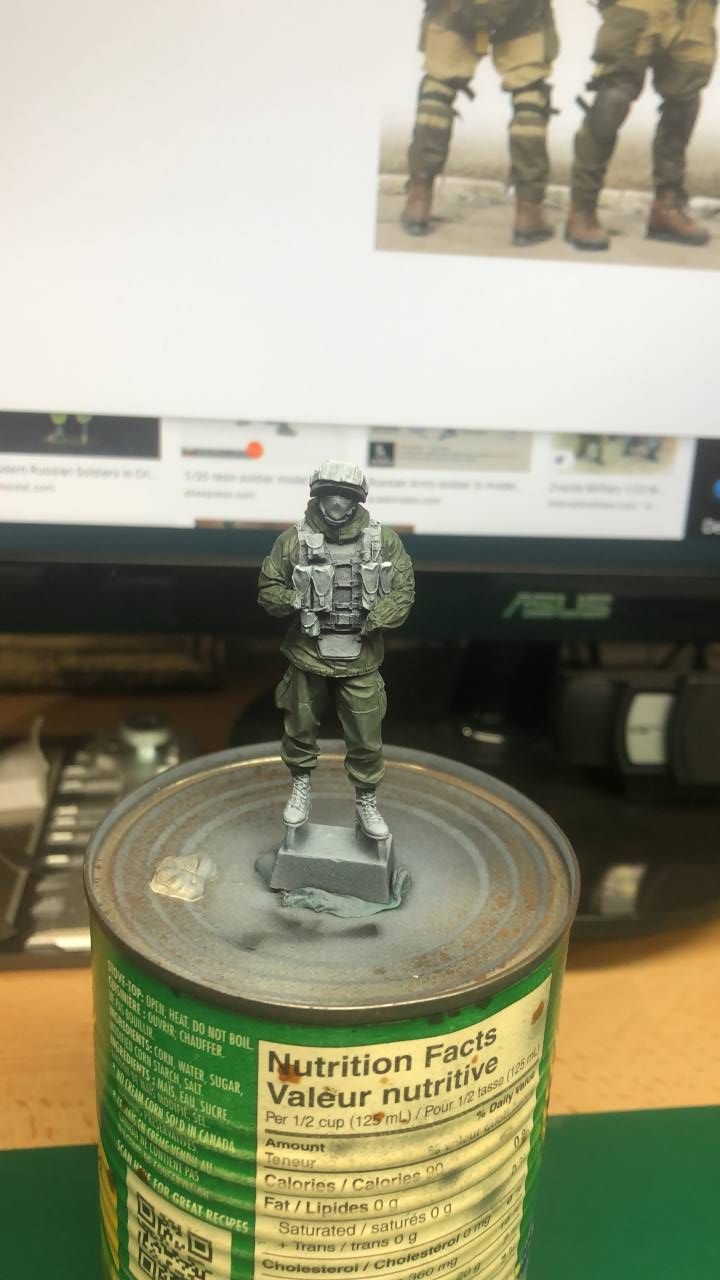
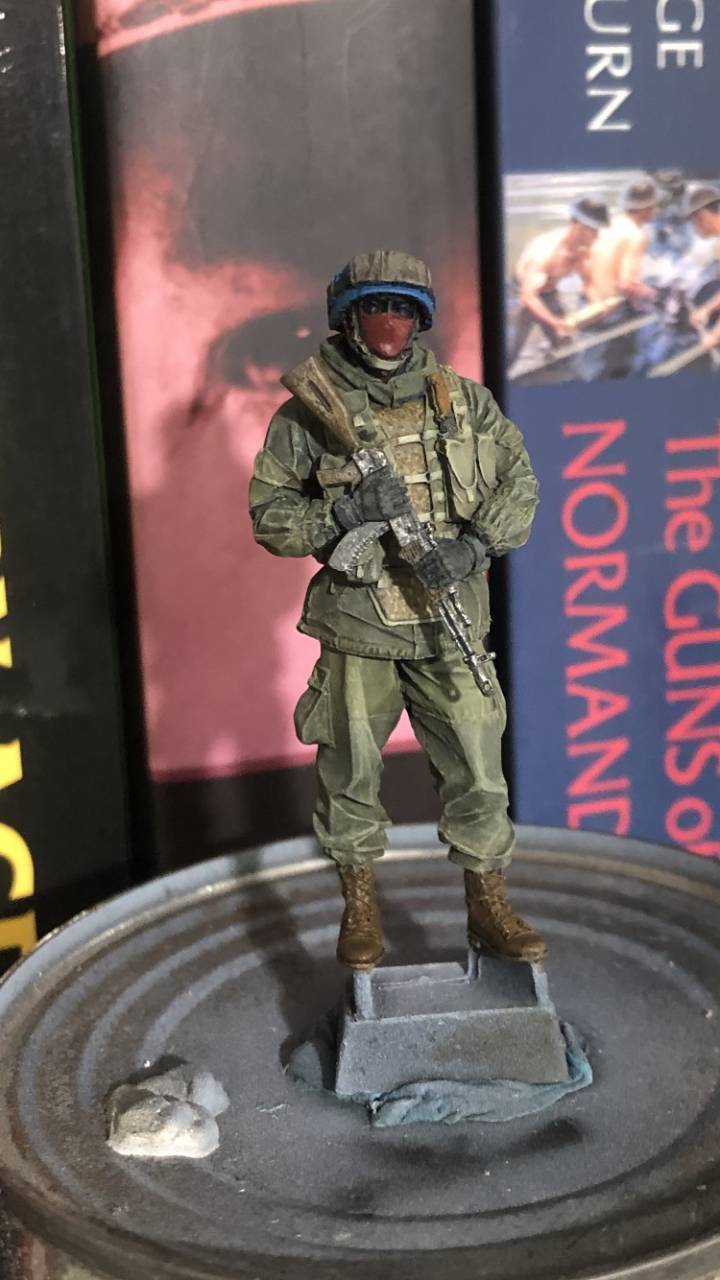
Since I primarily paint subjects from WW2, I don't have the most accurate paint scheme for a modern Russian soldier. So I've decided to allow my creativity to take control of this project while keeping it as realistic as possible. So I grab my five year old size 1 Winsor & Newton Series 7 brush and base coat the figure with Vallejo Bronze Green (70.897). I know this colour is usually used for British armour, but I find it to be a great starting point for this project.
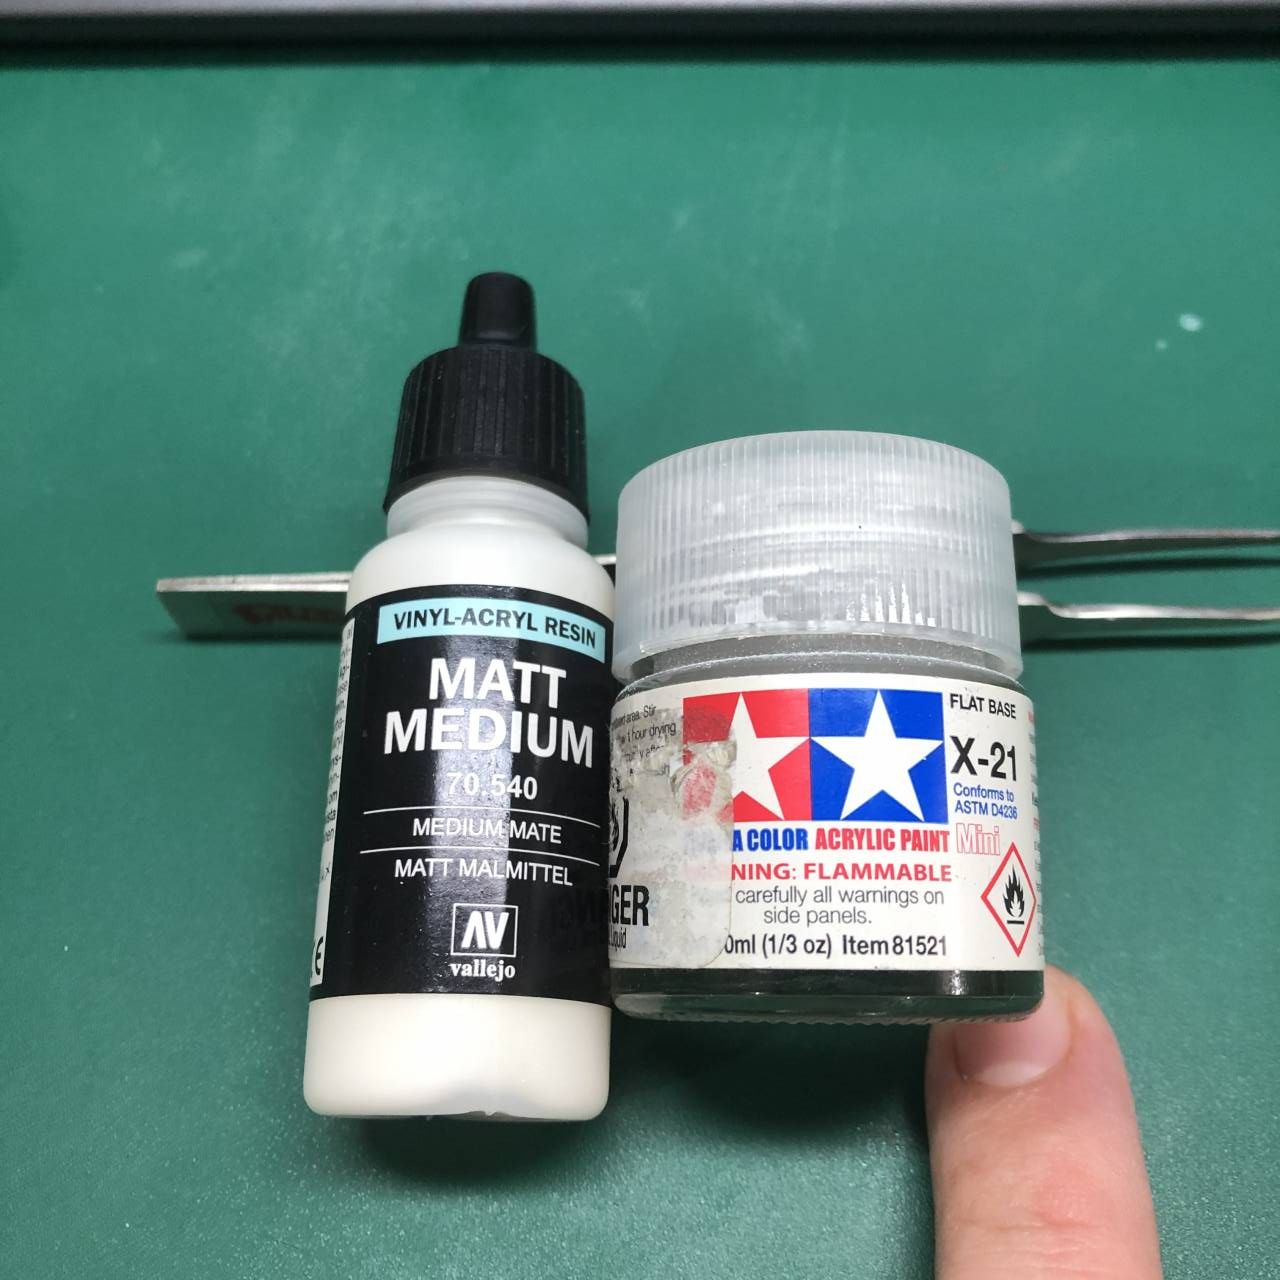
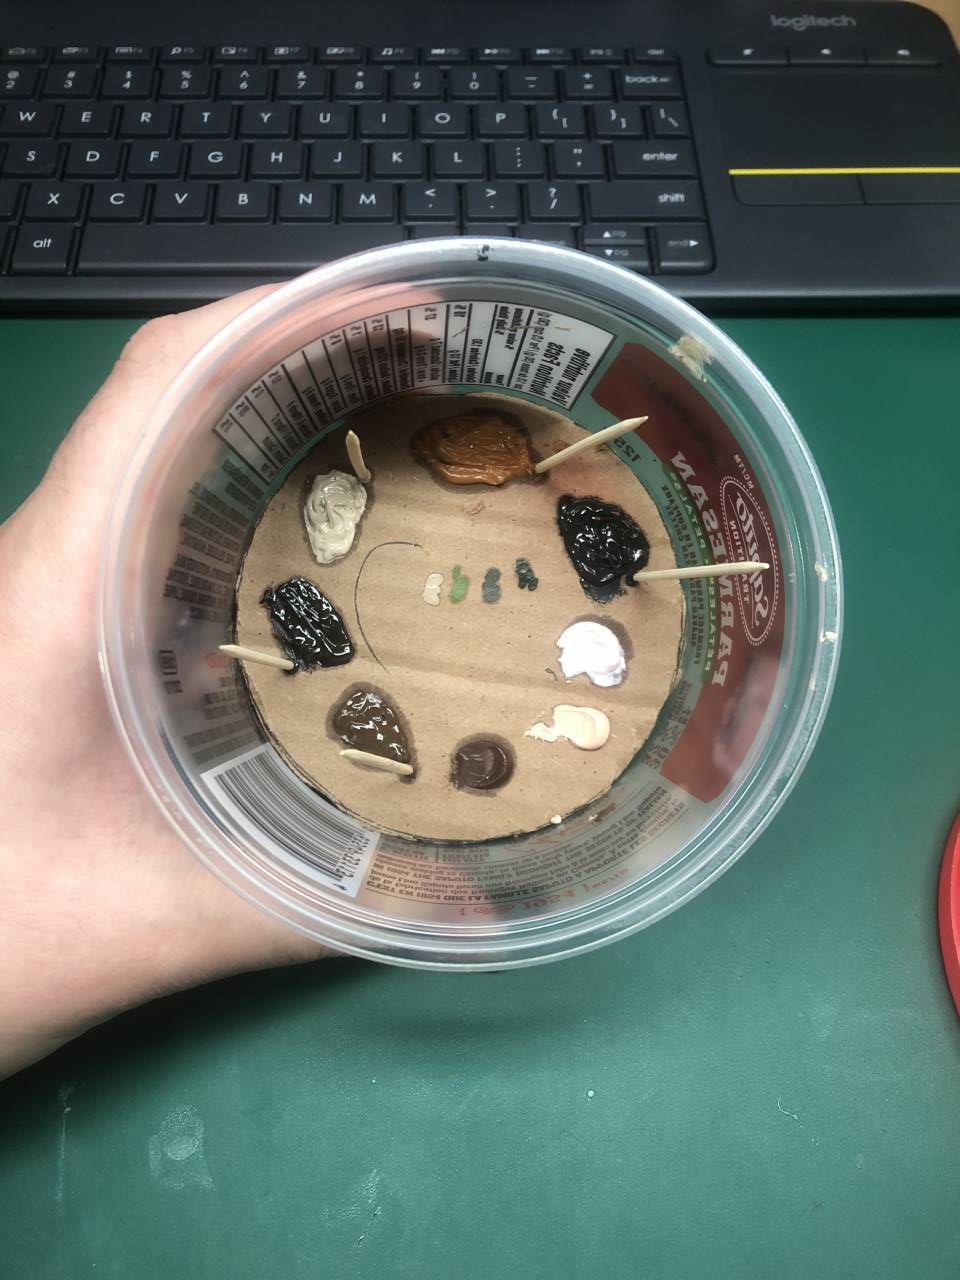
Now I normally add a tiny drop, just the tip of a brush, of Tamiya Flat Base (X-21) to all paints when working on a figure. I find Vallejo paints have a super strong satin finish once dry. This is not helpful when painting figures; it makes it really hard to see highlights and creates too much capillary action, turning your finely tuned glazes into a wash. For this project I decided to try Vallejos Matt Medium (70.540) to both flatten the paint and thin it. I normally also use Vallejo Thinner Medium (70.524) when thinning paint, so I figured the Matt Medium would work as two auxiliaries in one. I was wrong. The finish was way to satin for my liking, but I have decided to continue using it for the remainder of the project.
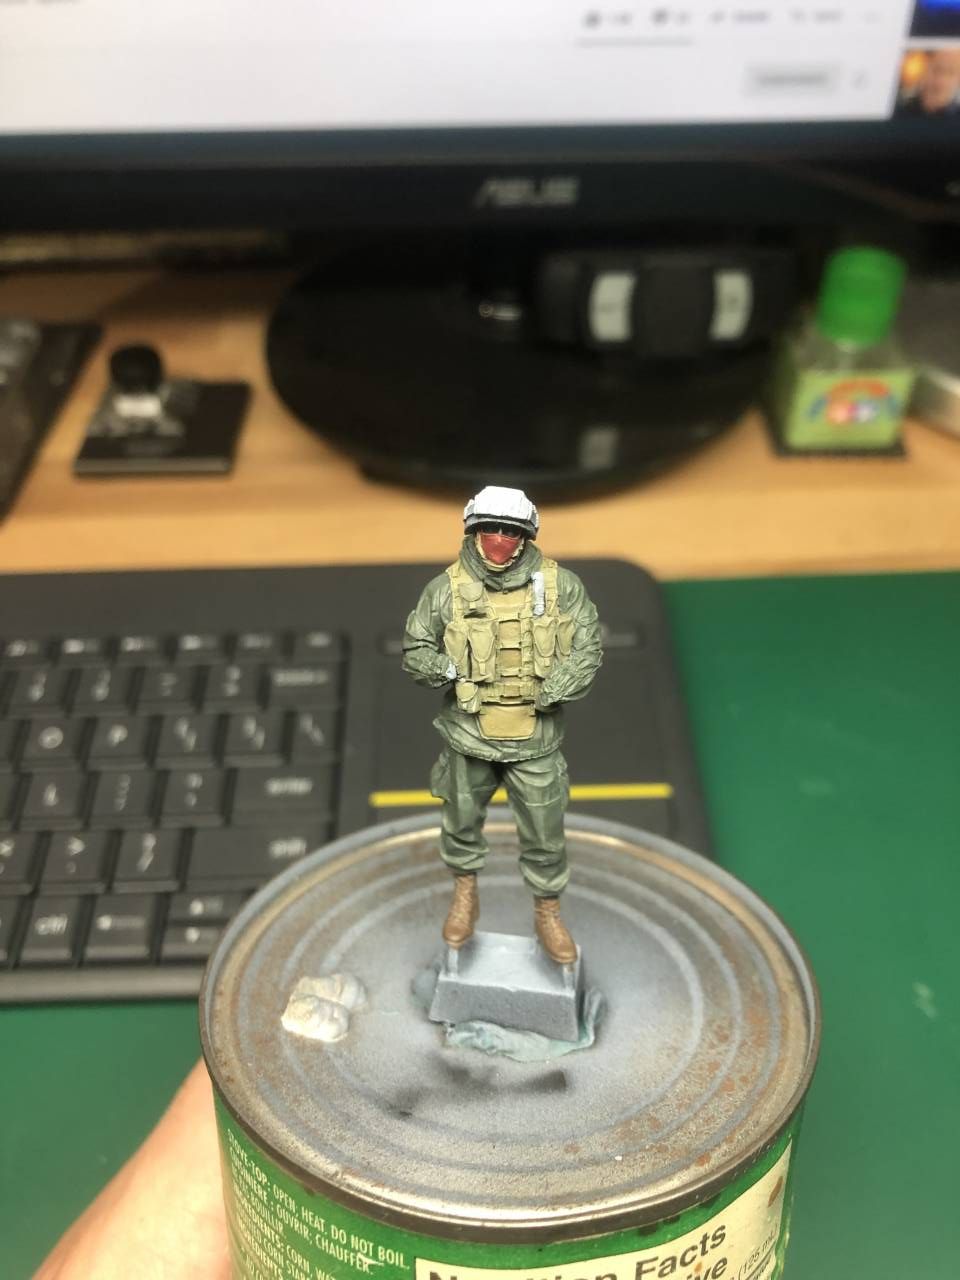
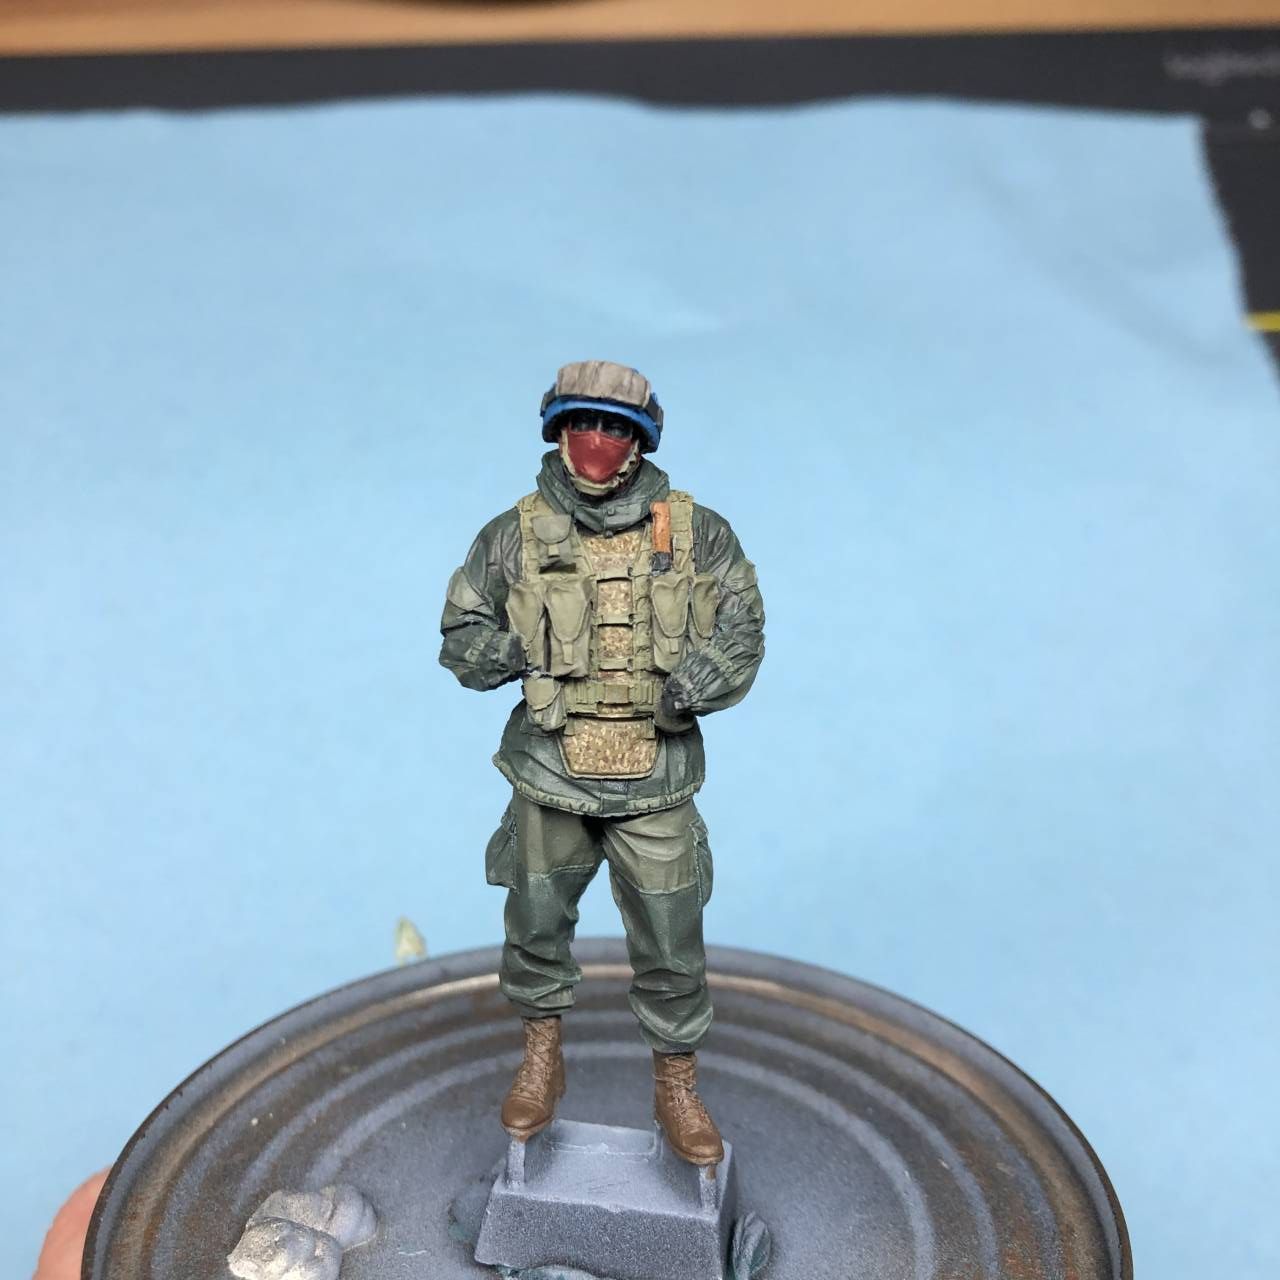
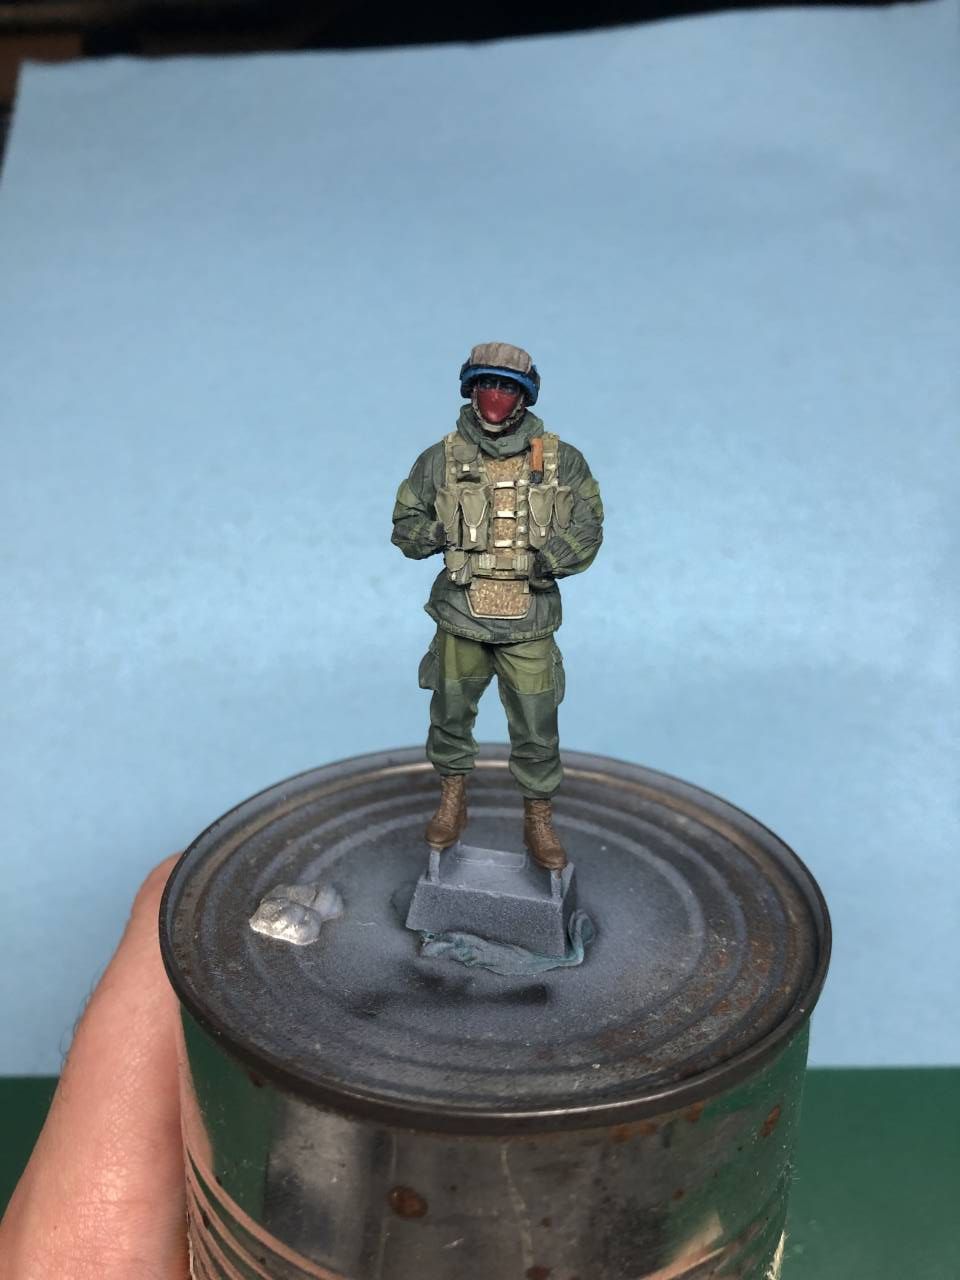
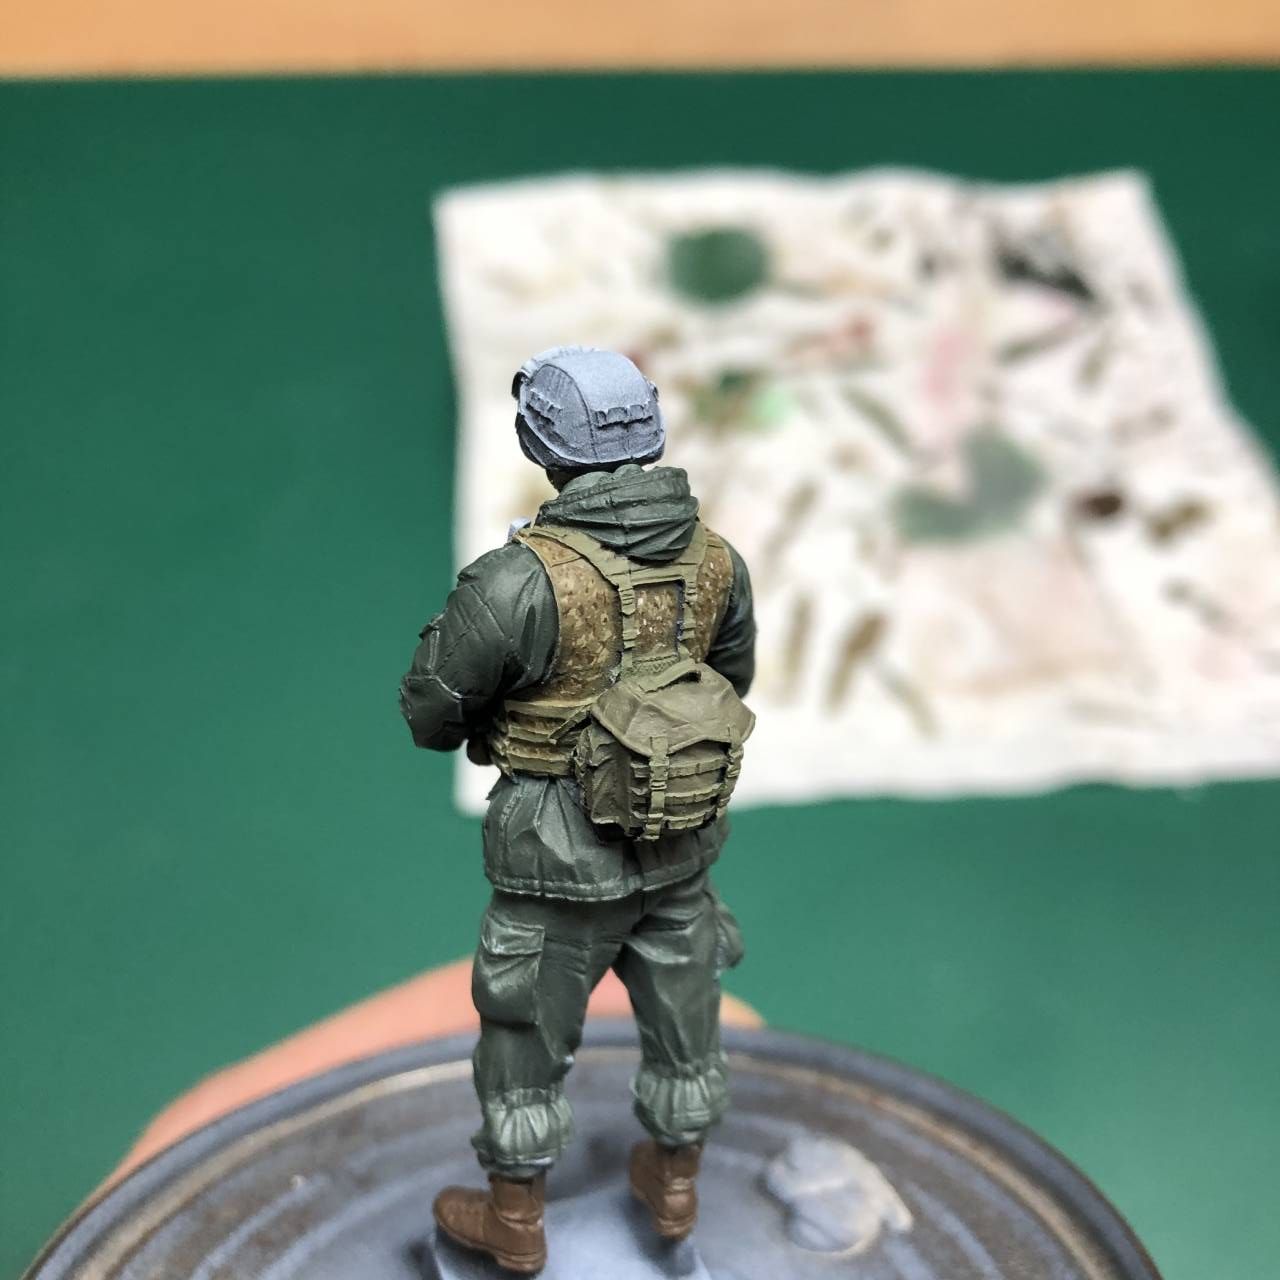
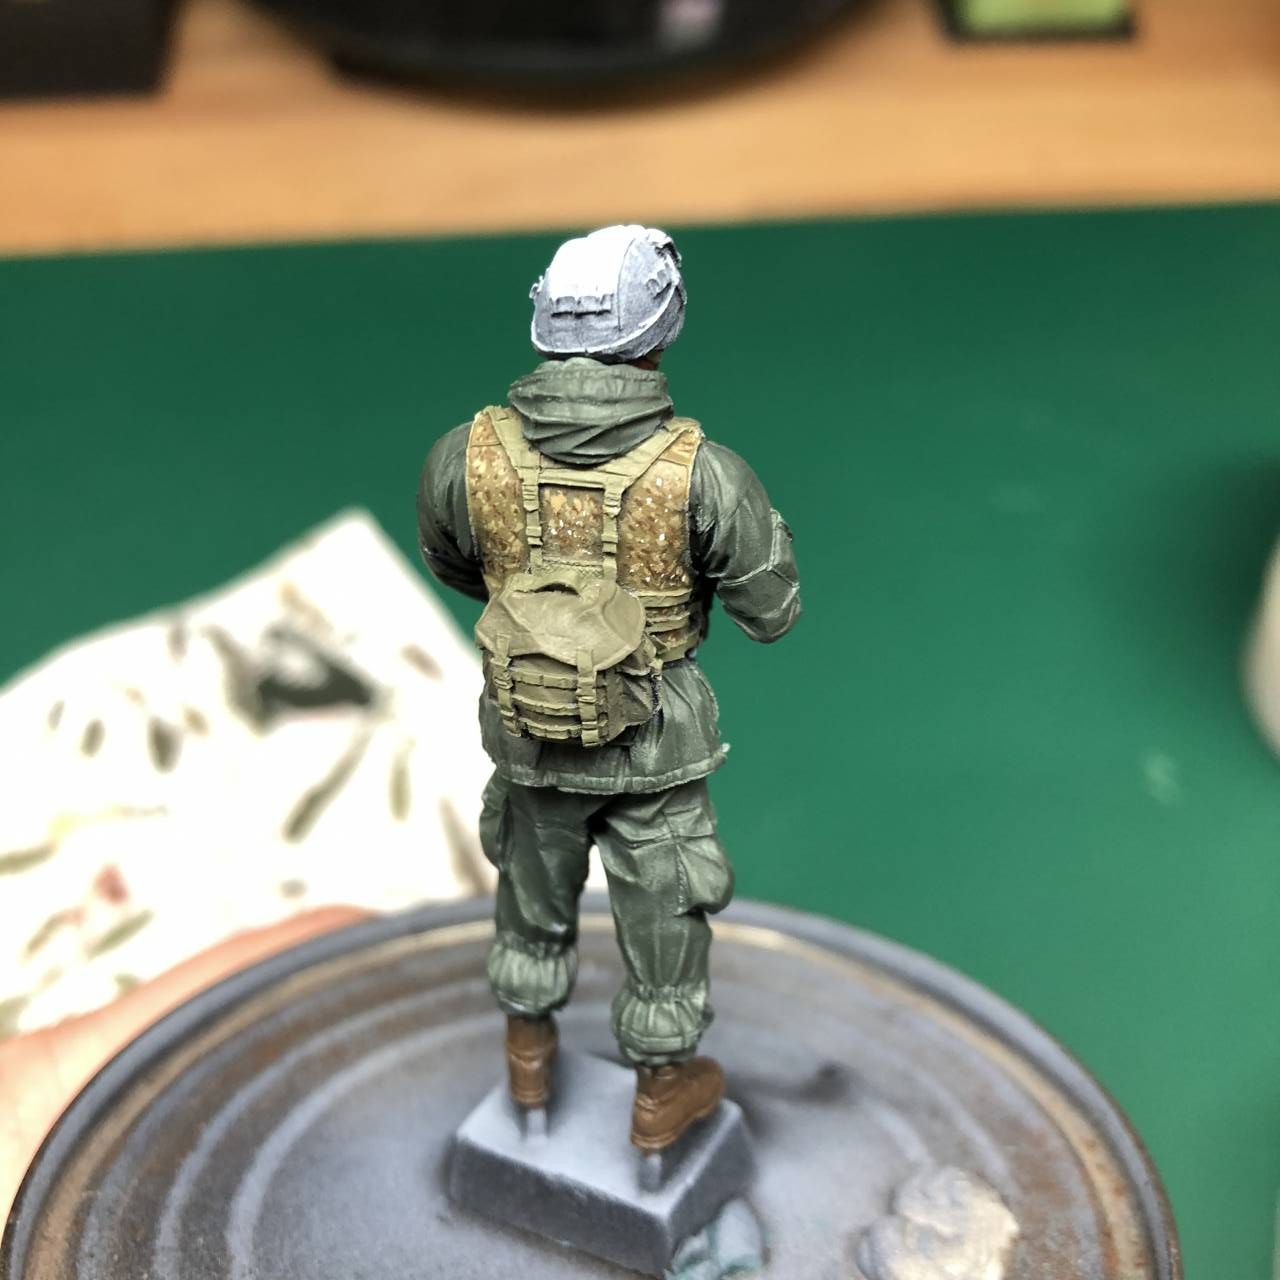
The flak jacket was picked out with Panzer Aces Canvas (314) and the tactical vest was painted with Panzer Aces US ARMY Tank Crew (318). The front ammo pouches were then painted with a 50/50 mixture of the previous paints.
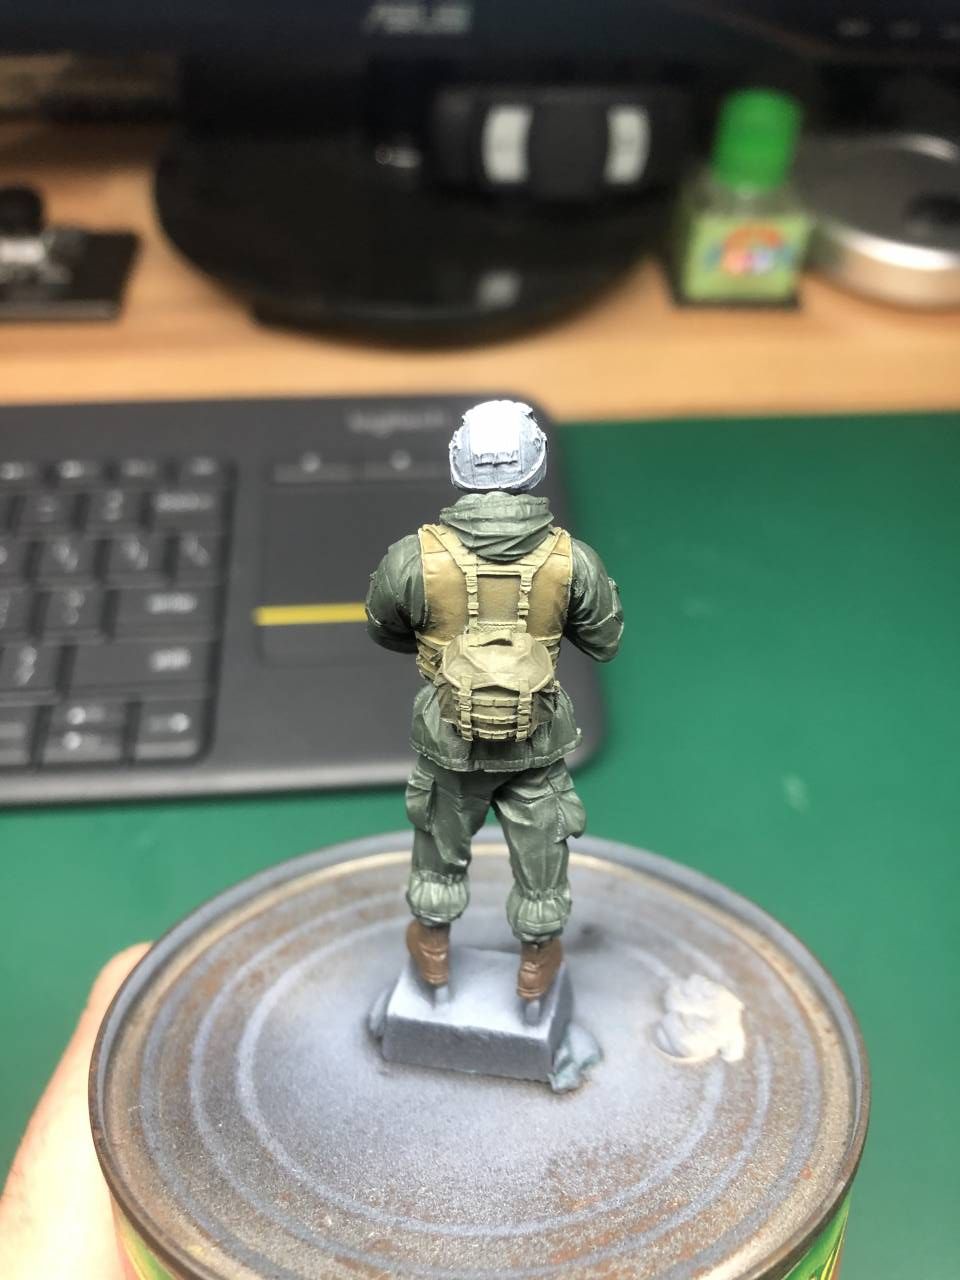
The backpack was done with Vallejos German Fieldgrey WW2 (70.830), and the smaller pouches on the front of the figure were painted with a mixture of what was left over on my wet pallet. I Then lightly highlight the web gear a heavily thinned glaze of Panzer Aces Highlight US Tkcr (322). I am planning on doing the majority of highlights and shadows with oils paints, so I back off and keep the flow moving.

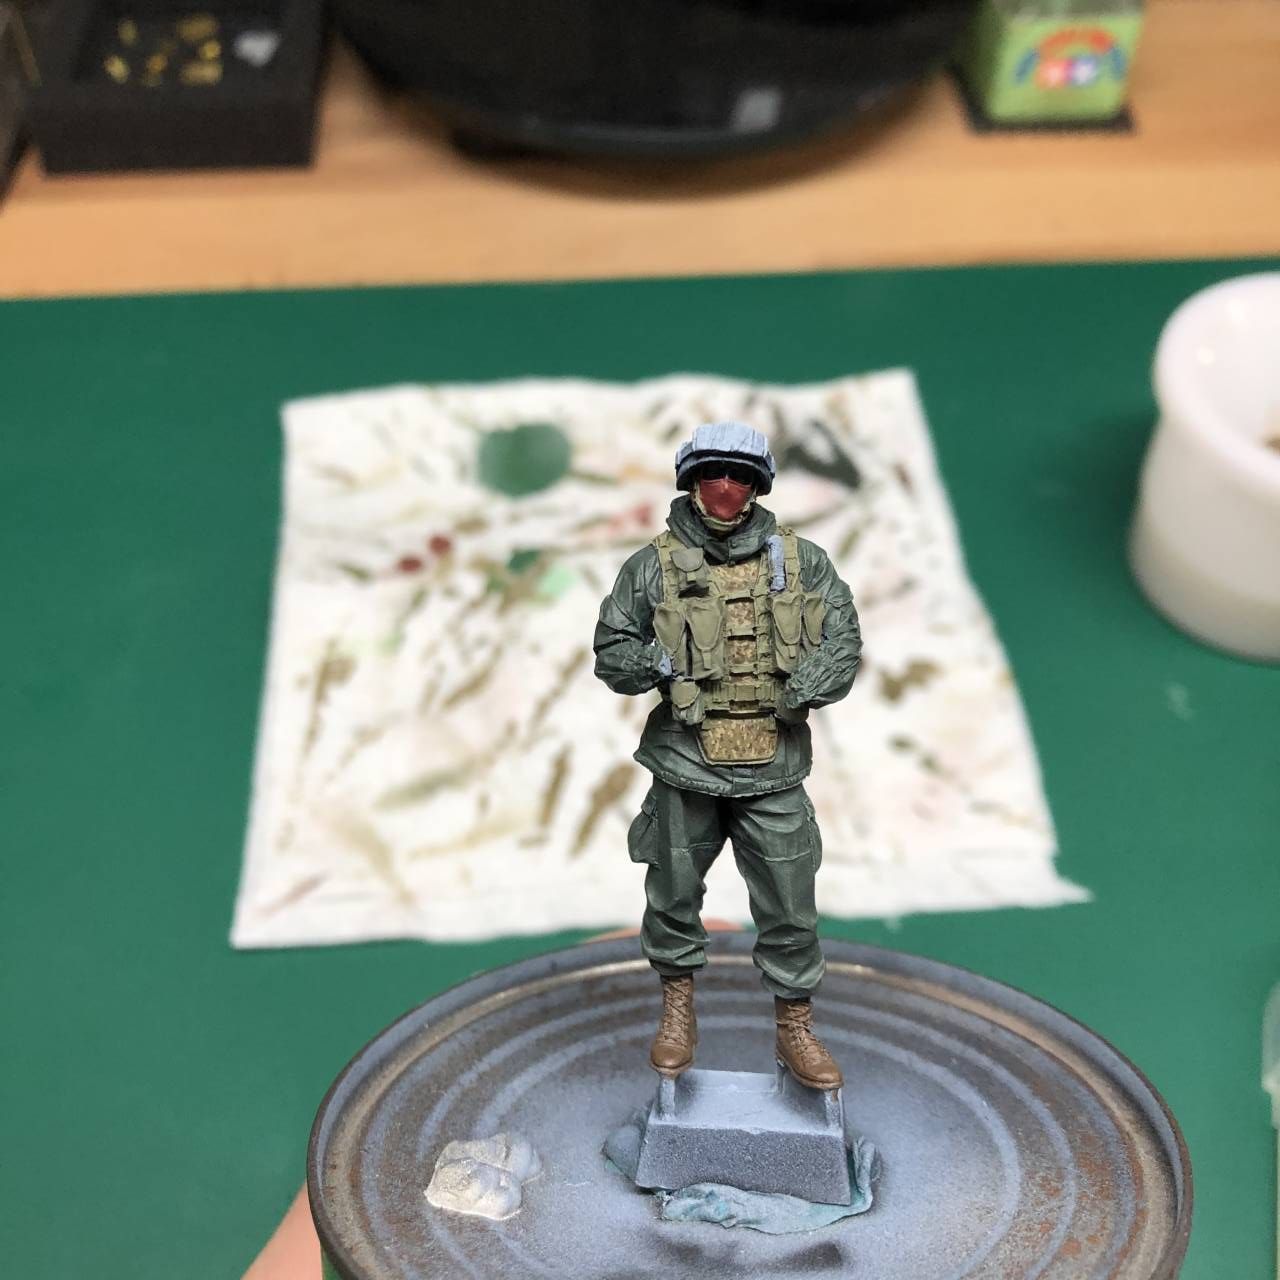
I drop down a smudge of Vallejo Flat Red (70.957) and desaturate it with some olive brown colors I have on my wet palette. The face mask is then gently painted. My base dilution is always at least a 1:2 ratio with thinner, because I don't want to clog up details, but at the same time I don't want to break the paint down and have it turn into droplets of colored water. Two to three thin coats should be your goal; it allows you to utilize the zenithal highlight.

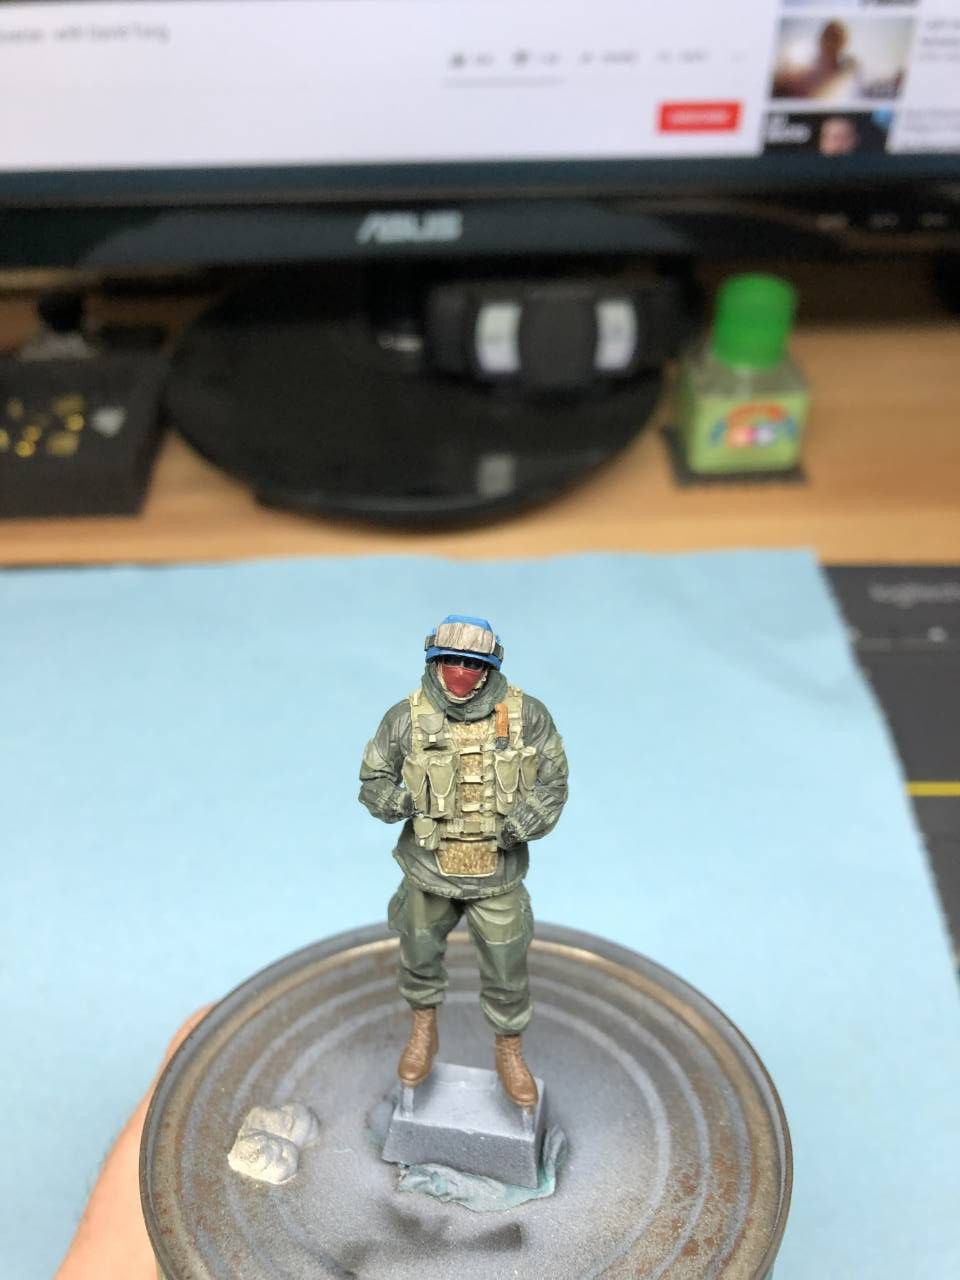
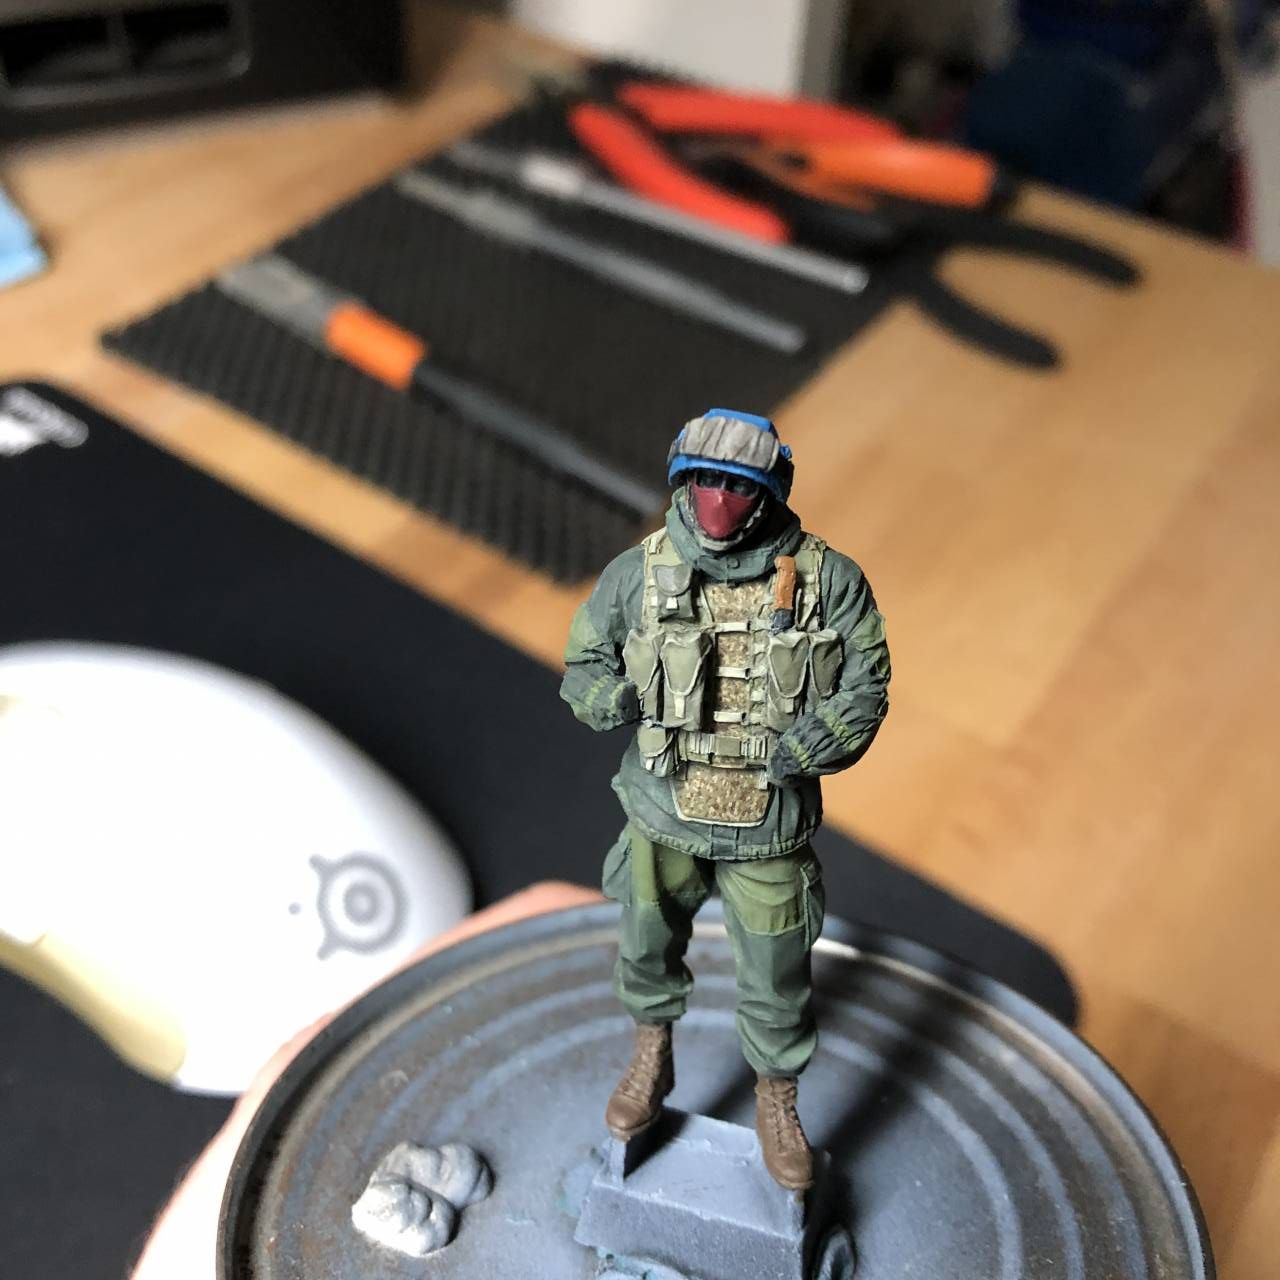
I now take a deep breath, and decide to commit to painting the flak jacket in a desert style digital camouflage. My reasoning is it will break up the chest, and lead the eyes towards the head of the figure. As with most camouflage projects : IT ONLY GETS WORSE BEFORE IT GETS BETTER. So I jump in head first with Vallejo German C. Beige WW2 (70.821) and a 4-0 kolinsky sable.
With that done, I quickly moved on to Vallejo Burnt Umber (70.941) and continued forming the pattern. I gently prick the model and move on. Not allowing myself to get caught up on the smallest of details. It will all be toned down with a varnish and unified later on with a filter.
I went one step too far by trying to add some extreme high points with Vallejo SilverGrey (70.883) but stopped after just a few. Maybe American desert fatigues would have worked with this high point, but it wasn't working with this project so cut it off immediately.
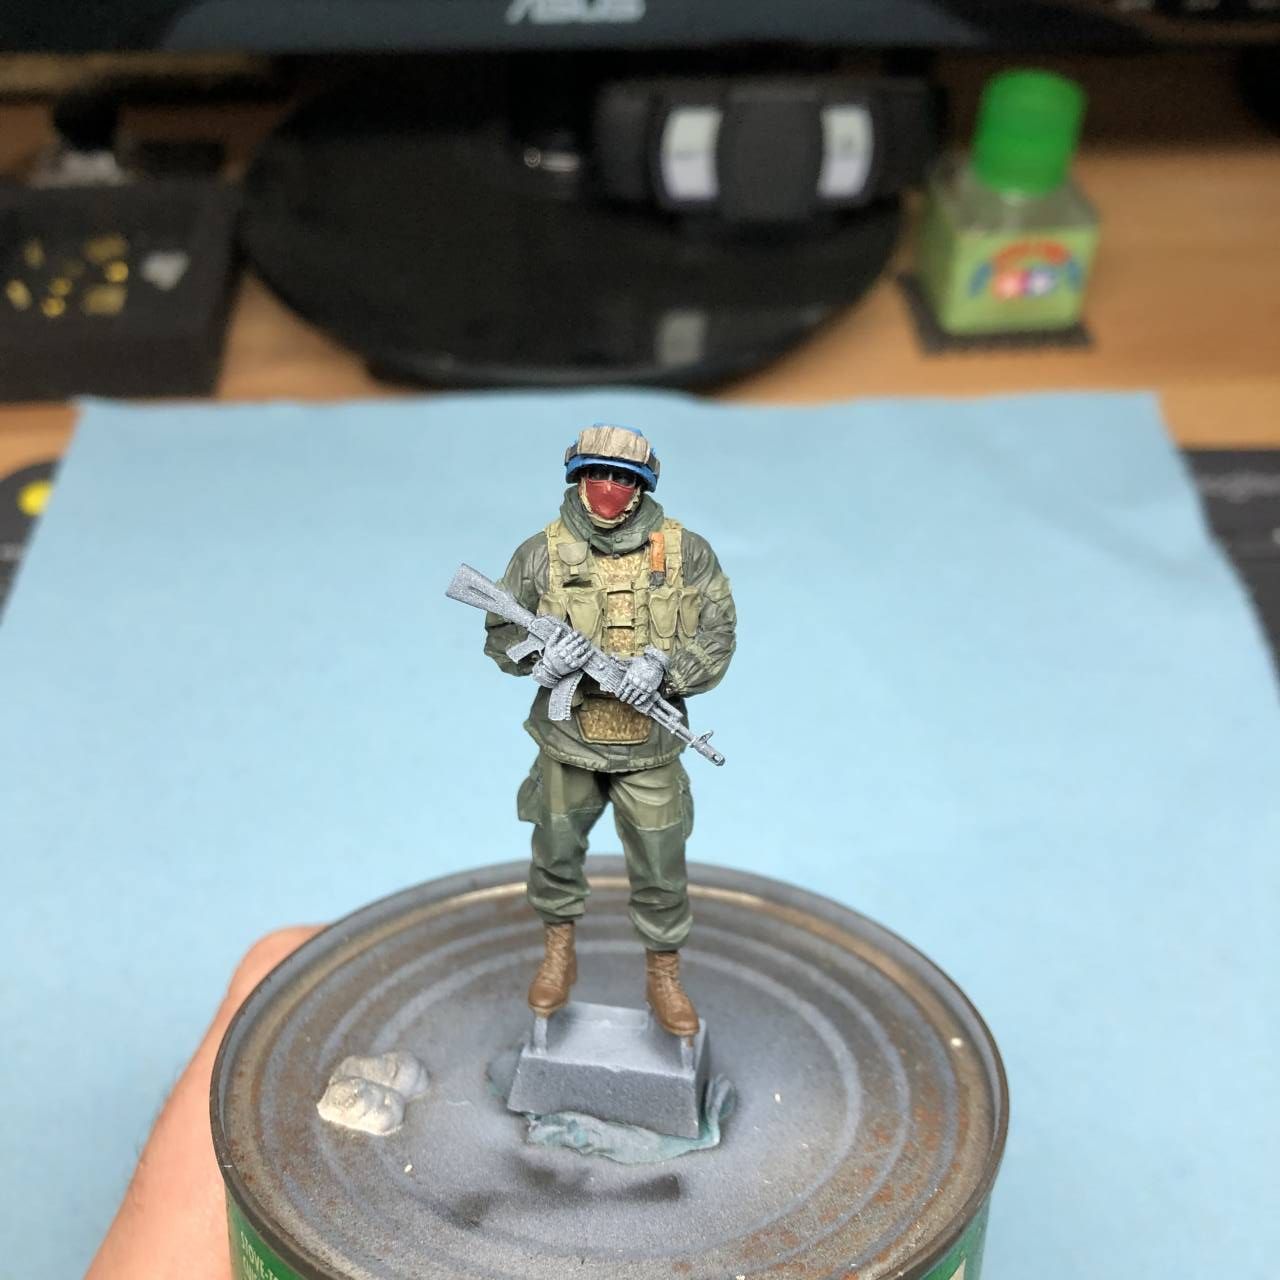
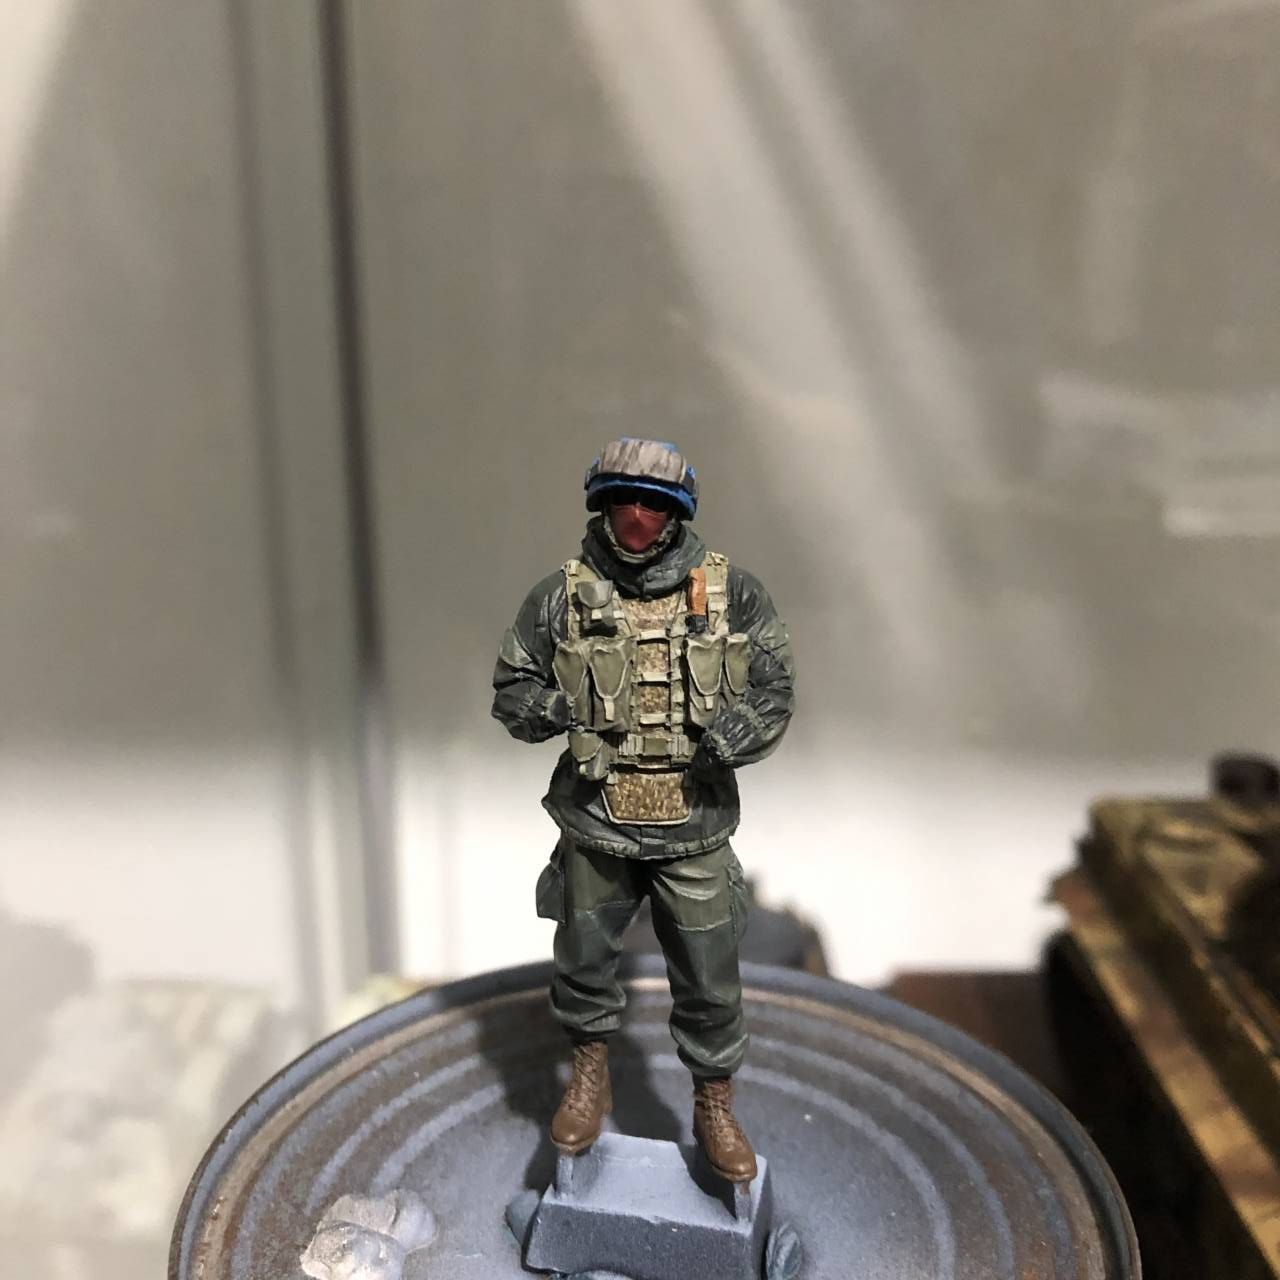
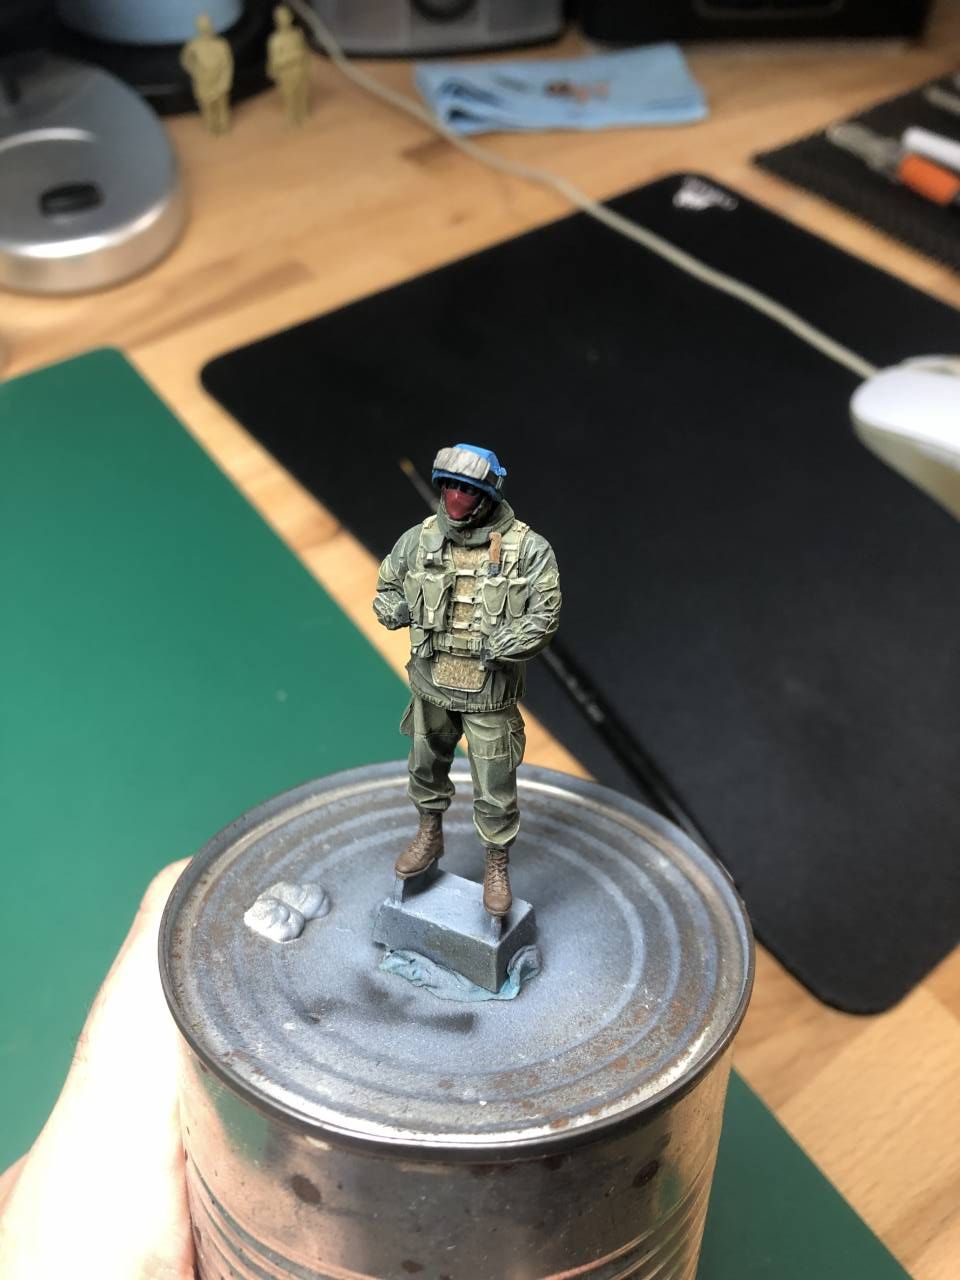
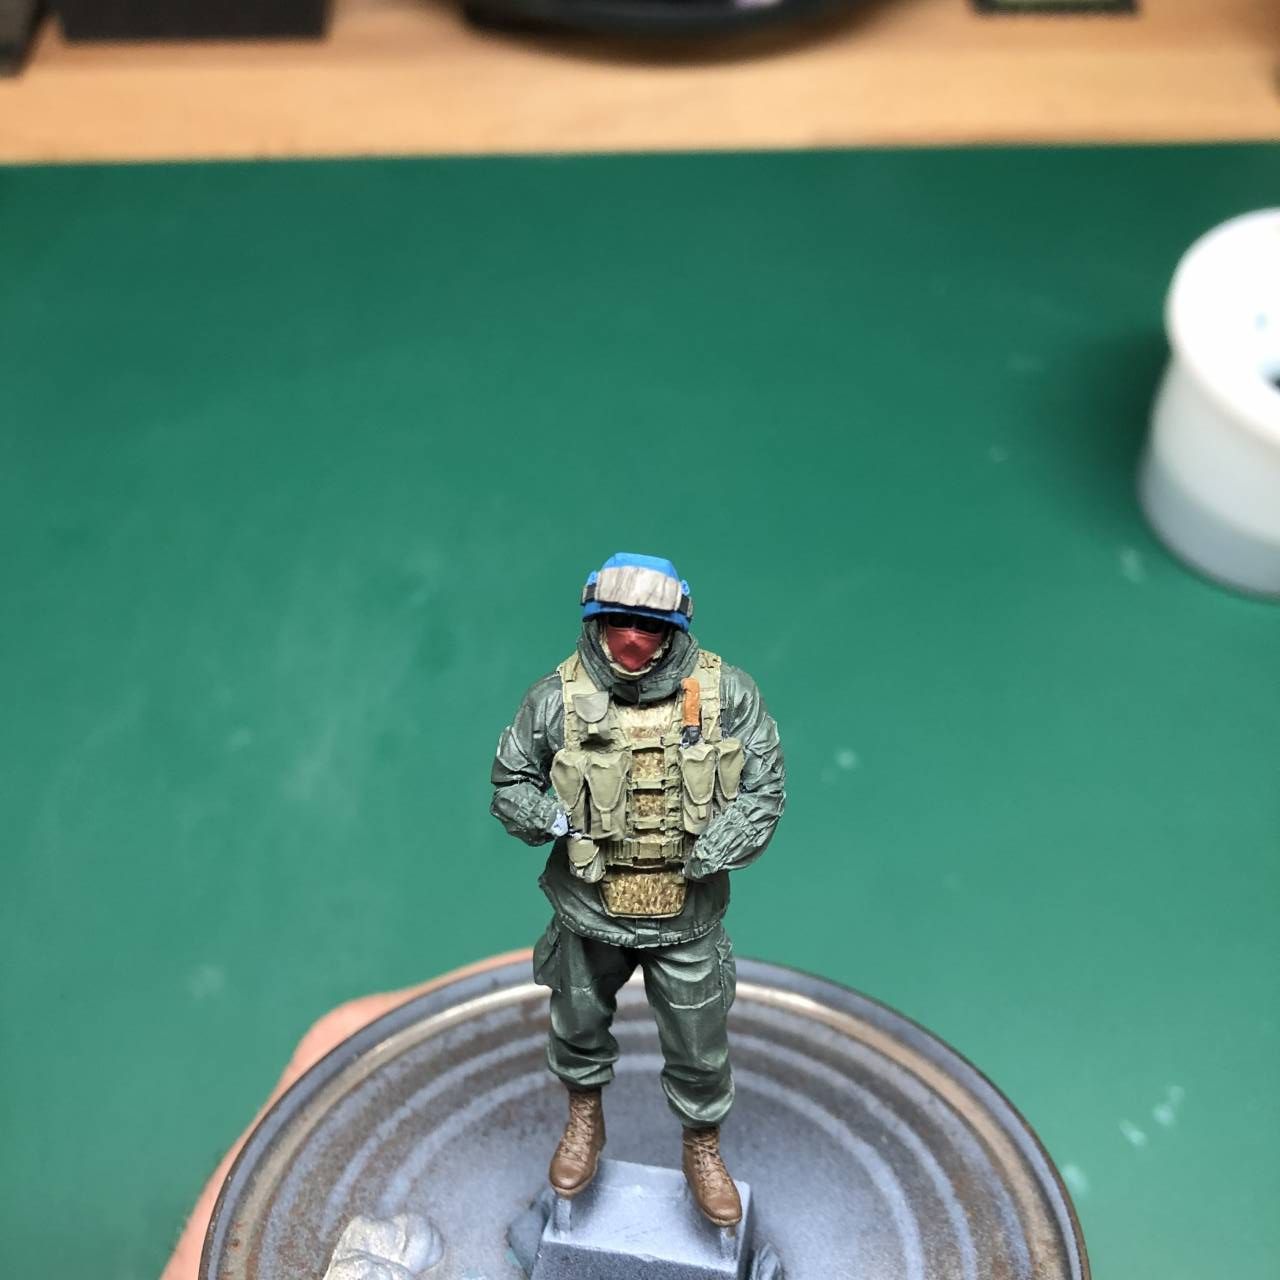
With the camouflage done I took a breath and touched it up sparingly, like I said it will be unified later. I was then struck with a jolt of inspiration and decided to paint the helmet as if it was draped with a United Nations cover.
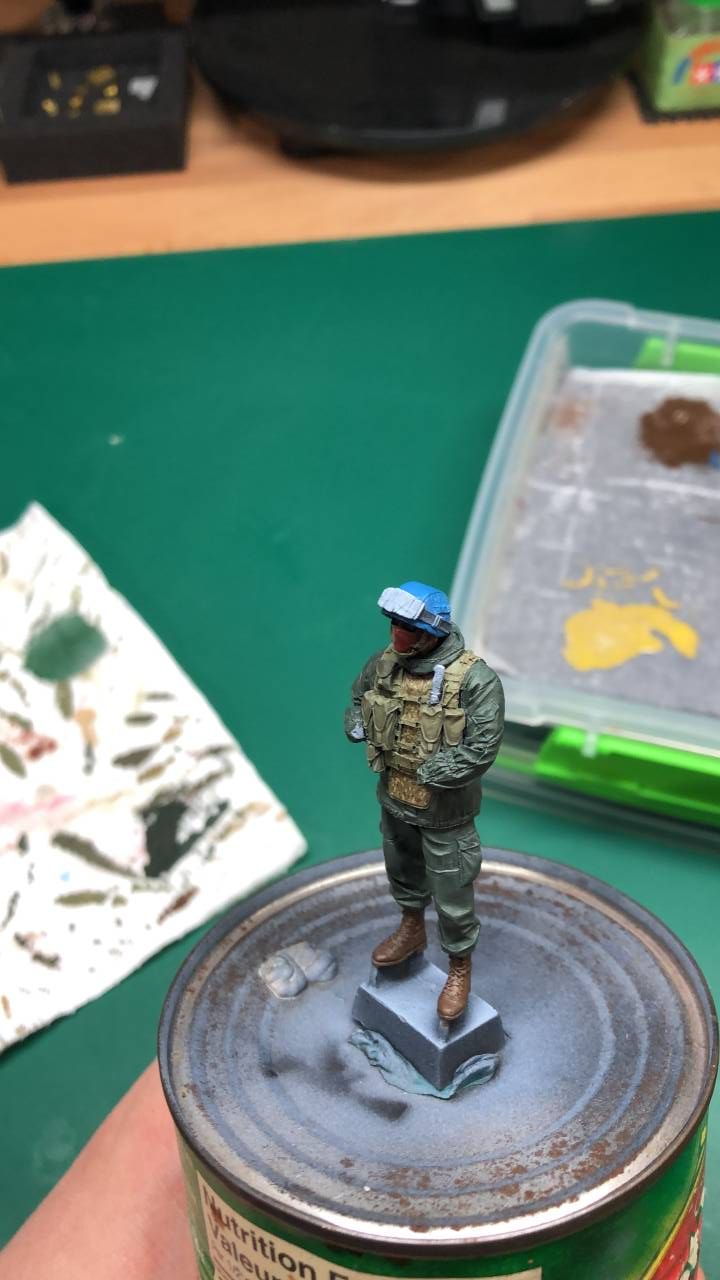
I lightened Vallejo Prussian Blue (70.965) with Silvergrey to obtain a nice rich blue. As per usual {?} it took a few coats to get good coverage. I then gradually added more SilverGrey building up the raised points on the helmet. The goggle strap was then painted with heavily thinned Vallejo Black Grey (70.862). The goggle cover was also painted with a light mixture of a few paints I had on my palette.
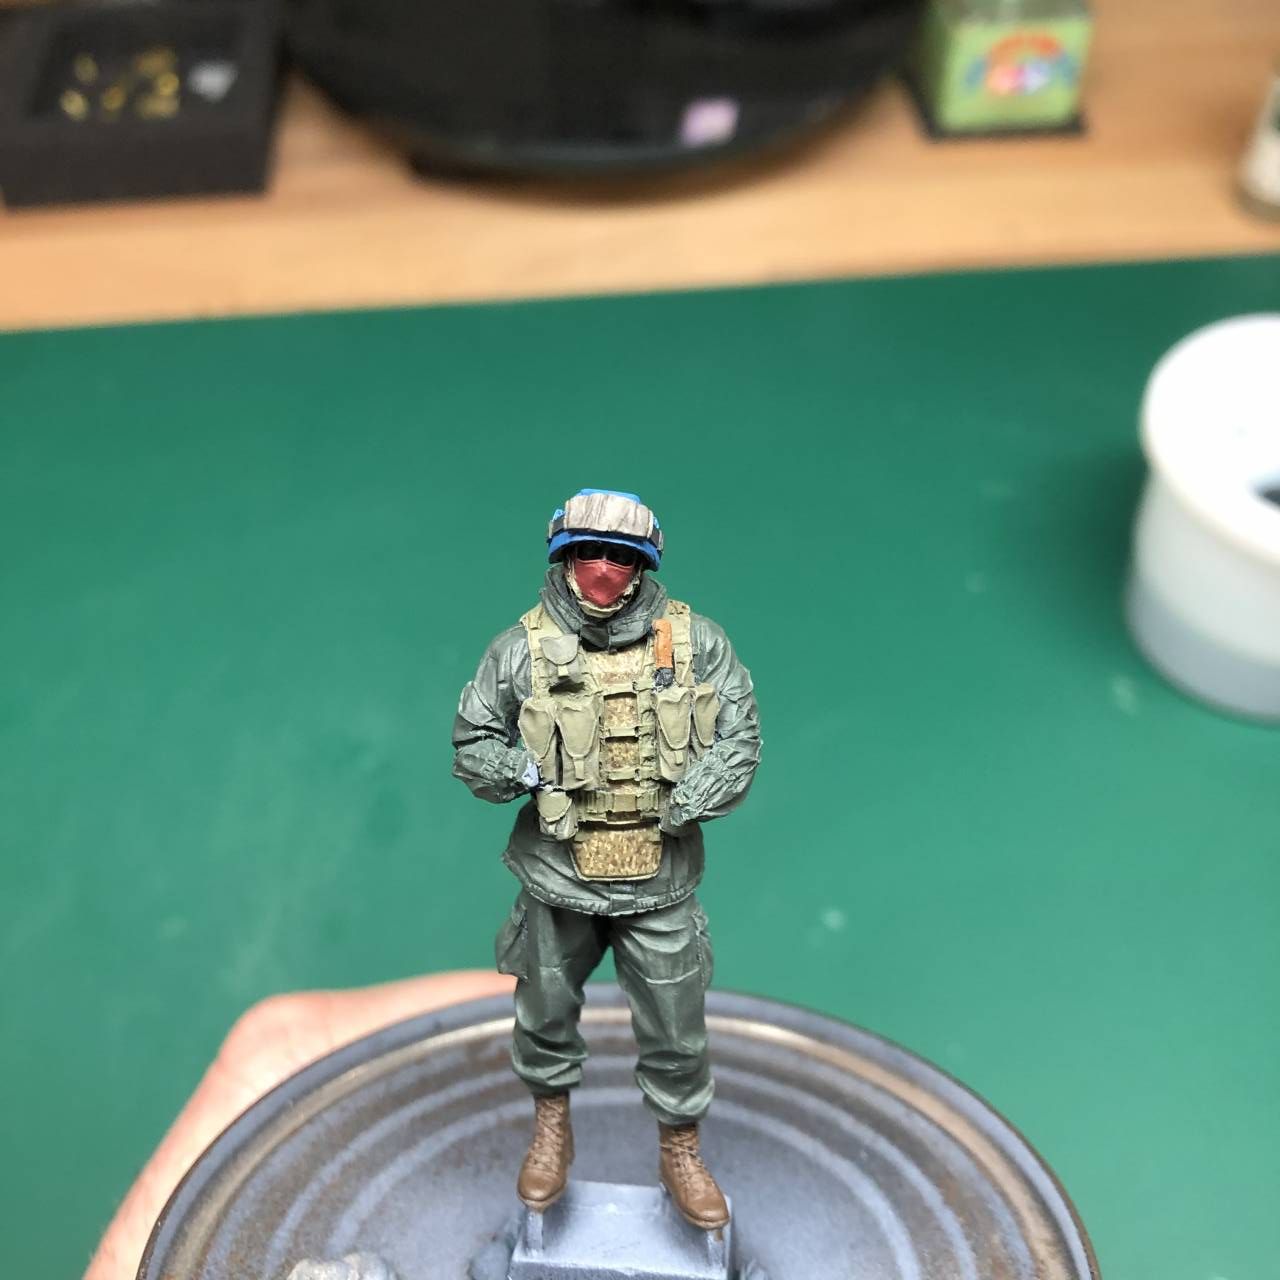
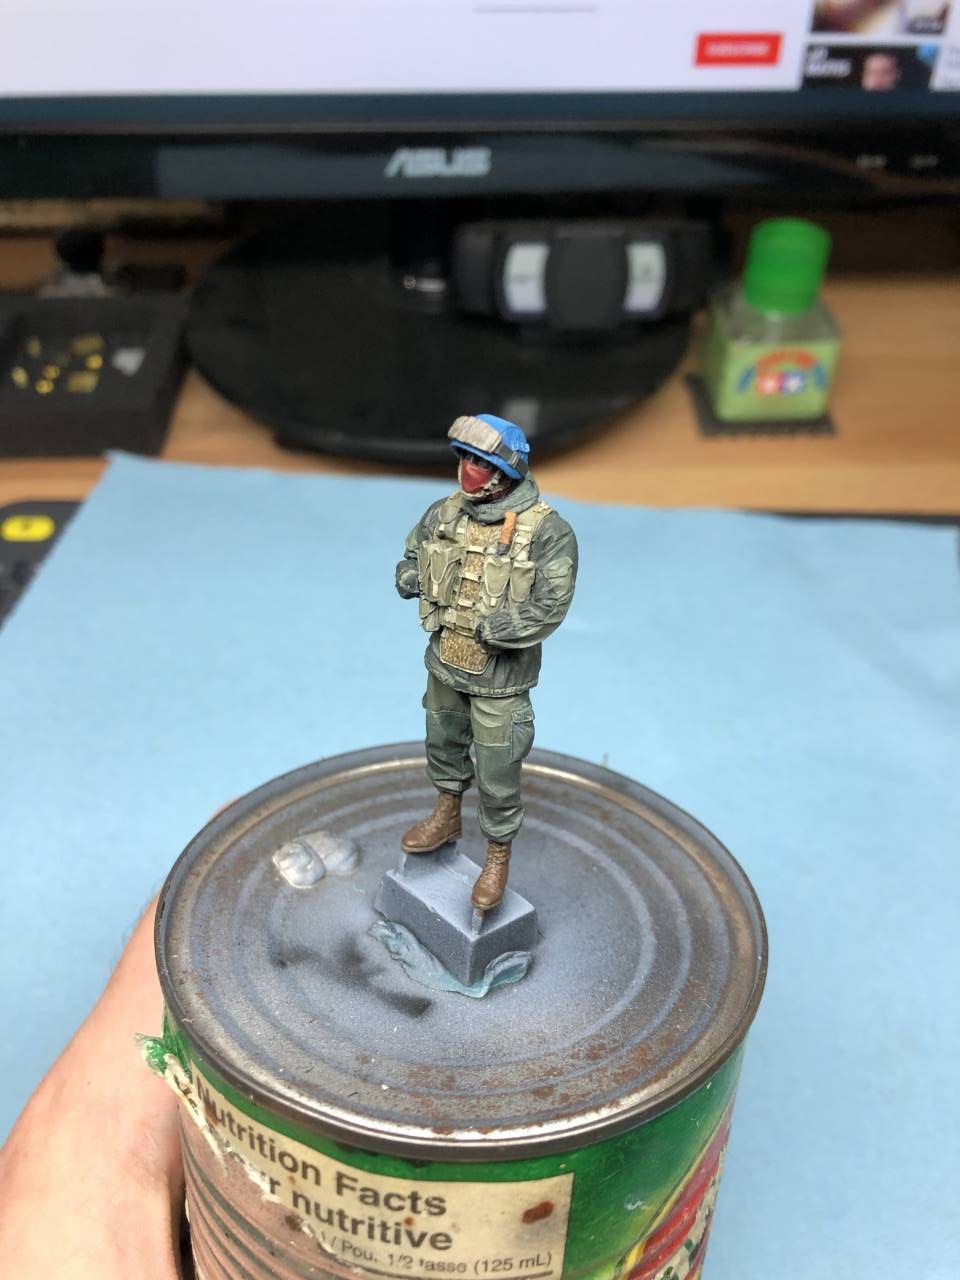
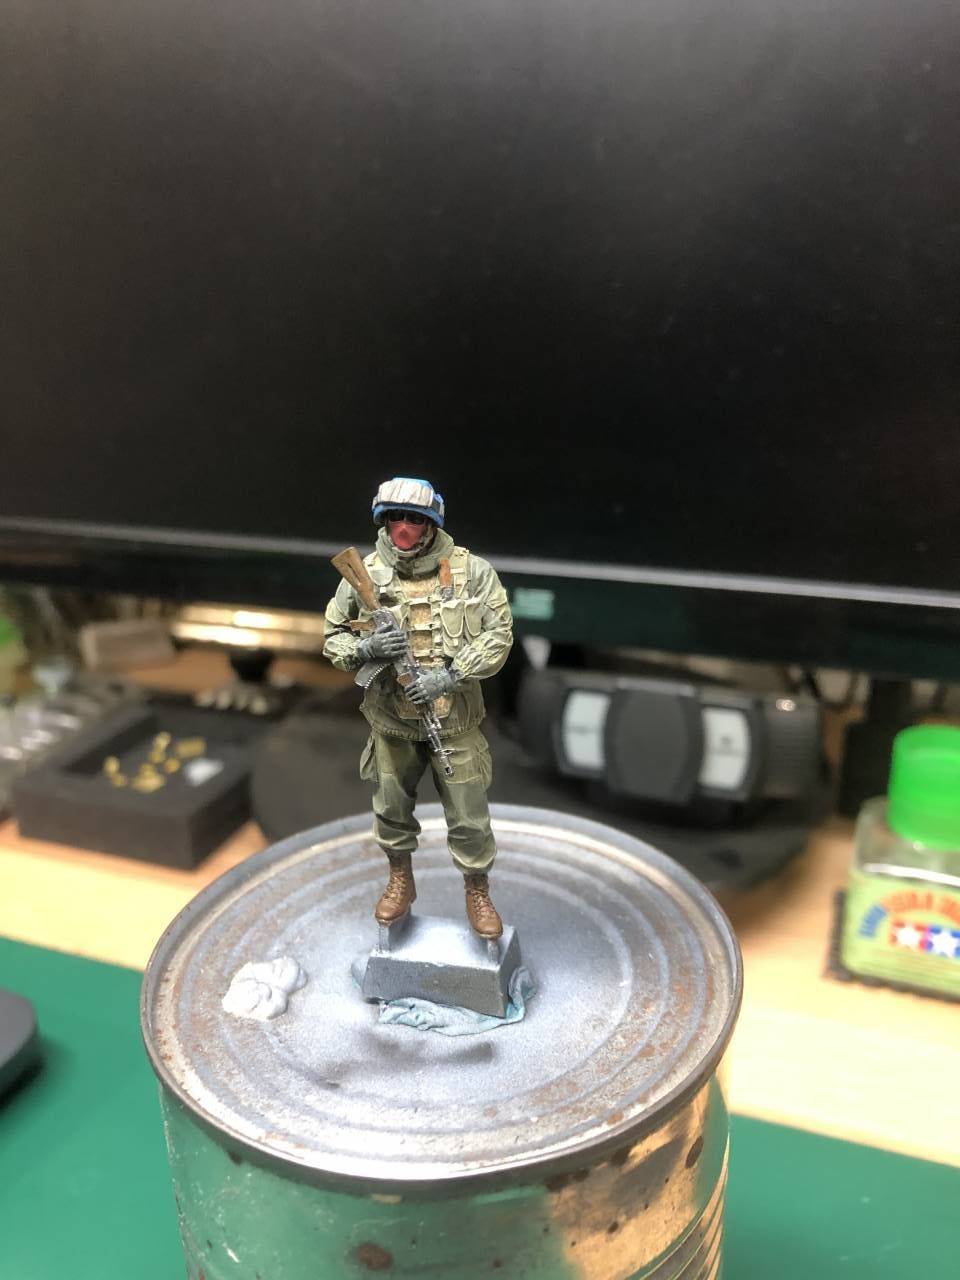
Thanks again for stopping by. This is where we are as of tonight. I picked out the handle of his knife with Vallejo Orange Brown (70.981) and Black Grey.
Don't forget to brush your teeth after every meal


See you all later! Still plenty more to come!
Lewis


 so I've stayed quiet and watched for years...
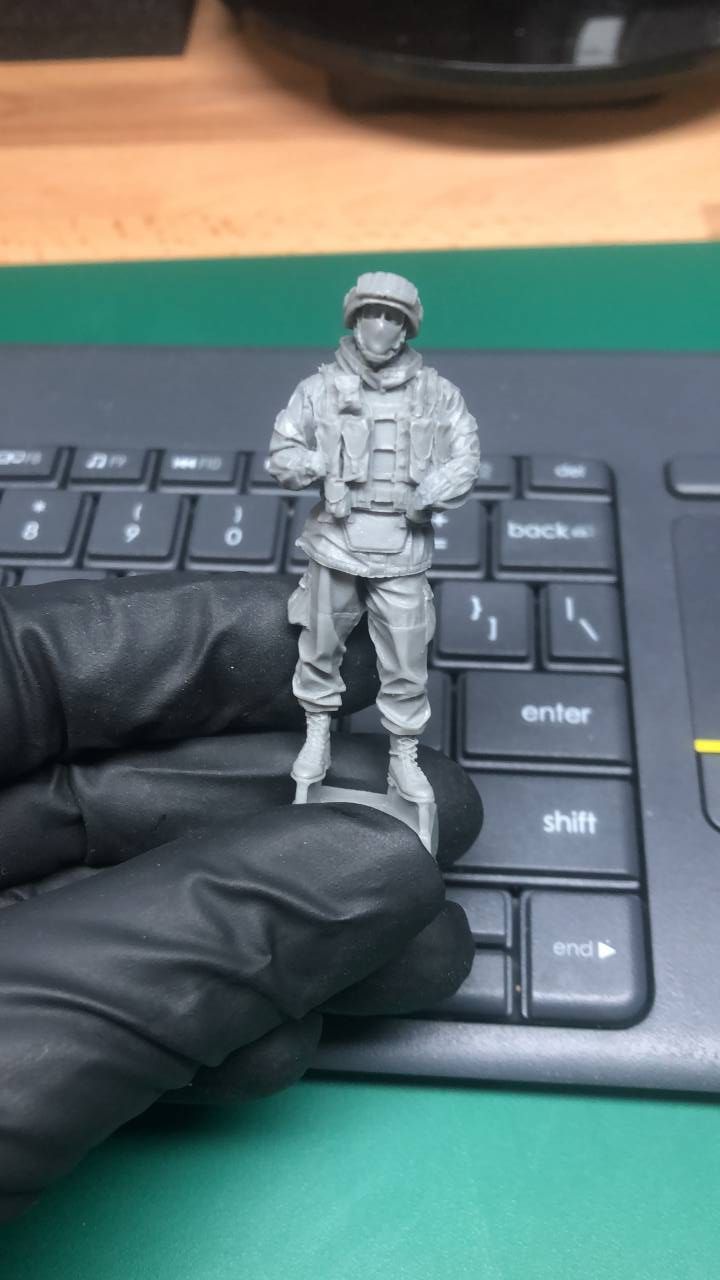
 and a long thought on priming and base colors.