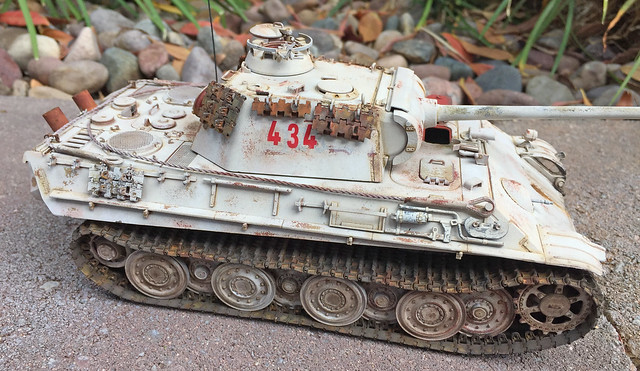
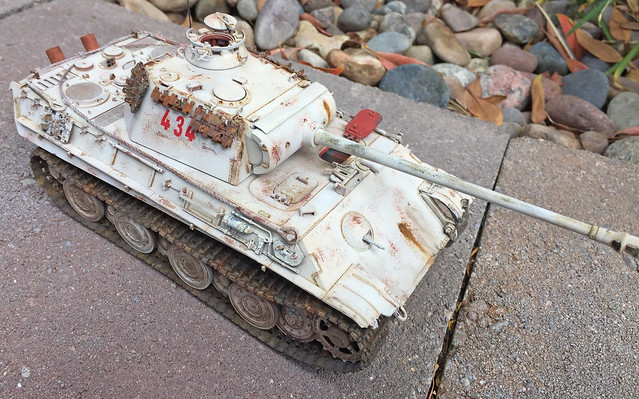
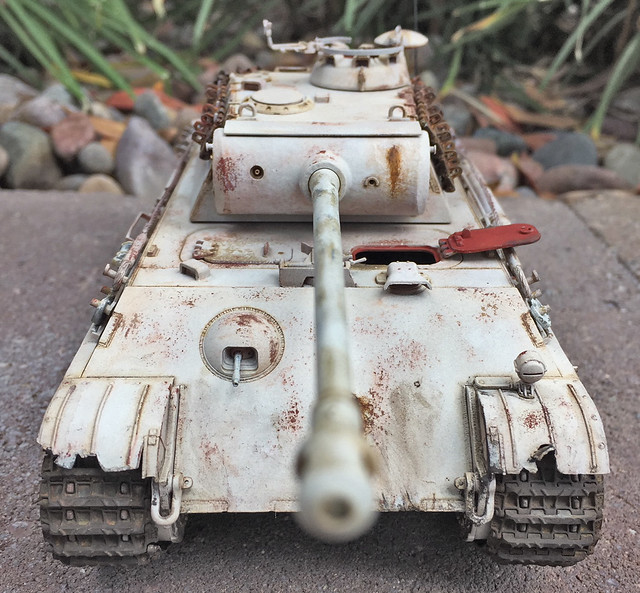
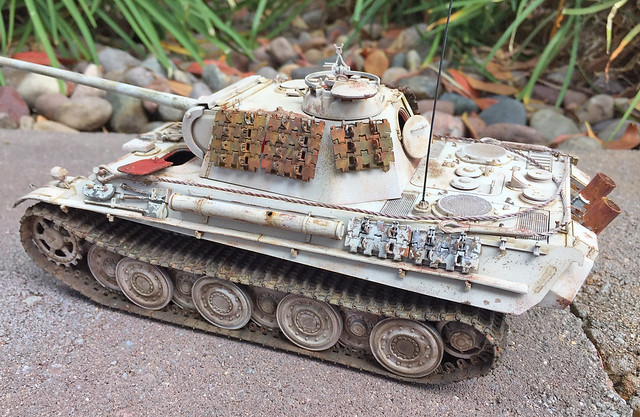
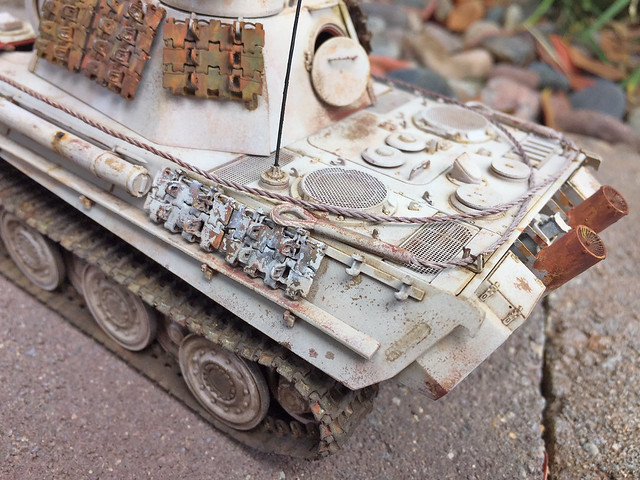
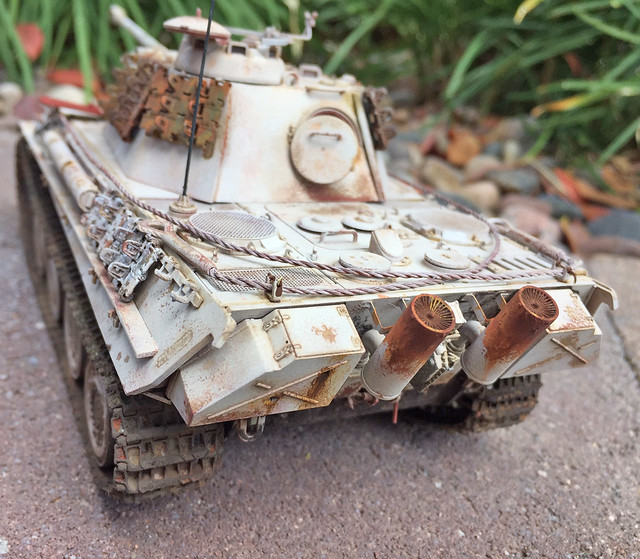
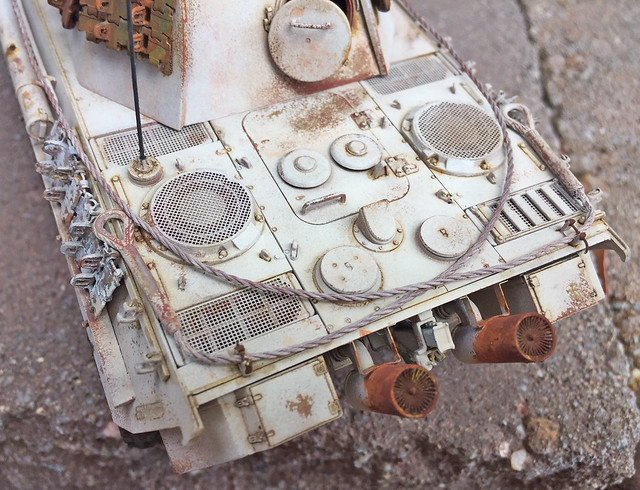
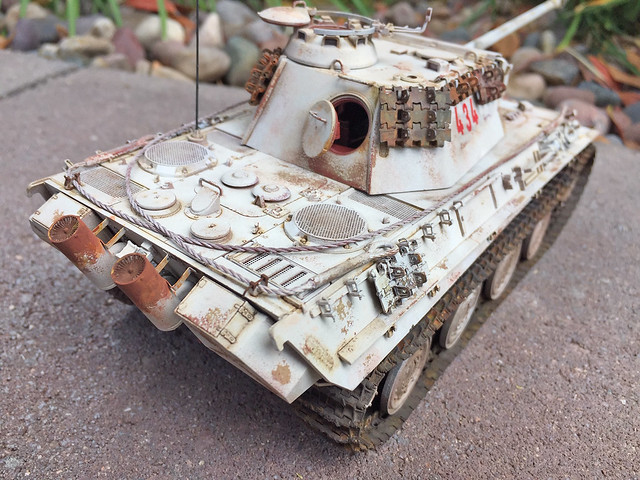
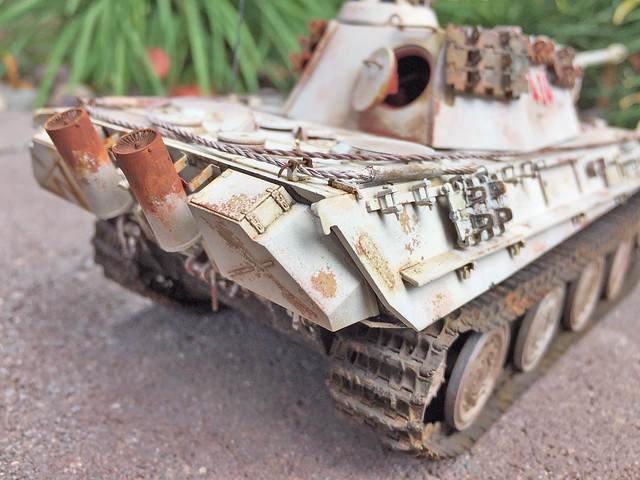
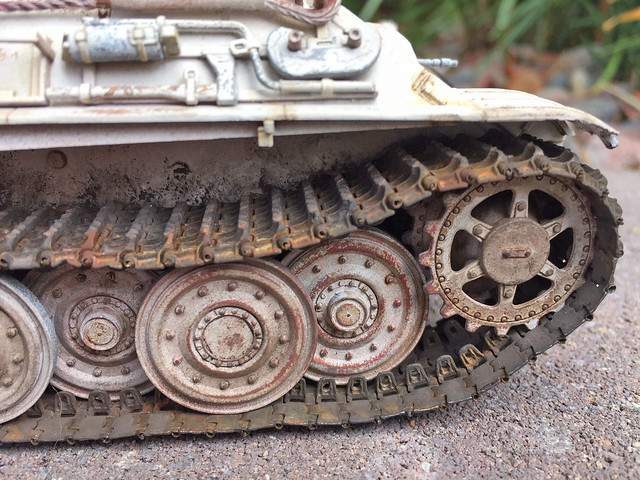
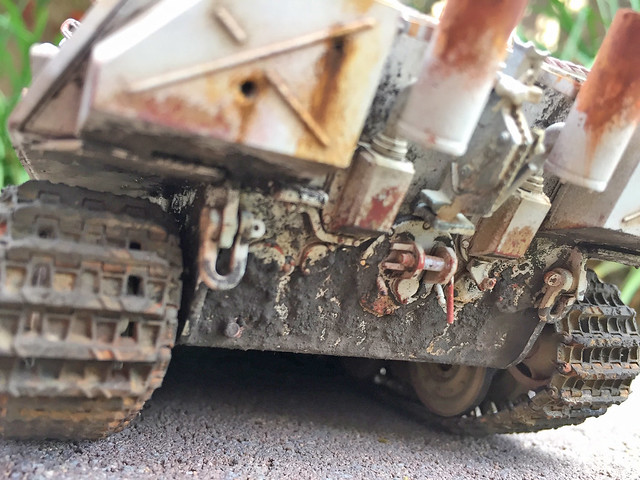
Here are pictures of my just completed Panther. This was my first time trying the full suite of Michael Rinaldi's Hairspray/Oil Paint Rendering/Pigment method, trying my best to duplicate the fabulous work in his TankArt 1 book. It so happens that one of the tank models he works on is a Panther, though a Tamiya with upgrades in the assembly and with road wheels with tires, whereas mine is a Dragon kit, with steel wheels.
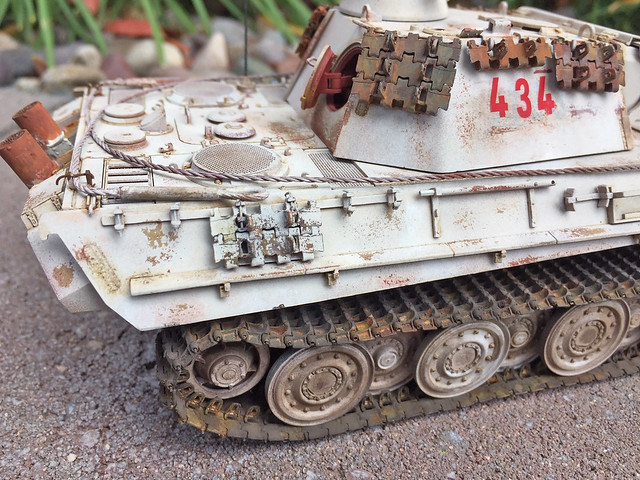
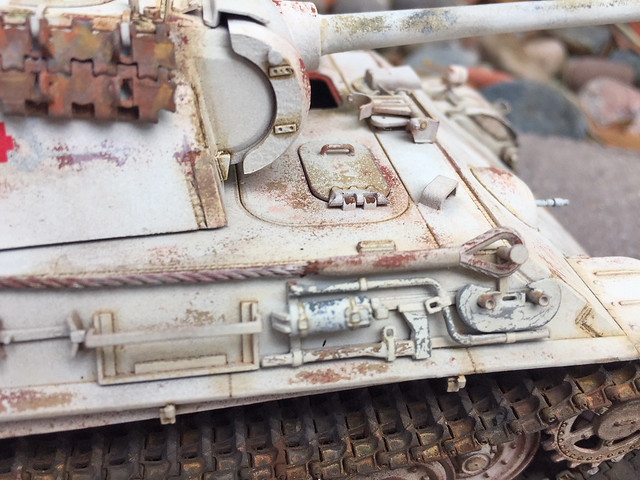
I have never seen another modeler create tanks out of plastic that look like real metal vehicles to the extent that Michael does! It will take a LOT of practice to get even close to the spectacular work that Michael does, but we all have to start somewhere. I'd taken about a year's break from tanks, and worked on aircraft. This tank had already been mostly completed, construction-wise, and just sat (with a first coat of a Tamiya mixture to create dunkelgelb), for a few years, at least, just waiting for me to decide on a final camo finish. I ended up removing the dunkelgelb paint layer, and starting the finishing process from scratch. So, here's my work. I know that this particular tank is not historically accurate, in terms of the tank number corresponding to the exhaust type, and several other details, but I really wanted to try to make this tank as close to Michael's Panther as possible.
I used a primer (Mig One-Shot), then Vallejo to simulate the red oxide base primer color, and a Tamiya mixture for the dunkelgelb, and Tamiya again for the whitewash coat. Fruil tracks got an initial Blacken-It treatment (or similar, can't recall exactly what I used, given that it was so long ago), and a variety of Abteillung oils and pigments from a variety of manufacturers, Mig, Vallejo and Wilder. I used templates to paint the turret numbers, instead of using decals.
Any thoughts would be greatly appreciated.