


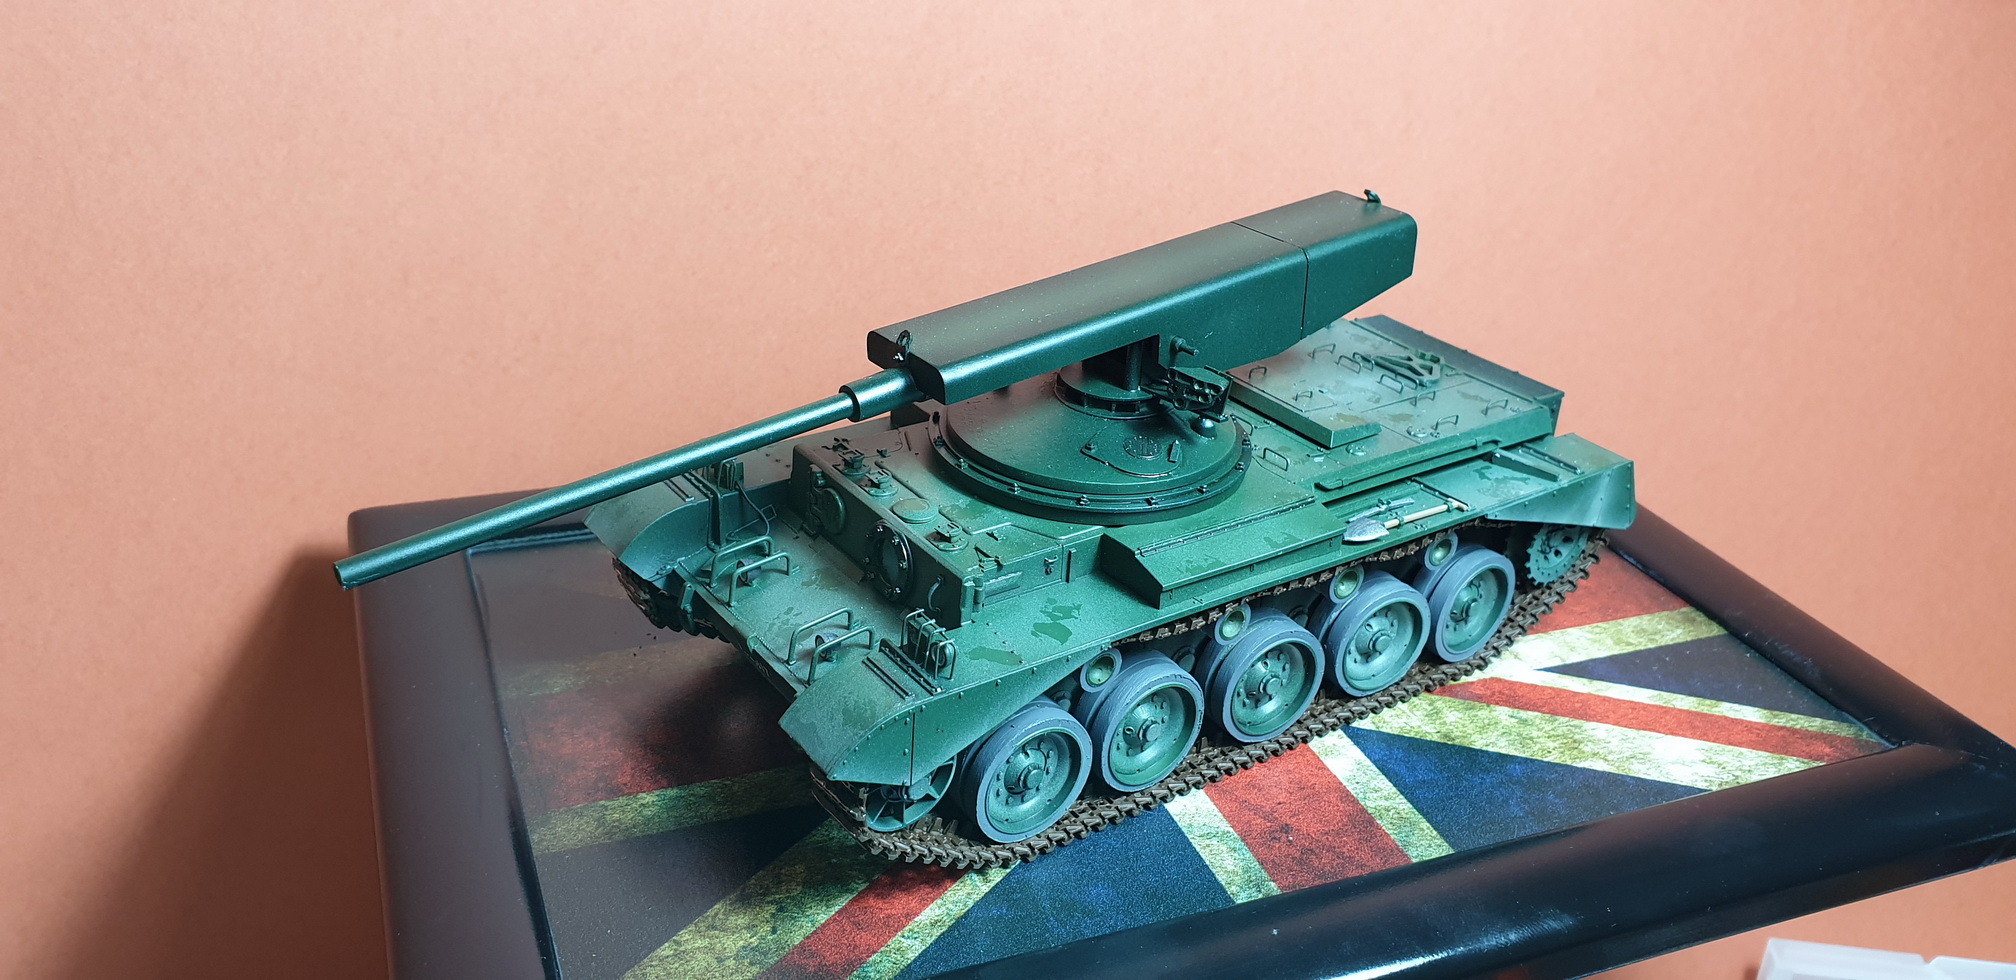
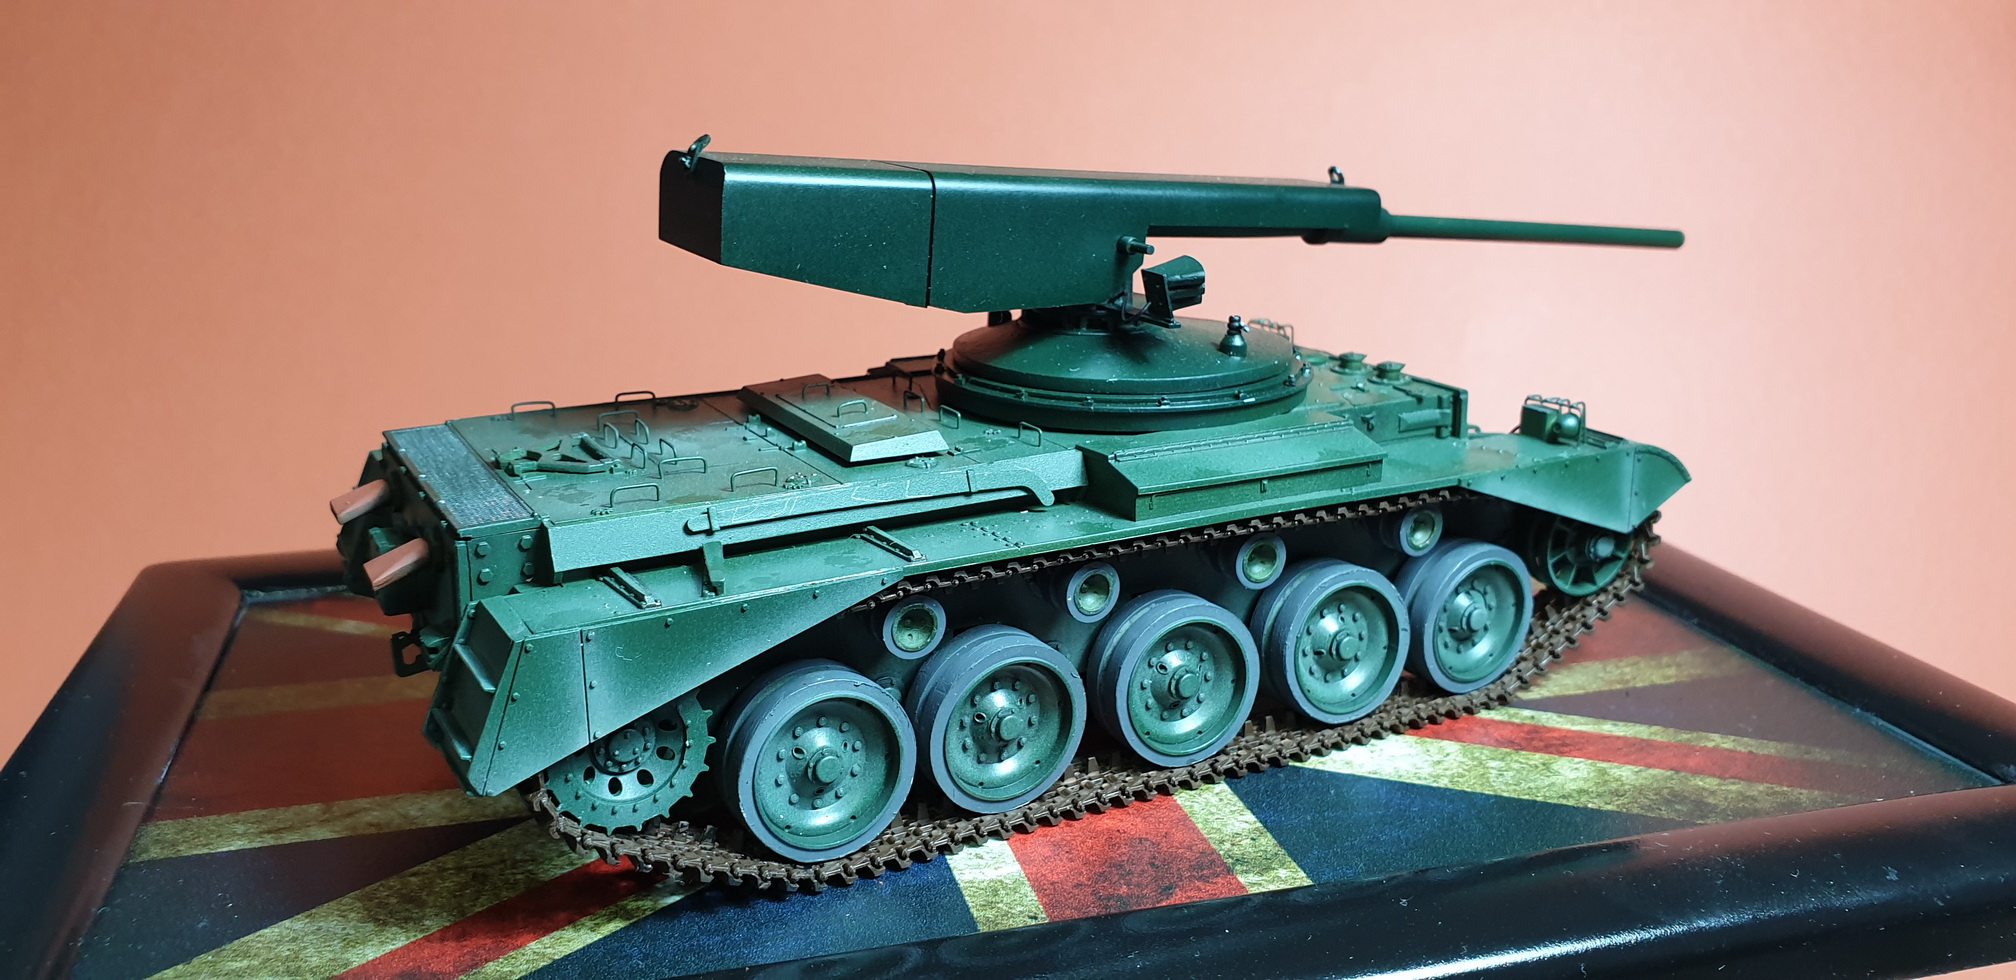
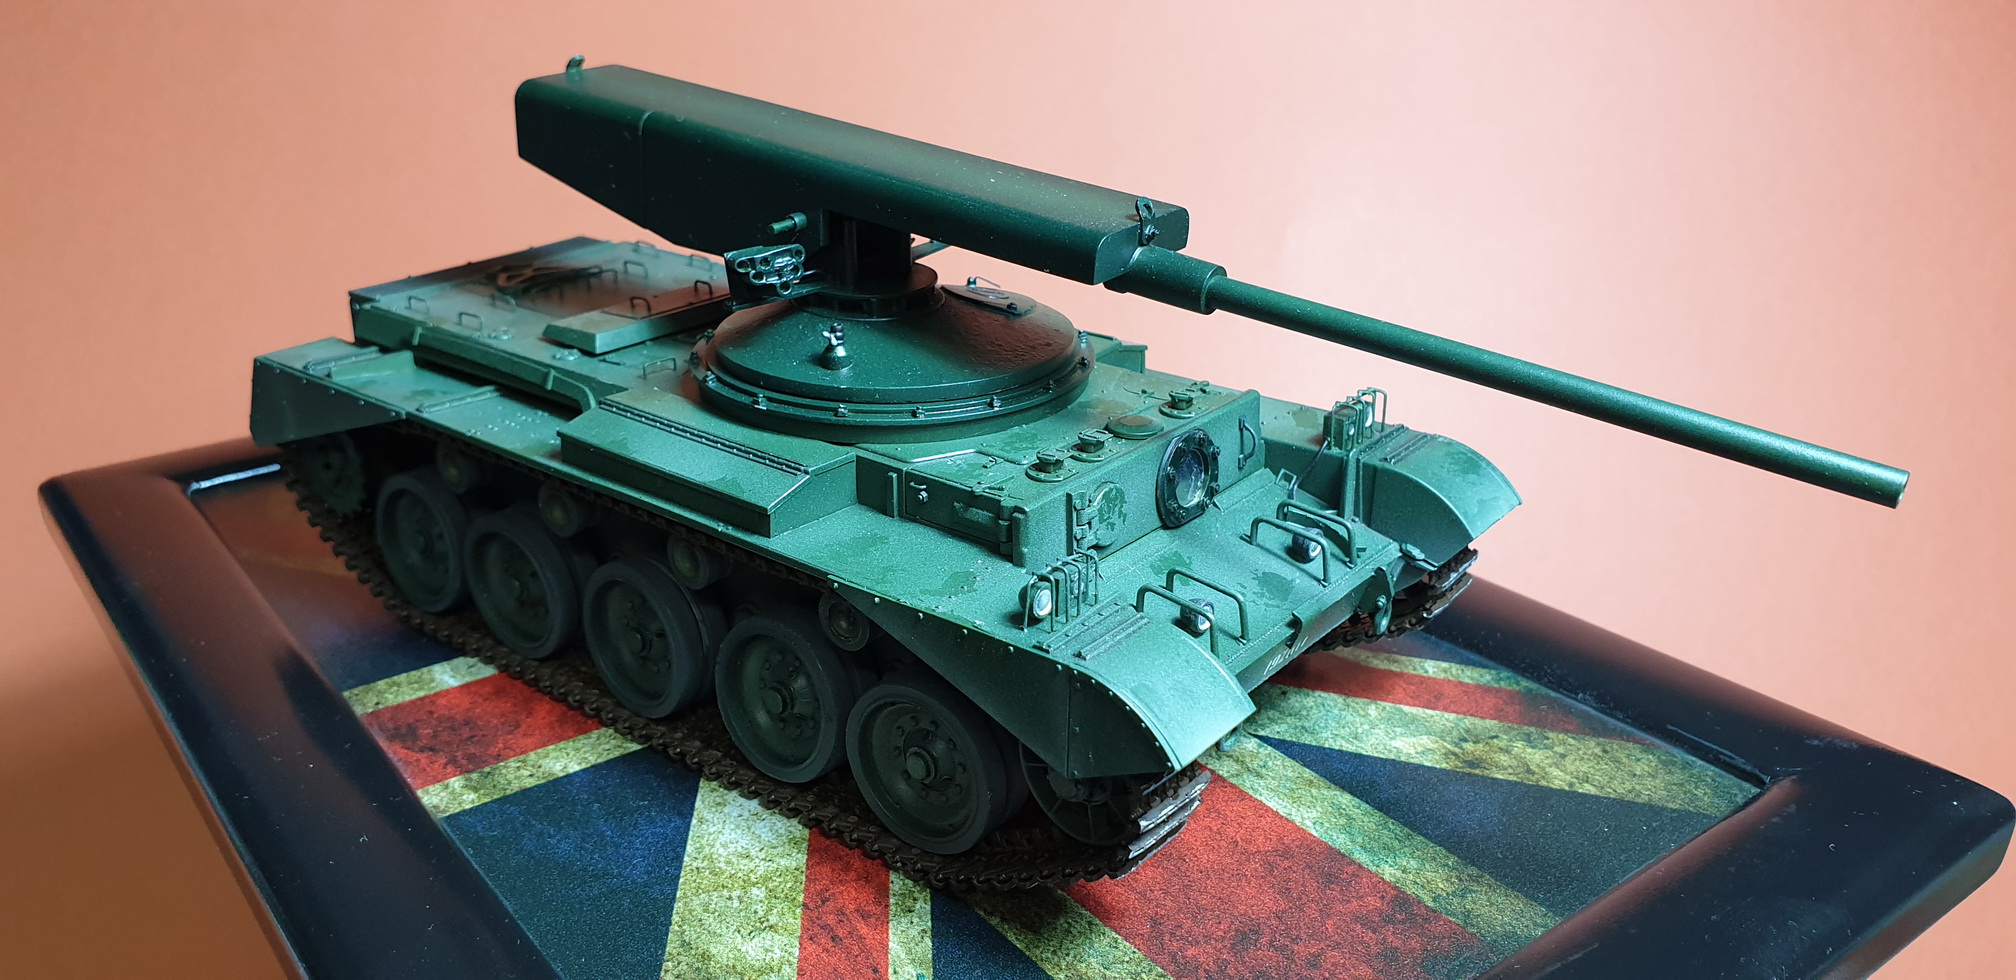
Here are some pictures of my last build: the Comres 75.
British prototype of the 70's. Very little information on the subject. Even in David Lister's latest book "The Dark Age of Tanks: Britain's Lost Armor, 1945-1970" not a word
There is 1 poor quality photo lying around on the web.
Here for example : http://forum.worldoftanks.eu/index.php?/topic/70674-comet-a34/page__st__40
But I was lucky to be able to recover it in better definition
I also helped myself with the building (the only one I found!) of my friend Christophe visible here:
https://maquette-garden.forumactif.com/t9895-comres-75-conversion-ima-du-comet-bronco-au-1-35
The basic kit is the A34 Comet from Bronco
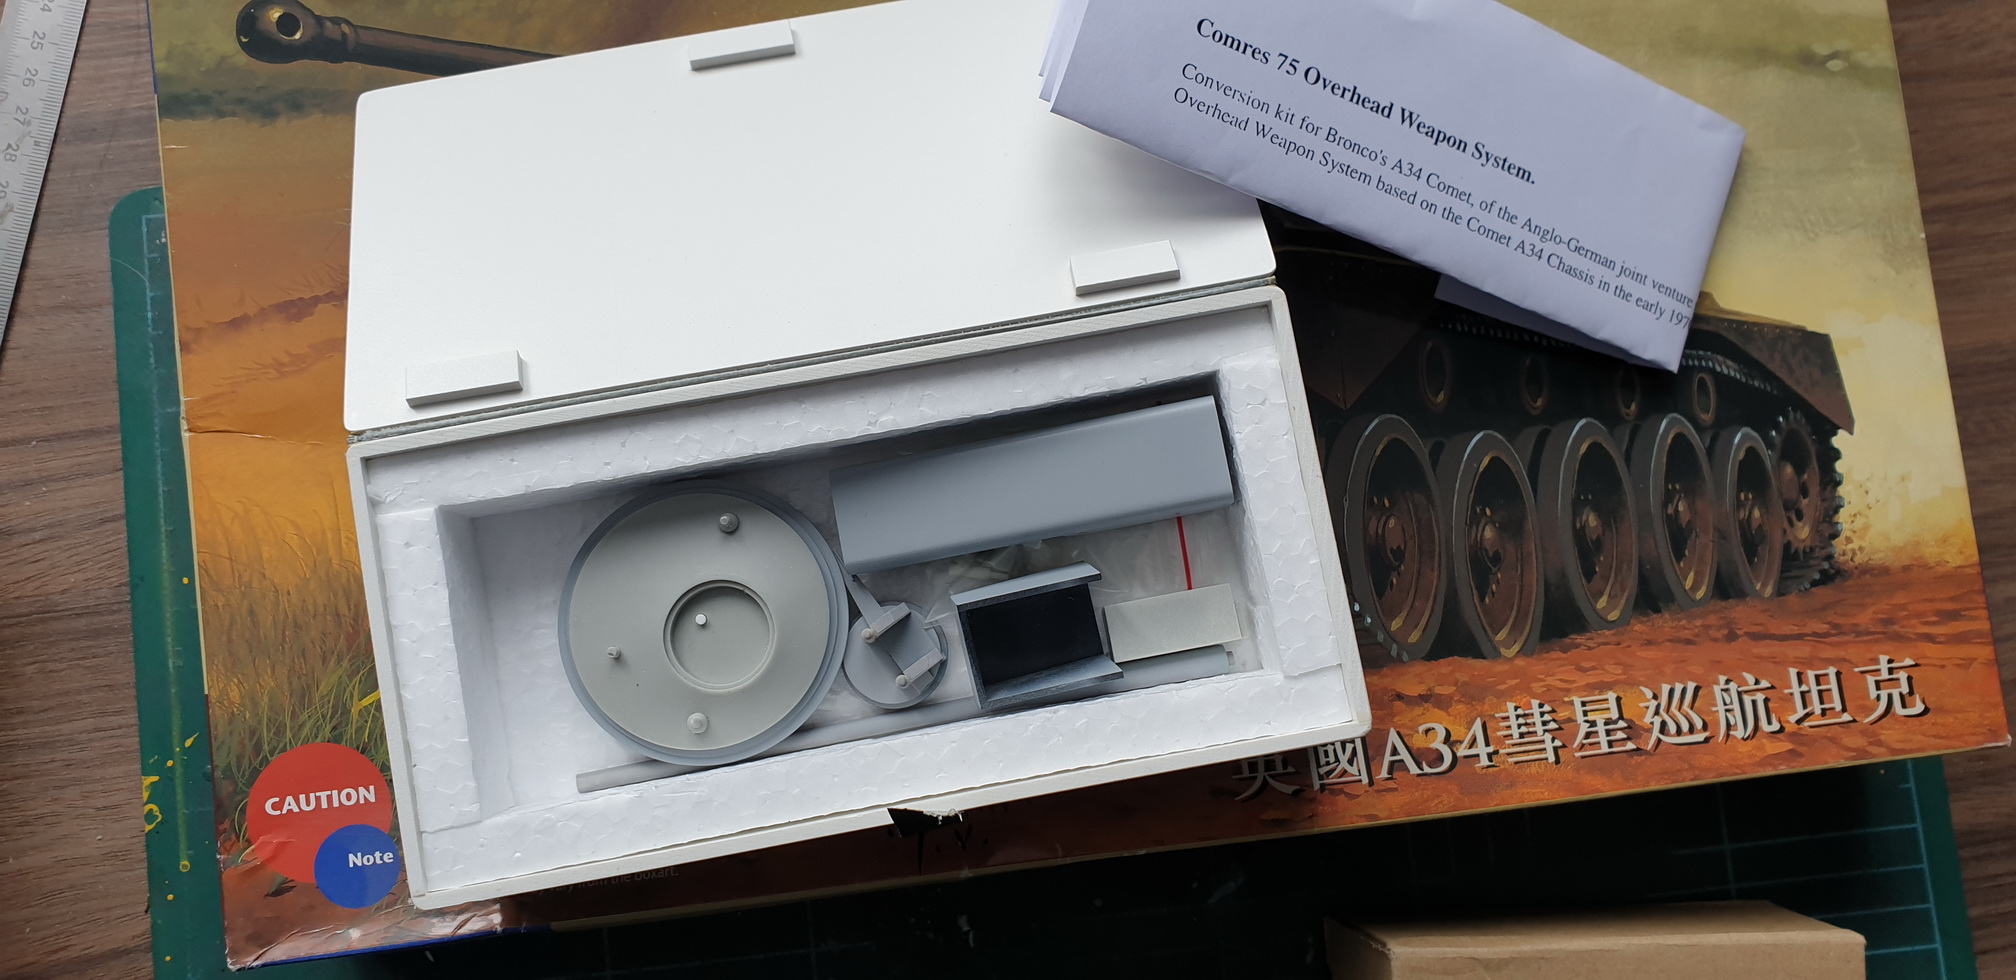
The conversion is from IMA () http://www.imaco.com.hk/kits/
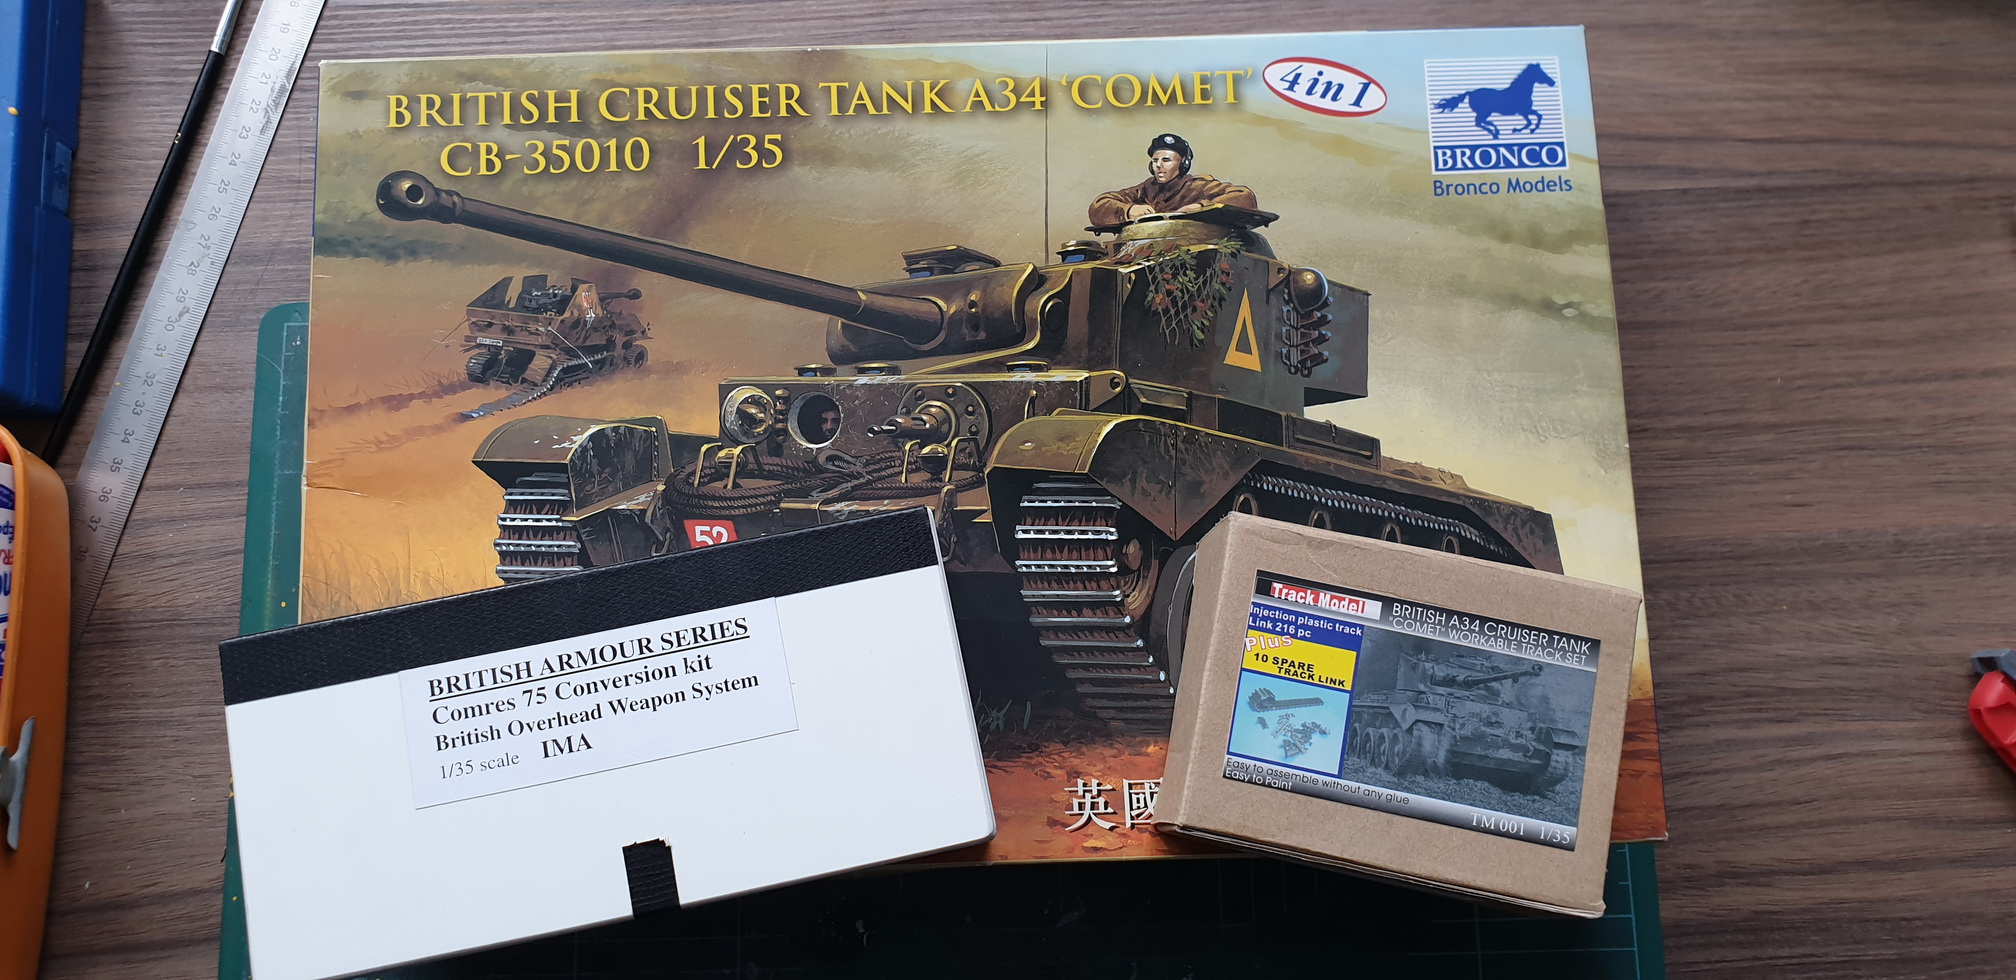
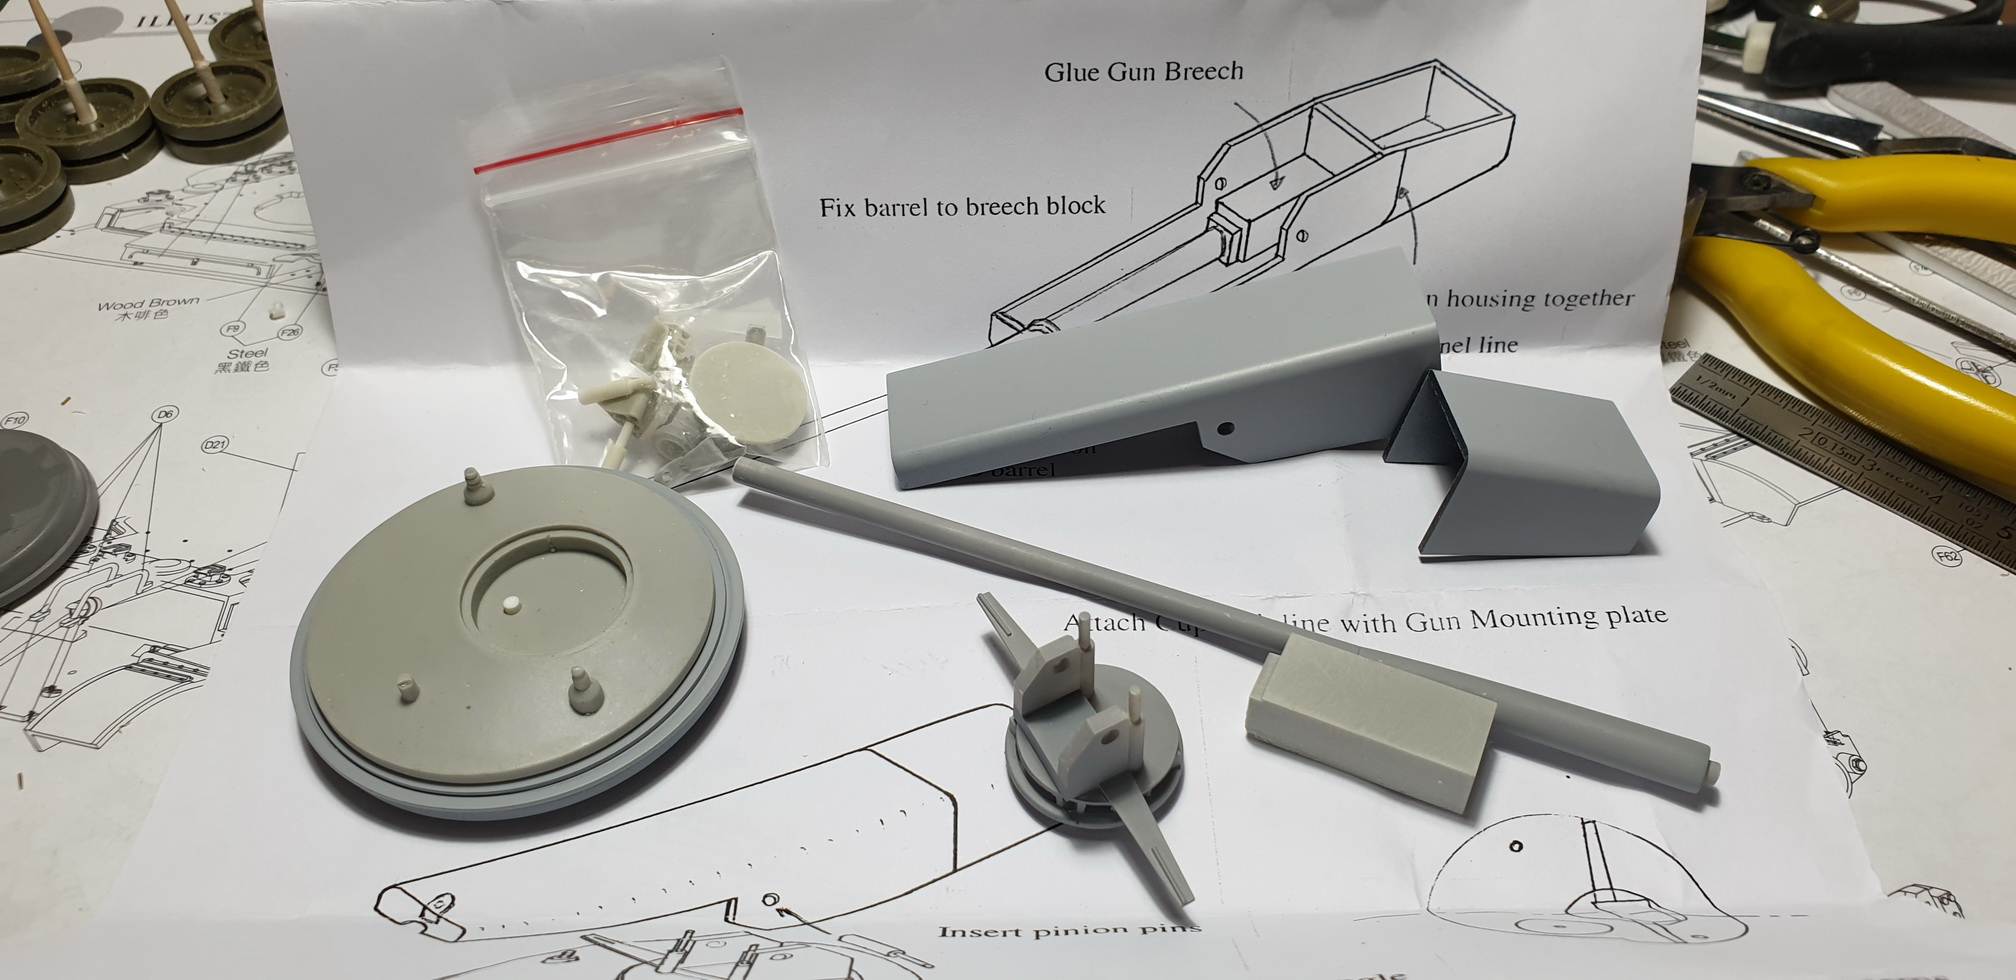
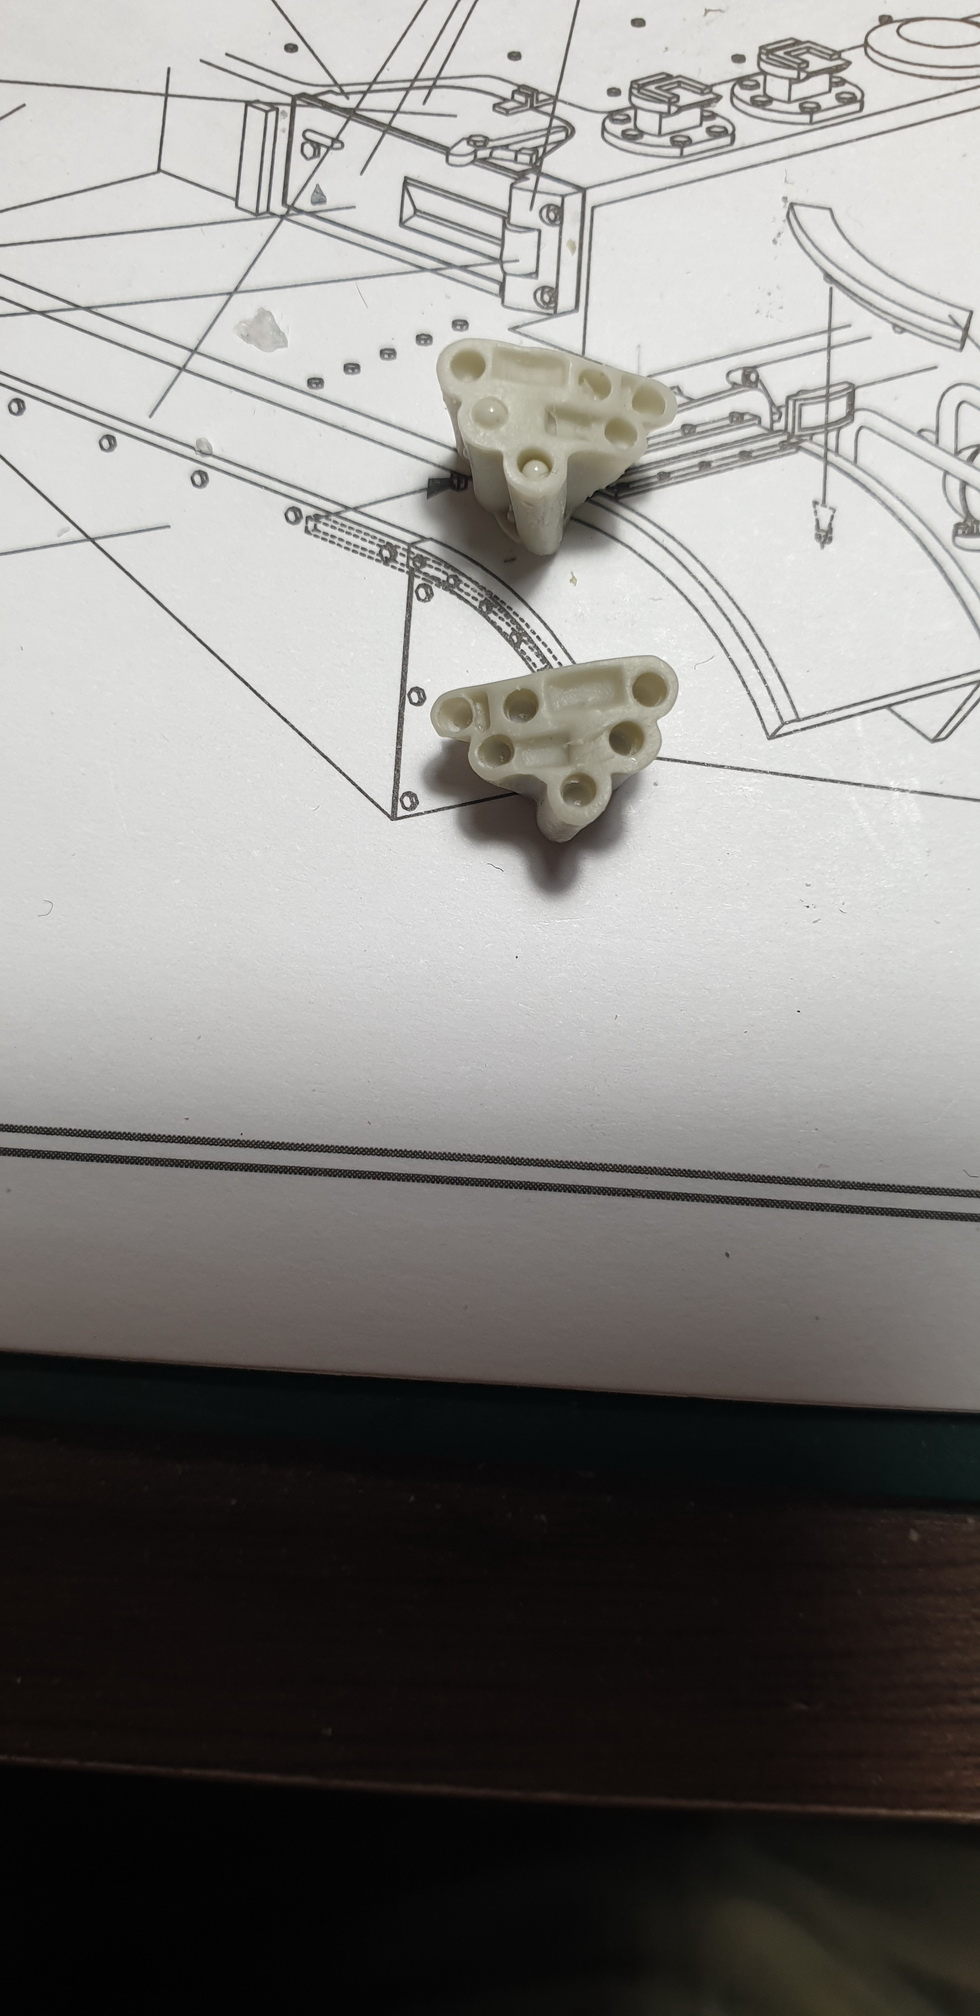
The conversion is delivered in a superb small box made to measure. We find the parts necessary to build this turret coming directly from the future! Very good quality, parts in ABS and resin.
But we see that they did not have more documentation than the small photo!
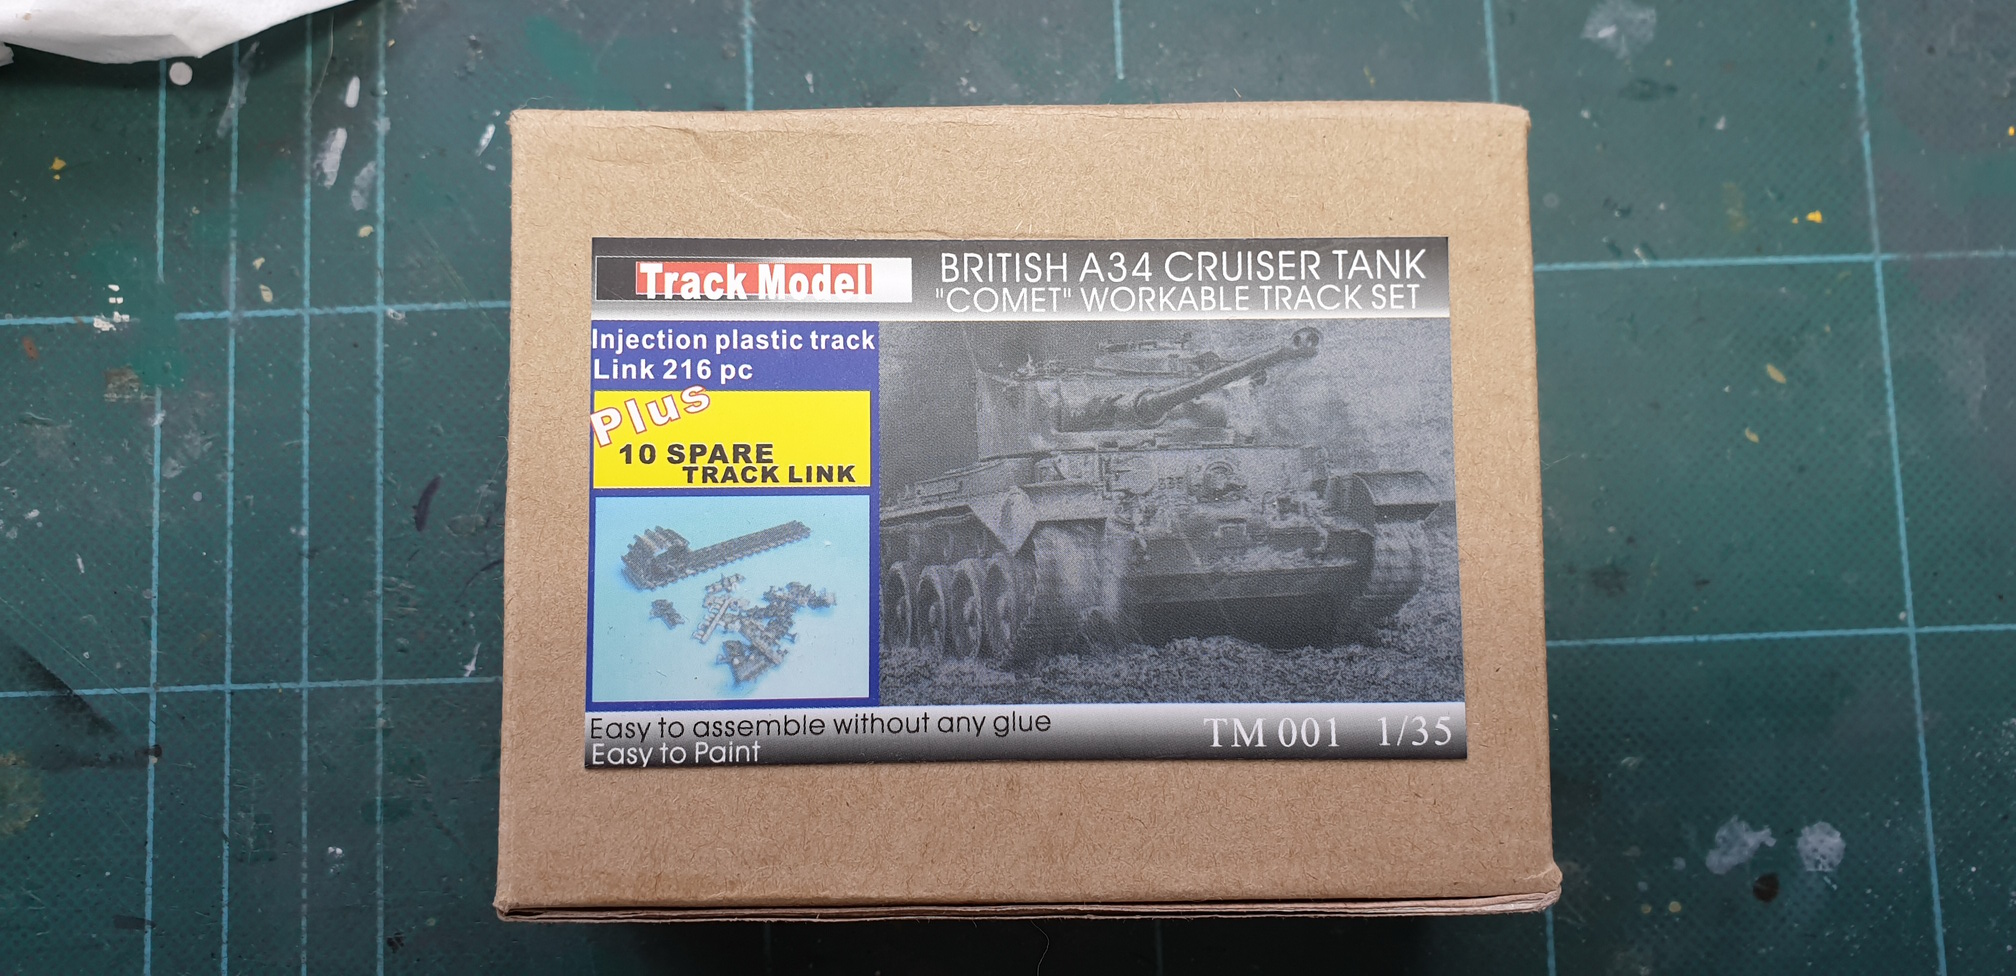
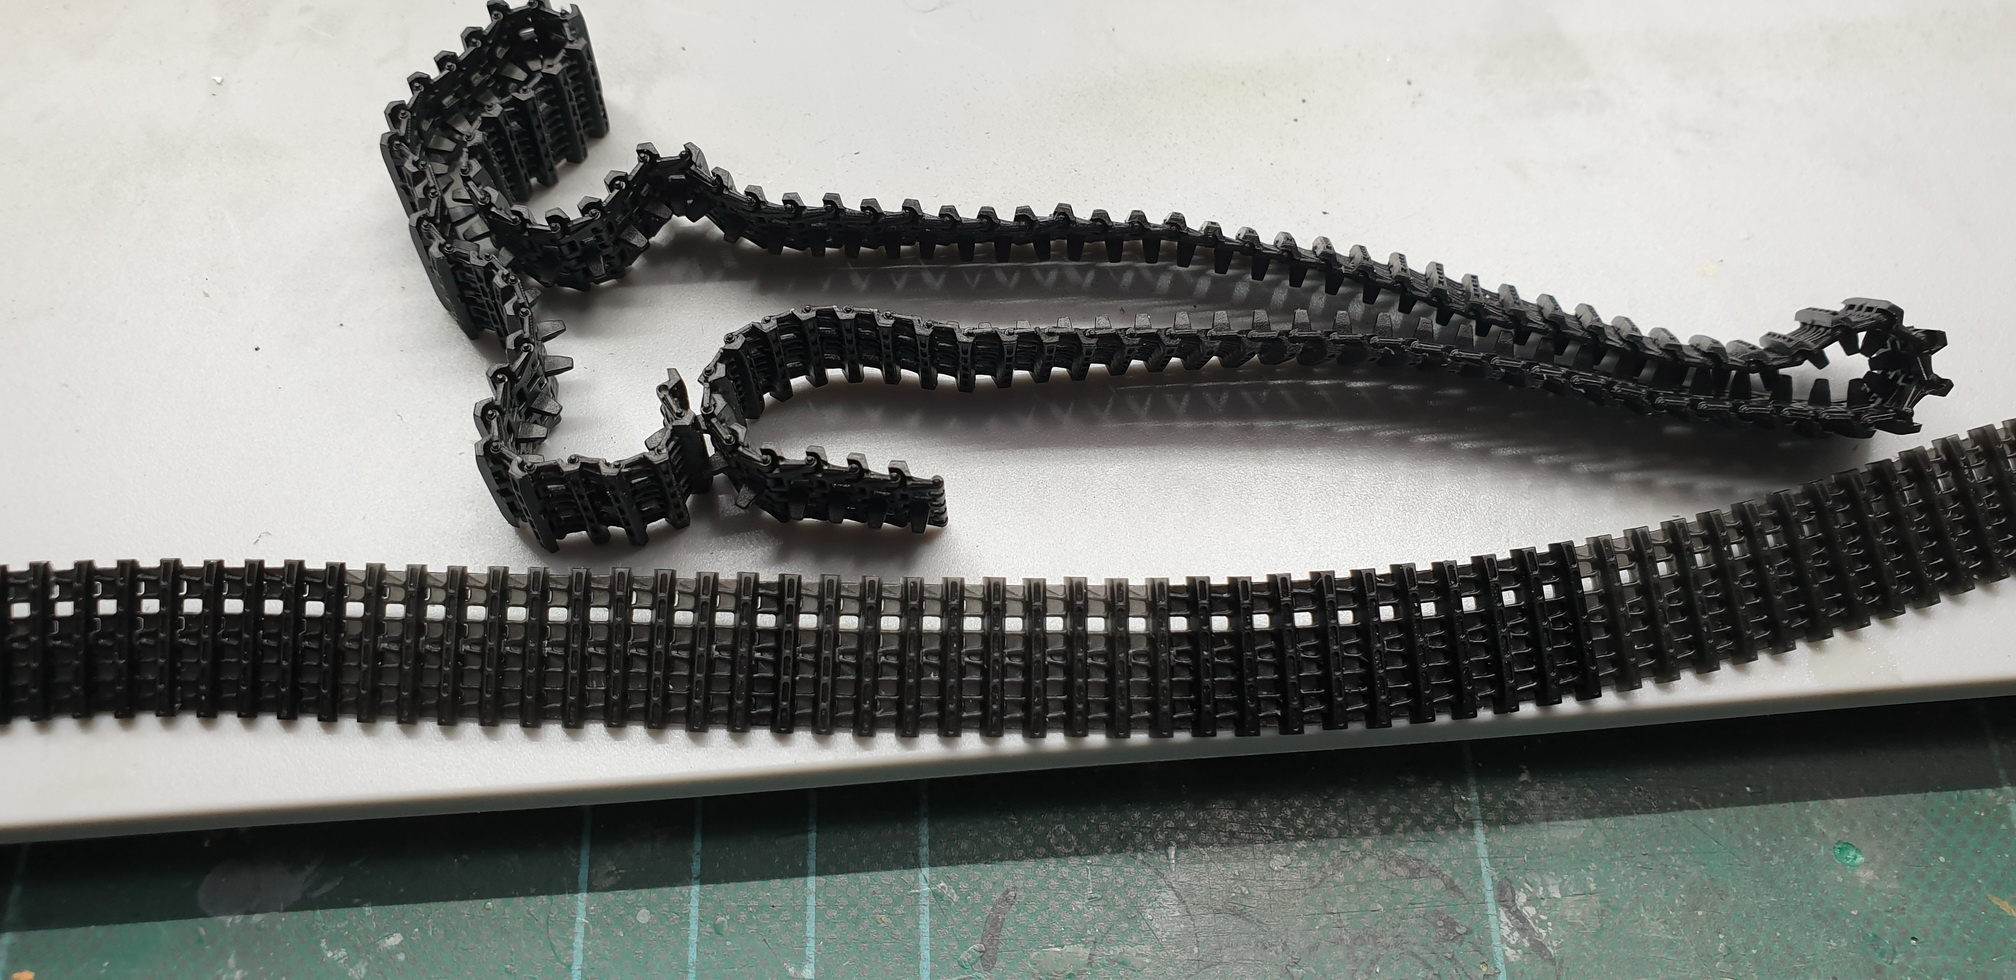
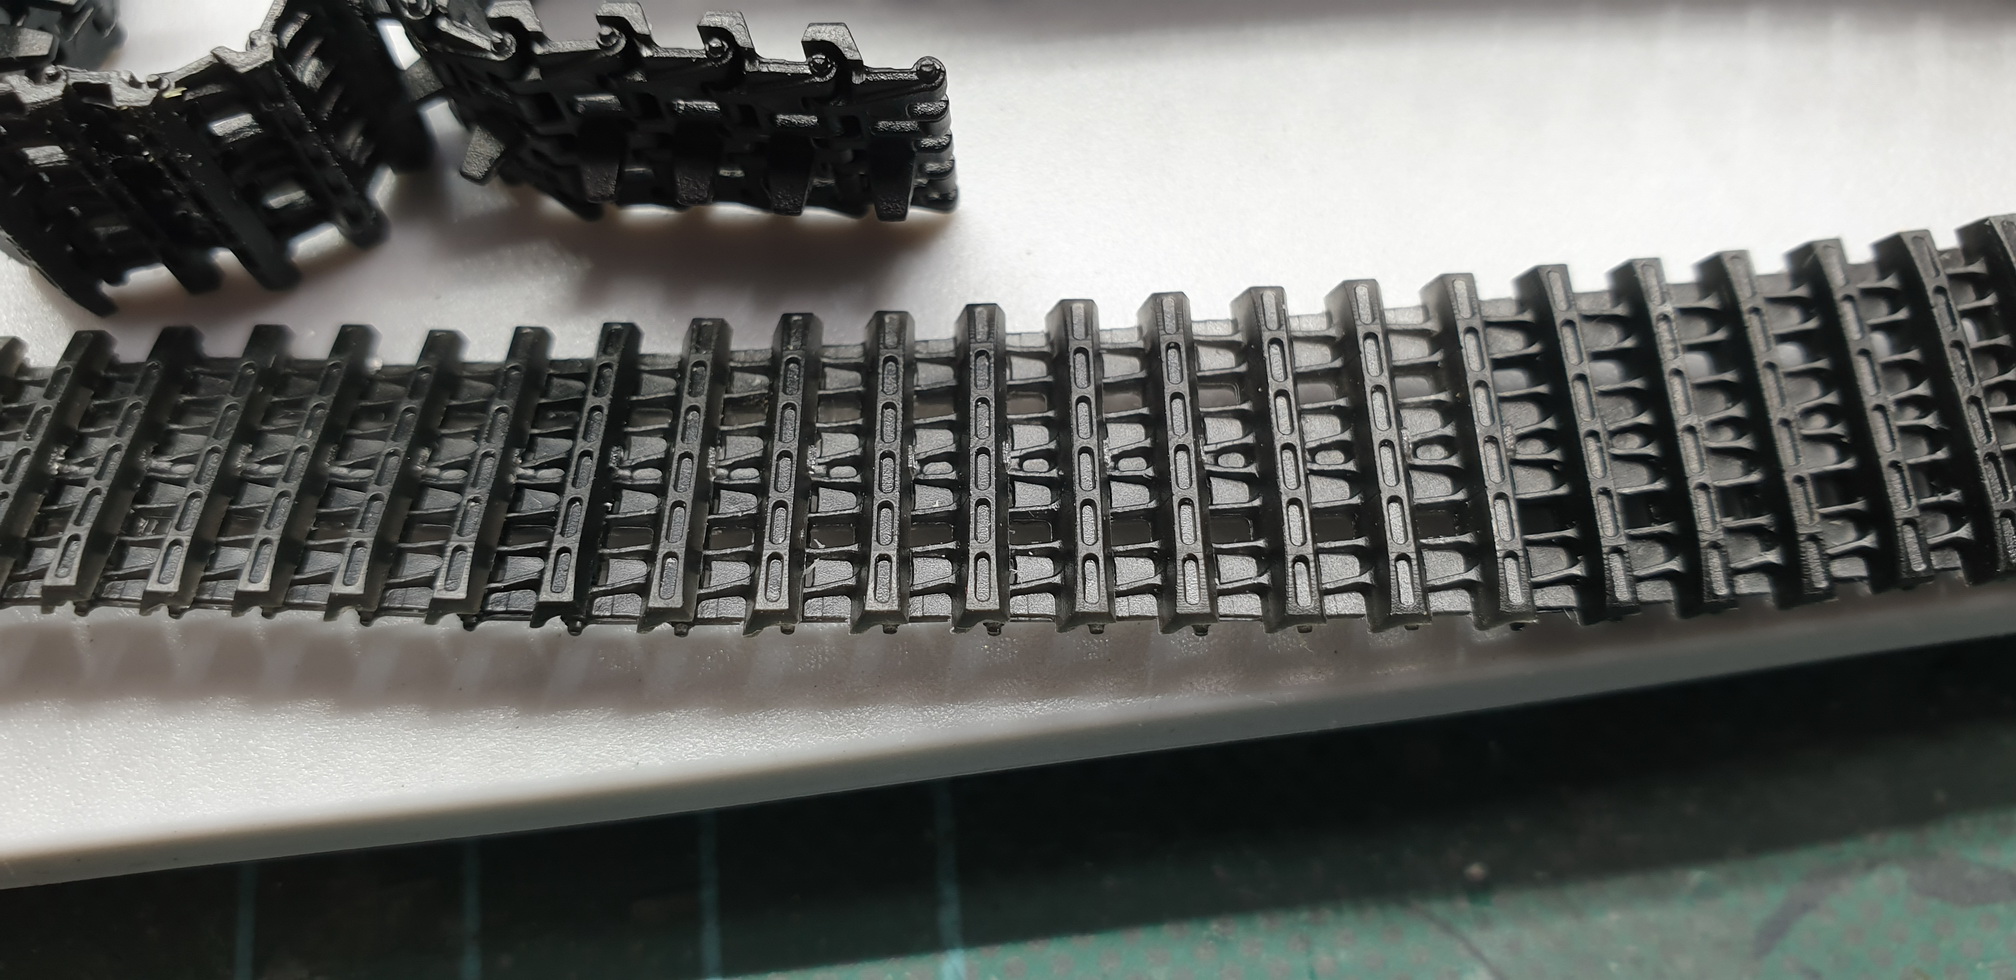
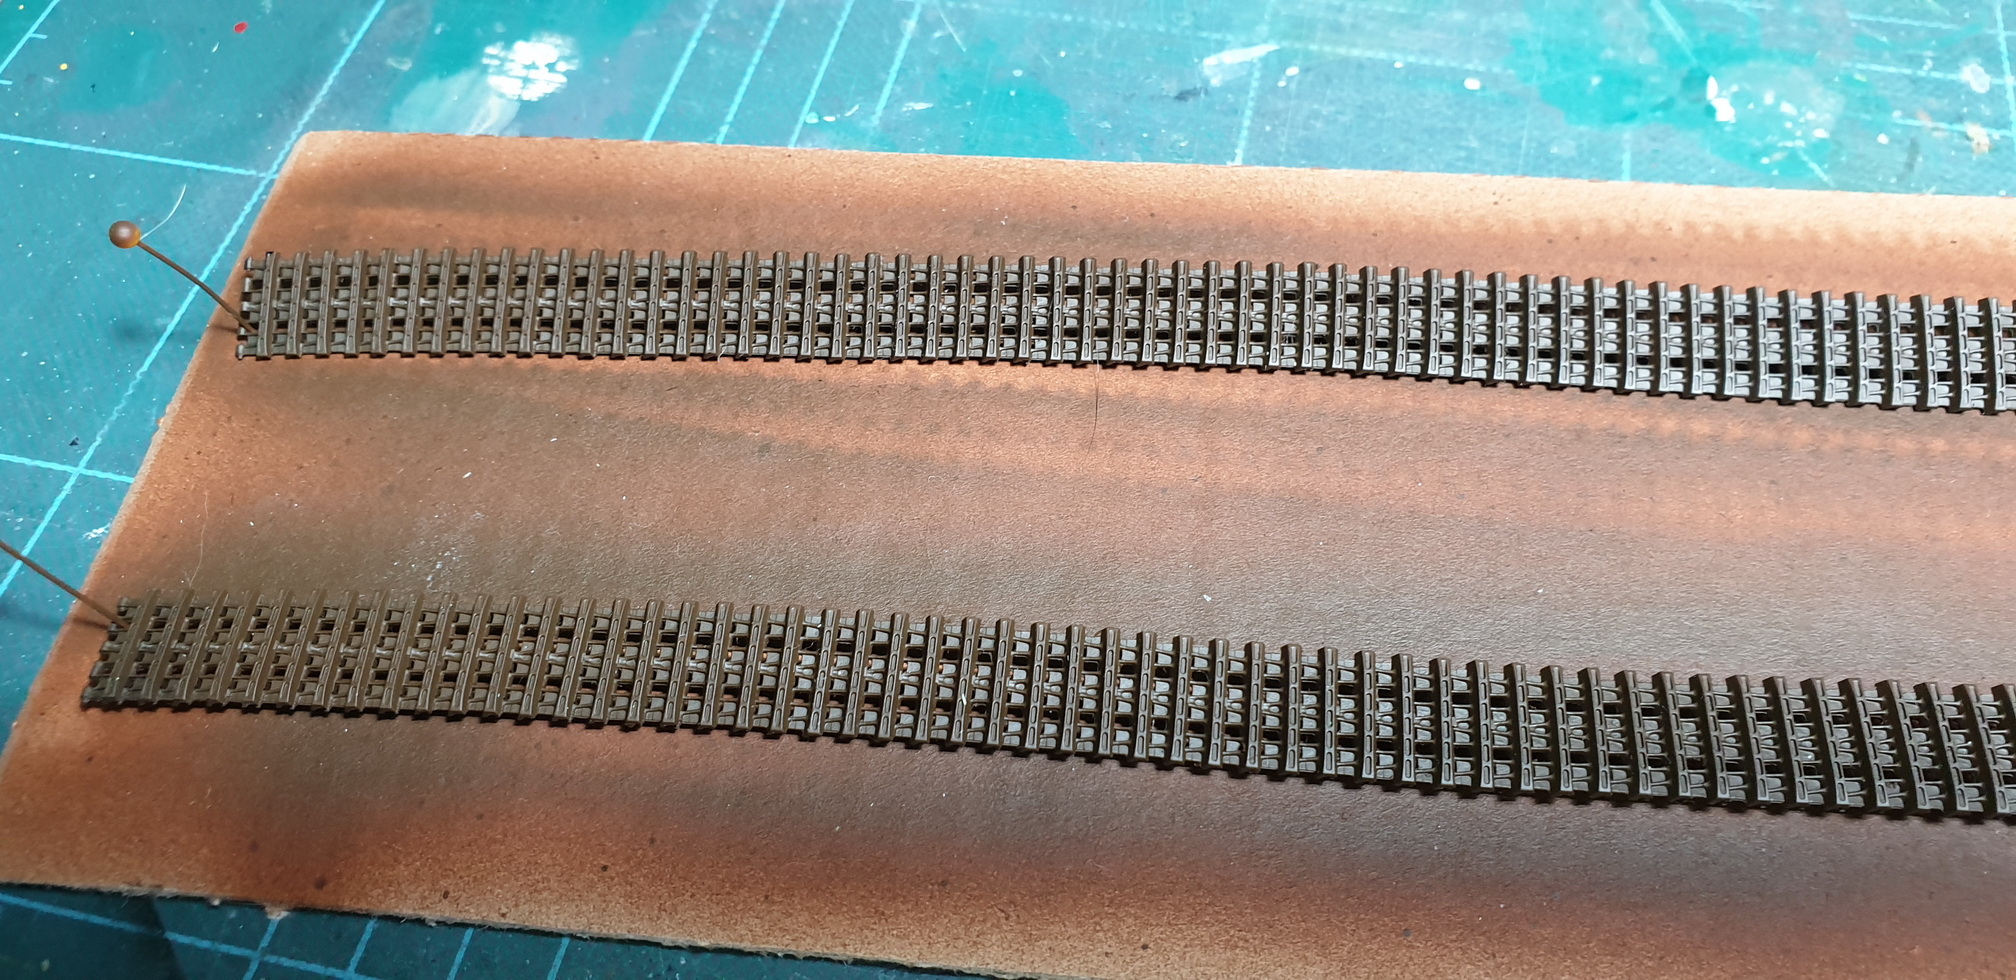
The injected link-by-link tracks are from Track Model.
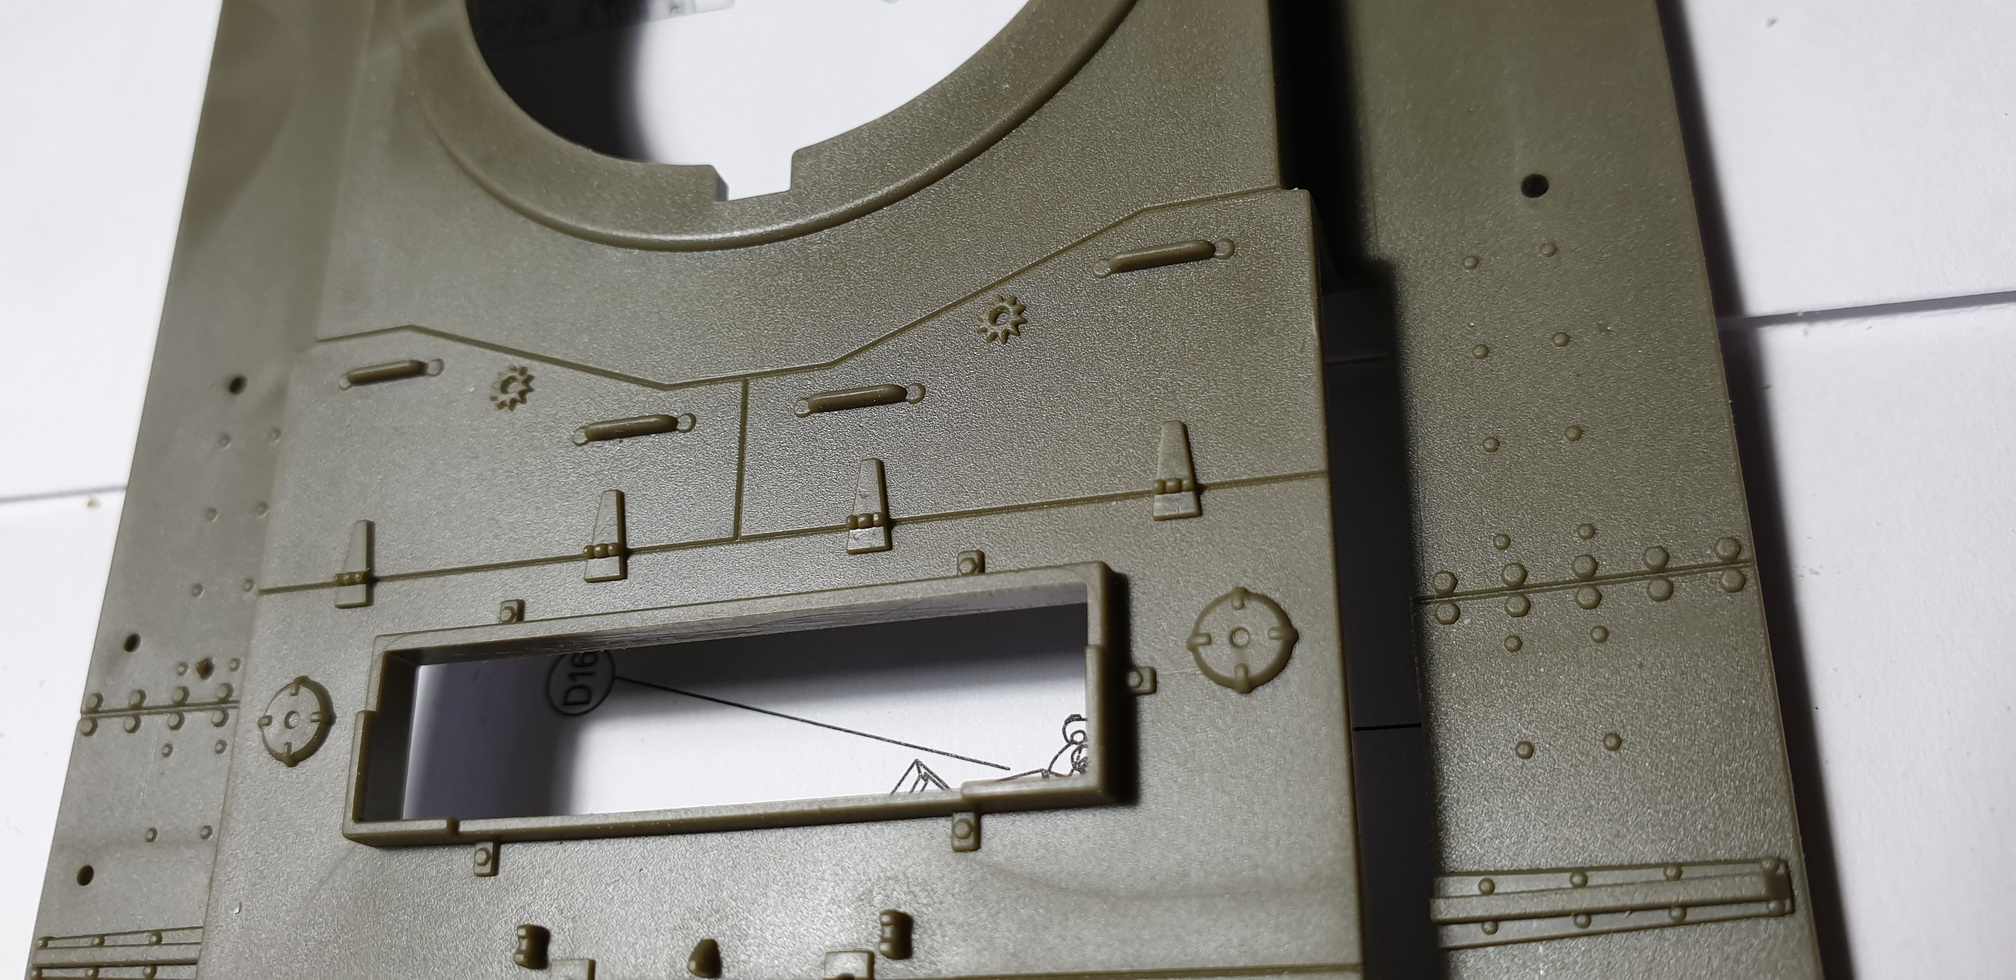
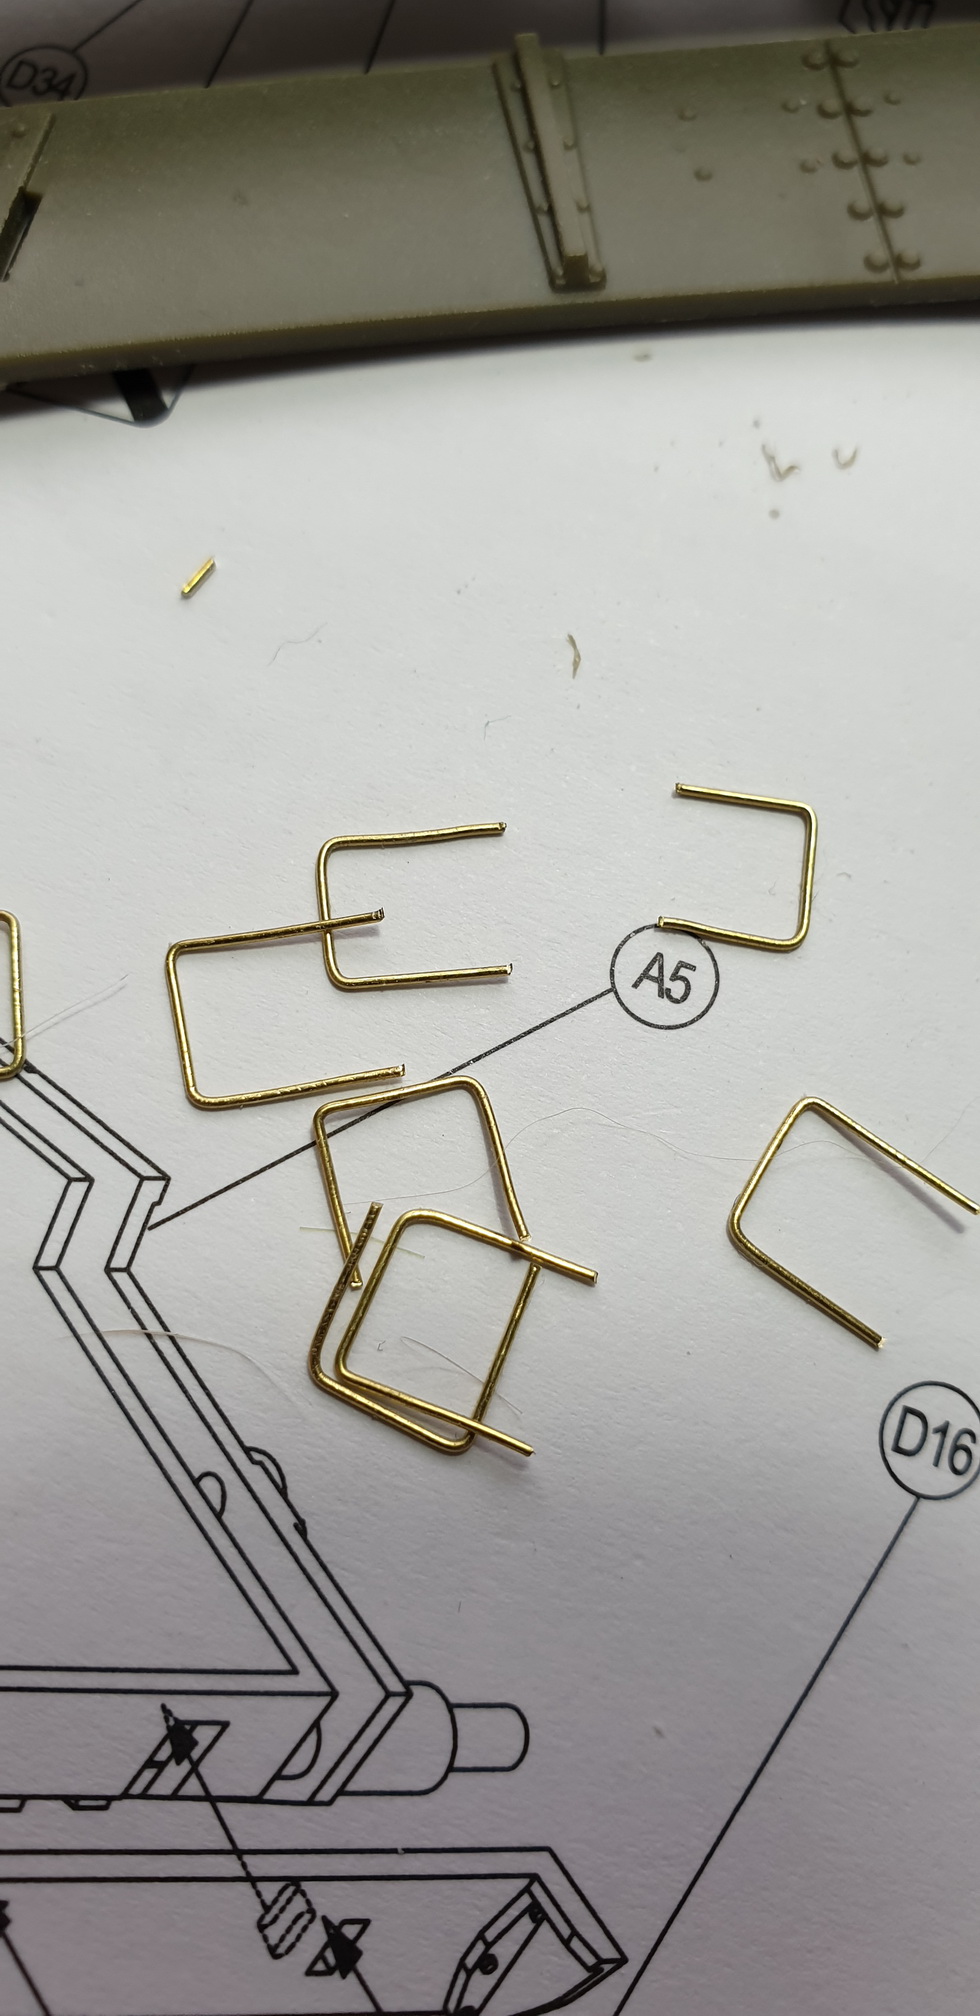
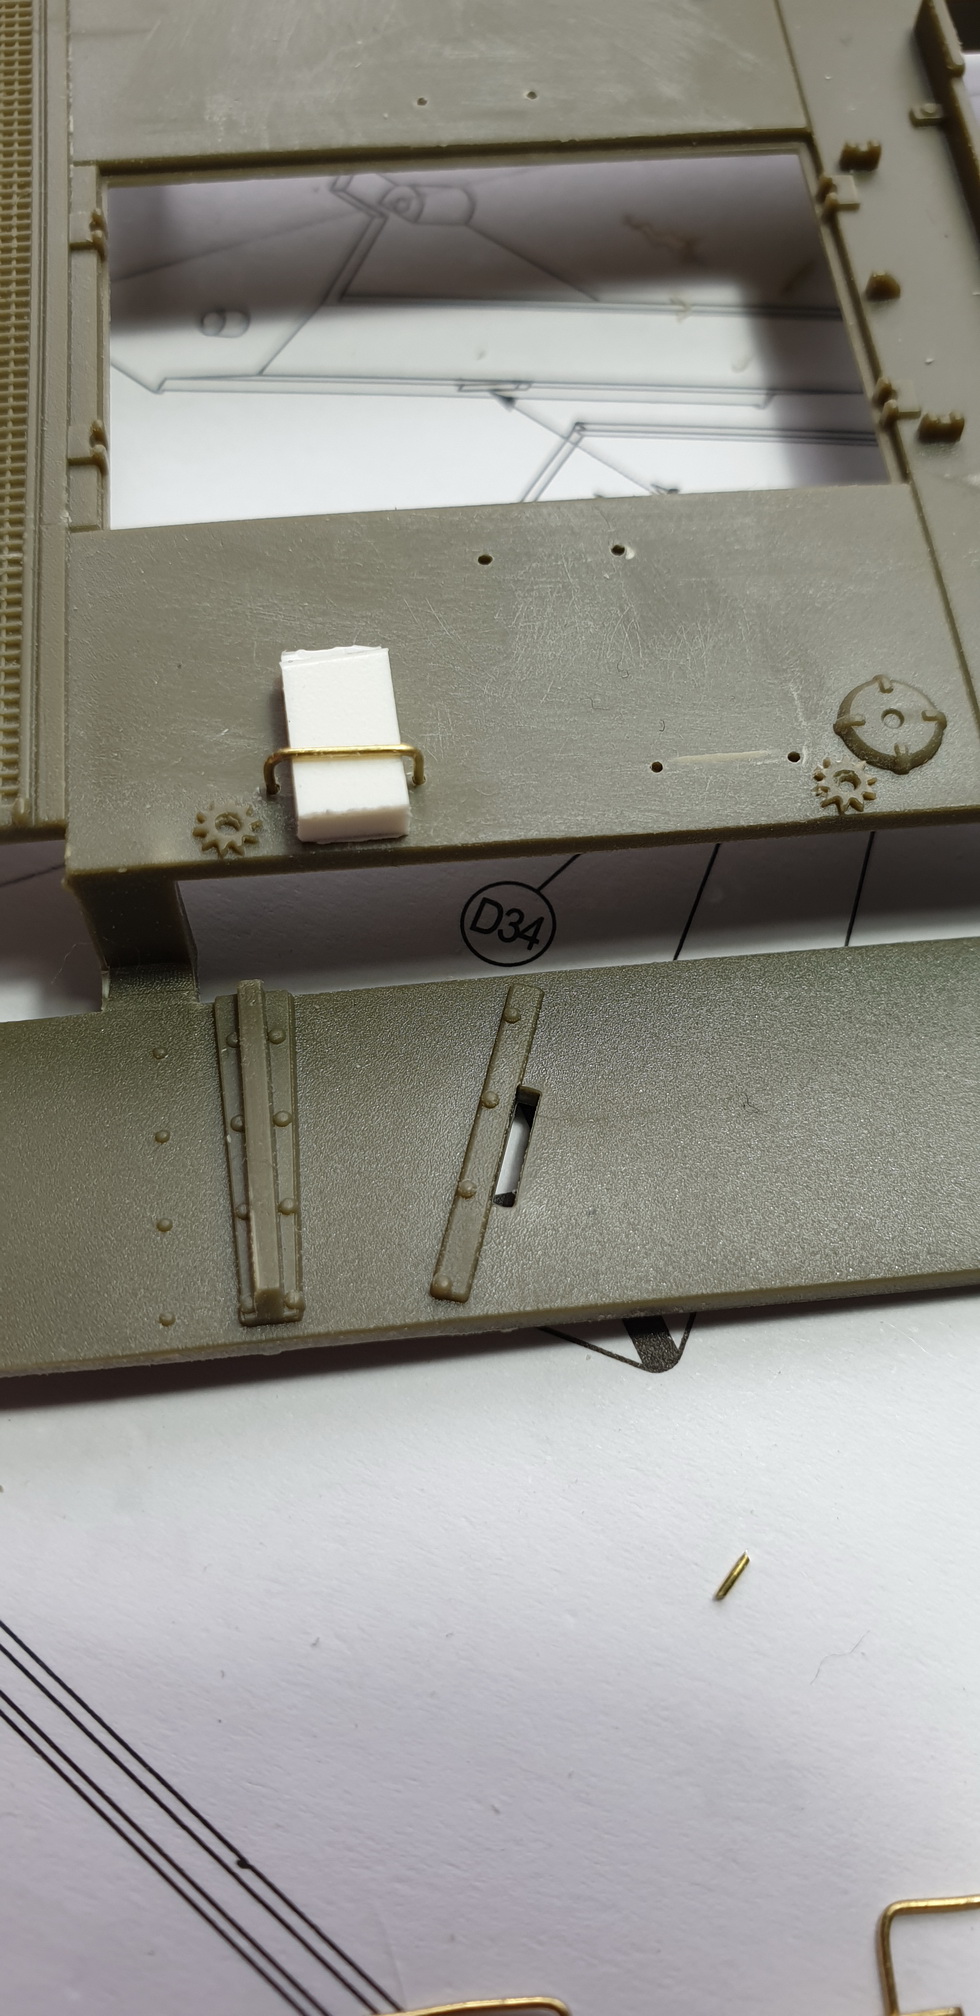
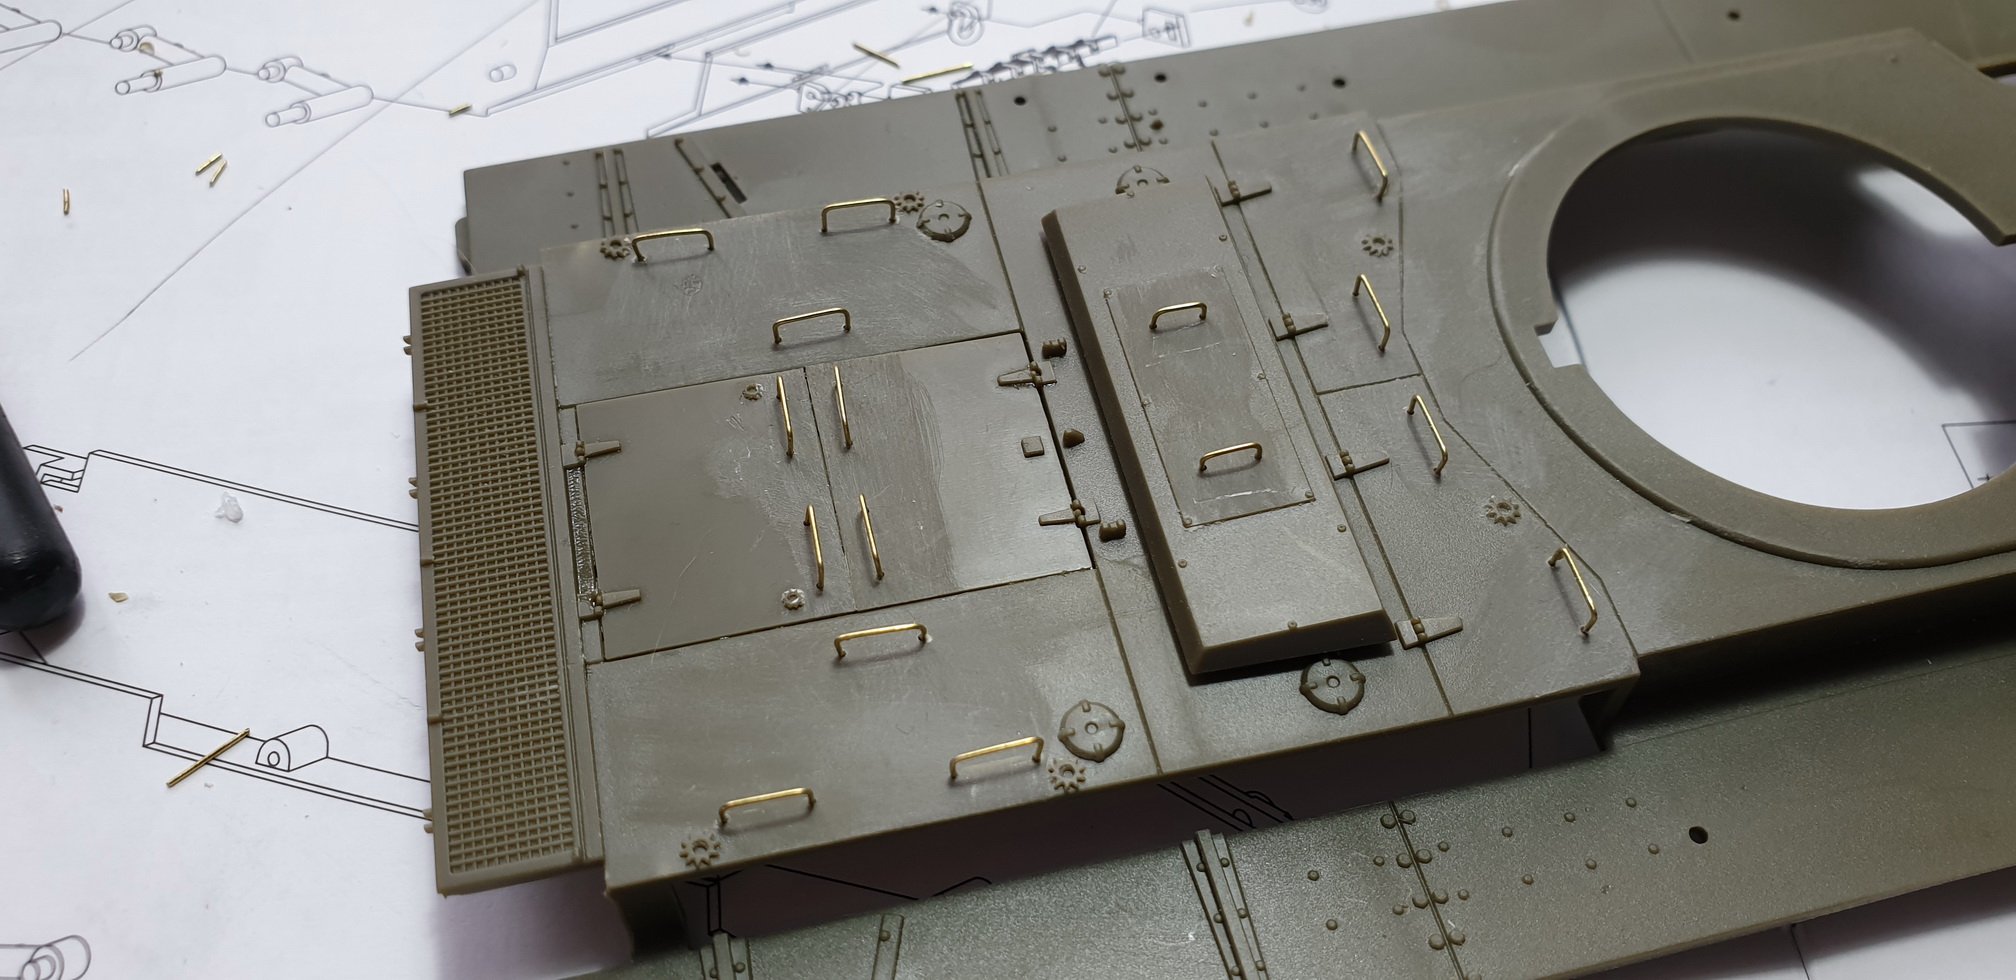
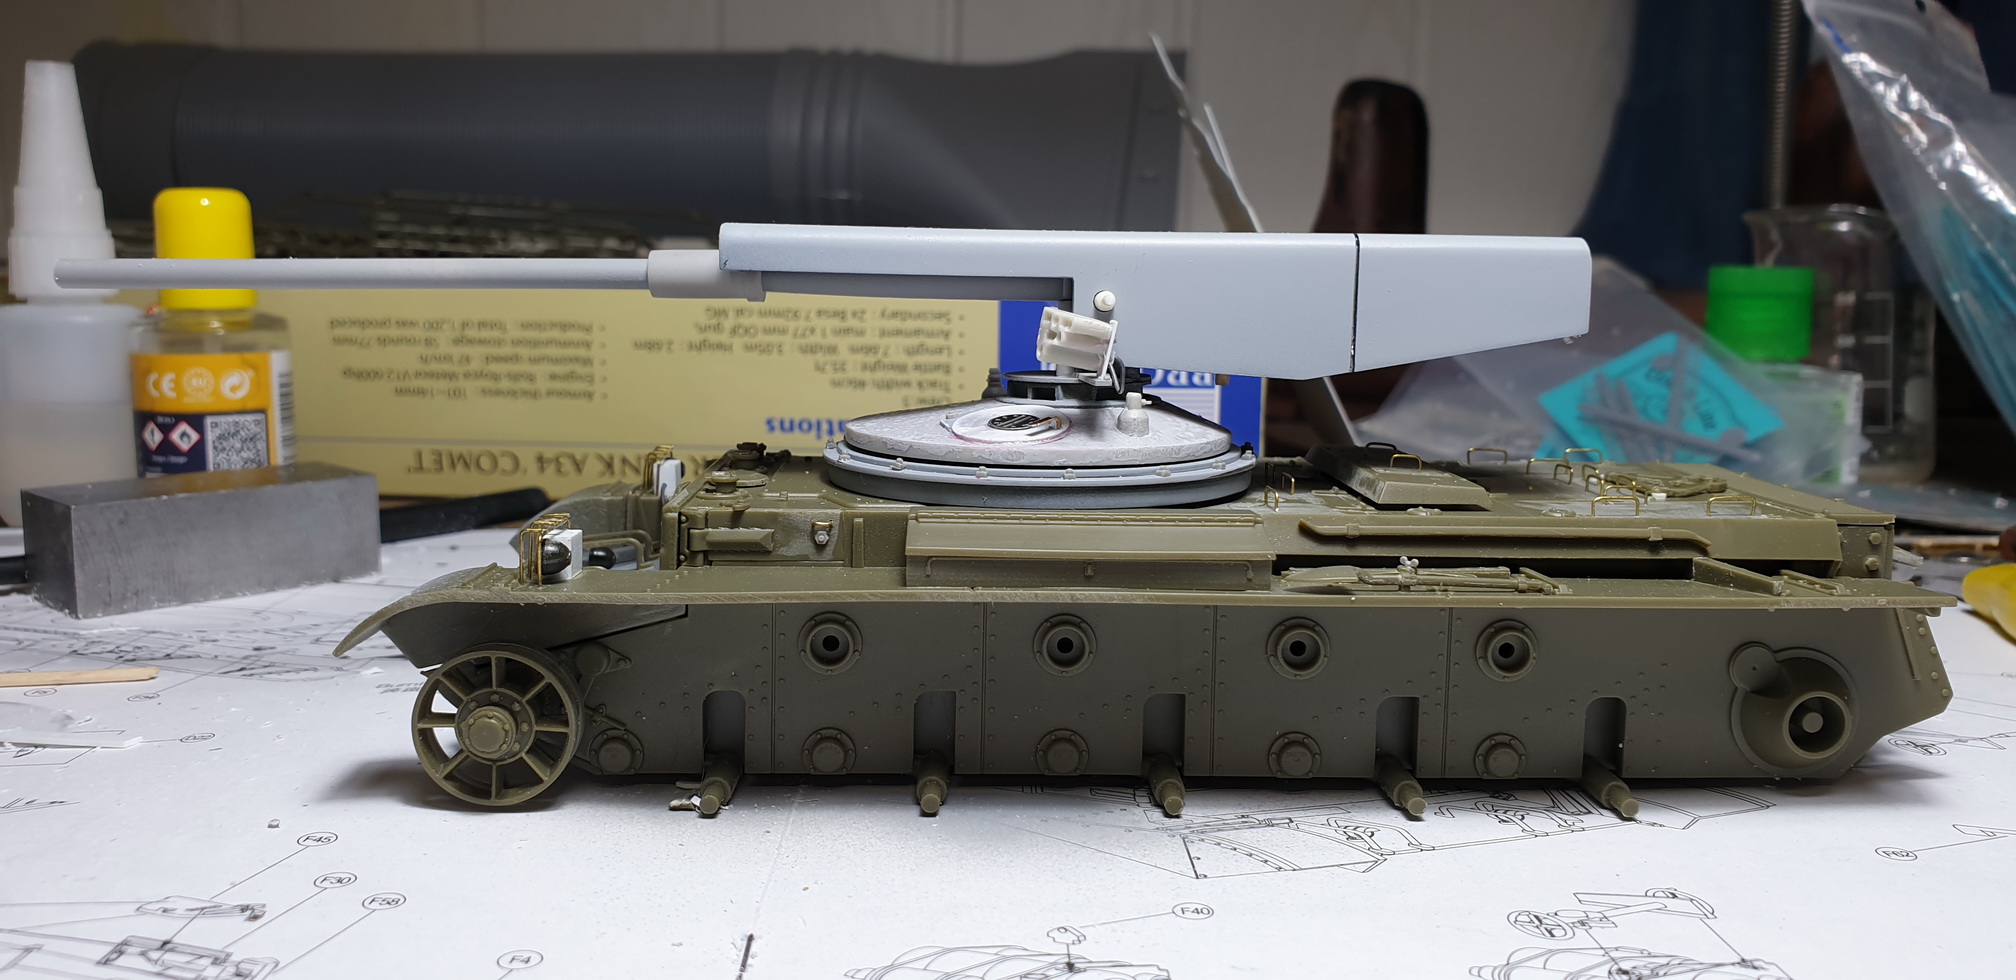
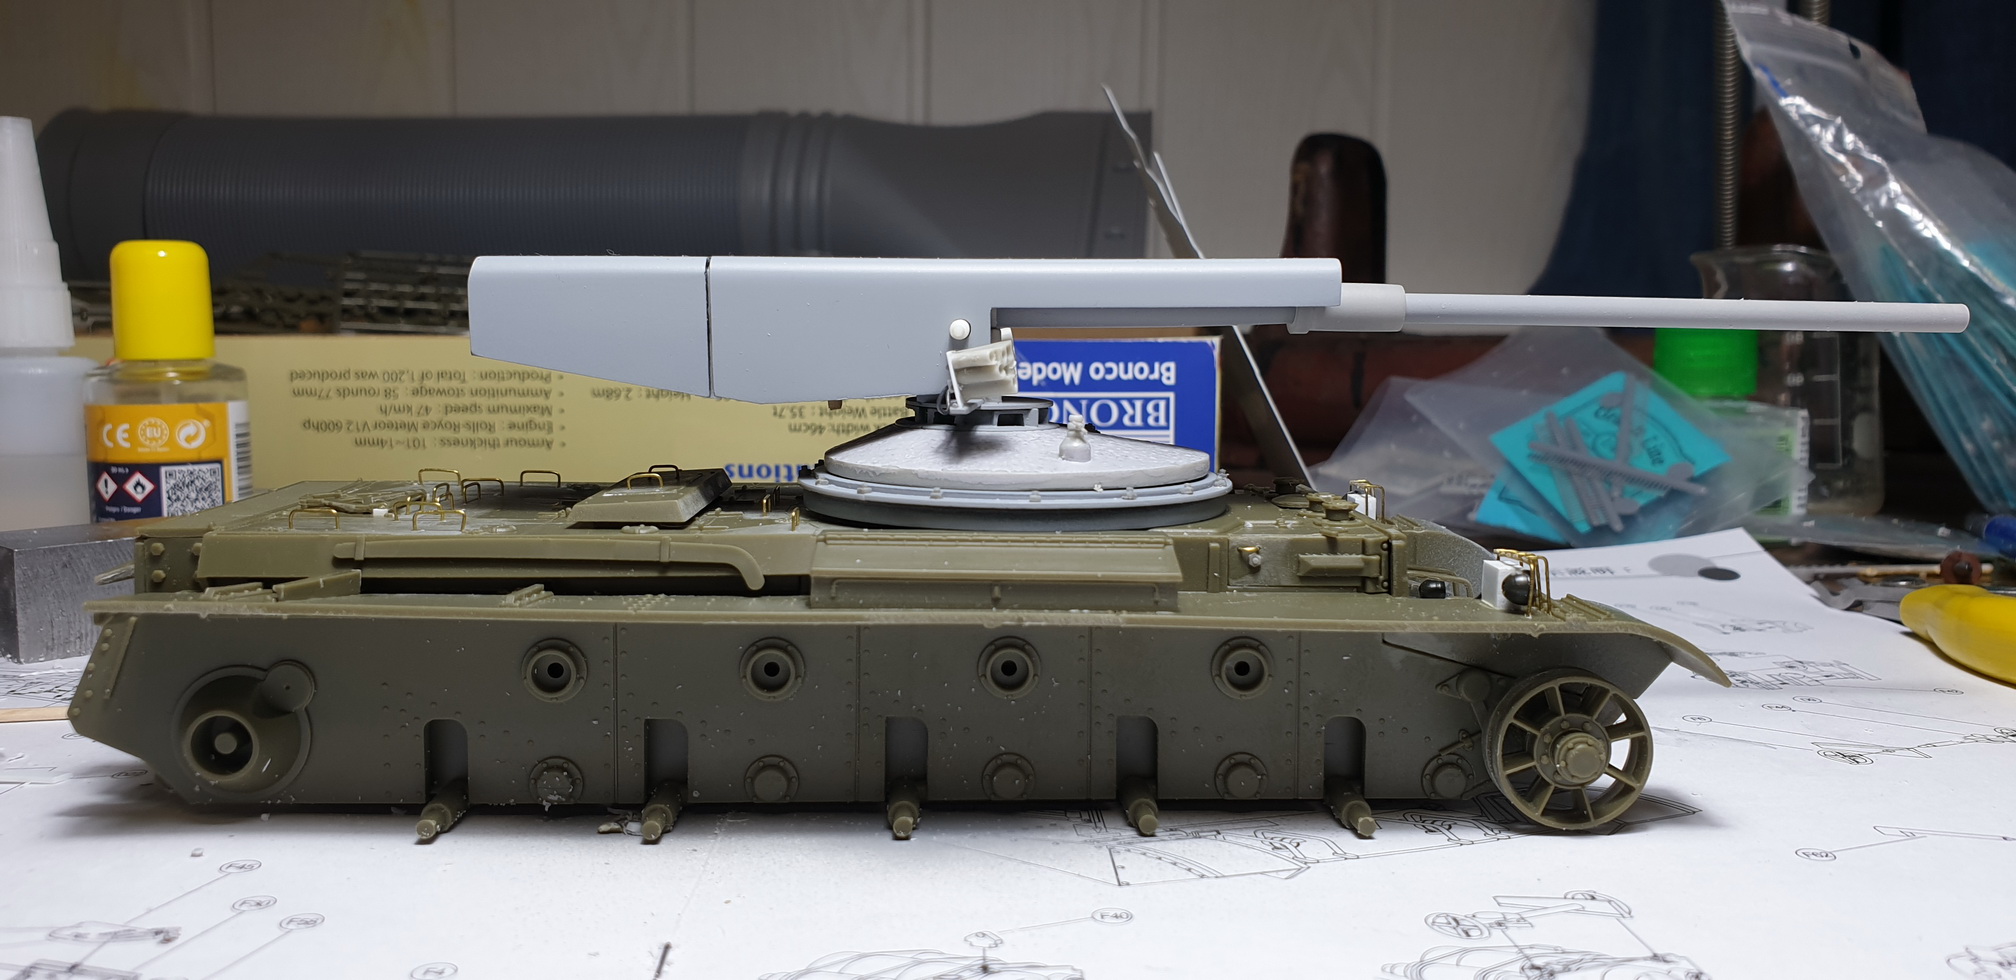
The assembly begins with the assembly of the Comet chassis. Nothing special. I just made the many handles of the rear shelf in brass wire.
A few bolts and nothing more to say about the assembly.
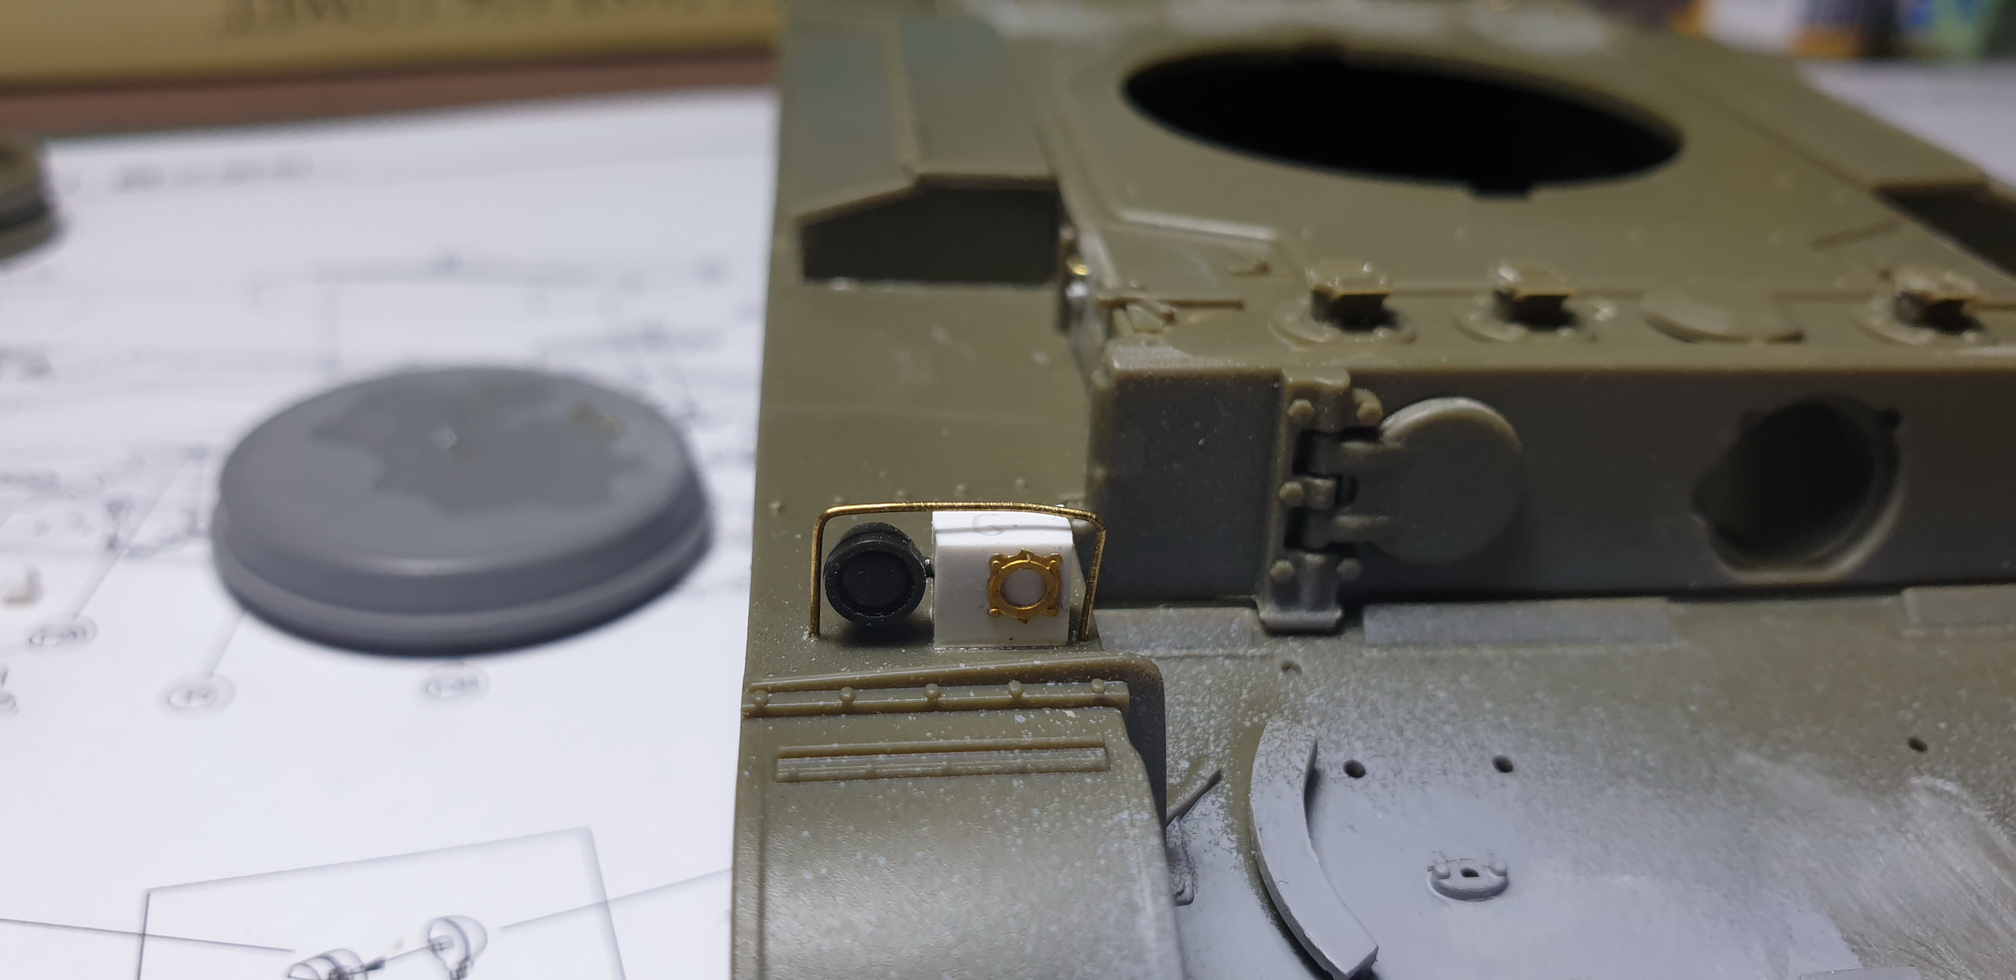
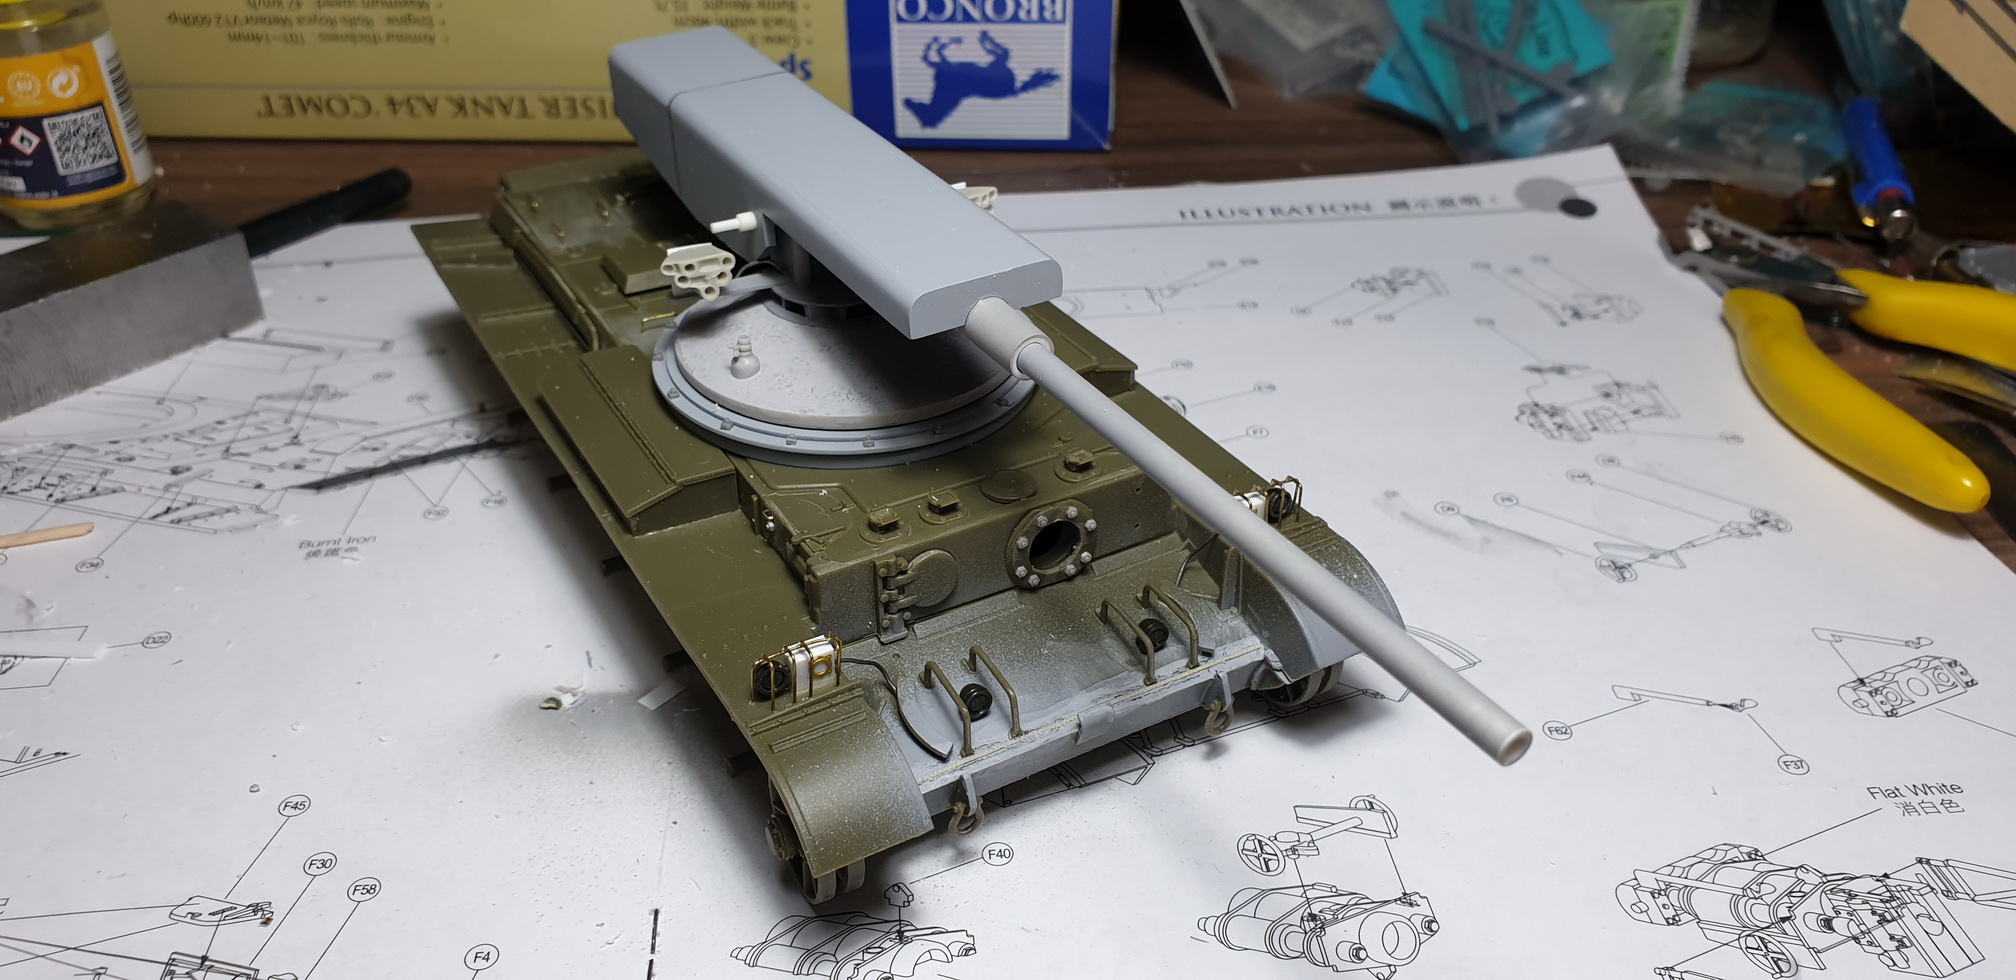
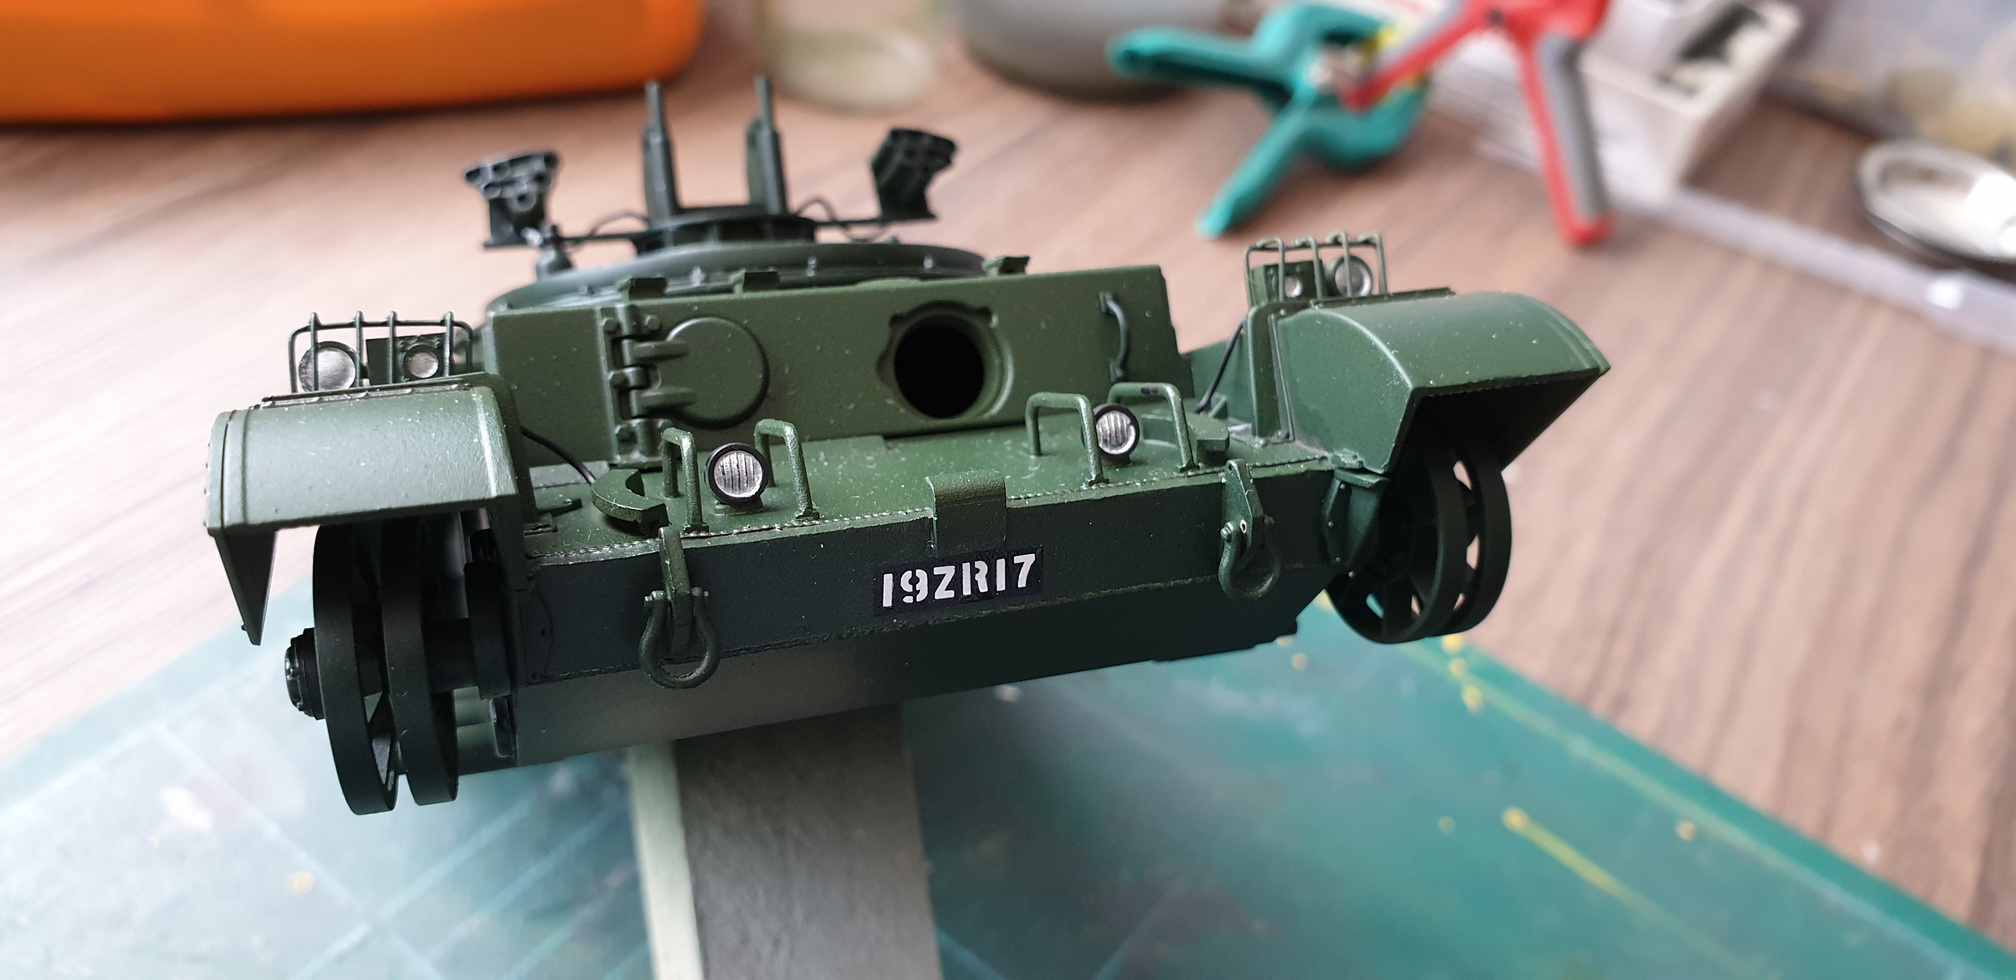
For the mods linked to the Comres, it is necessary to add the 2 optical units with 2 headlights and their protections on the 2 front mudguards. The side lights come from a Tamiya Chieftain and those on the rectangular block in Evergreen are photoetched part from a Todo Modeliismo sheet dedicated to 1/32 cockpits.
The hull machine gun is removed and will be replace by a window.
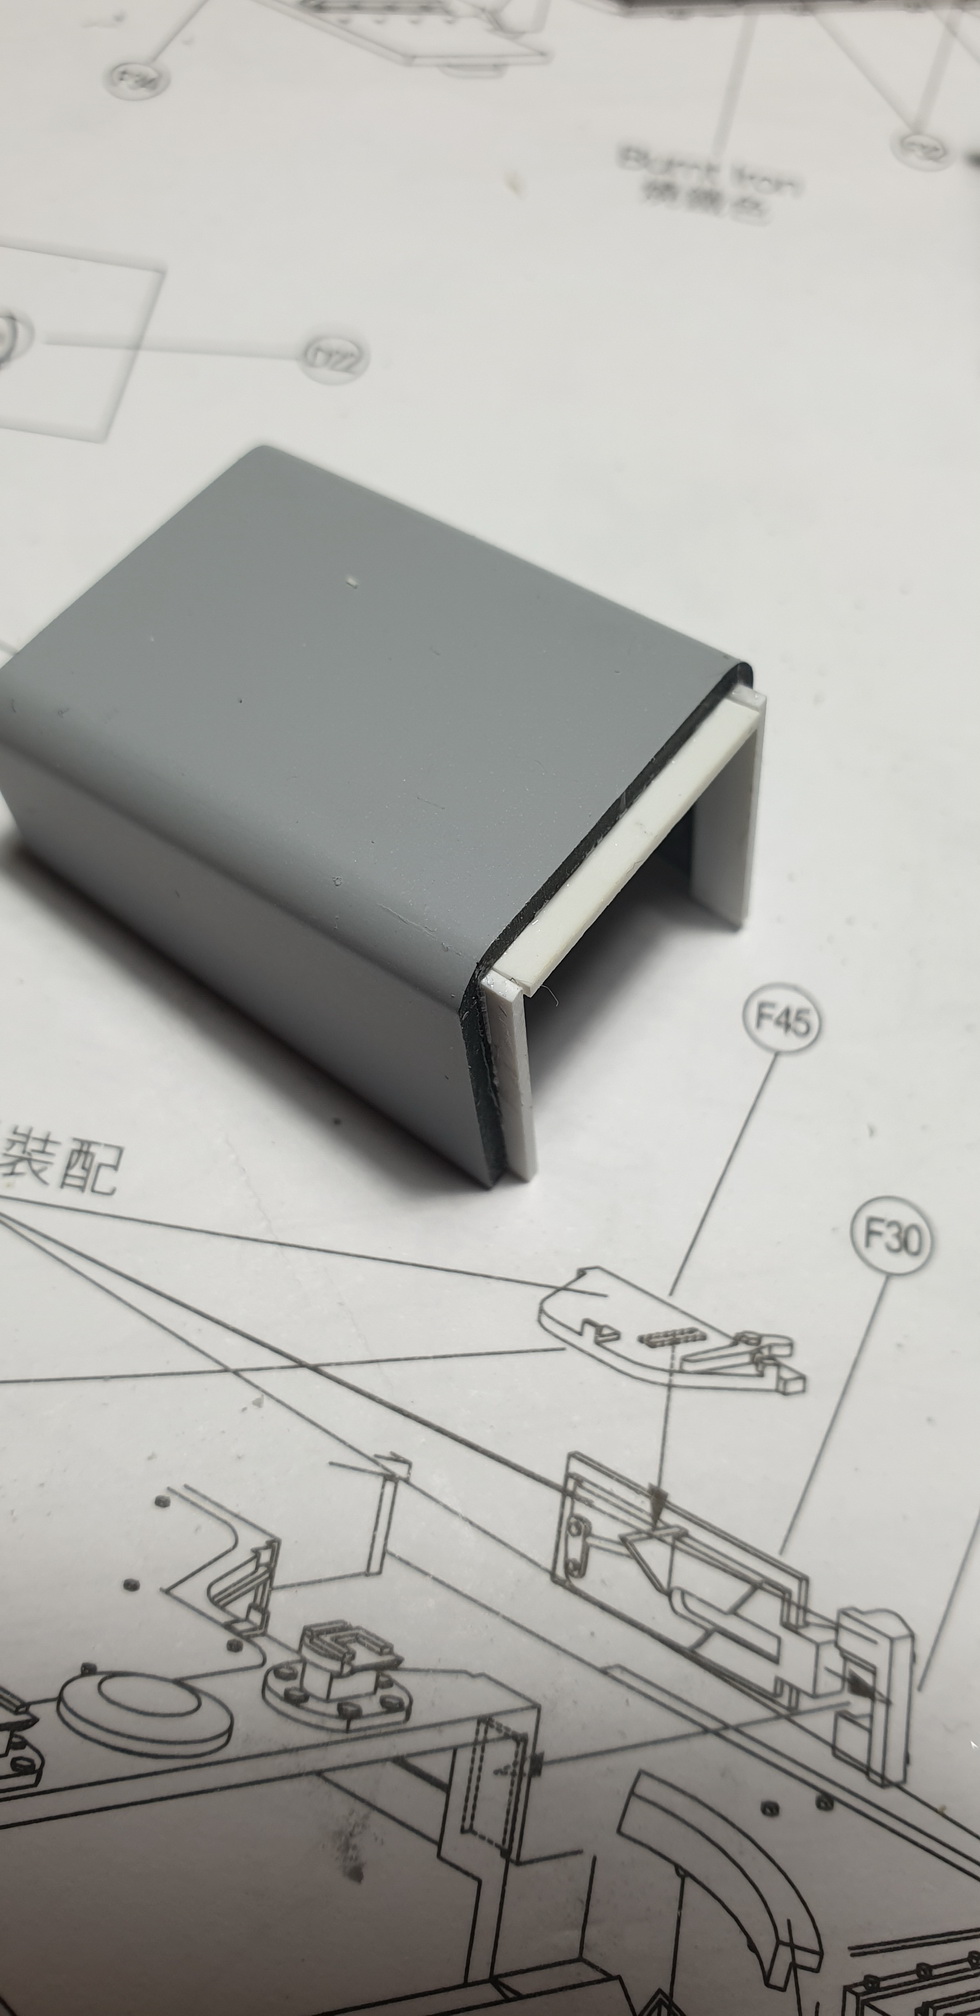
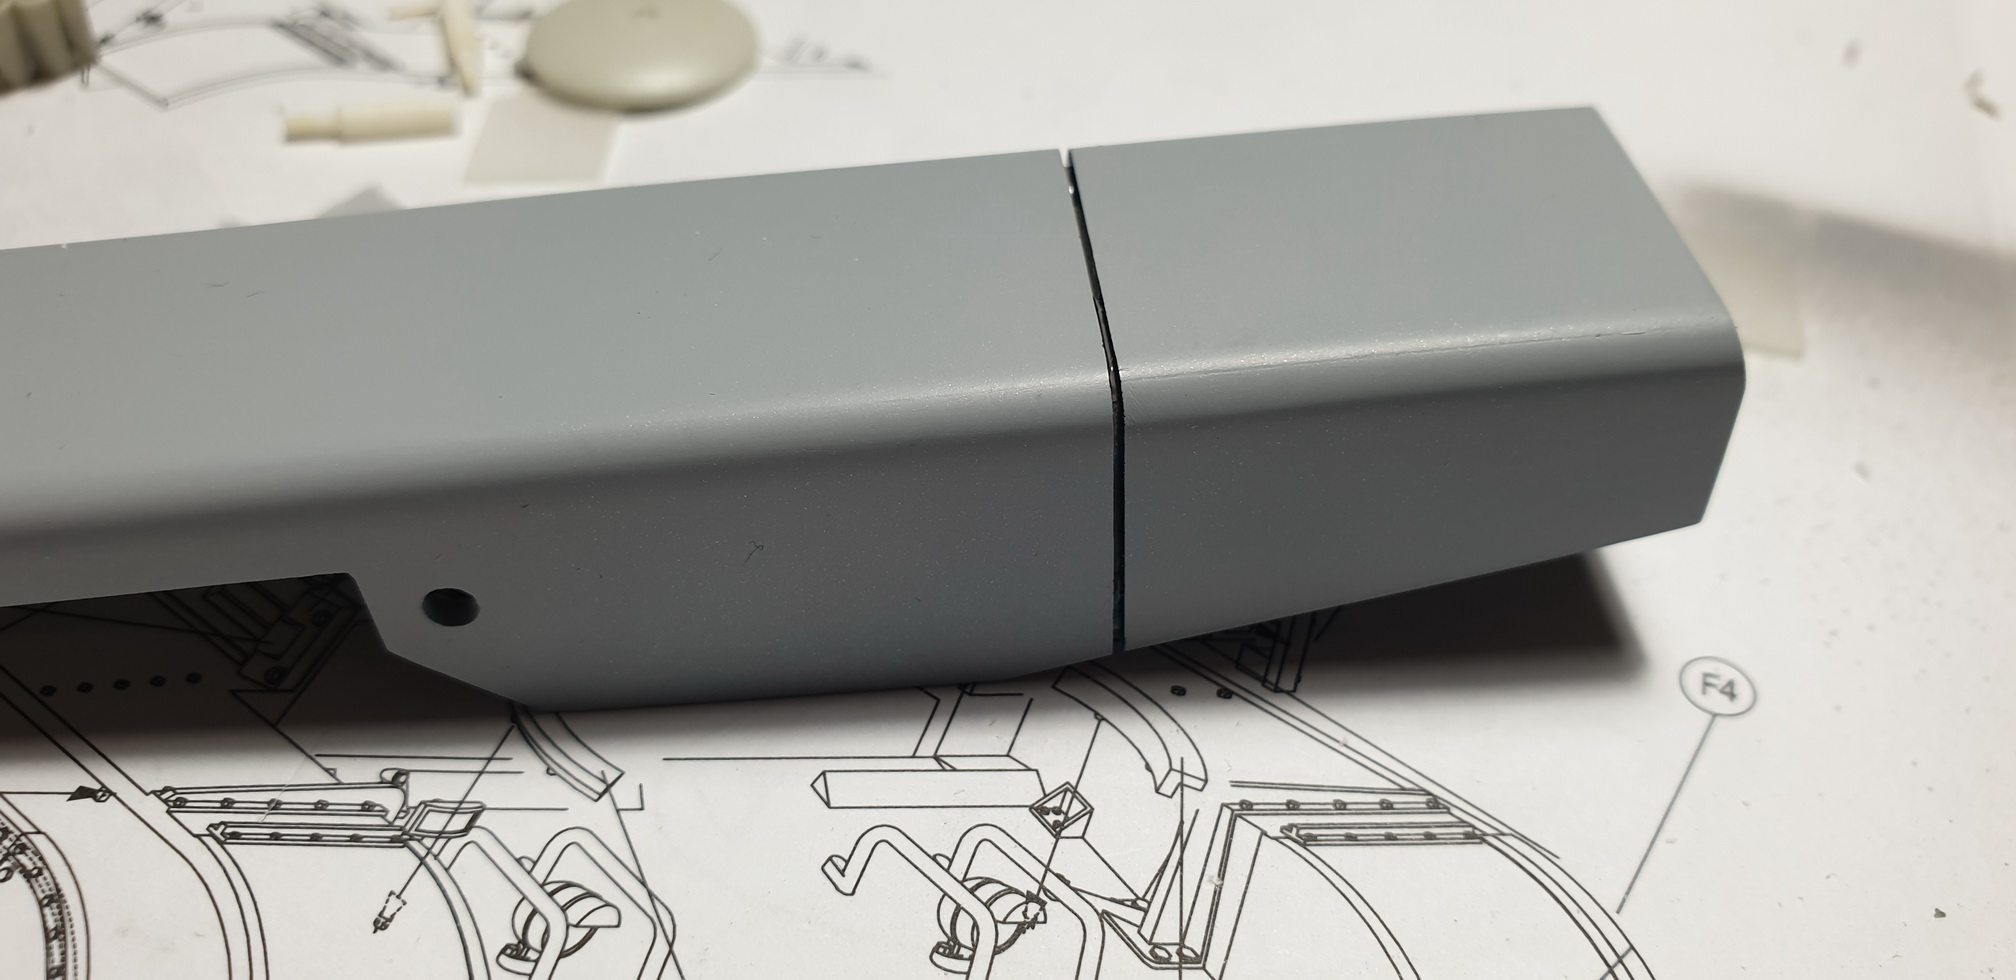
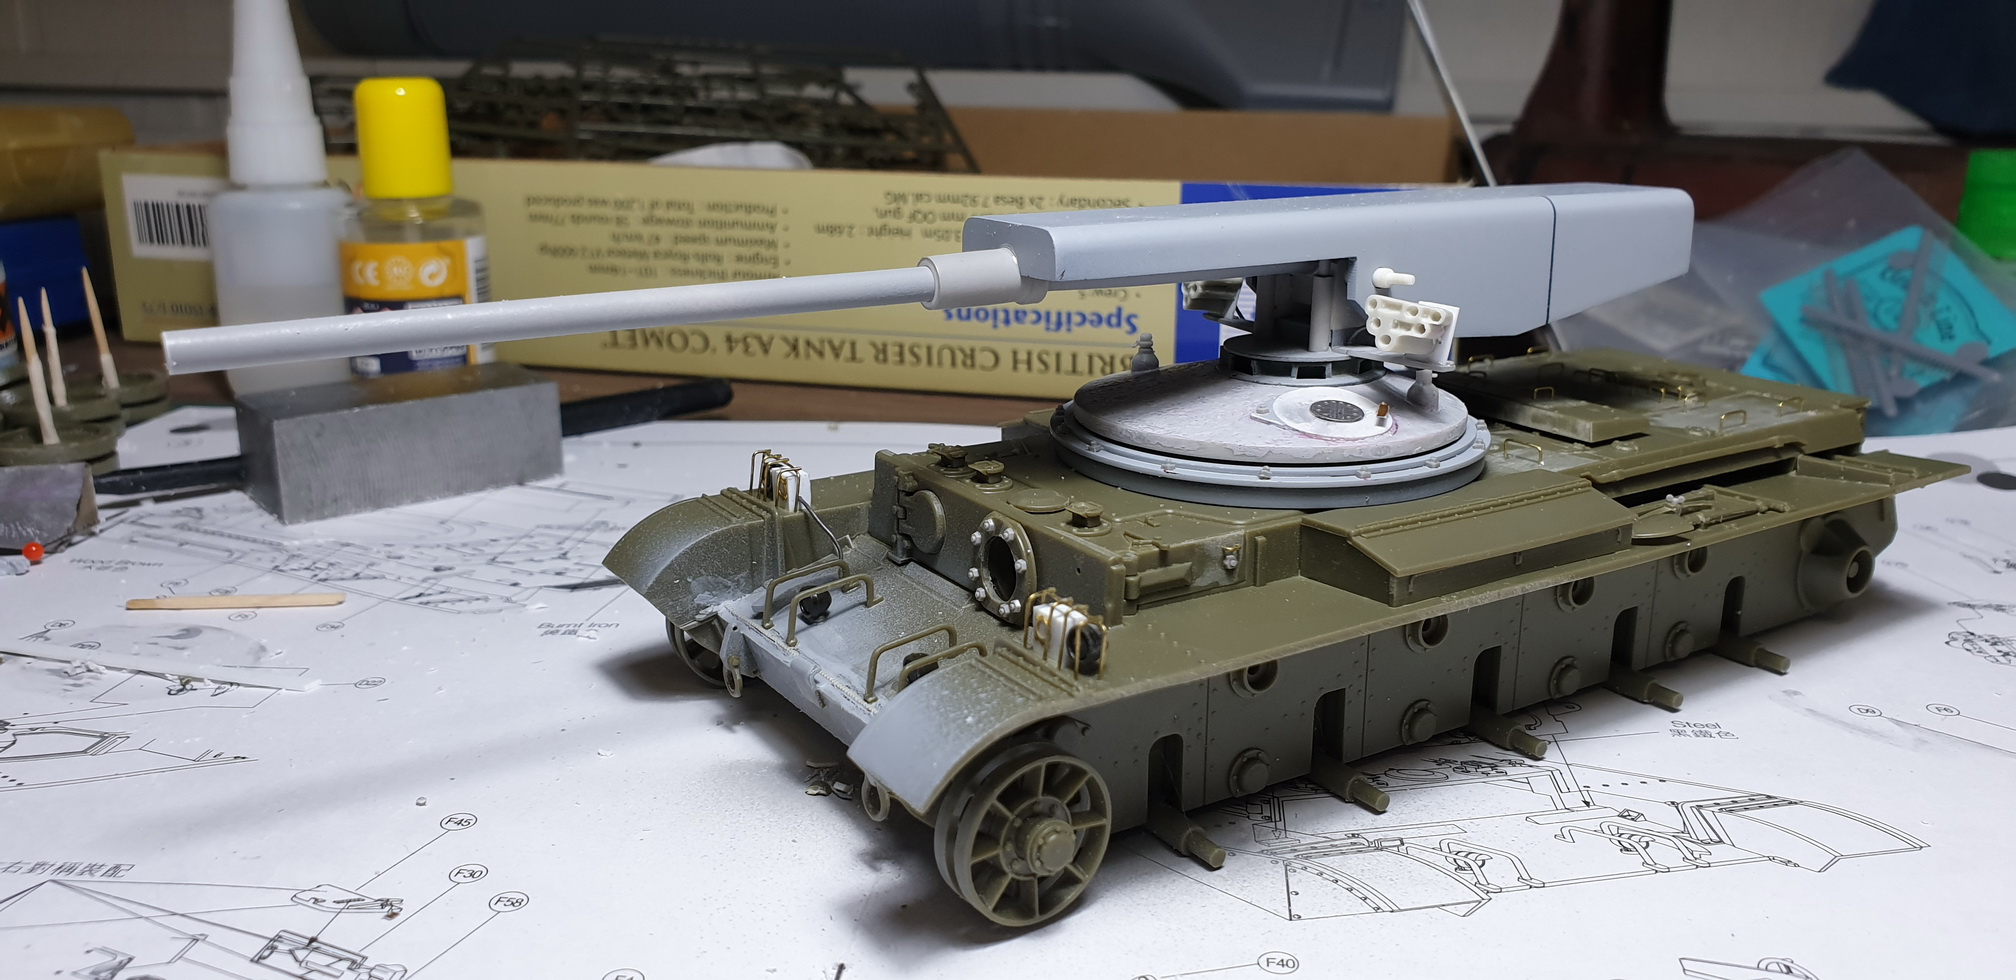
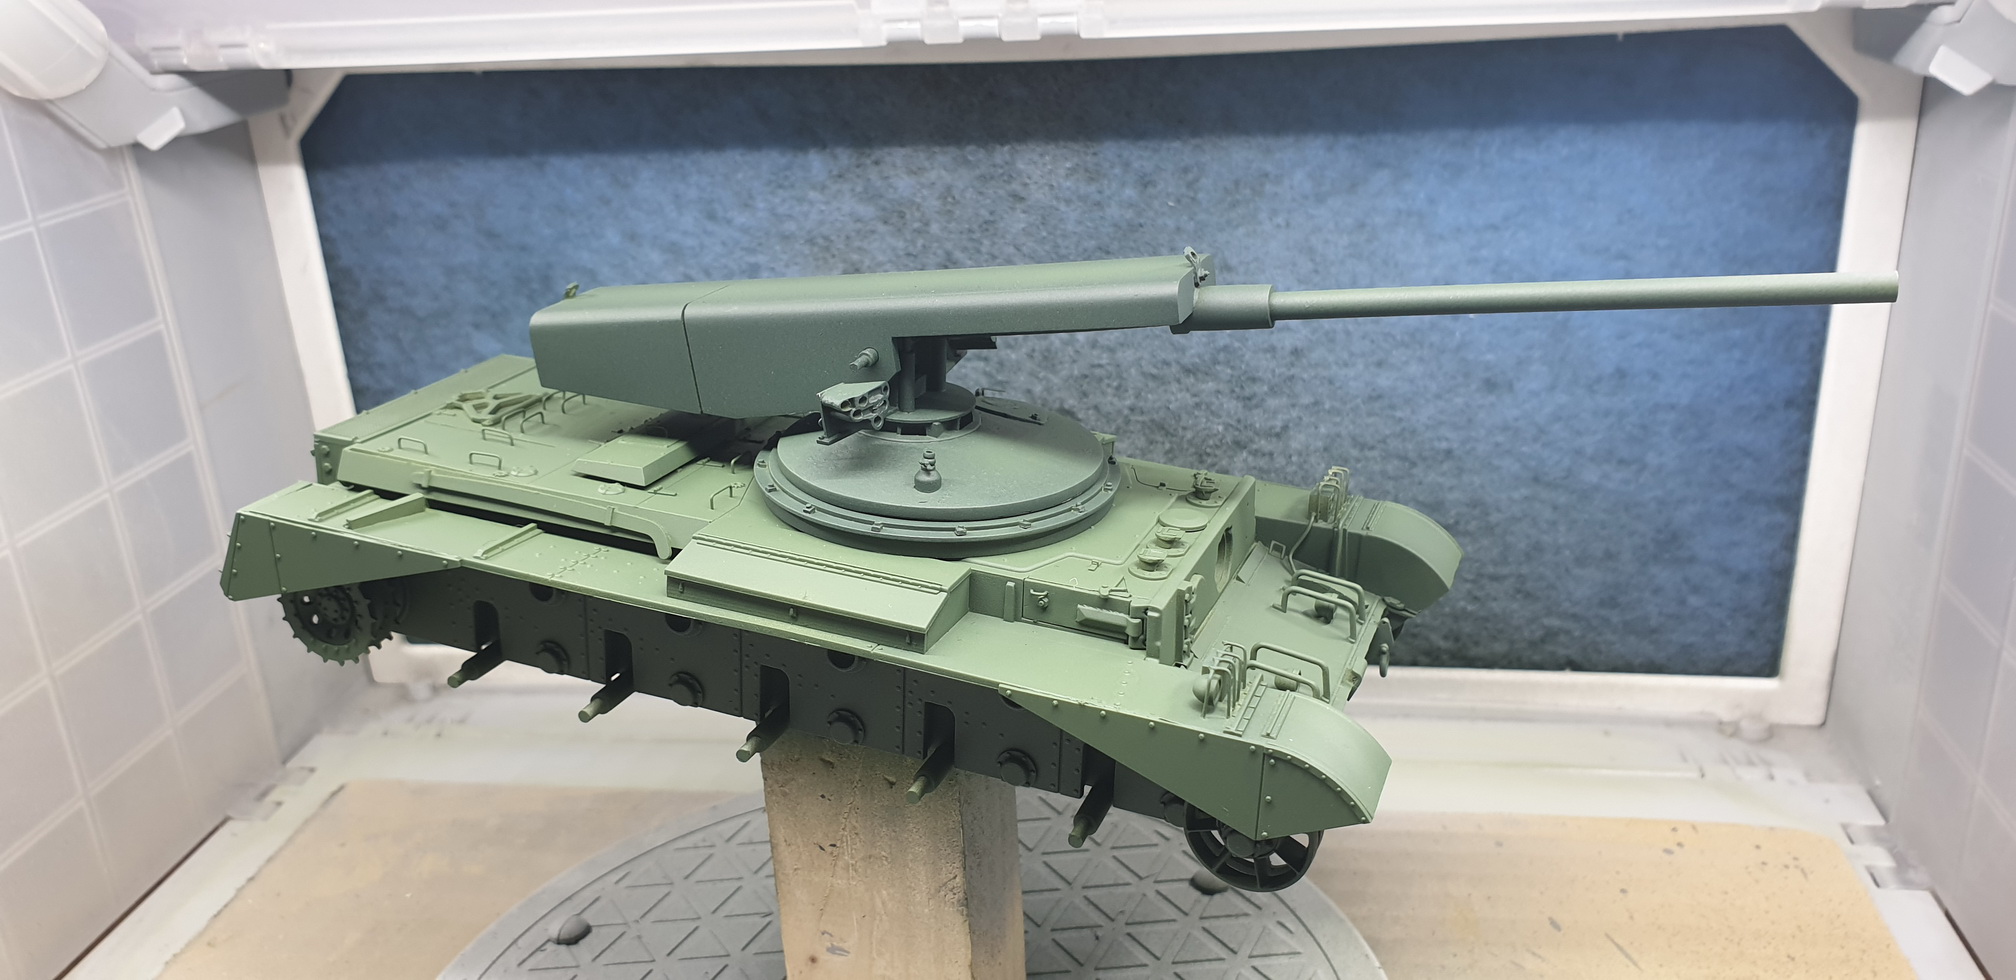
Next comes the assembly of the turret. We start by assembling the front and rear parts, taking care to leave a slight space between the two.
The smoke pots are pierced.
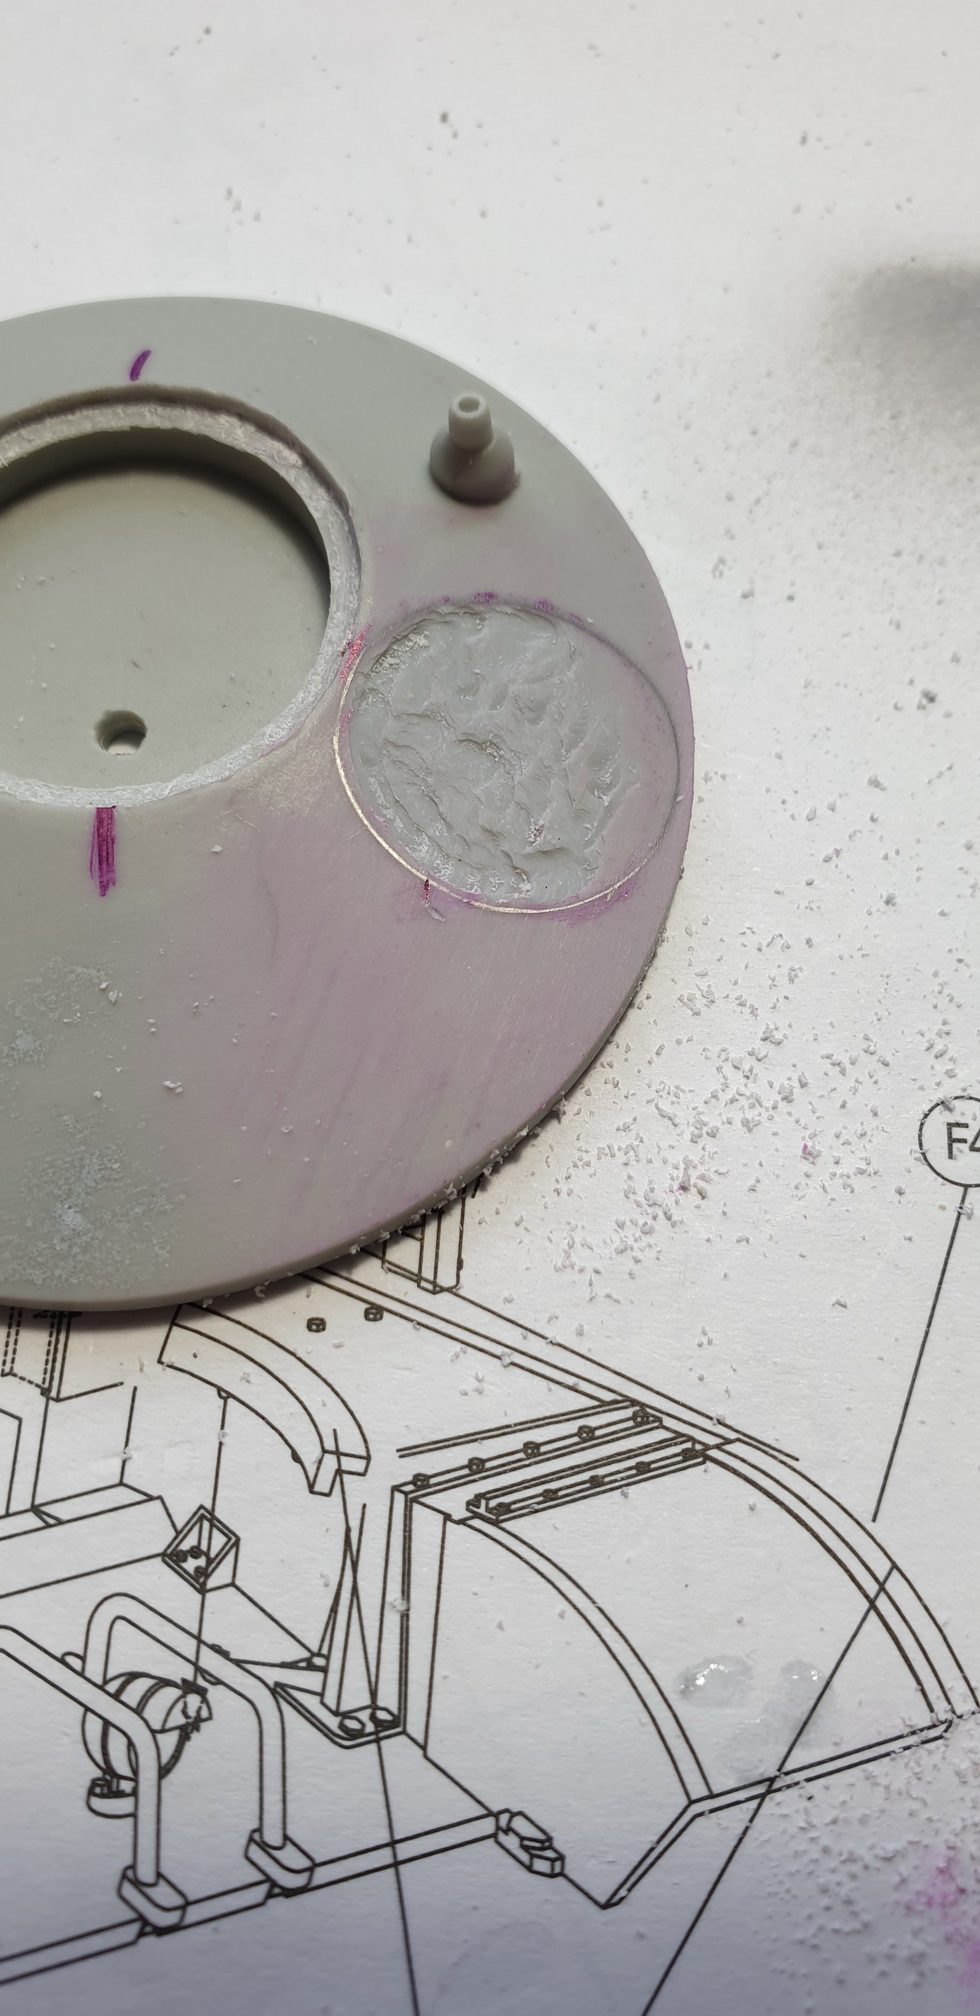
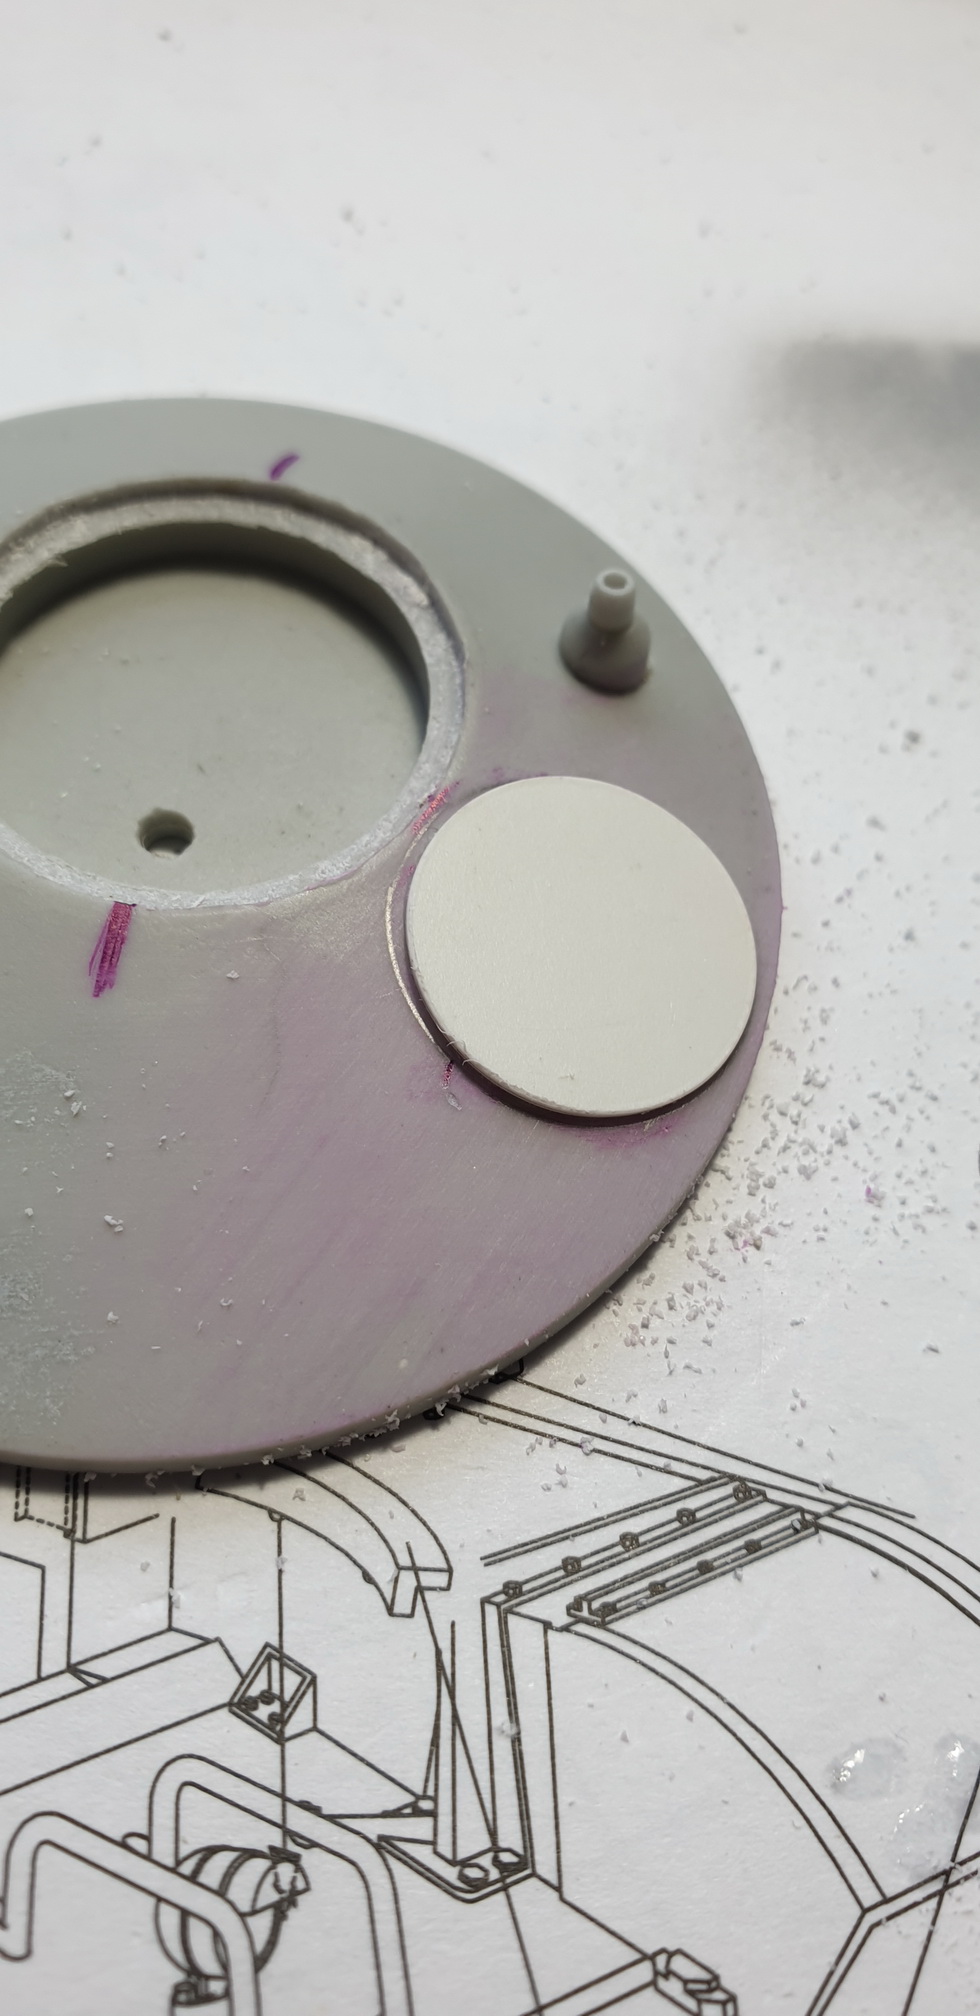
Then little dilemma ... The conversion includes a "disc" to be positioned on the left front of the turret ... Strange, but actually on the photo this disc is present.
On closer inspection, I opted for an open hatch option. Indeed, given the arrangement of the cupola, it is impossible for the crew to enter vertically from the gun breech. A hatch should therefore be provided on the side.
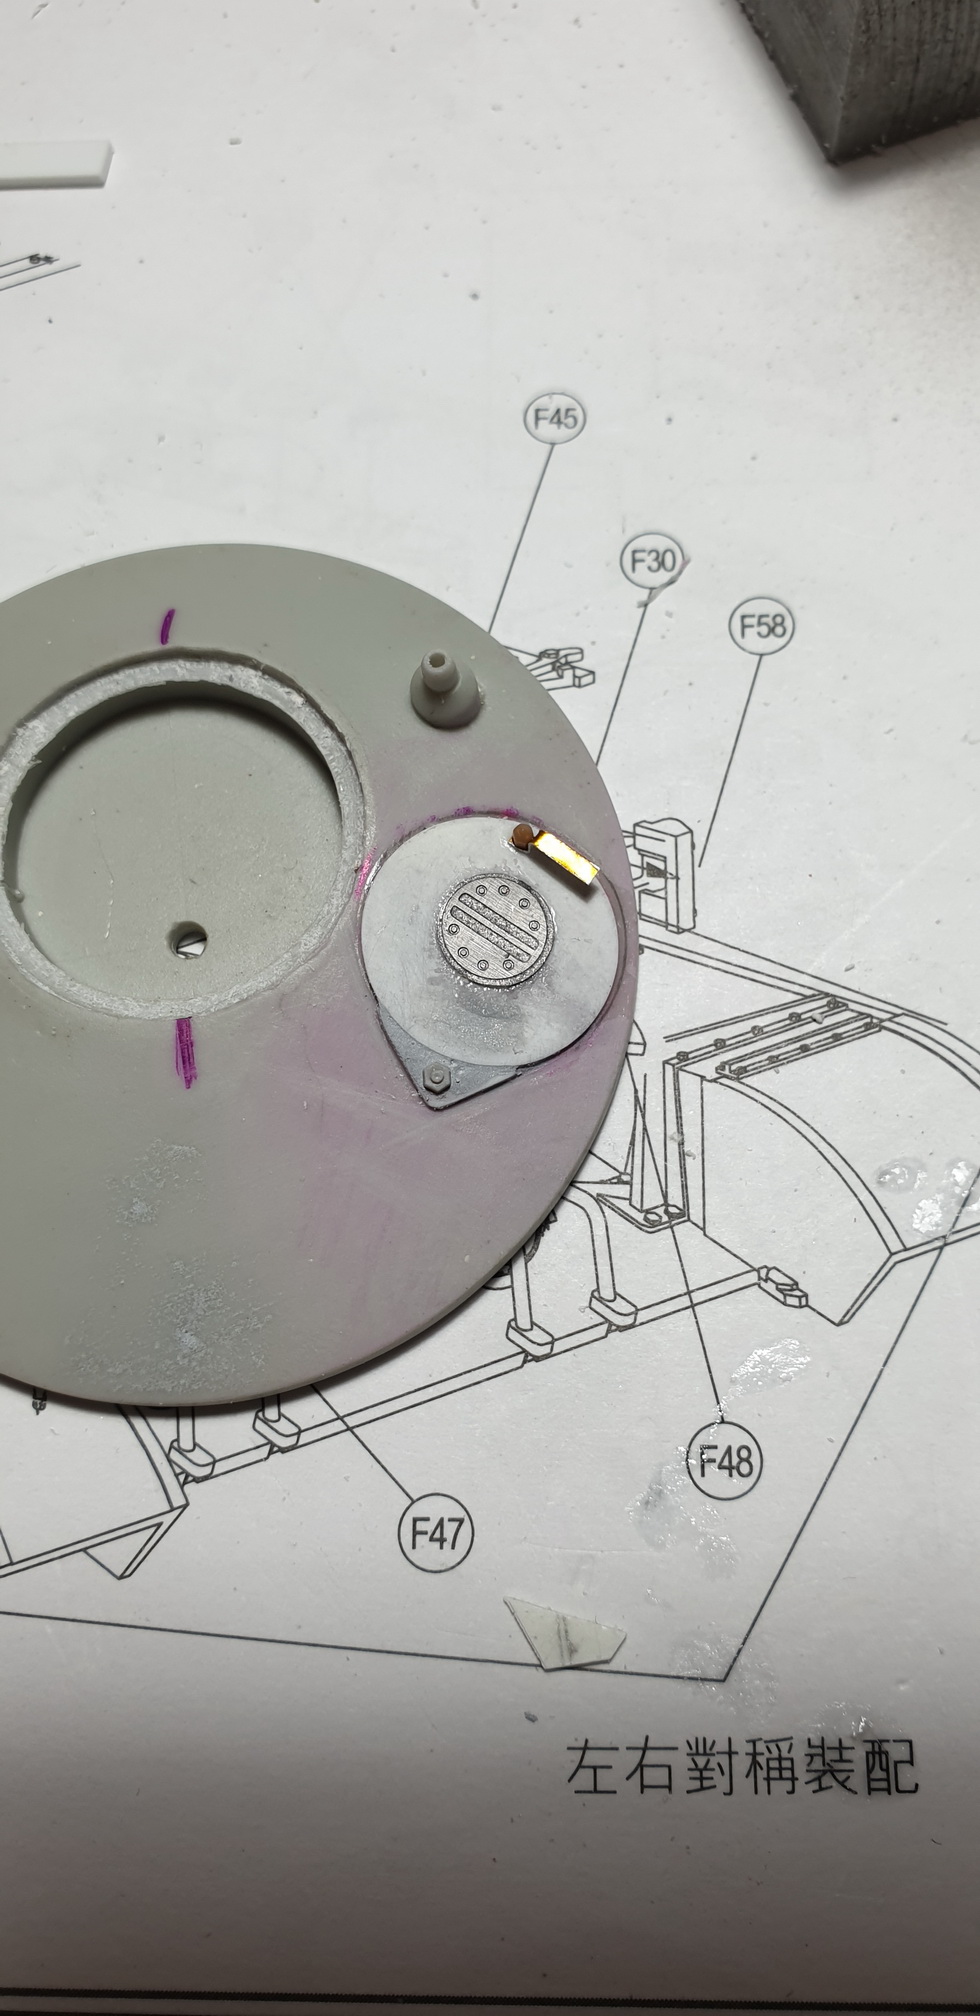
Drilling, sanding, a plastic round part, a photoetched part and here is the hatch in place!
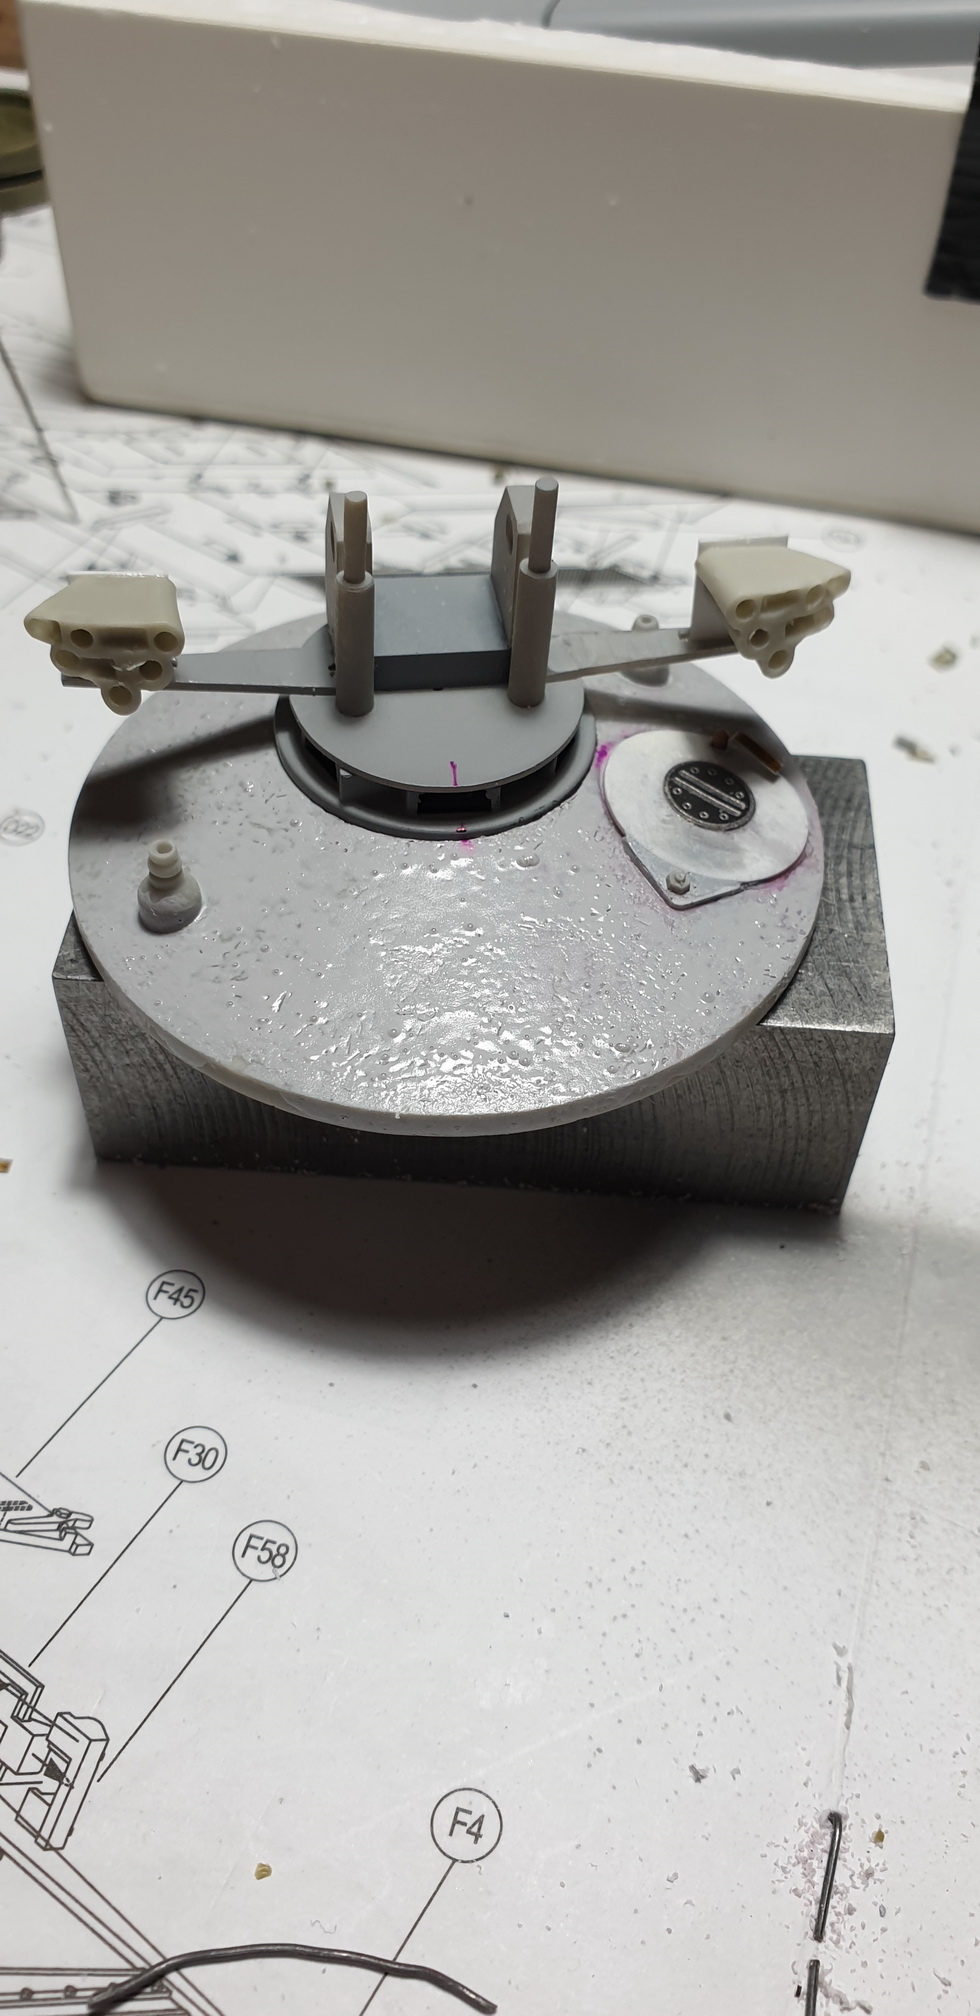
The assembly continues with the installation of cupola and the supports for the smoke pots (done in plastic card & GrandtLine bolts).
A wiring is put in place.
The turret is textured with Mister Surfacer.
Fifteen bolts are added around the edge of the turret ring.
The barrel is then glued under the body. Be careful to keep the alignment.
To complete the assembly, wing nuts are added to the 2 antenna bases.

For the painting phase, we start with a Tamiya primer coat.

Then we start on an English bronze green using IJA Tamiya XF-11 green. I imagine that the turret was freshly repainted and placed on a chassis having lived a little more.
The green of the chassis is therefore lightened with Tamiya Buff.
Once dry, a layer of glossy acrylic varnish protects the whole.

The only visible marking is the registration on the front : 19ZR17. It is reproduced with Decal part from Challenger set from Echelon.
The tracks are painted in tons of rust and then put in place.
The surfaces in contact with the ground are weathered.
The few details are then painted in acrylic. The crown of the hull machine-gun is painted in the same shade as the turret and a window is glued on the back.
Some light coats of Buff give a slightly dusty appearance to the chassis. They are passed in several times while certain areas are protected with Humbrol Maskol to give a mapping effect.
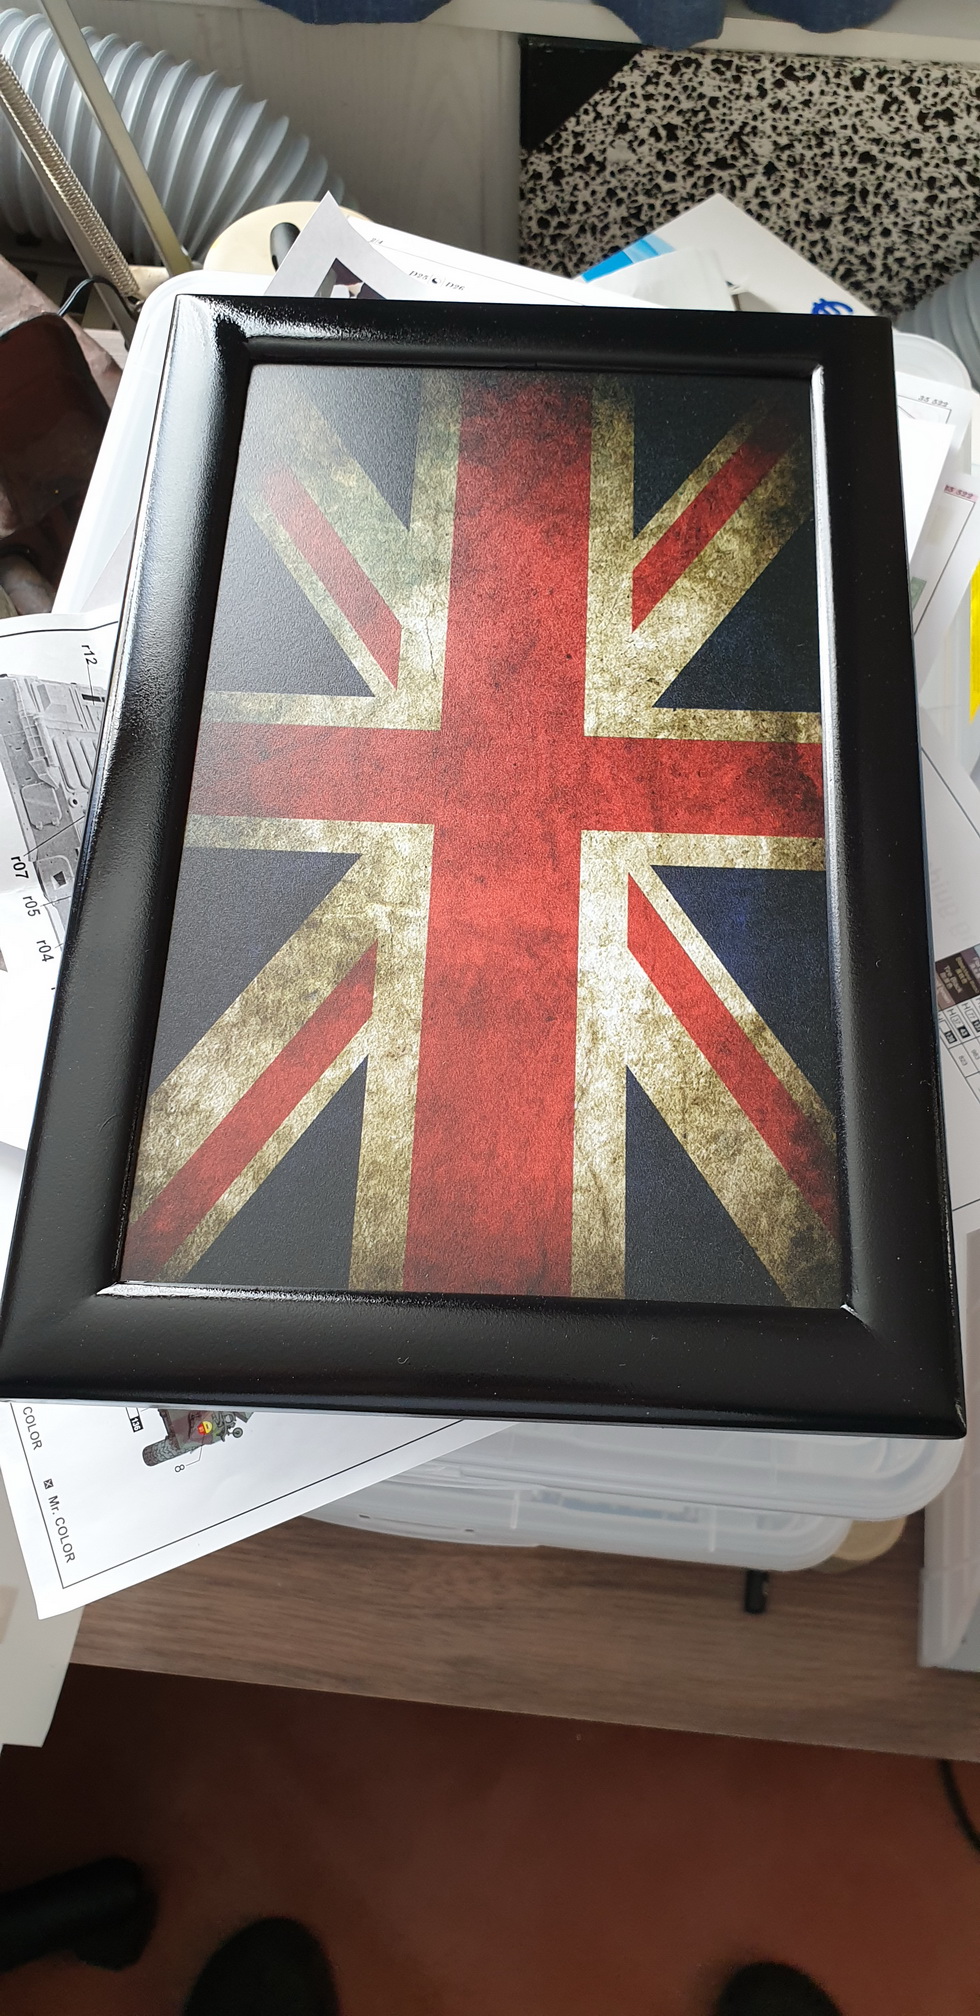
The Comres is then placed on a Hobbyworld base representing UK flag.
Finished model
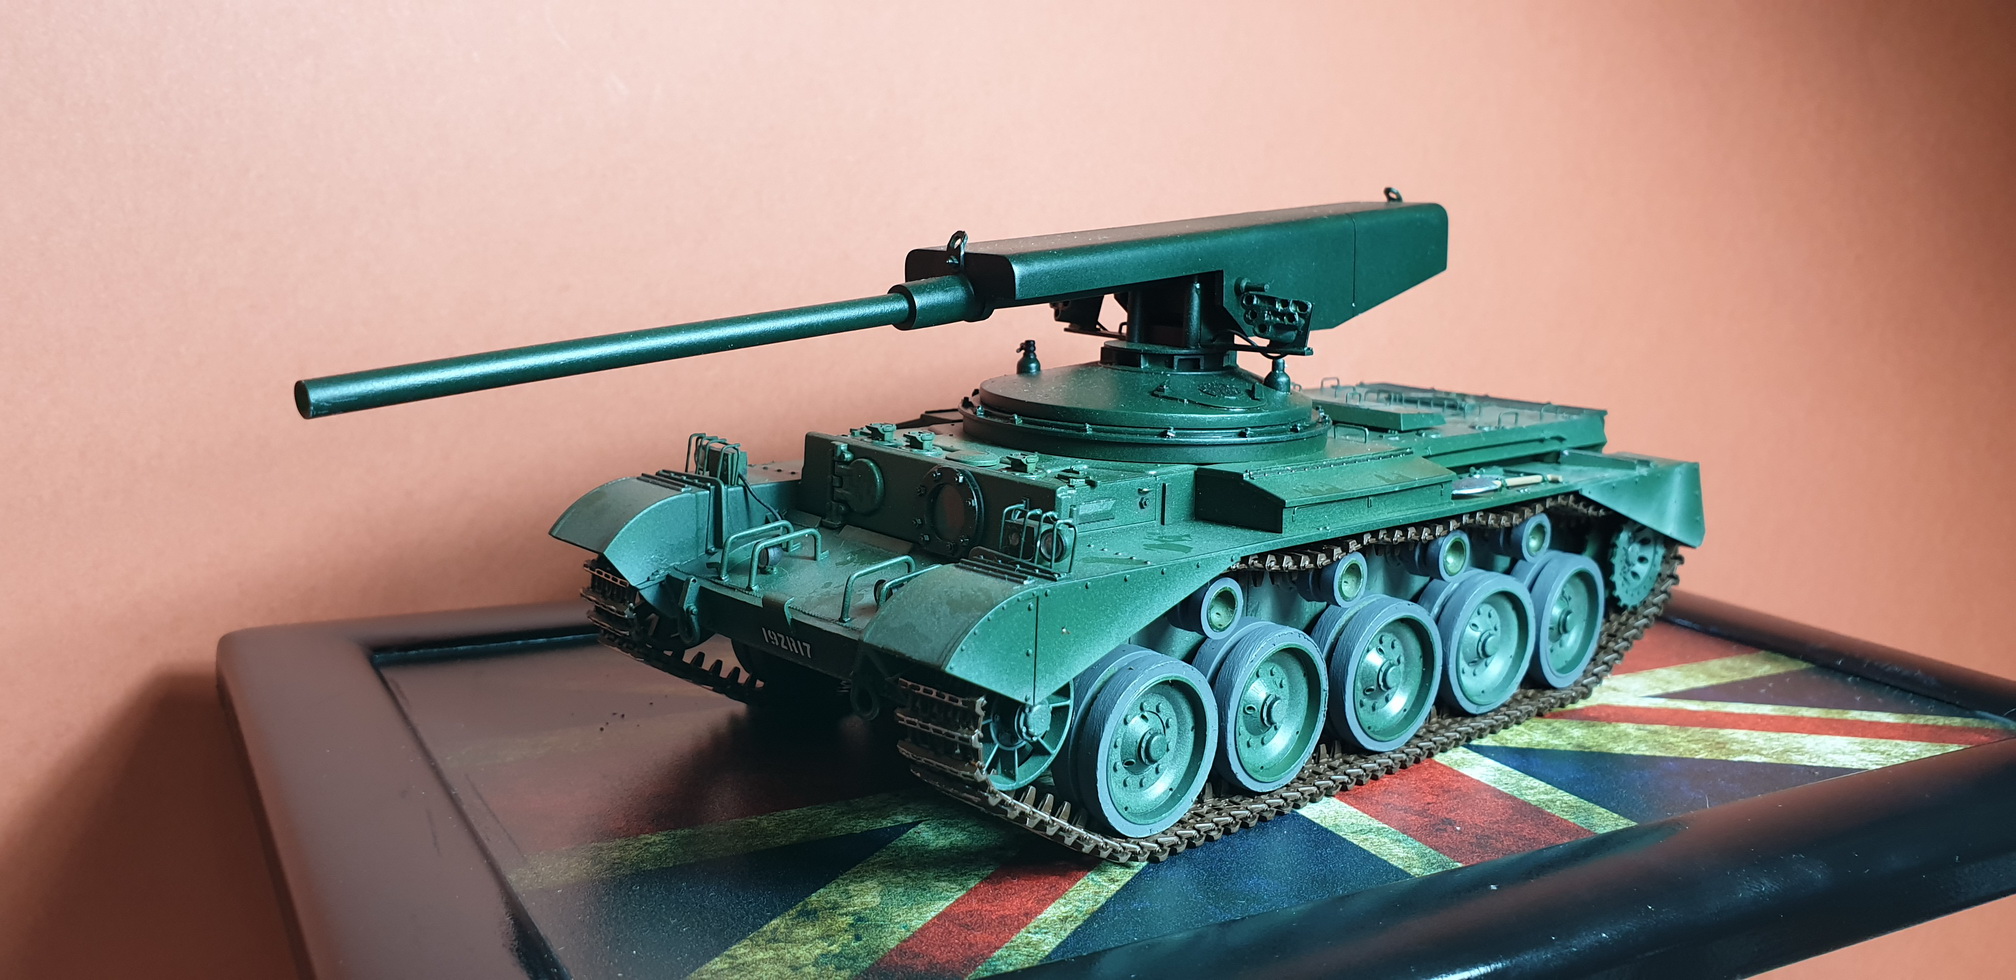
Hope you like it
Take care
Pierre


