

When it arrives, this will be my next build. I have done some research and have a few limited photos of interior so going to see what I can do in scratchbuilding the fighting compartment, drivers station and bulkheads for engines area (unless someone has a stash of pictures). Am also going to up-armour this, either with BUSK armour or slatted anti-grenade screens.
Paint job will be tri-tone grey (same colours as the Type 16) normal camouflage rather than digital
Hosted by Darren Baker
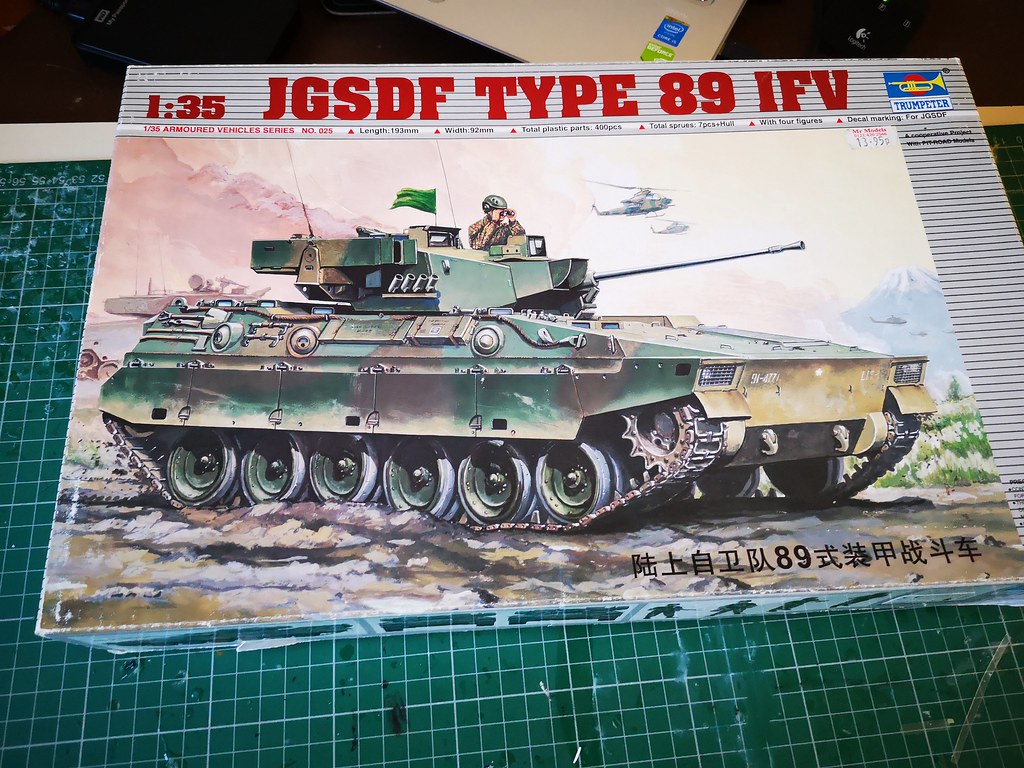
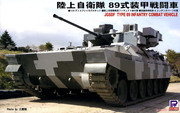
Trumpeter JGSDF Type 89 IFV + Eduard PE

robw_uk

Joined: June 22, 2010
KitMaker: 1,224 posts
Armorama: 1,207 posts

Posted: Saturday, April 25, 2020 - 09:14 PM UTC
tanknick22

Joined: February 19, 2009
KitMaker: 1,139 posts
Armorama: 1,100 posts
Posted: Sunday, April 26, 2020 - 12:04 AM UTC
Quoted Text
When it arrives, this will be my next build. I have done some research and have a few limited photos of interior so going to see what I can do in scratchbuilding the fighting compartment, drivers station and bulkheads for engines area (unless someone has a stash of pictures). Am also going to up-armour this, either with BUSK armour or slatted anti-grenade screens.
Paint job will be tri-tone grey (same colours as the Type 16) normal camouflage rather than digital
Unless the JGSDF changed their camo pattern the standard pattern is green and dark earth
robw_uk
Joined: June 22, 2010
KitMaker: 1,224 posts
Armorama: 1,207 posts
Posted: Sunday, April 26, 2020 - 12:45 AM UTC
Quoted Text
Quoted TextWhen it arrives, this will be my next build. I have done some research and have a few limited photos of interior so going to see what I can do in scratchbuilding the fighting compartment, drivers station and bulkheads for engines area (unless someone has a stash of pictures). Am also going to up-armour this, either with BUSK armour or slatted anti-grenade screens.
Paint job will be tri-tone grey (same colours as the Type 16) normal camouflage rather than digital
Unless the JGSDF changed their camo pattern the standard pattern is green and dark earth
Yep but both this and the type 16 are being built with What If tri-tone grey schemes. Type 16 in digital, type 89 in hard edged
robw_uk
Joined: June 22, 2010
KitMaker: 1,224 posts
Armorama: 1,207 posts
Posted: Monday, April 27, 2020 - 08:23 AM UTC
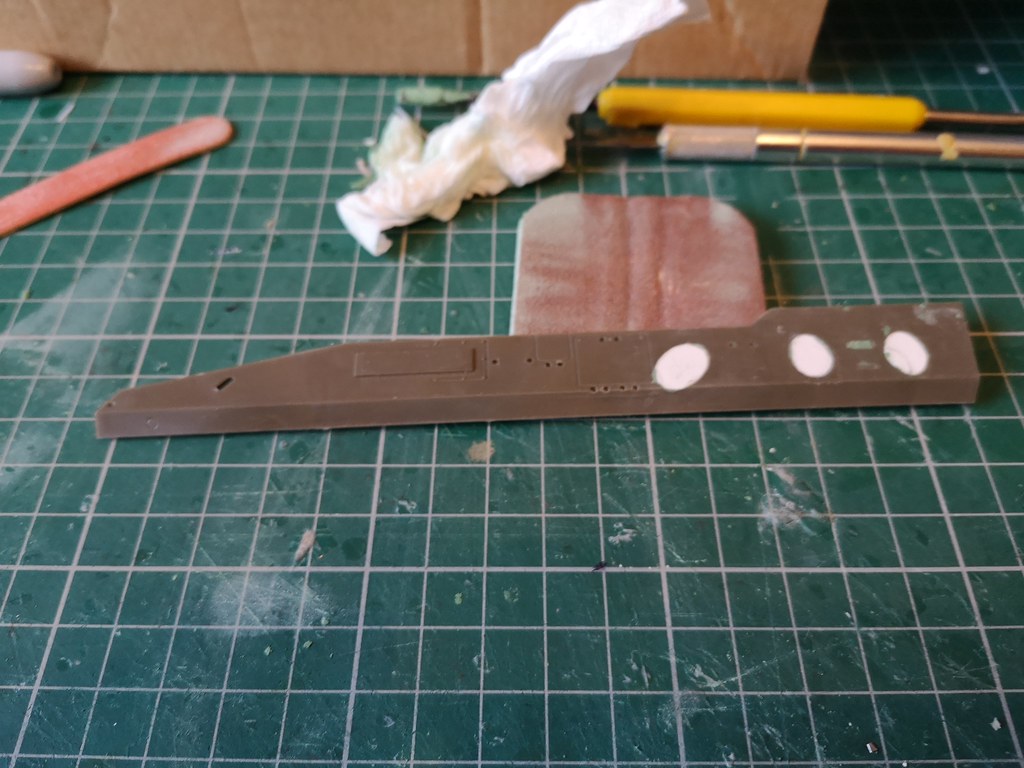
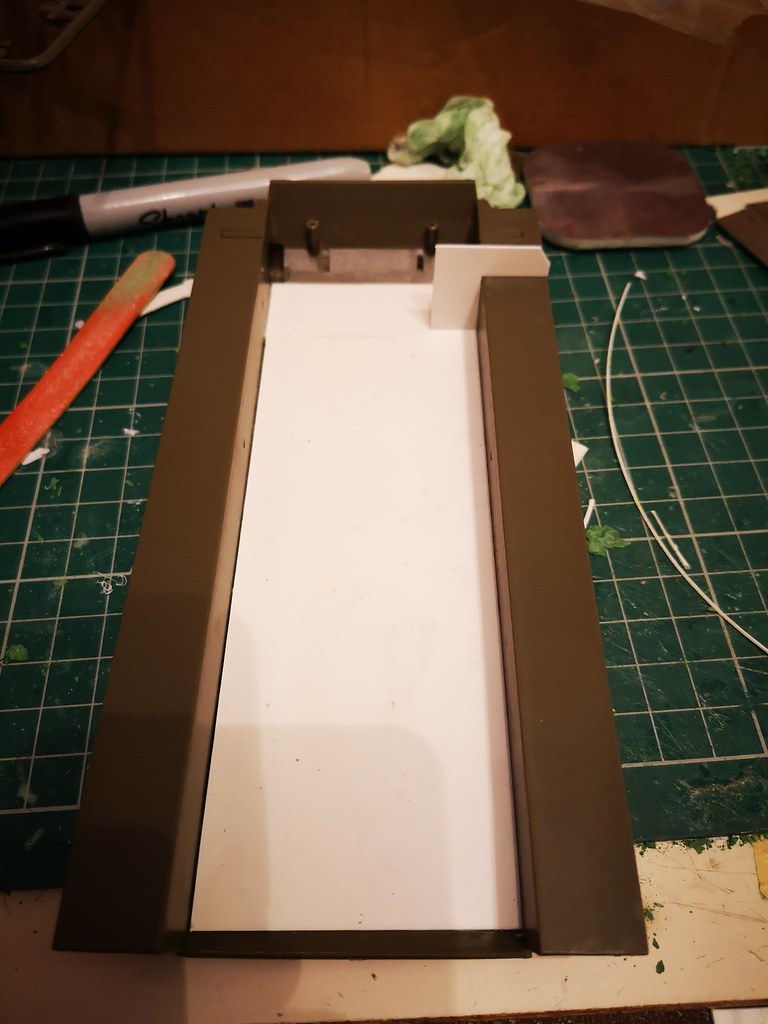
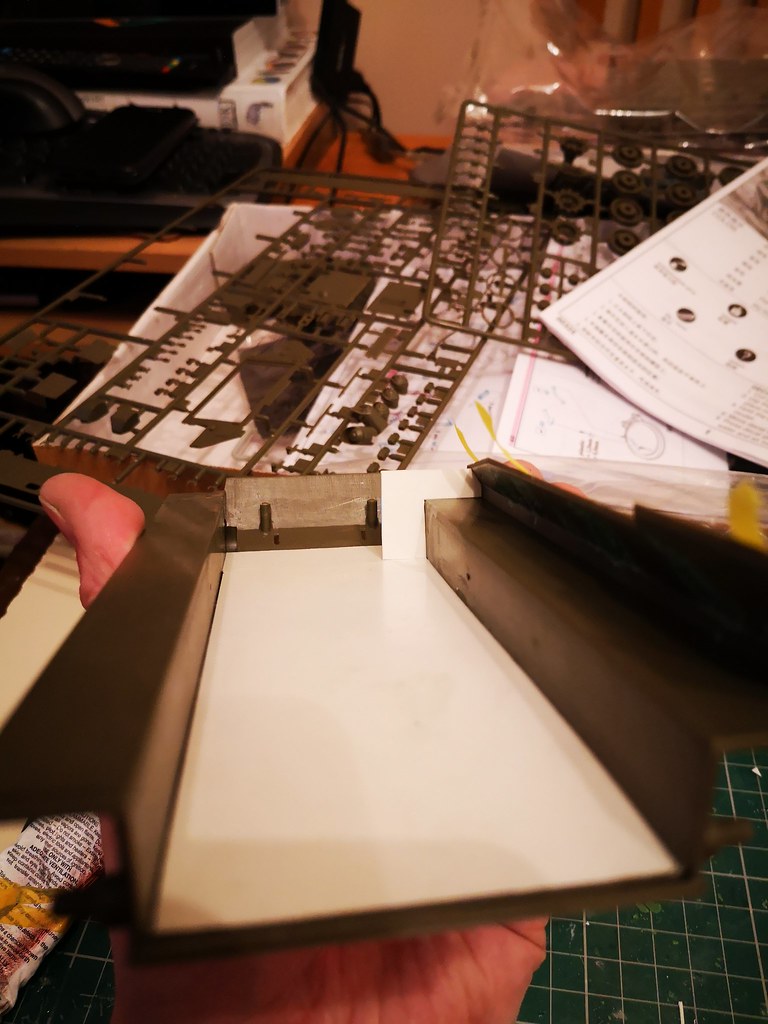
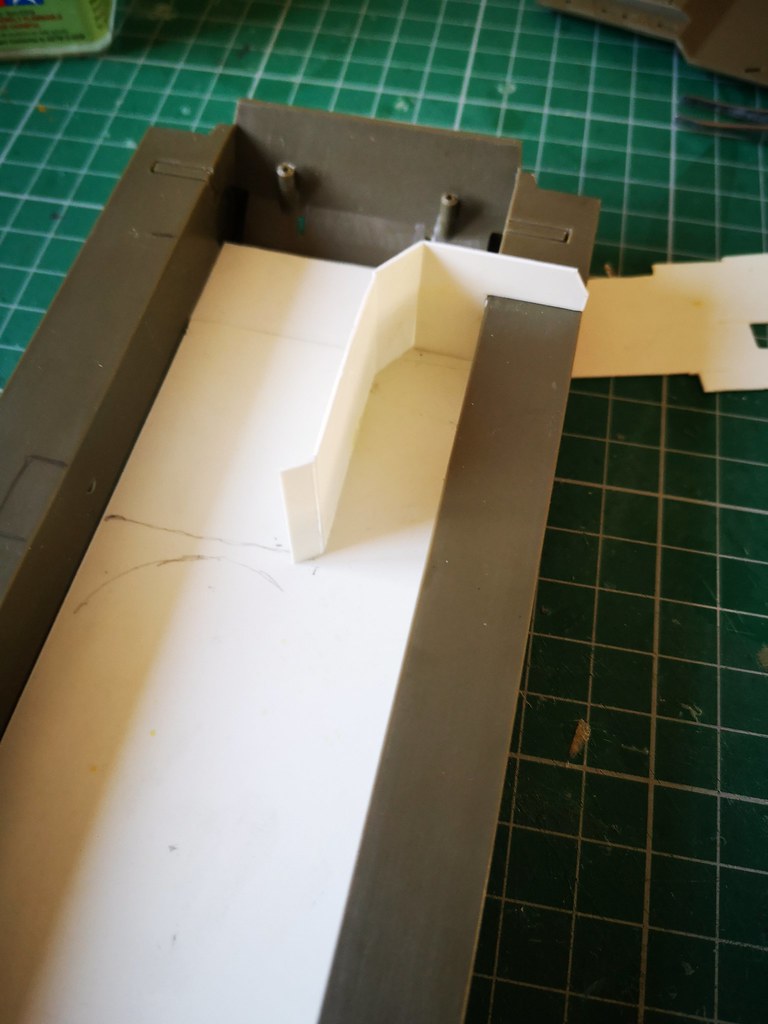
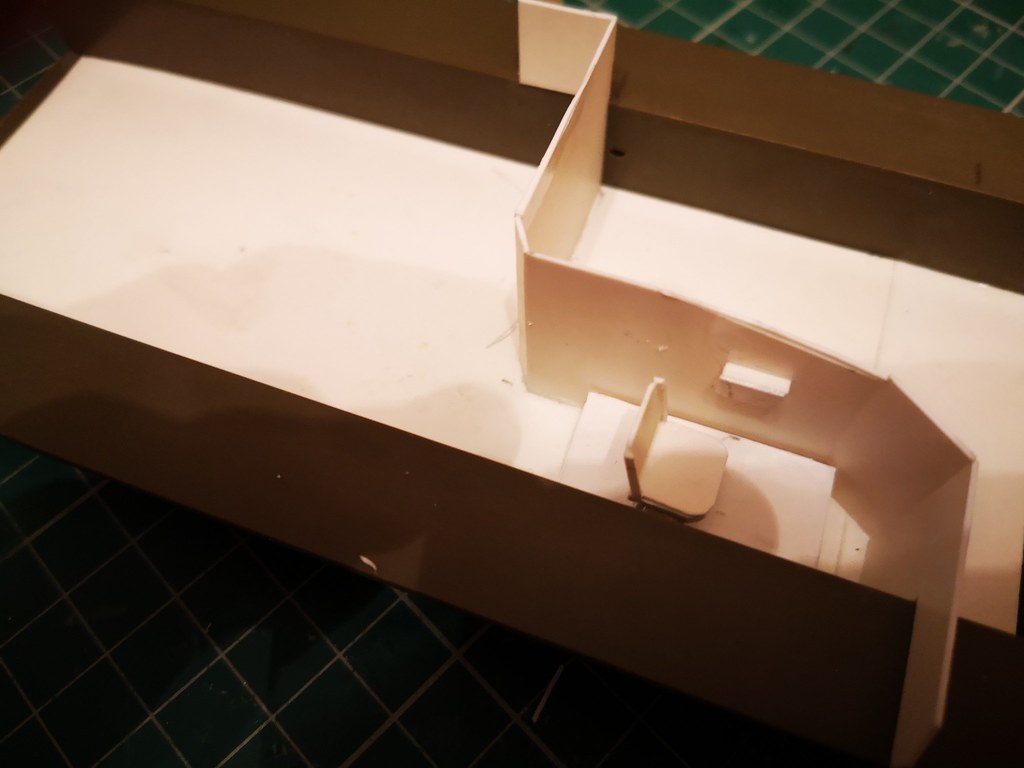
Ok, so kit has arrived and, being as mad as I am, I dove straight in. Filled the gun ports (weak points) and the bits on the sides that the Eduard set needed. A lot of injection holes in the interior so they have been filled. Floor in and started on the first bulk head - one directly in front of the driver... "Mk I eye ball" didn't give too bad a result. I will need to add some dials too it and then think waht will be to the right of the driver (some radio of some sort I guess.
ok.. so interior being built - can still all be left hidden if I give up, only 100% permanent thing are the ports goint - will need some Mr Surfacer to make sure they are as smooth as can be
 IMG_20200427_154417
 IMG_20200427_154436
 IMG_20200427_192113
 IMG_20200427_210139
 IMG_20200427_210318
ok.. so interior being built - can still all be left hidden if I give up, only 100% permanent thing are the ports goint - will need some Mr Surfacer to make sure they are as smooth as can be
IMG_20200427_154417 IMG_20200427_154436 IMG_20200427_192113IMG_20200427_210139IMG_20200427_210318 JohnTapsell

Joined: August 24, 2011
KitMaker: 227 posts
Armorama: 226 posts
Posted: Monday, April 27, 2020 - 09:16 AM UTC
Some inspiration for you...
robw_uk
Joined: June 22, 2010
KitMaker: 1,224 posts
Armorama: 1,207 posts
Posted: Monday, April 27, 2020 - 06:10 PM UTC
Quoted Text
Some inspiration for you...
thanks 2 very nice schemes
robw_uk
Joined: June 22, 2010
KitMaker: 1,224 posts
Armorama: 1,207 posts
Posted: Monday, April 27, 2020 - 11:47 PM UTC
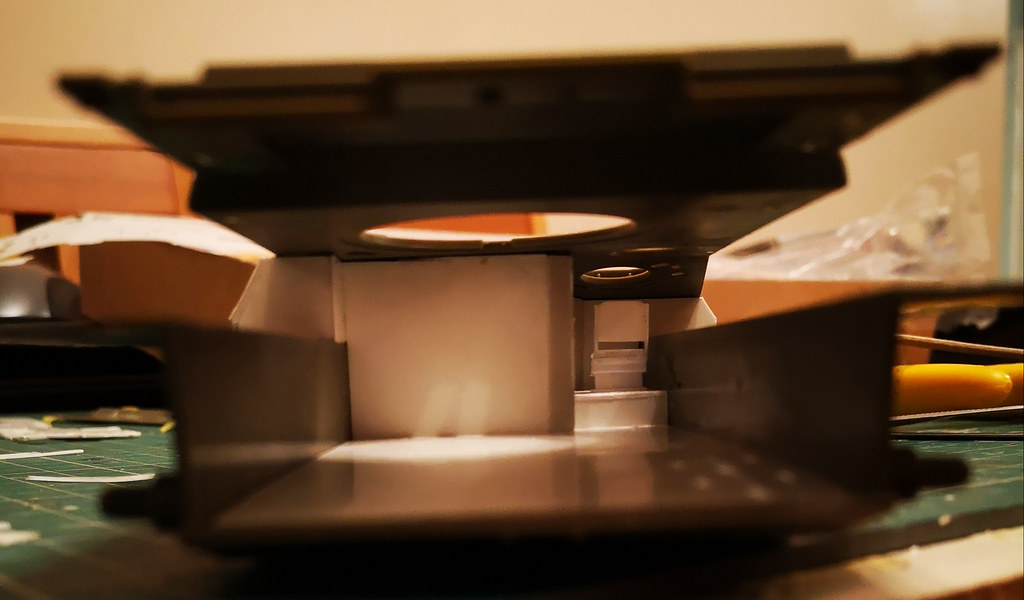
sneaky lockdown lunchtime 30 min sees next 3 parts to to the front bulkhead. Don't think I would want to sit in the space for the driver, looks way too cramped. Have also done some research and doodle on a few photos to show how I think the main components will sit..
 2020-04-28_12-38-53 by Robert Worth, on Flickr
2020-04-28_12-38-53 by Robert Worth, on Flickr
MLD
Joined: July 21, 2002
KitMaker: 3,569 posts
Armorama: 2,070 posts
Posted: Tuesday, April 28, 2020 - 01:25 AM UTC
You are headed deep deep deeper down the rabbit hole on this one than I was. I got the build started way back when the kit came out, collected some reference photos annndddd... got distracted by other shiny things. Mine still sits on the shelf of shame.
I'll be following and maybe get motivated to dig mine back out.
I'm really interested in watching your interior scratchbuild.
I'll be following and maybe get motivated to dig mine back out.
I'm really interested in watching your interior scratchbuild.
robw_uk
Joined: June 22, 2010
KitMaker: 1,224 posts
Armorama: 1,207 posts
Posted: Tuesday, April 28, 2020 - 01:47 AM UTC
Quoted Text
You are headed deep deep deeper down the rabbit hole on this one than I was. I got the build started way back when the kit came out, collected some reference photos annndddd... got distracted by other shiny things. Mine still sits on the shelf of shame.
I'll be following and maybe get motivated to dig mine back out.
I'm really interested in watching your interior scratchbuild.
ha thanks for the vote of confidence. I needed something to build over a period of time. I have 2 in the paint-shop which is only open at weekends so evenings were getting too quiet. I have 3 references photos of the interior, the rest of my inspiration will come form similar vehicles (mostly the Bradley)
robw_uk
Joined: June 22, 2010
KitMaker: 1,224 posts
Armorama: 1,207 posts
Posted: Tuesday, April 28, 2020 - 08:51 AM UTC
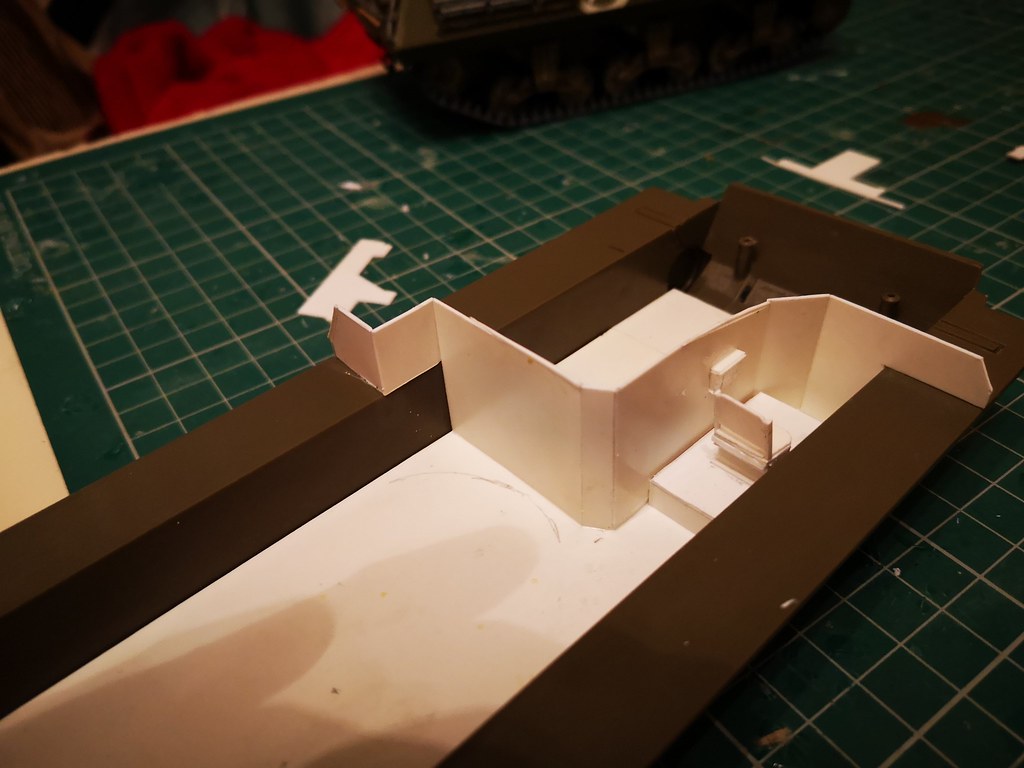
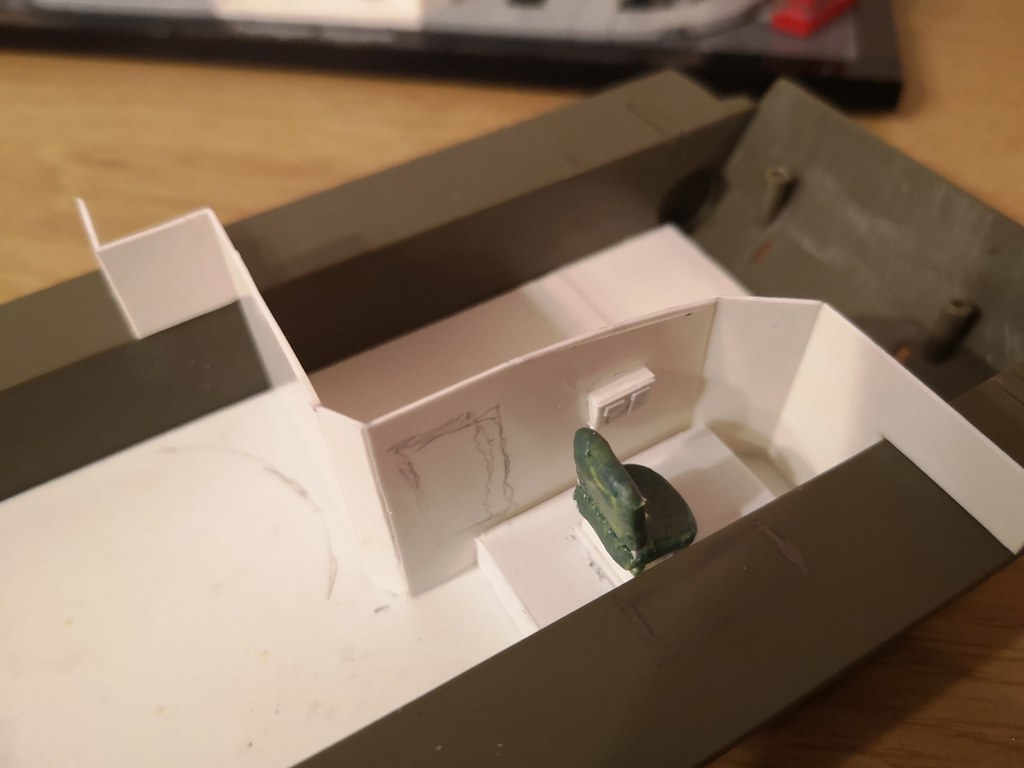
OK. so more work. Drivers chair done - it looks ok I guess (sort of looks like the chair I have in the 1 photo of the front). Not a big fan of the "step" but at least it means the supports aren't too big. And started on a control panel for left hand bulk head (chair is just placed as it will need more cushioning and painting).
Don't judge me too harshly - just trying to give a flavour of an interior

Don't judge me too harshly - just trying to give a flavour of an interior
robw_uk
Joined: June 22, 2010
KitMaker: 1,224 posts
Armorama: 1,207 posts
Posted: Wednesday, April 29, 2020 - 08:22 AM UTC
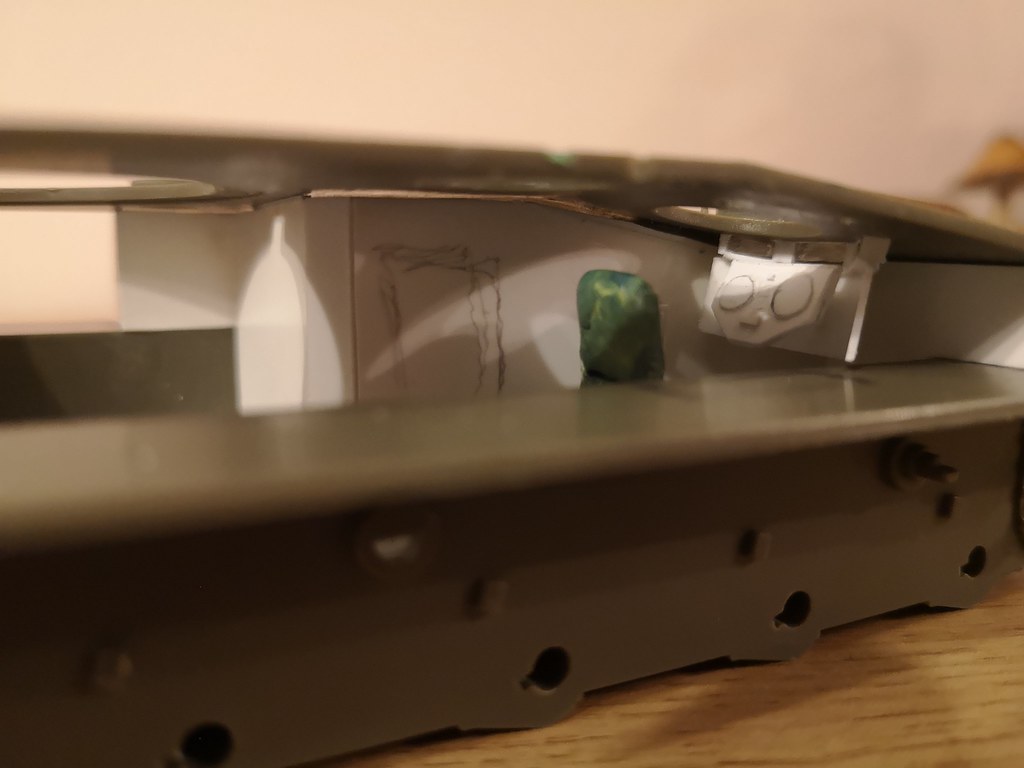
More progress. Chair has cushions (will cover in foil to give final patina). Control panel on left has a couple of panels and we now have the view ports and drivers instrument panel (this is the shape I saw from the one photo of the drivers compartment.) - need to cover the top of the dashboard as you can see a huge gap when viewed through drivers hatch. Next up I want to put in an access door behind the driver for the engine compartment (Bradley's have one so thats good enough for me) and then the radio, pedals, I think there is some sort of box in front of the driver on the right bulkhead) and a jump seat (will be shown folded up just behind the drivers seat)


ivan_a

Joined: July 21, 2004
KitMaker: 35 posts
Armorama: 35 posts
Posted: Wednesday, April 29, 2020 - 04:54 PM UTC
Good afternoon.
I follow the blog with interest, excellent construction.
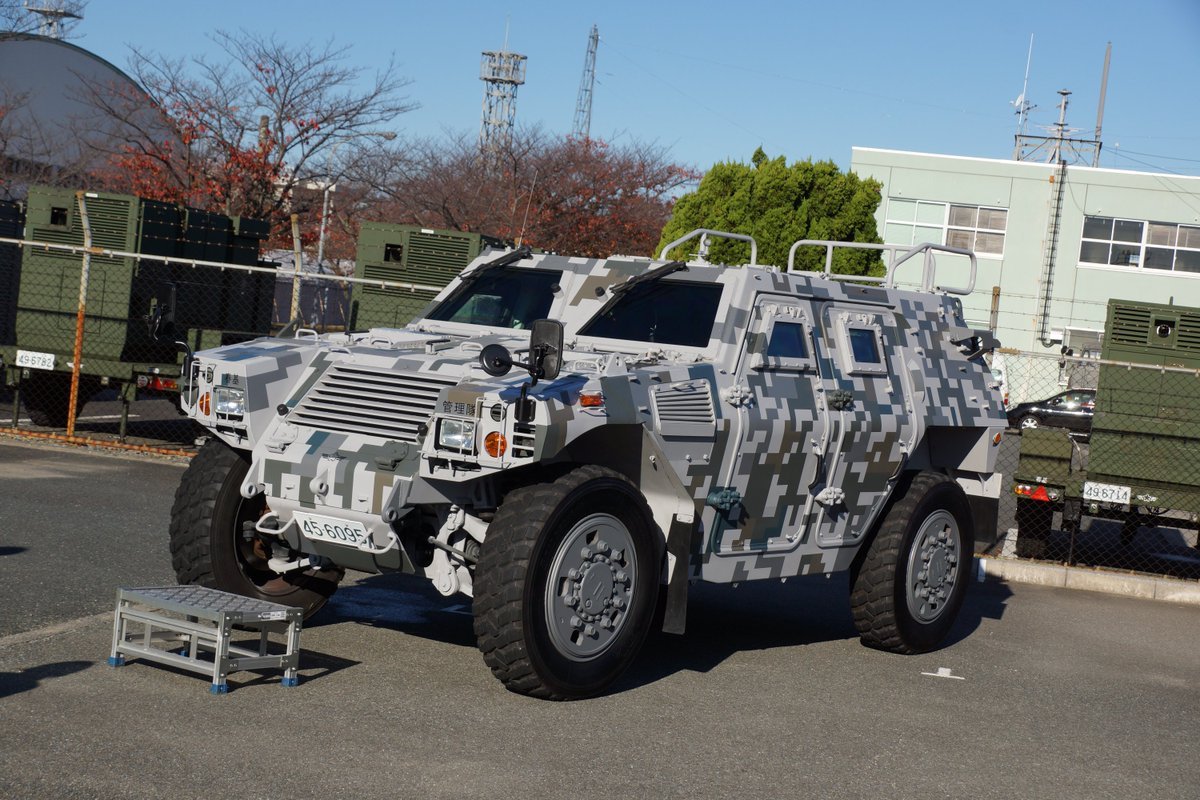
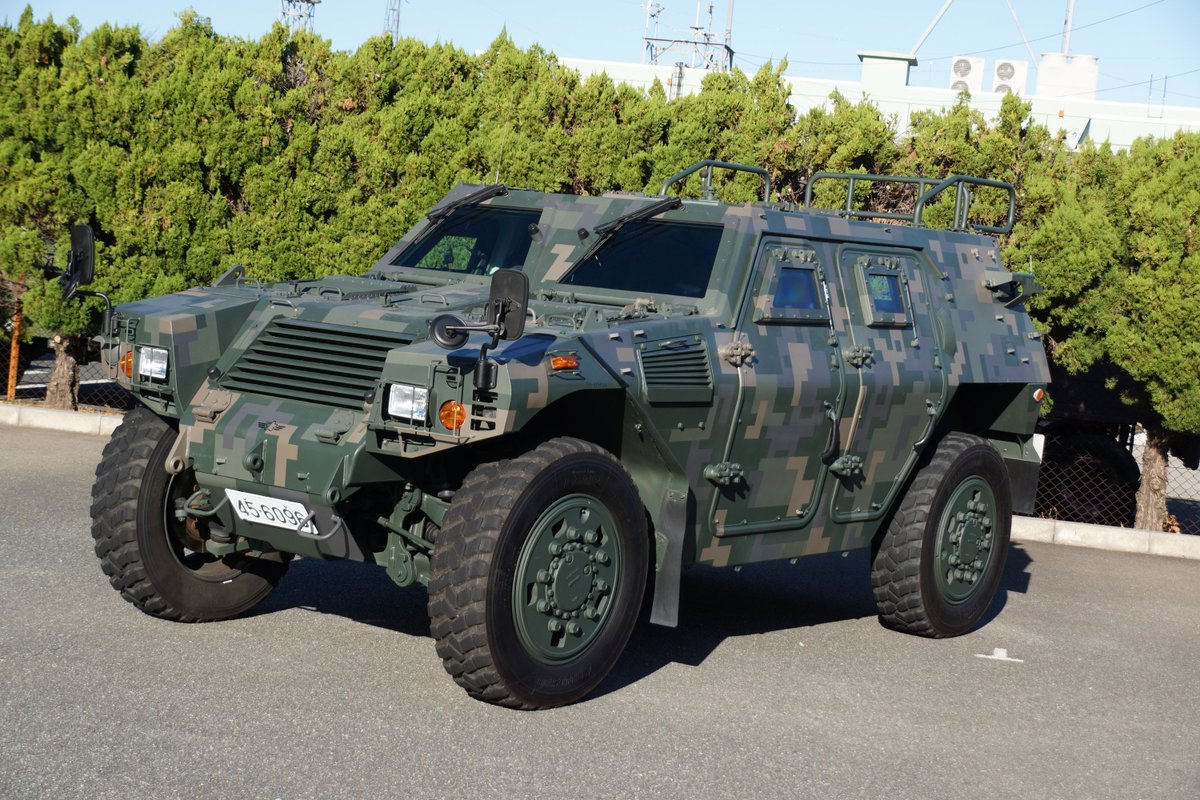
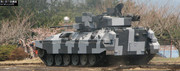
Here are some photos of the prototype in pixel camouflage. I hope it will be useful.

I follow the blog with interest, excellent construction.
Here are some photos of the prototype in pixel camouflage. I hope it will be useful.
robw_uk
Joined: June 22, 2010
KitMaker: 1,224 posts
Armorama: 1,207 posts
Posted: Wednesday, April 29, 2020 - 06:02 PM UTC
Quoted Text
Good afternoon.
I follow the blog with interest, excellent construction.
Here are some photos of the prototype in pixel camouflage. I hope it will be useful.
thanks for the follow & photos. I have to admit this vehicle just looks "right" in pixel. Ihe templates I have done for the Type 16 are 3mm squares (so smaller than on the photos you have). I do have some 5mm square templates too so might do those for this kit
ivan_a
Joined: July 21, 2004
KitMaker: 35 posts
Armorama: 35 posts
Posted: Wednesday, April 29, 2020 - 07:38 PM UTC
this is what I was able to find as a result of my search.
I can't say for sure about the size of pixels, the diagram can accurately calculate their size.
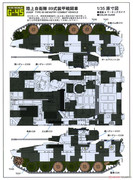
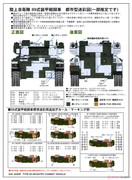
I can't say for sure about the size of pixels, the diagram can accurately calculate their size.
robw_uk
Joined: June 22, 2010
KitMaker: 1,224 posts
Armorama: 1,207 posts
Posted: Saturday, May 02, 2020 - 04:43 AM UTC
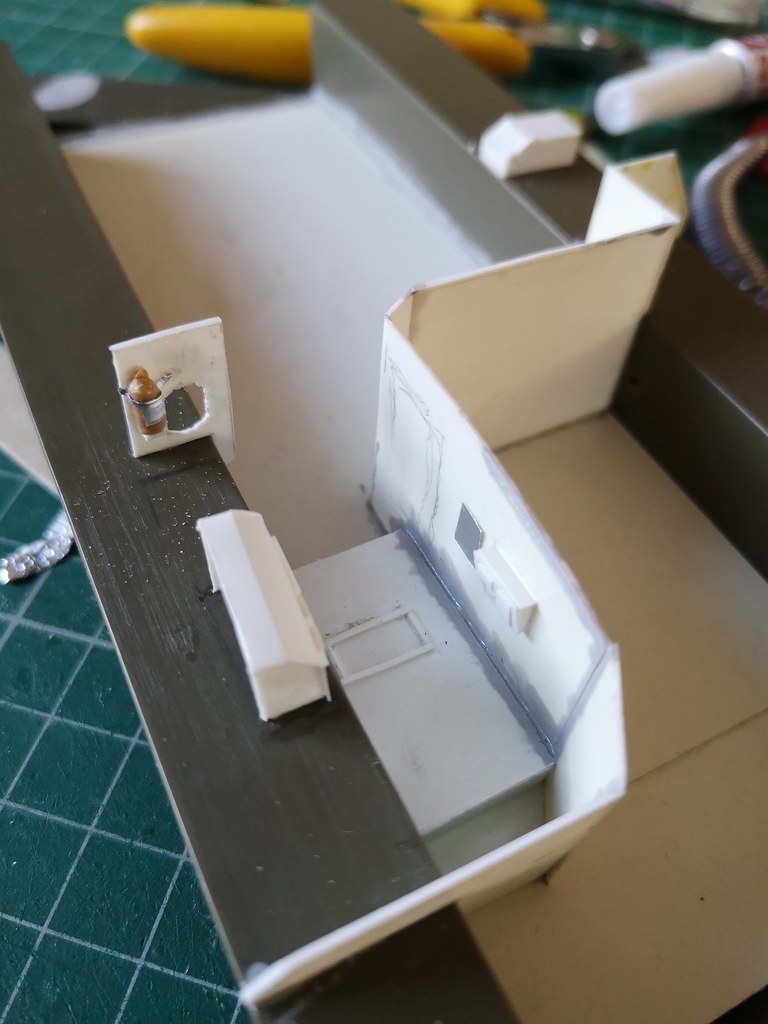
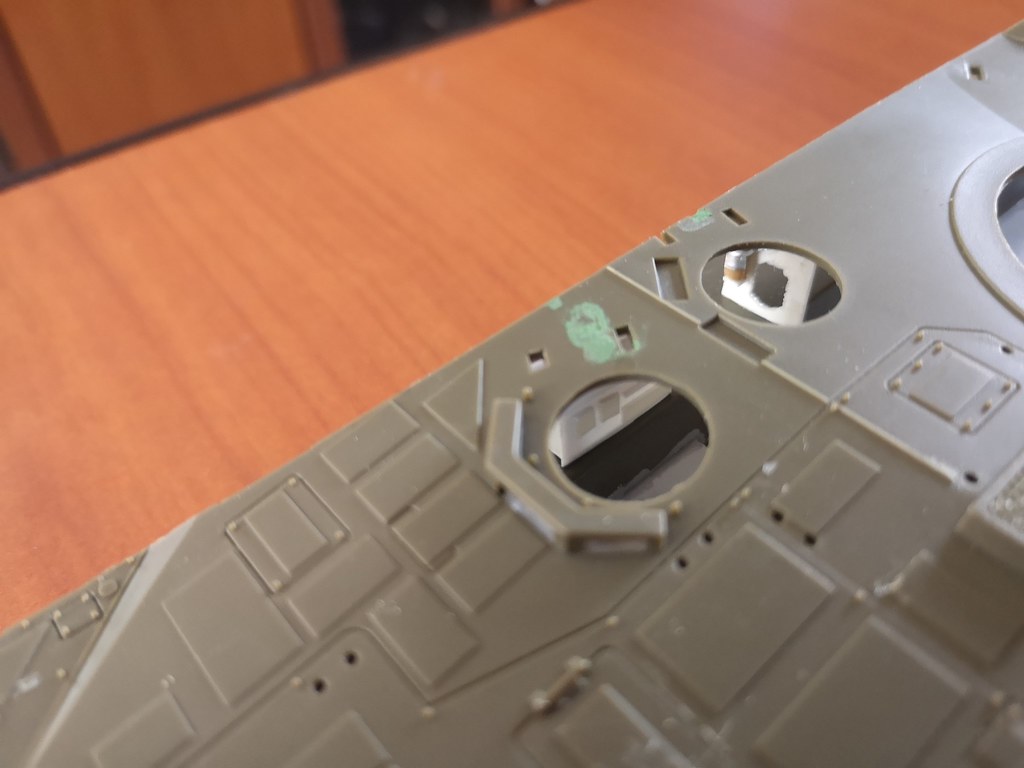
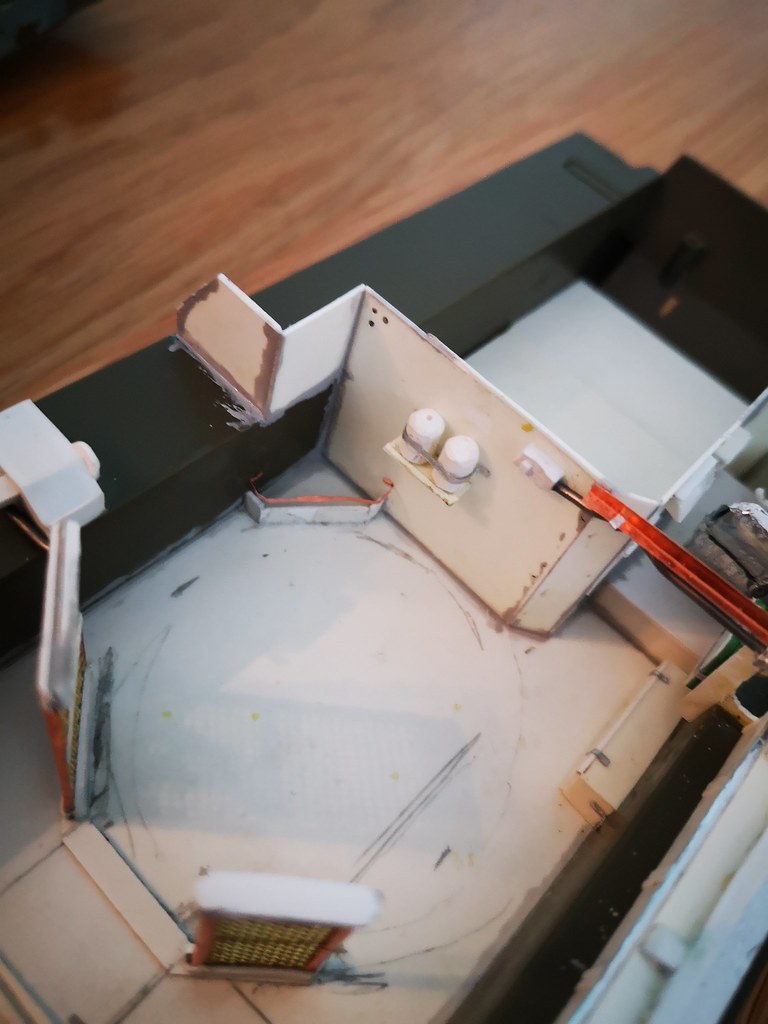
Drivers area done (apart from pedals and engine access door). Bulkhead with fire extinguisher & tannoy(?). Then on to fighting compartment. First off some odd thing that is in photos... so it goes in
robw_uk
Joined: June 22, 2010
KitMaker: 1,224 posts
Armorama: 1,207 posts
Posted: Sunday, May 03, 2020 - 09:19 PM UTC
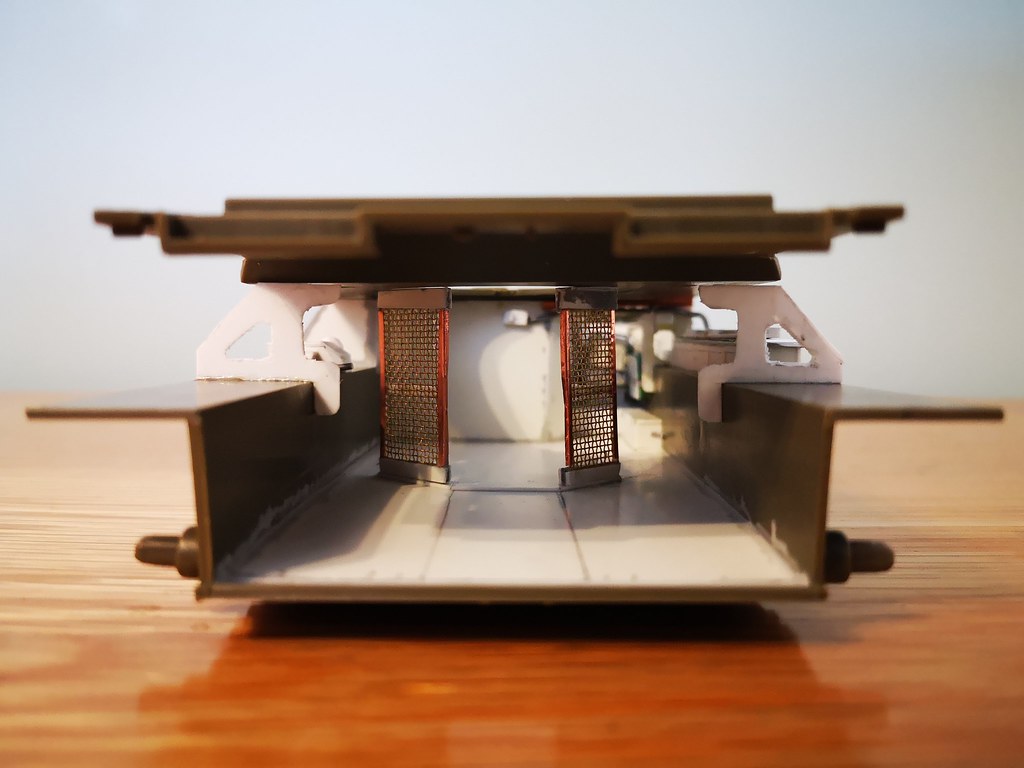
More progress... added a reinforcing bar to the roof at the rear of driving compartment and started on the caging around the turret area (photos show 2 "chare" sides and then what looks like a door in the middle - assume thats the door in to the turret area but may also be a locker (but think it is too cramped an area for that)

robw_uk
Joined: June 22, 2010
KitMaker: 1,224 posts
Armorama: 1,207 posts
Posted: Tuesday, May 05, 2020 - 06:14 PM UTC
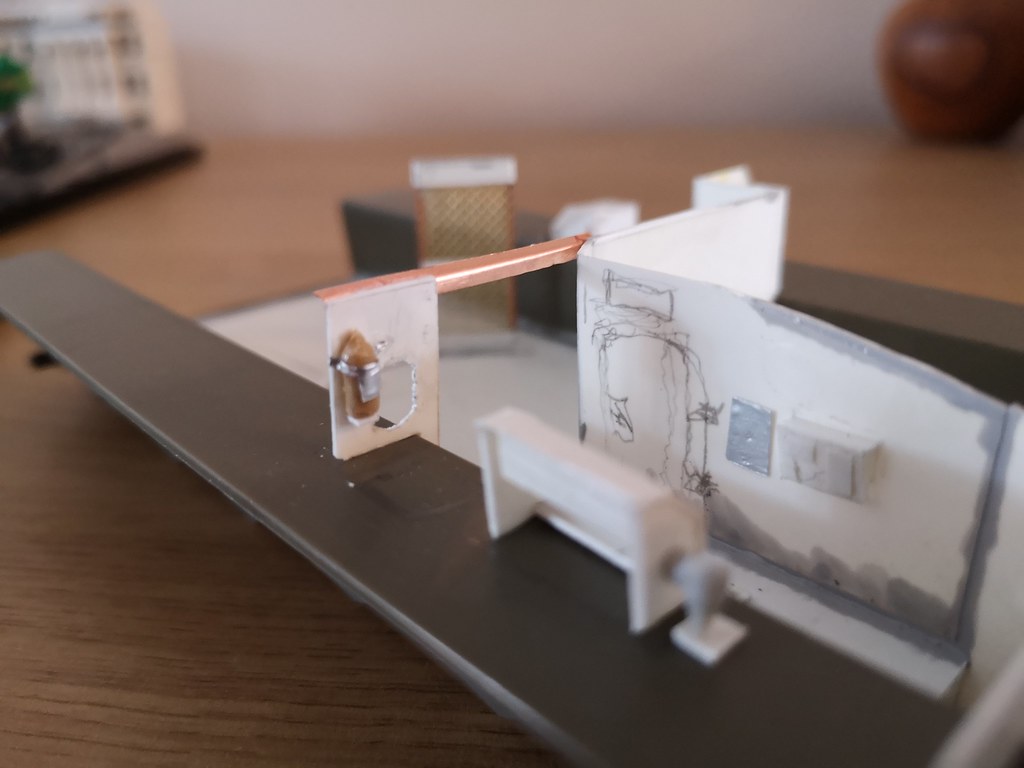
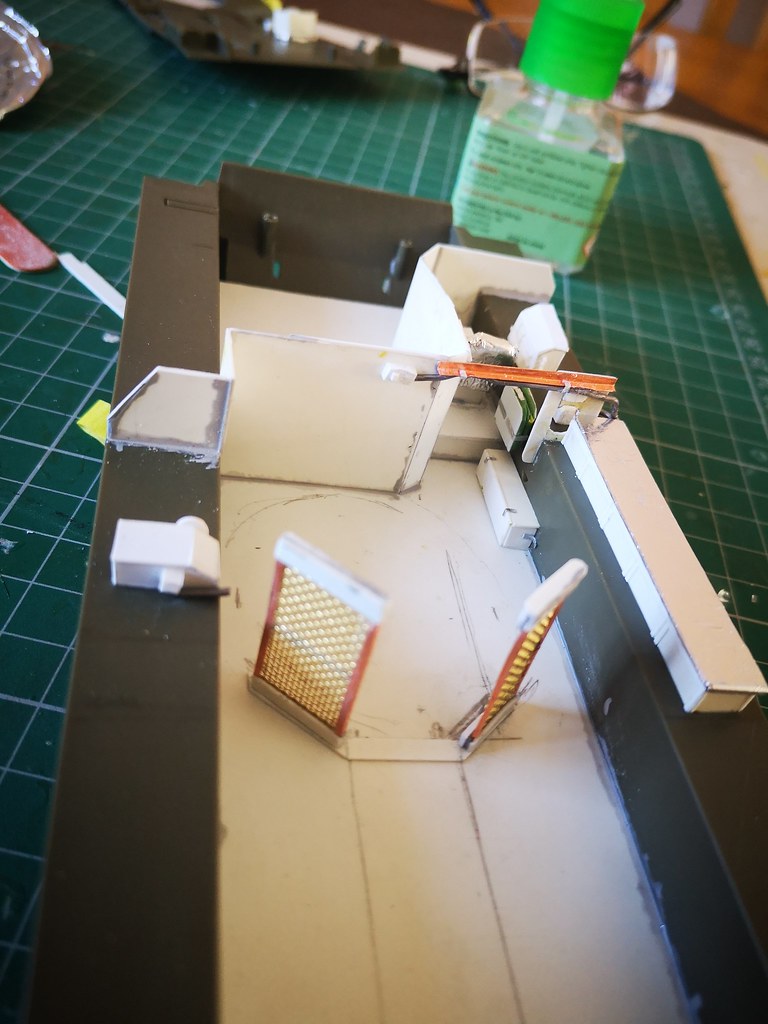
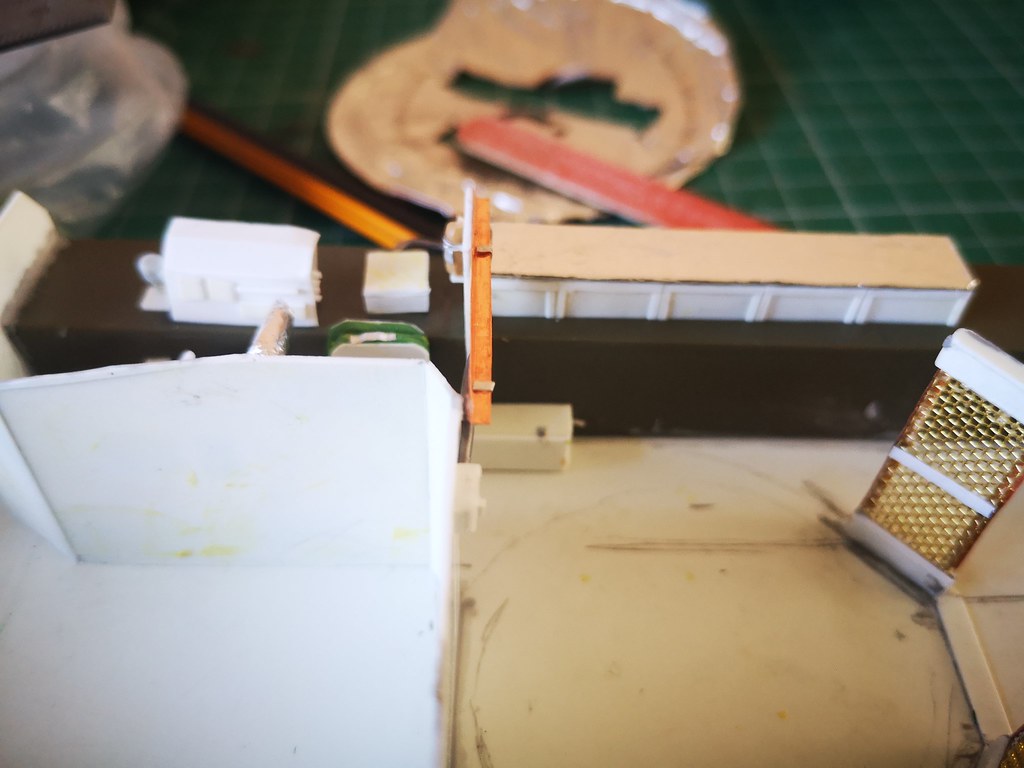
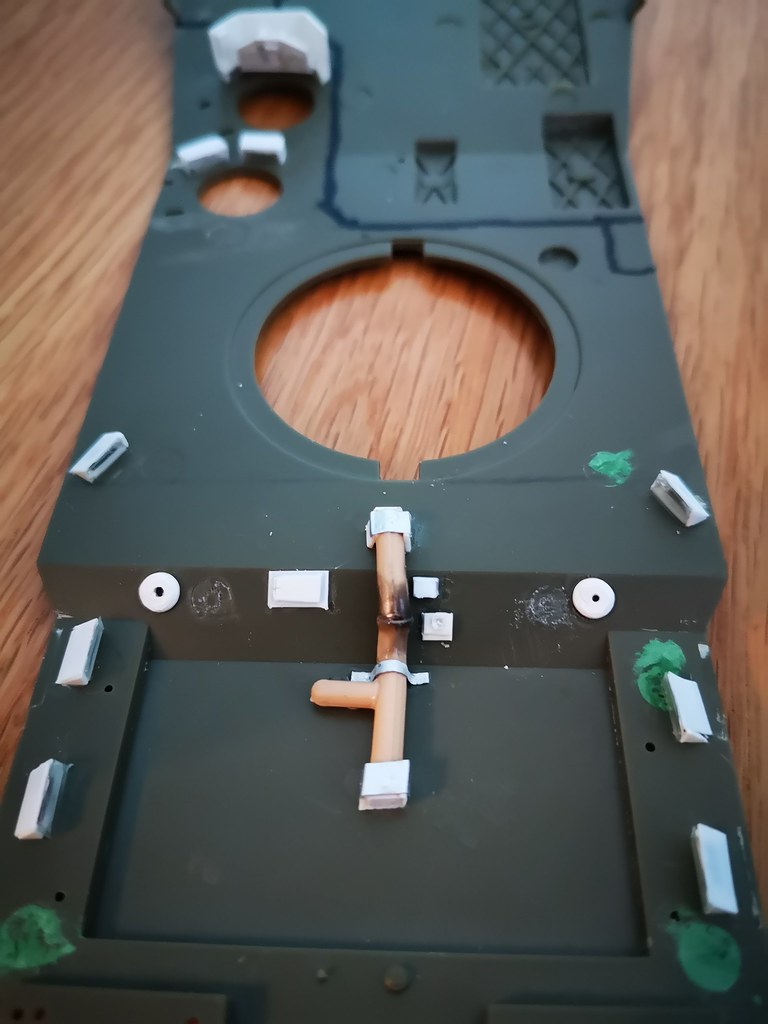
battled super-glue yesterday to create the second side to the turret "cage". Need something in the middle. Added some sort of electrical junction box on the rear of the engine area and then a similar in the drivers area. There will be some wires between the 2 - thats what the copped L beam supports...

salt6
Joined: February 17, 2002
KitMaker: 796 posts
Armorama: 574 posts
Posted: Wednesday, May 06, 2020 - 06:07 AM UTC
Great photos of the build.
robw_uk
Joined: June 22, 2010
KitMaker: 1,224 posts
Armorama: 1,207 posts
Posted: Saturday, May 09, 2020 - 12:00 AM UTC
Quoted Text
Great photos of the build.
Cheers Steve...
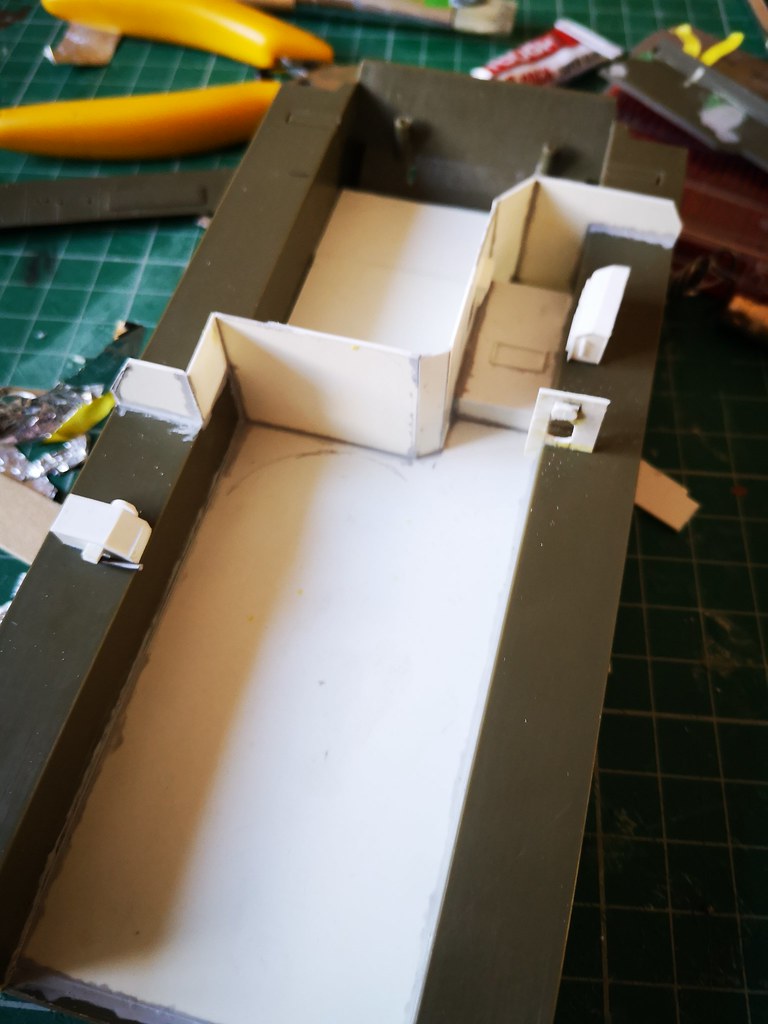
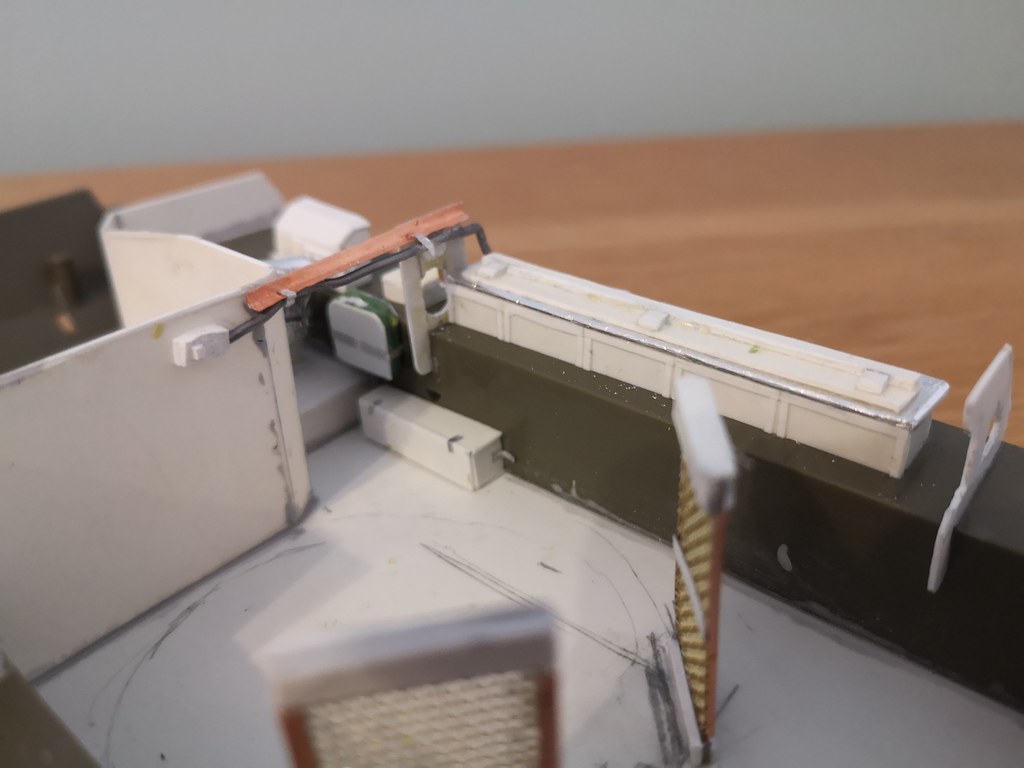
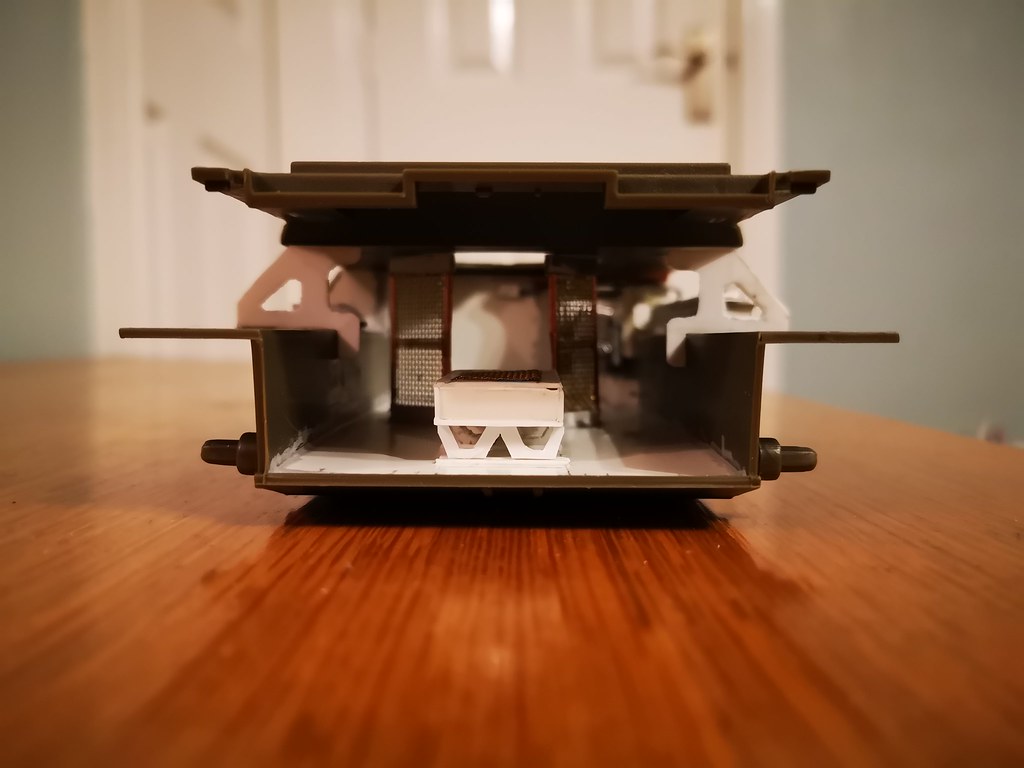
Interior continues. Now have a footlocker, jump seat behind drivers seat (thats the drivers compartment finished) and some sort of box along the side (needs a "metal" holder of sorts along the top (photo shows it attached to what looks like rubberised black via wing nuts so will do "something". Next up will be the 2 rear side/roof supports then it's on to the infantry compartment.... ok so not accurate but does look like a possible interior
robw_uk
Joined: June 22, 2010
KitMaker: 1,224 posts
Armorama: 1,207 posts
Posted: Sunday, May 10, 2020 - 06:34 AM UTC
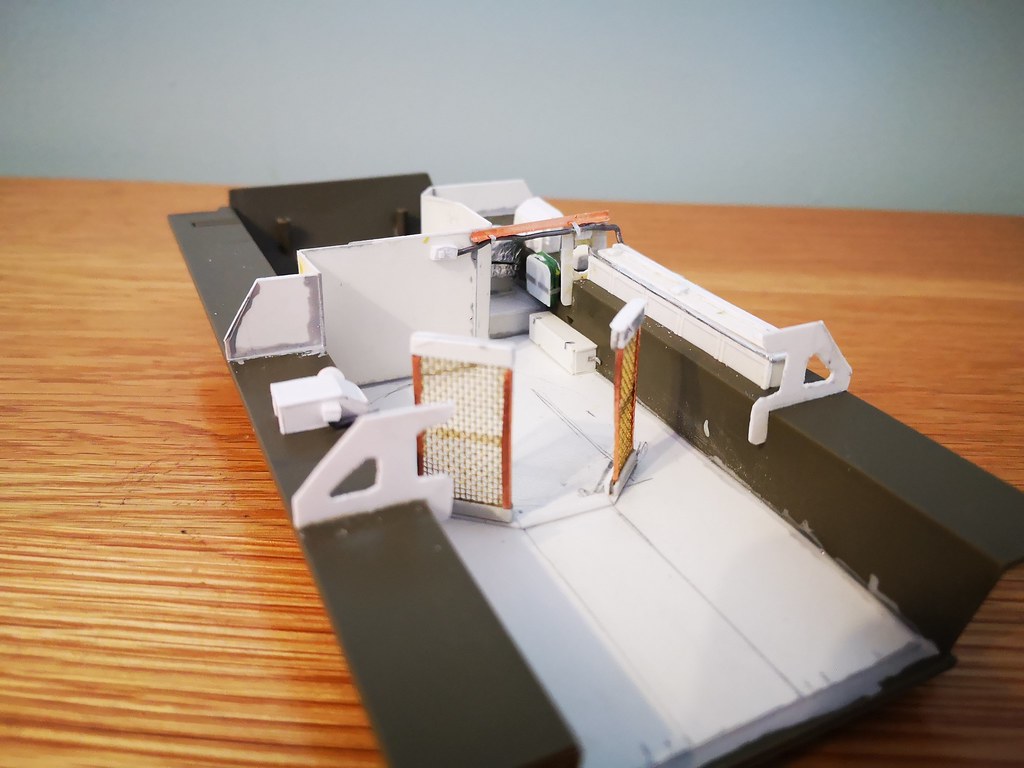
Moved on to the infantry compartment. Some fettling of already in place pieces to get this a bit better, think the new side supports need a touch of work but not far off. Next up will be central seating area then compare to a Bradley for other fixtures & fittings (extinguishers etc)
robw_uk
Joined: June 22, 2010
KitMaker: 1,224 posts
Armorama: 1,207 posts
Posted: Tuesday, May 12, 2020 - 08:36 AM UTC
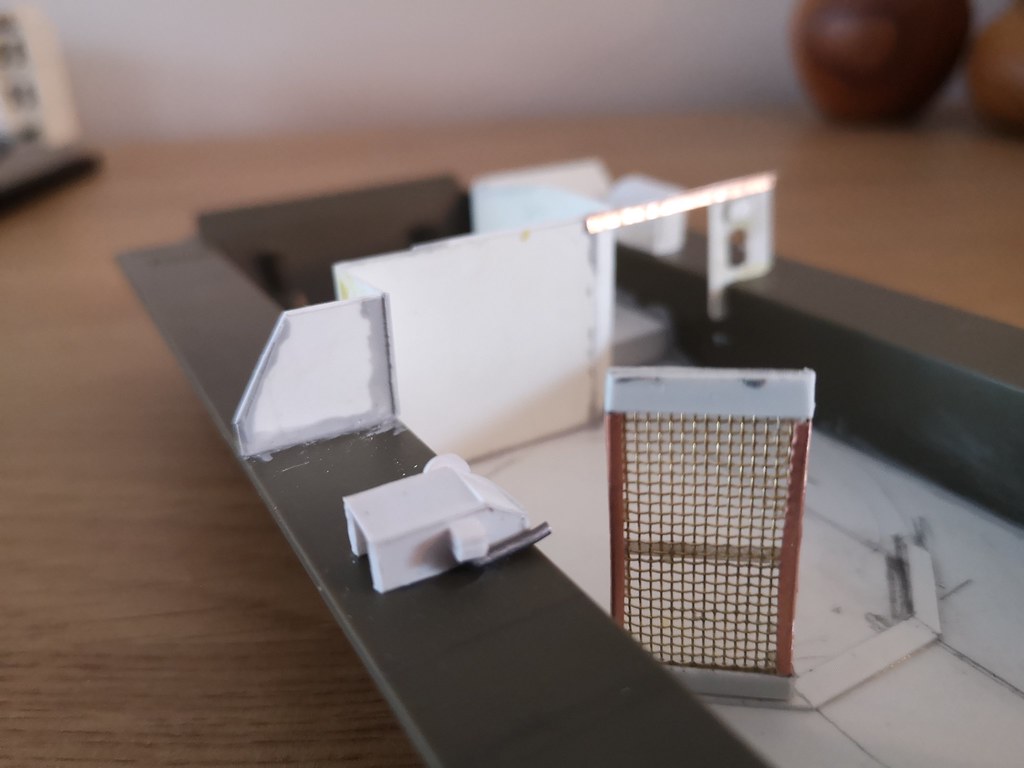
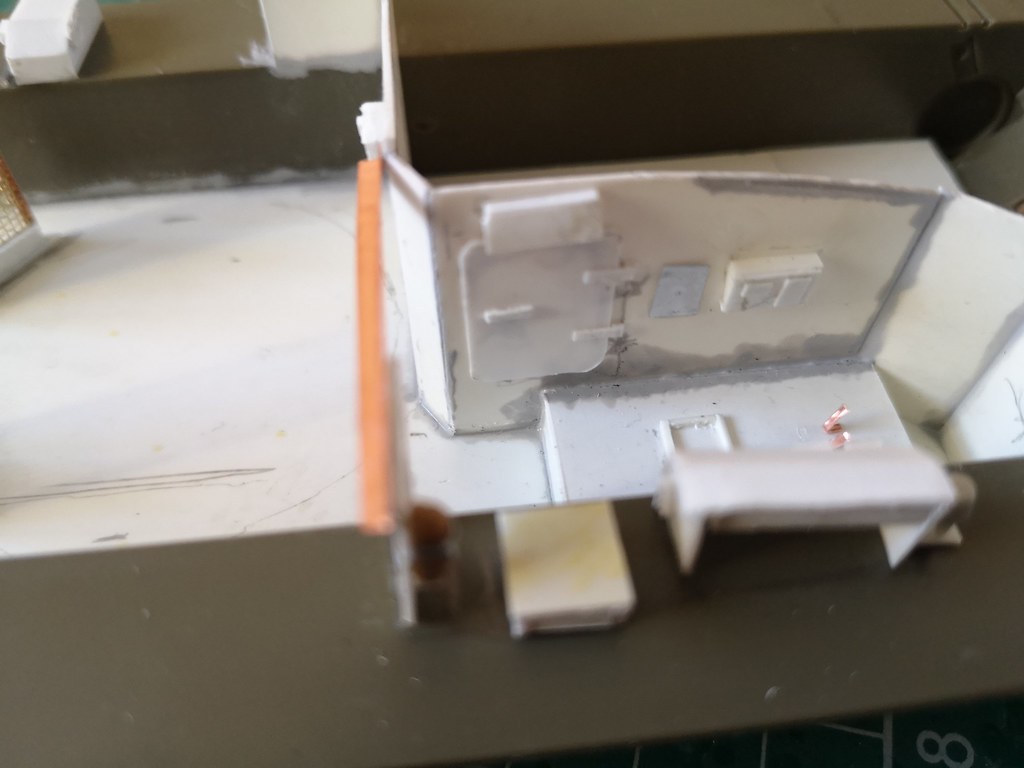
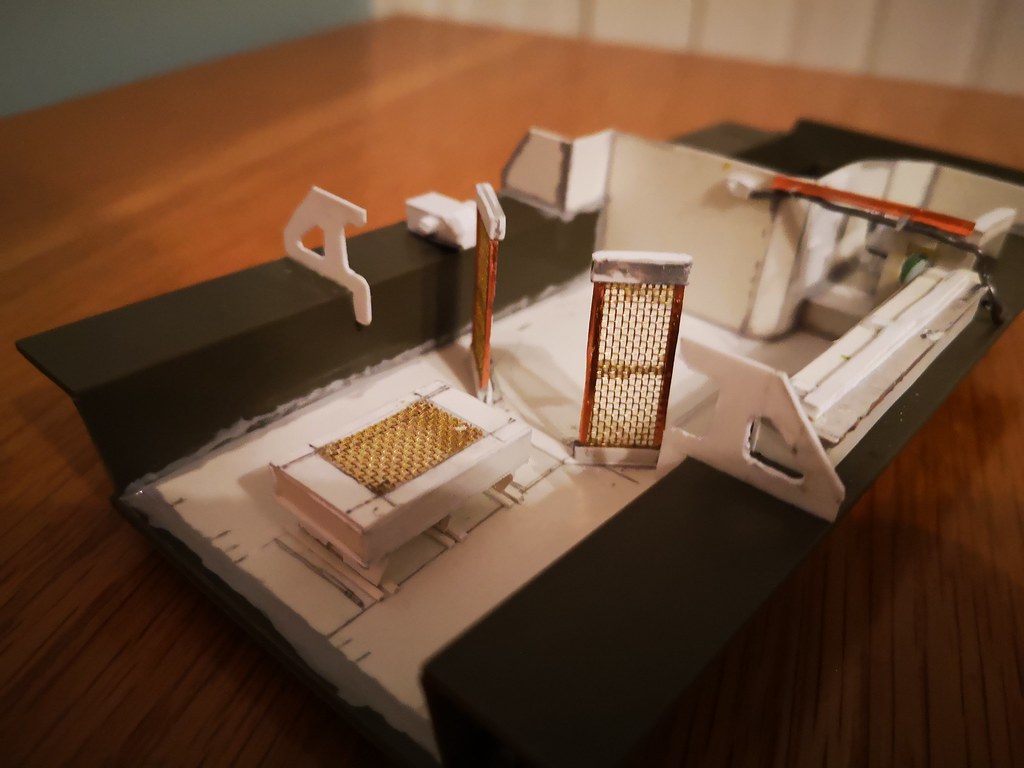
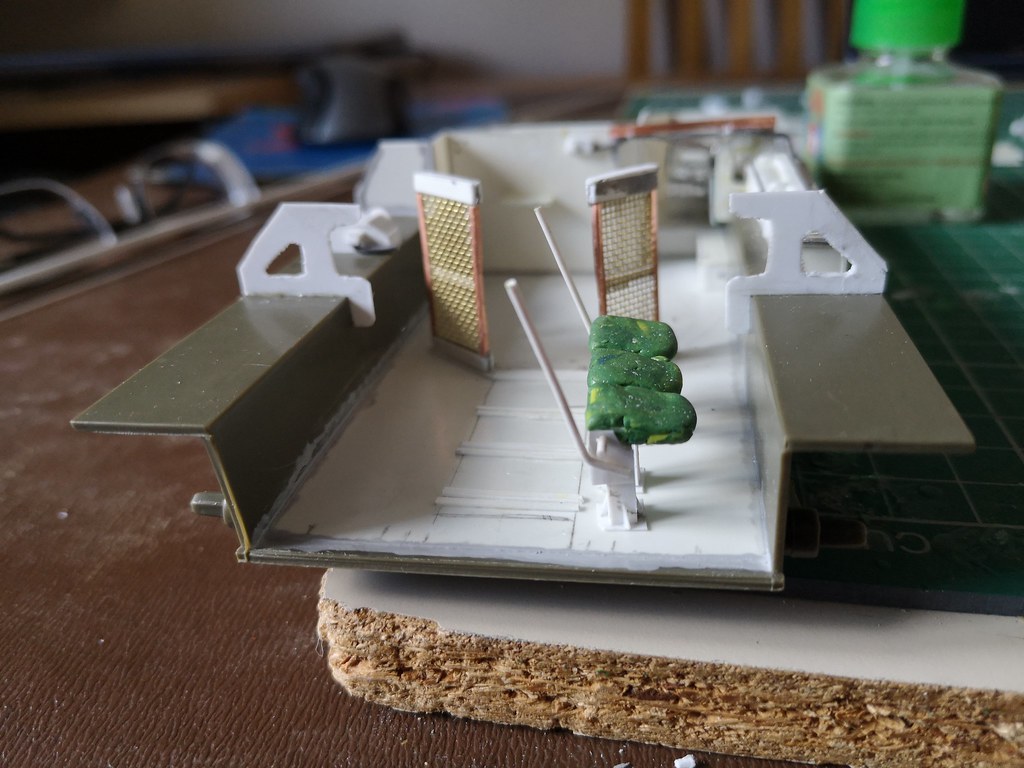
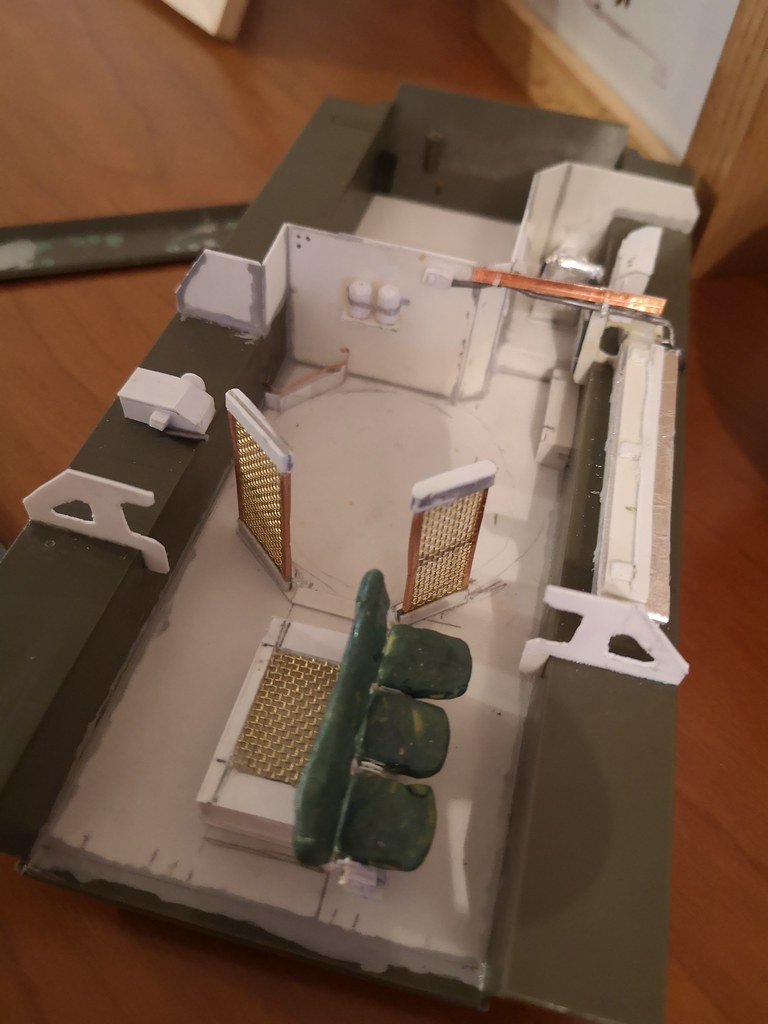
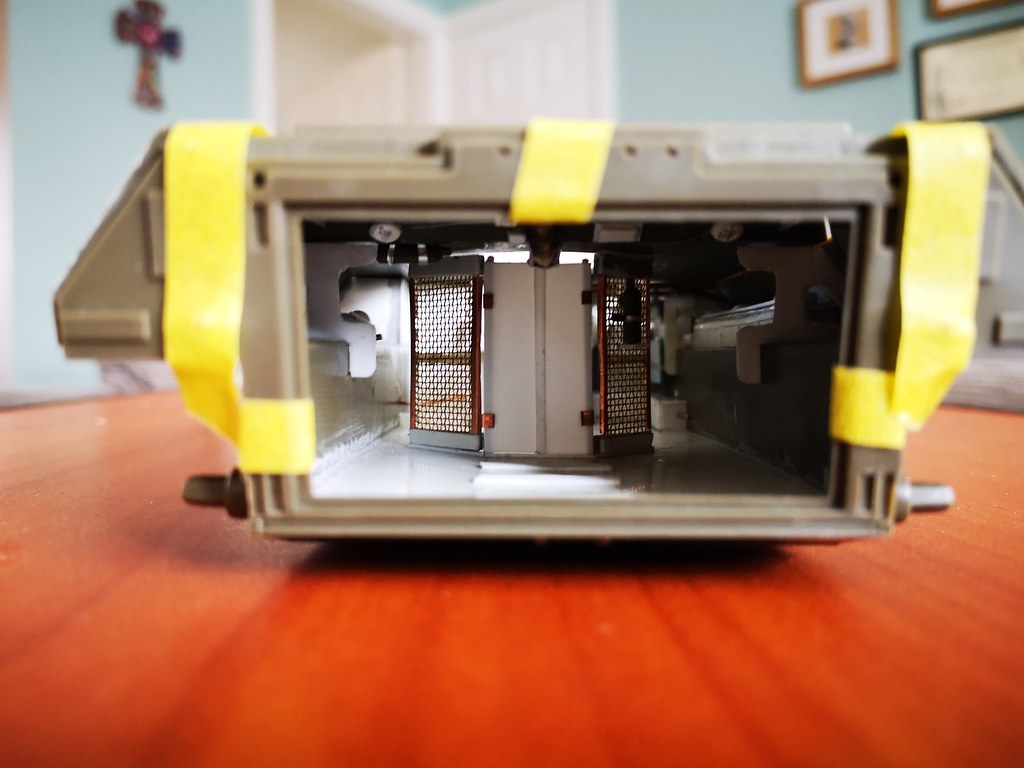
Started on the infantry compartment. The easiest thing was what looks like a table - assume you can strap gear to it (hence the mesh top and space underneath). The photo I have gives it some sort of texture so this will be Mr Surfacer'd to mimic...
The seating (3 on either side of the table) are next and a lot more complex but that will be next (well might do those bolt heads and maybe some more extinguishers first
The seating (3 on either side of the table) are next and a lot more complex but that will be next (well might do those bolt heads and maybe some more extinguishers first
robw_uk
Joined: June 22, 2010
KitMaker: 1,224 posts
Armorama: 1,207 posts
Posted: Saturday, May 16, 2020 - 04:12 AM UTC
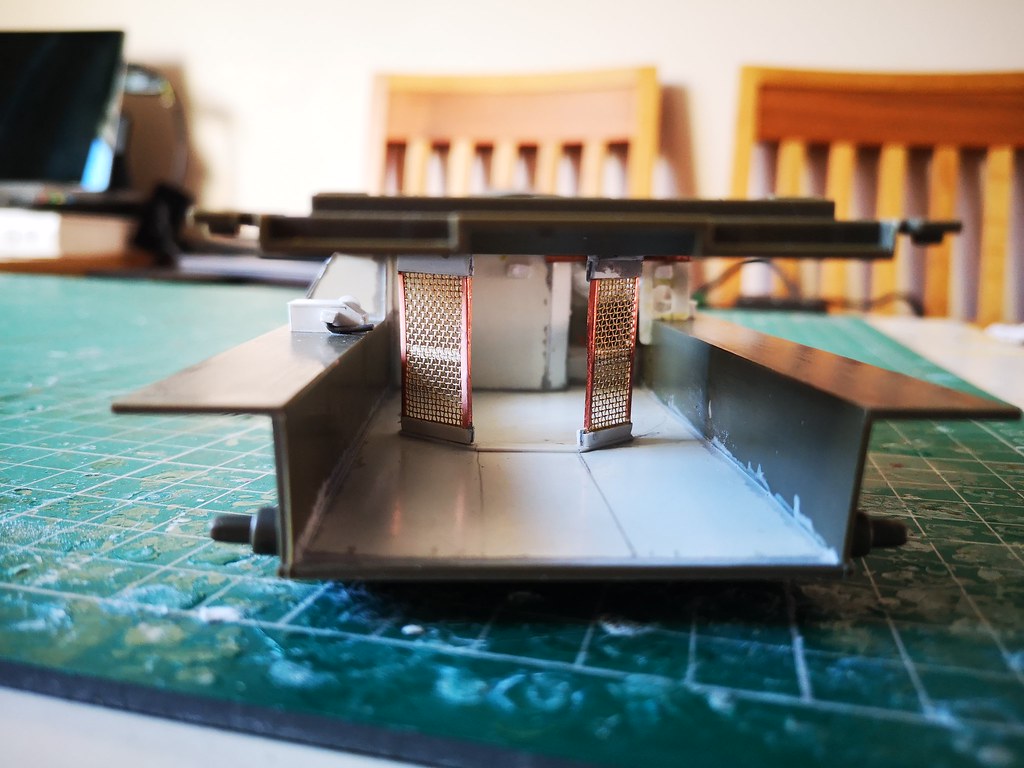
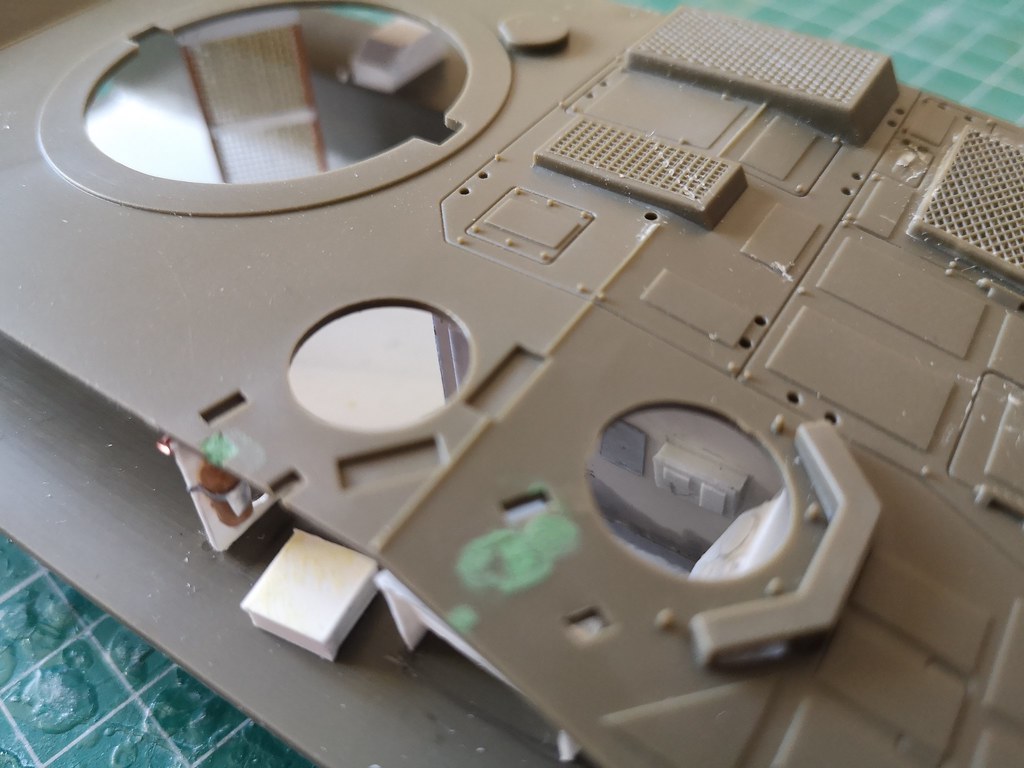
One set of seat half done... horrible construction but they look the part. I have added 2 larger fire extinguishers on the rear bulkhead of the engine and some ammo stroage and also started the roof bits, including something I have now idea what it is but the photos show it!!!
The rest of the seat & the other set can wait I think...
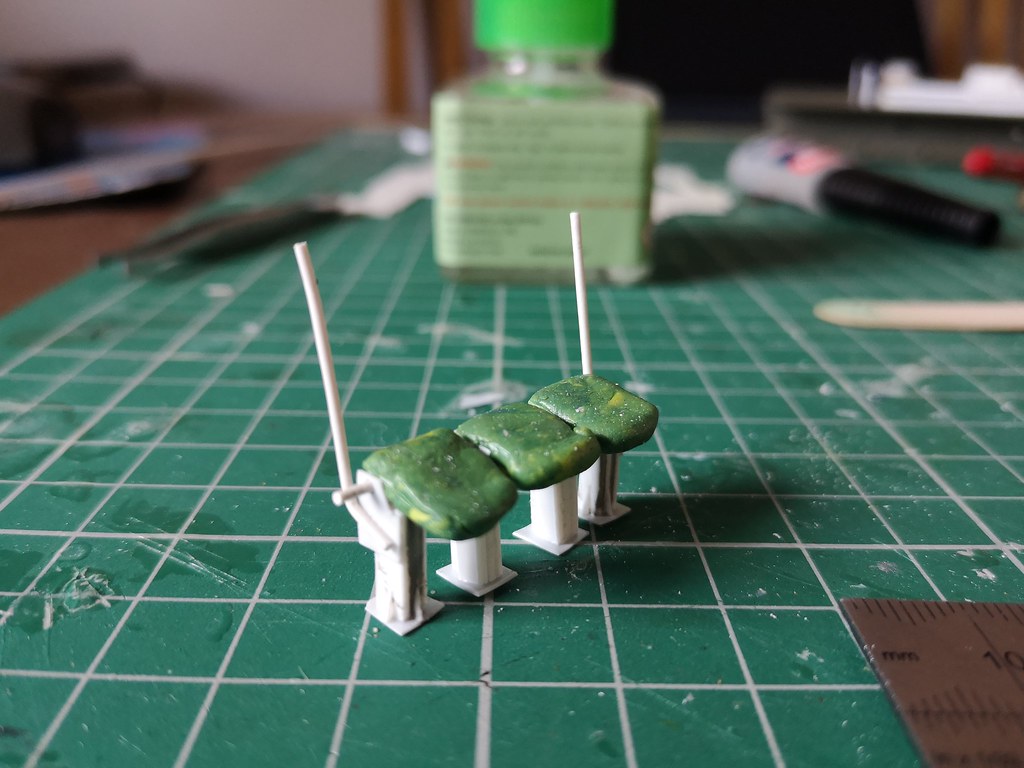
The rest of the seat & the other set can wait I think...
robw_uk
Joined: June 22, 2010
KitMaker: 1,224 posts
Armorama: 1,207 posts
Posted: Sunday, May 17, 2020 - 07:34 PM UTC
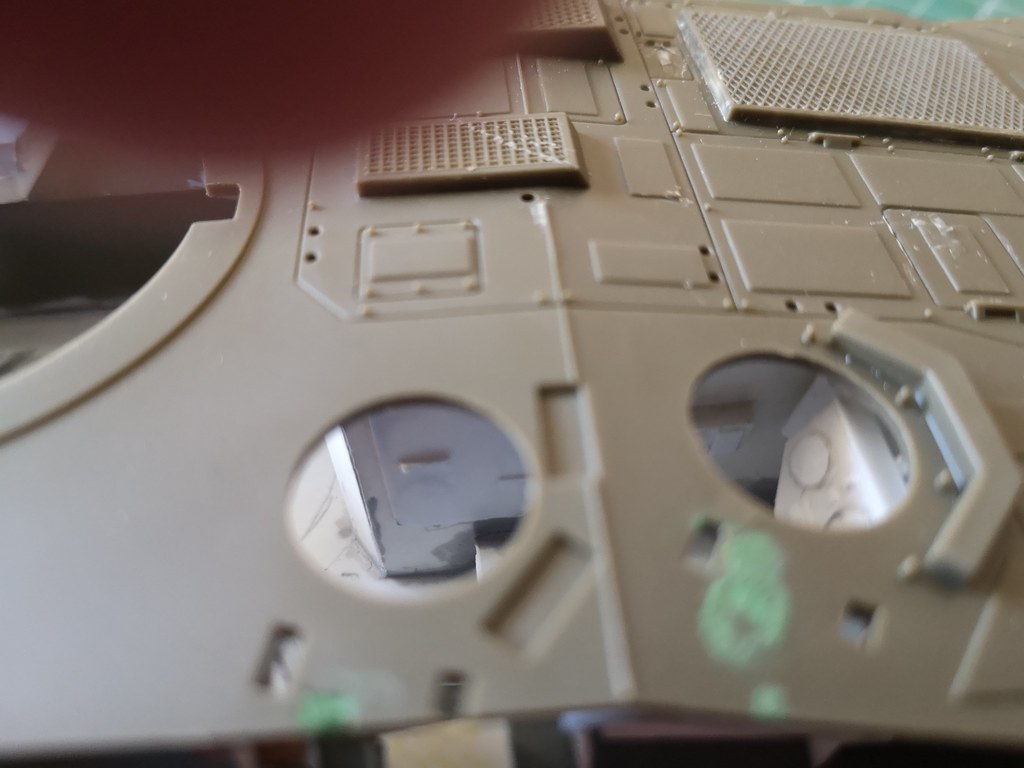
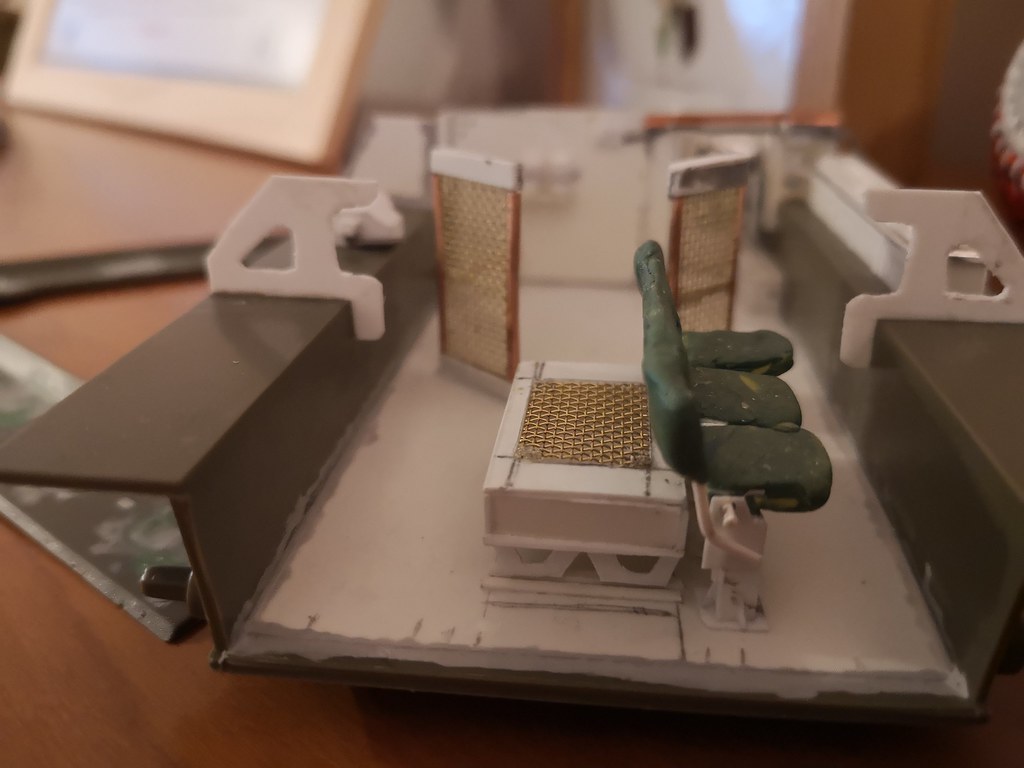
the first set of seats nearly defeated me but it's 99% done. Need a cover on the seat back support at either end, cover the seat pads with foil to give a slightly better finish .. (and actually the seat back is a touch tall so need to take it down a little bith), then I have to risk doing the second one.
also actually started on some kit parts - just the wheels, 16 in total... but one seems to have stuck itself to the body - oh well....

also actually started on some kit parts - just the wheels, 16 in total... but one seems to have stuck itself to the body - oh well....
robw_uk
Joined: June 22, 2010
KitMaker: 1,224 posts
Armorama: 1,207 posts
Posted: Tuesday, May 19, 2020 - 05:33 AM UTC
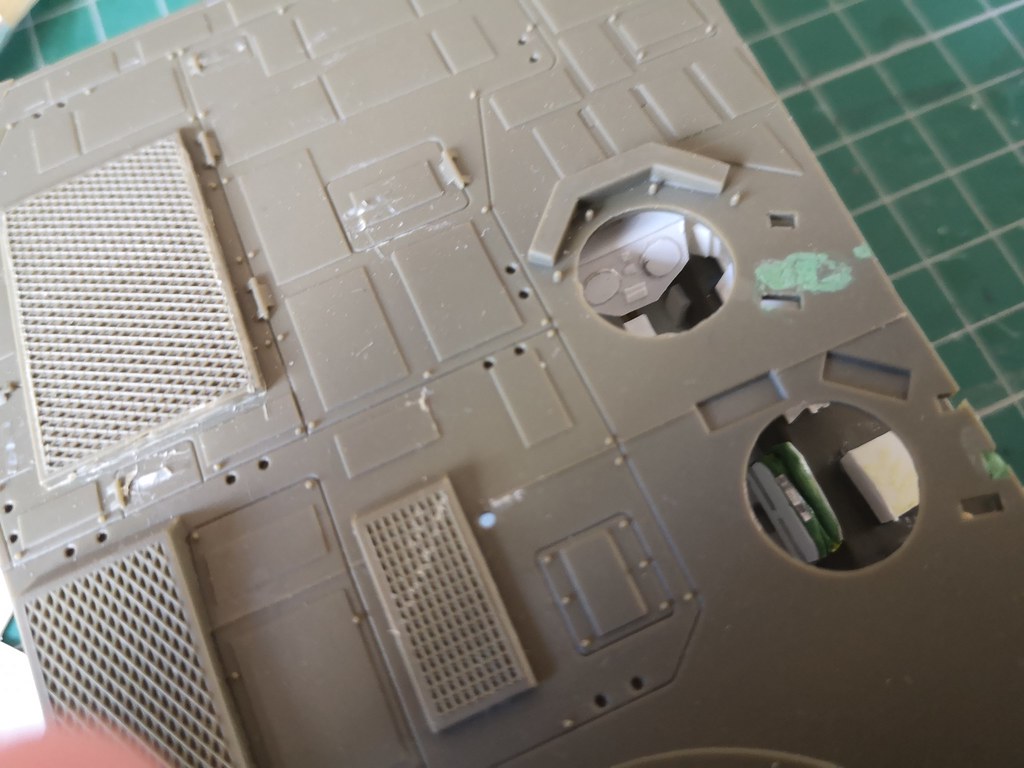
More progress. turret/infantry compartment "door" done, 2 more extinguishers and the 2nd row of seats are 50% done. I think once this set of seats is done, and the door locking mechanism, thats the interior done (well apart from the turret).
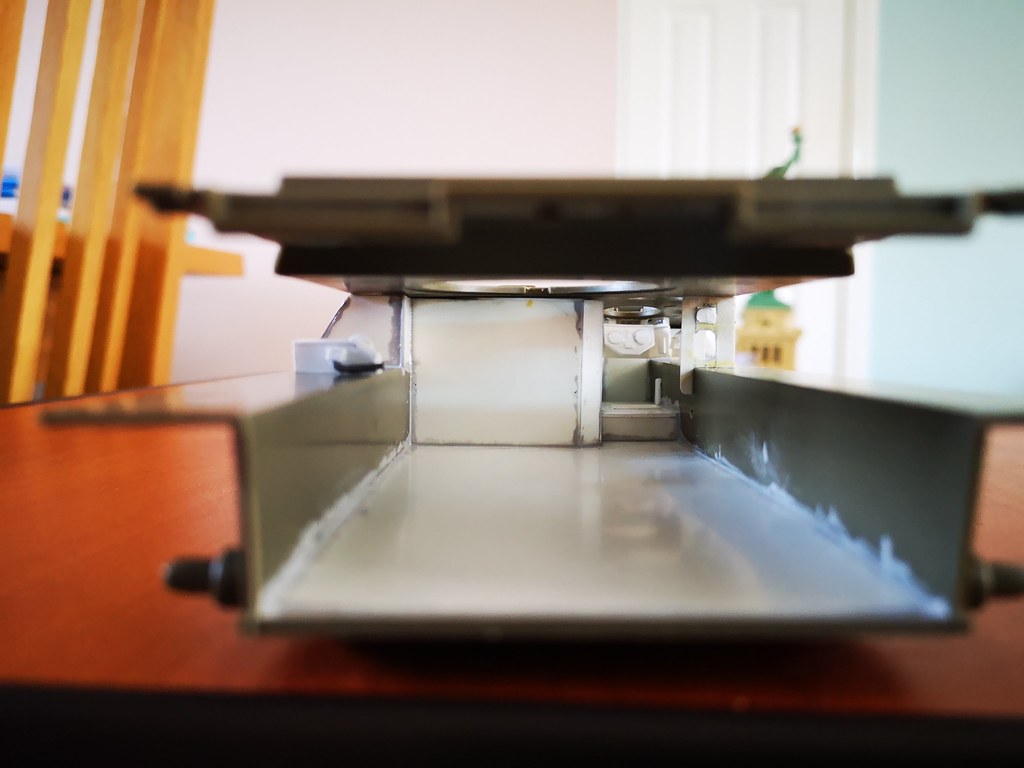
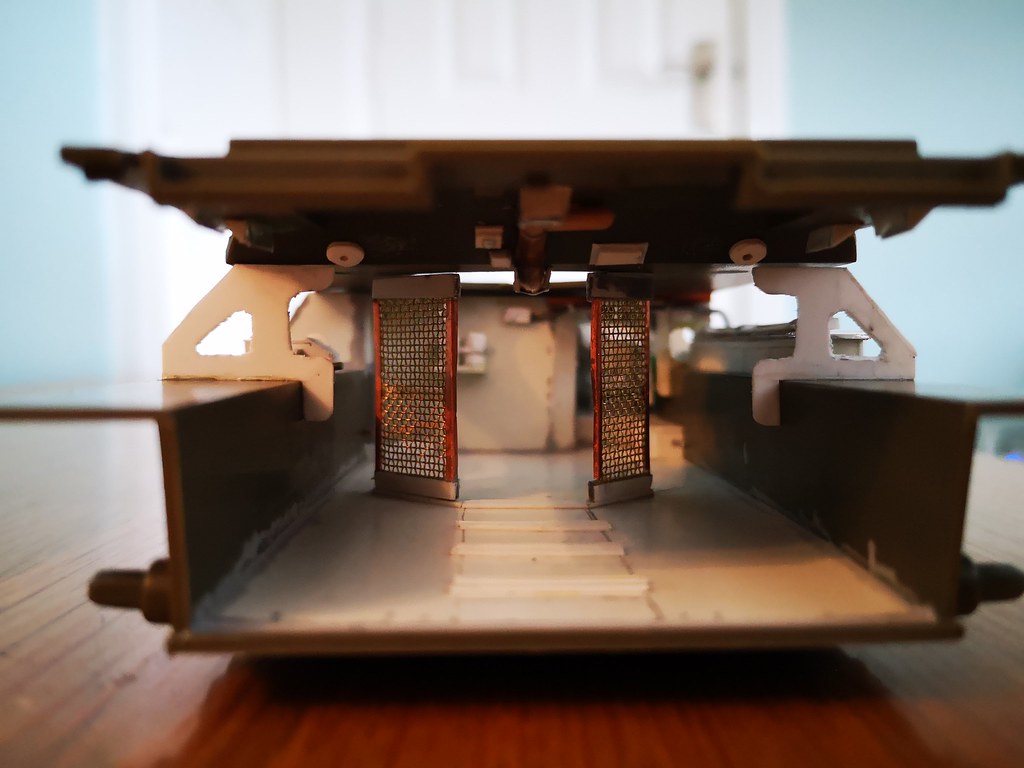
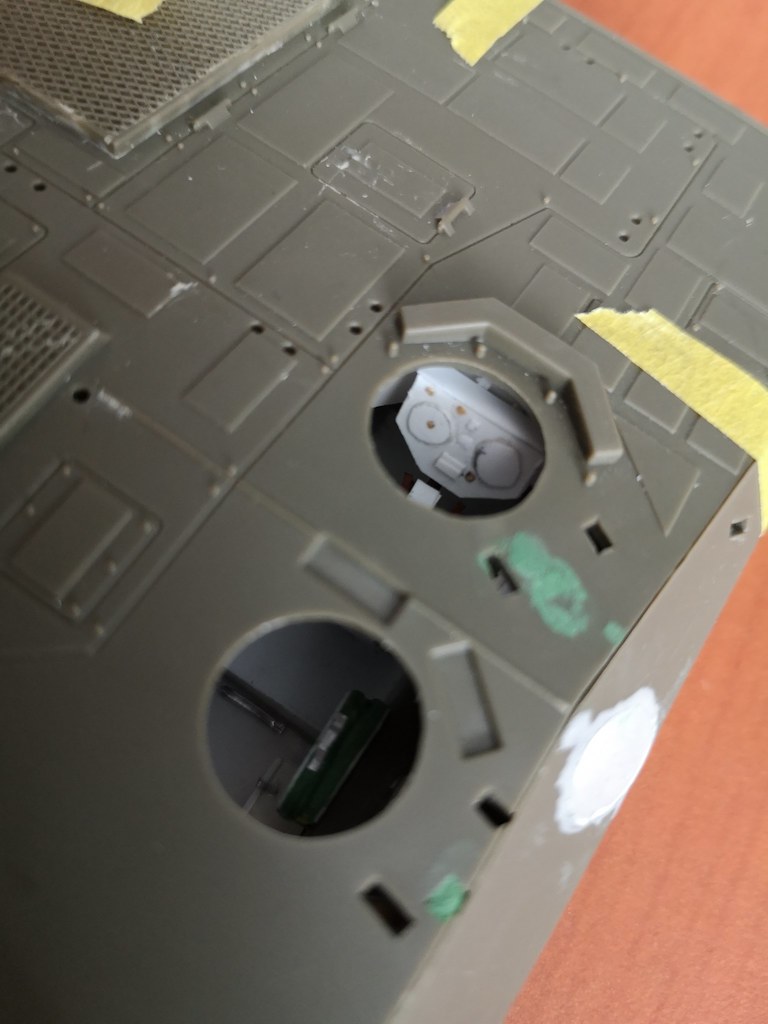
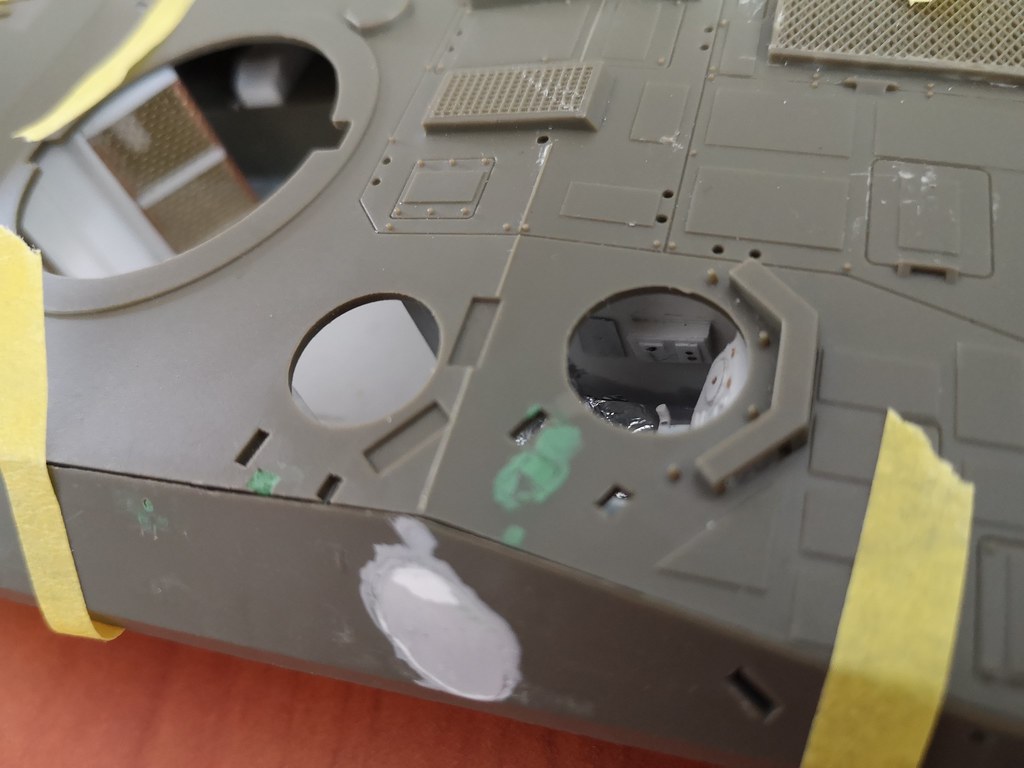
A dry fit of the rear, sides and top show how it will look when buttoned up - and with the doors open you do get a good view of the interior...
and with her big sister

A dry fit of the rear, sides and top show how it will look when buttoned up - and with the doors open you do get a good view of the interior...
and with her big sister

agriamodeling

Joined: March 09, 2018
KitMaker: 206 posts
Armorama: 205 posts
Posted: Tuesday, May 19, 2020 - 07:35 AM UTC
Hi Robert,
I am building the same kit in the current Trumpeter campaign. I also have extra PE set from Lion Roar. My build is way more simple than yours as I am not dealng with the interior.
My kit has many fit issues in the strange idler wheels, the gun mantlet and the hull assembly, so I have a very slow progress.
Anyway, I am following your build with high interest, especially the painting once you reach there.
Good luck and keep up with your impressive job!
Tamás
 |

WEB HOSTING BY


Copyright ©2021 Armorama and Kitmaker Network, a subsidiary of Silver Star Enterprises
All Rights Reserved. Please read our Conditions of Use and Privacy Policy.
All Rights Reserved. Please read our Conditions of Use and Privacy Policy.