_GOTOBOTTOM
Armor/AFV: Modern - USA
Modern Armor, AFVs, and Support vehicles.
Hosted by Darren Baker
Army Special Forces M1165 GMV
galactica
Visit this Community
Milano, Italy
Joined: April 11, 2008
KitMaker: 146 posts
Armorama: 126 posts
Posted: Thursday, April 30, 2020 - 08:32 AM UTC
This is the model I'm building now, an Army Special Forces M1165 GMV.

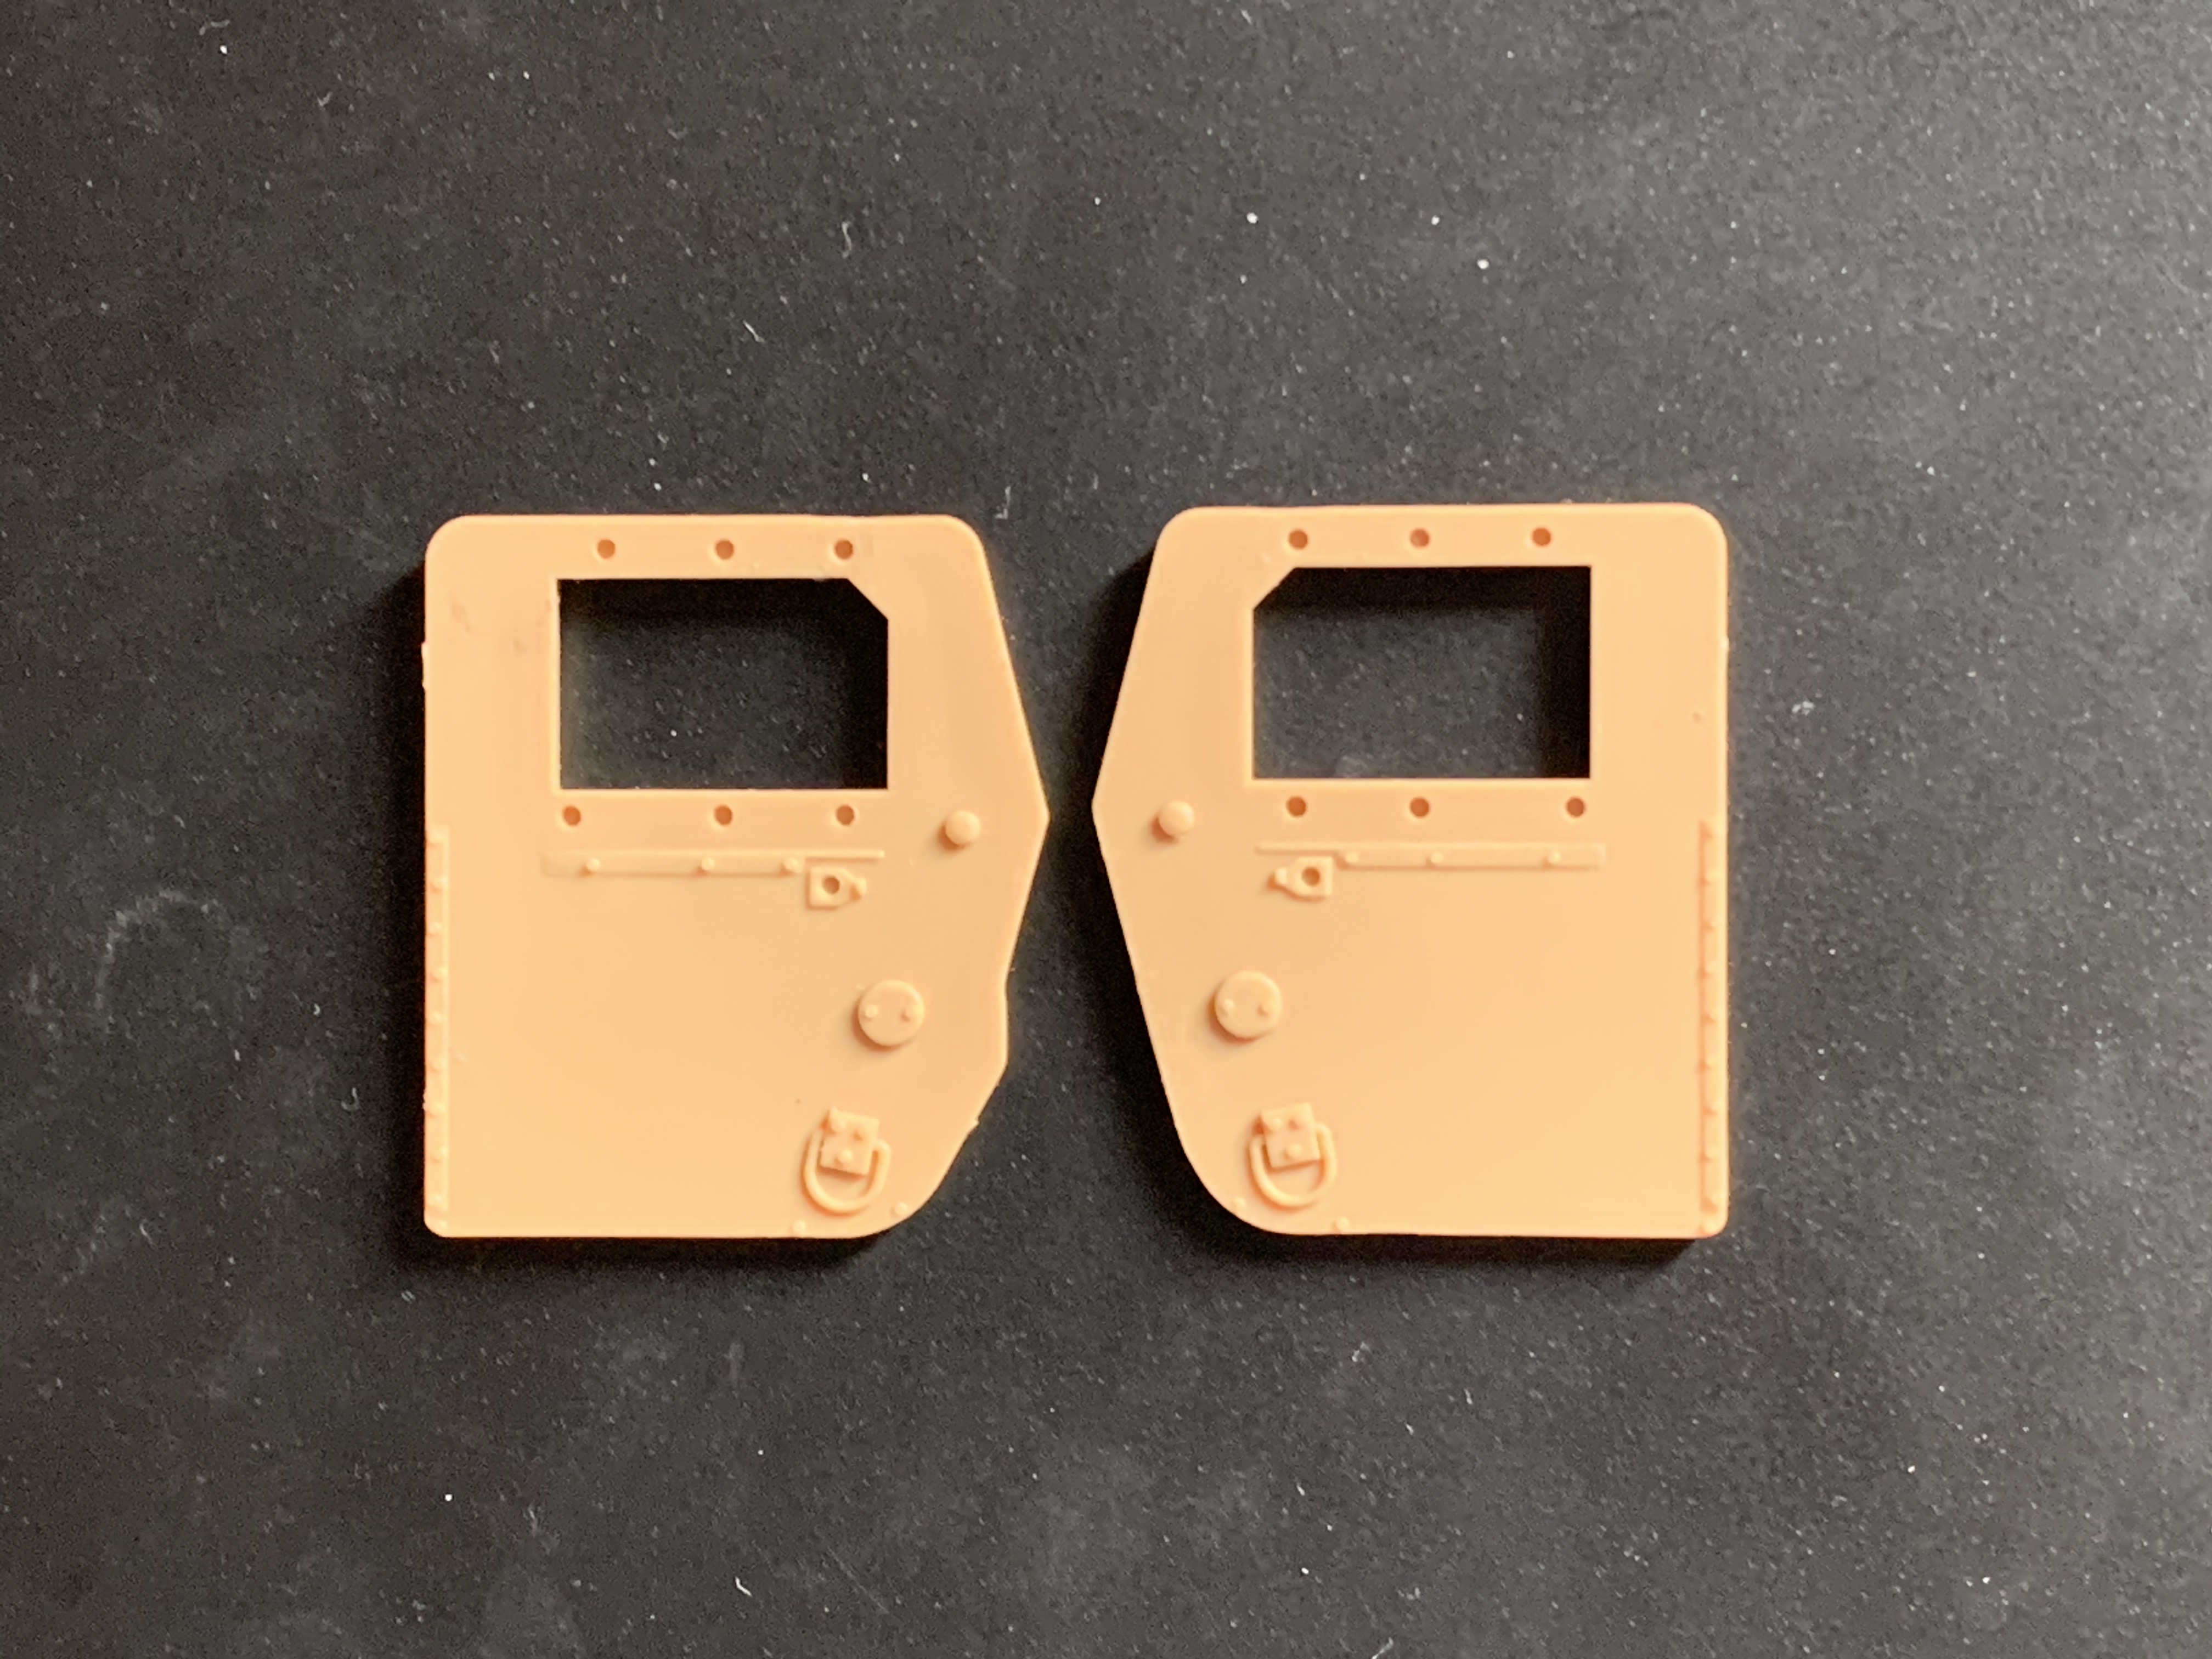
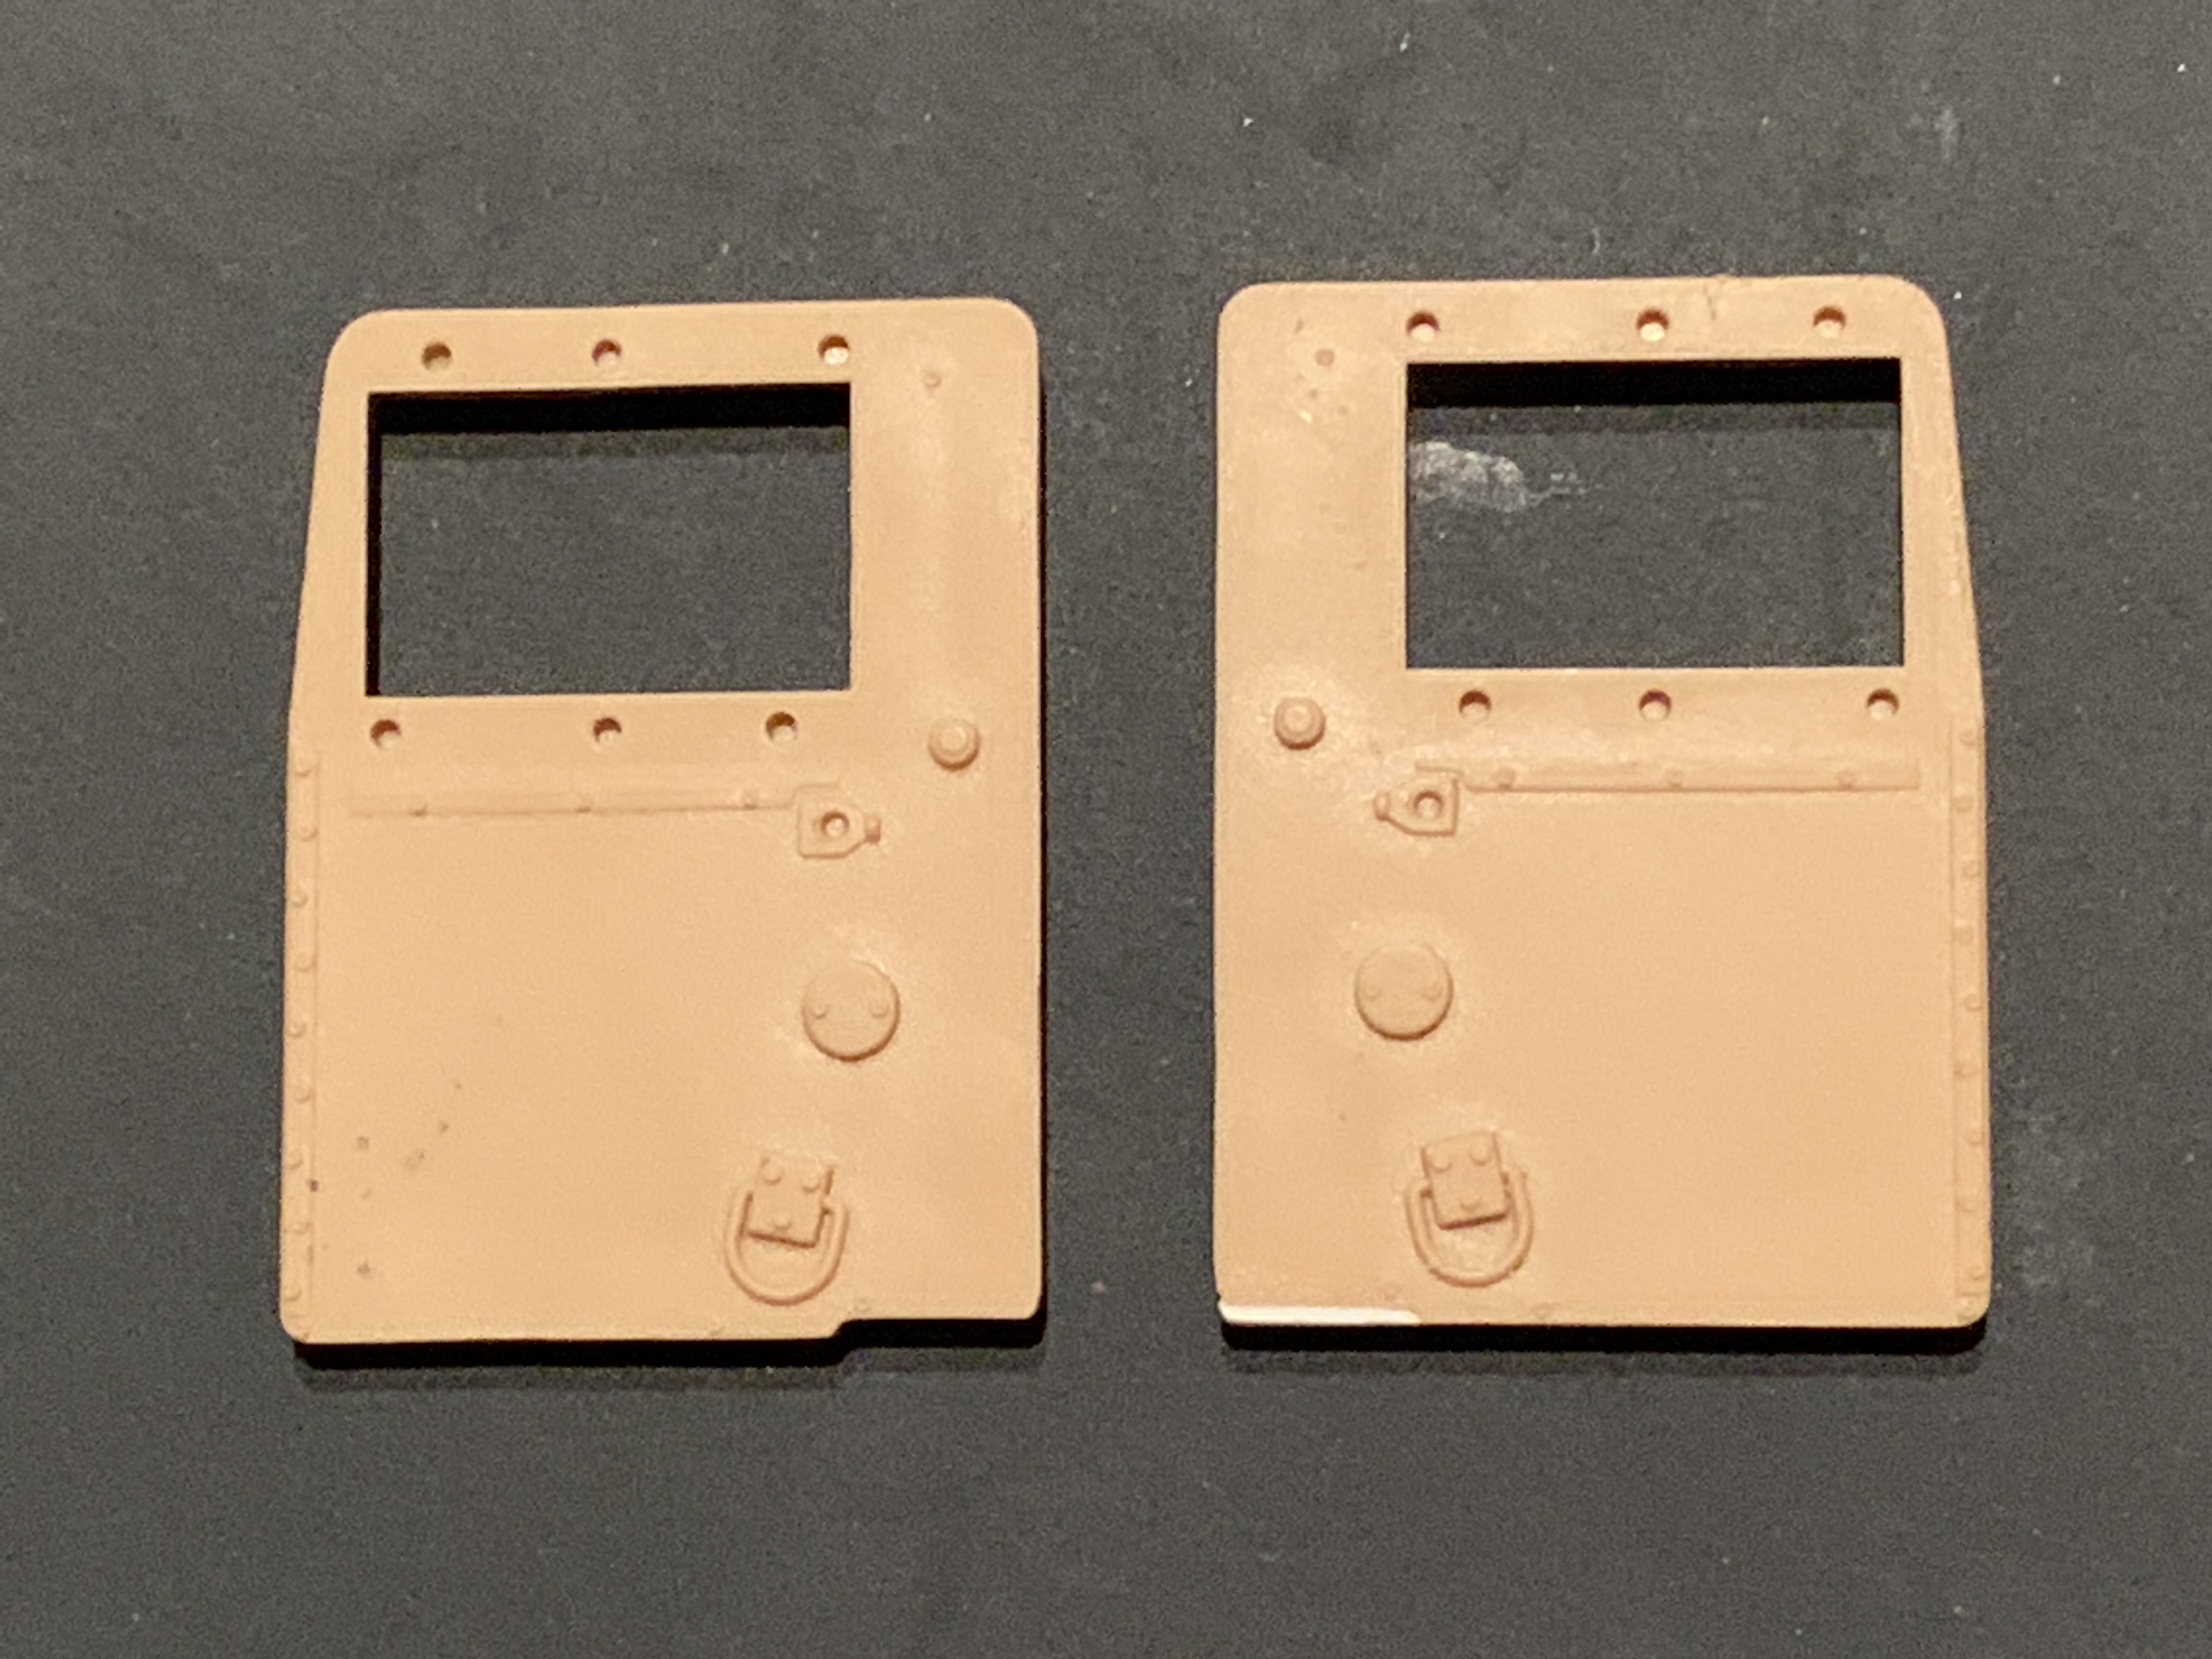
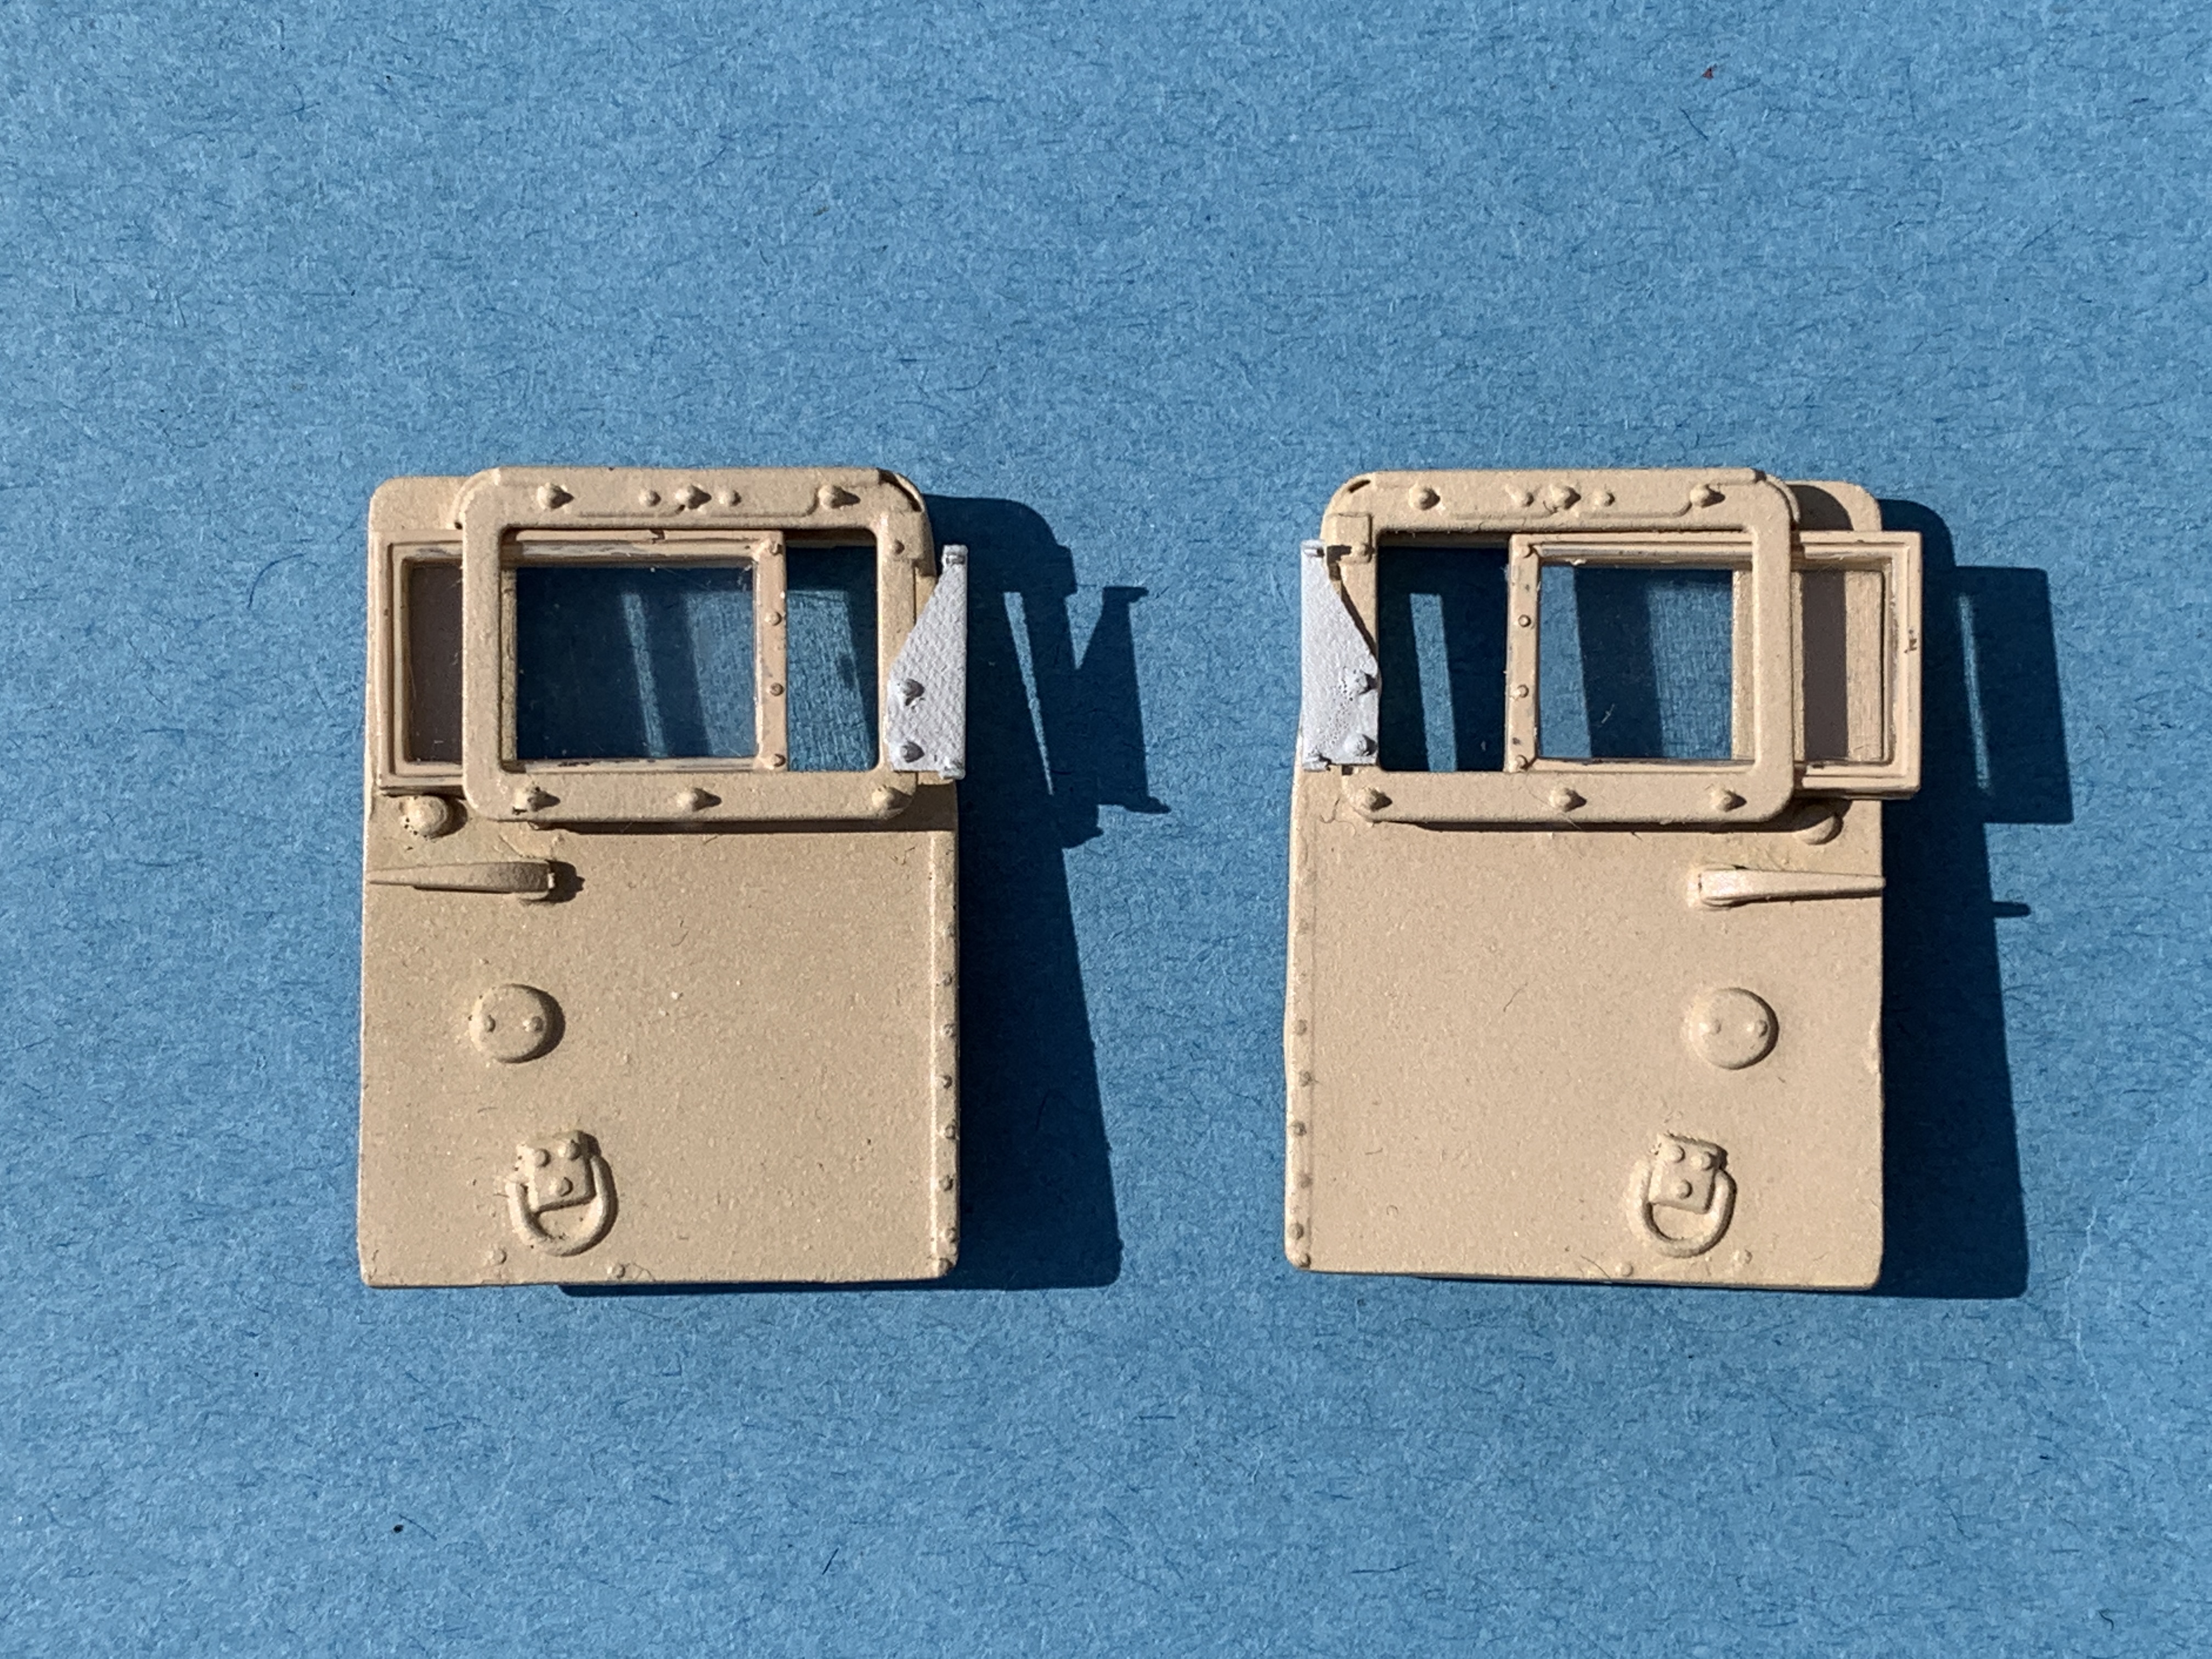
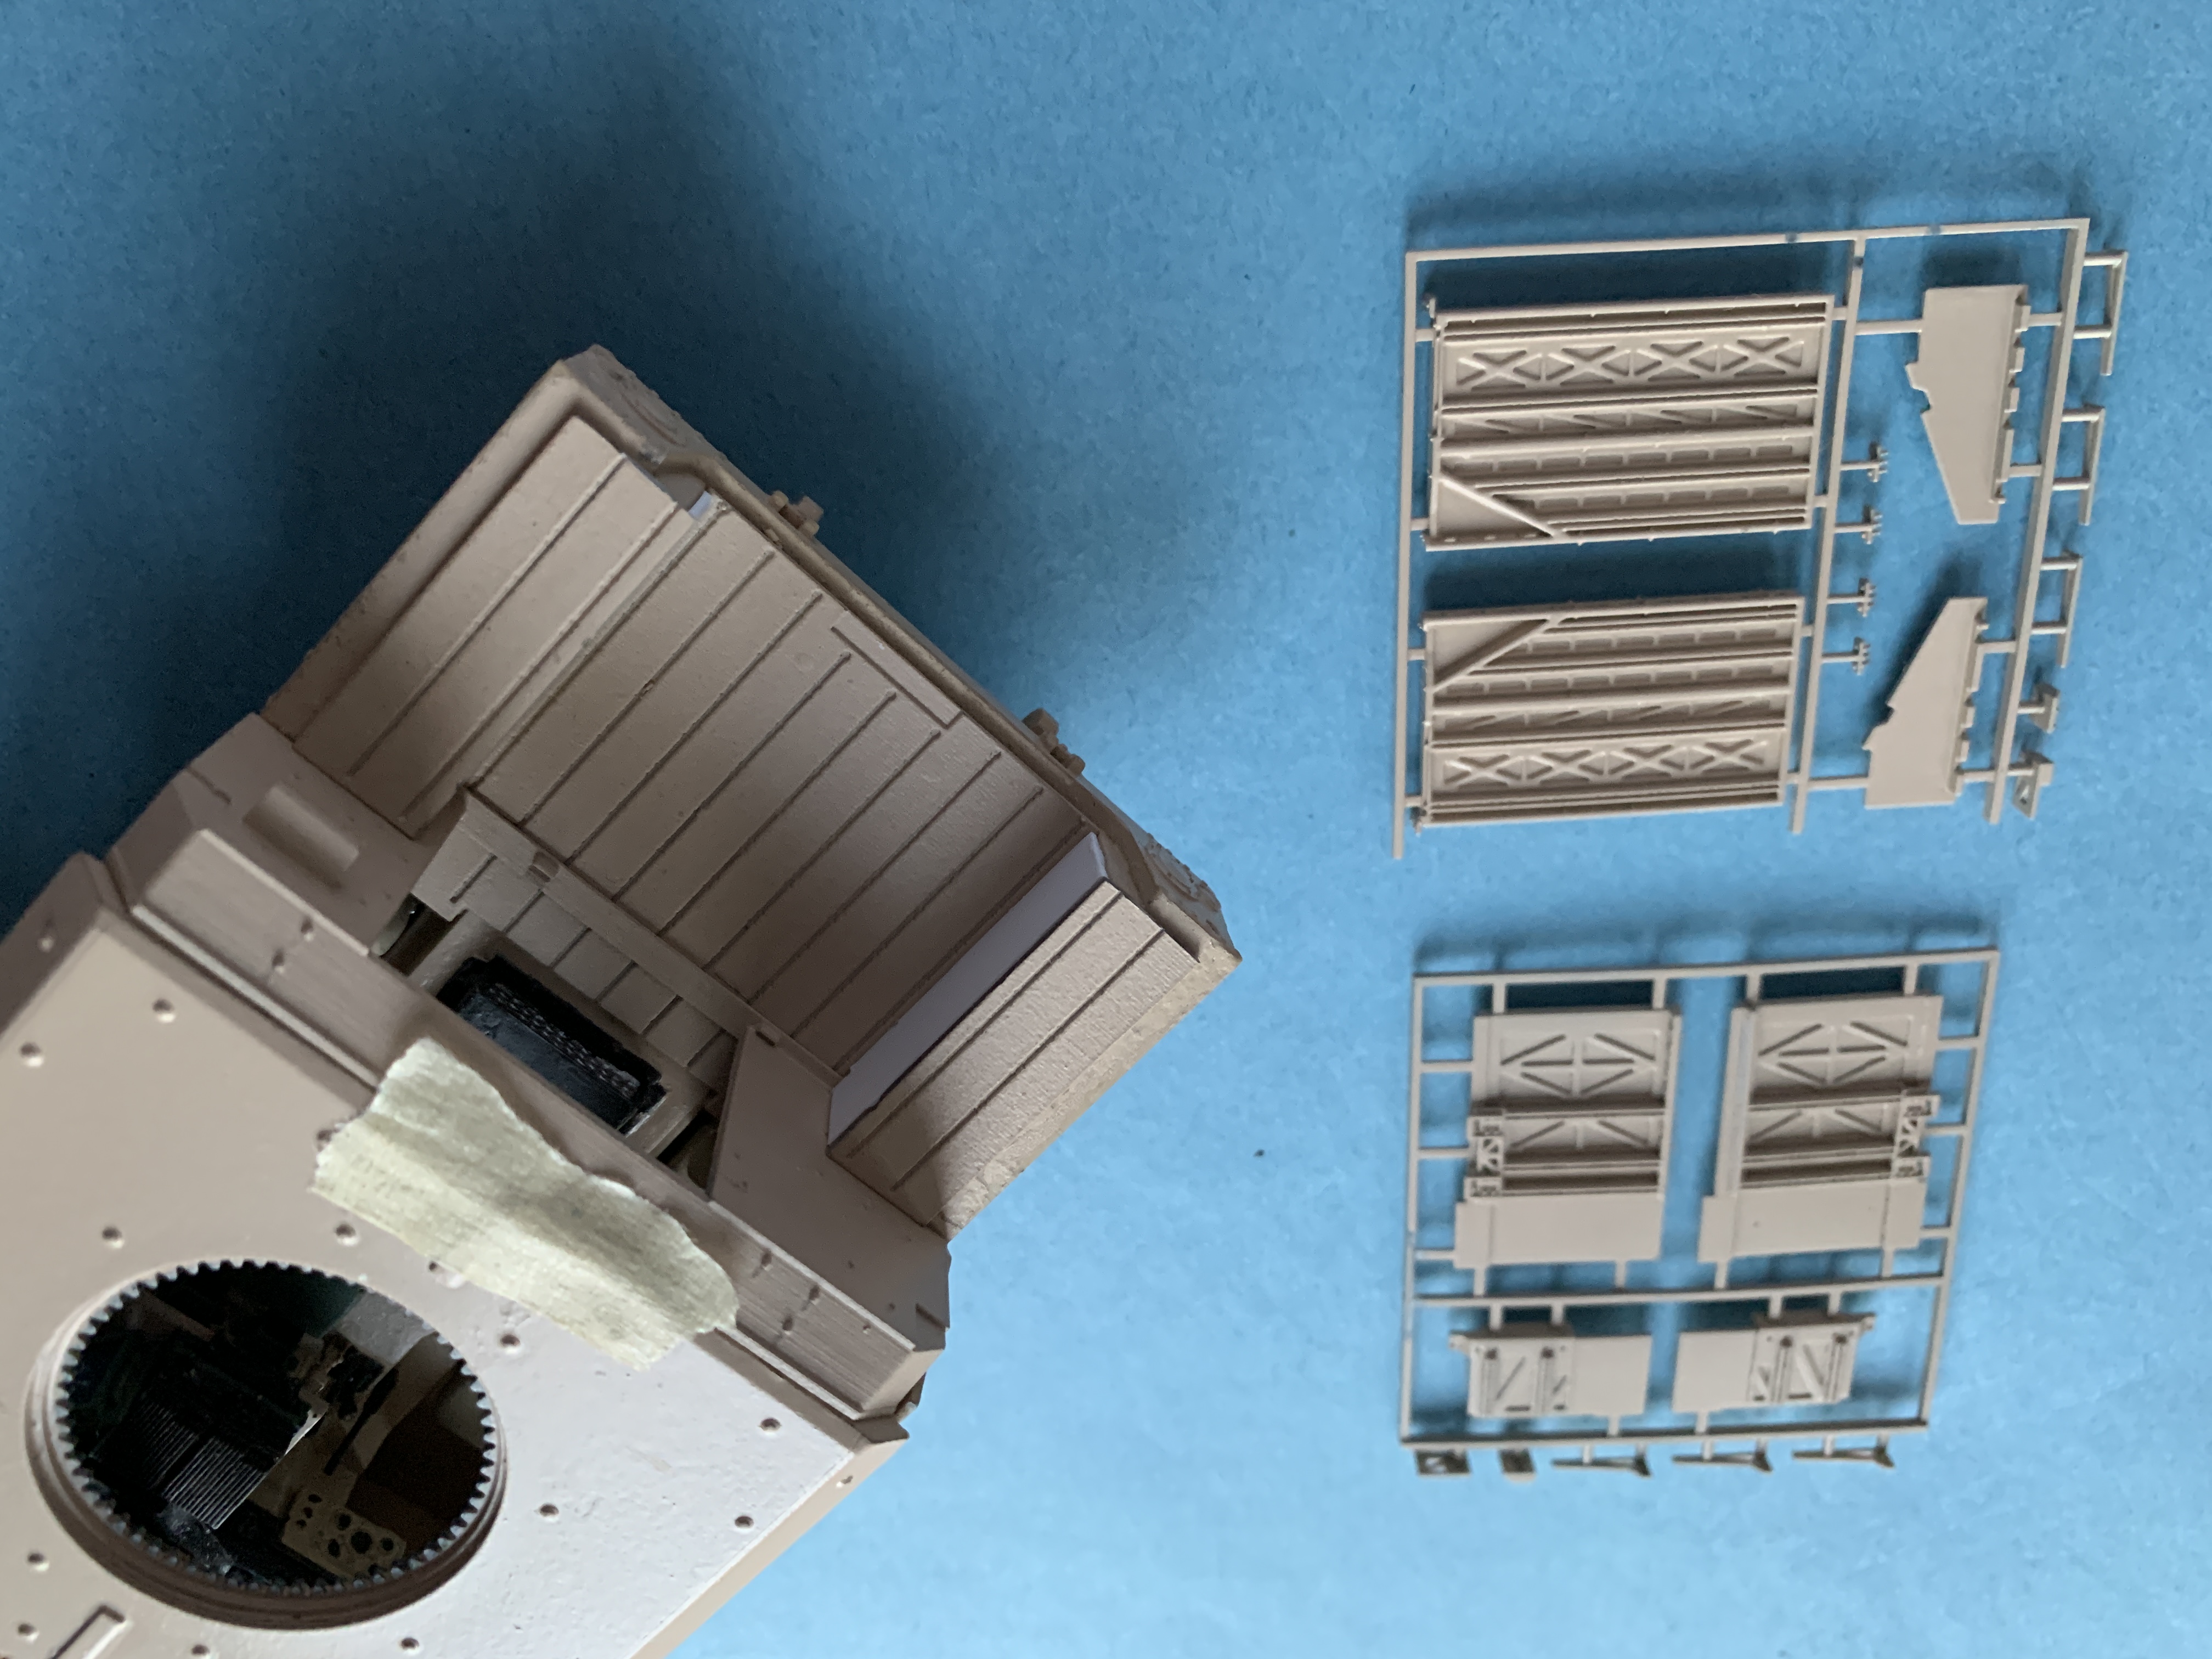
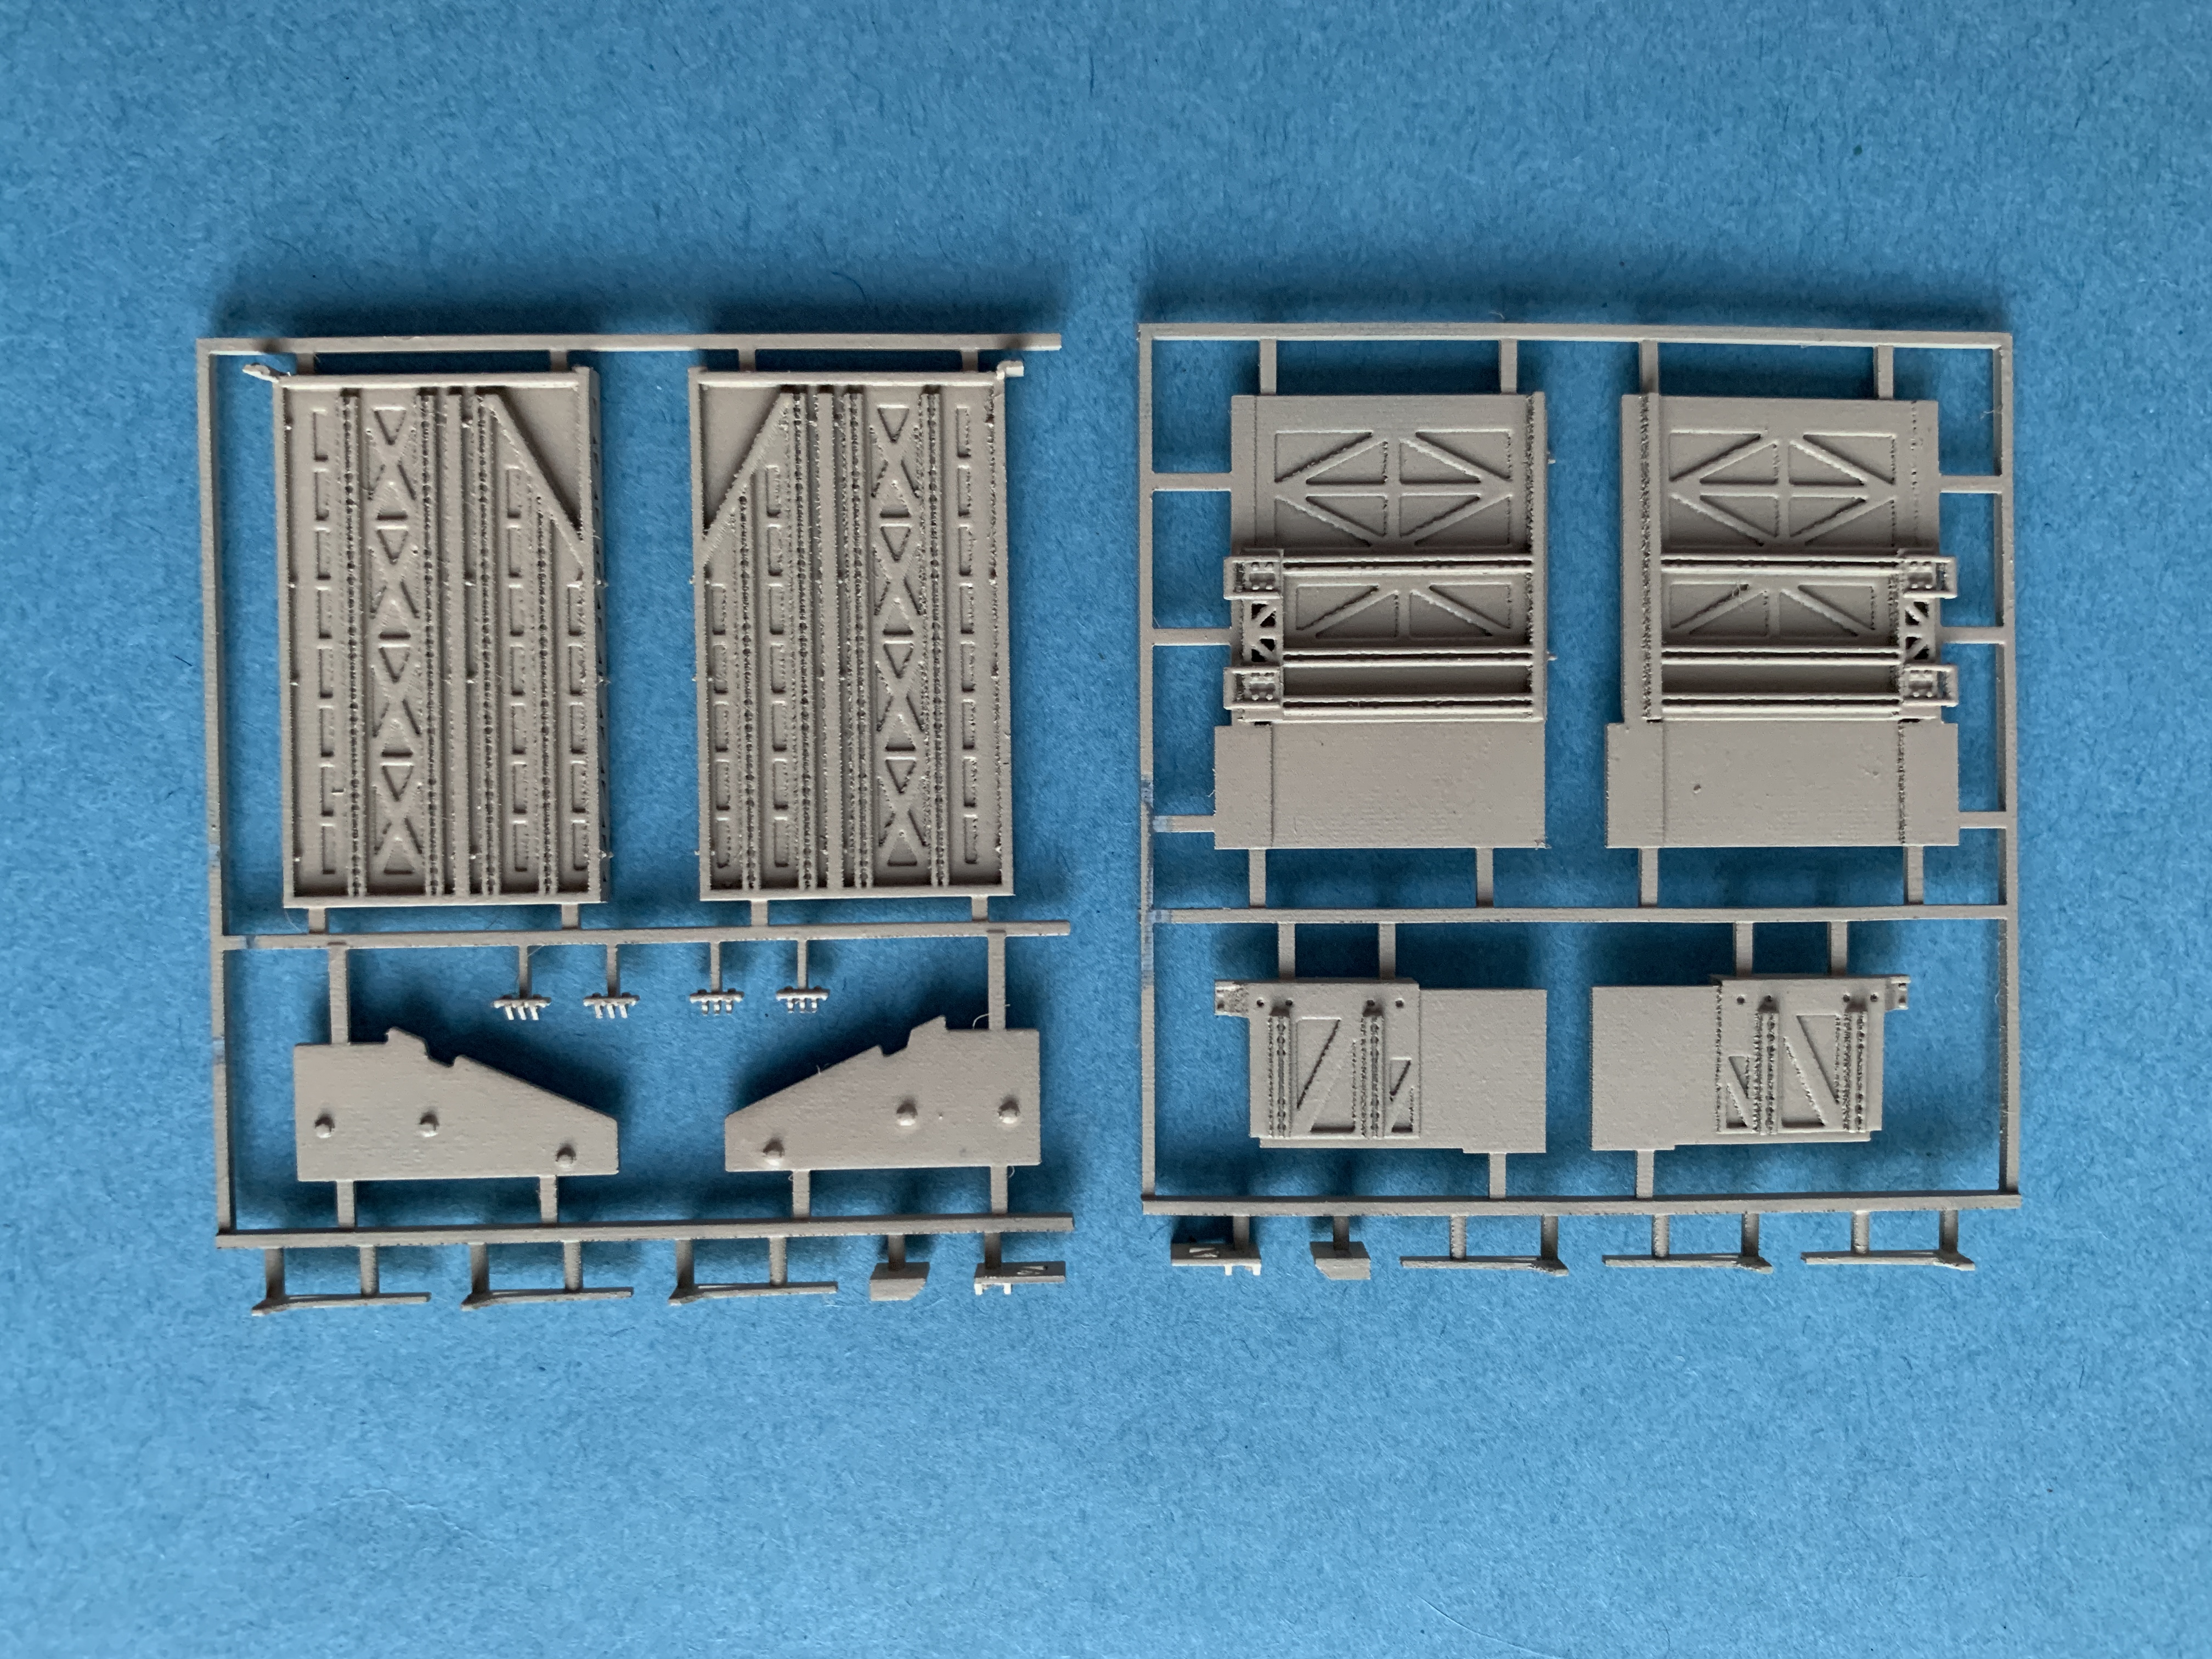
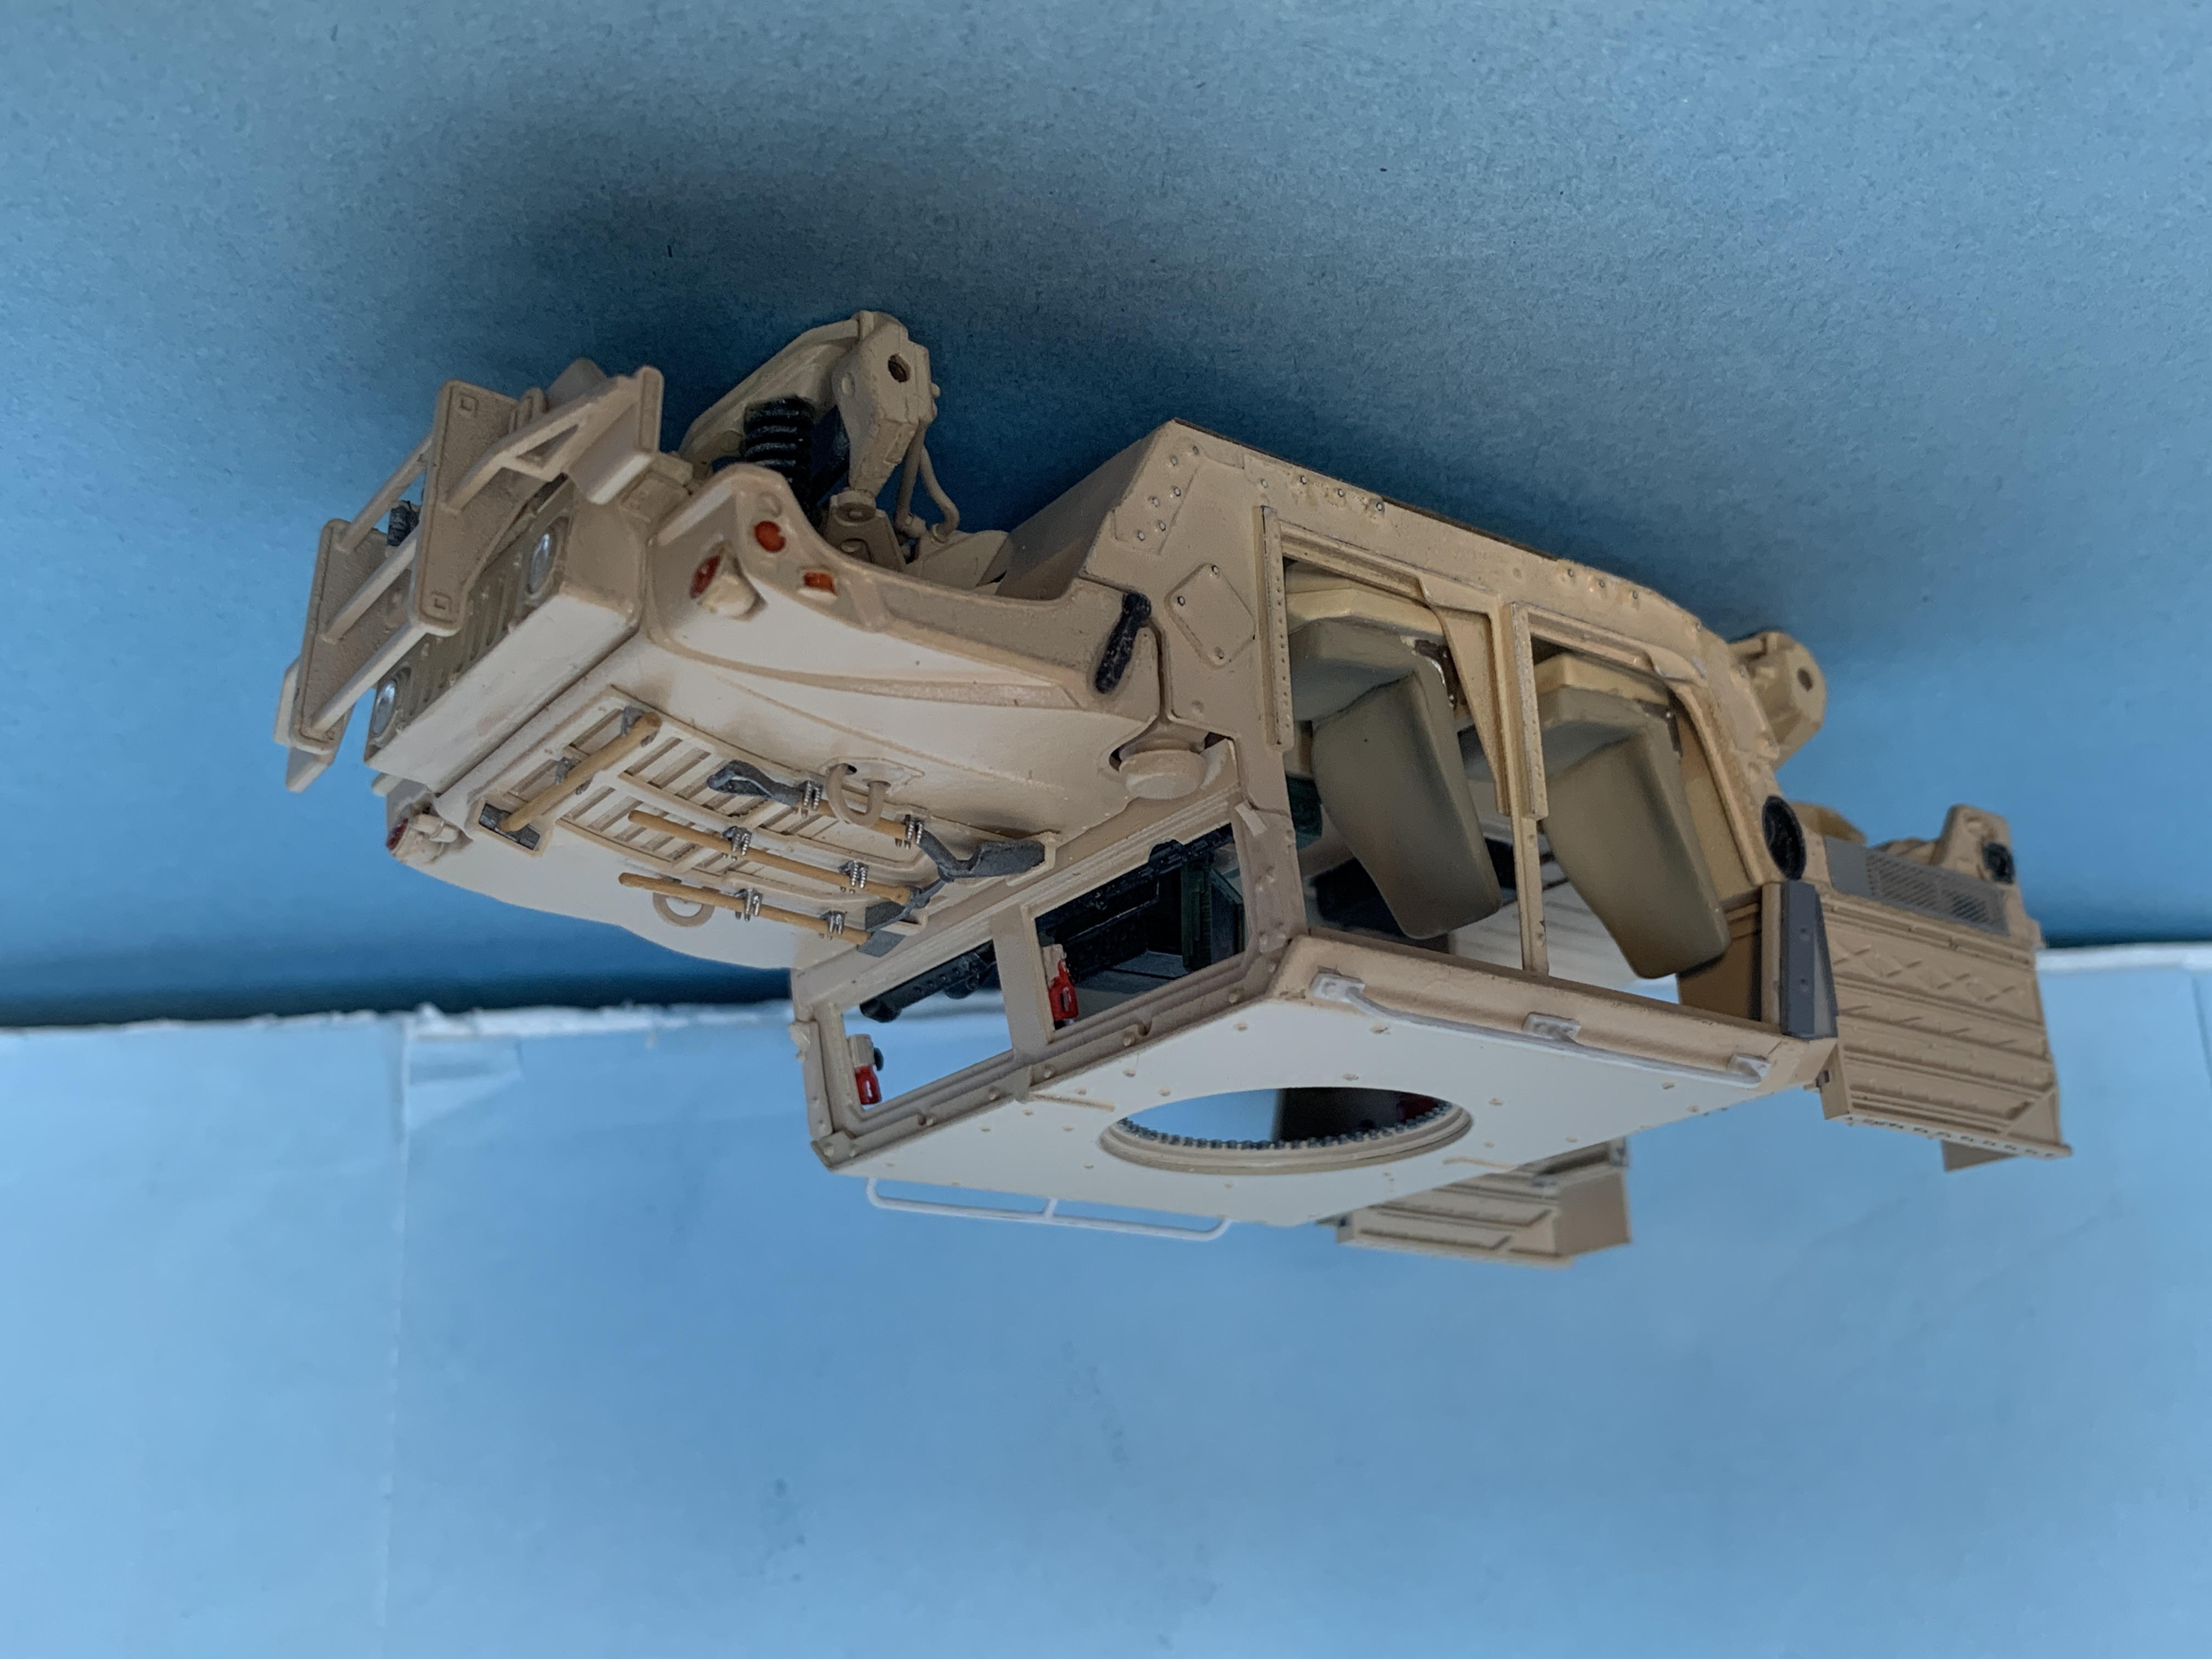
The base kit is the Academy M1151 and I'm designing and 3D printing the many parts that are necessary to convert
the base kit into a GMV.

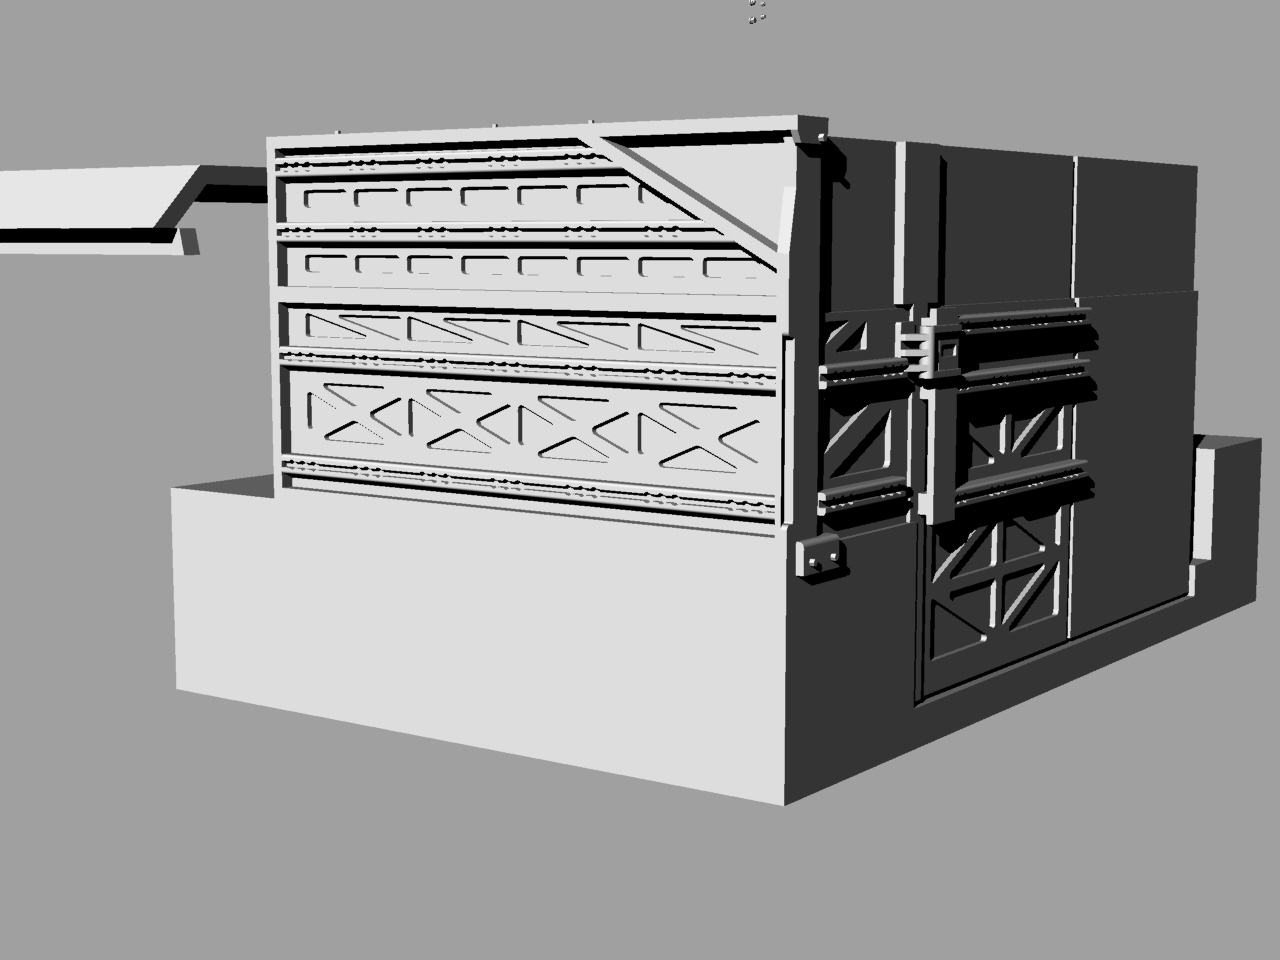
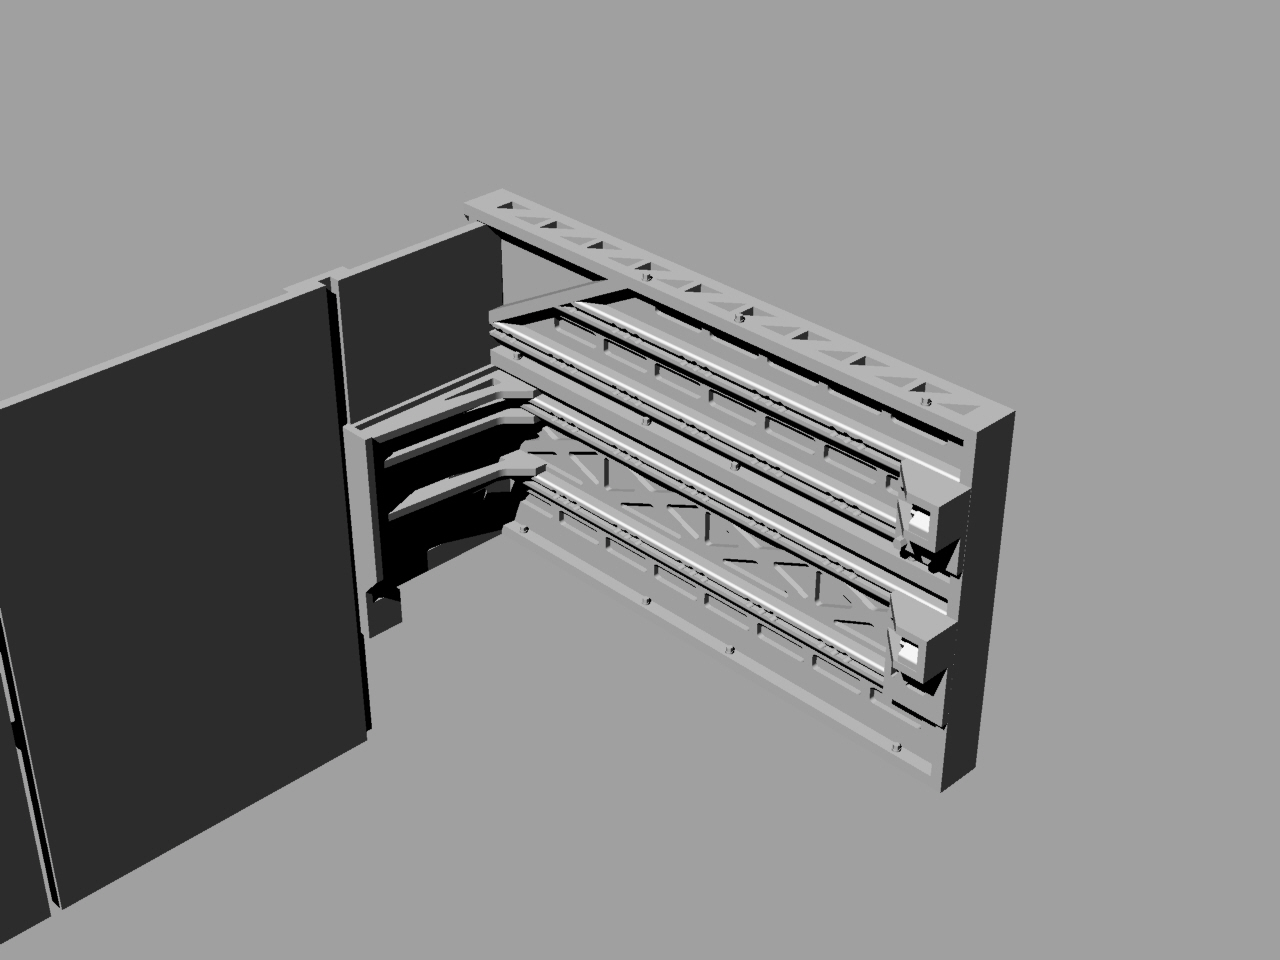
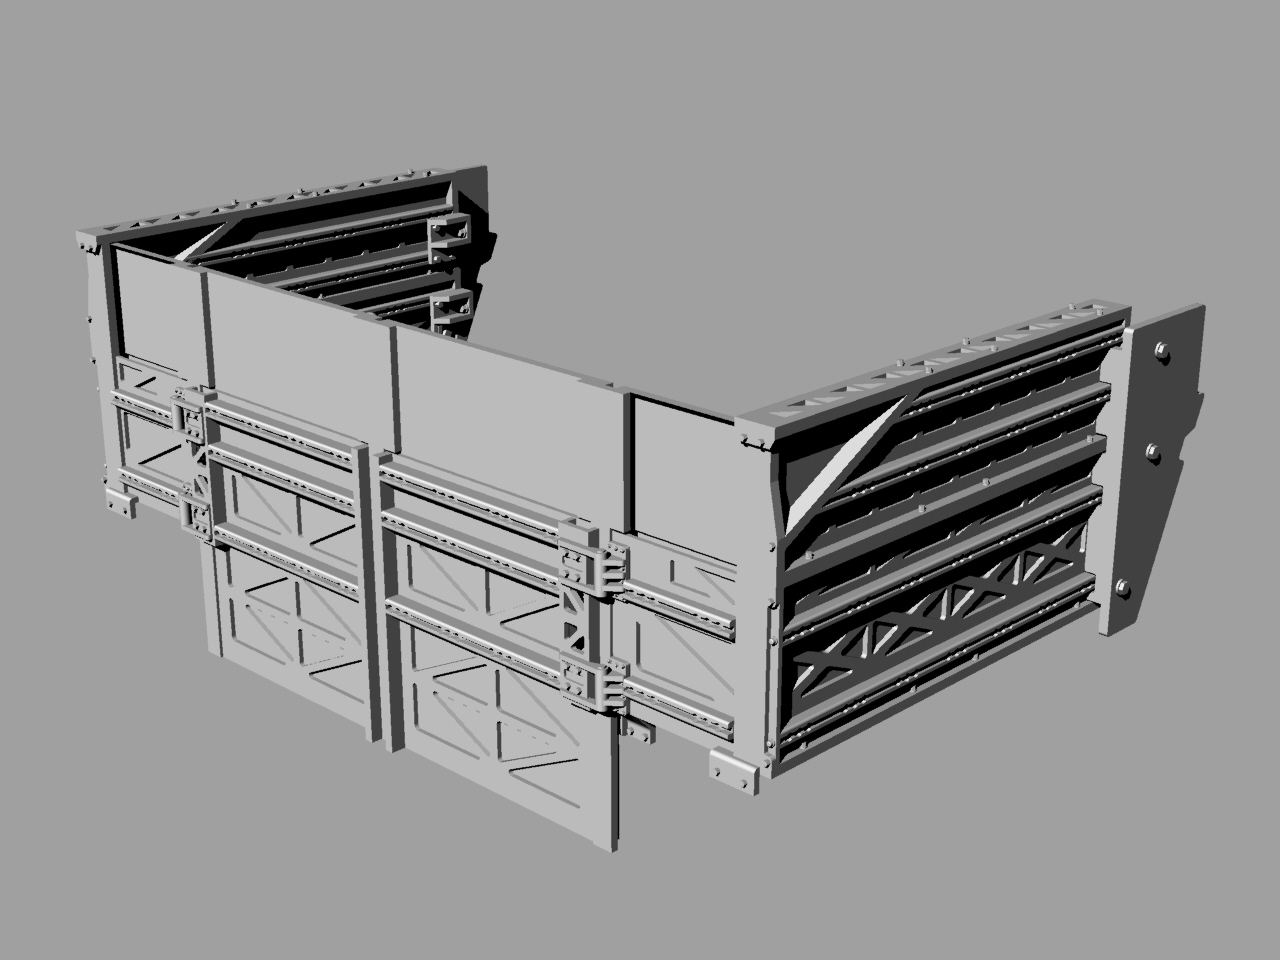
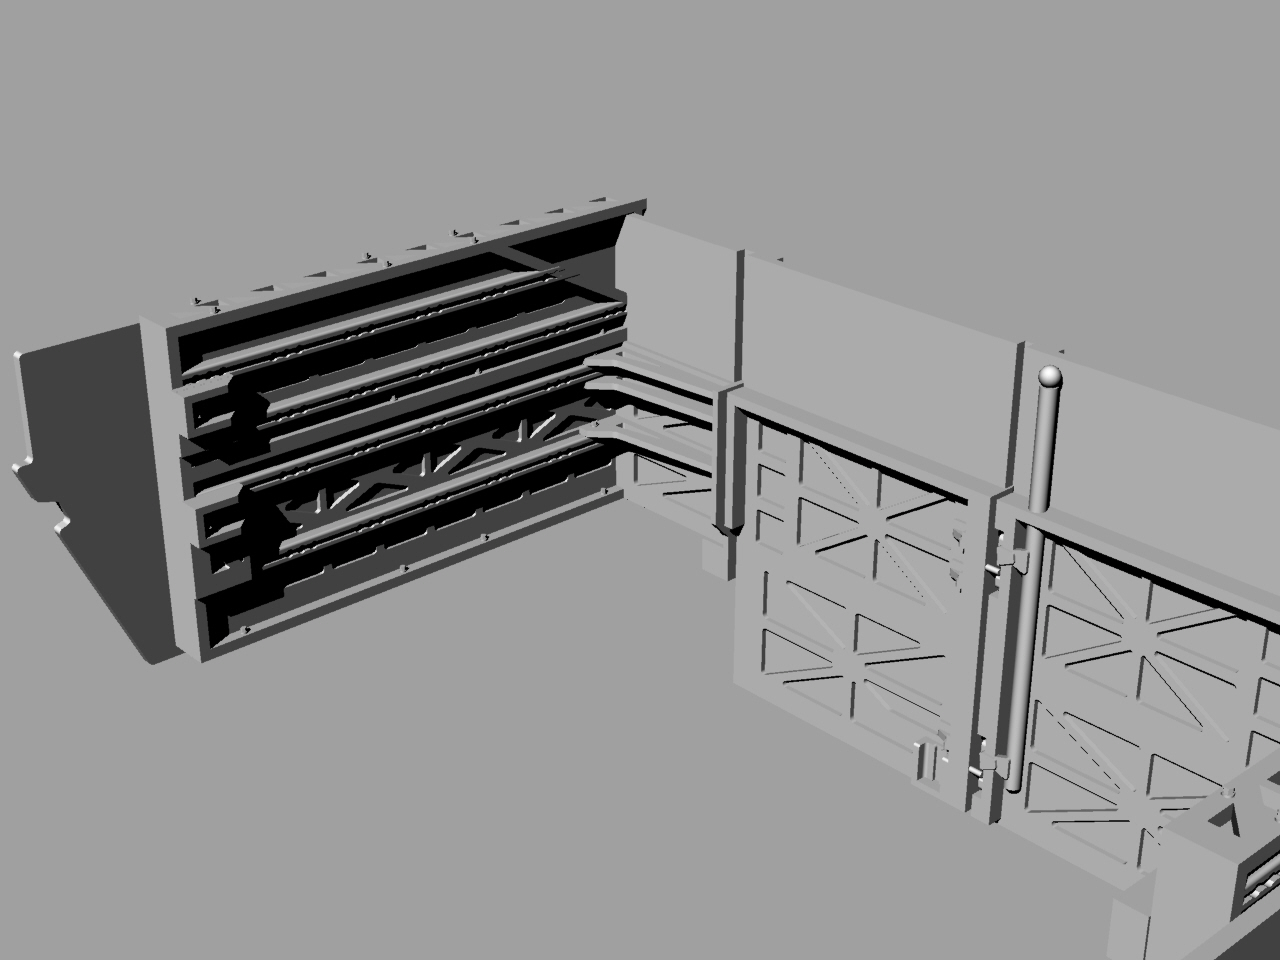
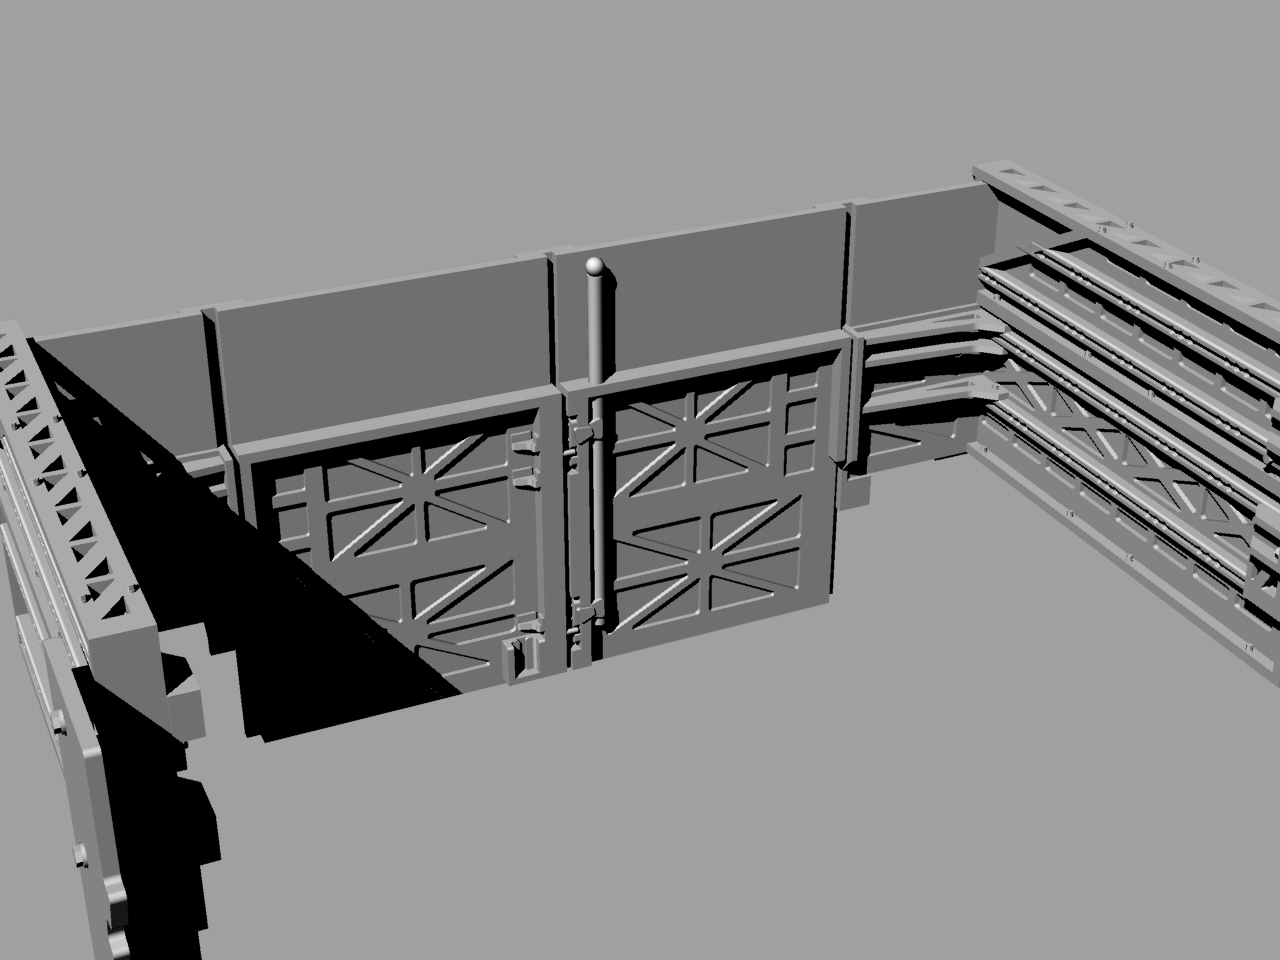
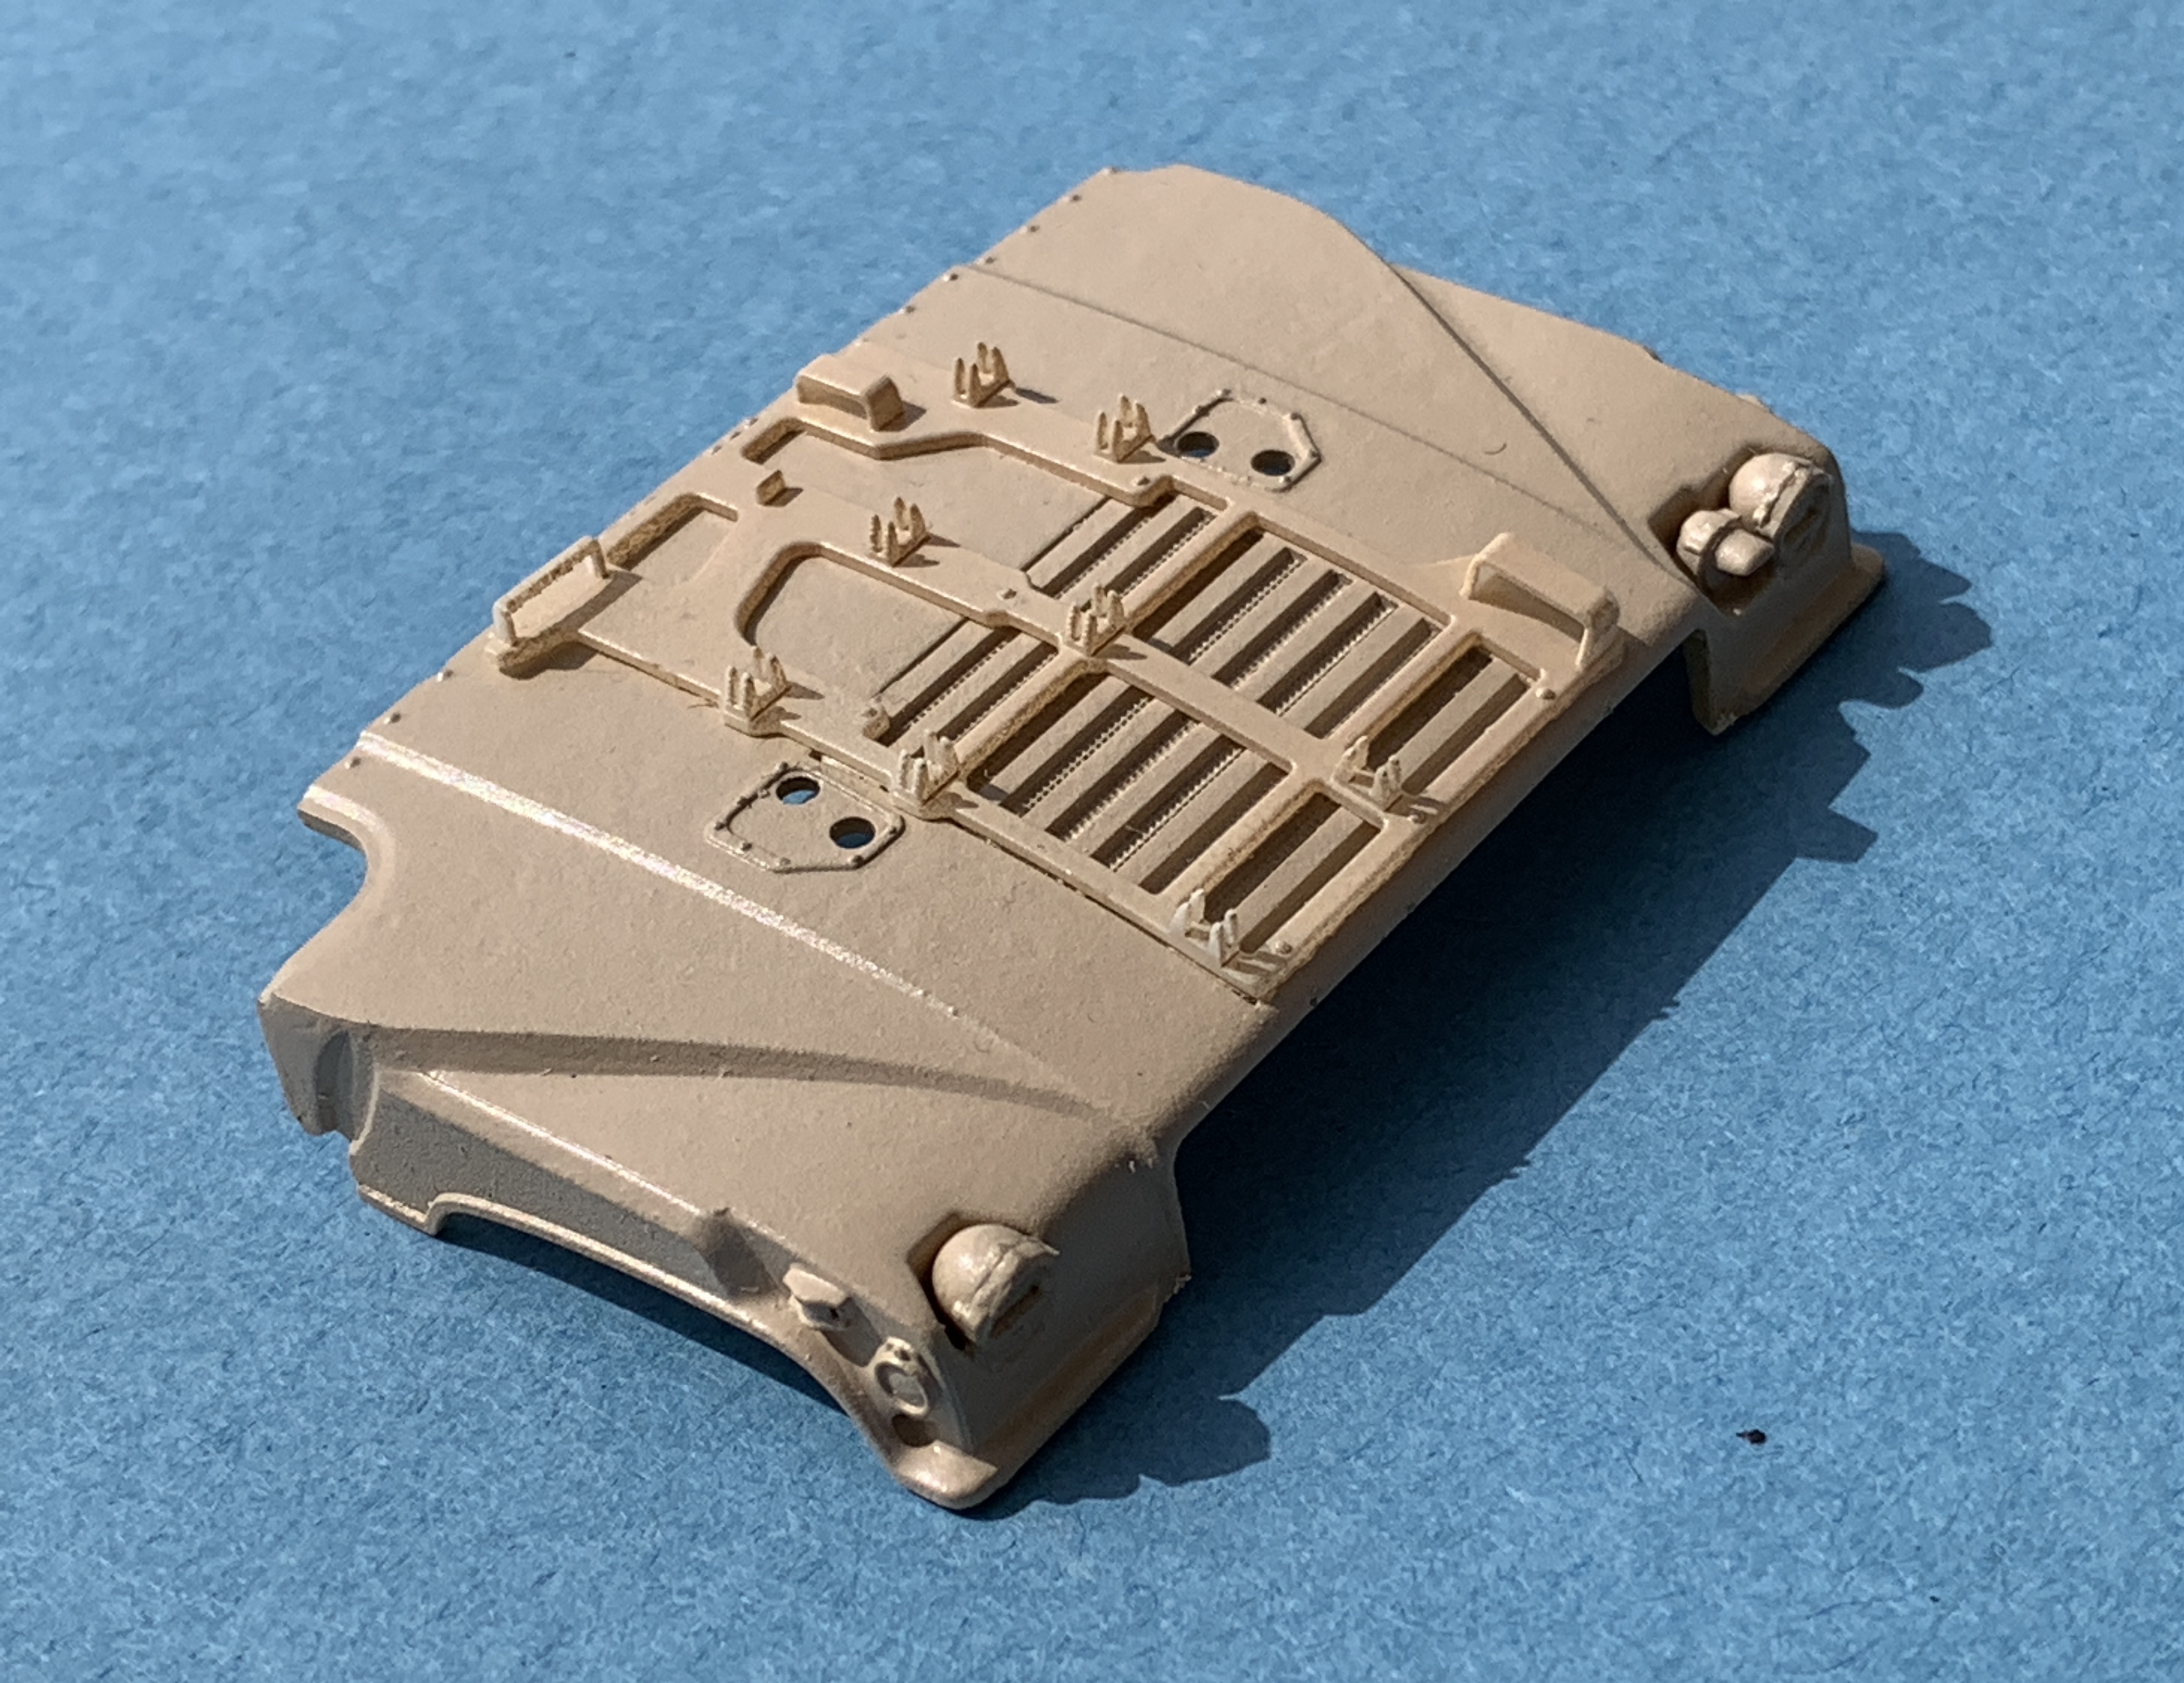
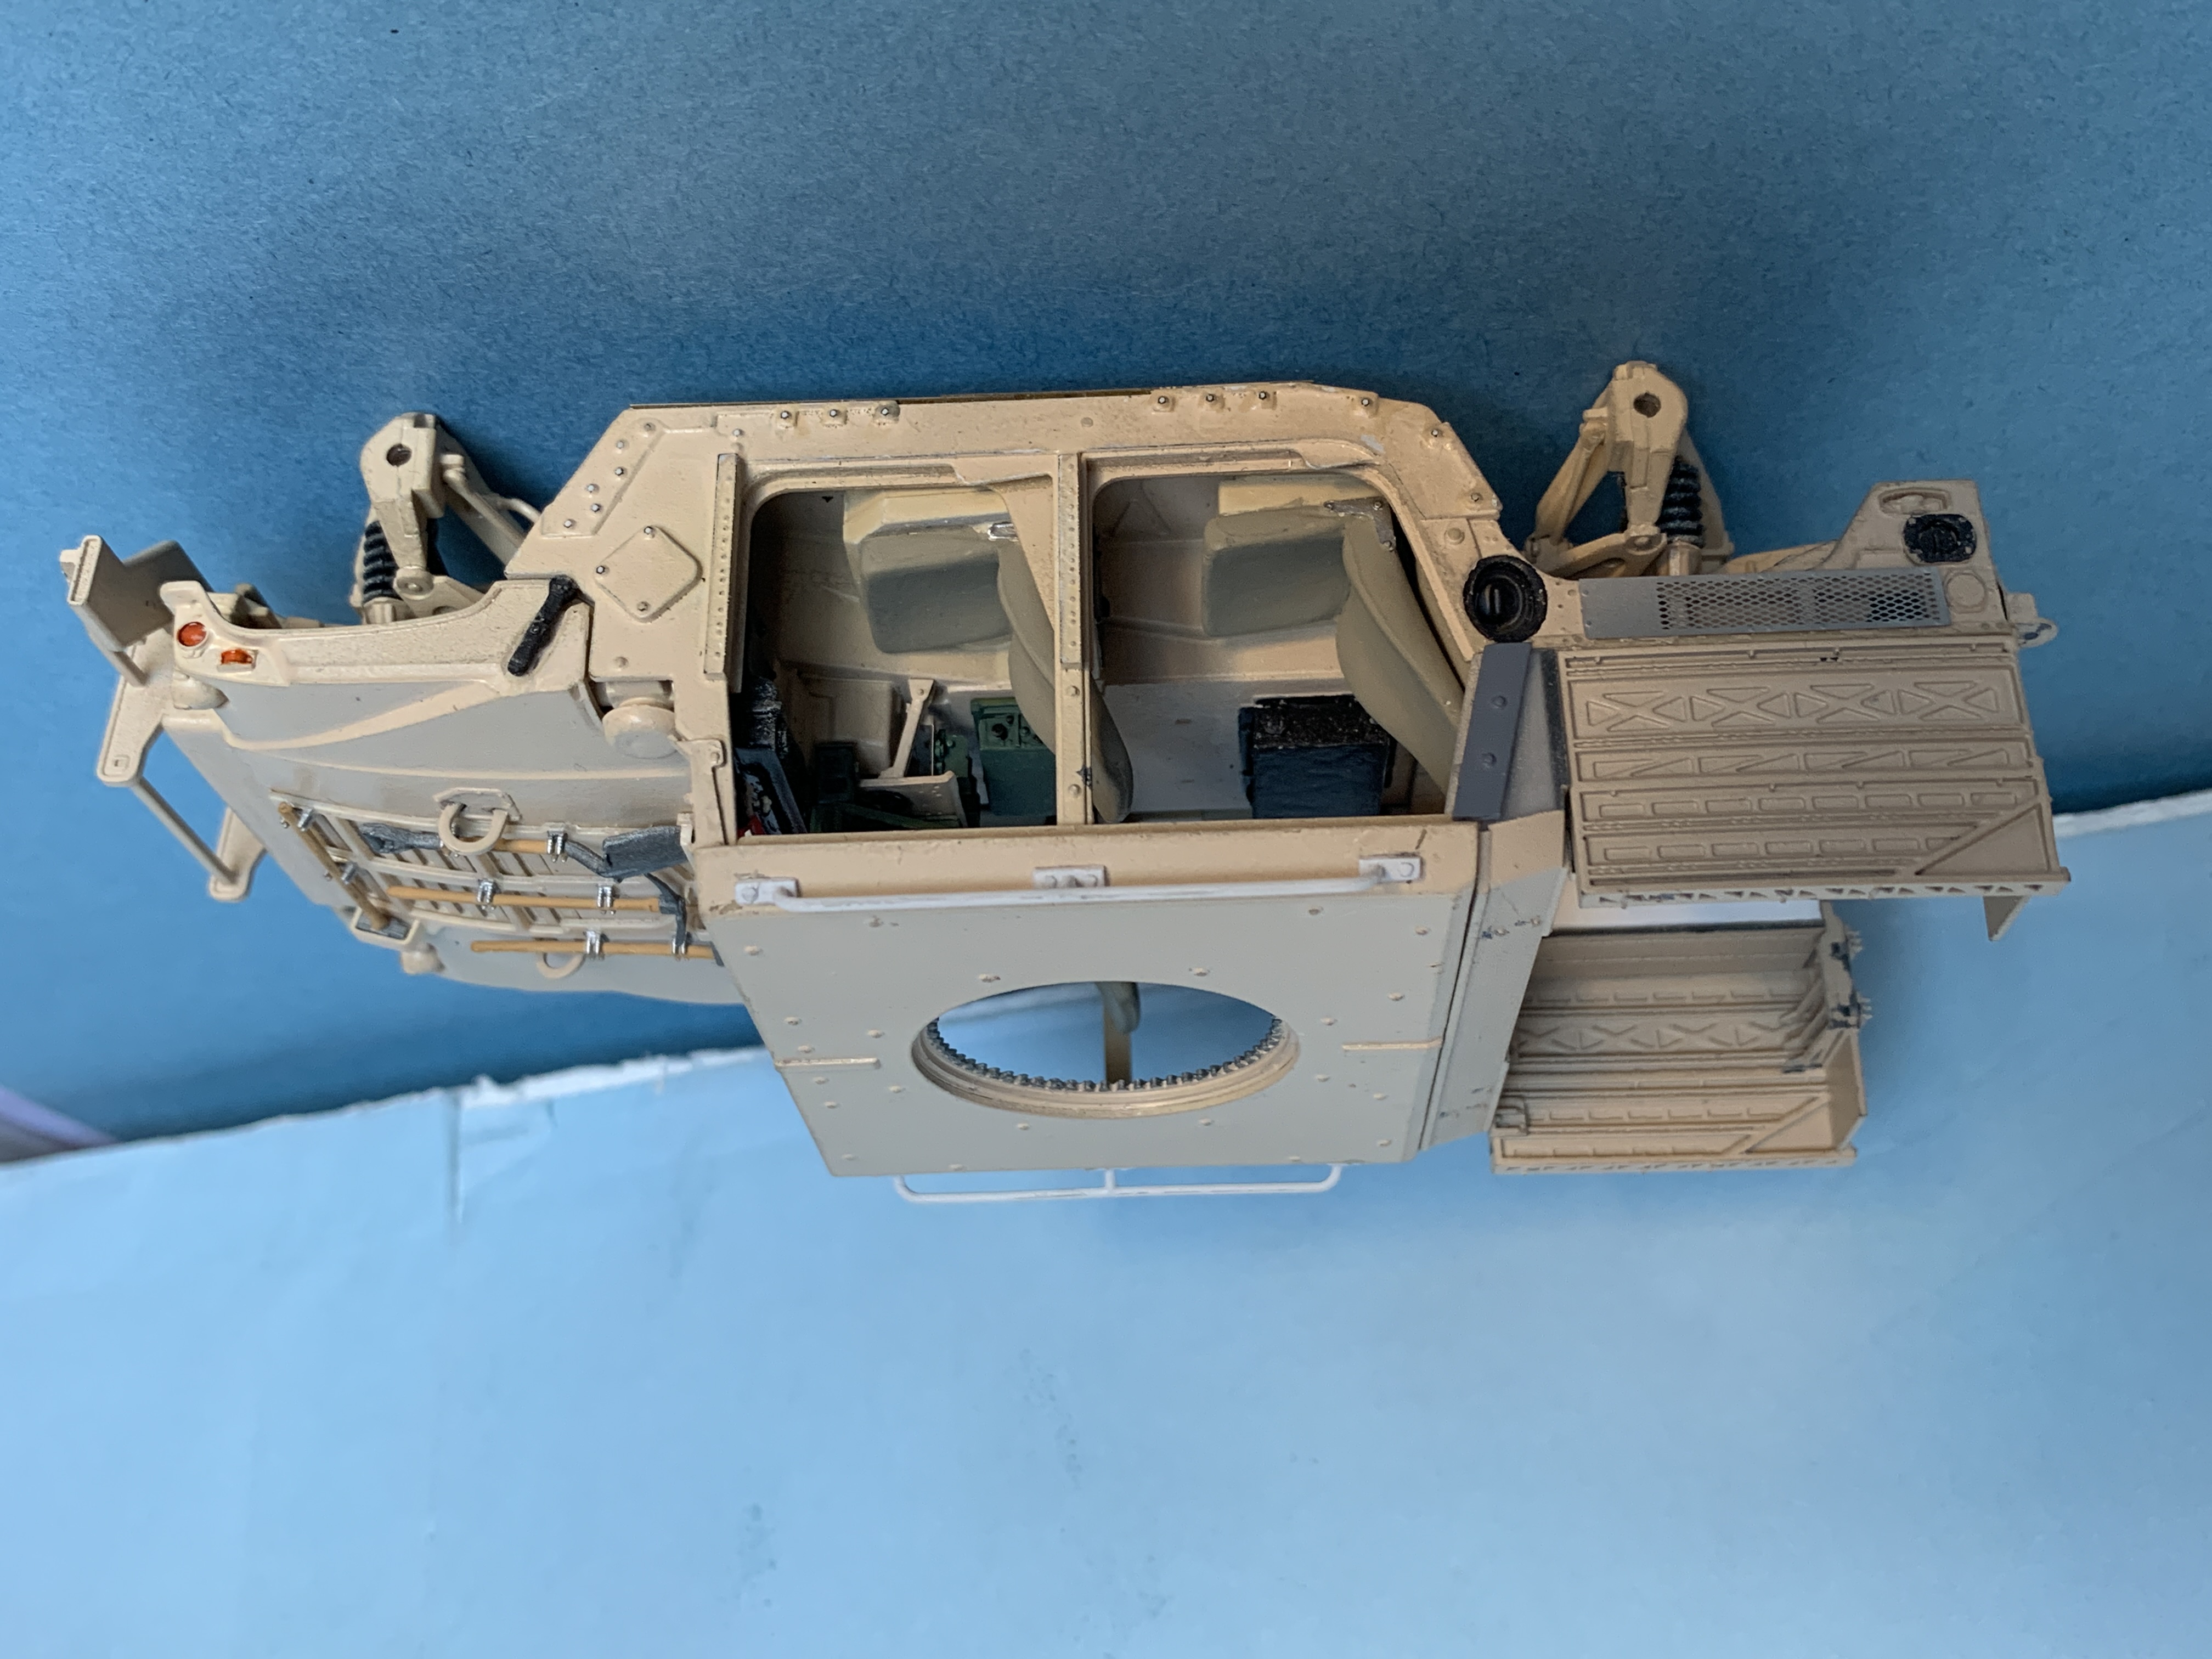
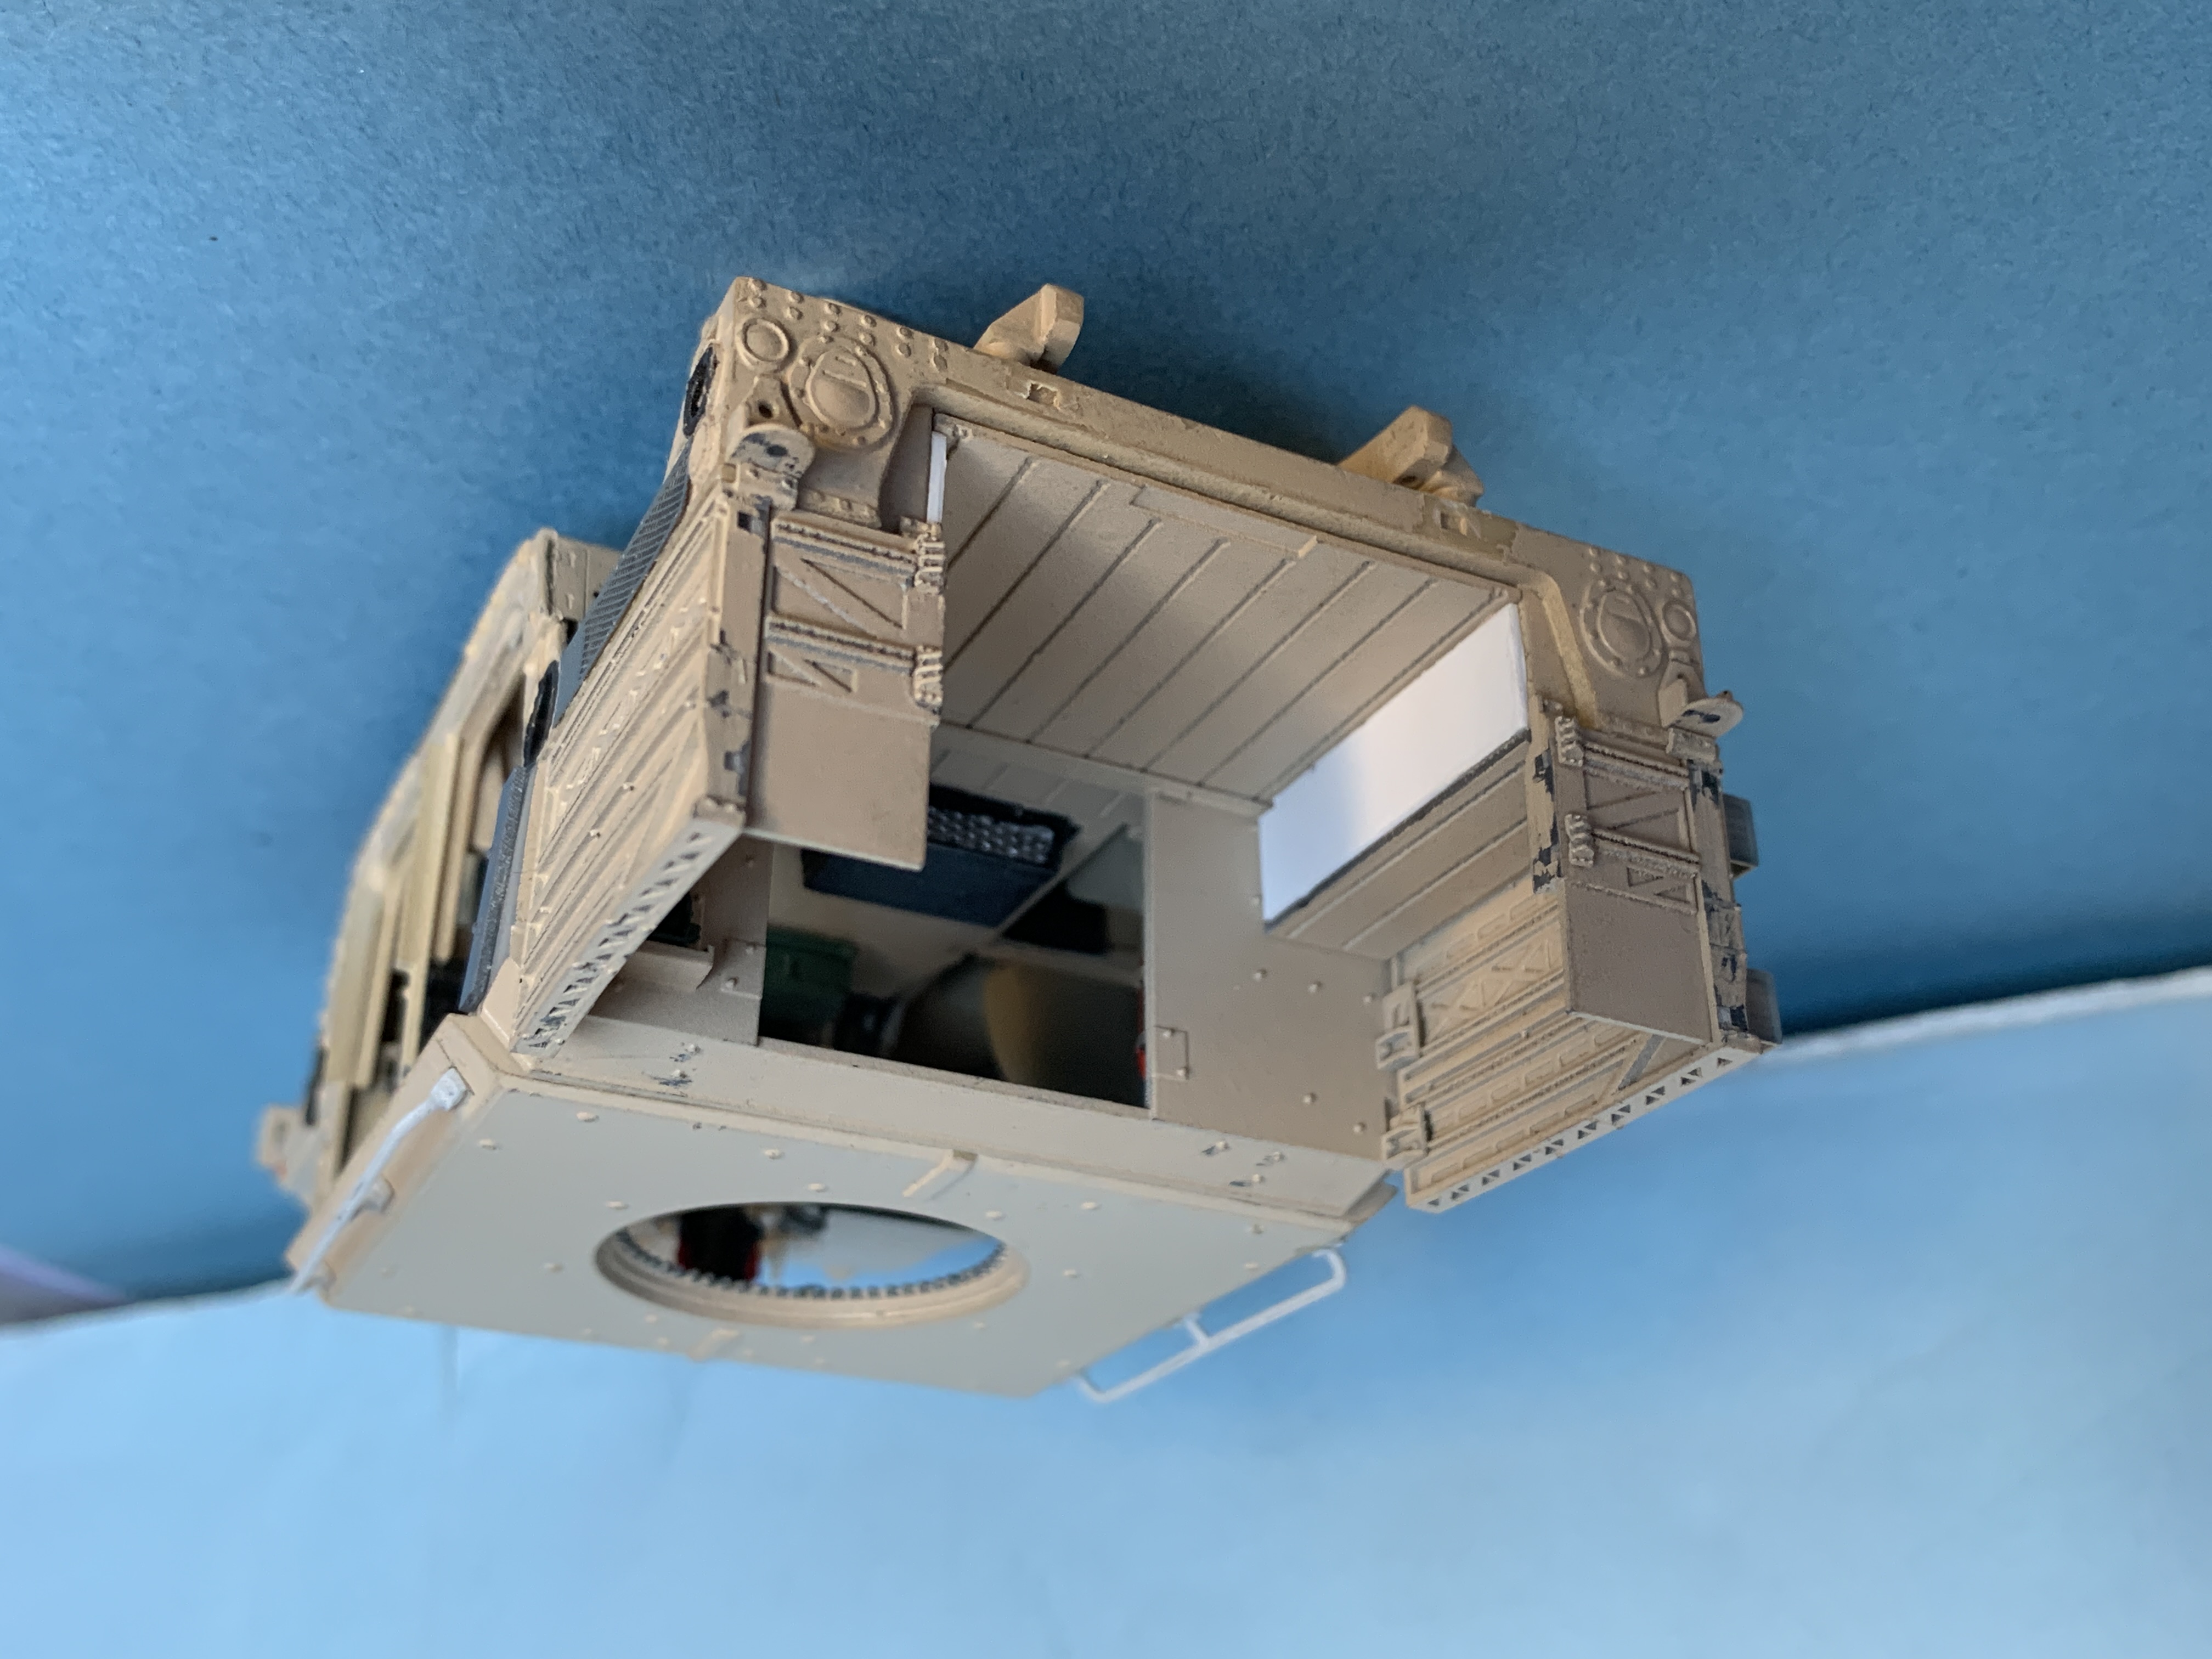
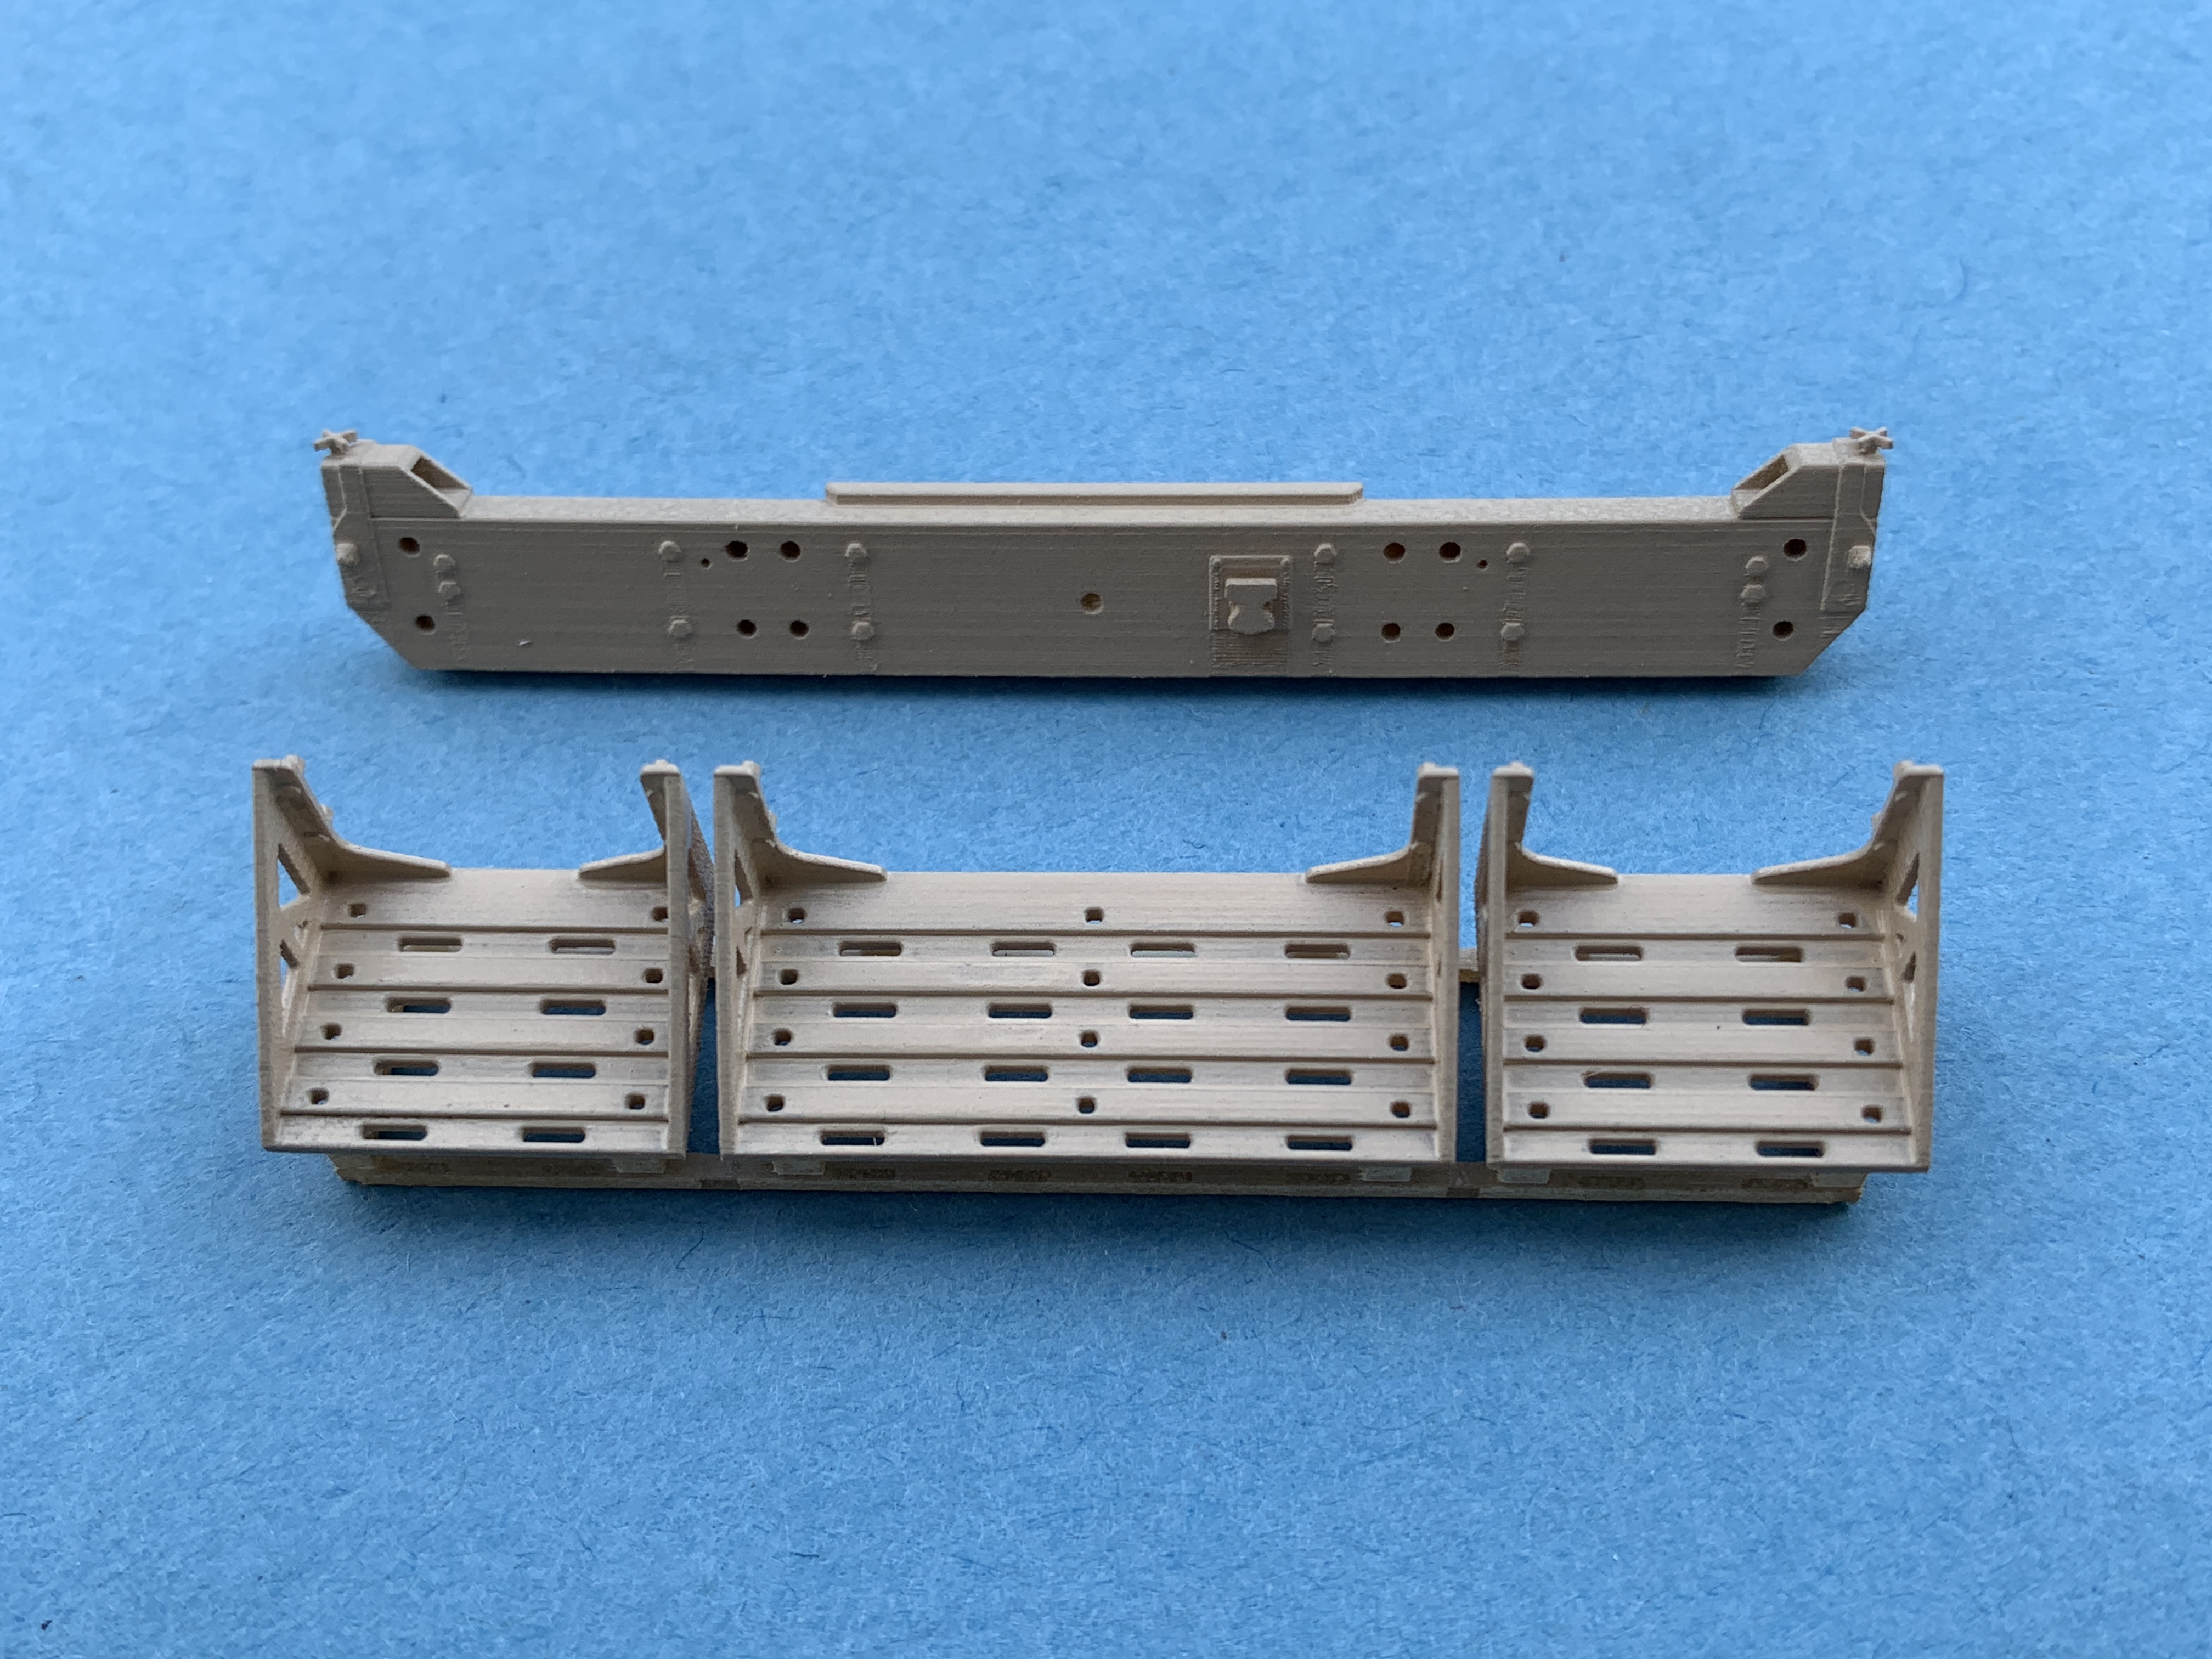
I have used the Academy chassis and applied the side armours that I have designed.


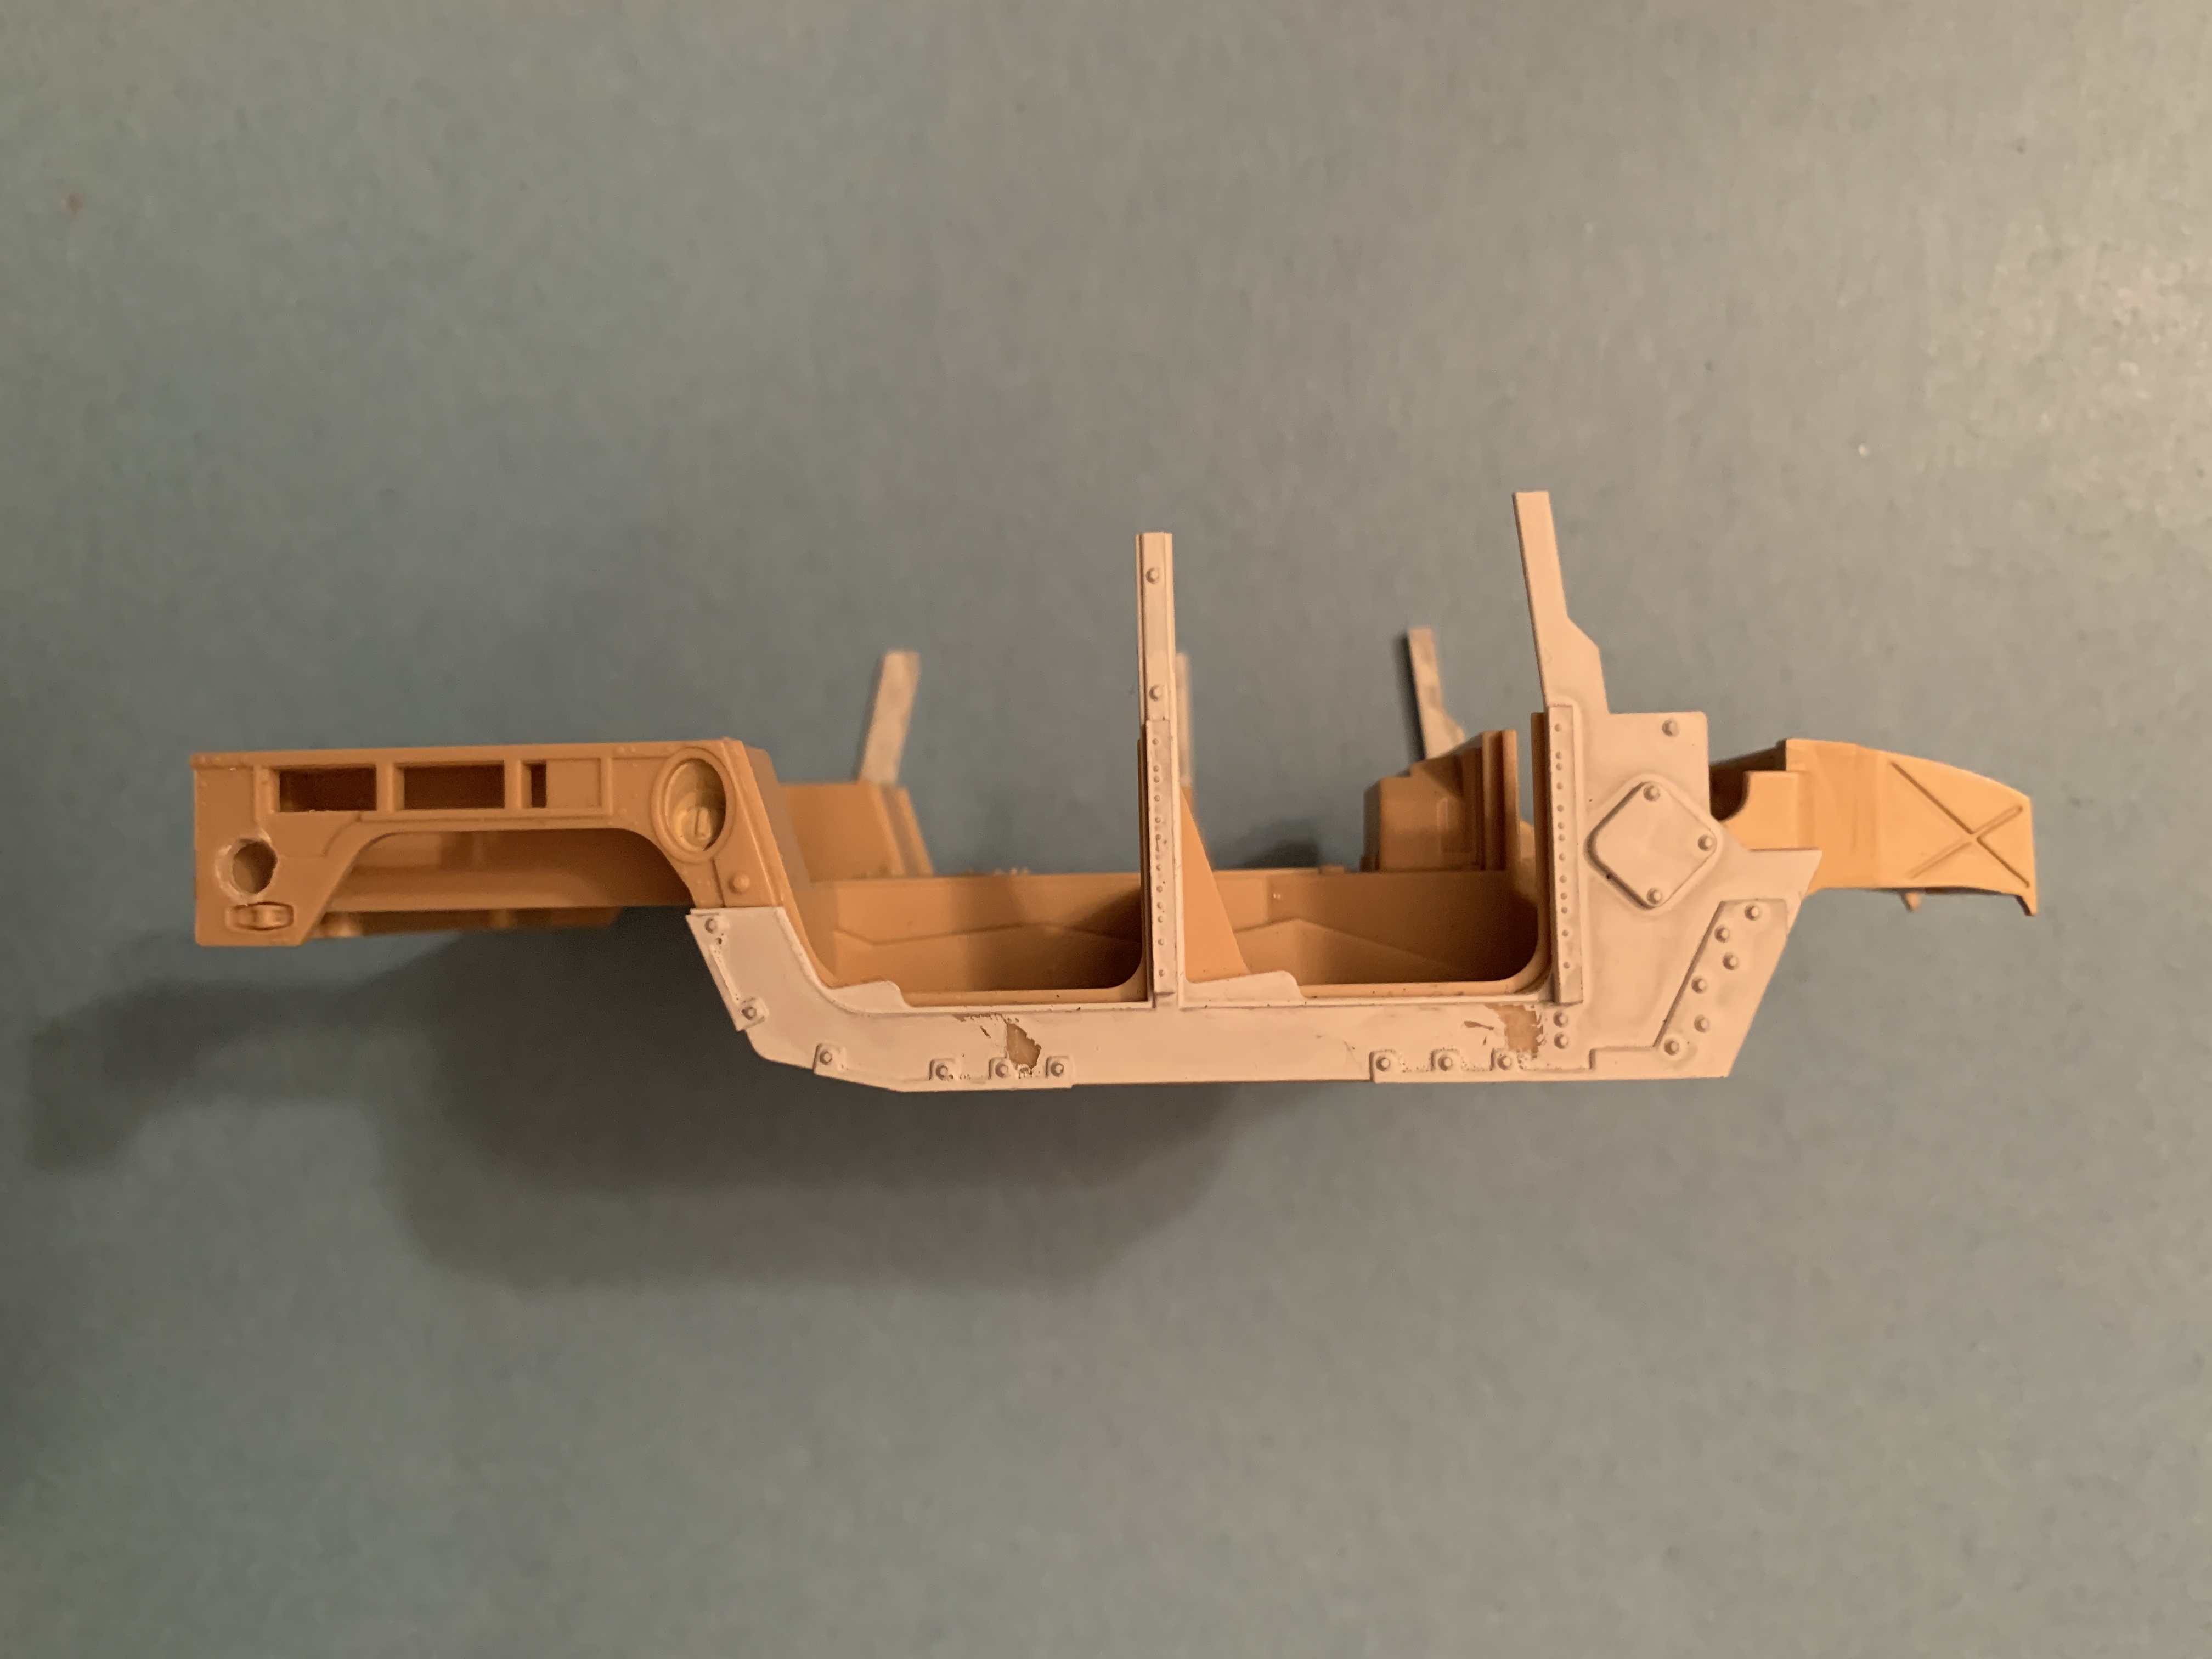
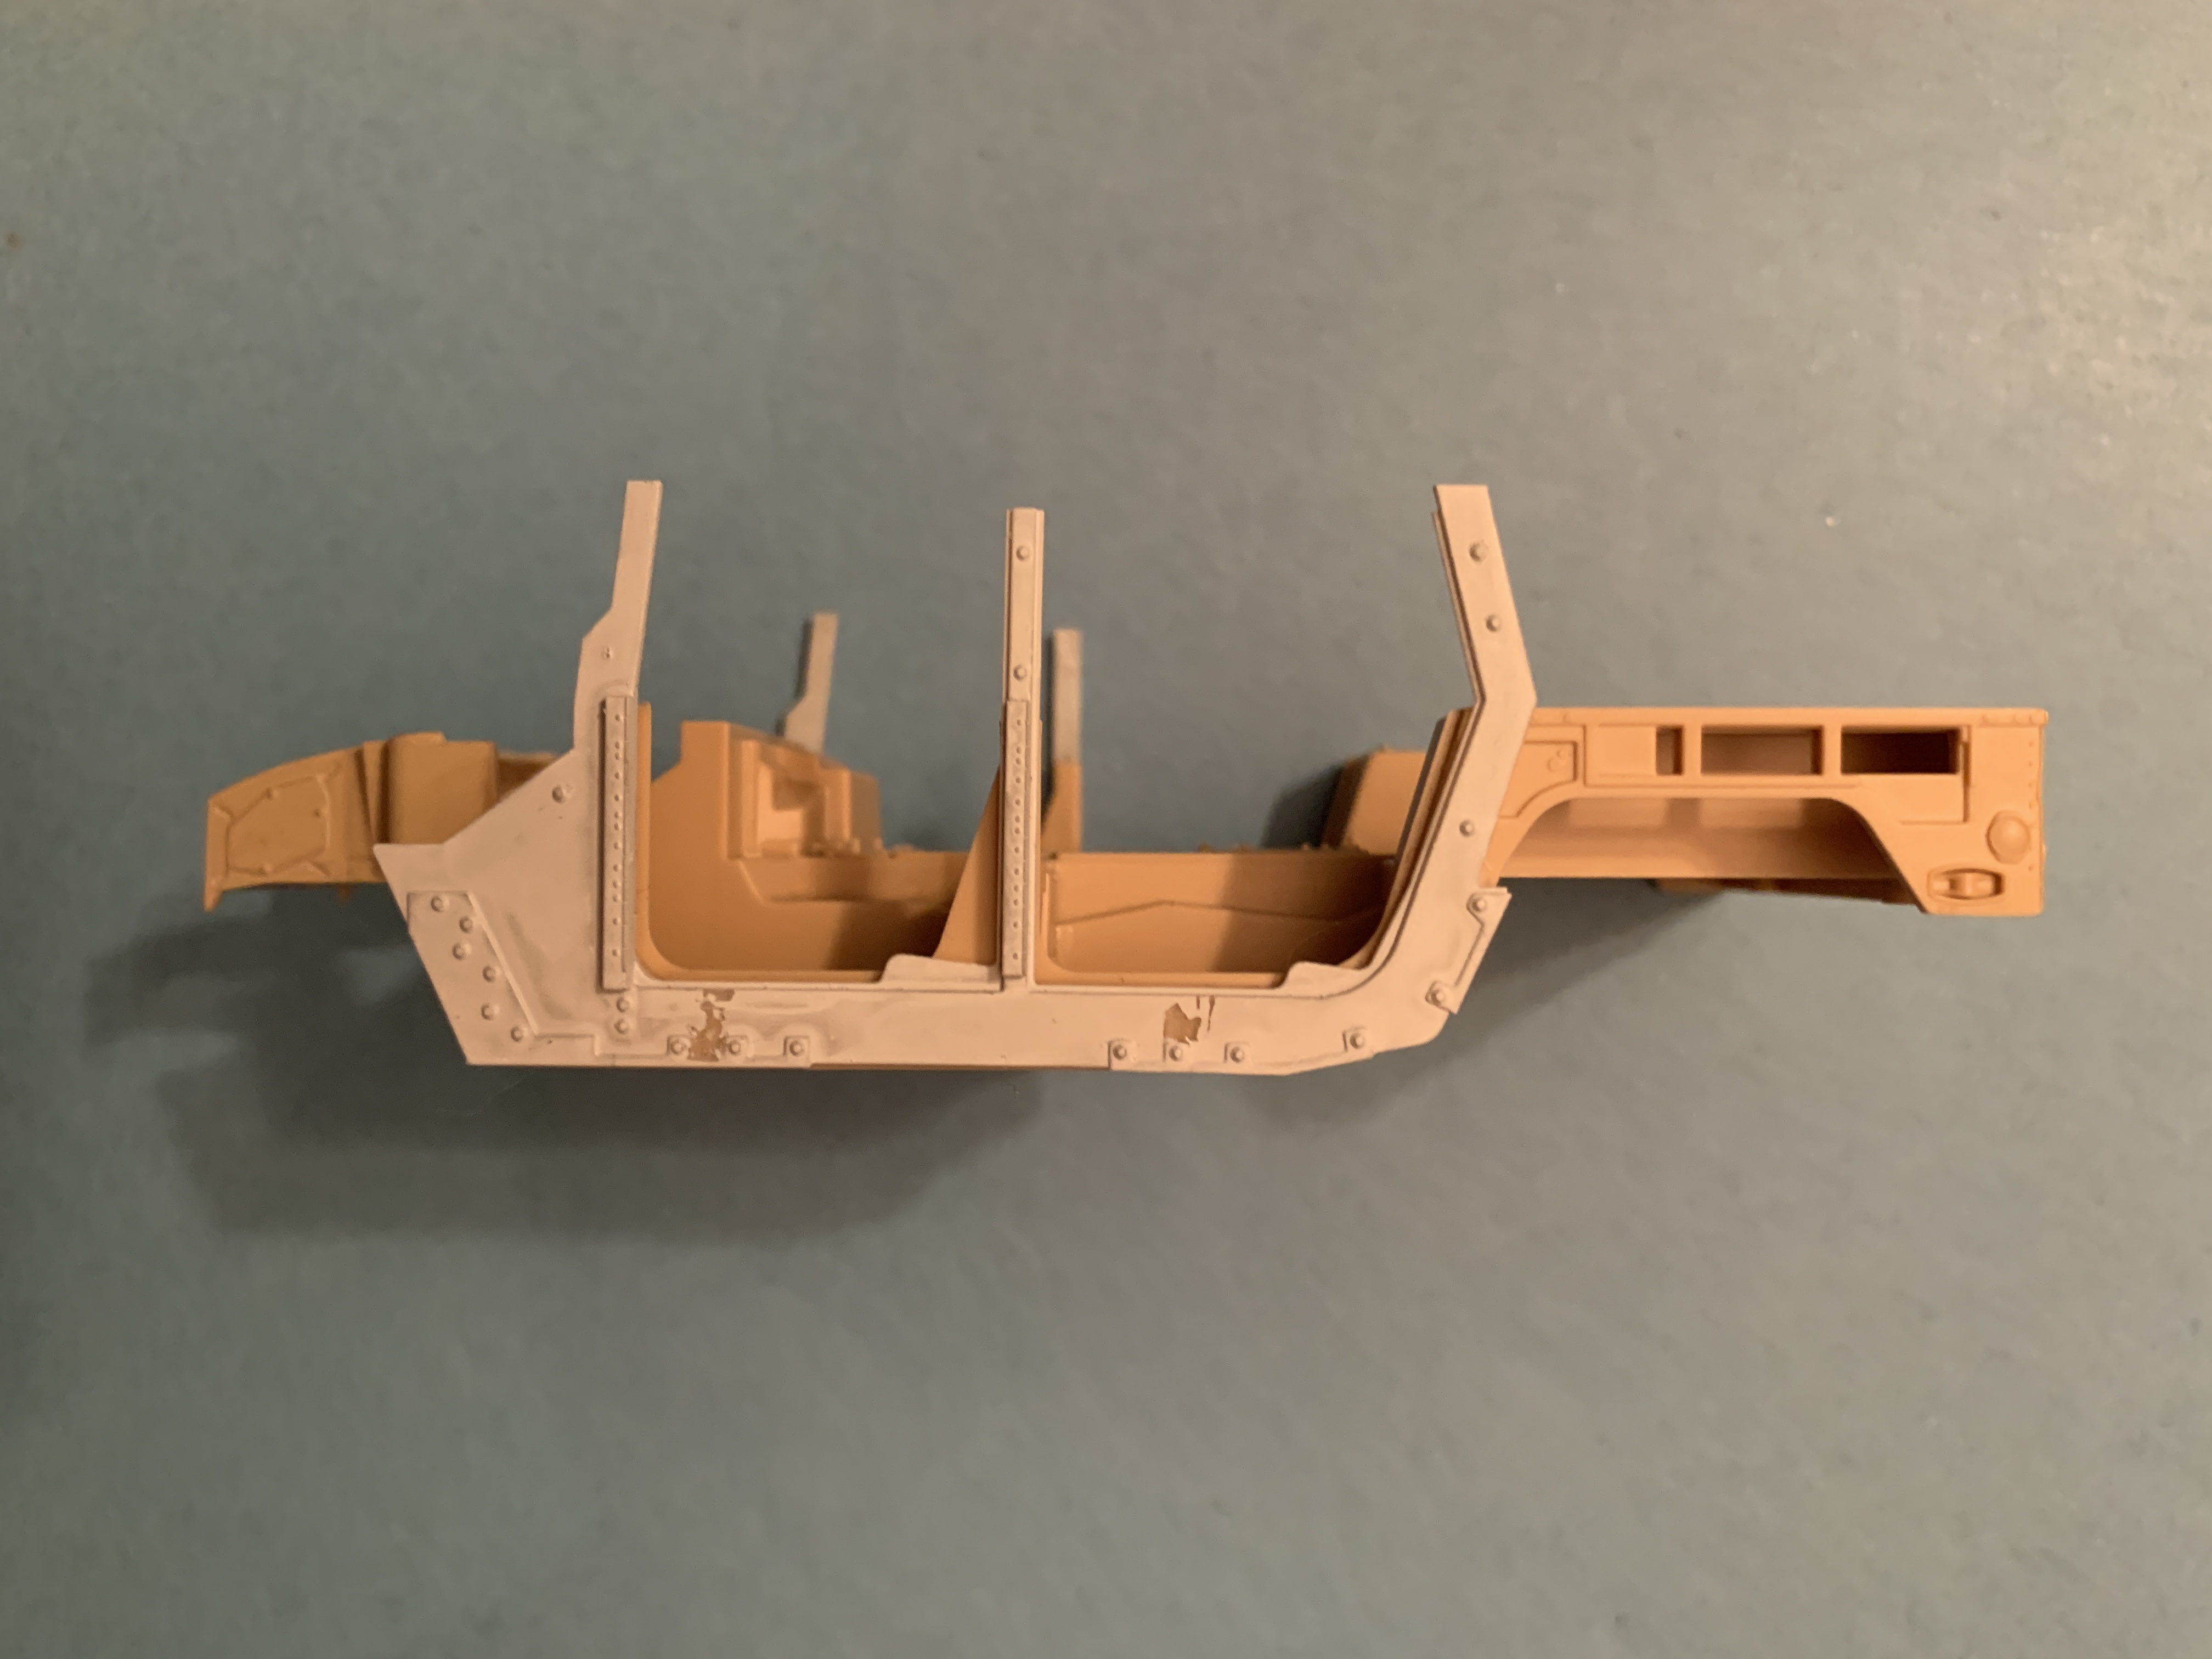
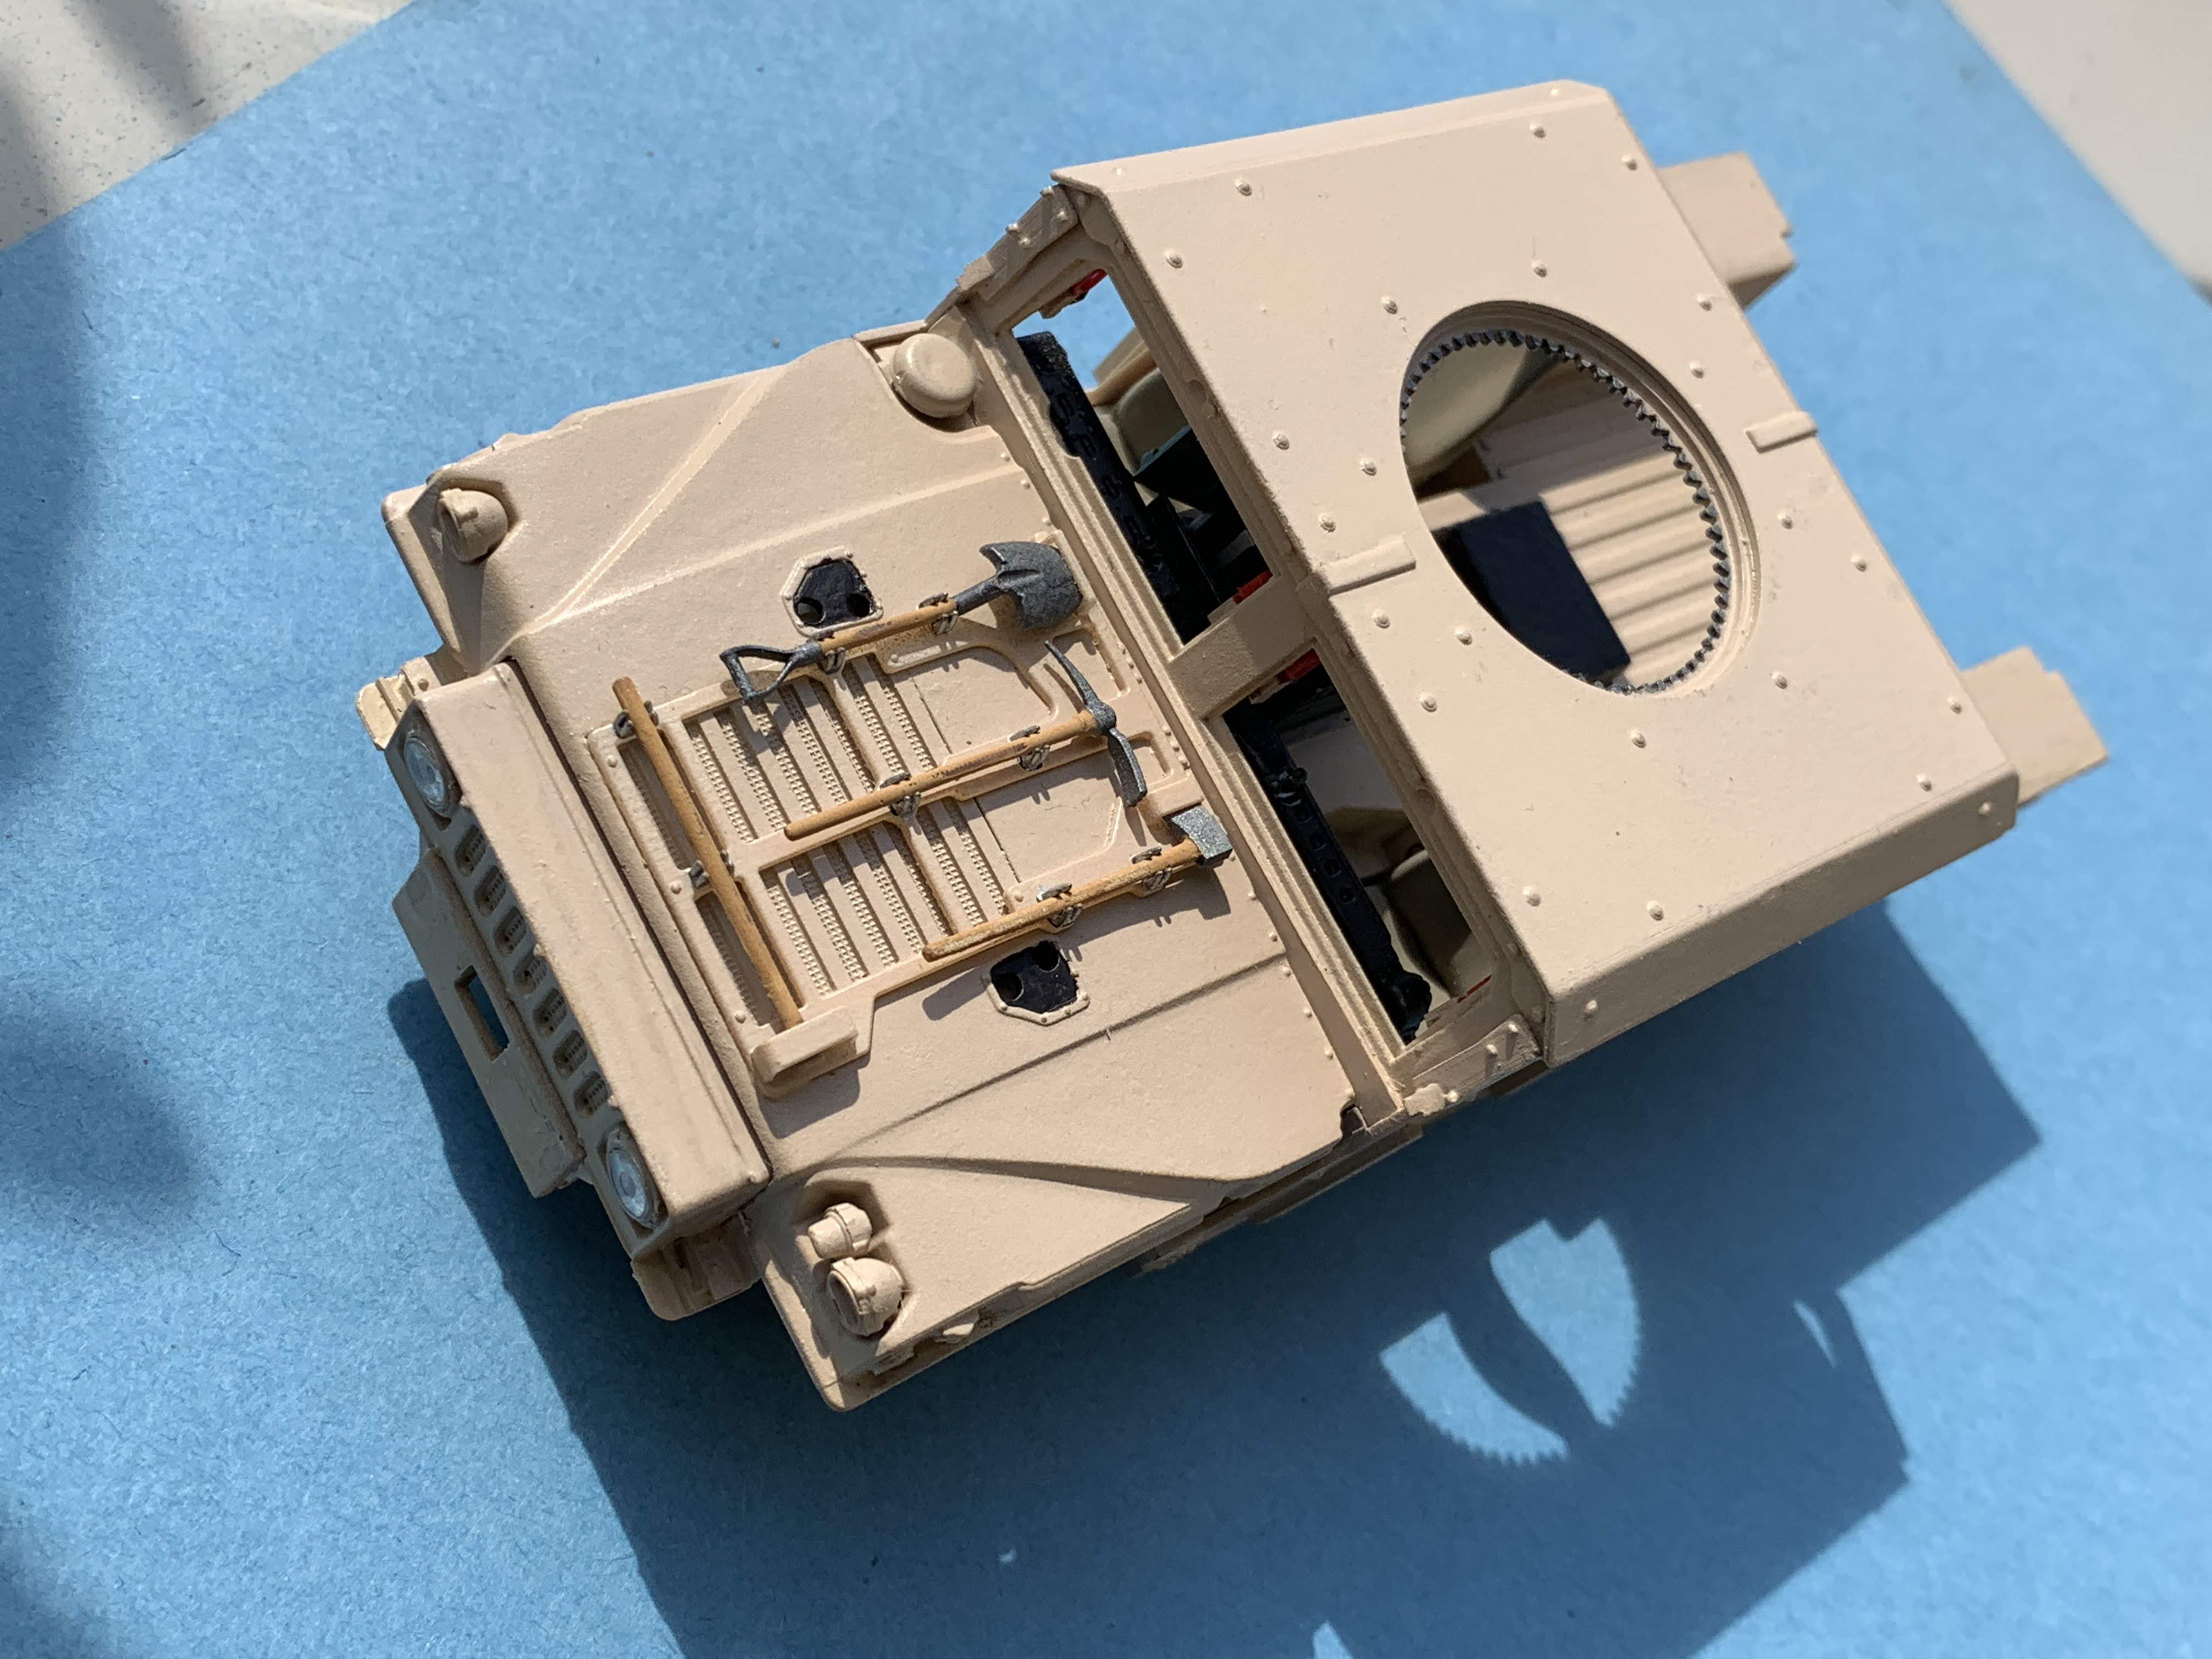
The hole you see in the rear right side has been made to accomodate the cap of the second fuel tank that
is present in this type of GMvs.
I will add the cap at a later stage.

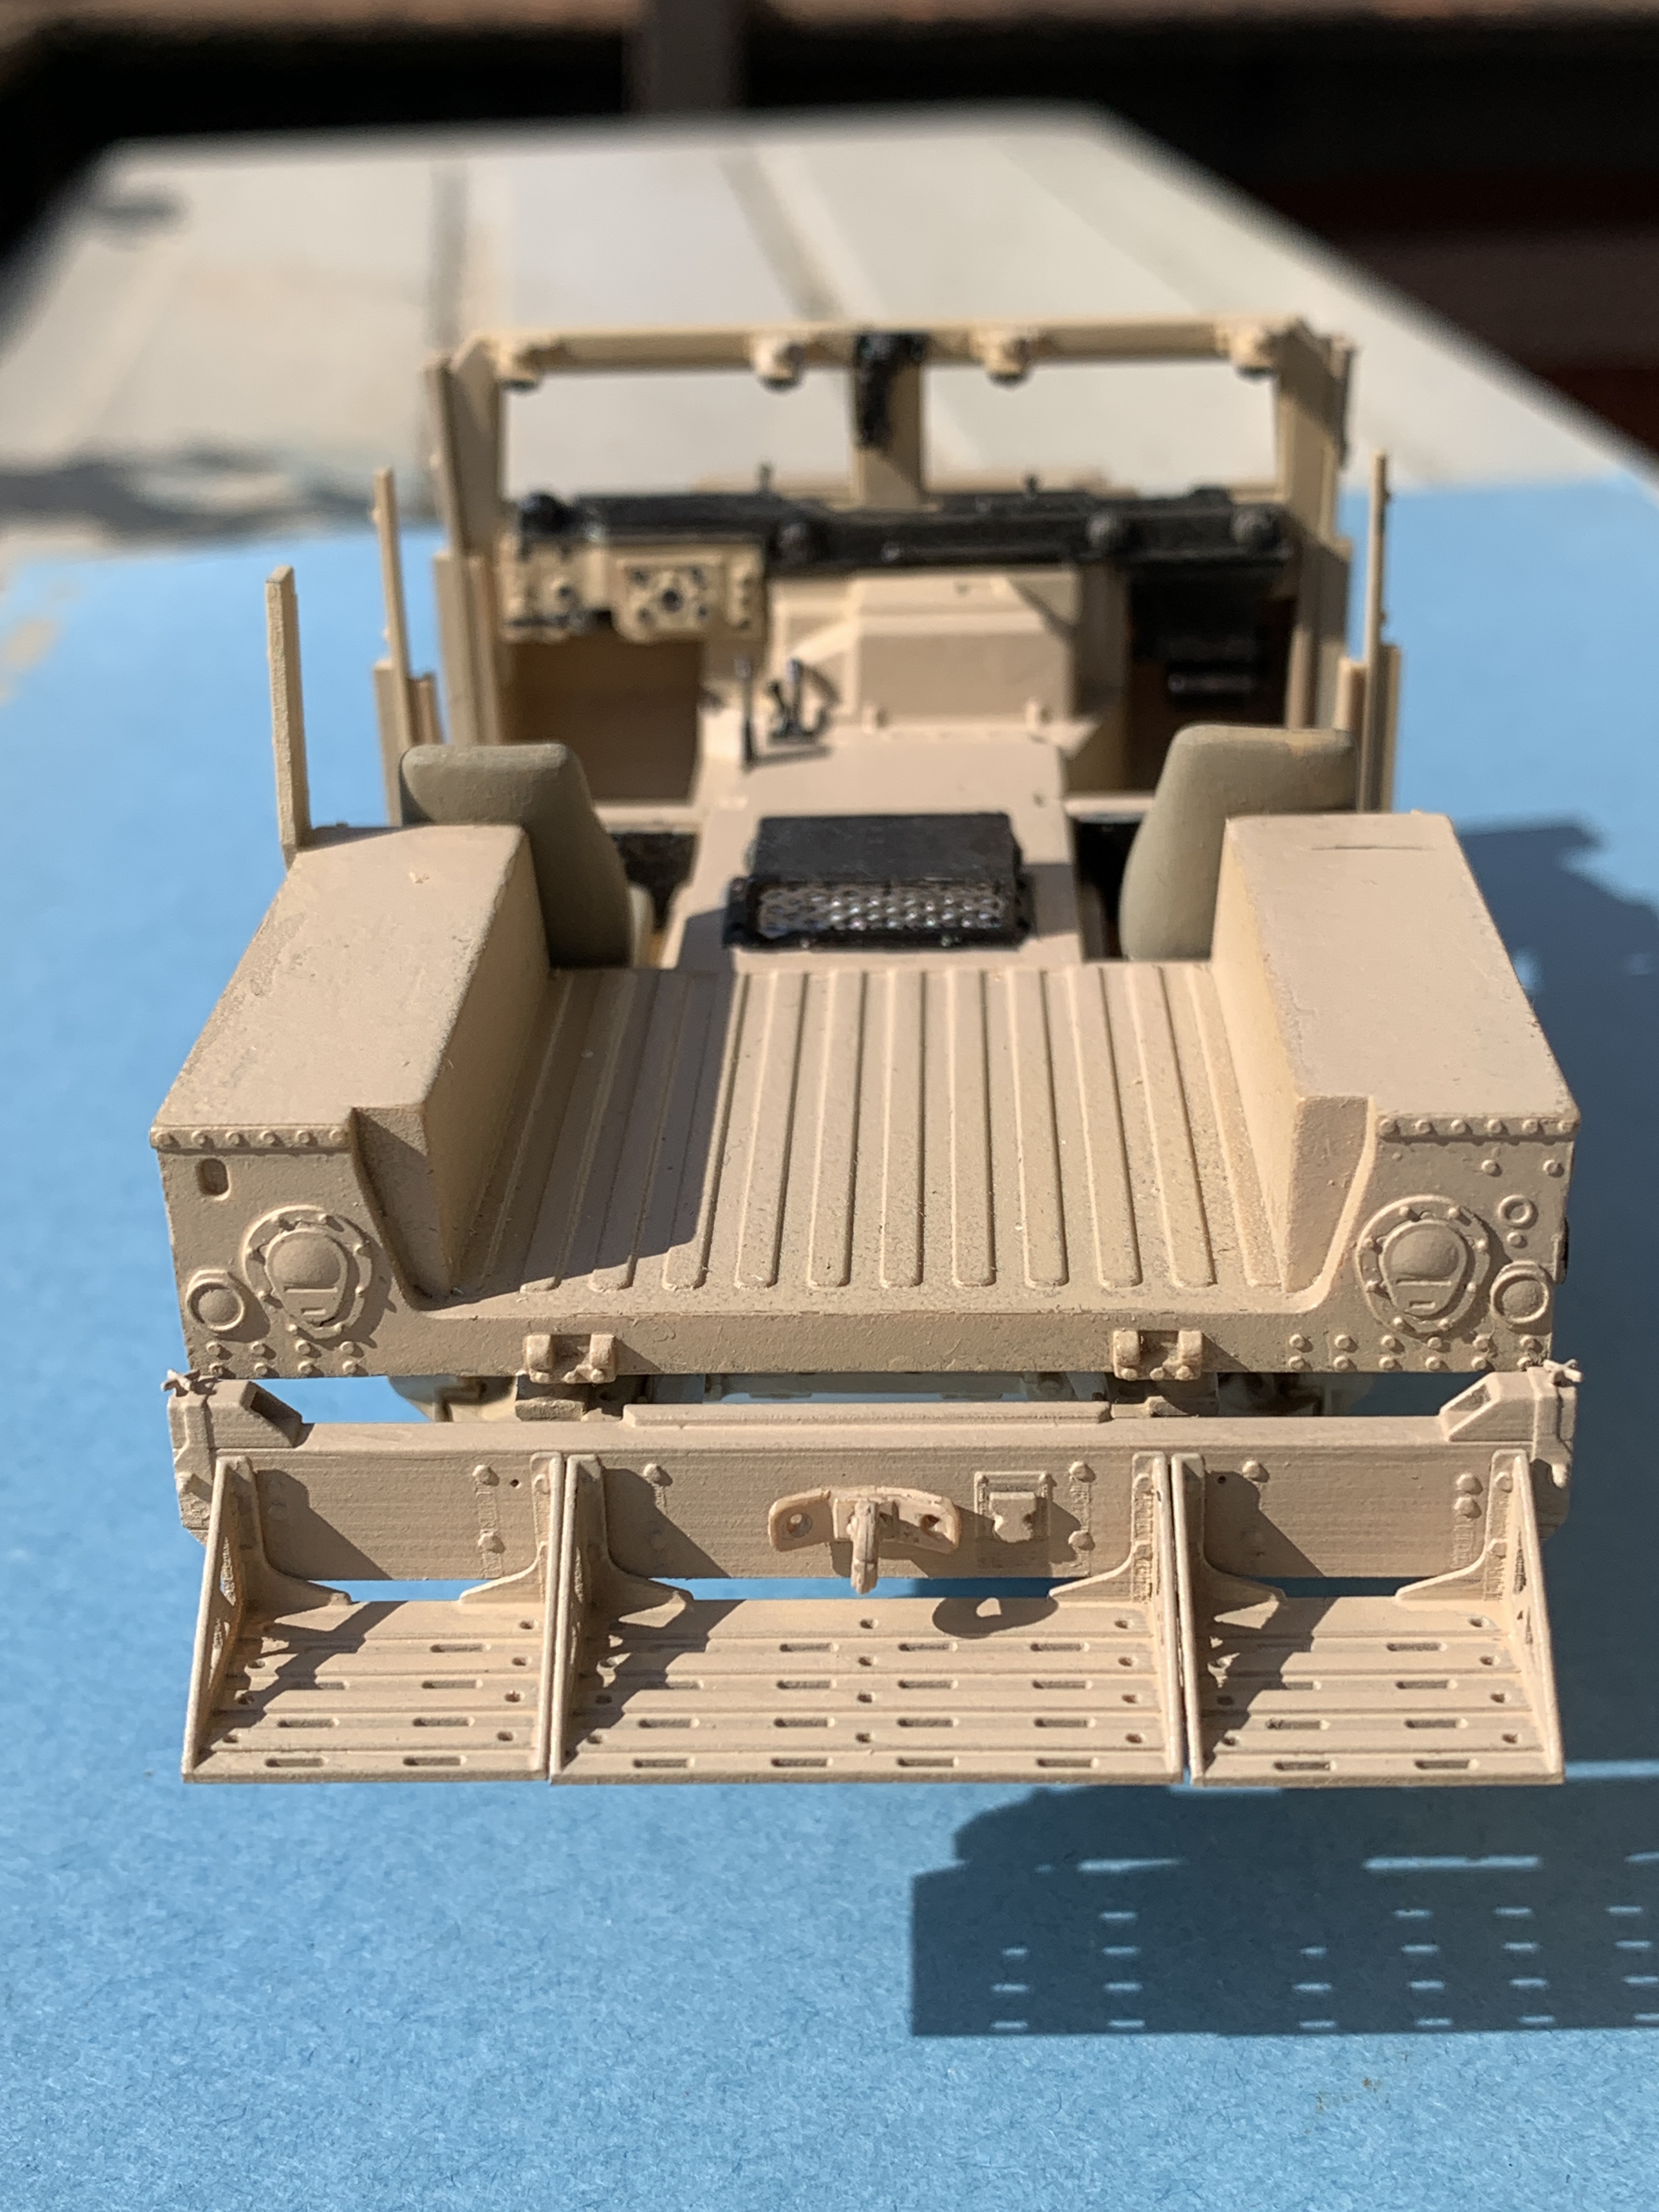
I have then added the rear bumper, also 3D designed by me.


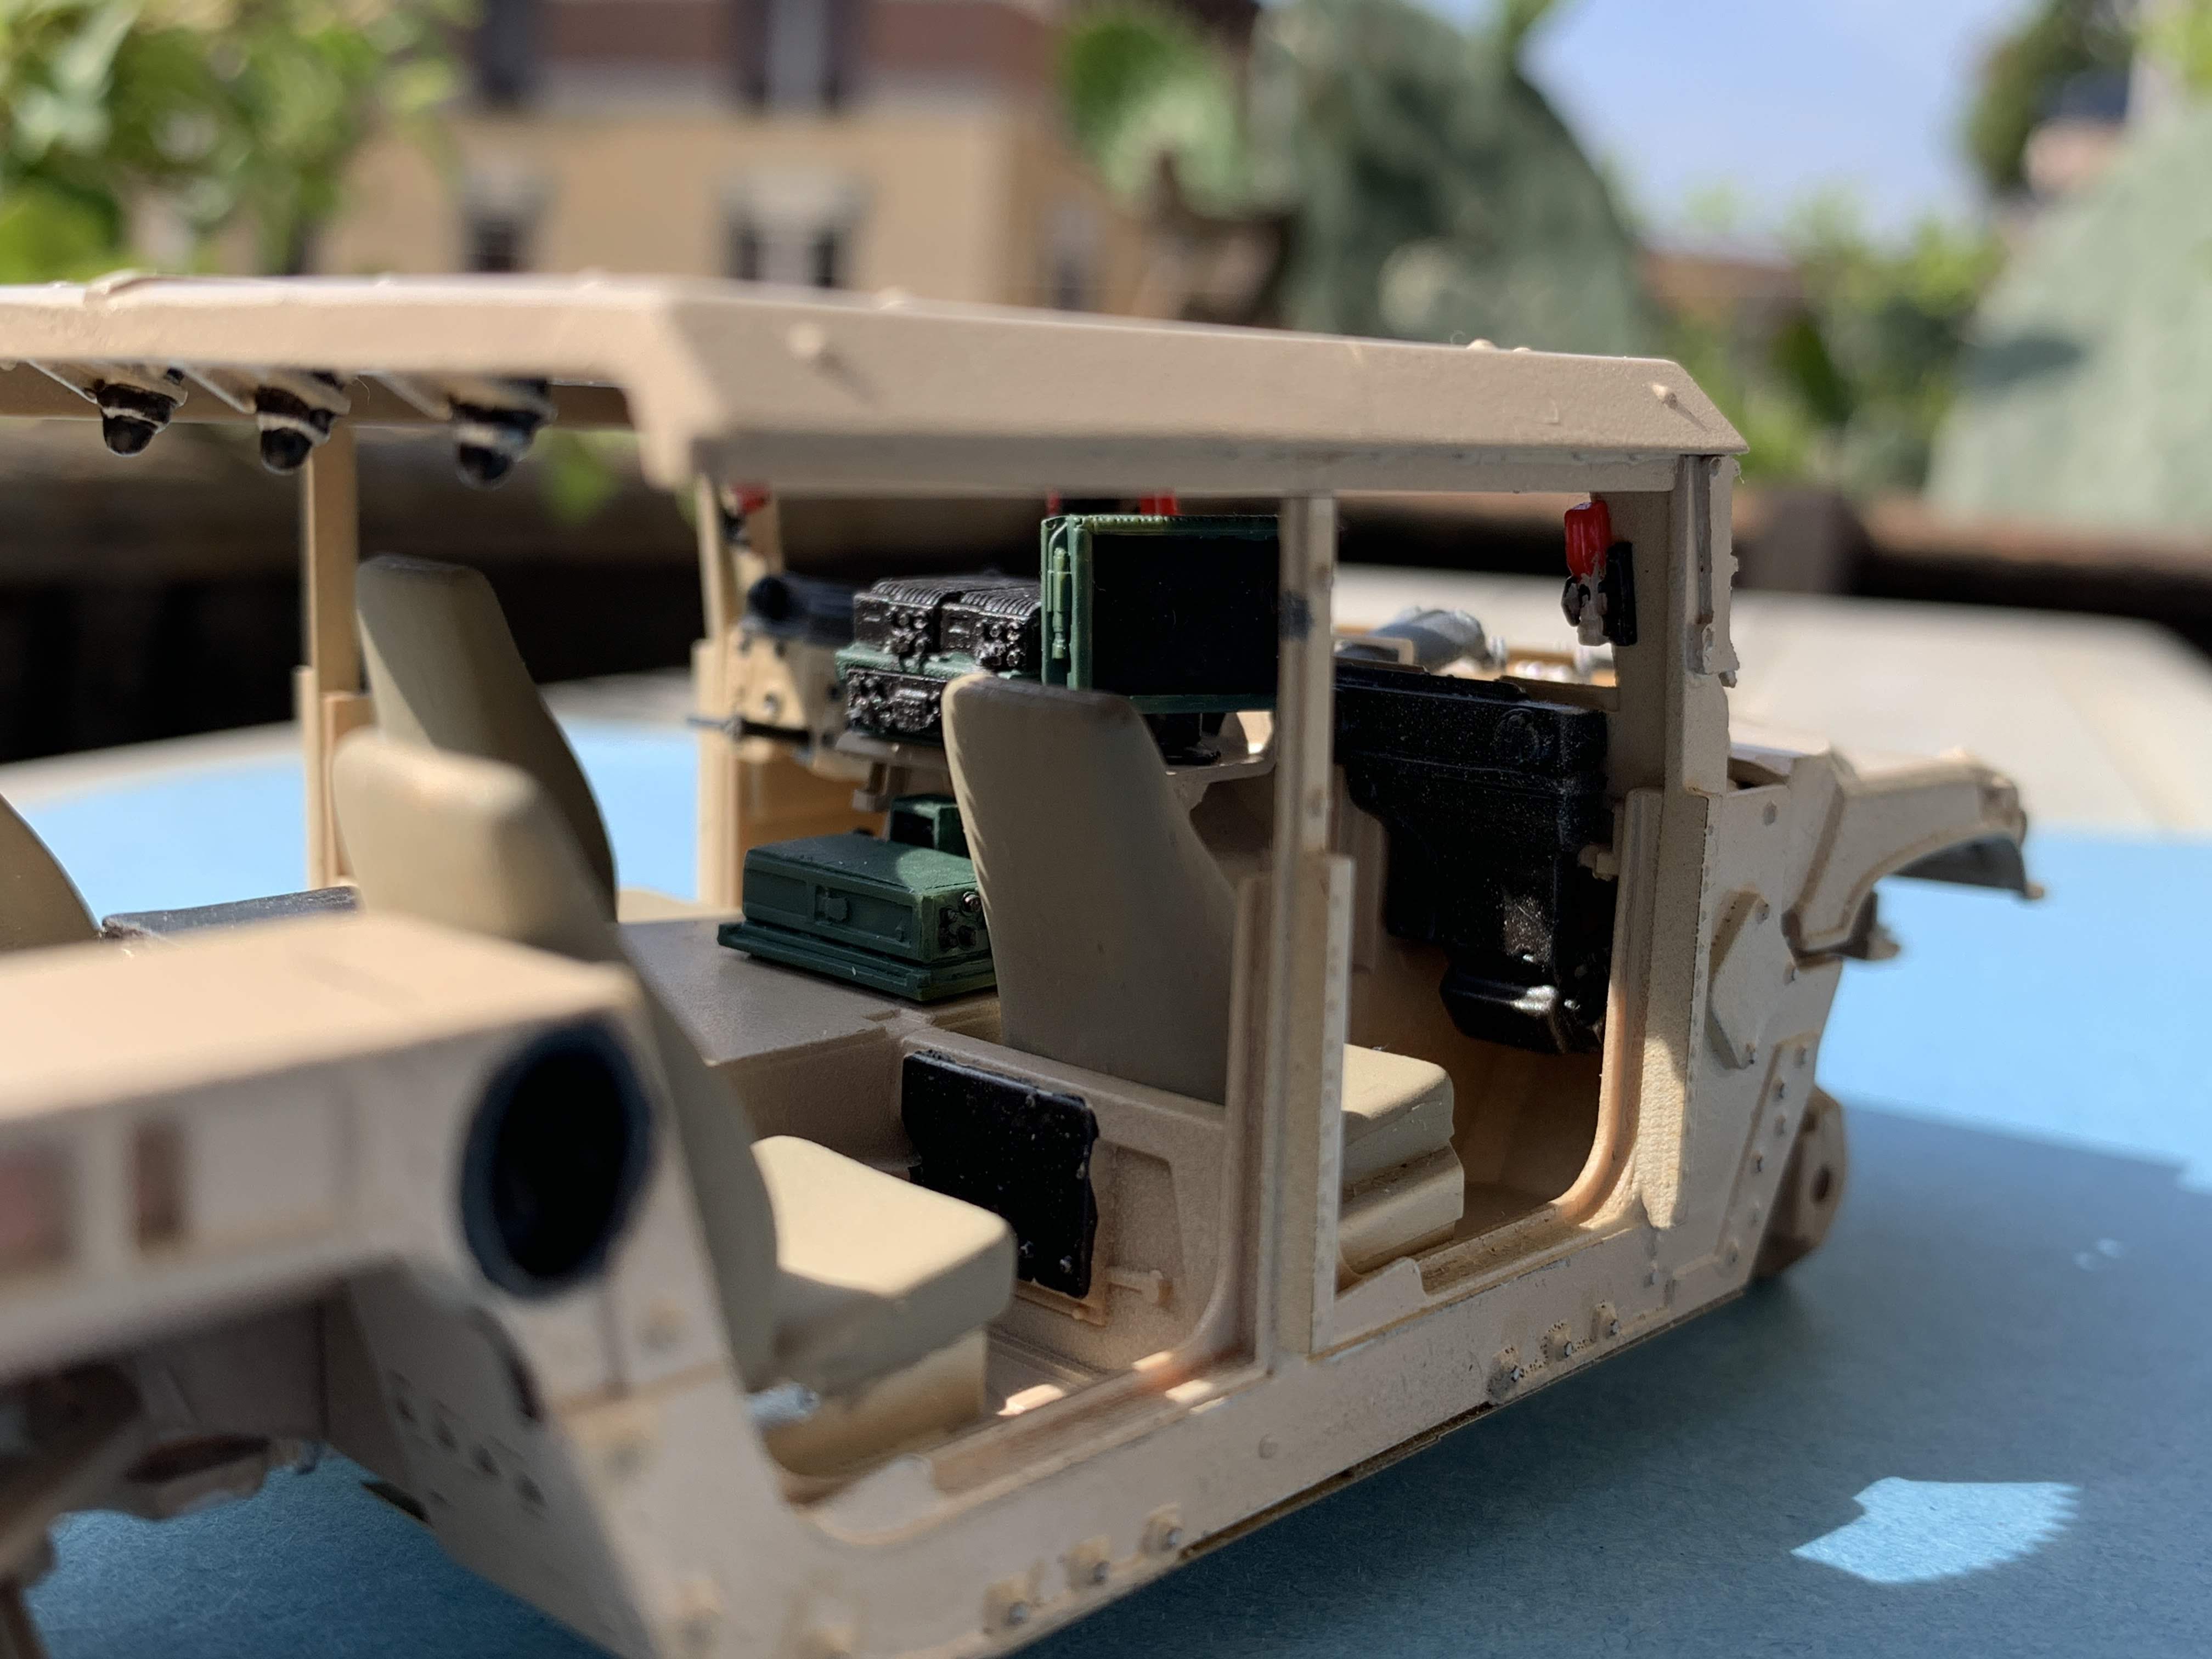
Now I have a question for the Armorama community:
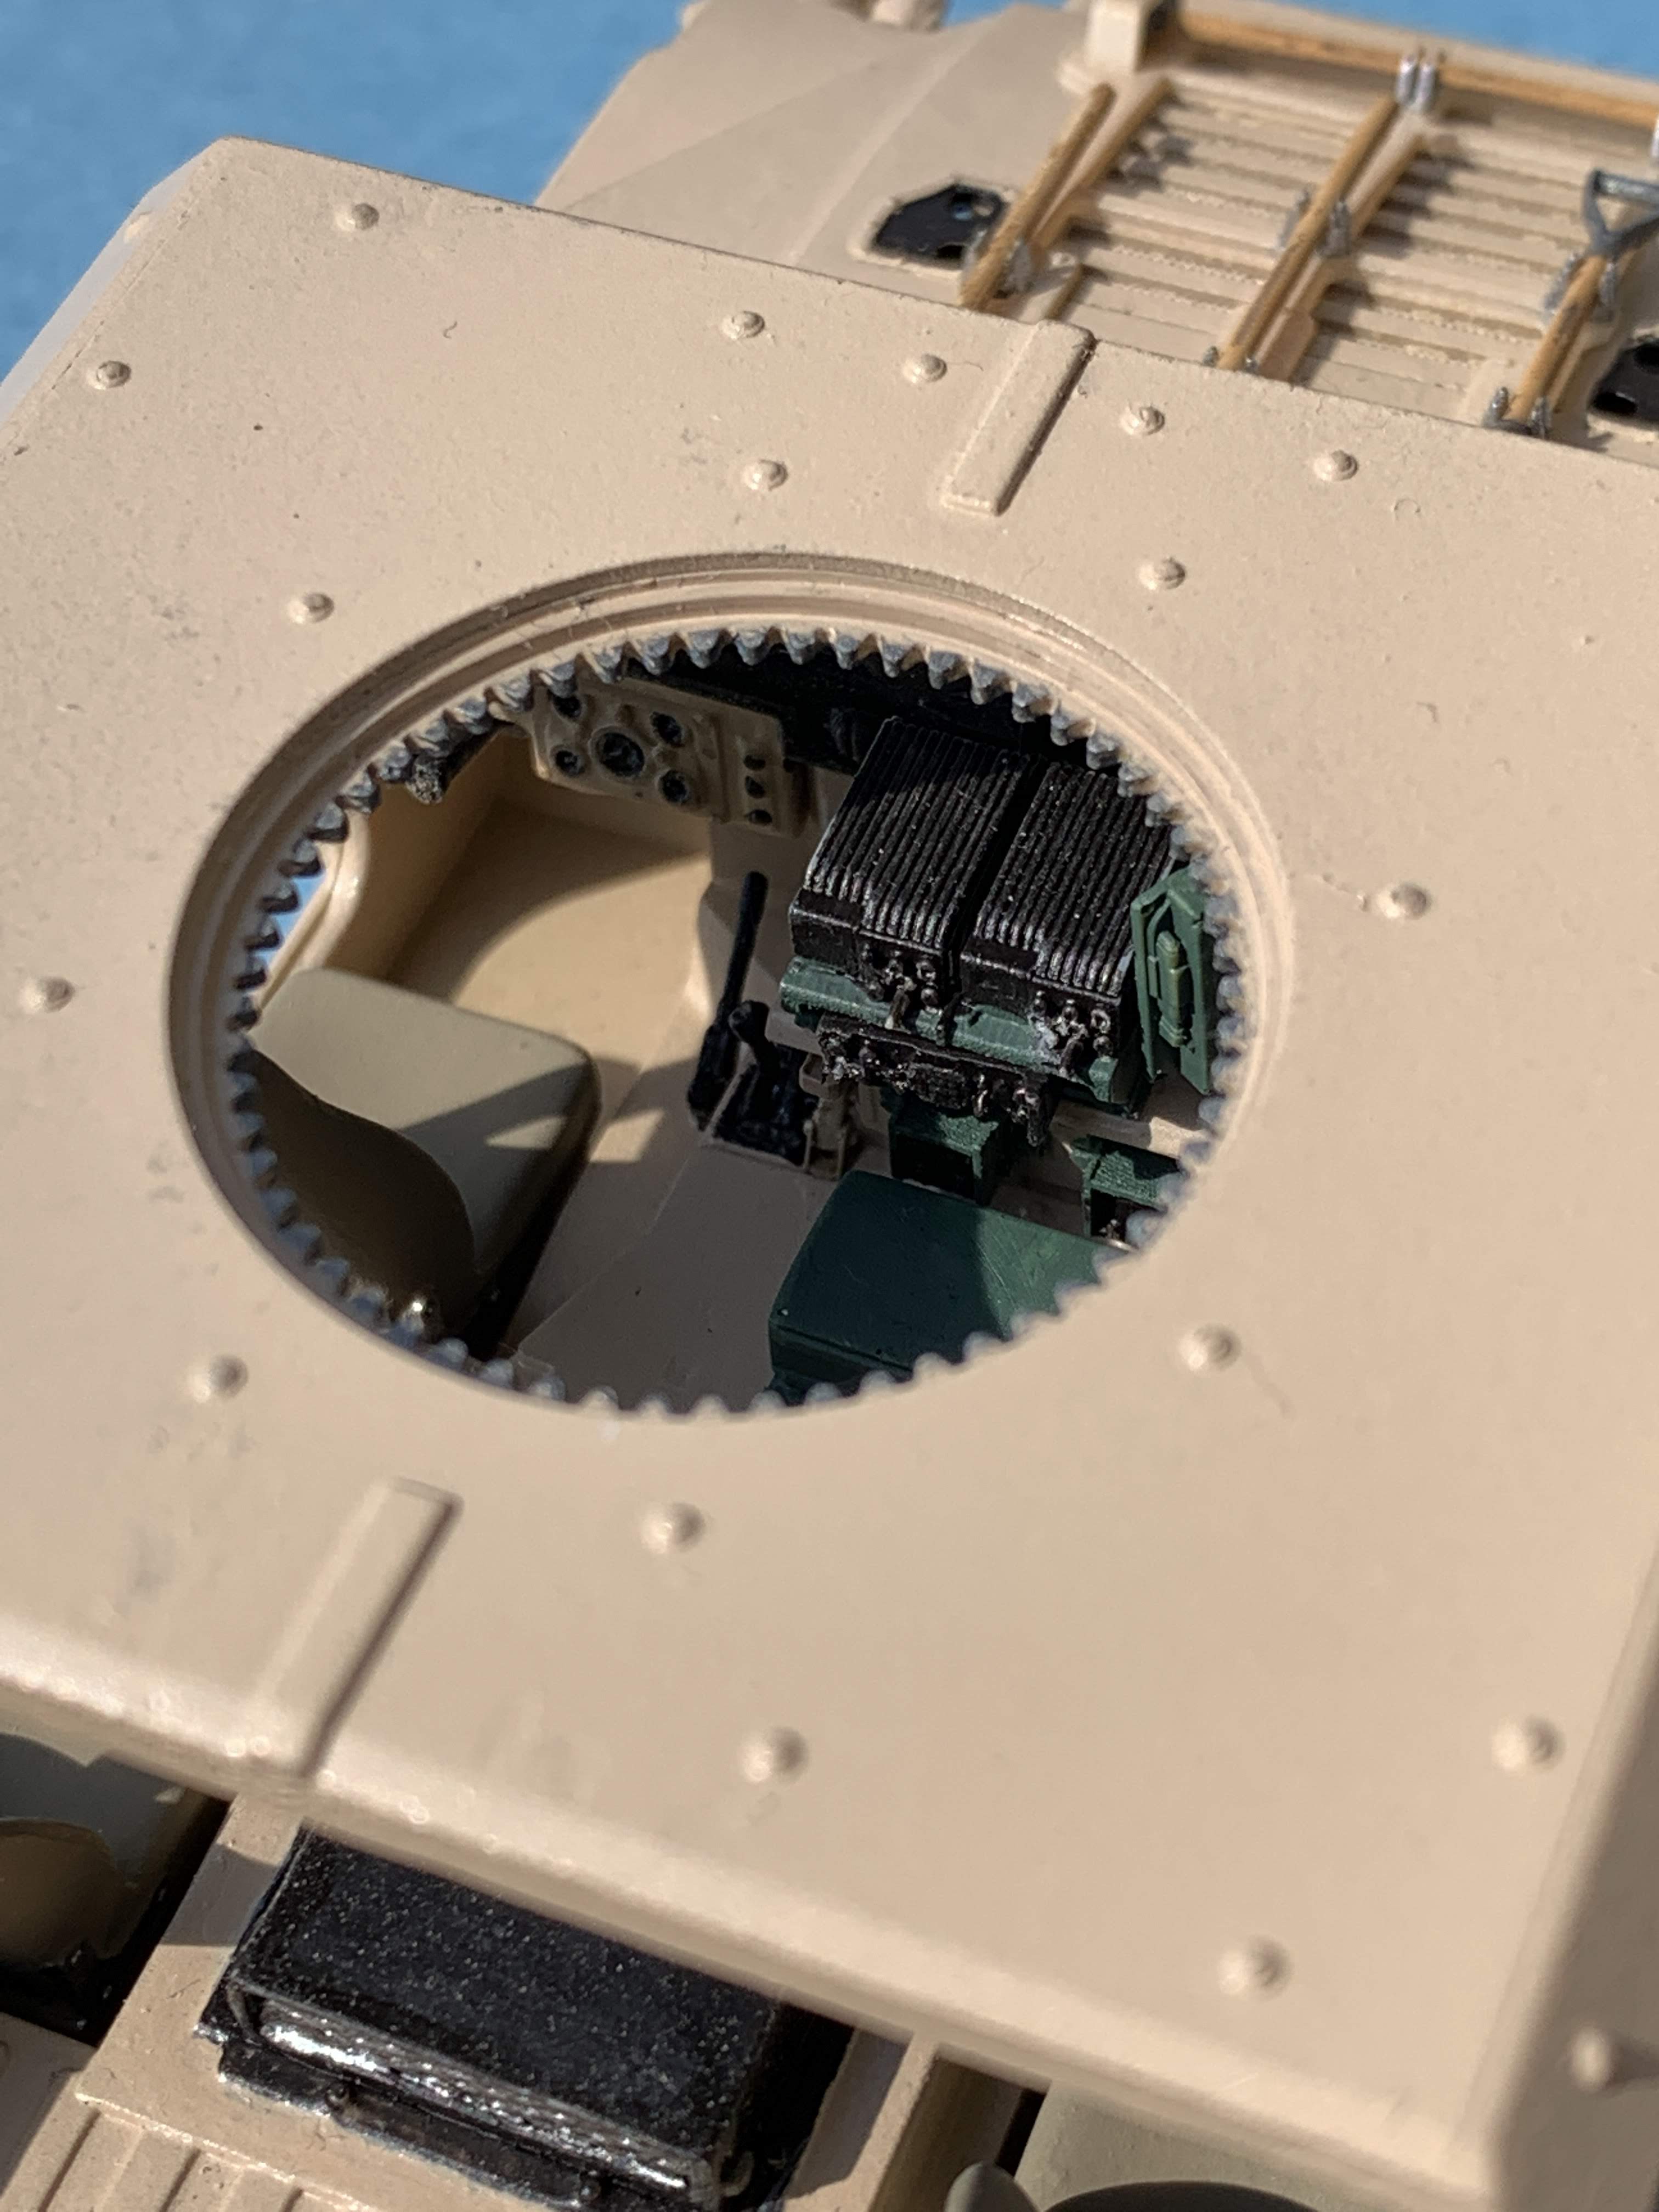
which communication equipments are used in such a GMV ?
Apart from the BFT system, which radios ? AN/VRC 110 or 111 ? AN/PRC 1177F or /G or the PSC-5 ?
Your suggestions are very much appreciated.


More pictures to come in the next post.
MakiWawa
Visit this Community
Warszawa, Poland
Joined: December 17, 2014
KitMaker: 448 posts
Armorama: 448 posts
Posted: Monday, May 04, 2020 - 02:04 AM UTC
I watch with interest. Any specific vehicle you are building? How are you going to deal with the complicated rear buildings?
galactica
Visit this Community
Milano, Italy
Joined: April 11, 2008
KitMaker: 146 posts
Armorama: 126 posts
Posted: Tuesday, May 05, 2020 - 12:04 AM UTC
M1165 GMV's have different doors from the ones in the Academy kit.
As far as I have understood searching the web, they are called Standard Threat Doors.
Here is how I have converted the M1151 doors, with some old-style modelling techniques (cutting, sanding, plasticard)
combined with 3D designing and printing.

I have done the following:
- reshape the profile of the rear doors (in the picture, see the difference of the modified door from the original)
- reshape the profile of the front doors (in the picture, see the small white plasticard part added to the bottom of the door)
- remove from the doors the horizontal strip below the window hole
- fill the six holes for the pins supporting the window frame (they are in the wrong position)


Then I have added the 3D designed parts, including the plate supporting the rear-view mirrors


Maki
Staff MemberSenior Editor
ARMORAMA
Visit this Community
Croatia Hrvatska
Joined: February 13, 2002
KitMaker: 5,579 posts
Armorama: 2,988 posts
Posted: Tuesday, May 05, 2020 - 12:25 AM UTC
Looking good. Some printing lines and imperfections are visible though...

Mario
galactica
Visit this Community
Milano, Italy
Joined: April 11, 2008
KitMaker: 146 posts
Armorama: 126 posts
Posted: Tuesday, May 05, 2020 - 07:50 AM UTC
Hi Mario,
you are absolutely right, printing lines and slightly rough surfaces are the limit of 3D printing.

Indeed, these bugs are highlighted by today camera lenses that make visible details that for the human eyes are sometimes hard to see.

In addition, I have made a mistake with the rear bumper: I have not set the correct printing orientation; if I had set it to horizontal, the surface would have come out without those annoying lines (it has been corrected now for the model available at Shapeways).

I don't want to say that 3D printing quality is the same as, for example, a Live Resin model, but in the end
it's a matter of how you weight the pro's and con's.

Surface quality is not top but, with 3D design, you have almost infinite possibilities to create those parts that are not available in mass production.


galactica
Visit this Community
Milano, Italy
Joined: April 11, 2008
KitMaker: 146 posts
Armorama: 126 posts
Posted: Tuesday, May 05, 2020 - 07:58 AM UTC
Coming to Maki's question.

The rear cage walls are a nightmare to scratch build, at least for my skills.

I have therefore decided to face another nightmare, at least more doable for me, 3D designing them.

Here is a couple of renders of where the design as of now.


18Bravo
Visit this Community
Colorado, United States
Joined: January 20, 2005
KitMaker: 7,219 posts
Armorama: 6,097 posts
Posted: Tuesday, May 05, 2020 - 08:27 AM UTC
That's a nice looking stowage rack on the back. I doubt the printing lines will be very visible once it's loaded down.

As for your question about comms, typically the older gun trucks had two SINCGARS, but they're relatively worthless in most Afghan terrain. We typically ran SATCOM as well. Use the X-wing antenna. I don't remember exactly what we used - Harris, PSC-5 definitely (the PISS 5) I'm not a commo guy - if it didn't have a trigger it generally wasn't in my purview. To be safe here's what you can do: Run the SATCOM wire from the antenna into a go bag. They were often set up so we could take the radios out of the truck. Como guy usually carried some sort of foldable antenna that looked lie a big broken umbrella.
HermannB
Visit this Community
Bayern, Germany
Joined: October 14, 2008
KitMaker: 4,099 posts
Armorama: 4,067 posts
Posted: Saturday, May 16, 2020 - 02:18 AM UTC
That rear compartment is looking good. I was thinking of building one myself until I noticed the donor kit is no longer available.

If we are thinking of the same GMV, which of you 3D printed parts would you recommend?
galactica
Visit this Community
Milano, Italy
Joined: April 11, 2008
KitMaker: 146 posts
Armorama: 126 posts
Posted: Monday, May 18, 2020 - 09:03 AM UTC
I have completed the design of the cargo walls; indeed it has been, as I expected, a tough job.
I hve submitted the 3D model file to Shapeways for printing.
Hope that the model is printable as it is, without requiring revision of the design.

Since the walls are really complex, with many contact points with the rest of the model, I want to verify if it fits well
before making it available to everone.


I still have to design the rear antenna bases and the ammo boxes holders.
I will add them to the final 3D model.
Maki
Staff MemberSenior Editor
ARMORAMA
Visit this Community
Croatia Hrvatska
Joined: February 13, 2002
KitMaker: 5,579 posts
Armorama: 2,988 posts
Posted: Monday, May 18, 2020 - 07:28 PM UTC
Looking really good. I admire all the work you put into designing the pieces for the GMV conversion. Have you considered offering those designs to a company who would then produce those in resin?

Mario
galactica
Visit this Community
Milano, Italy
Joined: April 11, 2008
KitMaker: 146 posts
Armorama: 126 posts
Posted: Tuesday, May 19, 2020 - 10:04 AM UTC

Quoted Text

That rear compartment is looking good. I was thinking of building one myself until I noticed the donor kit is no longer available.

If we are thinking of the same GMV, which of you 3D printed parts would you recommend?


Hans-Hermann,
as you know, there is also some help from you behind this work, thank you again for that.

I have already drawn many parts for this model:
windshield, pioneer toolkit, rear bumper, side armour, passenger compartment rear wall, doors conversion set, cargo cage. In my model I will also use the egg-beater antenna and the muffler & catalytic converter.
In addition, I'm planning to draw the spare tire support, the ammo boxes holders and maybe the second rear shock absorber.

At the end, more new parts than the ones from the M1151 Academy.

galactica
Visit this Community
Milano, Italy
Joined: April 11, 2008
KitMaker: 146 posts
Armorama: 126 posts
Posted: Thursday, May 28, 2020 - 08:07 AM UTC
A few pictures of the pioneer toolkit


and some pictures of the radio equipments


3D printed cargo walls are arriving in the next days.
I'll post pictures as soon as I can.
galactica
Visit this Community
Milano, Italy
Joined: April 11, 2008
KitMaker: 146 posts
Armorama: 126 posts
Posted: Monday, June 29, 2020 - 07:36 AM UTC
3D printed cargo walls have arrived.


More pictures will follow tomorrow.
HermannB
Visit this Community
Bayern, Germany
Joined: October 14, 2008
KitMaker: 4,099 posts
Armorama: 4,067 posts
Posted: Monday, June 29, 2020 - 07:41 AM UTC
Excellently done!
gogs007
Visit this Community
Scotland, United Kingdom
Joined: February 03, 2007
KitMaker: 313 posts
Armorama: 285 posts
Posted: Monday, June 29, 2020 - 05:29 PM UTC
Great looking work
Maki
Staff MemberSenior Editor
ARMORAMA
Visit this Community
Croatia Hrvatska
Joined: February 13, 2002
KitMaker: 5,579 posts
Armorama: 2,988 posts
Posted: Monday, June 29, 2020 - 06:50 PM UTC
Very nice! You have done great work on 3D models.

Mario
Broiler
Visit this Community
Maryland, United States
Joined: February 23, 2006
KitMaker: 84 posts
Armorama: 81 posts
Posted: Wednesday, July 01, 2020 - 11:14 AM UTC
Will these cargo walls be available for sale?

Thanks,
BK


Quoted Text

3D printed cargo walls have arrived.


More pictures will follow tomorrow.

galactica
Visit this Community
Milano, Italy
Joined: April 11, 2008
KitMaker: 146 posts
Armorama: 126 posts
Posted: Thursday, July 02, 2020 - 08:24 AM UTC
Yes, they are available at Shapeways.
Go to "Priamide Models" page or search for "m1165 army gmv".


Quoted Text

Will these cargo walls be available for sale?

Thanks,
BK


galactica
Visit this Community
Milano, Italy
Joined: April 11, 2008
KitMaker: 146 posts
Armorama: 126 posts
Posted: Friday, July 17, 2020 - 07:07 PM UTC

more assembly done, while still designing other parts like the spare tire mount.


Maki
Staff MemberSenior Editor
ARMORAMA
Visit this Community
Croatia Hrvatska
Joined: February 13, 2002
KitMaker: 5,579 posts
Armorama: 2,988 posts
Posted: Friday, July 17, 2020 - 07:48 PM UTC
Looking good, really good.

Mario
Trisaw
Visit this Community
California, United States
Joined: December 24, 2002
KitMaker: 4,105 posts
Armorama: 2,492 posts
Posted: Sunday, July 19, 2020 - 05:51 AM UTC
Hey, that looks excellent...nice job!
galactica
Visit this Community
Milano, Italy
Joined: April 11, 2008
KitMaker: 146 posts
Armorama: 126 posts
Posted: Friday, October 30, 2020 - 06:59 AM UTC
Model has been completed (finally).

I’m going to post pictures in the new forum.
 _GOTOTOP