Hosted by Darren Baker
Hobby Fan's Riverine Firing Platform-Vietnam

sherb

Joined: August 25, 2004
KitMaker: 752 posts
Armorama: 378 posts

Posted: Wednesday, May 06, 2020 - 11:10 AM UTC
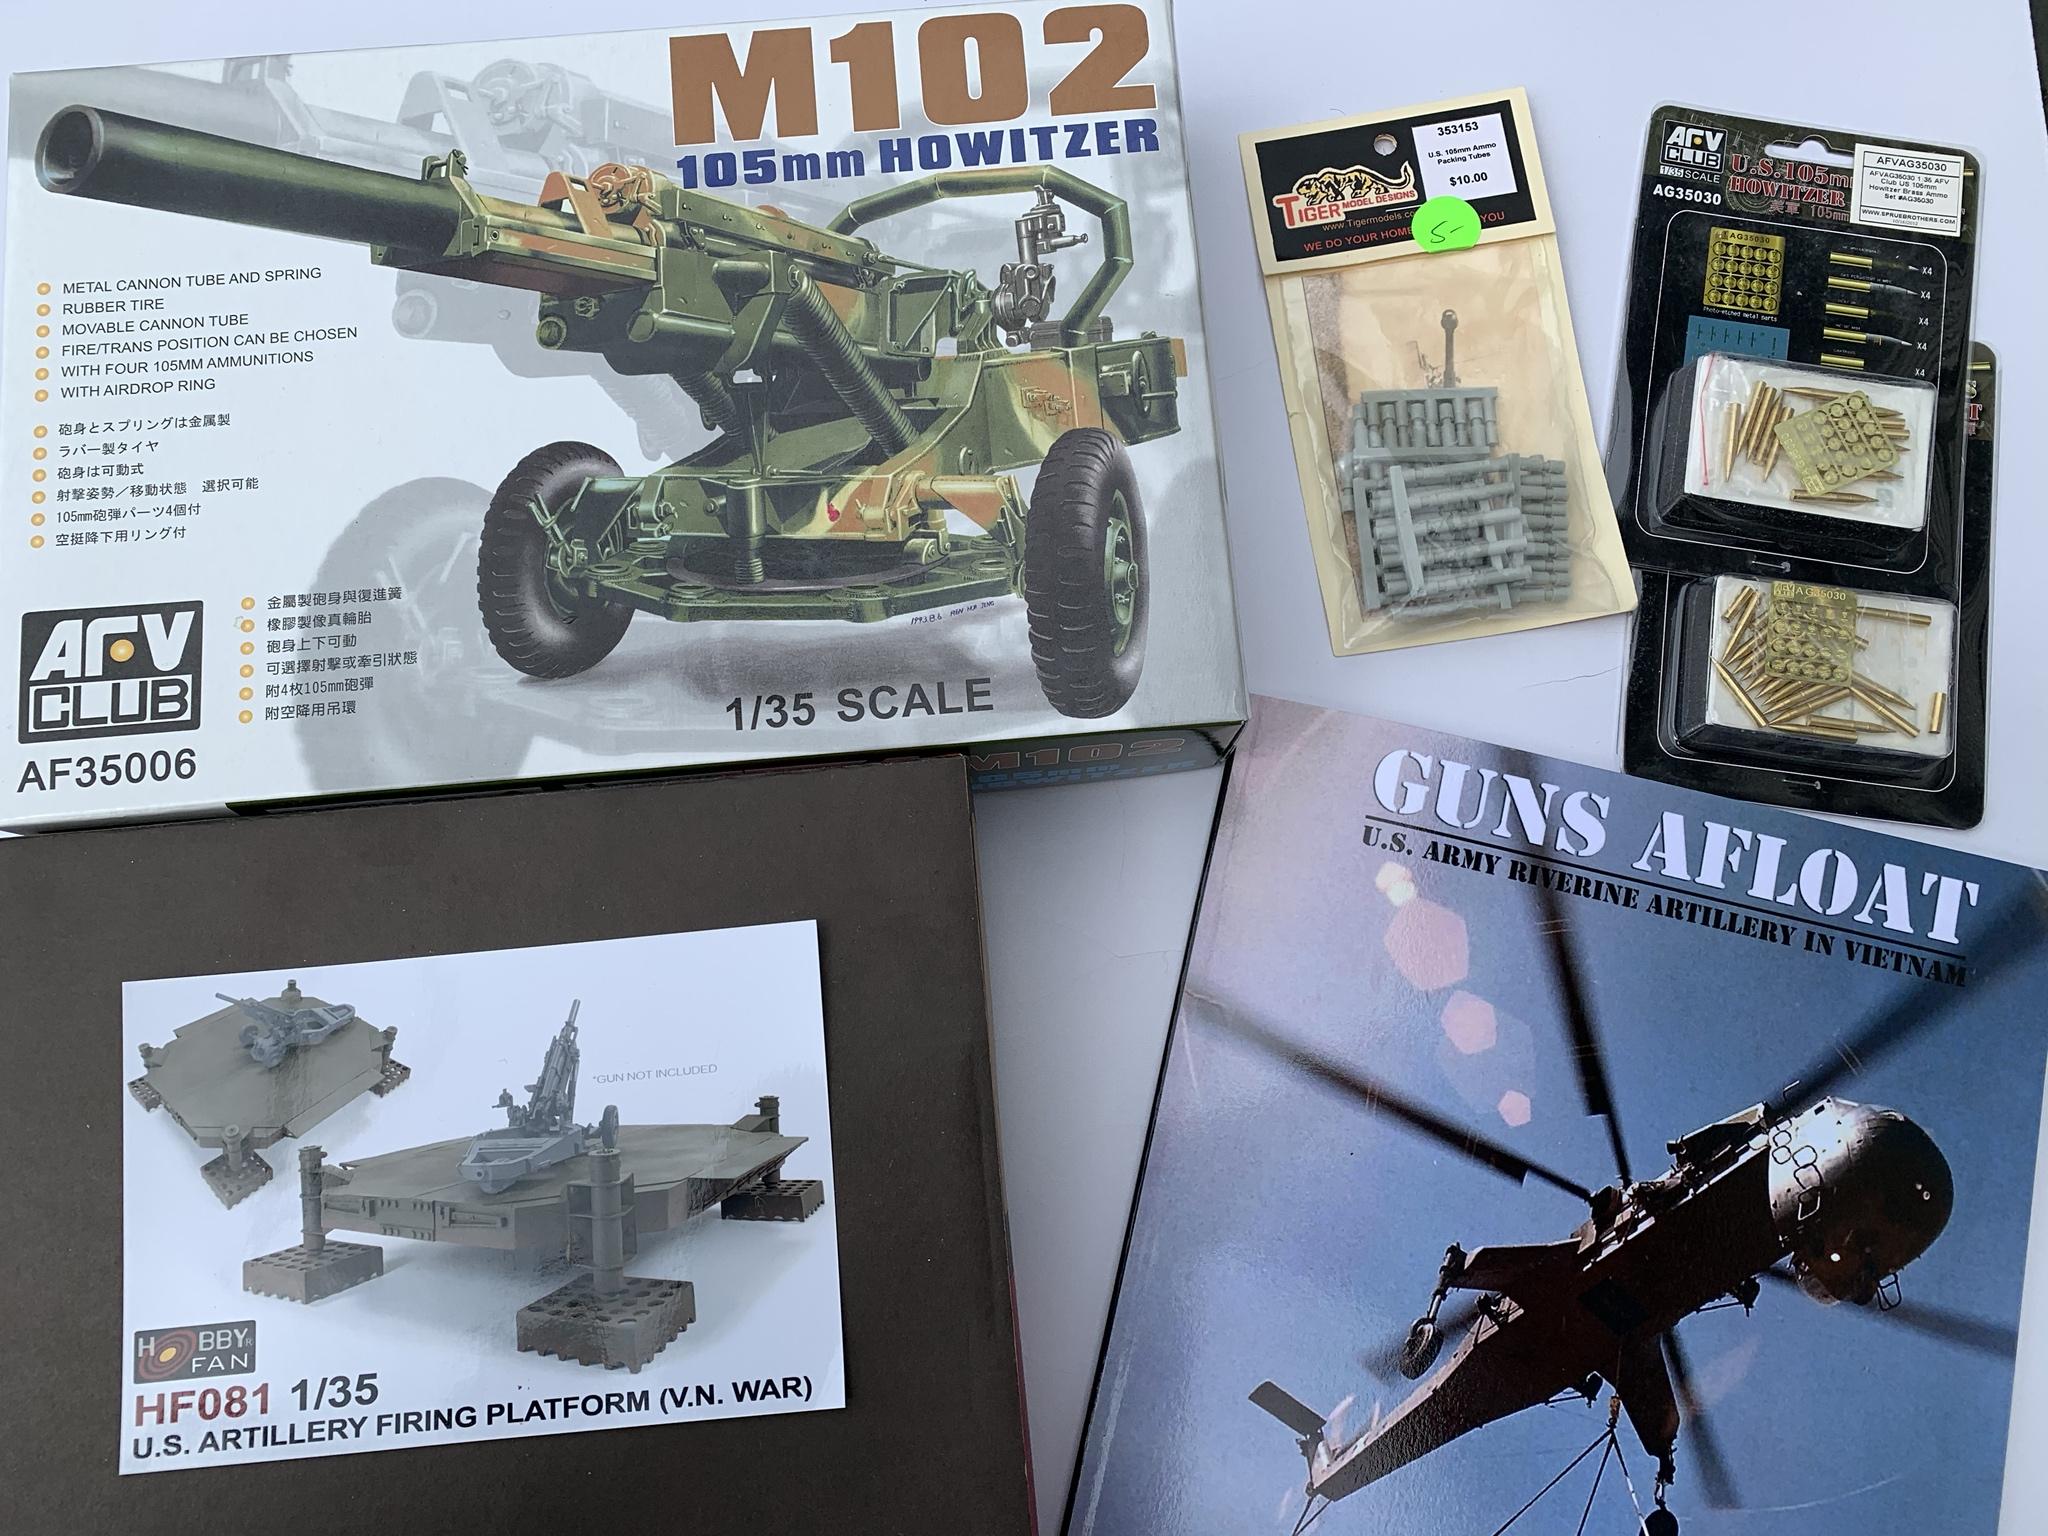
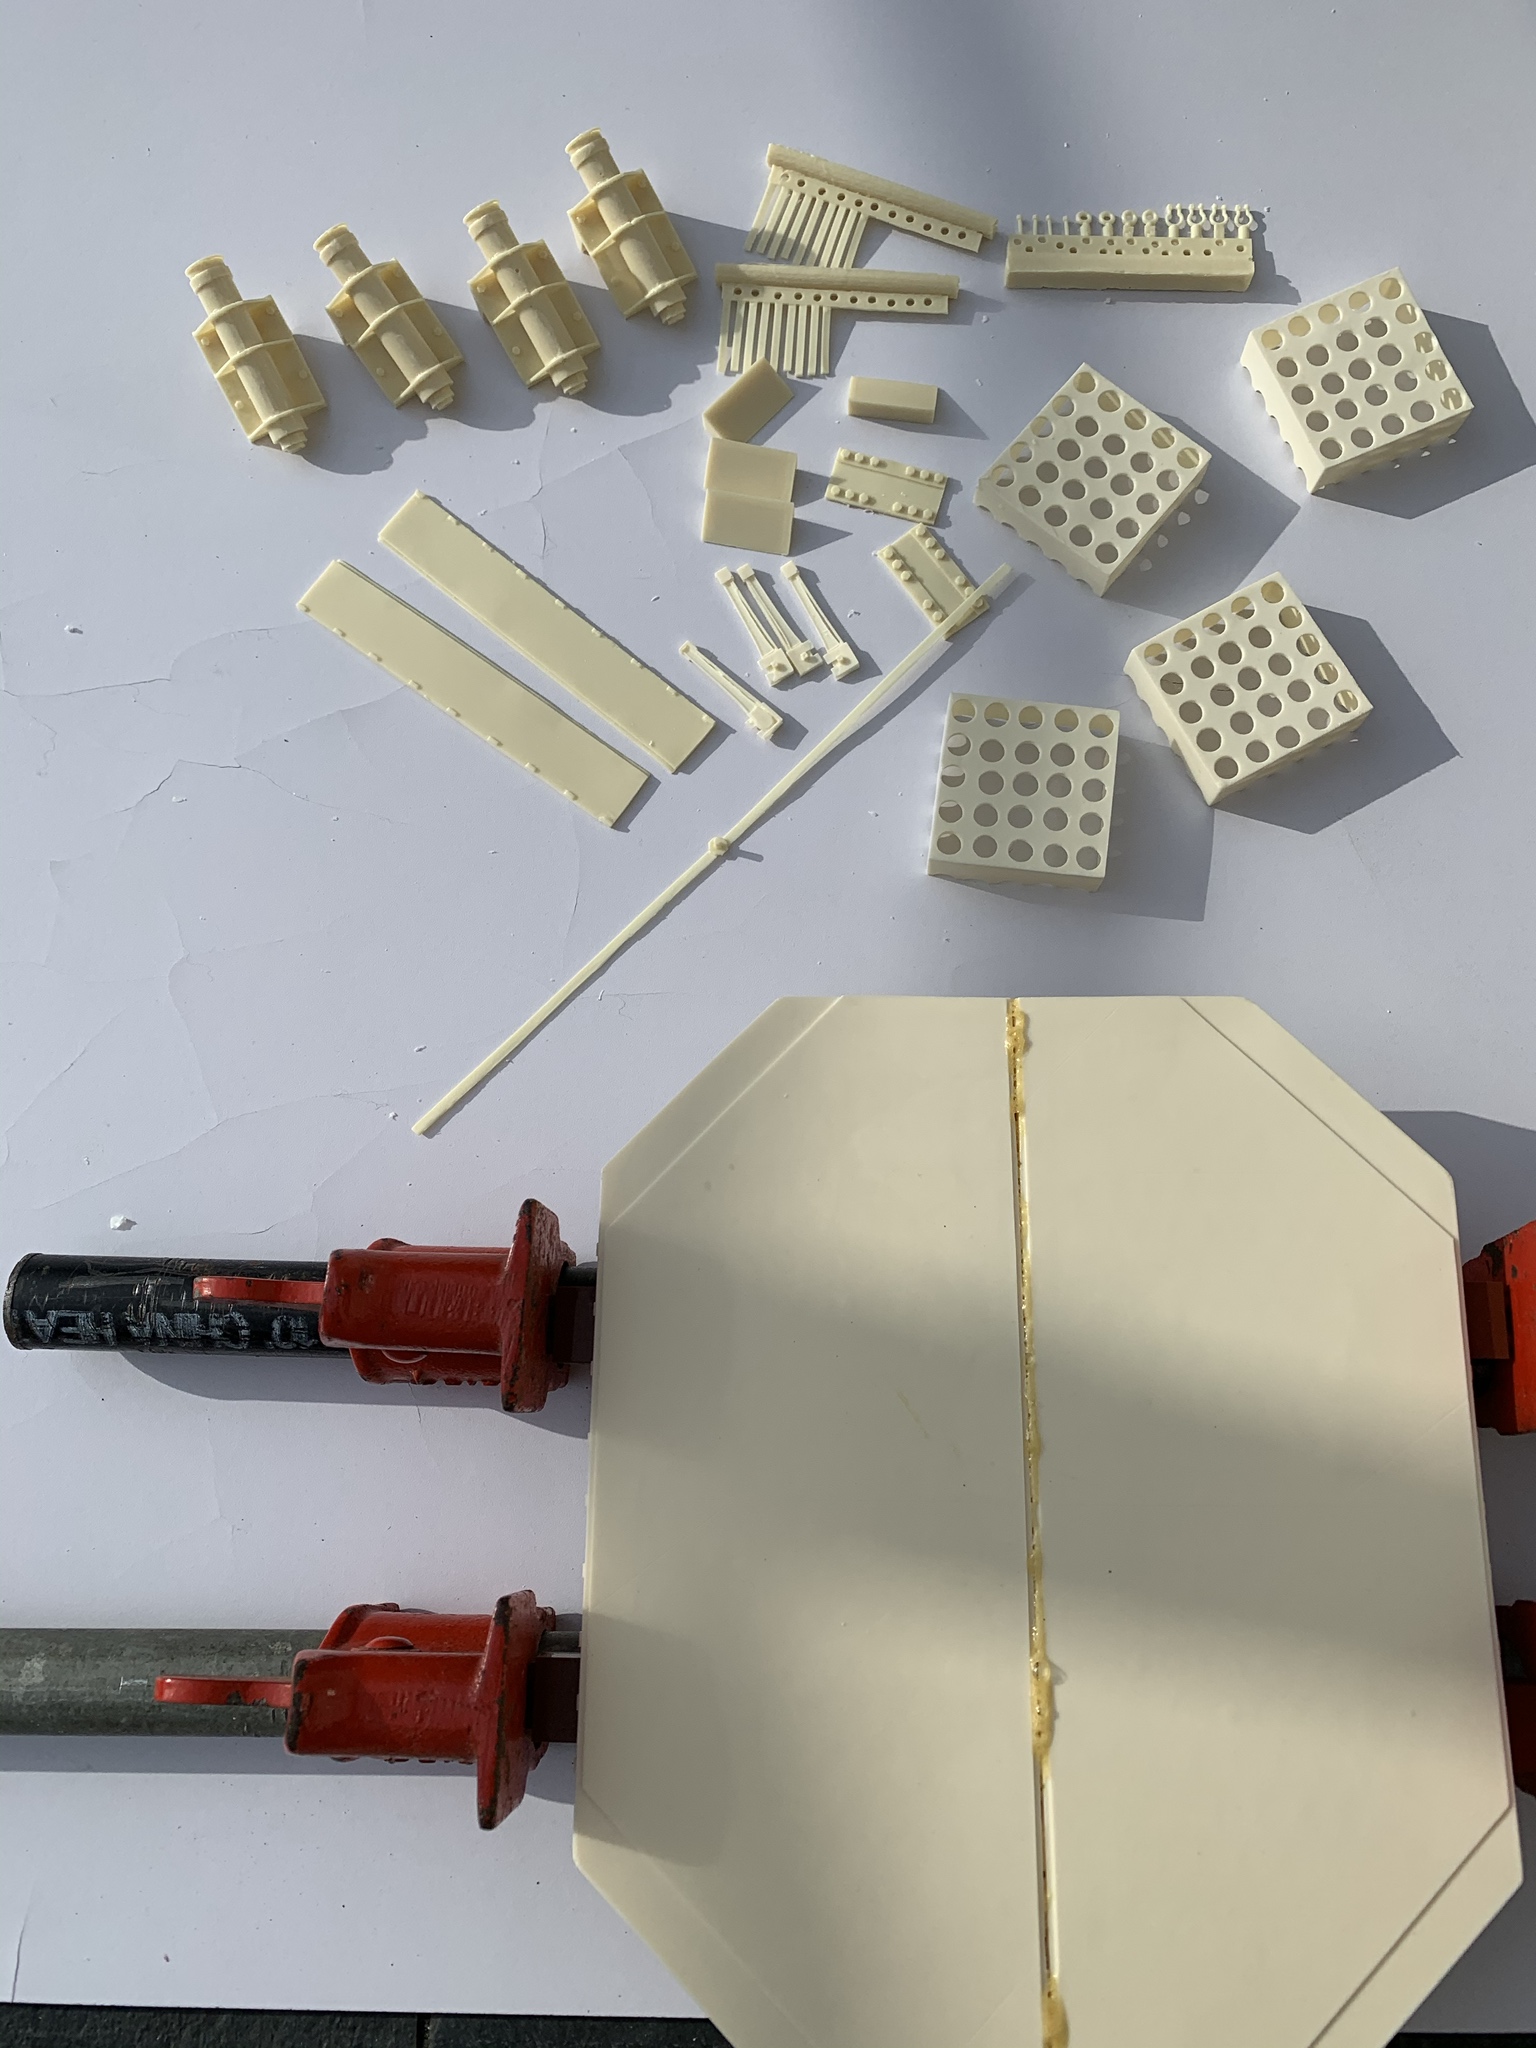
A little while back I picked up Hobby Fan's Riverine Firing Platform for the M102. With the nice weather this past weekend I finally got around to starting it. Here it is along with some other goodies for the project


sherb

Joined: August 25, 2004
KitMaker: 752 posts
Armorama: 378 posts

Posted: Wednesday, May 06, 2020 - 11:13 AM UTC
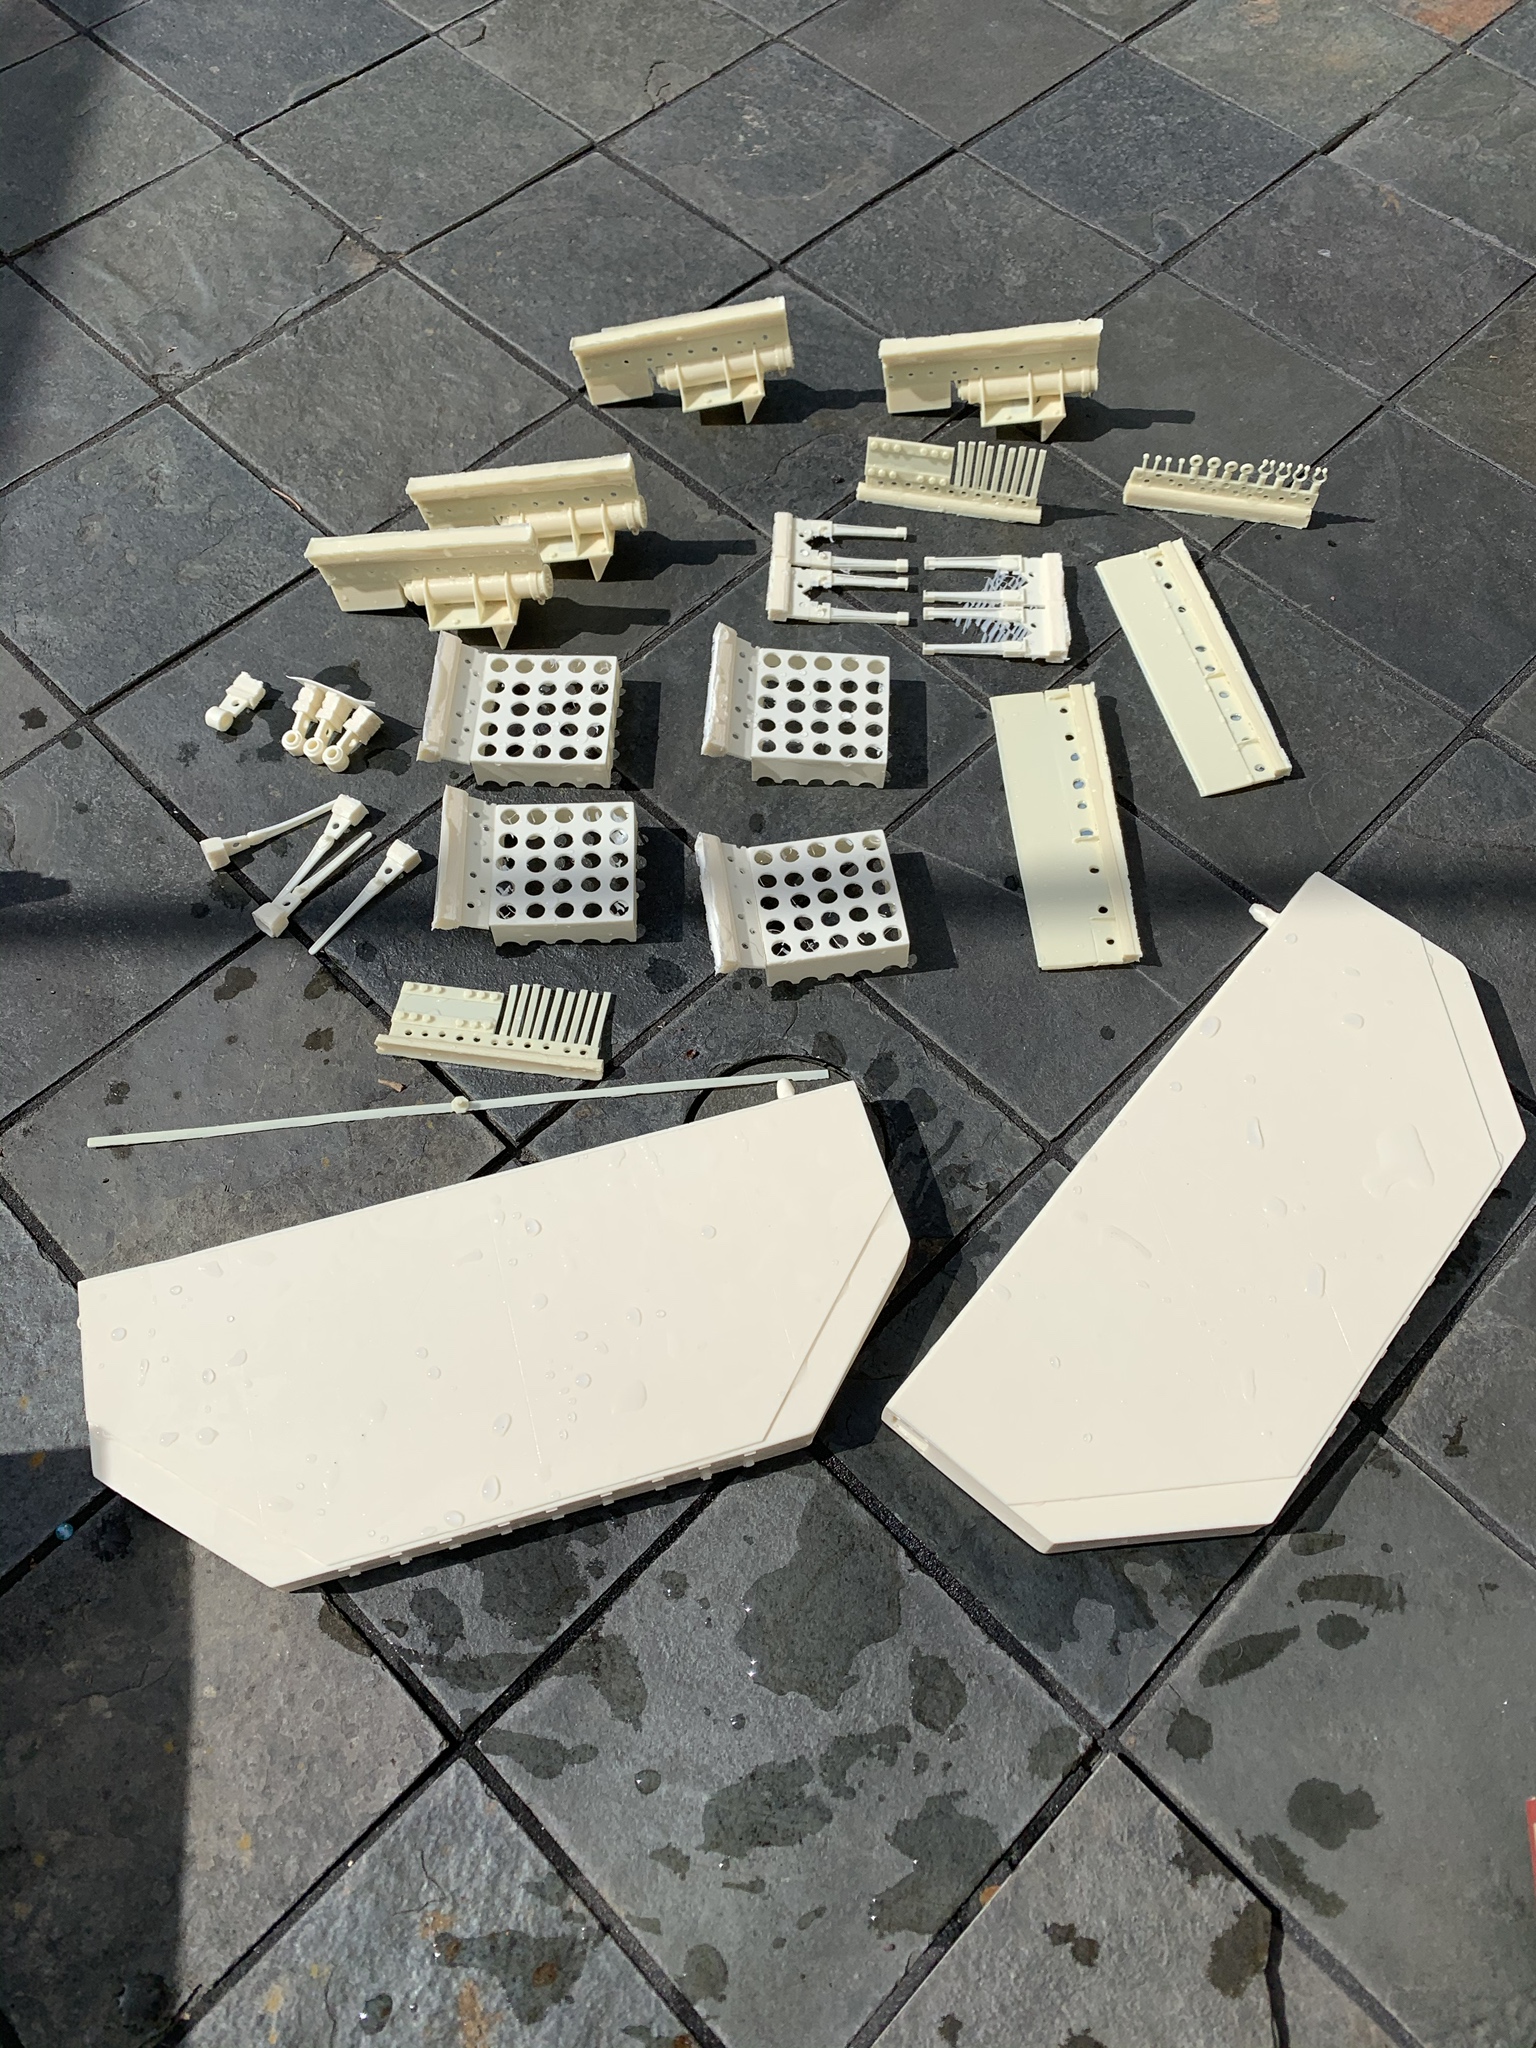
Here are all the parts after a quick wash.

Removed by original poster on 05/06/20 - 23:36:04 (GMT).
Posted: Wednesday, May 06, 2020 - 12:06 PM UTC
Wow, cool, looks pretty big, Iíll be watching 👍

HeavyArty


Joined: May 16, 2002
KitMaker: 17,694 posts
Armorama: 13,742 posts

Posted: Wednesday, May 06, 2020 - 01:09 PM UTC
This should be nice. Very cool.

sherb

Joined: August 25, 2004
KitMaker: 752 posts
Armorama: 378 posts

Posted: Wednesday, May 06, 2020 - 01:49 PM UTC
Quoted Text
Wow, cool, looks pretty big, Iíll be watching 👍
Yeah, it's about 9 inches square.

sherb

Joined: August 25, 2004
KitMaker: 752 posts
Armorama: 378 posts

Posted: Wednesday, May 06, 2020 - 01:57 PM UTC
John Carrico's book is a must have for this project.
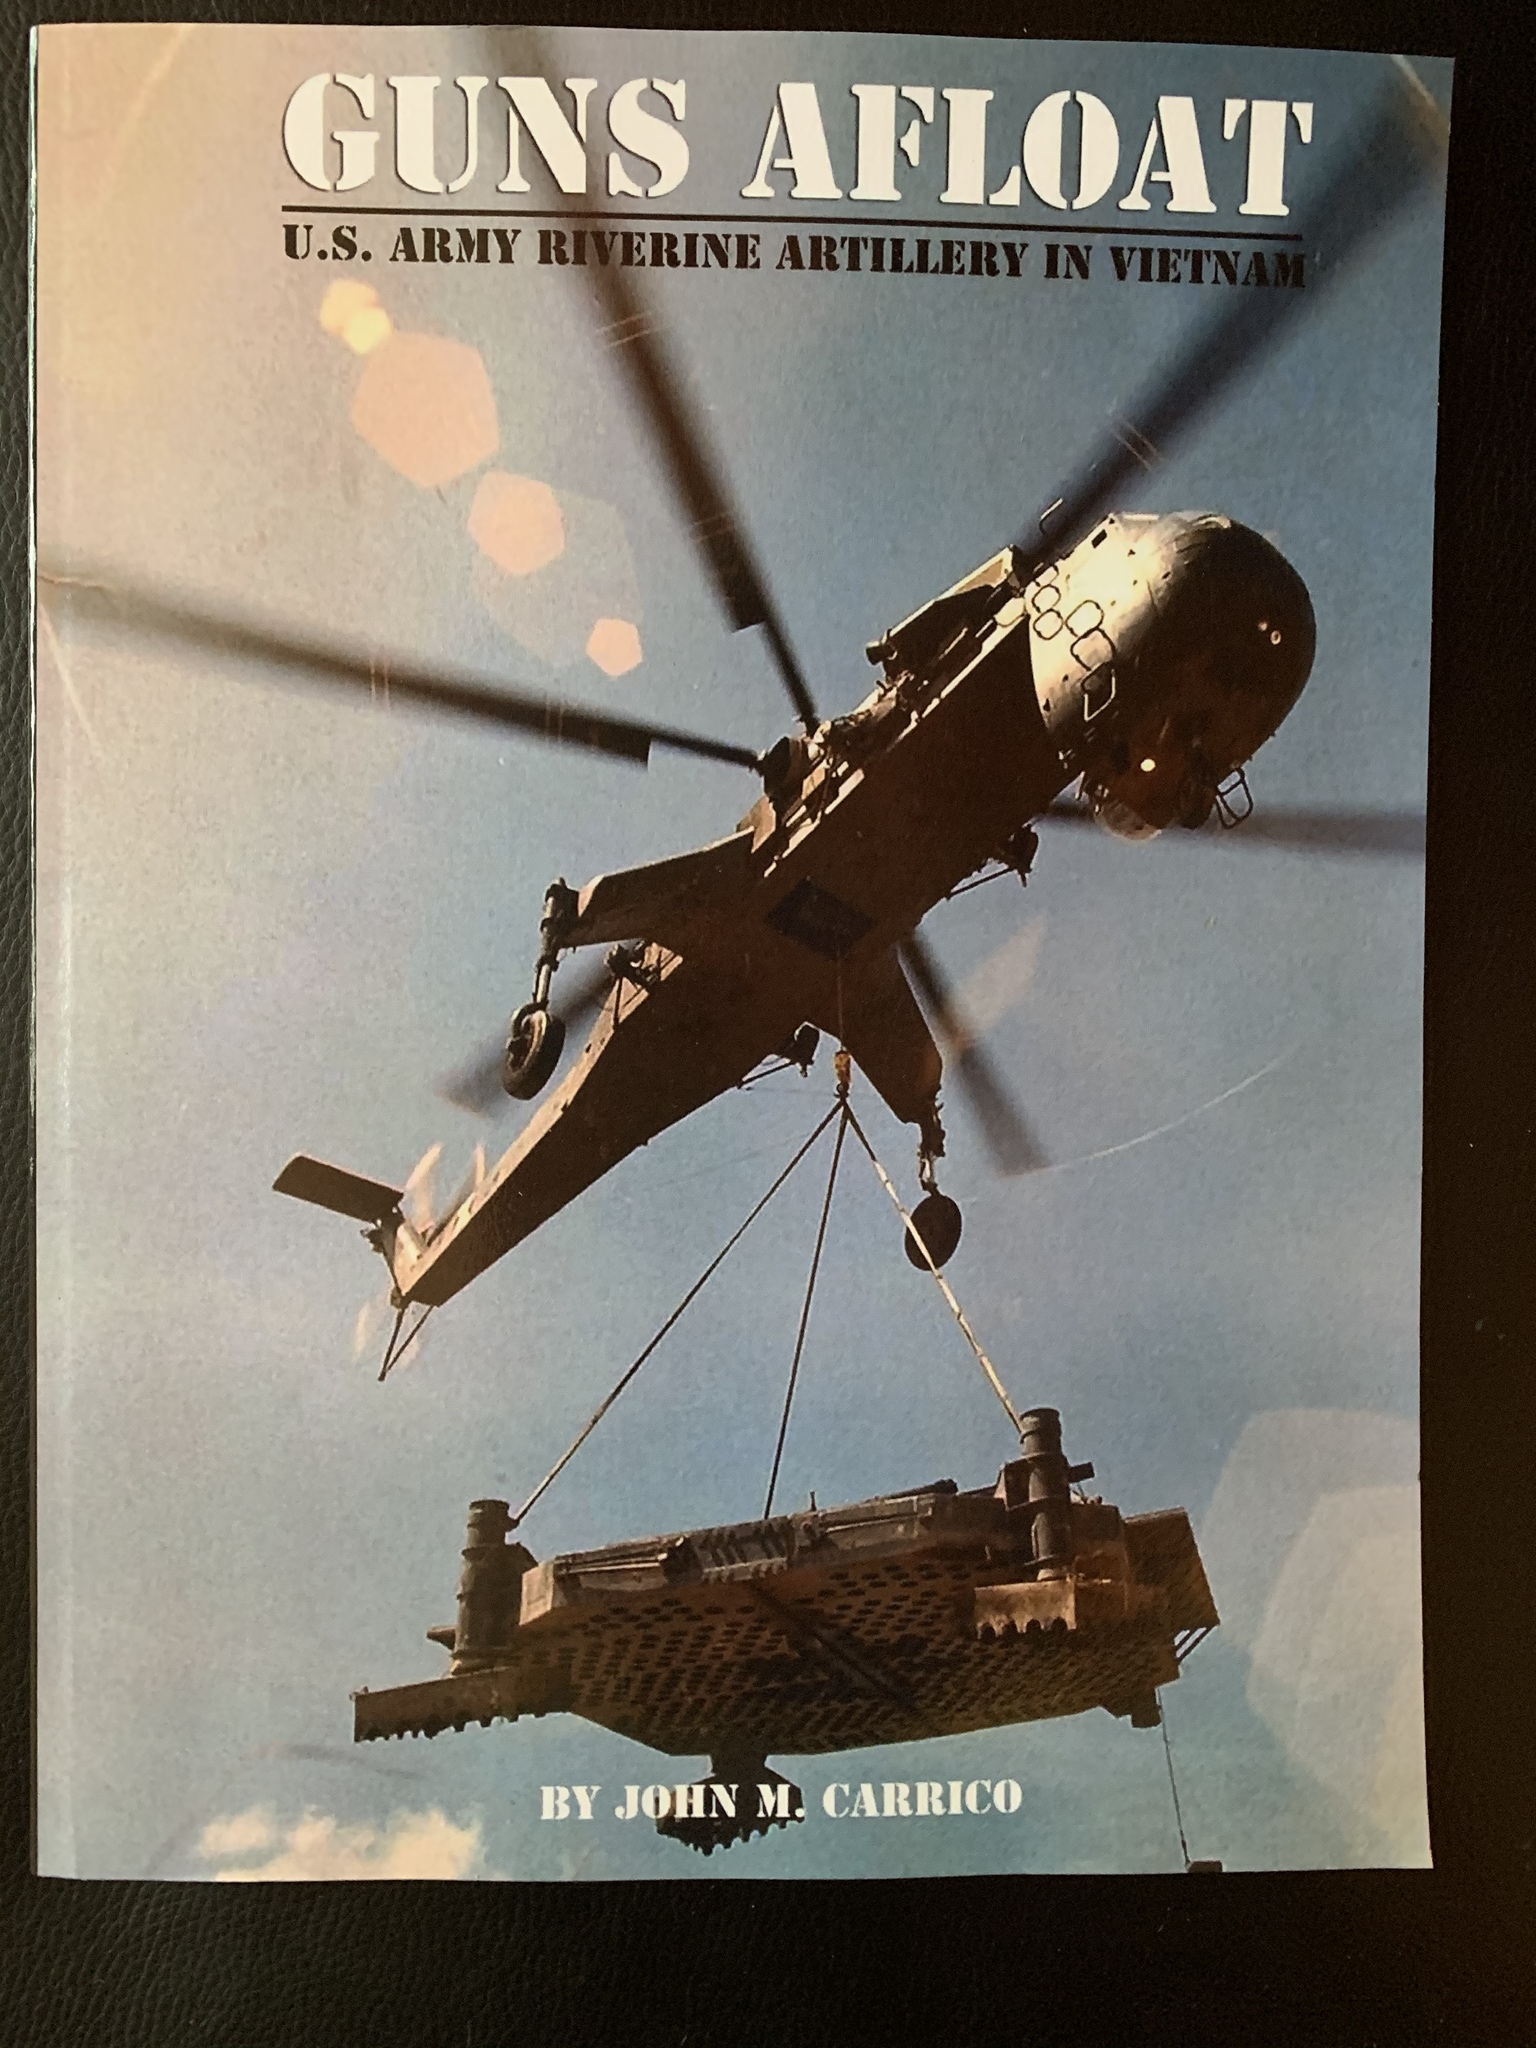
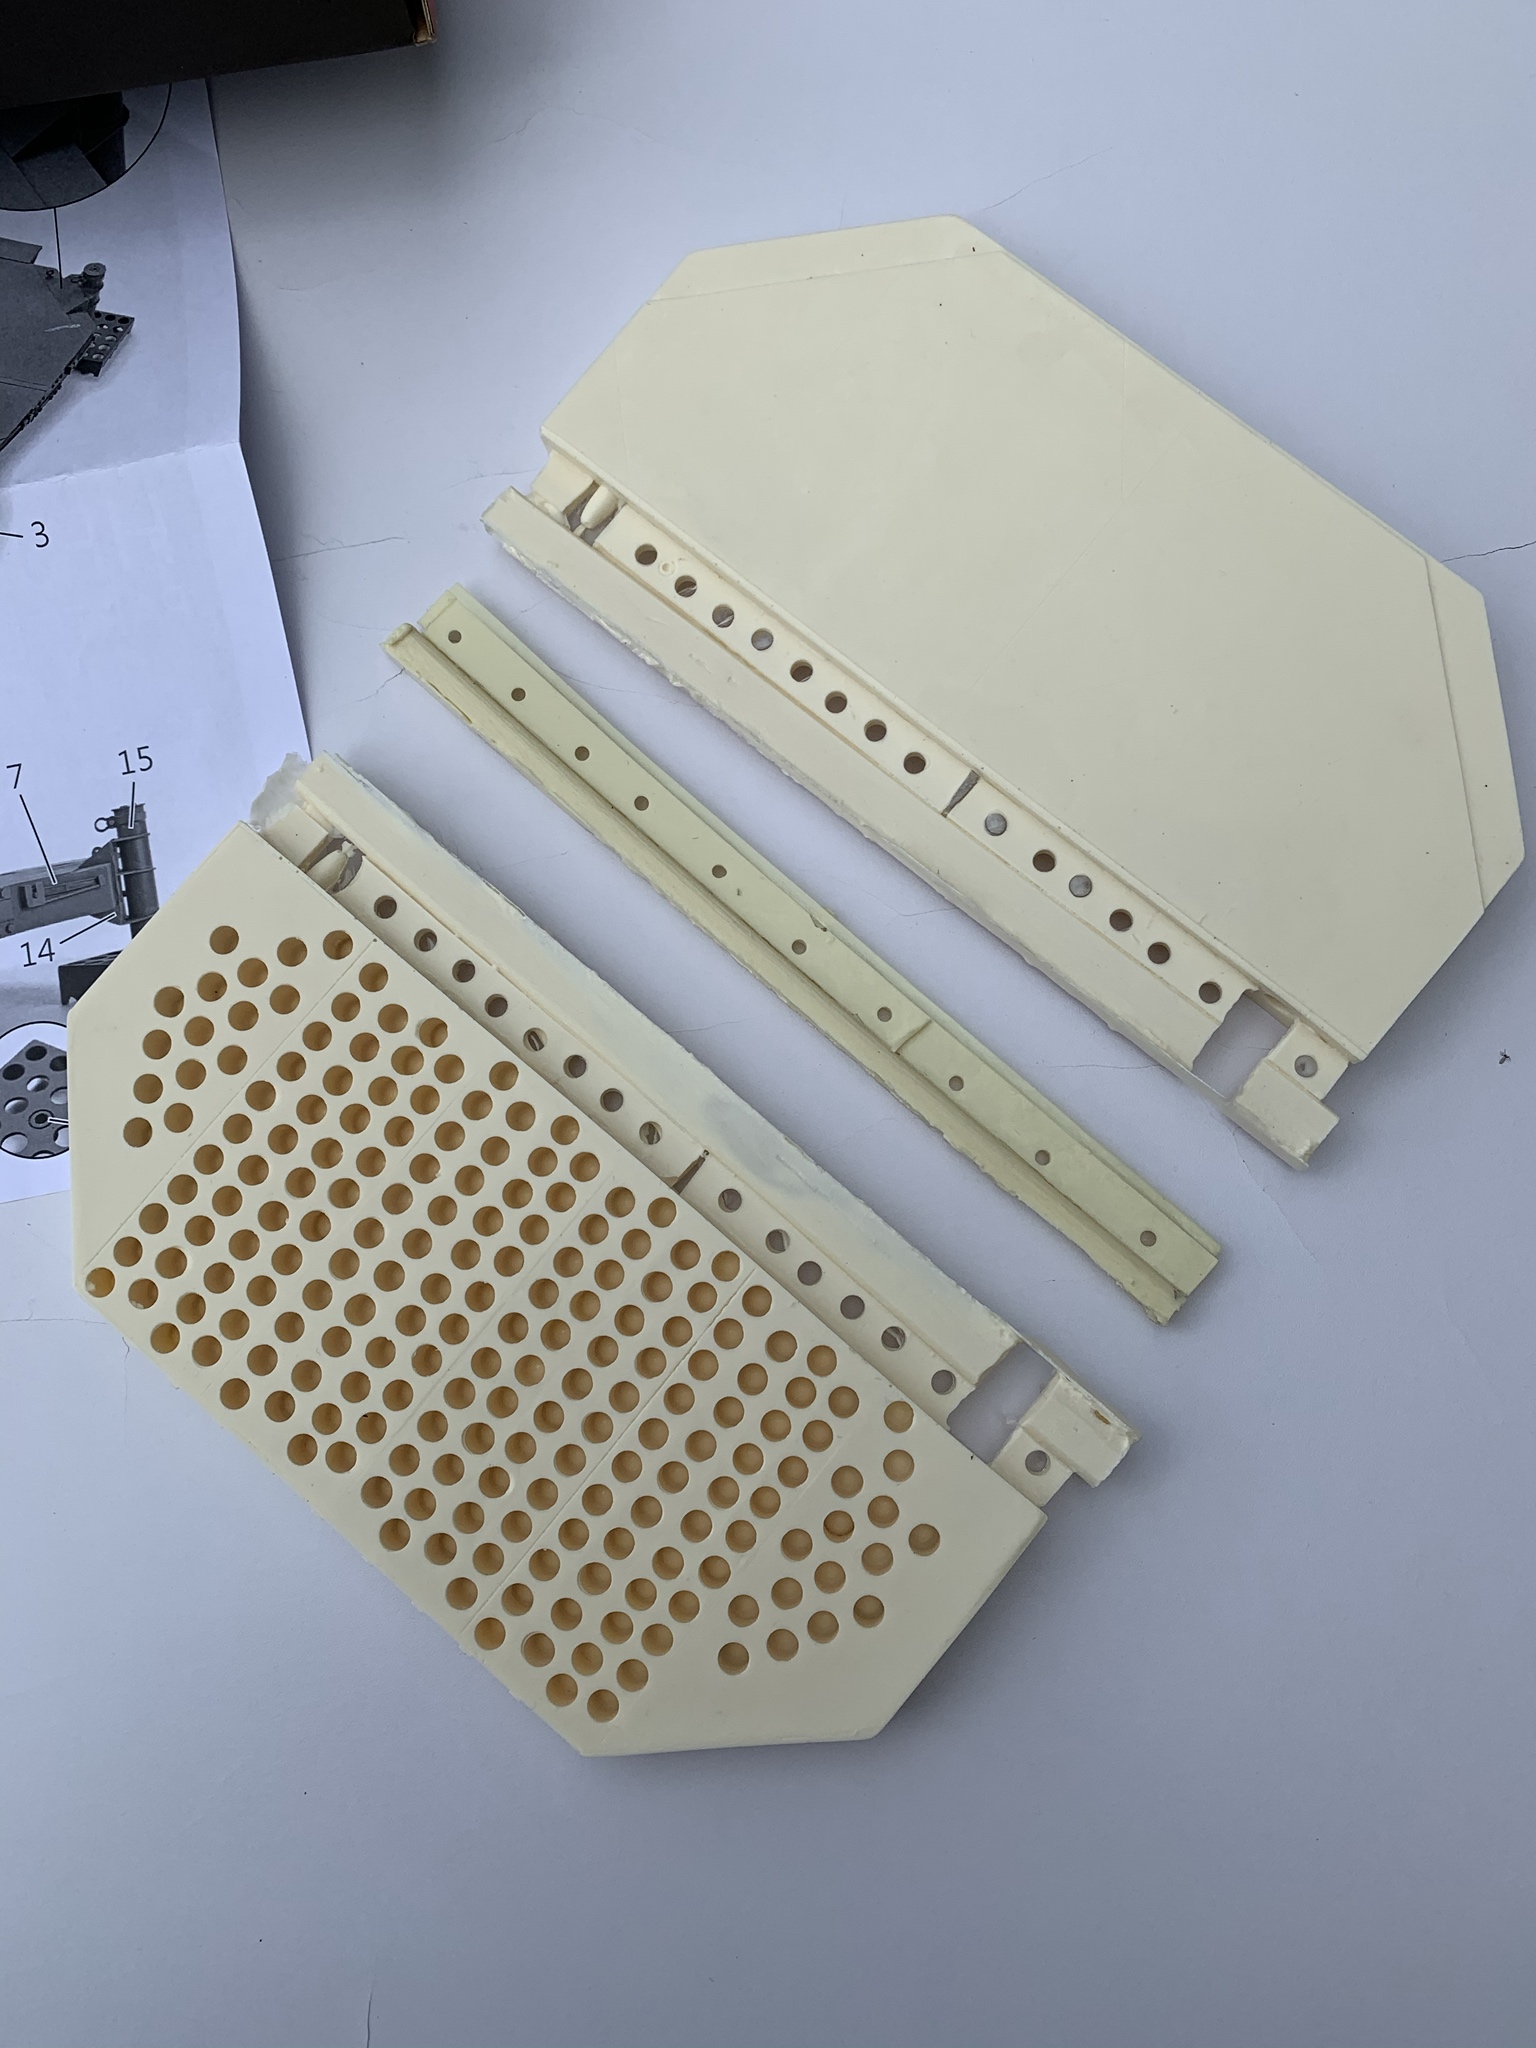
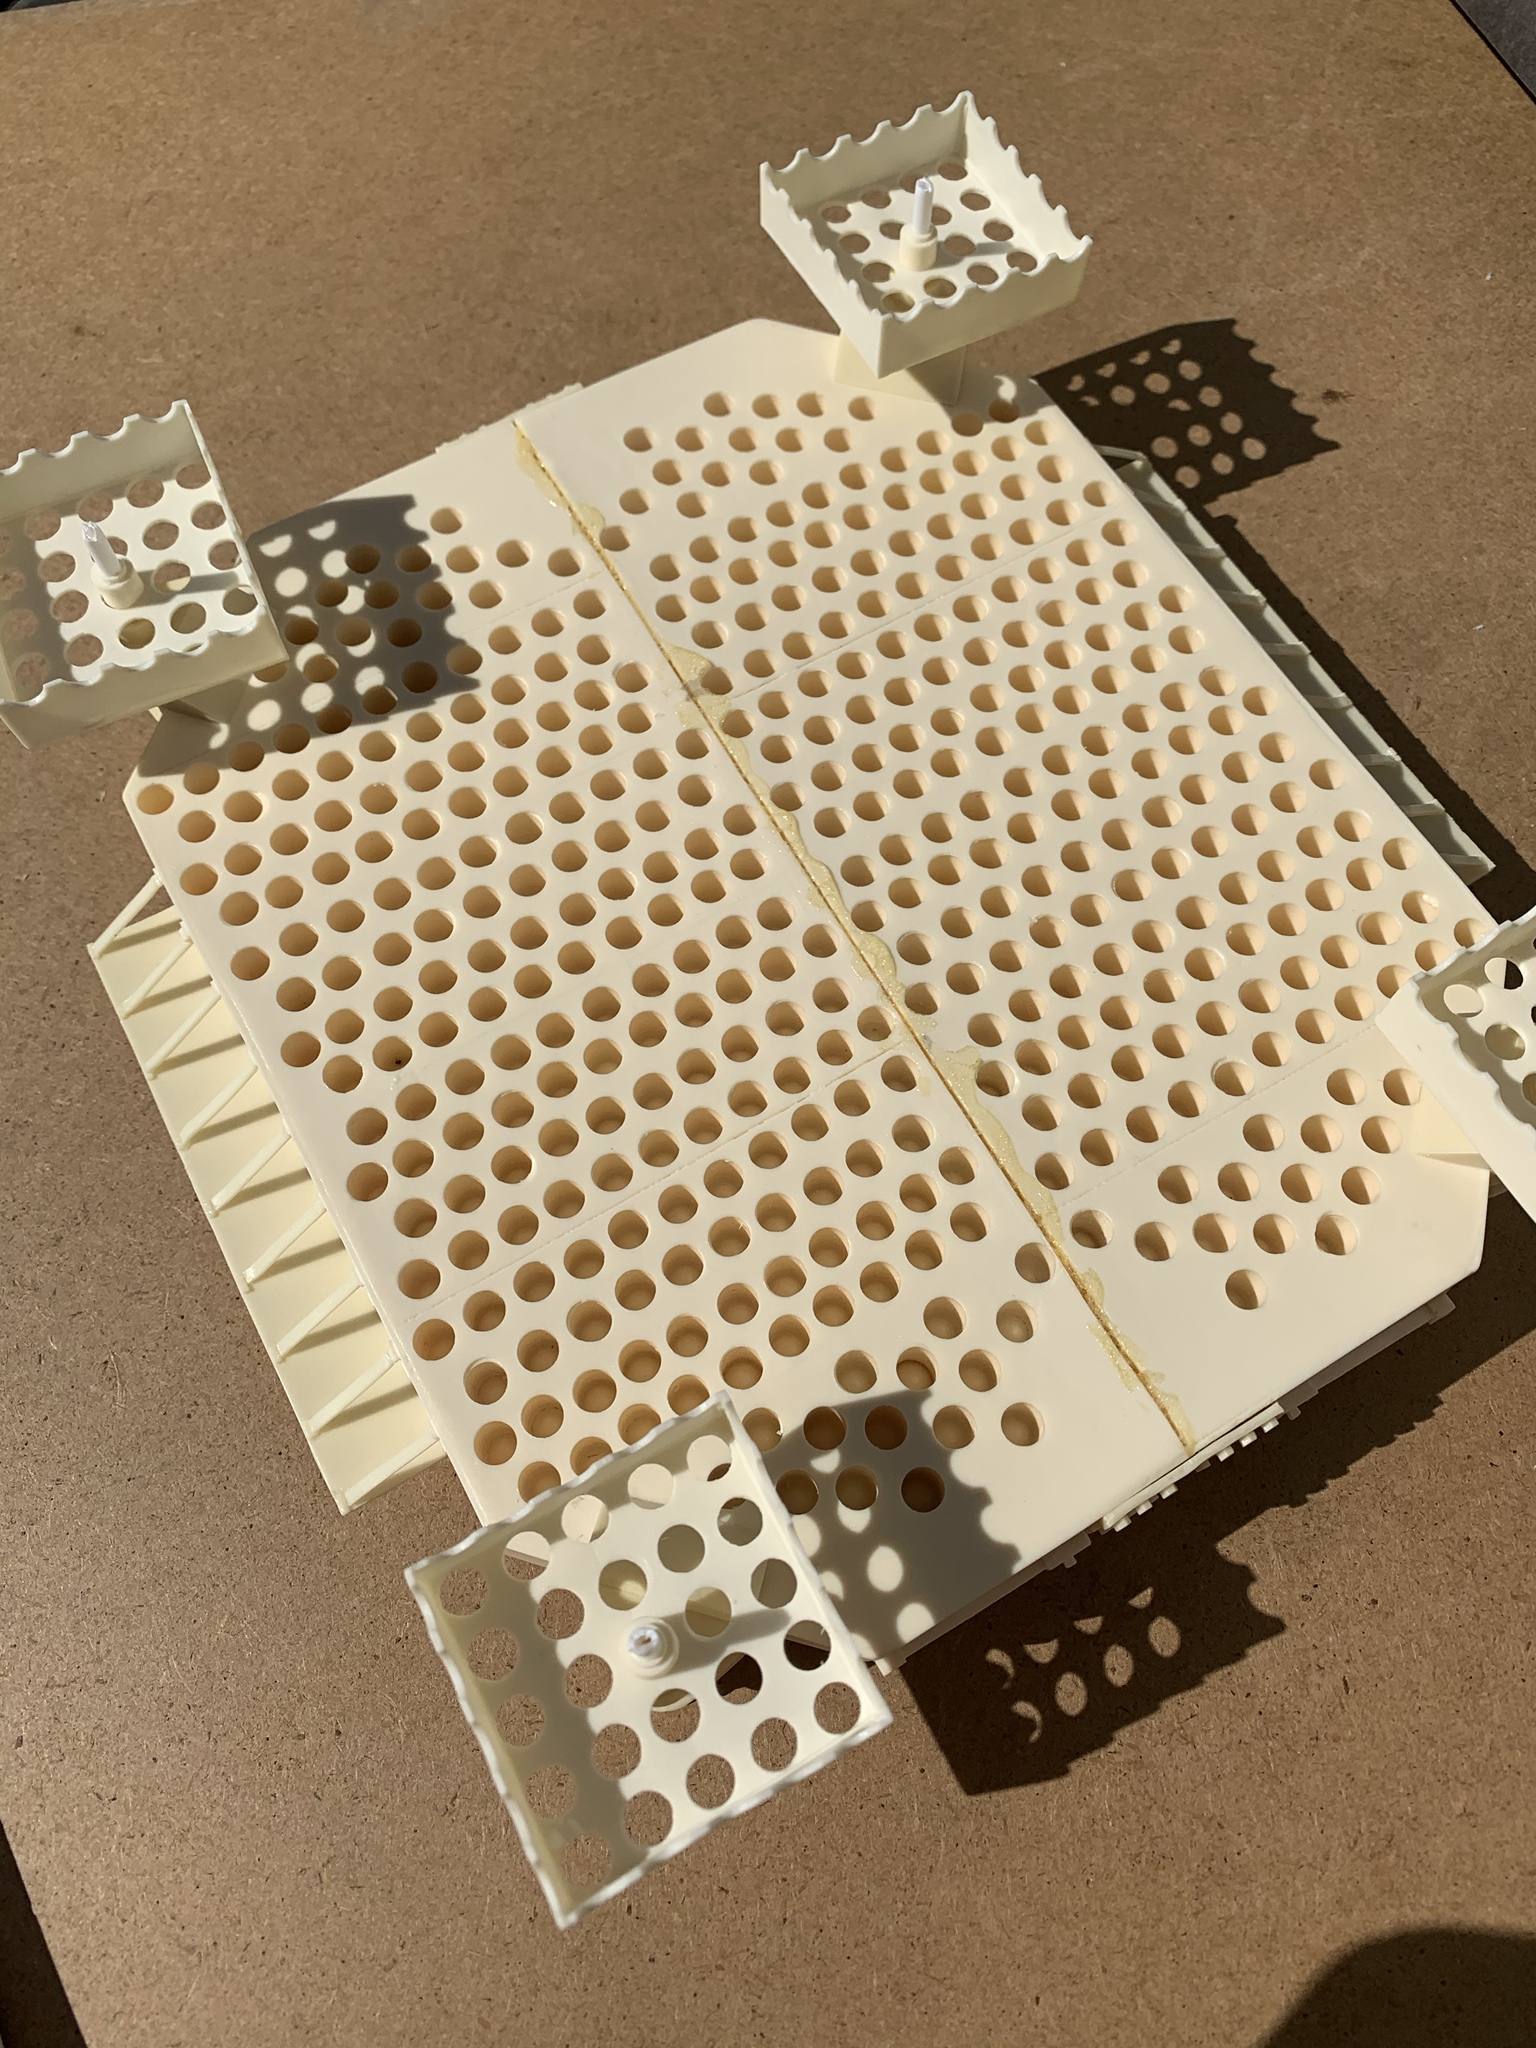
Here are the main parts to the platform. I initially thought the holes on the underside were done by Hobby Fan to lighten the resin but if you look at the cover on John's book, they're actually a feature of the thing.
Interestingly, the actual platform goes together the same with a large pin on each side.


sherb

Joined: August 25, 2004
KitMaker: 752 posts
Armorama: 378 posts

Posted: Wednesday, May 06, 2020 - 02:01 PM UTC
I ended up using a table saw and palm sander to cut off the pour plug on the platform halves. Here it is clamped into place with some gorilla glue. There are some small details on the sides so might be able to make out the LEGO spaces between the clamp and platform.
All the other parts are cleaned up and ready to go.
All the other parts are cleaned up and ready to go.


sherb

Joined: August 25, 2004
KitMaker: 752 posts
Armorama: 378 posts

Posted: Wednesday, May 06, 2020 - 02:26 PM UTC
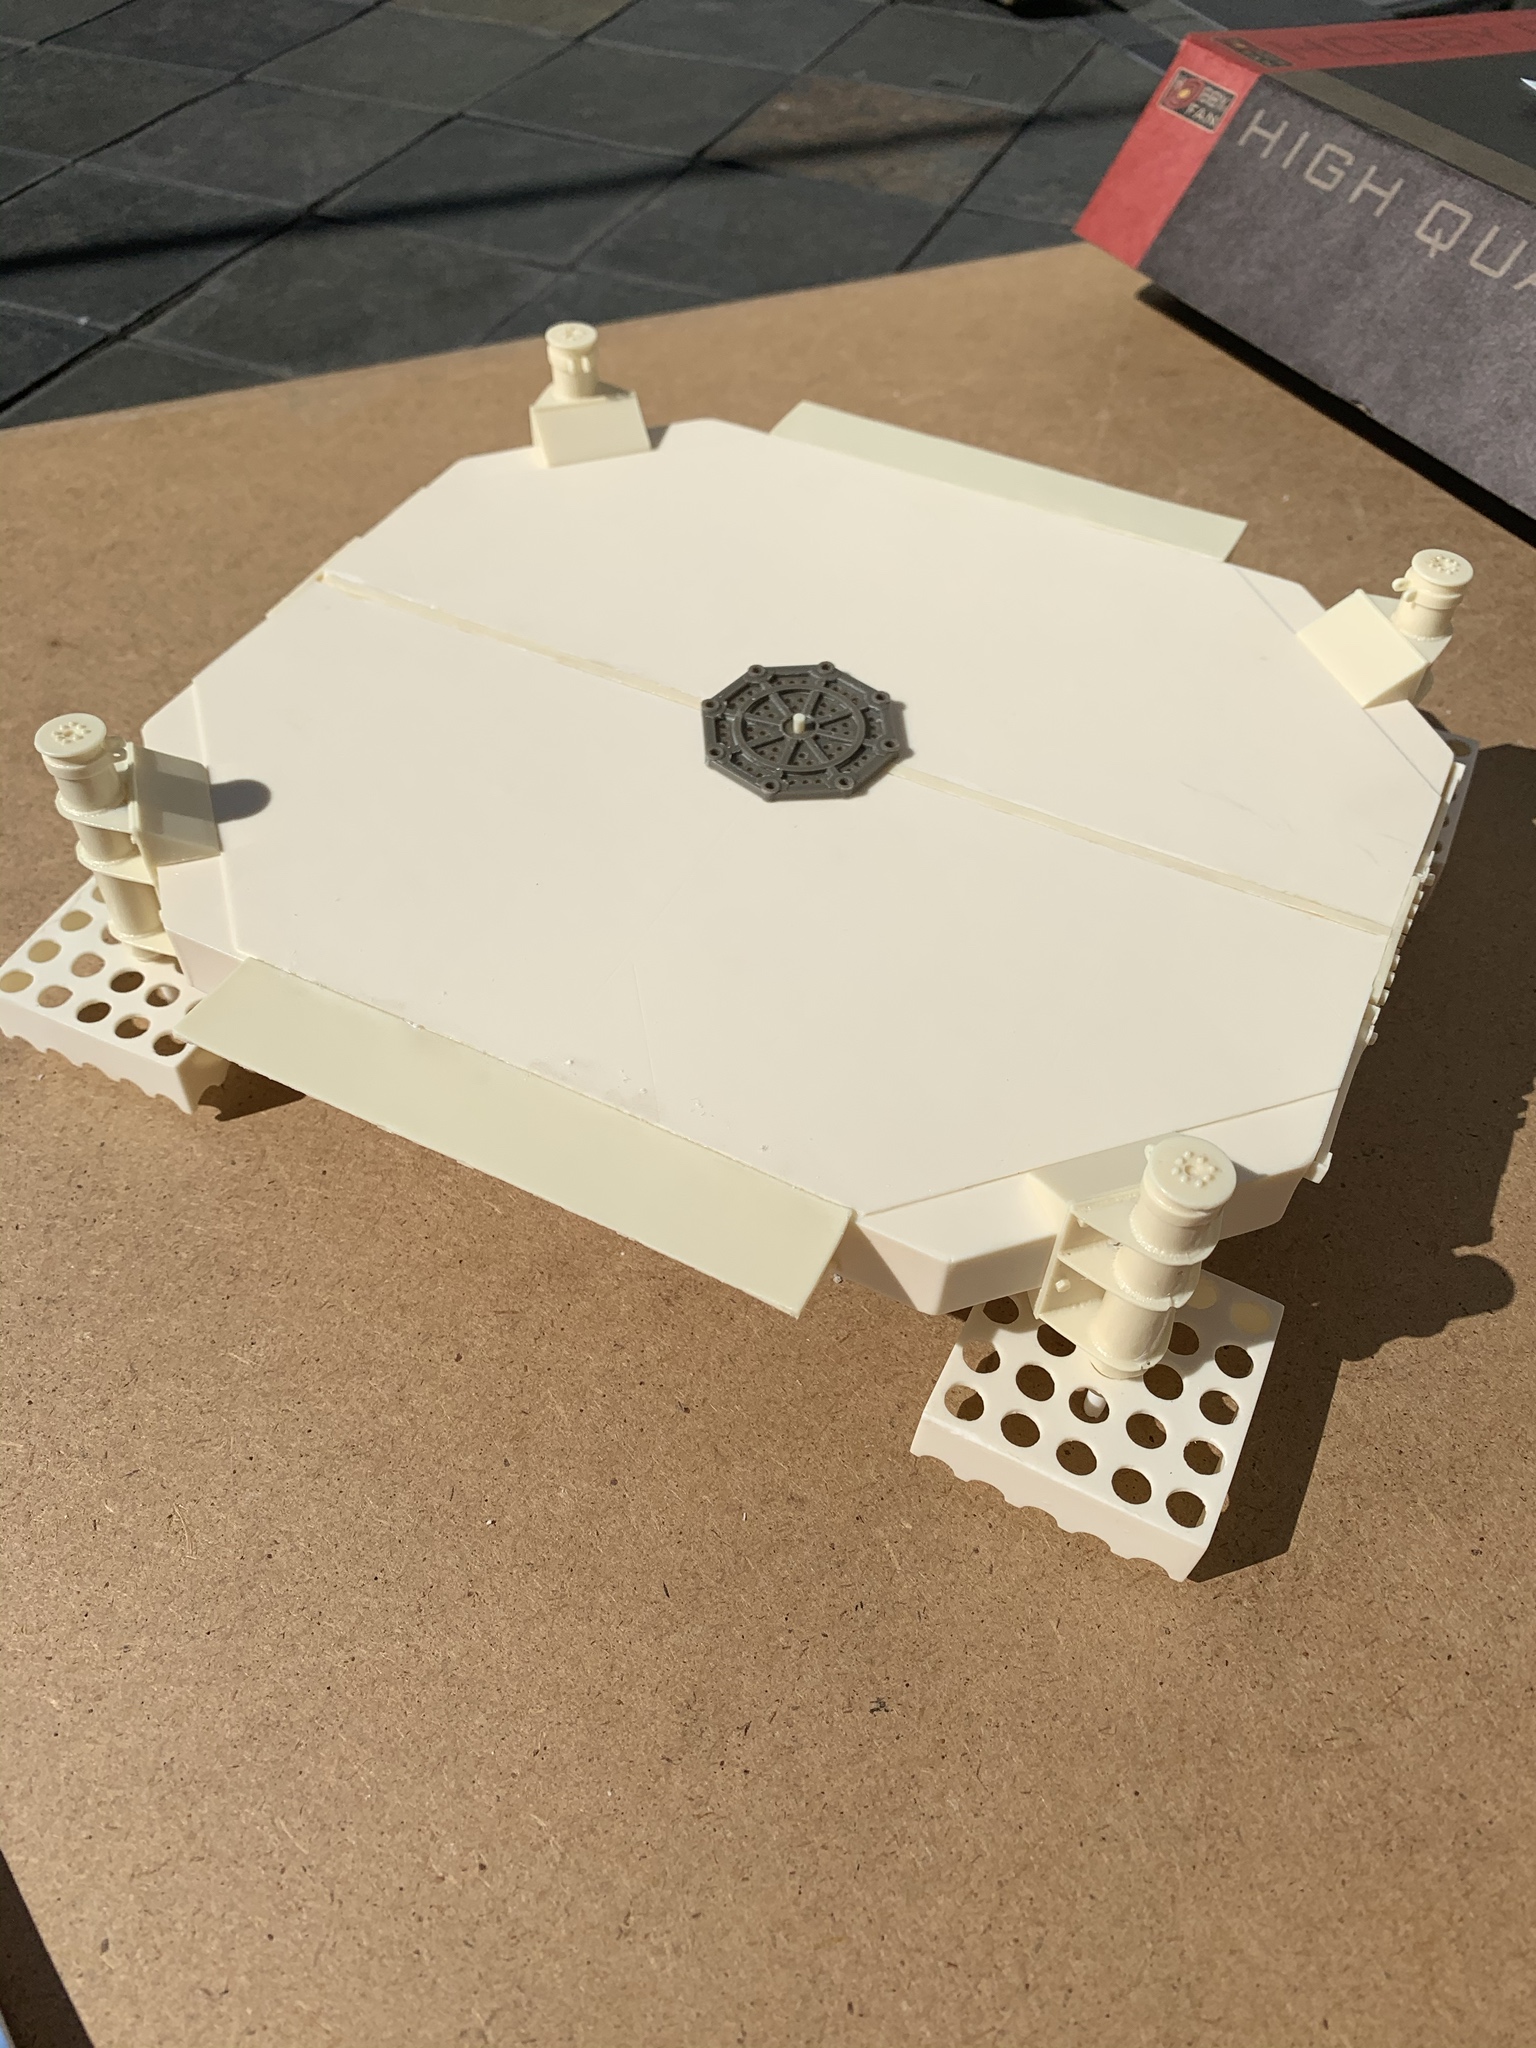
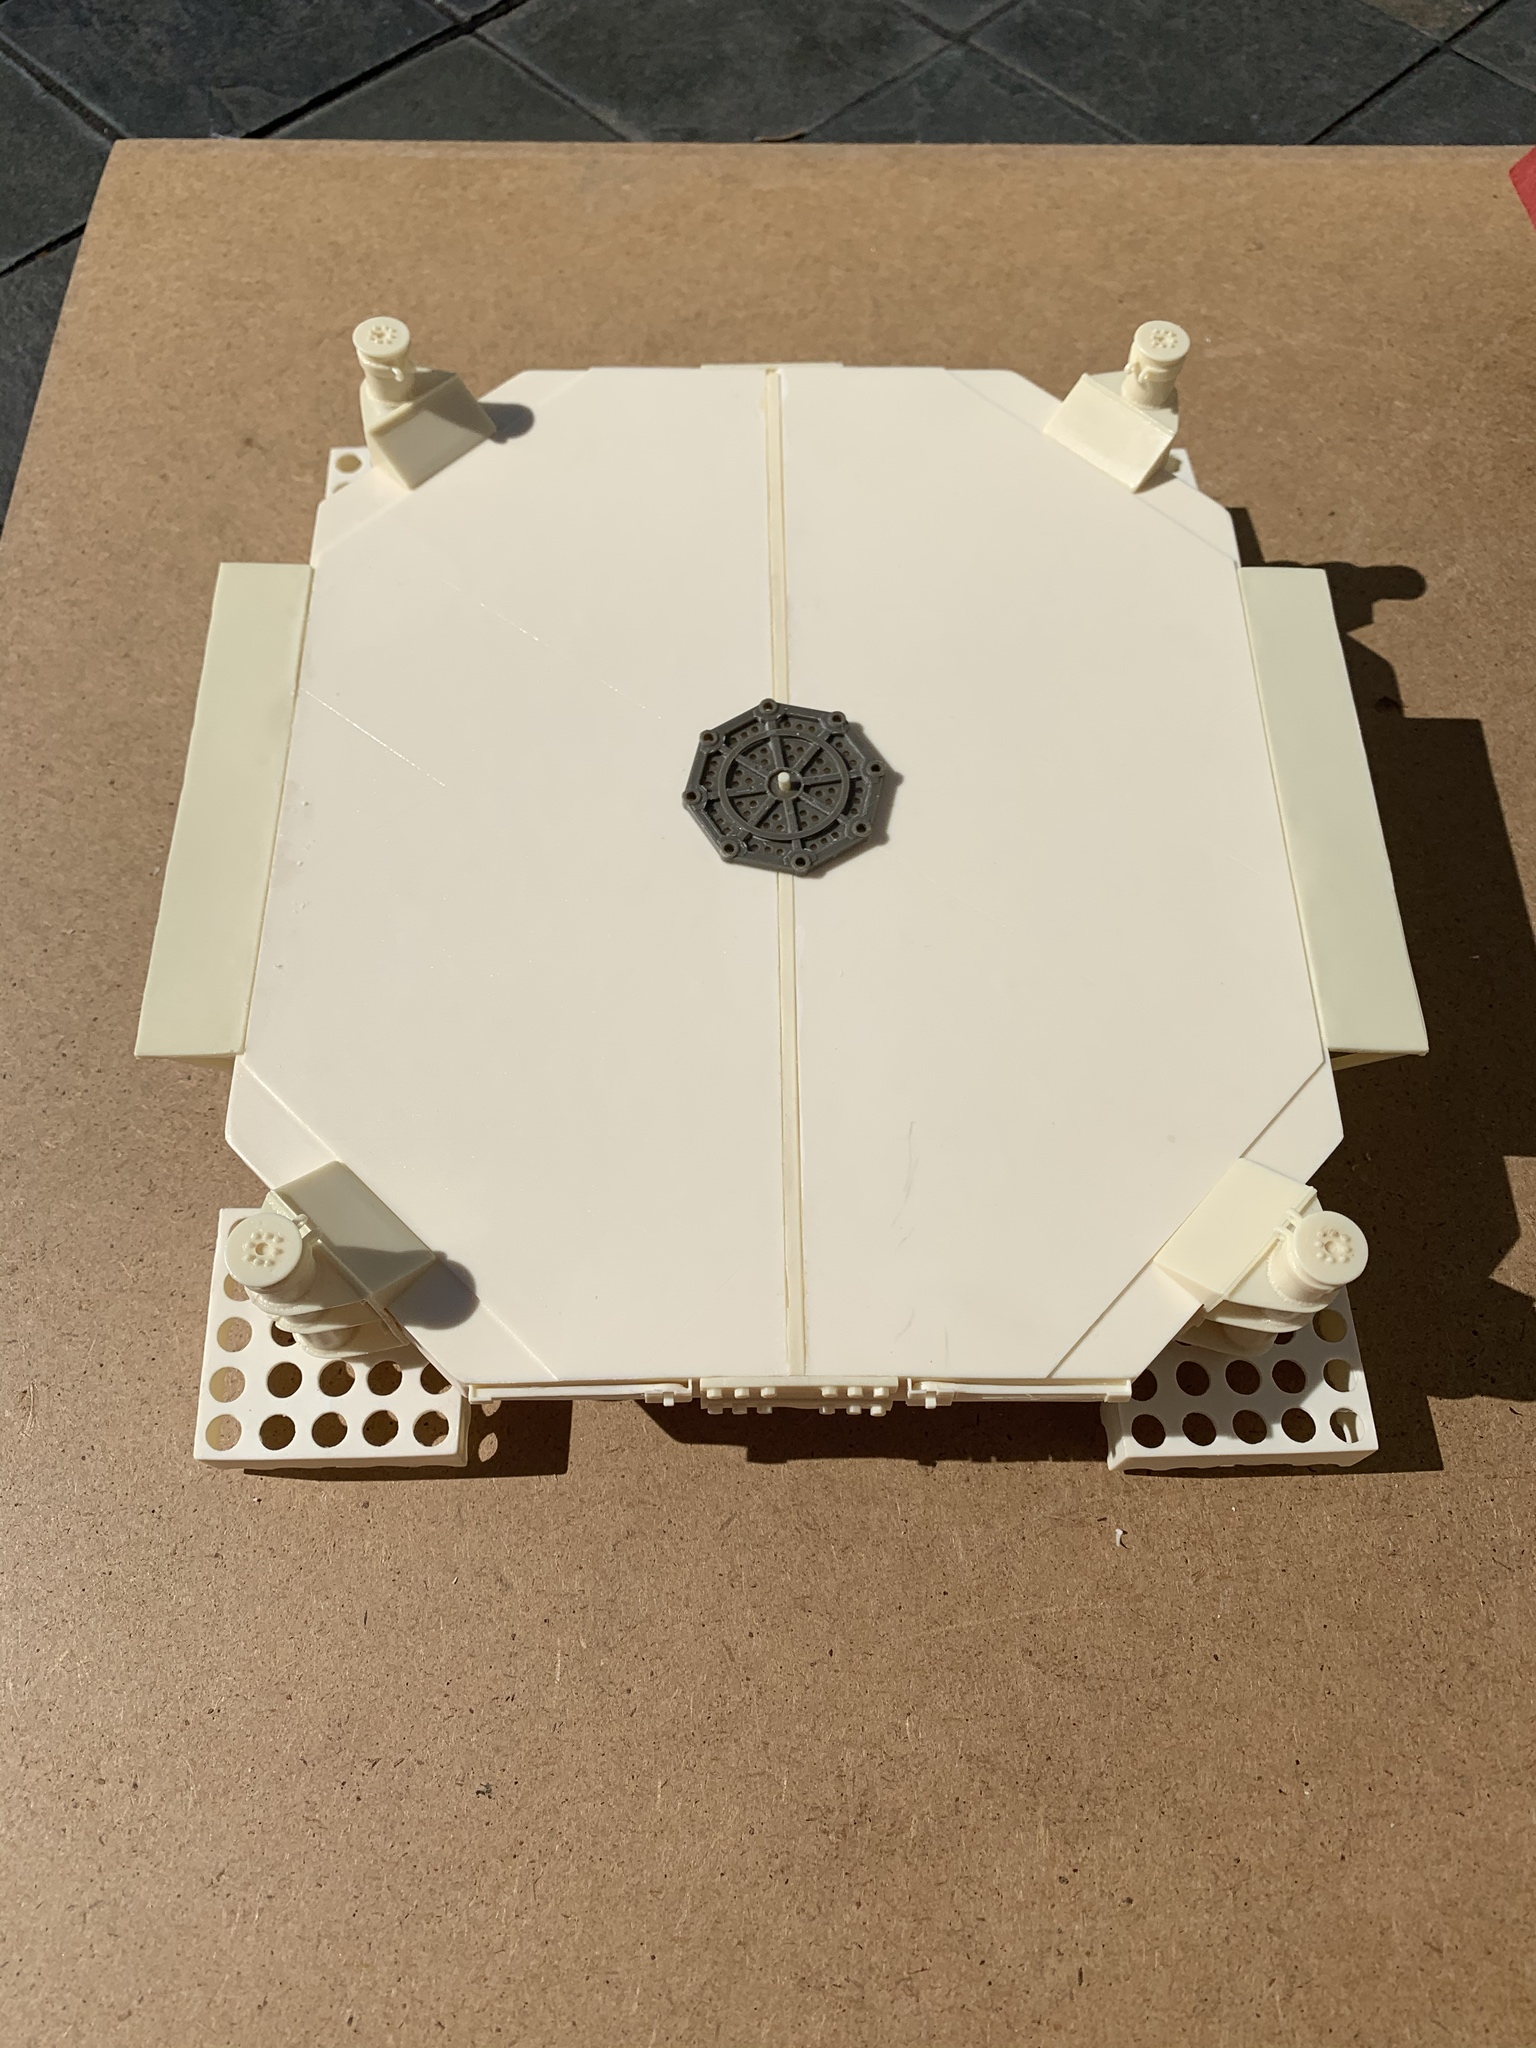
There really isn't much to do. Each corner gets a leg. The longer sides have a wing with some underside supports to attach. The shorter end has a bolt plate and two holders for the ratchet arms that are used to raise and lower the legs.
Hobby Fan also includes four ratchets if you wish to display them outside of the holders. Unfortunately they don't include the empty holders so you'll have to scratch or modify the parts with the ratchet.
The AFV Club base is just sitting in place for now. Per Guns Afloat, the real ones were welded in place.


sherb

Joined: August 25, 2004
KitMaker: 752 posts
Armorama: 378 posts

Posted: Wednesday, May 06, 2020 - 02:42 PM UTC
To strengthen the legs, I drilled them out a bit and inserted a section of tubing. I left each tube a little longer than the feet so that weight of entire platform will eventually rest on the tubing instead of the relatively thin tops of the feet.
Speaking of the feet....each one has 25 holes that needed some minor cleanup. There is a small round tube that attaches to the underside of each foot where the leg would go. I ended up flipping that round attachment and sliding it over the section of tube I added to sandwich the foot in place.
Speaking of the feet....each one has 25 holes that needed some minor cleanup. There is a small round tube that attaches to the underside of each foot where the leg would go. I ended up flipping that round attachment and sliding it over the section of tube I added to sandwich the foot in place.


sherb

Joined: August 25, 2004
KitMaker: 752 posts
Armorama: 378 posts

Posted: Wednesday, May 06, 2020 - 02:44 PM UTC
Quoted Text
This should be nice. Very cool.
Thanks for checking in Gino, I'm probably going to need some of your expertise with the M102.
guni-kid

Joined: July 21, 2007
KitMaker: 521 posts
Armorama: 514 posts

Posted: Wednesday, May 06, 2020 - 07:32 PM UTC
Very interesting! You just got yourself another viewer 


sherb

Joined: August 25, 2004
KitMaker: 752 posts
Armorama: 378 posts

Posted: Friday, May 08, 2020 - 04:11 AM UTC

sherb

Joined: August 25, 2004
KitMaker: 752 posts
Armorama: 378 posts

Posted: Friday, May 08, 2020 - 04:13 AM UTC

maartenboersma

Joined: October 10, 2010
KitMaker: 764 posts
Armorama: 742 posts

Posted: Friday, May 08, 2020 - 08:41 AM UTC


HeavyArty


Joined: May 16, 2002
KitMaker: 17,694 posts
Armorama: 13,742 posts

Posted: Friday, May 08, 2020 - 08:45 AM UTC
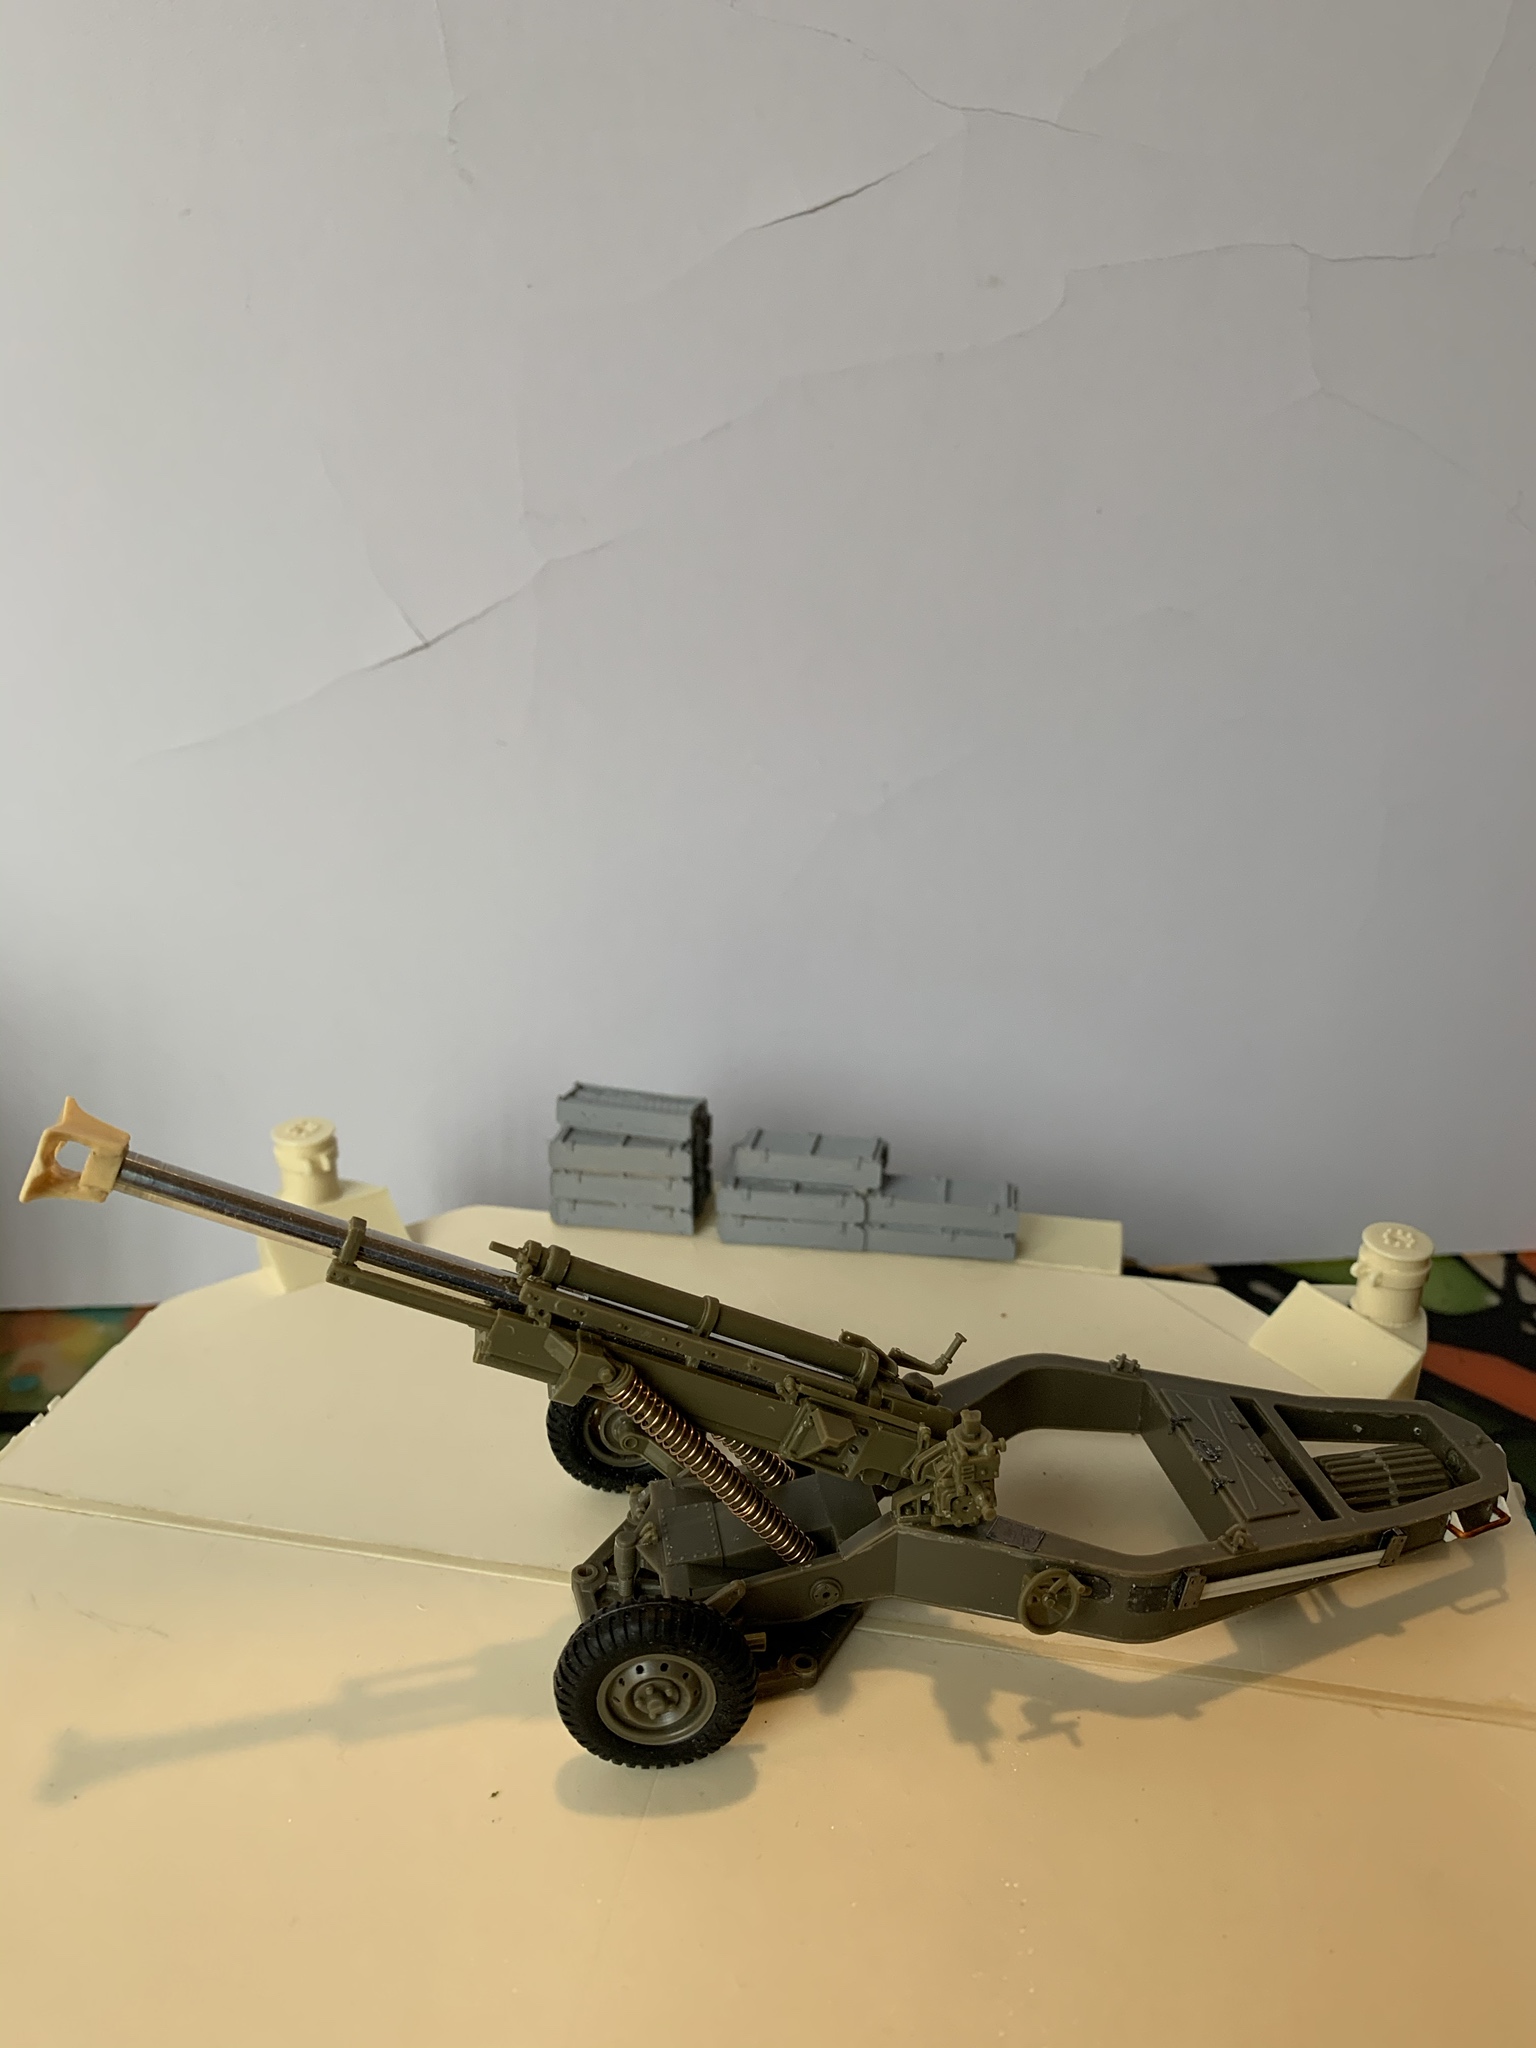
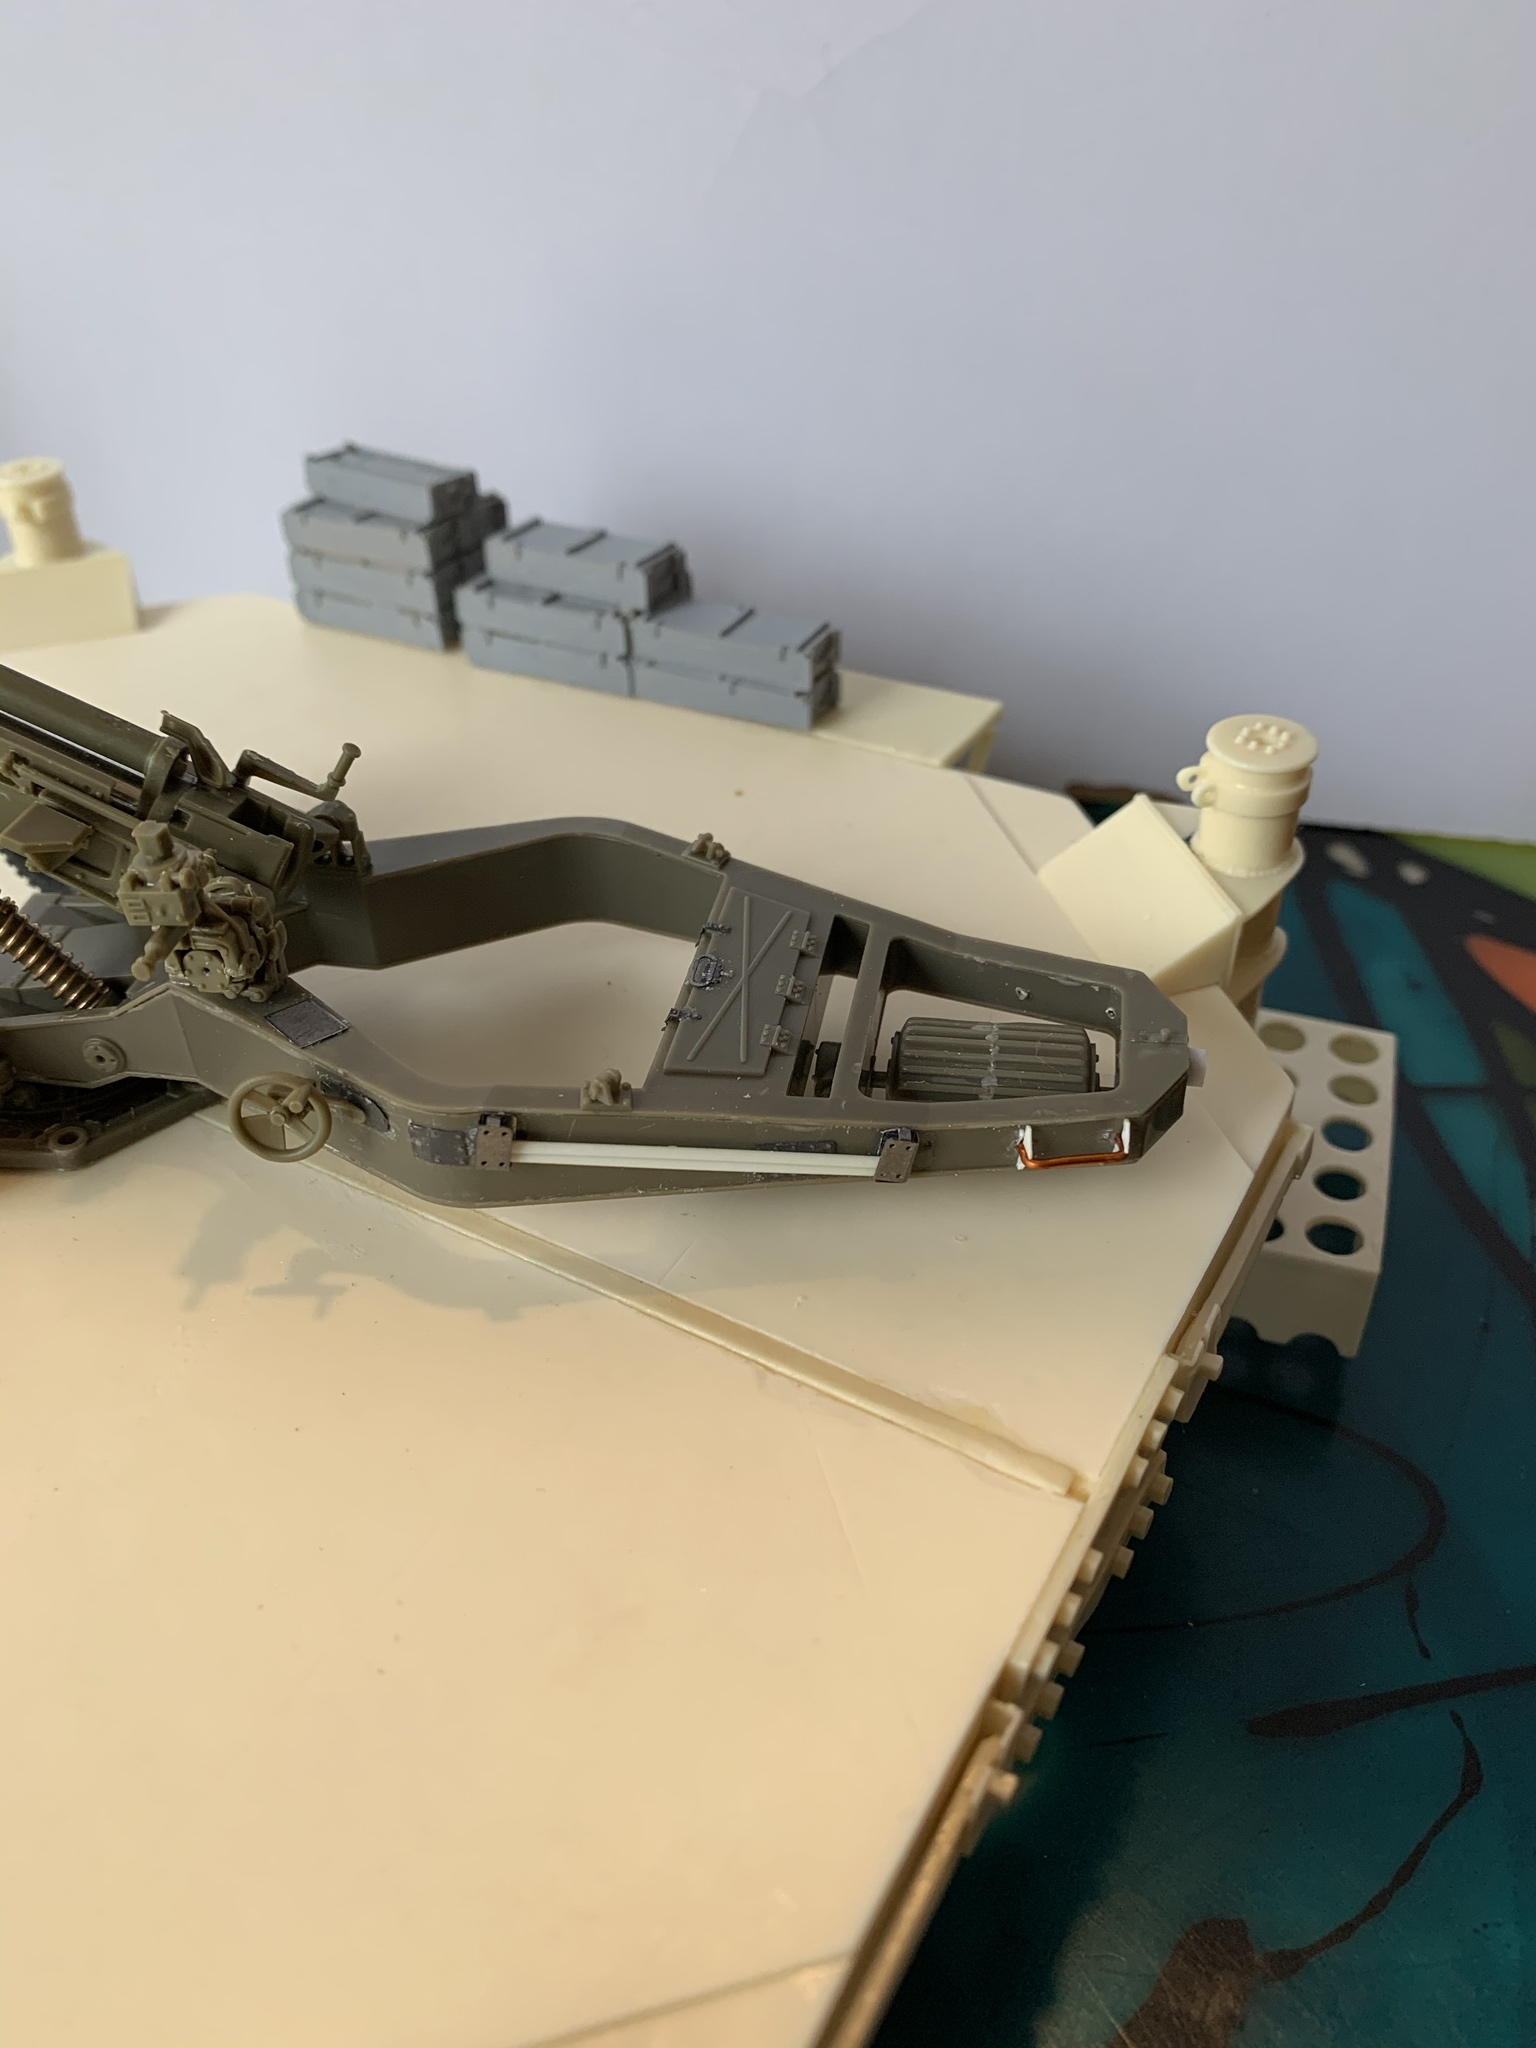
Very nice. The gun is looking good. Where did you get the muzzle brake from?
salt6

Joined: February 17, 2002
KitMaker: 796 posts
Armorama: 574 posts

Posted: Friday, May 08, 2020 - 11:32 AM UTC
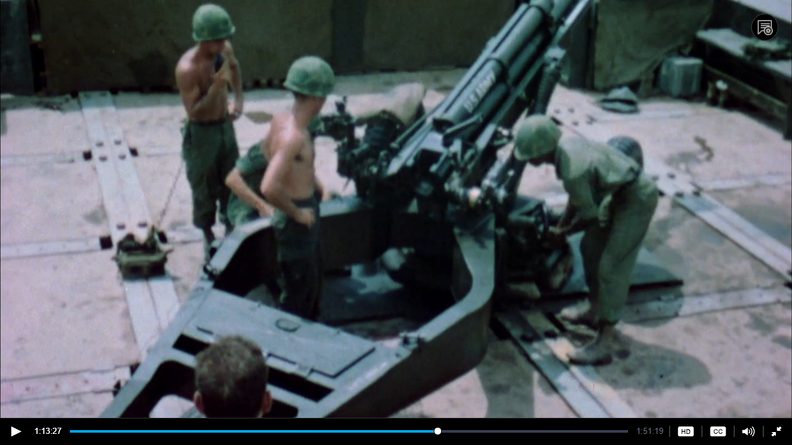
Some phots I found on the net. I just noticed the orientation of the muzzle brake.




sherb

Joined: August 25, 2004
KitMaker: 752 posts
Armorama: 378 posts

Posted: Friday, May 08, 2020 - 11:49 AM UTC
Quoted Text
Very nice. The gun is looking good. Where did you get the muzzle brake from?
Thanks Gino, Itís from the Hobby Fan M102 gun crew, HF523.

sherb

Joined: August 25, 2004
KitMaker: 752 posts
Armorama: 378 posts

Posted: Friday, May 08, 2020 - 12:16 PM UTC
[quote]Some phots I found on the net. I just noticed the orientation of the muzzle brake.
Hi Steve, thanks for checking in, I hadnít come across those photos.
Iíve seen the brake oriented both ways.
Here is a video in the horizontal orientation:
M102 movie
Here are some M102s with vertical brakes
Riverine Operations
Itís just tacked on, and I may switch it around as Iím starting to wonder if they were mounted differently for land verse riverine operations.

HeavyArty


Joined: May 16, 2002
KitMaker: 17,694 posts
Armorama: 13,742 posts

Posted: Friday, May 08, 2020 - 12:26 PM UTC
Quoted Text
...Iím starting to wonder if they were mounted differently for land verse riverine operations.
I have only seen the muzzle brake used on the floating firing platforms. All the land-based M102s I can find pics of have smooth barrels w/out the muzzle brake. That makes sense since the muzzle brake reduces the recoil, which would be needed on the "floating" platforms.

sherb

Joined: August 25, 2004
KitMaker: 752 posts
Armorama: 378 posts

Posted: Friday, May 08, 2020 - 01:24 PM UTC
Even amongst the Riverine M102s the brakes are pretty rare.
The video I linked to above with the brake in use on land is from 1965. I've seen just handful of photos with land based Vietnam M102s (with brakes) in use with the 1st Cav. in '66 and '67.
Here are some 1st Cav. M102s in action with the muzzle brakes
Operation Crazy Horse Some neat high angle firing about 1 minute in.
zapper

Joined: October 18, 2005
KitMaker: 745 posts
Armorama: 734 posts

Posted: Saturday, May 09, 2020 - 01:05 AM UTC
On the topic of muzzle brakes on land based M102s. They are out there, but seem pretty rare, as already stated:


Could the orientation of the brake have something to do with how the gases are reflected backwards, and effecting the crew?
Very interesting thread here sherb! I have pretty much the same ingredients in my pile and will follow your build with much interest.
Cheers,
/E


Could the orientation of the brake have something to do with how the gases are reflected backwards, and effecting the crew?
Very interesting thread here sherb! I have pretty much the same ingredients in my pile and will follow your build with much interest.
Cheers,
/E

sherb

Joined: August 25, 2004
KitMaker: 752 posts
Armorama: 378 posts

Posted: Tuesday, May 26, 2020 - 11:09 AM UTC
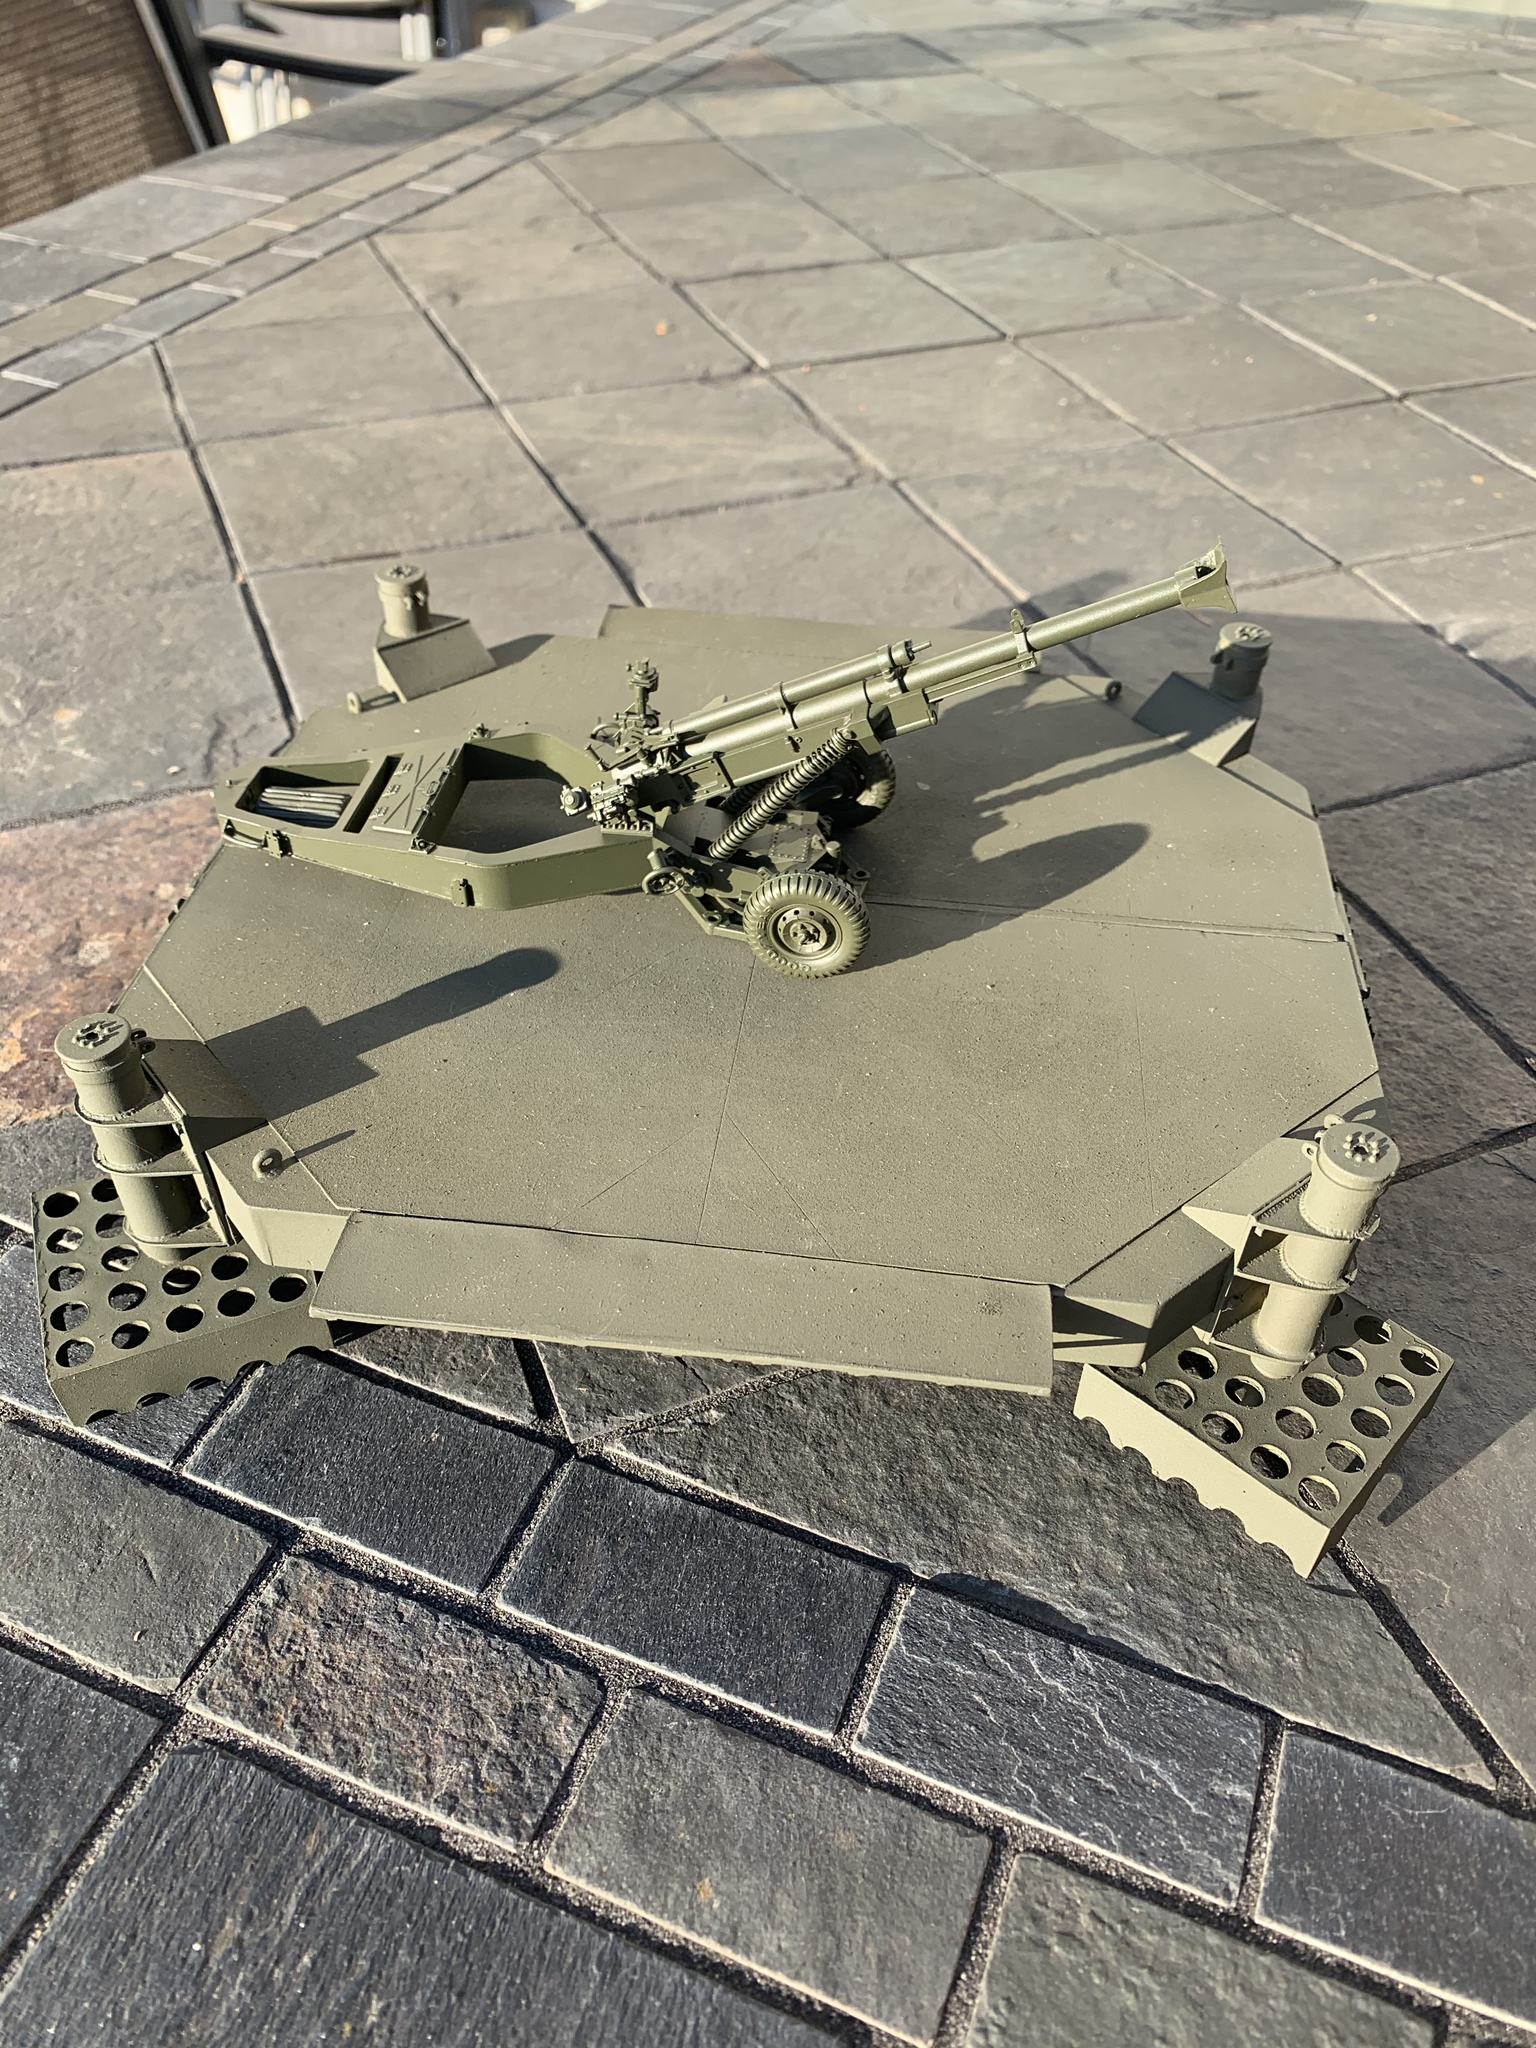
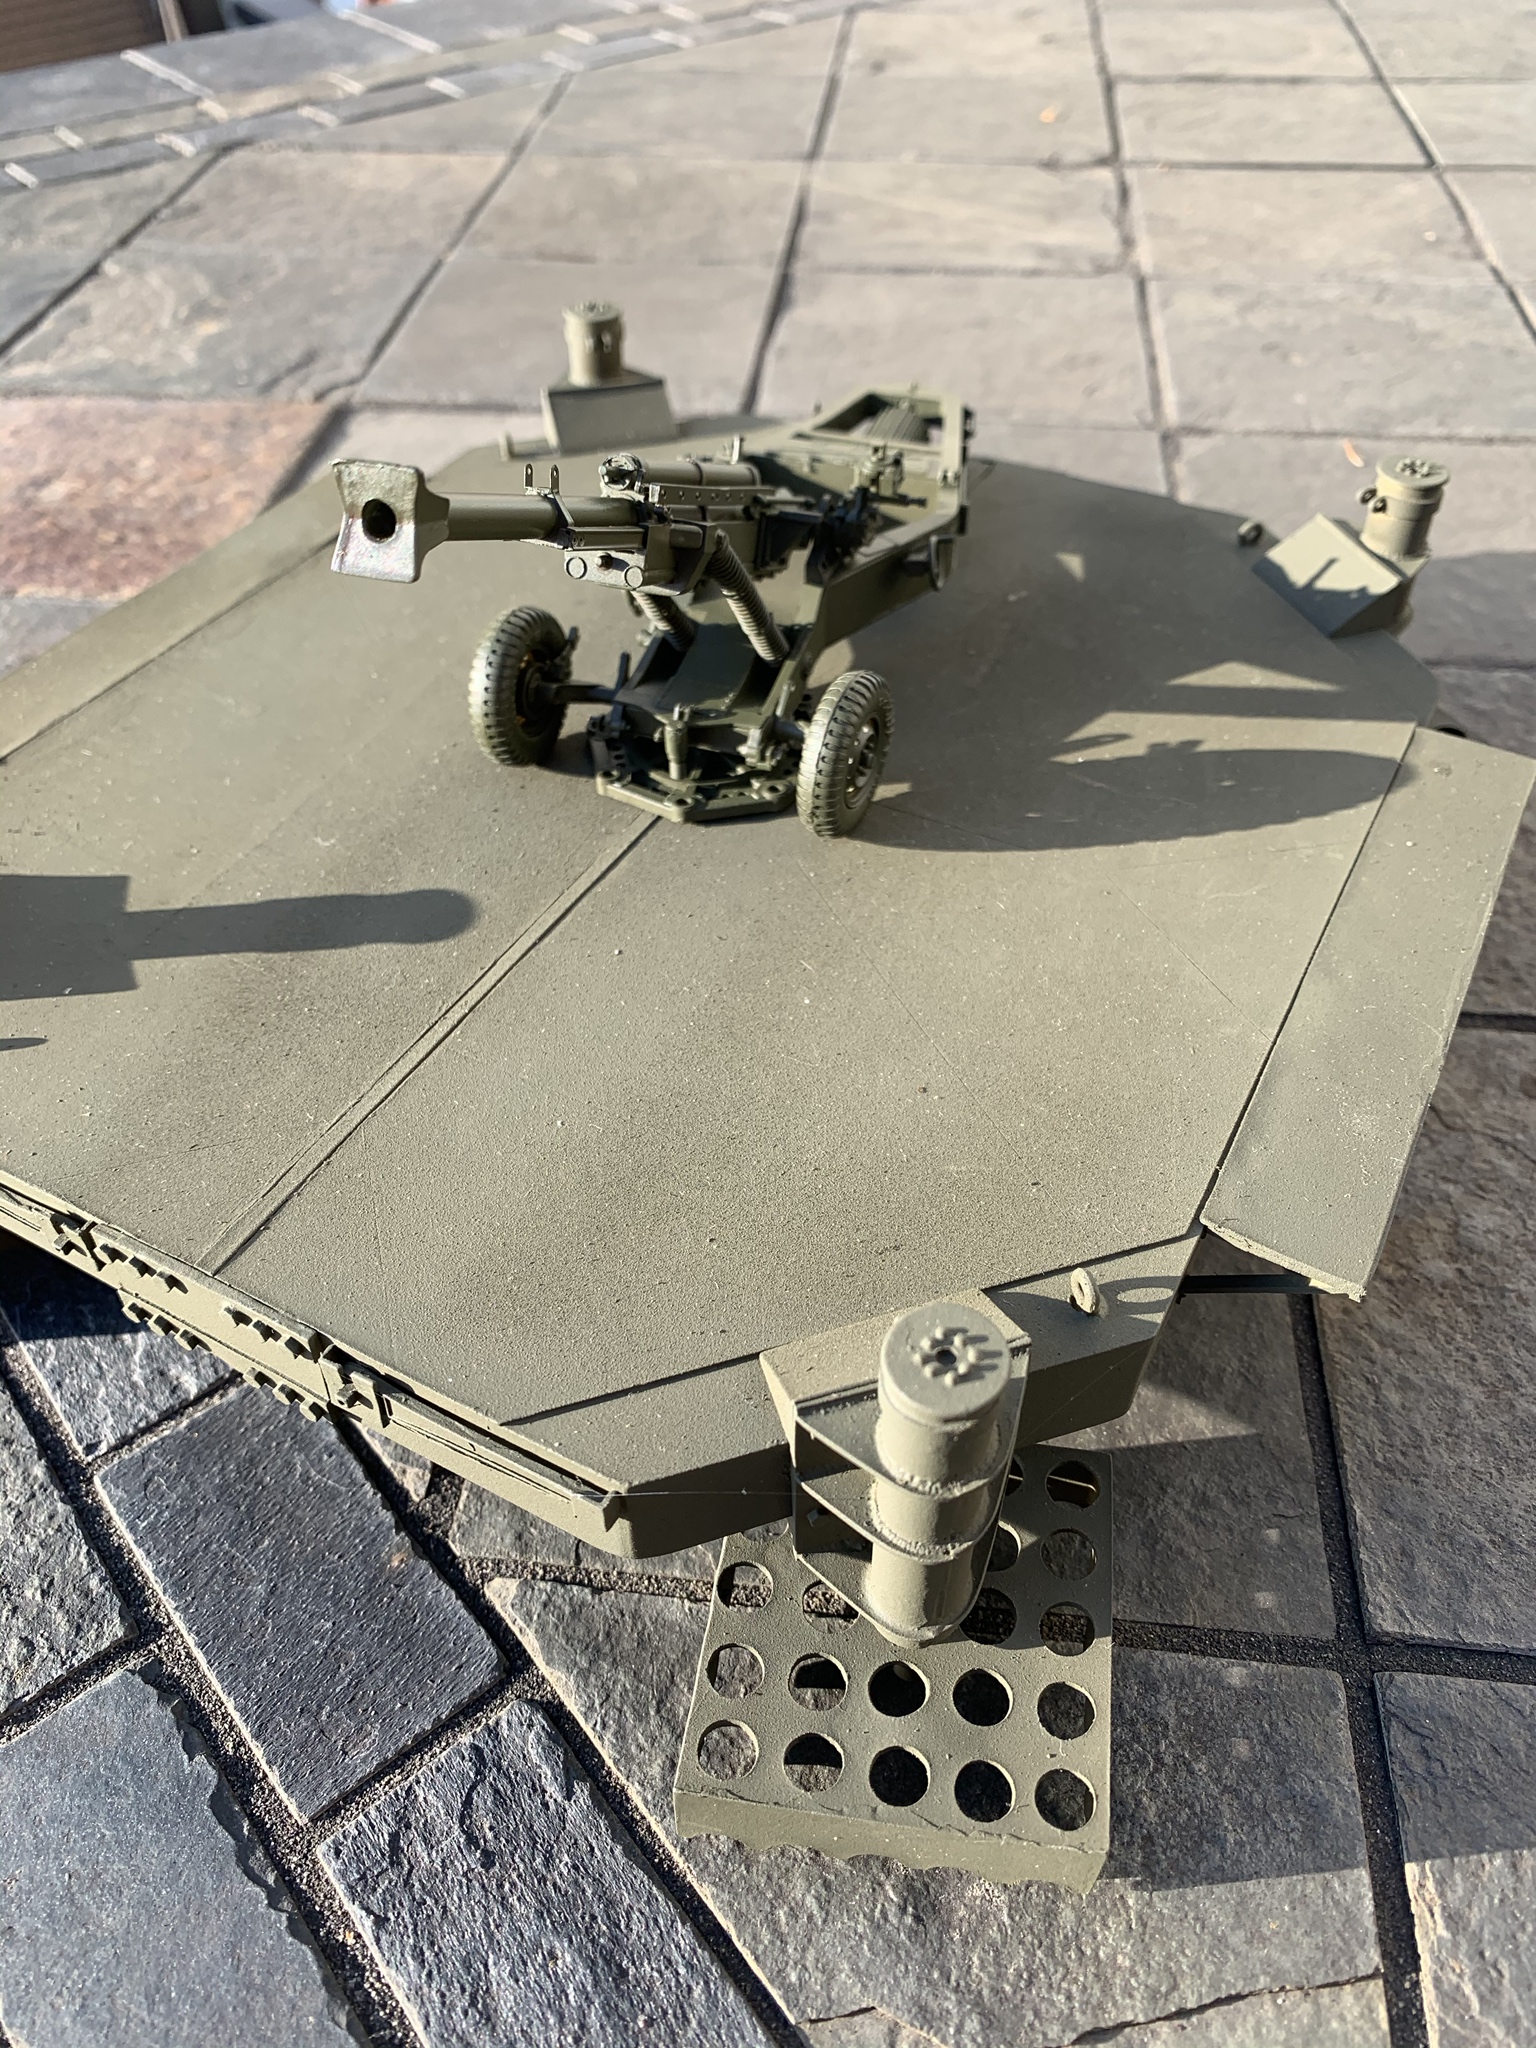
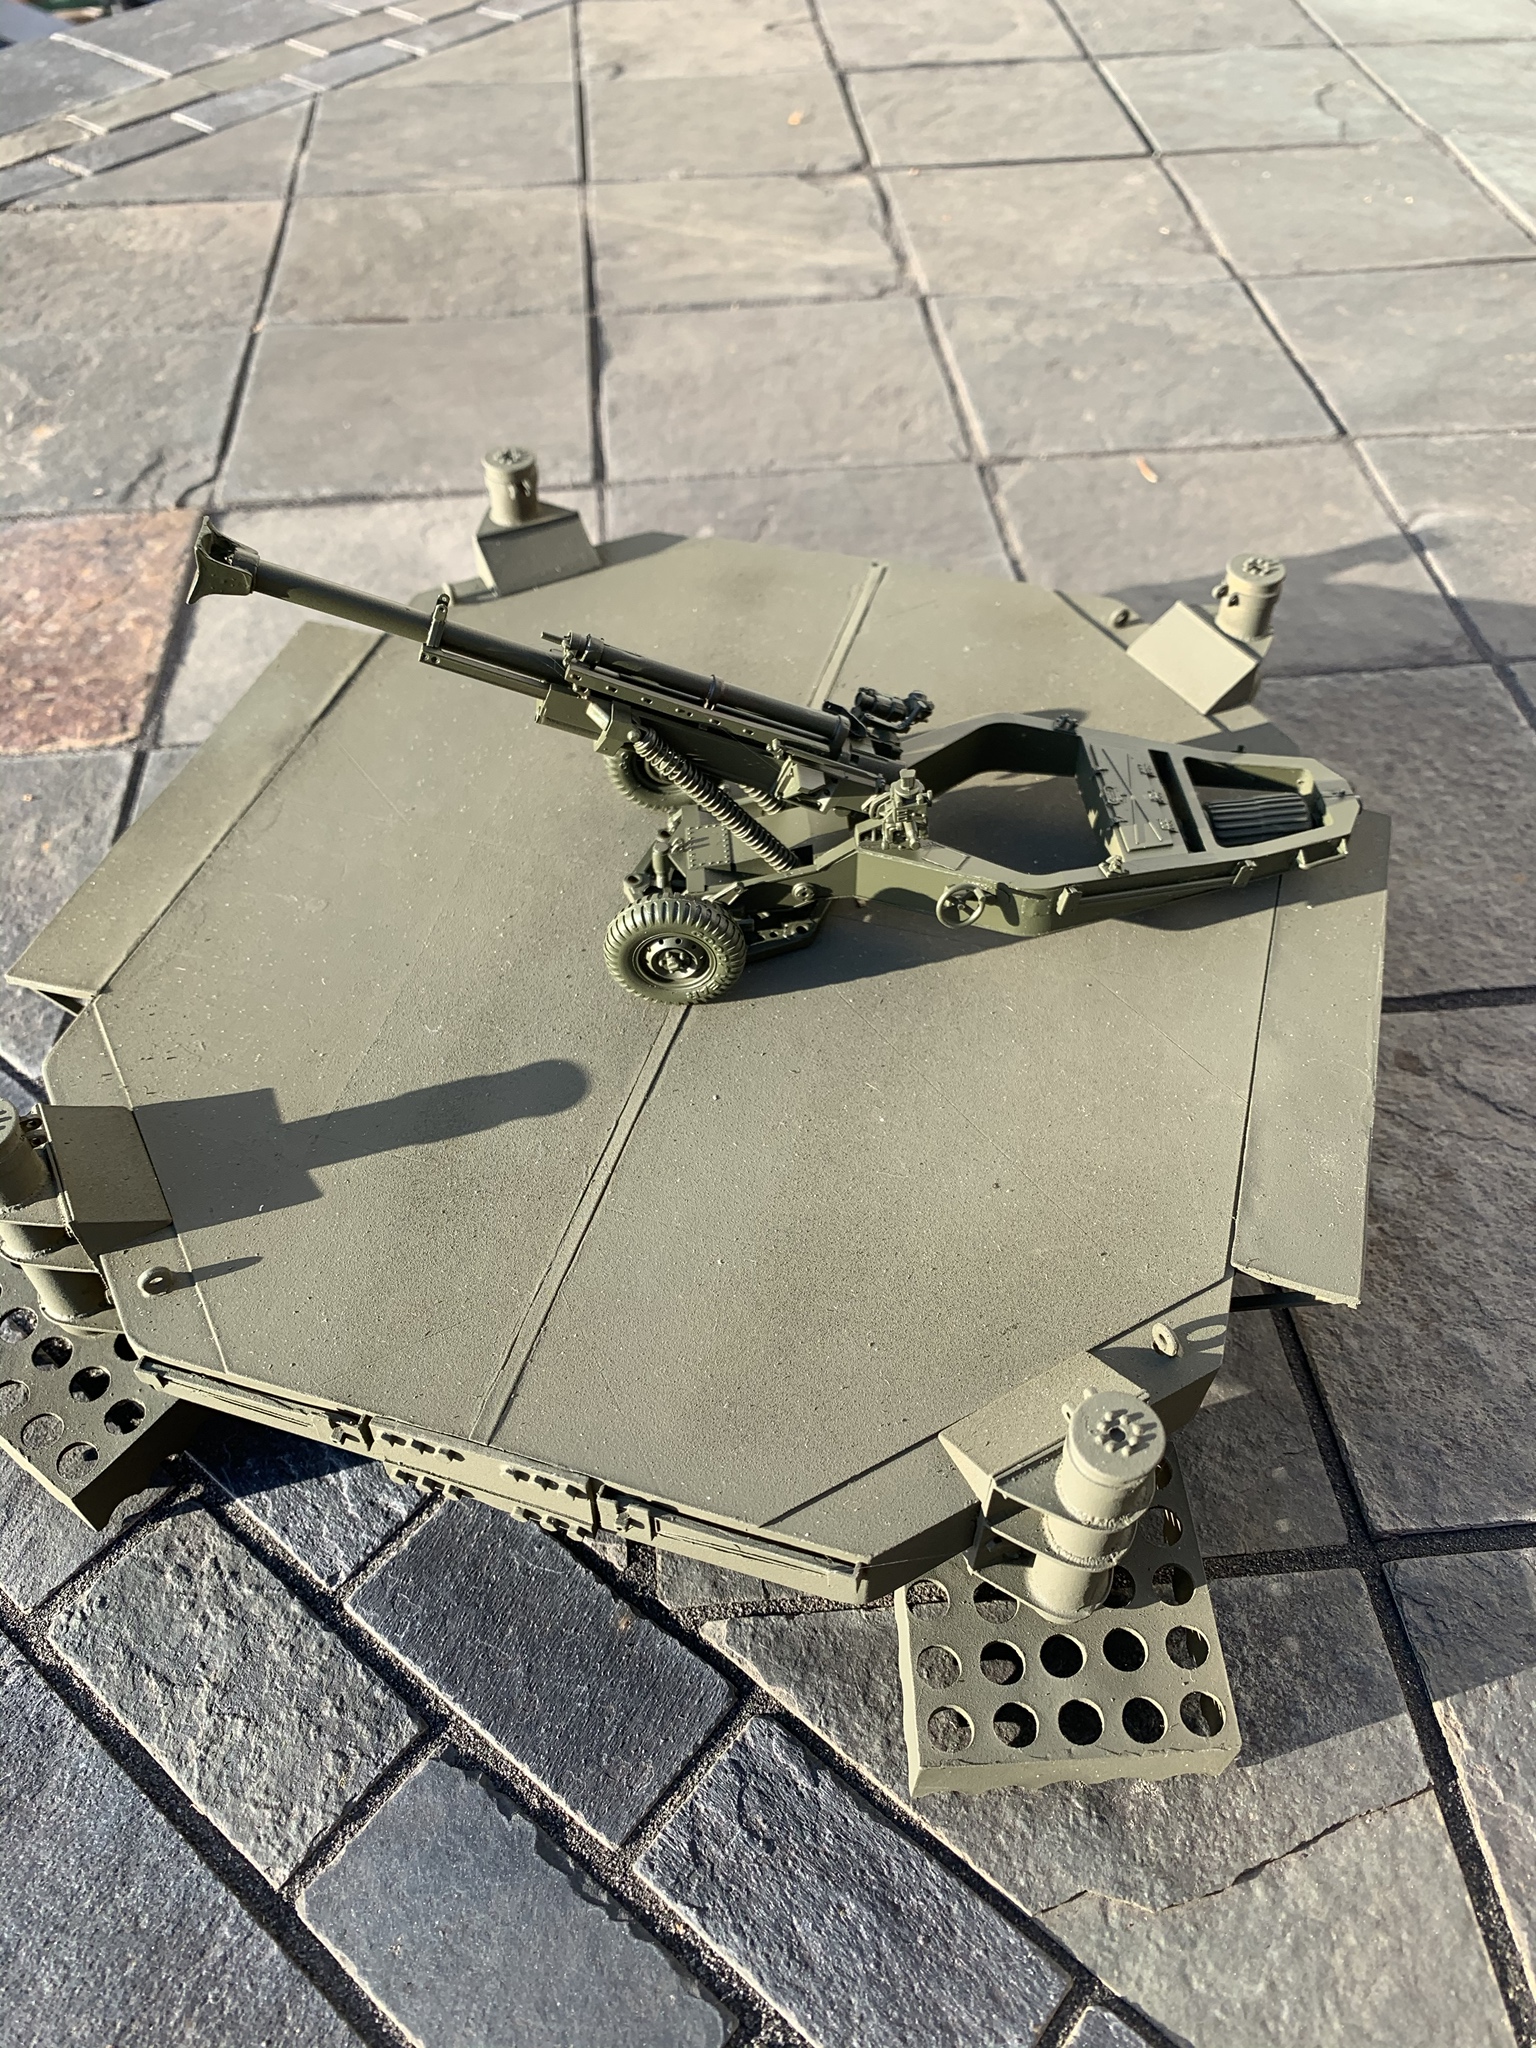
Now with paint....


RobinNilsson

Joined: November 29, 2006
KitMaker: 6,693 posts
Armorama: 5,562 posts

Posted: Tuesday, May 26, 2020 - 11:37 AM UTC
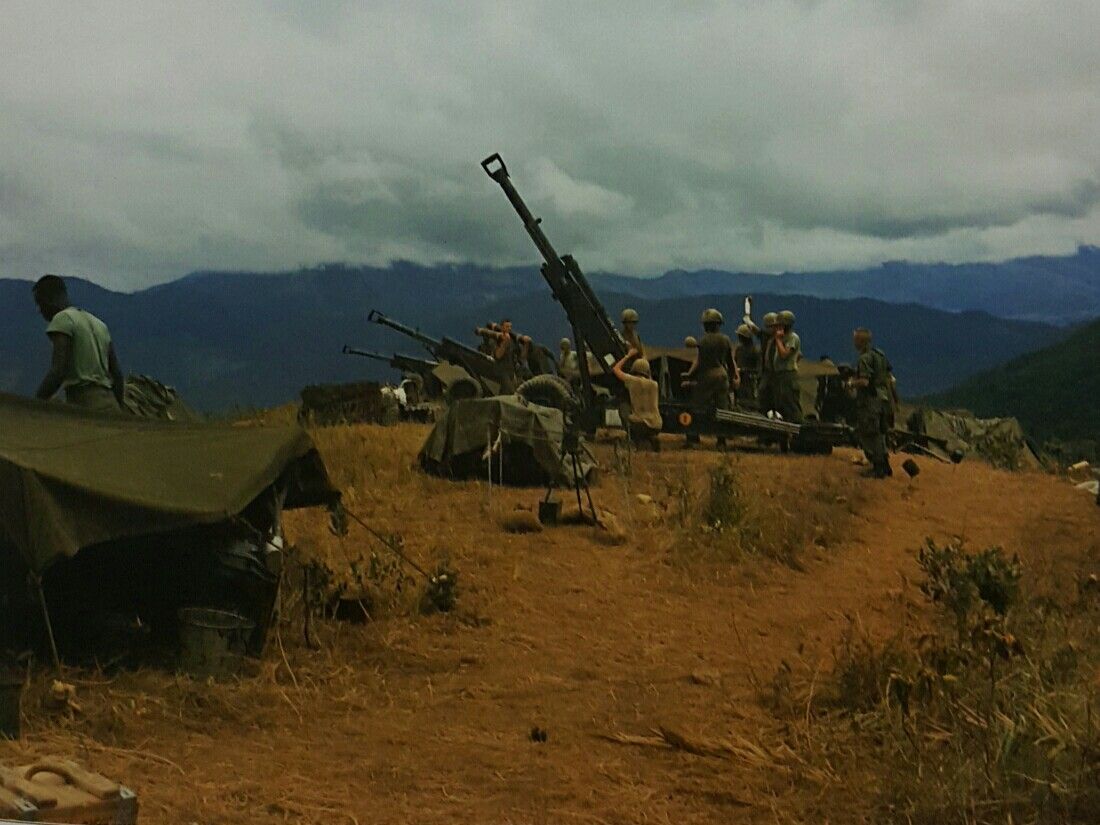
Maybe there is a risk that the muzzle brake could kick up dust and increase the risk of being located?

The blast from the muzzle brake mostly goes sideways, the baffles redirect the hot gas slightly more than 90 degrees
/ Robin
Edit: This was interesting
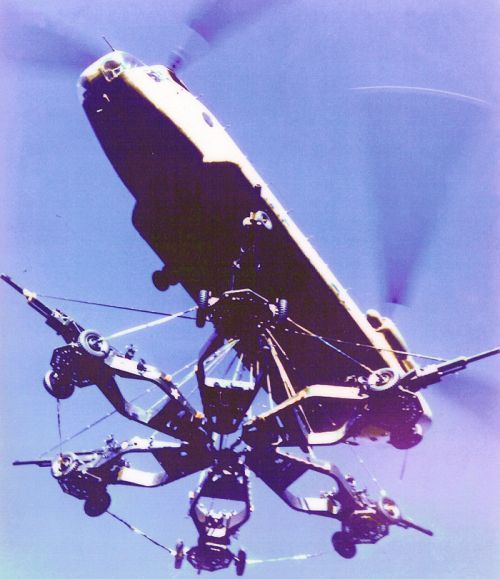
"CH-47 doing experimental M102 howitzer 'six-pack' slingload, circa 1973"

HeavyArty


Joined: May 16, 2002
KitMaker: 17,694 posts
Armorama: 13,742 posts

Posted: Tuesday, May 26, 2020 - 11:39 AM UTC
Looking good.
 |


