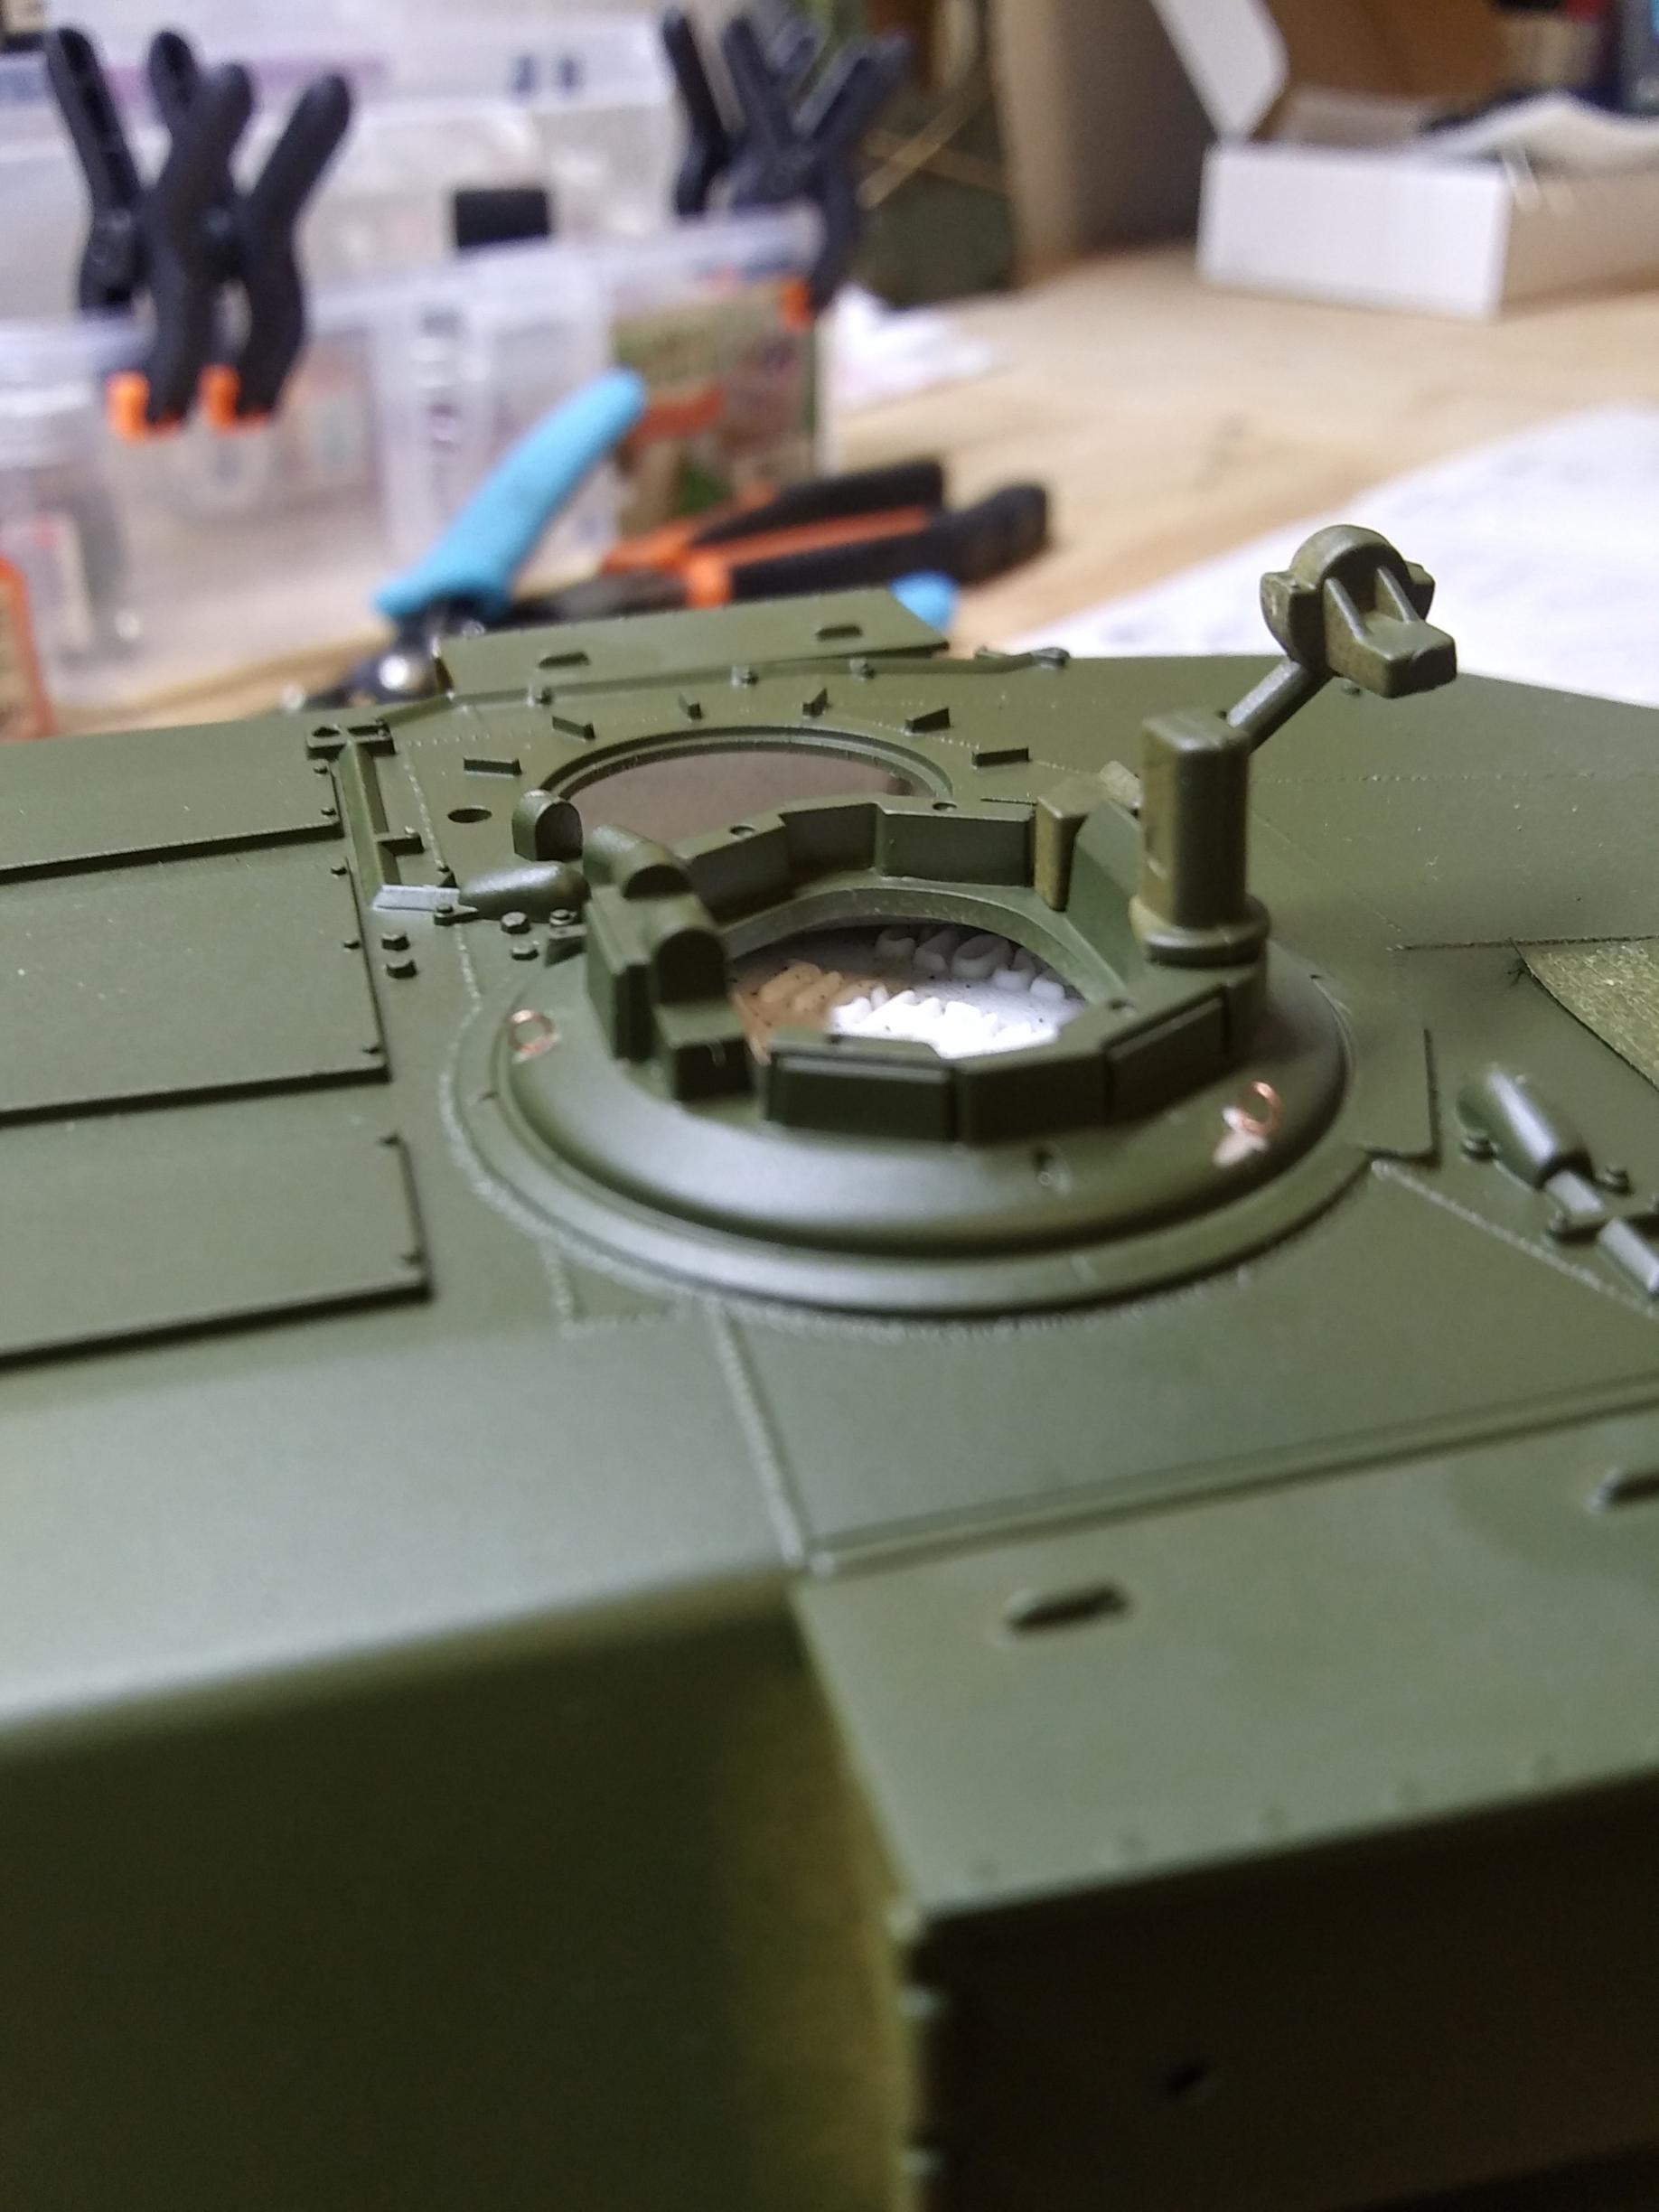
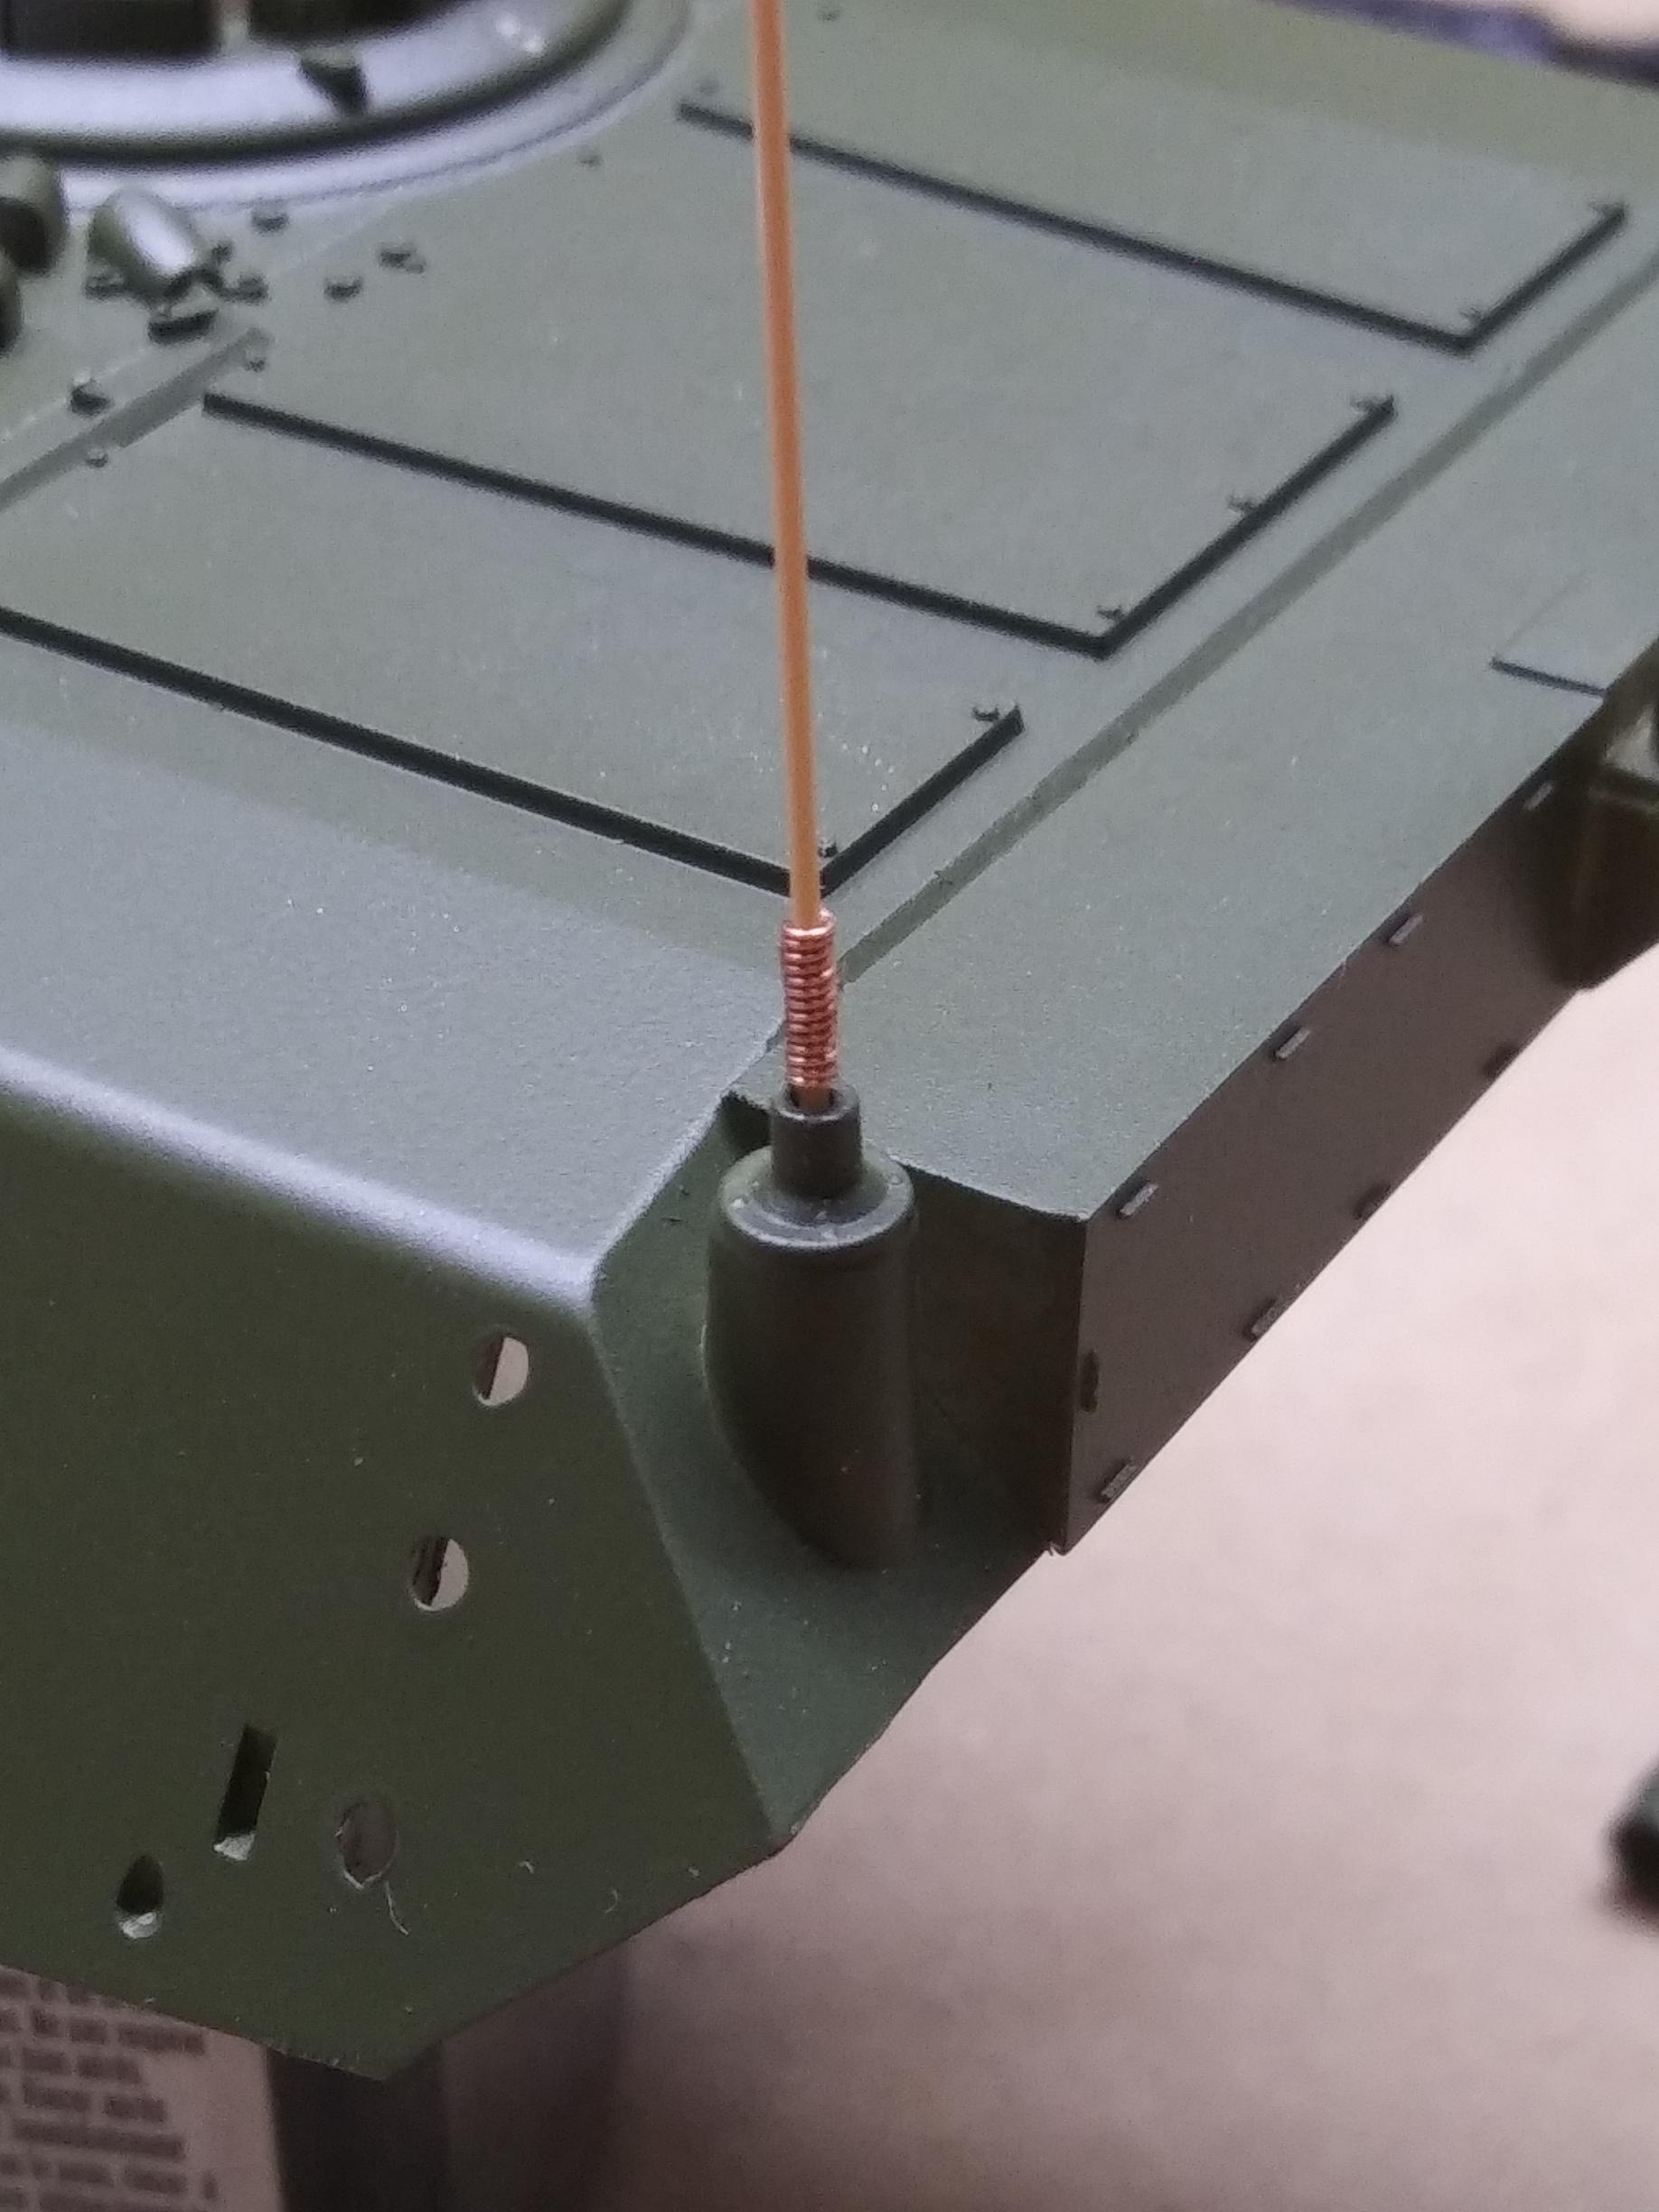
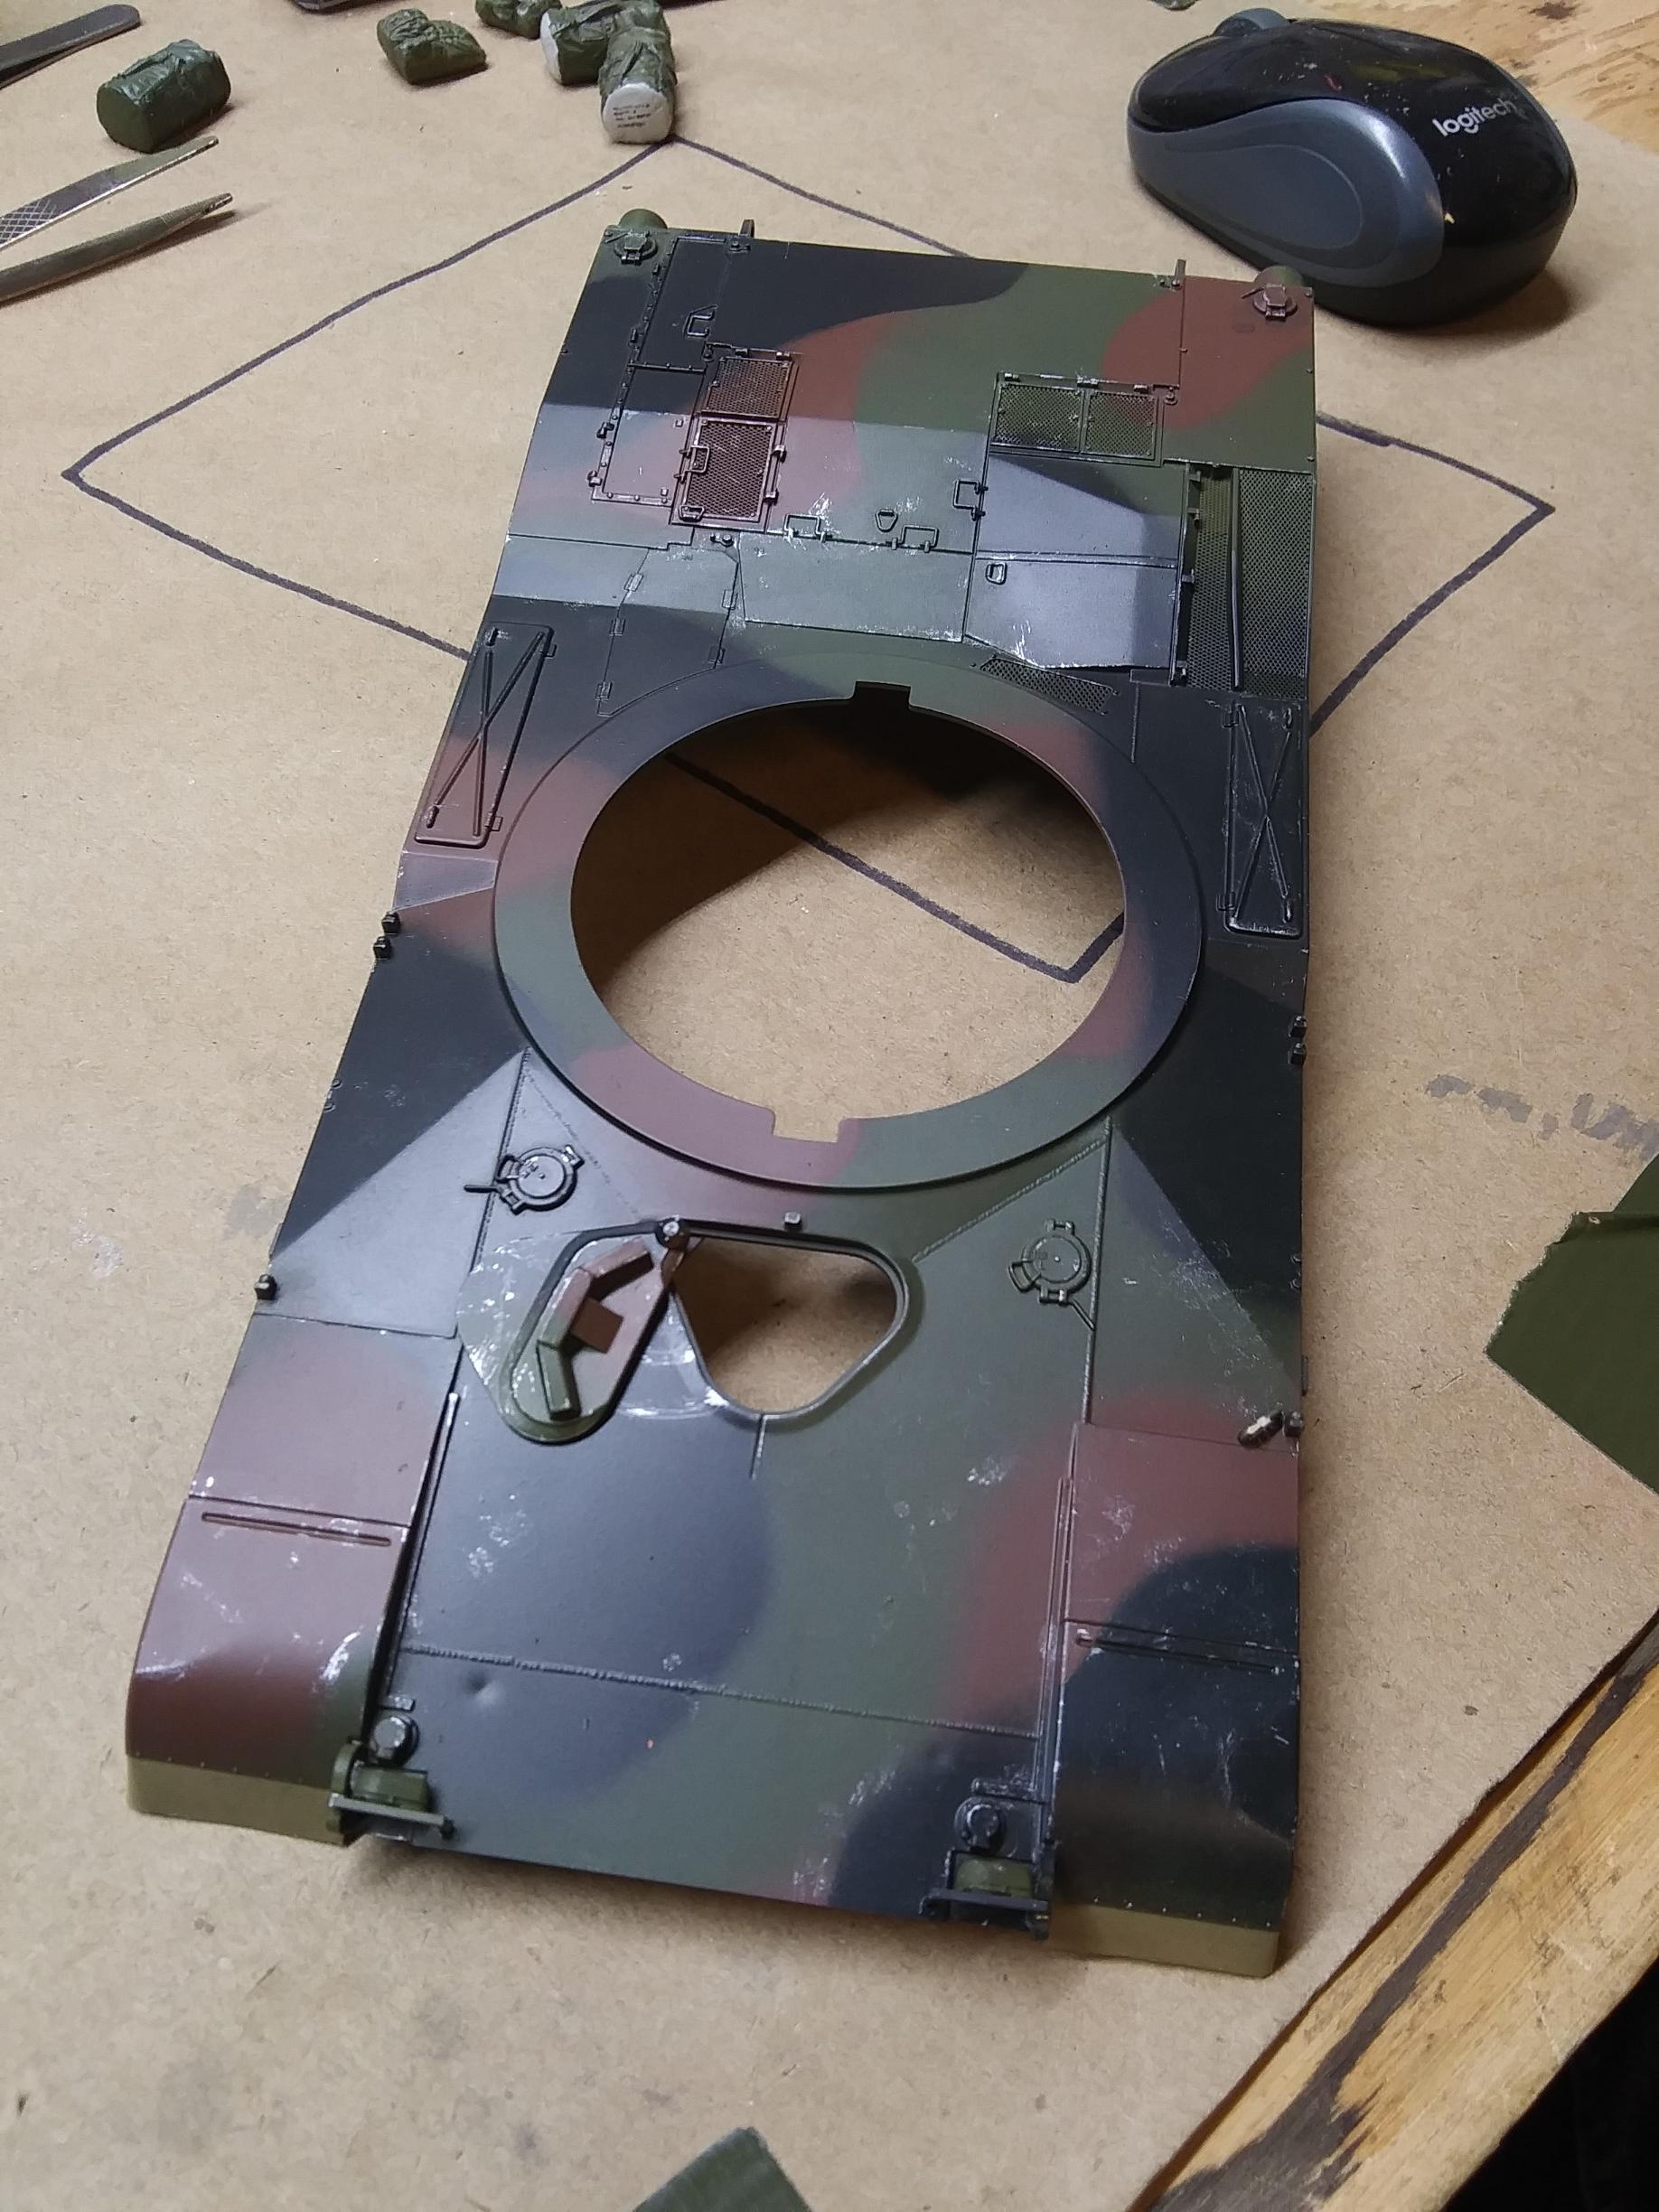
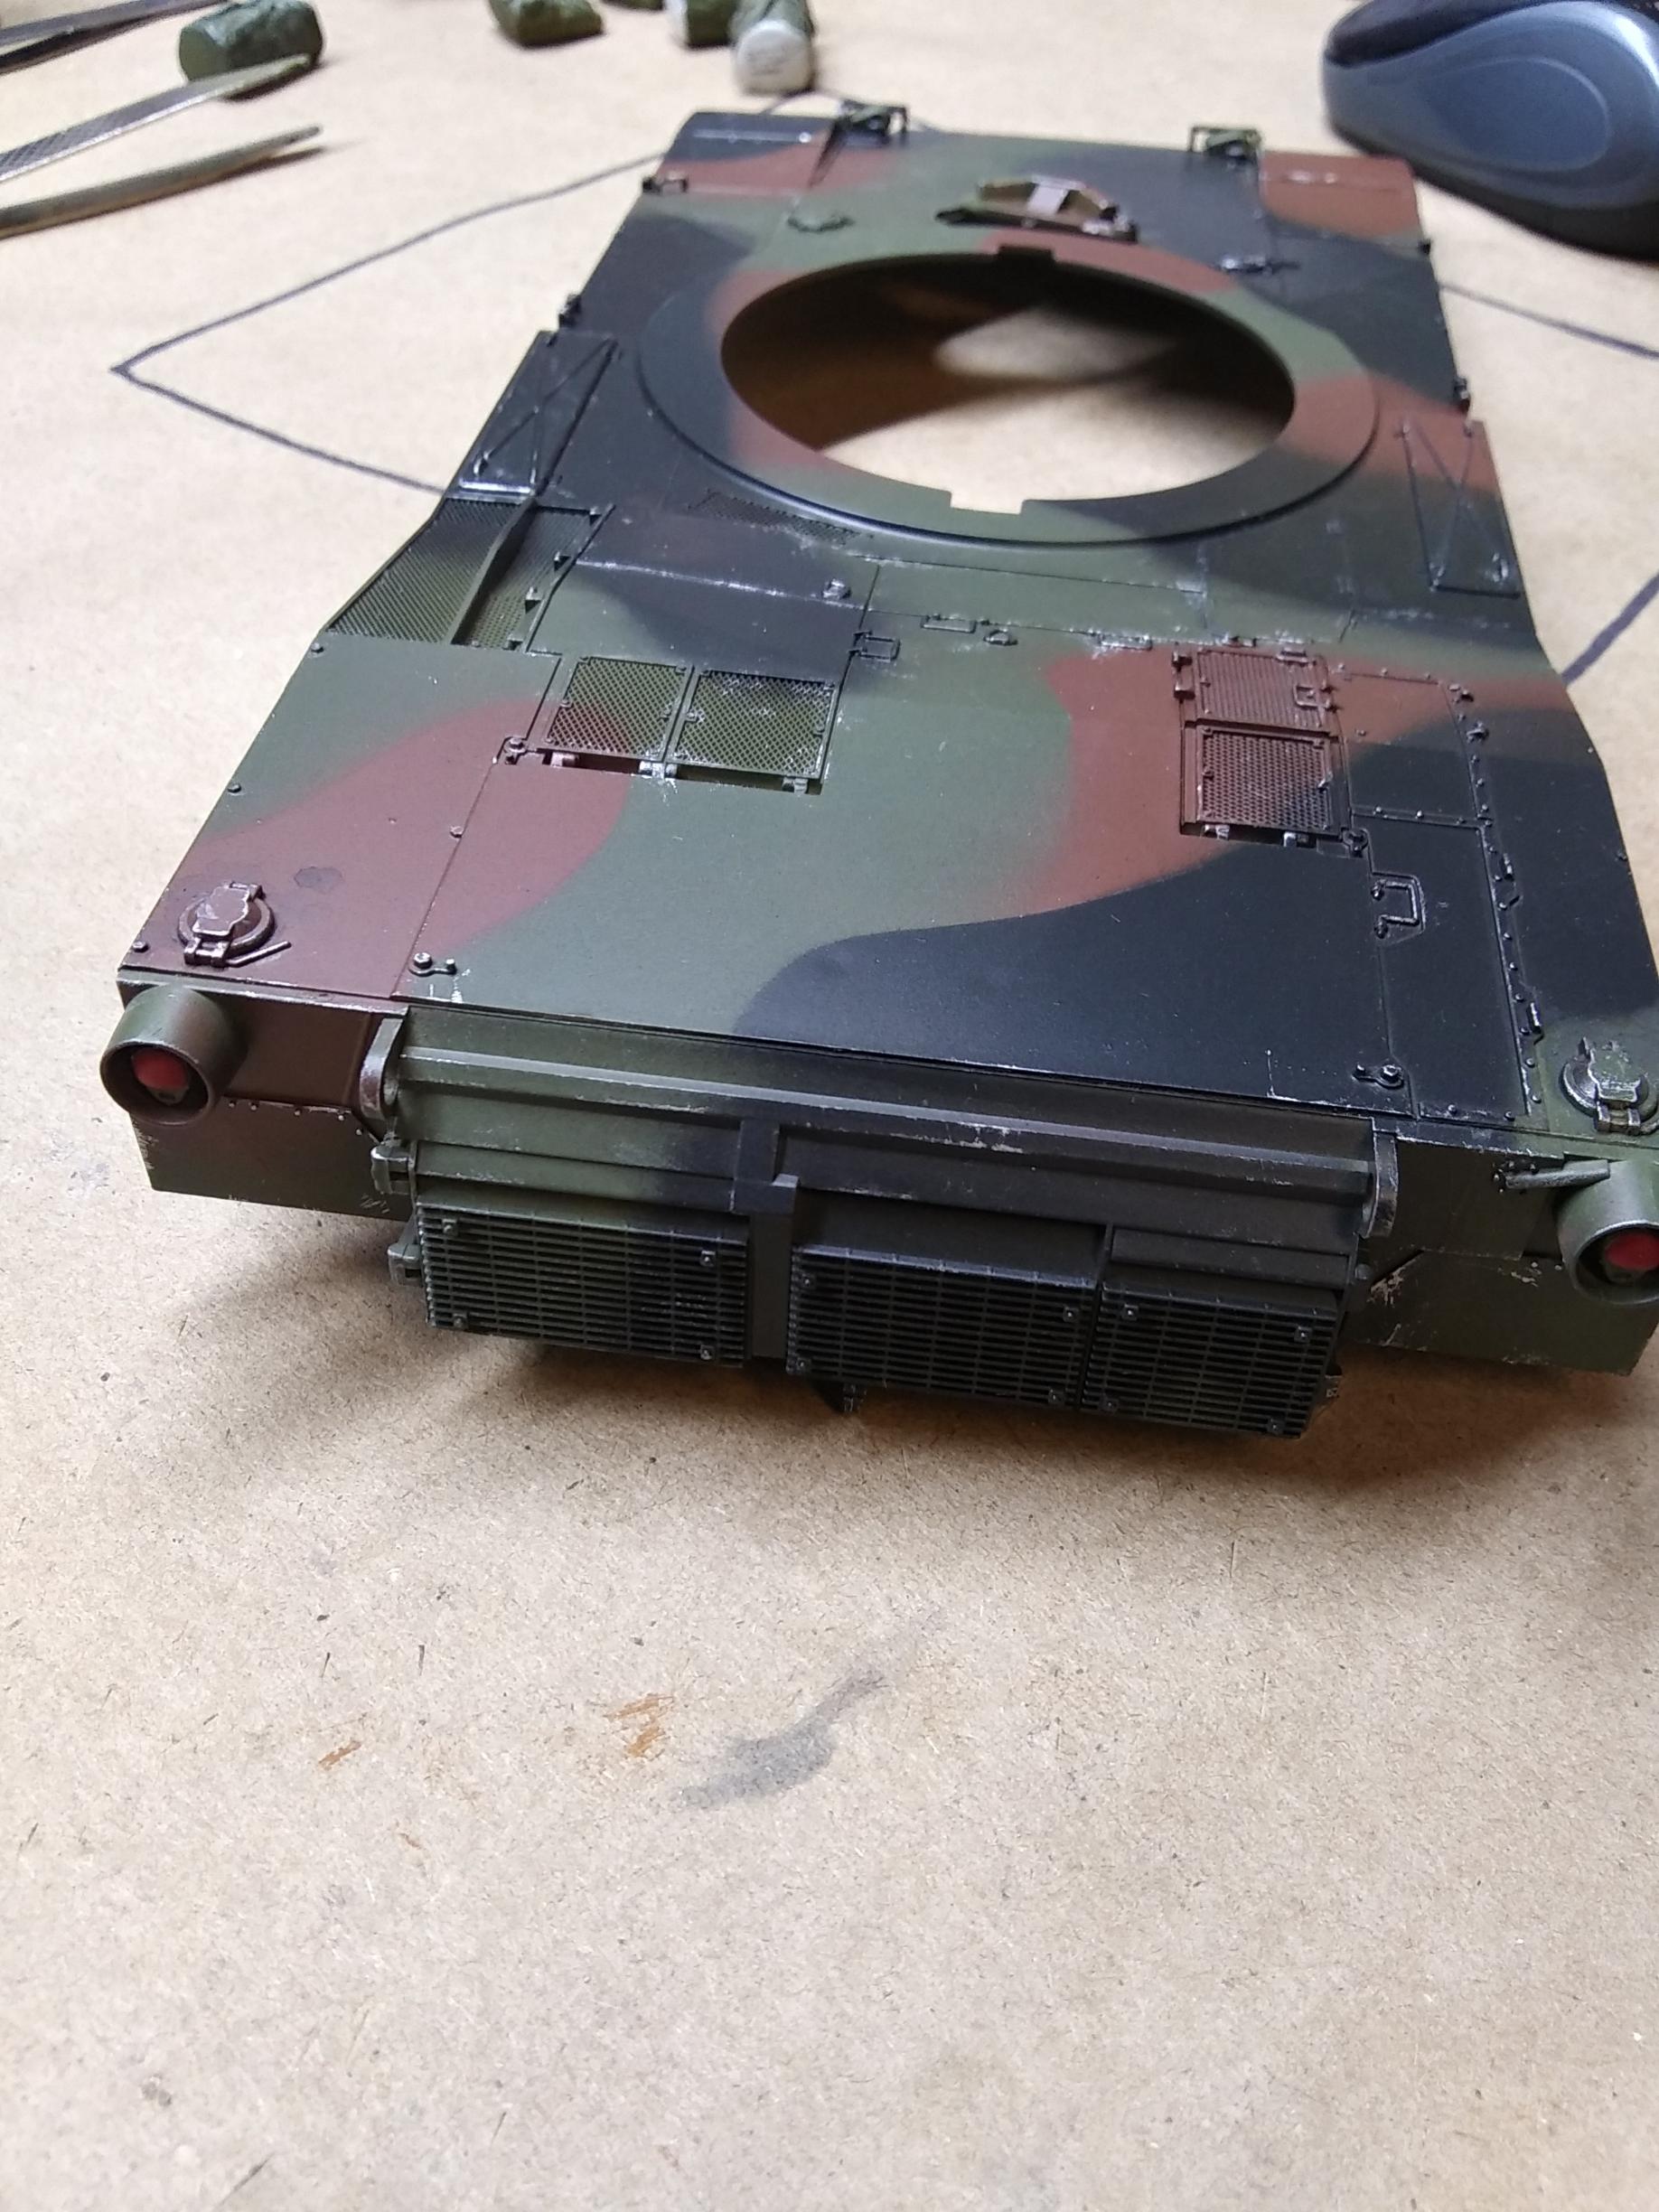
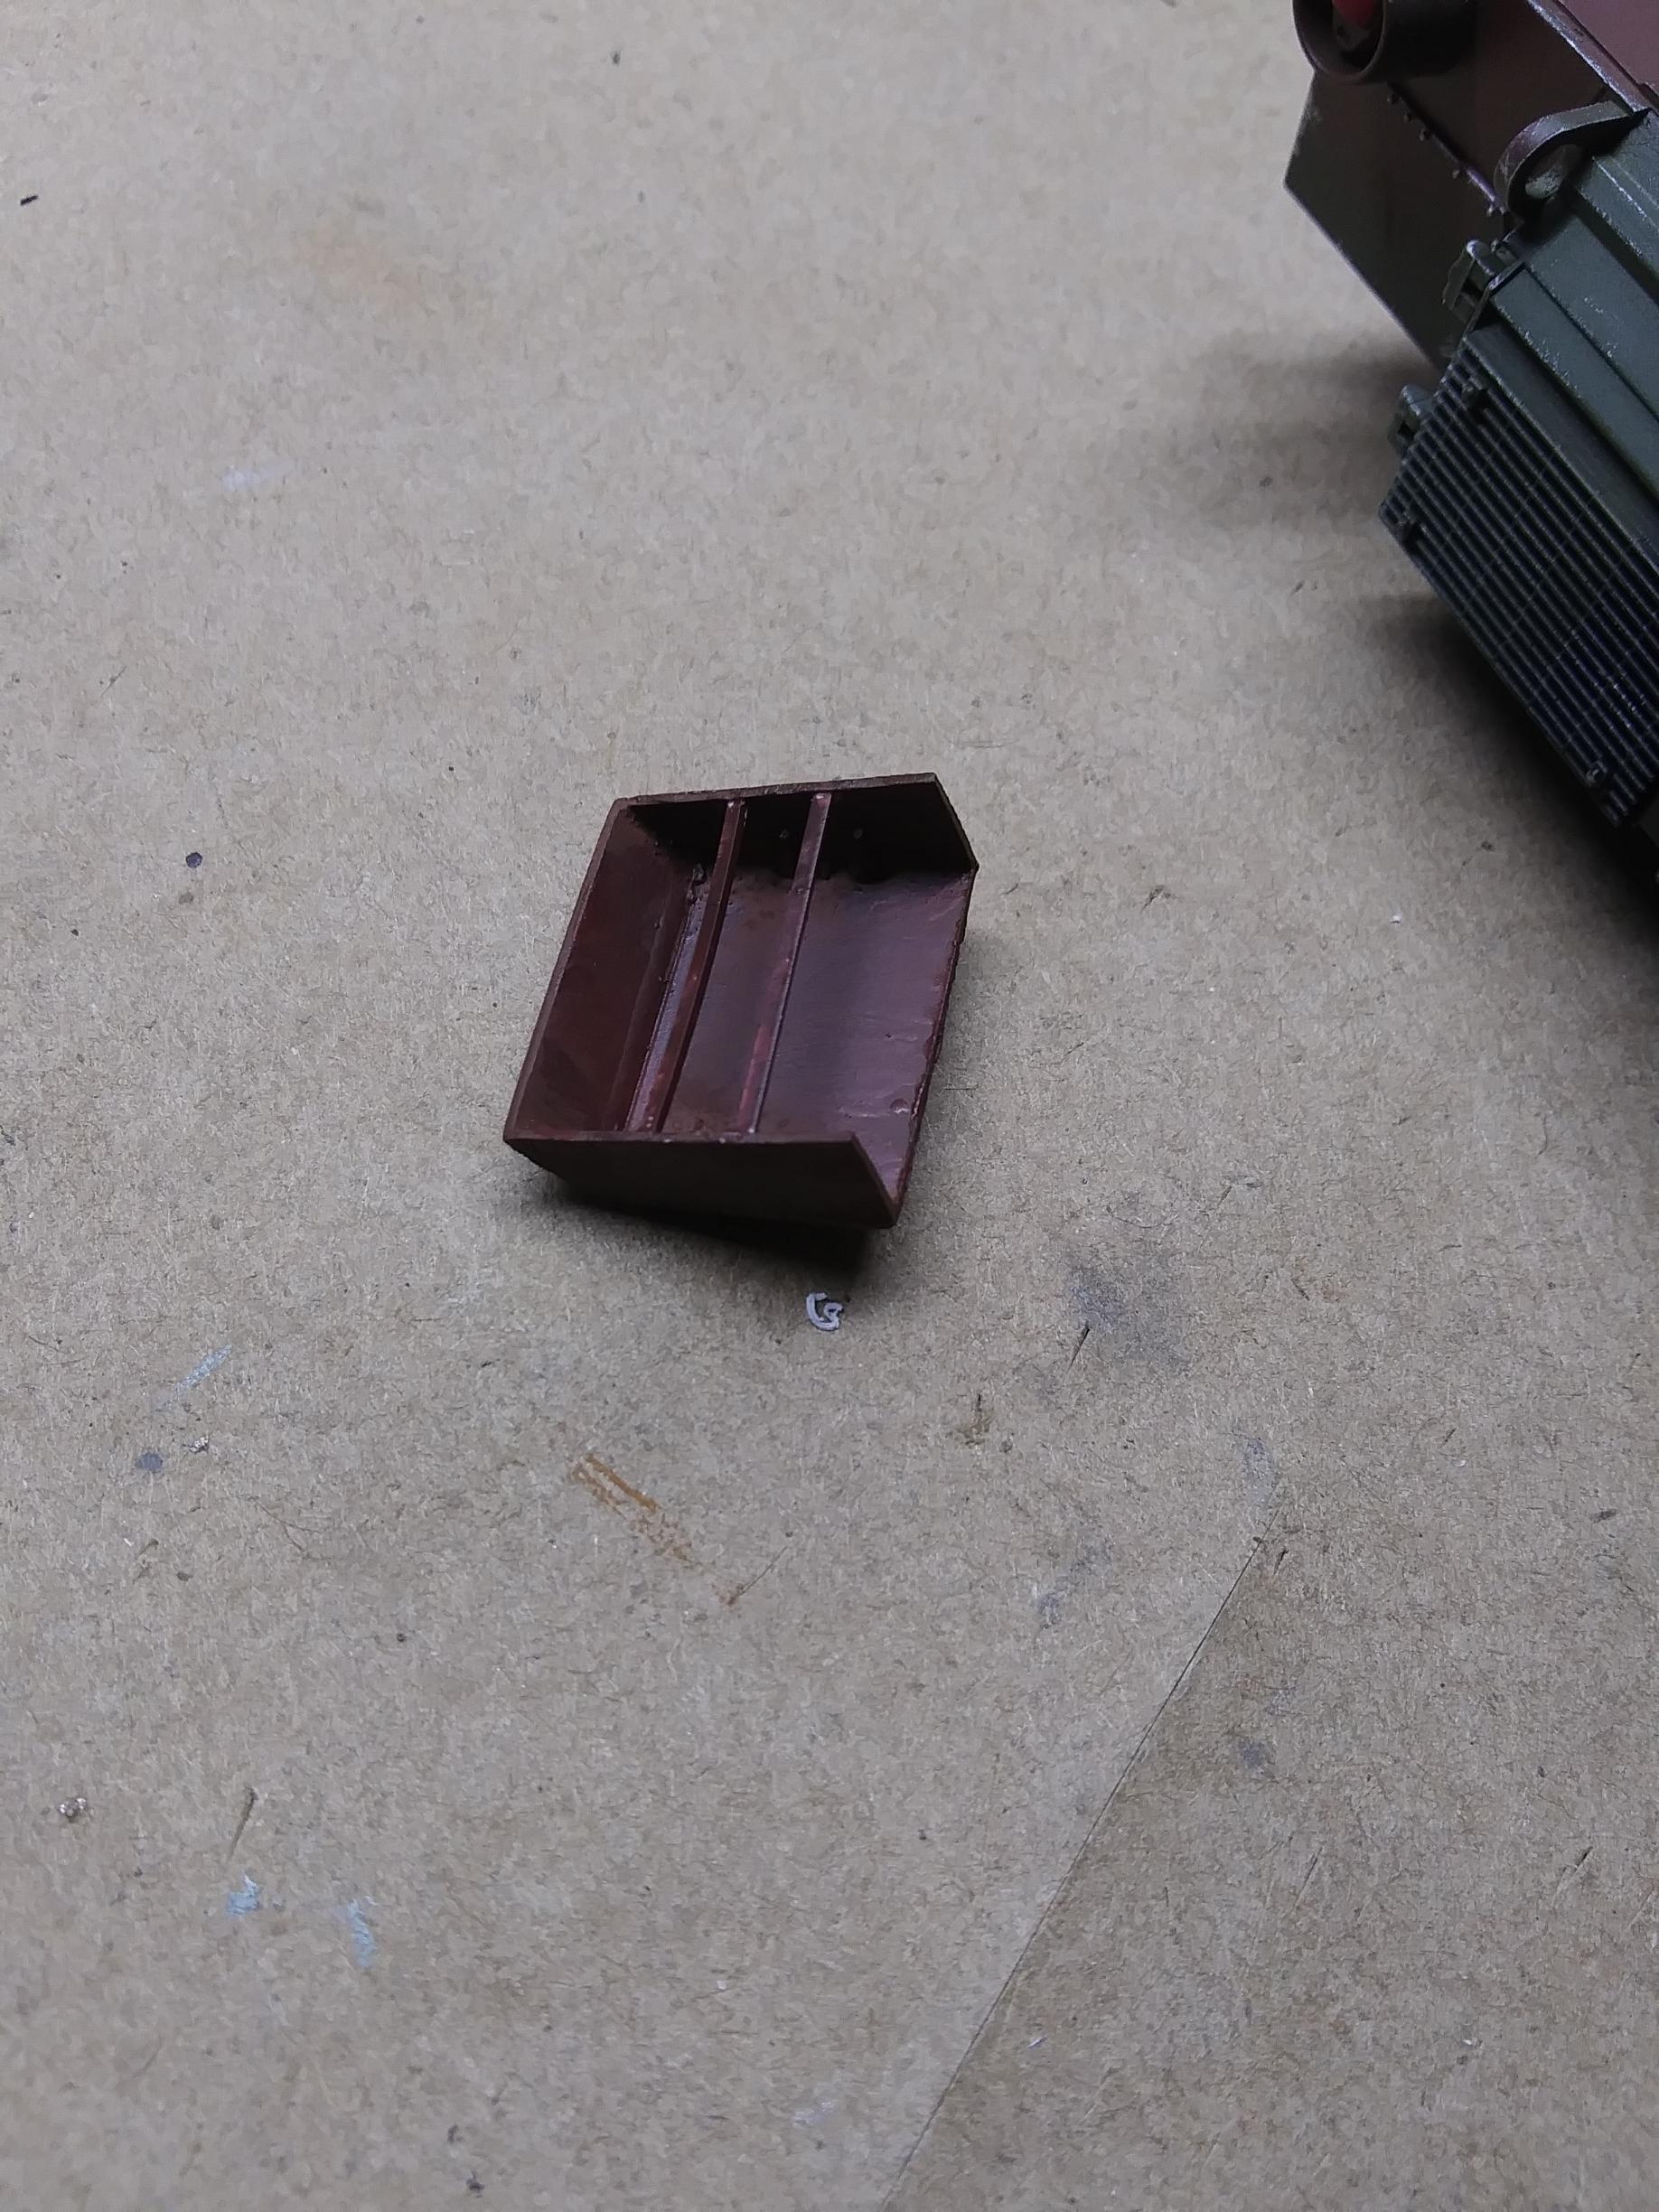
That's where the pins that attach the top hull to the bottom with poly caps are.
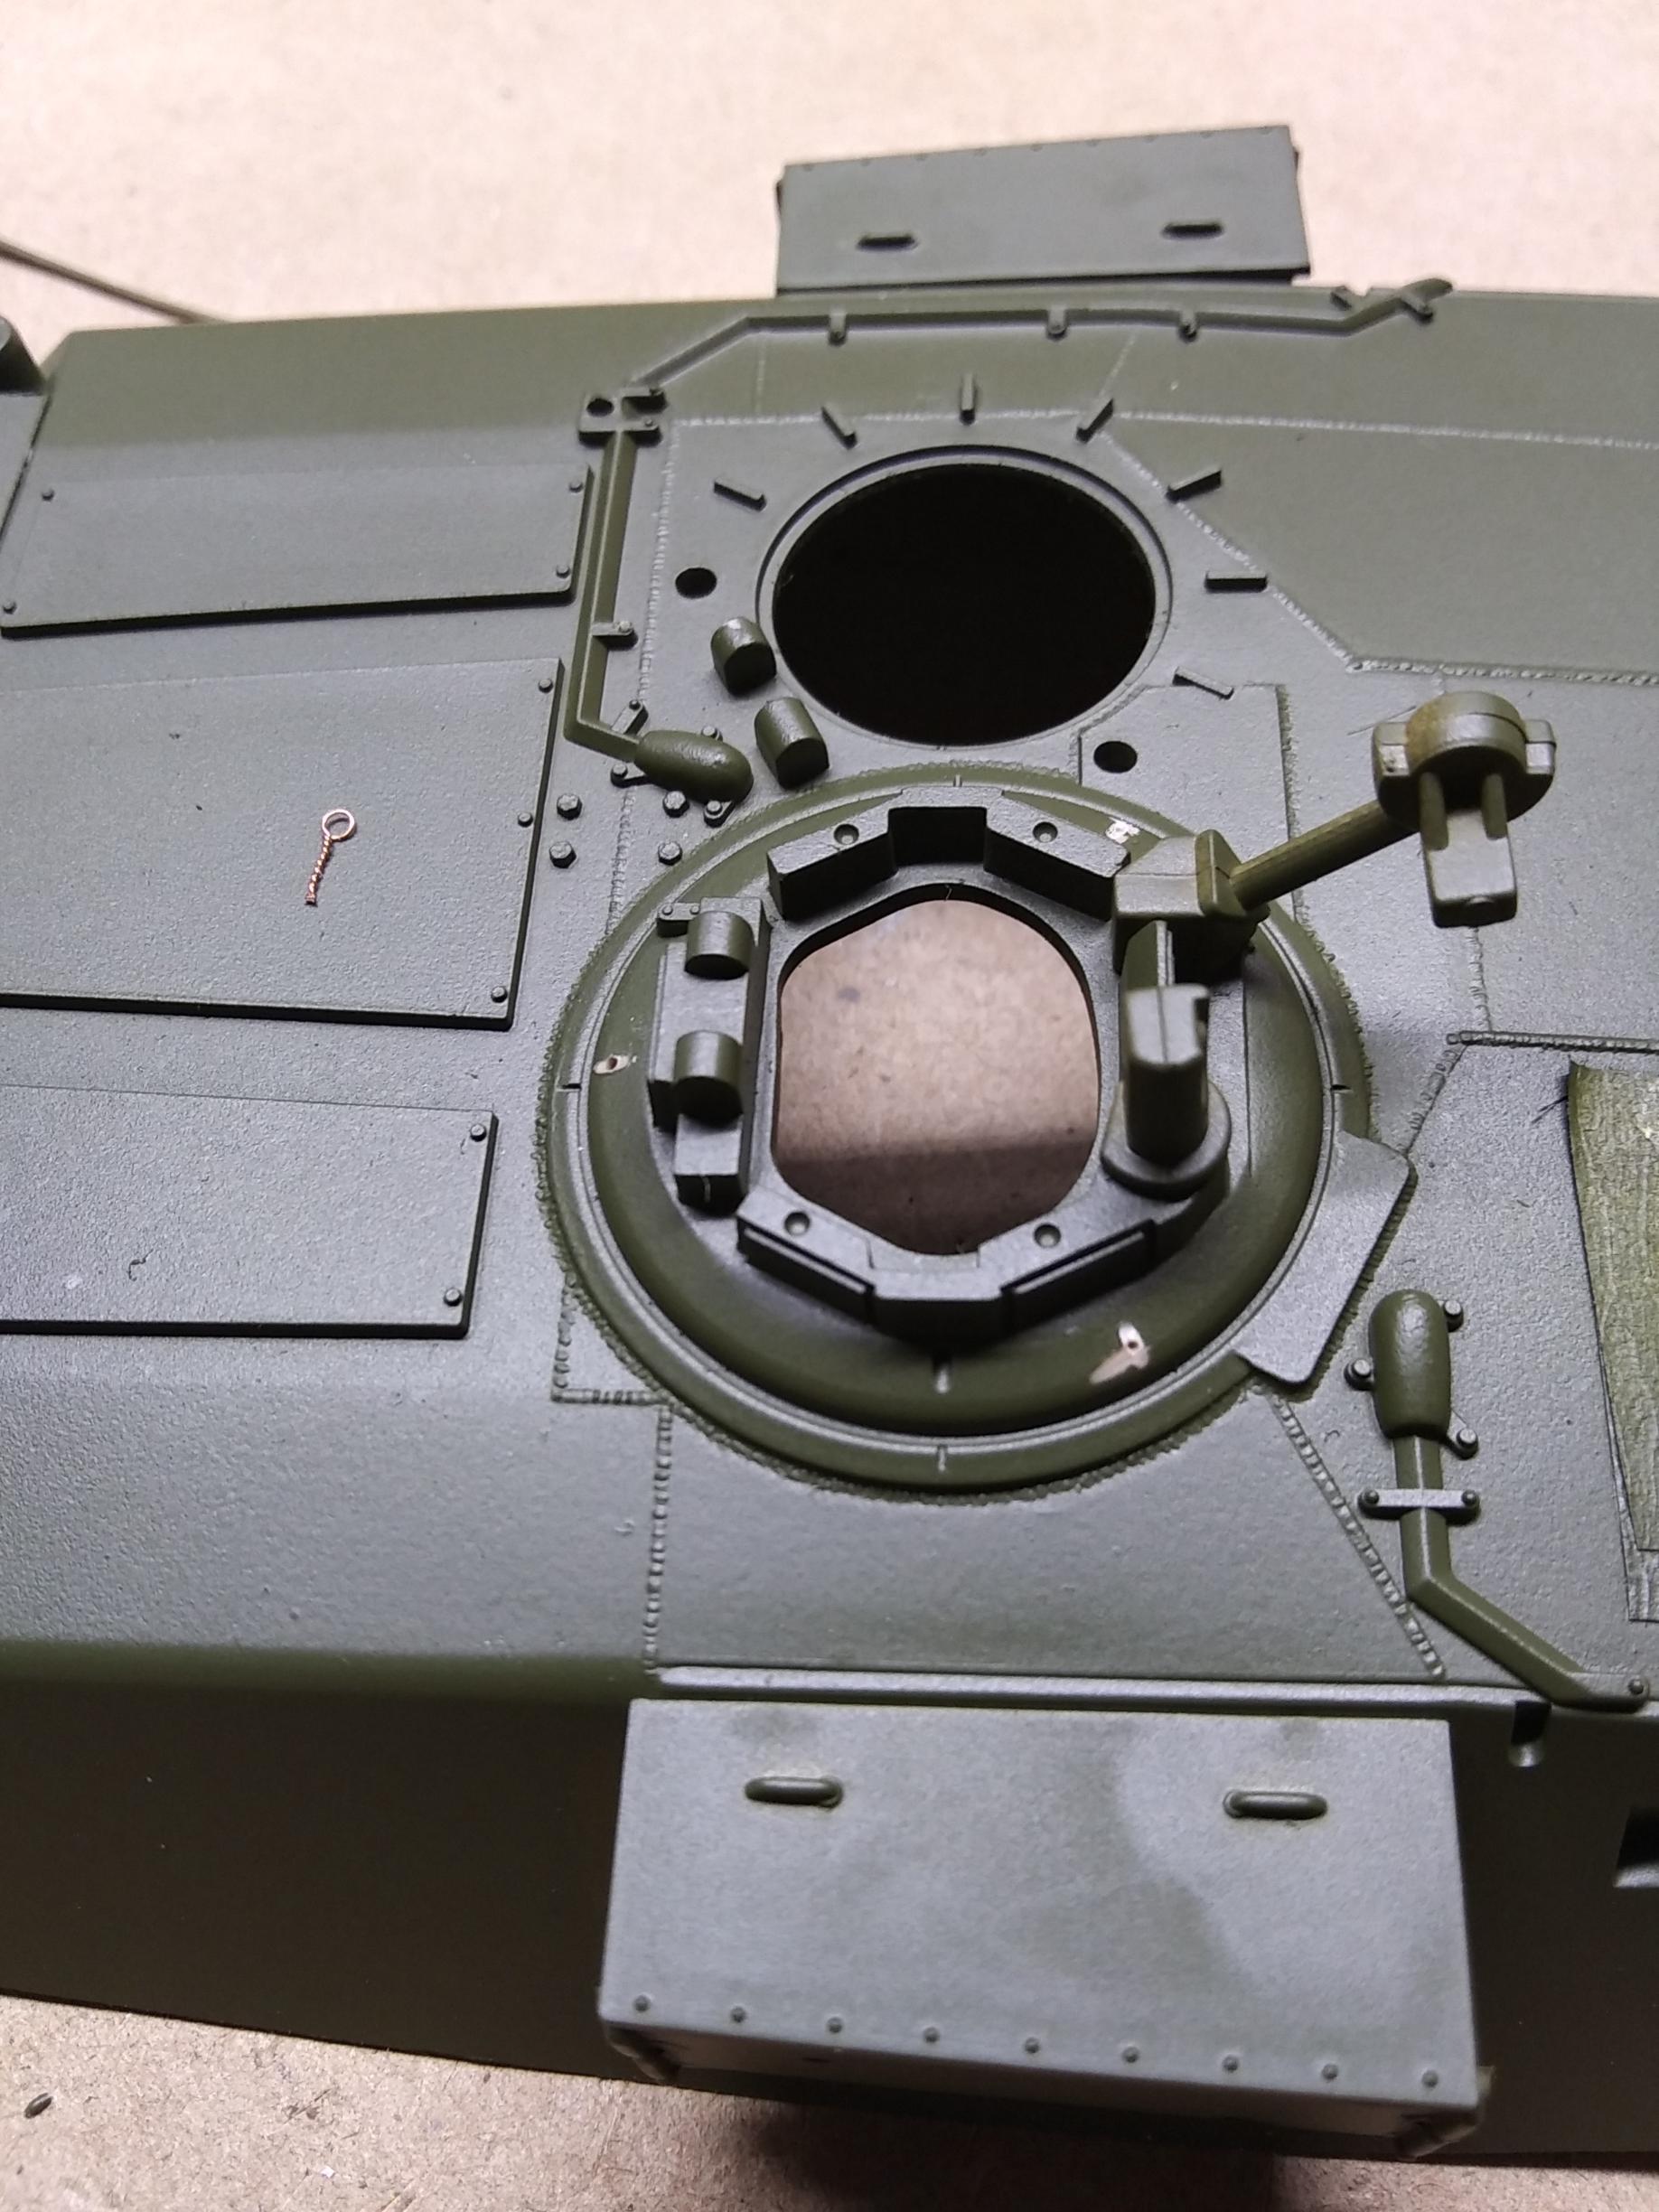
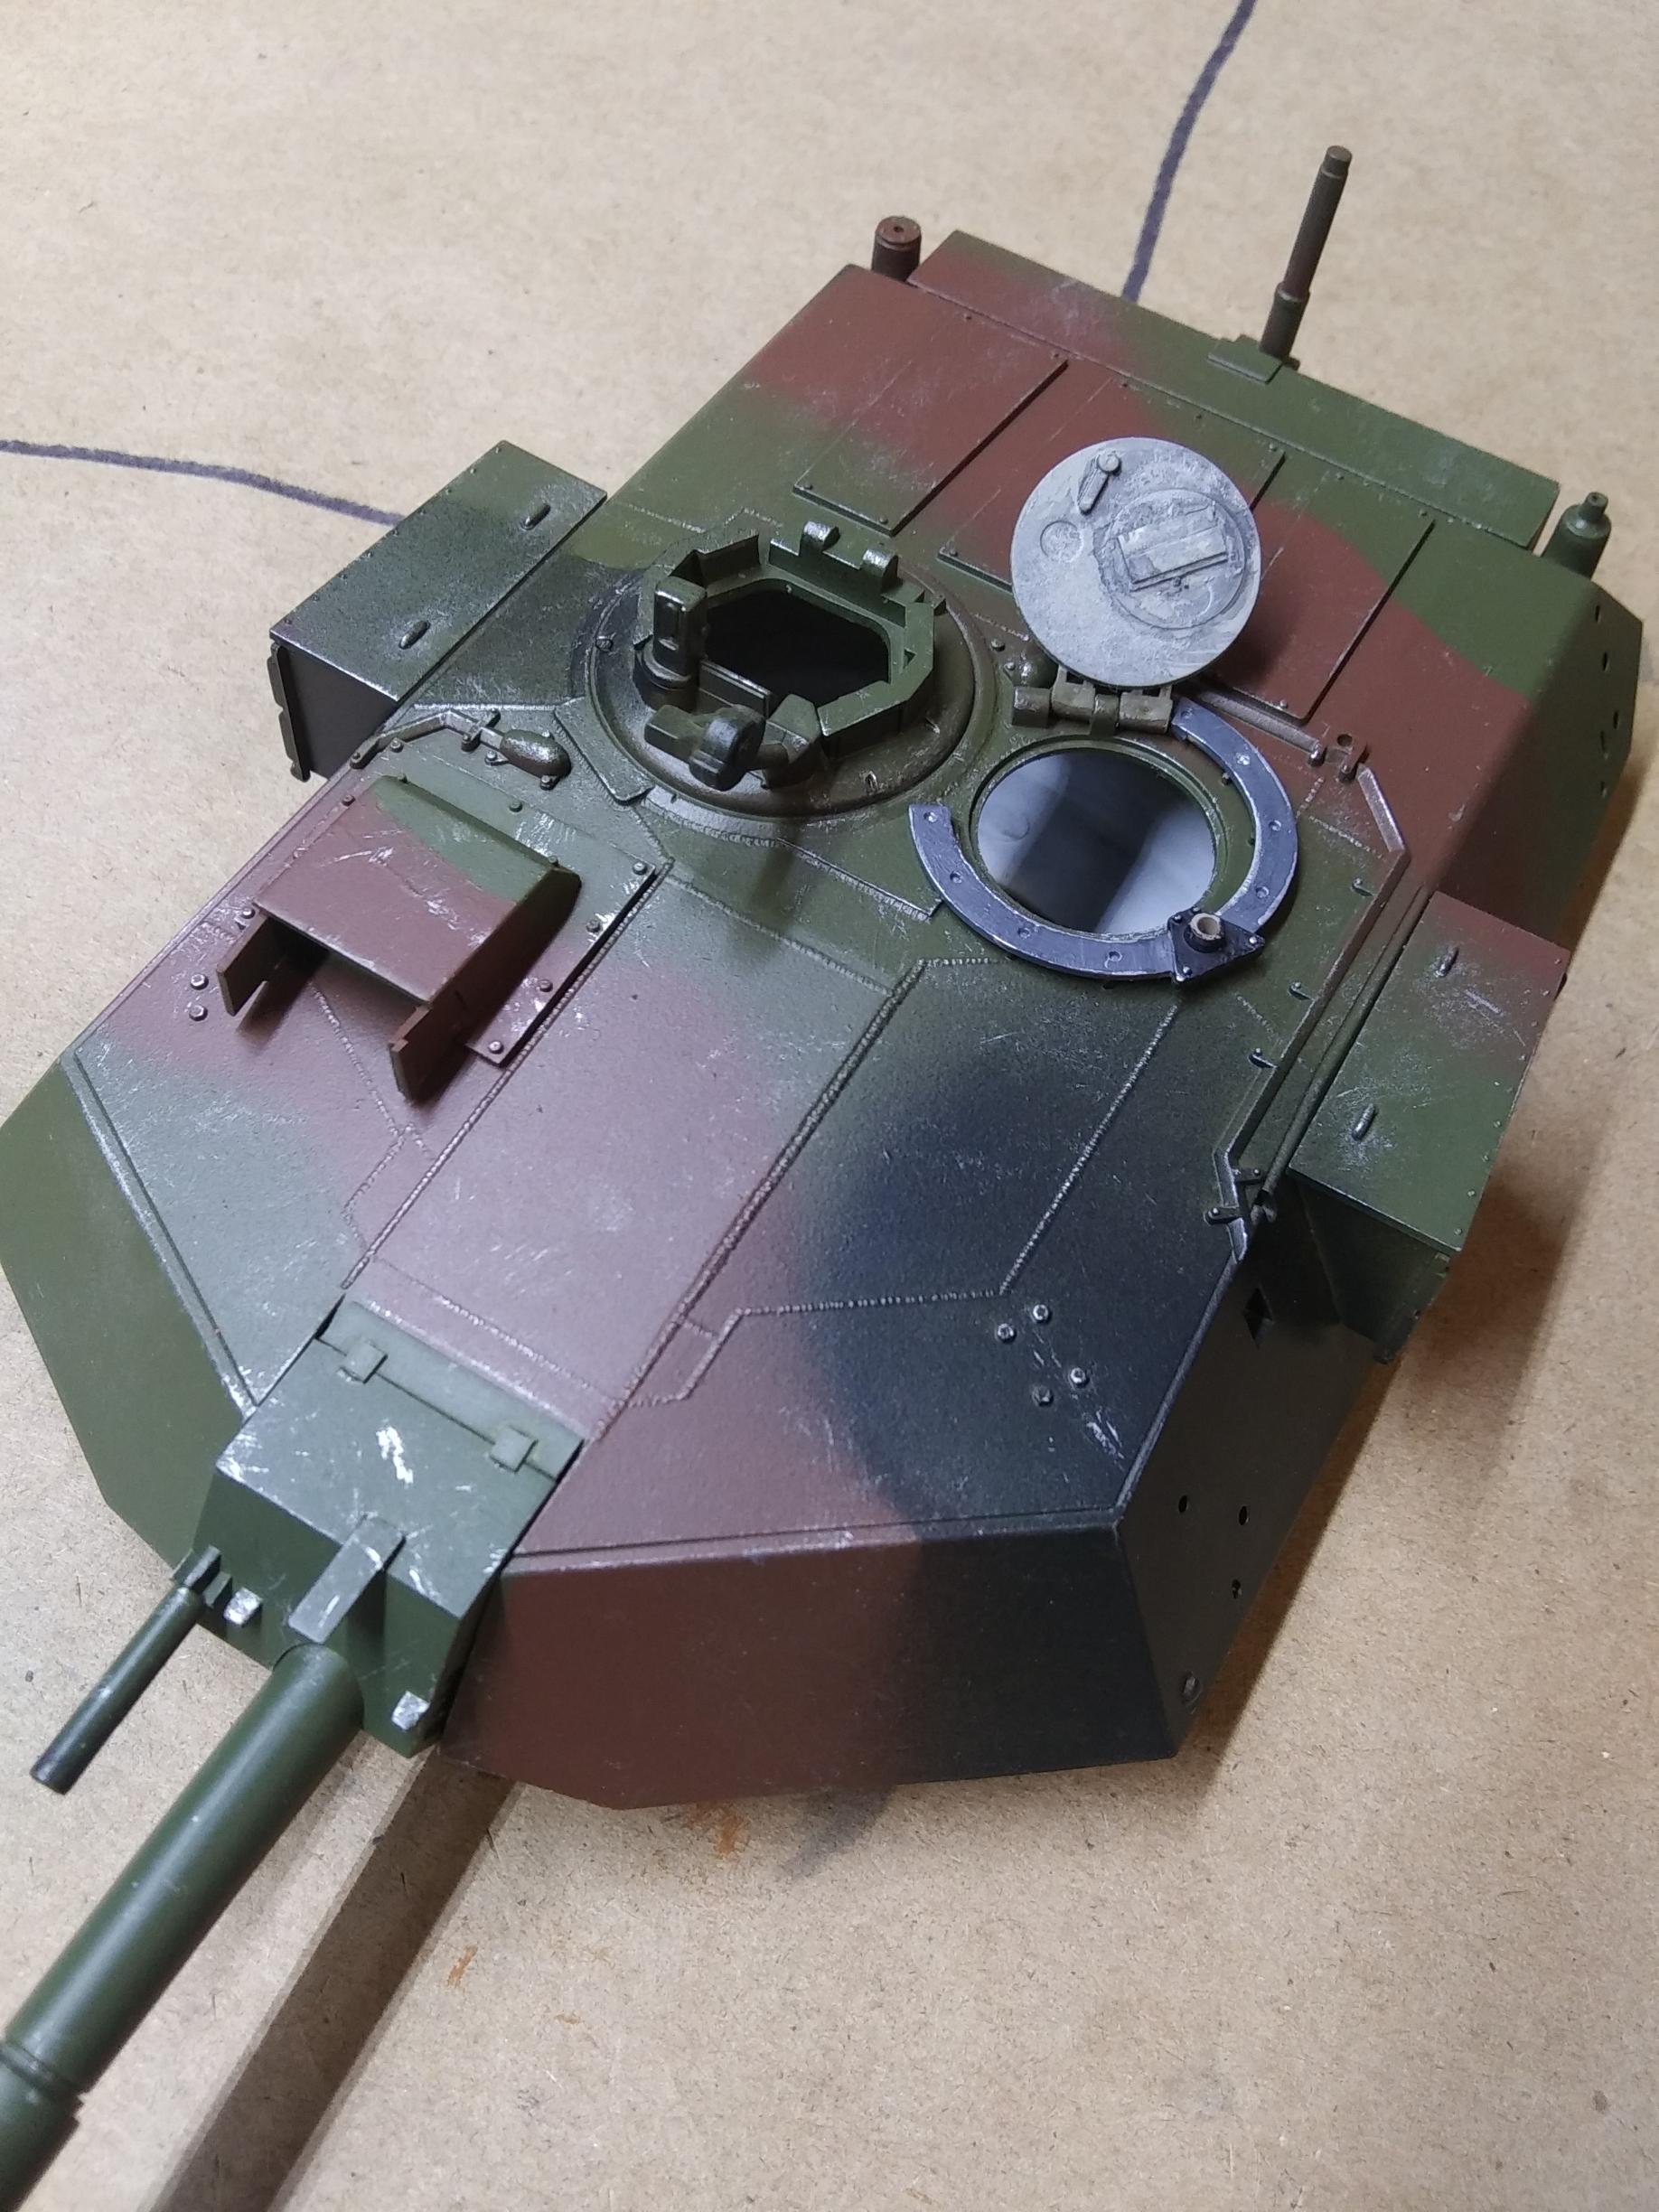
I didn't have any filler putty before I painted it, and it's a lot more noticeable from this particular angle than it really is. Once I give it a misting of road dust it should be less so.
"Gunner-Sabot-Brightly painted, chrome laden wheeled vehicle!--Fire!"
Pig # 50
Uber Gepanzertes Schweinbataillon
Ex-Minister of Mud
R.I.P. Der Sonntag Bund
18Bravo
Colorado, United States Joined: January 20, 2005
KitMaker: 7,219 posts
Armorama: 6,097 posts
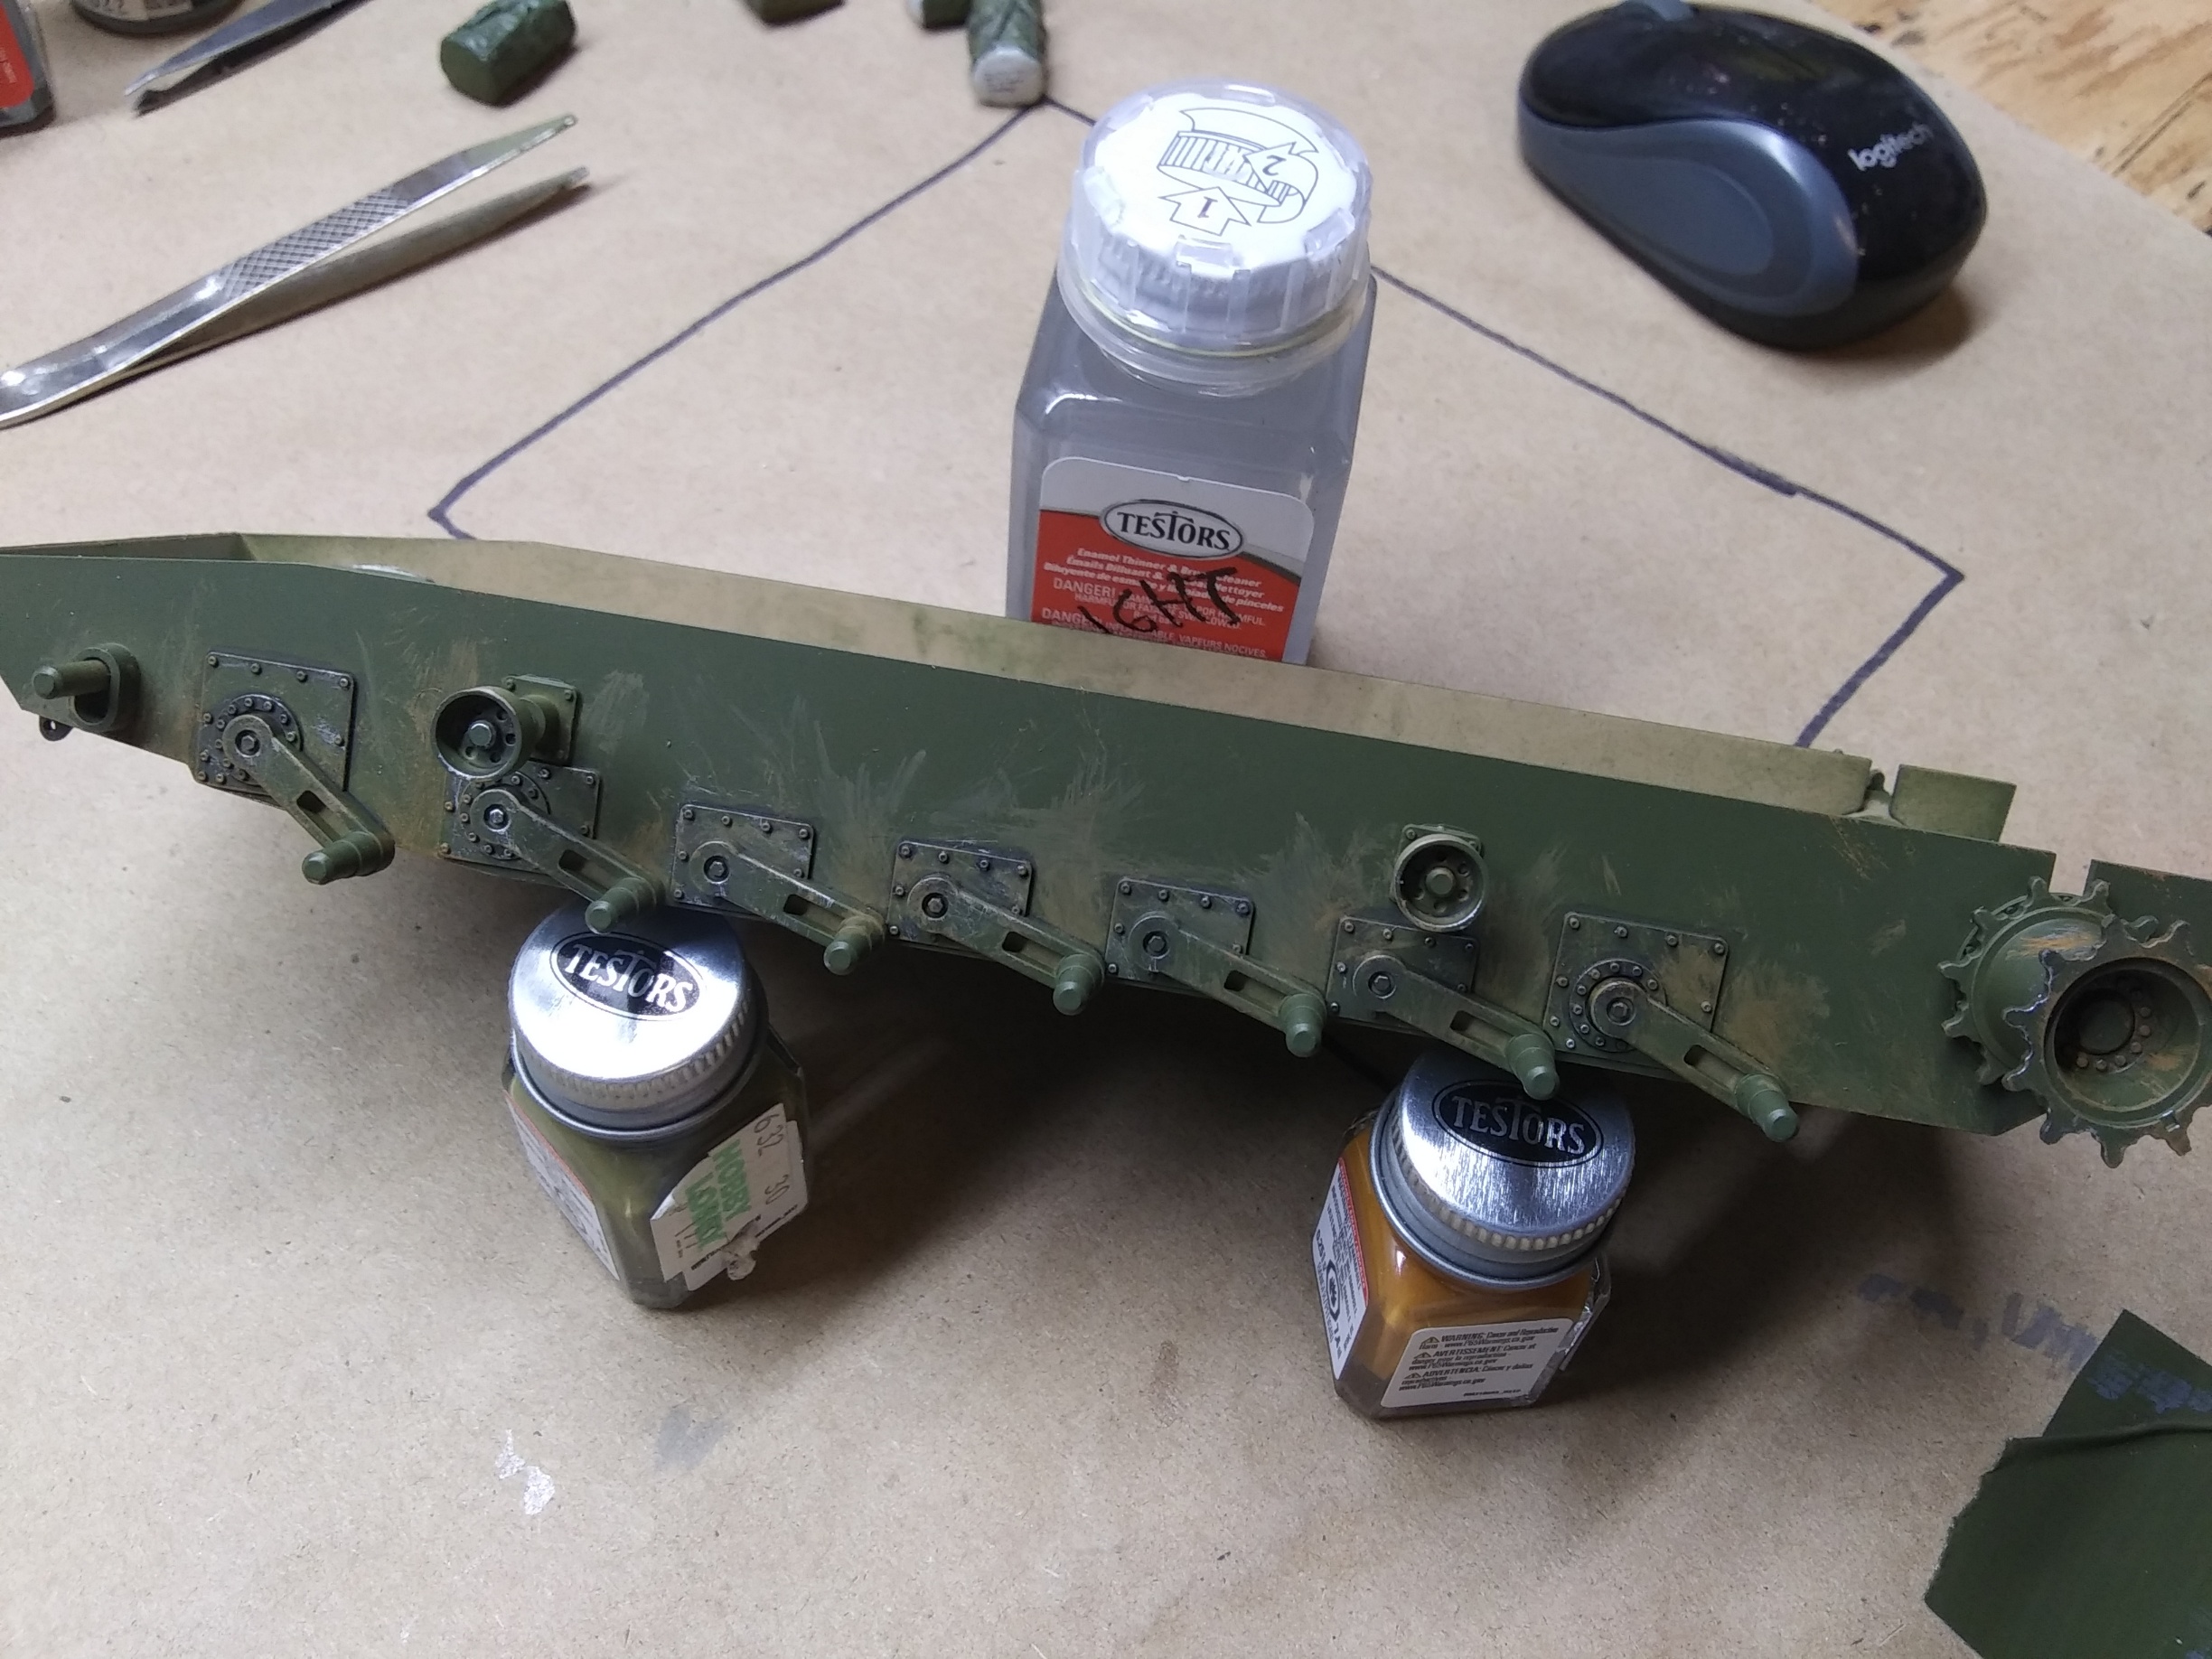
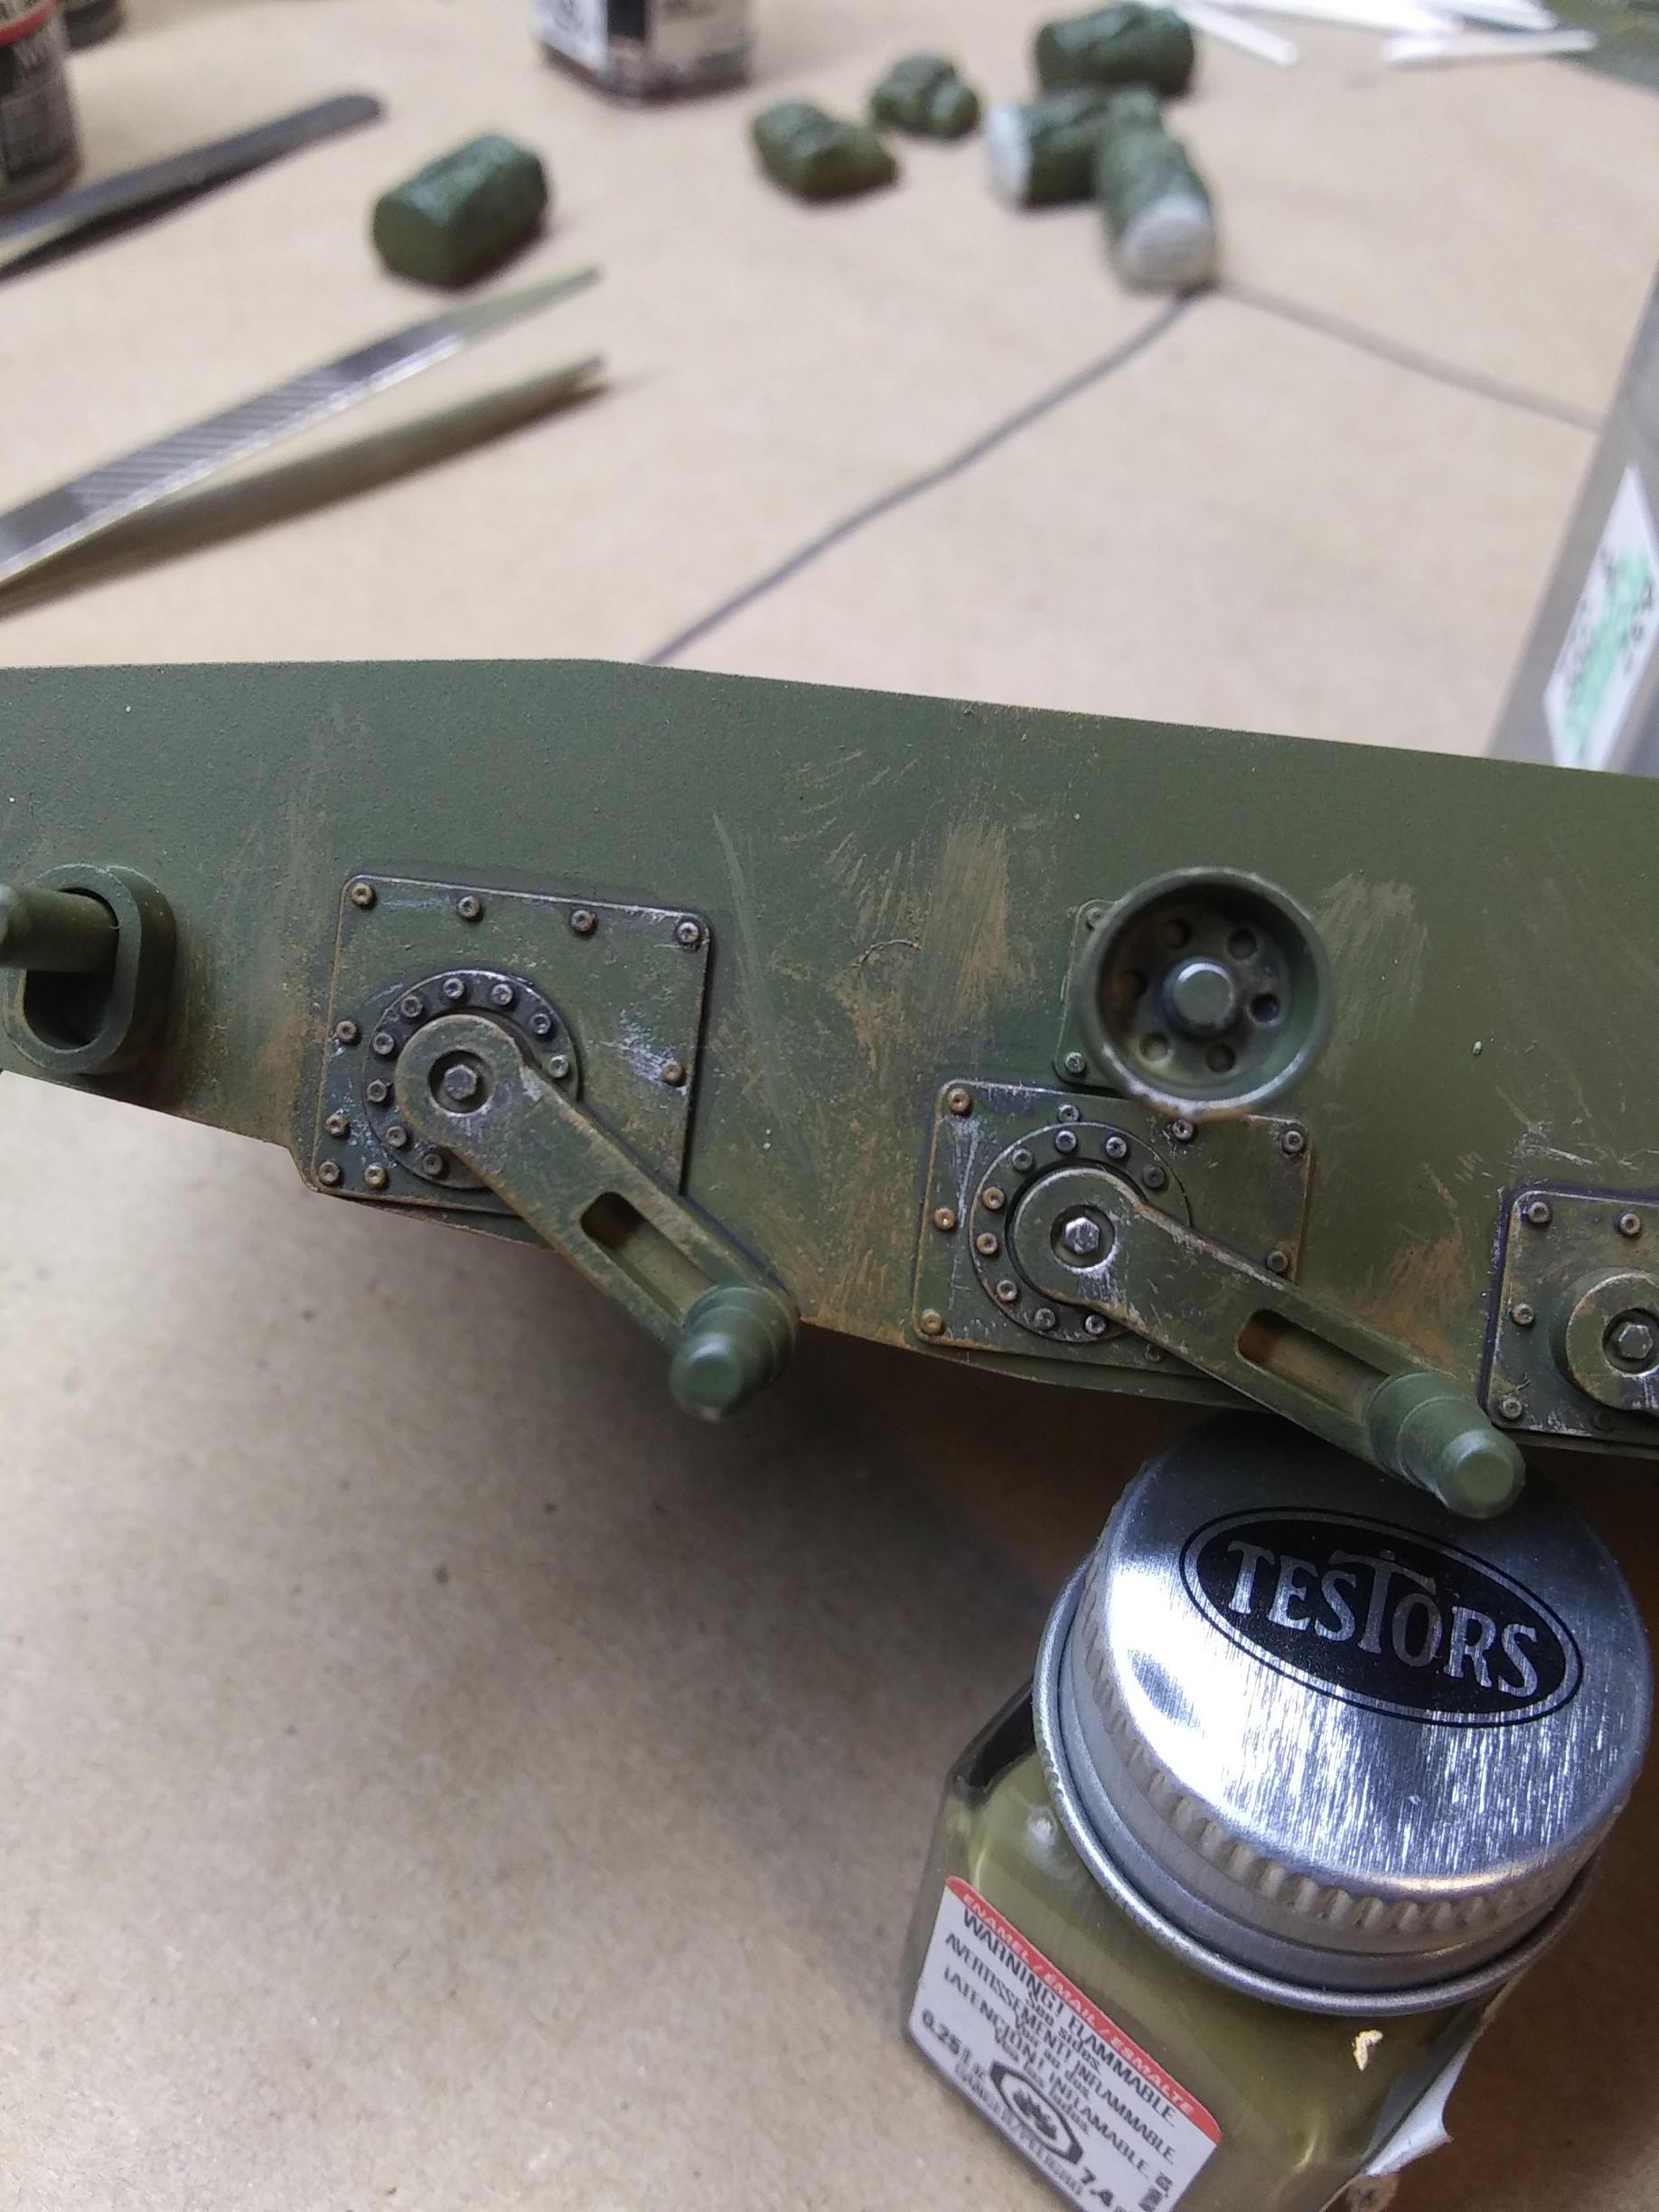
I'll say you've been gone gone for a while - that bottle of Testors is older than my daughter, and she's graduating this year.
Nice work on that old kit. One other minor niggle is that knock out circle on the hatch. If you still have no putty CA actually works faster and is easier IMO.
A strong man stands up for himself; A stronger man stands up for others.
Admit nothing. Deny everything. Make counter-accusations.
He is not Khan who calls himself Khan. Afghan proverb
RobinNilsson
TOS Moderator KITMAKER NETWORK
Stockholm, Sweden Joined: November 29, 2006
KitMaker: 6,693 posts
Armorama: 5,562 posts
I glue down small pieces of this styrene over such dimples and then sand or file it down when it has dried/hardened. I got fed up with putty years ago. CA-glue can also be used to fill holes.
In memory of Al Superczynski:
"Build what YOU want, the way YOU want to....
and the critics will flame you every time"
gunnerk19
Maine, United States Joined: December 25, 2002
KitMaker: 354 posts
Armorama: 217 posts
I got a tube of auto body spot putty the other day, I used to use Squadron but it shrank too badly for my liking.
I've also got some Evergreen sheet, I never even thought about filler discs for sinkholes like that. At least for the hull top dimples I may just use a helmet, rucksack, or other piece of TA-50 to place on top to hide them. Maybe fudge up a TM manual to lay over it.
"Gunner-Sabot-Brightly painted, chrome laden wheeled vehicle!--Fire!"
Pig # 50
Uber Gepanzertes Schweinbataillon
Ex-Minister of Mud
R.I.P. Der Sonntag Bund
RobinNilsson
TOS Moderator KITMAKER NETWORK
Stockholm, Sweden Joined: November 29, 2006
KitMaker: 6,693 posts
Armorama: 5,562 posts
The Architects Way: When you eff-up, plant ivy, virgina creeper or something like that in front of it.
Covering up holes with some loose equipment sounds like an excellent idea.
I use a punch-n-die set to punch out suitable discs. Some of the punches are perfect fits for some of the mold ejection pins so sometimes I get lucky and get discs that fit perfectly into the holes.
Food and cookie packaging is sometimes made of styrene and provide a free source of plasticard. No need to waste Evergreen sheets to fill holes. If the packaging is vac-formed it will also contain pieces of different thicknesses so it is possible to get a good fit in most situations. When I need really really thin styrene sheet I wait for the next invoice or other letter envelope with those little windows in it. Have to go careful with the glue though since the "window" plastic is thinner than the zone influenced/softened by the glue
/ Robin
In memory of Al Superczynski:
"Build what YOU want, the way YOU want to....
and the critics will flame you every time"
Namabiiru
Associate Editor MODEL SHIPWRIGHTS
#399
Rhode Island, United States Joined: March 05, 2014
KitMaker: 2,888 posts
Armorama: 1,920 posts
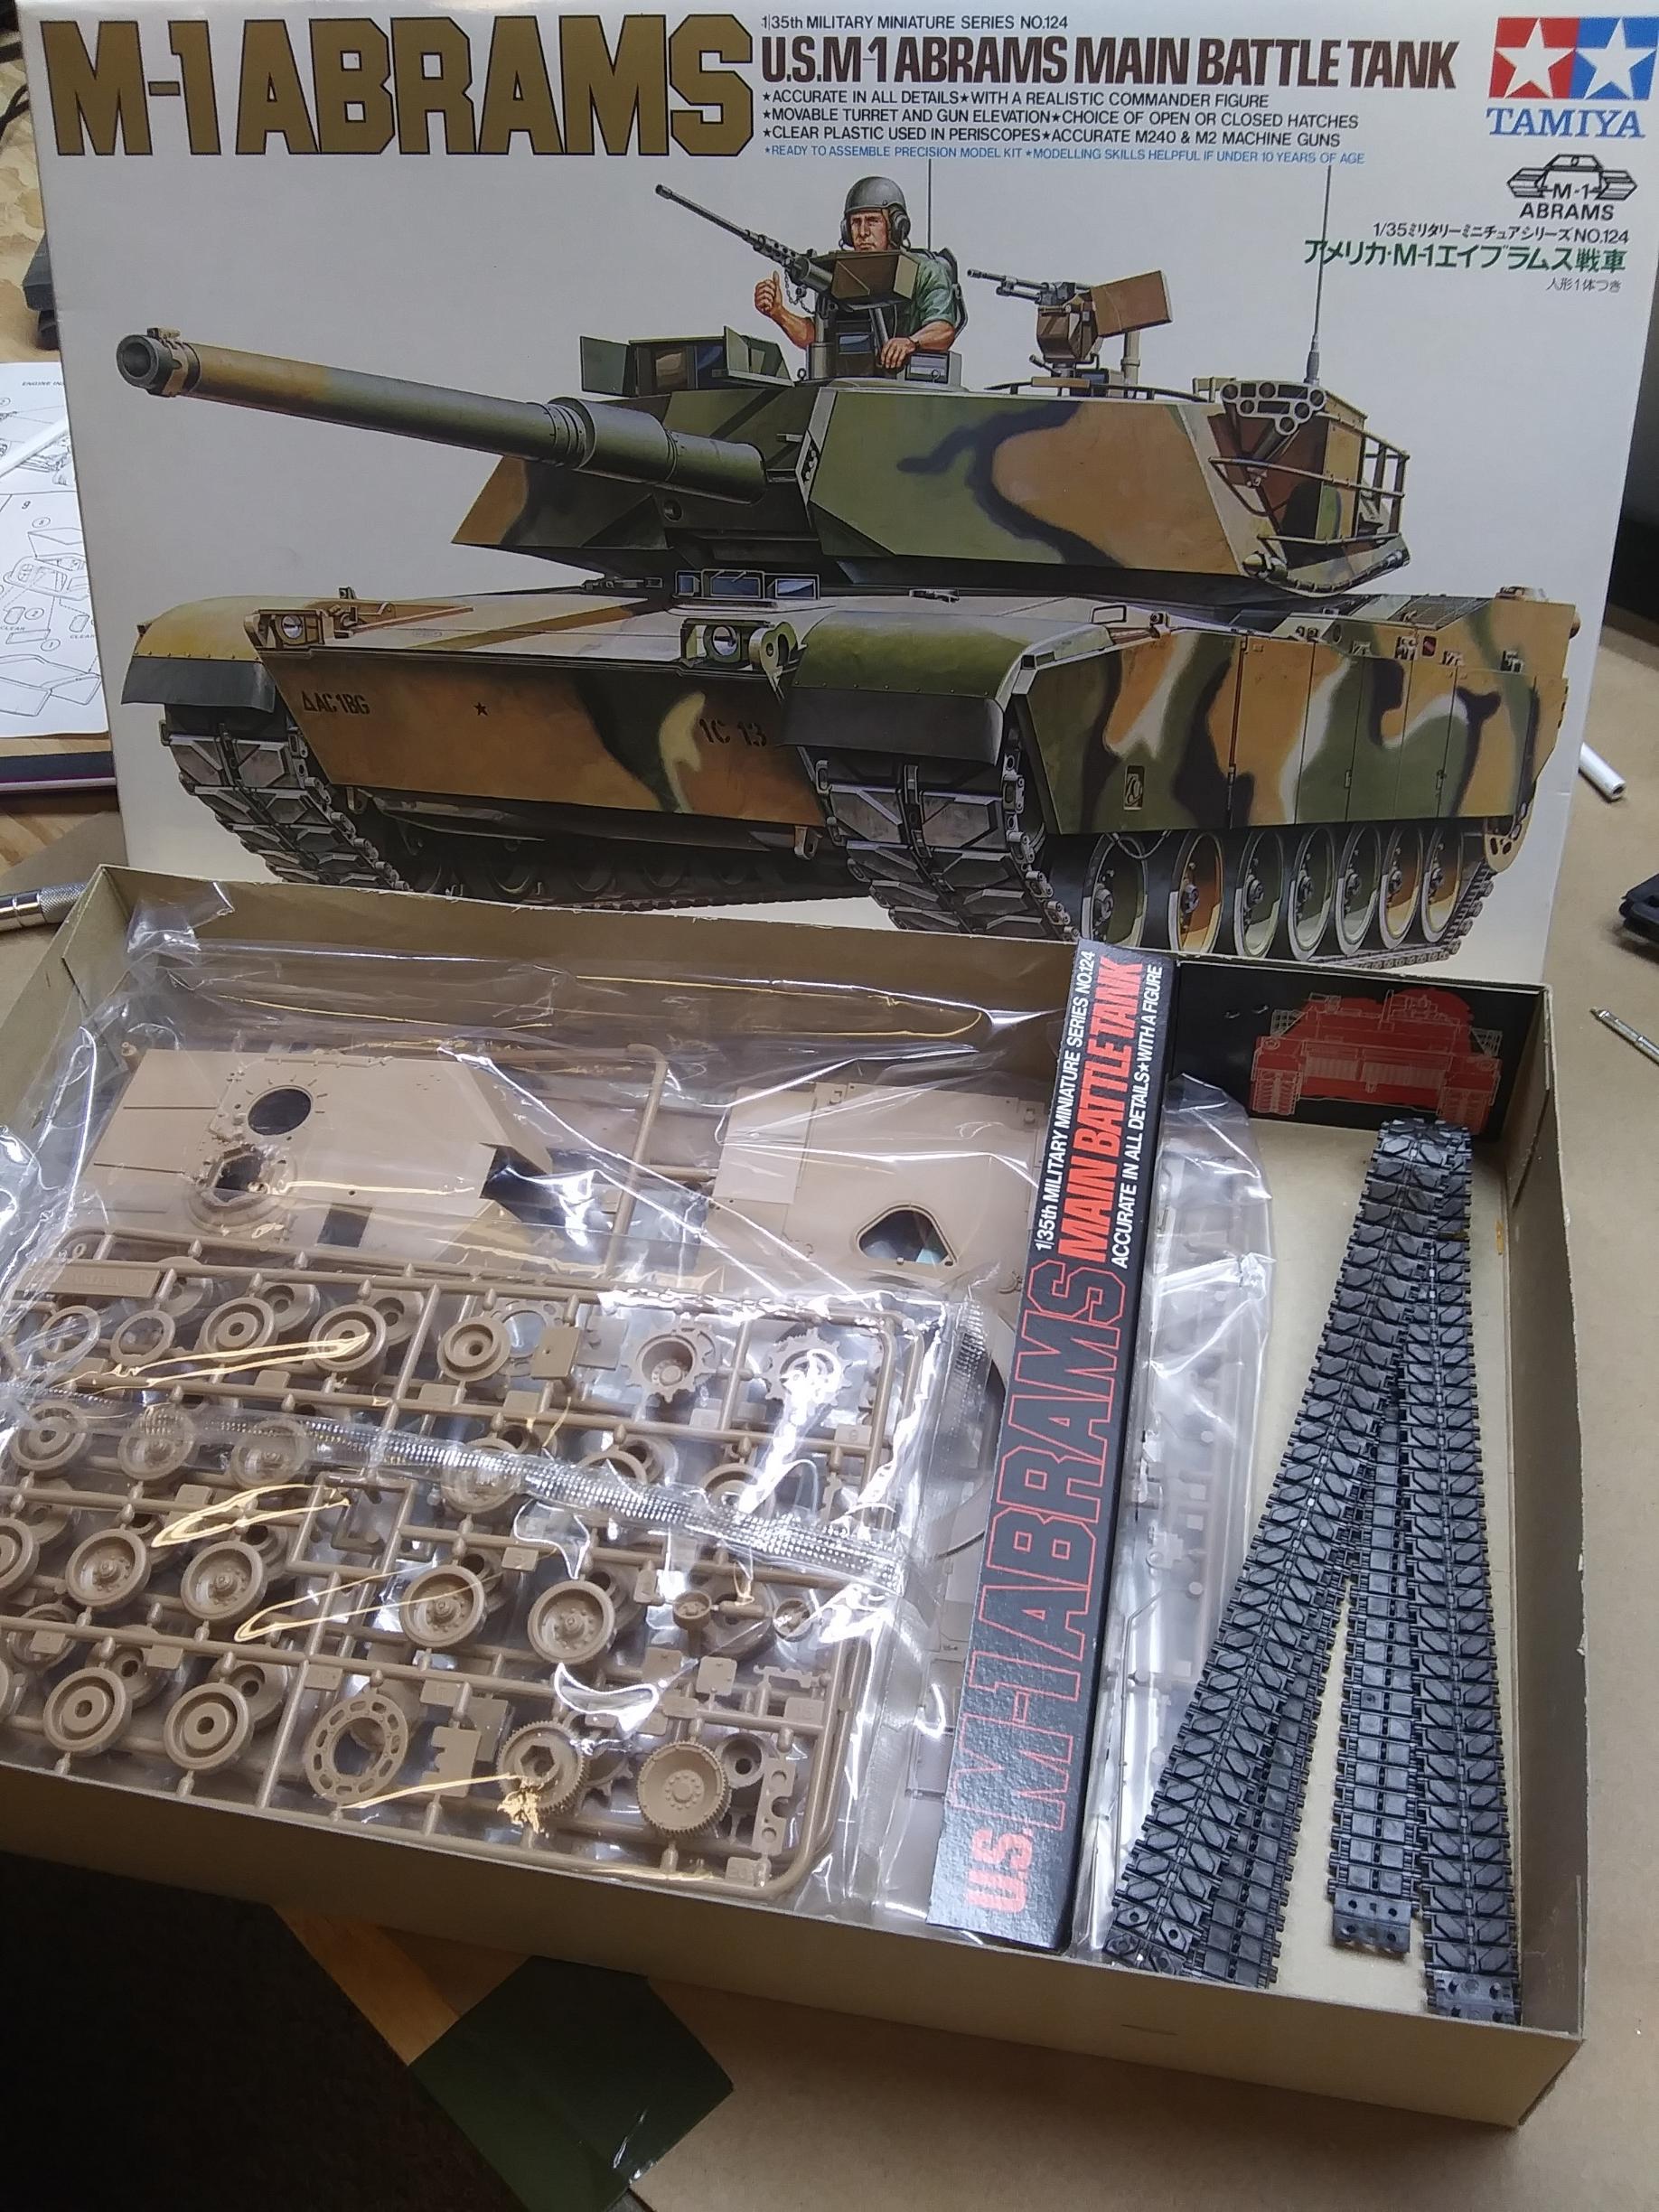
I had the exact same kit that travelled with me from move to move for nearly twenty years. and was the first kit I built when I broke my leg and picked up modeling again as a way to keep busy.
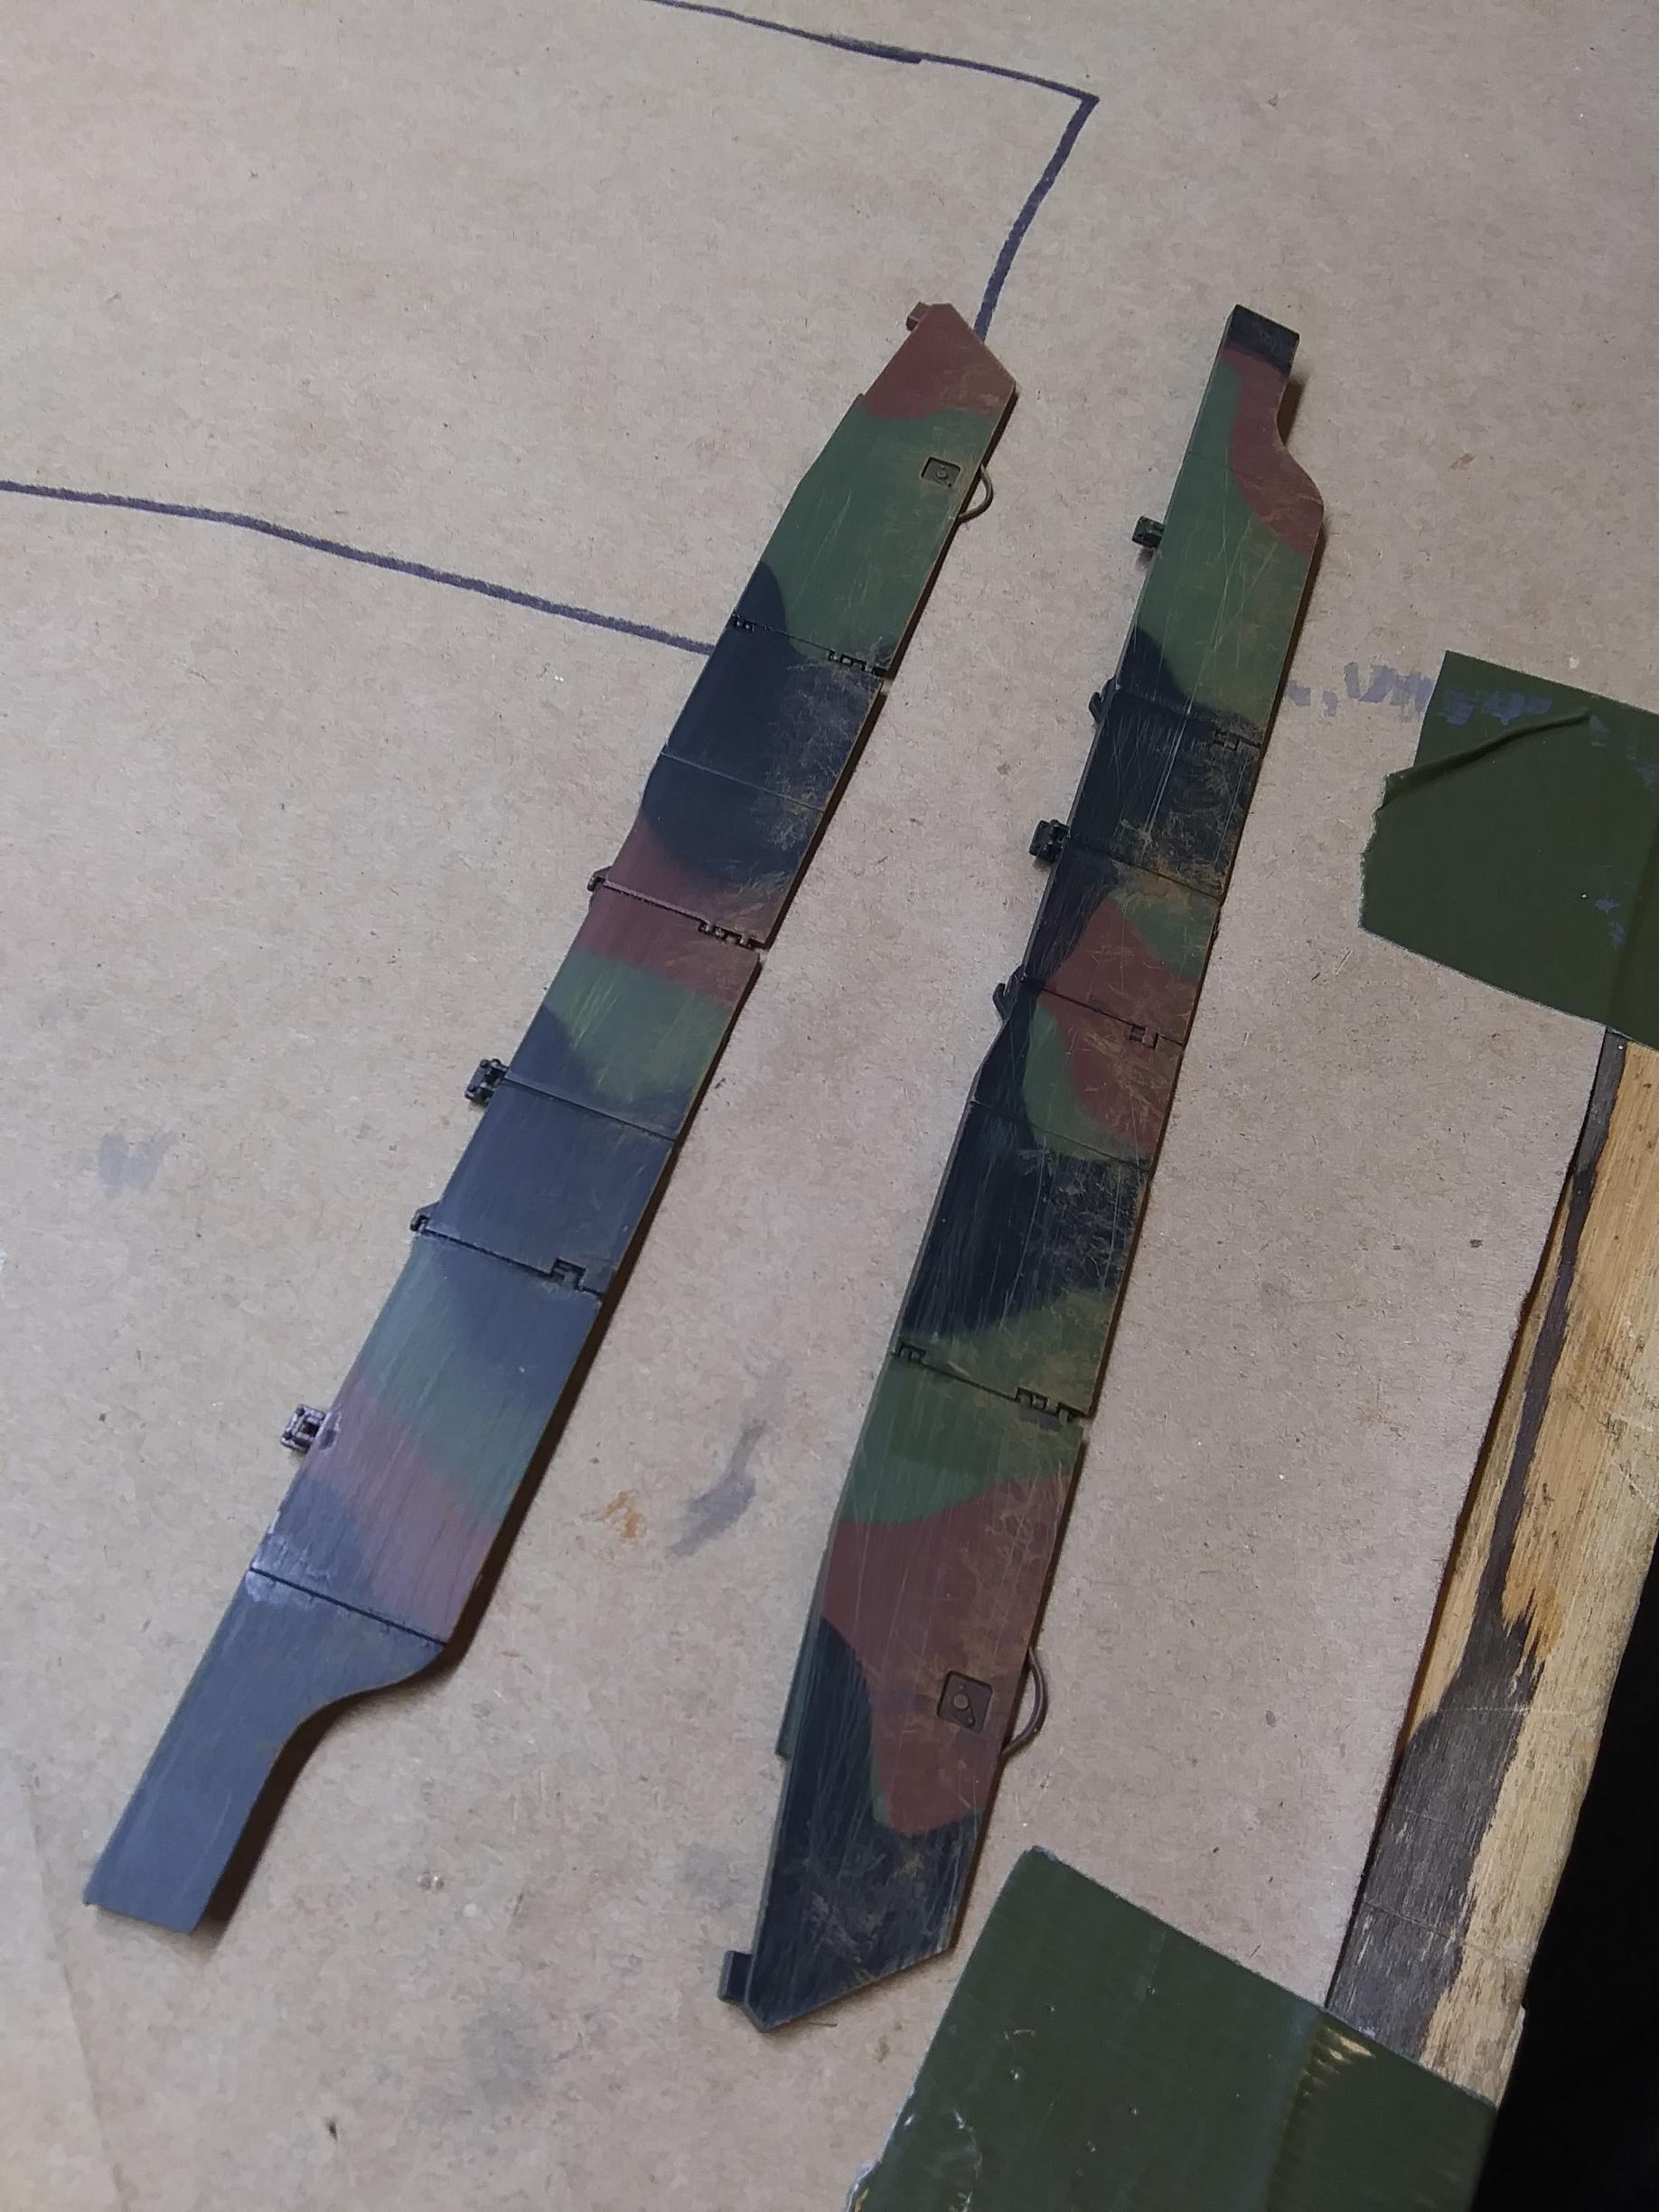
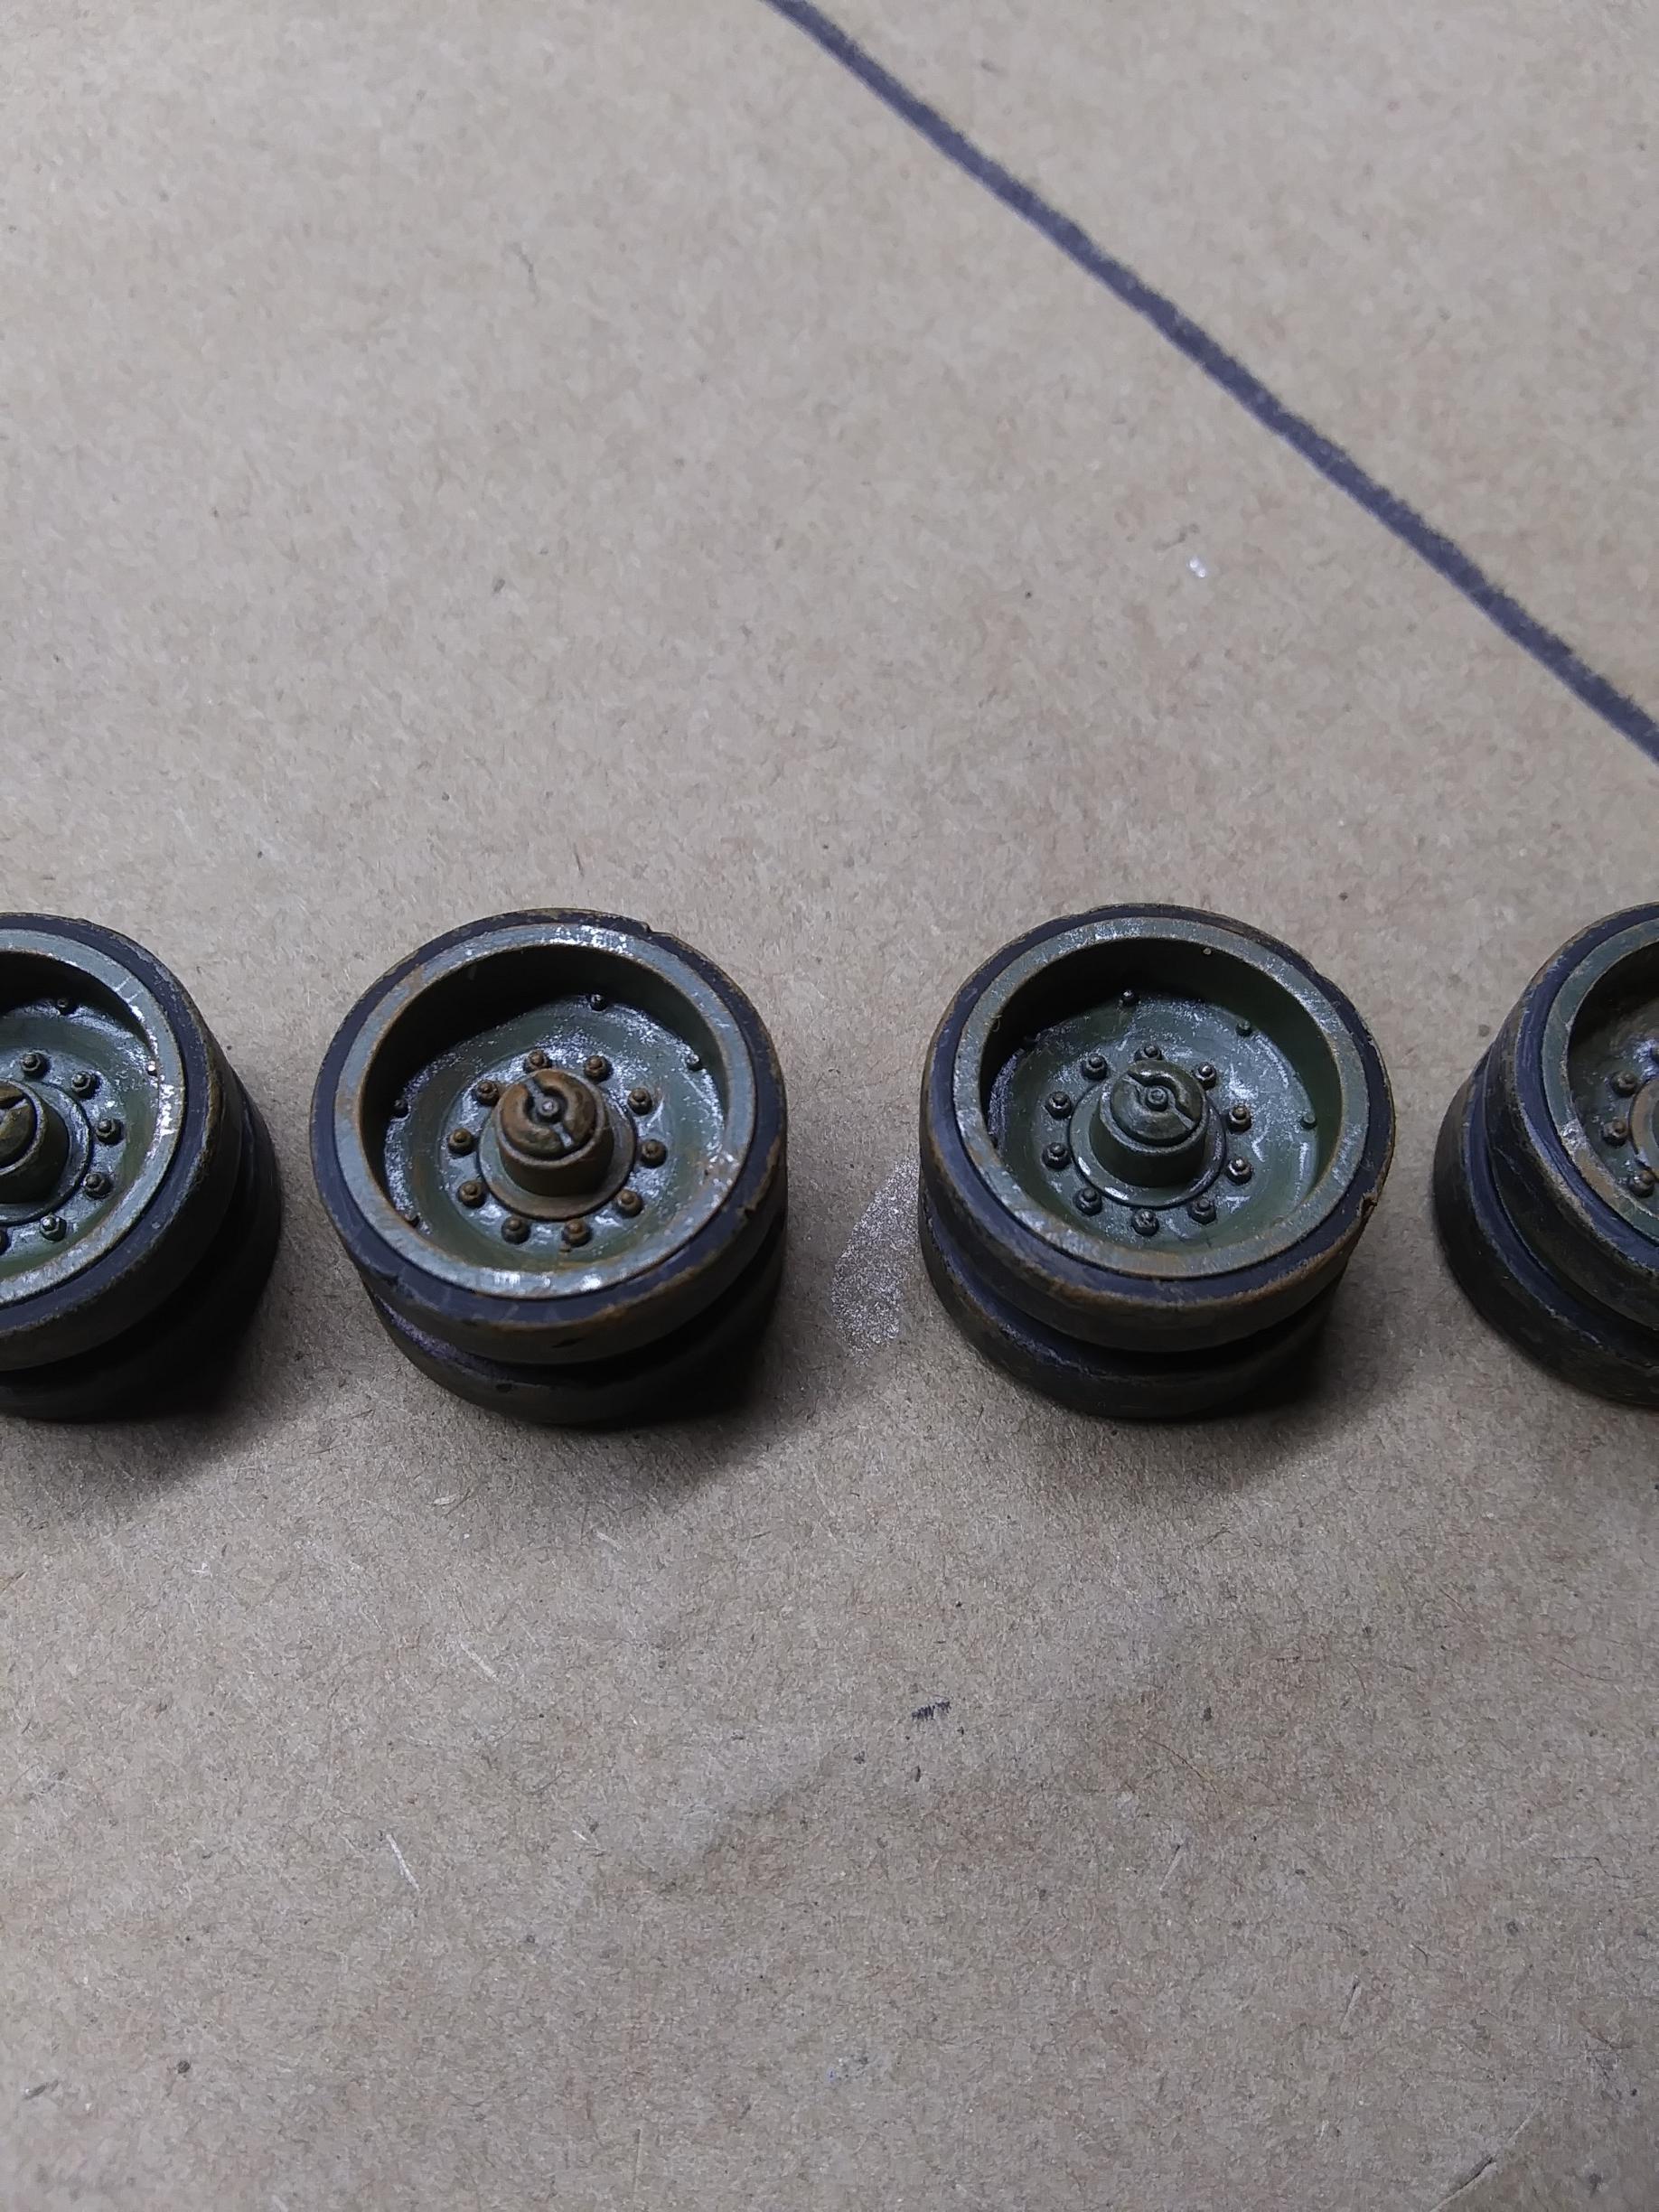
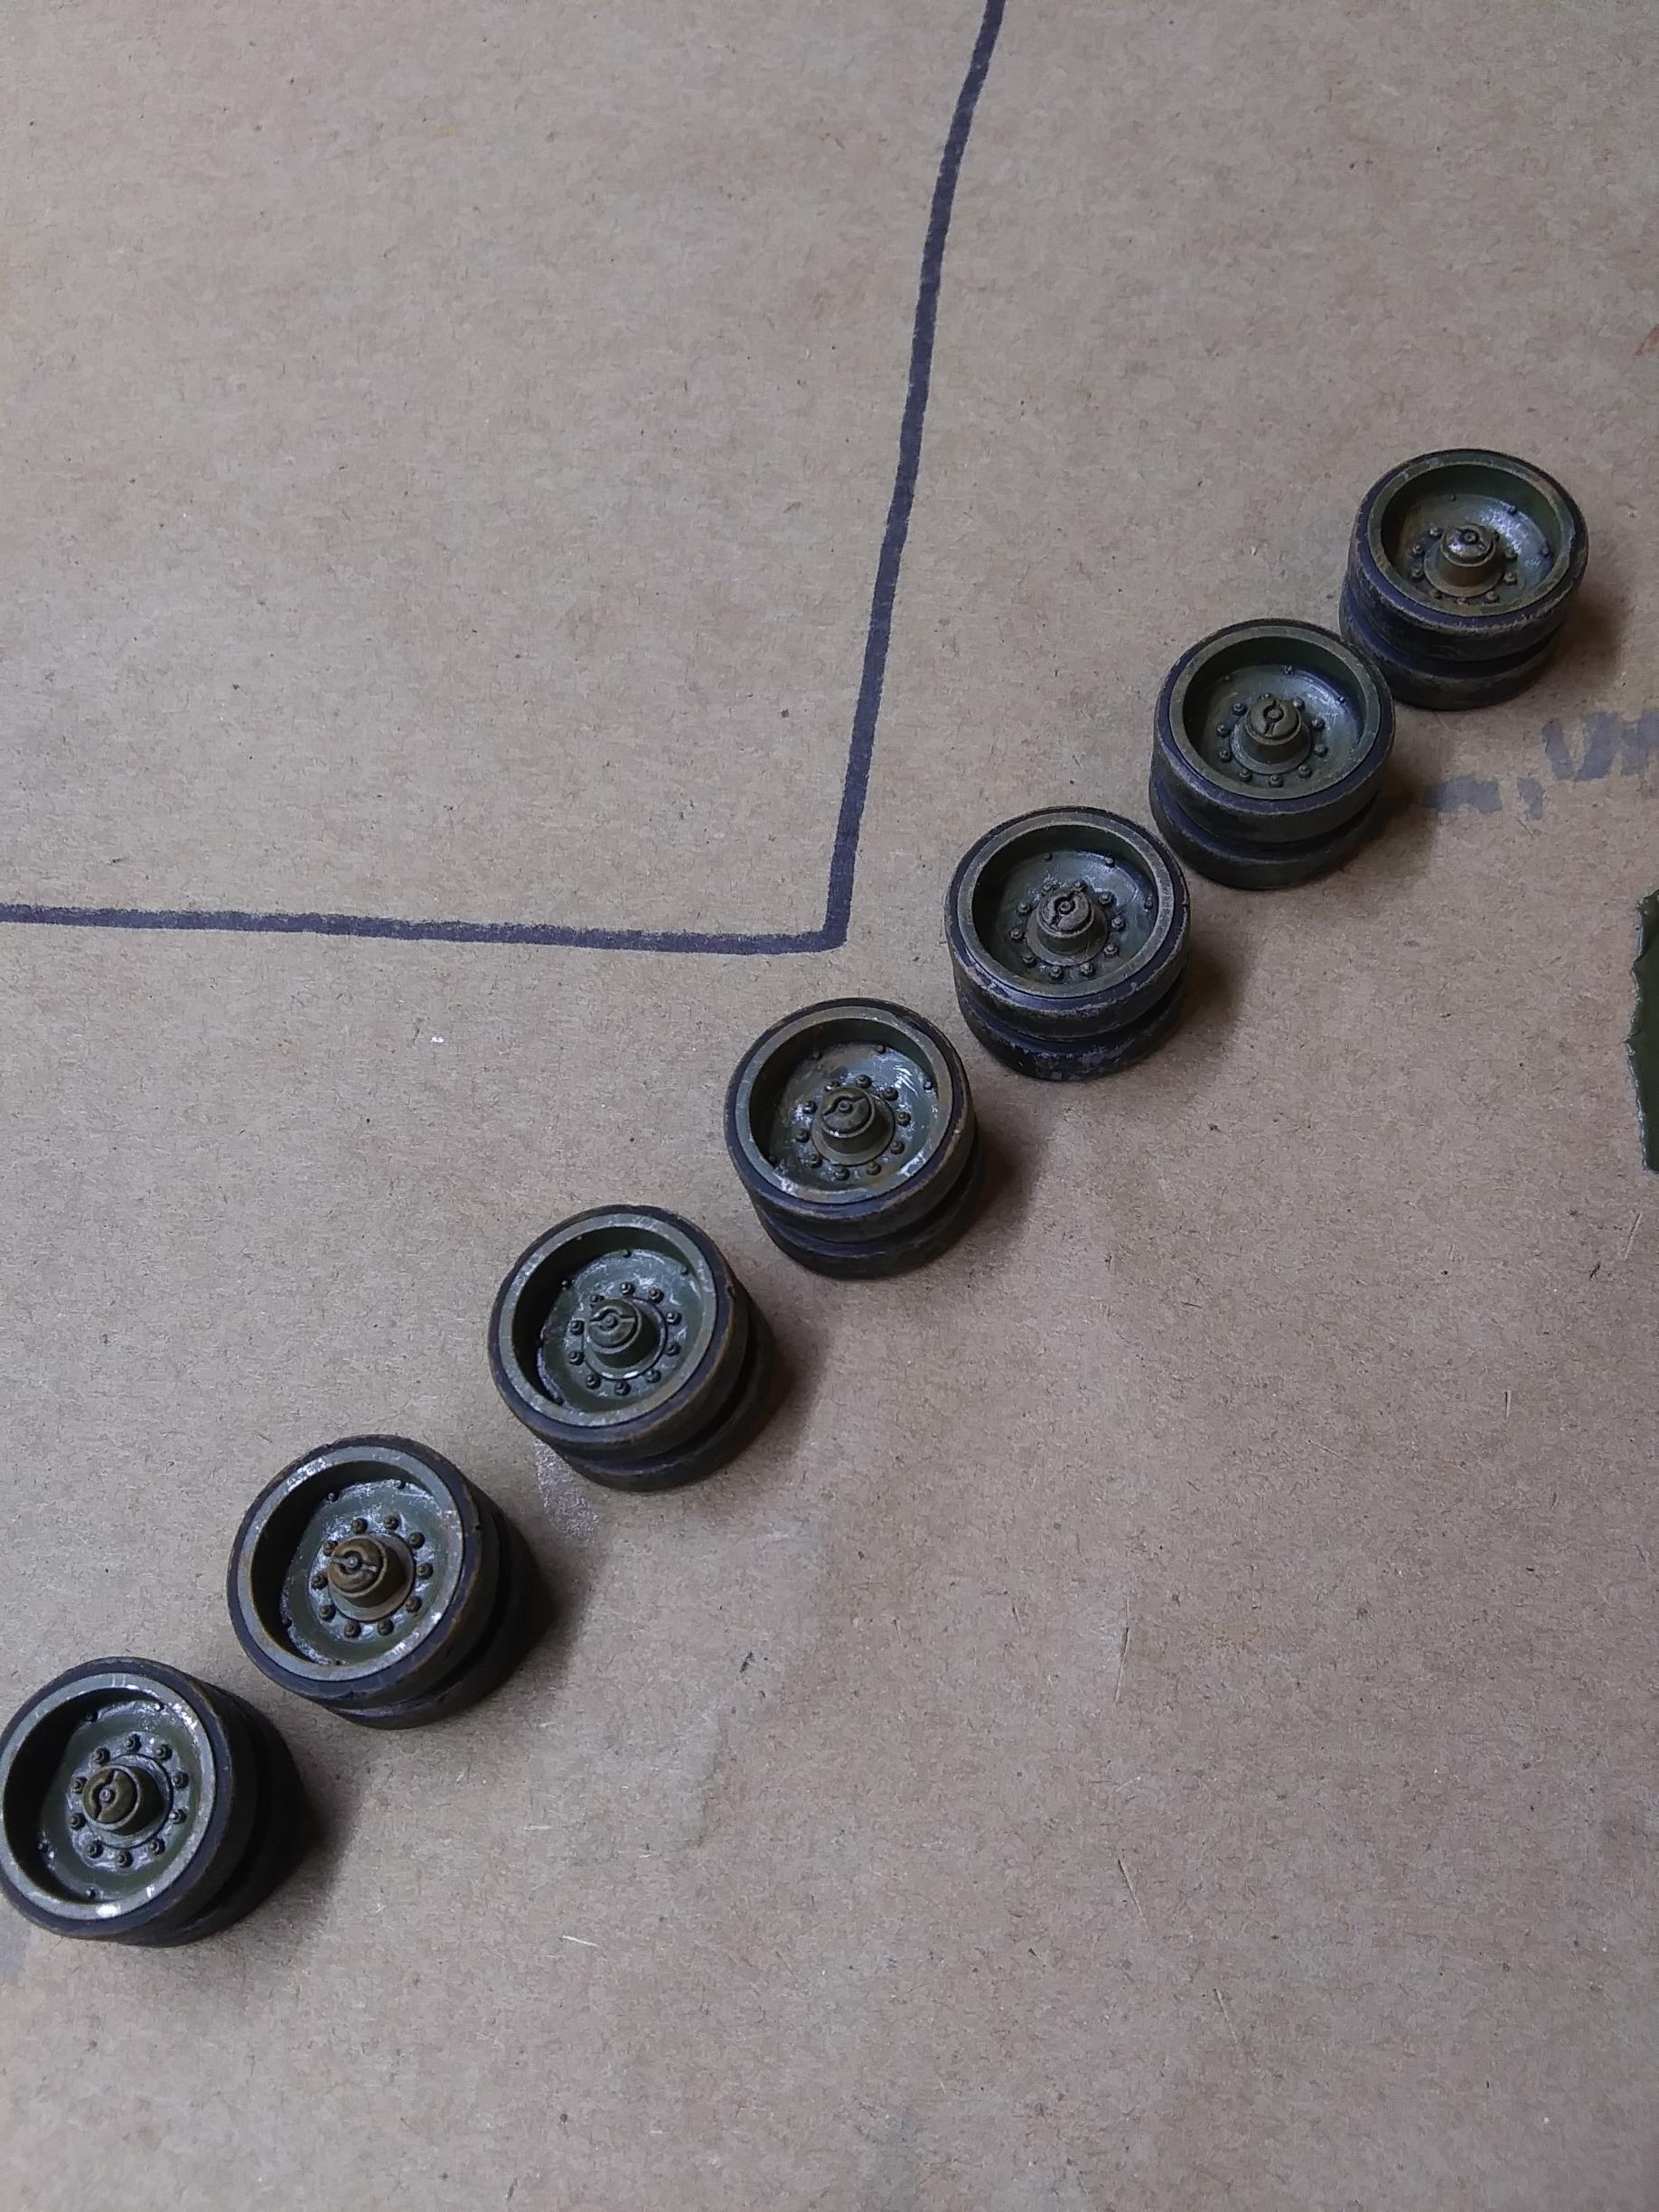
Got to say you NAILED the weathering on the running gear and skirts. Would love to see you do a video tutorial.