Guys, I am doing some research into the Otter Light Recon Car and want to model a pair of perforated sand channels on it.
I have come across one picture on the net that shows a possible pattern of holes and I have a couple of pictures of a restored one in Greece but of course they don't match.
Can anyone please throw some light on what pattern of holes these things should have on a Post WWII era vehicle?
Armor/AFV
For discussions on tanks, artillery, jeeps, etc.
Hosted by Darren Baker, Mario Matijasic
Otter Recon Car Sand Channels
magach_eight
England - West Midlands, United Kingdom
Joined: August 03, 2006
KitMaker: 15 posts
Armorama: 14 posts
Joined: August 03, 2006
KitMaker: 15 posts
Armorama: 14 posts
Posted: Tuesday, June 23, 2020 - 02:38 AM UTC
Frenchy
Rhone, France
Joined: December 02, 2002
KitMaker: 12,719 posts
Armorama: 12,507 posts
Joined: December 02, 2002
KitMaker: 12,719 posts
Armorama: 12,507 posts
Posted: Tuesday, June 23, 2020 - 06:53 PM UTC
I've seen restored Otters fitted with PSP mats. Maybe these could be a valid option for a postwar vehicle ?
H.P.
H.P.
JohnTapsell
United Kingdom
Joined: August 24, 2011
KitMaker: 227 posts
Armorama: 226 posts
Joined: August 24, 2011
KitMaker: 227 posts
Armorama: 226 posts
Posted: Tuesday, June 23, 2020 - 07:41 PM UTC
Hi Richard,
One of the designers on Shapeways offers a 3d printed option that may be of interest?
I've bought other stuff from him in the past - excellent quality.
https://www.shapeways.com/product/MBFM75CNK/1-35-british-sand-channel-set?optionId=59443785&li=shops
Regards,
John
One of the designers on Shapeways offers a 3d printed option that may be of interest?
I've bought other stuff from him in the past - excellent quality.
https://www.shapeways.com/product/MBFM75CNK/1-35-british-sand-channel-set?optionId=59443785&li=shops
Regards,
John
Posted: Tuesday, June 23, 2020 - 11:45 PM UTC
A number of manufacturers offer PSP/Marsden mat in brass. I'd tend to go with that over 3d printed, but that's just a personal choice.
JohnTapsell
United Kingdom
Joined: August 24, 2011
KitMaker: 227 posts
Armorama: 226 posts
Joined: August 24, 2011
KitMaker: 227 posts
Armorama: 226 posts
Posted: Tuesday, June 23, 2020 - 11:48 PM UTC
Quoted Text
Hi Richard,
One of the designers on Shapeways offers a 3d printed option that may be of interest?
I've bought other stuff from him in the past - excellent quality.
https://www.shapeways.com/product/MBFM75CNK/1-35-british-sand-channel-set?optionId=59443785&li=shops
Regards,
John
Just realised you're looking for a different style with larger holes in the planking, so disregard my earlier suggestion
18Bravo
Colorado, United States
Joined: January 20, 2005
KitMaker: 7,219 posts
Armorama: 6,097 posts
Joined: January 20, 2005
KitMaker: 7,219 posts
Armorama: 6,097 posts
Posted: Wednesday, June 24, 2020 - 03:44 AM UTC
I'd make them myself, using one of the following two methods, depending upon what you have lying about the house:
Method 1
The holes in the center section appear to be centered in a dimpled recess. For styrene, gin up a design of what you'll need, and then cut out the pieces from .010 styrene. Next, find an old piece of plate steel or plexiglass and countersink a hole in it. 3/16 inch ought to be about right.
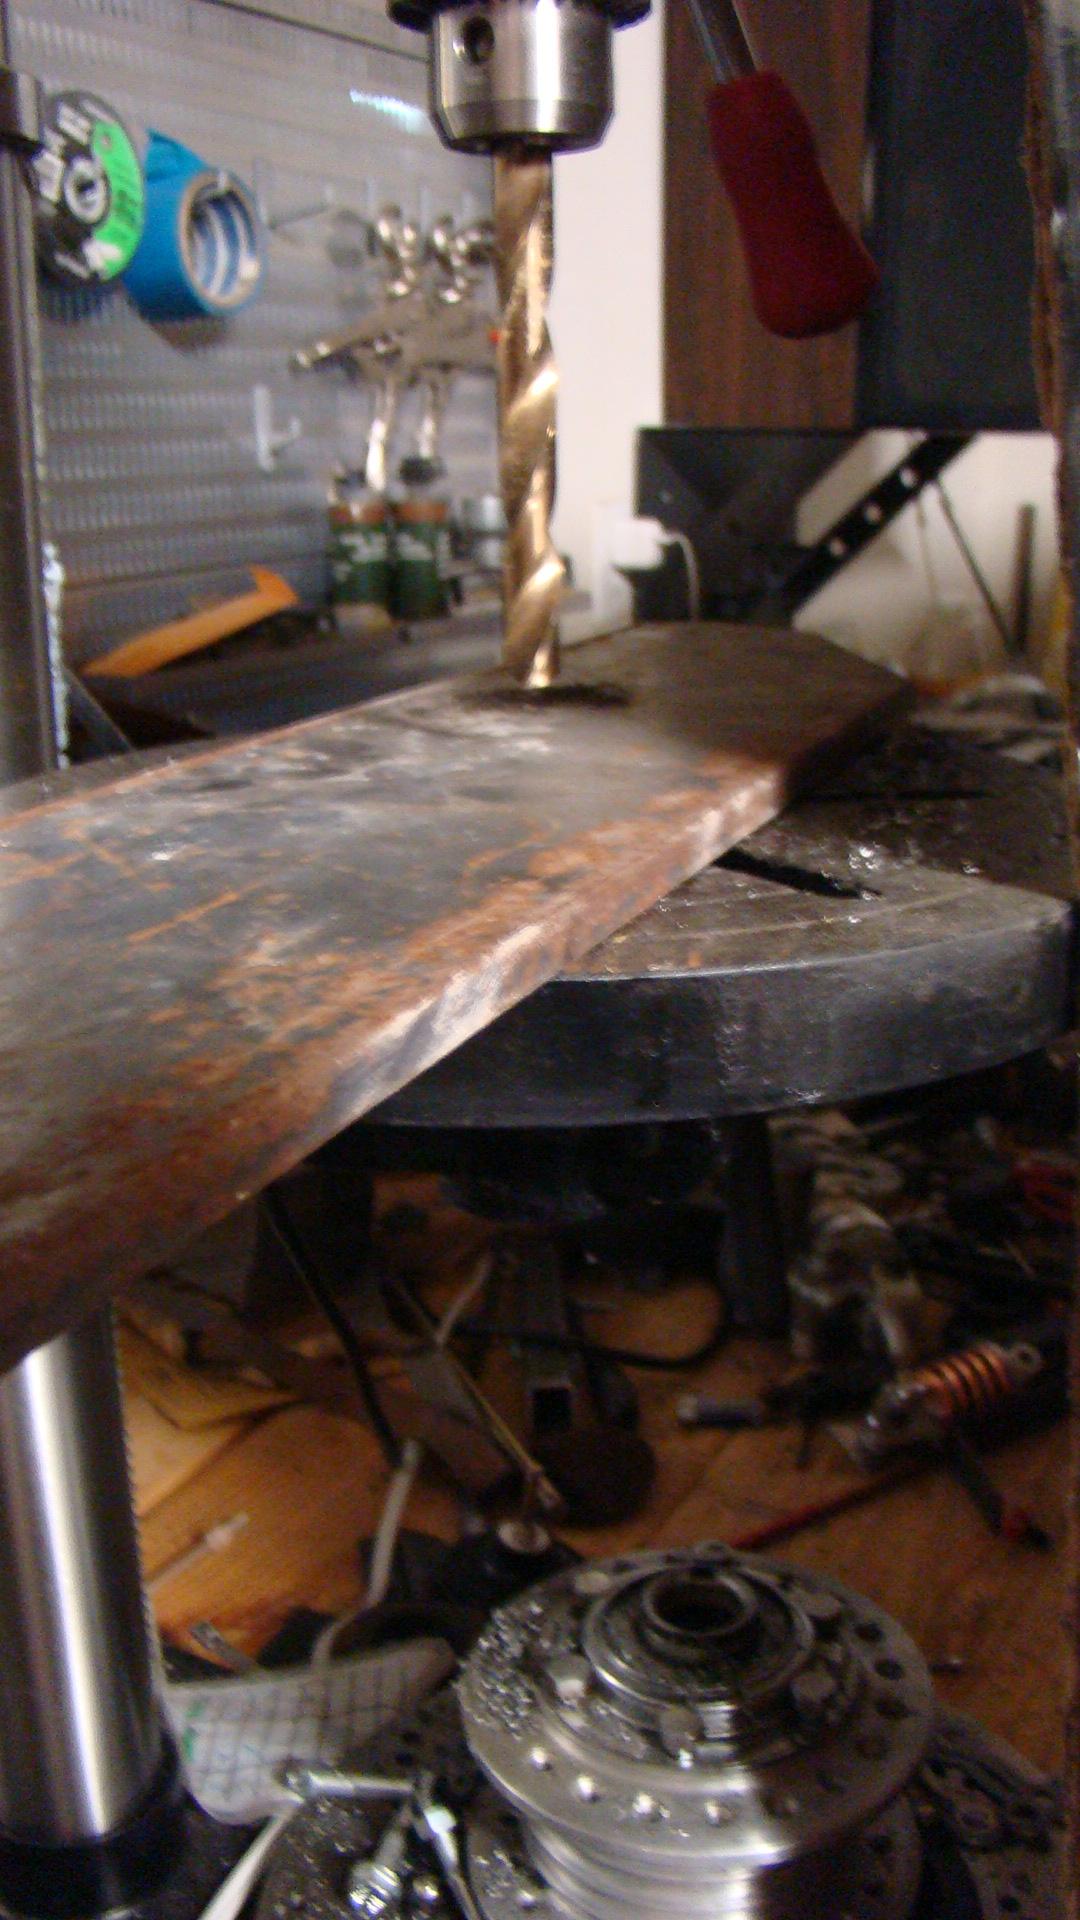
Drill out the holes in your center piece of styrene and lay each one over the countersunk hole. Hit it briefly with your wife's 5000 watt hair dryer and the edge of each hole should sink into the depression. You may need to help it a little.
Assmble your remaining pieces.
Method 2 Use the same design as in the method above. Visualize all of the pieces as one flat sheet and cut a piece of brass shim stock to size. Using a metal ruler and the back edge of a dull X-Acto blade, lightly scribe your fold lines. Then you can go slightly deeper.
Drill out all of your holes.
Fold the channel with your favorite PE folding tool.
Now place each hole in the center section over the countersunk divot from method 1. Using a miniature ball peen hammer, slightly tap down the edges of each hole. (Doing this after making your folds insures the piece will lie flat when making your bends)
Now all you need to do is fashion some braces from strips of shim stock, bend them and attach with C/A or solder.
Final step: Enjoy the fact you did it yourself and didn't have to wait five weeks for your order to arrive. (provided such channels are even available)