Panther Ausf G Late-1/35 Tamiya
Florida, United States
Joined: July 26, 2020
KitMaker: 40 posts
Armorama: 39 posts
Posted: Tuesday, August 04, 2020 - 01:19 PM UTC
Florida, United States
Joined: December 31, 2009
KitMaker: 399 posts
Armorama: 157 posts
Posted: Tuesday, August 04, 2020 - 03:11 PM UTC
Too little time, too many models to build..........
Florida, United States
Joined: July 26, 2020
KitMaker: 40 posts
Armorama: 39 posts
Posted: Tuesday, August 04, 2020 - 04:11 PM UTC
The part that went missing is E11, a round plate that sits atop the exhaust on 5 studs. It's 7mm in diameter with 5 raised bolt heads on top of it. I went to the Academy site but saw no where to inquire about missing or lost parts.---John
Bas-Rhin, France
Joined: June 08, 2017
KitMaker: 5 posts
Armorama: 4 posts
Posted: Tuesday, August 04, 2020 - 07:52 PM UTC
please post a picture of the notice showing the missing parts, many of us have full spare part box, maybe someone can help you

Florida, United States
Joined: July 26, 2020
KitMaker: 40 posts
Armorama: 39 posts
Posted: Tuesday, August 04, 2020 - 10:35 PM UTC
Thank you. The part is round 7mm in diameter and thin, maybe 1/2 mm in thickness. It has 5 raised protrusions. It can be seen here atop the exhaust unit of my 1/35 Academy Tiger 1 Early.---John

Zuid-Holland, Netherlands
Joined: February 10, 2017
KitMaker: 22 posts
Armorama: 22 posts
Posted: Tuesday, August 04, 2020 - 11:39 PM UTC
May i suggest you to make it yourself..?, it looks like a simple pice to create

Florida, United States
Joined: December 31, 2009
KitMaker: 399 posts
Armorama: 157 posts
Posted: Tuesday, August 04, 2020 - 11:48 PM UTC
I went thru my stuff and dont have that as a spare. If you have a punch set it will be very easy to scratch out. The bolts can be carefully sliced off from a not so visible part from any other model and glued on the disc. You can use the plastic advertisement cards sent as junk mail for the disc. I have a stack of these cards and use them for things like this and other scratch building.
Harbor Freight sells a handy punch set under $10 .
EDIT: I just went on the Harbor Freight site and the very same punch set I bought (item# 95547) on sale for $9.99 2 or 3 years ago is $40 now!
Too little time, too many models to build..........
Florida, United States
Joined: July 26, 2020
KitMaker: 40 posts
Armorama: 39 posts
Posted: Wednesday, August 05, 2020 - 03:59 AM UTC
All taken care of, I have the Evergreen card stock and plenty of stretched sprue. I was just hoping that Academy might have a spare part department like Revell use to. Off to scratch it up!---John
Overijssel, Netherlands
Joined: March 25, 2006
KitMaker: 1,244 posts
Armorama: 1,226 posts
Posted: Wednesday, August 05, 2020 - 04:03 AM UTC
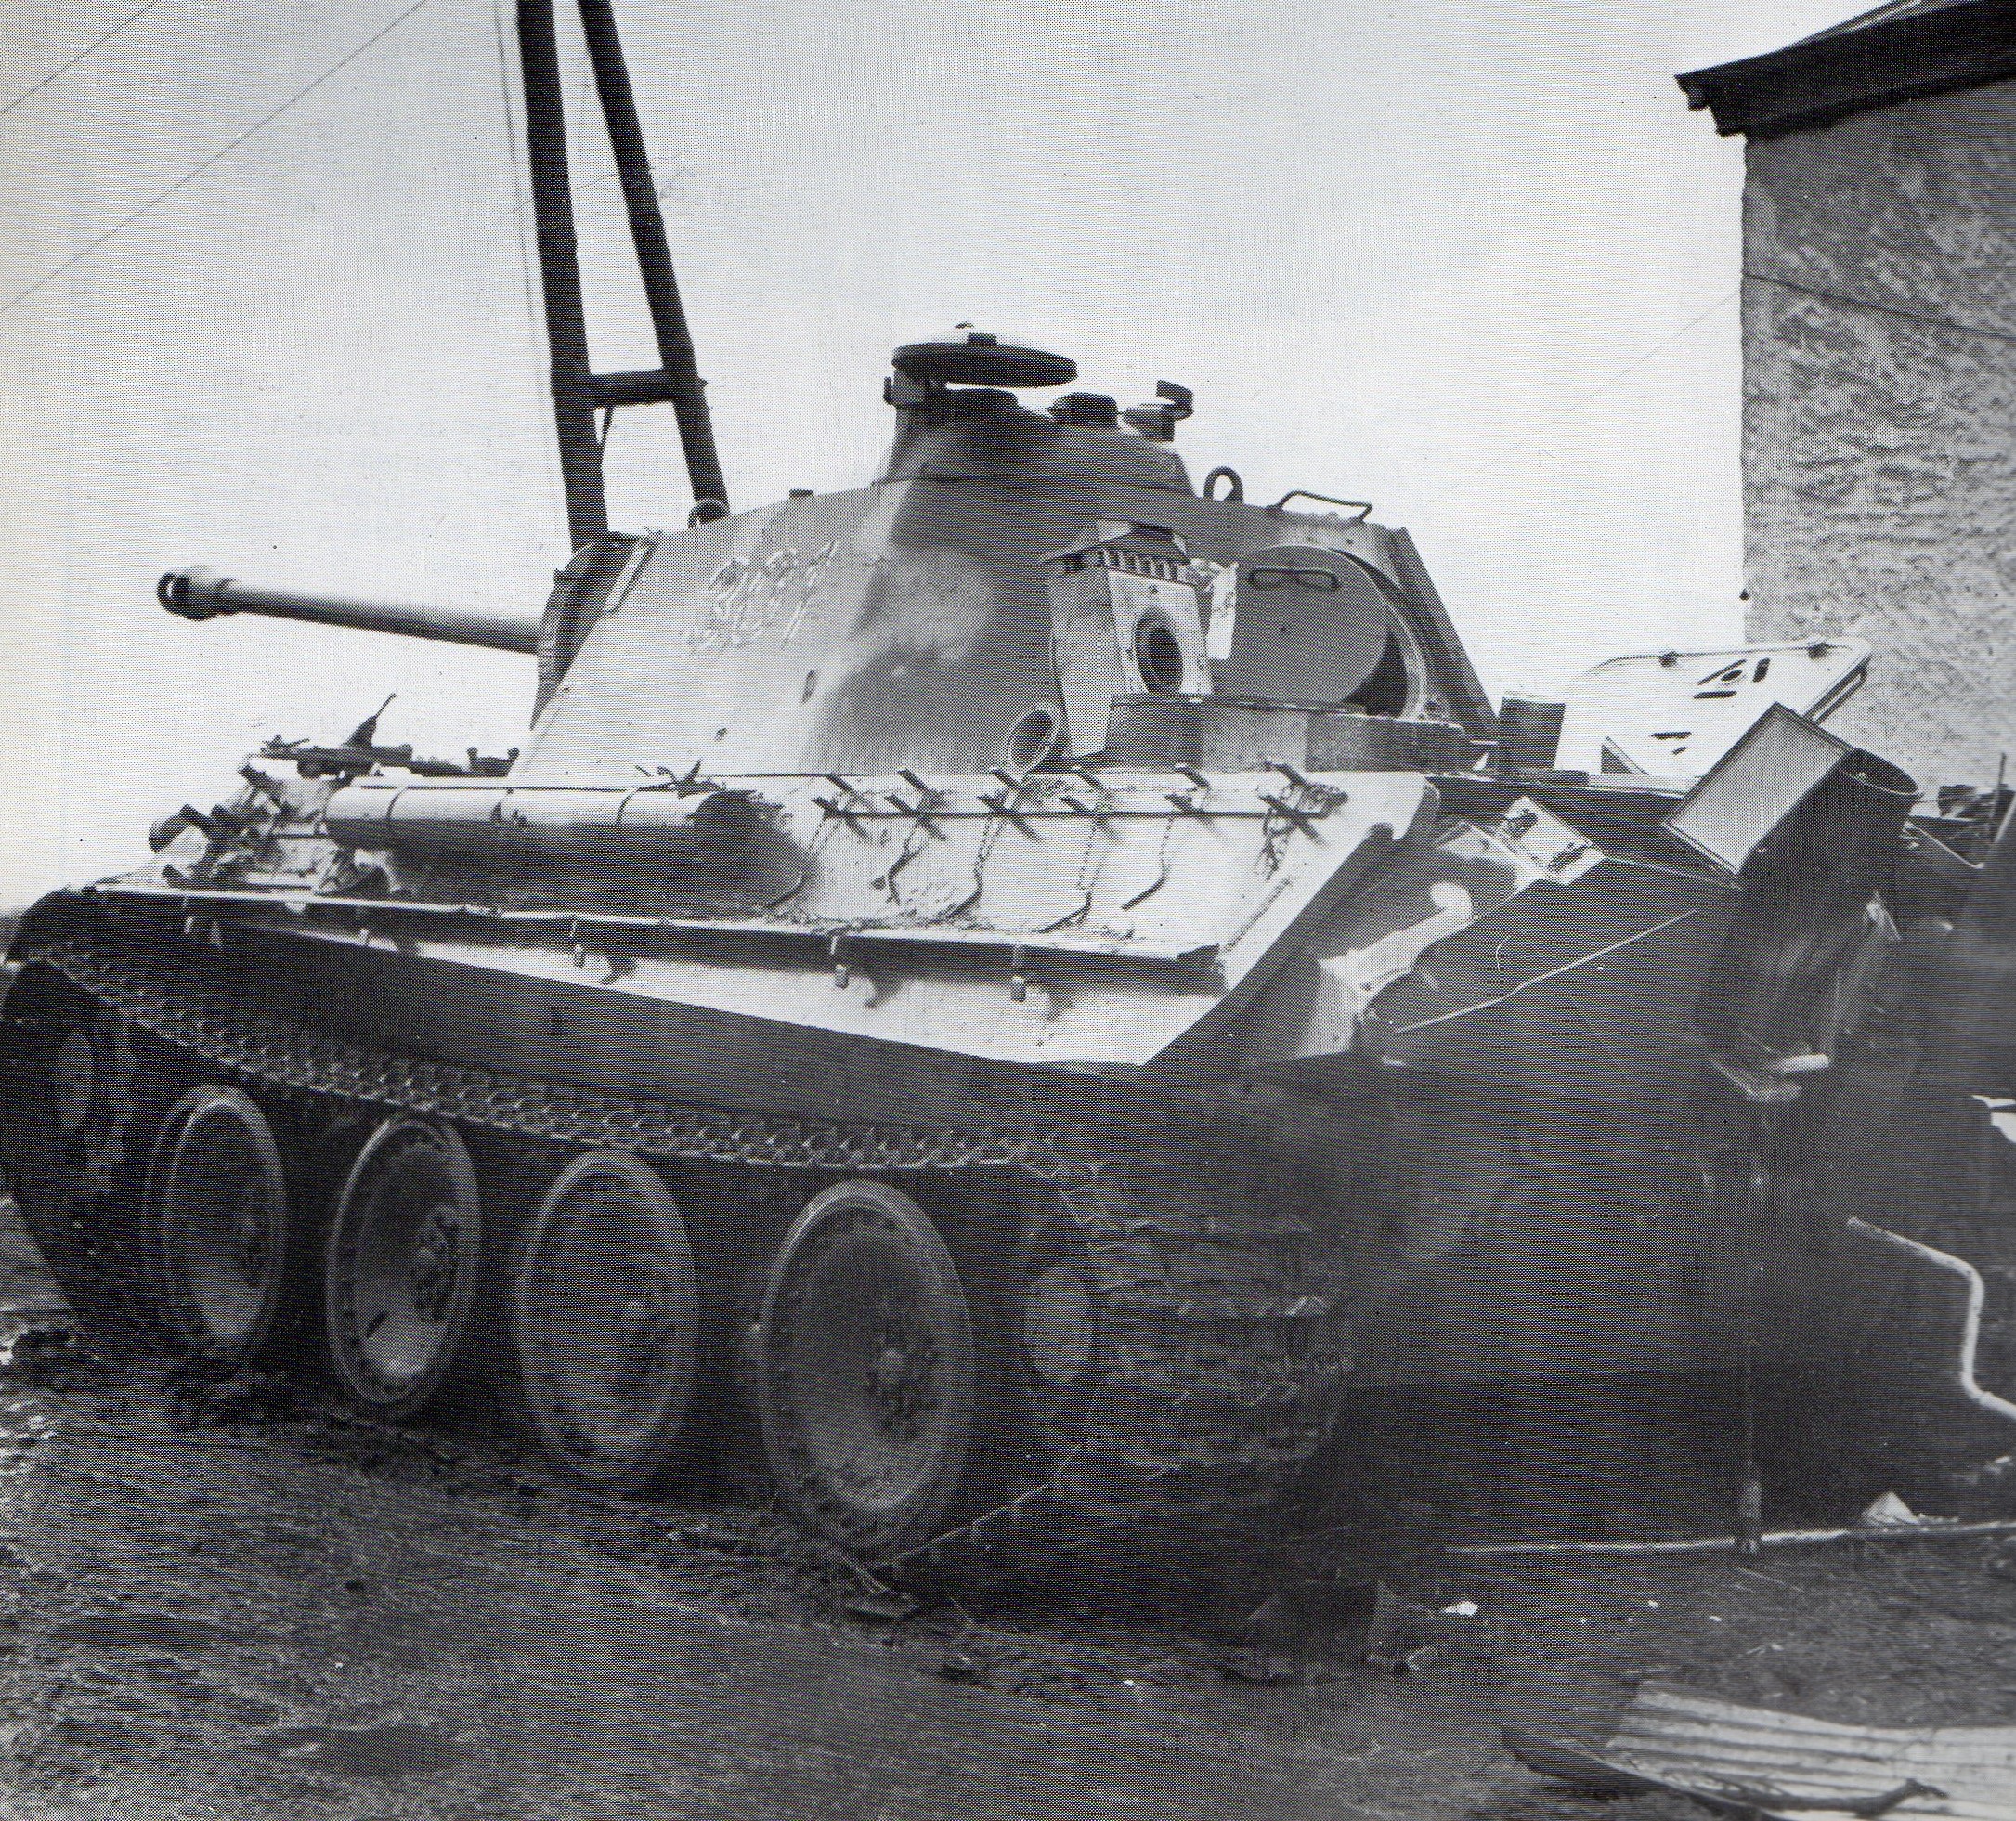
301, as on the box art is actualy from 2 PD during the Ardennes offensive.
Enjoy your build.
cheers,
Marc
"A black cat crossing your path signifies that the animal is going somewhere."
Groucho Marx
Florida, United States
Joined: July 26, 2020
KitMaker: 40 posts
Armorama: 39 posts
Posted: Wednesday, August 05, 2020 - 04:08 AM UTC
I have the top and bottom mated. There was a bit of pushing and pulling to close up the gaps but it fits decent now. I can't go much further as I need the PE mesh and I need to order more dark yellow paint.---John


Florida, United States
Joined: July 26, 2020
KitMaker: 40 posts
Armorama: 39 posts
Posted: Wednesday, August 05, 2020 - 04:12 AM UTC
Marc-I saw that 301 was actually at Ardennes and abandoned most likely due to lack of fuel. I'm no sure where I got the mis information about it being in Poland.---John
Overijssel, Netherlands
Joined: March 25, 2006
KitMaker: 1,244 posts
Armorama: 1,226 posts
Posted: Wednesday, August 05, 2020 - 04:29 AM UTC
John,
It's an older kit. Research then wasn't what it is today.
It's still a fun build.
Specific to the Panther was the track sag. The track should touch the third road wheel.
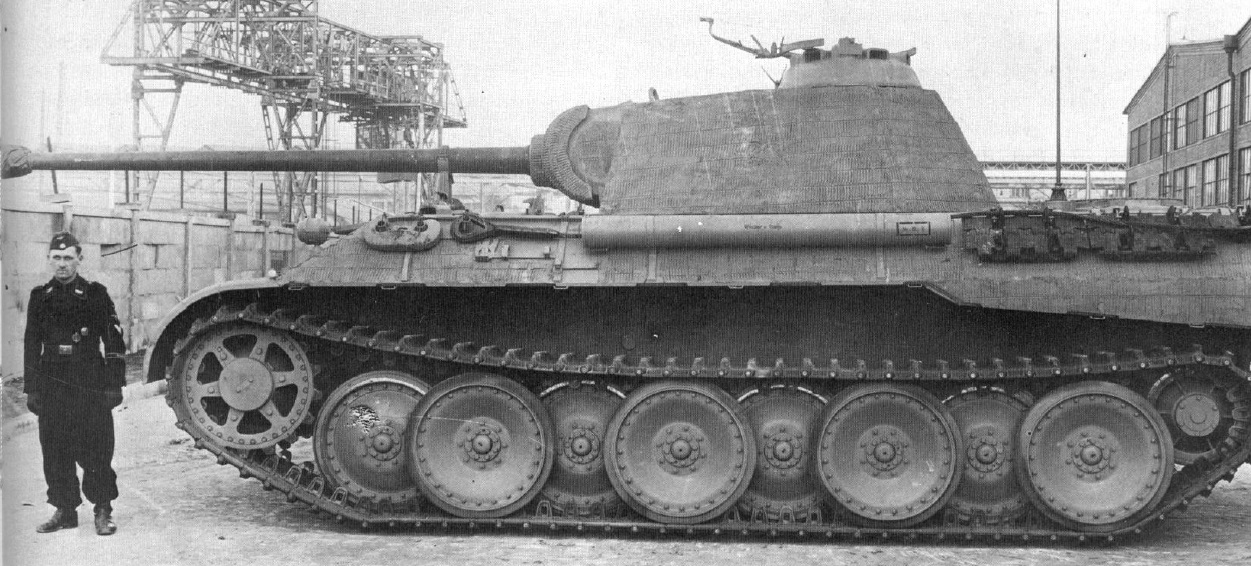
You could spray the small dots on the camo, through a hole punched in a piece of cardboard.
cheers,
Marc
"A black cat crossing your path signifies that the animal is going somewhere."
Groucho Marx
Florida, United States
Joined: July 26, 2020
KitMaker: 40 posts
Armorama: 39 posts
Posted: Wednesday, August 05, 2020 - 04:43 AM UTC
Thanks, I saw somewhere where it was the 3rd wheel it hit.---John
Florida, United States
Joined: March 30, 2006
KitMaker: 3,736 posts
Armorama: 3,697 posts
Posted: Wednesday, August 05, 2020 - 09:08 AM UTC
Tamiya's Panther G individual tracks have solid guide teeth, when they should be hollow. Lots of other maker's products you could use instead. If you don't want to spend the additional money, the simplest workaround would be to muddy up the tracks, though you'd still need some correct links for the spare track racks.
Florida, United States
Joined: July 26, 2020
KitMaker: 40 posts
Armorama: 39 posts
Posted: Thursday, August 06, 2020 - 11:50 AM UTC
I started work on the turret. I gave it a quick coat of buff inside as I am thinking of leaving the hatch open and maybe using the commander figure. I may also try to find a driver figure too.---John


England - South West, United Kingdom
Joined: March 13, 2020
KitMaker: 68 posts
Armorama: 68 posts
Posted: Thursday, August 06, 2020 - 06:13 PM UTC
The turret interior was most definitely 'Creimweiss' (or 'off-white'). The interior of the hatches were sometimes painted dunkelgelb so that they matched the exterior when open.
Florida, United States
Joined: July 26, 2020
KitMaker: 40 posts
Armorama: 39 posts
Posted: Saturday, August 08, 2020 - 08:54 AM UTC
I added all I can until I get the PE parts and paint. I don't want to do the front hatches as I am going to try to find figures for those areas.---John

Nova Scotia, Canada
Joined: November 17, 2015
KitMaker: 407 posts
Armorama: 373 posts
Posted: Sunday, August 09, 2020 - 10:48 AM UTC
Nice build so far, I look forward to seeing it finished. I have the same kit half built staring at me from the shelf of shame. Will follow your build with much interest. Best regards....Dale
Florida, United States
Joined: July 26, 2020
KitMaker: 40 posts
Armorama: 39 posts
Posted: Monday, August 10, 2020 - 06:02 AM UTC
The new Aber metal barrel came in the post today from Poland. Now all I need is the PE set from Australia then the paint.---John

Florida, United States
Joined: July 26, 2020
KitMaker: 40 posts
Armorama: 39 posts
Posted: Thursday, August 13, 2020 - 07:25 AM UTC
The metal barrel is assembled and installed.---John


Florida, United States
Joined: July 26, 2020
KitMaker: 40 posts
Armorama: 39 posts
Posted: Tuesday, August 18, 2020 - 08:10 AM UTC
I have the barrel and mantlet added to the turret and set it on the hull to see what it looked like. I am highly impressed with the Aber barrel. I also just painted the wheels and sprockets dark yellow. Now to paint the rubber on the road wheels.---John


Florida, United States
Joined: July 26, 2020
KitMaker: 40 posts
Armorama: 39 posts
Posted: Wednesday, August 19, 2020 - 04:12 AM UTC
I started assembling road wheels and painting the rubber on them.---John

United States
Joined: August 07, 2009
KitMaker: 32 posts
Armorama: 30 posts
Posted: Thursday, October 08, 2020 - 12:06 PM UTC
Great job on the tires! I have heard that the Tamiya Panther G's lack certain details but I have never read the specifics. They look good to me. Can anyone enlighten us?
Thanks!
Bill
Vermont, United States
Joined: July 21, 2002
KitMaker: 3,569 posts
Armorama: 2,070 posts
Posted: Friday, October 09, 2020 - 12:58 PM UTC
It's an old school kit, but it builds up nicely.
There are bump strips outboard of the drivers and RO hatches, a plug on a chain for the mg, inner flaps for the front fenders if towing hooks are attached, a small triangular brace on the rear turret lifting hook, some lifting hooks on the engine deck, pins and chains for the spare track holders, pie wedges for the crew comp heater, pins for the towing hooks and some more.
A good etch set (Aber, newer Eduard, etc) set of instructions will hightlight the missing bits.
This list,
http://missinglinks2.tripod.com/Panther.pdf, has a pretty comprehensive guide to bringing the old girl up to scratch.
The drawings in the Achtung Panzer are really helpful.
Good luck,
Mike
If you can keep your head when all about you are losing theirs,
perhaps you've misunderstood the situation.
United States
Joined: August 07, 2009
KitMaker: 32 posts
Armorama: 30 posts
Posted: Sunday, October 11, 2020 - 06:07 AM UTC


