


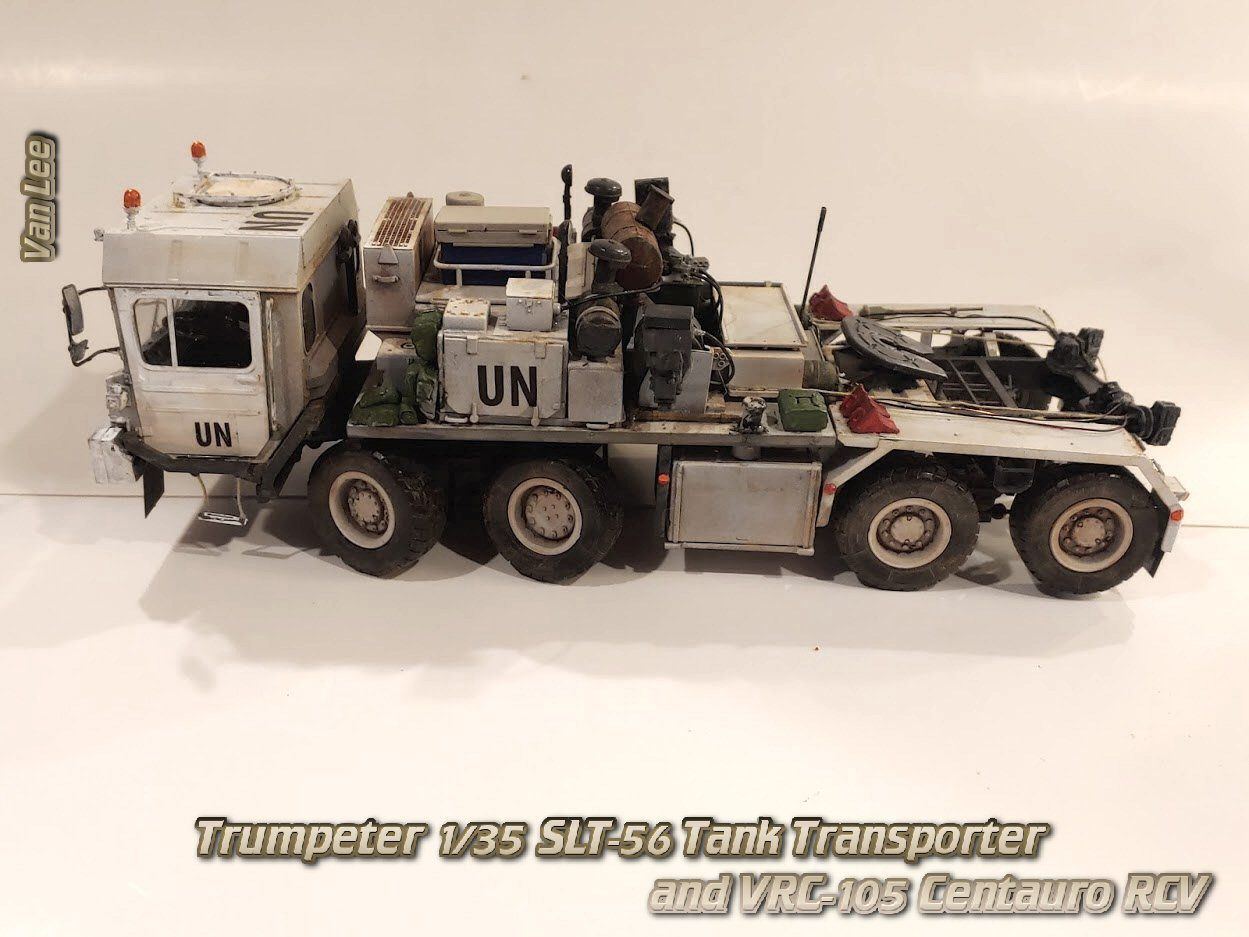
I wanted to have some small amount of stowage, so I added a few packs right behind the cab and a water cooler and ice chest. These parts are from Value Gear Details. V.G.T. offers some great stowage pieces for a very reasonable price. You can find them on Ebay or visit their website directly. I have purchased both ways but when I ordered direct, they threw in a few extra pieces for samples, so I would recommend buying direct from their website as it is the same price and you might get a bonus.
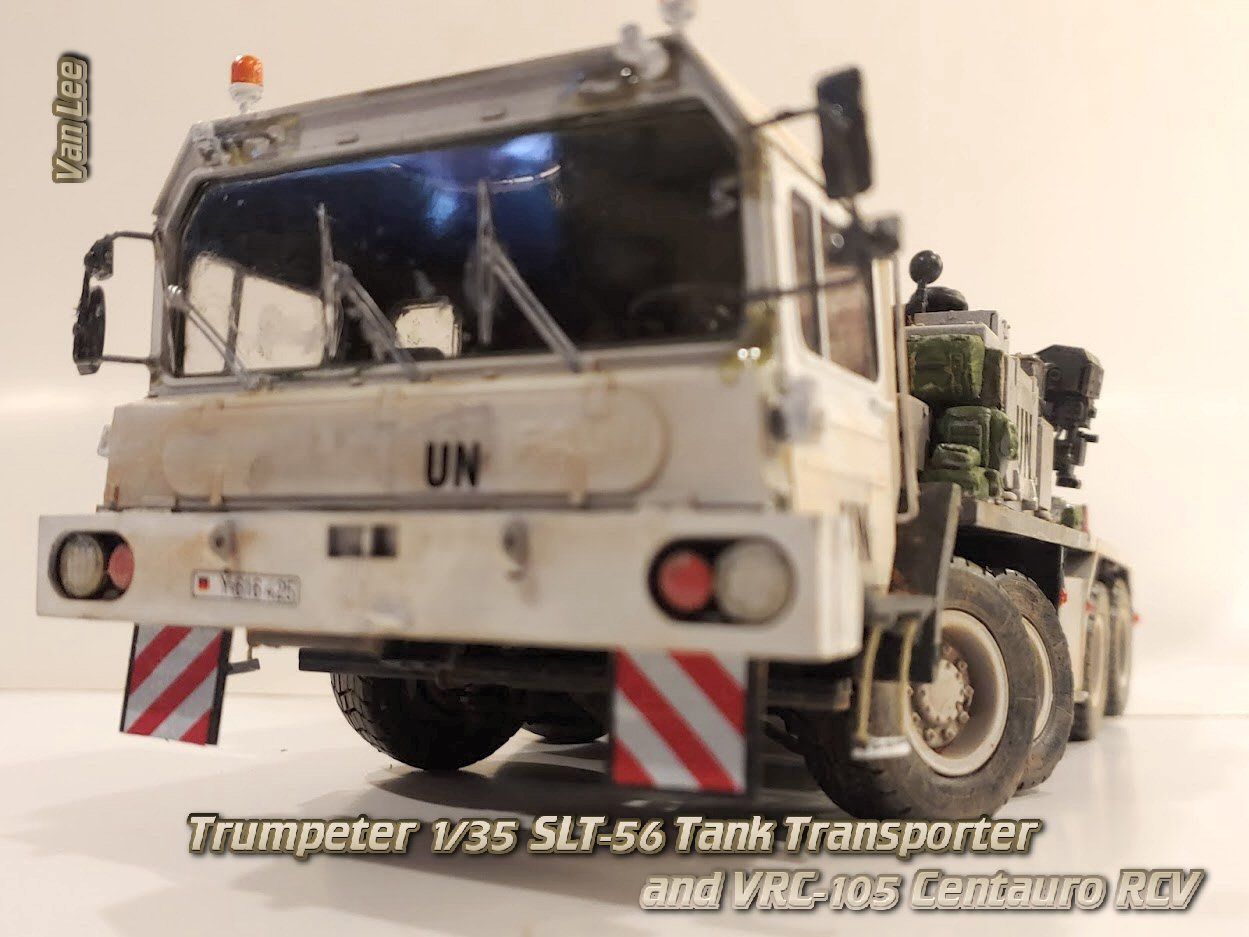
I used small red beads (leftovers from my wife's 5-D bead paintings she makes) to make the reflectors on the side. Much easier to use than the tiny clear lenses that comes with the kit and actually looks a little more real in my opinion.
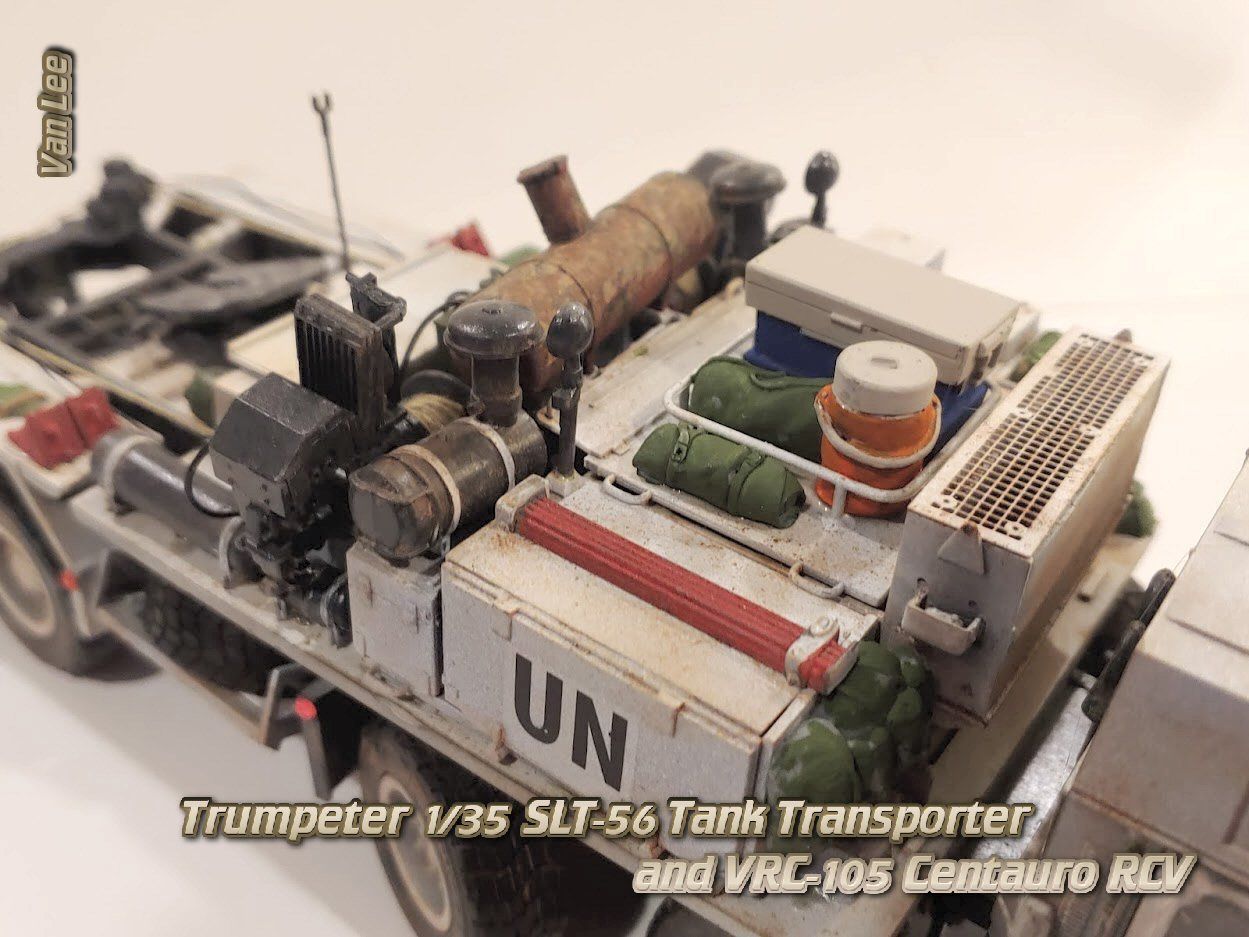
The 5th wheel hitch I painted charcoal and try brushed with some aluminum to give it a bit of a worn look. Not completely happy with the exhaust. Instead of looking like metal that has gotten hot and rusted, it looks more like mud. I have done rust much better than this before and I am likely to take this off and sand it down and repaint it at some point.
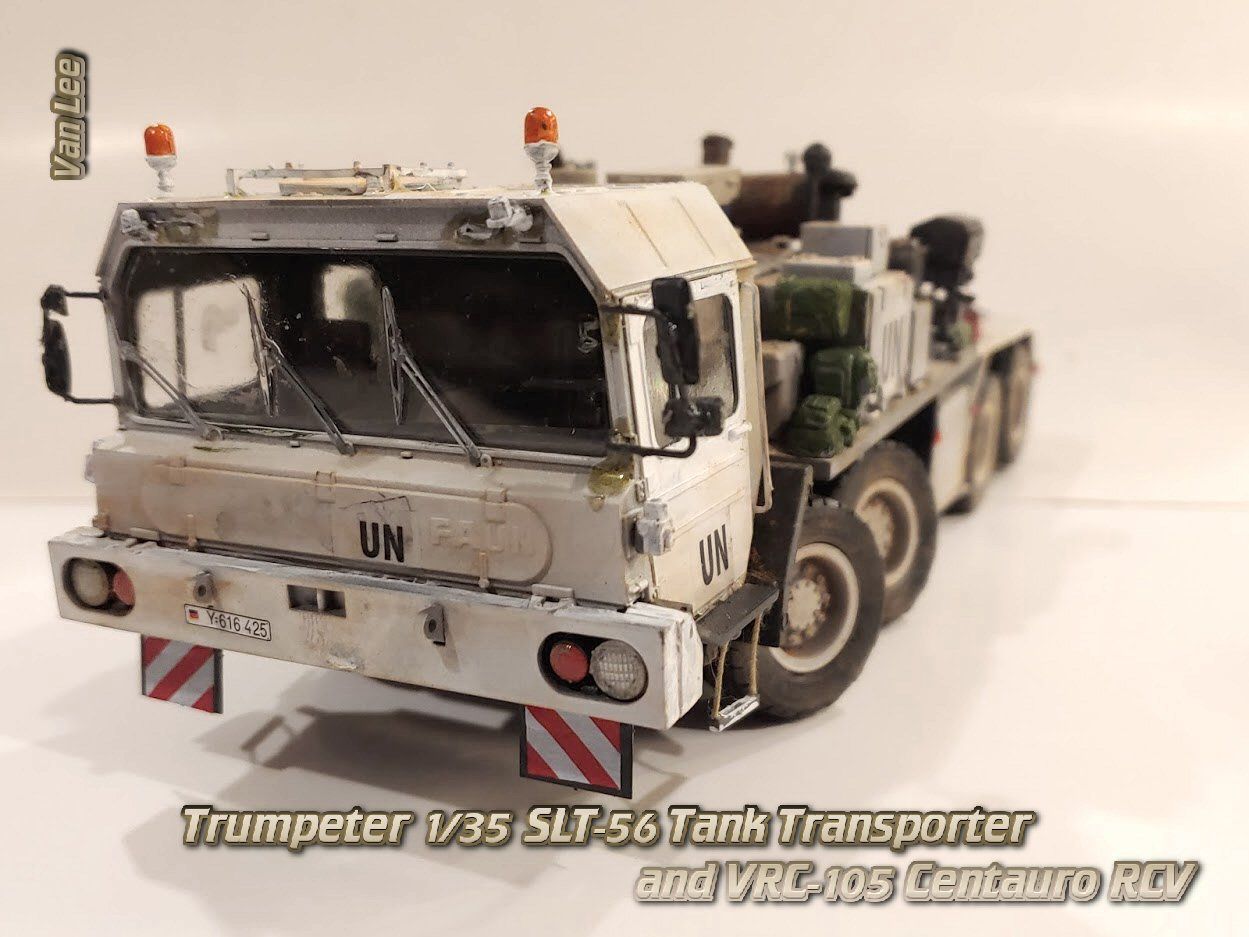
I am not a fan of PE, but there was some in this kit that really did add to the look. The wipers for instance. The kit comes with the option of plastic wipers, but the PE ones give a major upgrade in detail, the plastic ones were basically just straight pieces of plastic.
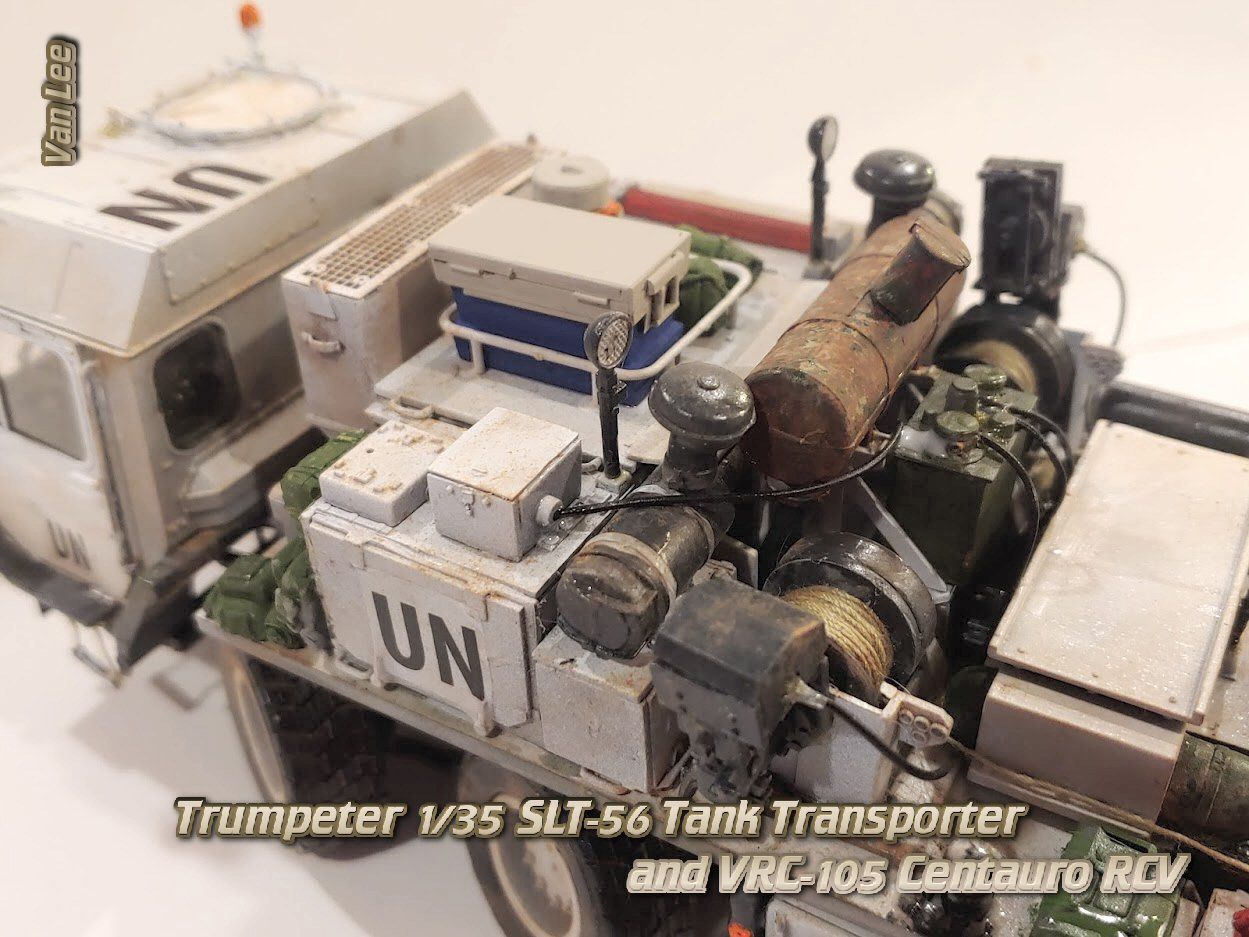
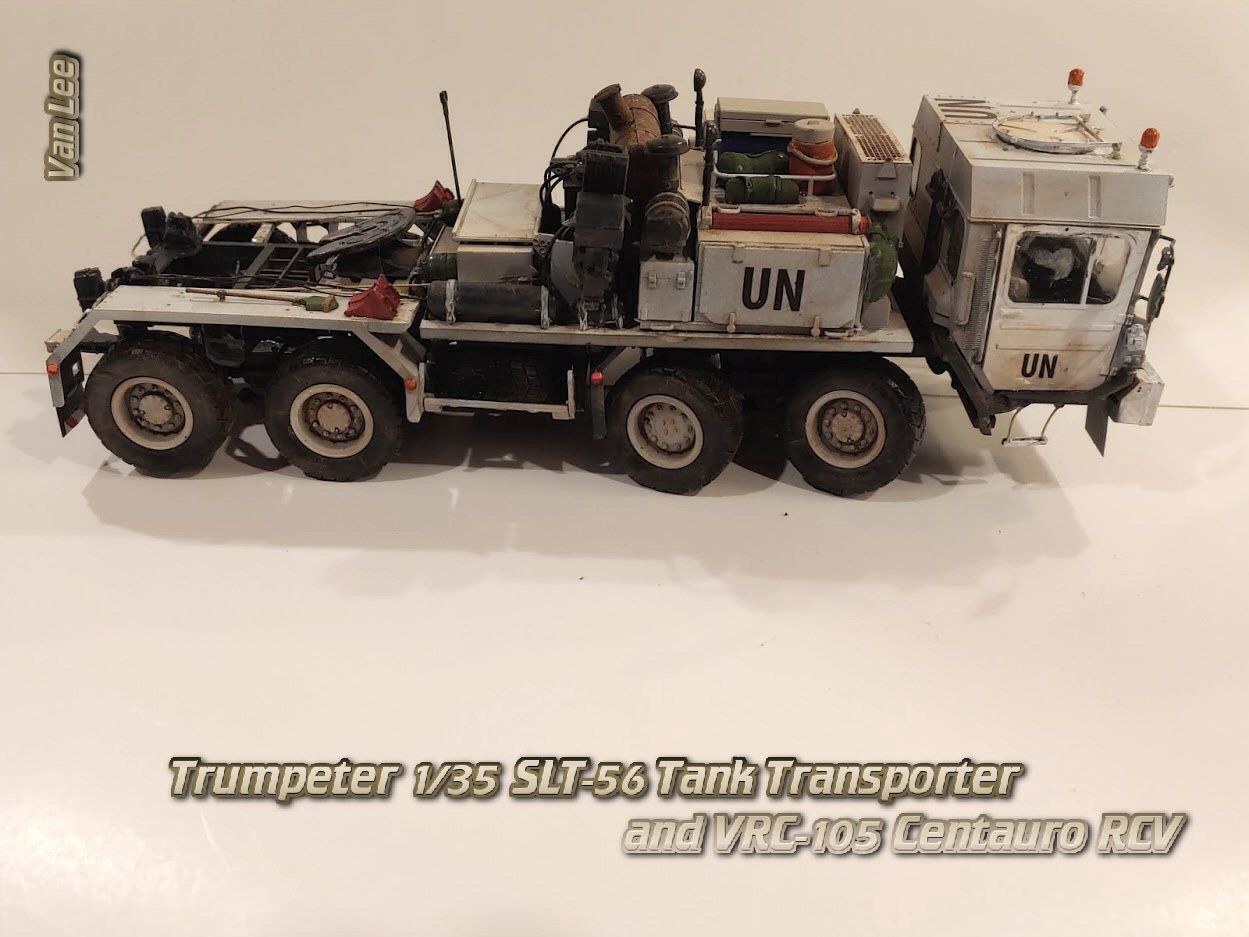
The exhaust looks better in this shot, looks more like rust than mud. You can see the hoses in this shot. Once again, drilling a hole to insert the hose completely makes it much easier to bend and flex the hoses without them pulling loose. You can see the great detail on the ice chest that I got from Value Gear.
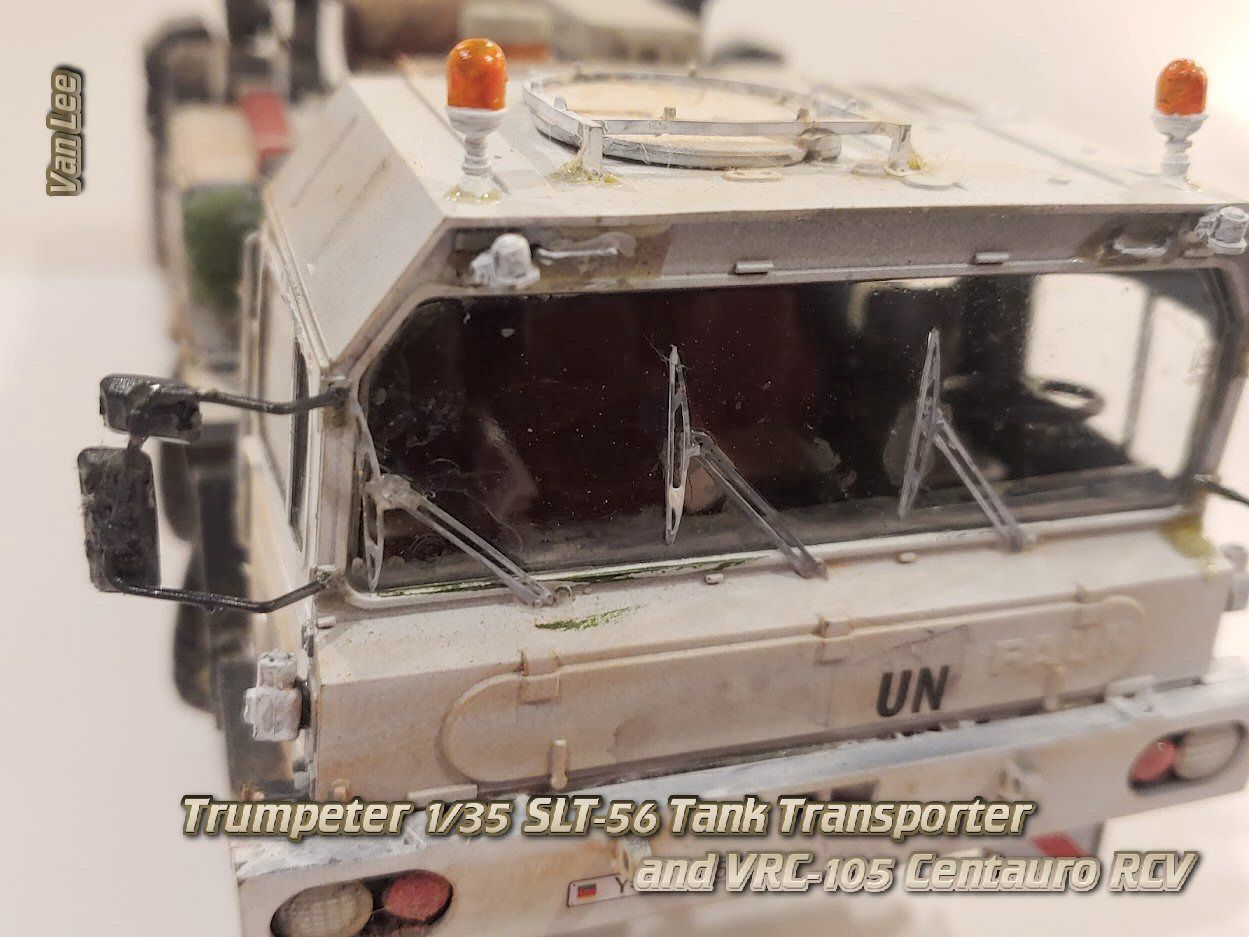
The strobes are solid plastic. I wish the Trumpeter would use a clear part that can be painted from the inside, but as is, I painted them orange and did stippling of yellow and red and coated it with some future to give it a somewhat glass and translucent look.
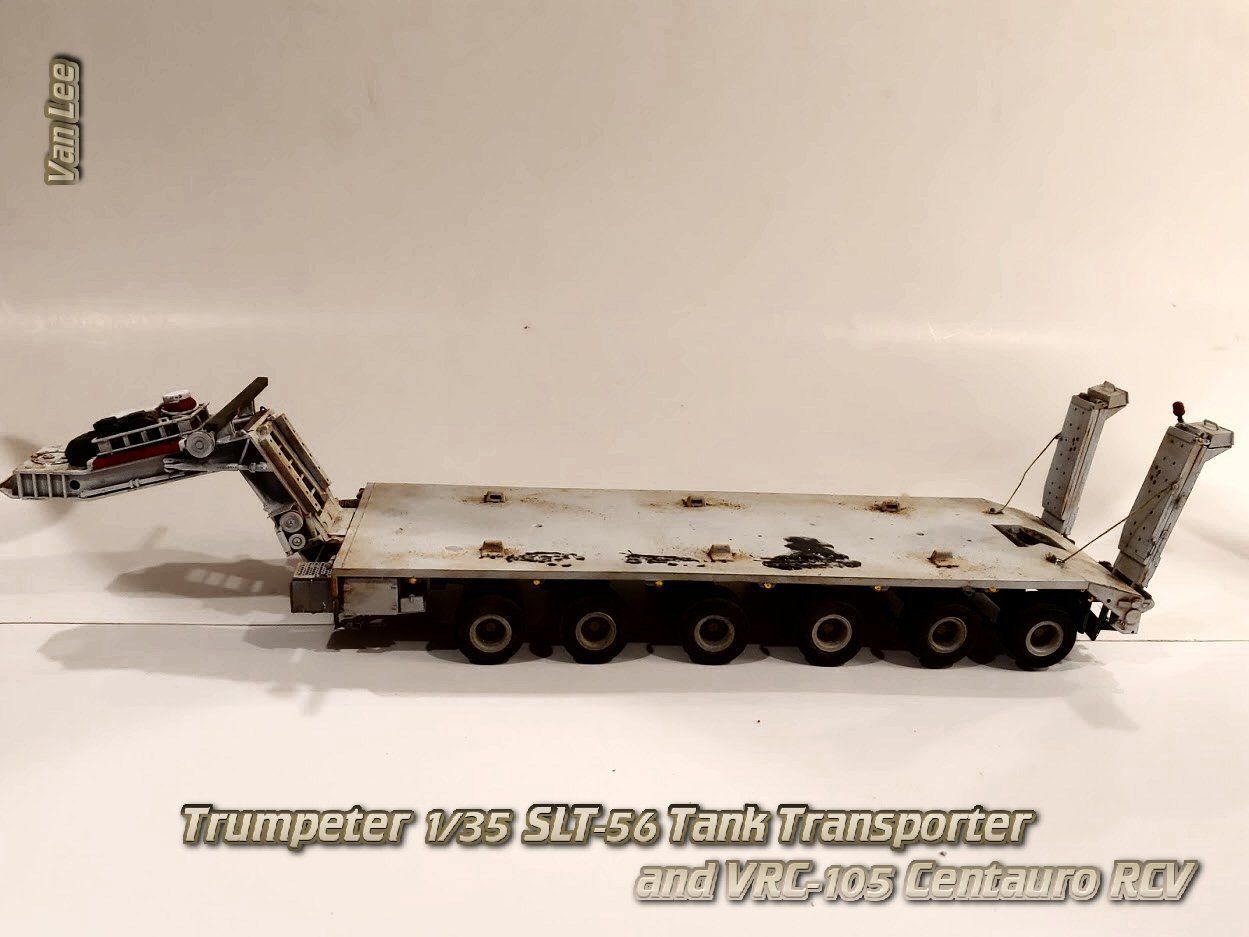
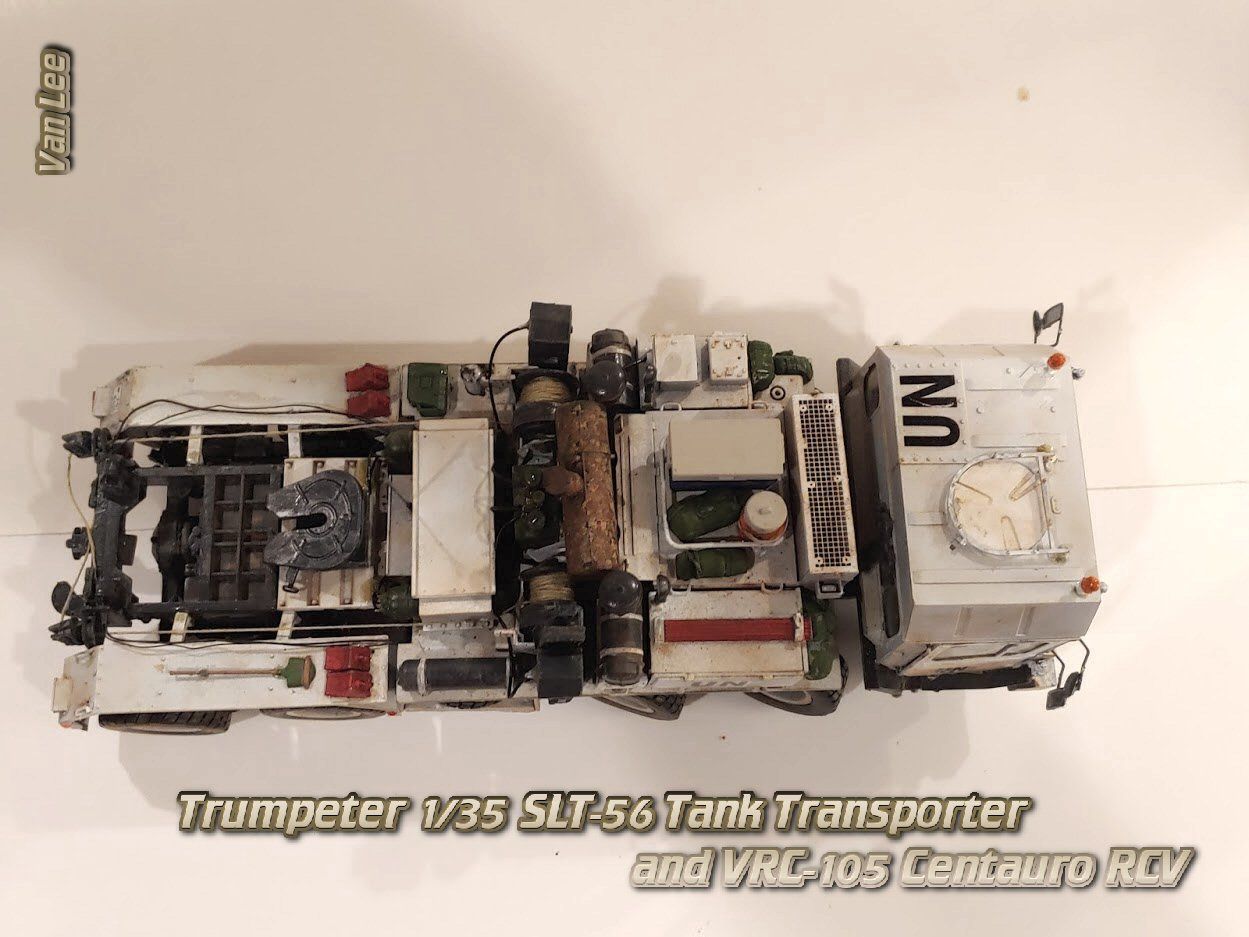
The trailer isn't overly difficult to build, but it is a bit more complex than some other trailers I have built. Four of the axles are build so that the tires could be turned if desired. With so many wheels on the trailer, it makes sense that some will need to be able to be turned in order to make smooth turns on the road. Dry pigment (ELF face power) was used to make the dirt on the trailer. The oil spot is clear glue with some charcoal paint spread in it and a bit of blue and silver dappled in it to make the iridescent look like is often seen in spots of oil. The iridescence doesn't show in the pictures unfortunately. Some more Value Gear stowage and water cooler is used on the neck.
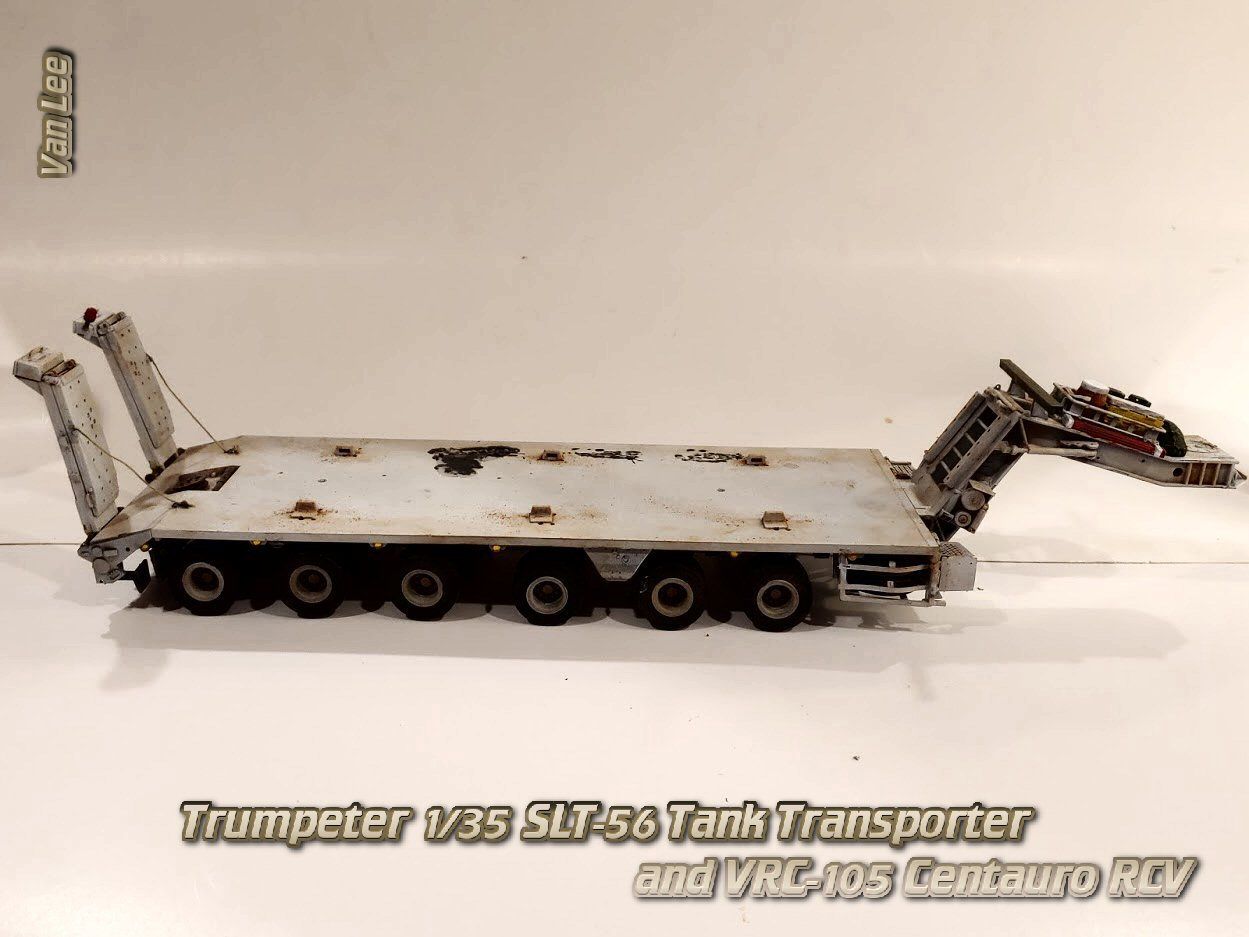
Once I had the oil spot down, I took a rubber tire from a different kit to roll through it to make it look like a rolling tire had hit it one side of the tire. As such, there is a space and more oil, another space and more oil again as the tire went around. A nice touch that I felt added a bit of realism to the oil stain.
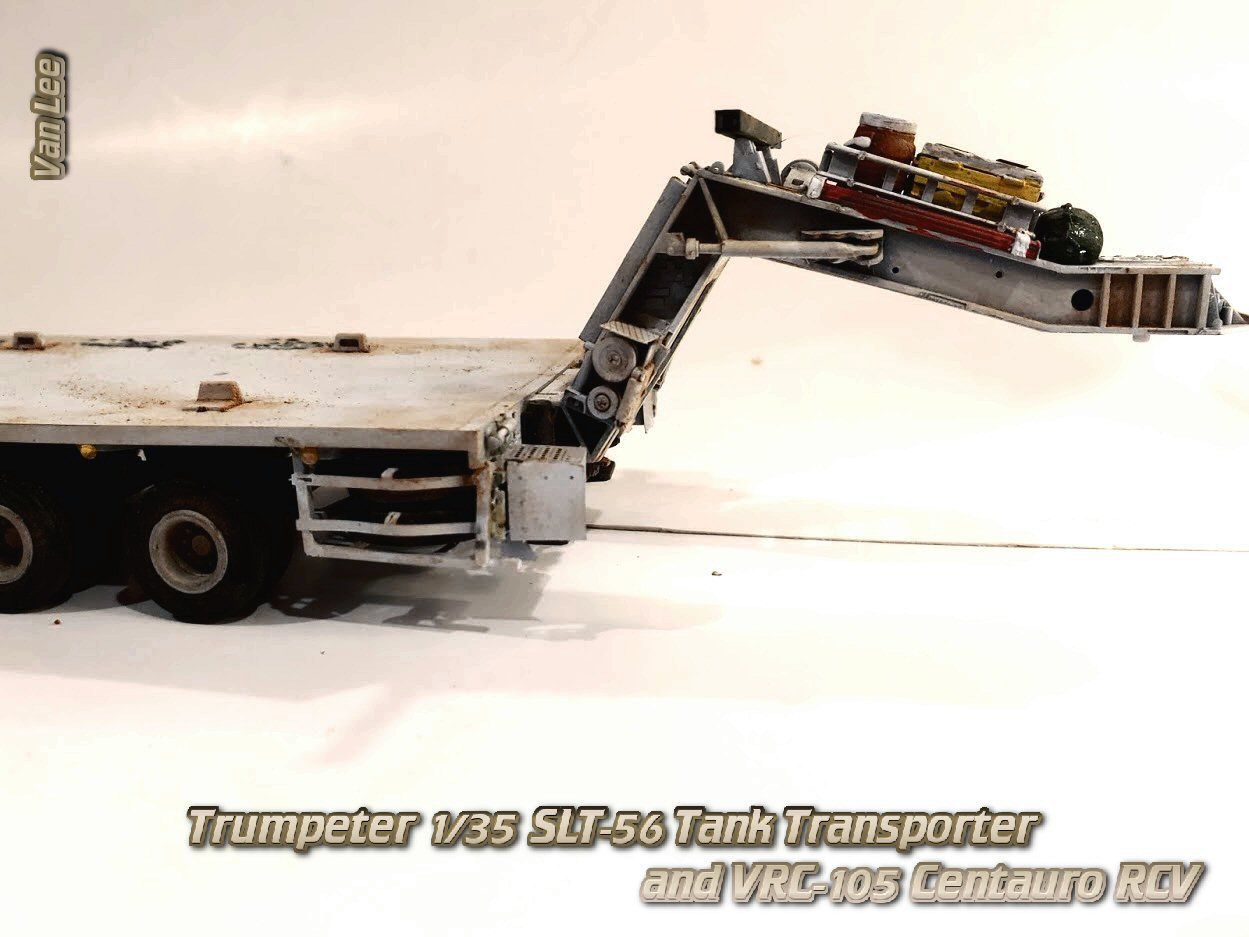
A close up of the next. It has some nice details in the kit.

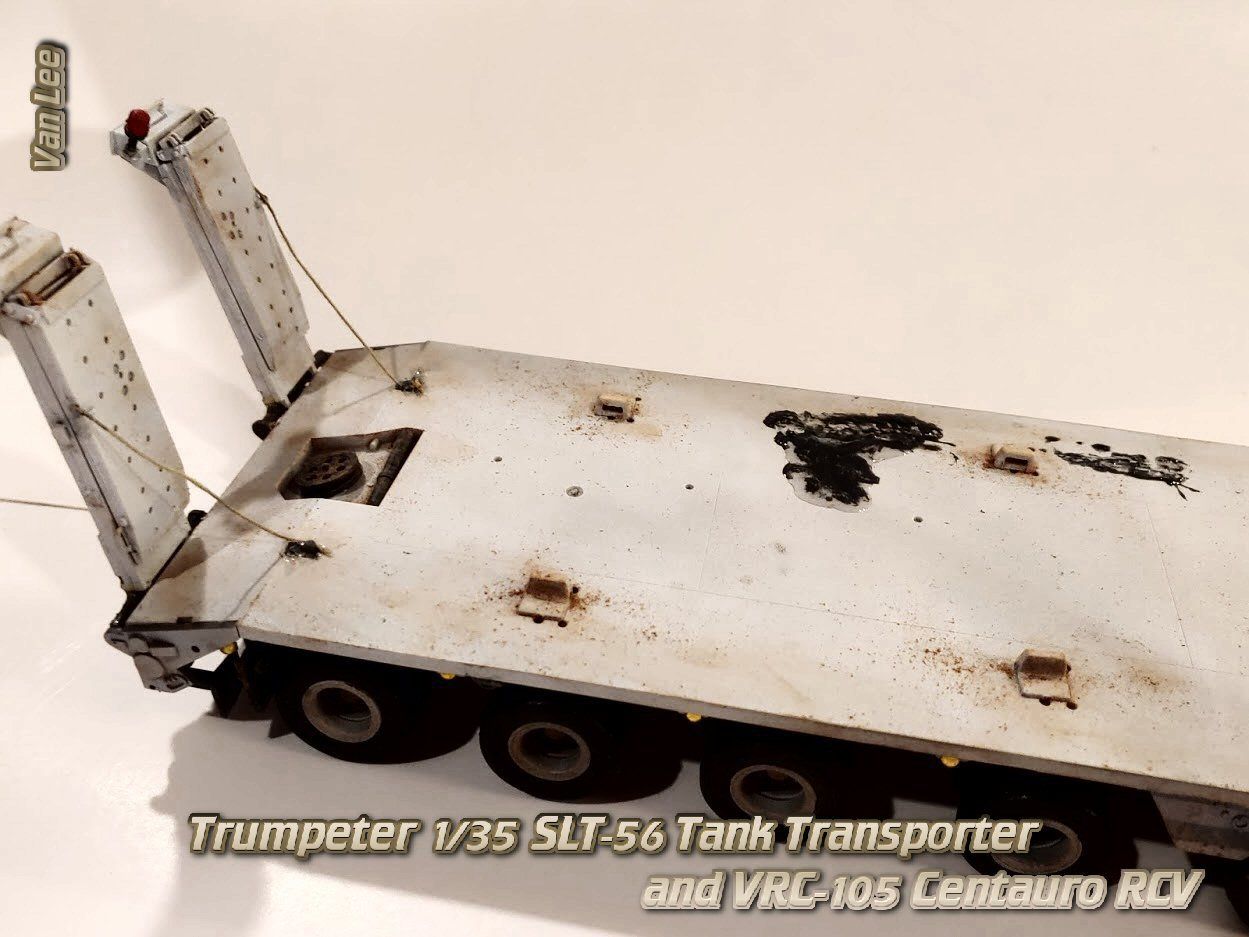
Dry pigment was brushed on for the weathering effects here.
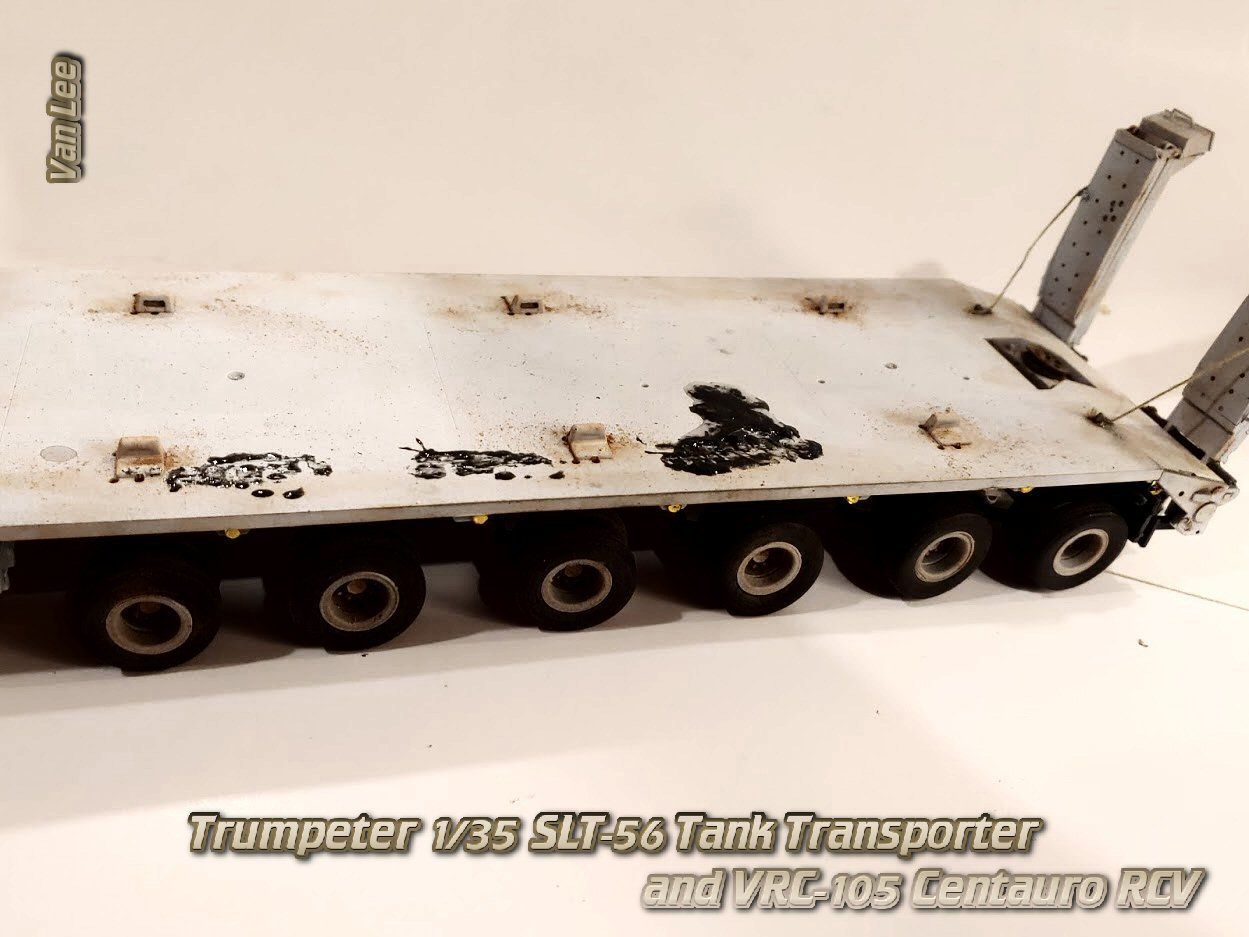
A better view of the oil stain. Dry pigment was brush on around the guides giving it a good worn look around them.
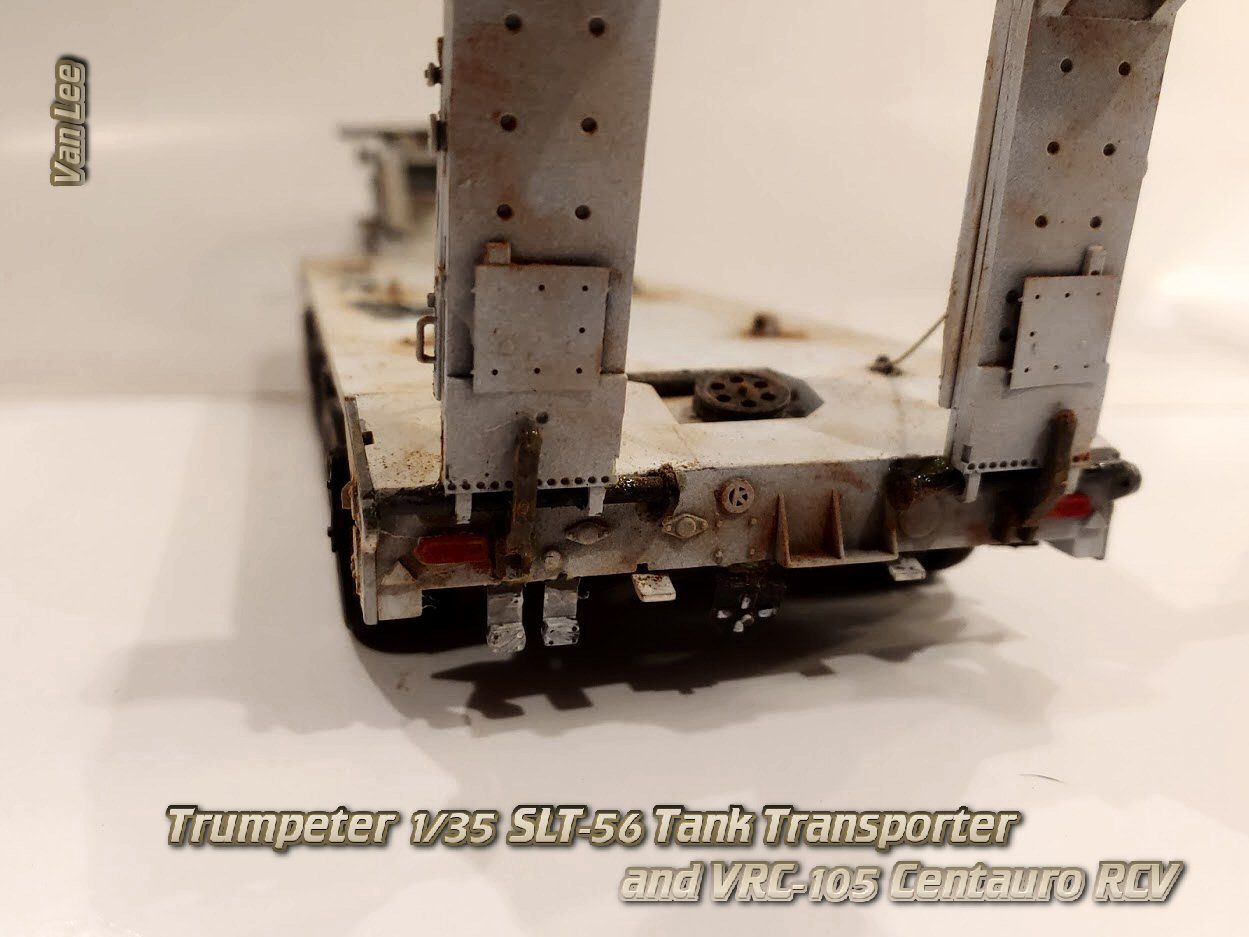
Another spot where the PE really added to the build is the ramps. The square part is PE, no way it could have been made with plastic without looking too thick, so this was one of those places where PE really made a massive difference in the overall feel of the build.
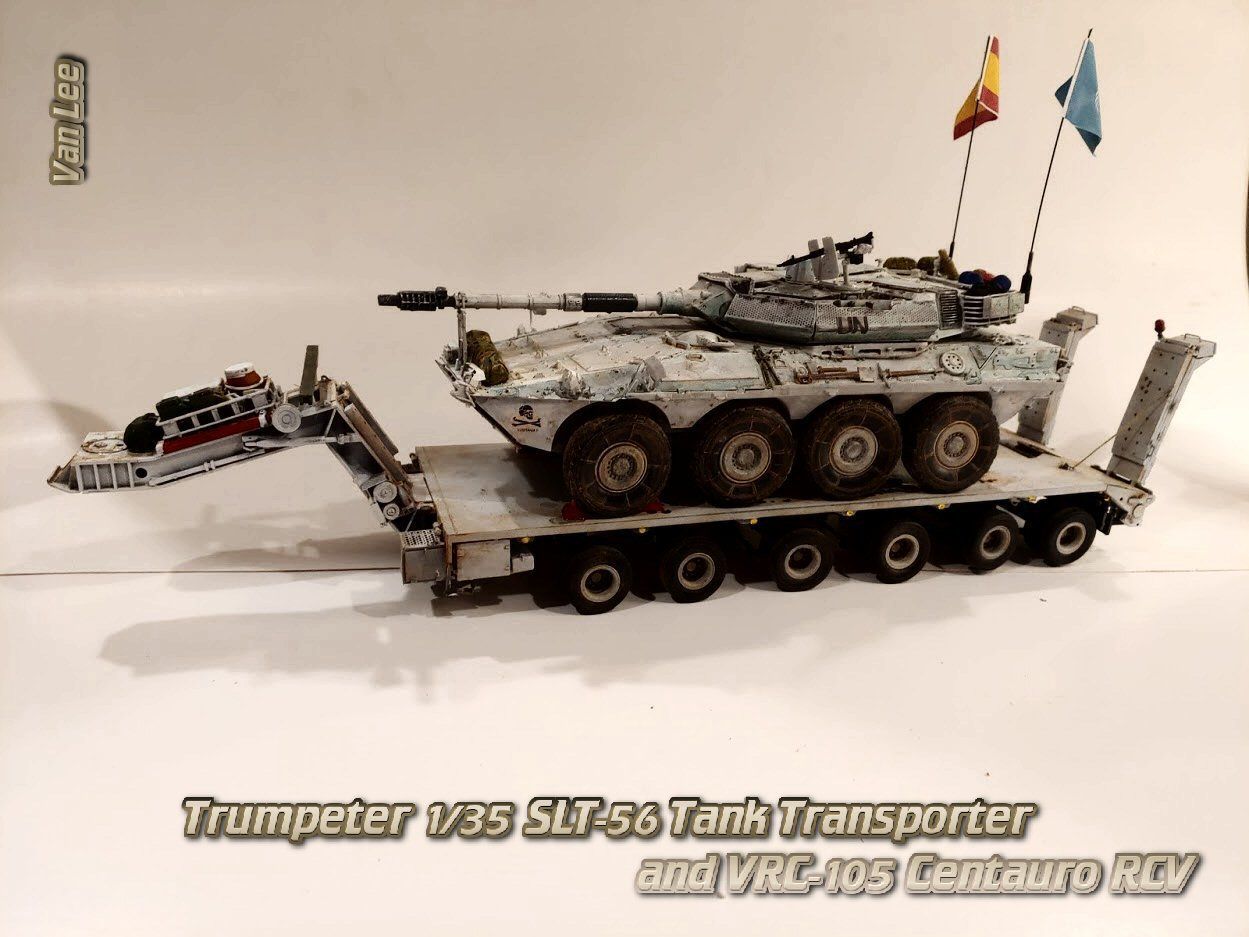
And here it is with the Centauro loaded on it. I would imagine in real life the stowage and flags would have been removed for transport. But then again, I suppose it could have broken down and being carried in for repairs, so may it isn't a deal after all...

You don't appreciate how large some piece of equipment are until you see them compared to something else. The Centauro is way more massive than they look standing alone.
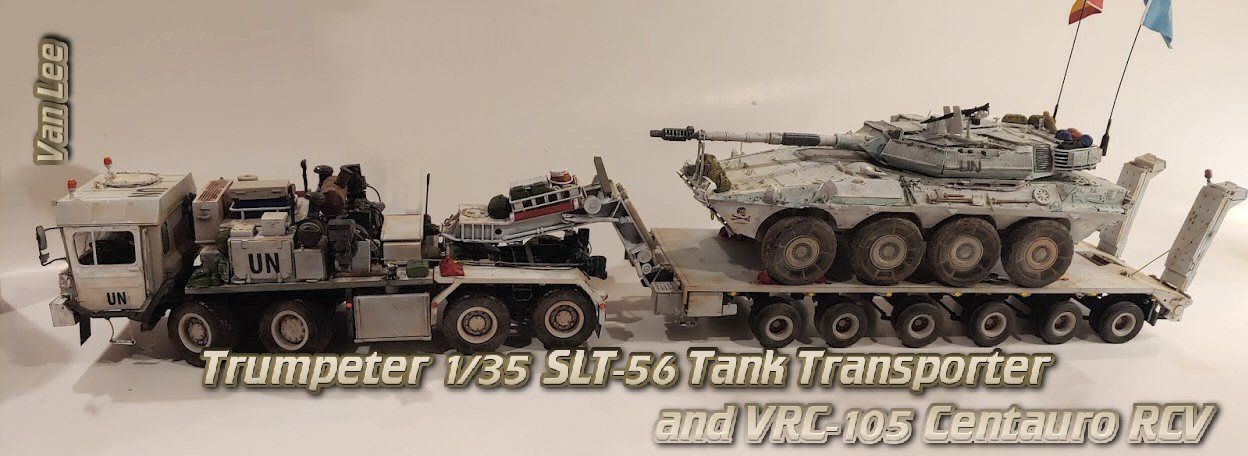
A show of the entire project.
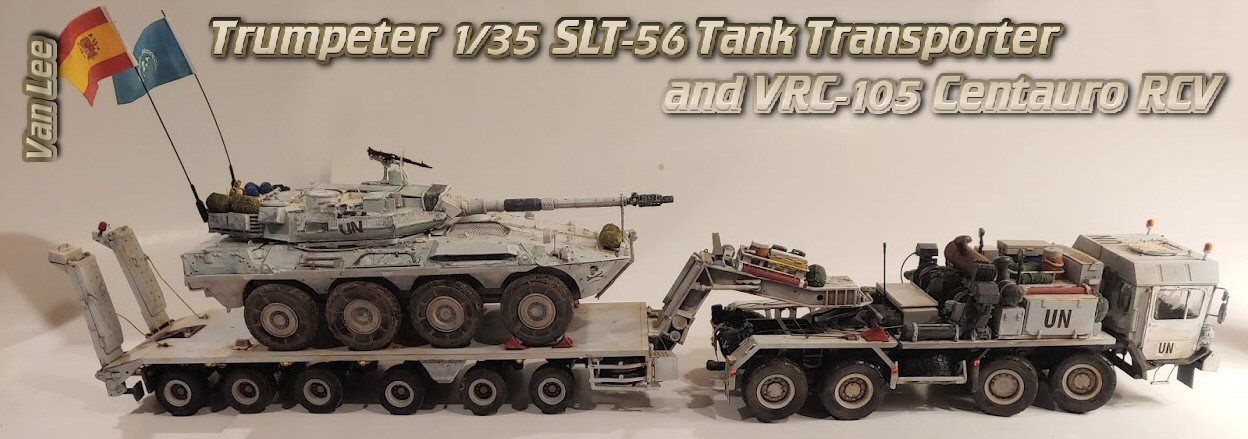
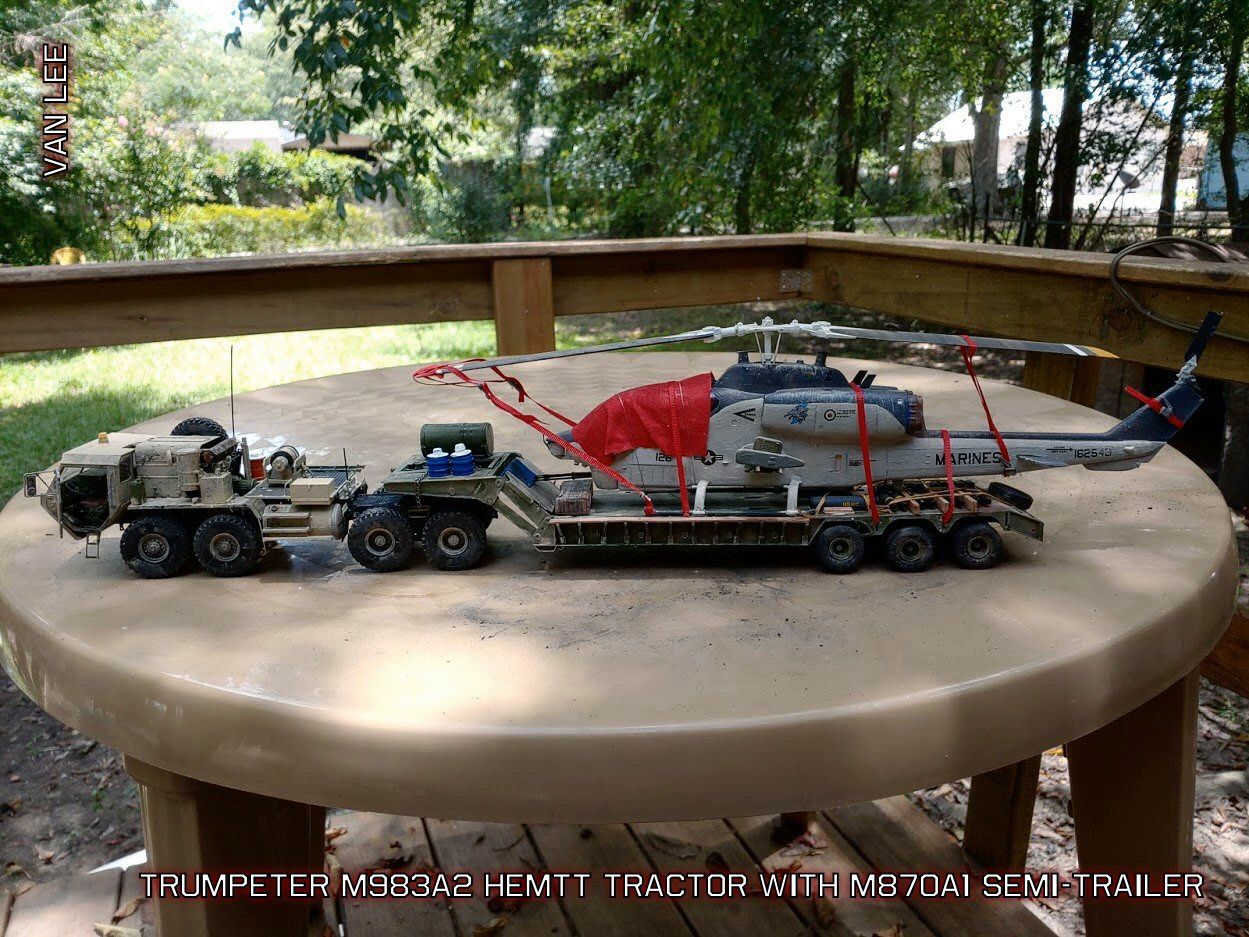
Final shot, the entire project. I really enjoyed this build and am happy with the end result. It is now sitting on the shelf with my Trumpeter HEMTT and trailer transporting a Cobra helicopter.
Just a shot of the HEMTT and Cobra since I mentioned it.
The next transport vehicle I am planning on is hopefully going to be the Hobby Boxx M1070


