Overall it was a fairly straight-foward build. I was off the second half of the week I built it and had a few days to dedicated to a build. I began on Wednesday evening and finished up Friday evening, so the build was done in 2 1/2 days. Academy kits seem to build more quickly than other brands for some reason. Not sure why as the basic idea from one brand to the next is the same, but they just seem to go together very well and quickly.
Taking pictures of this build has led me to one realization, that I need to invest in a light box to take photos. They appear way darker than the build actually is. A couple of the photos you can see it is lighter, but many appear darker than it is. So with that, I hope you enjoy the images, and please forgive for the darker images.
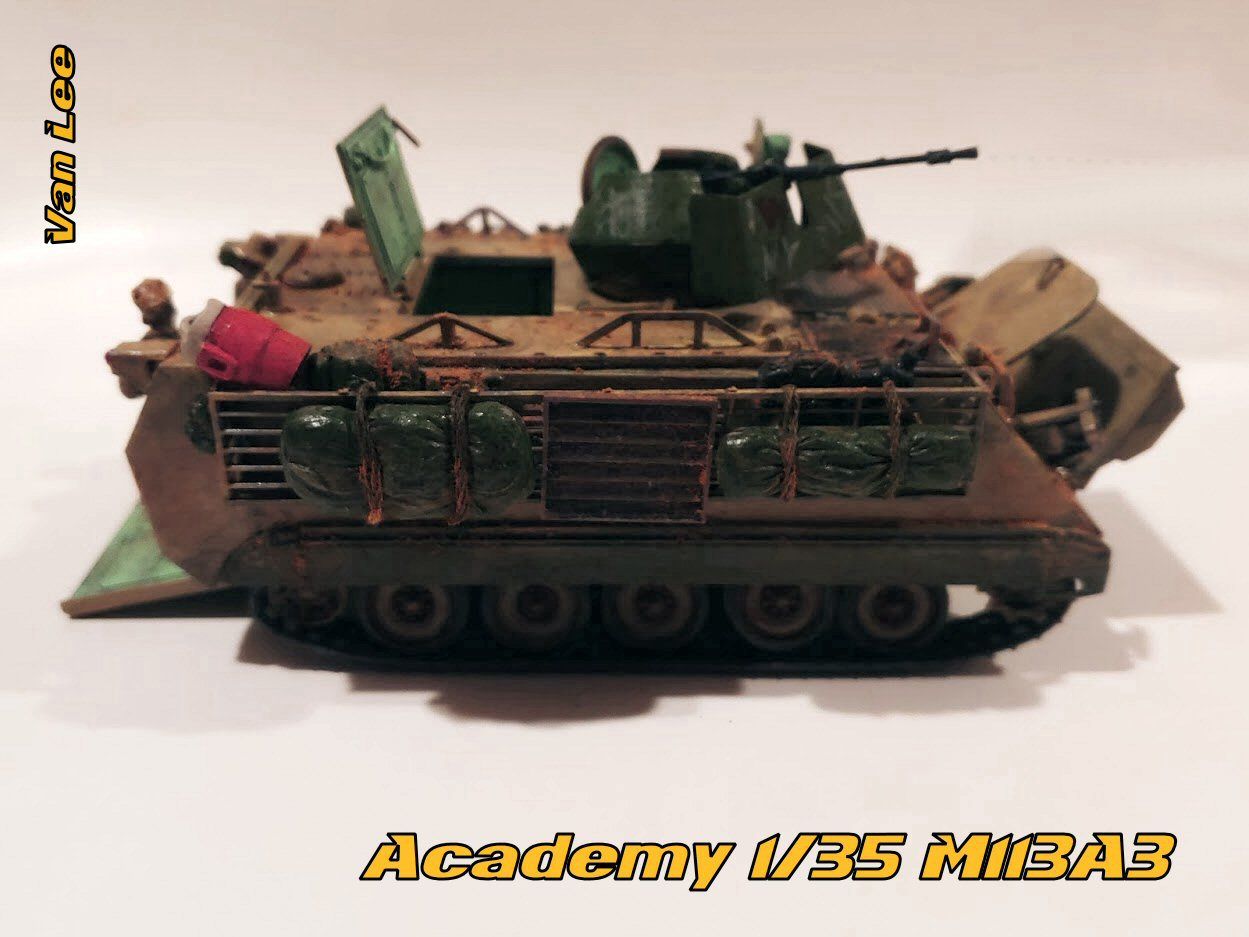
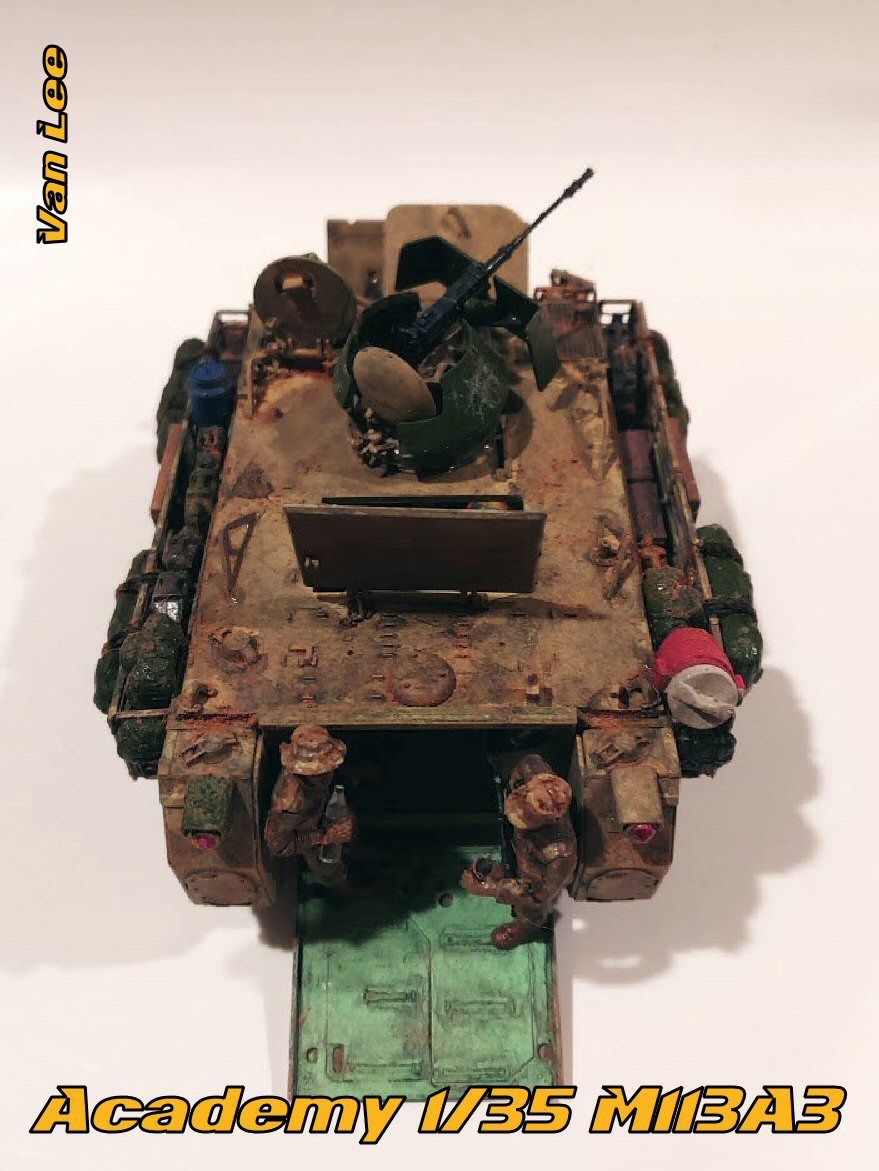
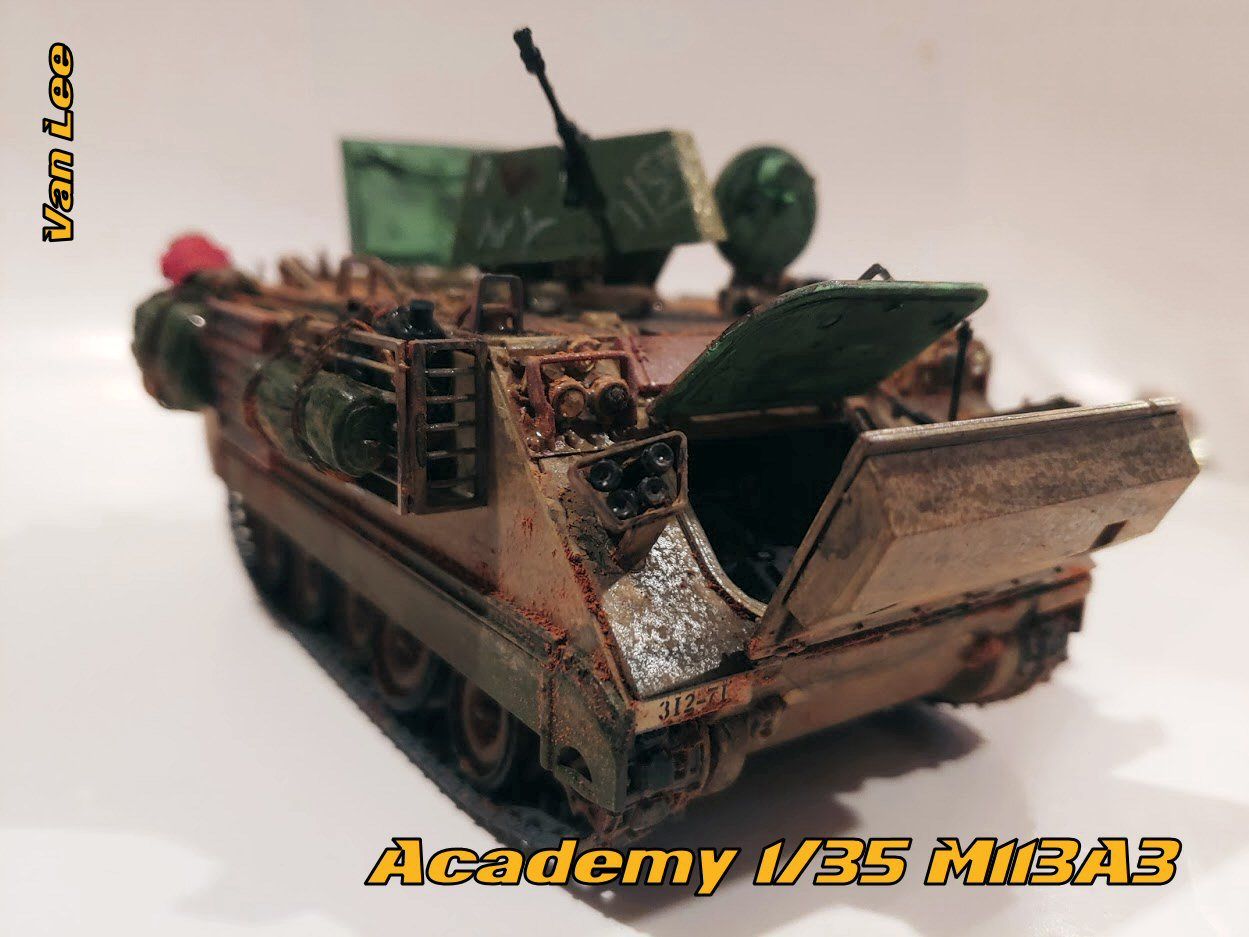
The igloo cooler has become a common theme in stowage for the War on Terror. This one comes from Value Gear Details. They make all kinds of stowage for WW2, Cold War and modern vehicles. They even have water cooler sets for the modern era and for the Vietnam era. Their prices are pretty good also. Note the green side skirt. I wanted to portray that the vehicle had been damaged and the part replaced. I have seen a lot of vehicles used in Iraq that had replace components that were green that didn't get painted back in sand, so I thought it would be a good touch to do that in my build.
"Kilroy is here!" This is just a throwback to our WW2, Korean and even our Vietnam vets where this was often painted on the sides of their vehicles. I used embroidery thread to make the ropes holding the gear on. All of the stowage seen in this shot came with the kit. It came with eight jerry cans and several ammo boxes, two large packs, 2 medium packs, 2 rucksacks and 2 small packs. It also came with a small clear sprue foe water and drink bottles. This kit comes with a good bit of stowage so you could really get buy with building it OOB and still look full. The only aftermarket pieces I ended up using was the igloo cooler and a couple of small back inside the vehicle.

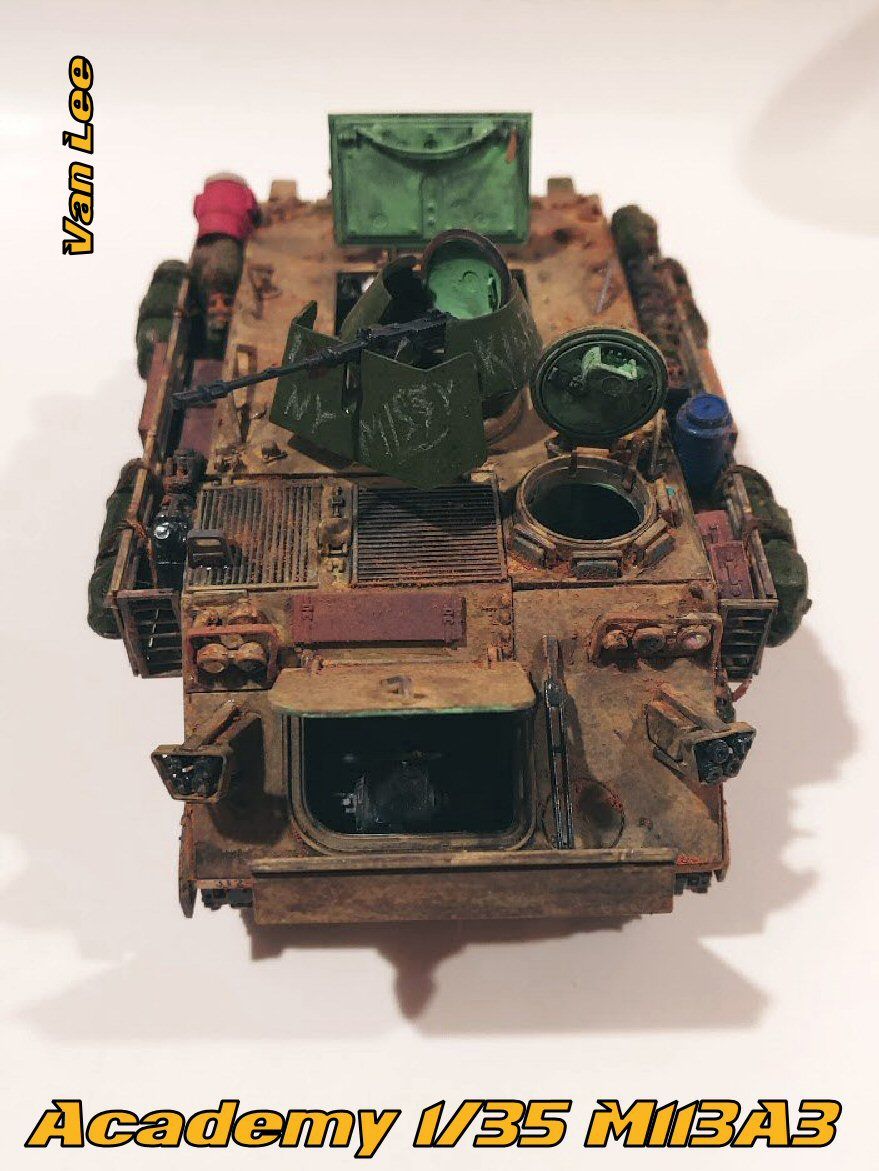
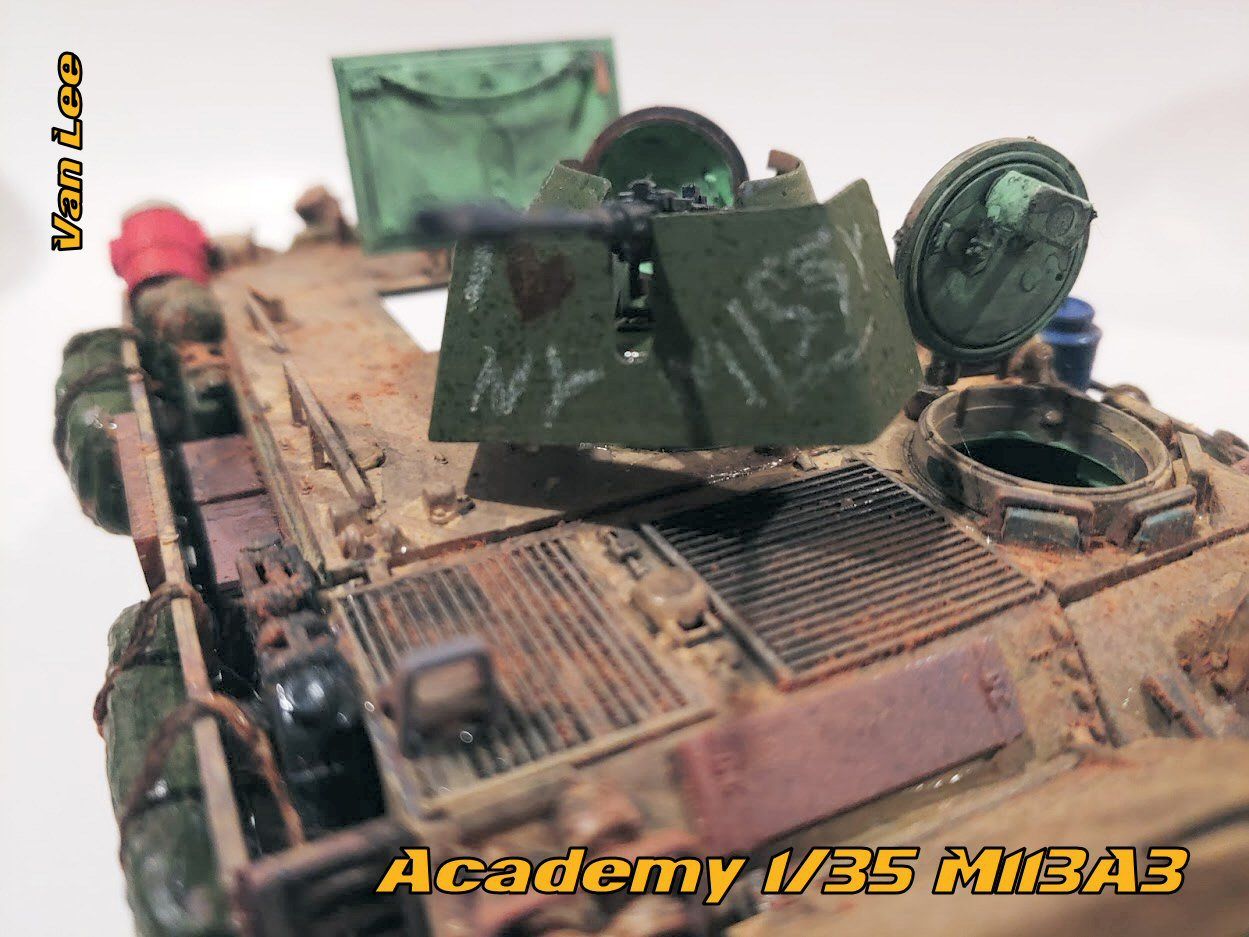
More turret graffiti. I wanted something iconic to put on it, so I went with the "I Love New York" logo. I have never been to New York, but it is a logo that is recognized worldwide, so I used that. "Missy" is my wife's nickname.
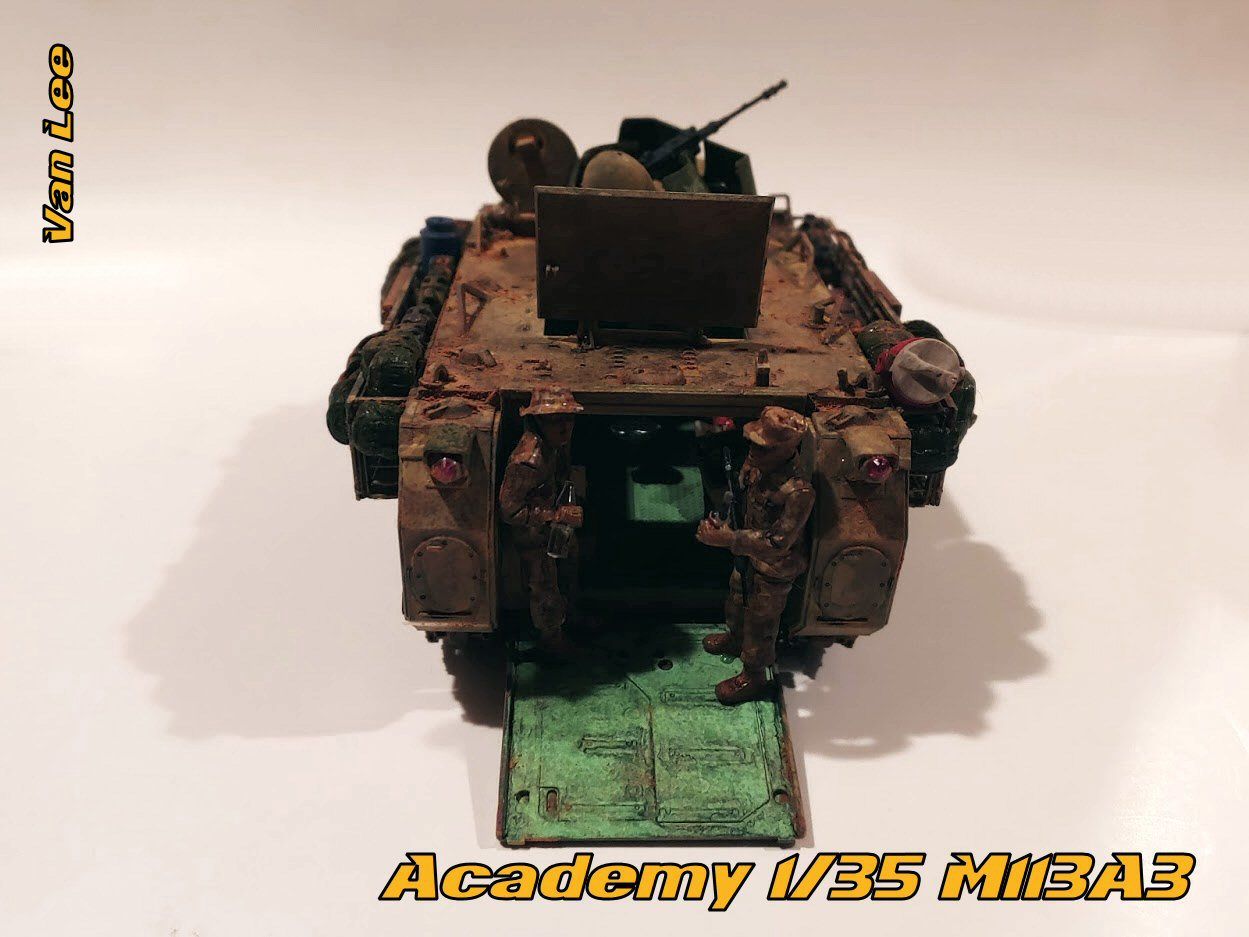
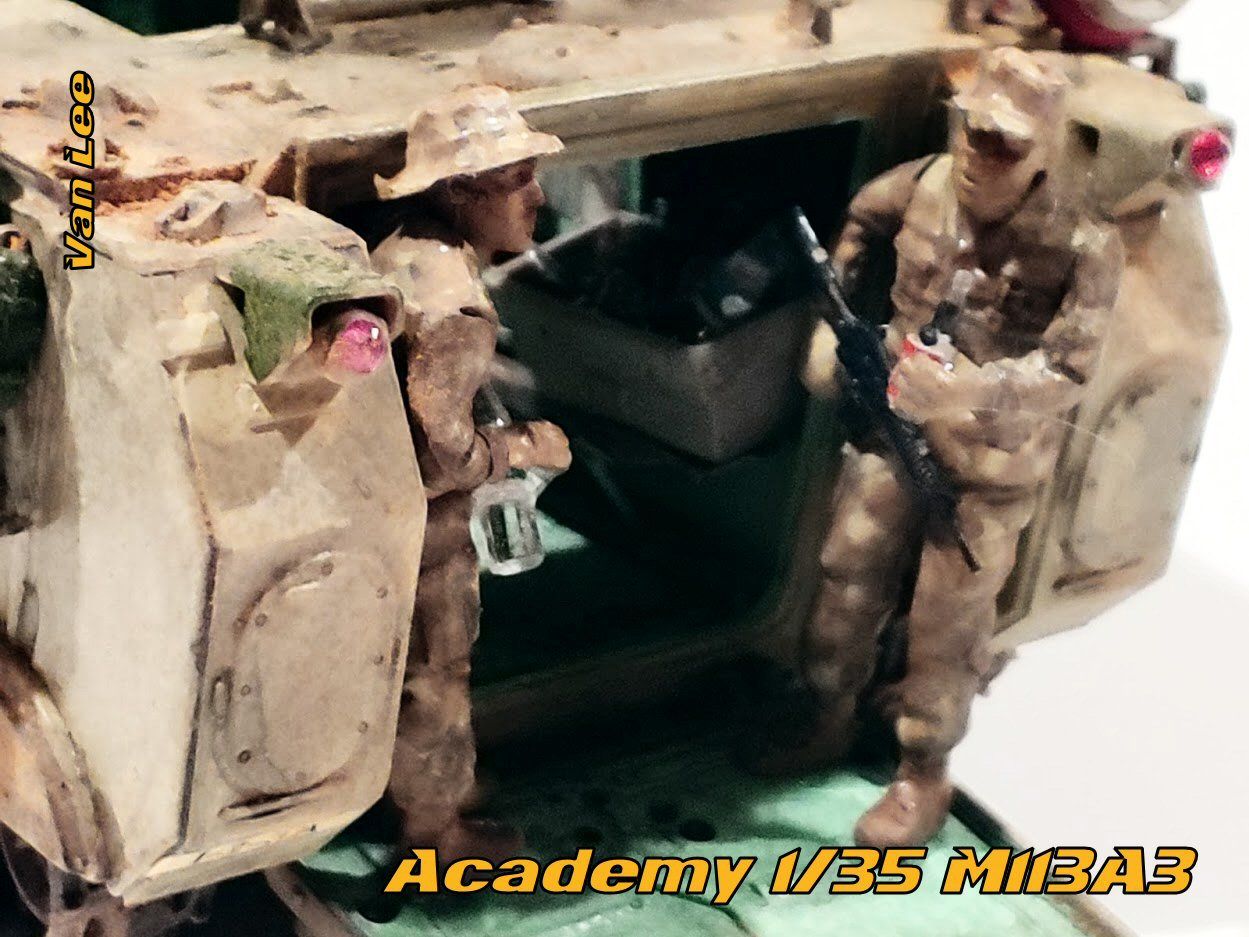
Normally I don't do figures, but since the kit came with the drink and water bottles, I decided I would use them. It comes with three figures, two standing and a third sitting down, presumable a driver. But I build it with all hatches open, so it obviously isn't being driven at the time, so I left the drive out. I need to go back over it with a matte finish as they appear a bit "shiny."
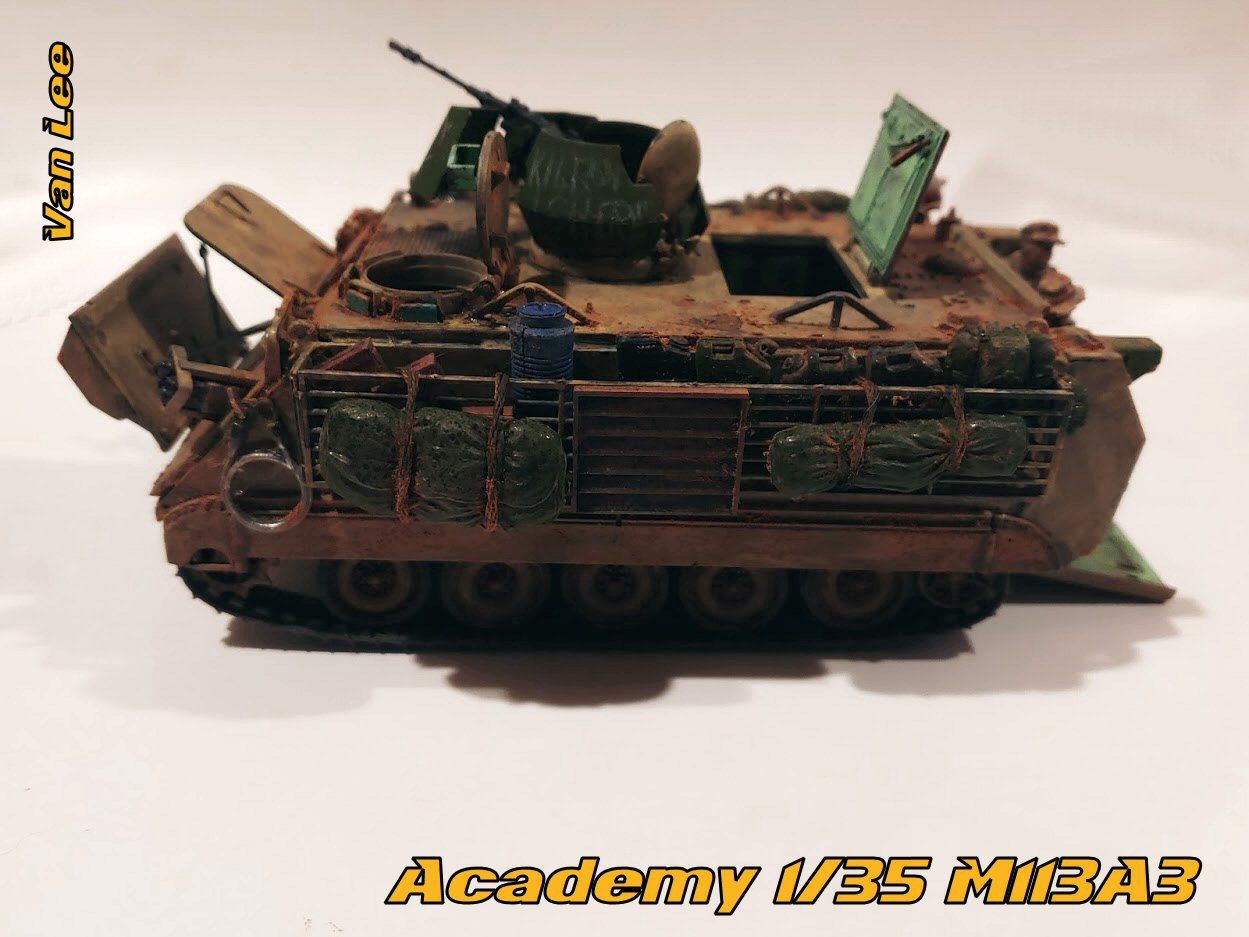
Above and behind shot. You can see that it isn't quite so dark in this image. Still looks a little darker than the actual piece, but when I get a good light box for photography, that should look better. I did do a smokey wash over it though to make it appear that it had been driving through smokey environments, so even though the build is light than it appears in this image, it is still a bit darker than the sand paint when the vehicle is cleaned. Not the left light housing, also a green replacement for a damaged unit.
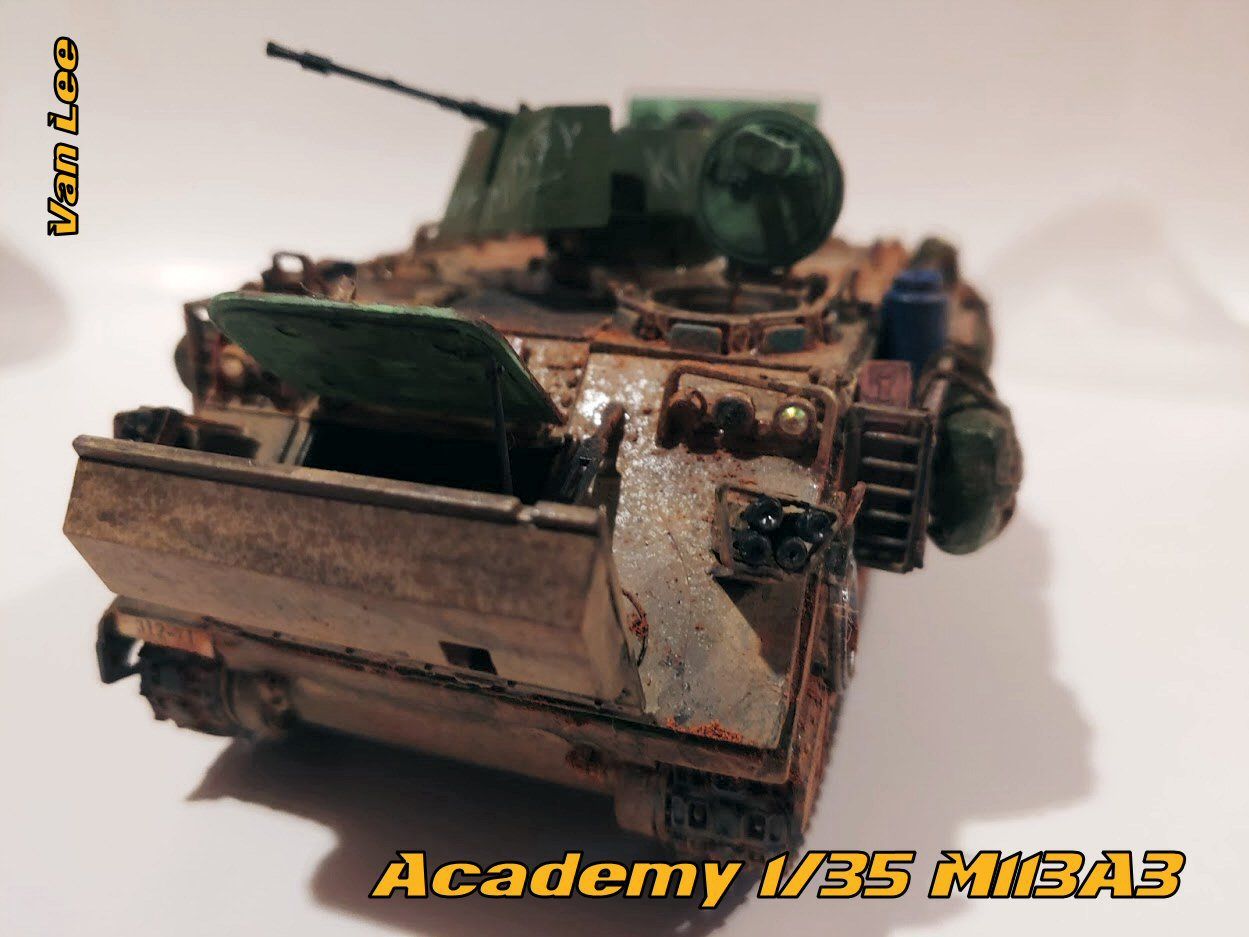
Above and in front. I saw some builds where the front armor plate was lowered to hold stowage, which I suppose is practical and possible, but would present an obstacle to the engine compartment, though I suppose it wouldn't be hard to simply move the stowage when needed. But I wanted to have the engine compartment open, so I left the stowage off the plate.
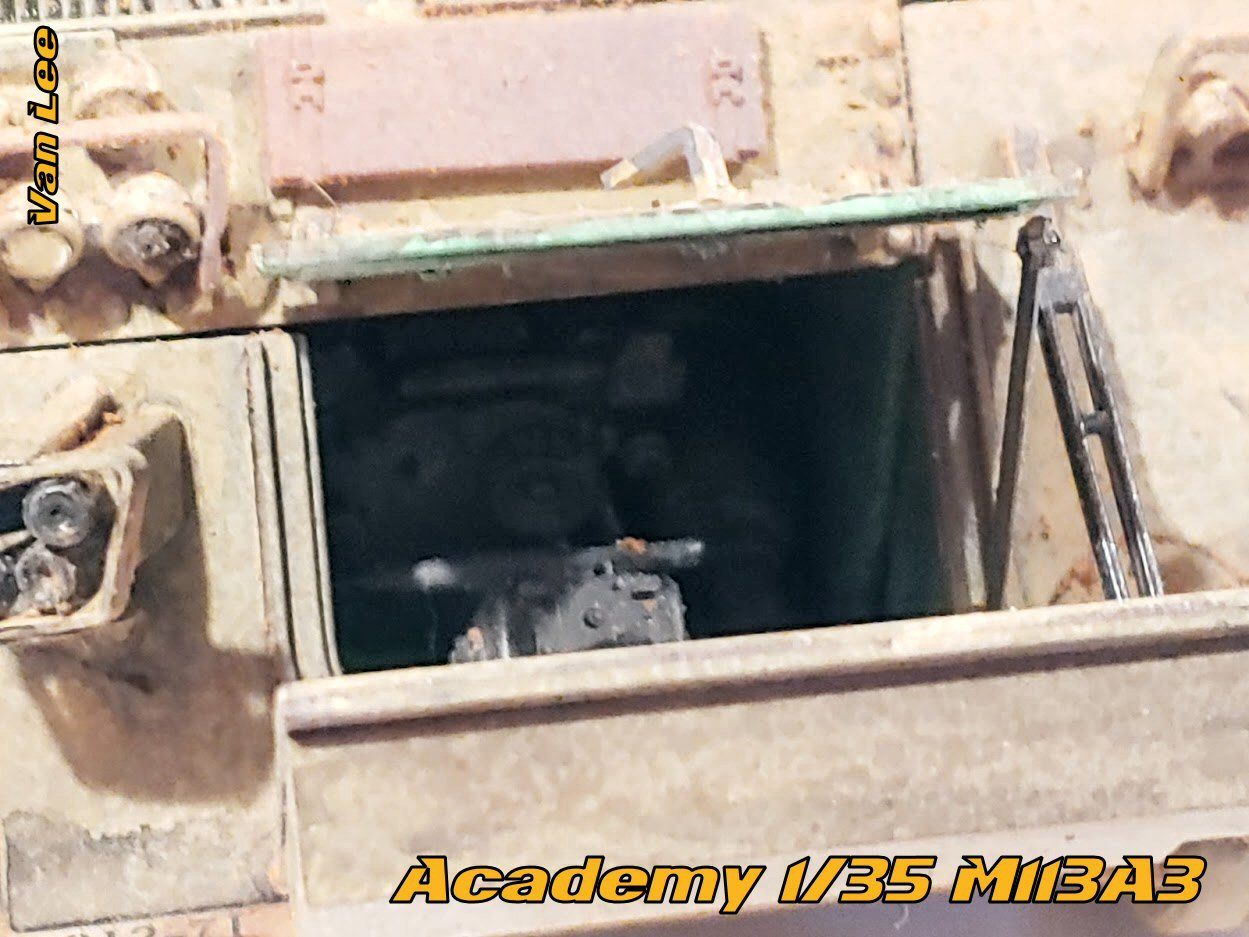
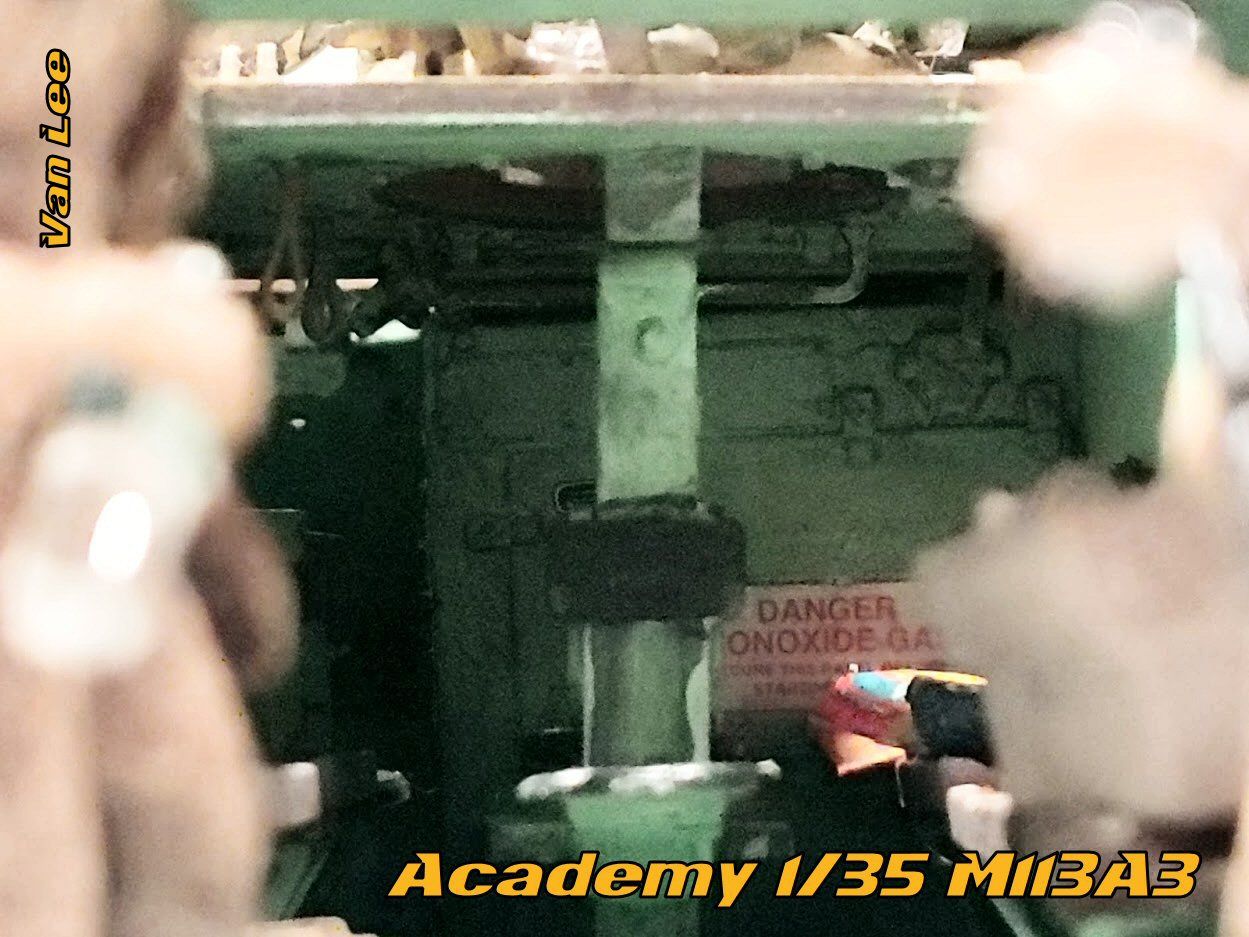
A close up of the image. Not the best image of the engine, but this shot dow give you a better look at the actual color of the build. As you can see, it is much light than many of the images appear.
Soot and smoke residue. Gives it a mottled look and a hint of shine from the residue.
The lights were made with beads. One silvery bead on the outside and one black one on the inside. Dirt buildup noticeable in this shot. The smoke launcher frame was three pieces. The kit came with a one piece option also (not sure why unless maybe earlier releases of the mold only used the one piece one). A nice option for someone who wants to make it simple or someone who wants a few extra pieces to build.
The grates over the engine compartment. The kit came with two versions, this one and one for an older variant. Not much difference in the two to be honest and if you opted to use the older one, only someone with a lot of knowledge of this vehicle and an eagle eye would likely ever notice.
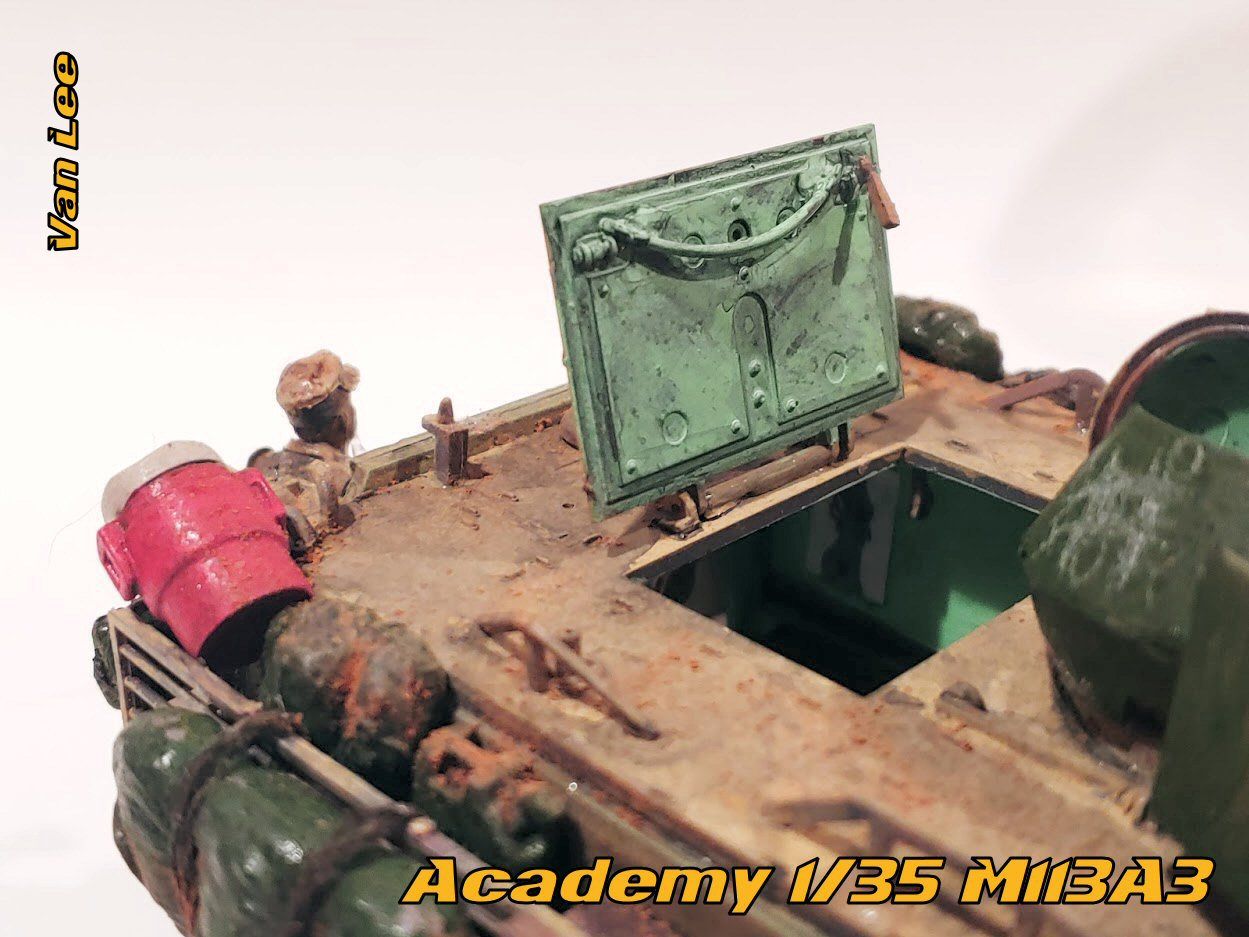
I really like the straps for the ceiling for soldiers to hold on to. It came with several of them and they didn't use the same mold for each strap, they have 3 different molds of the strap to show varying degrees of the opening of the straps. A very touch that adds a bit of realism. One strap is even included on the top hatch. Be sure to glue it at a downward angle as the straps are flexible and would stick straight out when the hatch is open. The hatch is movable if you want, but I usually glue my doors and hatches in place as they are delicate and can easily break if you open and close them a few times.
Red-blooded American males. They love their posters of hot women. So I wanted to put in a couple of posters. This one is Christina Aguilera from her album "Stripped," which came out in 2002. I wanted to make sure I got something that would have been current for that timeframe.
Another poster, this one is Jennifer Love Hewitt from 2003. Not the ice chast with dronks in it. To simulate ice I put in granulated sugar and put some clear gorilla glue over that. It holds the bottle in place and it have a good effect like a lot of melting ice and water. This shot is also one of the better shots at showing the actual color of the build.

Kilroy is still here! I used a white colored pencil to do the writing.
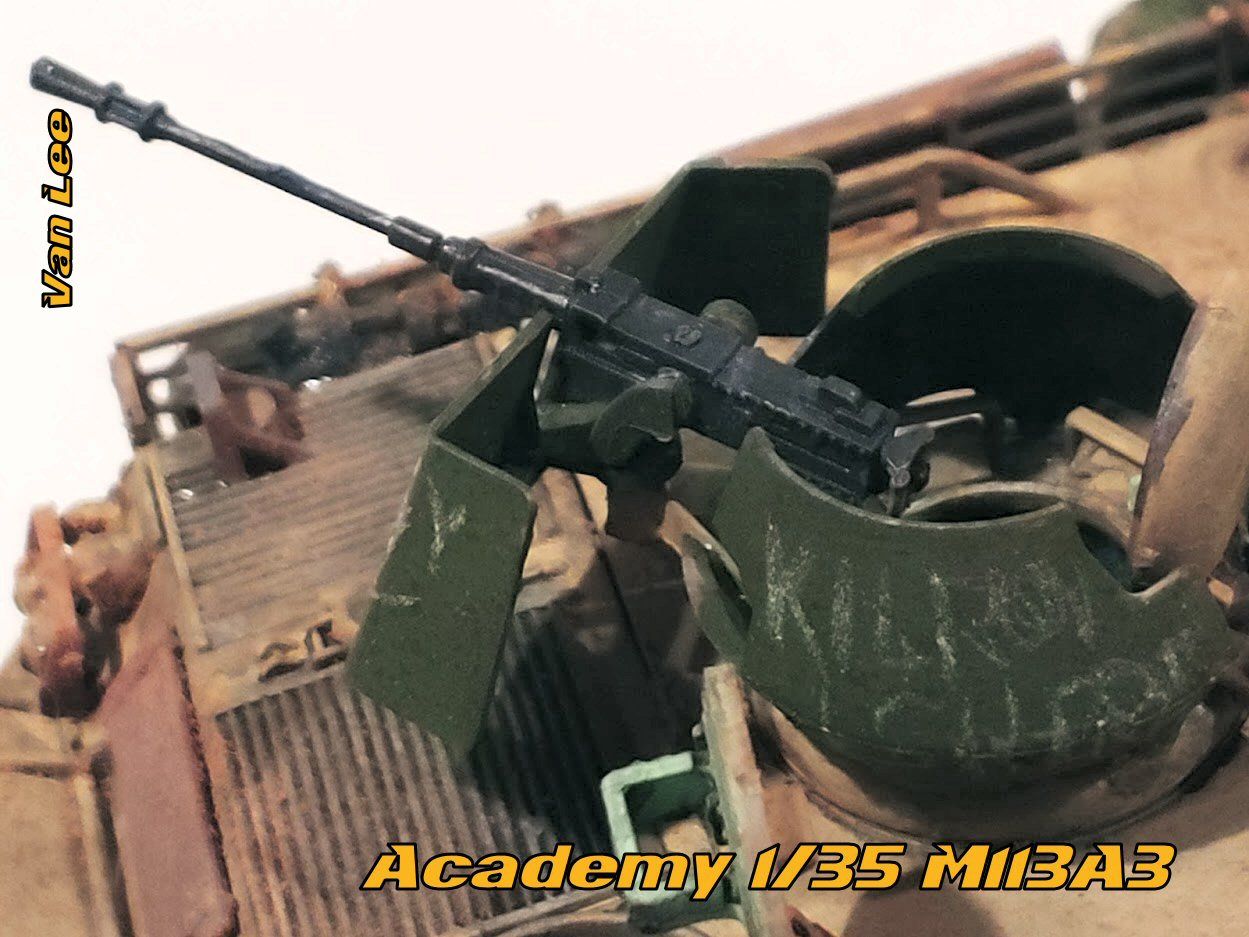
Close up of the machine gun. Fairly nice detail for an OOB gun. I painted it charcoal and then did a wash of midnight blue over it to try and give it more of a gunmetal look.
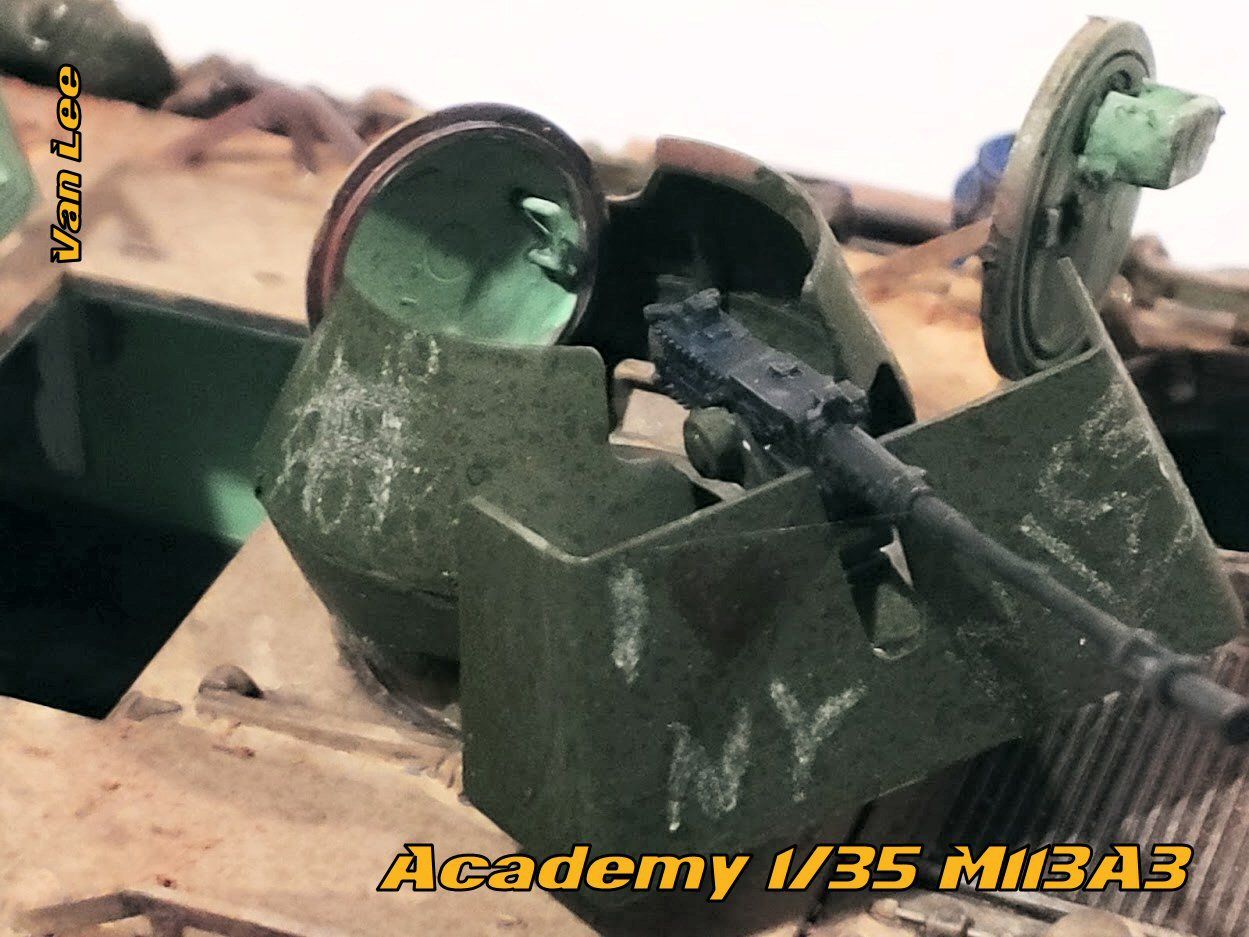
I wanted to put some graffiti on both sides of the bucket. Wasn't sure what to put, so I attempted to make a tic-tac-toe drawing. You can almost see a hint of it in there, but it really looks more like a jumbled mess of scratch marks.
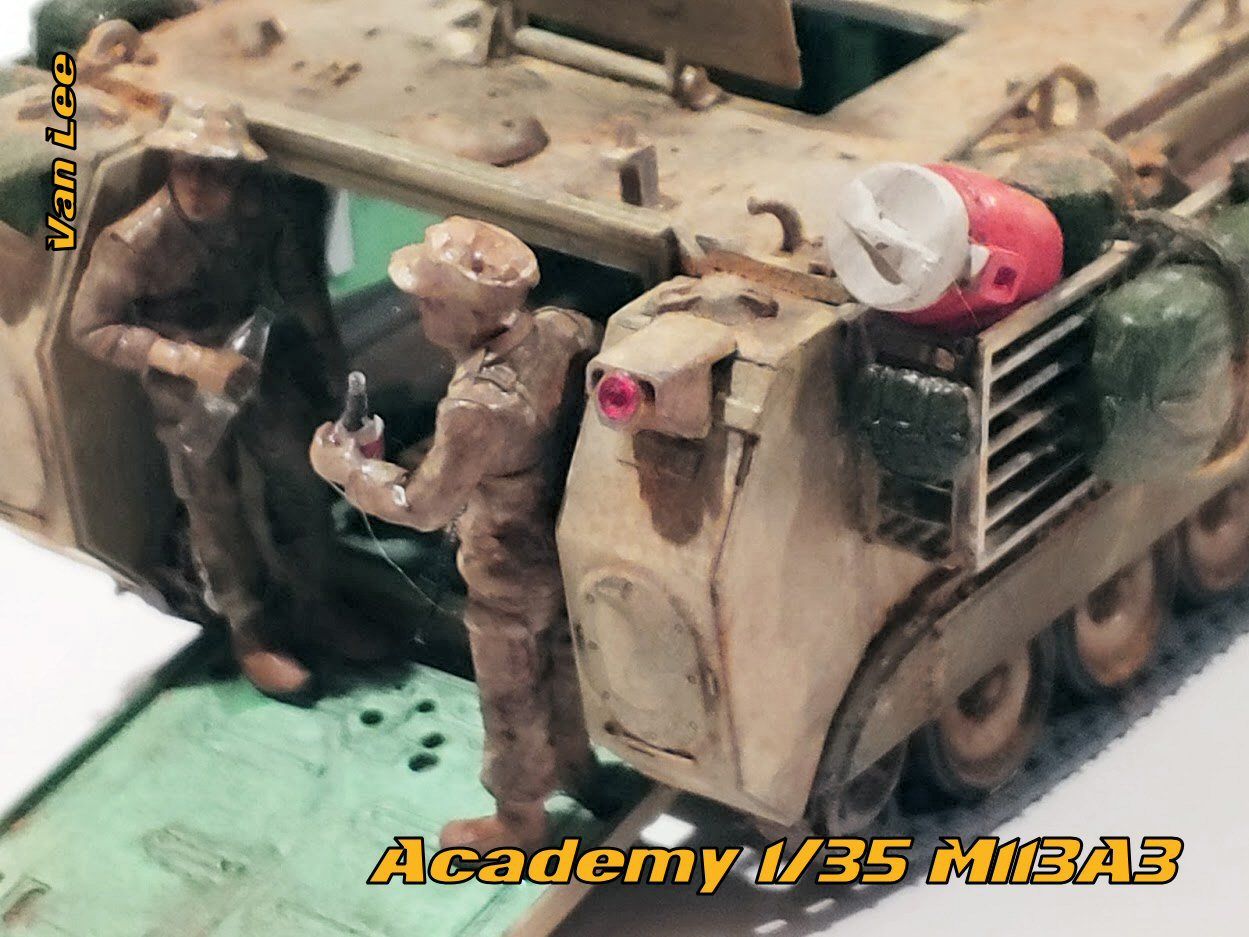
The tail lights are red beads. Yeah, still too shiny on the soldiers, I still need to go back and spray them with a matte finish. I like the way they were make though, each to make it look like they are relaxing a bit. Put two of the bottle that came with the kit to good use here, though the label is loose on the guy on the right. I will have to go back with a dab of glue to tack it down.
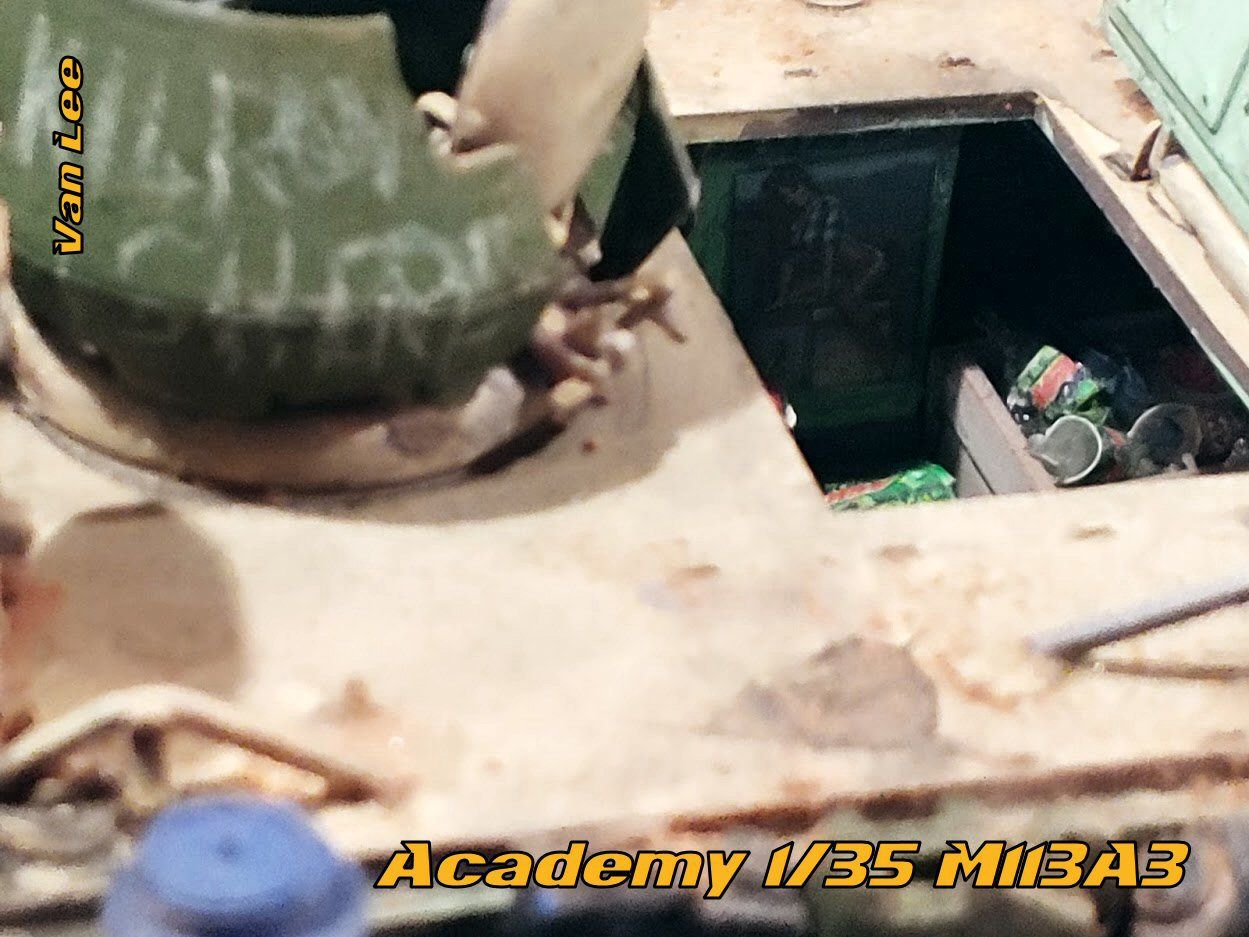
You can see the ice chest on the bench right insie.
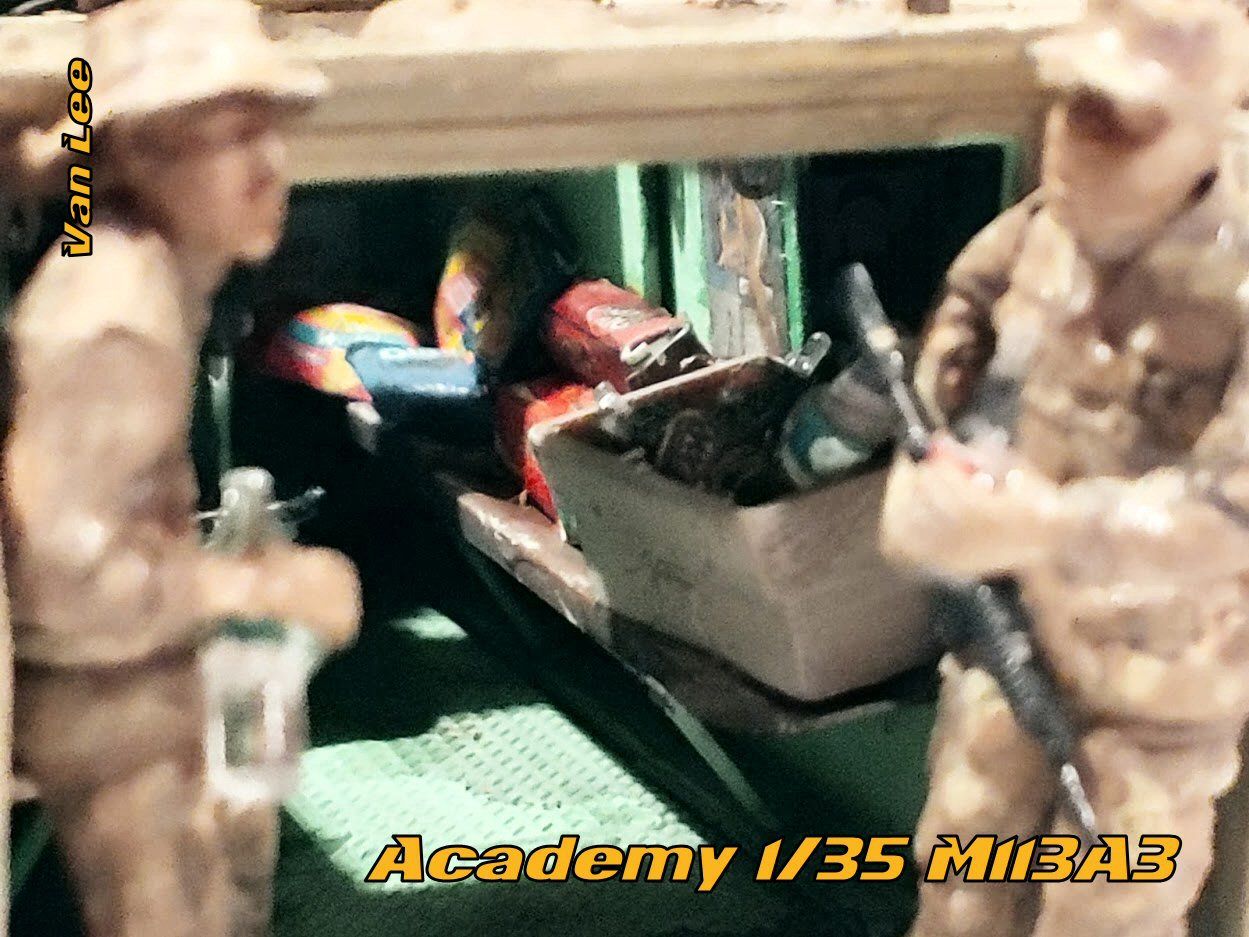
The old adage is "an army travels on its stomach." So yeah, there are snacks. Chips, cookies, drink packs town open and used. Behind the storage door there are some MRE boxes also. Can't survive all on junk food!
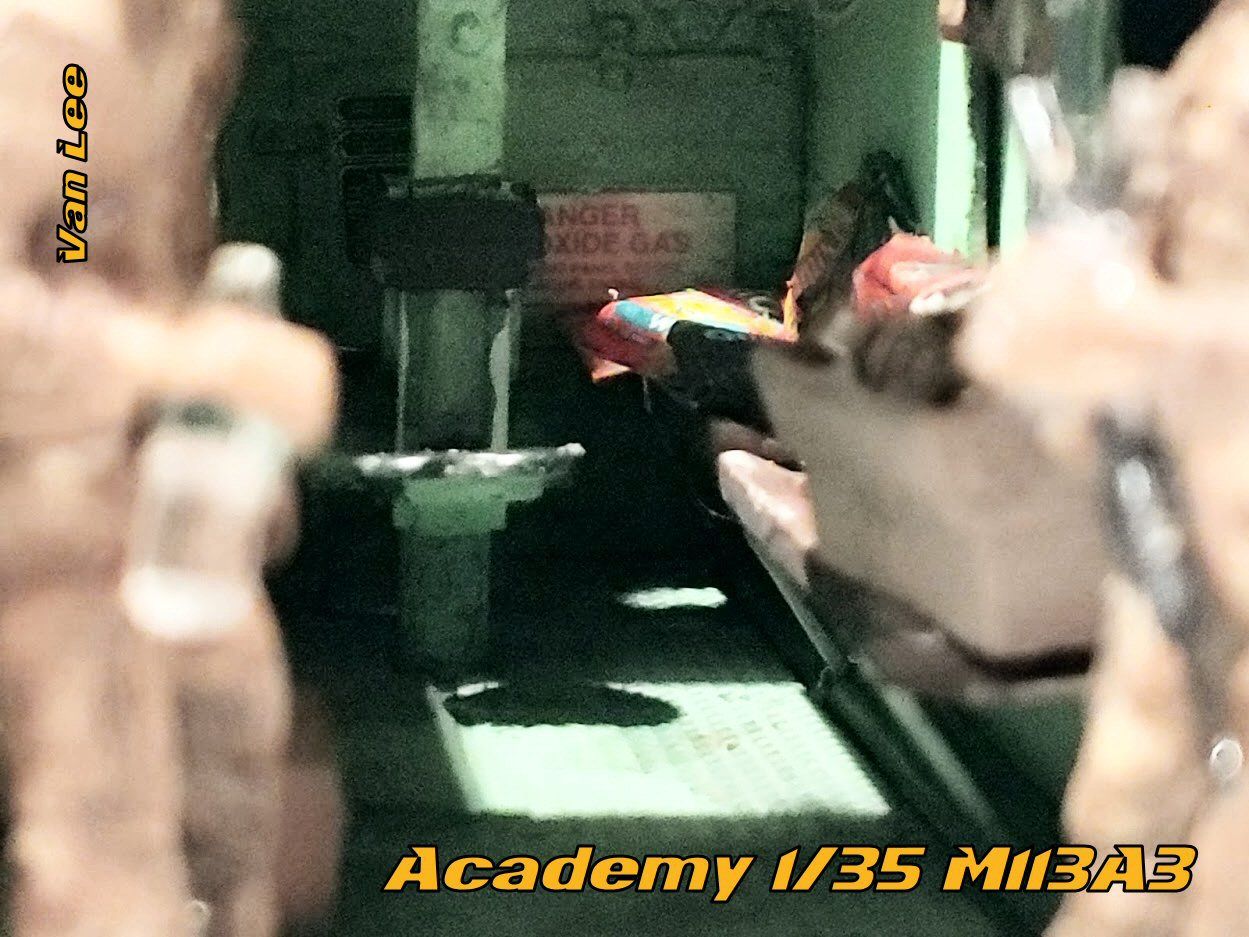
Just a shot of the interior. Did a gray wash over everything to give it a work and well-used look. Very thin wash though so the black didn't overpower everything.
This one shows the straps hanging. There were a total of 12 straps, 11 hanging here from the ceiling and one from the top hatch.

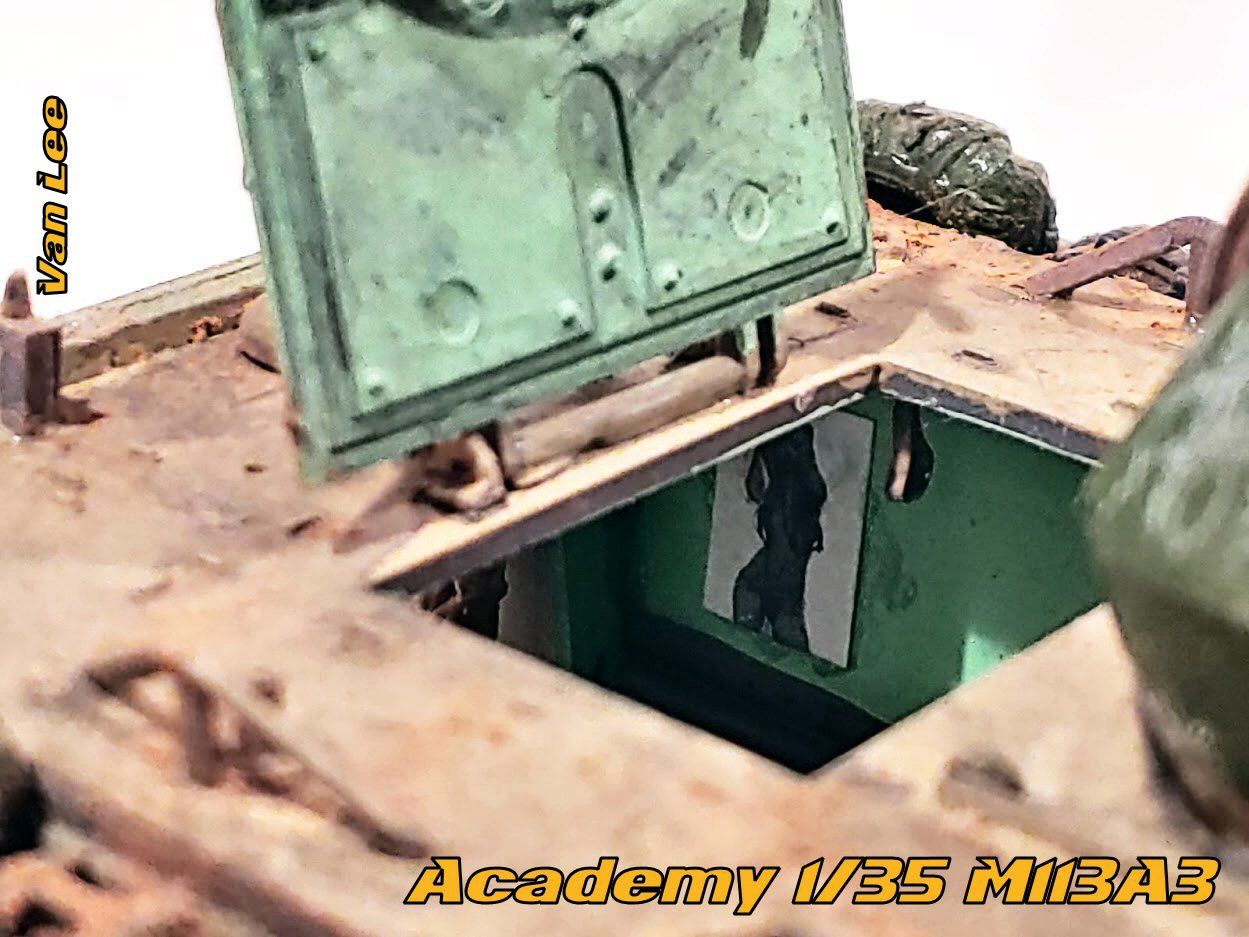
A view of the interior while it was still open. The map is actually a WW2 map, but I liked the way it looked, like a city map, so I figured it would be good to use for the build. If you look on the near side, you can also see some MREs, proof that they weren't just living on junk food!

More clear image of Christina. You can see the diamond bright floor pretty good. I tried to replicate some grease/oil stains along with some worn paint. I feel that I managed to replicate the look to a large degree.
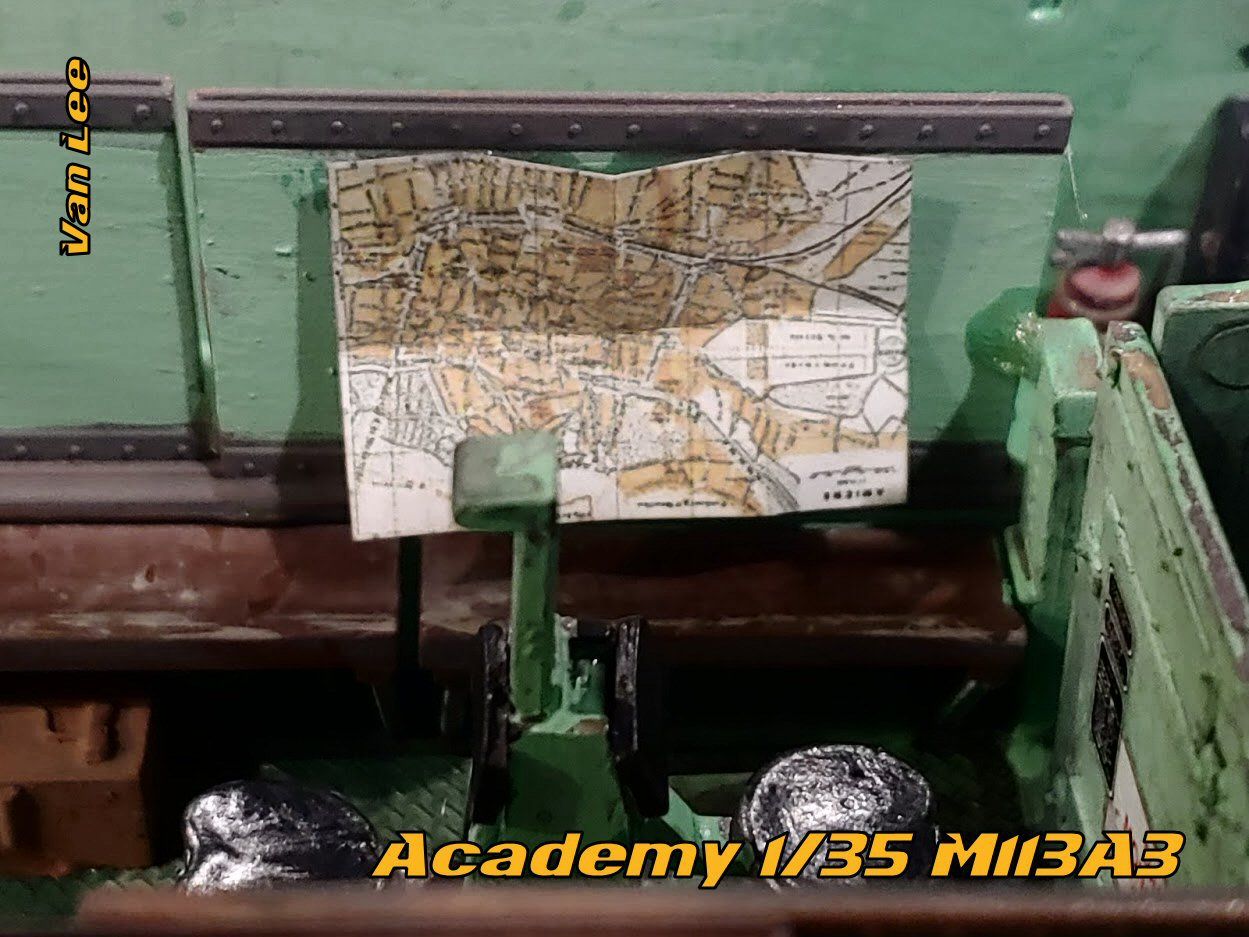
A better view of the map.
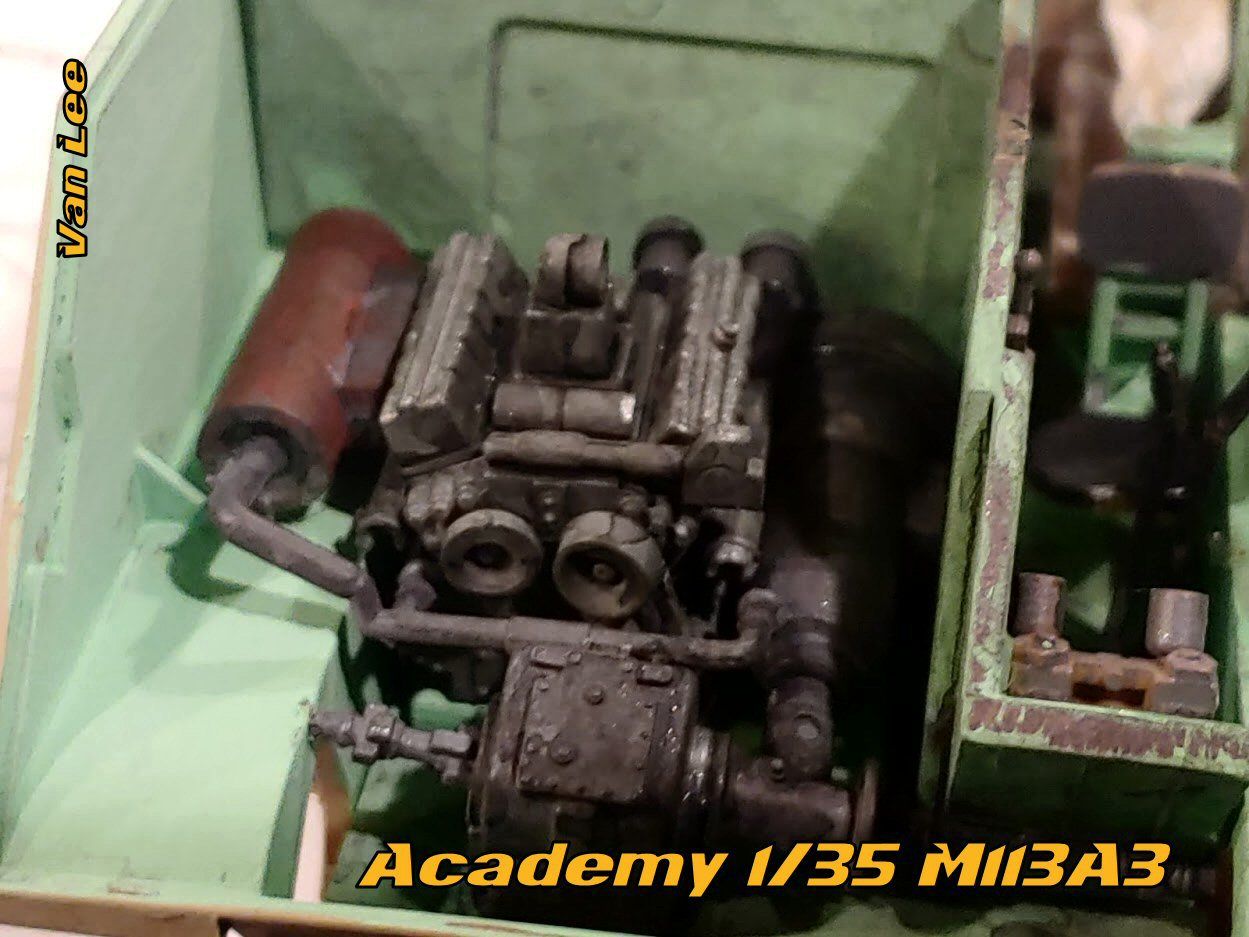
A close up of the engine. Grimy for sure.
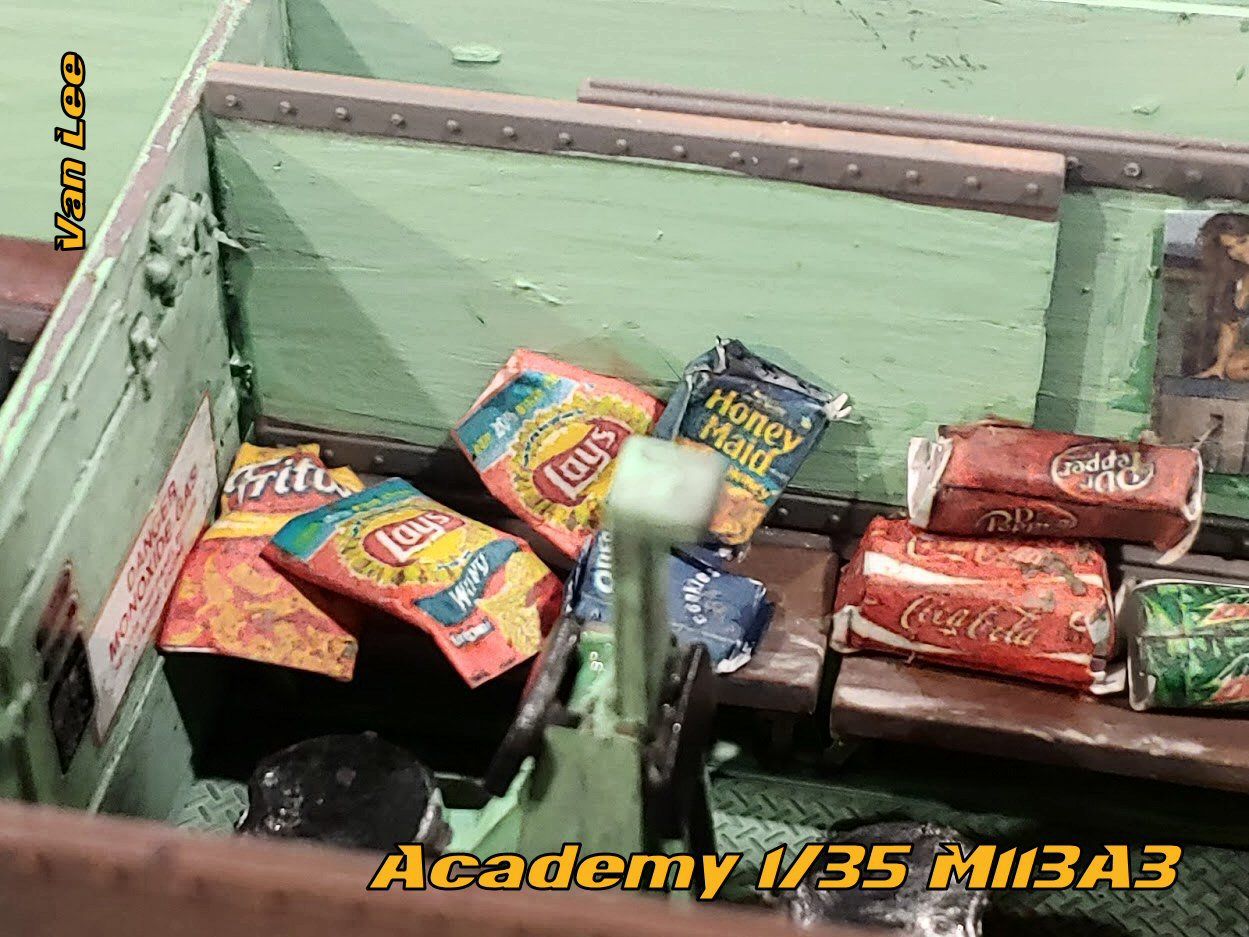
The snacks. The chips turned out pretty good. Those are easy, glue the bottom and sides closed, insert something for filler in the top and glue it shut. While the glue is still wet, you can bend and fold the bags to give them a more natural look. Not the Lays bag right in the center, you can leave it unglued and just crinkle it to make it look like it is a bad that has been opened. The Oreos and graham crackers are slightly crushed to simulate them being torn open and the boxes being banged around. The code boxes have just been ripped open. You can print this stuff out yourself. If you want it to look sealer and pristine, you can drape the printouts around something solid. If you want them to have an opened and used look, just leave them empty and fold the paper.

A broader look at the diamond bright floor. I painted the two seats charcoal and then highlighted it with aluminum paint.
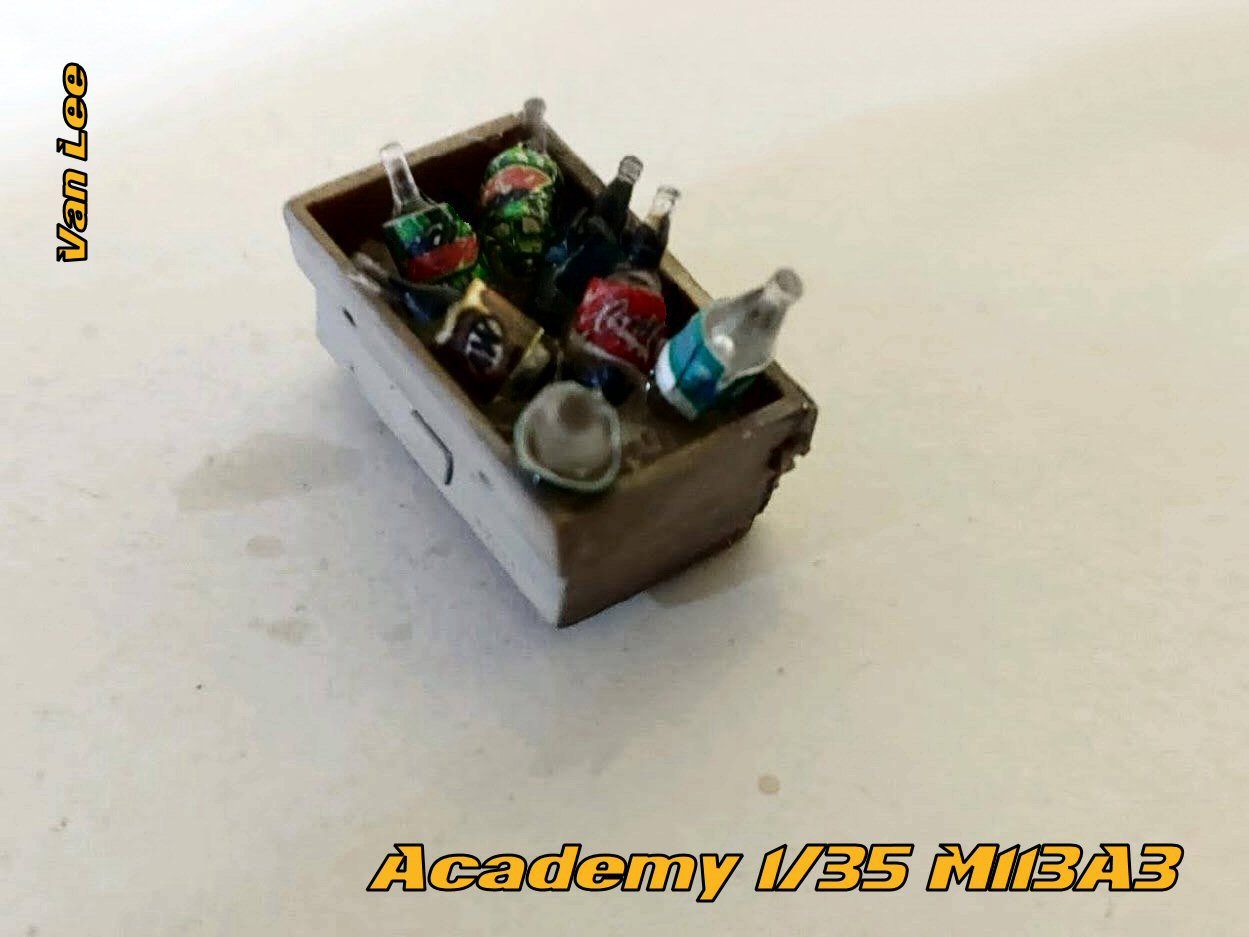
This was just an experiment. I printed out drink labels and glued them to the bottles. I just used white glue and it really didn't want to work that well. Still, in the manner in which it is displayed it came out OK and inside the vehicle it isn't really noticeable that the labels are loose. Next time I try something like that I will use super glue to get a quicker and better hold on the labels. Still, I have a crappy ink-jet printer, I am just happy that you can tell what the drinks are. So it wasn't all bad.
Overall, this was a very enjoyable build. I hear mixed opinions on Academy, but I have really had good luck with their kits and it isn't a brand that I would shy away from. This particular kit is among the best of this vehicle on the market. Great fit, clear instructions, and a few options in parts to change out to something else if you want. I highly recommend this kit.