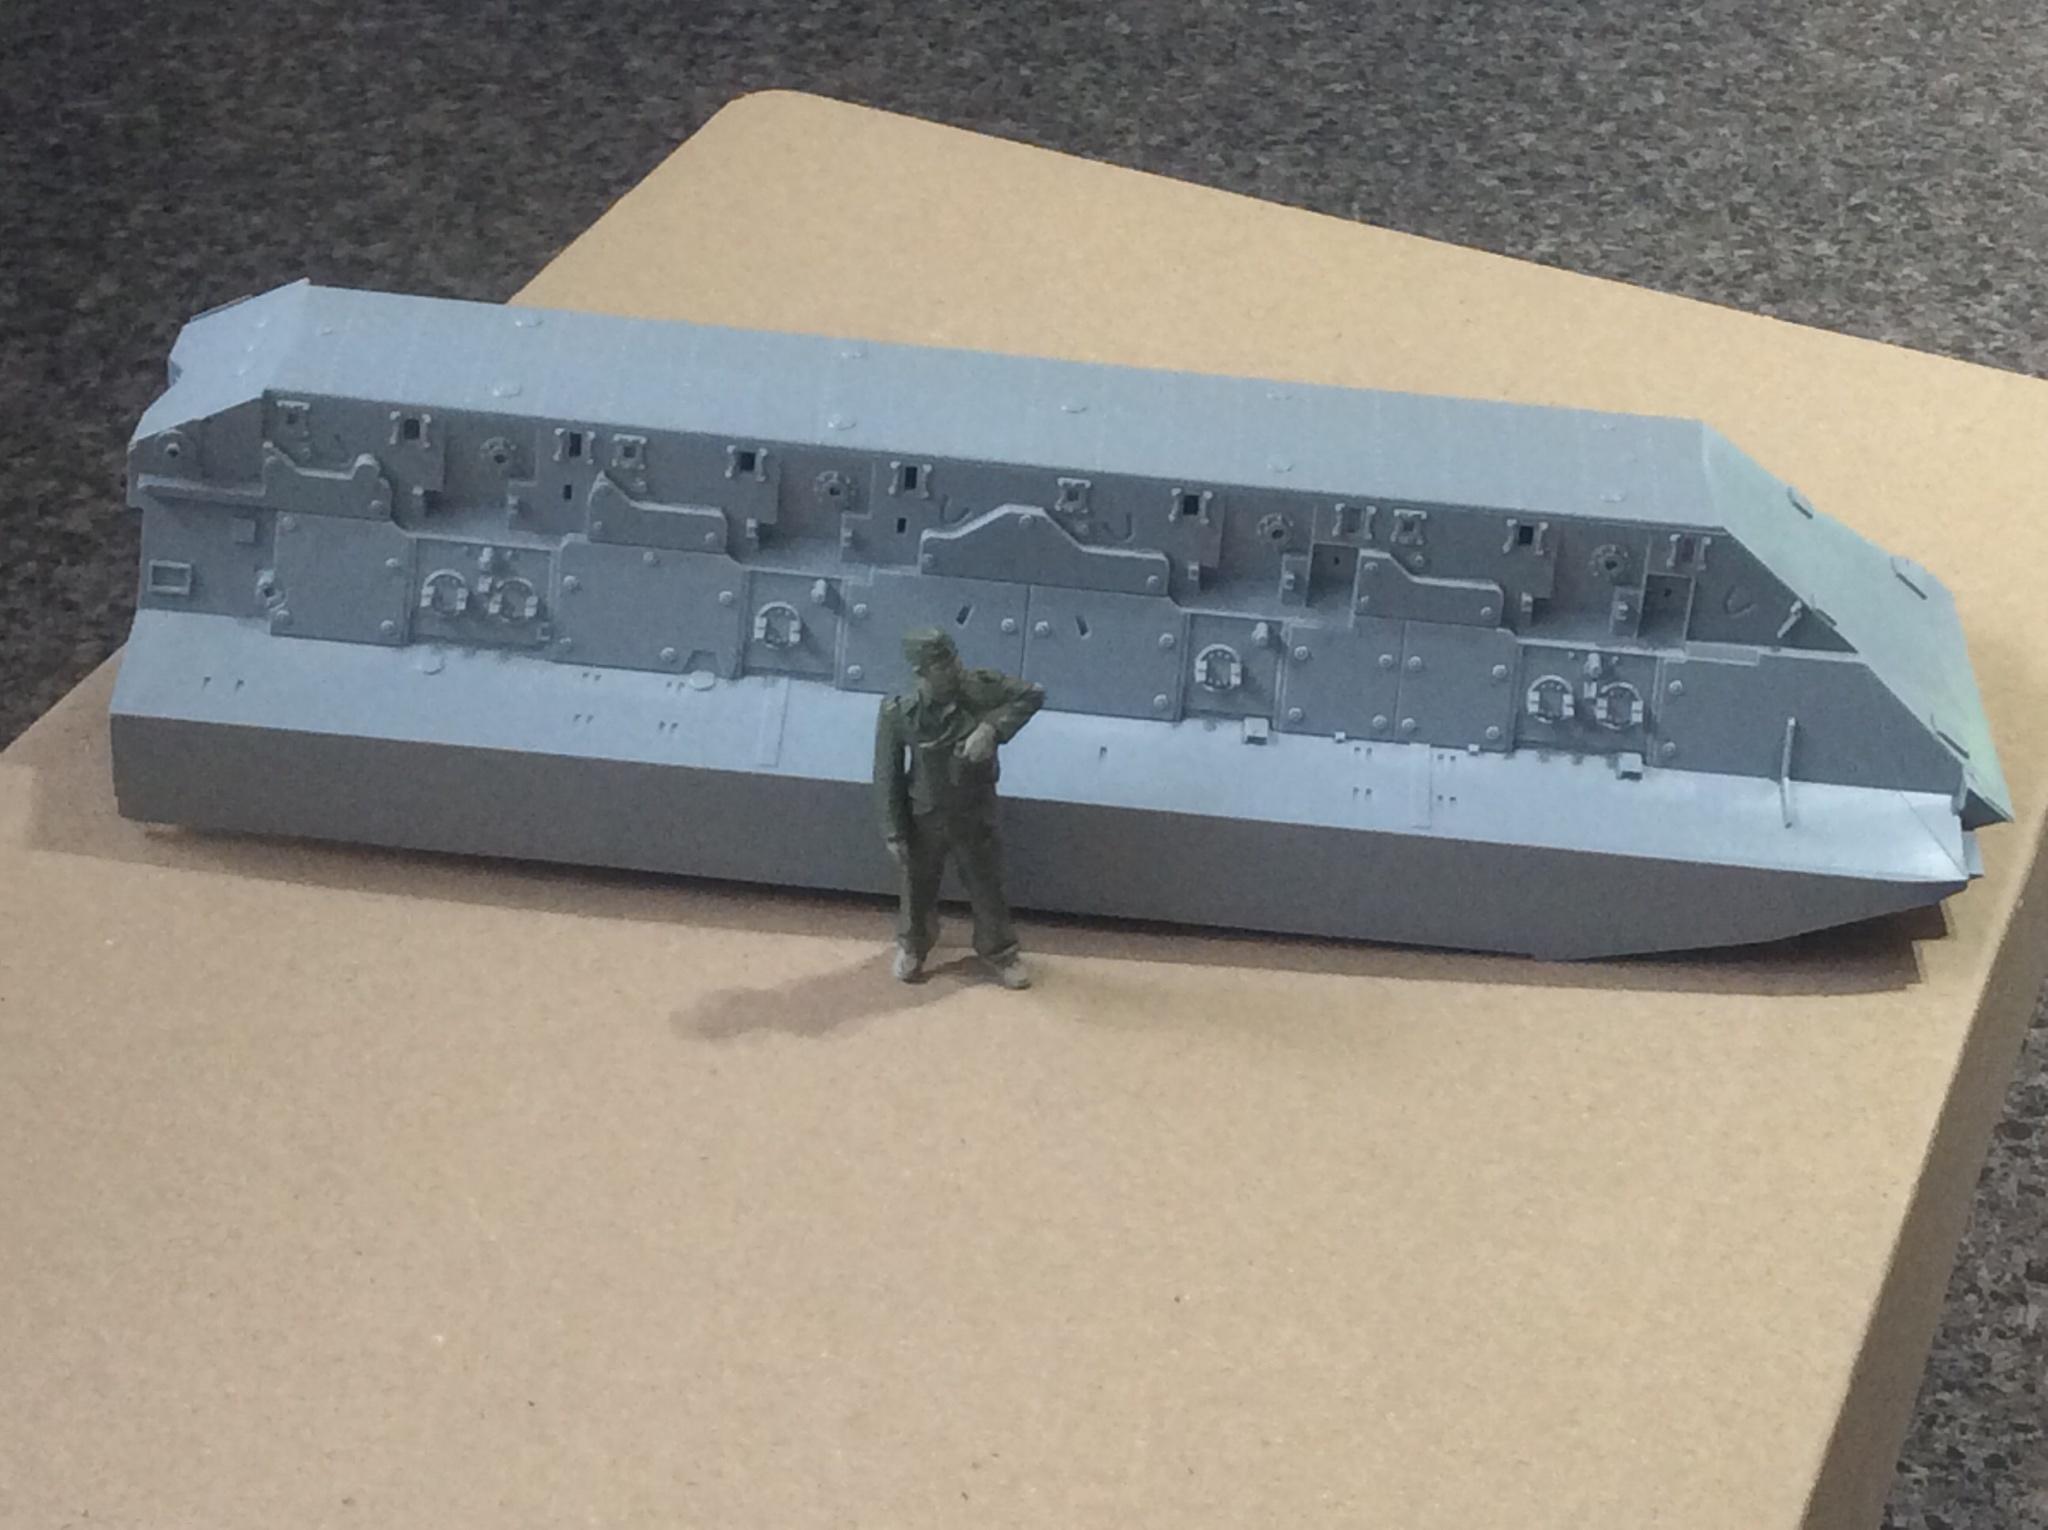
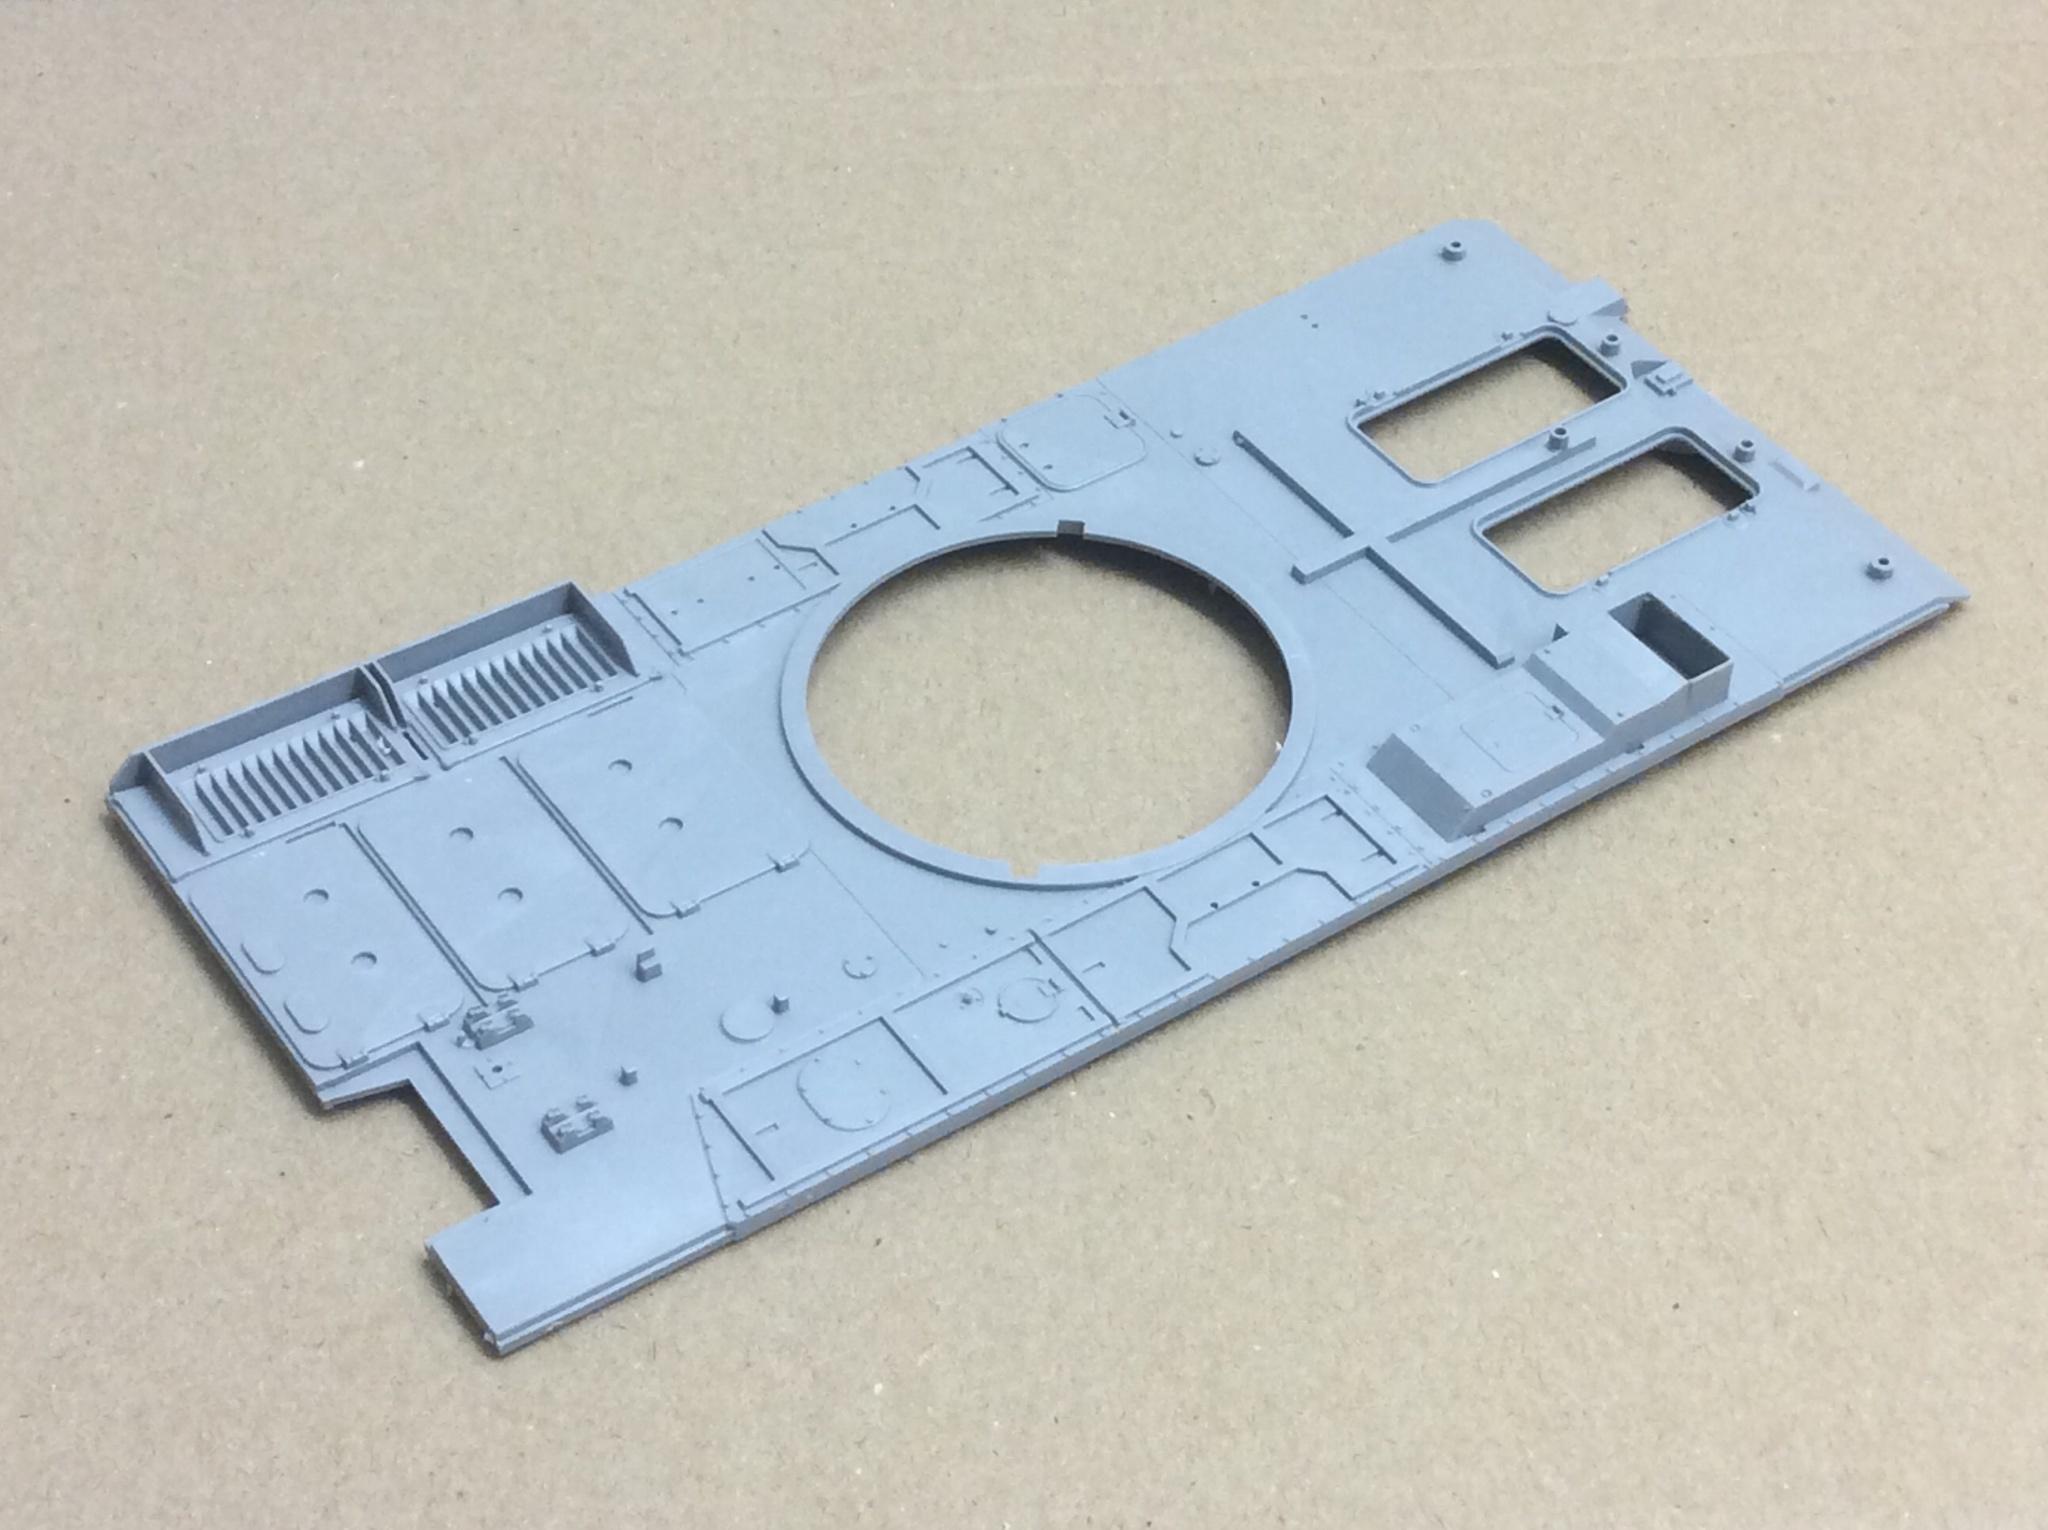
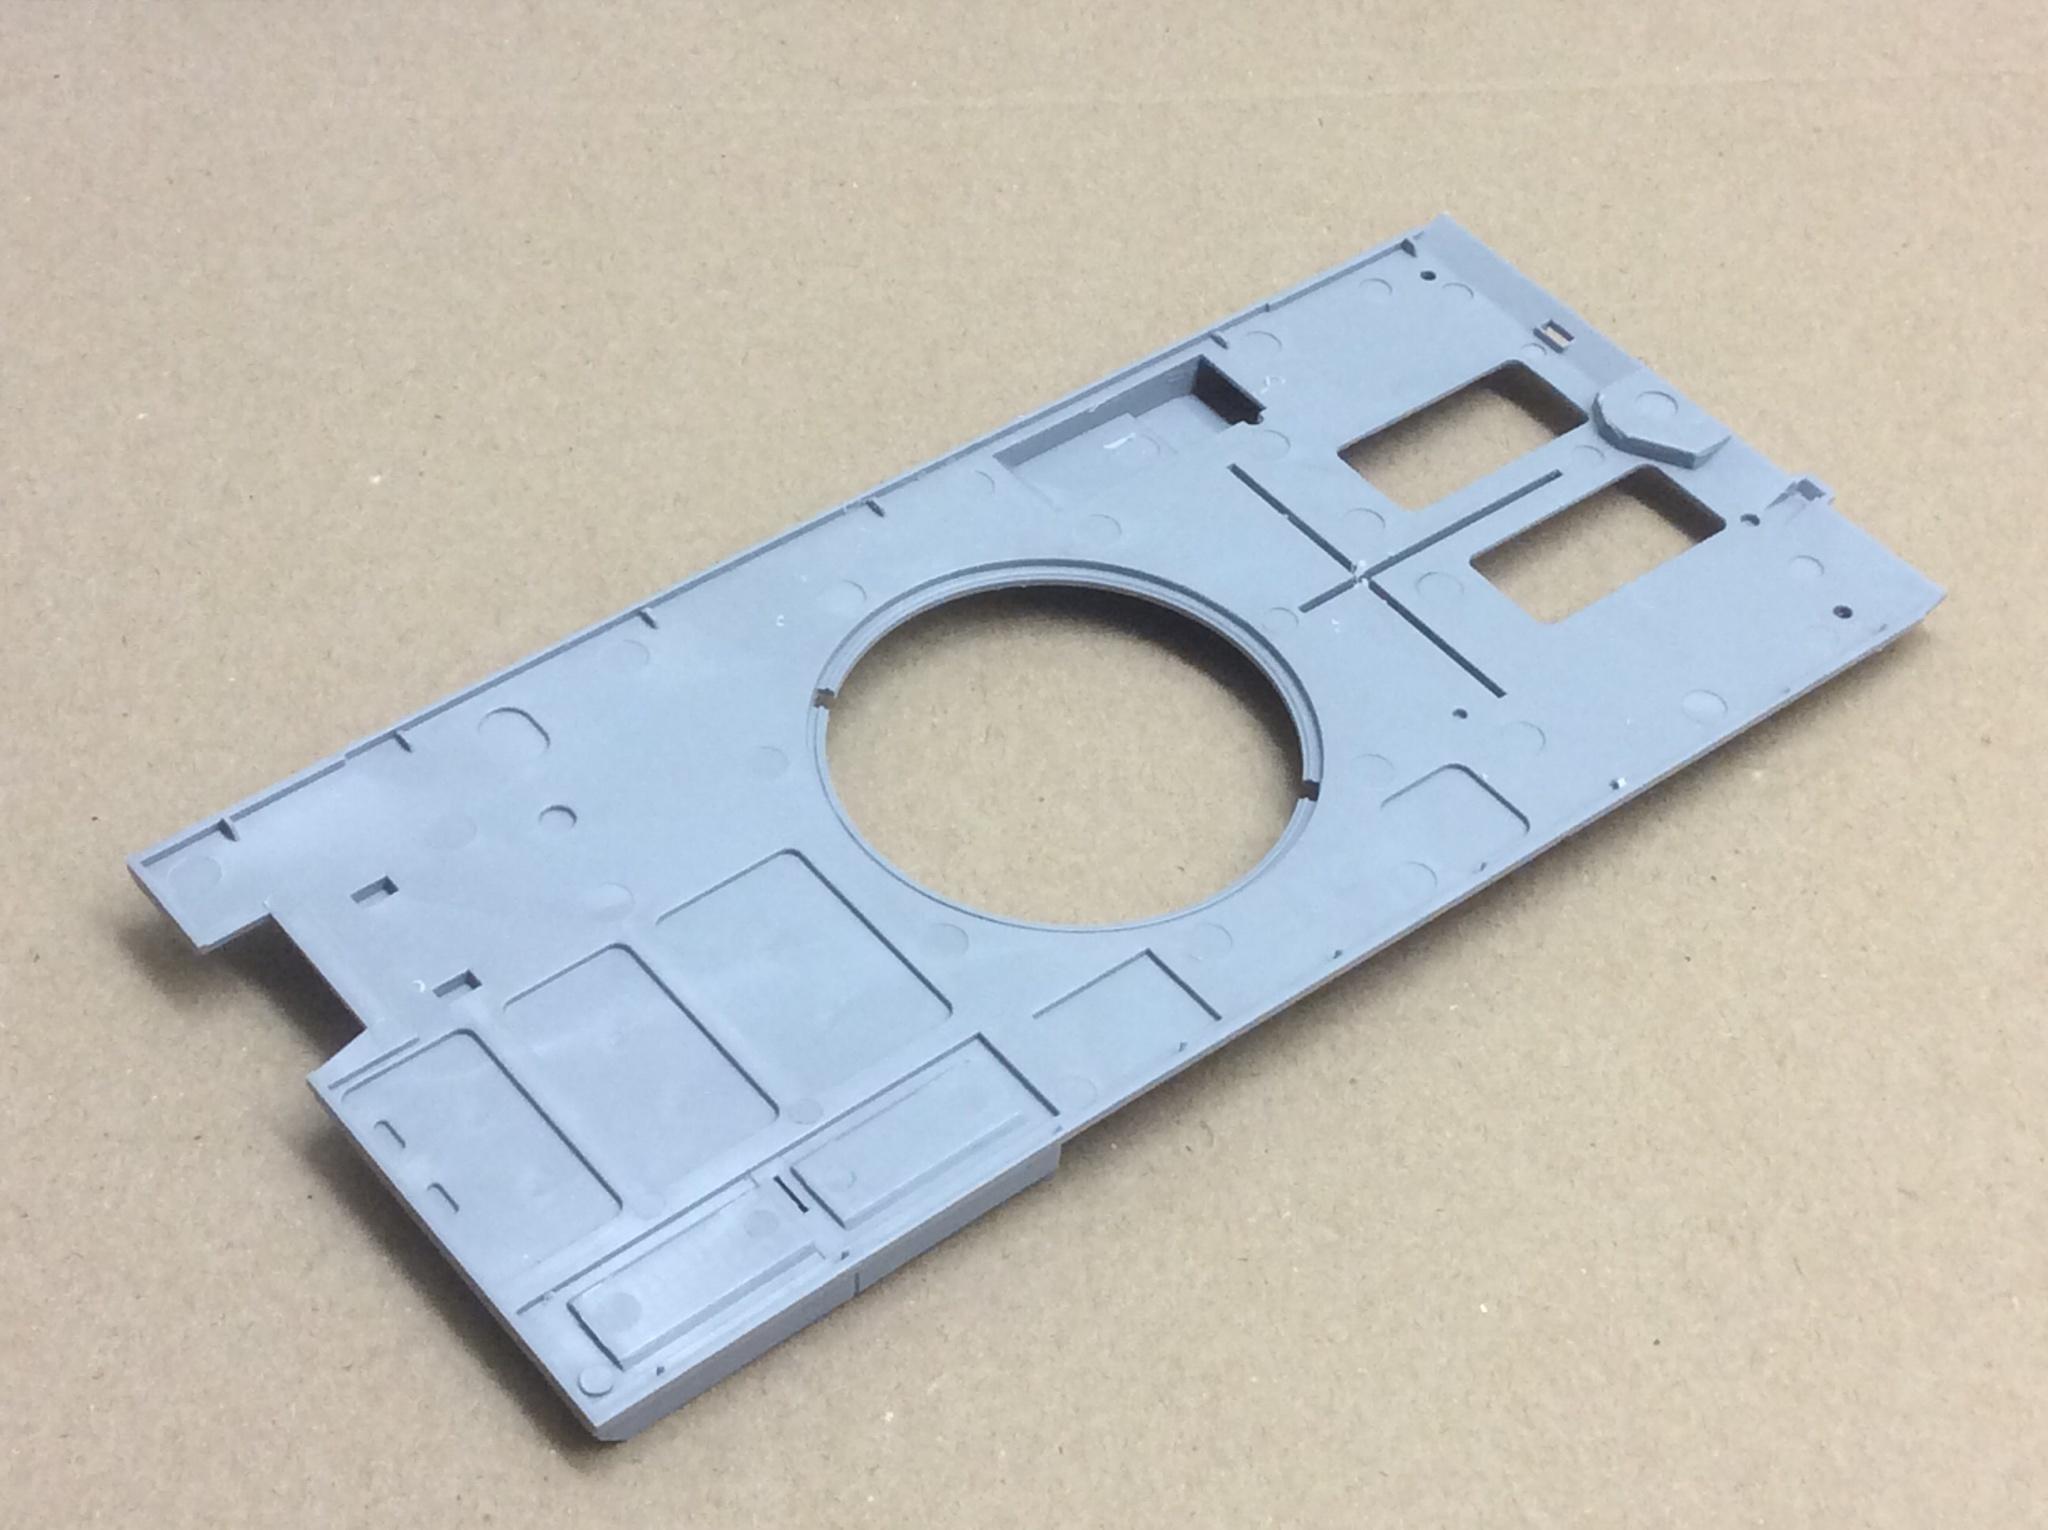
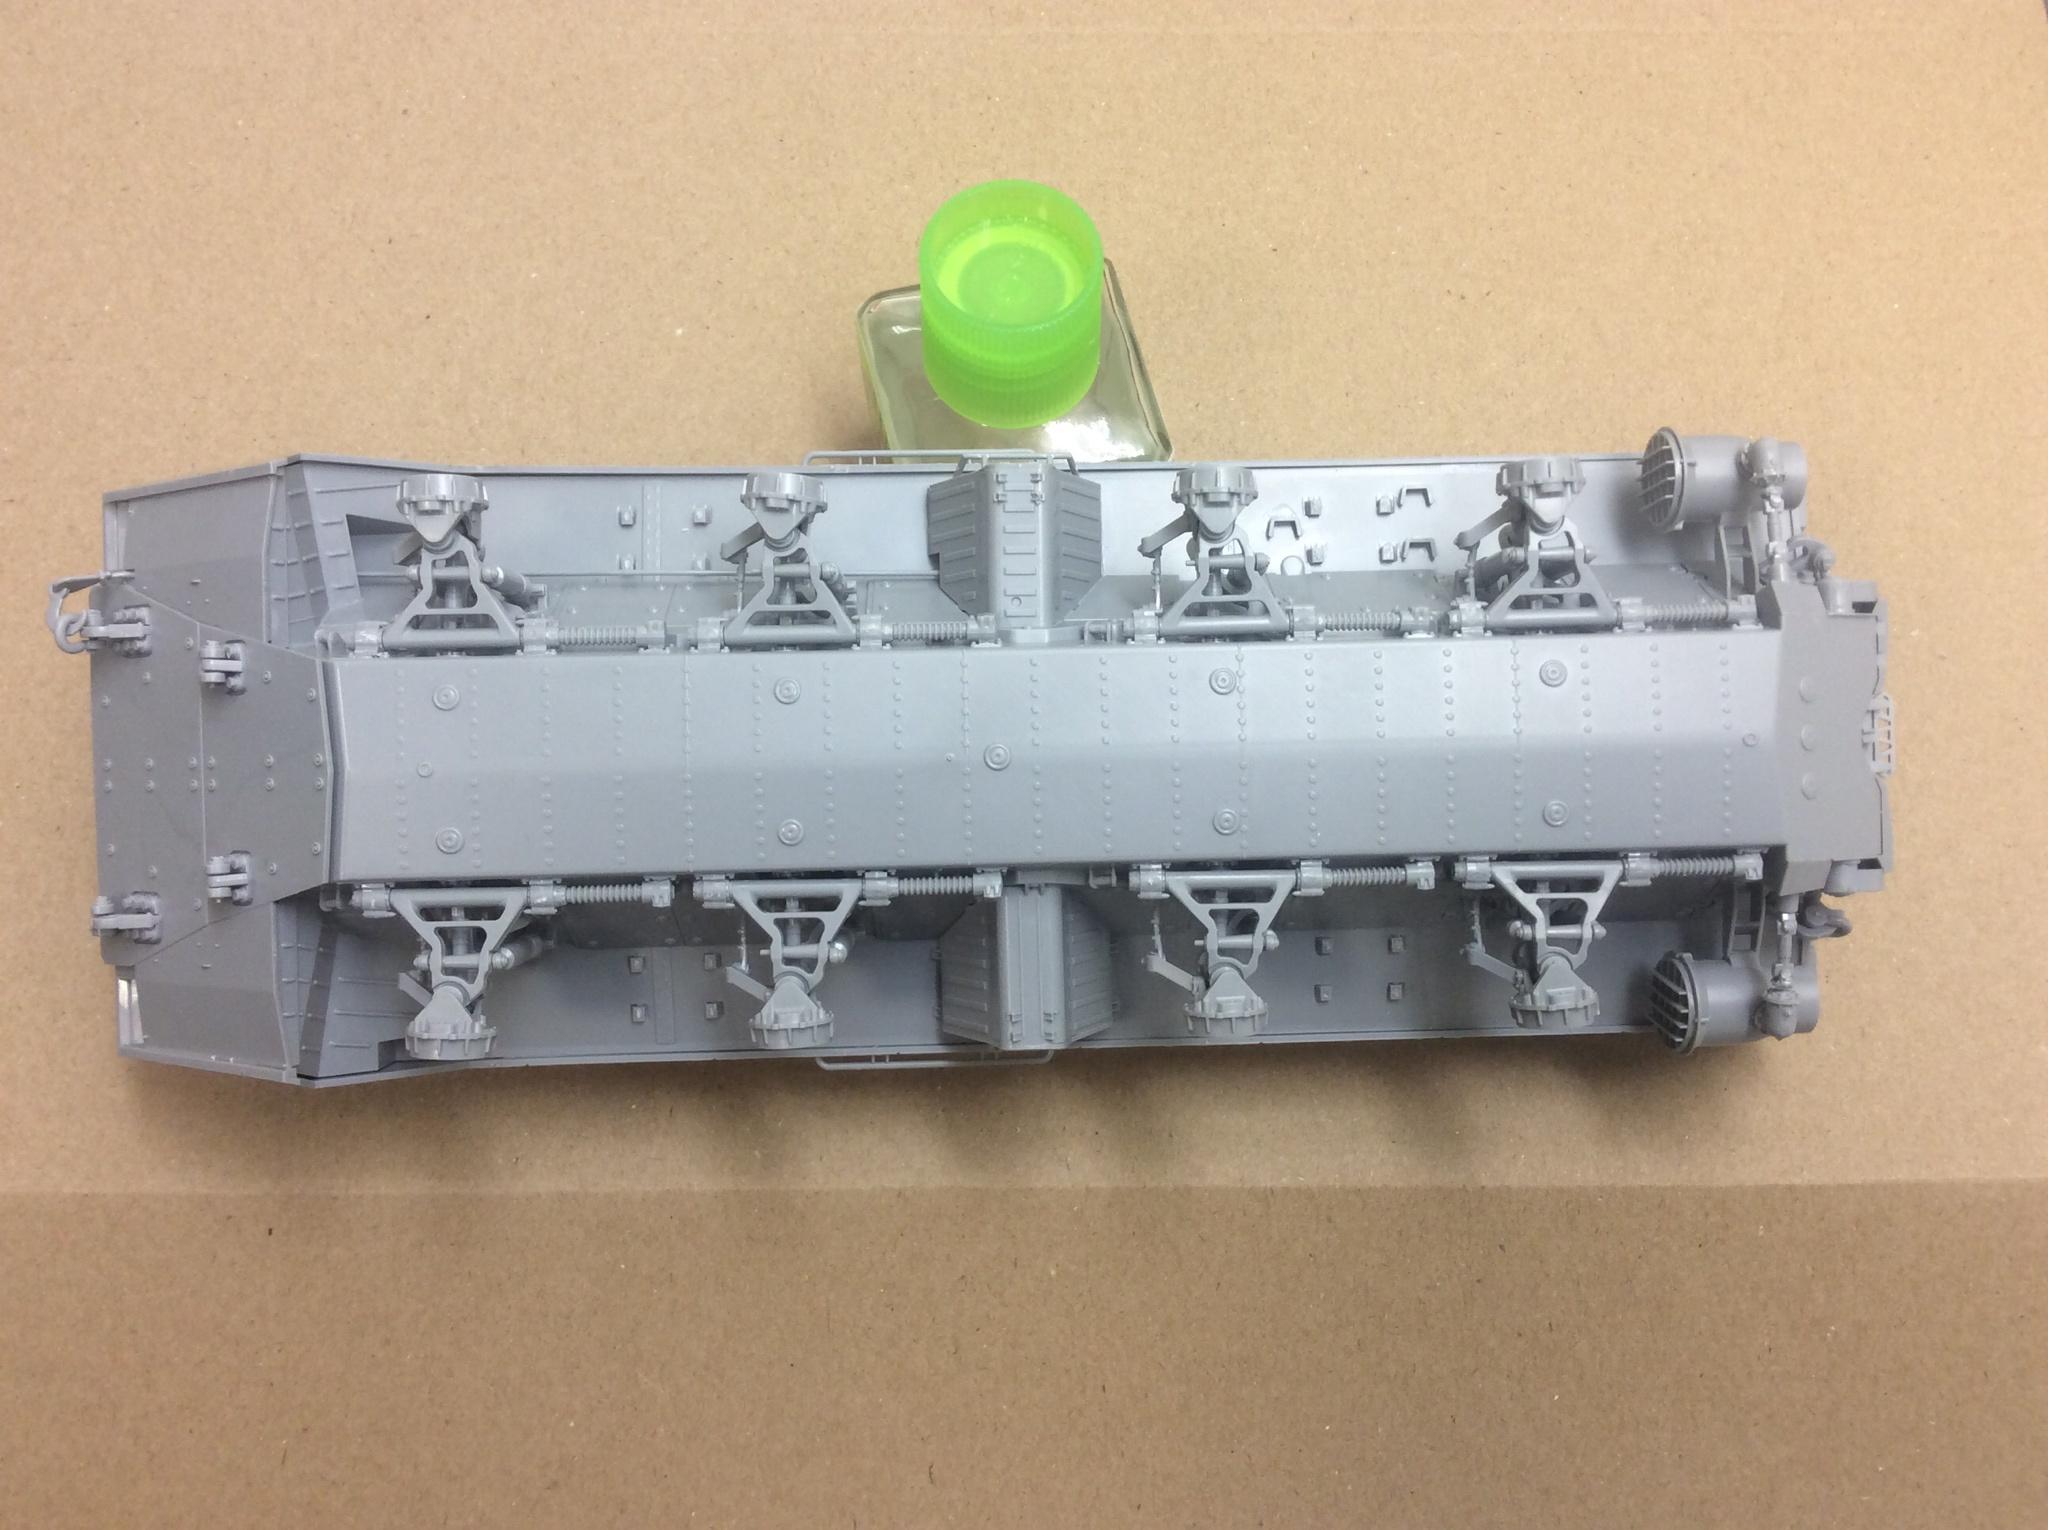
Some construction notes at about this time would be helpful
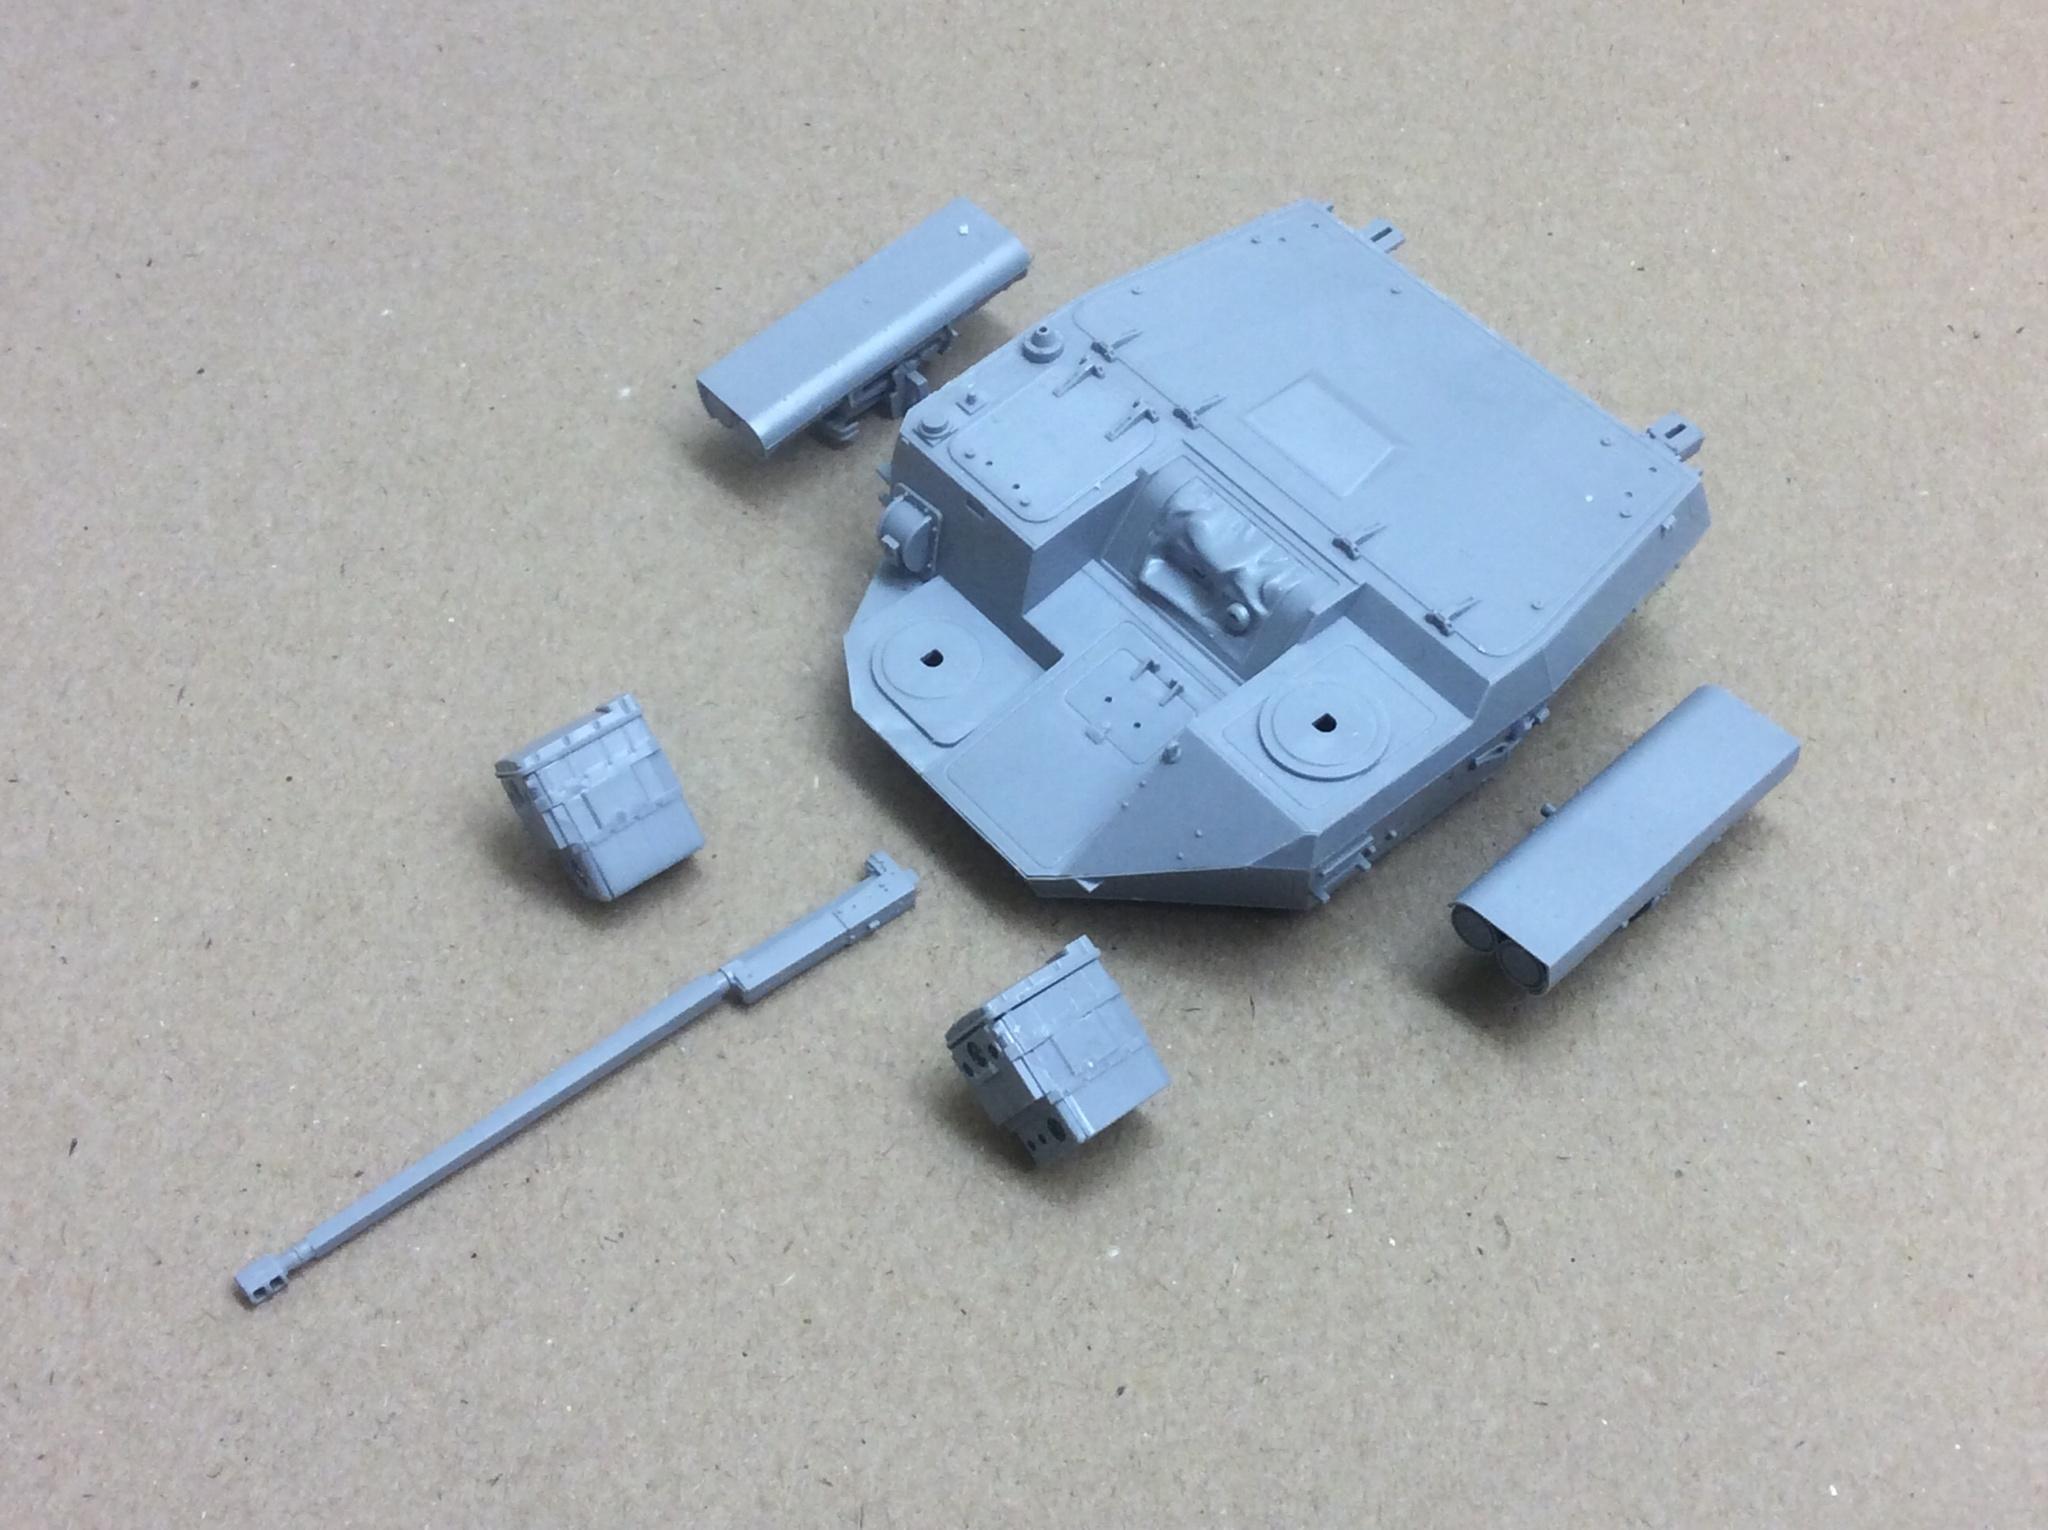
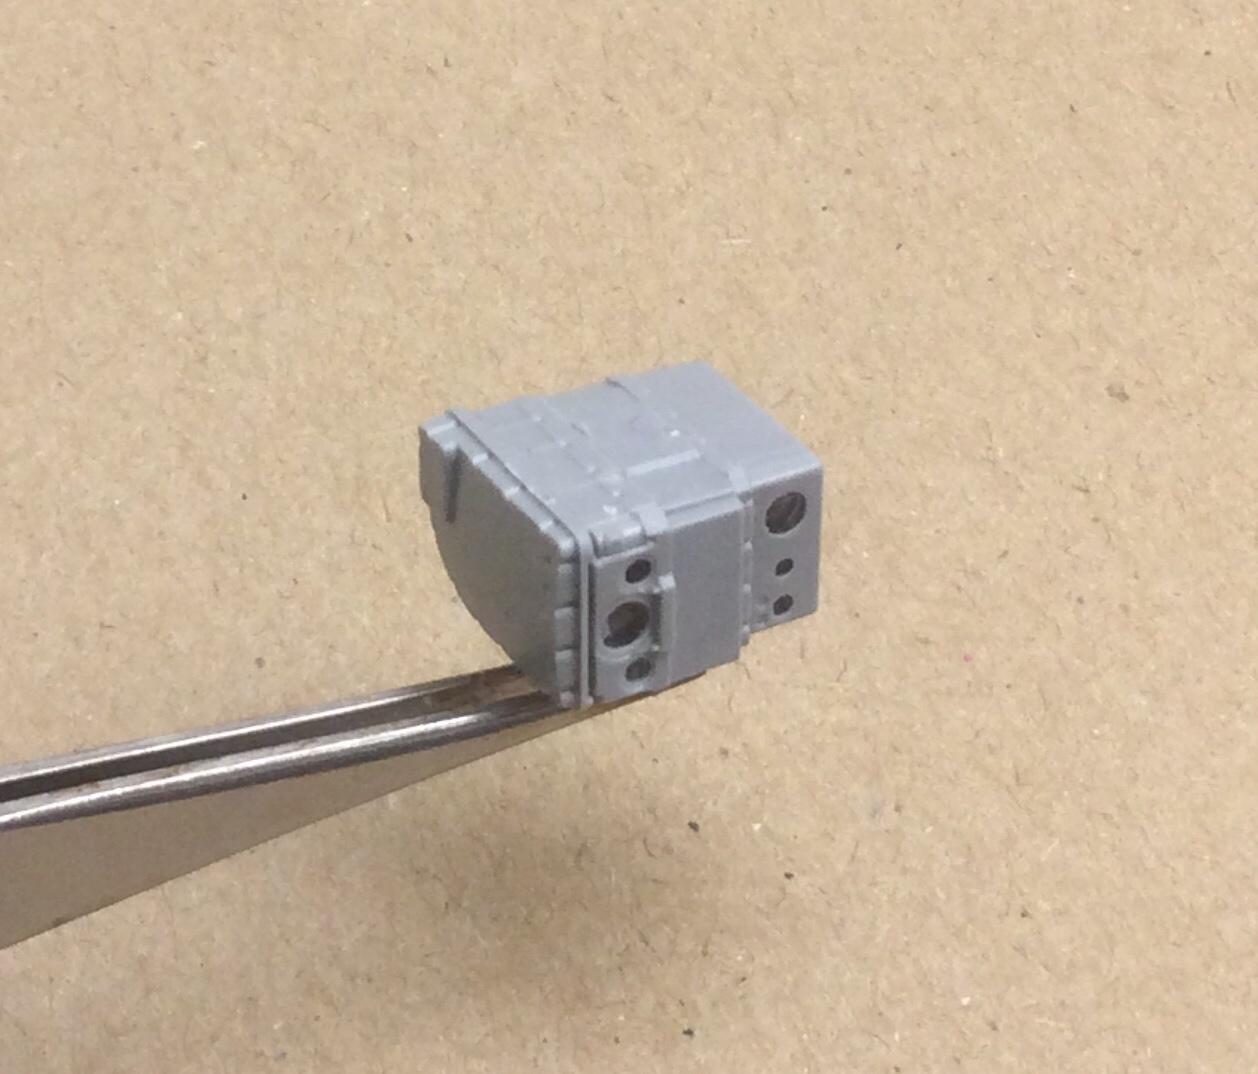
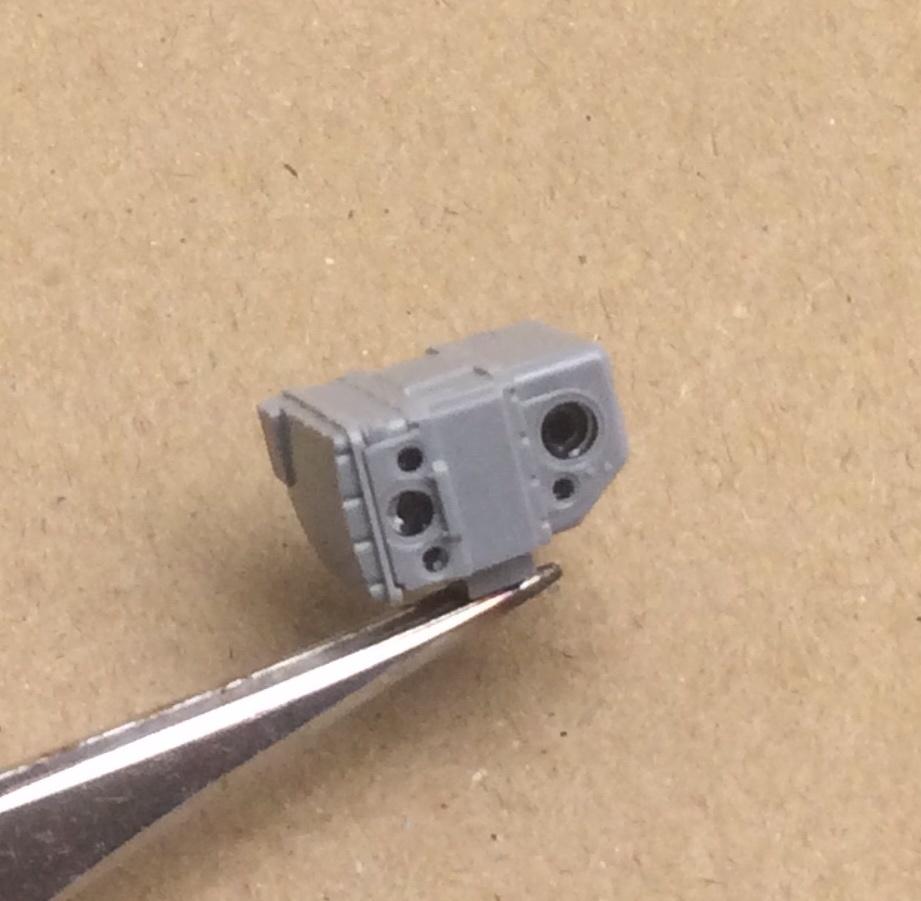
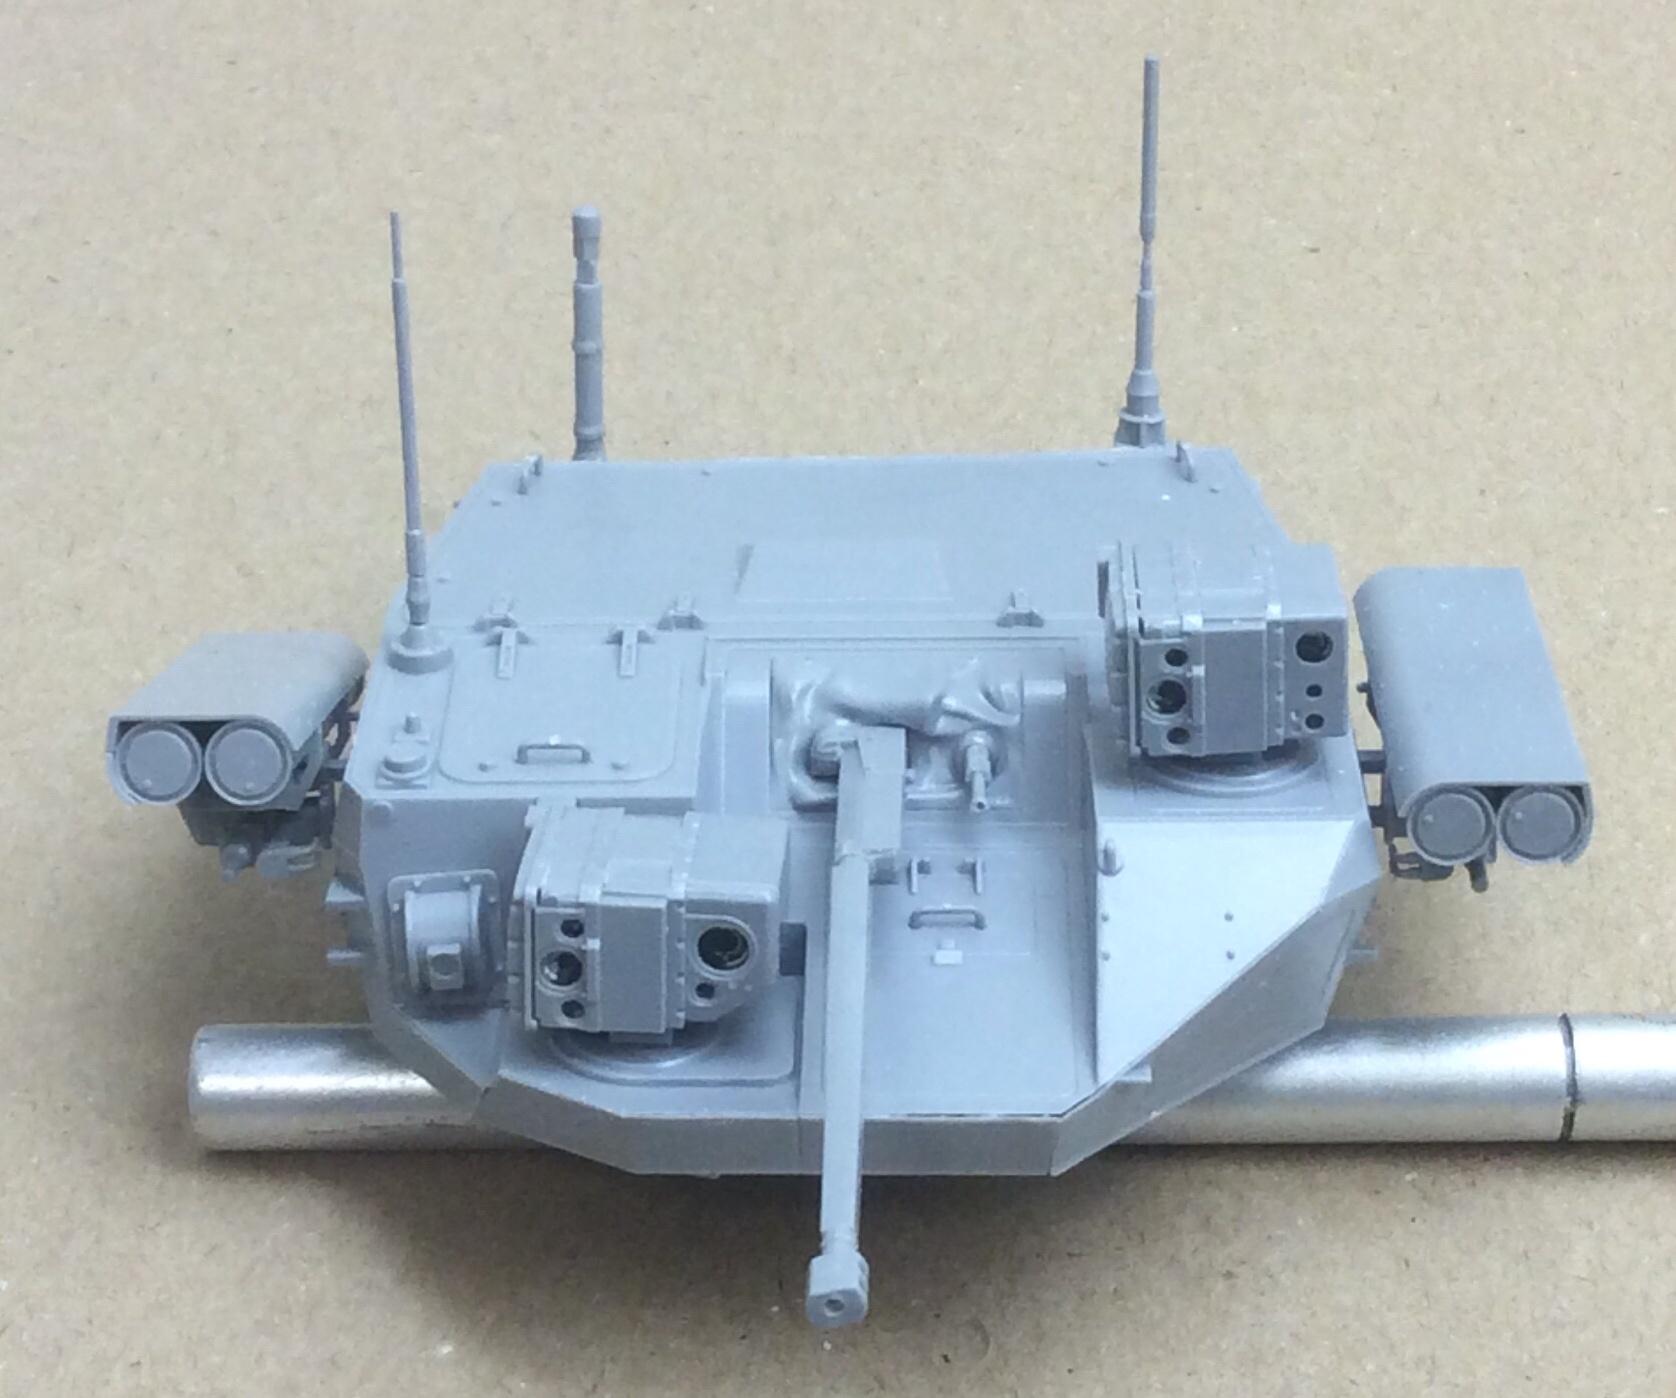
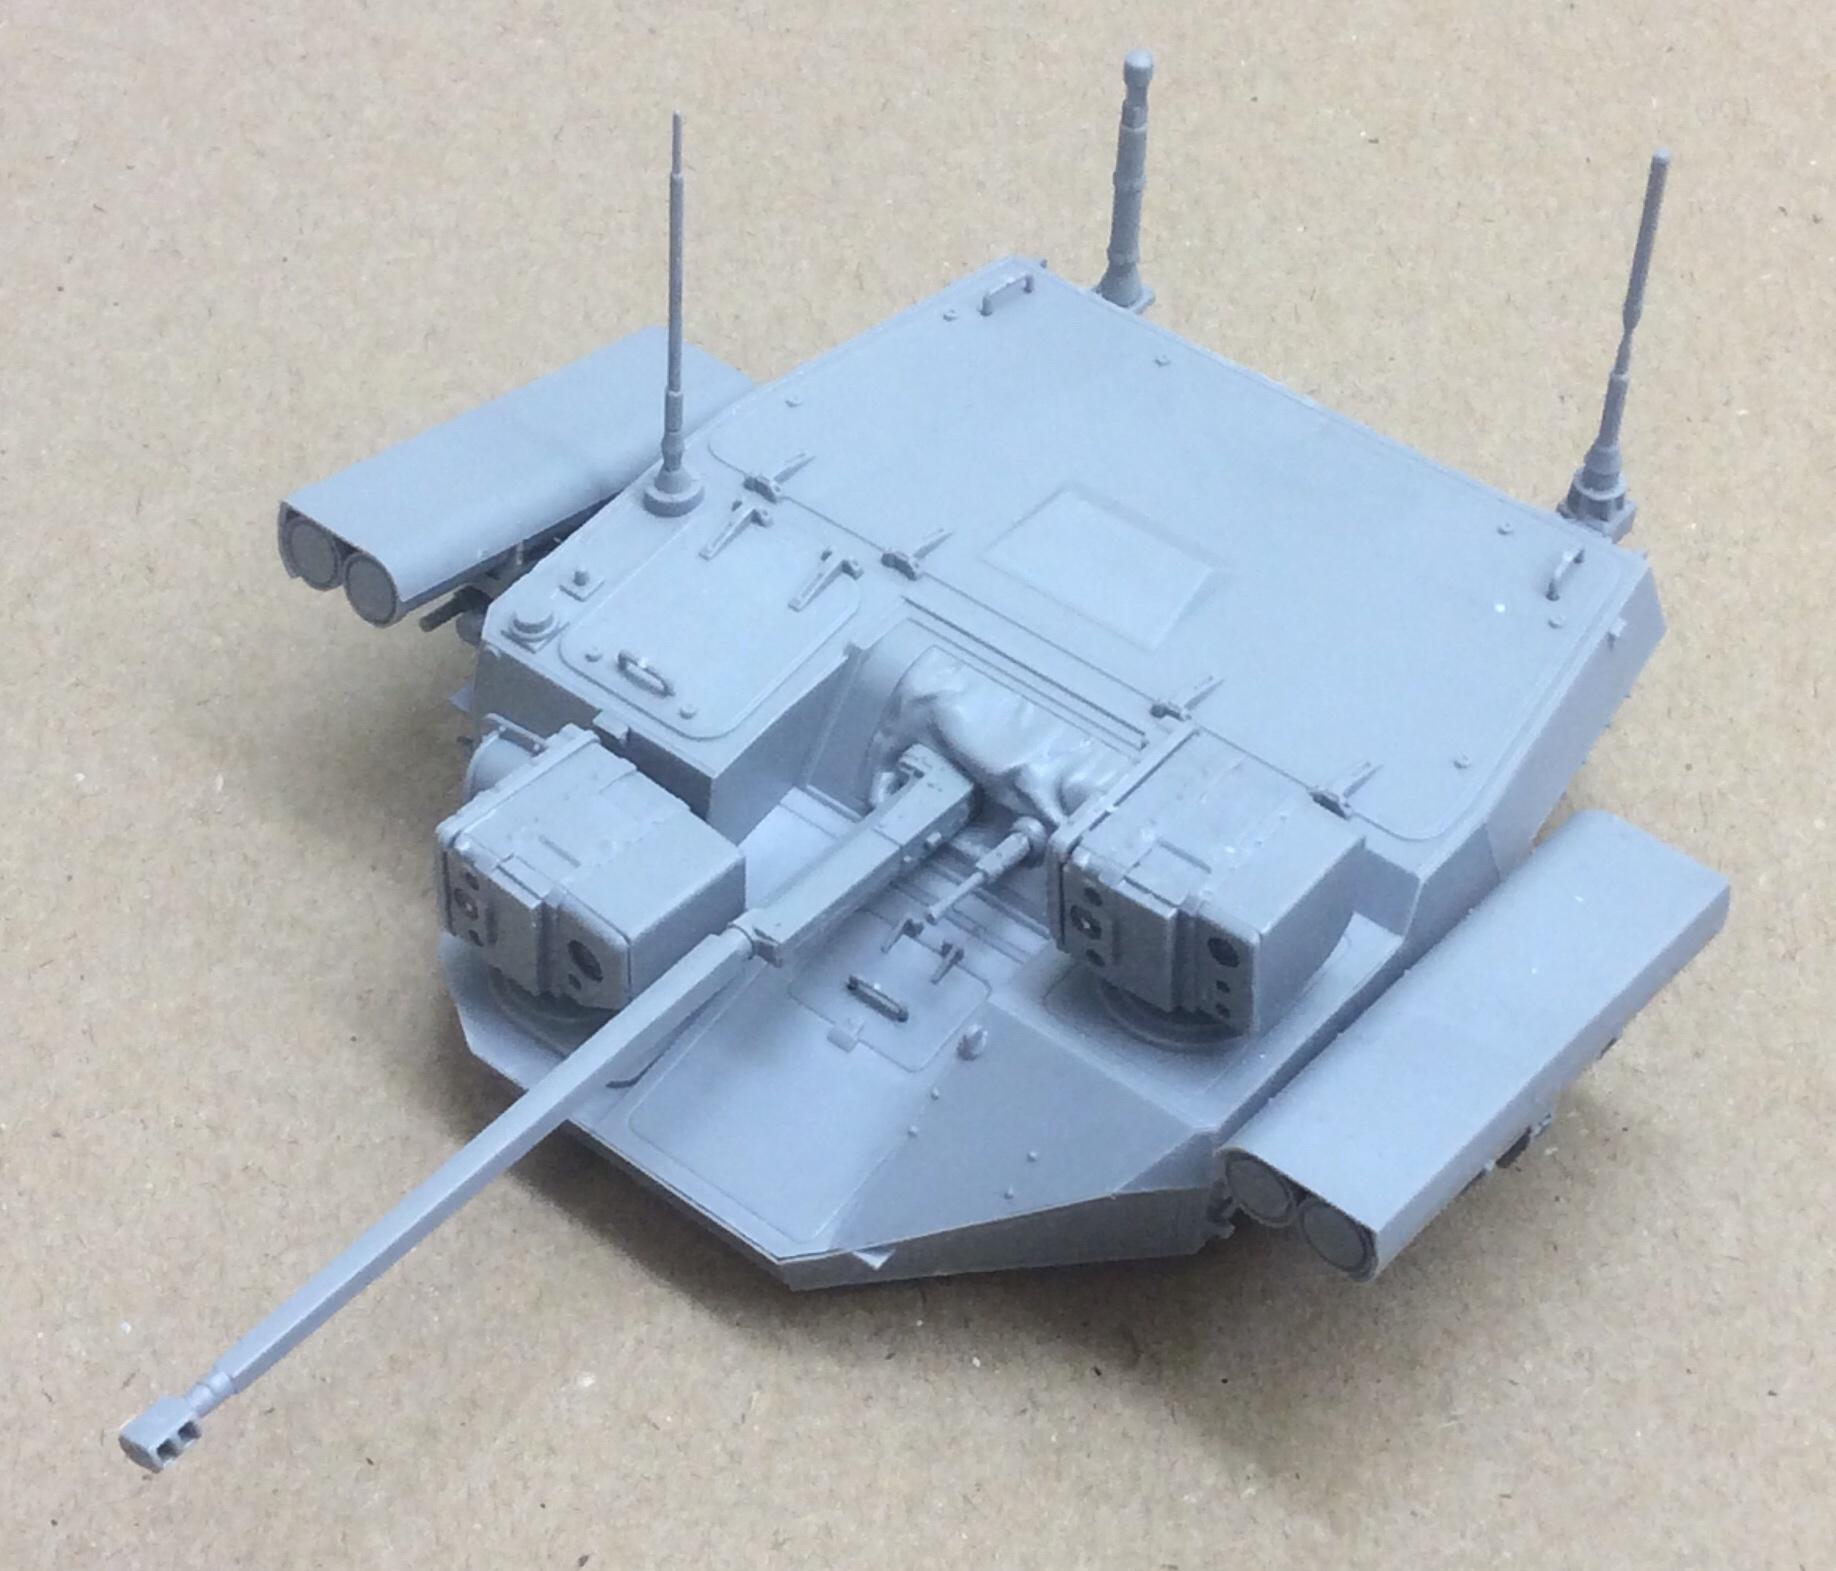
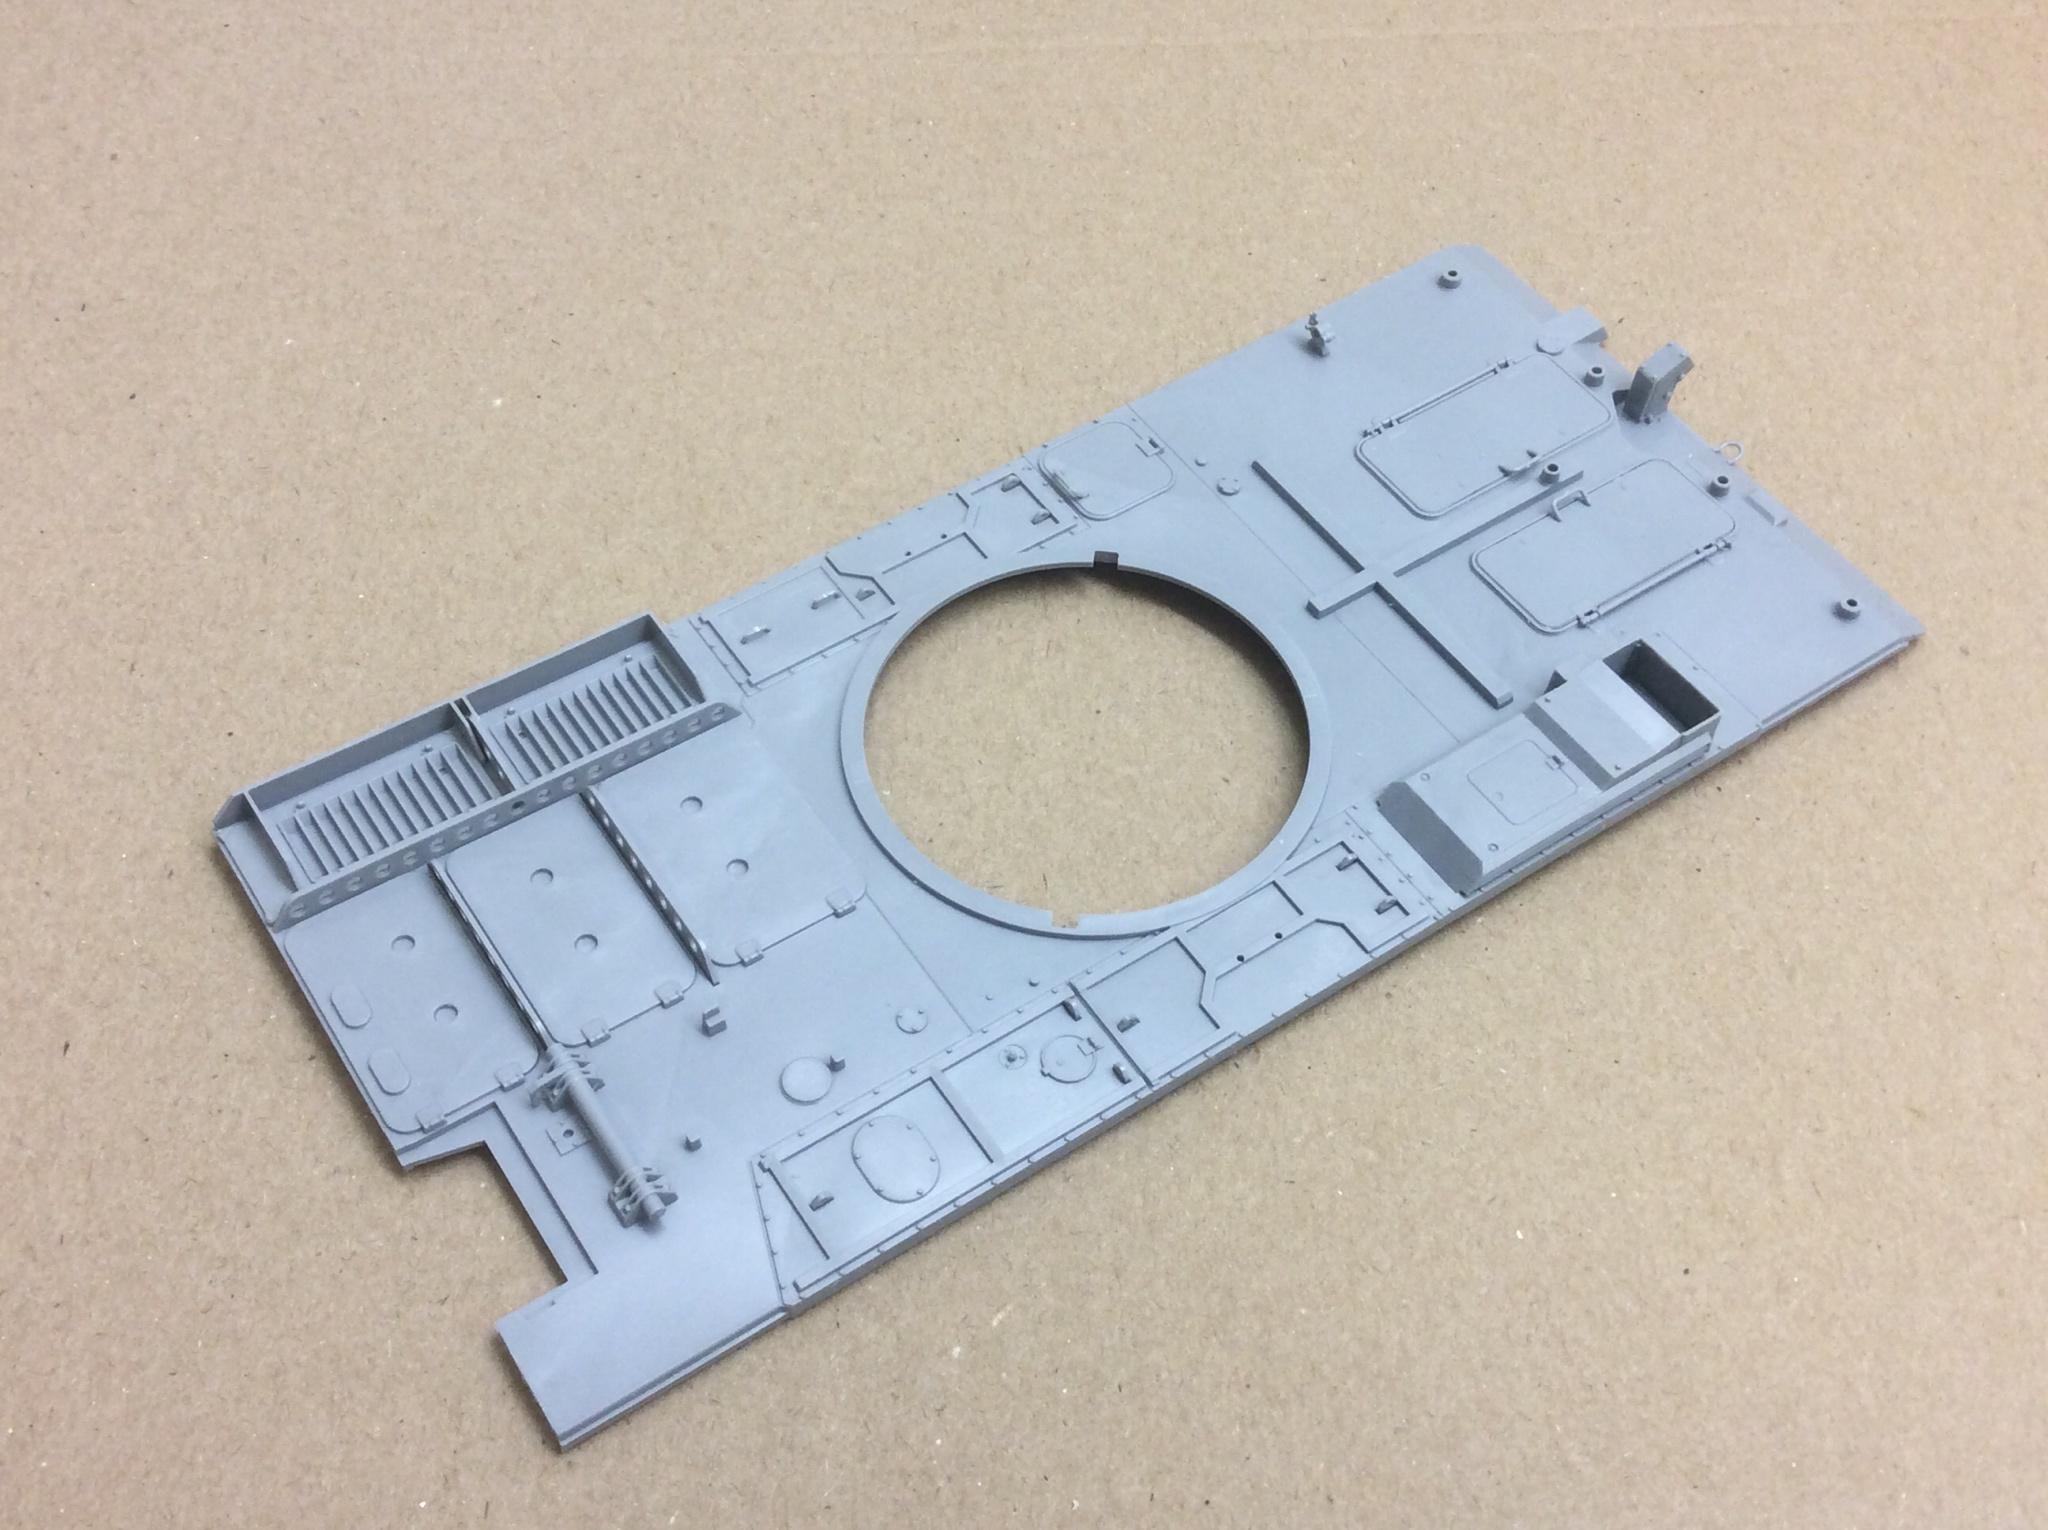
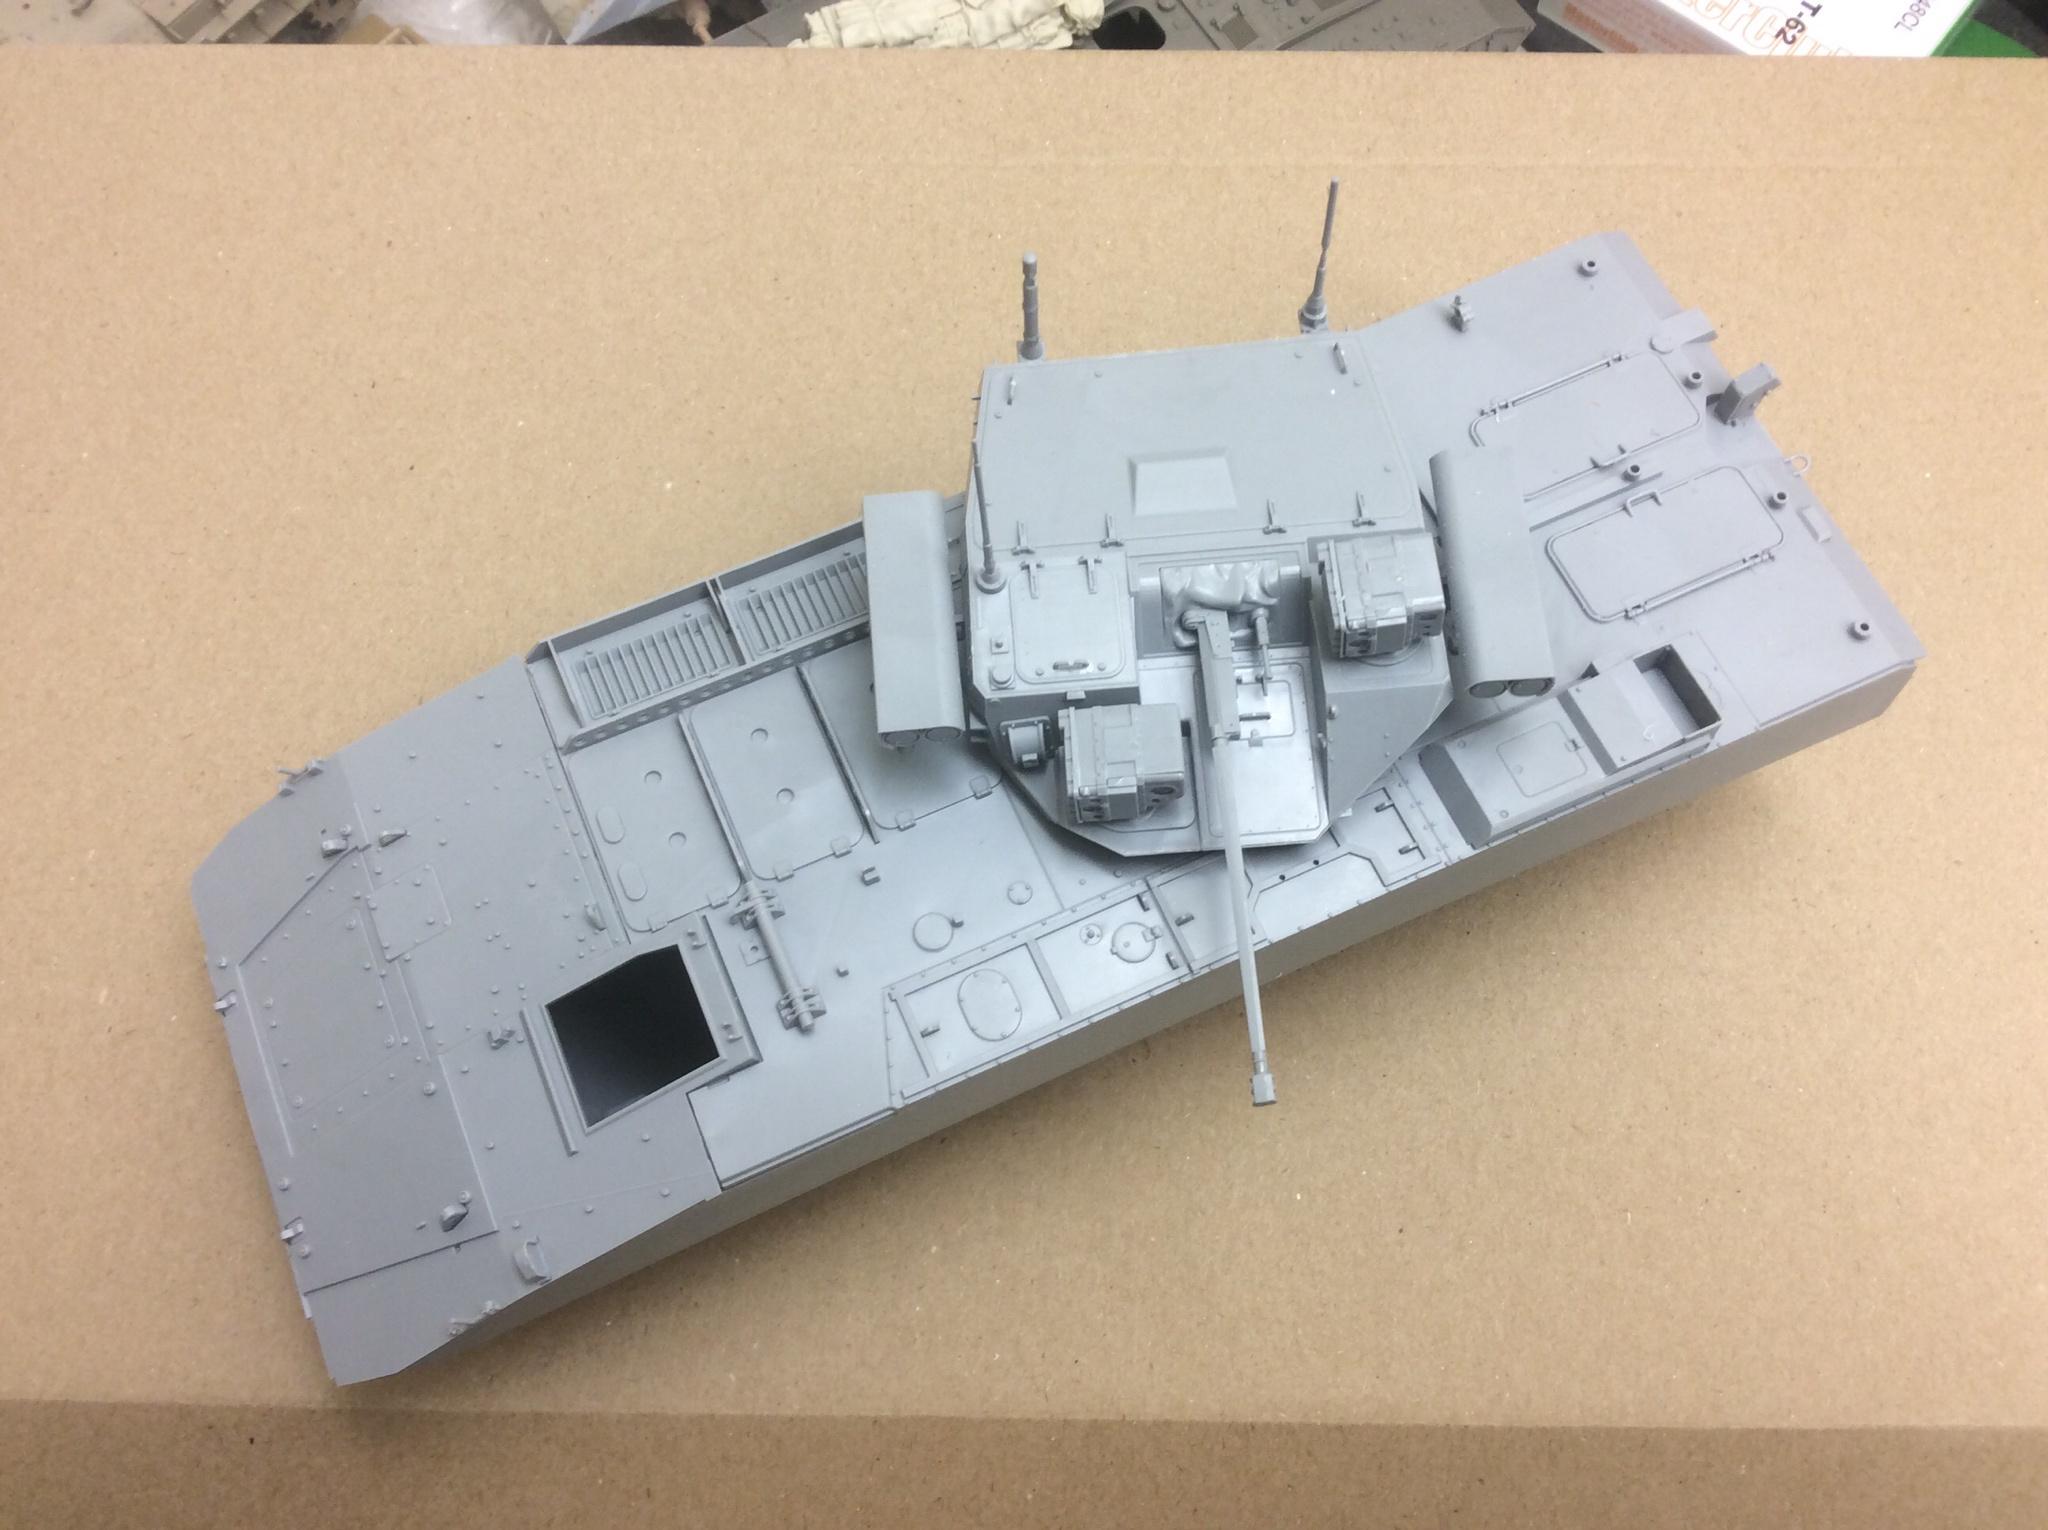
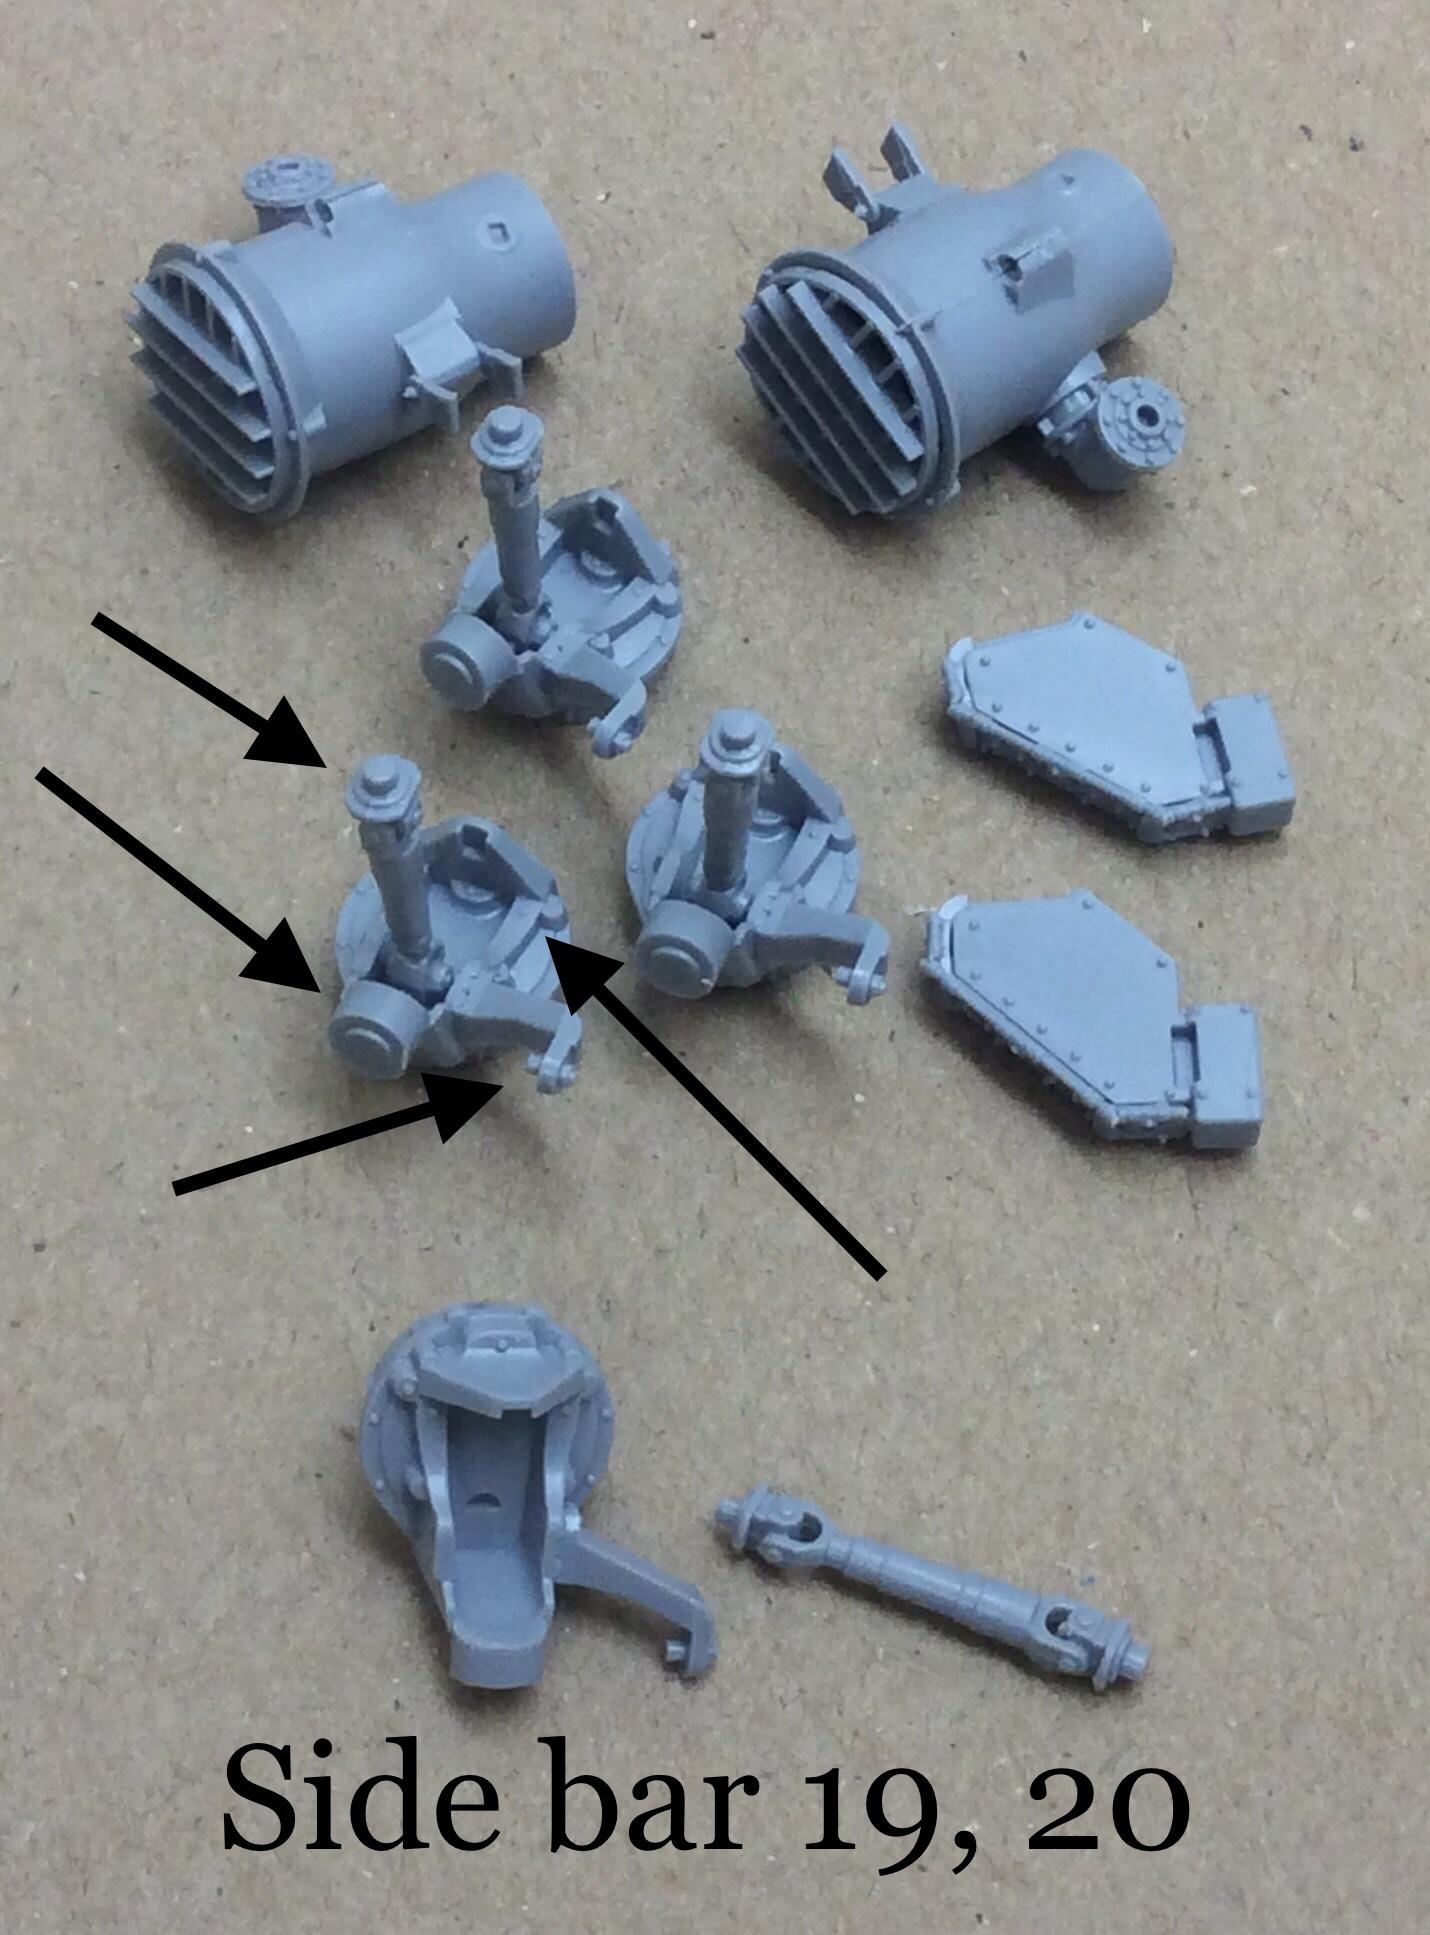
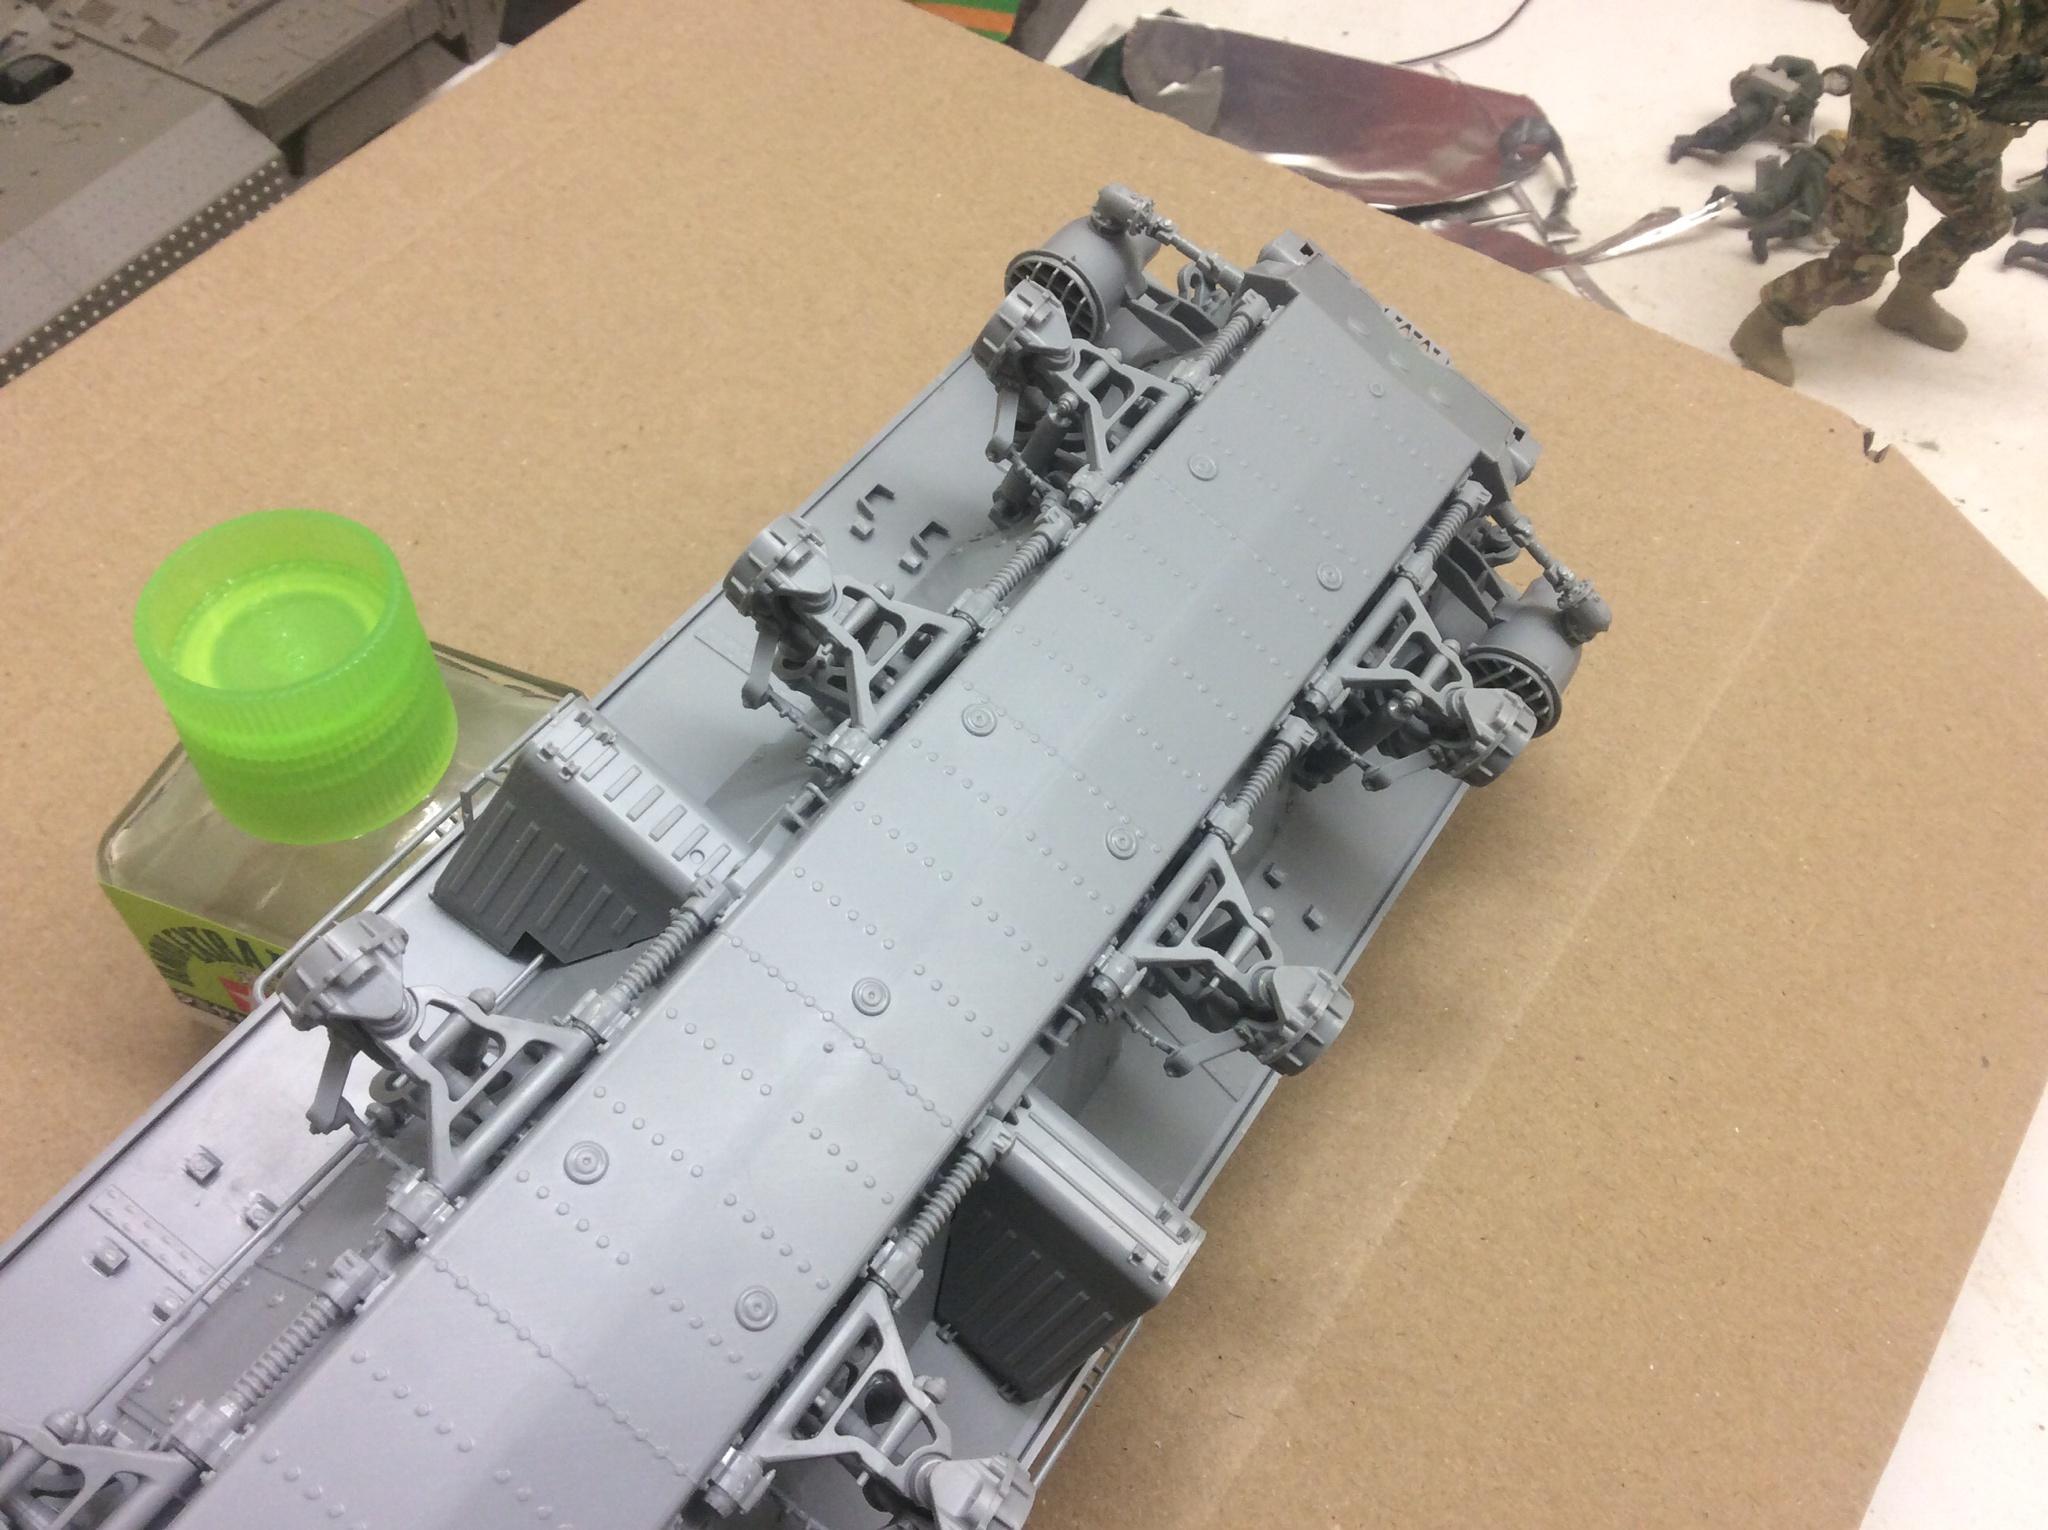
the instructions call for side-cutters, tweezers, and a scalpel, which I duly assembled. And changed the blade in my scalpel. The turret itself is made up of five flat plates, which would benefit from some solid mounting points, rather than sitting against each other. Fit was good, minor, hairline gaps which filled with glue easily and will disappear altogether once painted. I hope. The detail is very good, and crisp. There are no options at this stage, so box on. The sub-assemblies include the missile tubes either side of the turret, two sensors, and the main gun. As mentioned, the barrels needed to be drilled, which came as a surprise given how new the kit is.
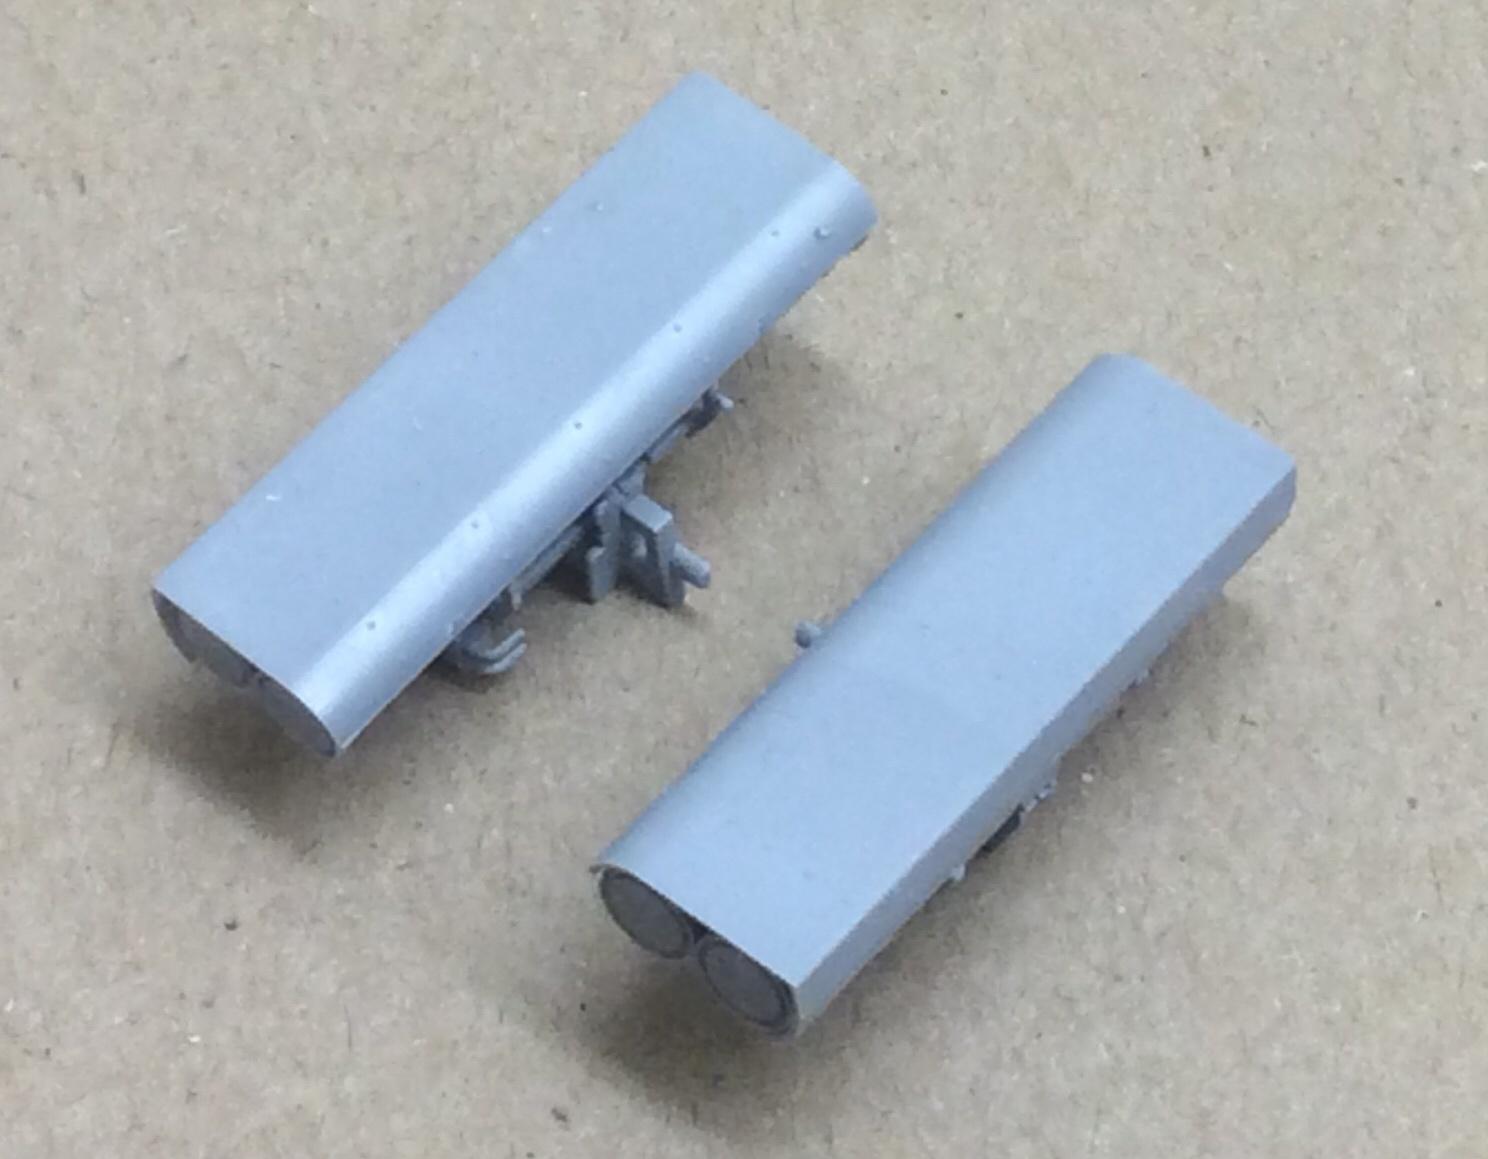
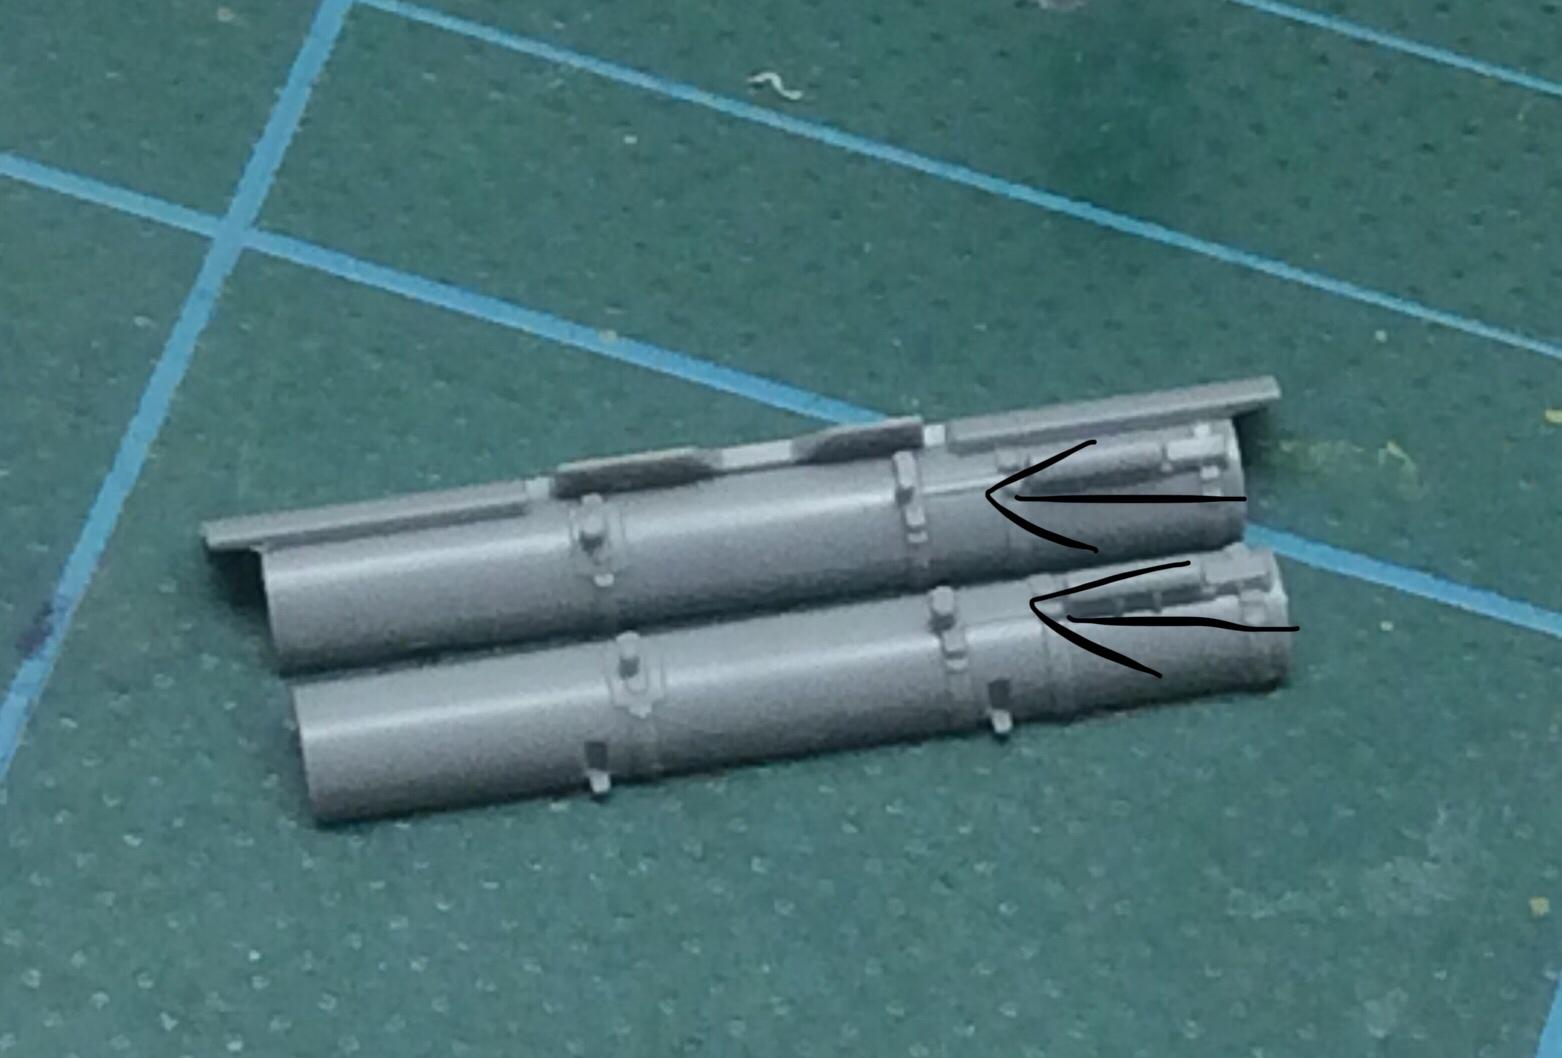
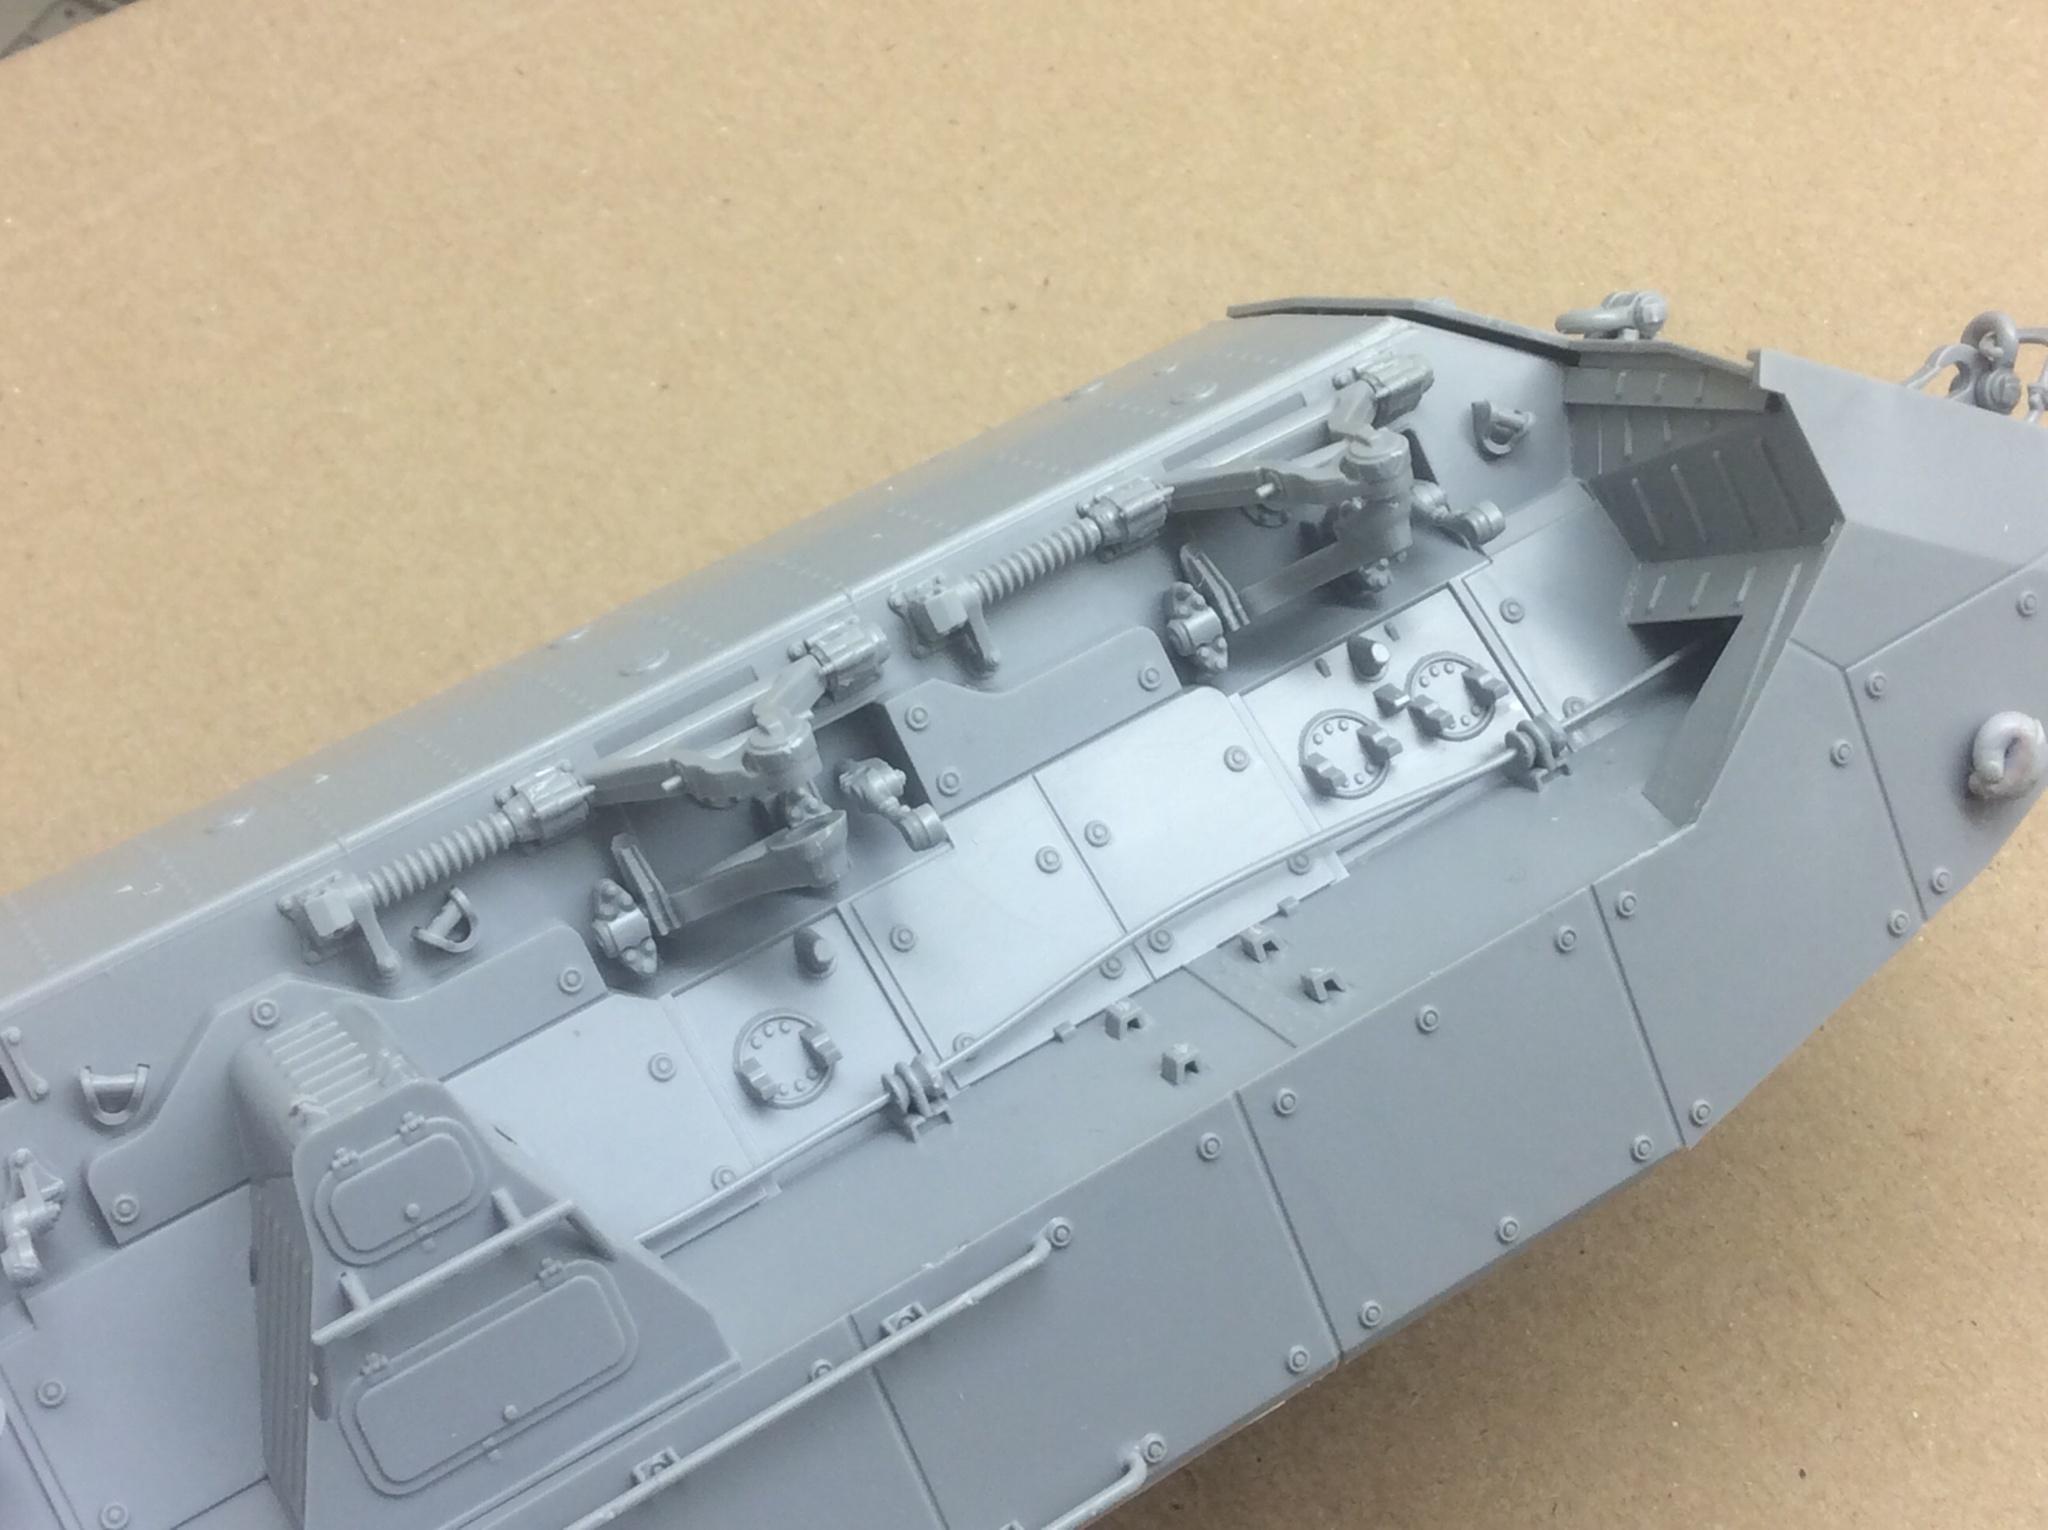
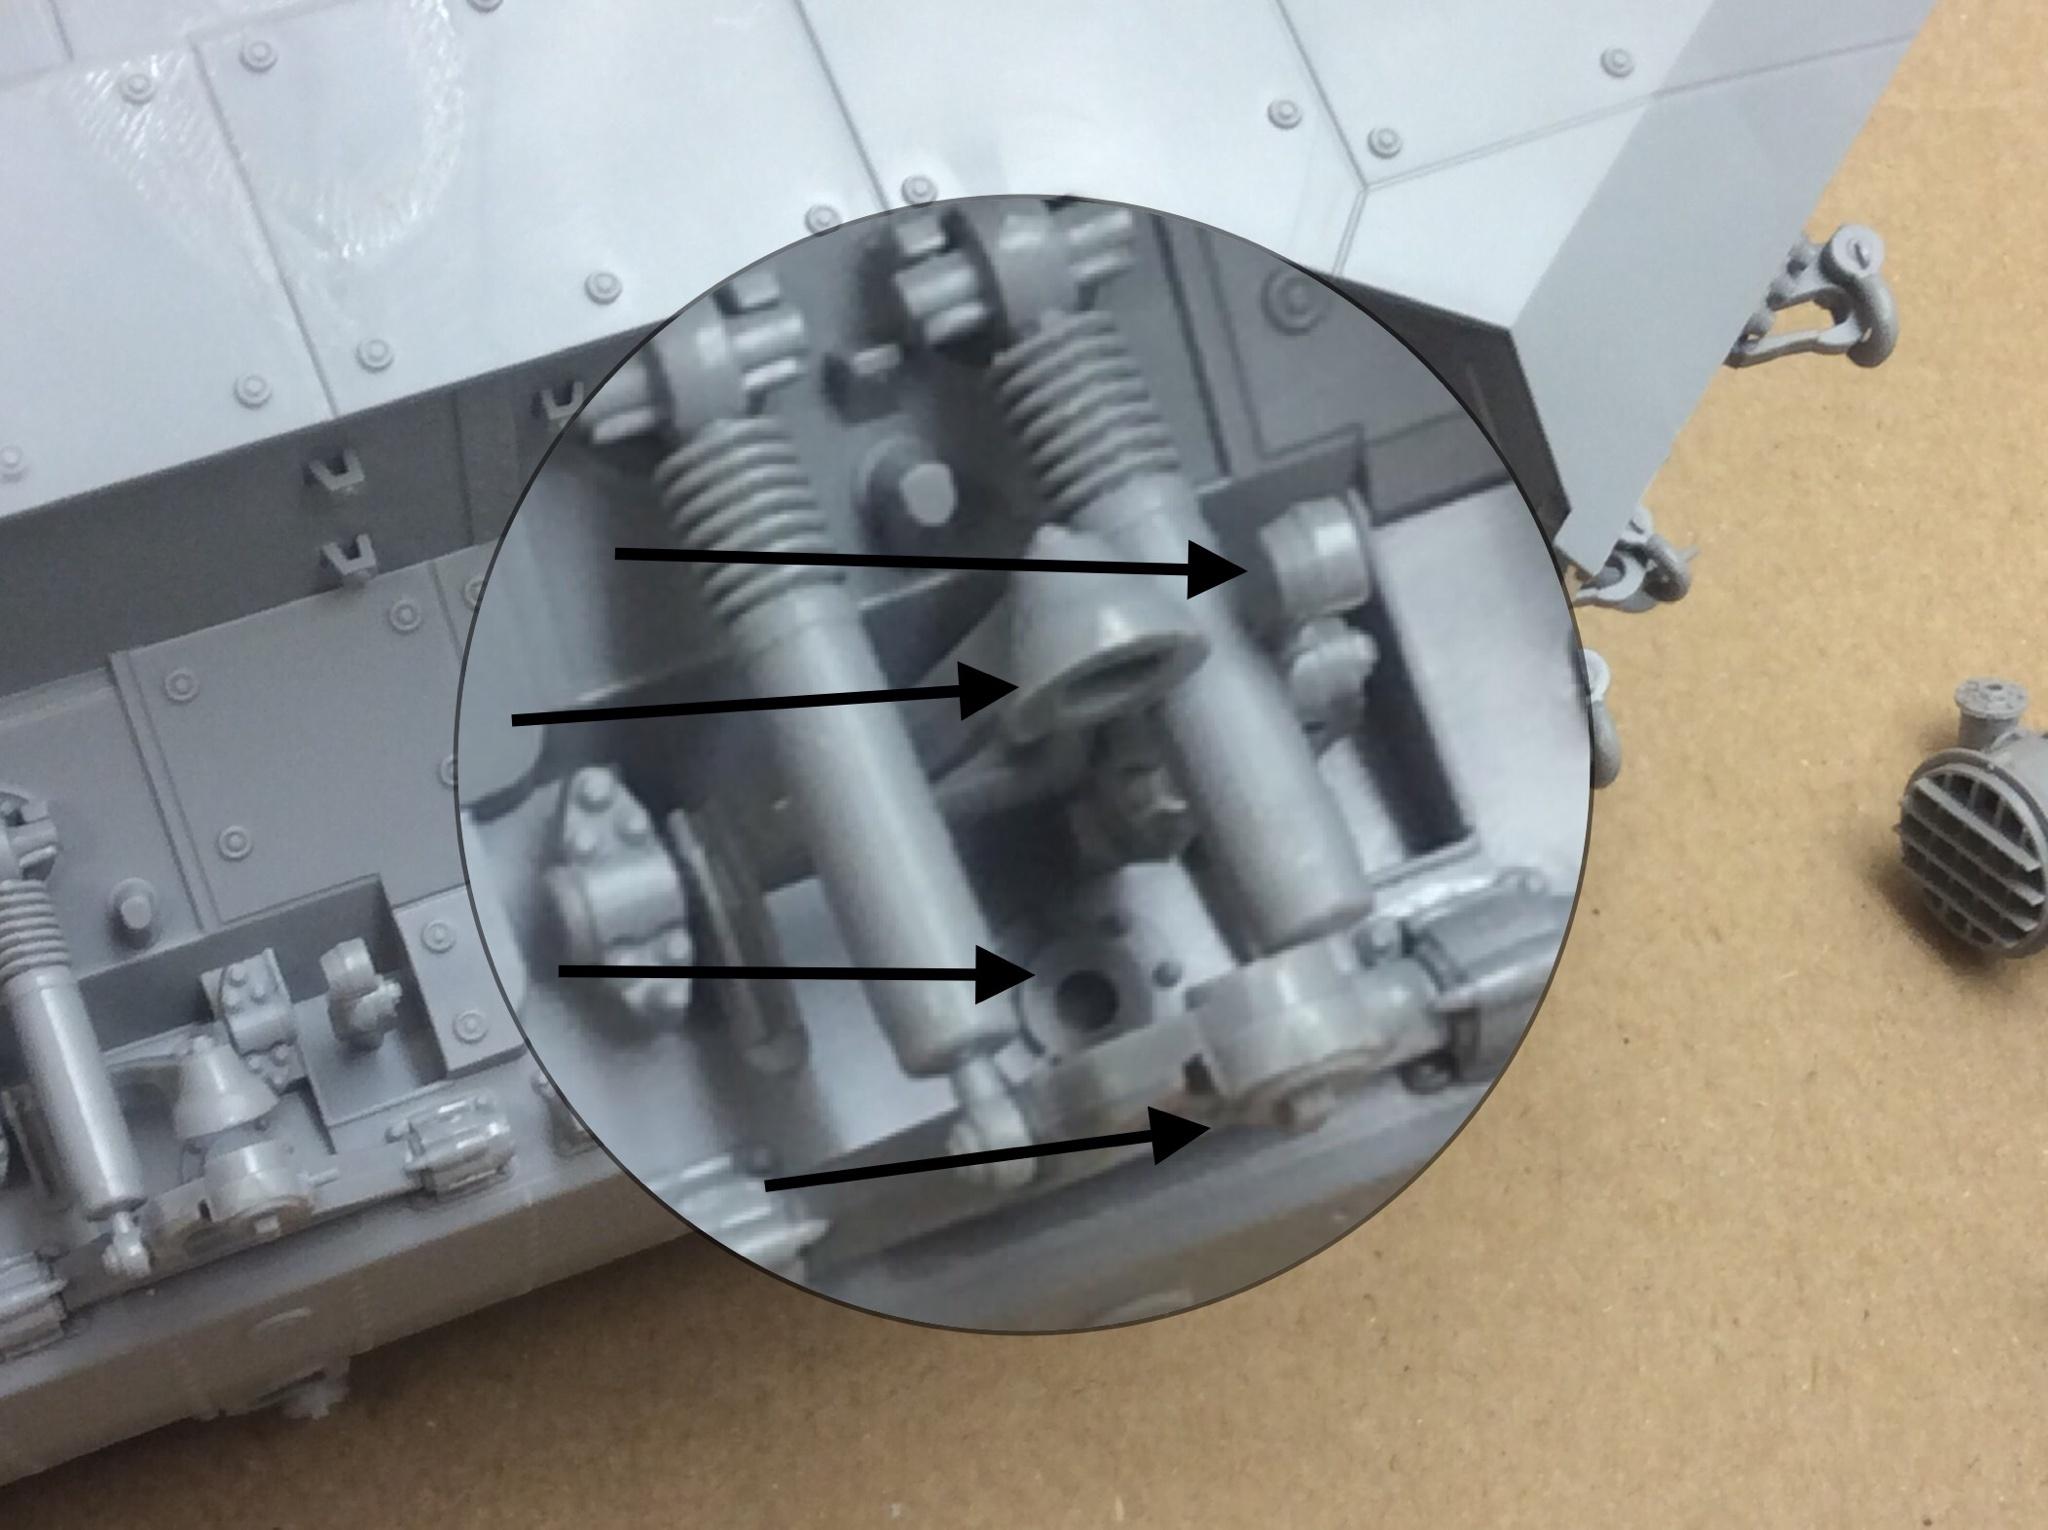
Take your time on the missile tubes, these are handed, and directional, too. I kept referring back to the directions to ensure the correct part was facing the correct direction, before committing with any glue. As an aside, I am using the new Tamiya Ultra-thin glue for the build, and it works a treat. The missile tubes themselves have pegs with matching holes, with a small and a large peg for correct orientation. Get these correct or your missiles will be firing backwards. And we all know how that ends. Careful gluing here, and the racks will pivot in place, up and down. Im not too fussed about this, but will make for easier painting later. I managed to keep one free, the other refused my best efforts, and is glued fixed in the horizontal. Youre results may vary. These are multi-part affairs and really look the business. I was impressed with the engineering that went into them. There is no un-necessary over-engineering here, the parts breakdown is logical and functional. As for scale thickness, or dimensions, Ive no references to compare and am not in a position to comment. Looking at images on line, everything is as it should be.
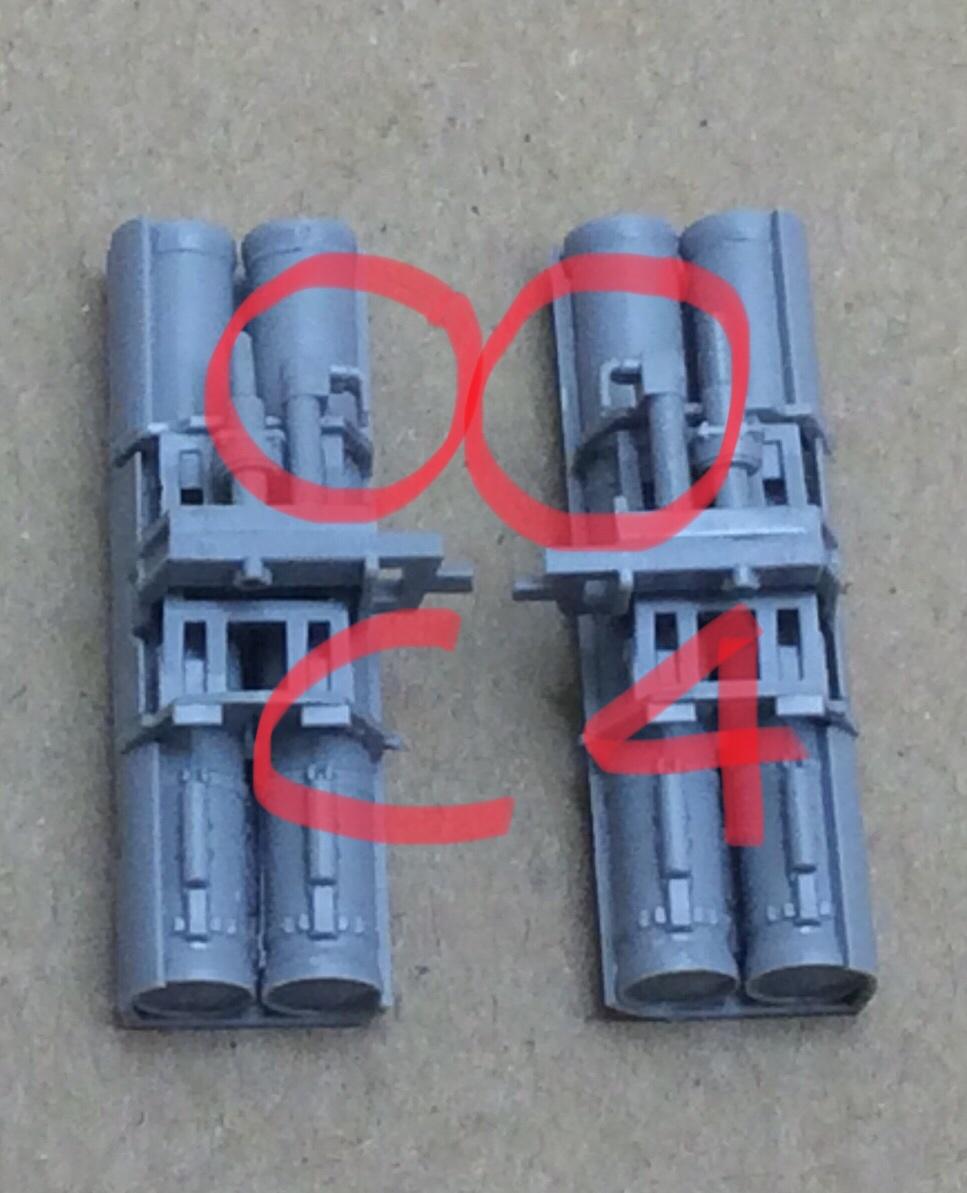
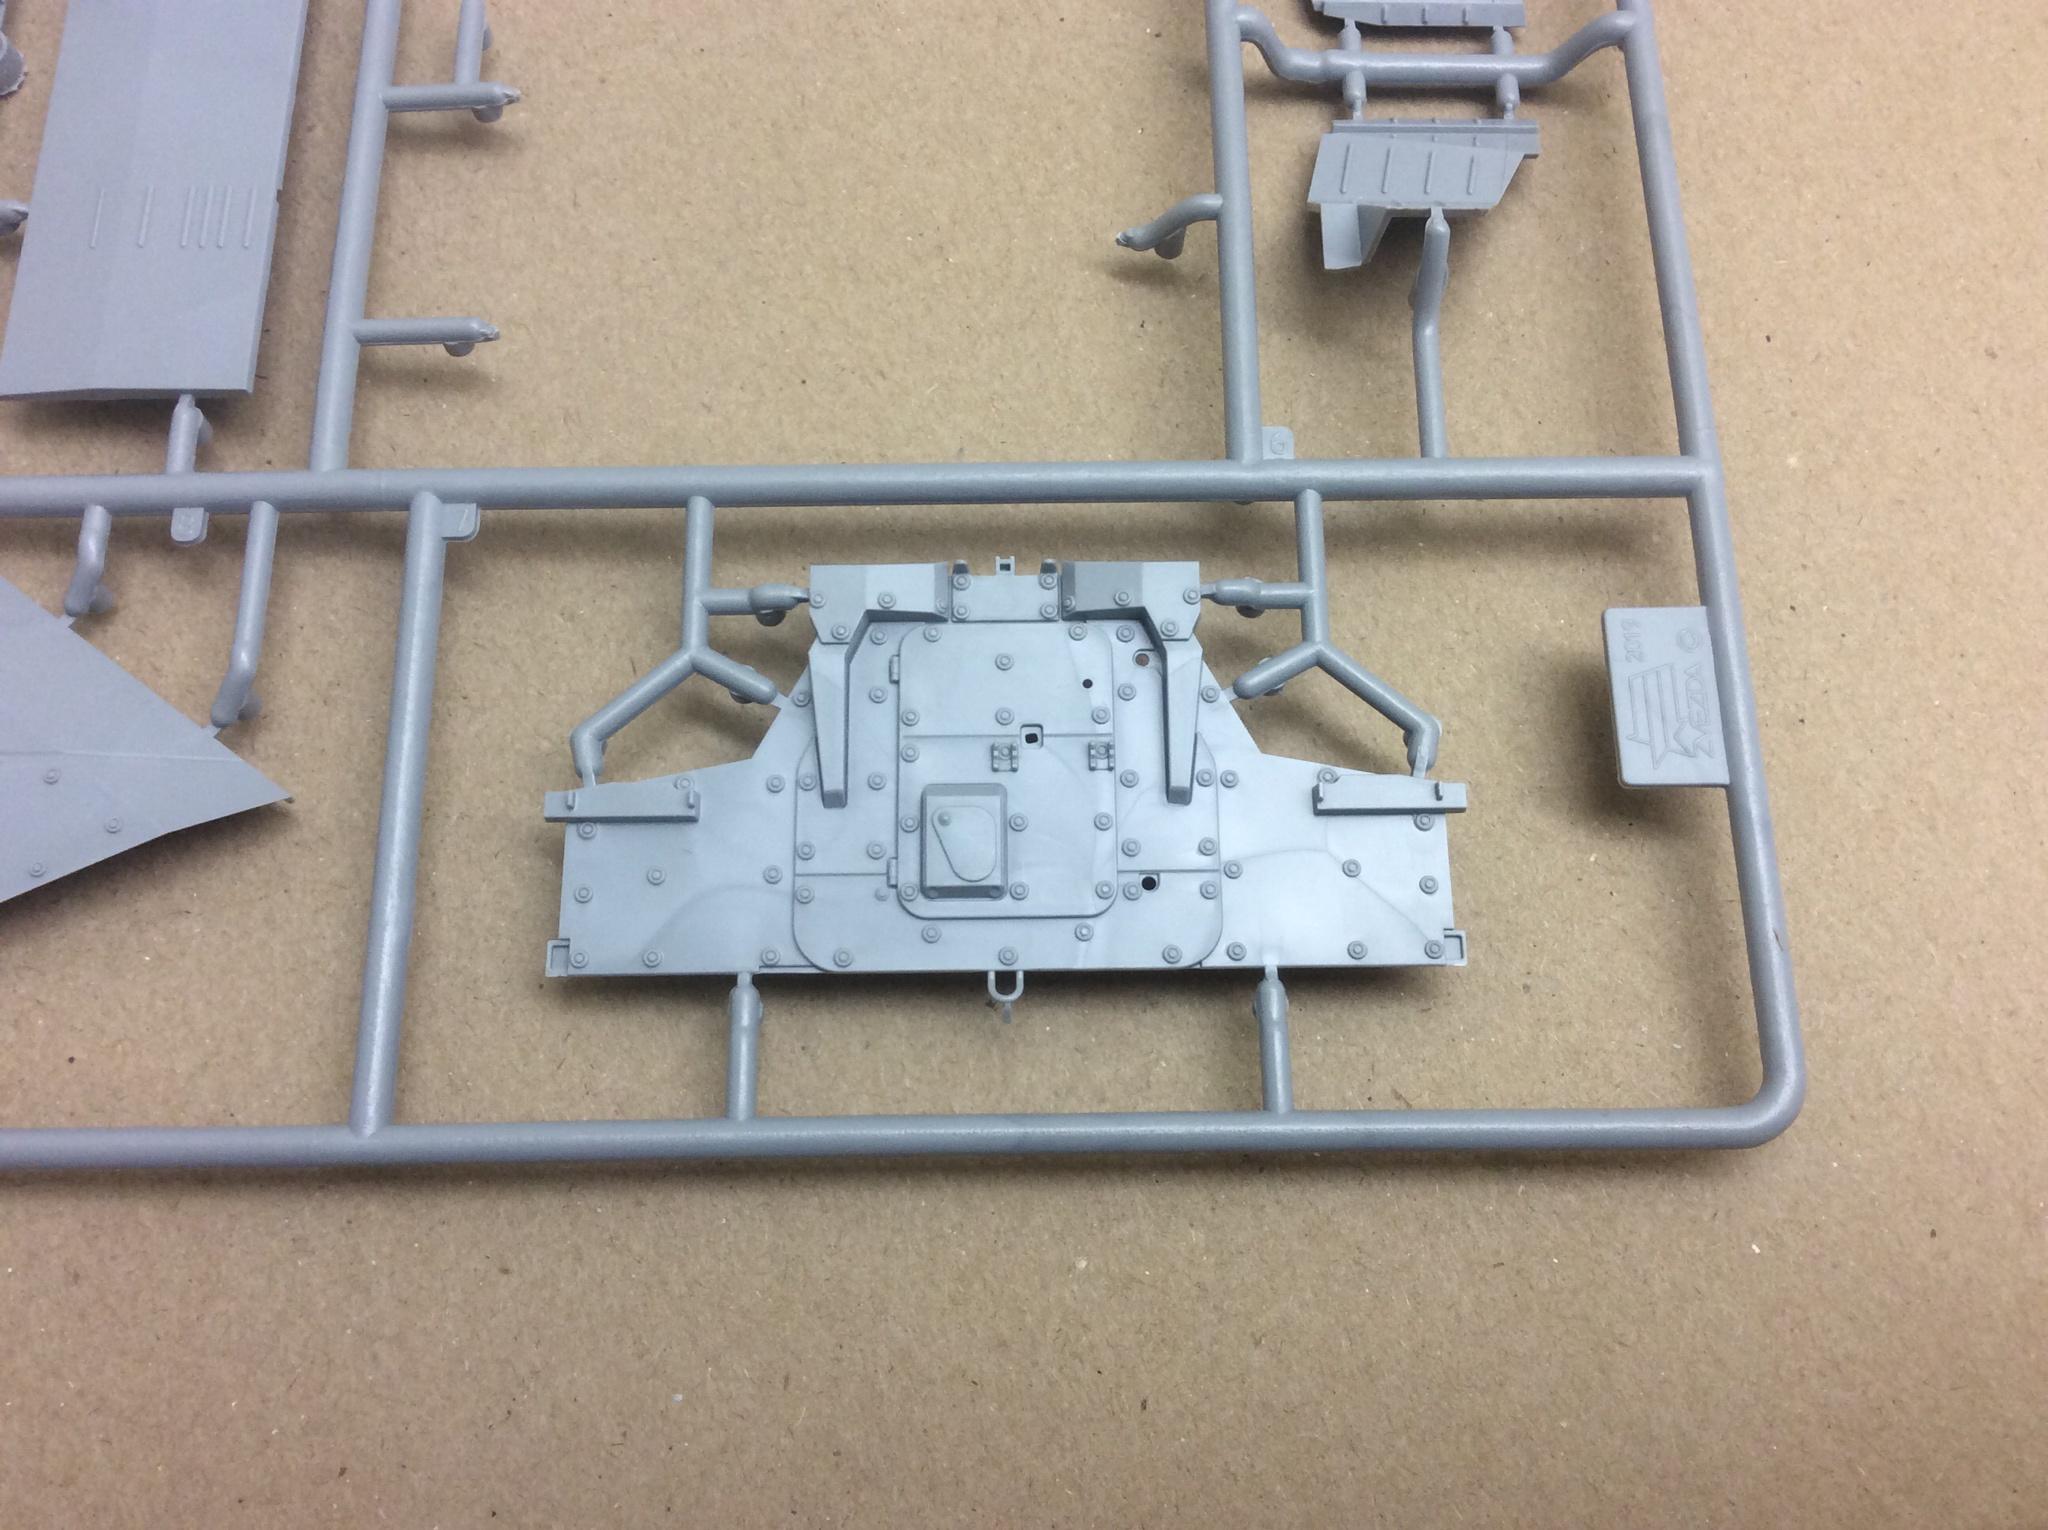
There is, I think, an error at this point. Part C-4 is handed and needs to face inwards to the turret, but this is not identified in the instructions. Careful attention to the instructions paid off here, and not racing ahead.
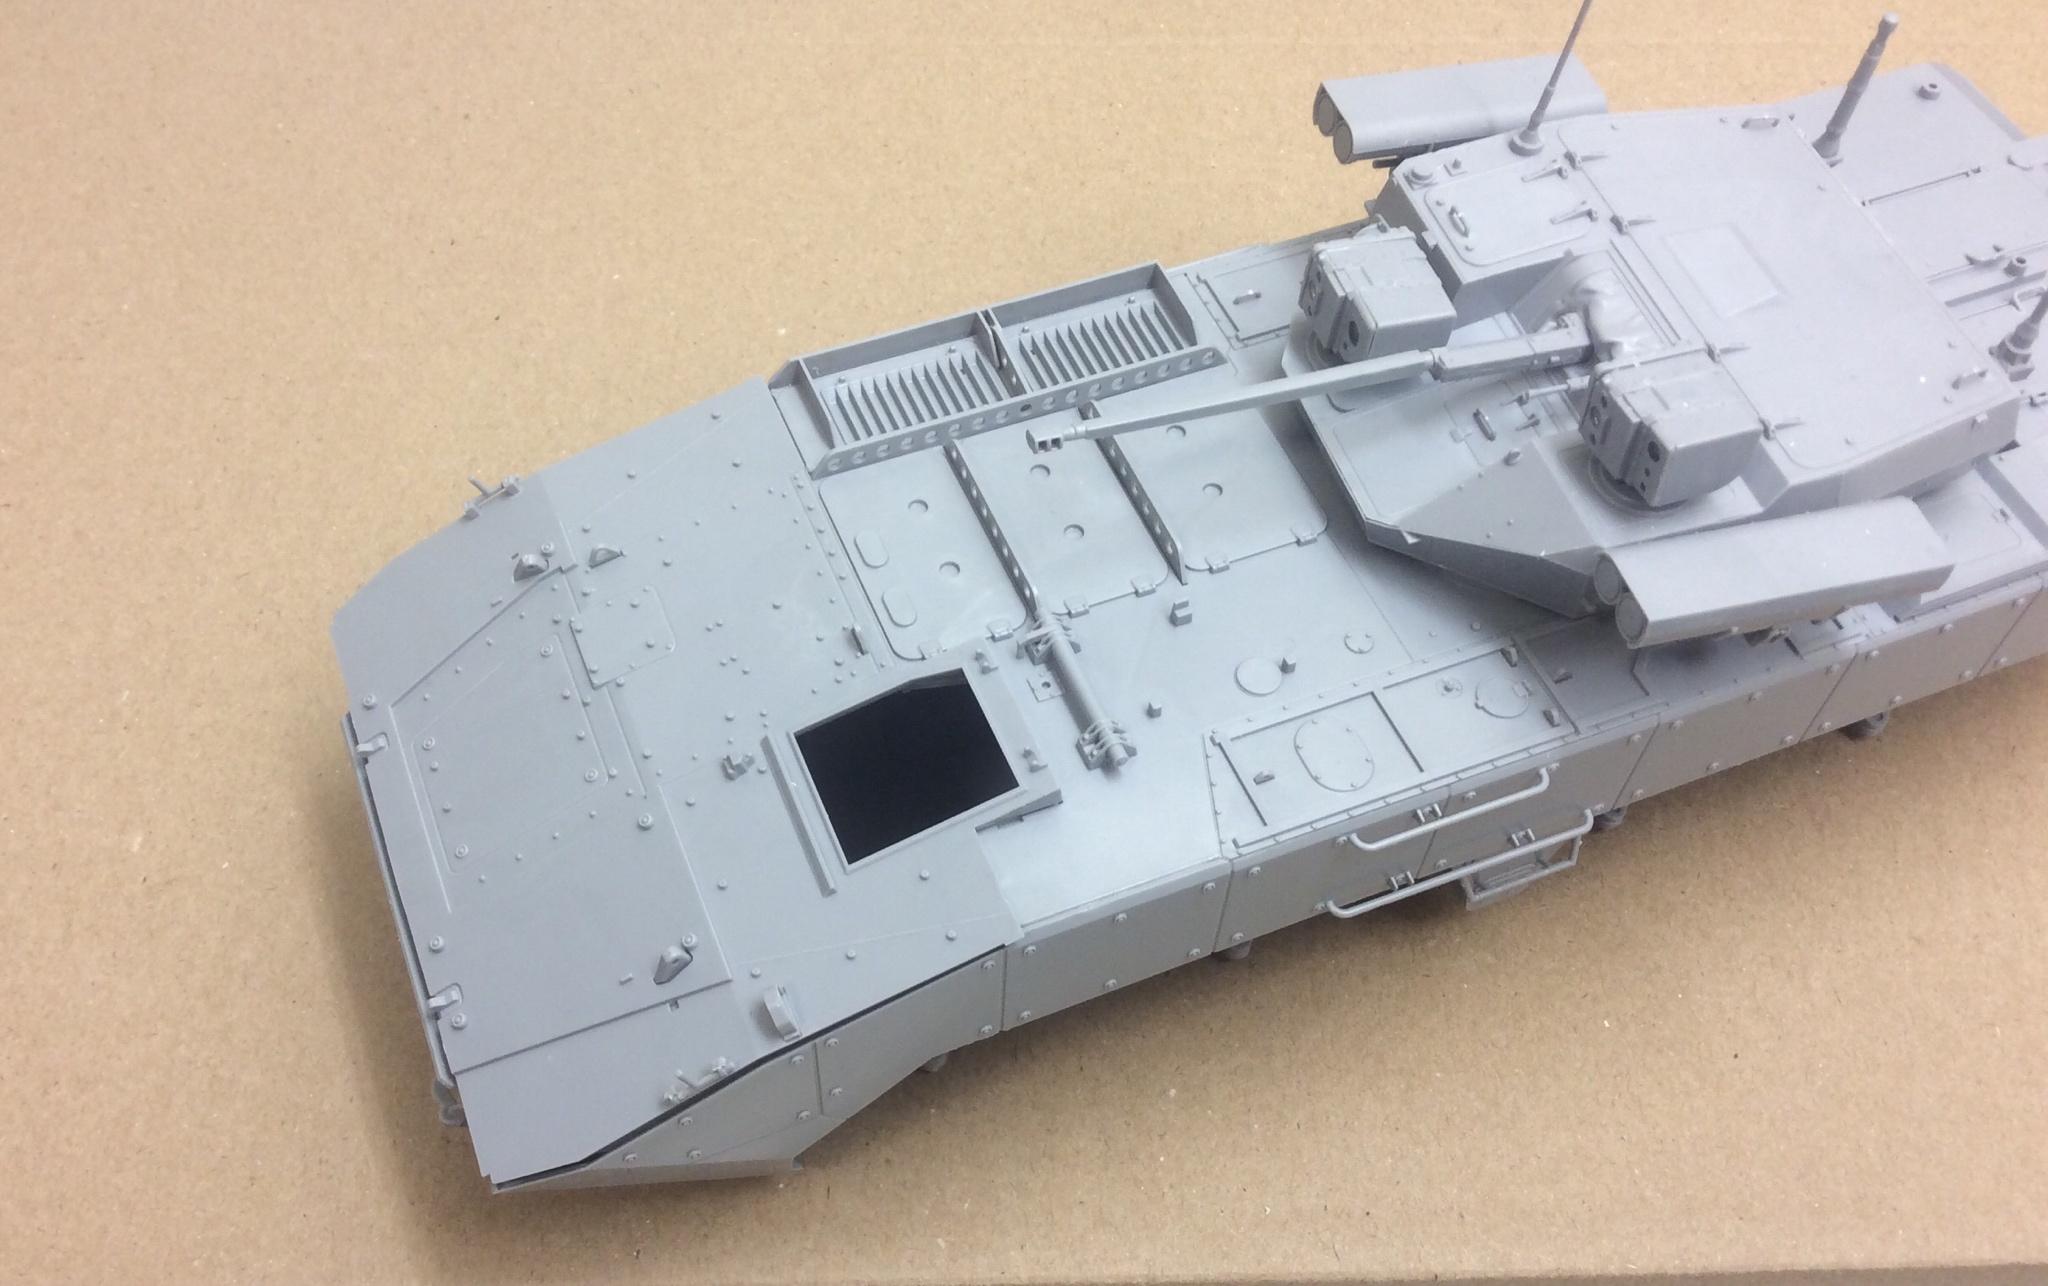
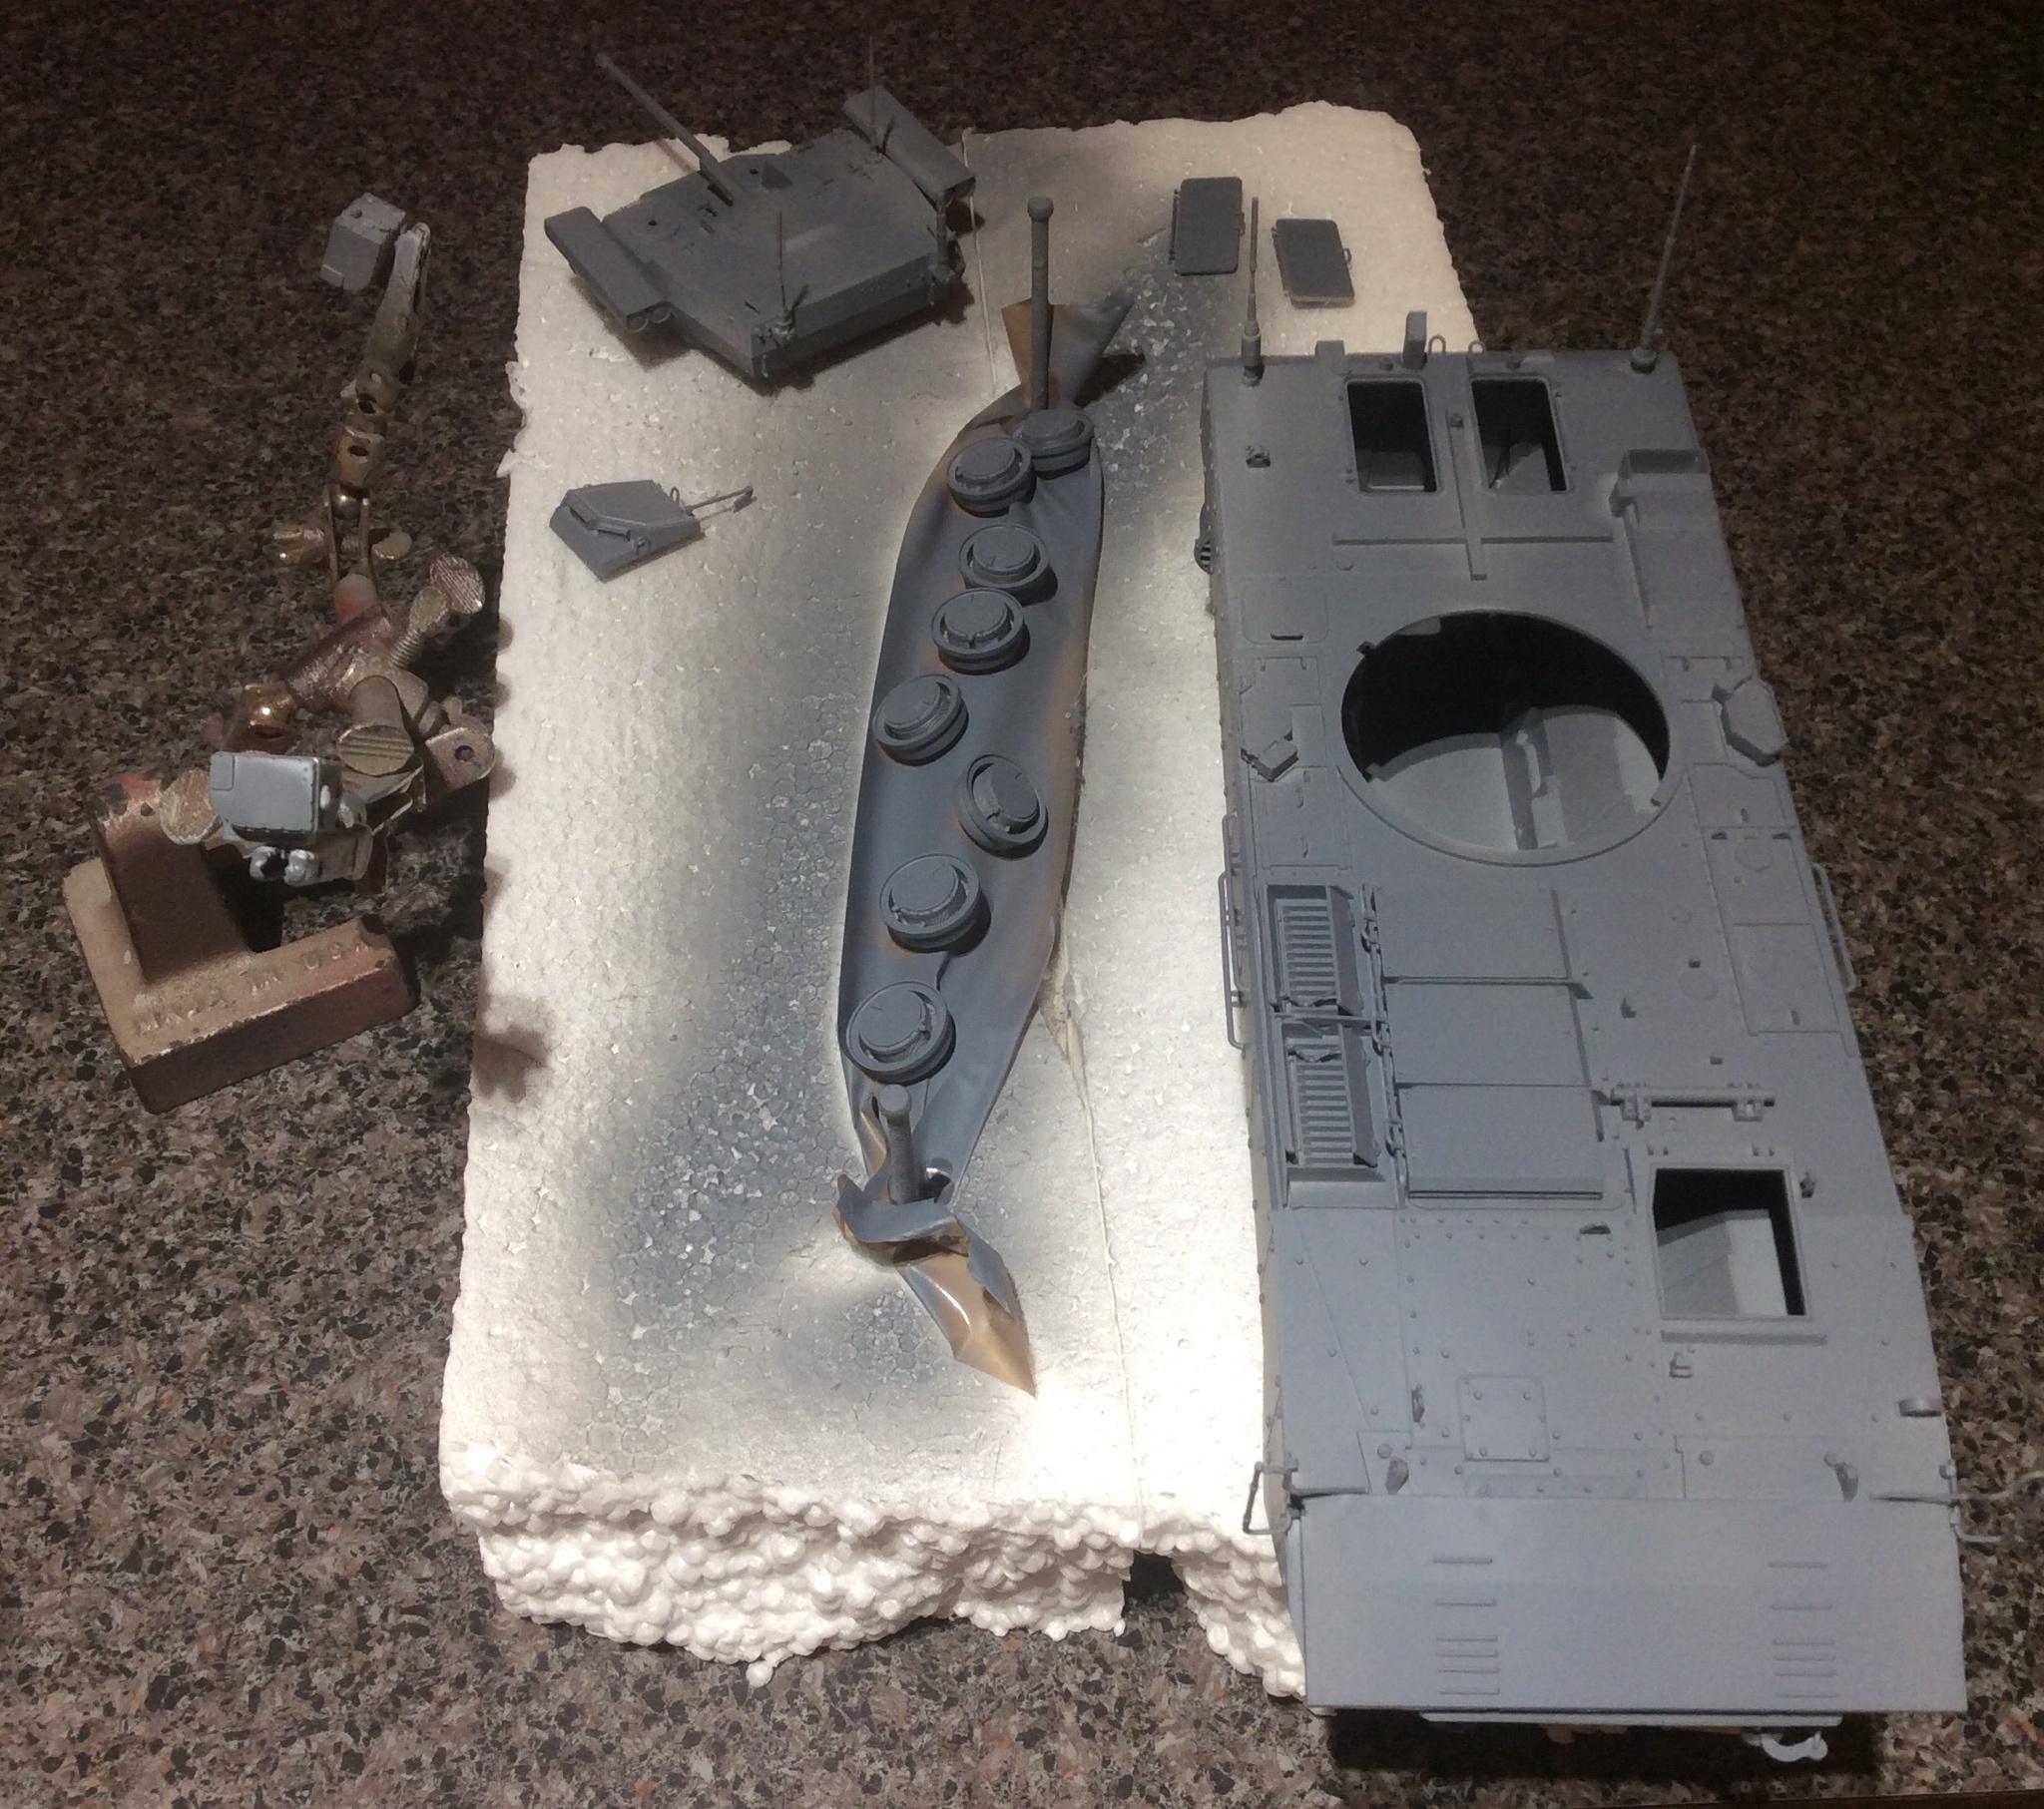
The two sensors either side of the main gun have a clear piece of plastic that sits in behind the front face for a realistic view of the multitude of sensors that these represent. Again, fit was good, as was the detail. I've not glued these in place yet, to assist with painting later.
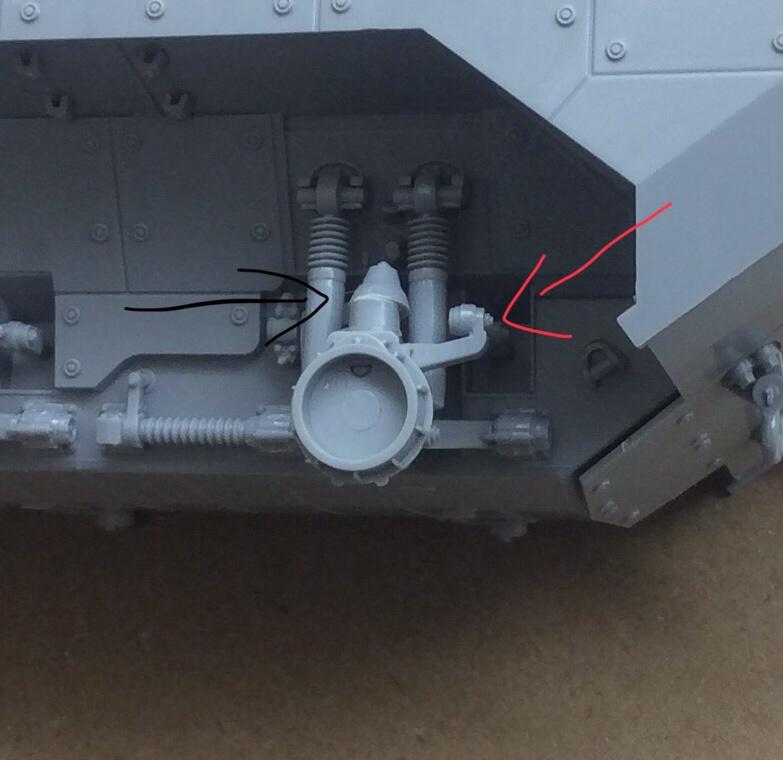
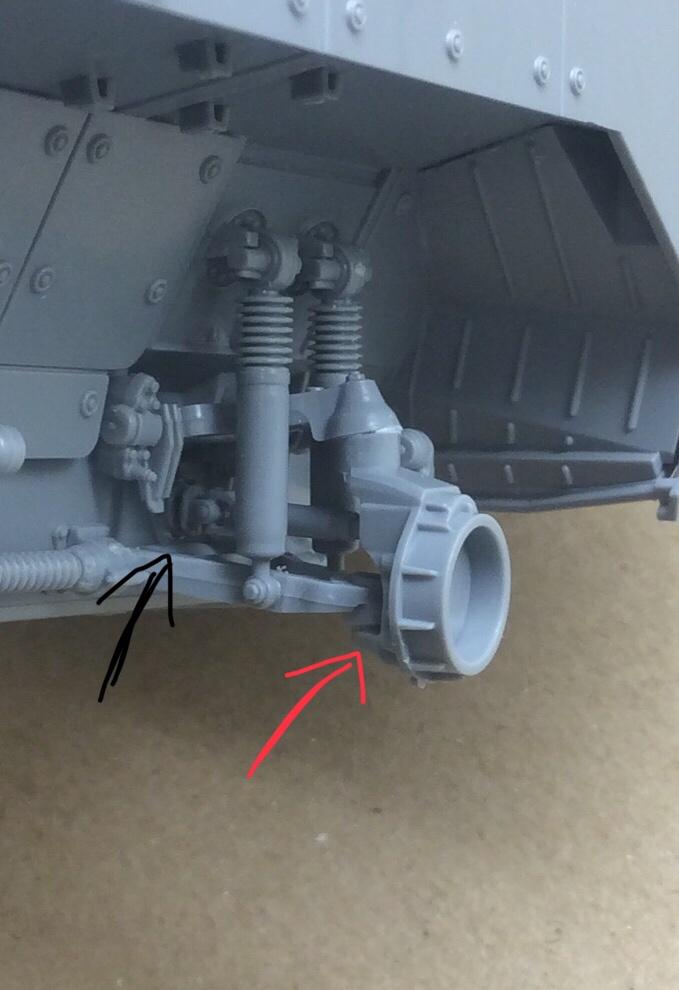
Once the sub-assemblies were completed, I fitted the missiles and barrels to the turret shell, and later added the handles and masts at the back. The masts had minor seam lines, but nothing fatal to a good modeller. Be aware of part C-5, dont overlook it, and be sure to get the orientation correct, it should face forwards, not up. As there are no hatches to open, the turret is done.
oh, one last thing, the main gun does not elevate. Again, not a big deal, just something to be aware of.