_GOTOBOTTOM
Armor/AFV: British Armor
Discuss all types of British Armor of all eras.
Hosted by Darren Baker
Challenger 2 TES - 1/35 - Rye Field Models
bosscat
Visit this Community
Marne, France
Joined: April 19, 2012
KitMaker: 119 posts
Armorama: 116 posts
Posted: Thursday, September 24, 2020 - 09:40 PM UTC
hello friends !!!

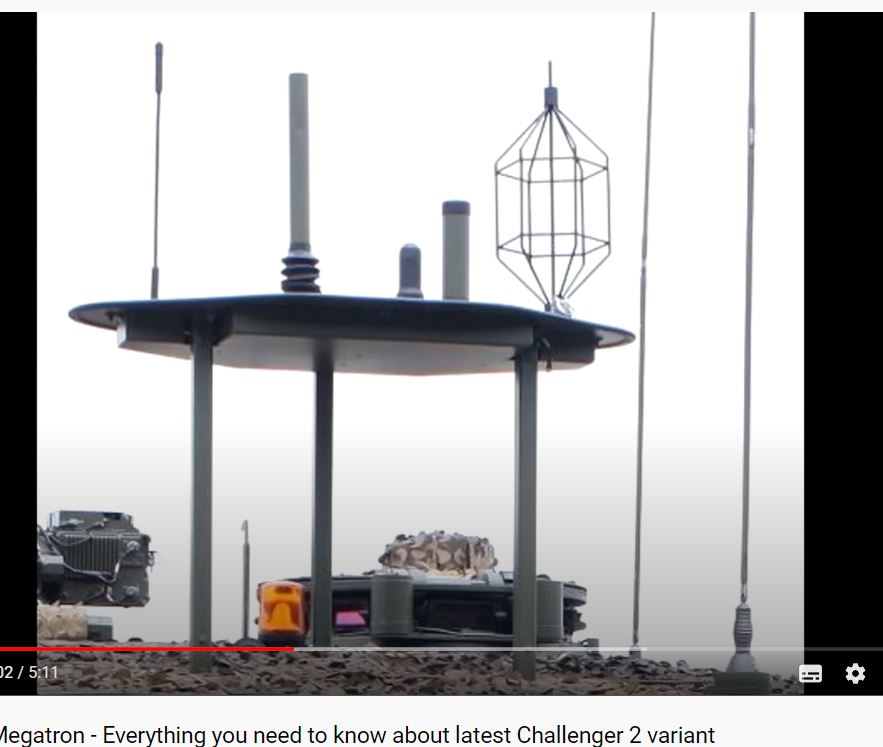
It will be the first British model for me. Quite futuristic and in tune with modern armored vehicles with all the over-armor and various sensors. I also liked the remotely operated machine gun.


It is this model:


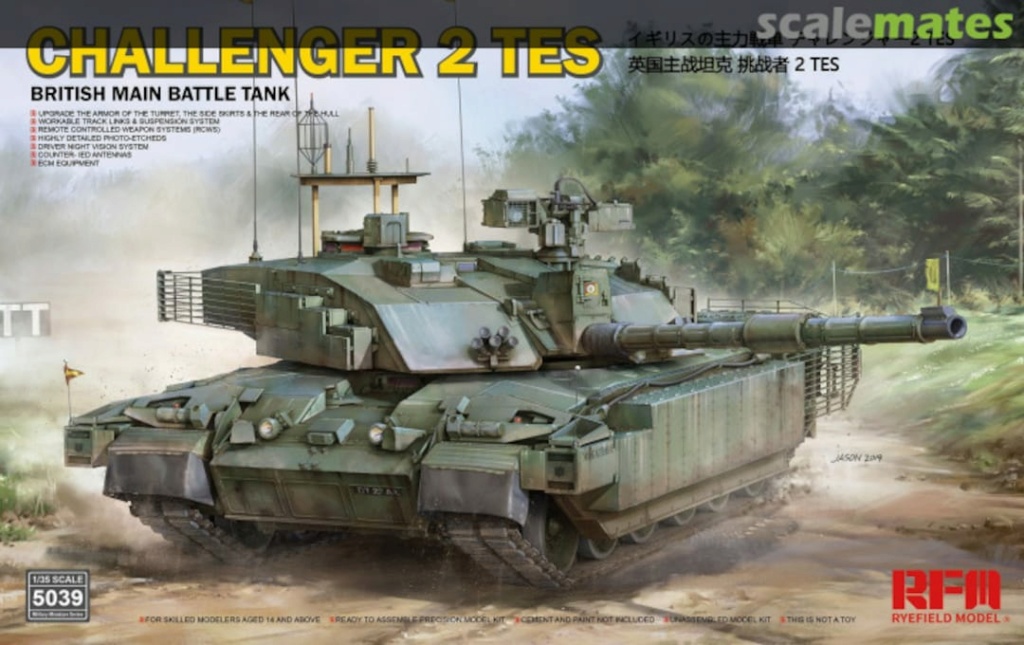
A small link for more practical information:

https://www.scalemates.com/kits/rye-field-model-rm-5039-challenger-2-tes--1258556

This kit is new and is quite popular on the Net from what I have read. It is the same for the brand, RFM seeming to manufacture very nice models and good overall quality. The chally made me want it, the model made me decide to get it.
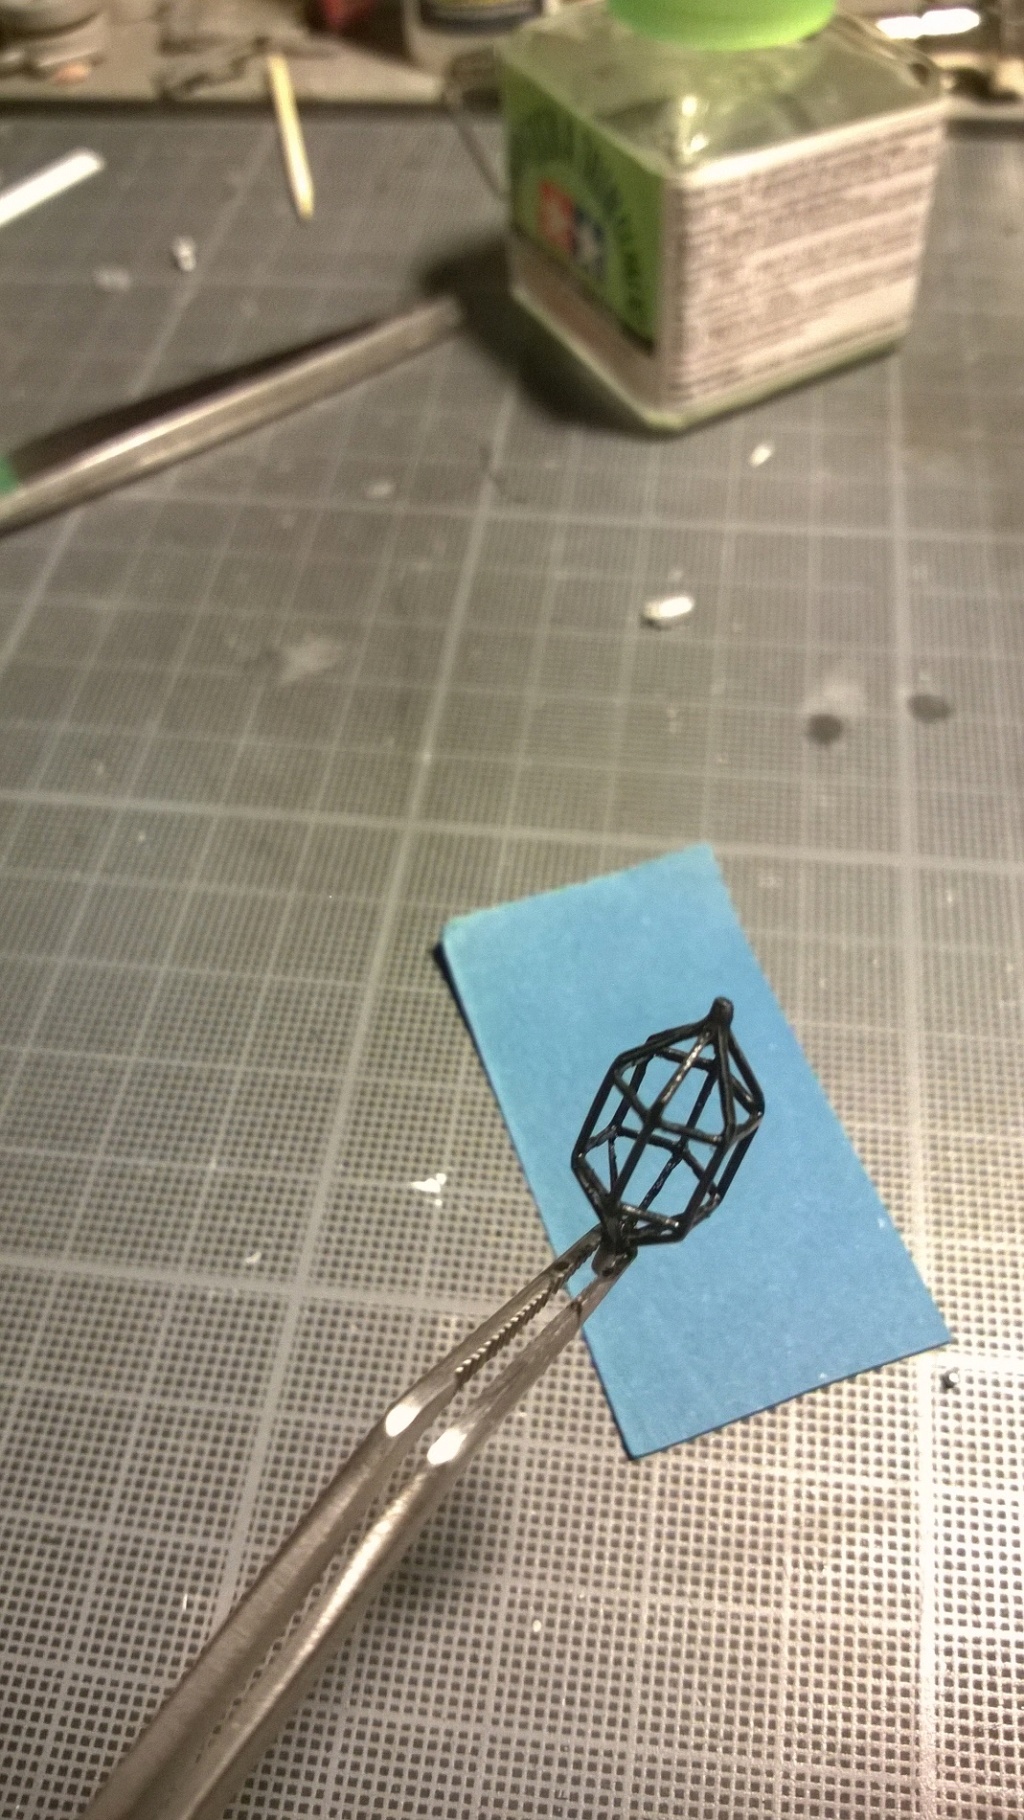
After opening the box, everything is tidy. Here, articulated tracks with links in 2 pieces + connecting pieces. Not wanting to start the adventure again as I did with kit's tracks, I bought friul It will be my only aftermarket on tank. The kit being recent, few things exist. There is indeed an RFM upgrade in PE mainly devoted to slat armor. From what I could see on the Net, it seems to be the misery to mount. My Leo's slat armor vaccinated me. The finesse of the kit parts eventually convinced me to choose them to build the model. There is despite everything a PE board included, some parts accompany the radiator grilles. I will maybe make changes or scratch if necessary as I go. Finally, it will be a buildding very close to from the box, the model is largely sufficient. for the paint, it will be the Nato green of the box, the real armored vehicle being recent, it does not seem to have fought yet. We find photos of them only in public shows or others.

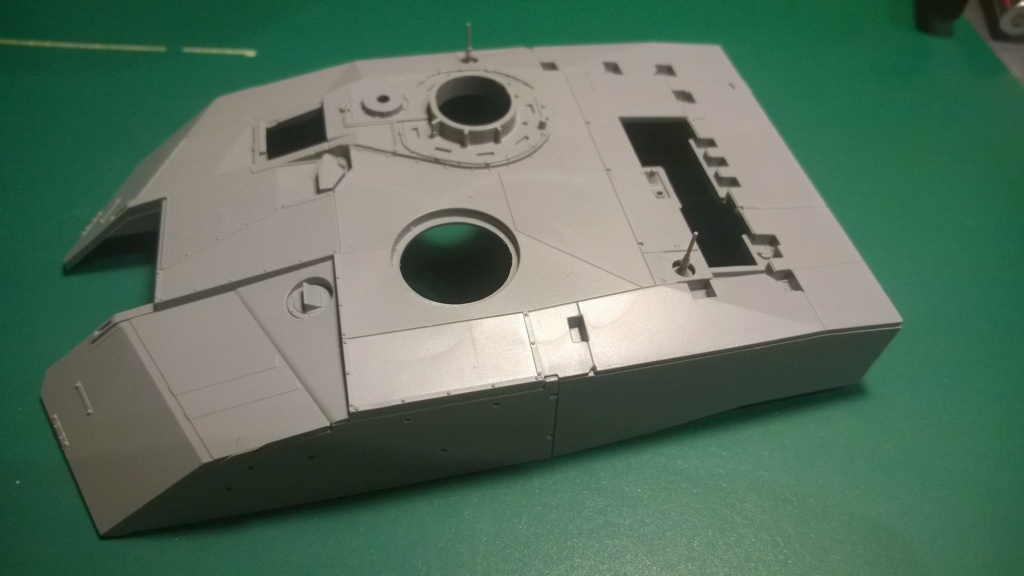
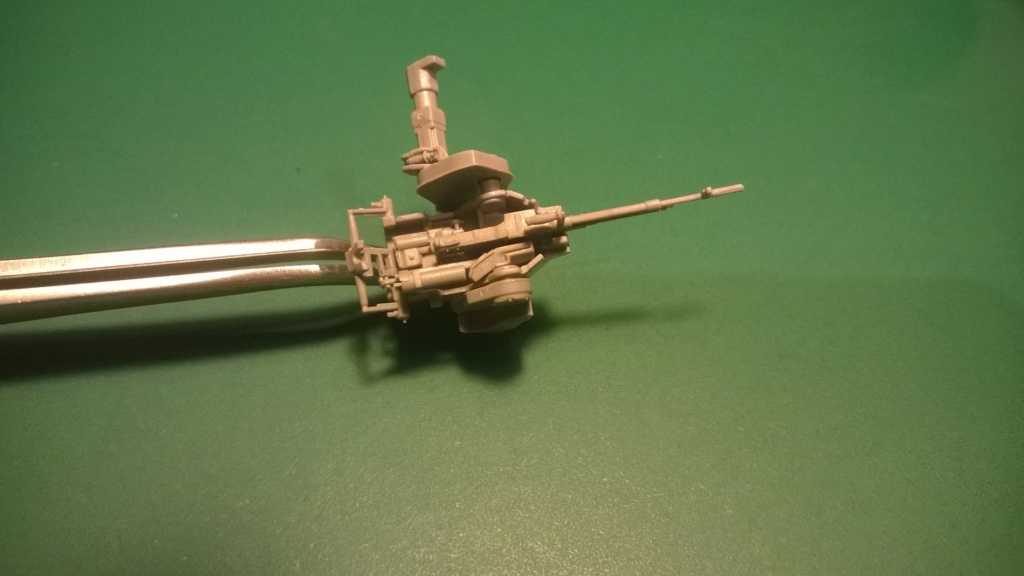
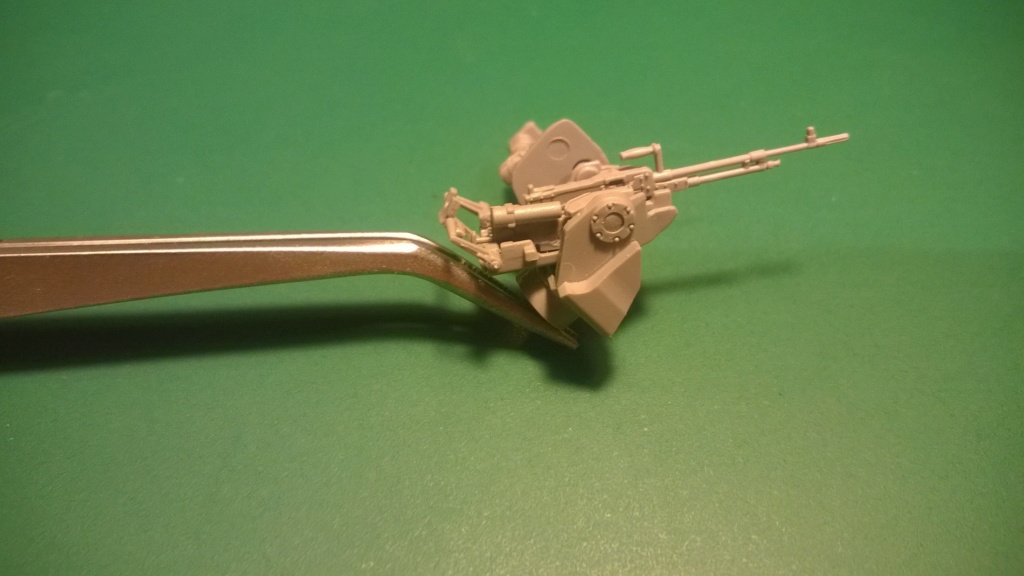
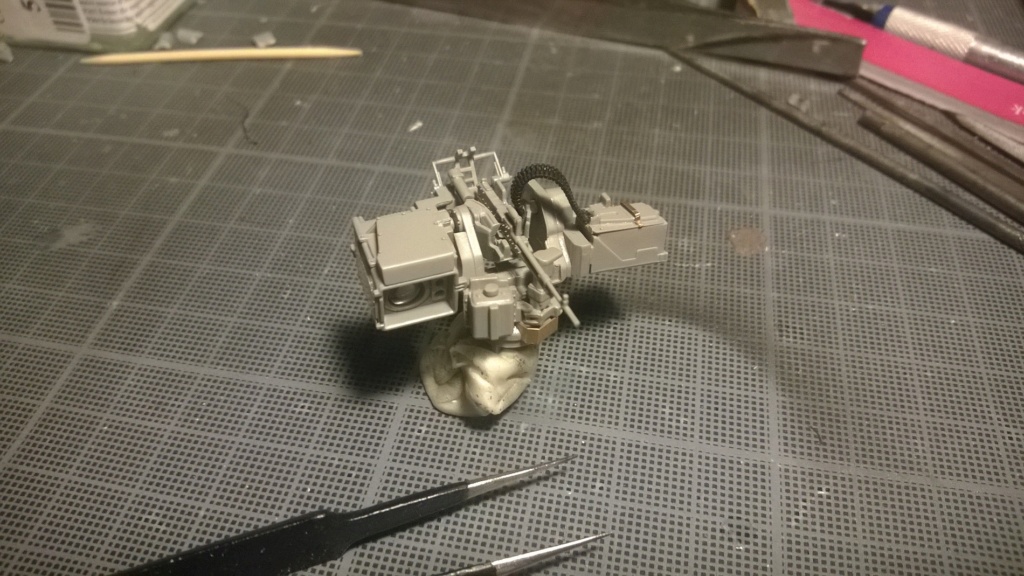
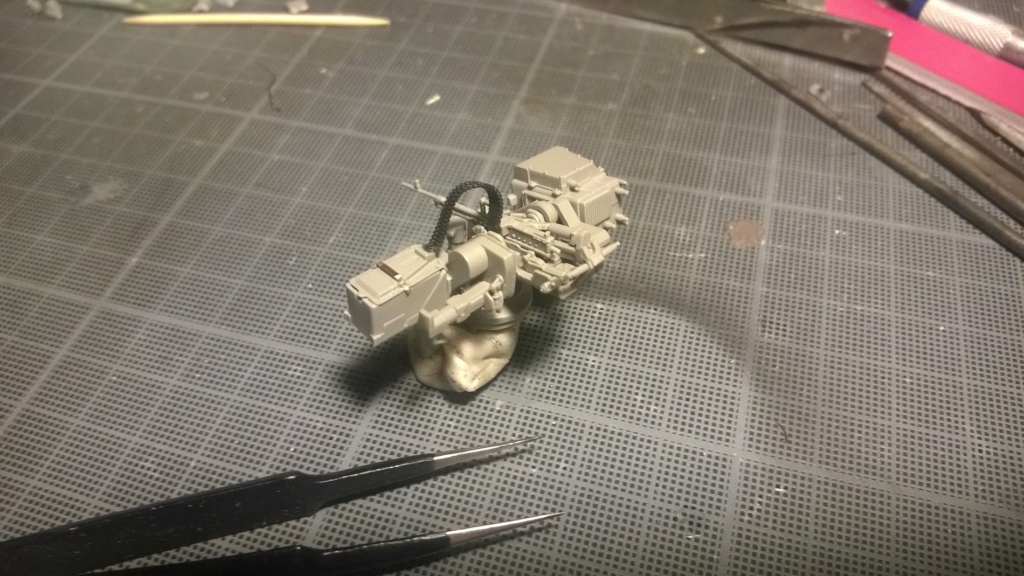
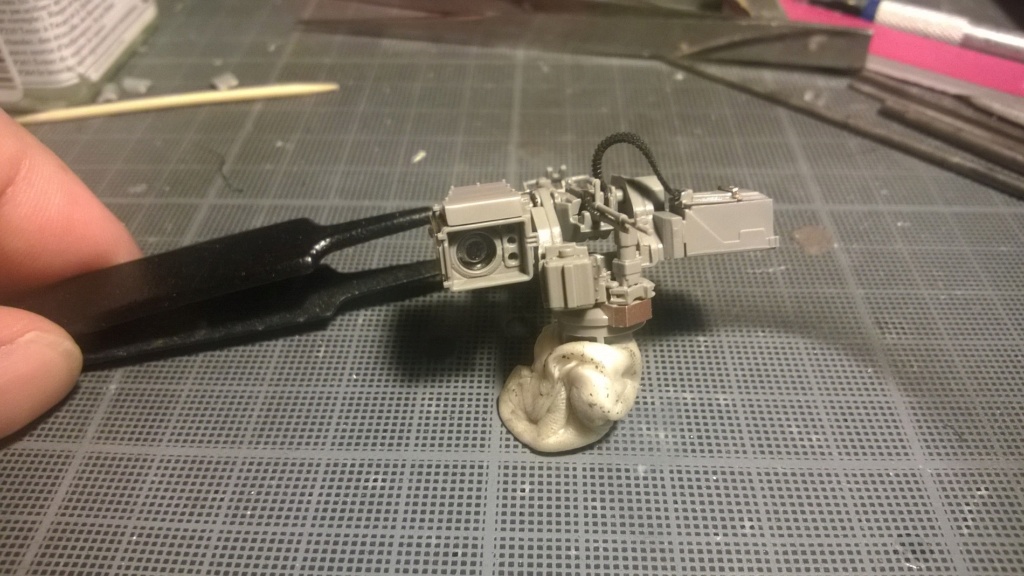
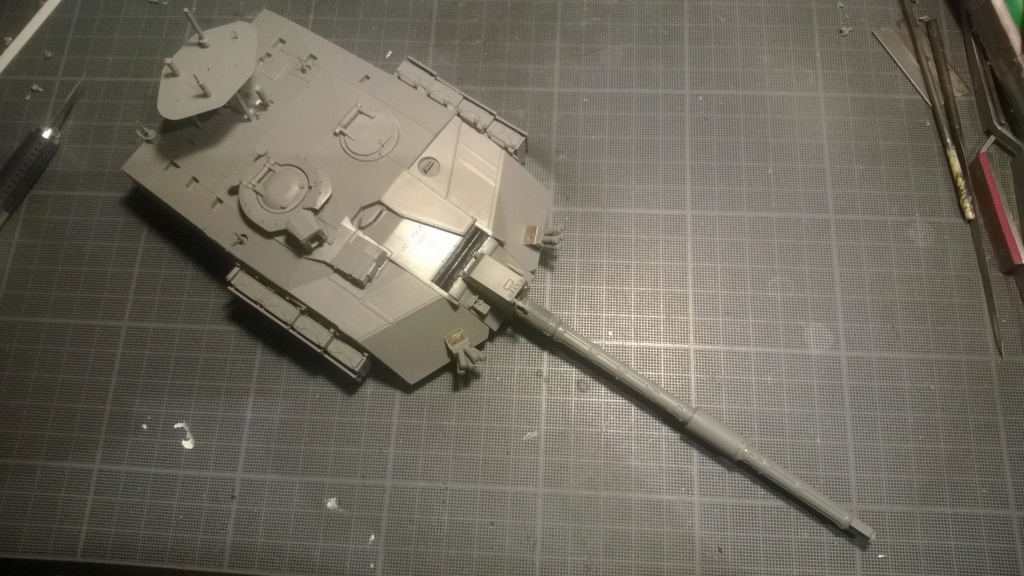
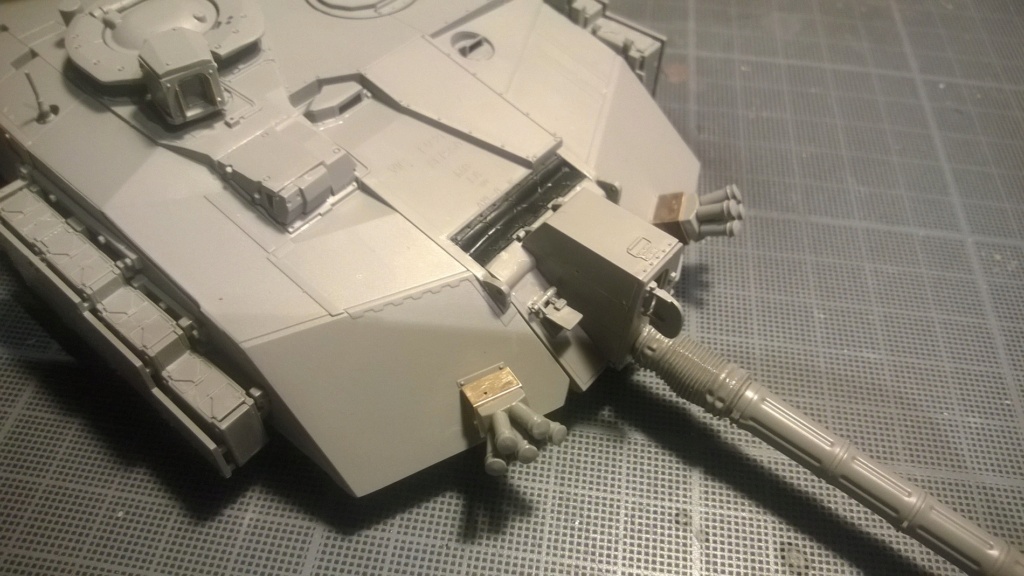
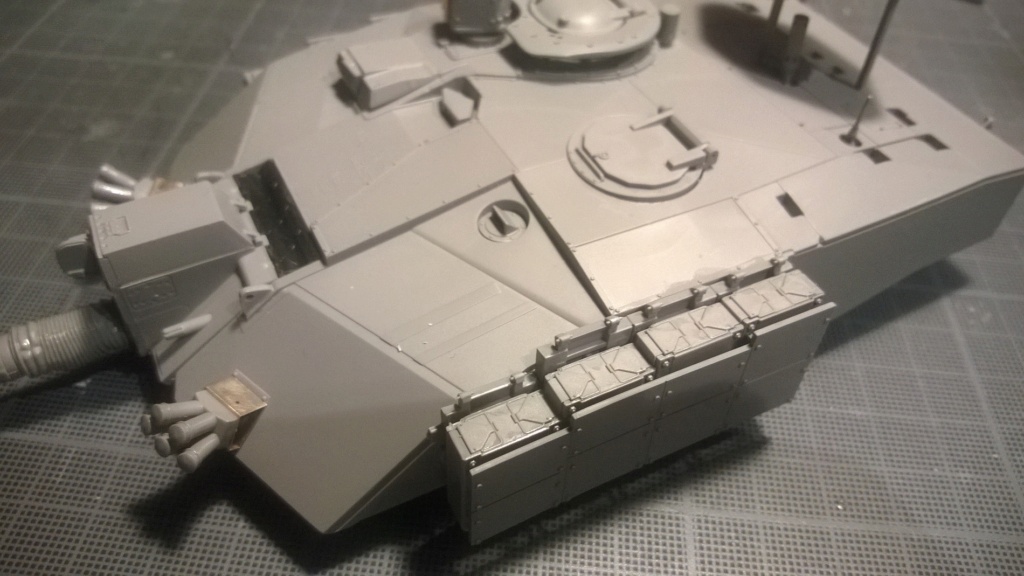
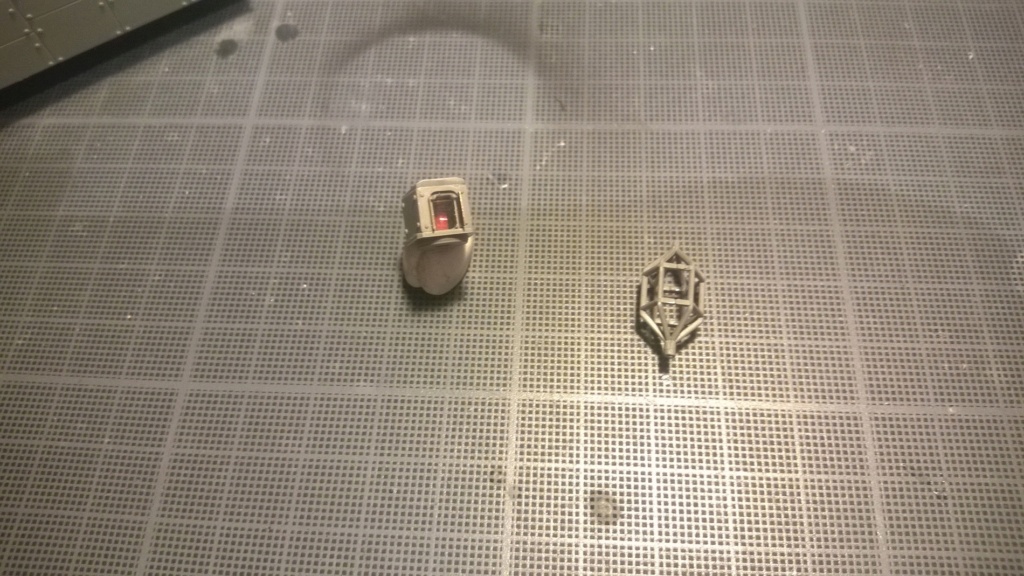
I started with the turret contrary to what the instructions say to change while the latter begins as usual with the hull. Plastic is much more flexible than what Meng or Border models use. It's like Tamiya. Faster to clean therefore but it is easier to damage the parts by too much sanding! I assembled the big parts of the turret as well as the beginning of the remotely operated machine gun. Fairly complex piece with a lot of parts but everything fits together correctly for now. I still have all the sighting system as you can see.


This is where I am!


iwatajim
Visit this Community
United Kingdom
Joined: December 15, 2008
KitMaker: 246 posts
Armorama: 171 posts
Posted: Thursday, September 24, 2020 - 11:35 PM UTC
Now this I am very interested in seeing. Thanks for sharing and looking forward to watching your progress.

Thanks, J.
bosscat
Visit this Community
Marne, France
Joined: April 19, 2012
KitMaker: 119 posts
Armorama: 116 posts
Posted: Friday, September 25, 2020 - 11:18 PM UTC
I have finally finished the remotely operated machine gun !!!
It is not too complicated but the multitude of parts and their size slow down the work. I think I got out of it a bit There is only the protective grid of the camera that I would put at the very end.


flugwuzzi
Visit this Community
Lower Austria, Austria
Joined: November 02, 2007
KitMaker: 633 posts
Armorama: 599 posts
Posted: Sunday, September 27, 2020 - 06:20 AM UTC
Great work Frederic ... looks like it will be a mean machine.

cheers
Walter
bosscat
Visit this Community
Marne, France
Joined: April 19, 2012
KitMaker: 119 posts
Armorama: 116 posts
Posted: Monday, September 28, 2020 - 09:29 AM UTC
thx Walter!

I finished the turret! The assembly is always excellent, impeccable adjustment including the barrel which is in 8 parts. No problem for the molding line, it's very thin. Pleasant to work with, etc. For the pano camera, I put an AFV sticker at the bottom to simulate the anti-reflection of the glass. The antenna "table" is not glued. On the other hand, I'm disappointed with the "lemon" antenna As you can see, it's super ugly and very far from reality. I tried to do it with brass wire but I couldn't manage to make 6 identical pieces let alone the hexagons. I don't have sufficient gear / dexterity. Like that, except in resin 3D printing (in several parts,), I don't really see how to do it. I'll have to settle for the part of the kit. Am moderately satisfied but I don't have much choice .... I haven't fixed the slat armor, I would only do it at the end of the assembly.
You can't see it, but as usual when I can, I soldered the brackets for the smoke lances. I prefer that to cyano.


flugwuzzi
Visit this Community
Lower Austria, Austria
Joined: November 02, 2007
KitMaker: 633 posts
Armorama: 599 posts
Posted: Tuesday, September 29, 2020 - 07:24 AM UTC
Nice progress Frederic.
This "Lemon" shaped antenna is a tricky one ... maybe you could use the "Connecto" photo-etch shapes in conjunction with microtubes from Albion Alloys?
https://www.albionhobbies.com/product-ranges/connecto/

Keep up the good work.
Cheers
Walter
LonCray
Visit this Community
Virginia, United States
Joined: August 24, 2005
KitMaker: 348 posts
Armorama: 256 posts
Posted: Wednesday, September 30, 2020 - 01:04 AM UTC
What if you made that antenna out of (solid) clear plastic, polished it up really nice, then painted the lines on the outside?
bosscat
Visit this Community
Marne, France
Joined: April 19, 2012
KitMaker: 119 posts
Armorama: 116 posts
Posted: Wednesday, September 30, 2020 - 01:55 AM UTC
I spent many hours to sand the different parts and let's see the result!
What do you think?

flugwuzzi
Visit this Community
Lower Austria, Austria
Joined: November 02, 2007
KitMaker: 633 posts
Armorama: 599 posts
Posted: Wednesday, September 30, 2020 - 07:51 PM UTC
Antenna looks great now Frederic, well done!
bosscat
Visit this Community
Marne, France
Joined: April 19, 2012
KitMaker: 119 posts
Armorama: 116 posts
Posted: Wednesday, September 30, 2020 - 08:02 PM UTC
thx a lot!!
 _GOTOTOP