_GOTOBOTTOM
Campaigns
Where Armorama group builds can be discussed, organized, and updates posted.
FUMS - Mörkö-Morane in progress
Emeritus
Visit this Community
Uusimaa, Finland
Joined: March 30, 2004
KitMaker: 2,845 posts
Armorama: 808 posts
Posted: Sunday, June 25, 2006 - 02:33 AM UTC
Hi everyone!
I started building MPM's 'Mörkö' Morane for FUMS a couple of days ago and here's some in-progress pics. This is my first kit for this campaign, if you don't count my "quickie" Hurricane which I also plan to enter. I should get this "my fastest build ever" ( :-)) finished before I head back to the army today. I'll have more building time than usual next week as I used my last days-off to have an extended leave, I leave on Tuesday evening and go back on Sunday. Then it's the last week before I become a reservist!
But enough of my mumbling, here are the pics:

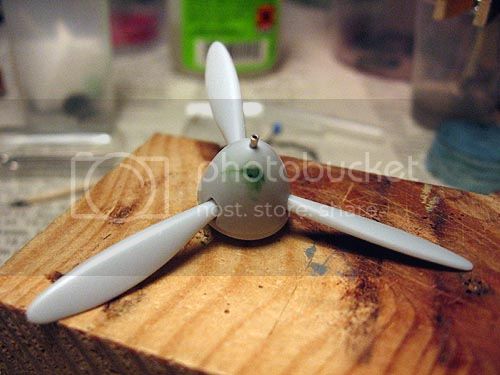
The propeller was easy to put together, it only had a minor sink mark in the spinner which was easily puttied and sanded smooth. I made the missing cannon barrel with steel tubing.

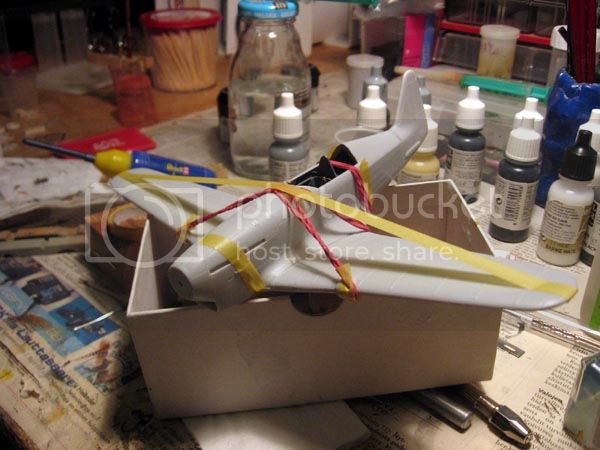
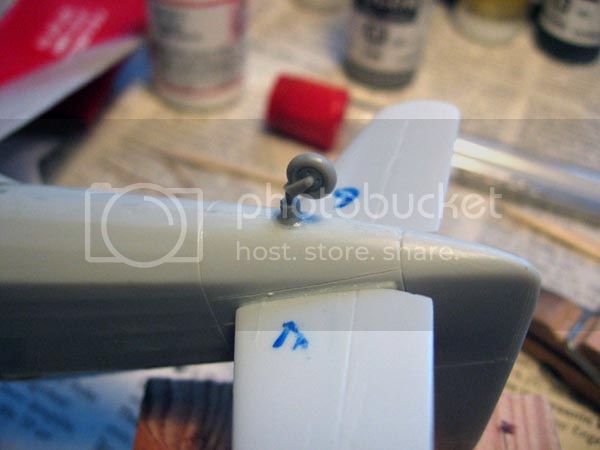
The wheel wells were moulded overly thick and had to be thinned considerably before the wing halves would close around them. You can see those few spots where I wasn't careful enoug with my knife and carved through the parts. To close the holes, I applied small pieces of tape over them and applied some CA on both sides. To hide the patches, I'll try mr. surfacer followed by some careful sanding.

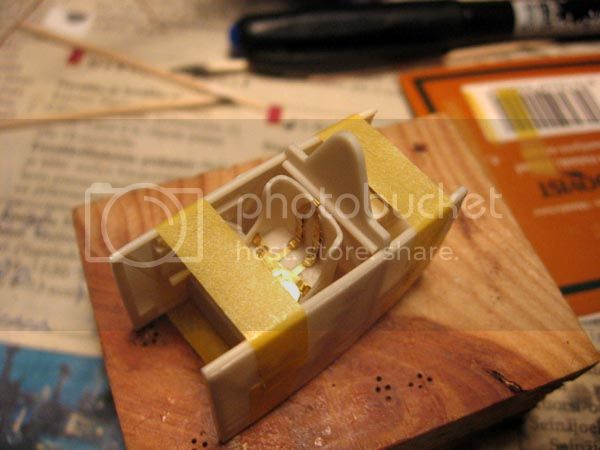
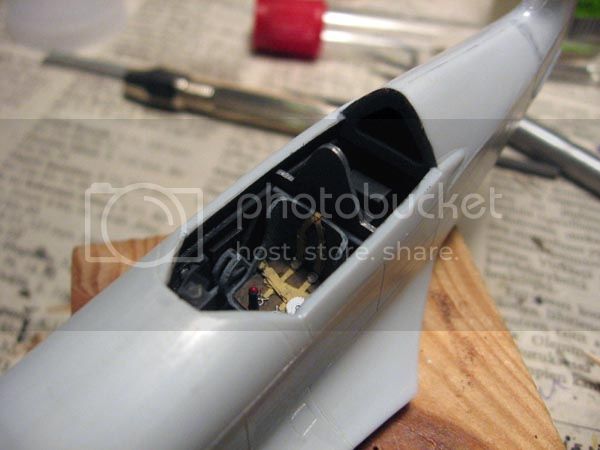
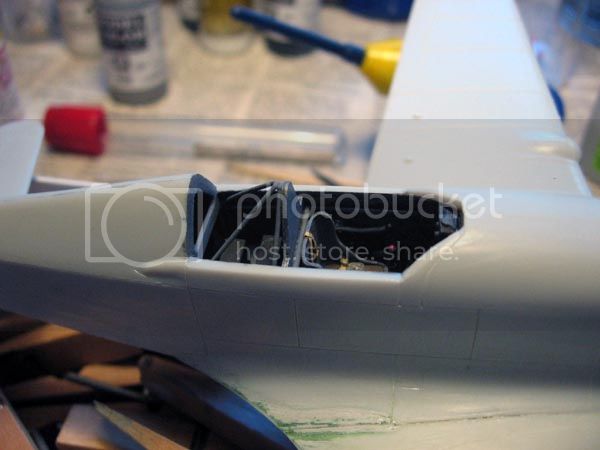
The fuselage halves fit together well, but I'm facing some serius grinding and sanding because the halves are quite thick, and as result the cockpit parts won't fit inside unless some material is removed.

Next I'll be concentrating on the cockpit and getting it to fit inside the fuselage halves.
Emeritus
Visit this Community
Uusimaa, Finland
Joined: March 30, 2004
KitMaker: 2,845 posts
Armorama: 808 posts
Posted: Wednesday, June 28, 2006 - 02:05 AM UTC

The cockpit's being dryfitted here. I had to thin down the insides of the fuselage halves and the cockpit sides before the cockpit would fit inside the fuselage properly. (when I dryfitted the parts for the first time, there was a 2mm gap between the fuselage halves...) The PE seat belts are from Model design construction, the kit didn't come with any.

I had to be really careful with the vac-formed canopy, as there only one included in the kit, instead of the two in the original CA ms.406. Fortunately it was relatively easy to trim and fit to the fuselage. I was a little intimidated at first, as this was my first ever vac-formed canopy but it came out pretty good, I think.
Also visible in the pic are the re-scribed panel lines (The panel lines in the kit were neat but too shallow so I decided to re-scribe them). They look rough now, but I'll smooth them out later with some liquid cement .
VonCuda
Visit this Community
North Carolina, United States
Joined: November 28, 2005
KitMaker: 2,216 posts
Armorama: 89 posts
Posted: Wednesday, June 28, 2006 - 09:38 AM UTC
Looking good so far Eetu.
That vacuform canopy looks great. I only have one kit in my stash with a vacuform canopy and I've been too scared to deal with it yet.
Emeritus
Visit this Community
Uusimaa, Finland
Joined: March 30, 2004
KitMaker: 2,845 posts
Armorama: 808 posts
Posted: Friday, July 07, 2006 - 06:41 PM UTC
At last I got out of the army. Summer can start for me too!
That of course means a lot of modeling, in addition to the usual summer activities like lying down and absorbing some sunbeams.


That was one of the last modeling chores I did on my last leave from the army. Like everything else in the kit that goes between the fuselage halves, the radiator was too wide. I ended up cutting the part too much so I scratch-built a new one from sheet styrene.

The cockpit's coming along nicely too. I'll post pics when It's done and ready to be installed.
Emeritus
Visit this Community
Uusimaa, Finland
Joined: March 30, 2004
KitMaker: 2,845 posts
Armorama: 808 posts
Posted: Sunday, July 09, 2006 - 12:49 PM UTC
The cockpit's coming along nicely.


It's almost ready to be glued together and installed in the fuselage. What you see here is straight from the box, except for the gunsight. I replaced the ugly & out-of-scale glass part with acetate sheet borrowed from a PE set.
Emeritus
Visit this Community
Uusimaa, Finland
Joined: March 30, 2004
KitMaker: 2,845 posts
Armorama: 808 posts
Posted: Tuesday, July 11, 2006 - 03:42 PM UTC
My build's coming along nicely.


There. I got the cockpit to fit inside the fuselage. Dryfitting is really essential when building limited run kits. If I hadn't known of the fit issues (or dryfitted the parts in advance), thinning the parts would have been really frustrating.
Next I'll tackle the wings. Getting the fit right was again a chore. There's no serious gaps, it's the shape of the belly section in the lower wing part that doesn't match perfectly with the rear fuselage.
But I'lll get to that a little later with pics.
Emeritus
Visit this Community
Uusimaa, Finland
Joined: March 30, 2004
KitMaker: 2,845 posts
Armorama: 808 posts
Posted: Wednesday, July 12, 2006 - 03:38 PM UTC

I glued the wings in place yesterday. The fit was surprisingly good. The cockpit walls had to be cut down under the radio shelf to get the wing fit right. the fit ins't flawless, however. Some filler has to be used to fix the seams rear fuselage to wing joint.

Emeritus
Visit this Community
Uusimaa, Finland
Joined: March 30, 2004
KitMaker: 2,845 posts
Armorama: 808 posts
Posted: Sunday, July 23, 2006 - 11:52 PM UTC
Here's some more in-progress shots again.


The cockpit's now completed. At least I can't think of any more to add. Any opinions and suggestions before I close the cockpit will be warmly welcome.

I chose to replace the kit tailwheel with a left-over part from a Hasegawa spitfire as the kit part looked flimsy and had flash that was difficult to clean up while keeping the tire round.
I also made new wing machine guns from styrene rod and brass tube (the styrene rod inside is not yet glued in place) and a pitot tube from a needle and some more brass tube.
The landing gear legs recieved copper wire pins to strengthen the joints as the simple butt joints would be very fragile.
Emeritus
Visit this Community
Uusimaa, Finland
Joined: March 30, 2004
KitMaker: 2,845 posts
Armorama: 808 posts
Posted: Tuesday, August 01, 2006 - 04:26 PM UTC
Hi!
Since we now have separate sections for aircraft, figures and so on, I decided to report this and my further FUMS builds over at aeroscale.
I have posted some of my Morane pics in the FUMS thread HERE .
 _GOTOTOP