Introduction
When
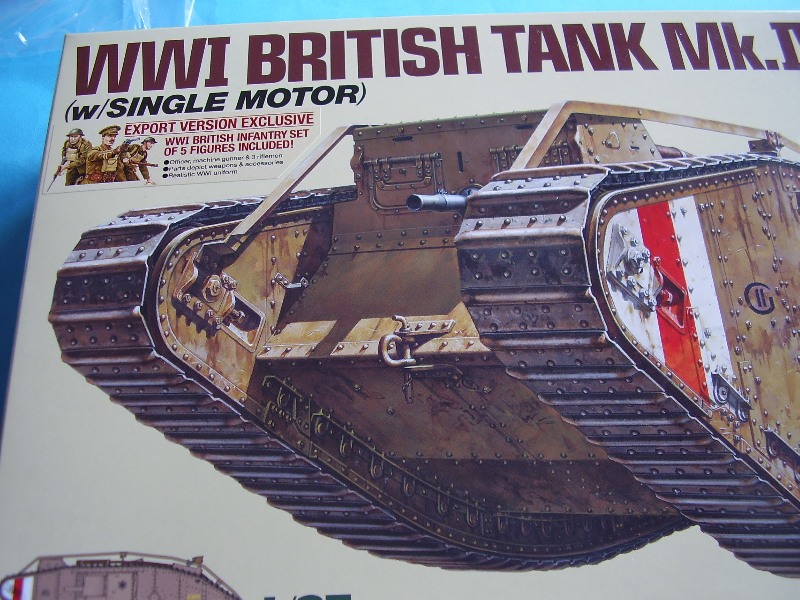
Tamiya announced their new motorised WW1 Mk IV tank it caused a lot of gnashing of teeth and speculation regarding how suitable a kit it would be for static modellers. It also prompted an announcement from Takom about their forthcoming releases of a Mk IV (Male) and a Mk IV (Female tank).
Regardless of all the hora it was a very positive step that
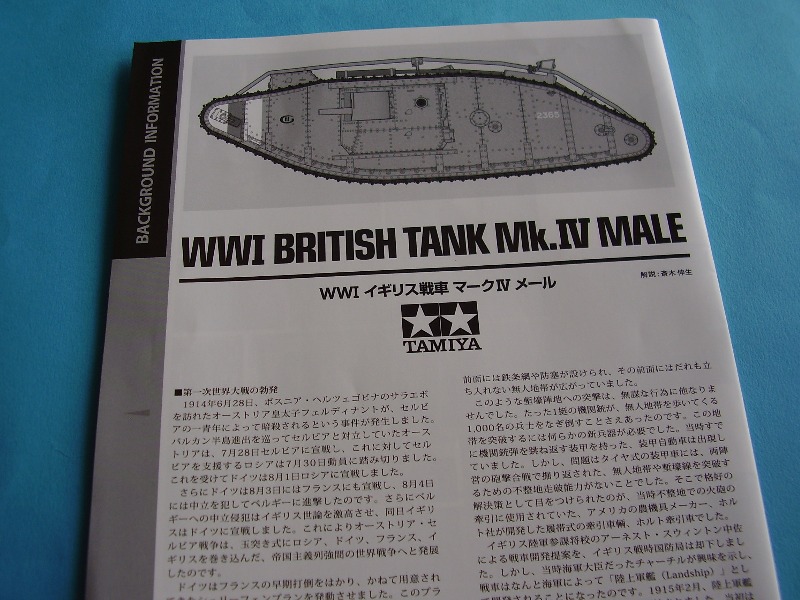
Tamiya took and a very timely one too with the 100th anniversary of the start of the 1st World War. One thing is for sure that a new tooled Mk IV was long overdue.
The invention of the Tank was one of those giant leap forwards that tend to occur in times of conflict. Born of the need to overcome the trenches, barbed wire and obstacles that had thrown warfare into pretty much a stalemate of slaughter on either side. The Mk IV may be seen as the first production tank, and the Mk I, II and III as prototypes. The initial thoughts by the Admiralty were of a vehicle designed to carry troops over the battle field obstacles where they would dismount and carry on the battle in the normal way more an APC than a tank, hence the initial concept of a Landship was born. When the War Office took over the project in 1915 they had different idea, more of a vehicle that could provide fire support as well as cross the rough obstacle strewn terrain. Two initial designs were made Little Willie and Mother trailed in January 1916 and an order was placed for 150 tanks to be ready for September that year.
None of the early Mks were that perfect but by October 1916 things had progress sufficiently that substantial numbers of Mk IVs were ordered around 1,220 of all types.
The main manufacturer was the Metropolitan Carriage, Wagon & Finance Company who constructed 640 male and female fighting tanks and 180 supply tanks (tenders). William Forester & Co Ltd contributed 100 Mk IV males, the engines ironically came from Daimler of Coventry and the 6pdr guns from Armstrong, Witworth on the Tyneside. Added to that were a number of firms who assembled tanks made by others; Armstrong, Whitworth another - 100 males, Coventry Ordnance Works - 100 female, Mirrlees, Watson & Co - 50 females, William Beadmore and Co Ltd - 25 females and 25 supply tanks. Production was spread across the UK as one might expect.
The Mk IV made its first appearance in anger on 7th June 1917 during the Battle of Massines and although new designs and faster tanks followed the Mk IV was the main stay of British Armour up to the end of WW1.
The first tanks in 1916 were crewed by soldiers from the Machine Gun Corps, and from November 1916 this became known as the Heavy Branch Machine Gun Corps. This evolved further and by 28th July 1917 the Heavy Branch became the Tank Corps.
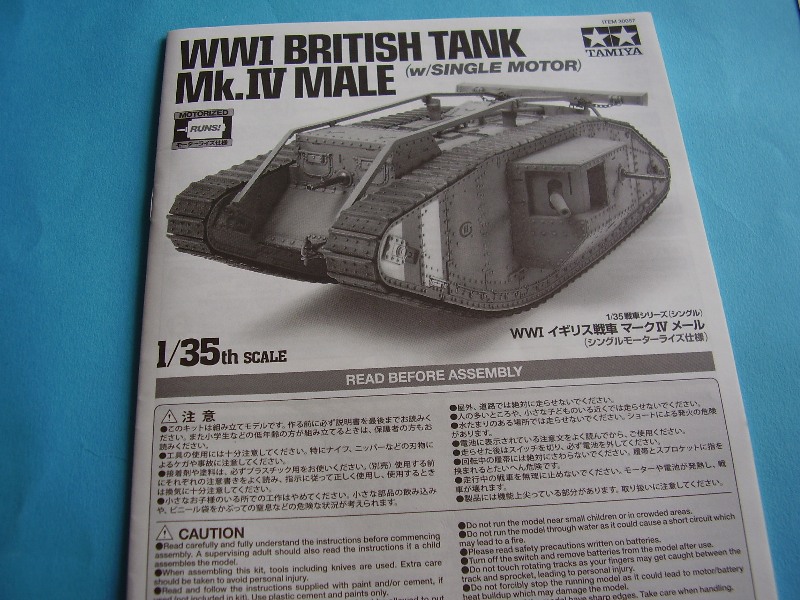
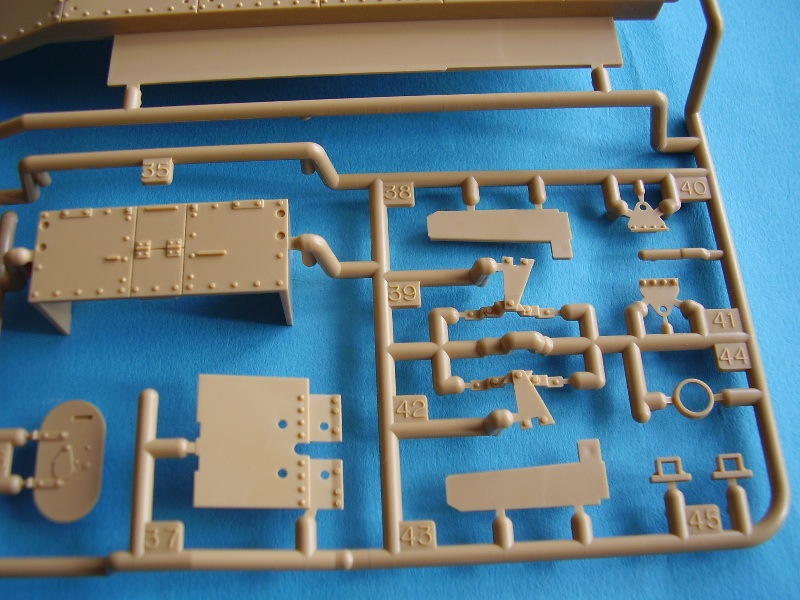
The Kit
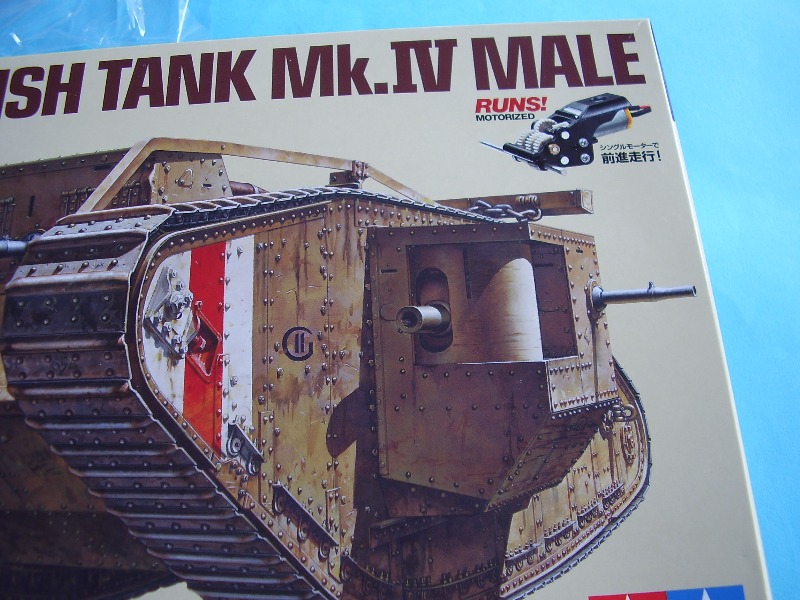
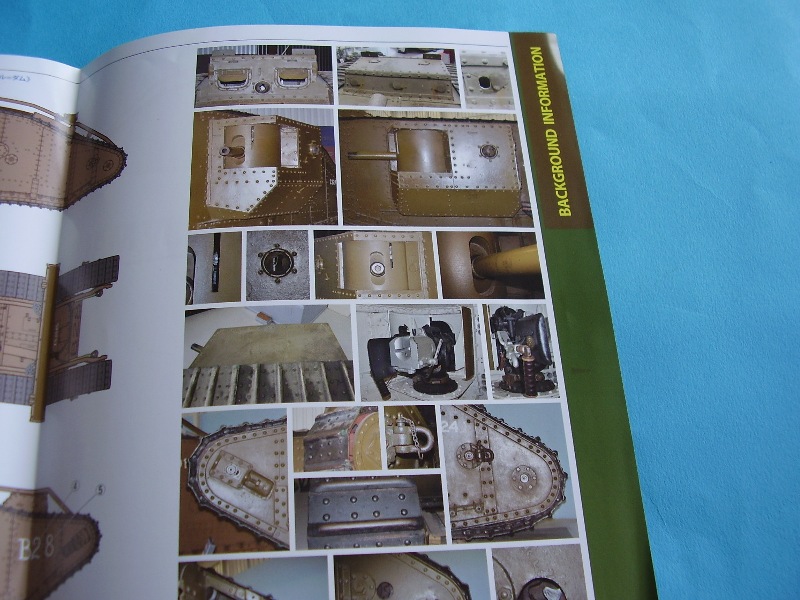
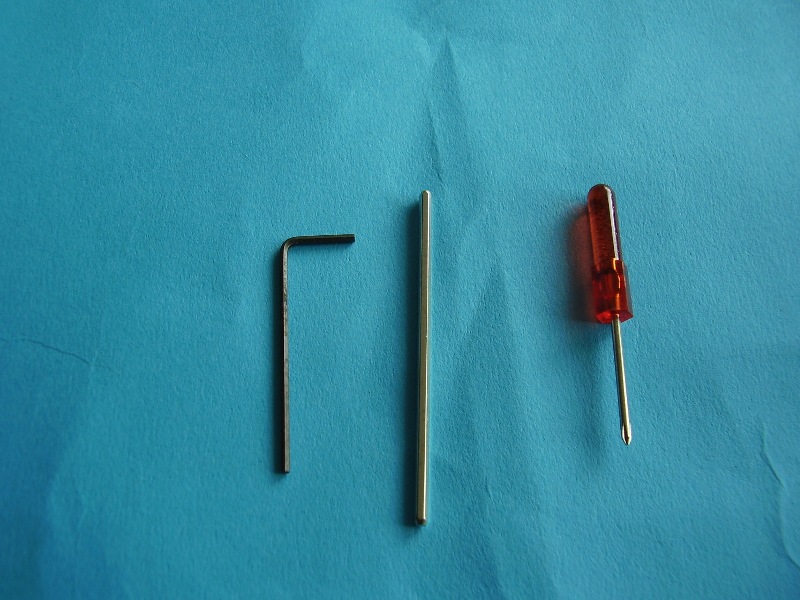
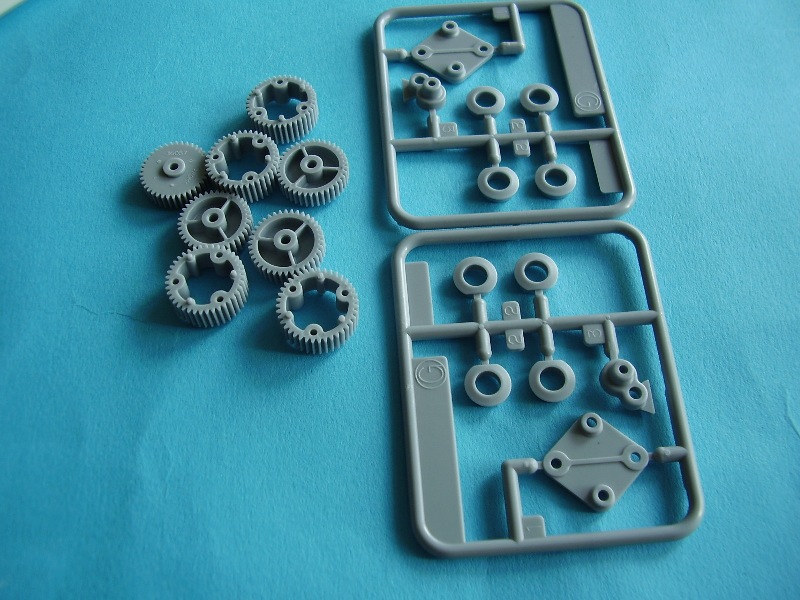
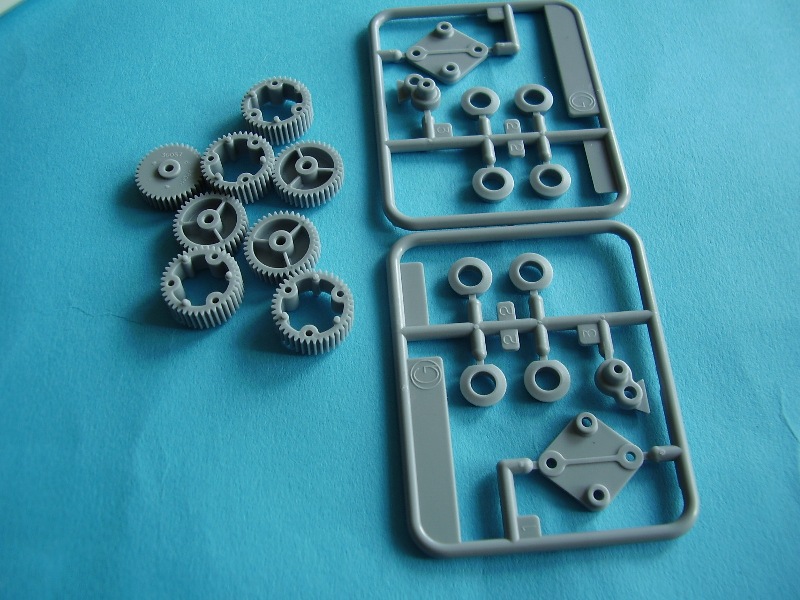
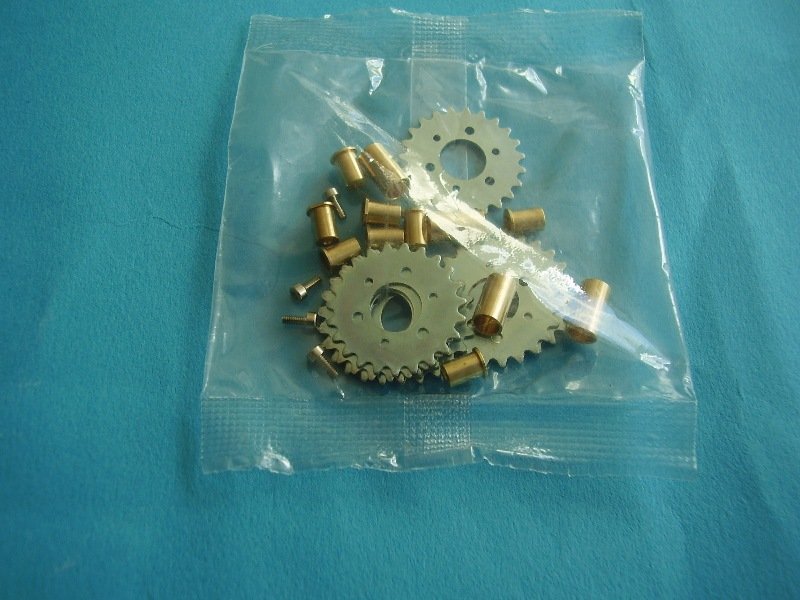
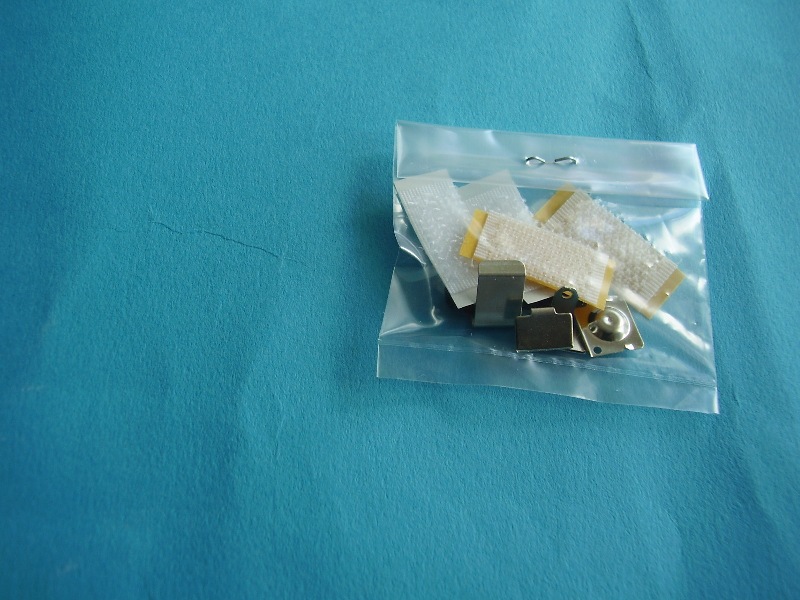
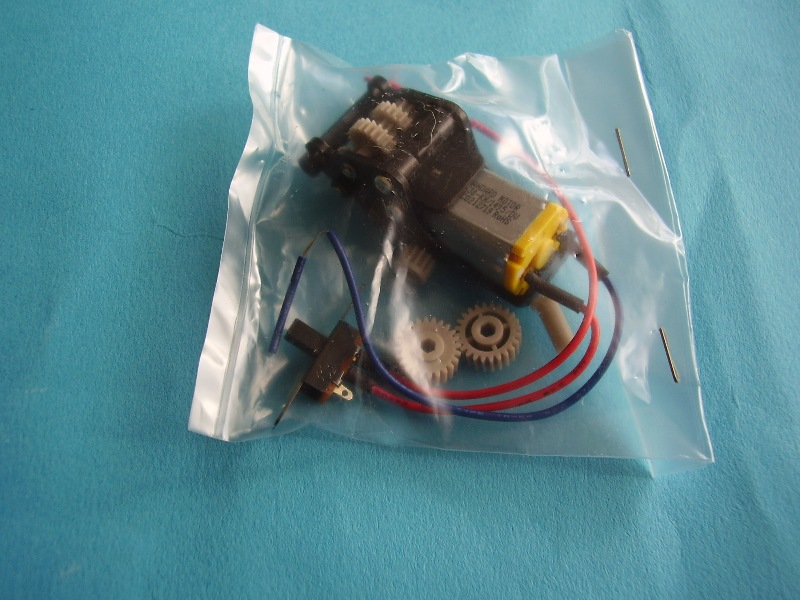
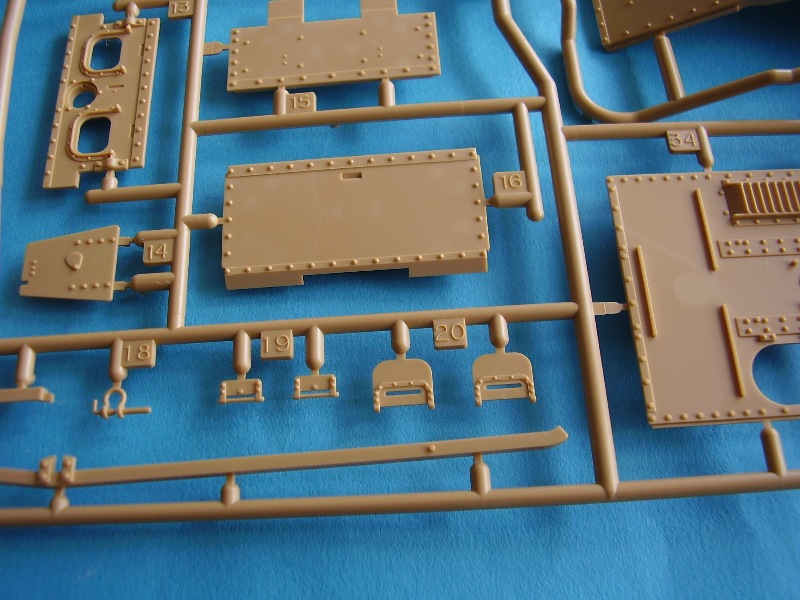
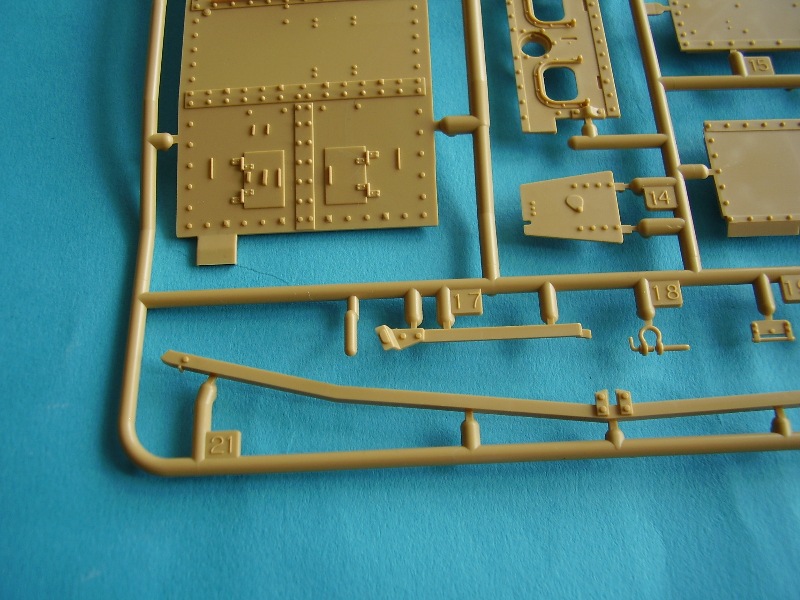
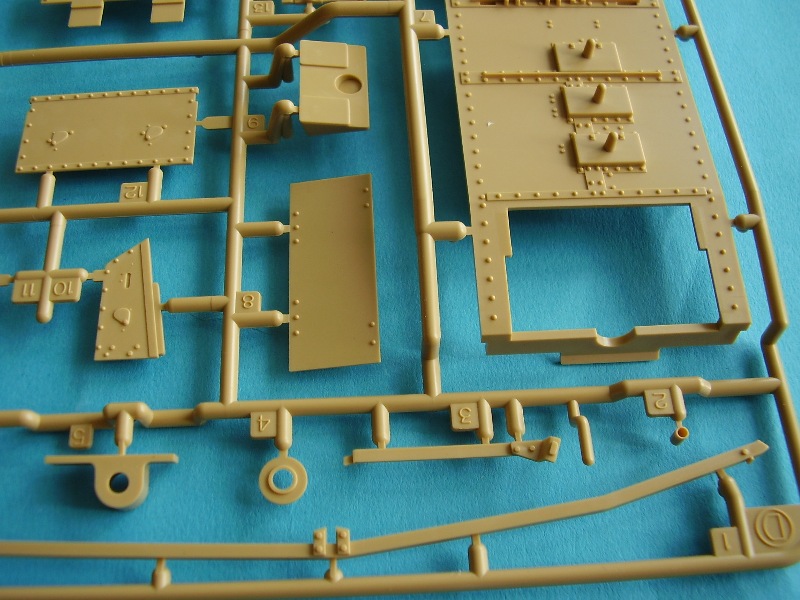
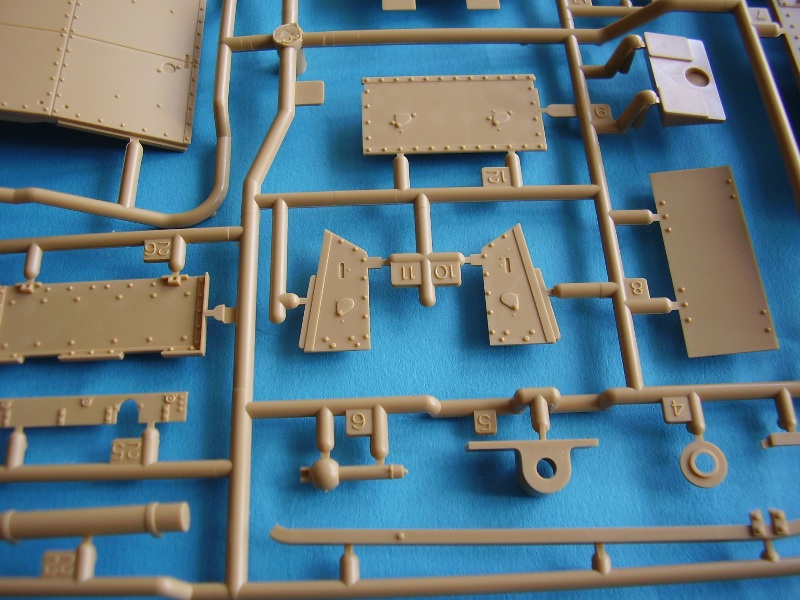
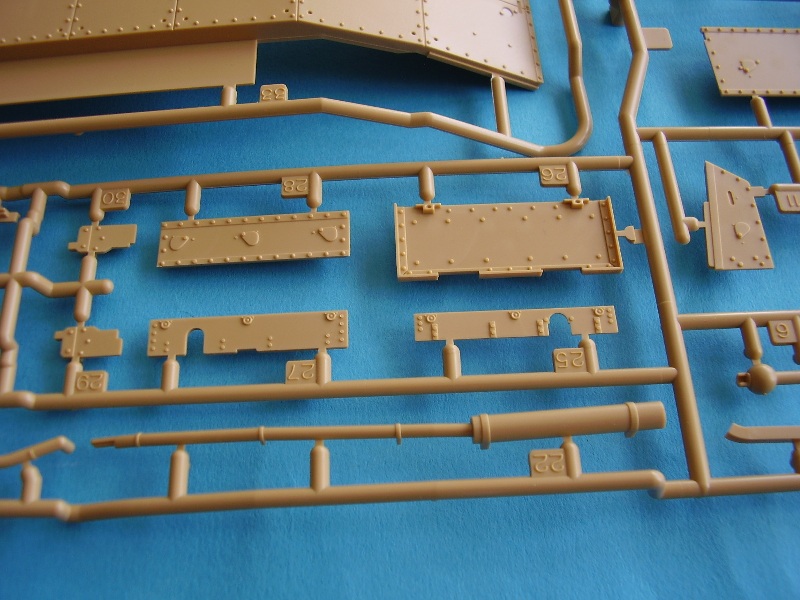
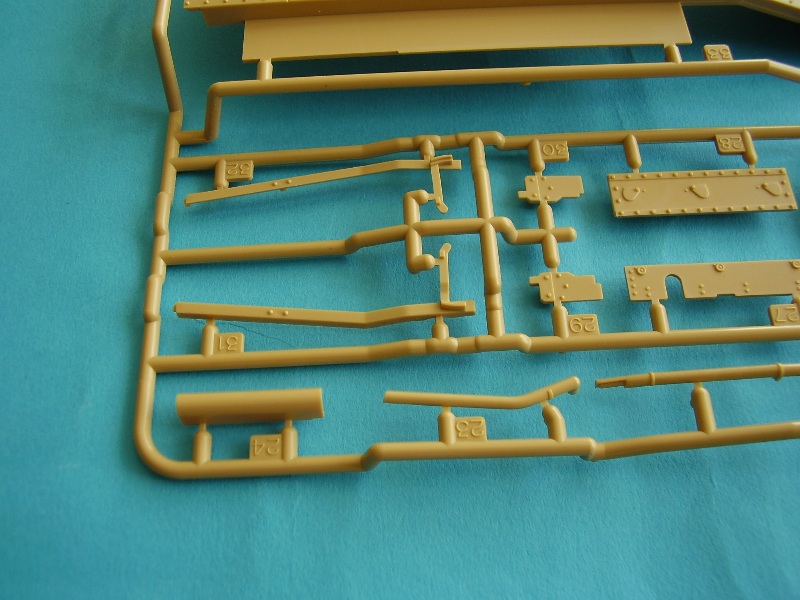
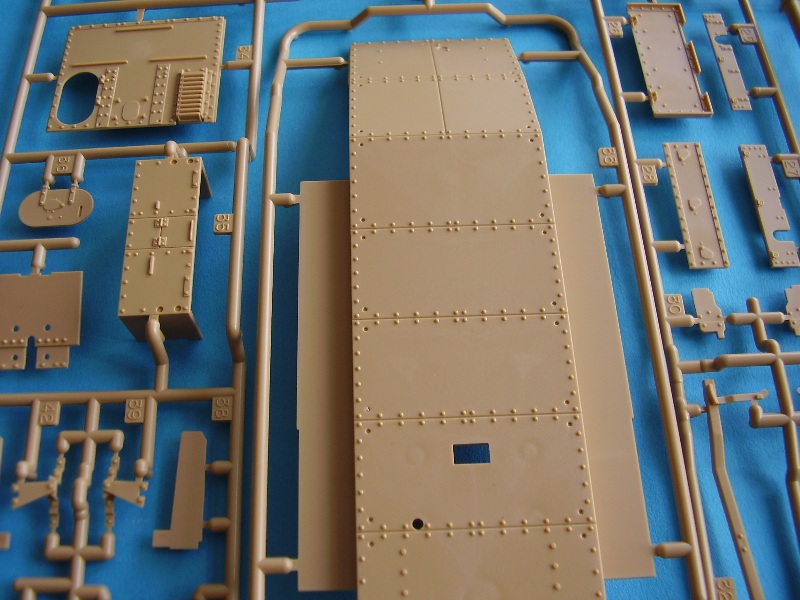
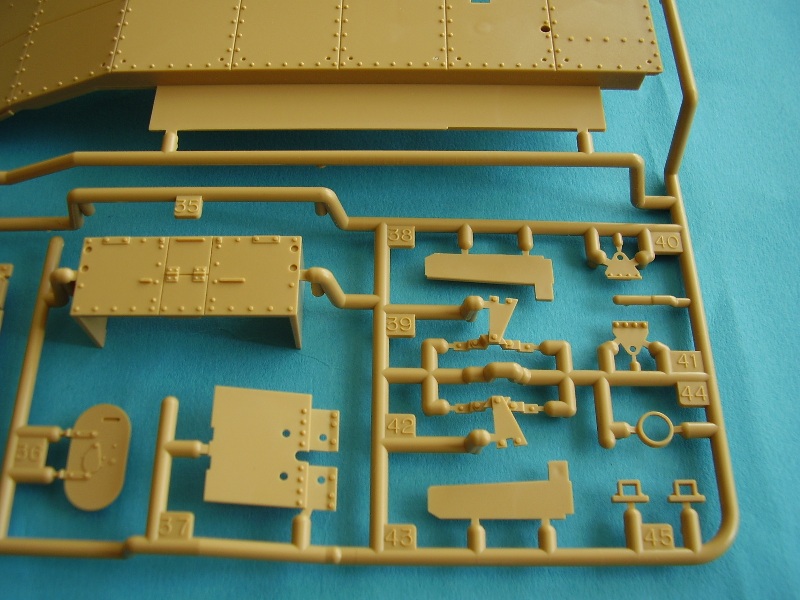
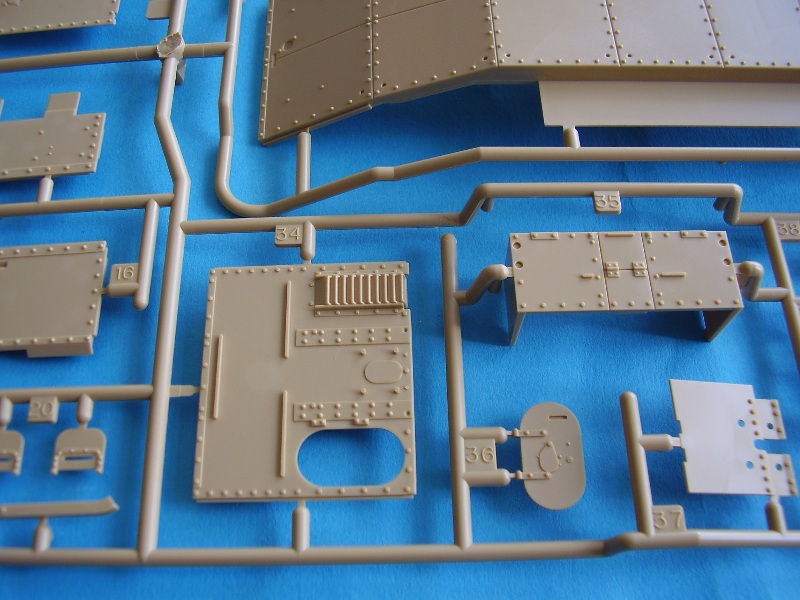
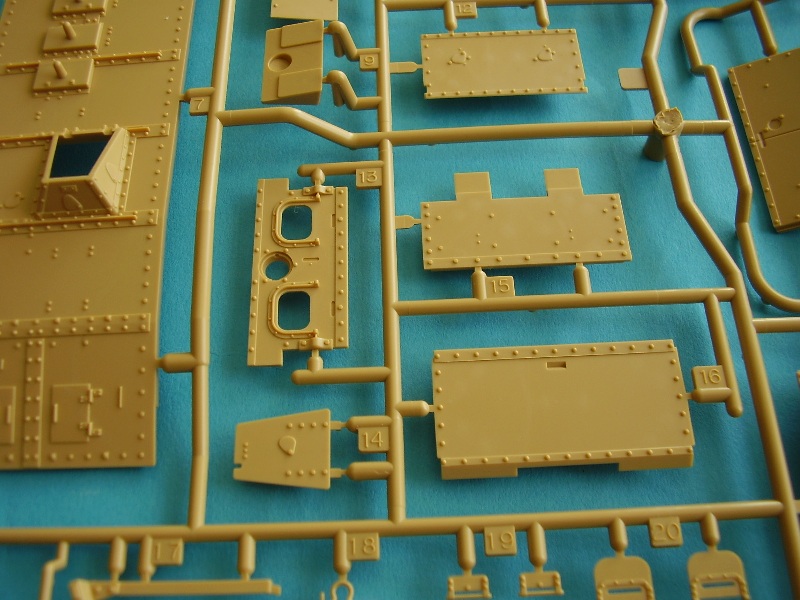
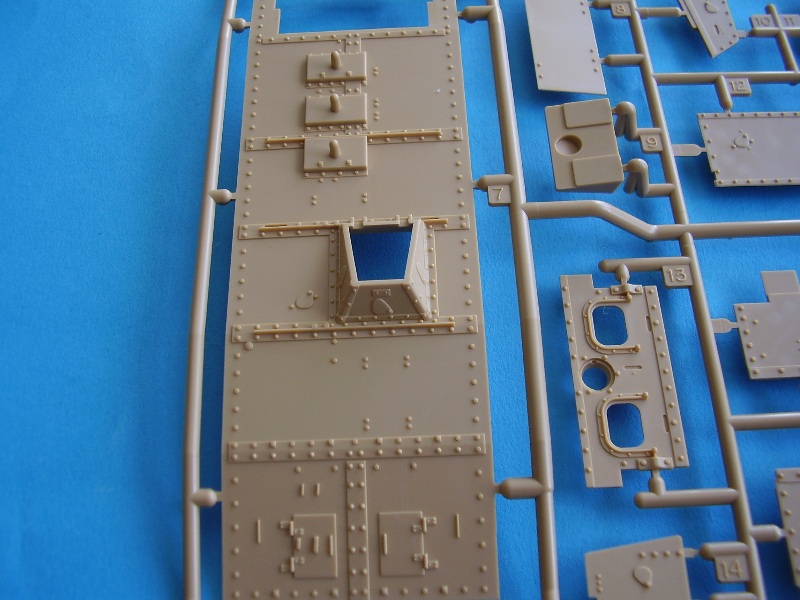
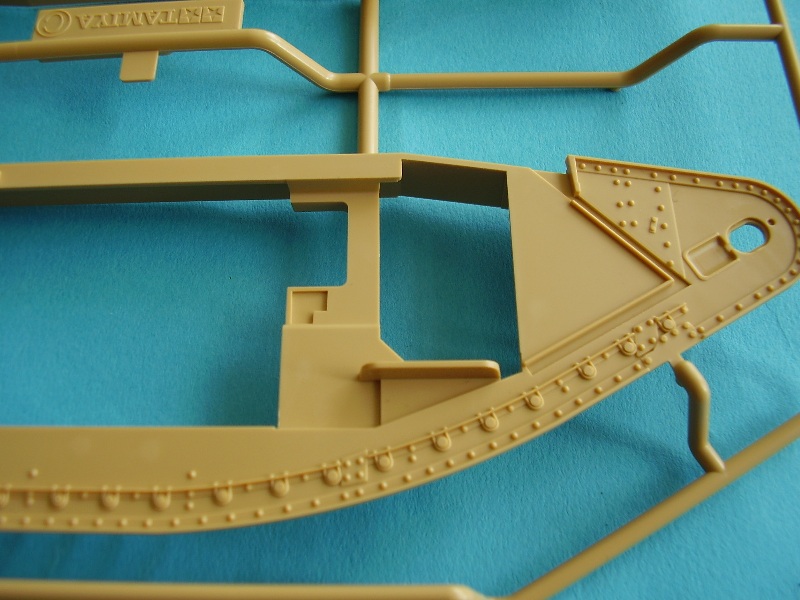
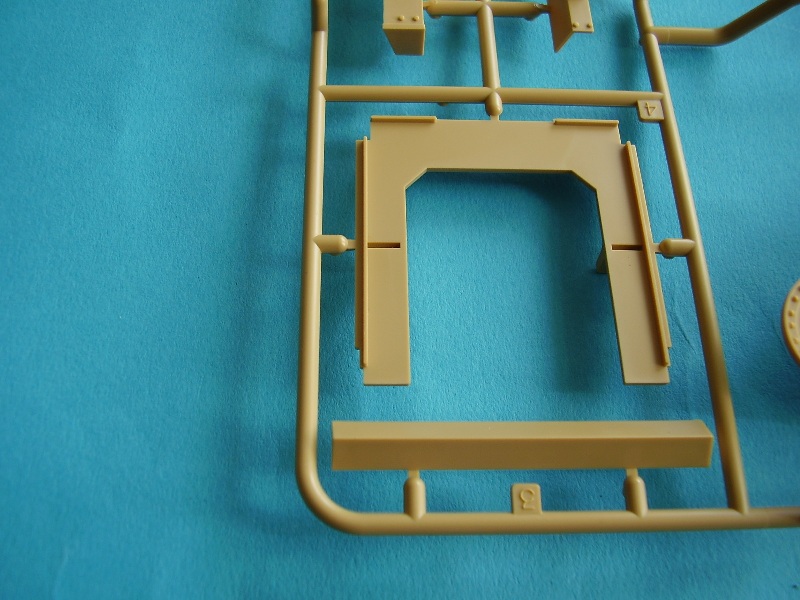
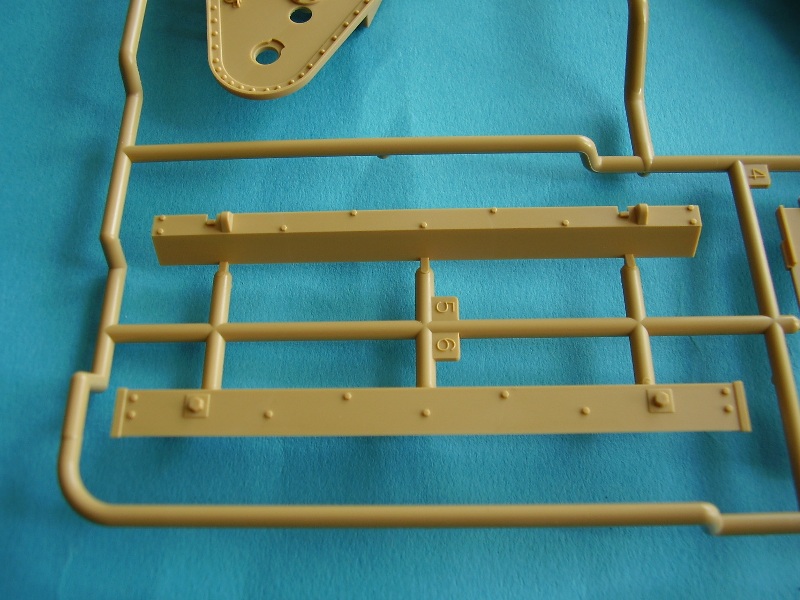
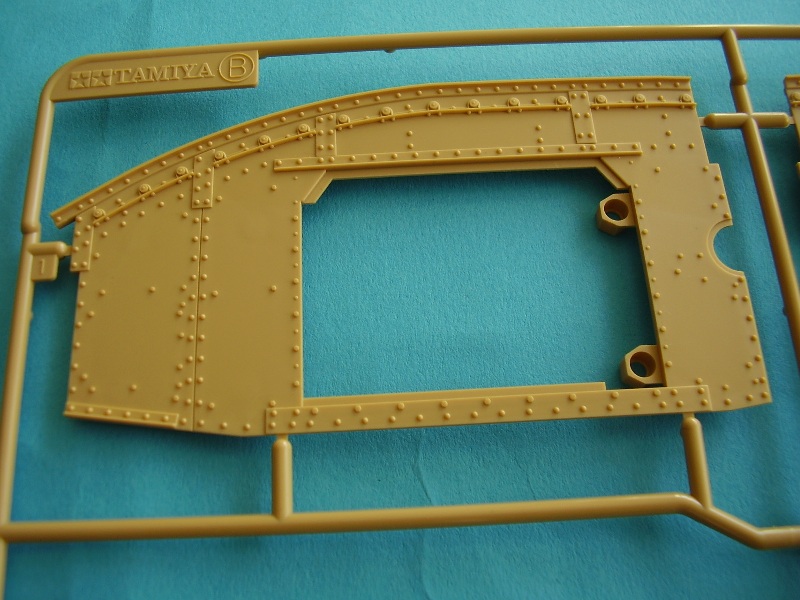
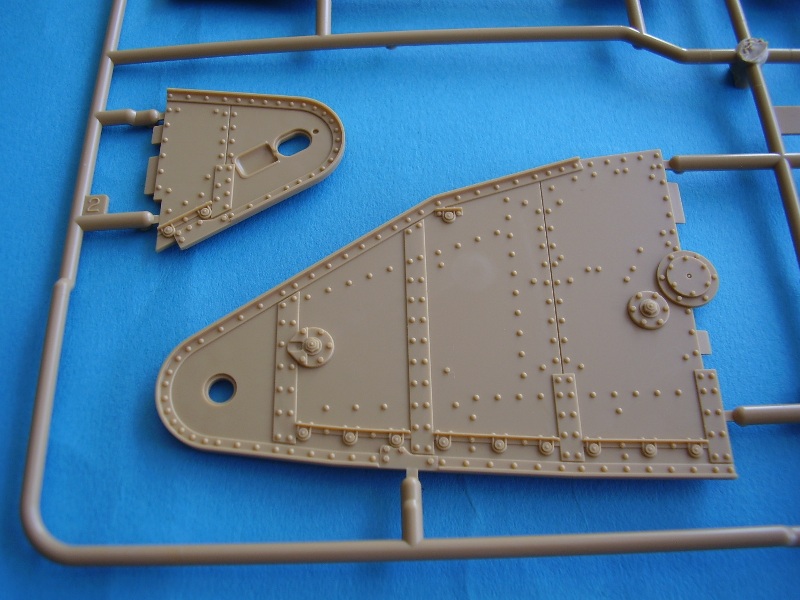
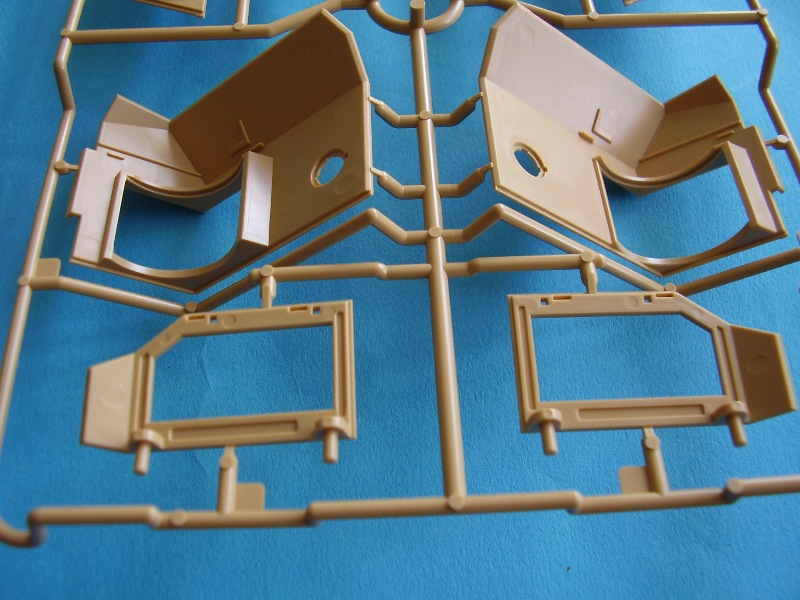
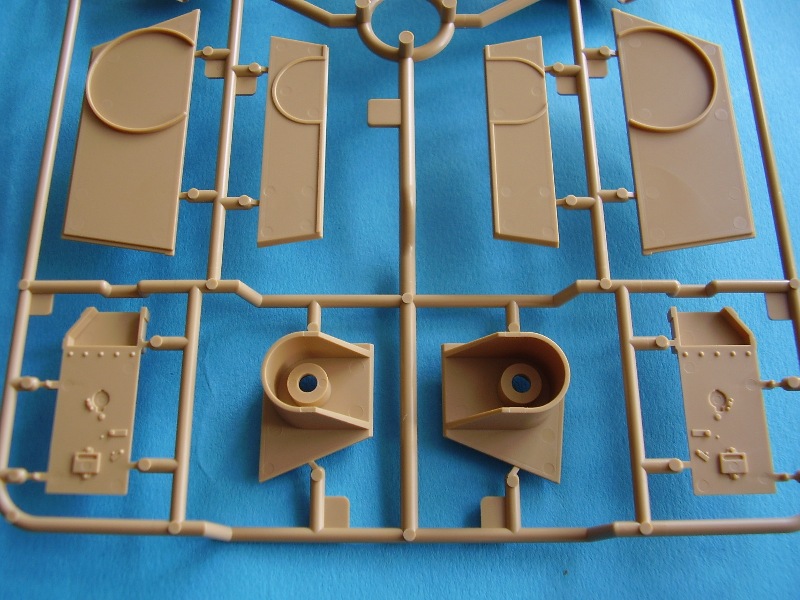
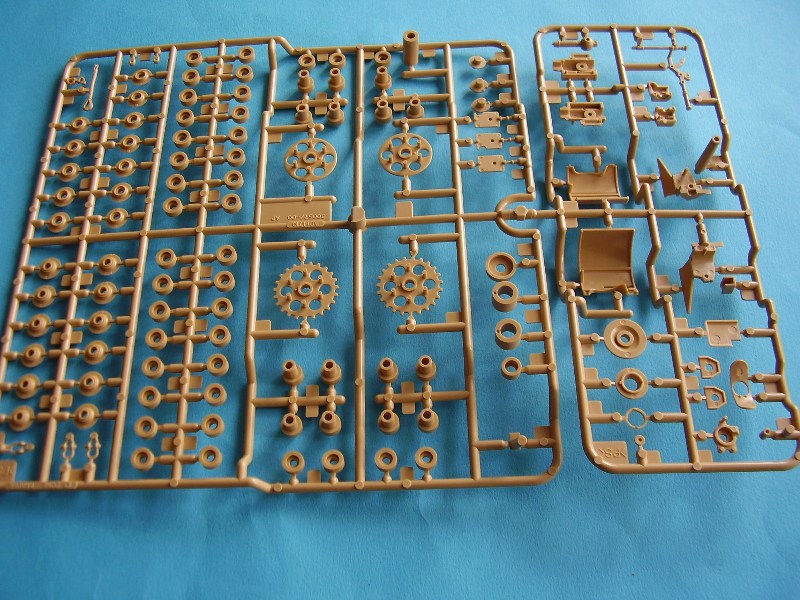
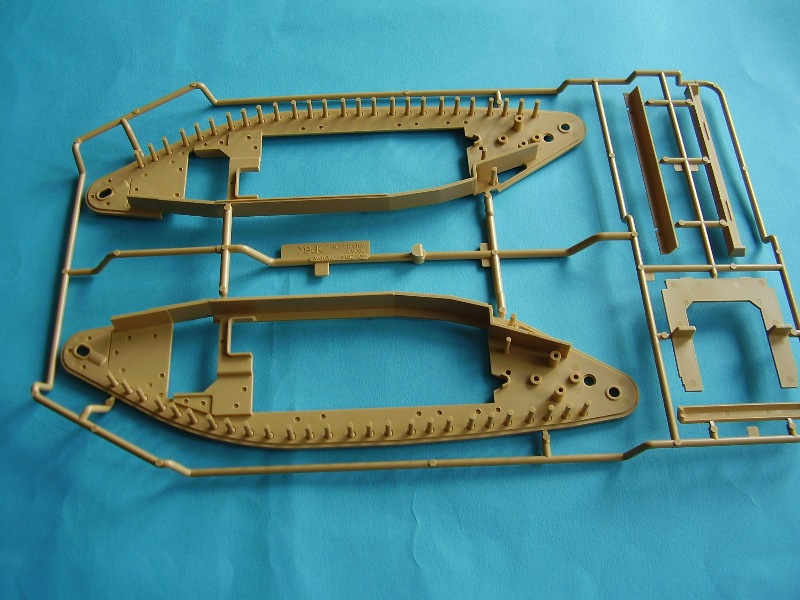
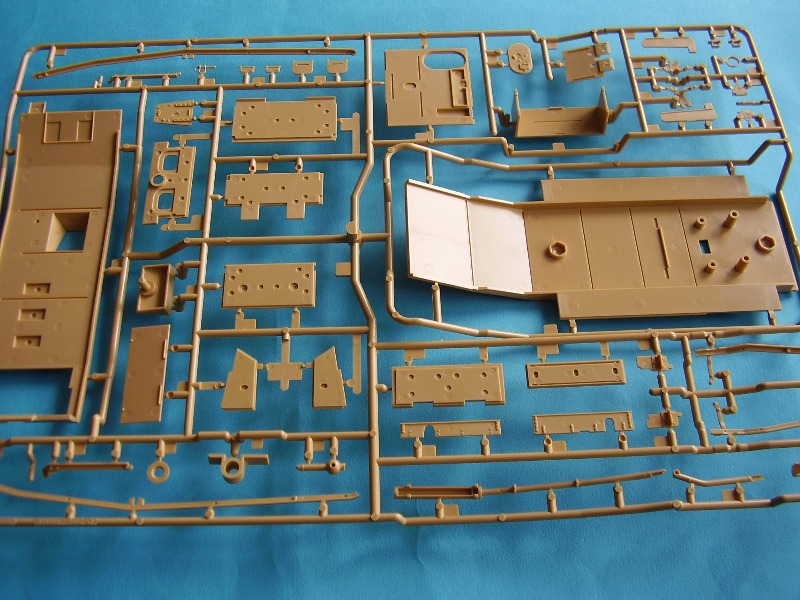
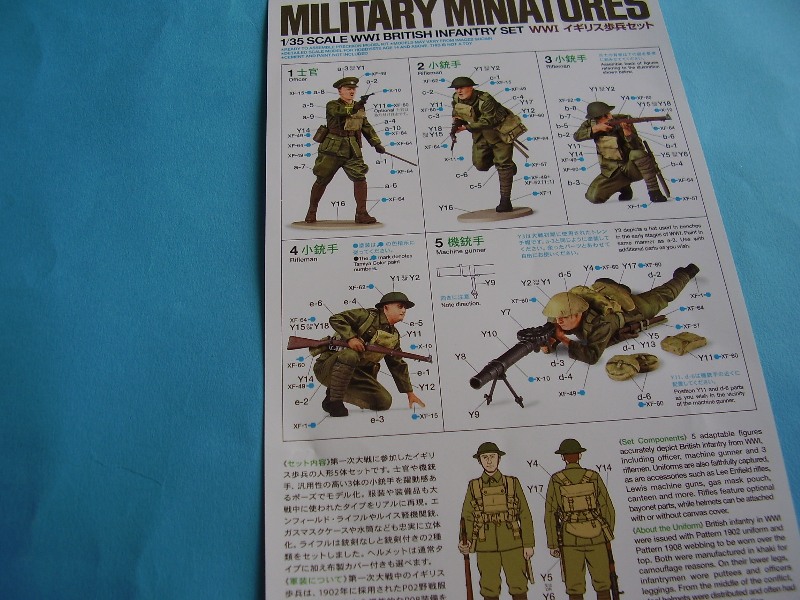
The kit comes packed in a nice sturdy box and I received the Export Version for review that also included the 5 figure set. The parts are moulded in tan coloured plastic, and were free from damage or film. As well as the main plastic parts the kit contains the motor and associated cogs and gears to drive the tank, a standard folded A4 16 page instruction booklet, and a fold out 8 page colour painting and marking guide that includes 22 picture reference section provided by the Bovington Tank Museum. Also in the kit is a small Allen Key and Screwdriver to assist in the engine assembly.
The instructions are of the enlarged blow up diagram type and easy to follow. Paints required, items required, recommended tools and technical tips are included on page two. The instructions show a
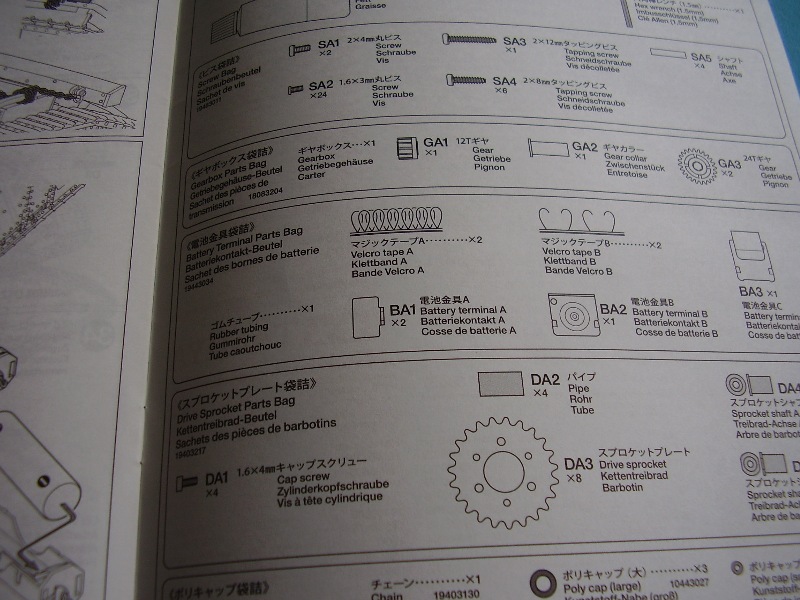
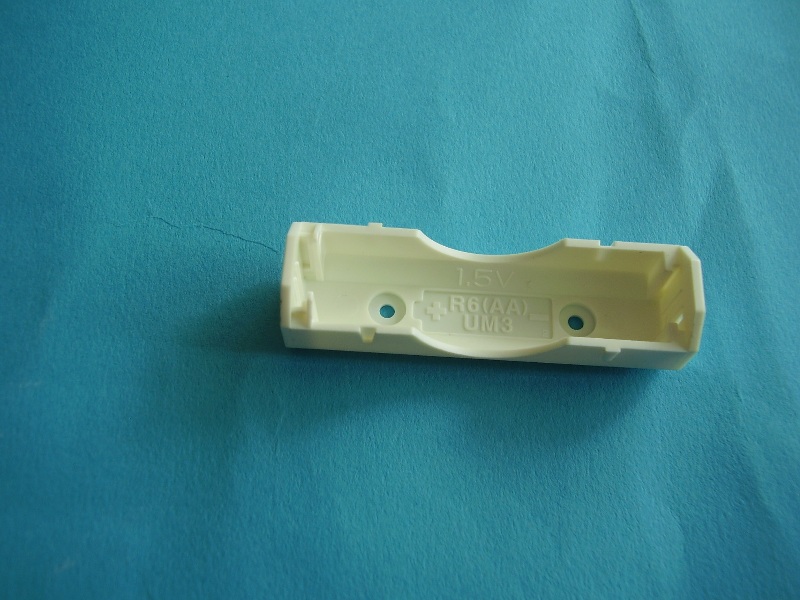
37 Step process to building the model and page 15 has a Parts List in relation to the motor gears, battery and cogs etc.
The Infantry set were reviewed separately and you can find a link to that review here:
WW1 British Infantry Set Live links
The Build
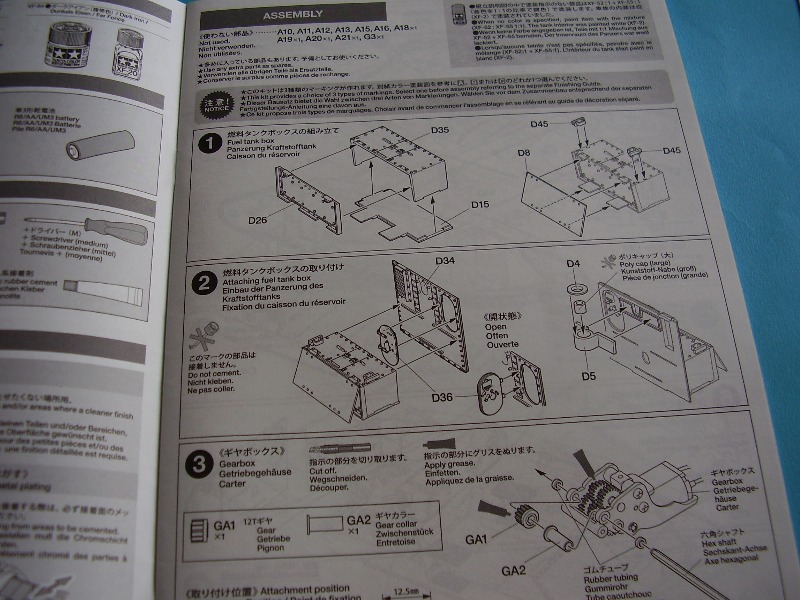
Step 1 shows the assembly of the fuel tank box and my only observation here is that you might like to replace or hollow out the handled on top of the box. You will need to make a decision before the build whether or not you are going to build the motorised kit or wish to build a static model.
Step 2 adds the first of the poly caps to the rear of the rear hull plate but unless you want access to the interior parts D 4 and D 5 could be let off.
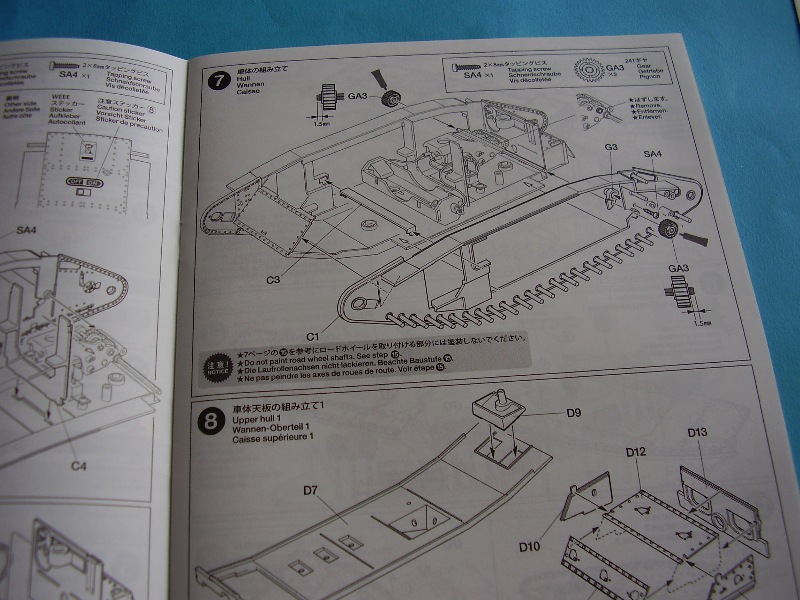
Steps 3 to 7 cover the mounting of the motor and gears to the floor of the model and see the first of the rhomboid structures added to the floor.
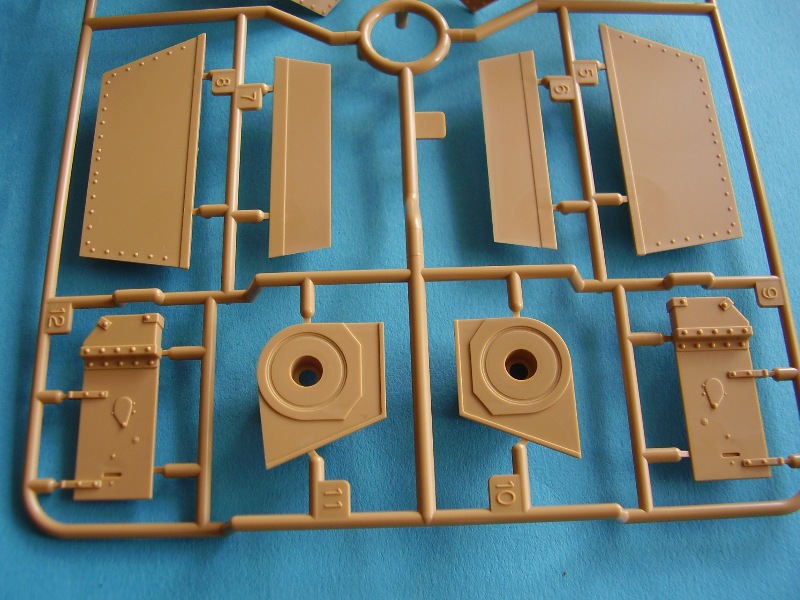
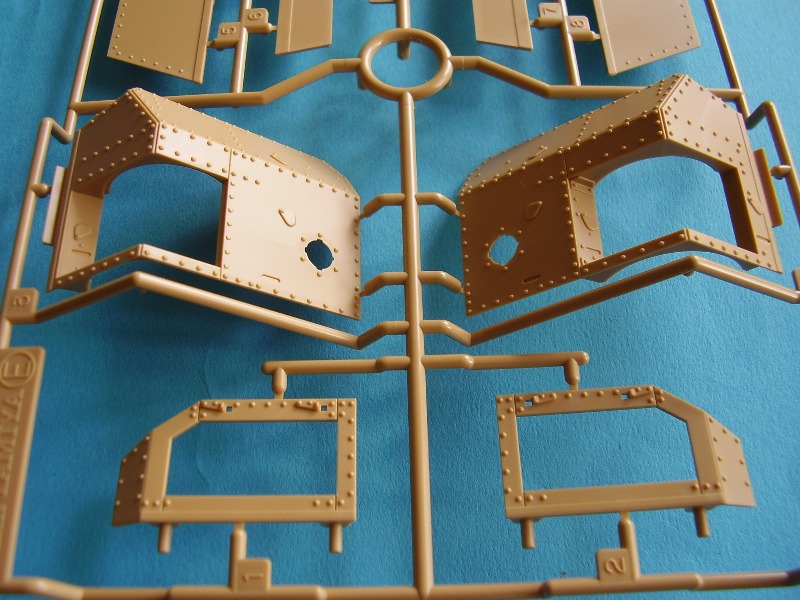
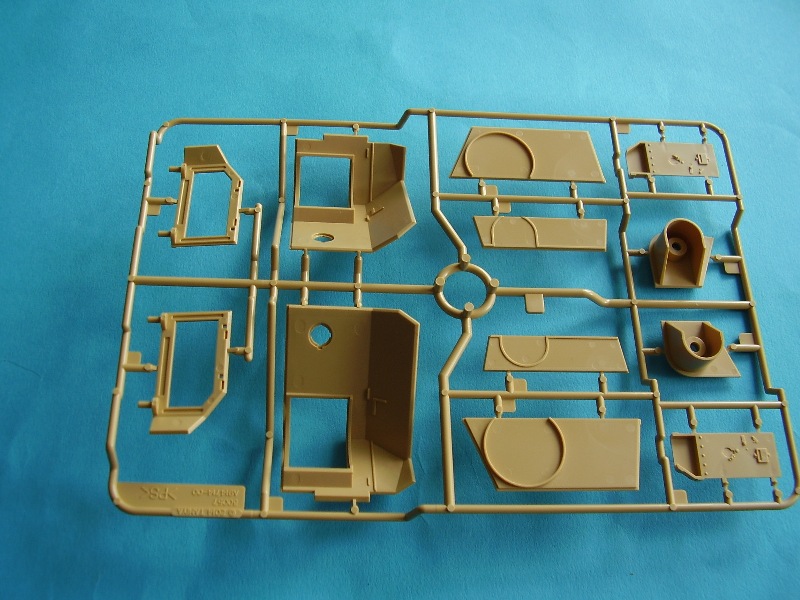
Step 8 and 9 cover adding the drivers cab to the upper hull roof, all pretty straight forward stuff. The vision ports can be modelled open or closed and my observation here is that there are a row of missing rivets on the lower side edges of the cab. An easy fix.
Step 10 shows the fit of the top of the upper hull to the body, this is designed as a click in part. The front end hooks under the front hull plate added at
Step 6 and the rear slots into the polycap added at
Stage 2. At this point you will have the basic structure of the vehicle with the engine in place if you chose to add it. Note; The two rear access hatches on the top do not appear on the period pictures of the Mk IV and you may which to sand these off.
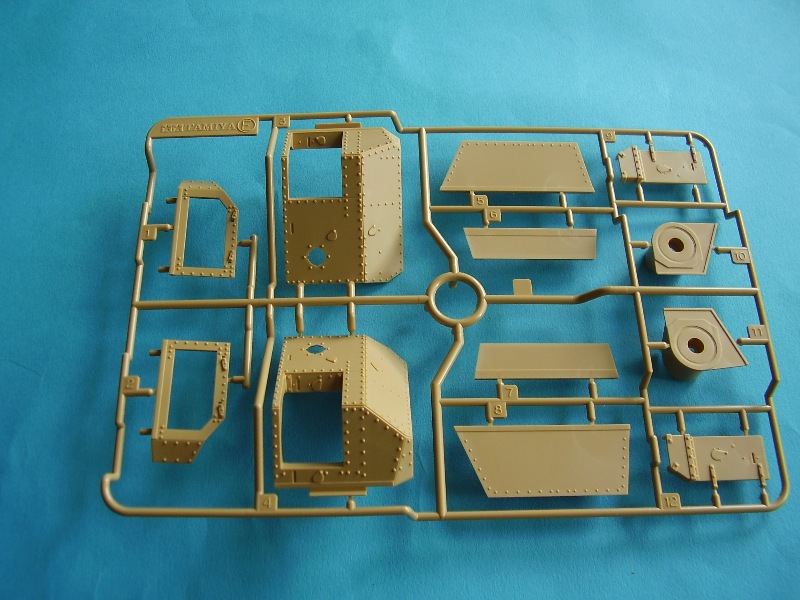
Step 11 and 12 starts the addition of the exterior armour to the main frame. Parts B1 and B4 are designed to have poly caps added at this point. These will not be necessary if you chose a static display that doesnt require the removal of the sponson to access the battery and I removed the fixings for these as they show when the sponson doors are open.
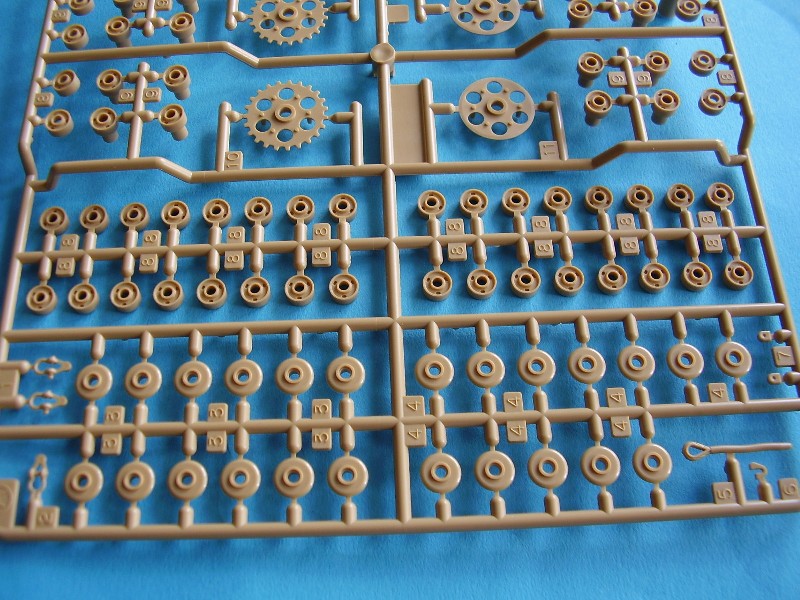
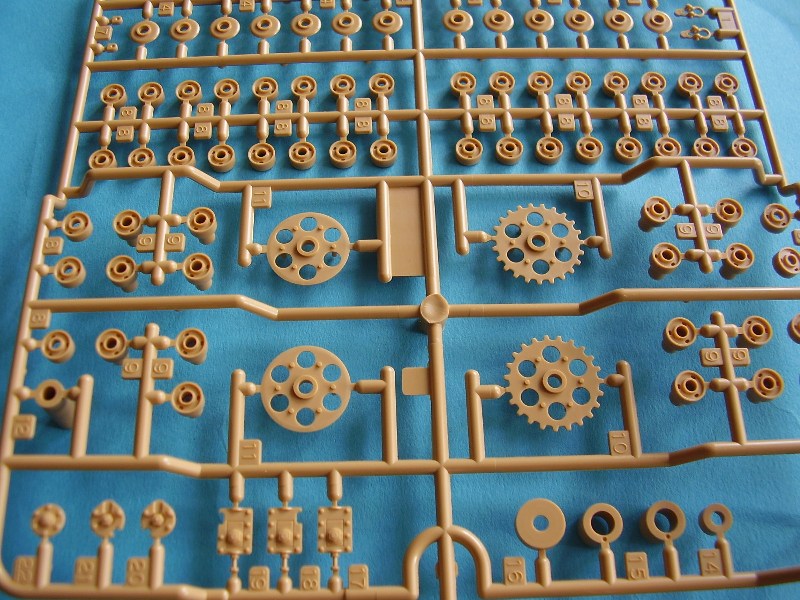
Step 13 is the build of the wheels. You make 30 of Parts A8 and A9 and 24 of Parts A8, A3, A4 and A8. As the wheels interlock there is a specific sequence shown in
Step 15 that will ensure you mount them correctly. The wheels are nicely done.
Step 14 covers the mounting of the external gear wheels on the left hand side and
Step 15 the mounting of the left side road wheels. If you chose a static display then the right drive wheels are included in the kit and you will not need the external gear wheels shown in
Step 14.
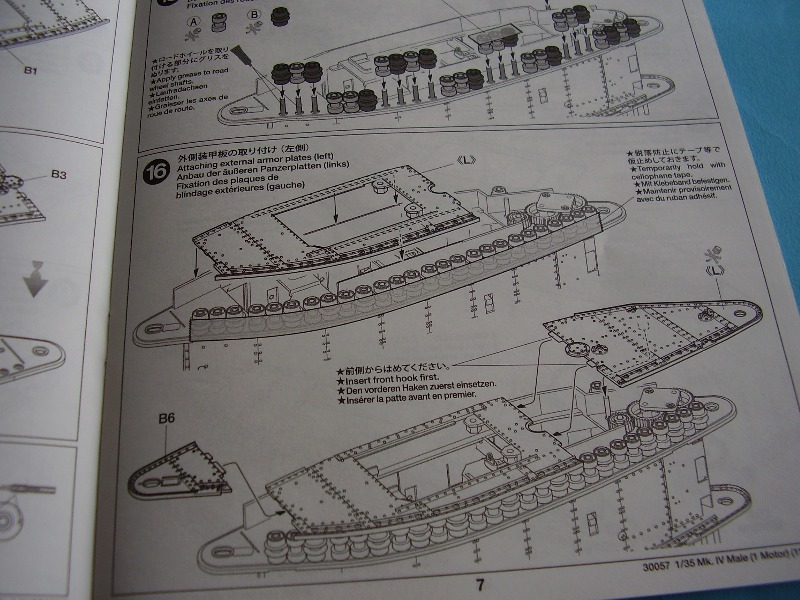
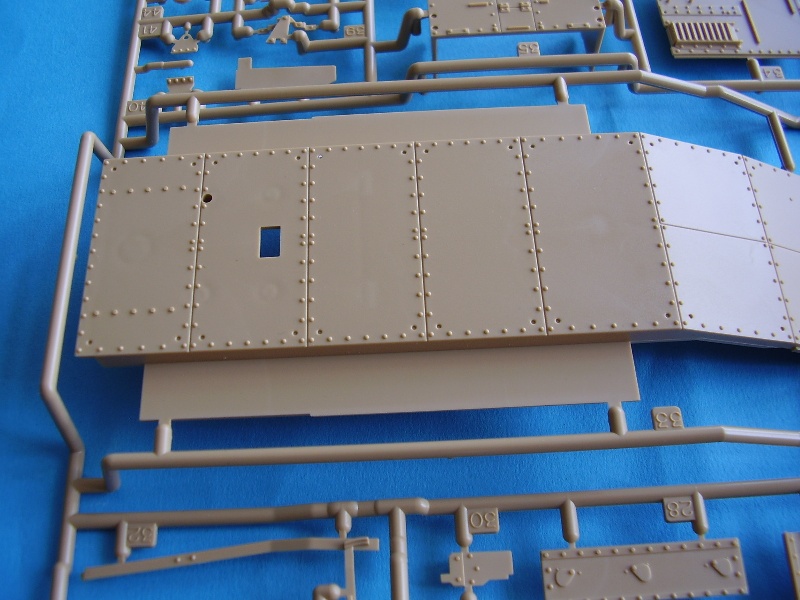
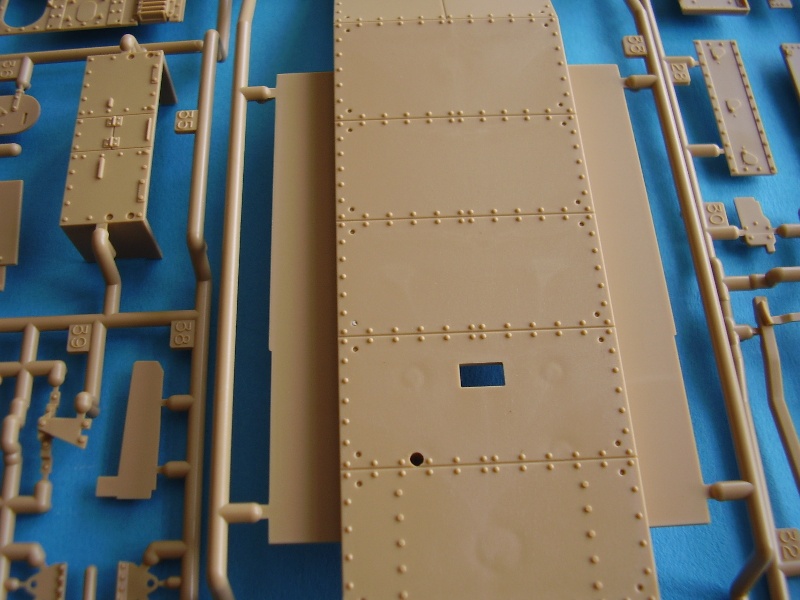
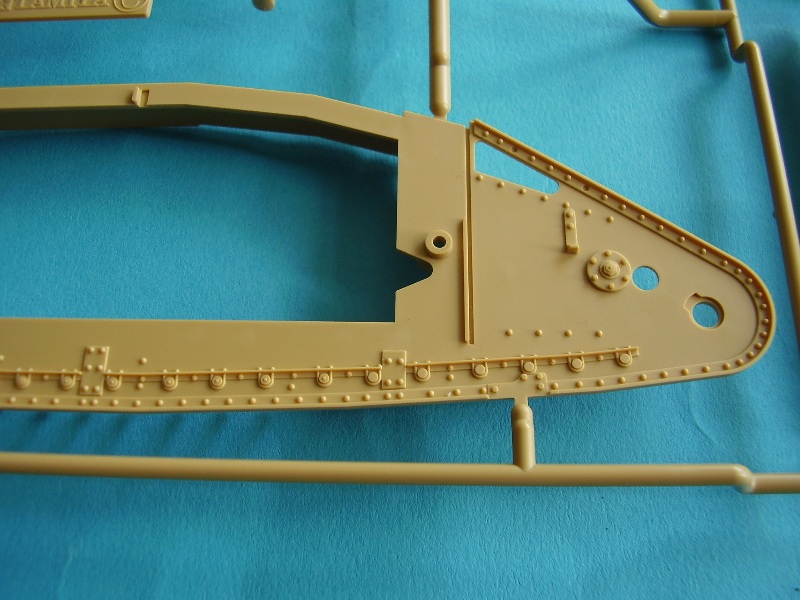
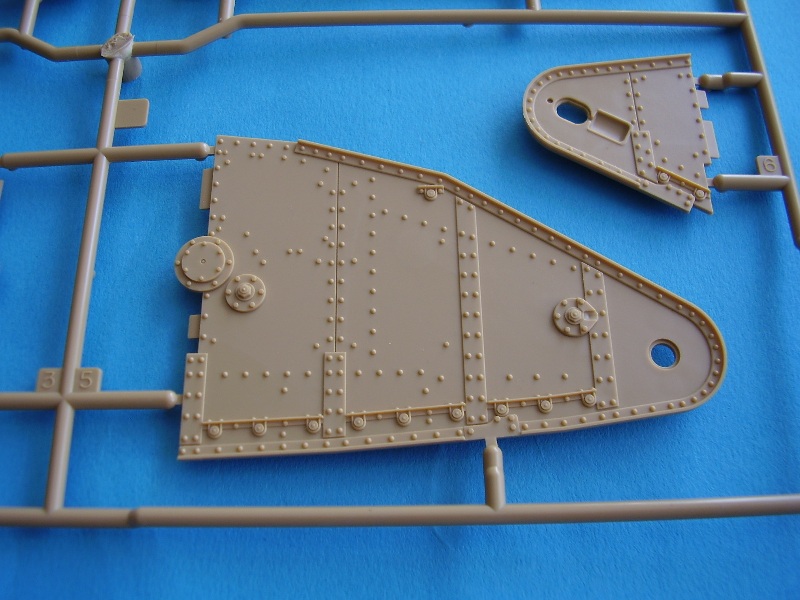
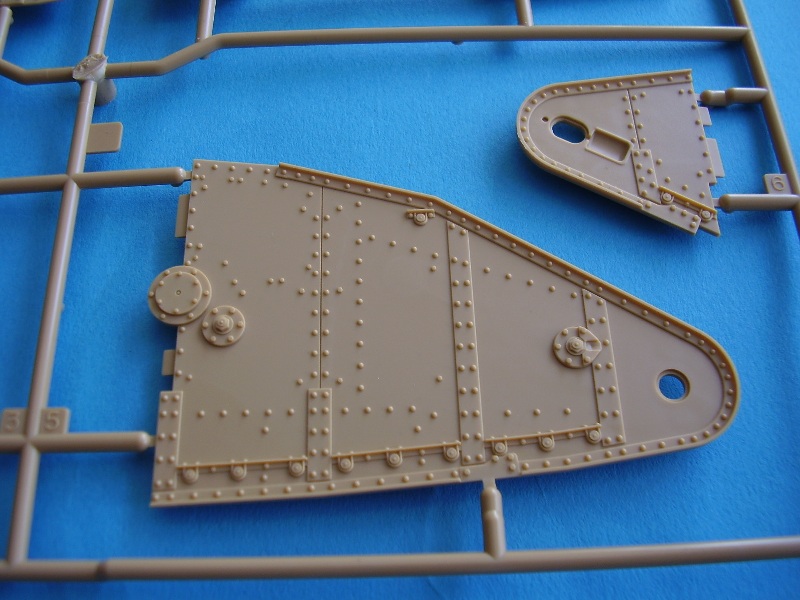
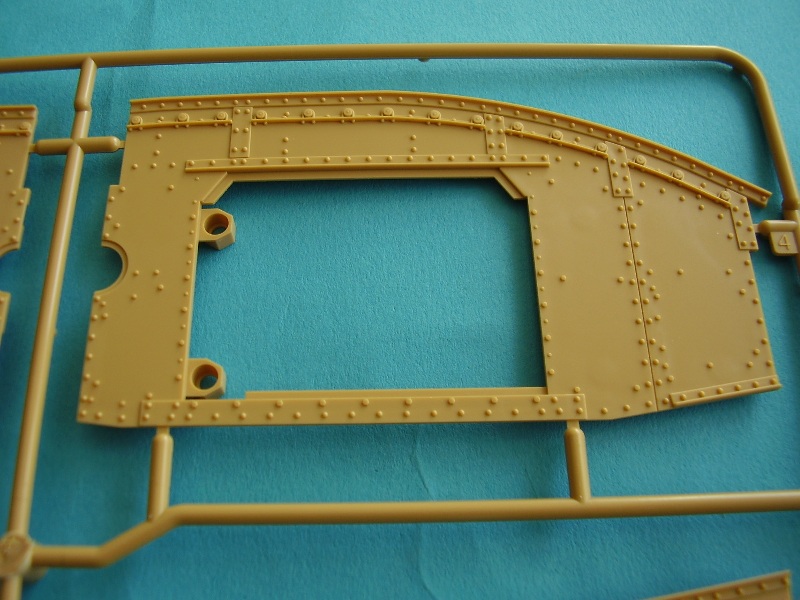
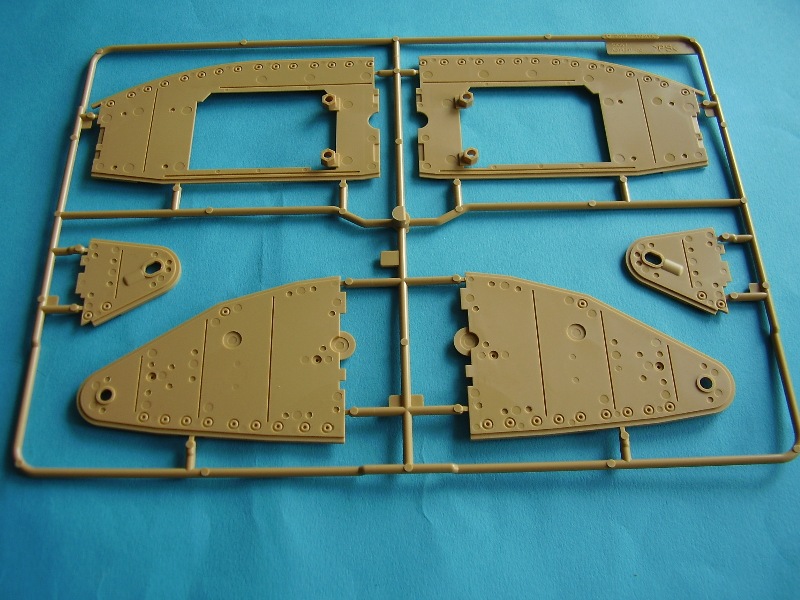
Step 16 shows the mounting of the external armour which is in 3 sections on each side. These fitted to the internal frame like a glove.
Step 17 shows the fixings for the right hand side gears and my comments on step 14 apply here too.
Step 18 covers mounting the road wheels on the right hand side and
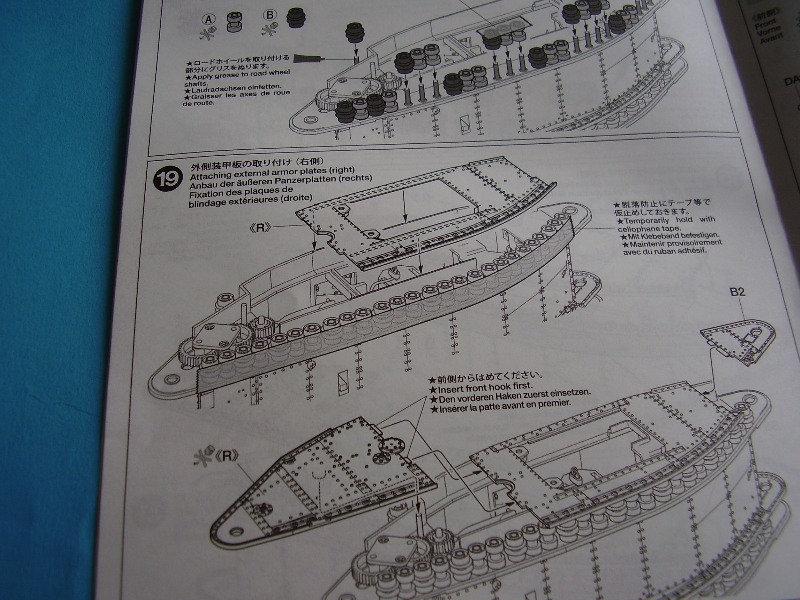
Step 19 fitting the external armour to that side.
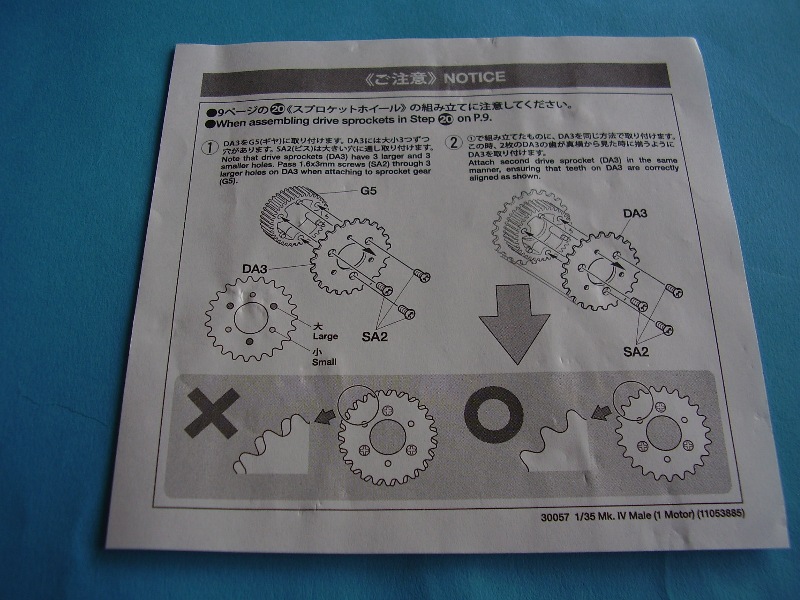
Steps 20 and 21shows the build sequence for the idler and drive wheels for the motorised version. I used the plastic road wheels provided and the only thing I needed to do was add a small axle into to the centre of each wheel.
With the motorised parts fitted or left off
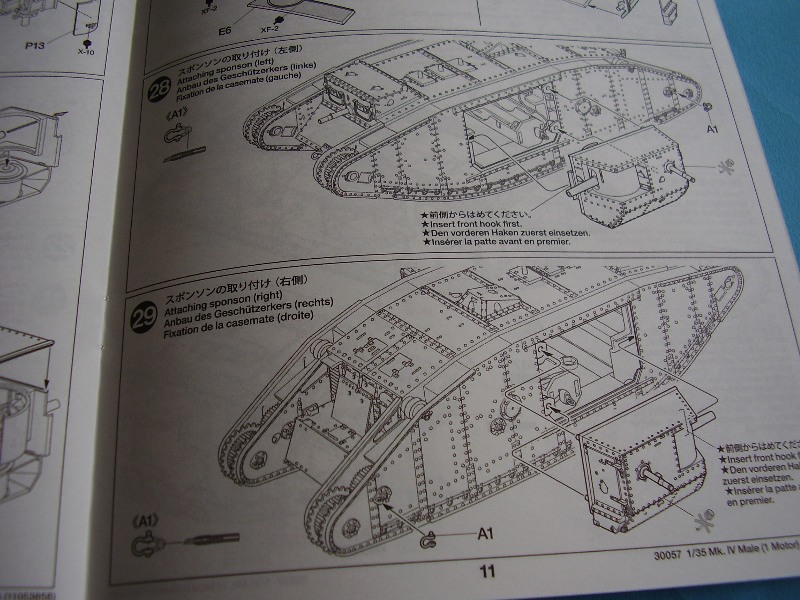
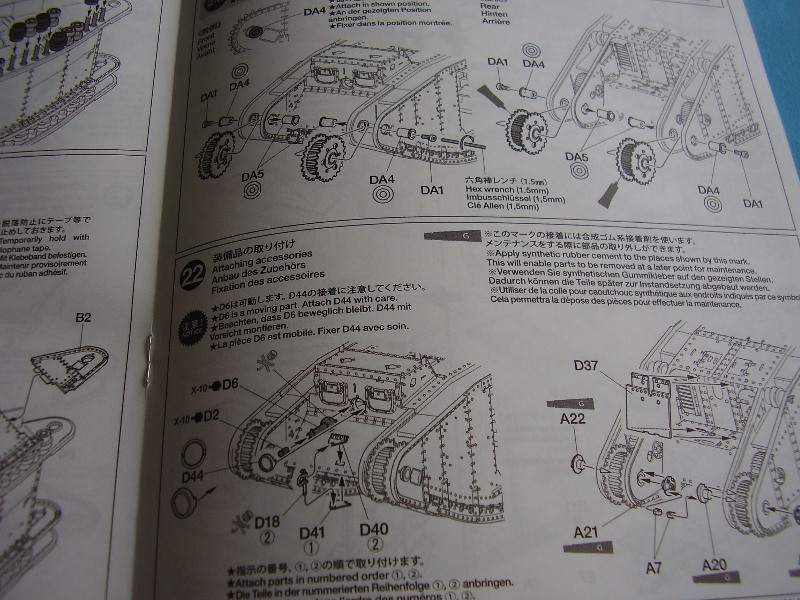
Steps 22 to 36 cover the rest of the build which is pretty straightforward. The only things I would note here is that when mounting the 6pdr guns at
Step 26 and 27 you need to be aware that the polycap will probably force the gun mount up a little. The top sponson plates Parts E8 and E 5 have a circular shaped ring on them which I believe is intended to mirror the shape of the 6pdr gun shield. I found these two thick to get a good fit so sanded them off and used a suitable size of plastic card inserted above the gun shields to help keep them level.
If you plan to open the sponson doors then the Lewis guns have only the barrel end sticking out of the sponson and while the 6pdr is a good representation of the actual gun there is no other internal detail on the sponsons except on the reverse of the doors. There is a good opportunity here for an AM interior as with one sponson left off a large area of the internal vehicle could be seen. I mocked up a part interior as I planned to leave the doors open which whilst not totally accurate fills up the large empty space.
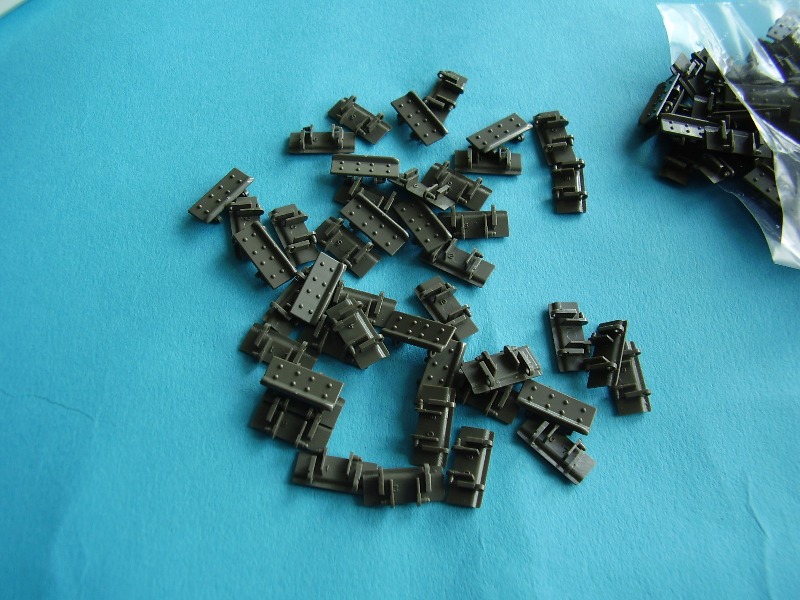
Track assembly is shown in
Step 31 and I have to say these are the easiest individual track links Ive ever worked with and click together very easily with only a little filing along the top ridge needed.
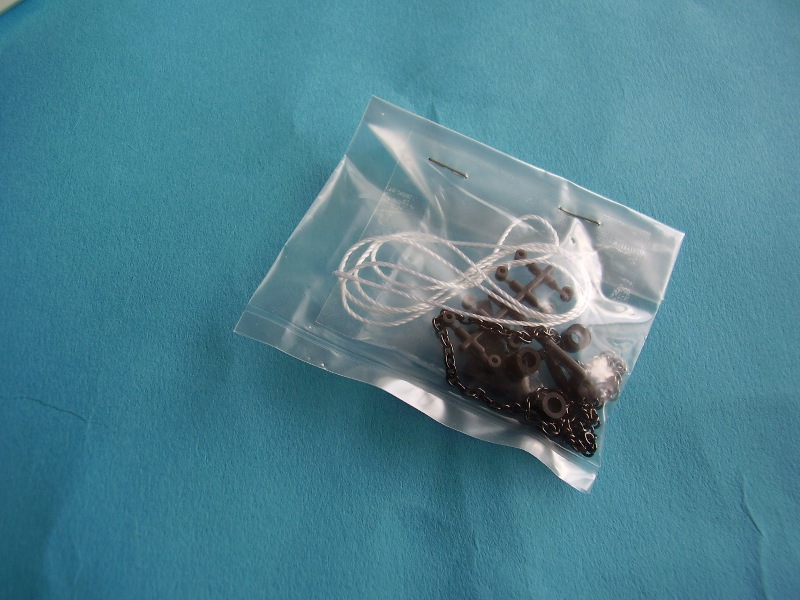
Tamiya provides string to replicate the tow cable,
Step 34, and it might be an idea to replace the string with a suitable length of wire for better detail.
The fixing sequence for the un-ditching beam is a bit basic, and you may want to alter that as Ive done in the build blog.
Note: Be careful of the polycaps they have a tendency to want to force the parts apart.
Decals
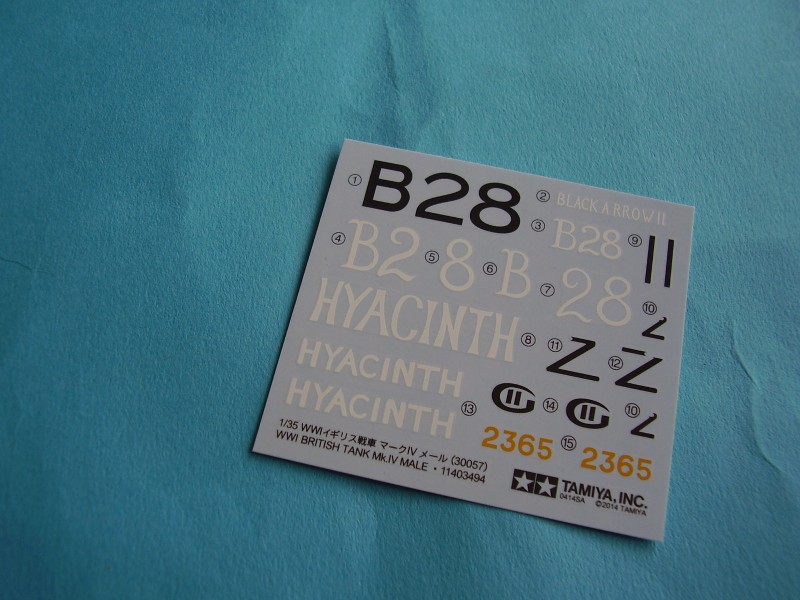
Markings are provided for 3 tanks:
- Glamorgan, G Battalion Unknown location 1918
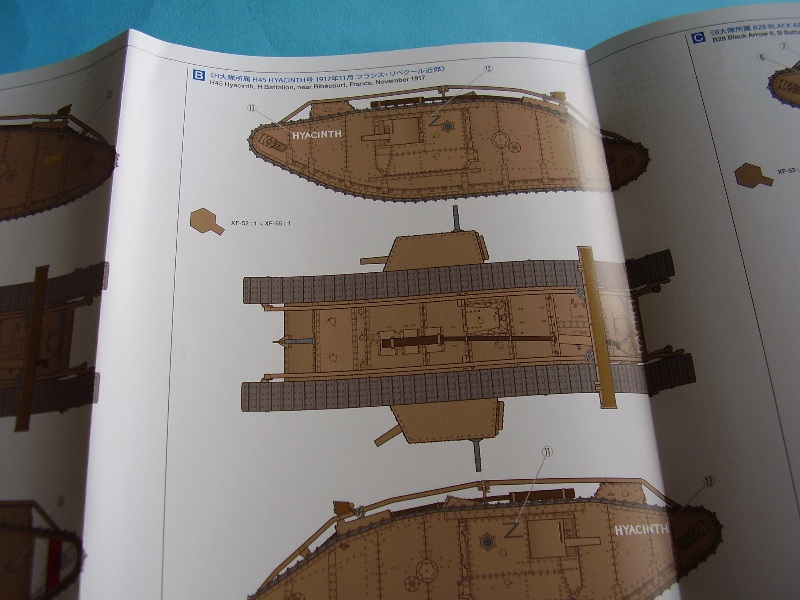
- H45 Hyacinth November 1917
- B28 Black Arrow II November 1917
Builders may find this link useful when researching their vehicles.
Landships Tanks by number Live links
Landships Tanks 2001 to 2099 Live links
Conclusion
So is this a perfect kit, no, but is it a really good one, fun and easy to build. The level of detail and accuracy of shape are all there. Yes, things can be improved here and there and there were a couple of obvious missing rivet rows but these may not have been on the Bovington example that
Tamiya based the kit on. This shows on the upper hull detail where at the rear two access doors are shown. These were on the Bovington example but do not appear on any of the period photographs of the Mk IV in action. Its not a big deal I just sanded them off and where appropriate added the missing rivet detail.
The parts have perfect fit, but there is scope to build things your way and although
Tamiya didnt include any spuds for the tracks these are available by other AM companies if you need them. I would have liked to have seen the inclusion of complete not part Lewis Guns and in truth a greater range of decal markings but I am sure those will come along.
Tamiya have made another great contribution and option available to model builders and the arrival of this kit will I hope open the door for more 1/35th scale injection moulded plastic Great War kits.
You can view a build blog of the kit here:
Build Blog Live links
and you can view the completed kit here:
Photo Model Live links
References
Hayes Great War Tank
Landships Web site


Comments