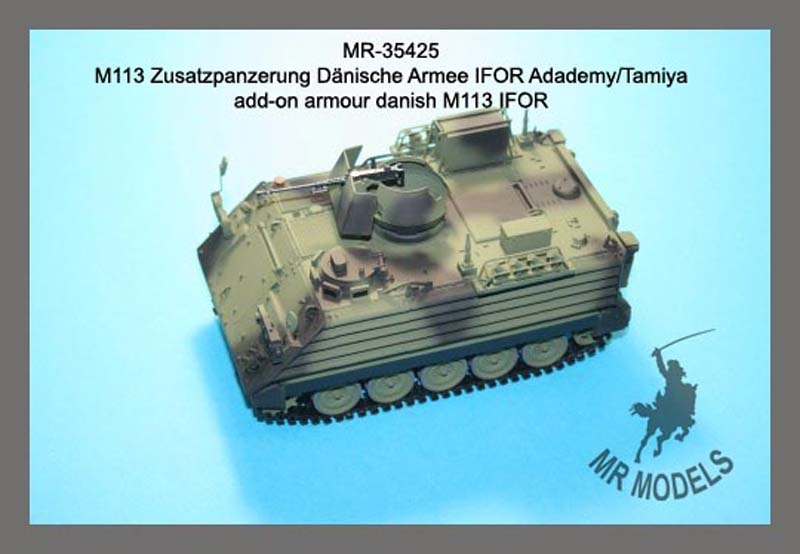
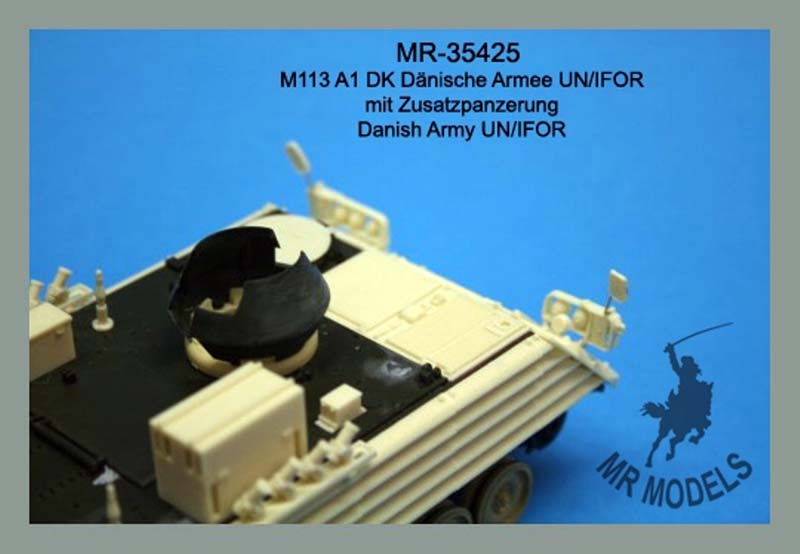
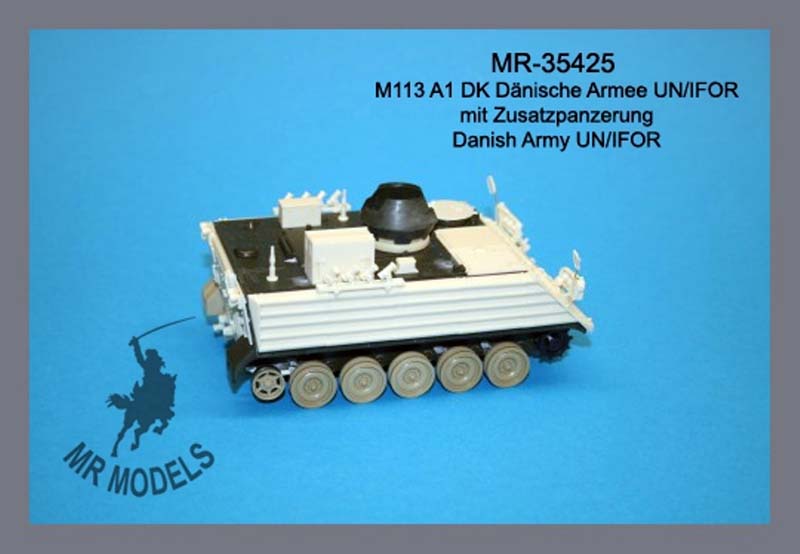
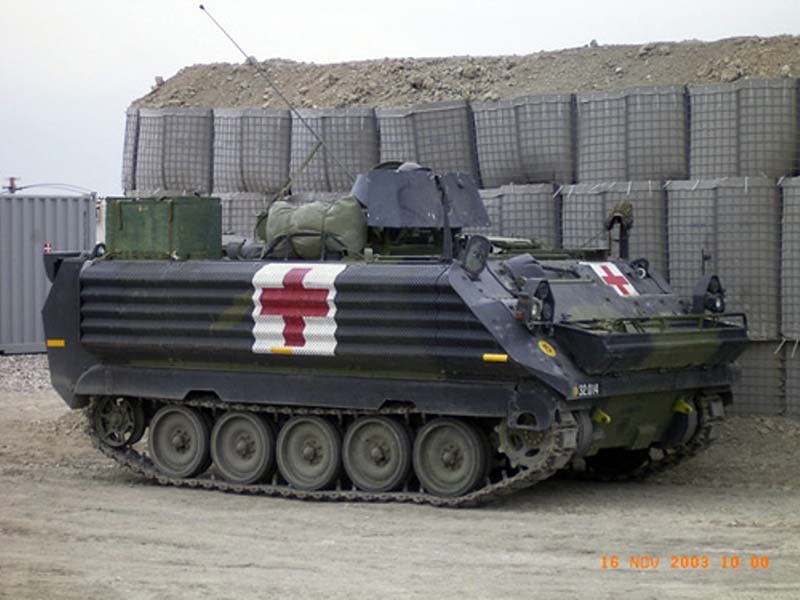
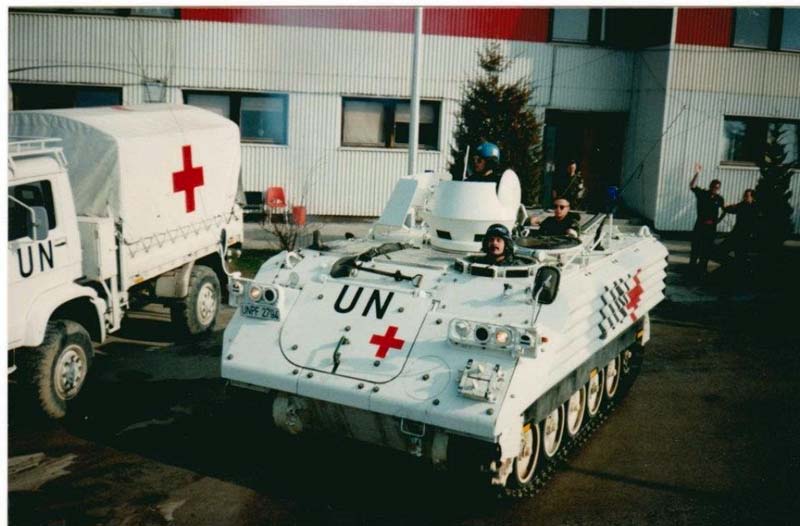
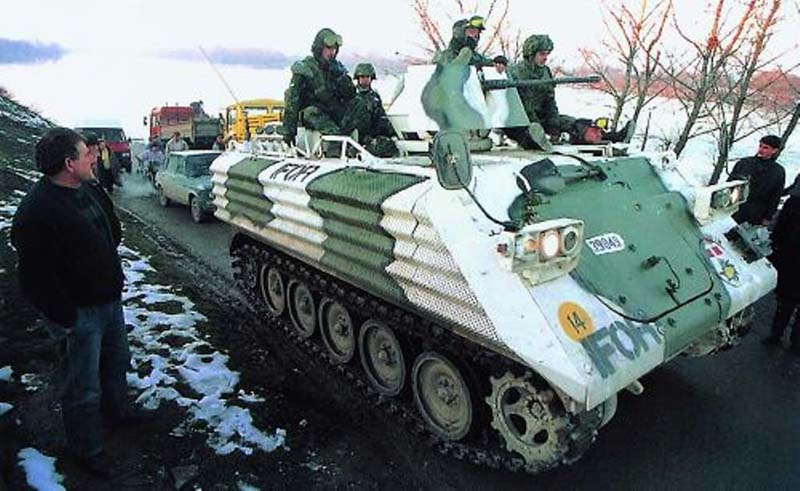
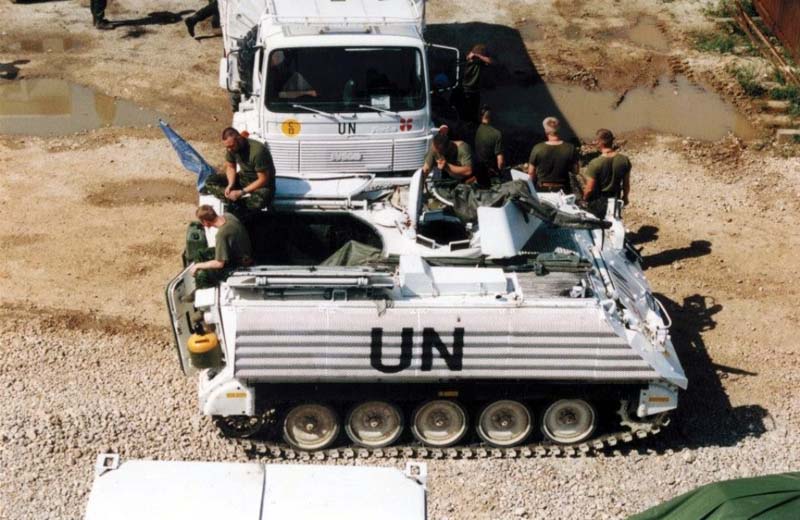
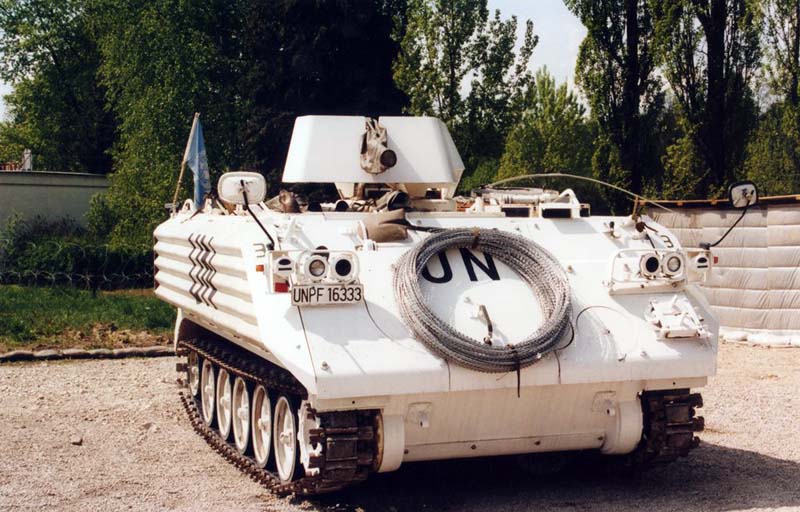
In 1992 Denmark became a part of UNPROFOR (United Nations Protection Force) in the former Yugoslavia. It was quickly realized that this was nothing like the UN missions Denmark had taken part in previously. It was initially believed that it would be possible to patrol in soft skinned vehicle most of the time and once armored vehicles were actually deployed the hostility would be stopped. Quickly it was realized, however, that UN vehicles were shot at by both parties and therefore the armored personnel carriers had to do most of the patrolling in the hot zones. For this task the Danish Forces had the M113A2 personnel carrier. Though they were quite capable for the task they were not able to sufficiently protect the crew from the firepower of the day in their standard configuration.
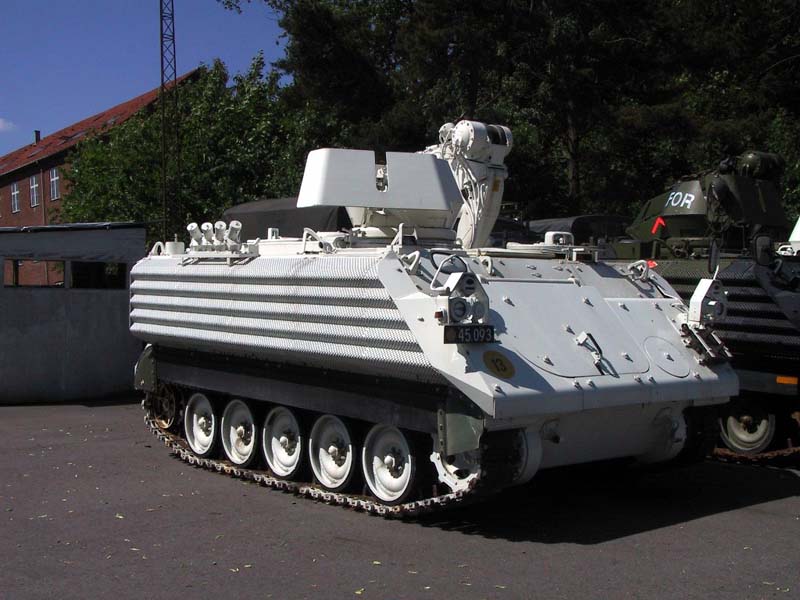
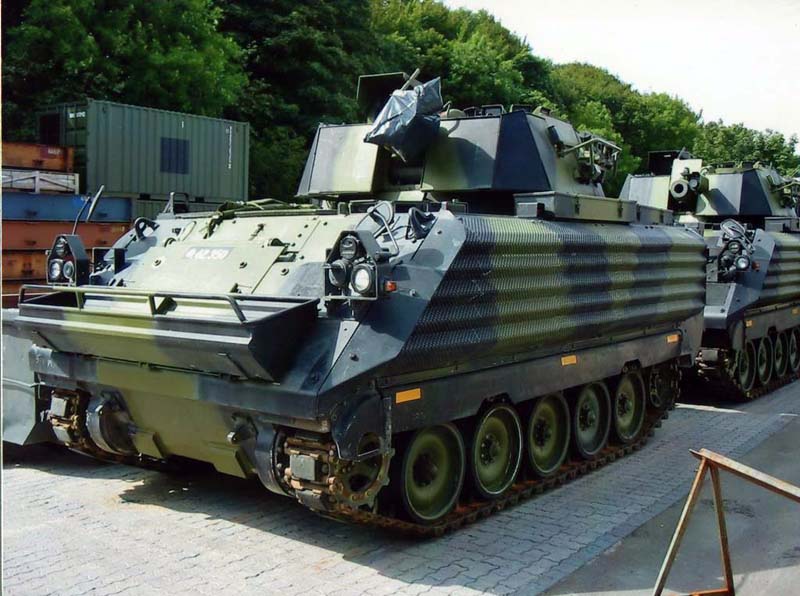
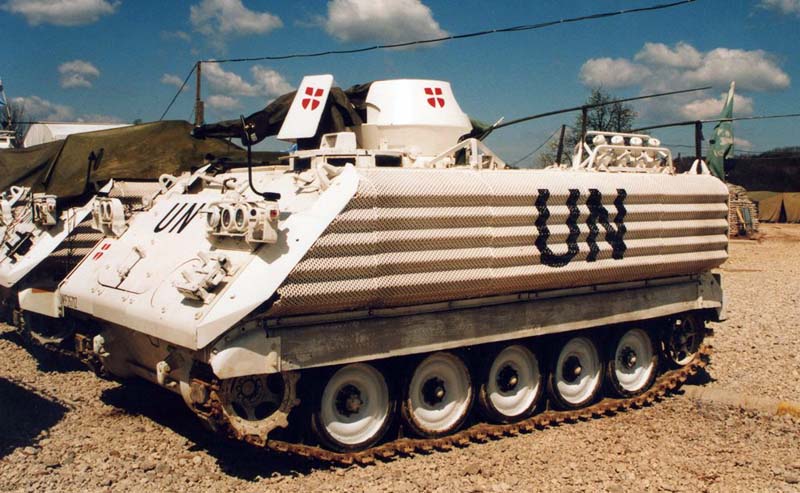
The army therefore decided to up-armor their M113 fleet in UNPORFOR. The program selected for this was the Israeli Urdan M113 add-on armor plates. Together with the add-on armor the APCs also had smoke dischargers mounted on top of the hull and had the inside covered in Kevlar. The outside armor plates are spaced about 10cm for the hull and consist of perforated plates. The perforations prevent the bullet from hiding the hull at the point. Instead the bullet turns and hit the hull with a much bigger area and thereby reduces its impact force. By 1993 the first APCs were up-armored and quickly the rest of the M113 fleet in the deployed battalion was updated too. Since this almost all Danish APCs have had this armor added at least those used in deployments around the world.
For many years modelers who wanted to build a Danish M113 APC had to buy MR Models kit for the Swish M113 Schüzenpanser 63/89 (MR-35067). This set provided the modeler with the external armor parts but left you with a lot of leftover parts; however, there were also a lot of parts that you would have to scratch yourself. Now the same company offers a kit with (almost) all the parts needed for the build.
Contents
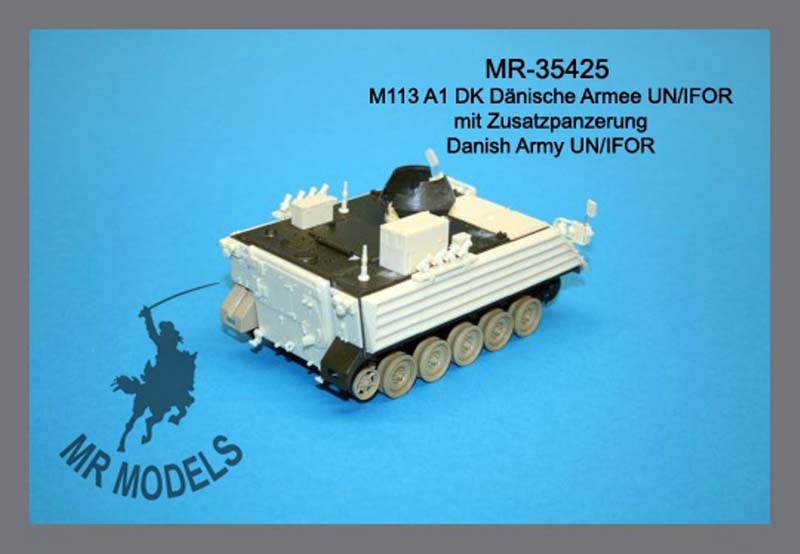
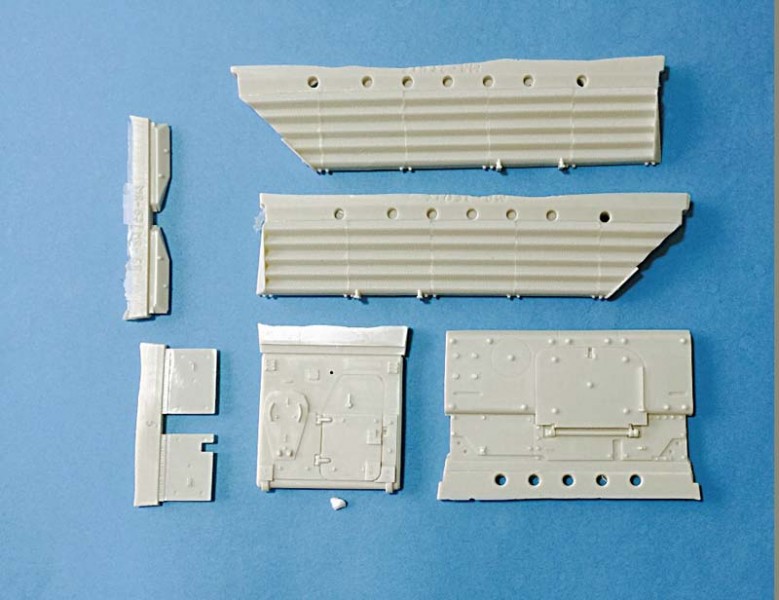
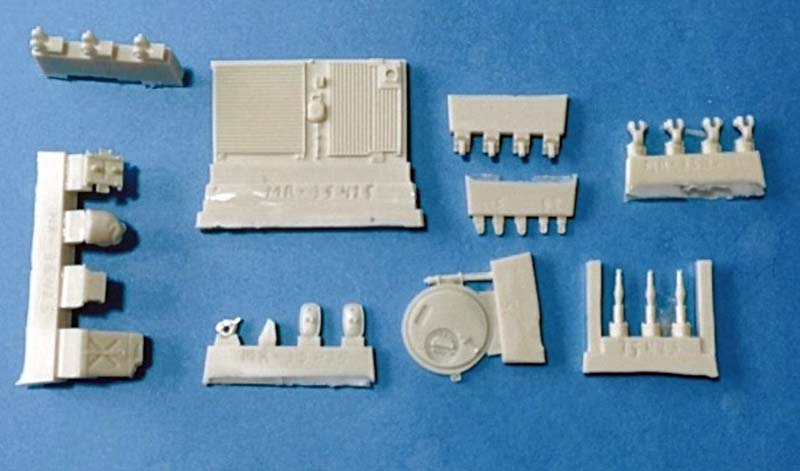
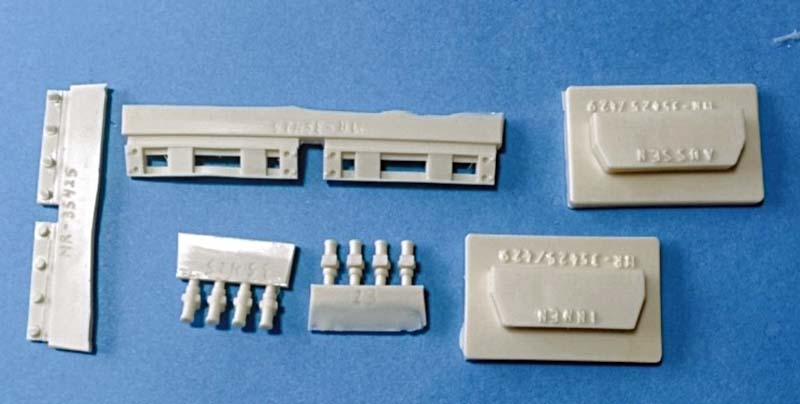
The box contains 66 parts cast in resin and an instruction sheet. The instructions tell you that the Tamiya M113 ACAV kit should be used for this conversion. Personally I would strongly recommend an Academy kit instead. The resin parts are cast conventionally with a pour plug that has to be cut off and the parts cleaned. The attachments of the part to the plug seem to be okay and are most likely not going to cause any problems. The castings are very good; the details are crisp, there is almost no deformation and no flash either. The box includes the following parts:
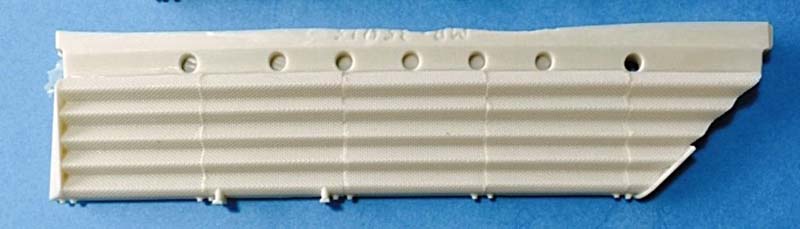
2x armor plates for the sides
2x fitting pieces for the side armor
1x frontal armor plate
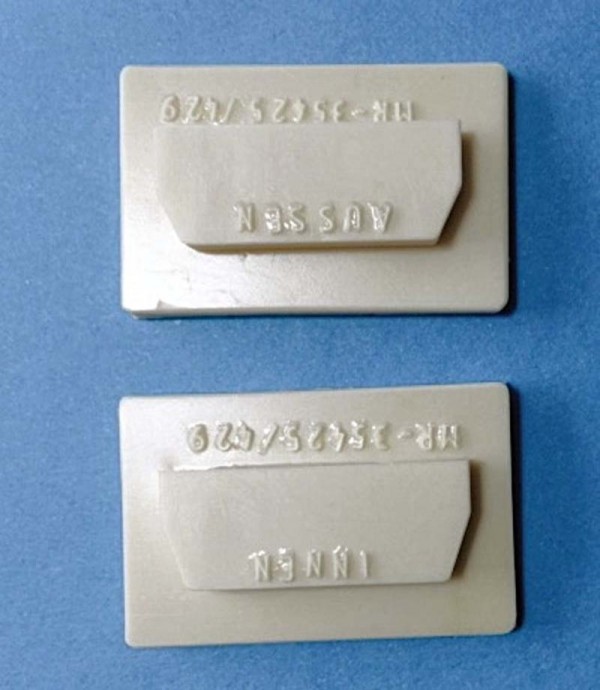
2x armor plate for the rear of the hull
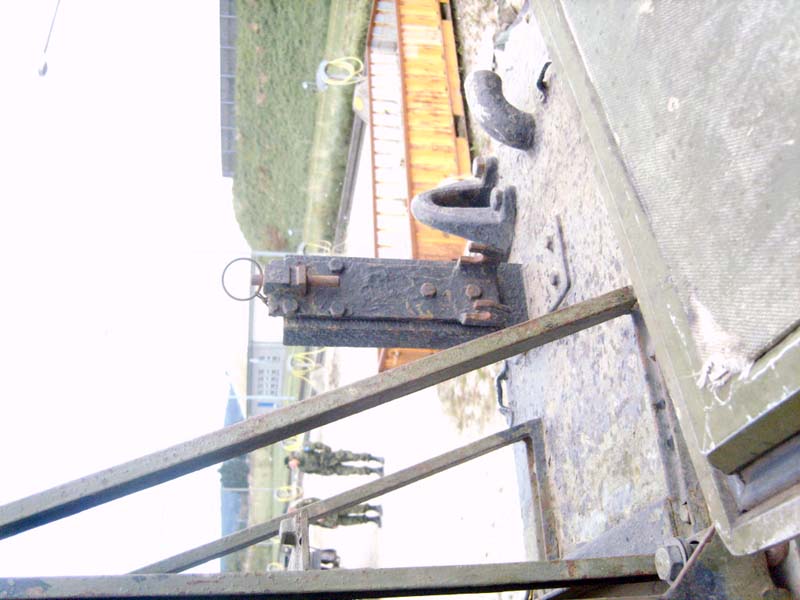
3 brackets for the ramp, a handle, a tow hook and a stop bracket
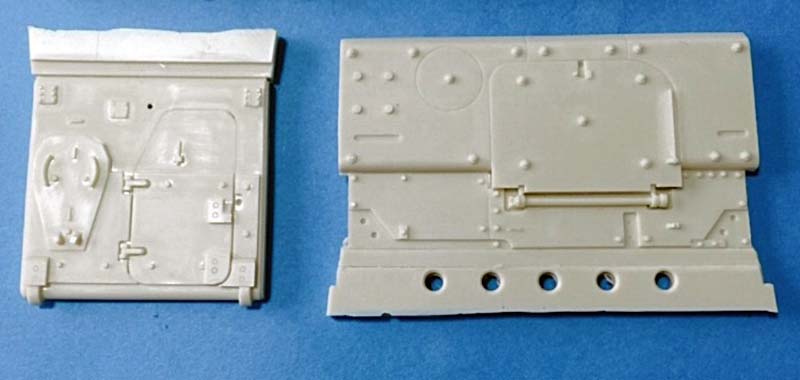
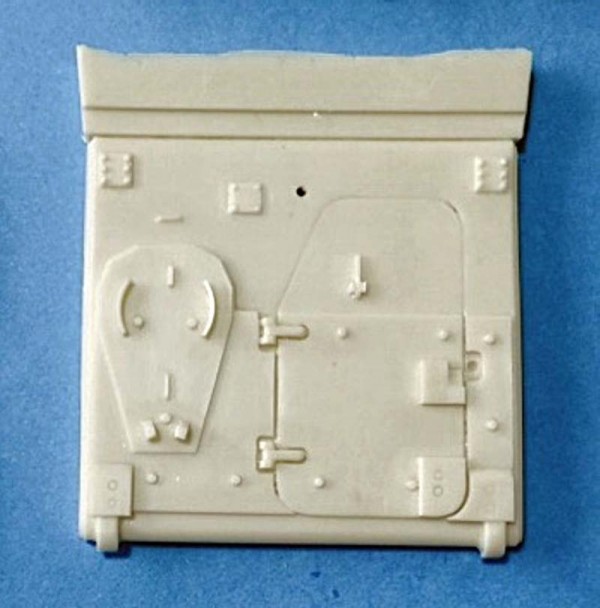
1x rear door with armor plates
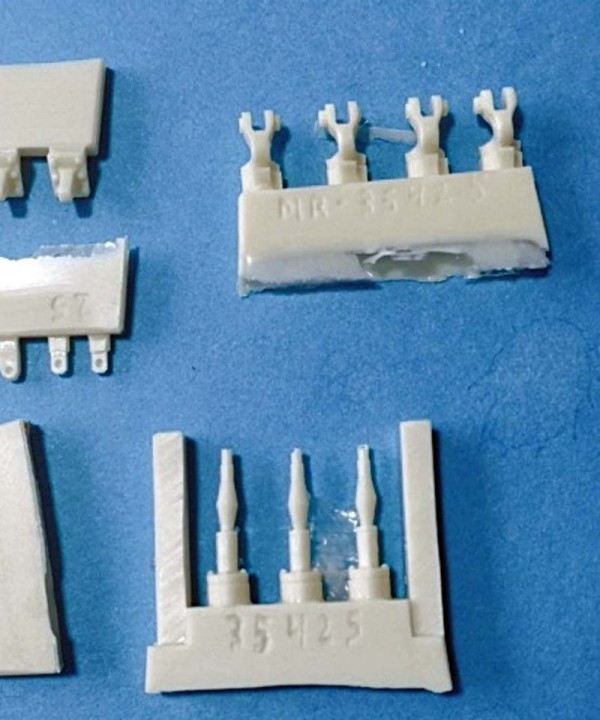
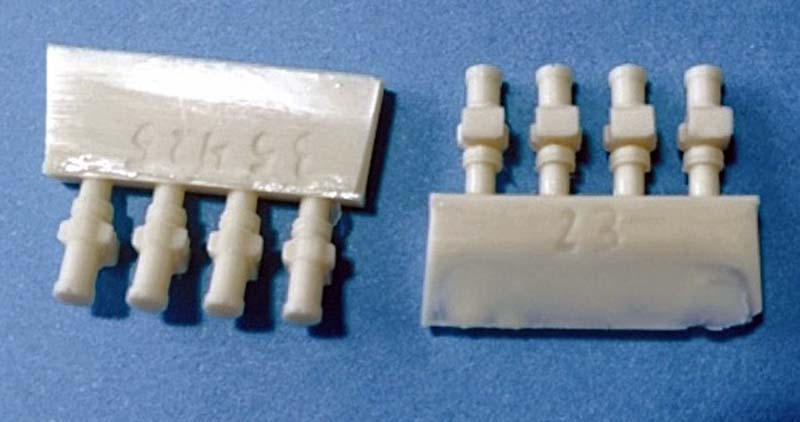
8 smoke dischargers
2 smoke discharger plates
2 smoke discharger brackets
2 bending jigs for the smoke discharger rails
1 engine inlet and exhaust grill plate
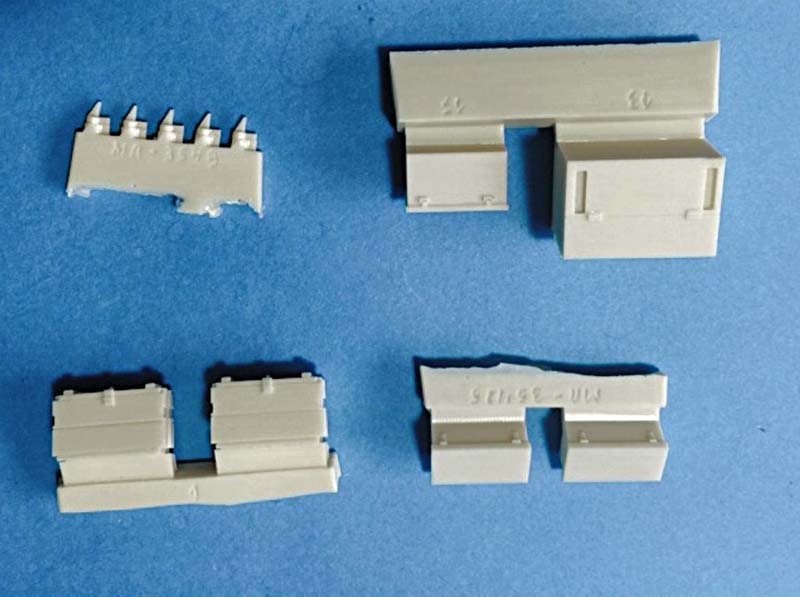
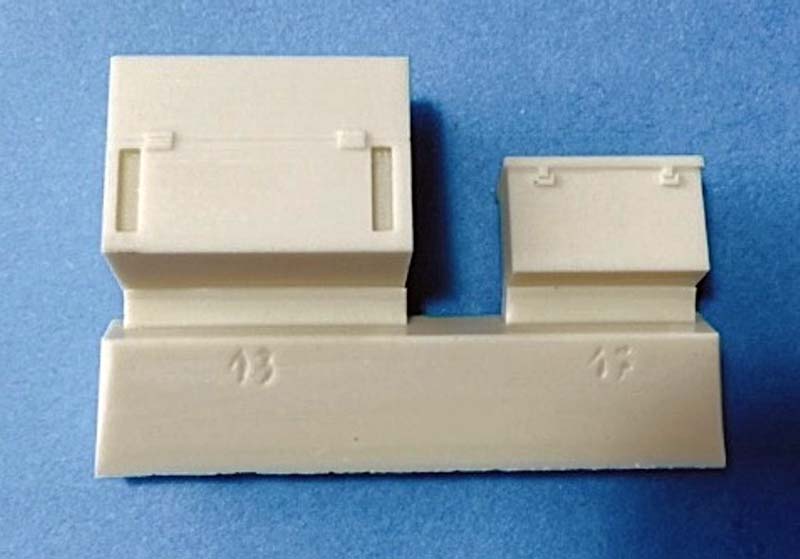
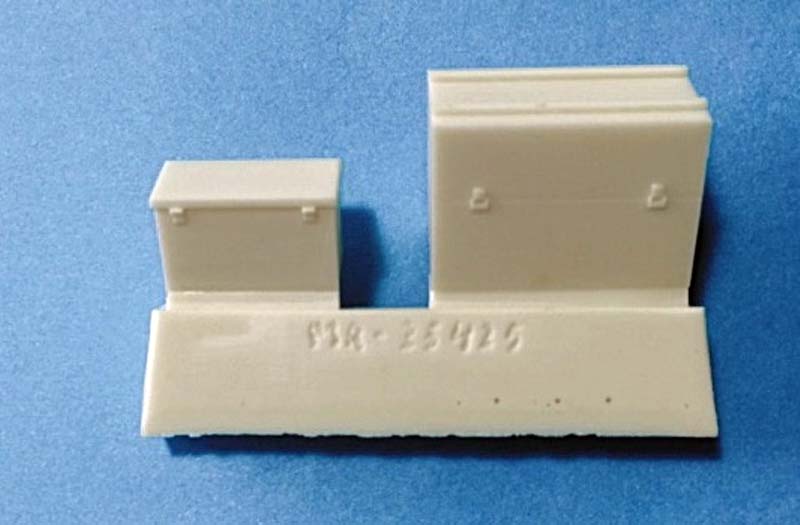
A total of 6 boxes one of which is a APU box for a command version
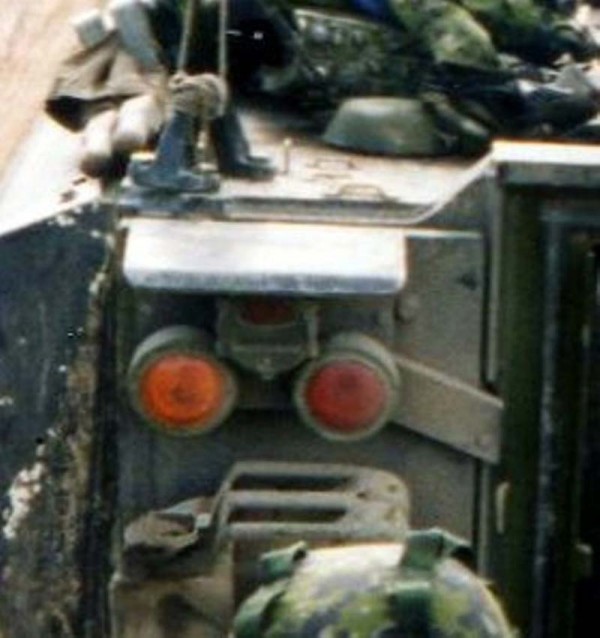
2 replacement rear lights
2 head lights configurations with brackets
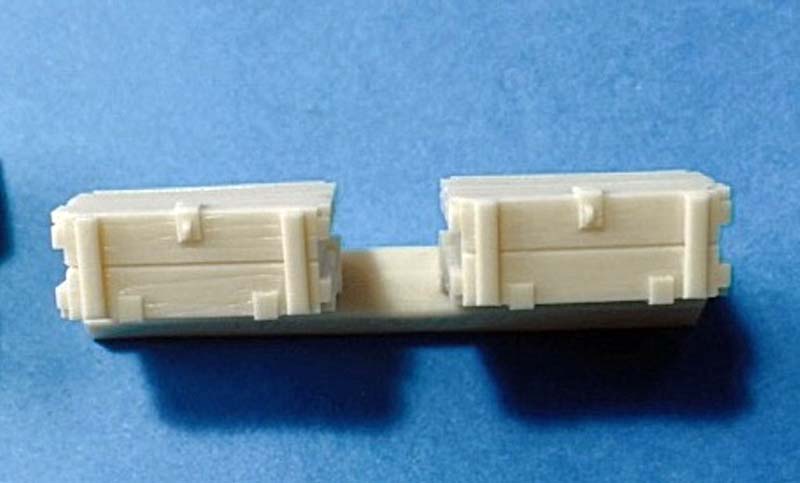
A beam containing a jerry can, spare tracks in a bracket, a gas cooker
4 wire hooks and 4 brackets
3 antenna mounds and 1 antenna connection box
A replacement drivers hatch
2 mirrors and 12 other minor parts for a detailed update
Review
Up armoring parts
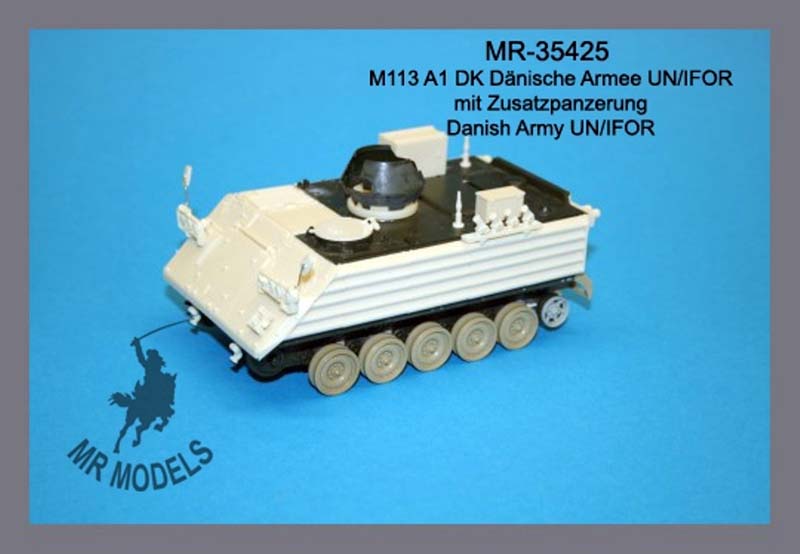
The parts for the ad-on armor plates are recasts from MR Models Swiss M113. Ive used these for a UNPROFOR build previously and they show no problems what so ever in assembly. The parts fit equally well to an Academy kit, which my UNPROFOR kit was based upon. The perforated armor plates for the side are really good in my sample. The detail of both the front and the rear part are excellent too. The up-armor parts are hence altogether superb.
Smoke discharger parts
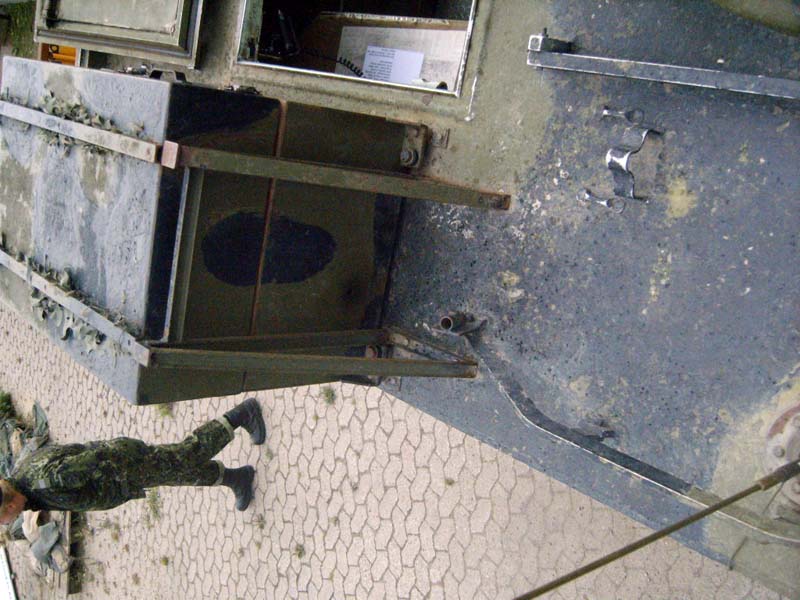
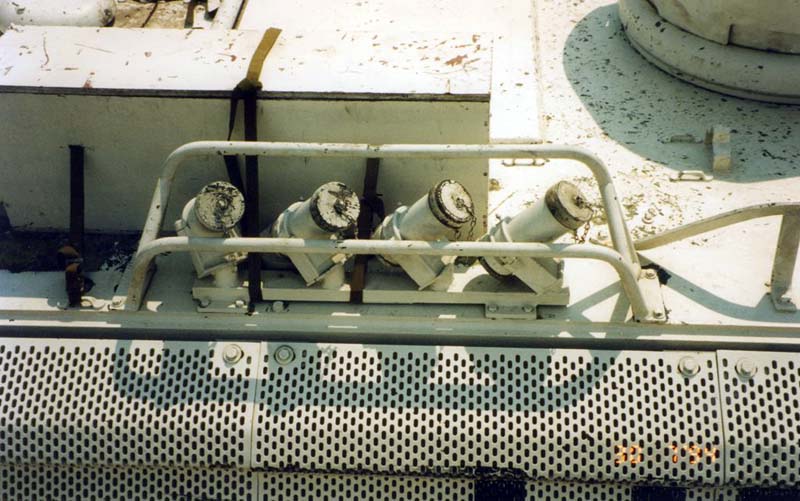
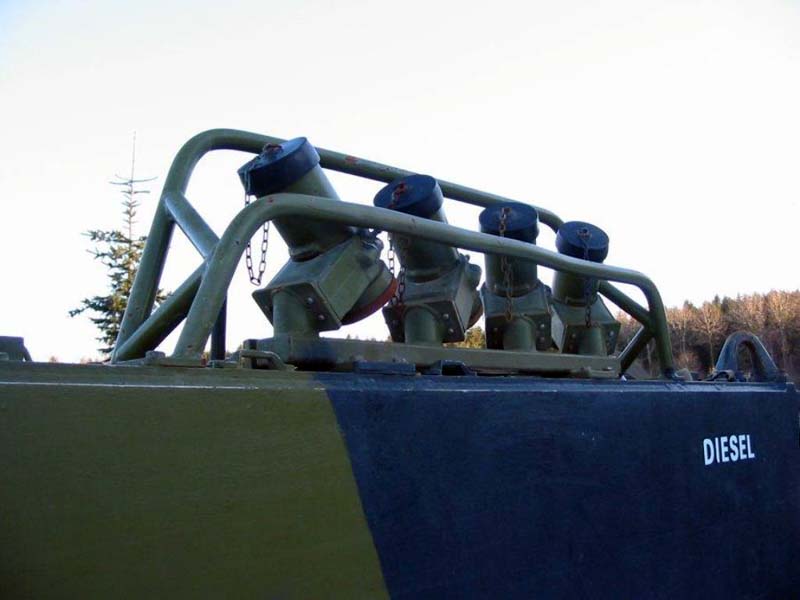
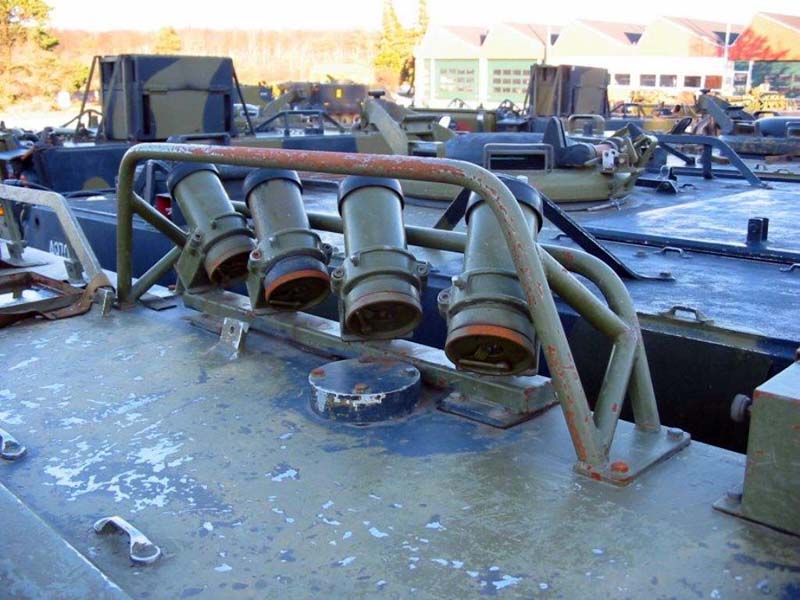
These might have one small issue. In the kit the smoke dischargers are located on top of the armor plates. This is correct for the Command version; however, they are placed on the roof of the hull in any other version. Ive enclosed photos for modellers who want to build any other version. The bracket cast on top of the side armor, parts consequently have to be removed which is both tricky and will leave problems with the perforations. The smoke dischargers themselves are truly disappointing they need quite a bit of work to get right. They too are taken from the Swiss M113 kit but the Danish versions are angled very differently. They do offer one very useful part however, a bending tool for the guard rails. Thumbs up for this MR Models.
Danish parts
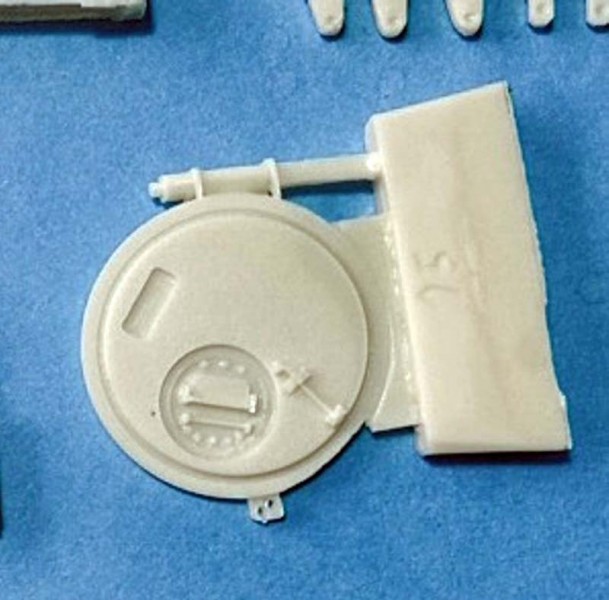
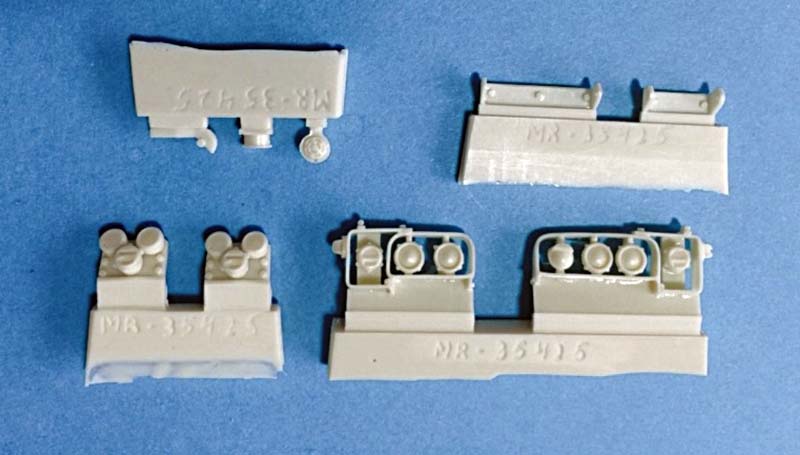
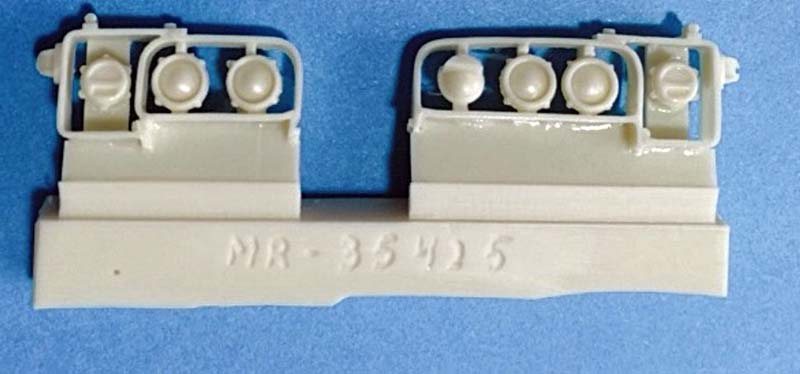
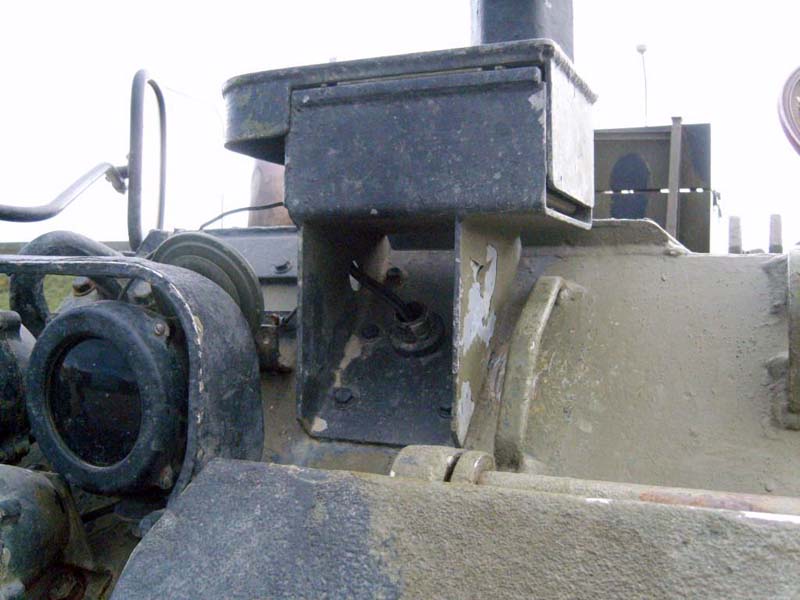
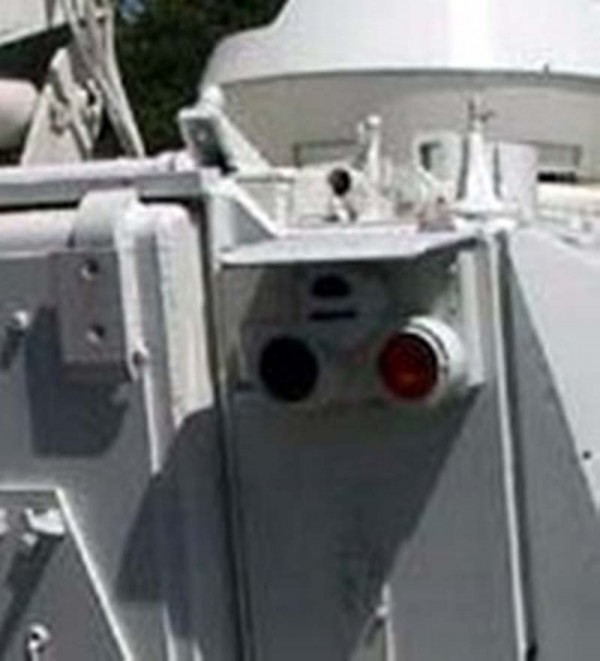
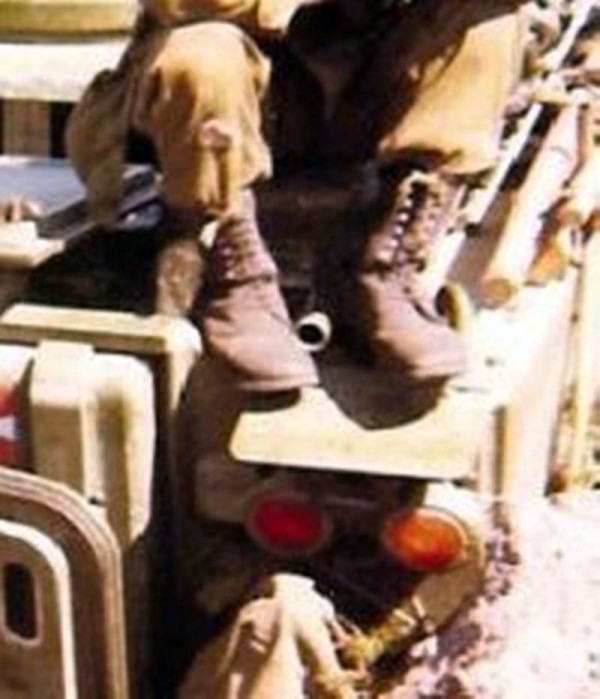
These include rear and head lights, mirrors, gas cooker, an APU box and antenna mounds. These are very good parts, although I think the gas cooker is a little too small. Im quite impressed with the head lights. They are very complex but have been produced very accurately as well. Theyll surely make out a good result once assembled. For the rear lights, one has to cut a piece of plastic to put on top of the part no big deal; however, I think that the instructions are weak about the shape of these, so Ive included pictures of one. If one wants to build a Command version there is an APU box included. There are some detail parts for the brackets but I think its better to make your own. For this Ive included some pictures too. The box next to the APU on the casting rod has to be used also if a Command version is build.
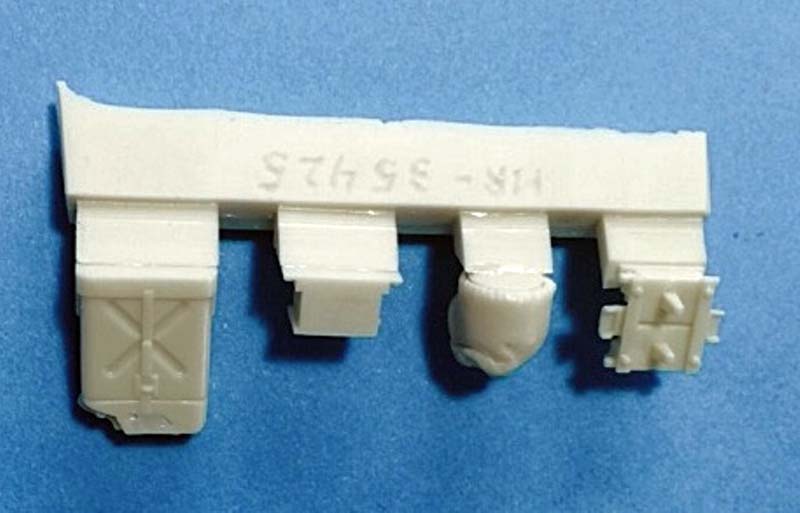
Bits and pieces for updating and details
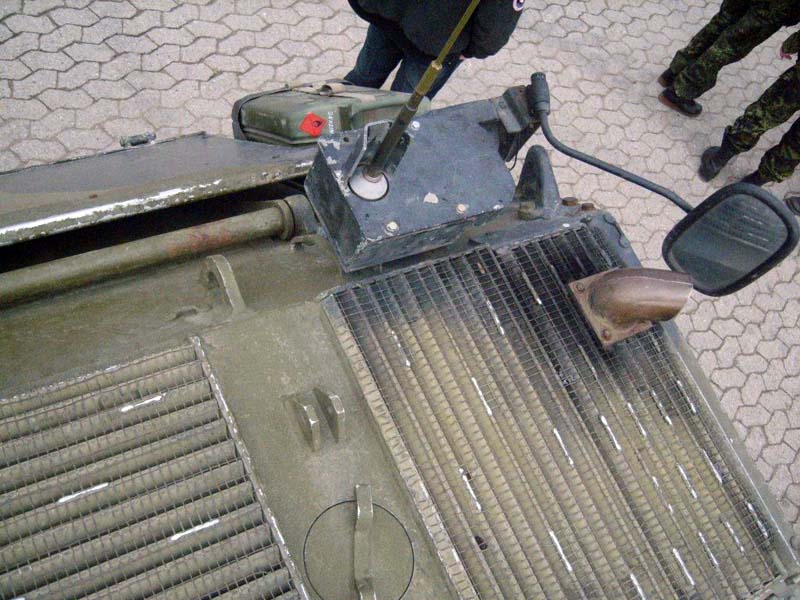
These includes tow hooks with mounting brackets, a replacement for the drivers hatch and the inlet/exhaust grills, mirrors and some parts Ive really havent been able to figure out yet what they are for. The drivers hatch is very good that is a nice improvement. The grills are an improvement on the Tamiya kit but not really with the Academy kit. There are also 4 extra boxes included which is kind of nice, but I fear some would be fooled to believe that they are standard to all Danish M113 APCs which they are not. All in all I think this is a nice addition to include these parts.
The instructions
These are at best poor in many areas insufficient. One could really wish that the producer had spent as much effort on these as with the parts. One example of this neglect is the antenna connection box (part no 16). There are no descriptions where to put it? Its mounted on the right side in front of the exhaust pipe. One of the antenna mounts has to be glued on top of it too. This is, however, also exclusively for a Command version.
conclusion
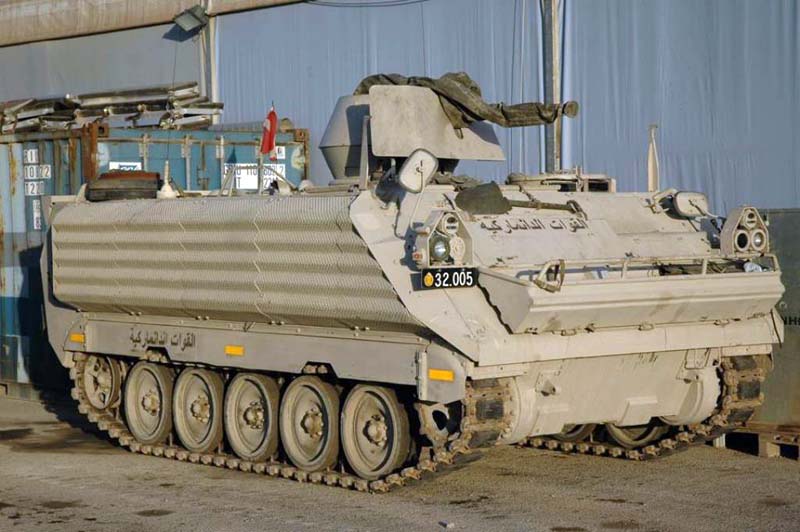
I think this is a great kit. It does have some minor draw backs but all in all this is a very good kit at only 33 euro P&P. The potential for this kit is huge. In the white UNPROFOR version one can build a basic grunt carrier, a Command version, an ambulance, a fitter version and a mortar carrier. All of these versions can also be made as IFOR and KFOR versions. The IFOR versions have two color schemes; one in white and green, and one in black and green. For UNPROFOR, IFOR and KFOR version all of the Tamiya and Academy kits can be used. One only has to obtain some Diel tracks like AFV club 35066 NATO track. For SFOR there is also a TOW version possible. The SFOR version however was an updated G3 version. For this Perfect Scale Modellbau kit no 35059 will provide you with all the necessary parts to update to G3 version. The G3 version used another kind of Diel track which Perfect Scale Modellbau used to offer. This combination will also allow you to build the version used in Iraq. I therefore give this kit my highest recommendation; even though it does has some issues.
Highs: This kit is very comprehensive. All the parts are of high quality in both detail and casting. High value for the money.Lows: The instructions are a big LOW. The smoke dischargers are also disappointing.Verdict: Highly recommendable kit. Very accurate, very well produced and highly detailed.
The dimensions are the same; I've found no problems using it on an Academt kit. The Academy kit, however, has much better details inside and out. The only version I would chose a Tamiya kit for is the mortar version.
I think this is a great kit. It does have some minor draw backs but all in all this is a very good kit at only 33 euro + P&P. The potential for this kit is huge. In the white UNPROFOR version one can build a basic grunt carrier, a Command version, an ambulance, a fitter version and a mortar carrier. All of these versions can also be made as IFOR and KFOR versions. The IFOR versions have two color schemes; one in white and green, and one in black and green. For UNPROFOR, IFOR and KFOR version all of the Tamiya and Academy kits can be used. One only has to obtain some Diel tracks like AFV club 35066 NATO track. For SFOR there is also a TOW version possible. The SFOR version however was an updated G3 version. For this Perfect Scale Modellbau kit no 35059 will provide you with all the necessary parts to update to G3 version. The G3 version used another kind of Diel track which Perfect Scale Modellbau used to offer. This combination will also allow you to build the version used in Iraq. I therefore give this kit my highest recommendation; even though it does has some issues.
Thanks for the info. One more question, slightly off topic...
This is the add-on armor that can be used for Danish PNMK? I've had my eyes on Accurate Armour conversion for quite some time, but the conversion lacks the armor on the sides as well as on the turret.
Mario
PS The final verdict is too huge for that text box... what do you think about adding this part of the text as a conclusion in the main portion of the review?
This kit would provide the armor for the hull. The armor tiles for the turret has to be scratched. I made on recently, have only given it it's base coats so fare, and it's a complicated build. But it looks so cool.


Comments