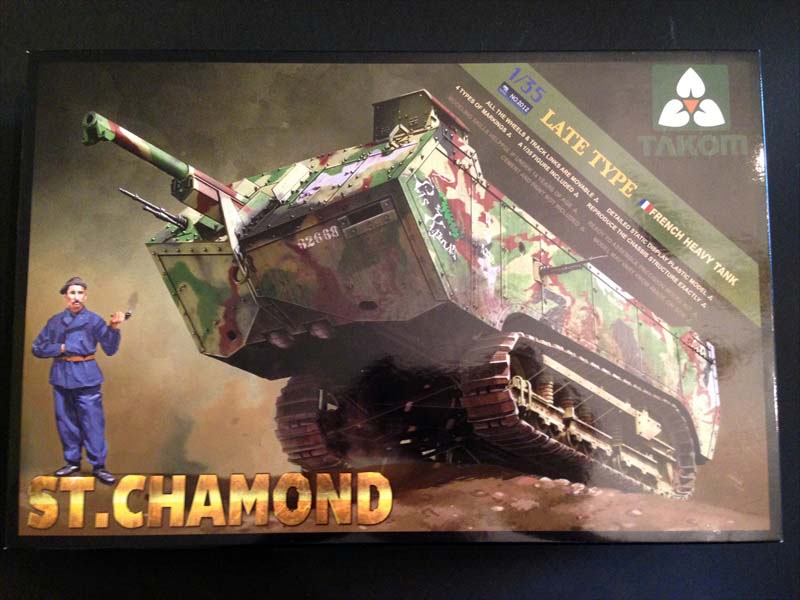
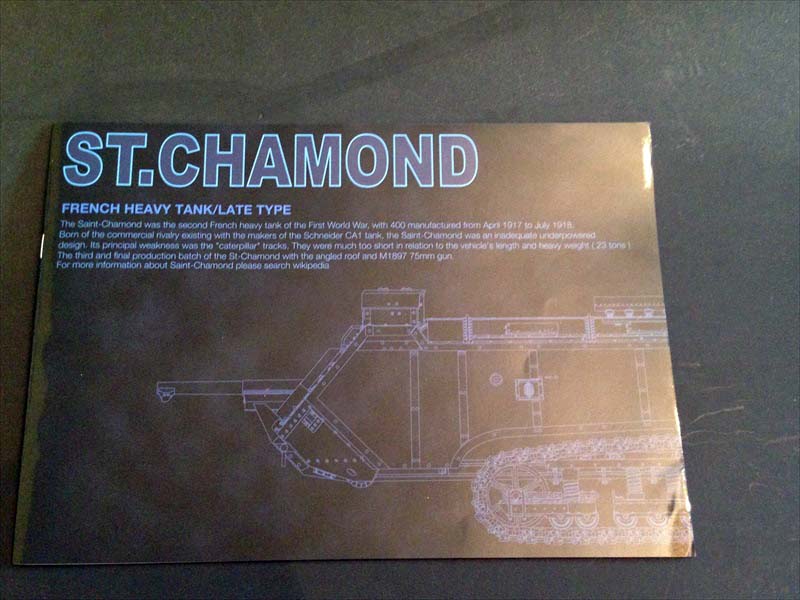
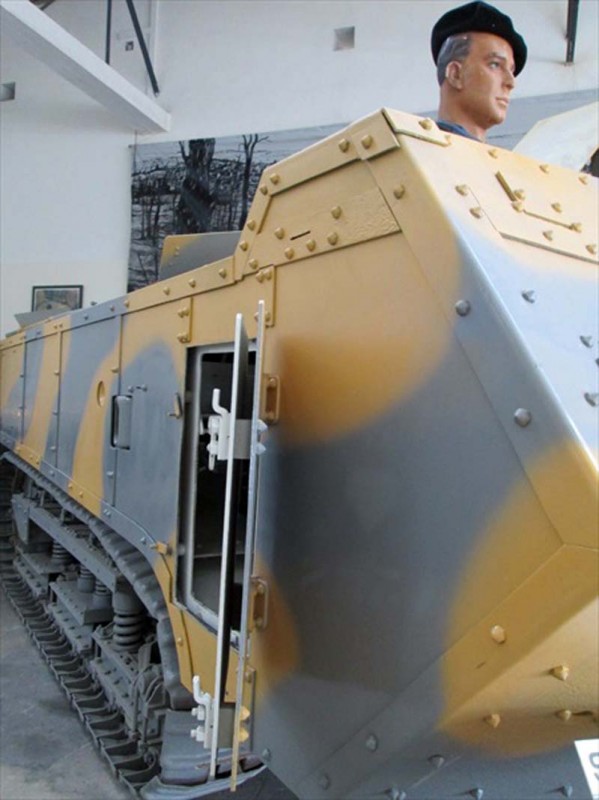
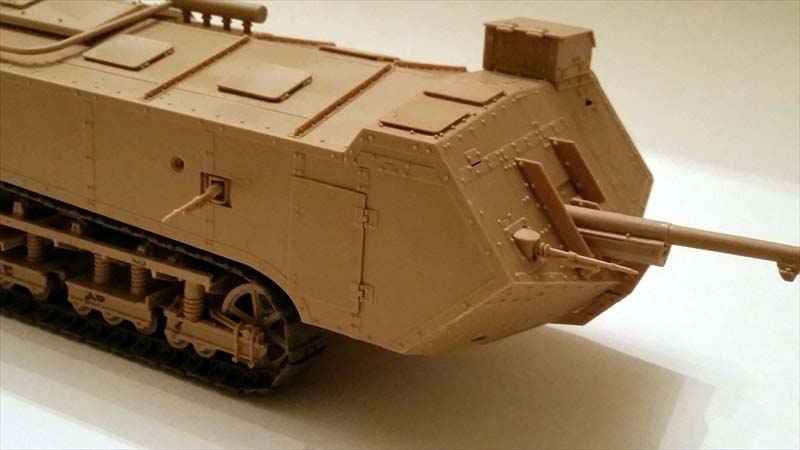
The Char dAssault St. Chamond was the second tank to enter service with the French army in World War 1. The product of a political decision to order 400 tanks from a new manufacturer of tanks based in Saint Chamond, Loire it was a flawed design, plagued with suspension issues due to strapping 23 tons of tank atop a Holt tractor chassis and mobility issues due to the long overhang and main gun in the front. It did offer a full sized 75mm field gun and four machine guns in comparison to the two on its rival, the Schneider. Although 400 were built it was planned to drop them from production in favour of the British rhomboids.
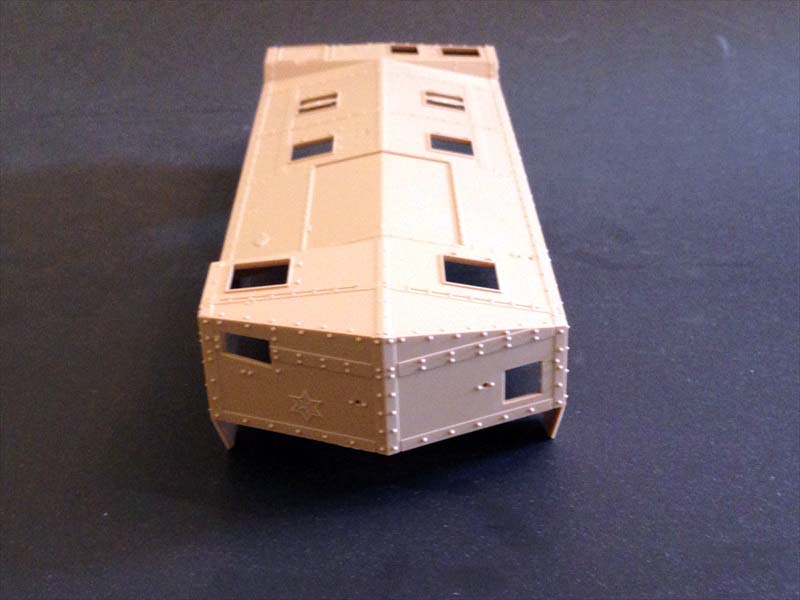
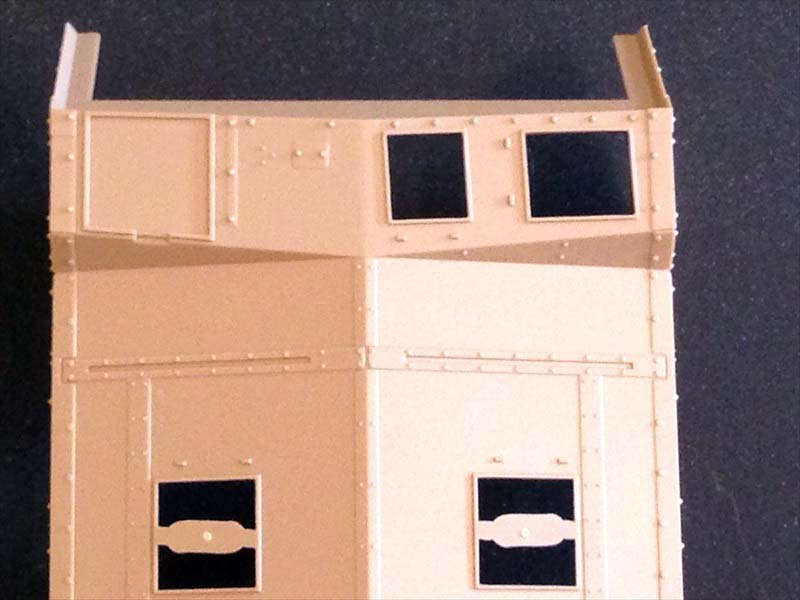
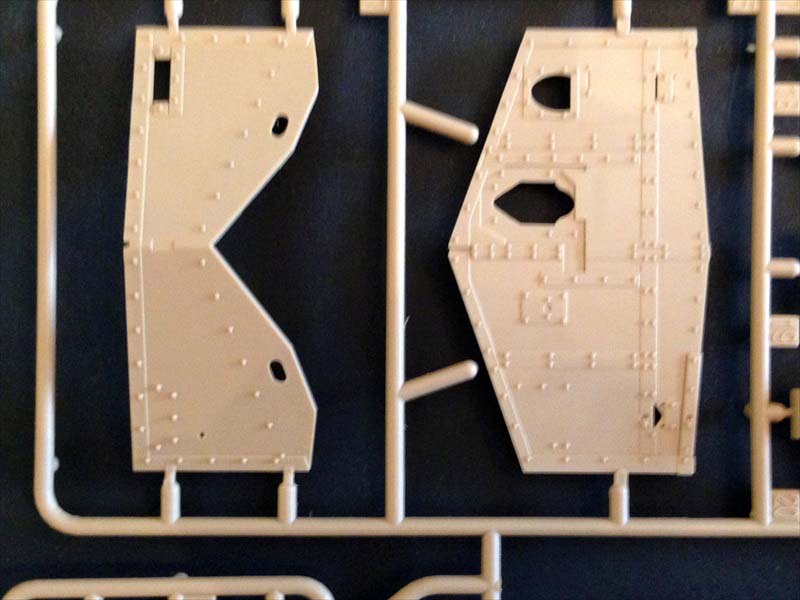
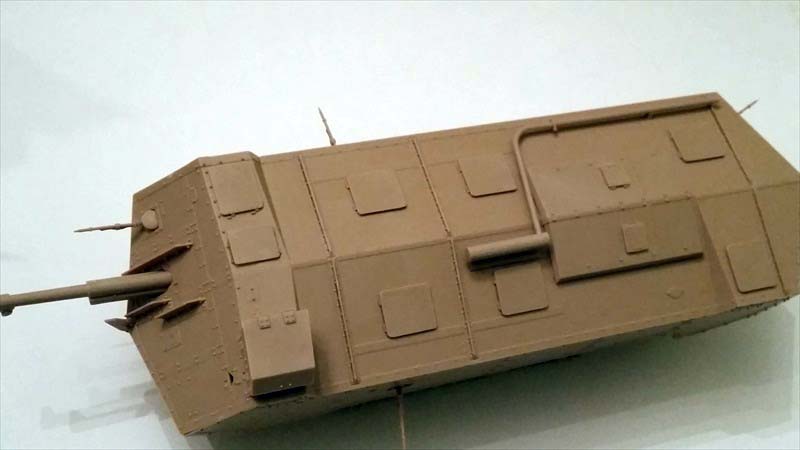
With the 151st vehicle produced, several changes were made to improve performance and survivability. The flat roof was changed to an angled one to allow grenades to toll off, the two separate turrets were removed in place of one larger turret for the driver, the tracks were widened, and 8.5 mm of supplemental armor added to the front of the hull.
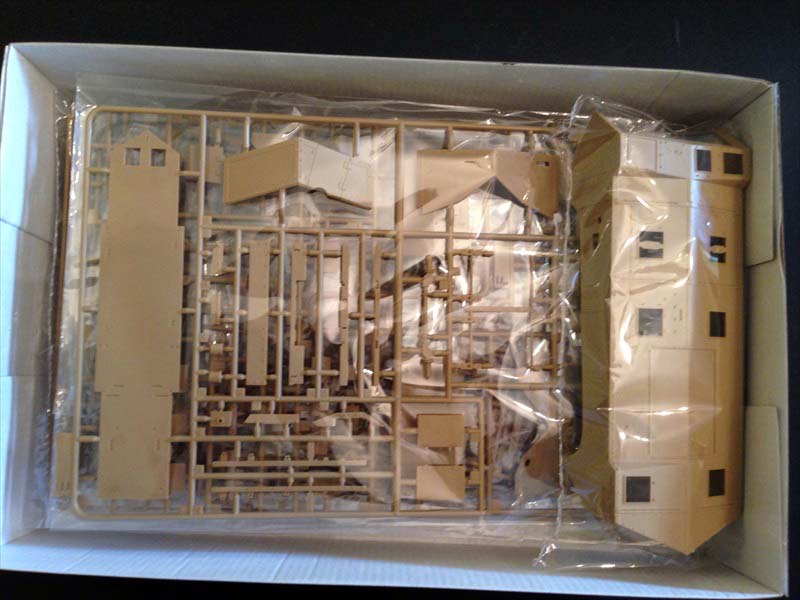
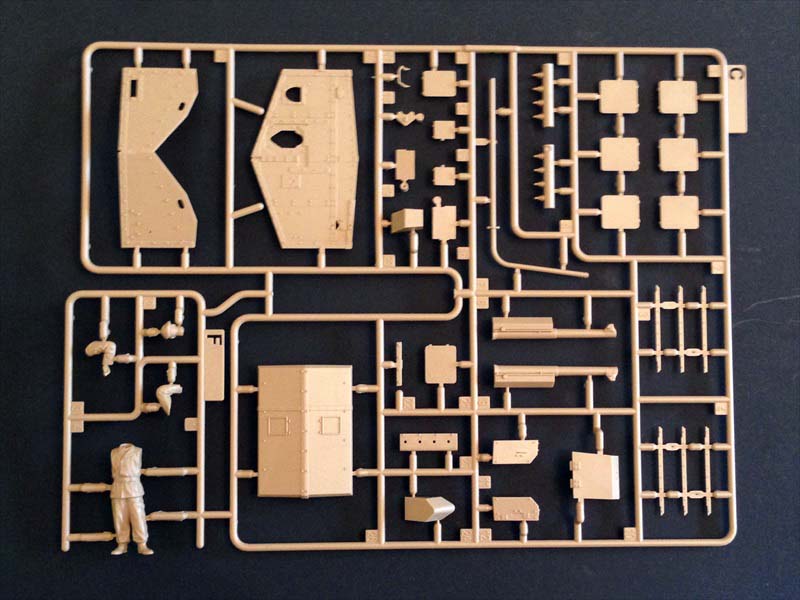
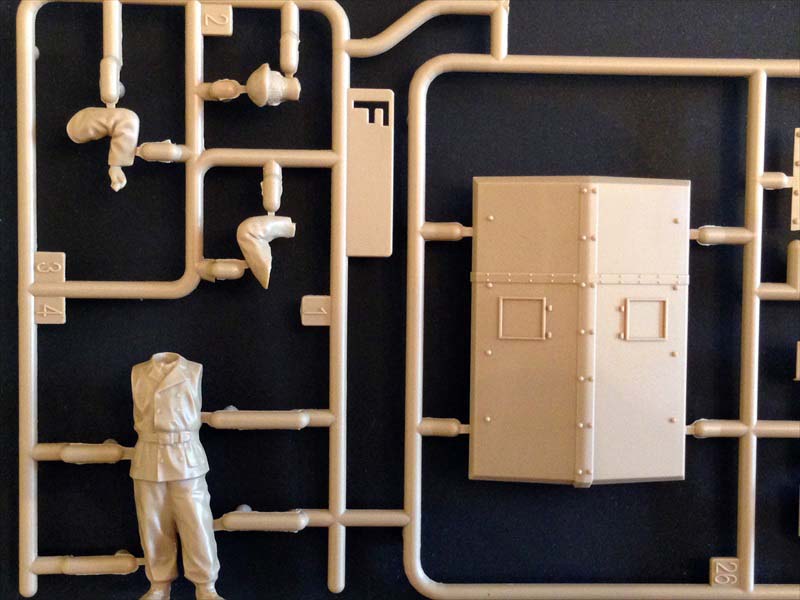
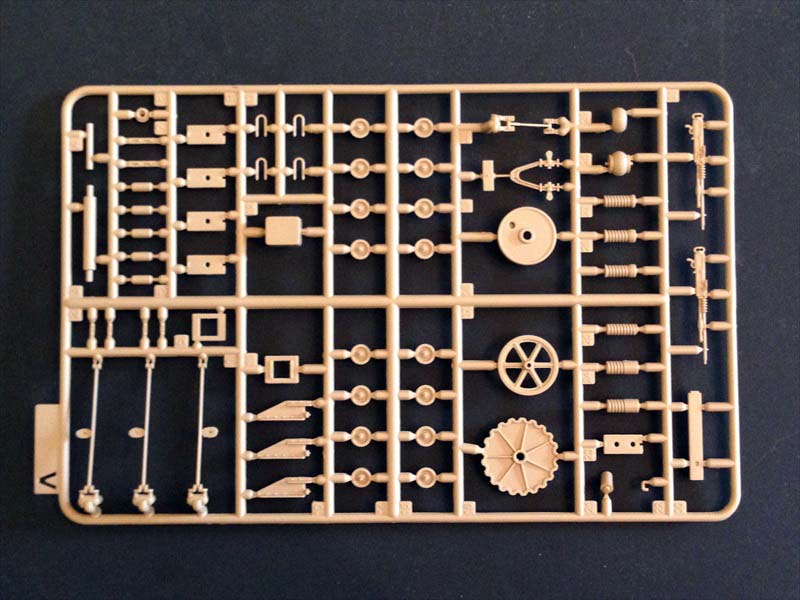
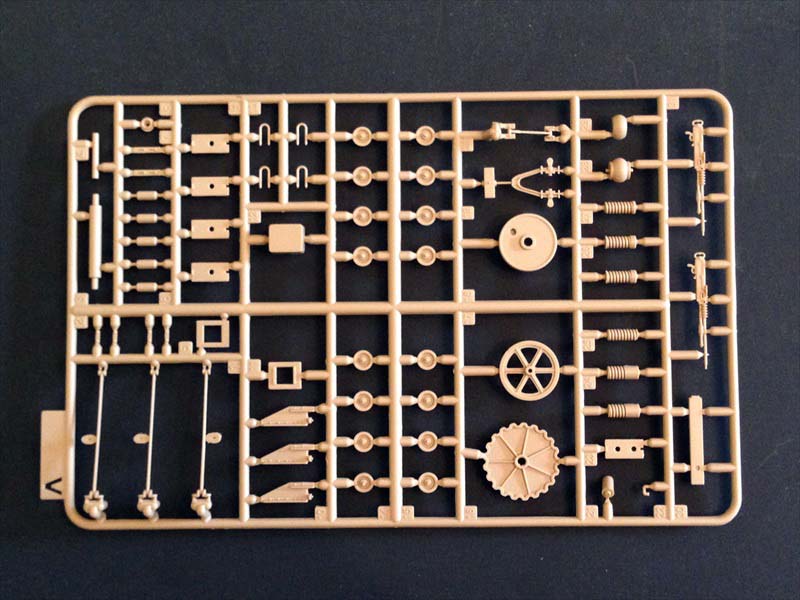
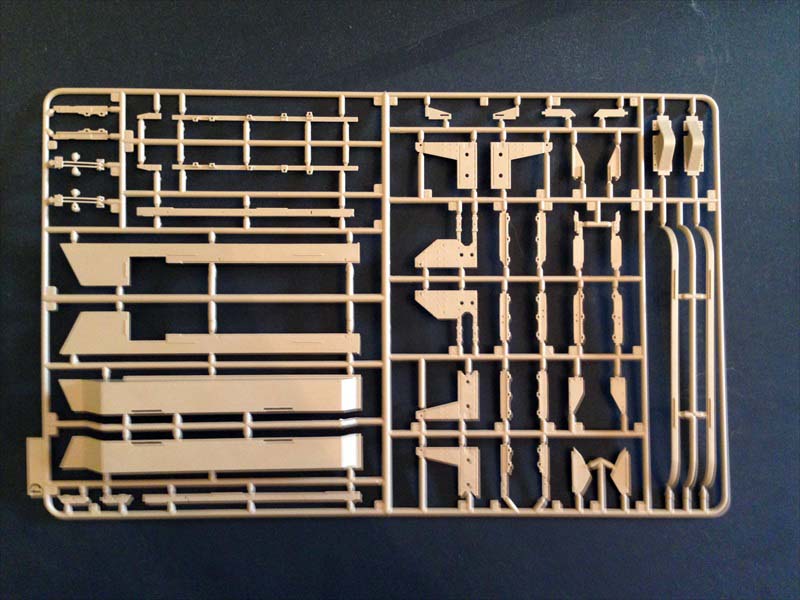
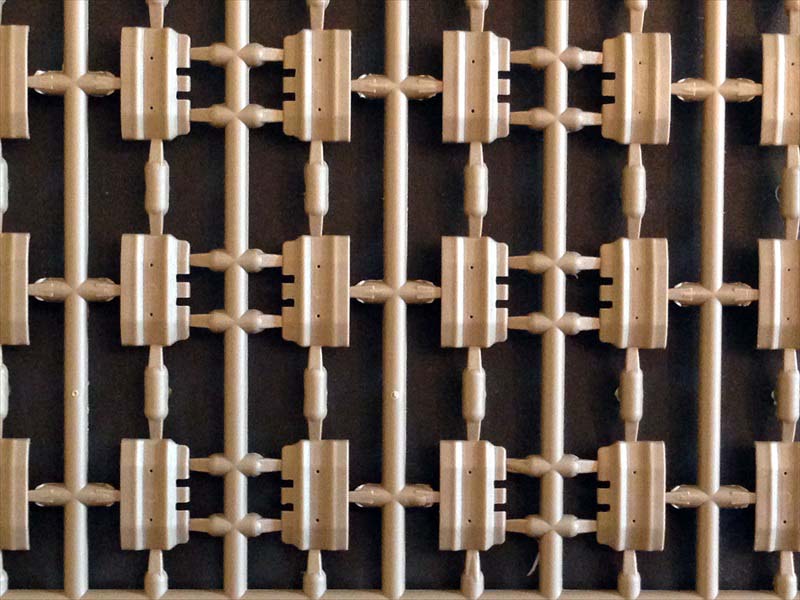
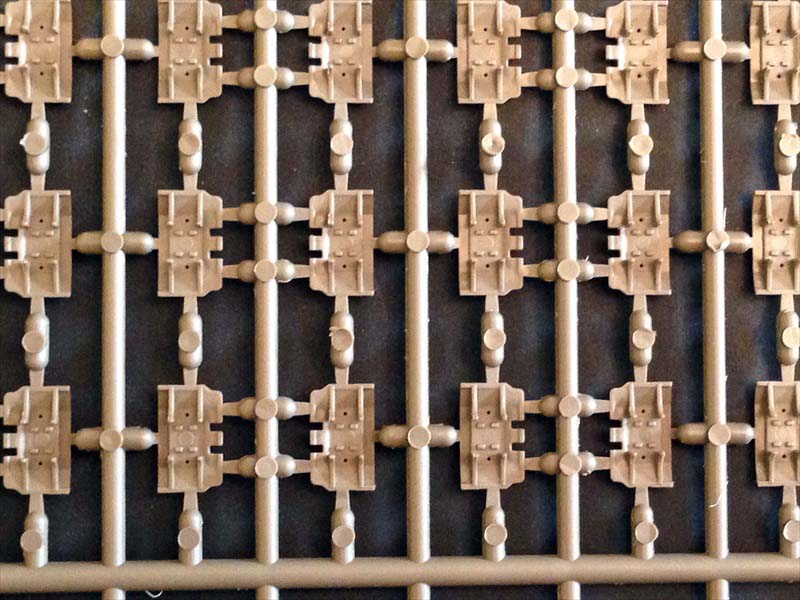
The kit
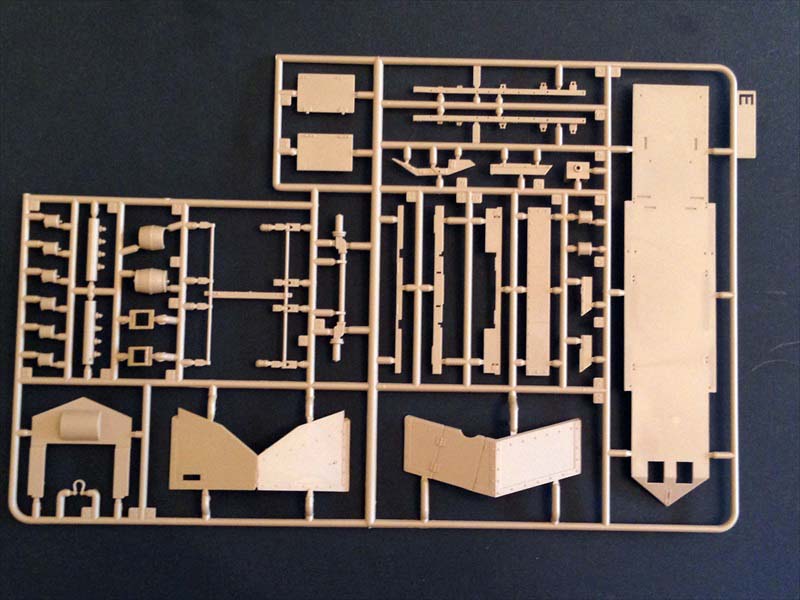
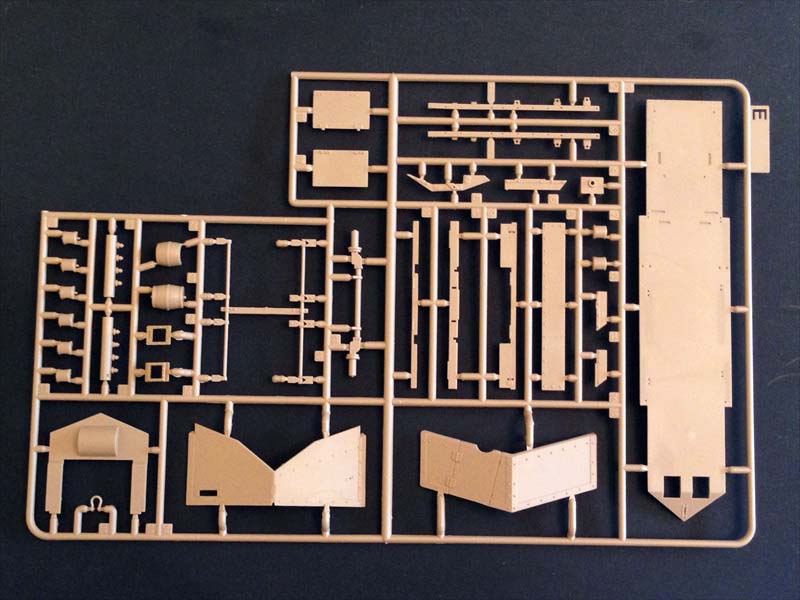
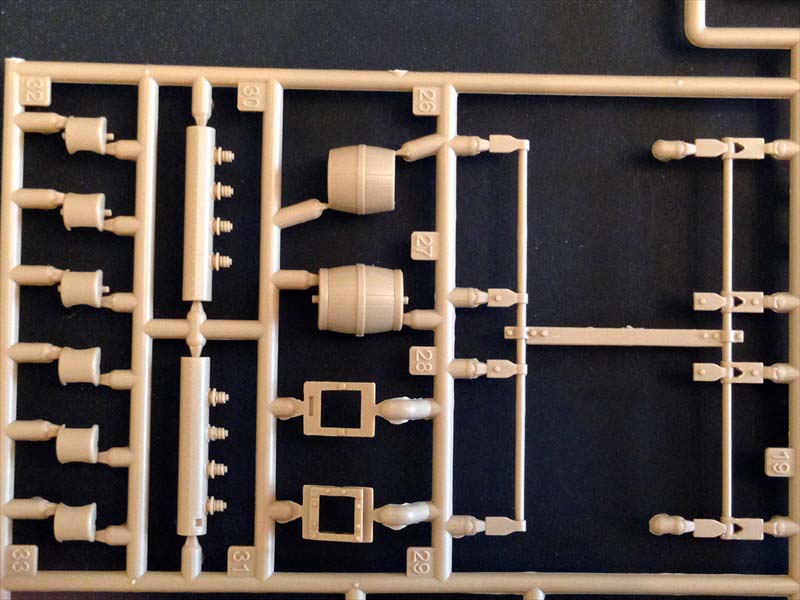
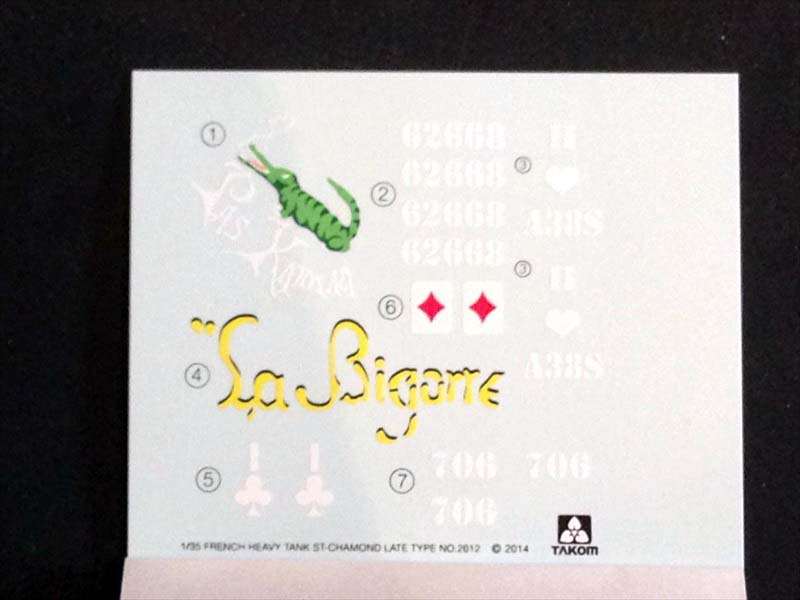
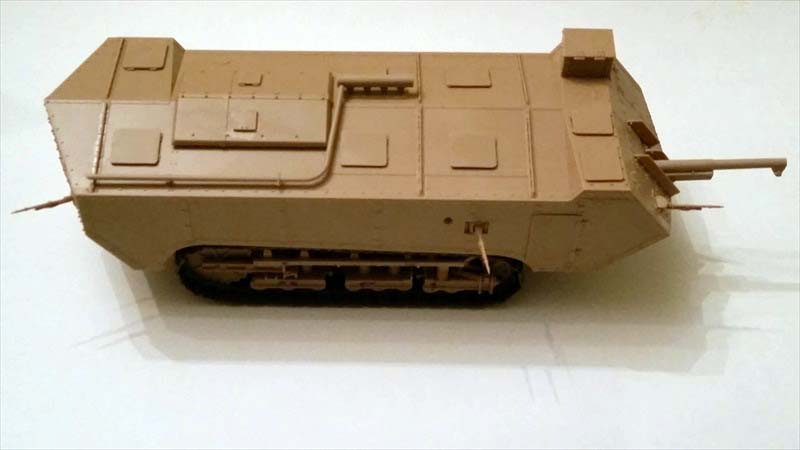
It is this later version that Takom have modelled here in brown plastic. 245 parts for the kit itself and over 300 parts for the individual link tracks. A decal sheet and a glossy multi-page instruction booklet round out the contents.
Overview and general tips
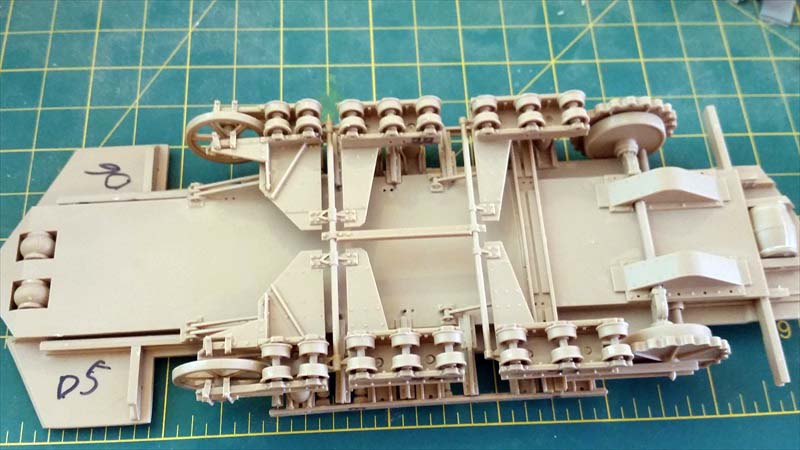
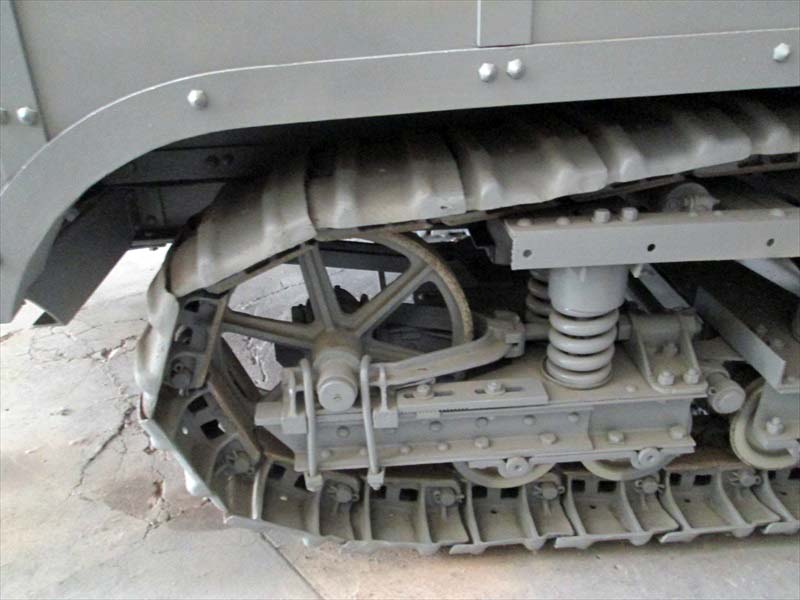
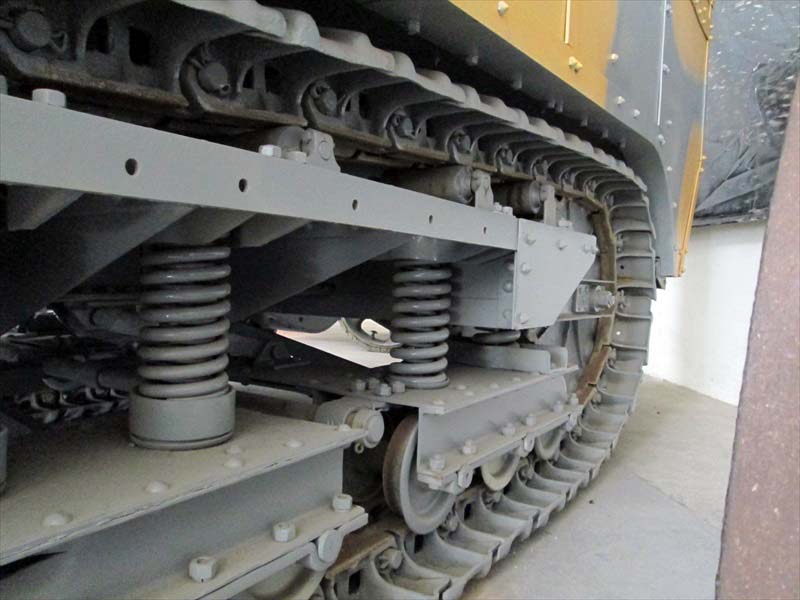
The St. Chamond was nicknamed the elephant with the legs of a gazelle and this is a seriously overcomplicated suspension to deal with. To Takoms credit they didnt overly simplify it and it appears pretty dead on to what I saw crawling under the vehicle at the museum at Saumur. However the parts are so inter-related that if one set of parts are just slightly out of alignment it will cause later parts to be even further out of alignment and the whole thing will stop fitting together properly. Ill propose several changes but I would highly recommend a slow setting glue and try to set aside 5-6 hours to just power through the suspension. Once the glue sets and pieces droop youre in for some surgery. Which is what happened to me.
Additionally there is several part numbering mistakes in the instructions. The pictures themselves are both clear and accurate so rely on them when the part appears to be the mirror image of the cited part number
If you have the AJ Press book on the tank you will note that the plans do not match the model. Dont panic as this is not uncommon with their tank plans. While I did not thoroughly measure the tank at Saumur I did get several reference measurements and they routinely reflect the kit over the plans. Without comparing comprehensive measurements Im as comfortable as I can be that the kit is right.
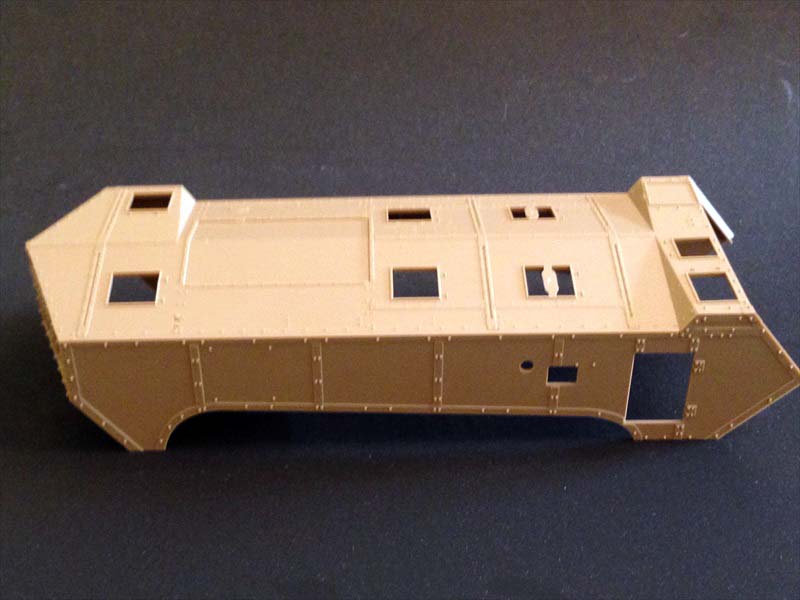
The Hull
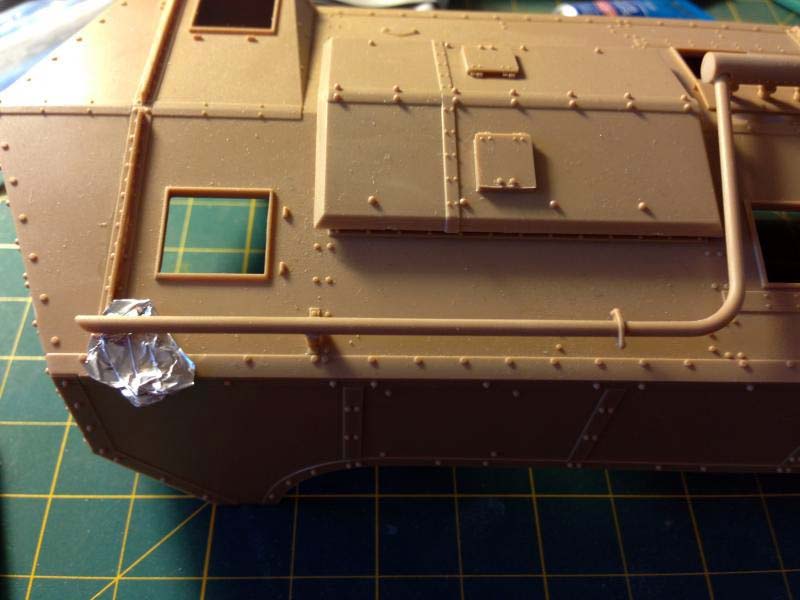
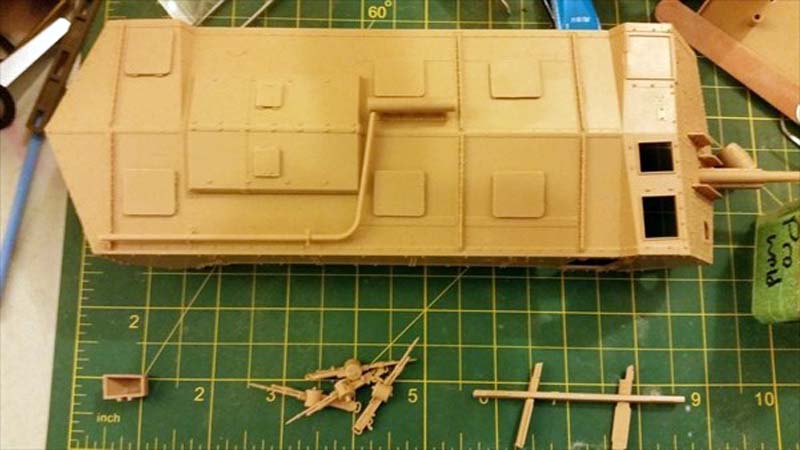
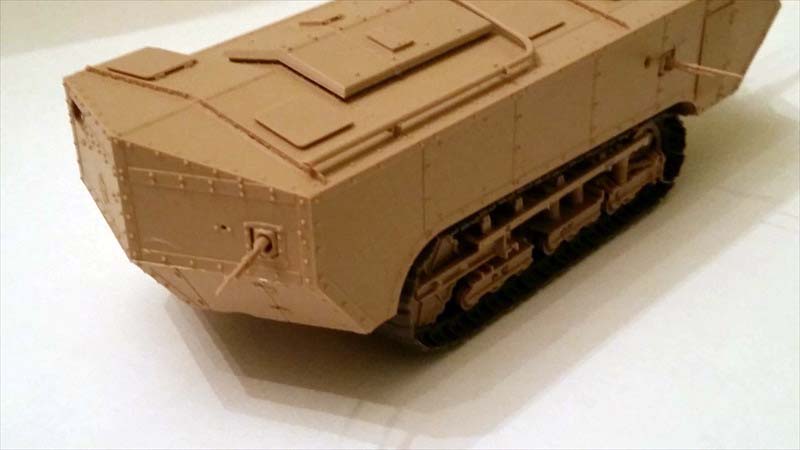
With two exceptions, the hull basically falls together. The plastic is a bit soft, so take your time trimming it and leave your sprue stubs a bit long when cutting and sand them back instead of cutting them flush. Some small files will be useful to clean up the machine guns which are beautiful moldings. Credit also goes to Takom for doing an excellent job with the sandwich style construction of the side door and making all the hatches position able. This is a kit that cries out for an aftermarket interior as with all the hatches open you could see everything. With that said, did I write that all the hatches were openable? My mistake, they all are except for the drivers hatch which is the one that seems to always be open when not in combat. Oh, and where the turret meets the hull is solid so your work is cut out for you to open it up. Thats a real pity as this is where a half figure would be easily dropped in if it were only easier to do.
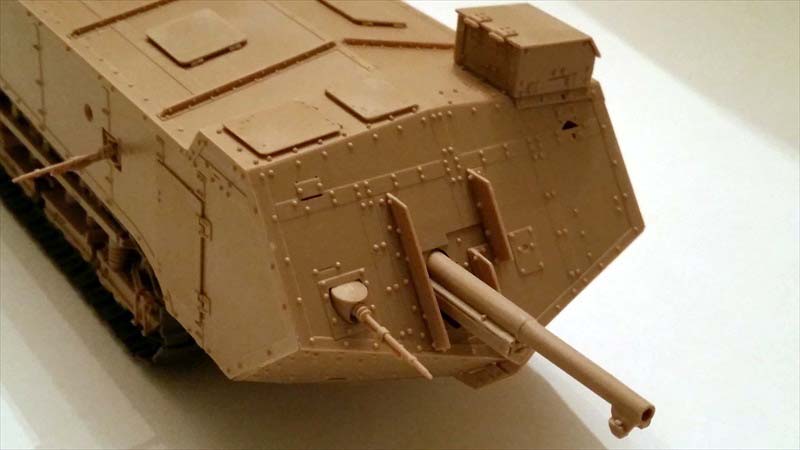
The first of the two fiddly bits in the main gun, which has a forward fitting on the support that doesnt fit very well, leaving a large seam that needs to be filled and sanded back before scribing the slot that runs along the entire length on both sides.
The second is part C4, which is an angle iron piece on top of the hull. It is designed to fit in a corresponding trench which is simply too narrow to allow it to fit. After some abortive carving attempts to open the trench I opted to just cut the lower part of c-4 and just butt glue it into place.
The little fore and aft rollers do have some prevalent seams to fill. I used Vallejo water soluble putty and simply wiped off the excess with a damp paper towel. No muss, no fuss, and it looks fine.
There are two supports that attach the hull to the suspension (Part A3) and the instructions would have you do that before starting the suspension. Dont. They have a lot of play in them and if they dry at an angle youre going to be struggling to get the hull to be centred over the suspension and floor. Leave this part off until youre ready to close up the entire kit
The Suspension
Ill start with what I did, then finish with my thoughts about what to do when I build the kit again.
Steps 11-13 involve the first parts of the frame attached to the floors underside. These parts have pretty loose tolerances and are quite dainty, which means getting and keeping them in proper alignment is tricky. As a general rule what I would suggest is that you hold off building sub-assemblies until its time to install them to their final resting place, when possible build them IN the final resting place. So many of the parts and subassemblies are delicate and have to fit together that the longer you can hold off building them so the glue isnt fully set as you wiggle them into alignment with each other, the better.
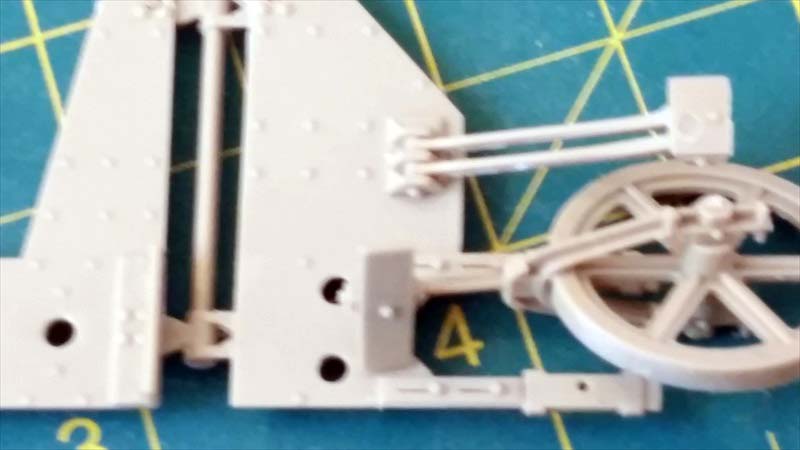
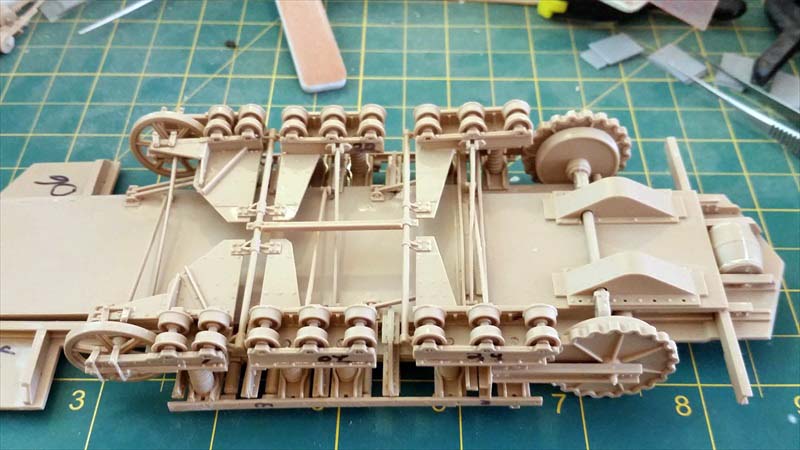
Step 14 has you mounting 10 plates that actual suspension hangs off of. They are small and have a tiny overlap of the frame so they want to droop and pivot. I made the mistake of fitting them at this point, using angle irons to try and keep them true. They ended up being slightly off which cascaded some issues for the rest of the build. Leave them off until step 19 when you can combine them with the return rollers.
Step 15 has you fitting some rails to the floor and it illustrates what really impressed me about the kit. While the suspension is extremely delicate Takom has also gone to great lengths to provide tabs and recesses and pins wherever they can to help with alignment. My build issues are due to the complexity and delicacy of the suspension; Takom has done a great job of providing all the help that they could without compromising accuracy.
Steps 16 and 17 have you attaching the rest of the lateral floor plates and some covers for the framework. In retrospect, I should have skipped step 14 and combined steps 16 and 17 with 11 and 12, putting all of that together while the glue was flexible. I think this would have avoided my minor alignment fiddling.
Step 18 has you attaching supports that will then brace the return rollers. Dont do this now! I did and paid for it because as they didnt set perfectly (along with the parts in step 14) I struggled to bring it all together.
Step 19 is a couple of axle supports and piece of framing.
Step 20 has you attaching the return rollers. I struggled a great deal with this as without all of the parts in perfect alignment the tabs on the supports from step 18 would not line up with the outer frames. Everytime I tried some other part popped off. I eventually just cut the tabs off of the supports and butt-jointed them against the frames. It worked tolerably well. What I SHOULD have done was to combine steps 14, 18, and 20 all together and built them as a unit using Tamiya thick cement. The parts are cleverly laid out to support each other so long as they are still curing.
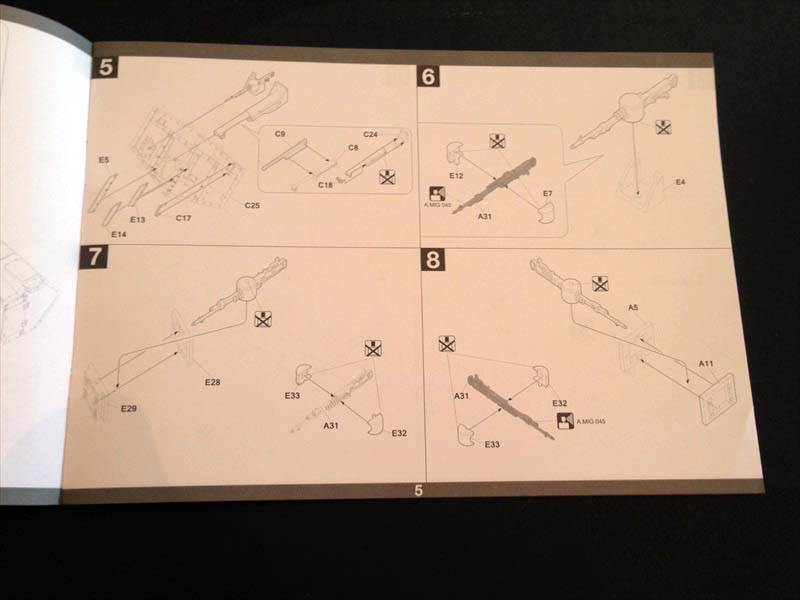
Steps 21 through 25 are a bit finicky as you bring various plates together. I used markers to write the part numbers on the various pieces as theyre fairly easy to get muddled. Here are the primary steps to discount part numbers and go by the pictures. Several parts are miss-numbered and if you go by them instead of how they look youll flip parts around to make them fit. Which they will, so feedback will come later.
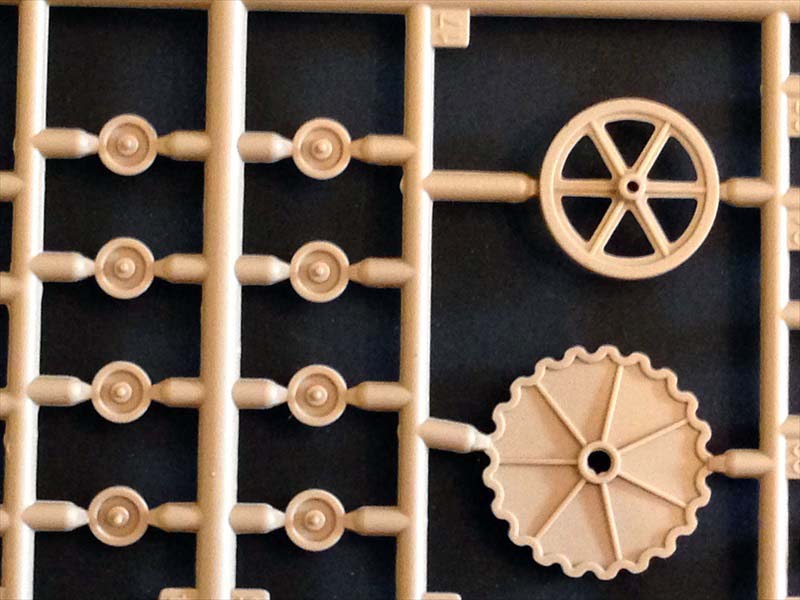
Step 26 is silly. It has you pairing slender support rods to plates on either side of the chassis. Good luck keeping those from drifting out of alignment. I built them in place on the chassis as part of step 26 part 2 (there are two step 26s in the instructions!) and was much happier. I built the road wheels in place with their frames and then attached the rods. Much easier! Be careful cutting the road wheels off the sprue, the soft plastic wants to tear even with newly sharpened cutters. Use a small razor saw instead.
Step 32 combines the joy of tiny parts with the need for precise alignment and adds the joy of no mounting tabs. Go slow, be careful, and use that razor saw for the half-loops (part A13) as they want to break at the lightest touch.
Step, wait a minute, what about steps 27-31?! They dont exist, so that should save you some time! Anyway, steps 33 and 34 have you attaching the springs to the suspension then finally attaching that to the hull floor.
Steps 35 and 36 has you attaching more of the floor and steps 37-and 38 has you brining the hull and floor together at last. Take your time as they will shift forward and back a bit but overall there were minimal issues.
Step 39 is the joy of individual link tracks. They are a bit time consuming but not too bad, Takom did a clever job of having you only glue one piece and have the rest snap into place so you dont glue them together. It is fairly easy to put pieces in upside down so youll probably get used to popping them back out.
Conclusion
Had you told me ten years ago that we would have kits of all the major tanks that served in the First World War I would have doubted it. Had you told me that they were at the quality level that they are I would have laughed. This kit is an attractive vehicle on its own and the French camouflage schemes are the most colourful and interesting of the war. The fact that is as accurate as it is impresses me no end. They could have just used plans that were off and few would have ever known. After crawling under the real one the fact that they captured the suspension so well is also noteworthy. Make no mistake, this isnt a beginners kit by any stretch. There were a few times where I looked at the suspension and idly wondered if I could just put it in a diorama where it had sunk into mud up to the hull! The instructions have some mistakes and there are a couple of parts that wont fit without modification. However, this kit is as good as anything from Dragon, Meng, and so on. Very highly recommended!
SUMMARY
Highs: Detail is excellent. Accurate to the real tank at Saumur
and captures the overly complicated suspension very well.Lows: Tolerances are very tight for much of the suspension with minute locating tabs and slight misalignment will make parts not fit into their tabs further into the build. Multiple part miss-numbering in the instructionsVerdict: This is an historically important tank that has not been easily available until now. Takom captured it very well and overall made it a straightforward build.
Our Thanks to Takom! This item was provided by them for the purpose of having it reviewed on this KitMaker Network site. If you would like your kit, book, or product reviewed, please contact us.
Thanks for the review Matt, this looks like a good model for my stash! If it is as good as the Meng T-90a kit that I am currently building I will welcome it,that being said it will go into the stash until my skills increase to be able to deal with all the small parts and alignment issues you describe because of the complexity of the suspension system and other issues you have mentioned.


Comments