Introduction
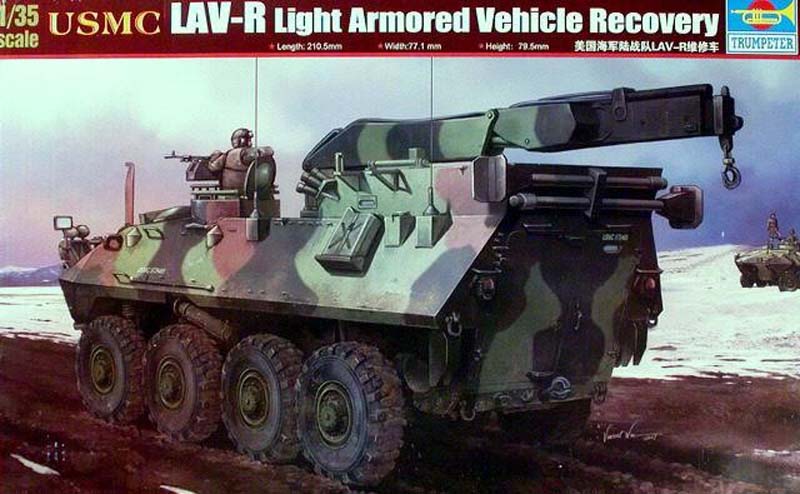
The subject of modern armour recovery vehicles has interested me for as long as I can remember, being brought up in a forces family I was always around vehicles of a specialist nature and it fascinated me how many different applications that one vehicle chassis could support. With this long standing interest, I decided to take my model building in a different direction, as up to date I had mainly built aircraft and some tracked armour, and build Trumpeters 1/35 USMC LAV-R.
Gino P. Quintiliani has completed a fantastic review of this kit on Armorama, see link below, so I will not bore you all with the contents of the kit box, other than to say that the kit parts are well packed and presented to the modeller in trumpeters usual string style of box with great box art. A link to Ginos review can be found at the end of this build review.
The Build
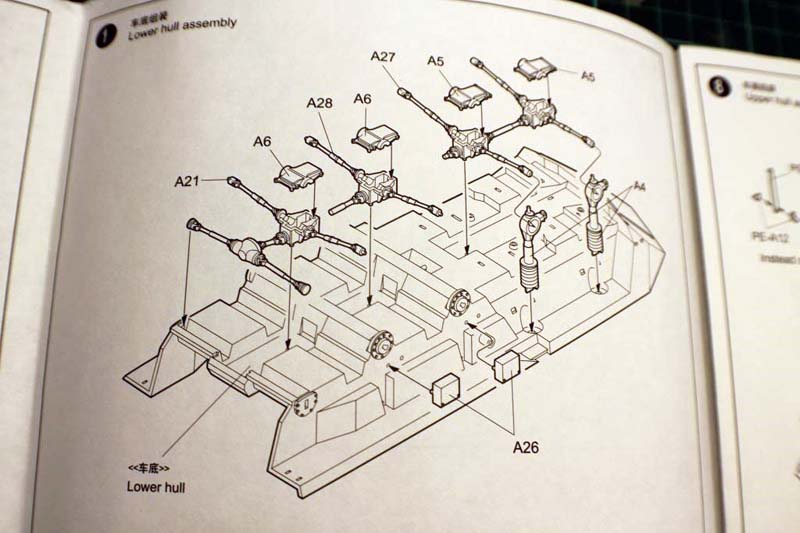
I am following the construction as detailed in the instructions as it seems to be laid out logically and should be a straight forward build. I start by building the central transition units, I take all parts off the sprue and dry fit them to ensure proper alignment.
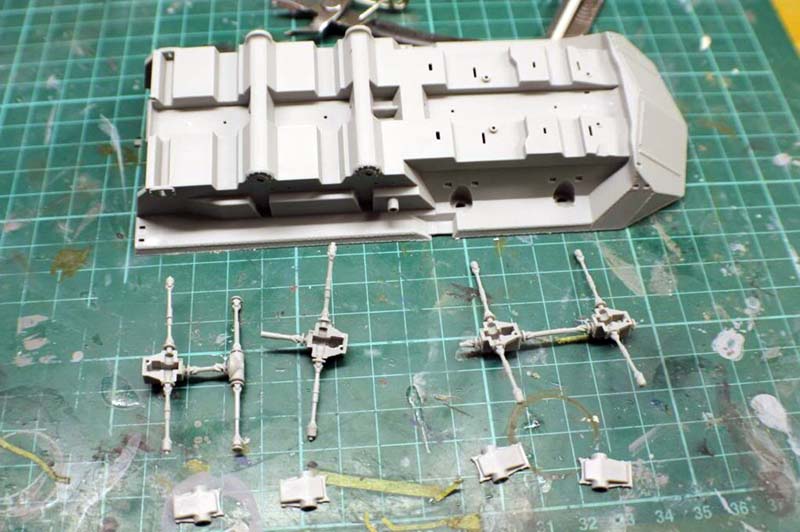
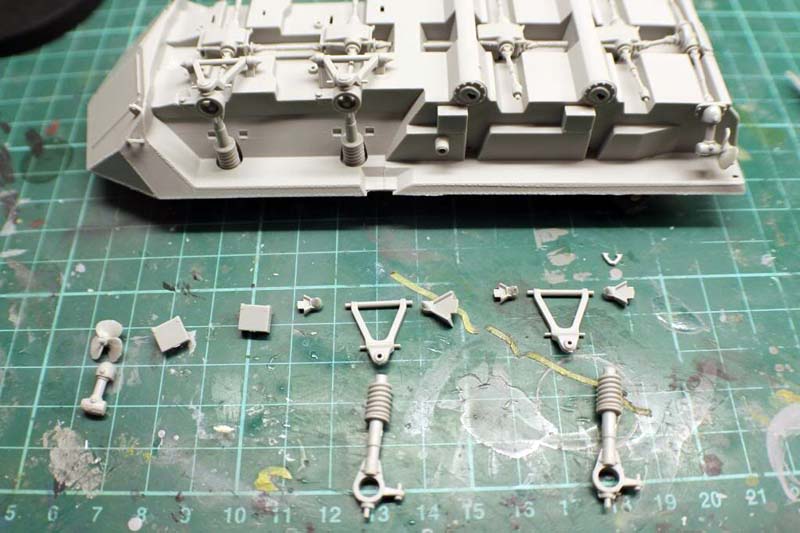
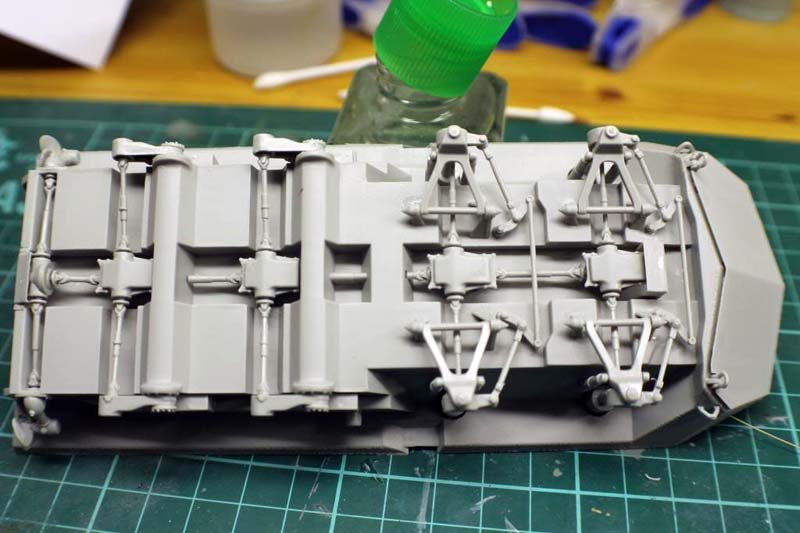
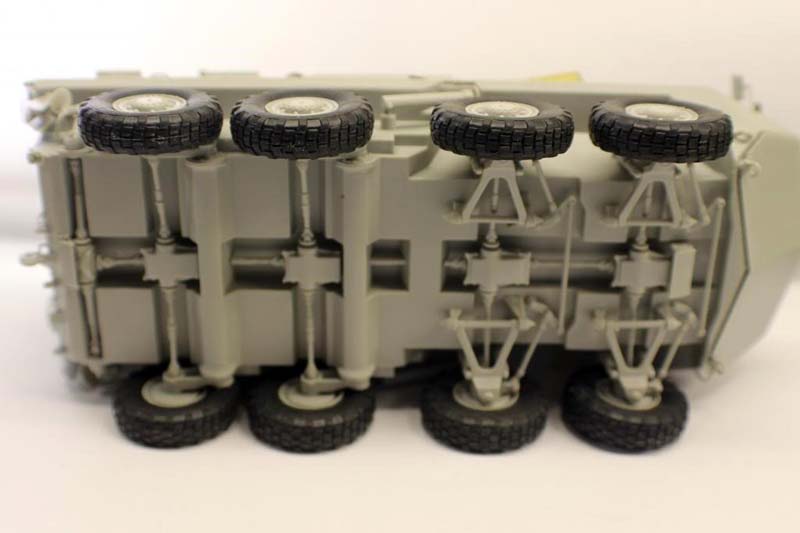
Once I have the transmission units fixed I move on to the suspension and drive units. I work using the same method as the transmission by removing all the suspension parts from the sprue one side at a time, to avoid confusion, clean them of slight burring and them assemble them.
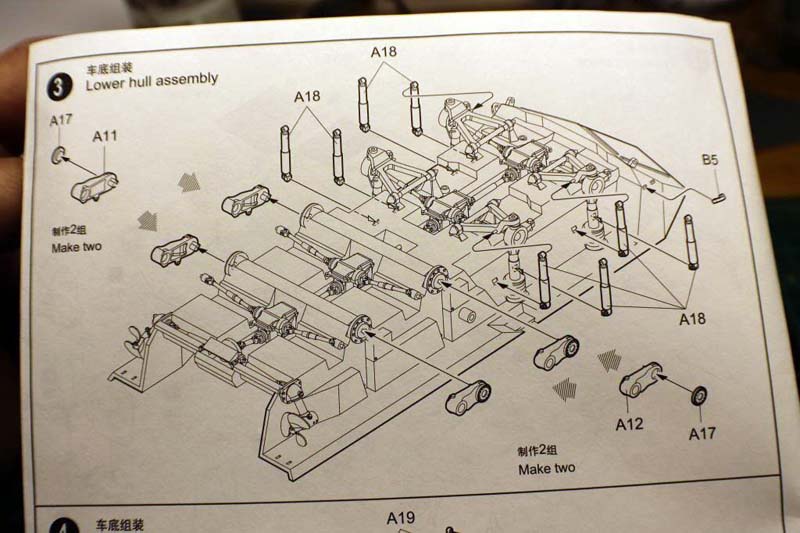
As you can see the detail is really nice and with a little care the fit is good. Once I finished this side it was on to part 3 & 4 which deals with the rear torsion suspension and front armour plate plus recovery fixing's.
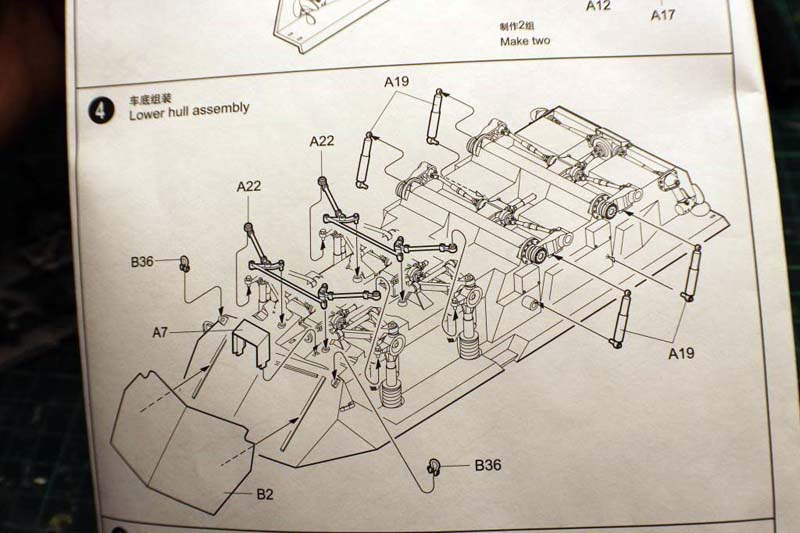
Again all the parts for one side are removed cleaned and fitted, of note it is important to fit the rear shocks to the suspension arm whilst there is still play in the glued joint in order to get the correct alignment and ride height of the hub. Part 3 of the instructions call out for the fitting of the front shocks and rear suspension arms to be fastened, but leaving part 4, the fitting of the rear shocks, till the previous parts have set up you will be unable to adjusted the rear suspension arms to fit the shocks and end up with problems.
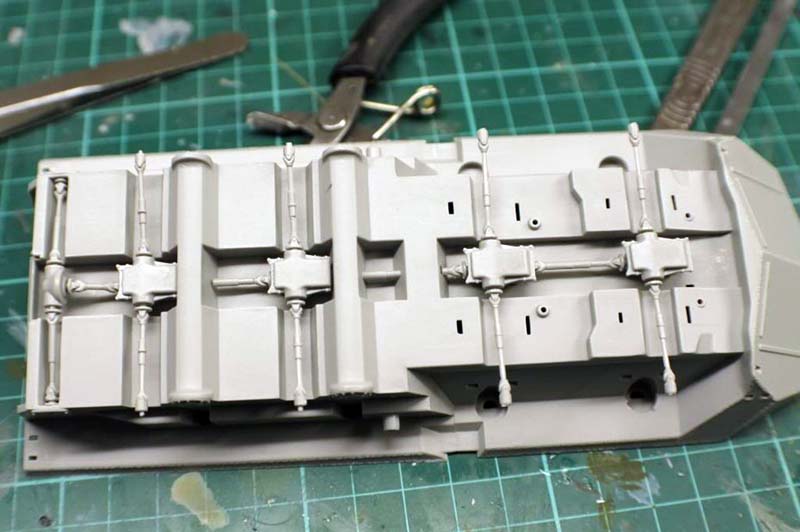
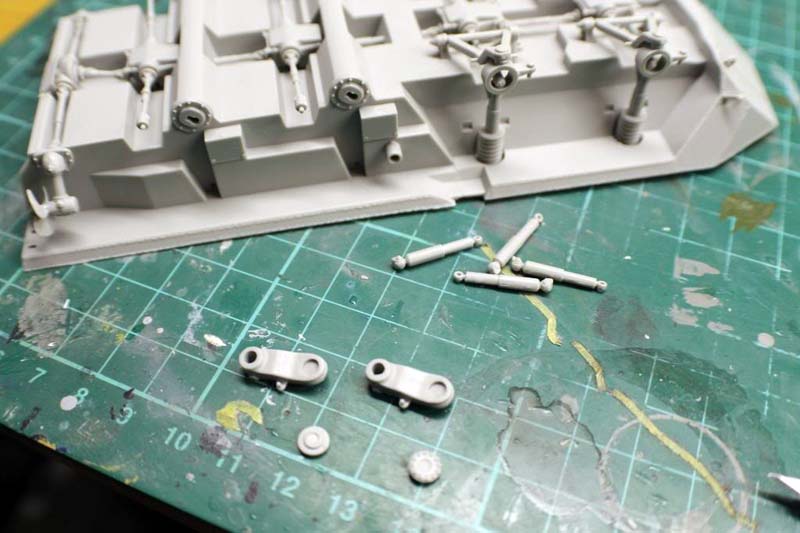
Finally, once all the suspension is fitted the steering gear is to be fastened on. Care needs to be taken removing the parts from the sprue as they are fragile and thin, but they do fit very well.
After about three hours the suspension and drive train are finished and they look really good giving a fine representation of the real machine.
I am really impressed with the level of detail in this kit, though care and dry fitting is needed as there is a little flash on some parts and some of the larger fitting pins need trimming to gain a little movement to aid alignment, specifically the half circle pins on the top of the front struts.
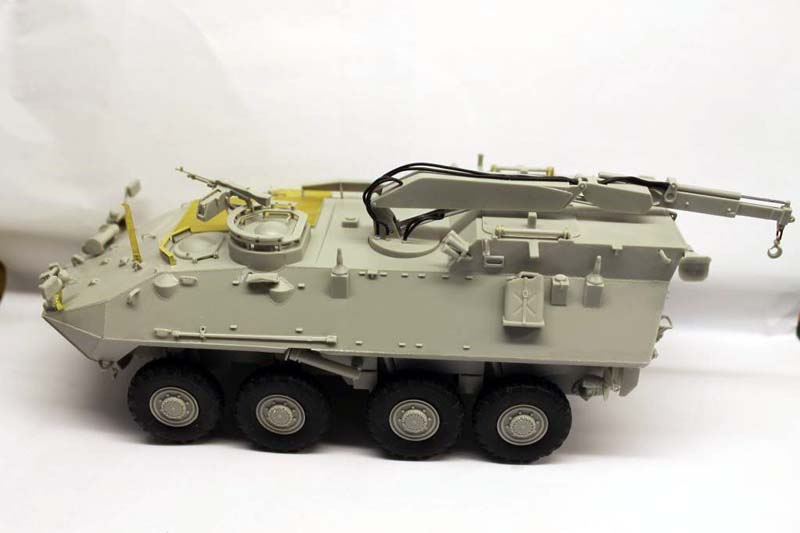
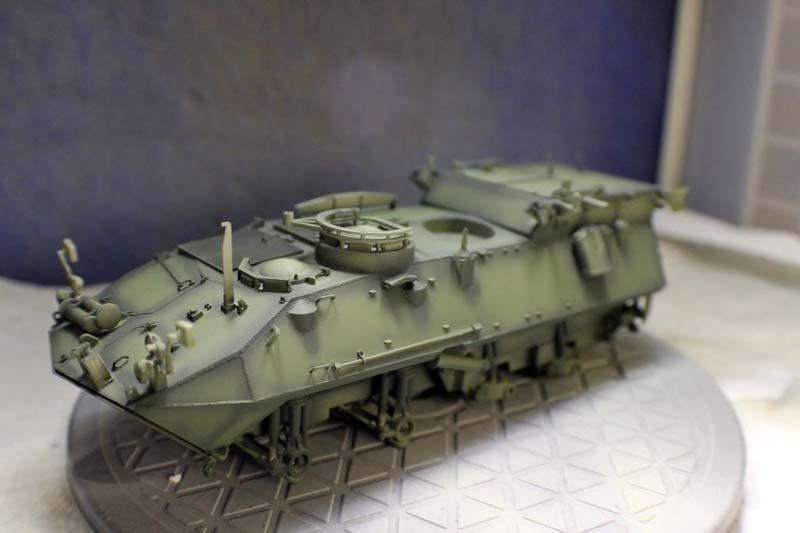
Once the lower hull had been set aside for a day or so to fully set up construction turns to the joining of the upper and lower hulls before pushing on to finish the build. I found that alignment of the two hull parts was really nice and there were no issues bringing these parts together.
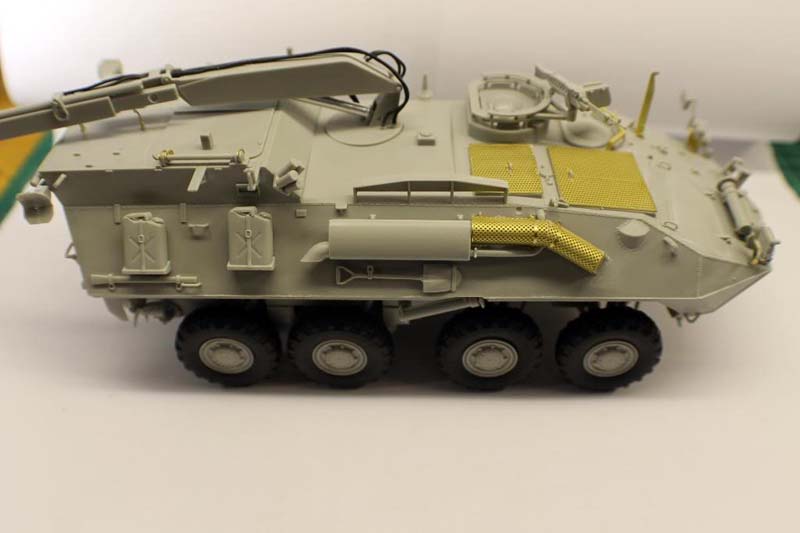
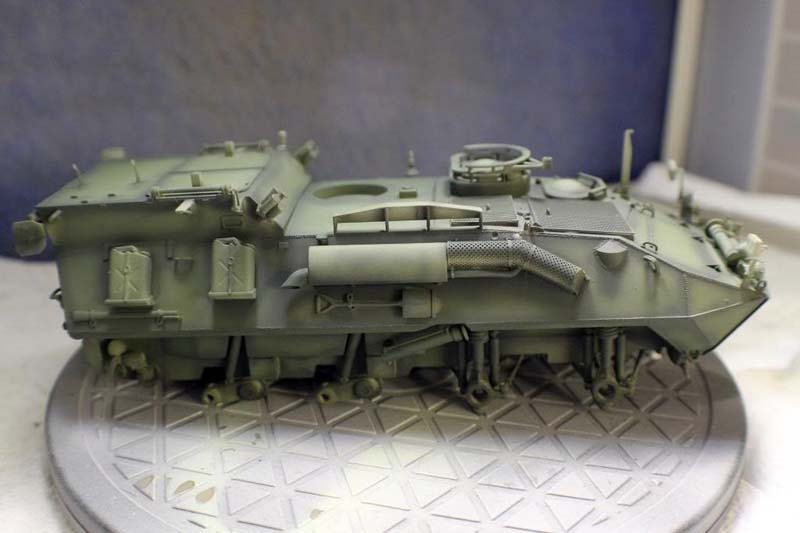
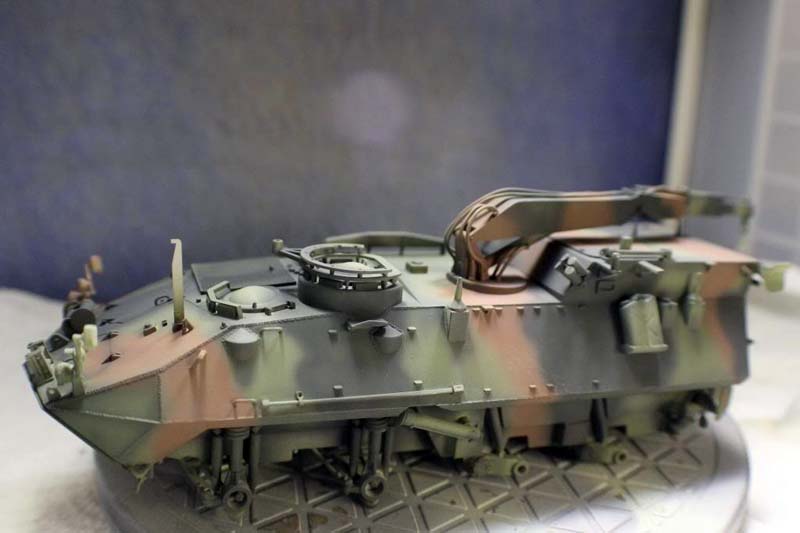
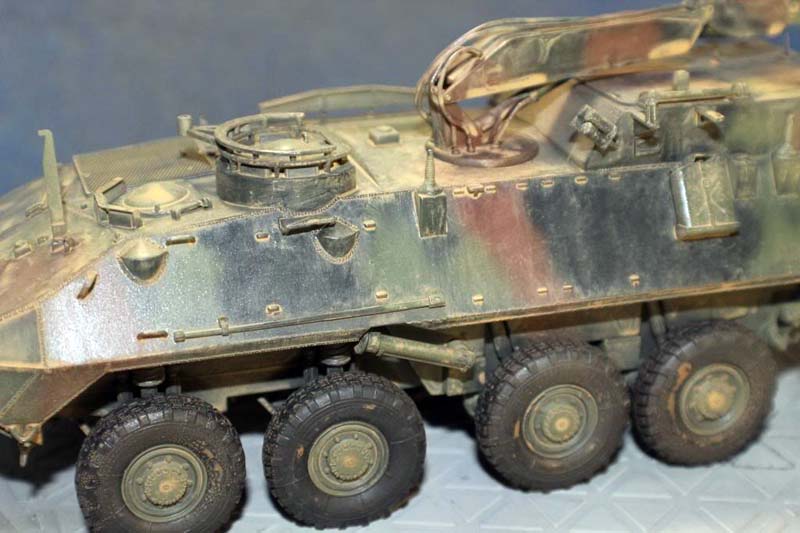
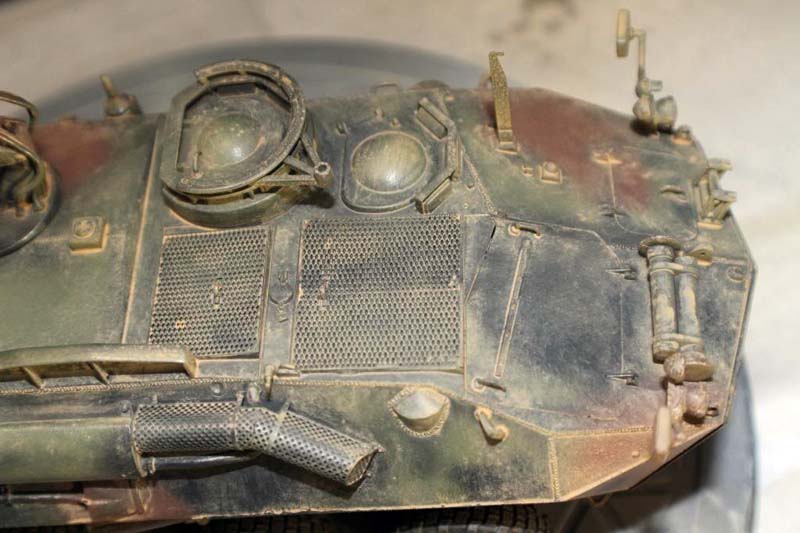
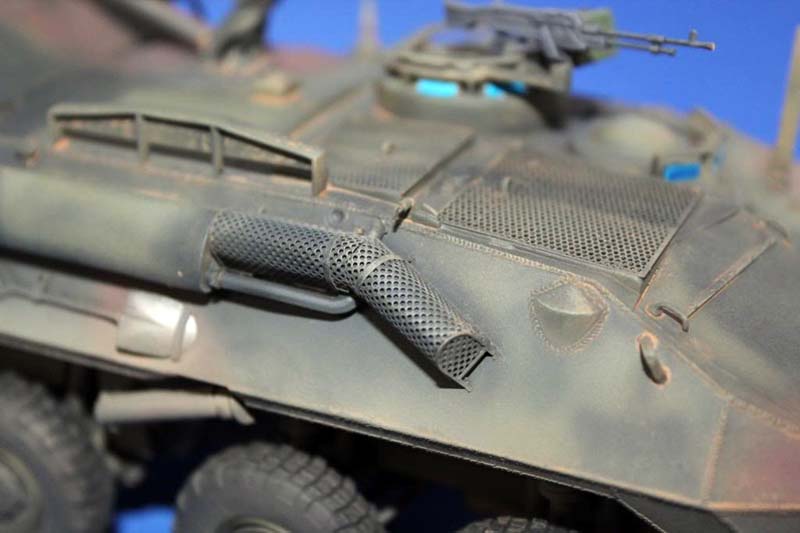
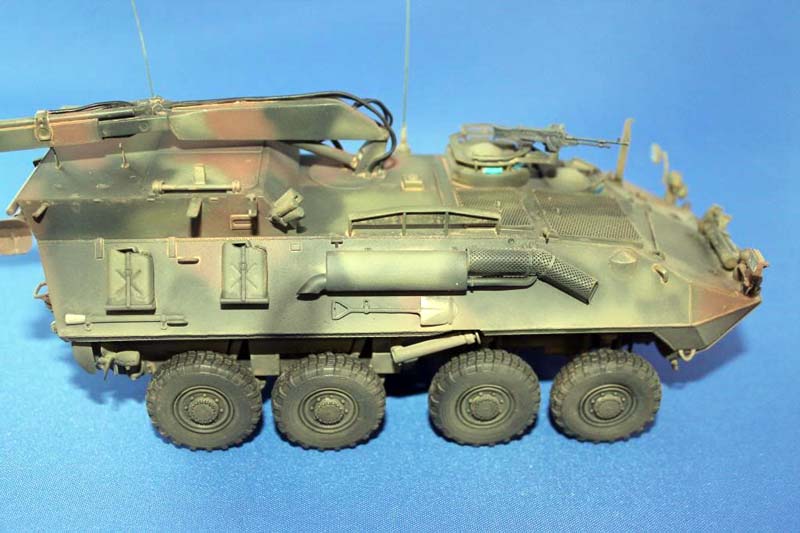
When the hull is set, it then comes time to add all the detail parts ad photo etch parts which includes hatch hinges, grills and a few other small detail parts. I found the PE that Trumpeter provides to be very easy to work and form with specific reference to the exhaust shrouding, as can be seen on my photos with a little care and attention the PE conforms to shape well and really adds another dimension to the detail of the kit.
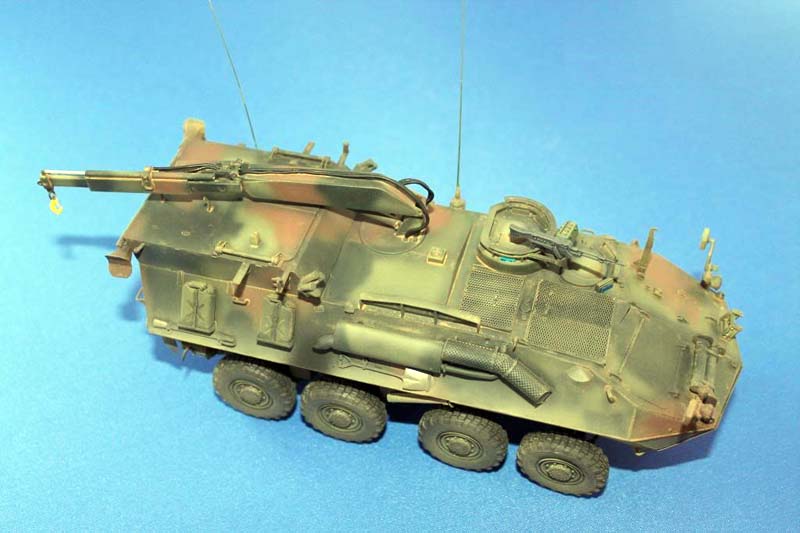
As I said before in this review the level of detail is very good even down to the welded seams, the vehicle crane as well as the wheels and tyres.
Finishing
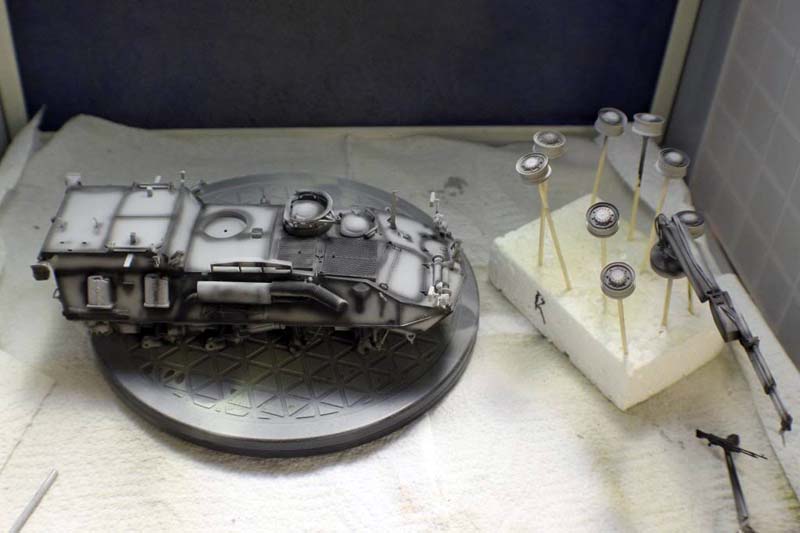
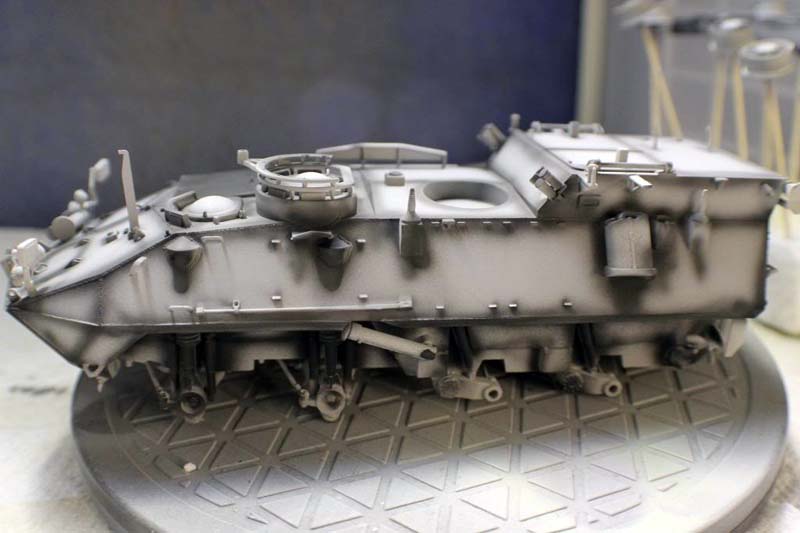
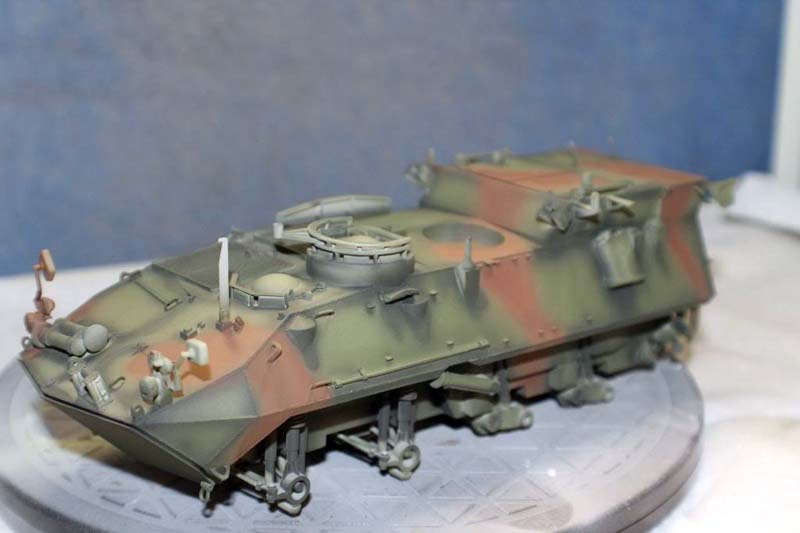
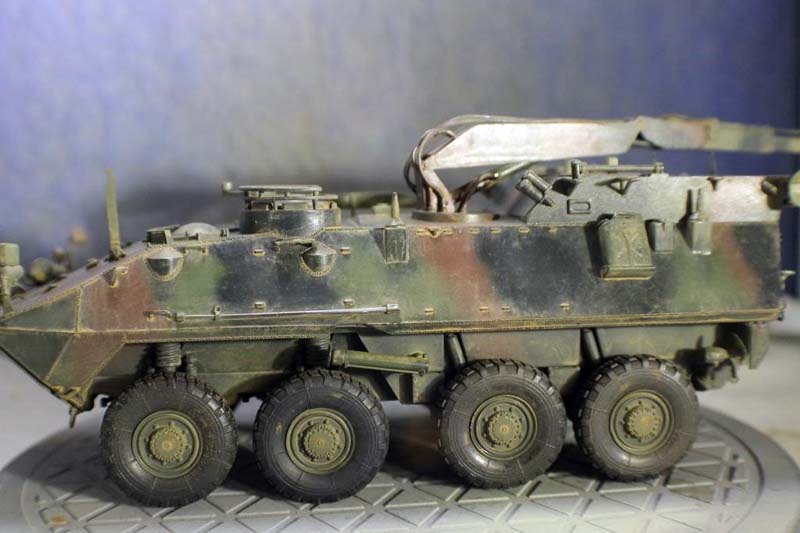
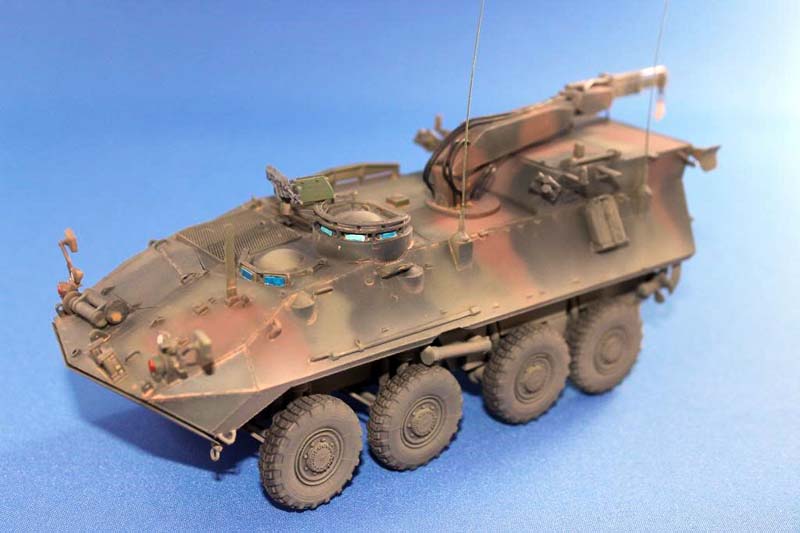
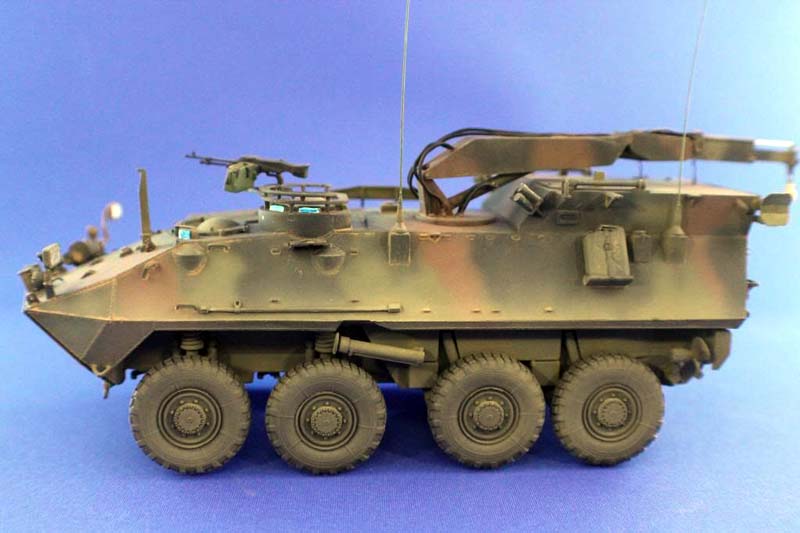
Once construction was finished I then set about painting the kit in its three tone camo pattern. For this I used Tamiya acrylic paints as they produce the three NATO colours required for this build, Black, Brown and Green. I used a grey primer with black pre-shading followed by light coats of paint to complete the finished job. I must add that most of my camo work is spayed free hand at low pressures with well thinned paint.
I decided not to use the kit decals due to such bad spelling and to the fact that they would not be seen that well against the darker colours of the come paint scheme. I sealed the paint with Klear varnish and then allowed to dry.
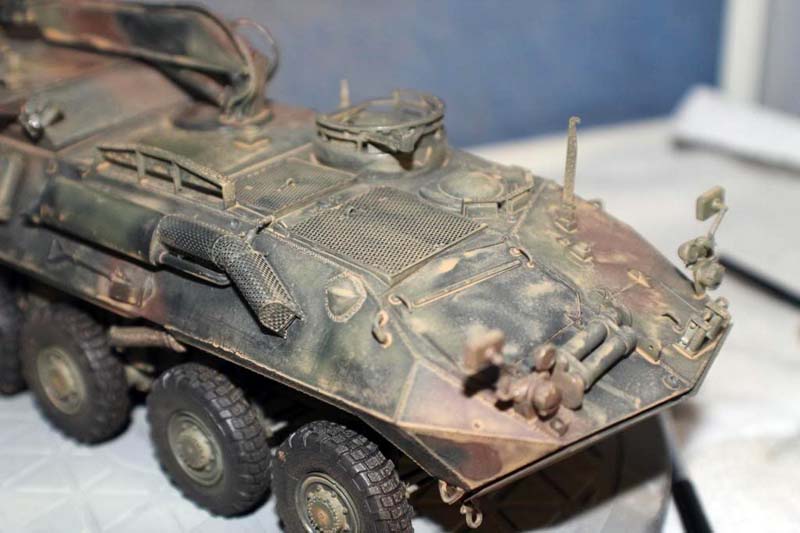
I was looking to achieve a dusty weathered look but did not want to use oil or enamel based weathering products. Instead I chose to use Flory Models lay based wash in sand colour. The instructions for this product state that it is applied all over the model then lightly burnished off with the aid of moist kitchen towel till the right effect has been achieved.
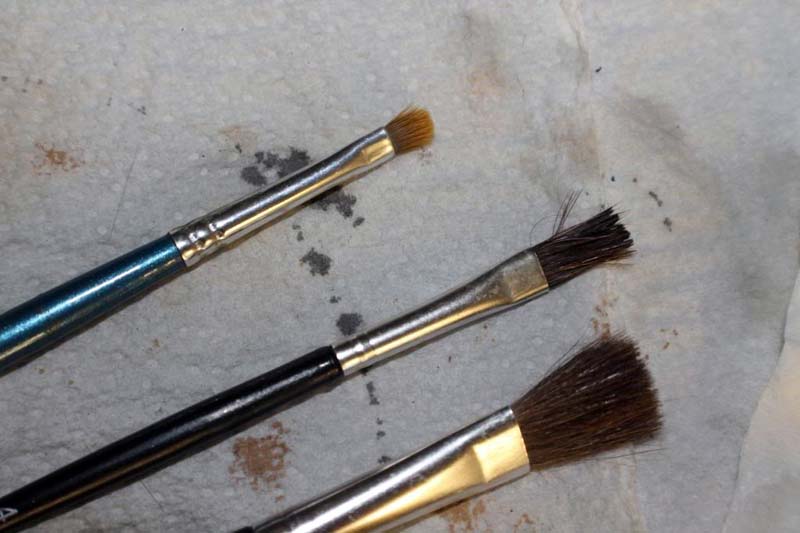
Firstly, I sprayed on the wash with the airbrush left it to dry for a couple of hours, then I used different sizes of flat brushes wetted and with downward strokes I slowly removed the bulk of the was till I was satisfied with the streaked weathering that I managed to achieve. I sealed this with a mat varnish and then moved onto the final part of detaining this build.
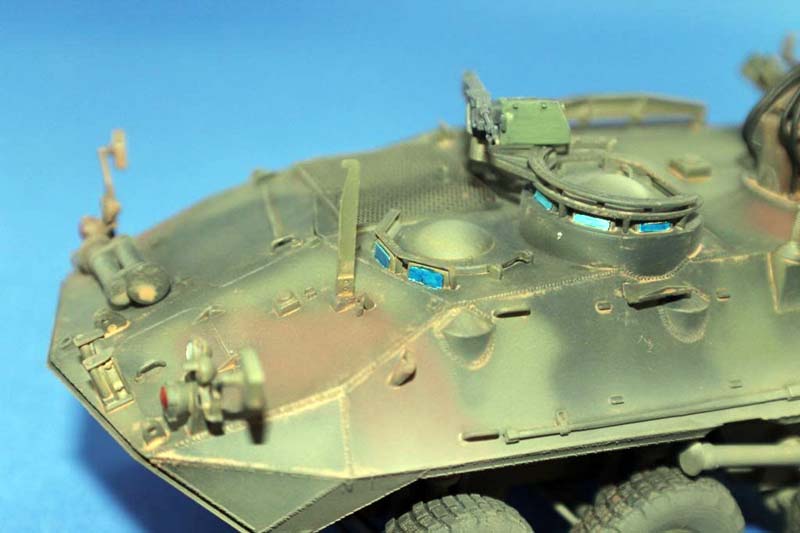
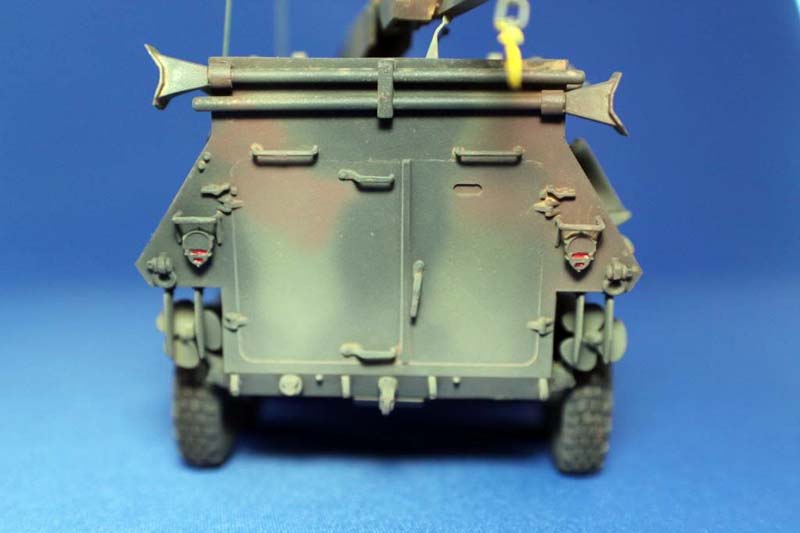
Before giving the model a final dusty coat of well thinned Tamiya flat buff colour I took time to paint all the vision blocks with a bright silver paint over coated with Tamiya clear blue to give the impression of armoured glass. I used the same technique for the lights but painted them in clear red and orange as required. The final detail painting was the spade on the side the commanders MG and ammo case. Once all this had time to set up fully I then dusted the lower parts of the hull and wheels with well thinned Tamiya Buff colour to give a dusty sand covered look, together with blending in the previous weathering layers with the final finish.
Conclusion
So after about two weeks at the bench I have turned out an interesting model that I have had an interest in building. The kit itself is not too expensive and for the money I spent I think it is great value for money. The detail is very nice; this is enhanced by the addition of the phot etch included in the kit with the only let down being the poor decals.
The question is would I recommend this kit to fellow modellers and the answer is a resounding yes. Out of the box a modeller will be able to turn out a reasonably well detailed model that will look great on the display shelf and attract interest form other modellers eager to see something a little different, not to mention the possibilities for dioramas involving engineering vehicles.
Related Reviews
USMC LAV-R review by Gino P. Quintiliani


Comments