IBG Models has continued to release soft skin vehicles at a prodigious rate over the past several years and continues that pace with the recent release of the 1/35th scale Chevrolet C15A Personnel Lorry. This kit is an obvious follow up to the previously released C15A armored truck and the more recent Chevrolet C60S Petrol tanker.
The C15A Lorry was one of over 500,000 Canadian Military Pattern (CMP) truck type vehicles to be produced during World War II. As such they were shipped to and used by various Allied armies throughout every theatre of the war. The easy adaptability of the basic design helped to keep them in service for years after the war where they could be found in both military and civilian use.
The Model
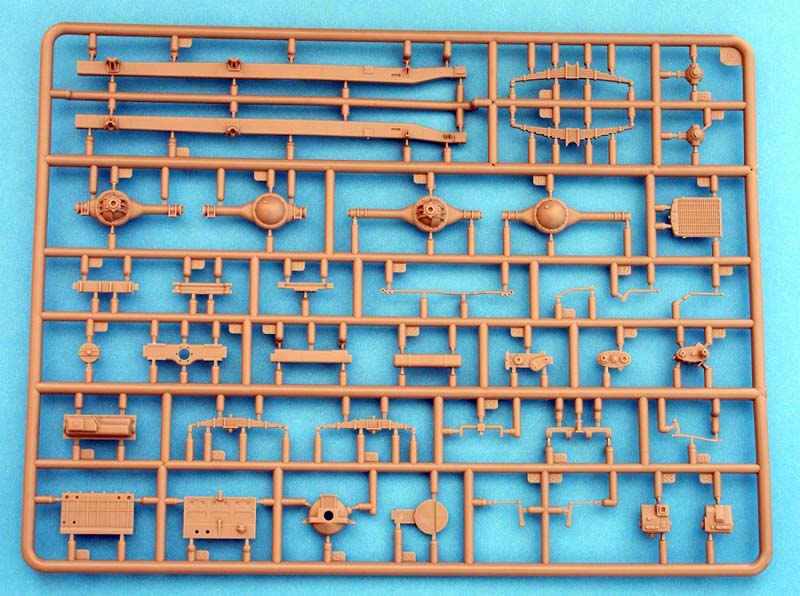
The kit comes packaged in a sturdy slip top style box and consists of 16 sprues molded in light gray styrene. The kit also contains two small PE frets, a single sprue of clear parts, a nice set of decals, and a set of CAD style directions that runs to 46 different steps. The kit provides marking options for three different Canadian trucks as well as options to build either the no. 12 or no. 13 cab design.
The plastic is a bit on the hard side but not so brittle that I ever ran into any problems. The directions are of the arrow pointing to where to stick a part variety. Sometimes they were a bit tricky as they pointed to an obscured area on the back side of a part as the contact area but with a bit of thought you shouldnt have too much problem.
The Build
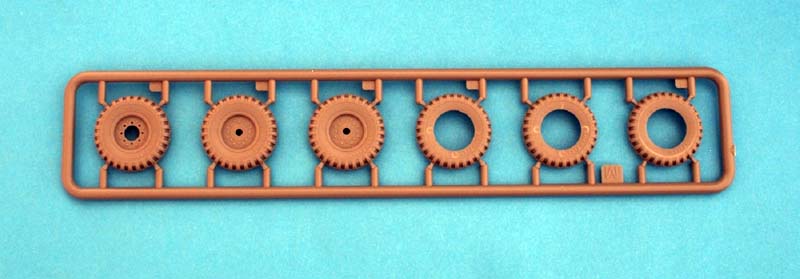
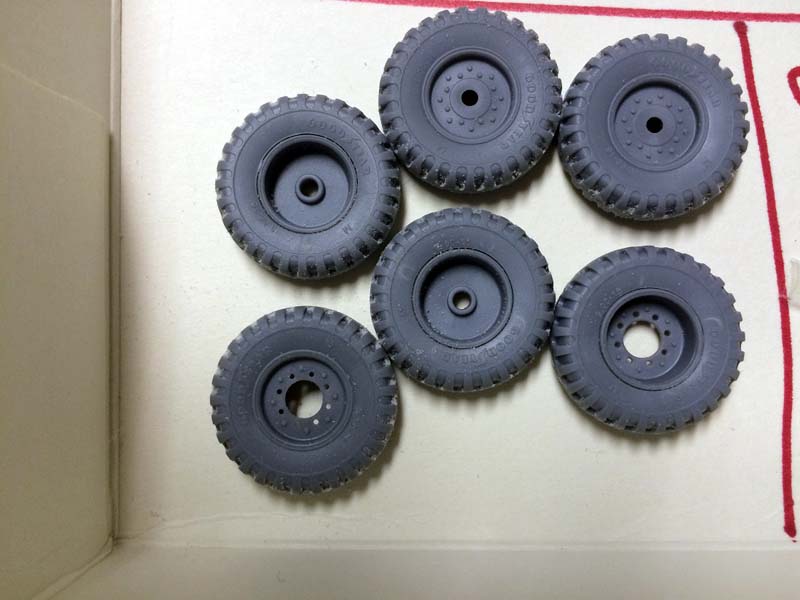
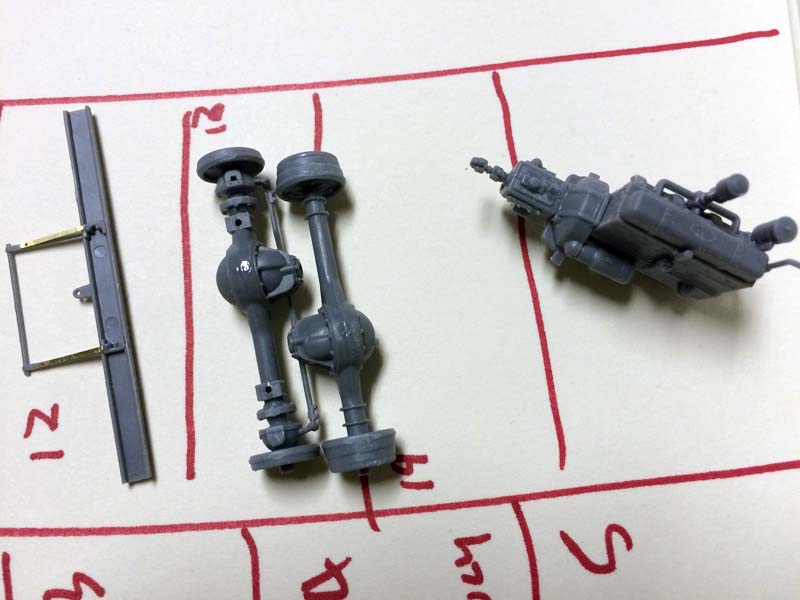
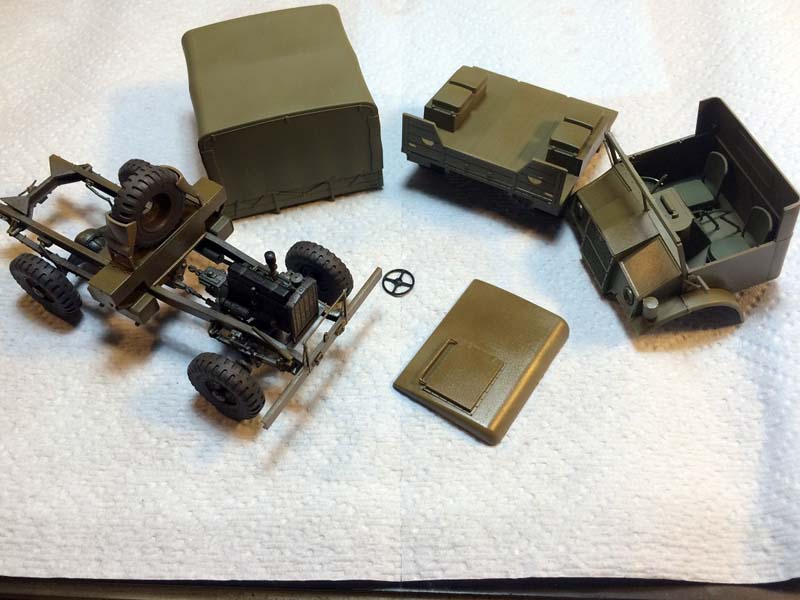
Having built IBG Models C60S Petrol Tanker for a review just a few months ago this one felt very familiar as major portions of the kit are the same. The instructions begin with an odd assortment of minor sub-assemblies once more; tires, towing pintle, side board steps, and side mounted saddle fuel tanks. Each of these assemblies goes together easily with no discernible problems. You will need to know if you are building cab no. 12 or 13 version as you only have running board parts for one or the other.
Step 9 and 10 are a couple of photo etch bending steps, however, if you are building cab no. 13 you can skip these two as they are for a cab no. 12 version. The instructions dont tell you this but it would be good information for IBG Models to add when (if) they update the instructions. You will run into this minor issue with steps 17 to 31, the instructions for building up the cabs. Again, it never clearly states that step 17 through 24 is for cab no. 13 only and steps 25 through 31 are for the cab no. 12 version. Shouldnt be much of a problem for an experienced modeler but a relative newcomer may get tripped up, so be aware.
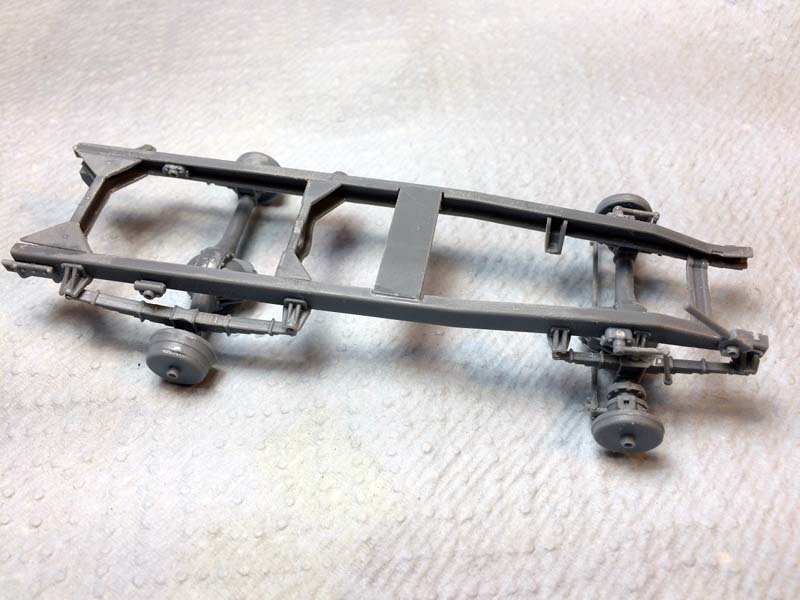
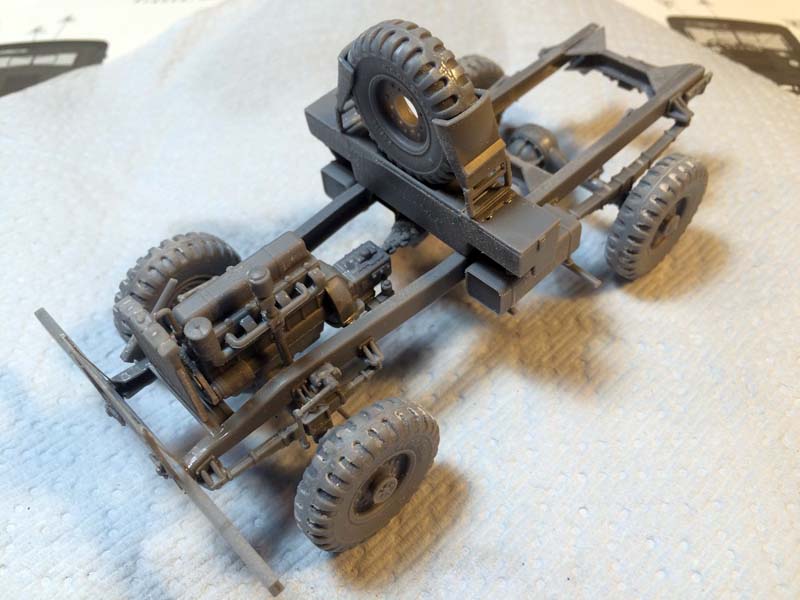
The suspension and frame goes together easily enough. The frame must be constructed with frame rails and cross members as well as the smaller fittings. Make sure that everything stays nice and square so you dont have problems further down the road. I used a jig to keep everything square and had no problems with the frame or the suspension after it everything set up.
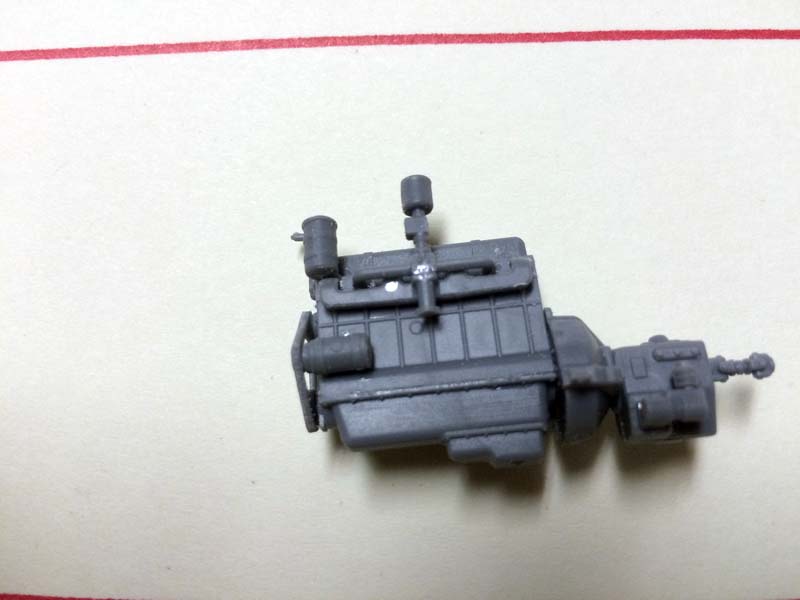
The kit comes with a complete engine, the Chevy 3.5 L, stove bolt which will sit nicely under the hood. This is the same engine as the earlier kit I built, the C60S, but alas, just like the previous kit this one has no provision to open the hood to see the engine. So, short of major surgery, it will sadly not be very visible. In the end I ended up giving this one a flat black finish with a bit of metallic on it and called it good.
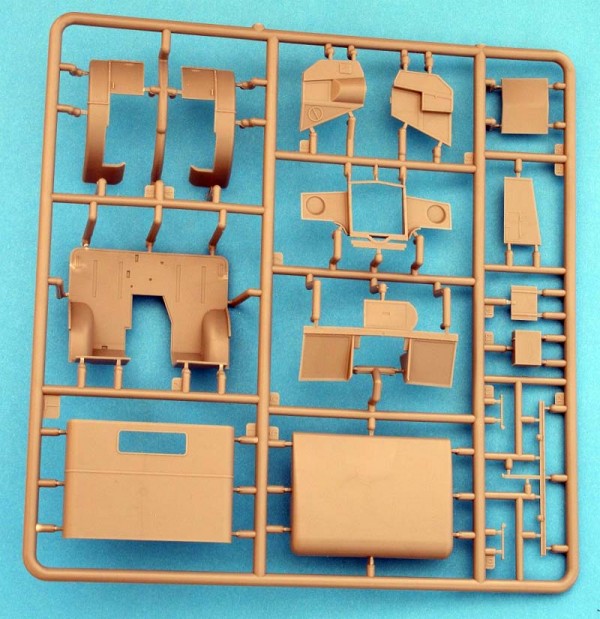
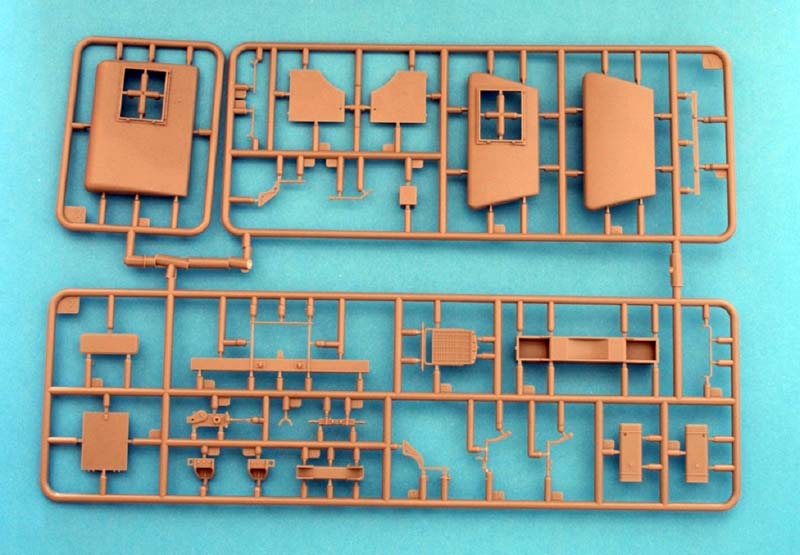
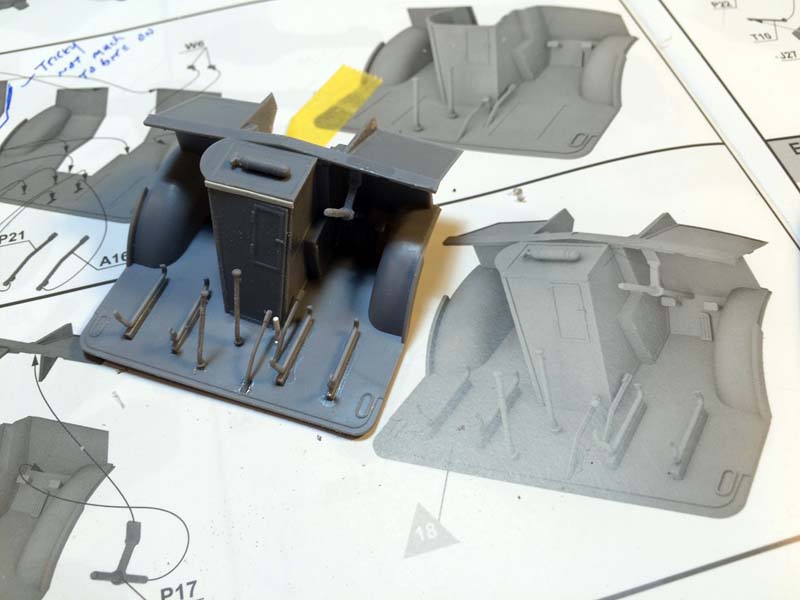
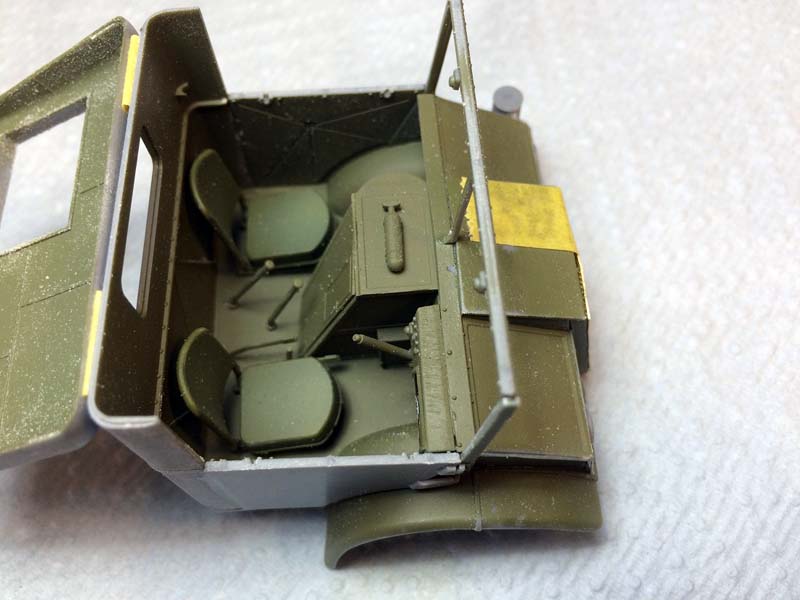
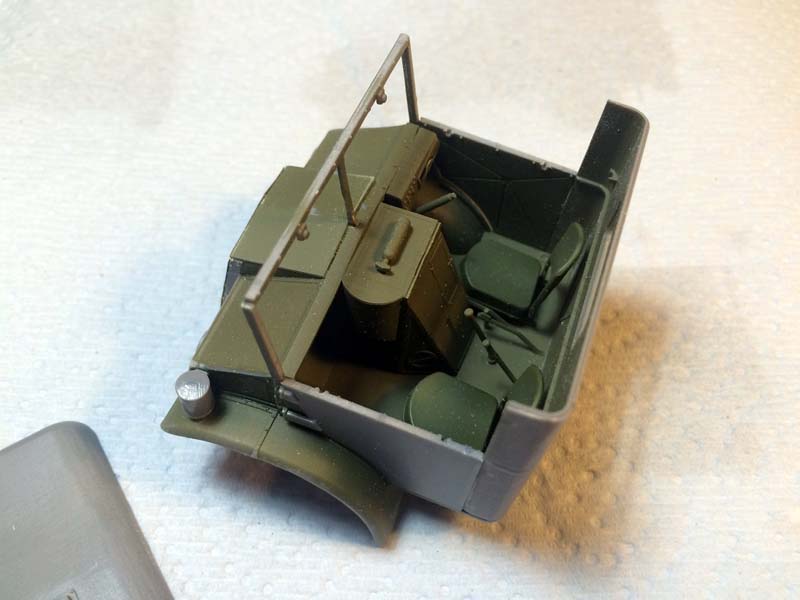
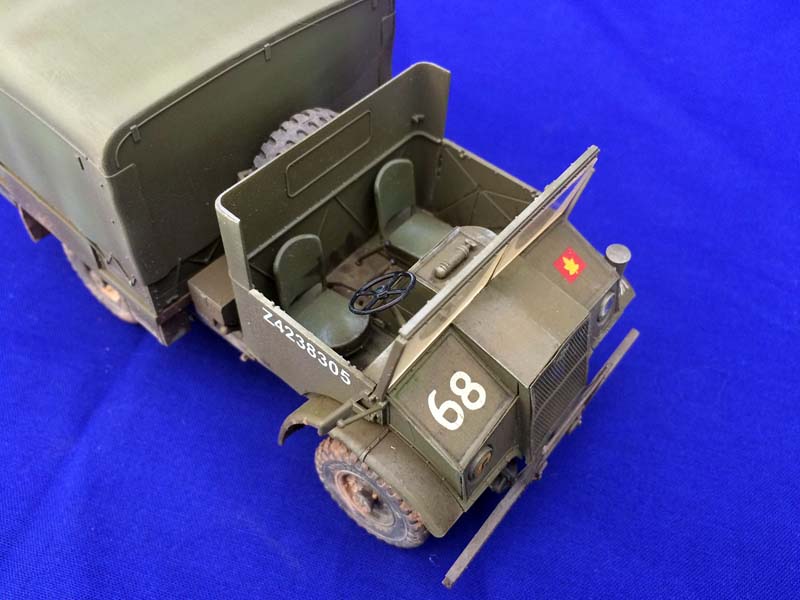
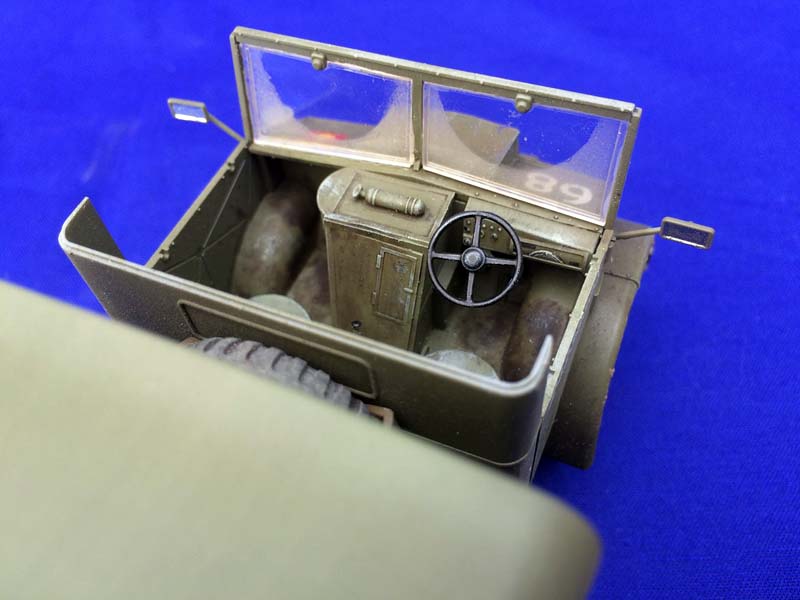
The next major component of the build was the cab. Having opted for the cab no. 12 for the earlier C60S Petrol Tanker I wanted to go with the more common no. 13 cab for this build. I was a bit frustrated with how little there is to grab onto when building up the interior transmission console area. IBG Models has left you with little more than thin butt joints. My next build of one of their CMP kits will include some extra stripping on the back to give a better gluing surface. I would recommend adding the dashboard part T6 as soon as the center console starts to set up just to help hold everything together. The other disappointment was the instrument console which is just a bare piece of plastic with no detail whatsoever. It doesnt seem like it would be too much to ask for IBG Models to add at least a decal of the dash which would go a long way toward dressing things up. As it was I sourced out some markings to at least look like something was there, not exactly the best option but it was all I had available. The remainder of the cabin is fairly well detailed for what is in reality a fairly Spartan cabin, but it does have gas, brake, and clutch pedals, gear shift, transmission shifters and selectors, and emergency brake. They also include some SMLE rifles for the interior racks but they are truthfully poorly molded and are best replaced if you can.
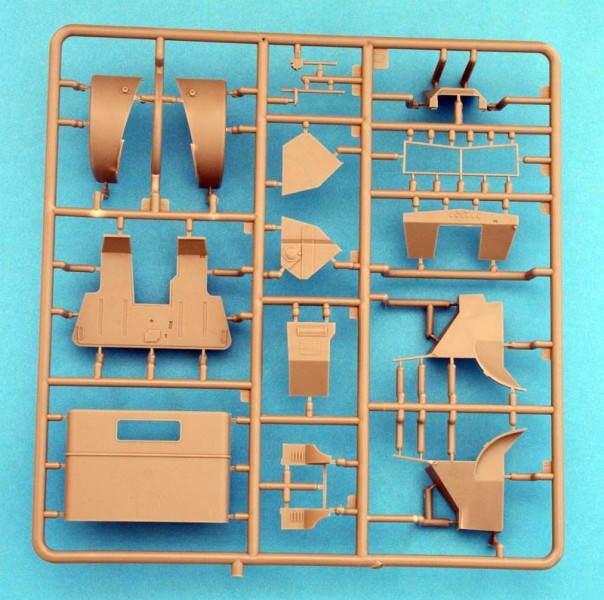
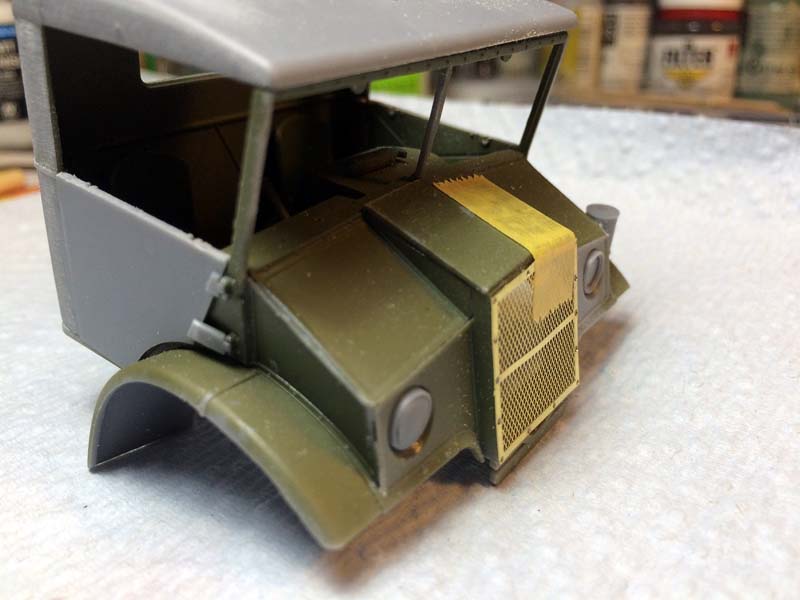
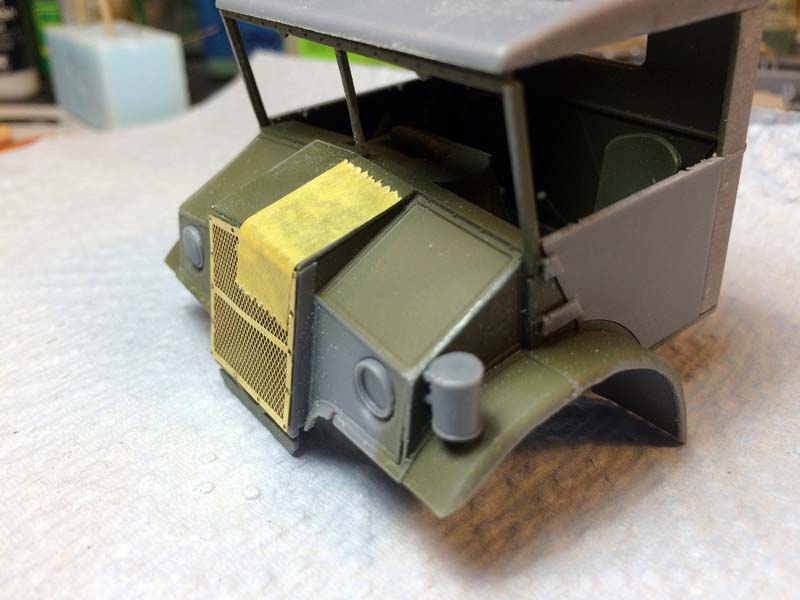
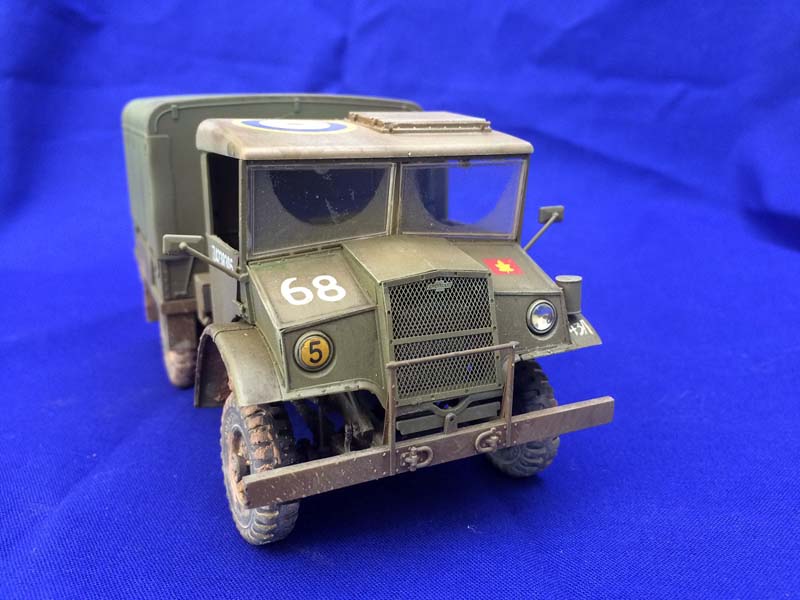
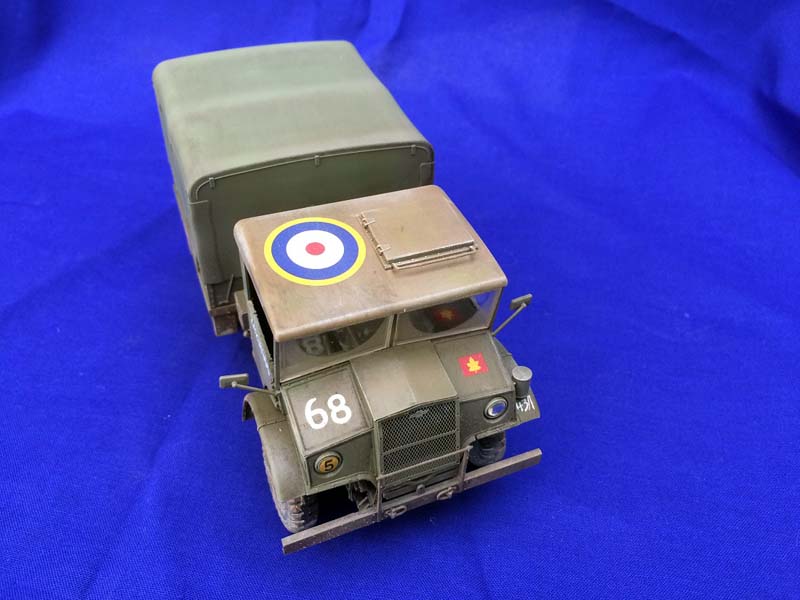
The exterior of the cab was no real problem, doors, fenders, the front facing, the photo etch grill all fit reasonably well. I did clean up the edges with a quick pass from a file and set it all aside and moved on to the rear cargo body. The roof provides the hatch which can be posed in either the open or closed position.
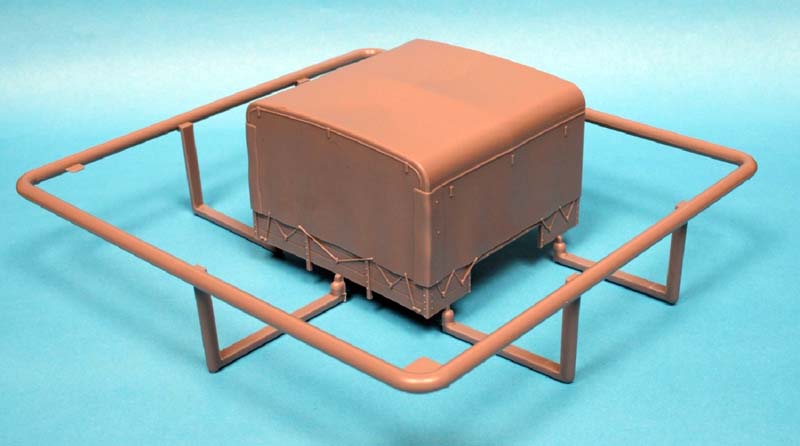
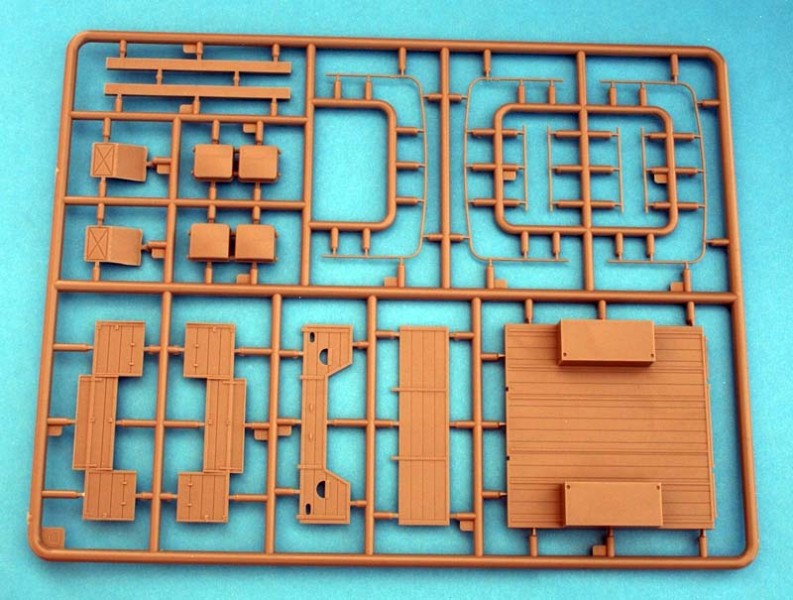
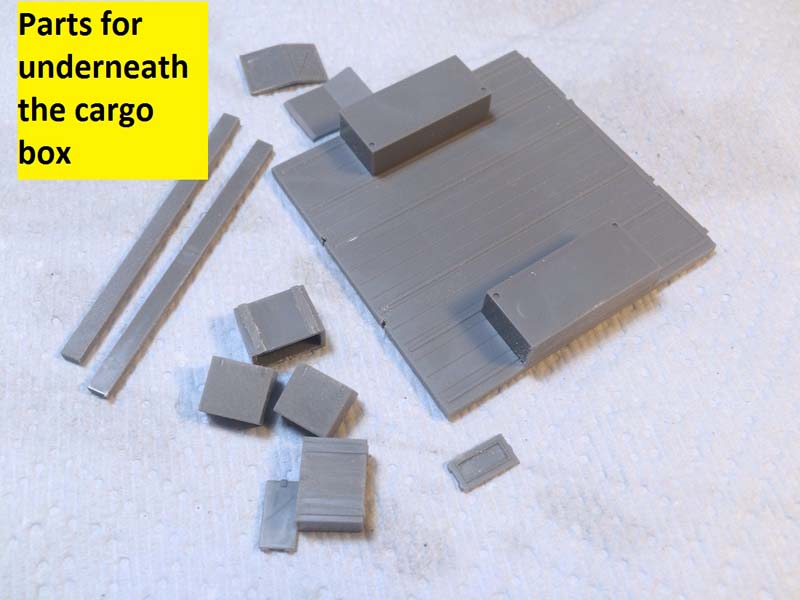
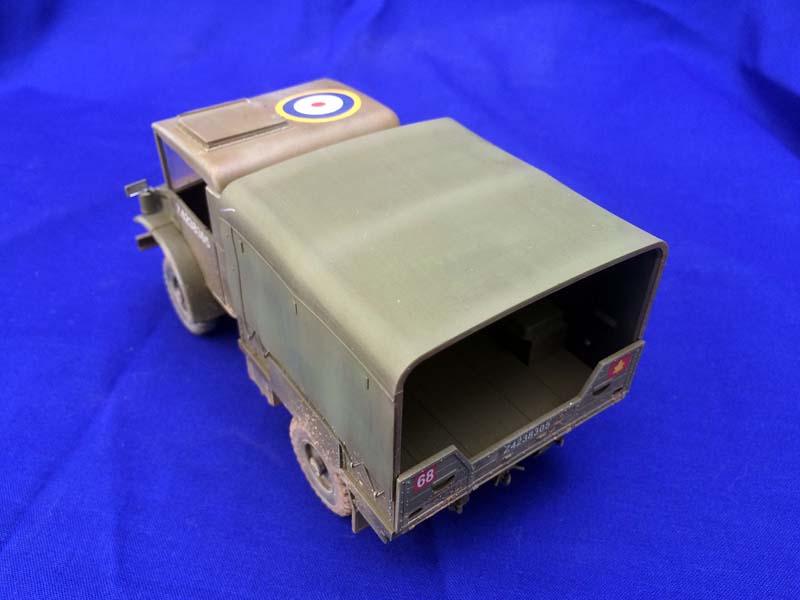
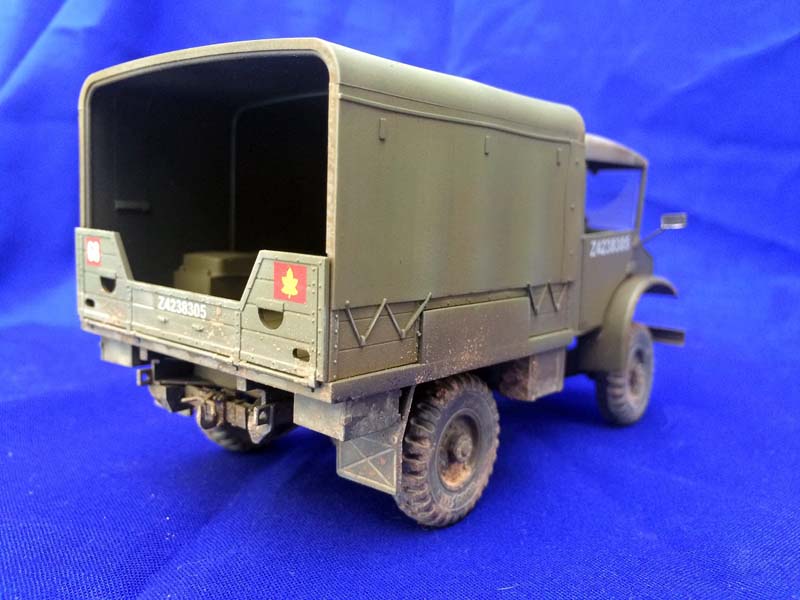
Thus far the build had been exactly like the earlier C60S Petrol tanker other than this being a shorter wheel base and correspondingly shorter frame. The major difference, of course, is what is on the frame, namely for this kit the new cargo bed. You have options for an open bed with the frame rails for the canvas support or the full canvas cover installed. I went with the full canvas cover for my build. If you opt for the open bed it is a fairly standard build up, floor, two sides, front and rear with seating over the wheel wells. The kit does supply the frame if you wish to install it our even use it as the bones of a homemade canvas cover from tissue or whatever your favorite medium for canvas may happen to be. The cargo body is well detailed although any retaining chains or latches for the drop down rear panel are absent. The underneath areas have four extra equipment storage boxes that have at least some basic detailing although you may want to add a bit more as well as the mud flaps. The wooden portions of the cargo body dont have any actual wood grain which is often a bit out of scale anyway, but the wood areas very much look the part.
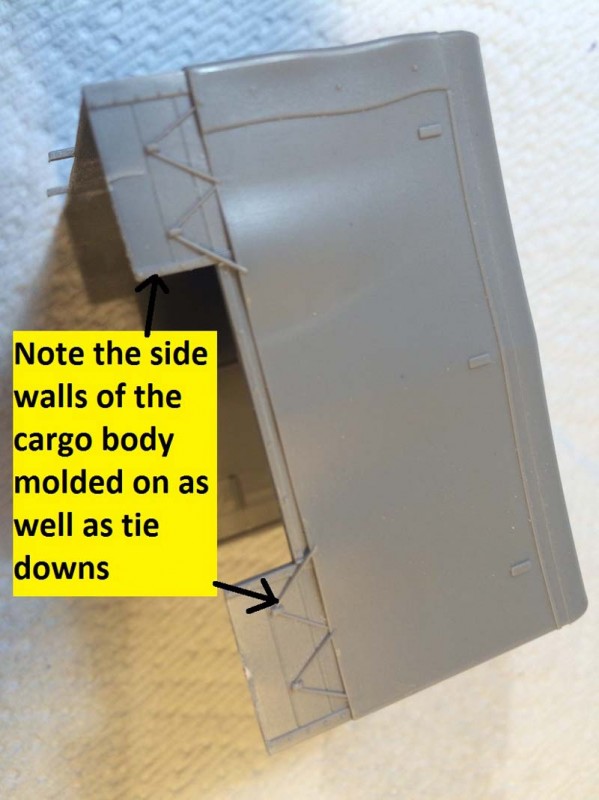
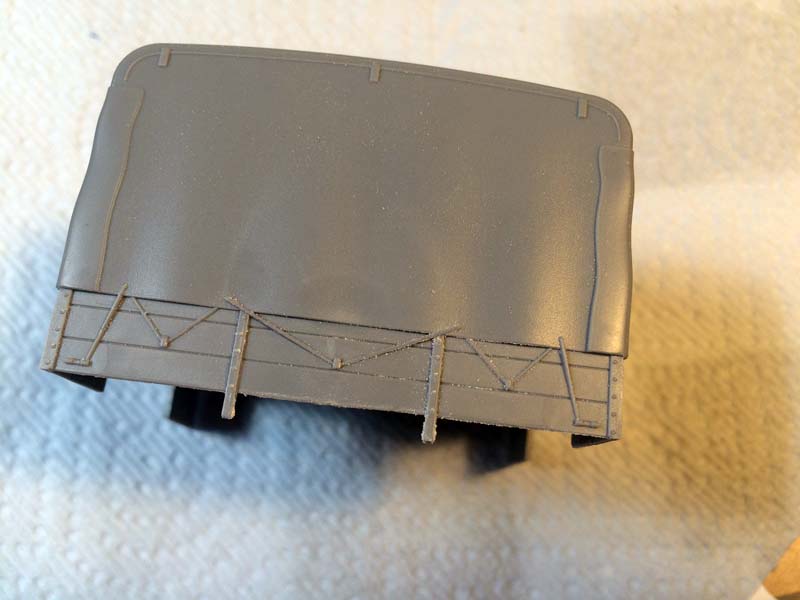
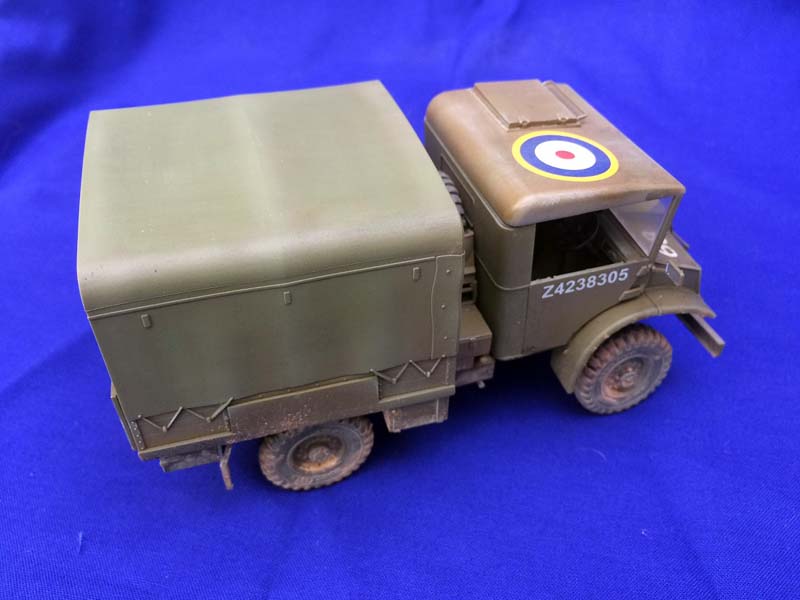
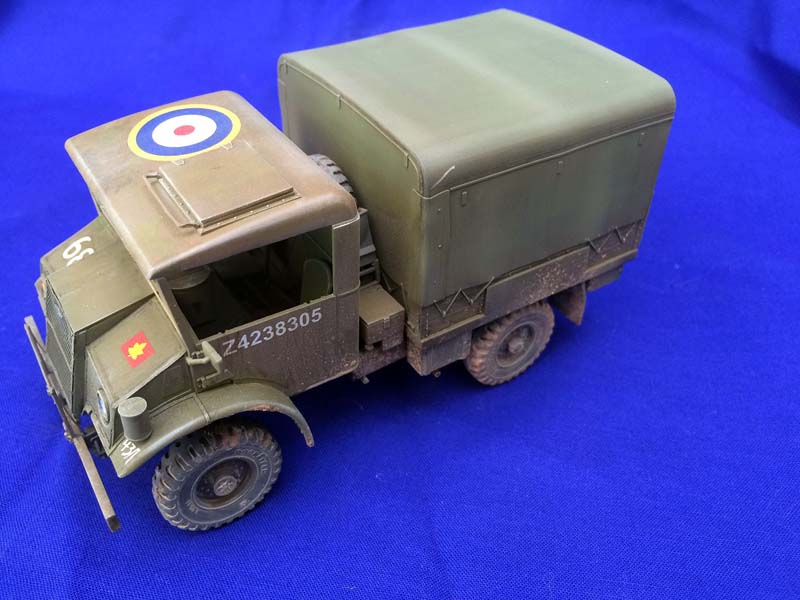
The full canvas cover is a large one piece molding. The cover includes the side walls of the cargo body molded on which allows IBG Models to mold the rope tie downs into the molding of the cover. Thankfully, these are very well done and just a bit of weathering will allow them to really stand out during the finishing process. The interior of the canvas cover has only a bare minimum of any detailing the only frame visible on the inside is the central span. The fit of the cover onto the cargo body is glove tight, so tight in fact it is snaps into place. One drawback is that the cover does not include the back flap with the plasticene window.
With all of that installed the only areas remaining are the smaller items best left until after painting and then to put it all together. I accomplished that with a minimum of fuss; never broke of the rear view mirrors even once, thank you very much.
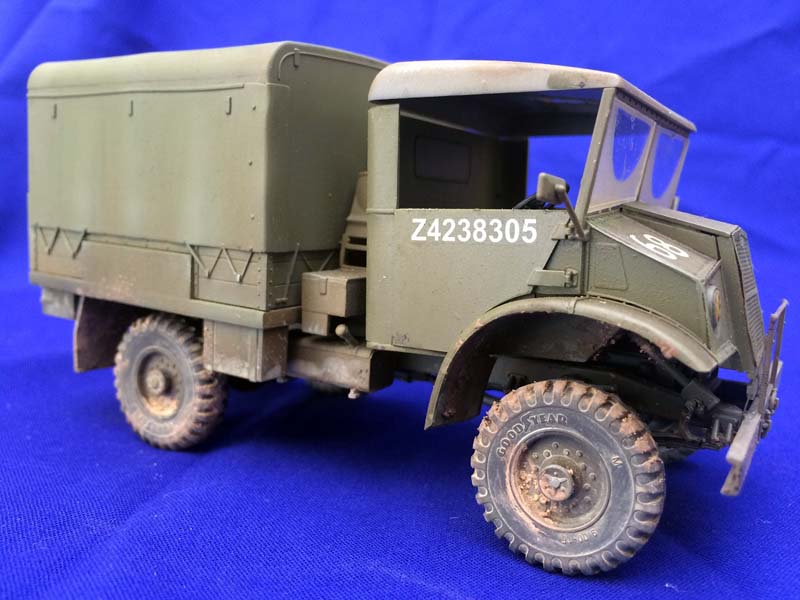
I painted with a base of Vallejo Olive Drab primer then a very light coat of Vallejo Air 016 US Dark Green which is a decent match for SCC 15. I lightened that with some Vallejo Air 009 Duck Egg Green for the upper surfaces and the high points where the frame hits the canvas cover. After that some general weathering with some washes and dot filters using oils. I finished up the weathering with some of the AK 4062 Light Dust Deposits on the lower surfaces and tires along with some work with a few pigments I keep around.
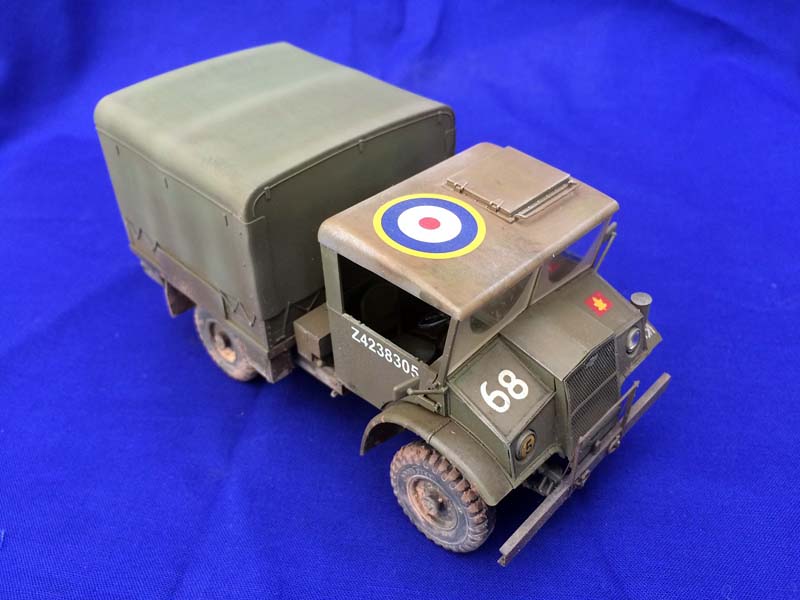
For decals you have three options; a 2nd Canadian Infantry Division Engineers unit from Normandy in 1944 which was equipped with the no. 12 cab, and two no. 13 cab markings, a 5th Canadian Armored Division Provost unit from Italy in 1944, and my choice A 1st Canadian ID truck belonging to the Carleton and York Regiment from Sicily in 1943. The decals are very, very thin, among some of the thinnest I have ever used. That is both good and bad, good in that it is a nice thin decal, bad in that you need to be gentle as they are very fragile and love to roll up on themselves. As such I lost the marking for the bonnet, CT 25/4 what I assume to be some kind of a loading or disembarking order marking. I particularly liked the large roundel which Canadian forces used during the invasion of Sicily before adopting the Allied white star. The roundel was in perfect register with nice vibrant color, it was almost a shame to matt coat and weather over it!
Conclusion
Another winner from IBG Models; I really like this kit, it built up easily and fills a nice gap in my collection of WWII Allied soft skins. The nice canvas cover with molded in tie downs offers a nice touch even though it doesnt include the rear flap which is normally installed. The choice of no. 12 or no. 13 cab is a real bonus that only increases the versatility of the kit. There are still a few small drawbacks, no decal for the instrument panel is a real bummer, the weapons are best replaced from the get go, and the instructions could do a better job of pointing out which steps are for which vehicle but other than that any modeler with just a little experience should find the kit a fairly easy build with good solid fit throughout and detail to match.
SUMMARY
Highs: Choice between the no. 12 or no. 13 cab and the canvas cover for the cargo body are highlights. Easy construction even with the multi part frame assembly. Very nice decals, extremely thin.Lows: Instructions are vague at times, some parts don't provide much in the way of a gluing surface. No decal for the instrument panel and poor weapons. Verdict: Despite the drawbacks a very nice effort that is an easy build. The canvas cover is very well done addition that most modelers should appreciate.
Our Thanks to IBG Models! This item was provided by them for the purpose of having it reviewed on this KitMaker Network site. If you would like your kit, book, or product reviewed, please contact us.
About Rick Cooper (clovis899) FROM: CALIFORNIA, UNITED STATES
I have been modeling for about 30 years now. Once upon a time in another century I owned my own hobby shop; way more work than it was worth. I tip my opti-visor to those who make a real living at it. Mainly build armor these days but I keep working at figures, planes and the occasional ship.
Hey Jon, the base for the two cabs are different, you can't quite make two separate cabs but only because you only receive one set of seats, pedals, steering wheel, etc. If you have extras or can scratch them you are good to go. Bottom line you get the major components but not the minor fittings.
Could someone please check the height of the window glass and windshield frame combined and see if it is to scale?
The height looks too tall from my point of view and therefore the roof seems a bit too high. Of course that may be caused by my looking at the Peerless/Italeri CMP trucks for so many years. Perhaps the Italeri window height is too short!
It is not off by much, maybe the height of one horizontal window frame member. It actually shows more in the height and proportions of the side window opening.
Mike


Comments