Introduction
When Andras (Armorama member Spongya) recently purchased Cromwells ARL-44 for a review on Armorama, he received a bonus Centurion Mk I, which he passed on for the purpose of this review. While the ARL-44 was born out of political and economic needs in the immediate aftermath of the liberation of Paris, the Centurion was conceived the year before, and born out of a military need to be able to compete on something like a level field with the Panther. Originally intended to be 40 tons, the Centurion was the product of a series of harsh lessons being learned by the British, and a decision to take the design in house within the Ministry of Supply, instead of relying on private industry. Ultimately the Centurion would become one of the most successful tank designs ever, seeing service in various modified forms, in many armies, for over fifty years.
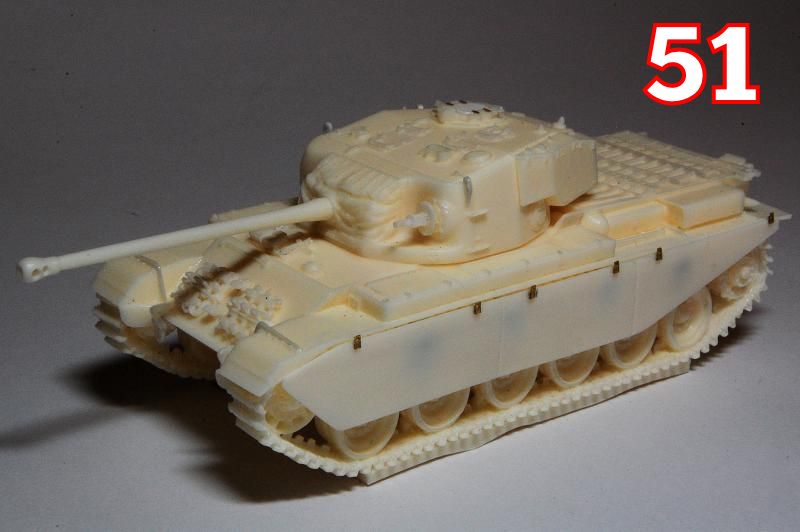
The subject of this kit is a Mark 1, representing one of the prototypes numbered 11 to 15, with the original 20mm Polsten cannon replaced by a 7.92mm Besa machine gun next to the 17pdr main gun.
Contents
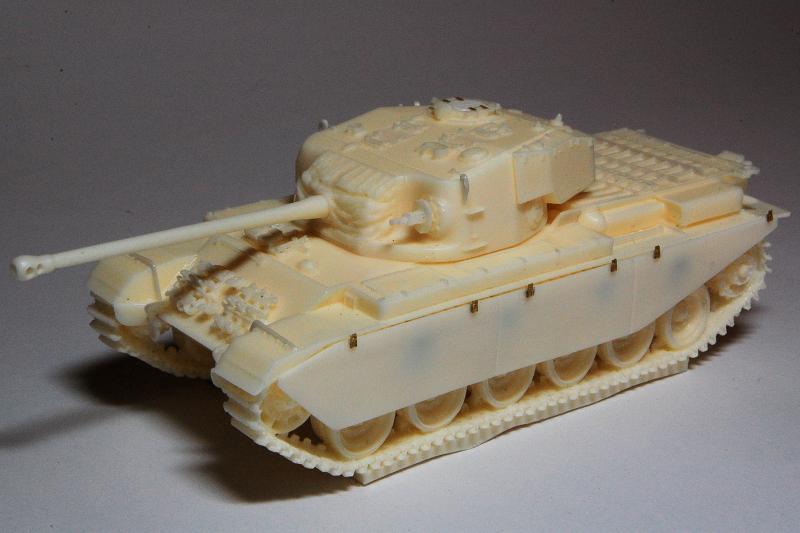
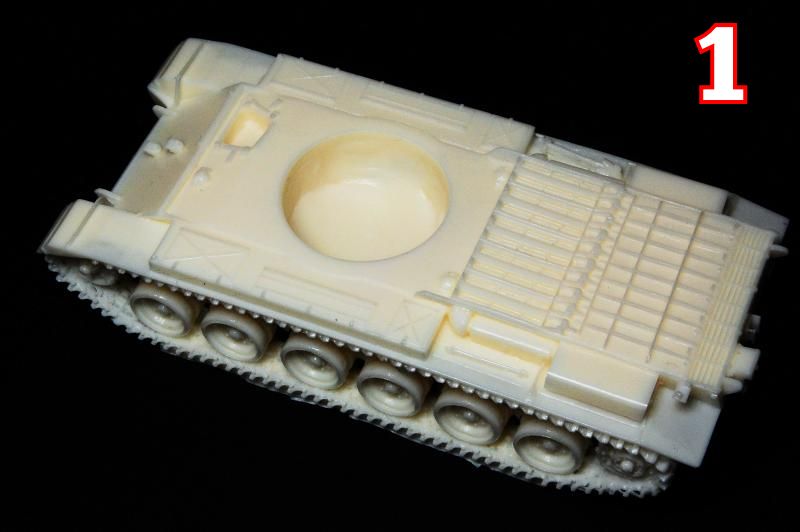
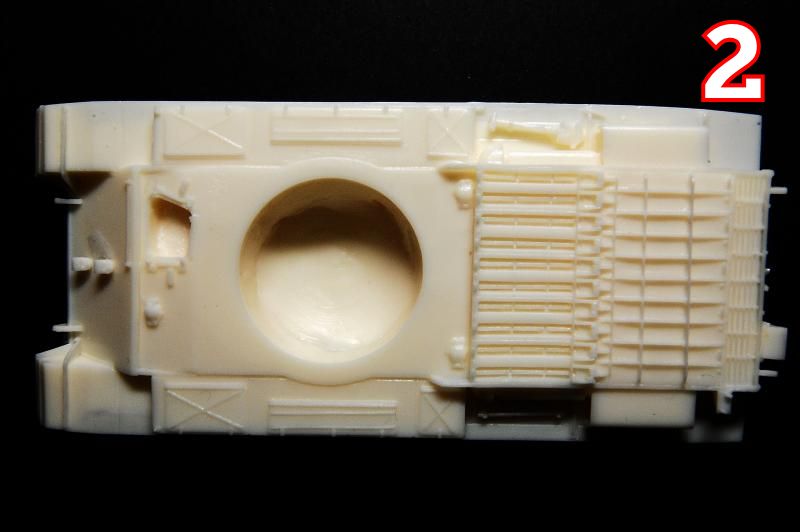
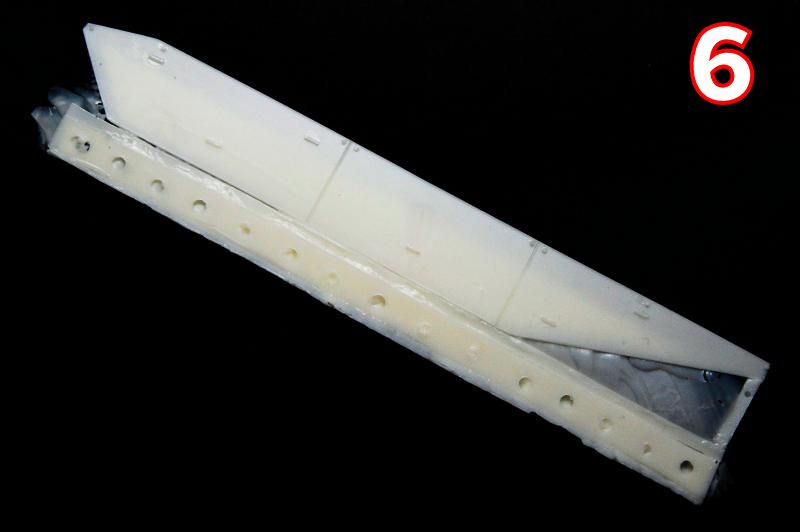
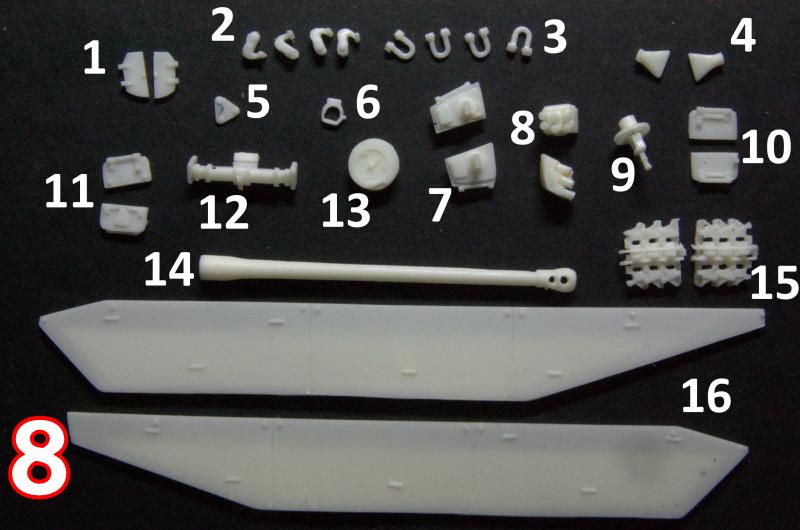
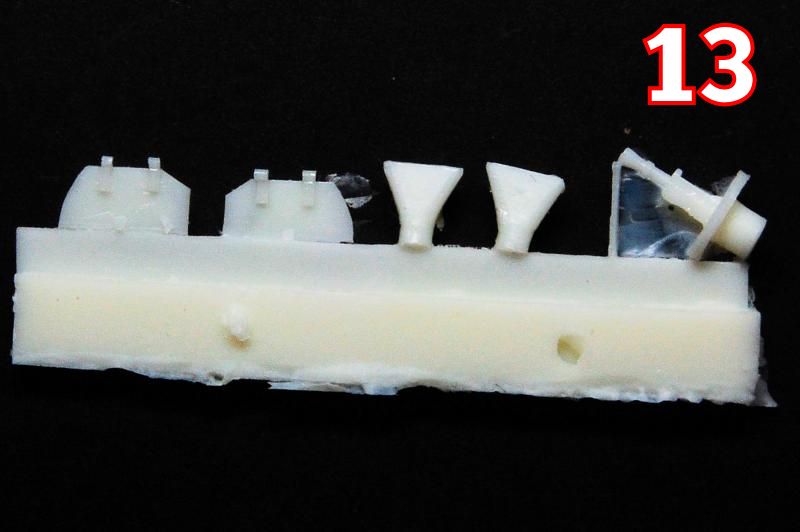
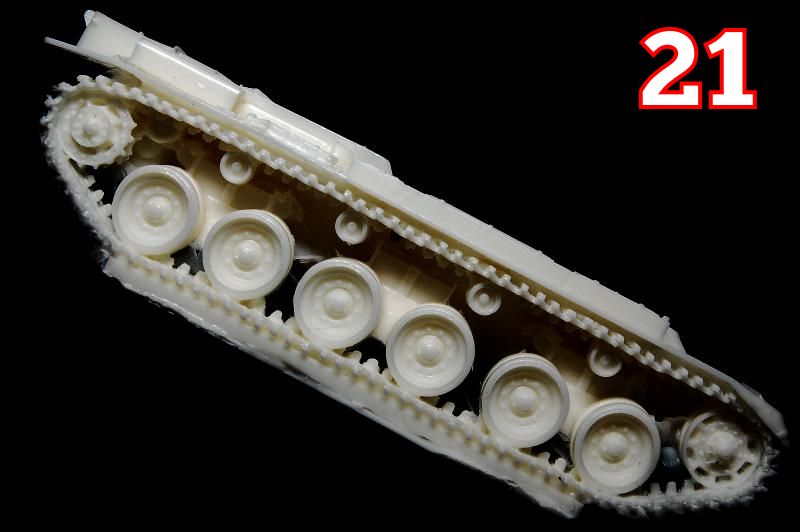
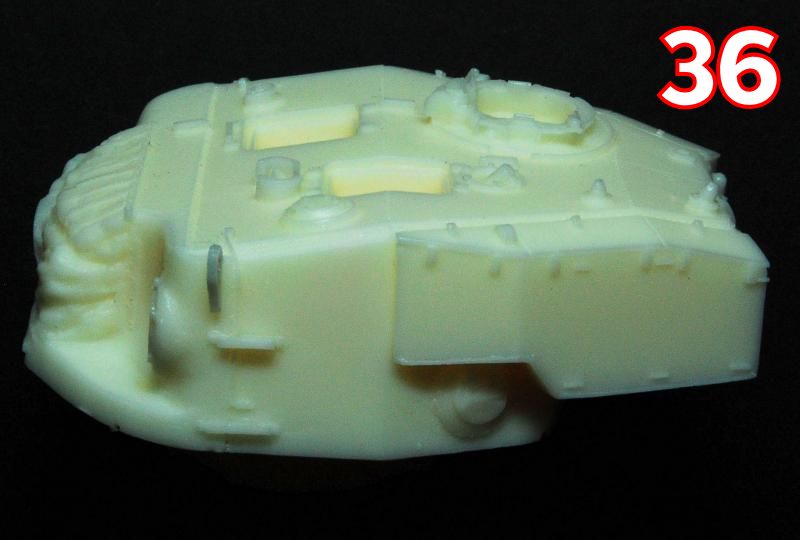
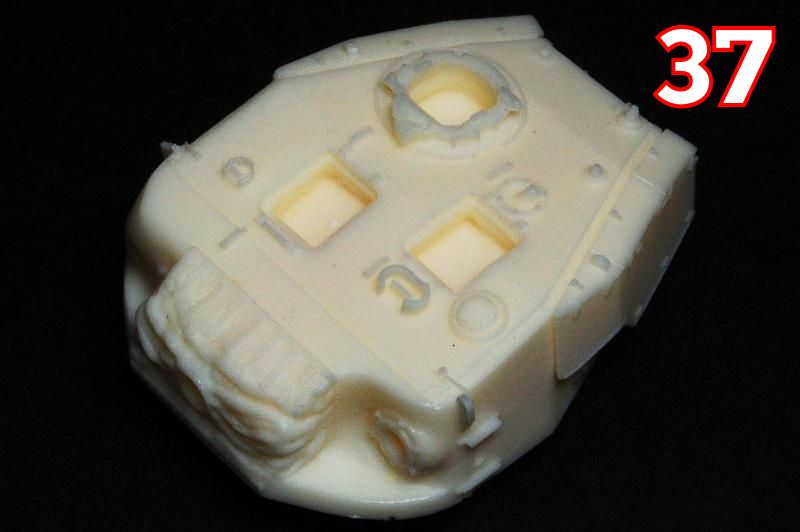
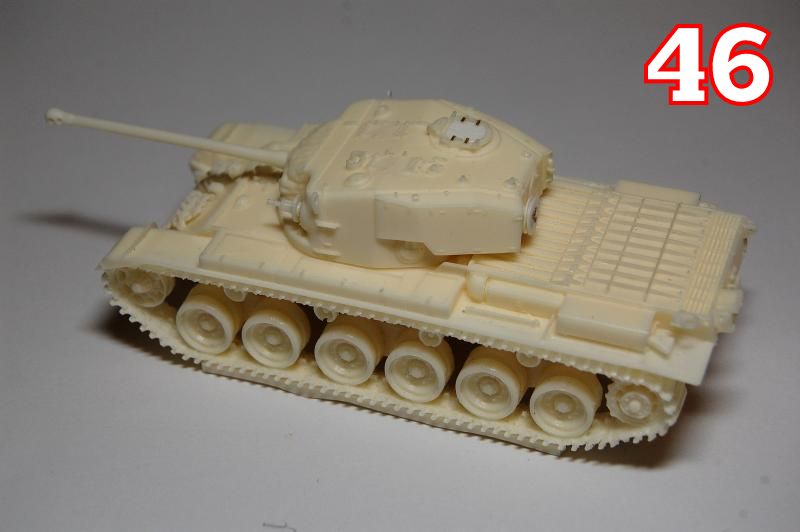
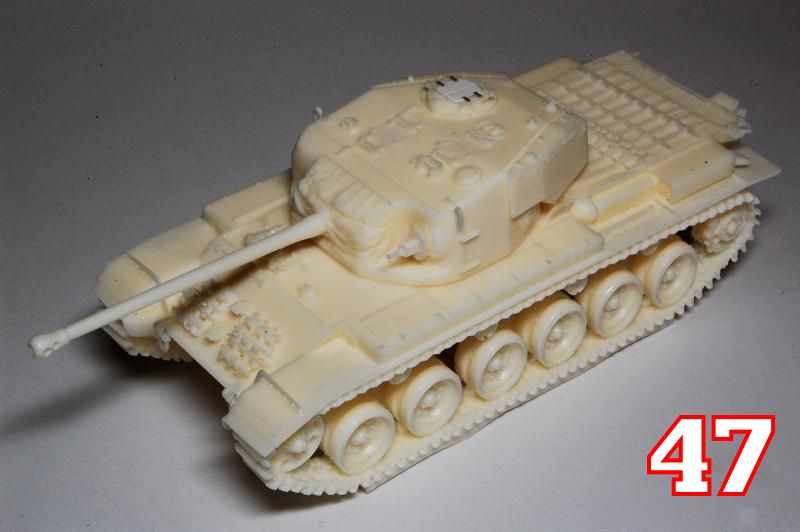
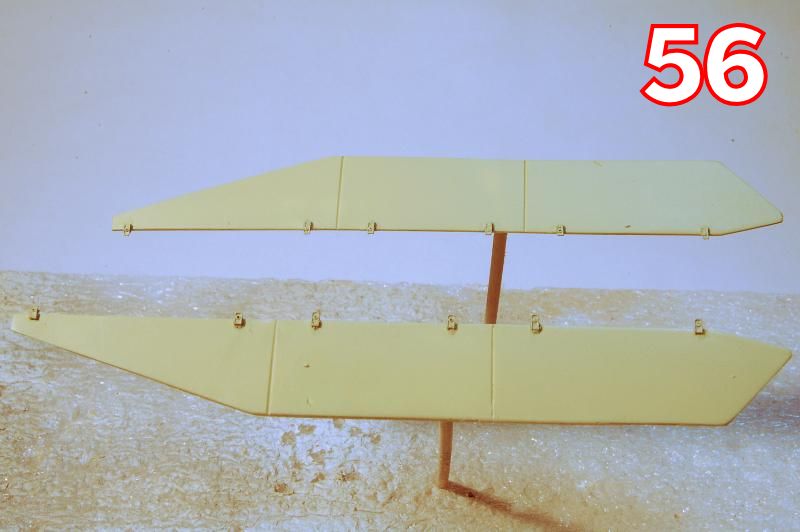
The kit comprises of 32 parts in pale cream resin; this sample did not include any instructions, though I believe that may be normal for Cromwell kits. Casting looks good, but with plenty of flash to trim back. The entire hull comes as a single block (photos 1, 2) including suspension and tracks moulded in place. The turret is also a large block (photos 3, 4) with the stowage bins and gun mantlet (with fabric dust cover, photo 5) cast as one.
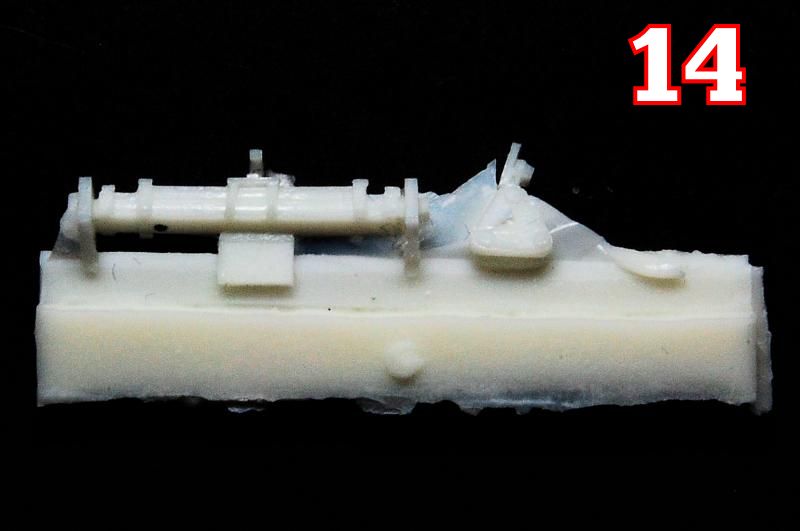
Looking at photo 8 for numbered references, separate parts include the main gun (14), which has a lock nut on top of the muzzle brake. These were seen occasionally on early towed 17pdr guns, but are not seen on any vehicle-mounted pieces that this author has seen.
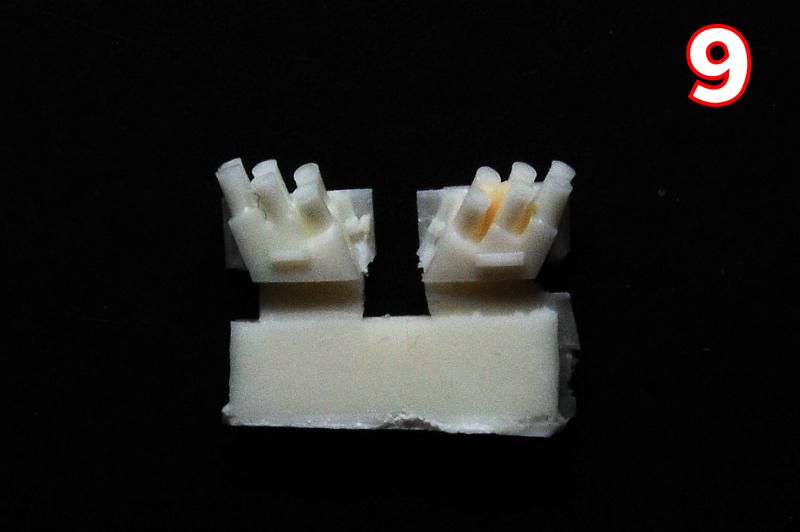
The Besa (part 9) and the rear turret-mounted cable drum (13) are separate parts to add, as are the turret hatch halves (1, 10 and 11) and smoke-launcher banks (8). There are holes under the hatches to take half-figures.
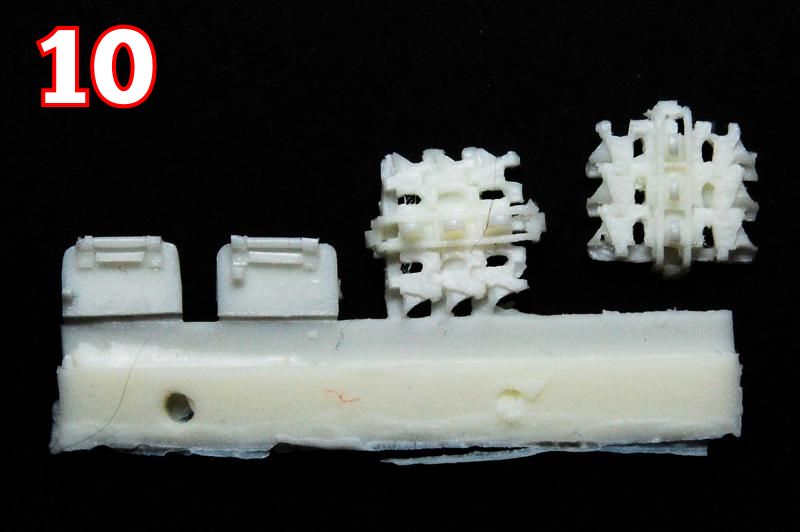
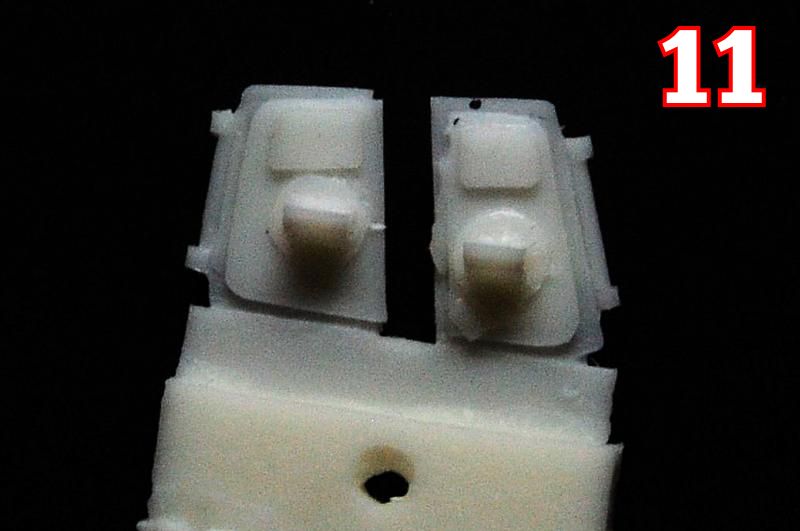
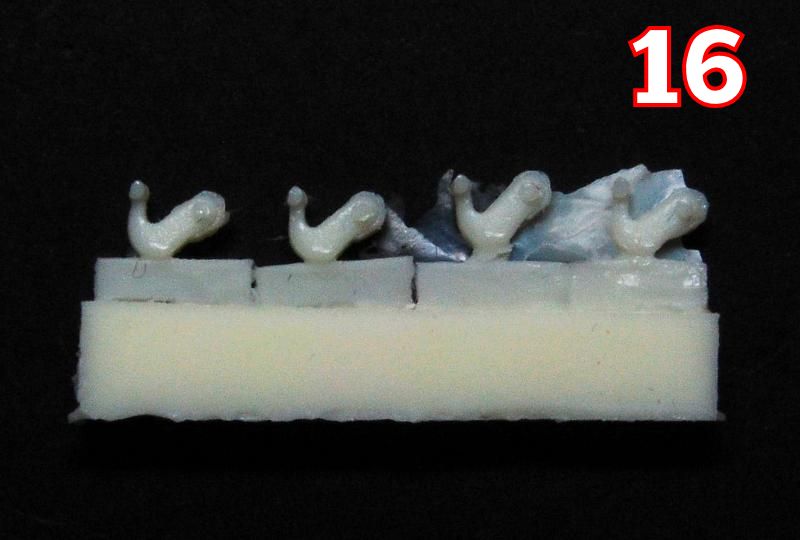
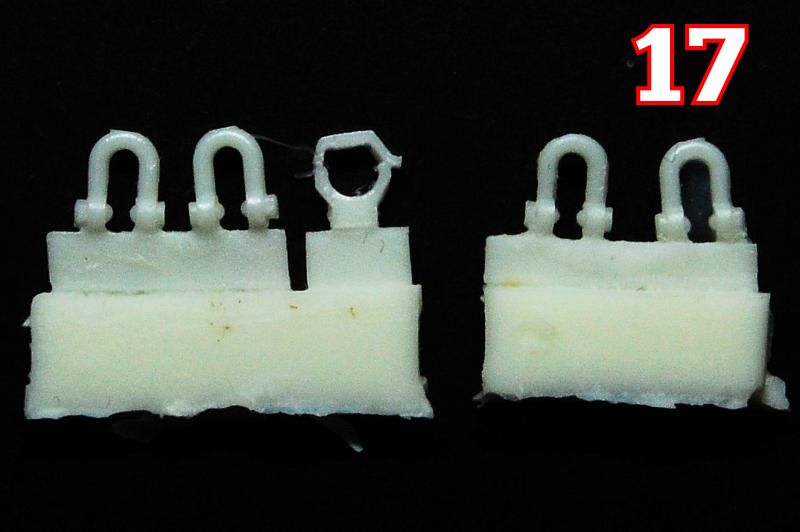
The hull has separate hatch halves for the driver (part 7 and photo 11), as well as spare track links (15 and photo 10) for the glacis, fish-tail exhausts (4 and photo 13), a barrel clamp (6 and photo 17) for the bracket on the left-rear hull behind the exhaust box, sprung tow-bar (12 and photo 14) for the lower rear hull, and armoured bazooka side plates (16 and photos 6, 7). There are four tow shackles (3 and photo 17) as seen on period vehicles, and also four American-style T-hooks (2 and photo 16) that are not and which should be consigned to the spares box. The triangular plate (5) links the two steel tow cables and secures them to a bracket on the rear plate, for stowage, but note that there are no cables or cable ends supplied in the kit.
Review
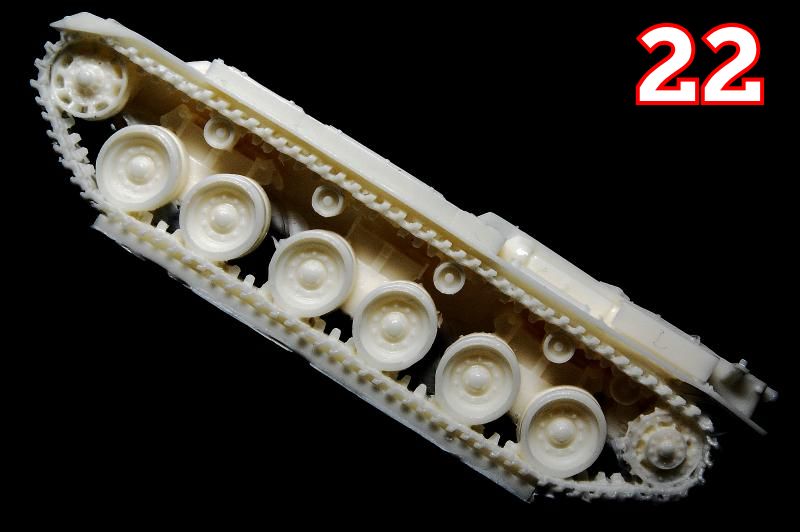
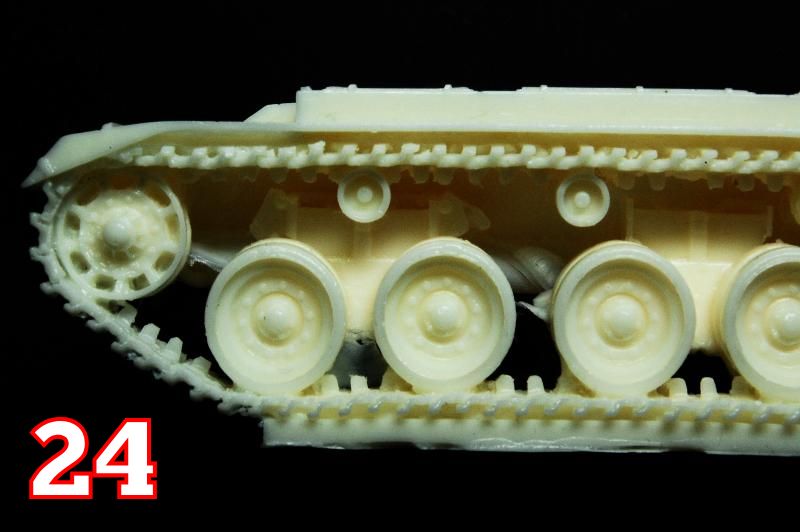
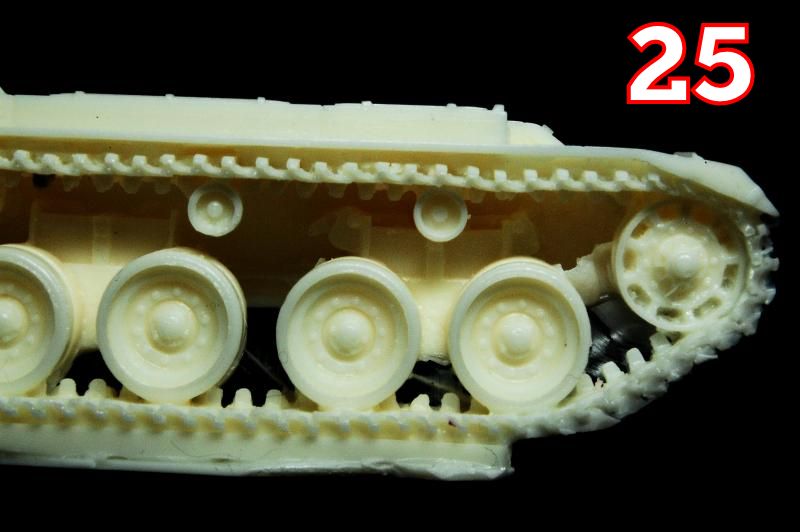
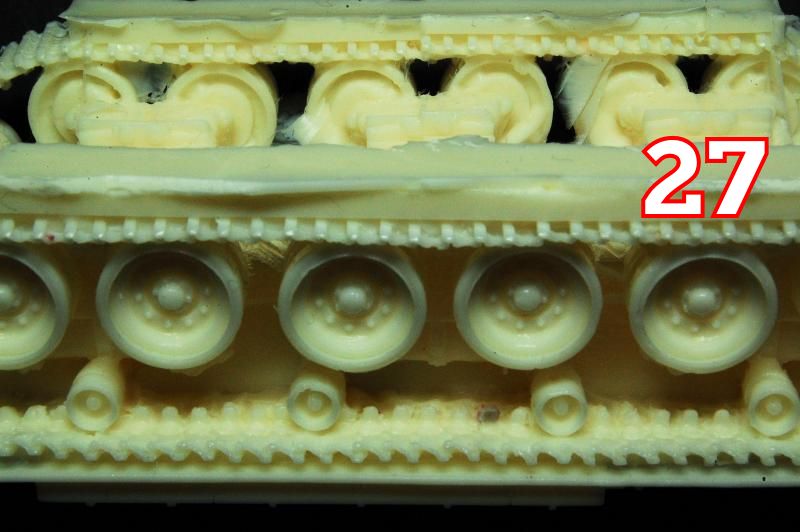
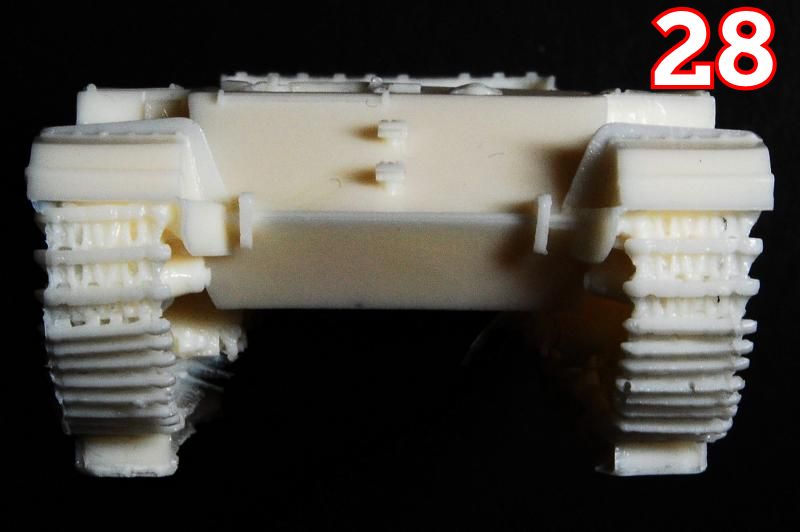
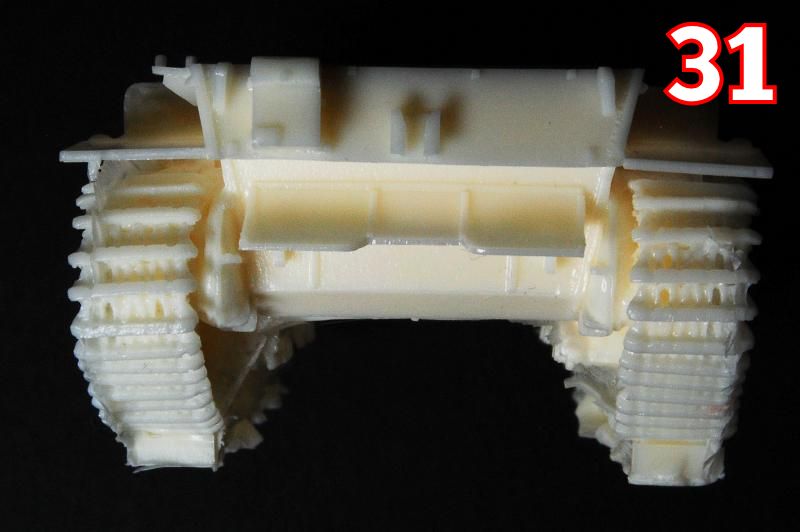
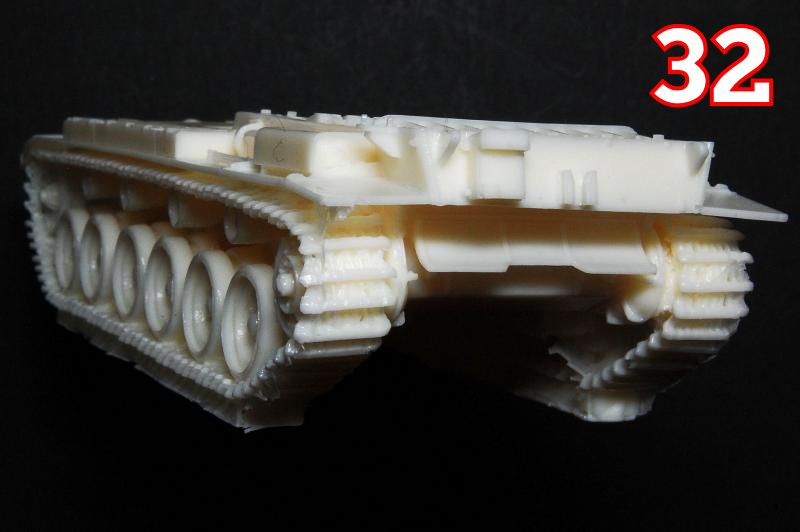
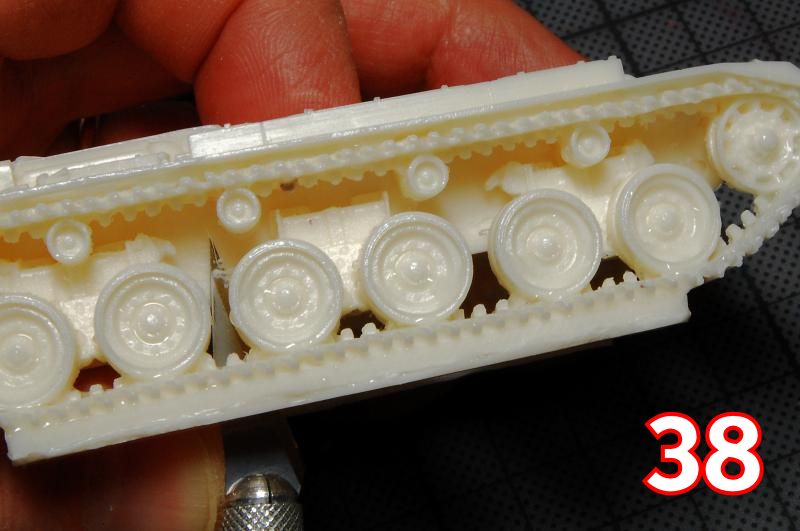
The first thing to note is that this kit does look to be a good rendition of a Mk I with Besa secondary armament. While there are some left-overs from Cromwells earlier releases of later Centurion marks, the new parts certainly look to be accurate. The hull, suspension and tracks are all cast as one unit, and casting the suspension in place usually means a compromise on detail, but not here there is plenty of air between the Horstman bogies and the hull. Even the tracks have good detail, although this one-piece approach must be a nightmare to remove from the rubber mould! Some side effects of casting this complex a shape are inevitable, one being the obvious flash that needs to be cleaned out from between the wheels, bogies and tracks (photos 24 to 27). Another is some lack of definition when you look closely at, for example, the backs of the return rollers (photo 27), although the separation of the road wheel pairs is sharp and well defined. More serious on this example was evidence of some twisting of the mould during casting that has resulted in the track units not being exactly vertically aligned (visible in photos 28, 31); possibly this could be improved by warming the resin and bending them in to line.
Note that the tracks measure a little over 8mm which scales them as being 24 inch tracks, the standard size known to have been used for the Mk2 onwards; photos of the Mk1 apparently show them fitted with 20 inch wide tracks. The track design seems otherwise similar, and it may be possible to remove 0.75mm from each side of each of the track treads at their widest point to get them down to the scale width of almost exactly 7.0mm.
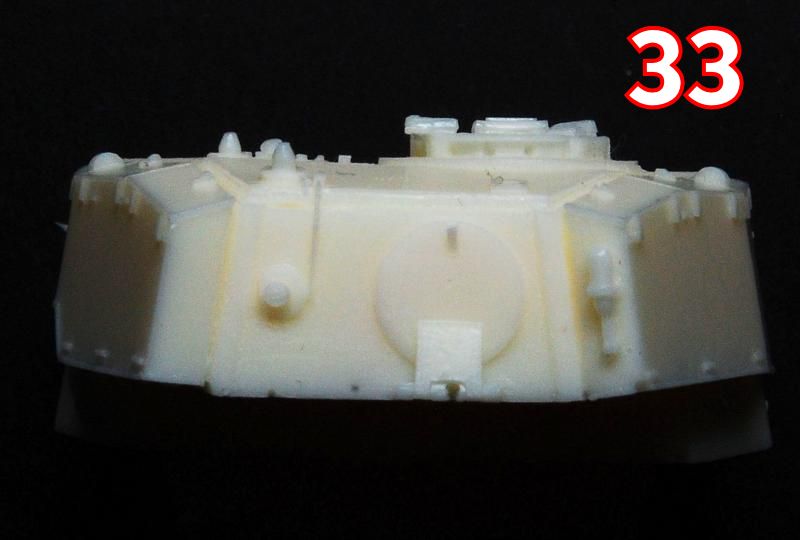
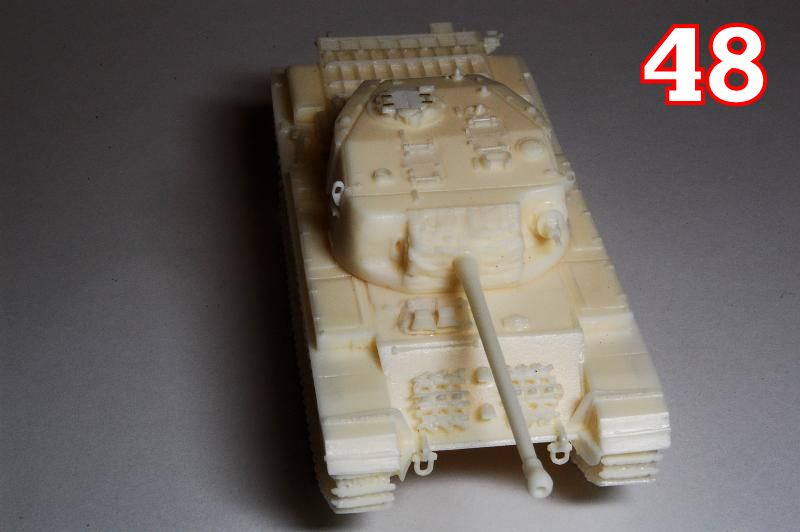
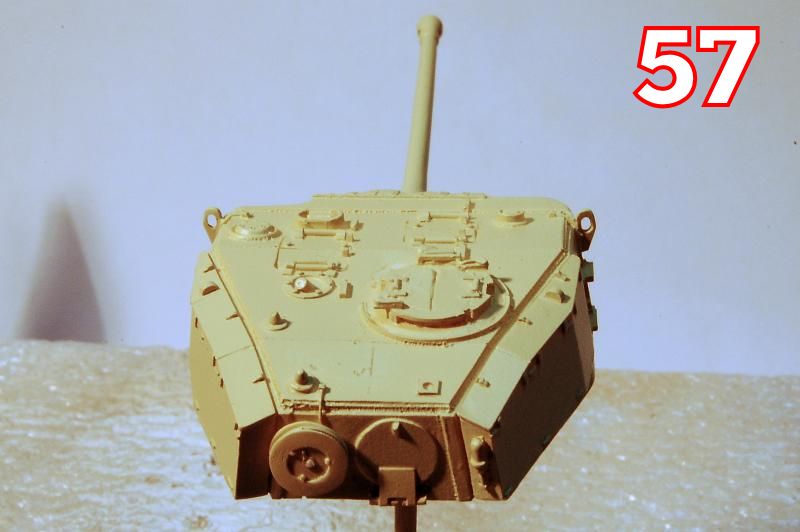
The turret is a very nice casting (photos 3, 4 and 33 to 37), and is obviously specific to this kit, representing the Mark 1s composite turret, made of a cast front with the rest being welded rolled steel. The Mark 1 stowage bins with the ball mount for the machine gun give it a unique look in the Centurion family, and the hinges and latches on the bins are particularly well rendered, as are the details of the mantlet cover and ball mount. The turret has a lifting eye welded to each side, one of which had snapped off in my example.
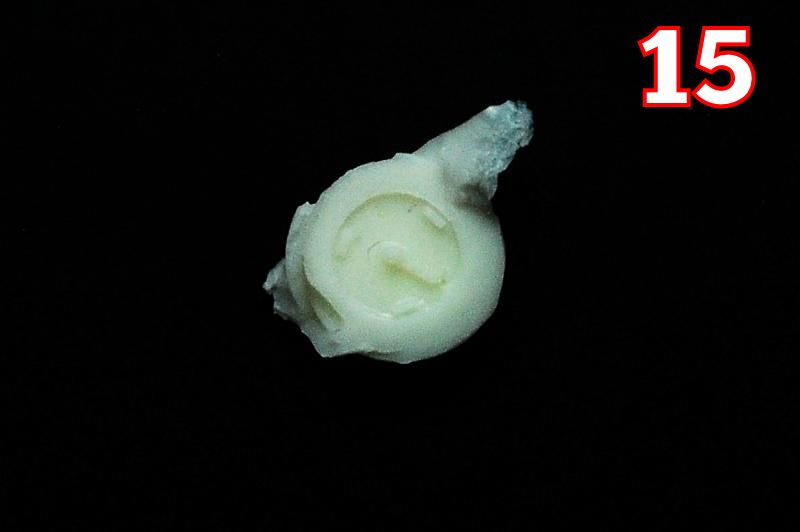
The smaller components are mostly well detailed and cast. Particularly nice is the fact that all four hatches (so barring the one in the rear face of the turret) are split and detailed on both sides so that they can easily be positioned open or closed (see photos 11/12 and 18/19). To position them open you will obviously need figures to fill the shallow void beneath; I did find that because of this detailing, when fitting the hatches closed it helps to fill that void with something to provide support. The one small part that hadnt been cast well was the cable reel (photo 15) that attaches to the rear of the turret.
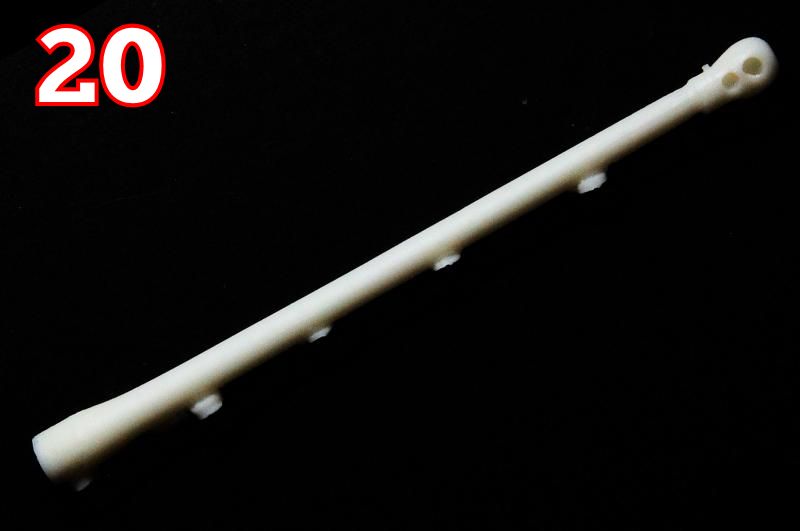
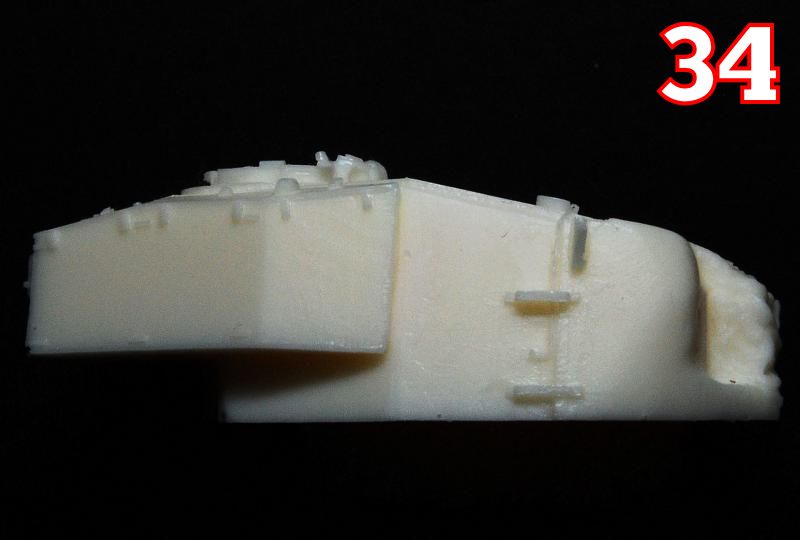
The side armour is thin, with chamfered edges (photos 6, 7), but have the mounting method that was used on all the later versions; some photos of Mark 1s do show this type, though many show a type with completely featureless plates hanging from brackets on the top edge only. The gun (photo 20) was perfectly straight, with just the lock nut needing to be removed, and the muzzle and brake needing to be drilled out.
The Build
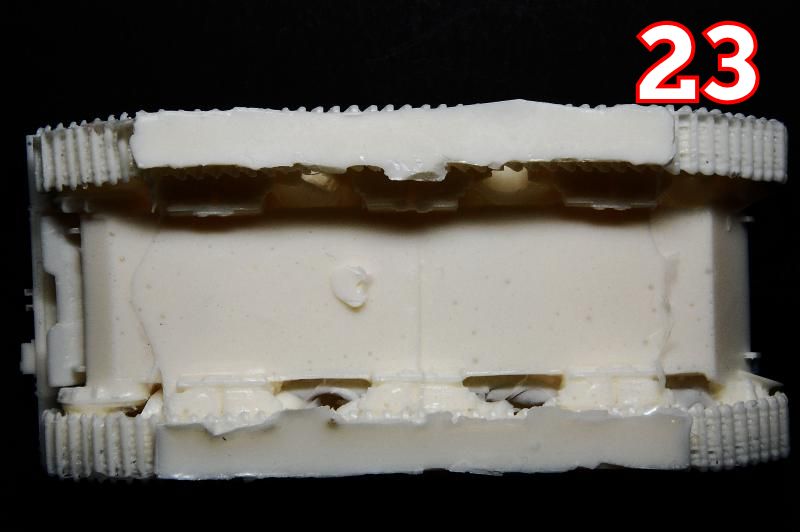
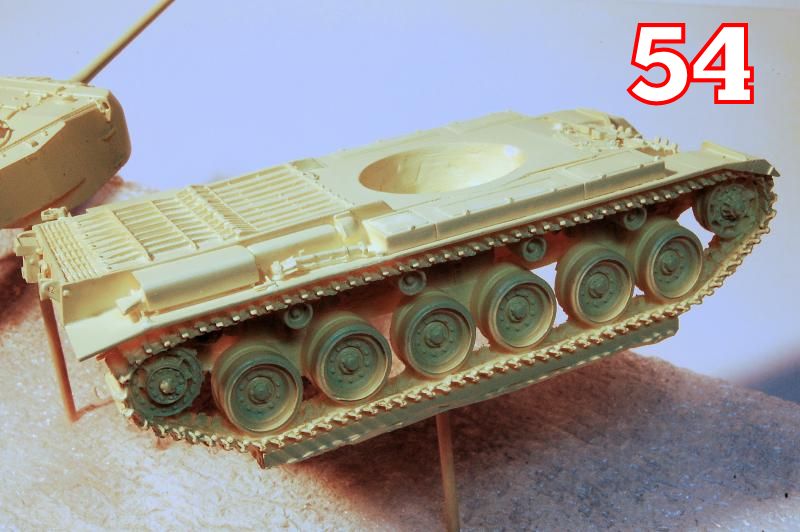
In building the kit, its the usual resin story, where although there are fewer parts to assemble, it takes about as long as an injection moulded kit because of the amount of clean up and having to remodel or scratch some parts. Things started with the cleaning up of the hull, careful carving and sanding of the flash between wheels and tracks, particular care being needed around both the track guide horns and the sprocket teeth, as well as the outside edge of the tracks (photo 38). The pour blocks are exactly underneath the tracks (photos 23 to 27), and I chose to leave them intact so that they can be sunk into a base.
When cleaning up the turret, I found photos that suggested that the lip around the bottom of the turret bins shouldnt be there, so I removed it, but subsequently I have seen photos that suggest they perhaps should be there after all
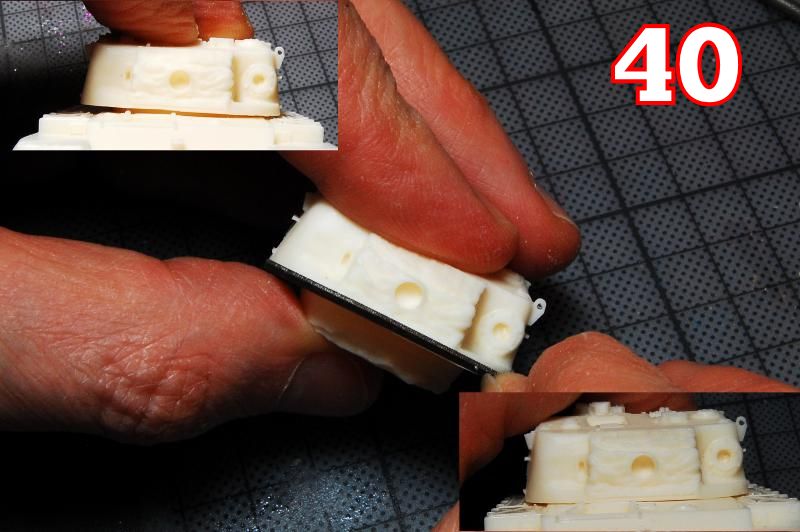
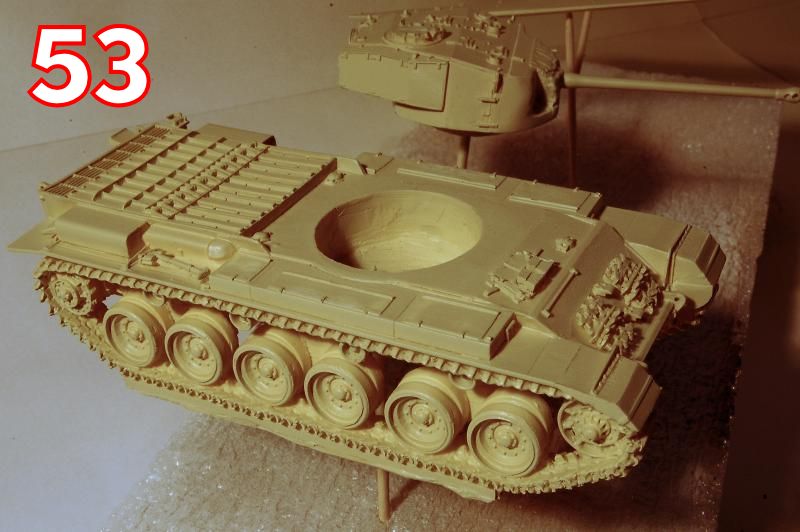
Test fitting turret to hull showed that some work was needed to make it fit flush (photo 40).
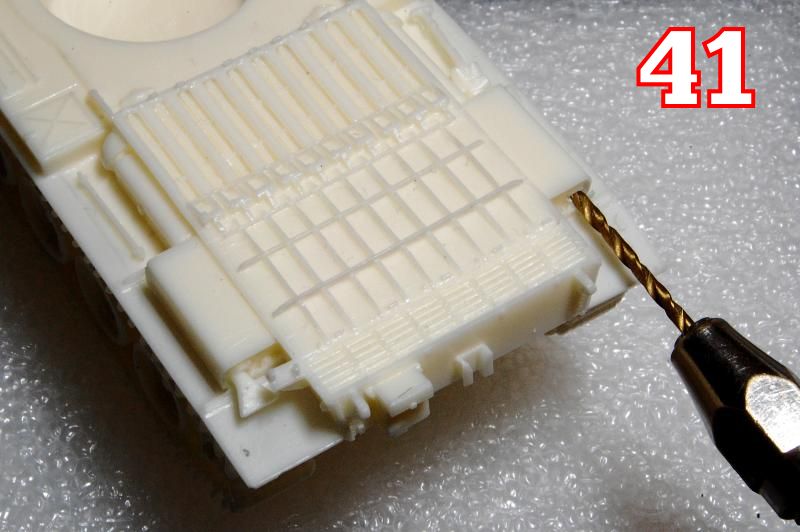
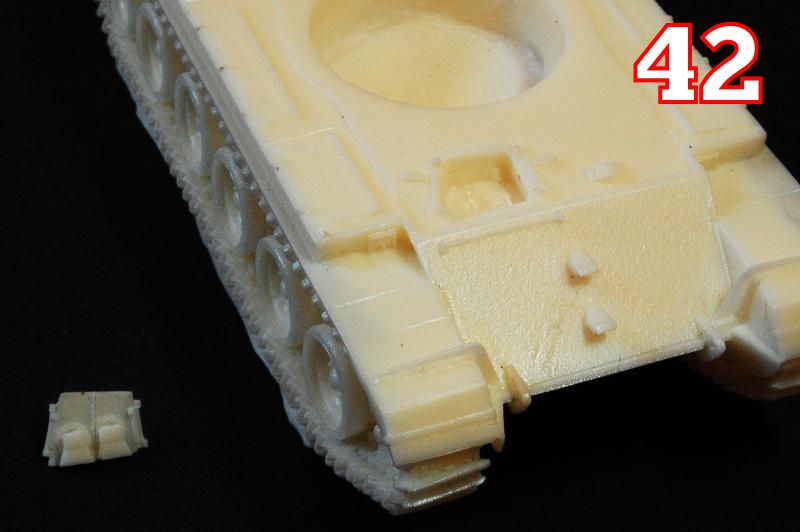
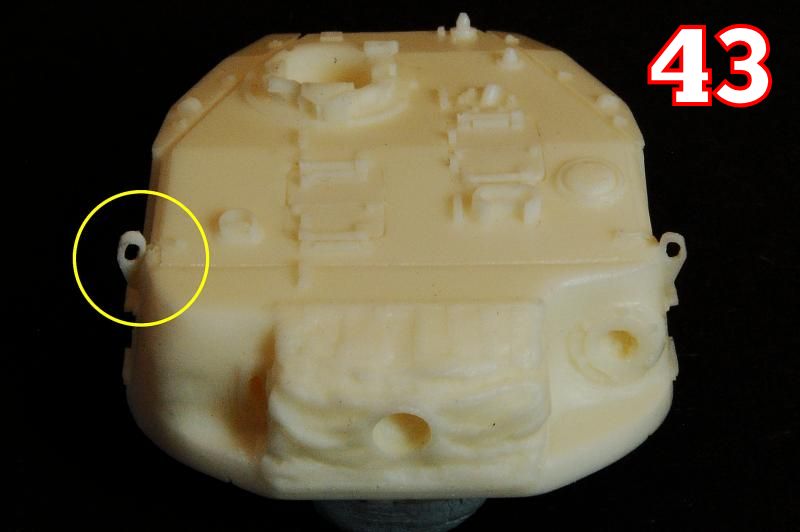
Adding the kit detail parts: holes were drilled in the mufflers to take flattened exhaust outlets (photo 41). The drivers hatch was glued into one piece before being fitted over the opening so that it wouldnt drop into the hole (photo 42). The two smaller turret hatches fitted in to place easily, but I found the commanders hatch didnt fit well, being a little too small (photo 44). Instead of filling the gap I ended up making a new hatch, but Im not sure it is any better, and maybe gap filling the original would have been easier. The broken turret lifting hook was replaced with one made from styrene sheet (photo 43). The location of the gun travel lock isnt too obvious without any guiding instructions; it goes on the bracket on the side at the back left corner behind the exhaust, minimising the overhang of the gun (clearly visible in photo 55). I left the smoke flare tubes off, though left the mounting brackets in place not sure if that is right, perhaps it should be one thing or the other.
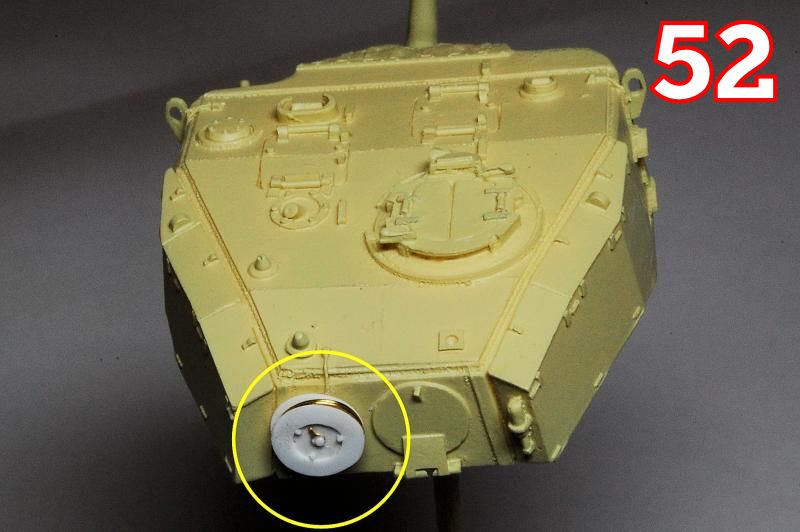
The telephone cable reel on the turret, as mentioned, was somewhat malformed (photo 15), and in trying to carve out the filled in cable section I ended up breaking off the rim. A new one was made from three disks of styrene, cut out with an ordinary paper hole punch (photo 52). The cable is copper wire, and the details on the outer surface are plastic rod and a spare etch piece. I could justifiably have left it off completely, just retaining the bracket on which it is mounted.
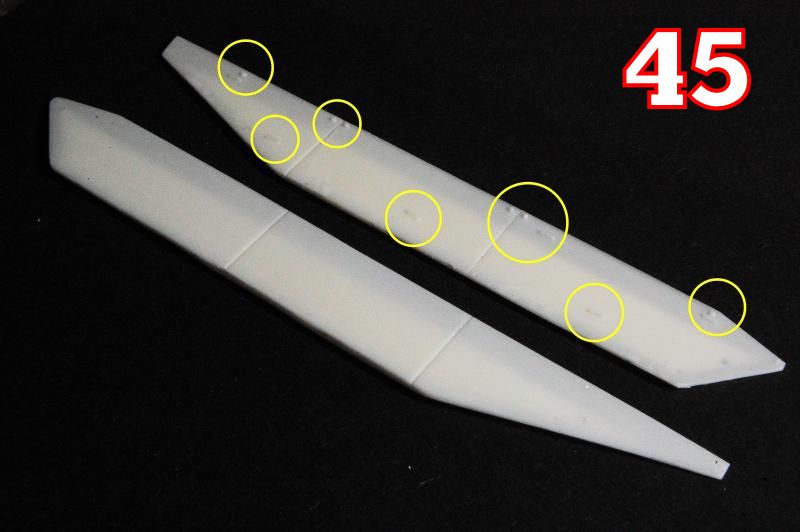
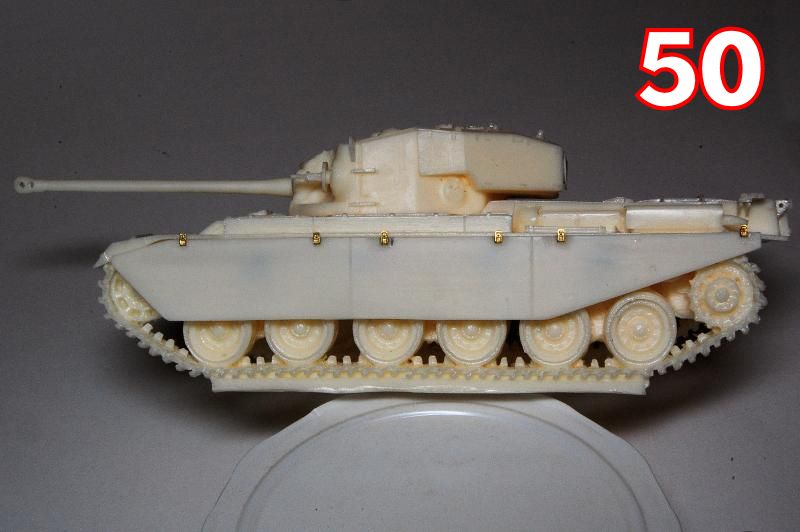
In order to backdate the side skirts to a Mark 1, all the surface fittings were completely removed (photo 45), and instead I added small bolted brackets; these were made from half of a centre section of an etched T-34 track link, folded back on itself, then glued to the top edge of the armour plate (photos 50, 51). Another minor modification was to remove the X shaped corrugations on the tops of the stowage lockers over the track guards (visible in photo 55), as a couple of Mark 1 photos show these as completely flat featureless plates.
The towing bracket (it looks like, but isnt, a jack) fits well, right underneath the rear deck (photo 39). Above it, into the slot in the centre of the rear plate, fits the triangular shackle/hook device that the tow cables attach to. To detail this properly you really need to have some suitable tow cables, double runs of cable linked with ties, and I think making these yourself might be the only way; it would have been good if at least the cable ends had been supplied, perhaps already linked to this triangle, so that all you had to do was attach appropriate cables.
Conclusion
Models of Mark 1 Centurions are rare indeed, from what I can see there is only this kit in 1/72 and then Accurate Armours resin kit in 1/35. This early mark has appeal, with its distinctive turret appearance that clearly gives away its Comet ancestry. Then there is the thought that had the German capitulation been a month or two later, this version would quite probably have been used in combat, as six of them departed from Southampton for Belgium on the 14 May, from where they made their way across Holland and into Germany.
The kit, particularly the turret, is well detailed with nice sharp casting, although there is the flaw of the twisted alignment of the tracks and the defective cable reel. The turret looks very accurate, and I suppose this is the special Mark 1 component in the kit, while the hull can do with some fairly minor adaptations to create a more accurate Mark 1 model.
Overall, a relatively easy resin kit to build, and with scope for those with minor scratch building skills to add further detail and accuracy. Possibly the main difficulty is the lack of any instructions, so hopefully this review provides some help on that score.
Cromwell Miniatures can be purchased via Milan Vins
Tracks n Troops web store.
References
Pat Ware The Centurion Tank - Images of War Special (Pen & Sword 2012)


Comments