The M1A2 System Enhancement Package (SEP) is a successor to the M1A2. The SEPv2 added the CROWS or CROWS 2 remotely operated weapon station, which can be fired from inside of the tank without exposing the crew to enemy fire. Also added are color displays, better interfaces, a new operating system, better front and side armor, and an upgraded transmission for better durability. As the second version in the M1A2 SEP, the V2 variant provides the Army with a digital tank with a new electronic backbone, powerful new computers and an open architecture designed to accept future technologies without the need for significant redesign.
The Kit:
A few years ago, Dragon was the top runner with its new tooled M1A1 AIM kit (that I was glad to be part of the R&D of the kit.) Then they came out with their M1A2 SEP kit. Within this past year, MENG Models came out with their nice version of the Abrams beast. Rye Field Models didnt hesitate and released their own version also with the anticipated up-coming release of their Abrams kit with full interior.
Well, Academy was no different. They recently released their newly tooled version of the Abrams as a 3 in 1 kit. Academy offers the M1A2 in the SEP V2, TUSK I, or the TUSK II versions. There has been a build blog here on Armorama and reviews of the kit have been posted around the net, so rather bore you with whats in the kit, flash or no flash, blah blah blah, I will just hit some key points about the kit and get on with the build.
Pro Key Points:
1. Second offering in plastic kit form of SEP V2 version. Other options for SEP V2 version are aftermarket resin conversions.
2. 14 different vehicles are covered in the decal sheet.
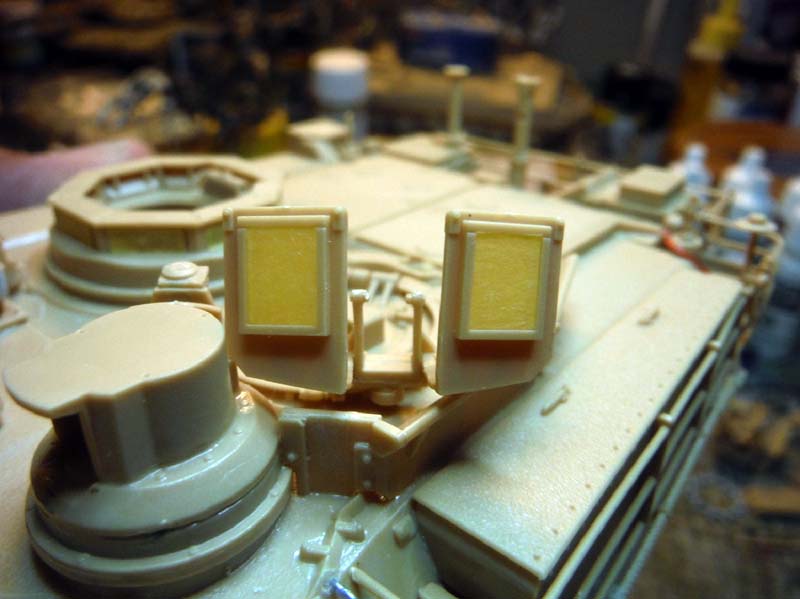
3. Outstanding painting mask for all glass parts is included in the kit. Mask fit perfectly and did not lift. There was no bleed threw once mask were removed.
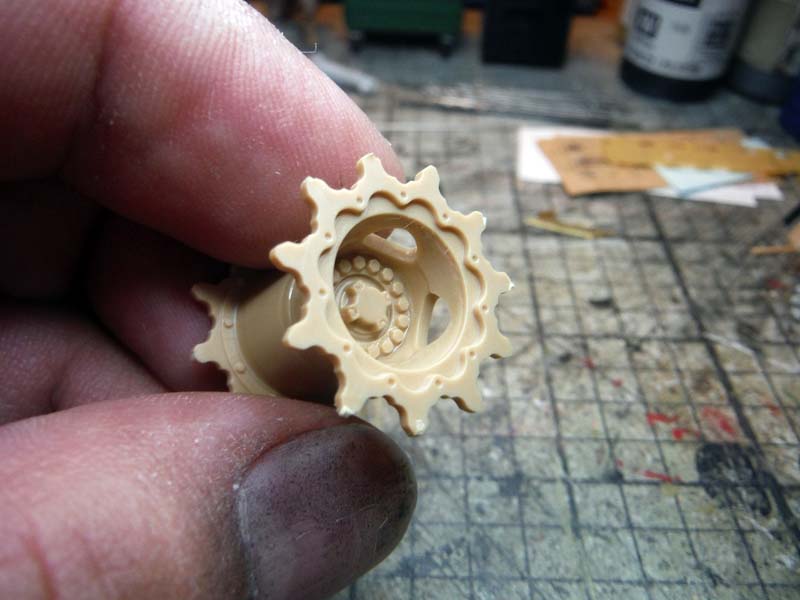
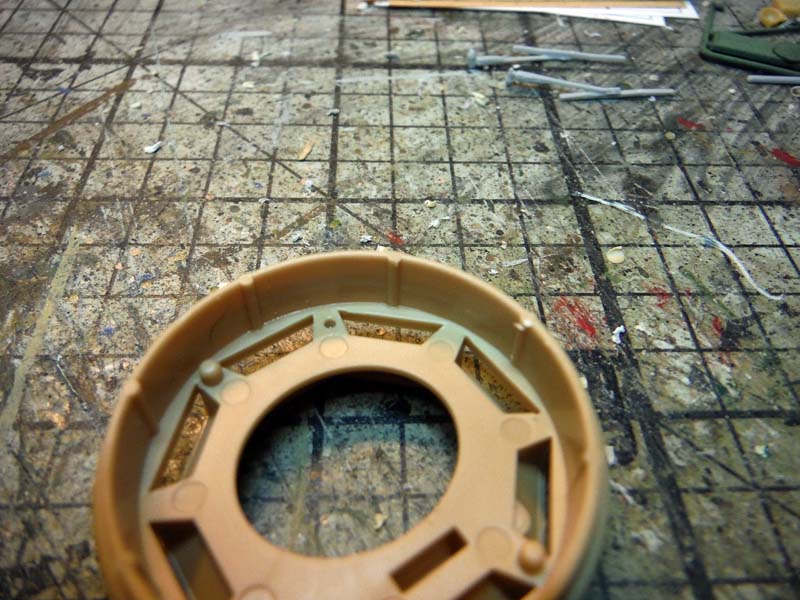
4. Nice detail on the inside of the road wheels.
Con Key Points:
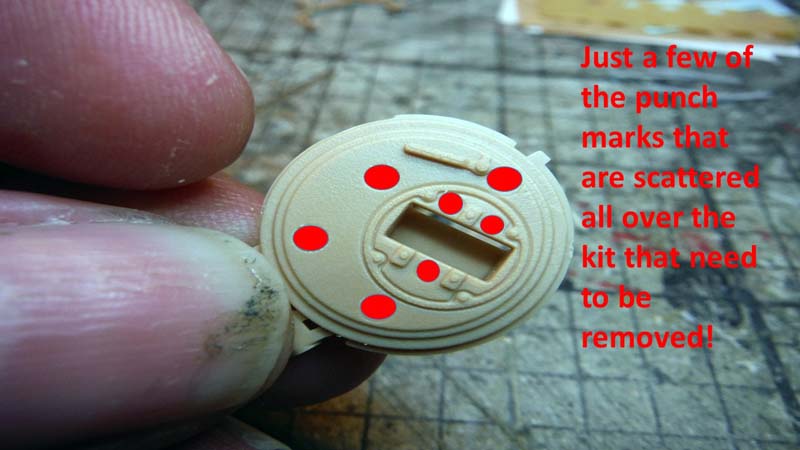
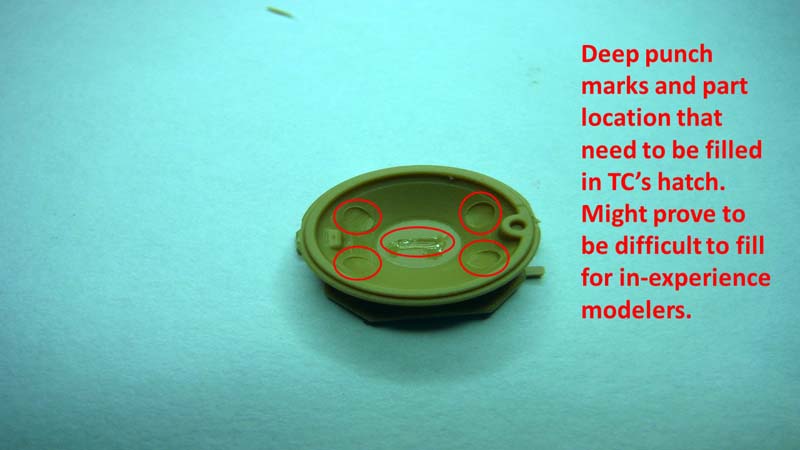
1. Punch marks scattered all over kit, some located on parts that cant be hidden. Some of the punch marks might be difficult for beginners to remove and or fill.
2. Sponsons are open and you can see through hull. This is really not a problem since the side skirts and tracks will be covering this.
3. Photo etch is very difficult to work with. Even with annealing, the etch is still very stiff and hard to bend and work with.
Instruction Notes:
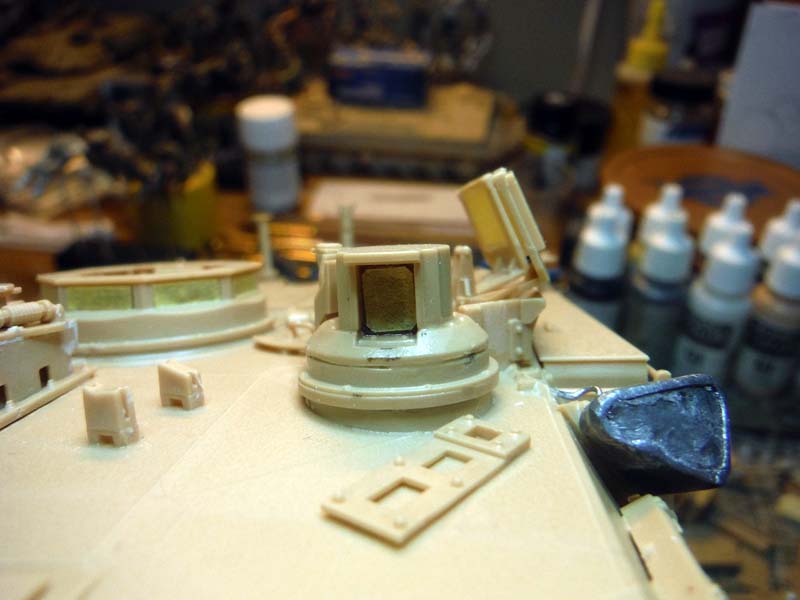
1. When building the TC station for the TUSK I/II, the kit calls out to use part H15 for the glass on C34. Parts H7 and PE6 are included so that you dont have to try and paint the mesh on part H15.
2. Unit bumper code for vehicle Danger Zone is incorrect. Reference photos found on the internet of the real vehicle show it belongs to 2nd ID 2-9 IN REG.
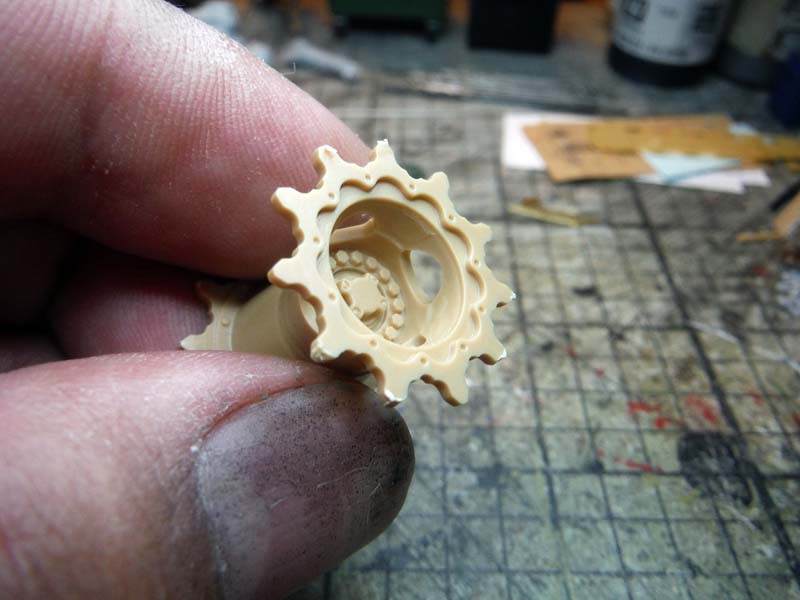
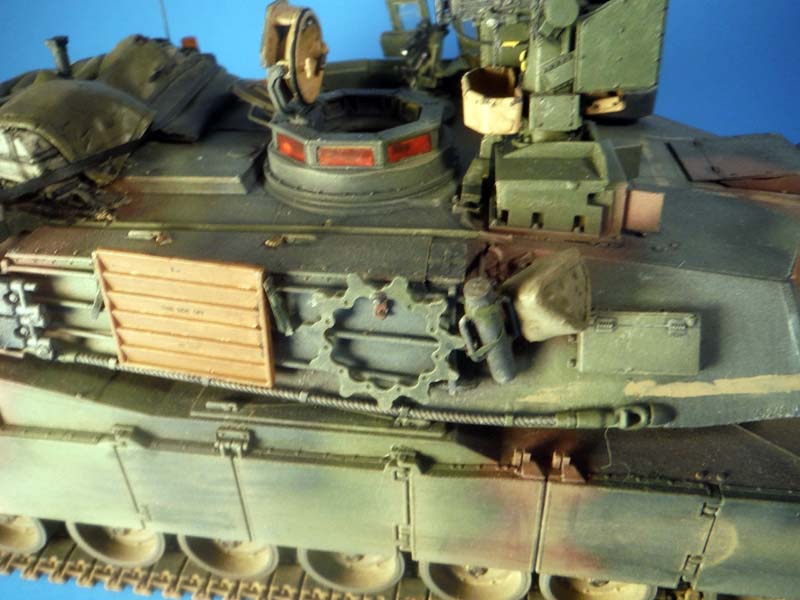
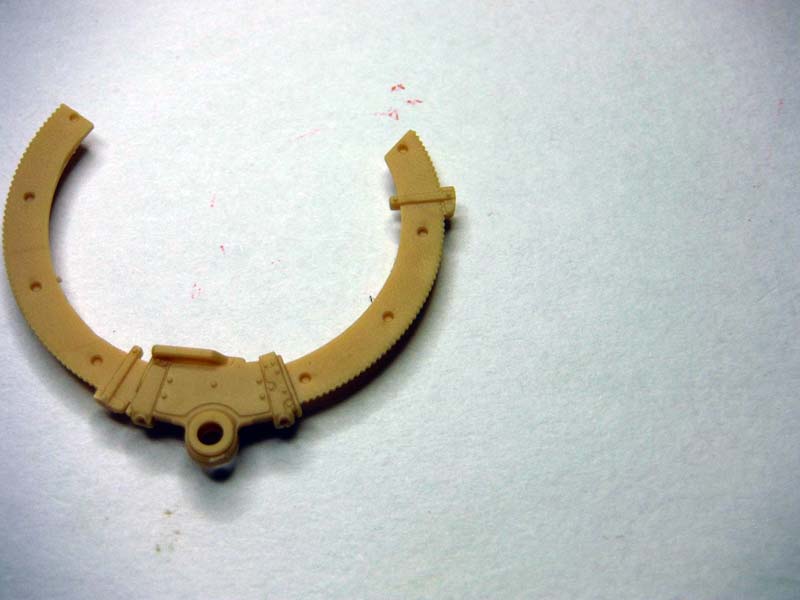
3. Kit calls out to use part G3 and G4 for main drive sprockets but there are no lighting holes on part G4. The parts are included that have the lighting holes and why the instructions dont call them out is a mystery. So, use parts G3, G2, and G1 to correct this issue.
4. The camouflage pattern for the NATO 3-tone paint scheme in the instructions is slightly off, so I used the painting diagram from the Dragon M1A1 AIM kit to paint my beast.
The Build:
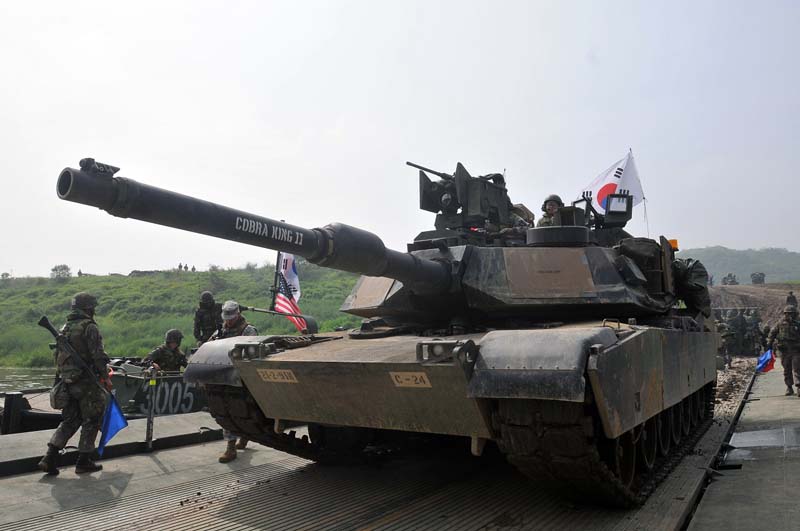
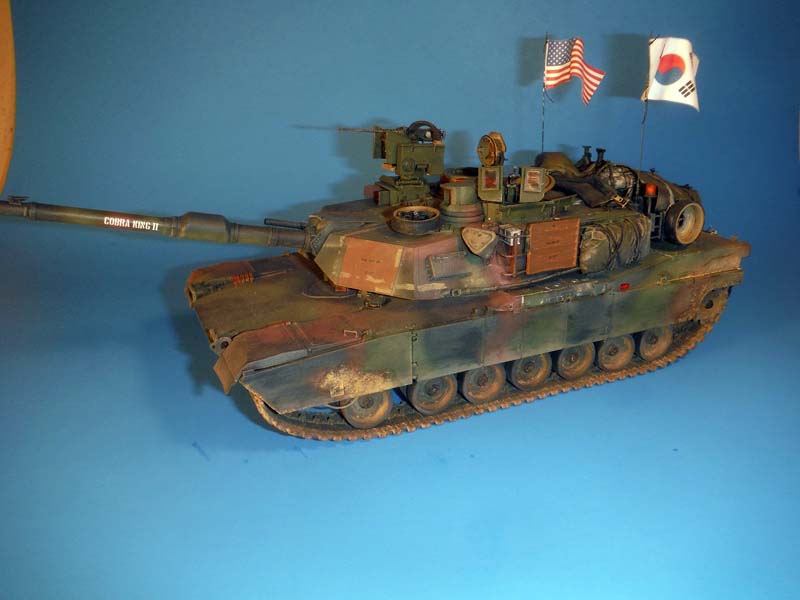
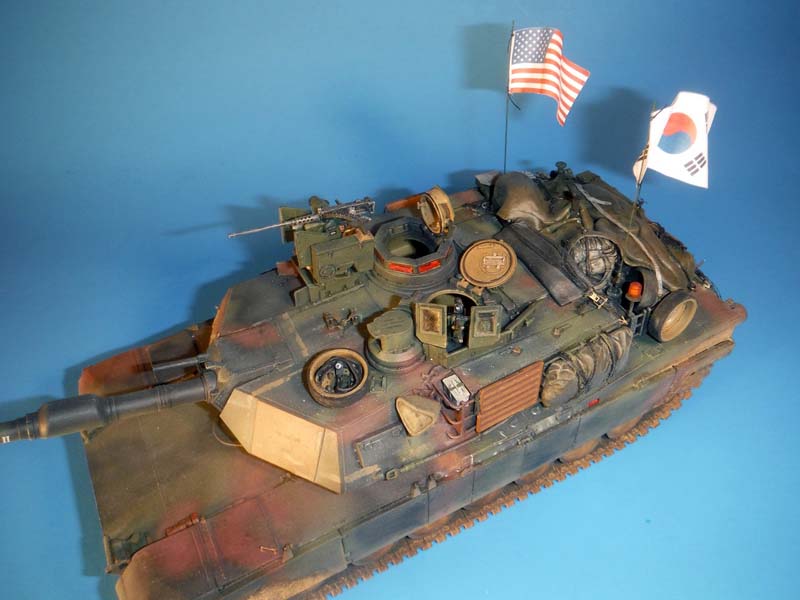
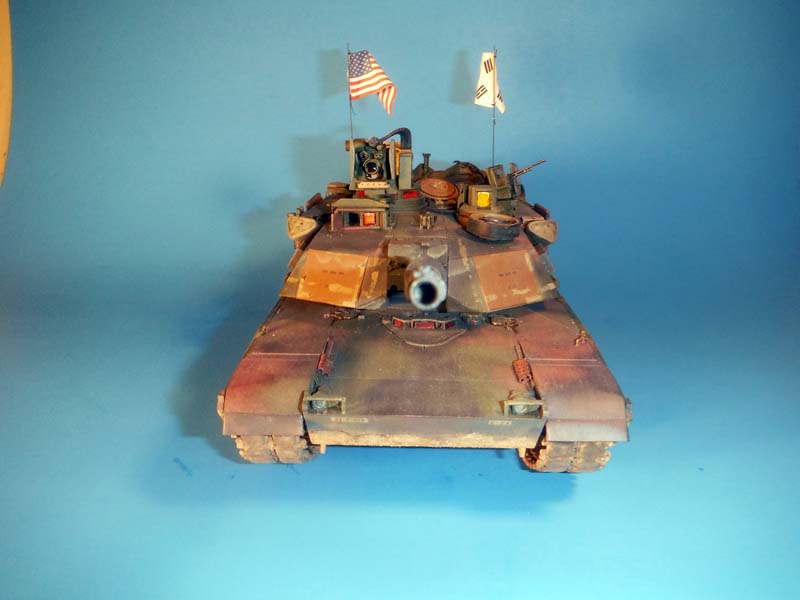
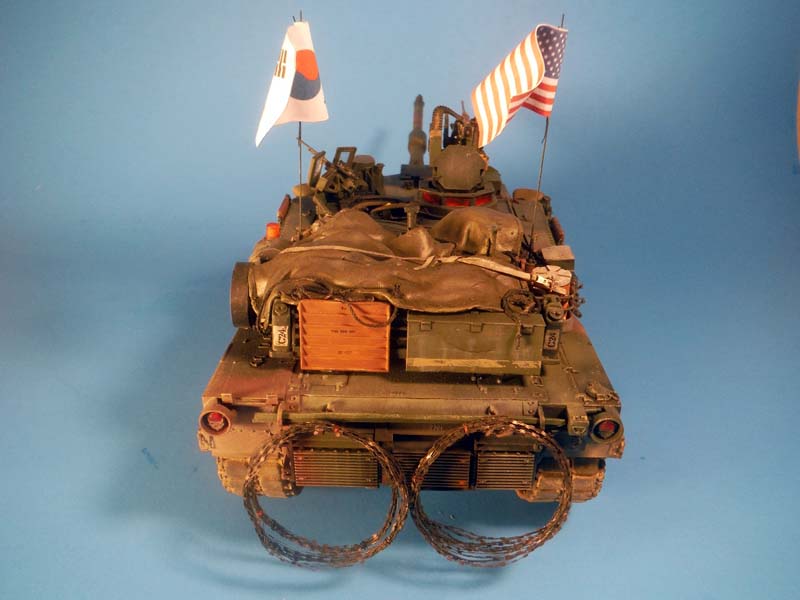
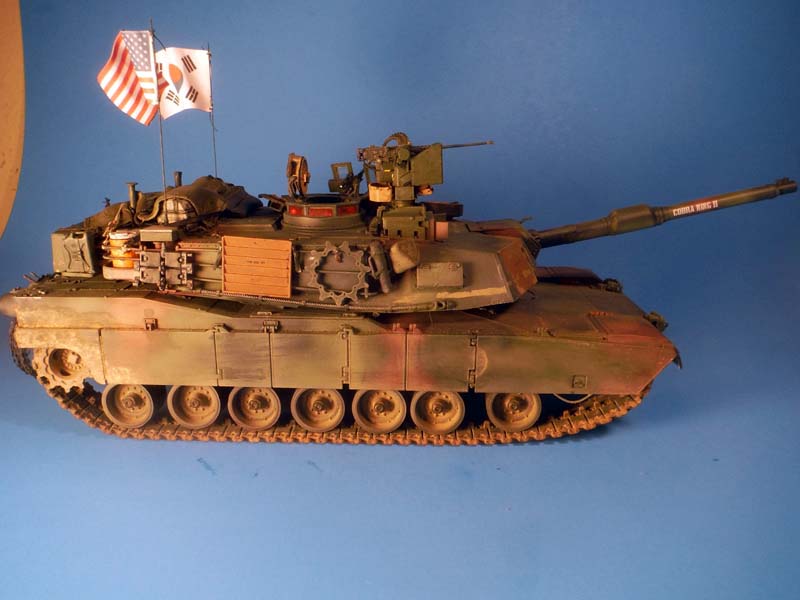
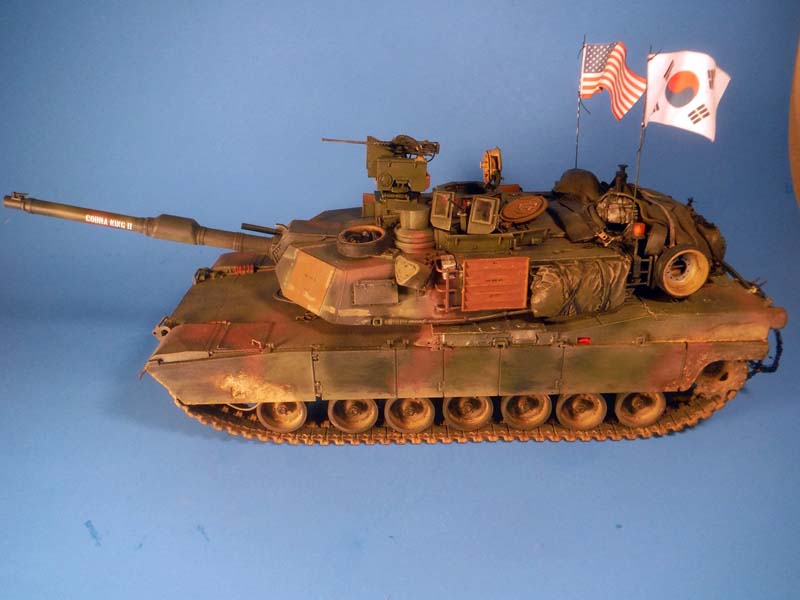
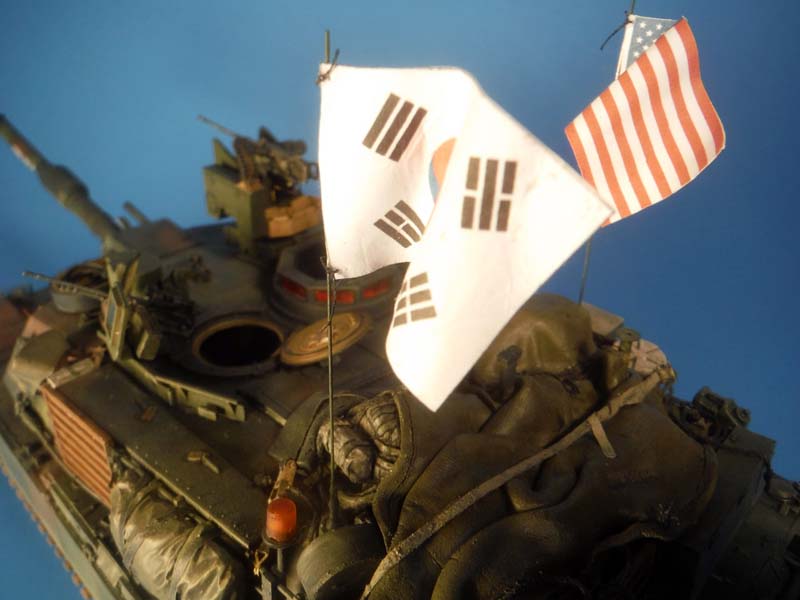
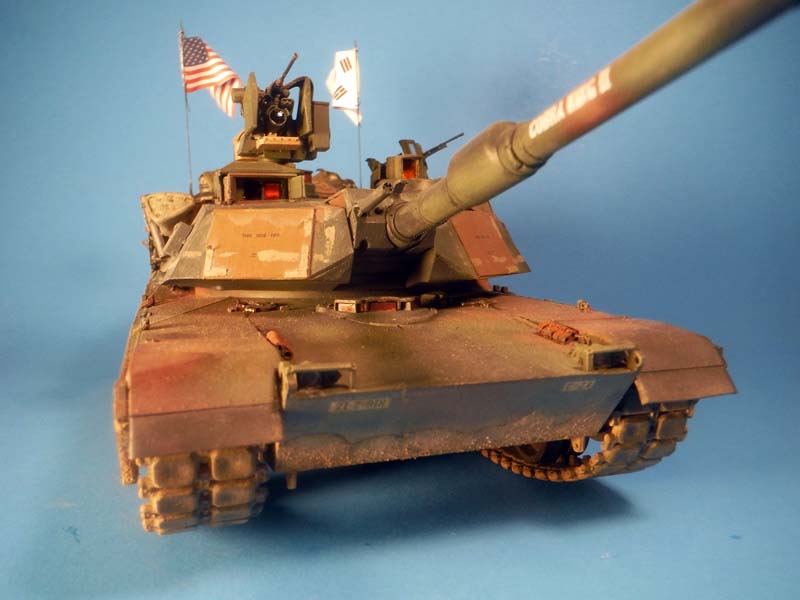
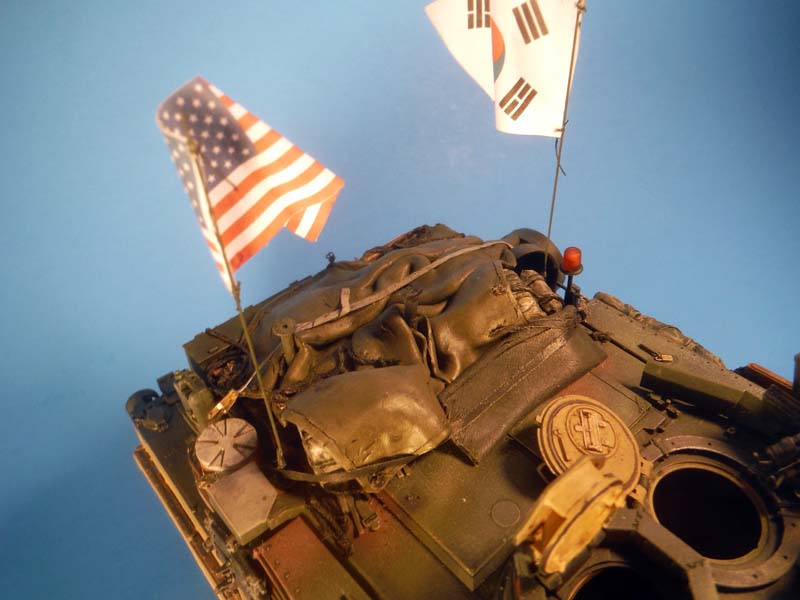
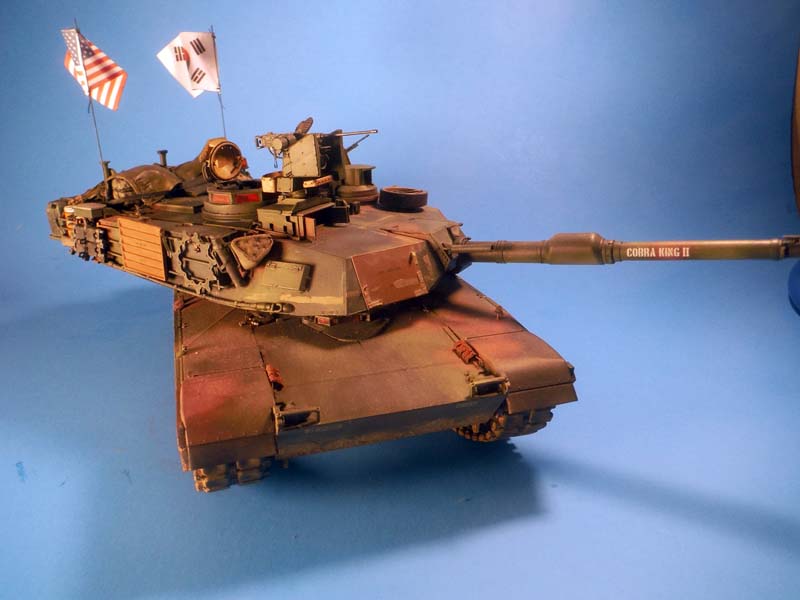
Before I start a build, I like to look over the marking options for whatever I am building. I check to see if I have or can fine good references of any of the marking options. Fortunately, I found great reference pictures of one of the marking options the kit provides, COBRA KING II, vehicle number C24 of 2nd ID 2-9 INF REG. "Manchu" Soldiers from 2nd Battalion, 9th Infantry Regiment, 1st Armored Brigade Combat Team, 2nd Infantry Division, works with the Republic of Korea army's 6th Engineer Brigade in a river crossing exercise and C24 was part of that exercise with the American and South Korean flags flying from the antennas.
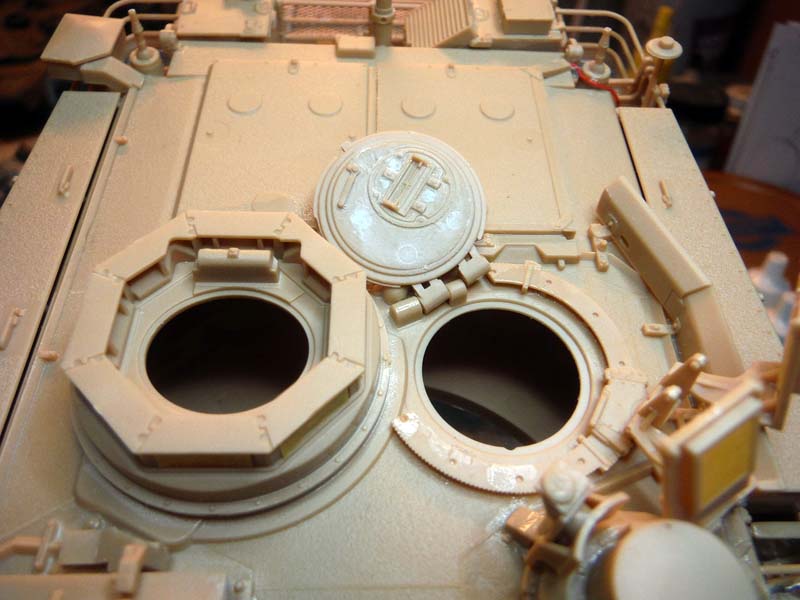
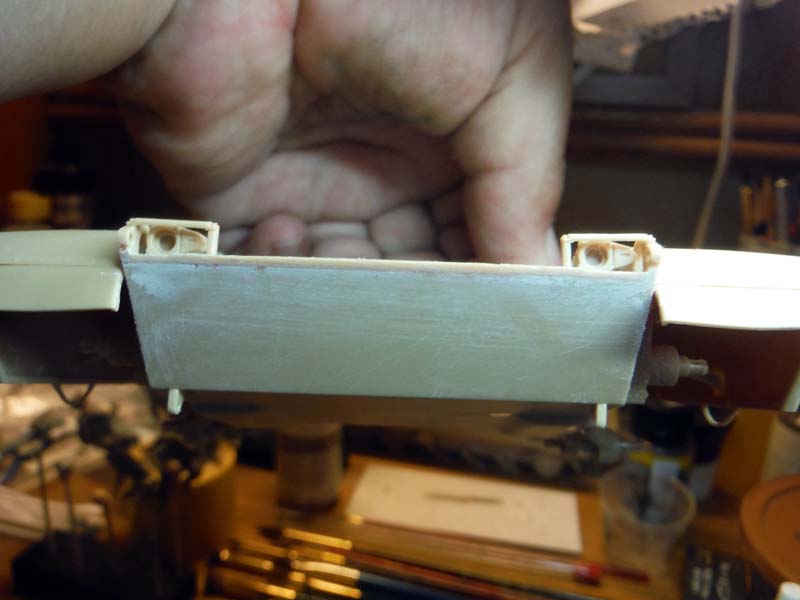
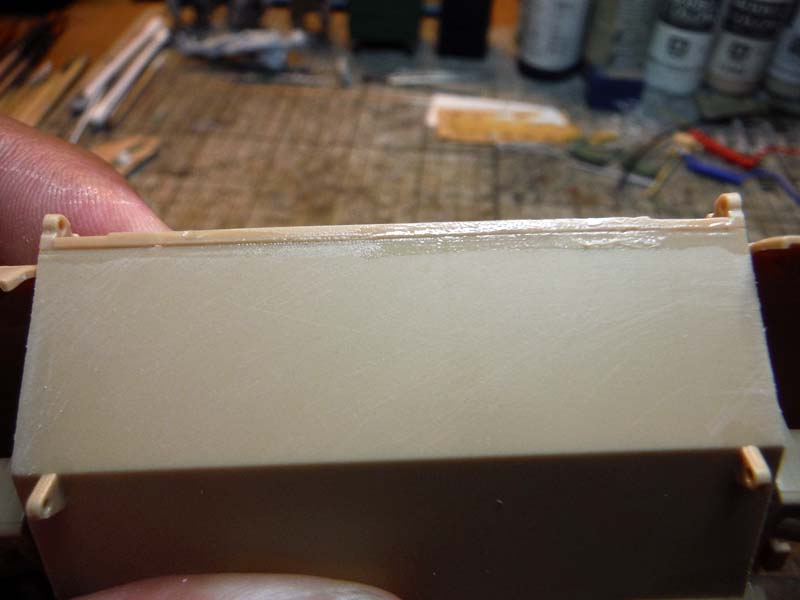
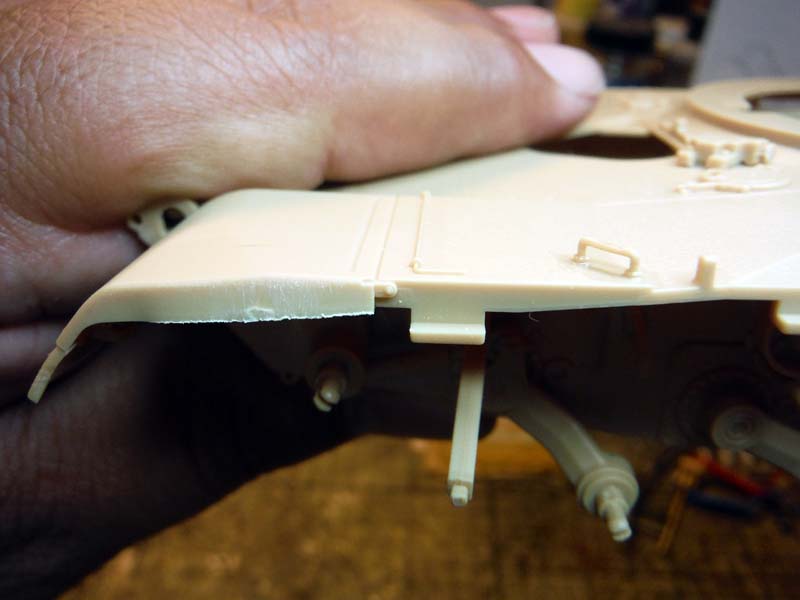
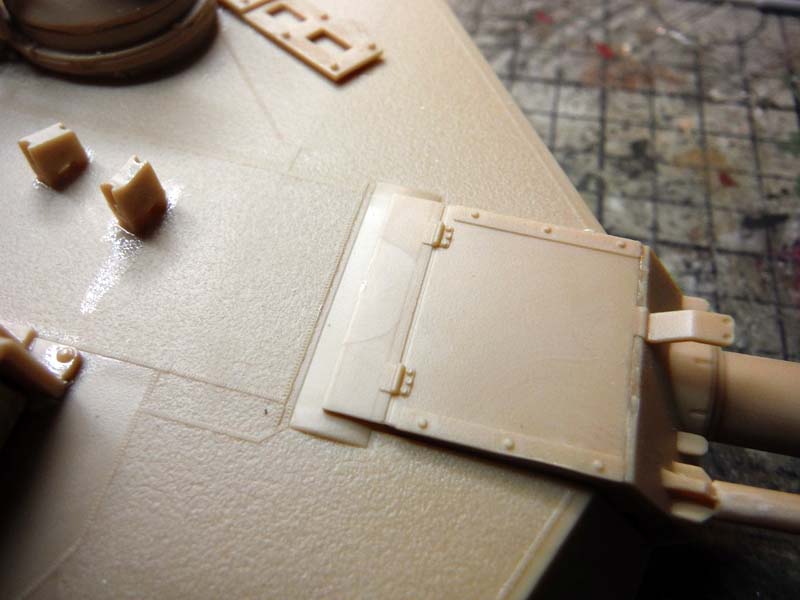
The build started with filling and sanding all those pesky punch marks that are all over the kit. Some of them are hidden and dont require any attention, but most are seen like on the loaders and TC hatches.
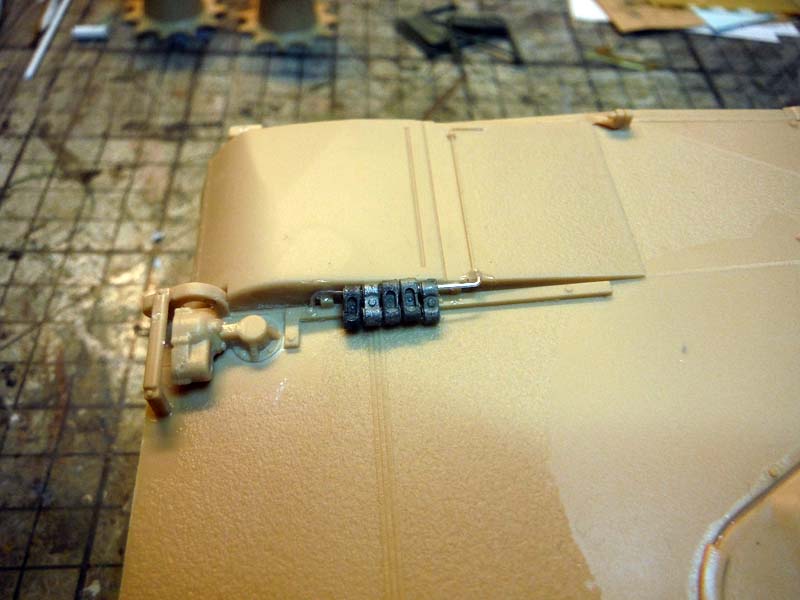
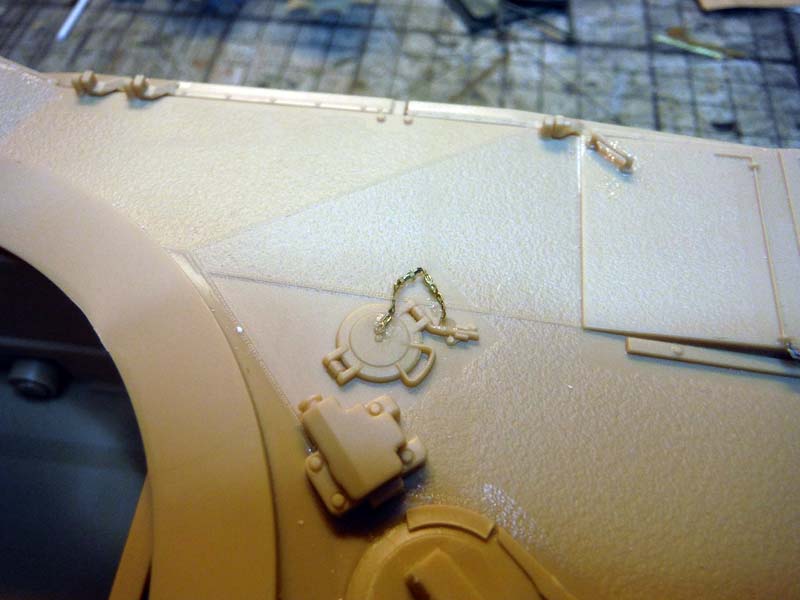
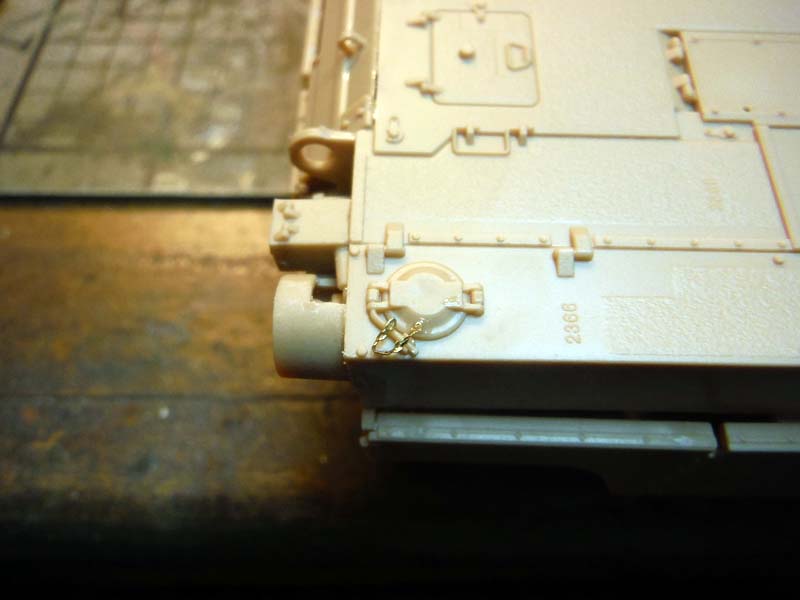
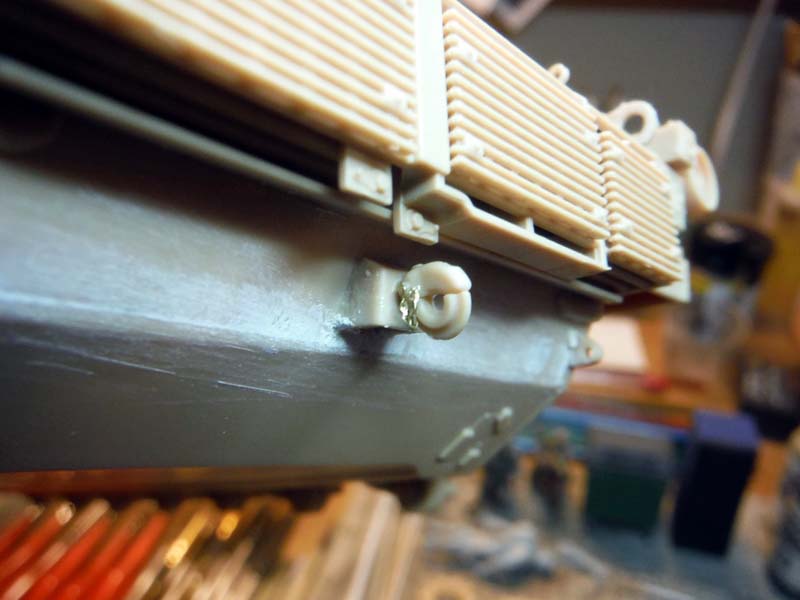
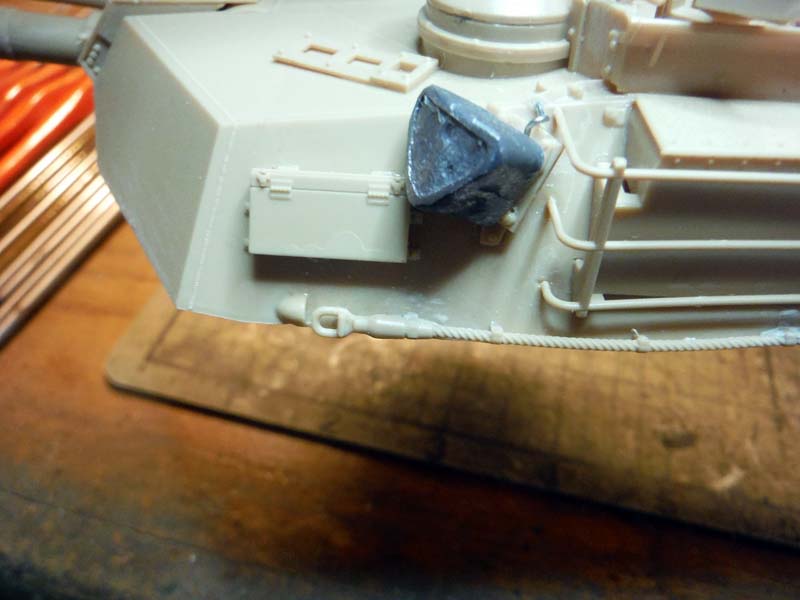
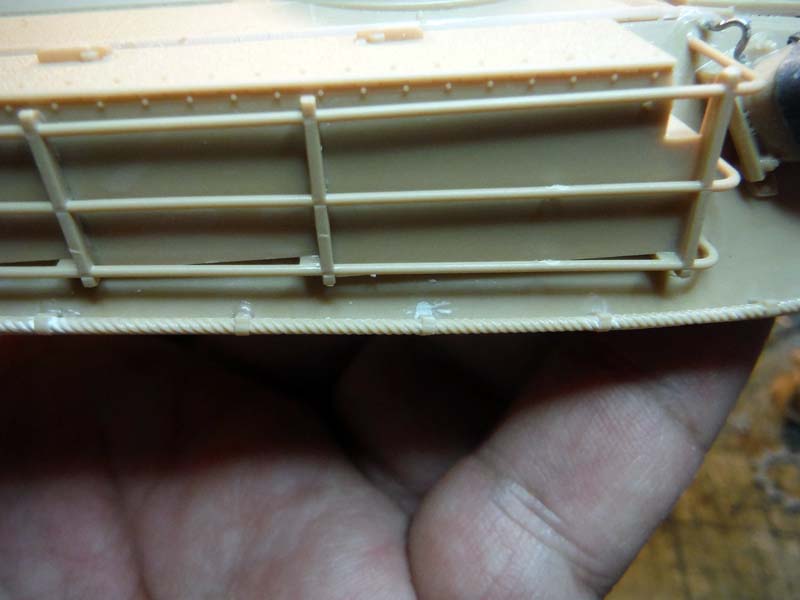
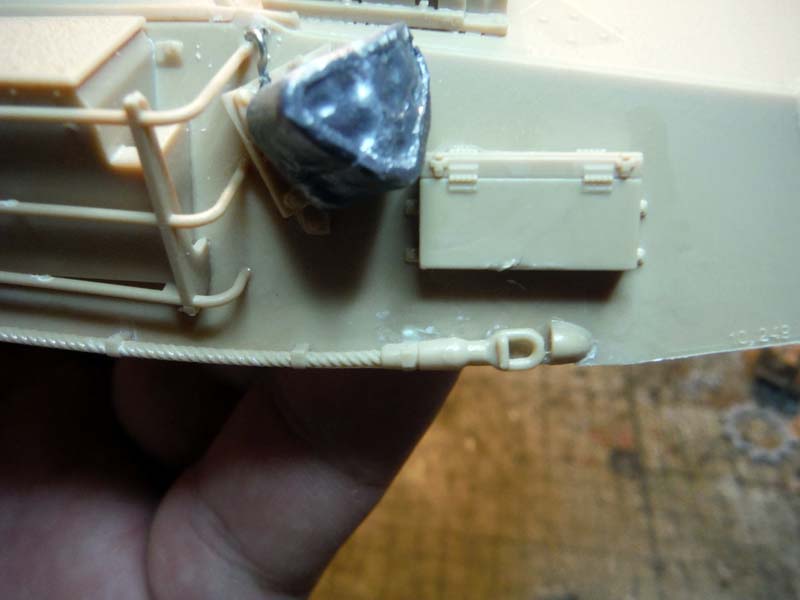
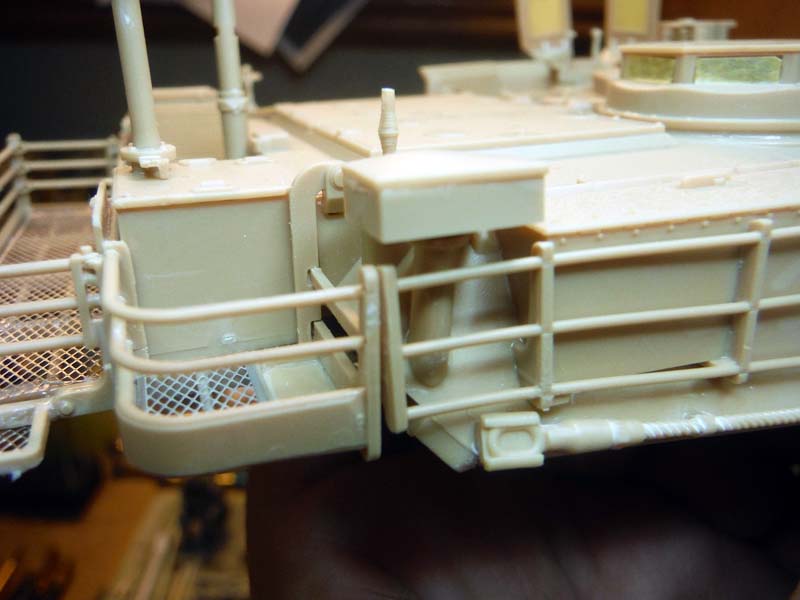
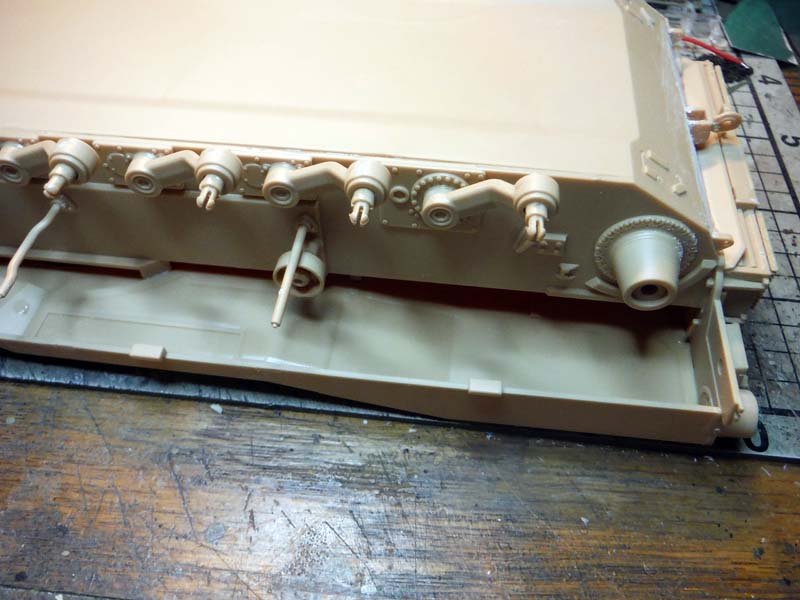
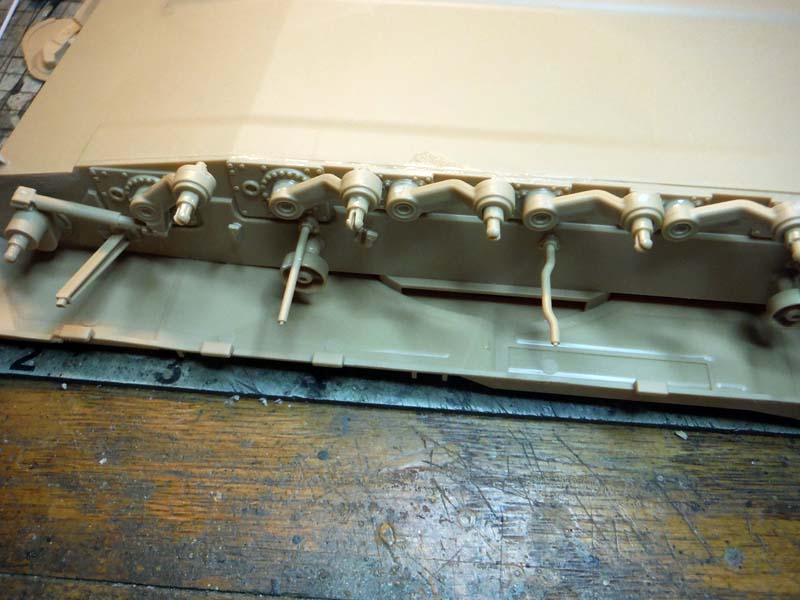
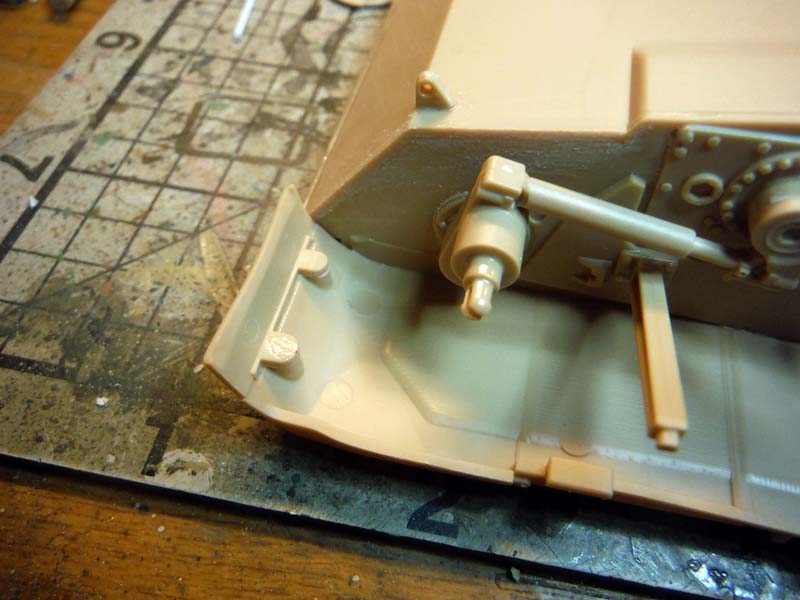
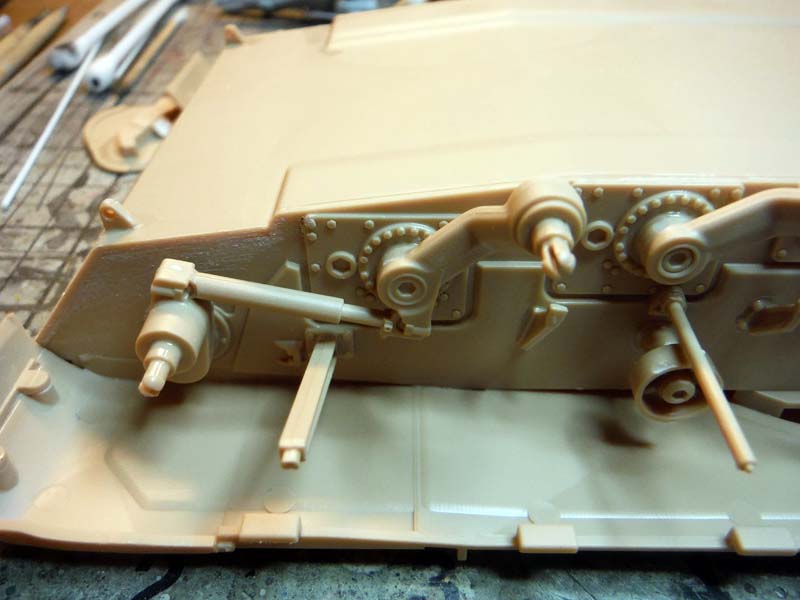
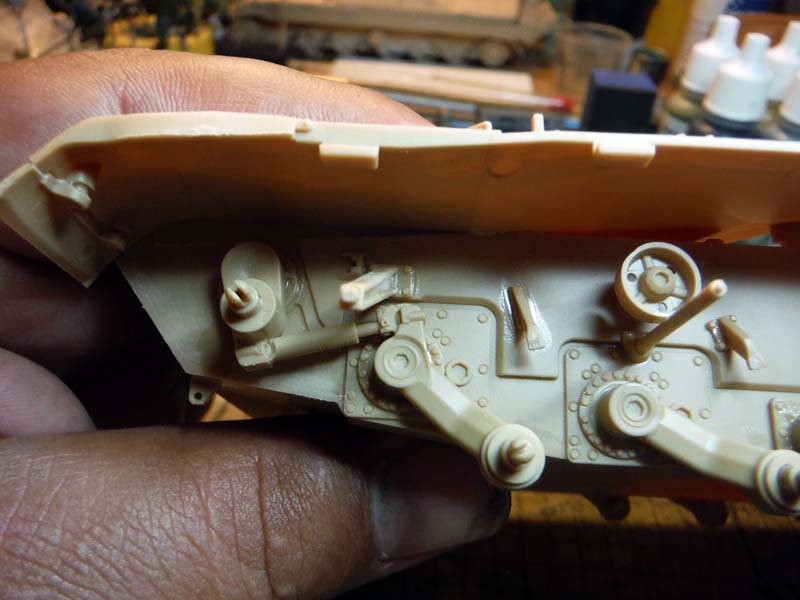
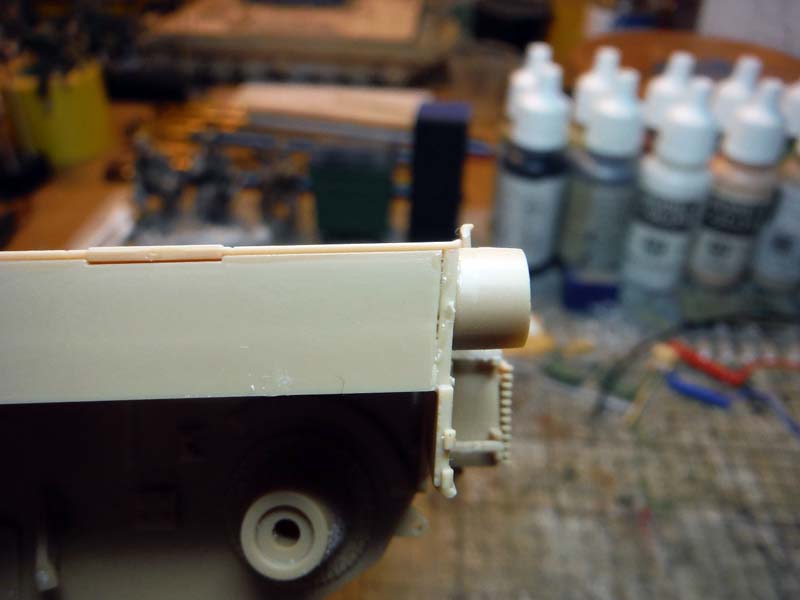
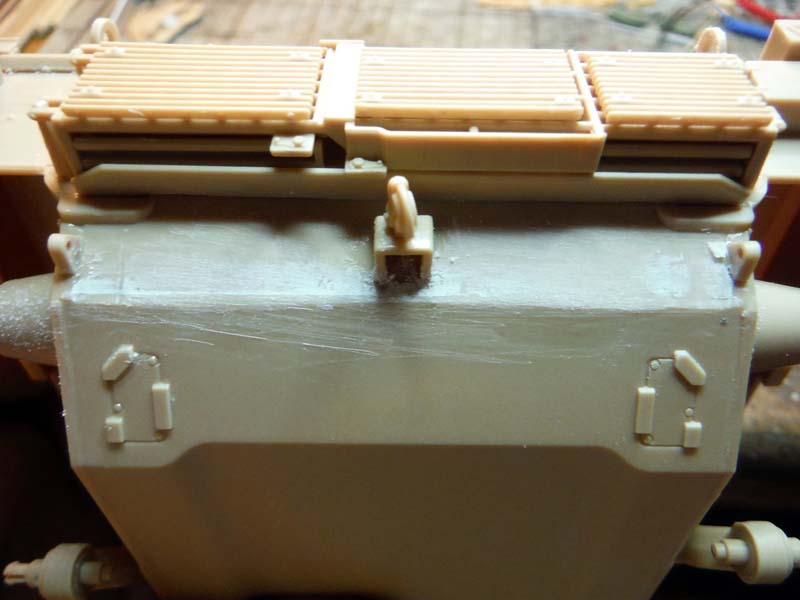
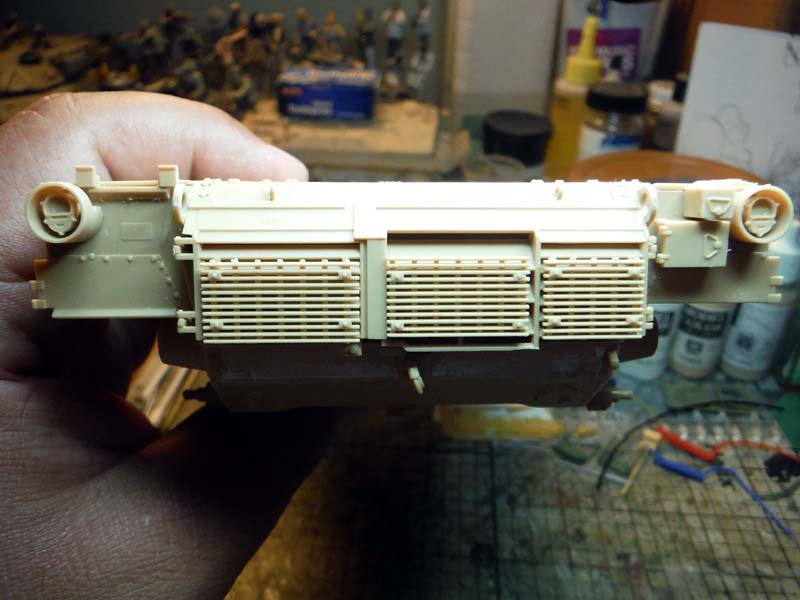
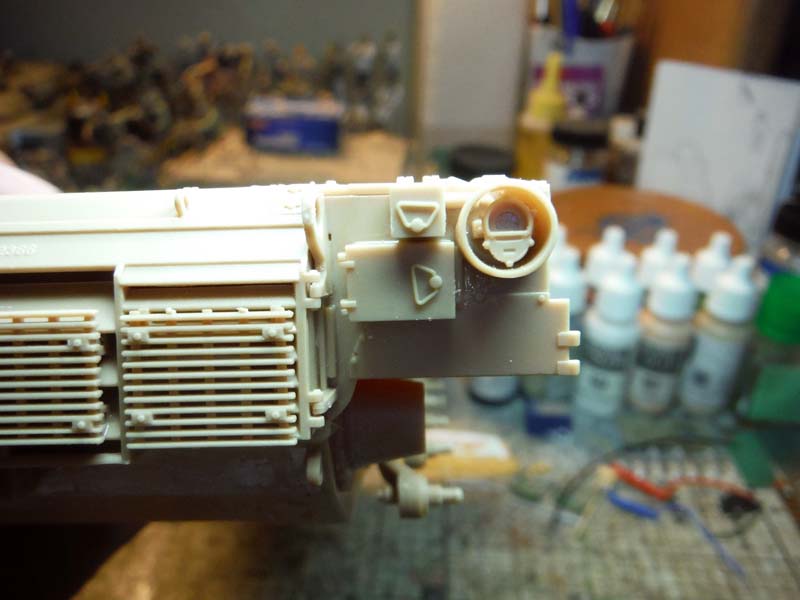
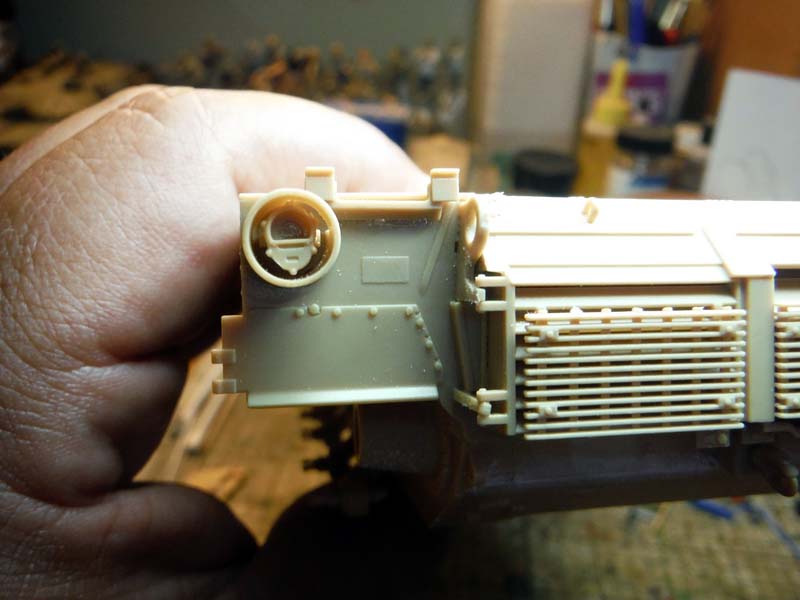
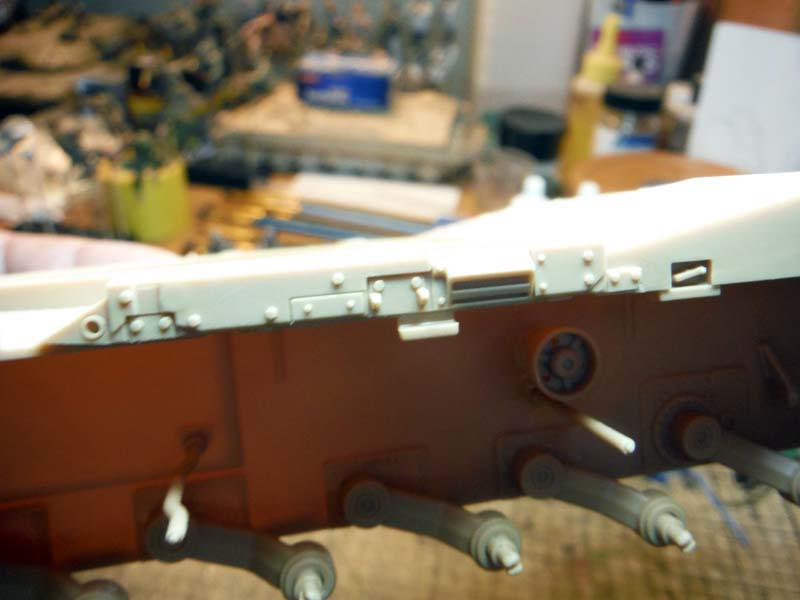
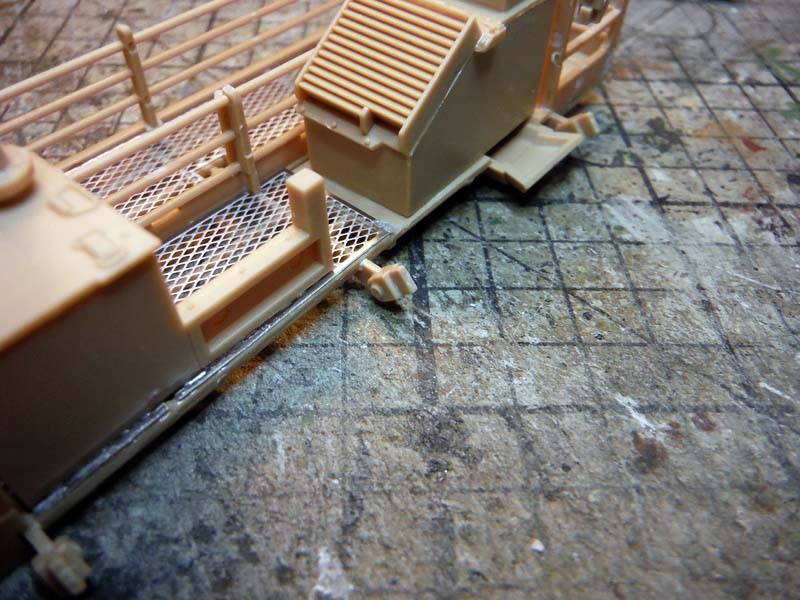
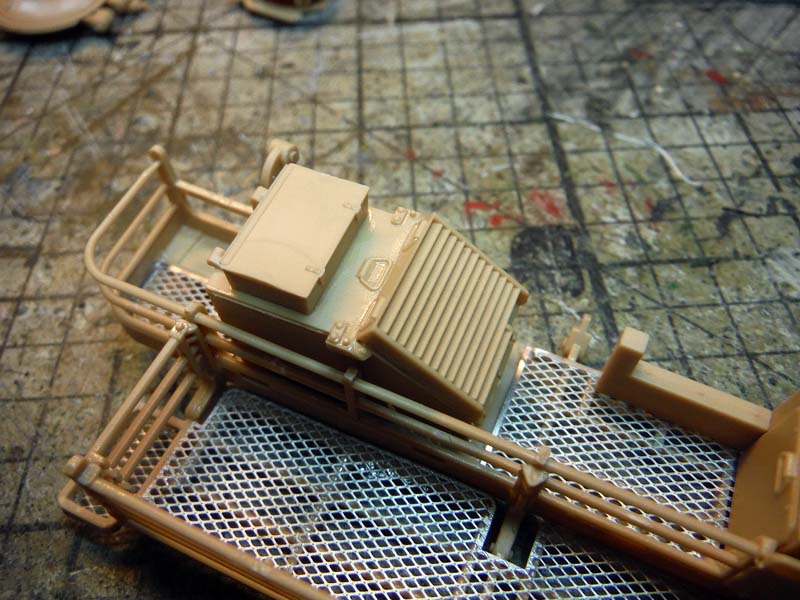
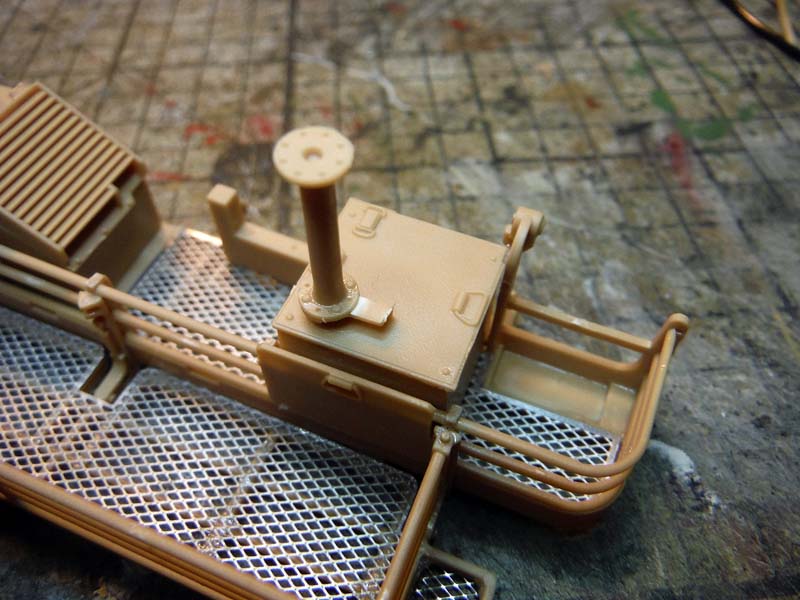
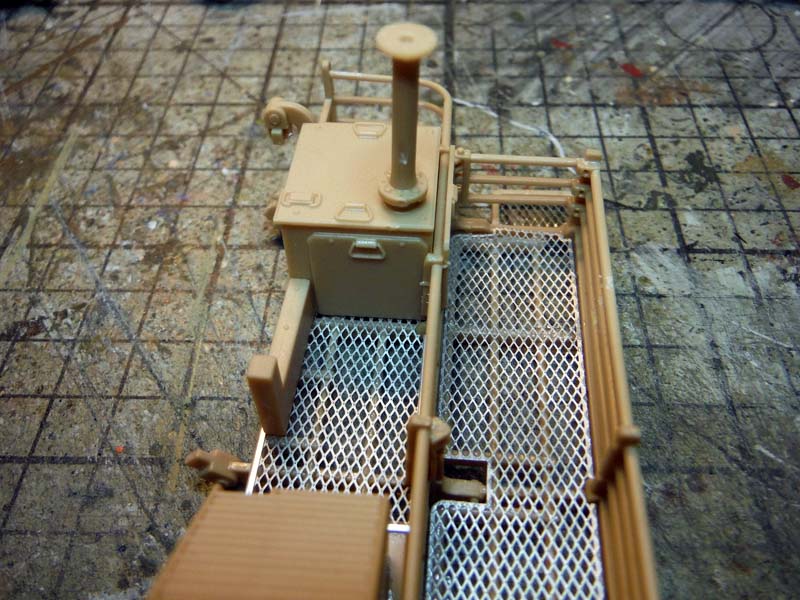
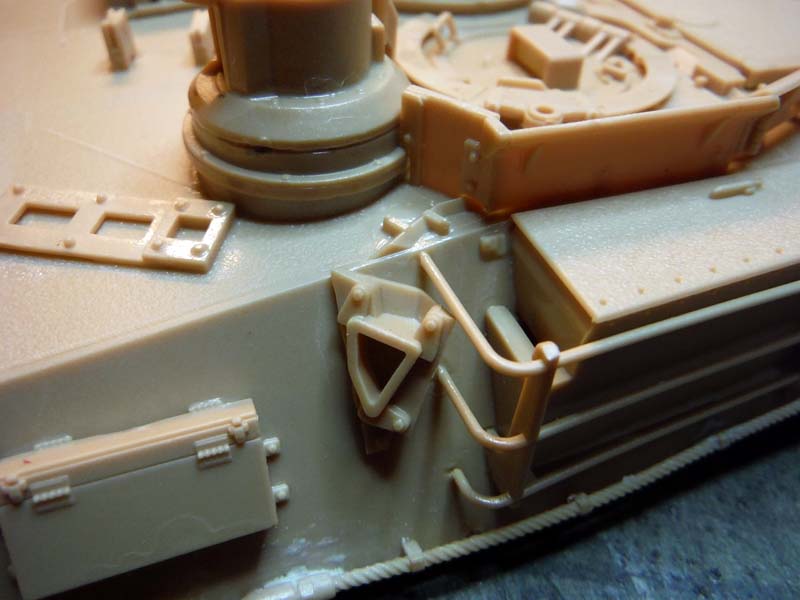
The instructions are broken down into 4 booklets. The first booklet along with half of booklet 2 covers the hull. For the most part, the hulls are the same on all three versions. The differences in hulls are called out within the construction. Hull construction was straight forward without any issues with fit. As mentioned above, the sponsons are open but will not be seen once finished because it will be hidden by track and skirts. I also stated above about the drive sprockets without lighting holes is called out in the instructions, but sprockets with lighting holes are provided in the kit. The usual spots needed to be filled and sanded, the glacis plate, rear under the towing pintle, and right and left read sides were rear piece meets upper hull. Tracks are nice for rubber band tracks. Academy has a new unique way of gluing the tracks by providing plastic track to use the glue the two ends of the tracks together. I had issues though with the tracks, one was that Tamiya paint didnt stick well to the vinyl and chipped off during handling. The other was that it did not accept super glue well while I tried to secure them around the drive sprockets because they were floating. Part E26 is the exhaust deflector shield. Most, if not all real vehicles did not have it mounted unless it was actually towing a vehicle, so no need to mount that during construction. If the vehicle has one, most likely it is mounted on the side turret tool box rails or the rear of the bustle rack. For C24, even though it is a SEP V2, the rear right trail light did not have that guard covering it, so instead of using kit part D39 and D40, go ahead and use part G14 and B22. Small added details were added in the way of photo etch chains to the towing pintle and fuel caps. Also added were track end connectors to the fender holding bracket. The rest of the hull construction was completed and at step 19, it begins the build of the turret.
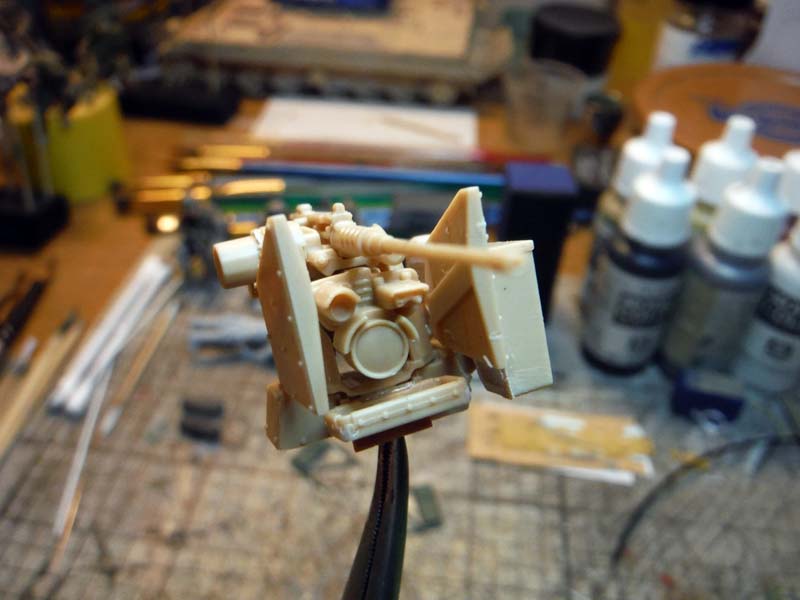
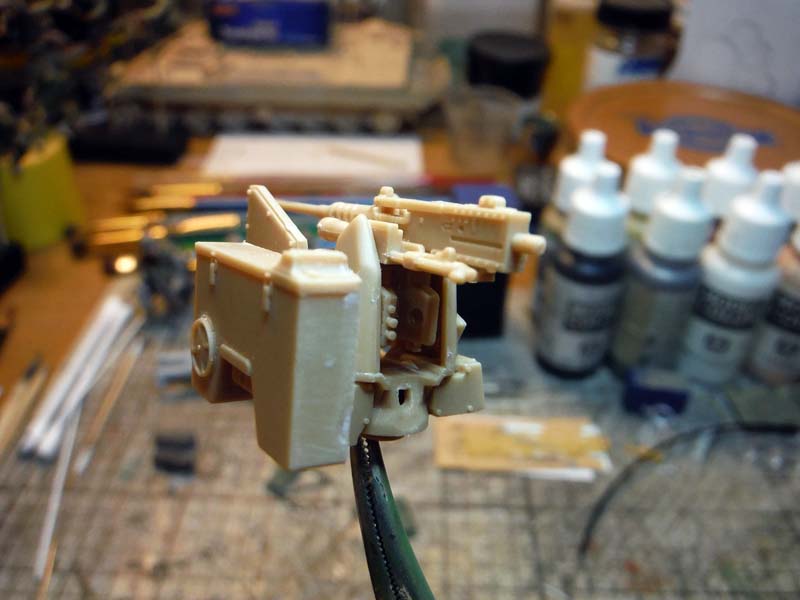
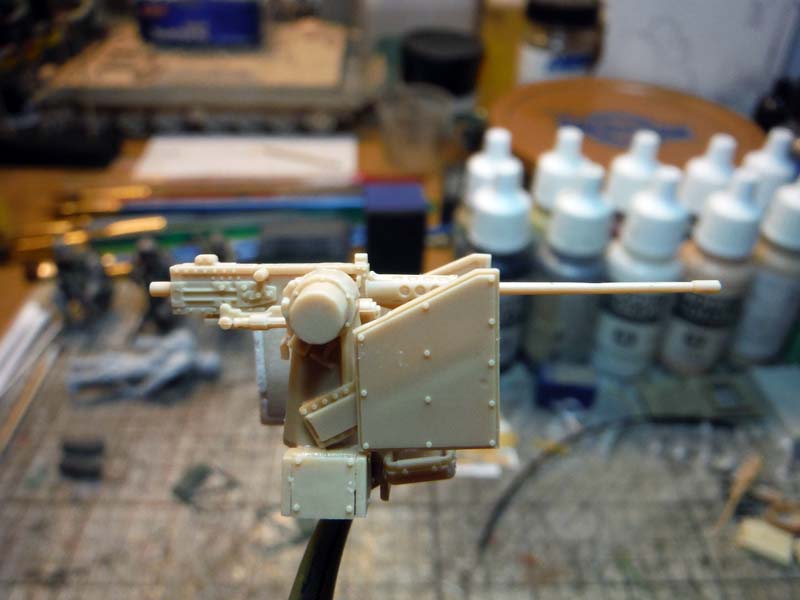
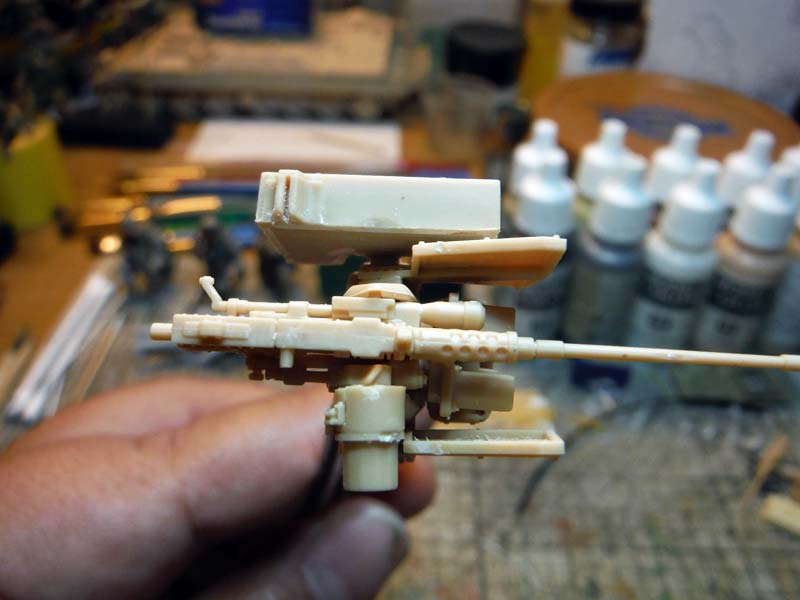
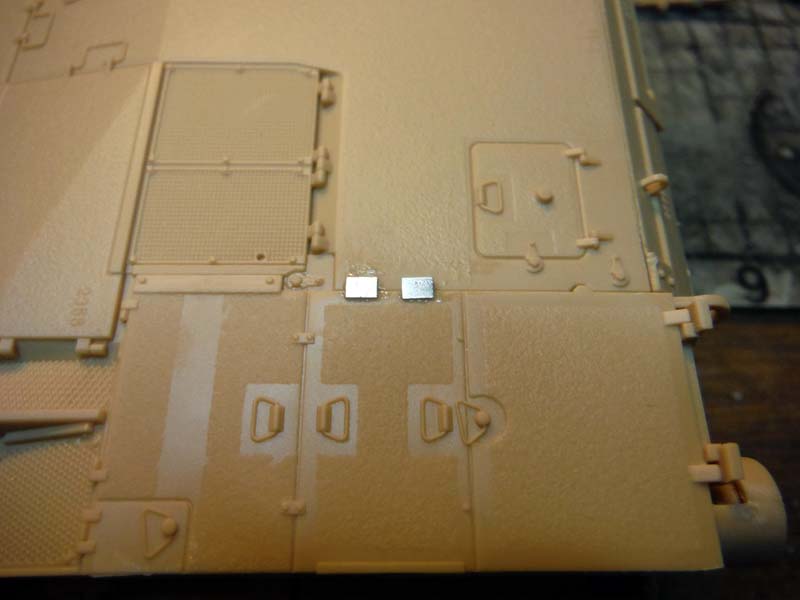
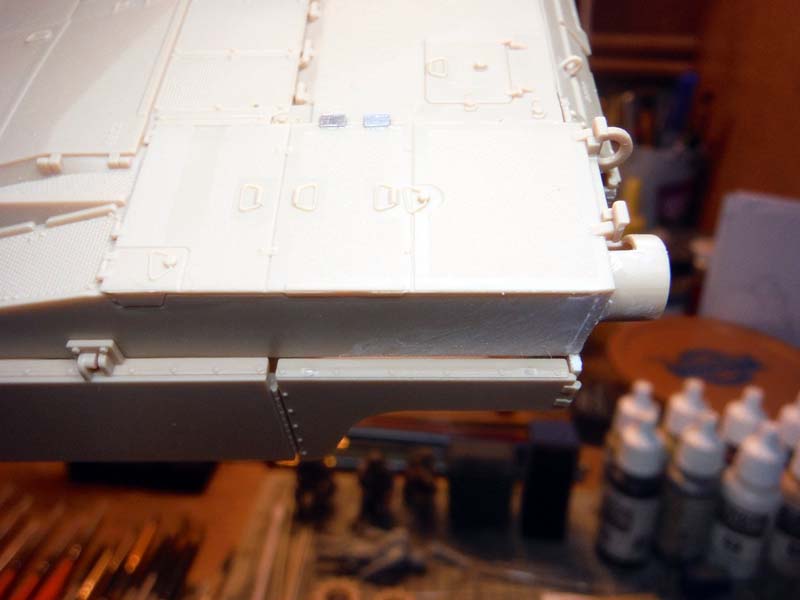
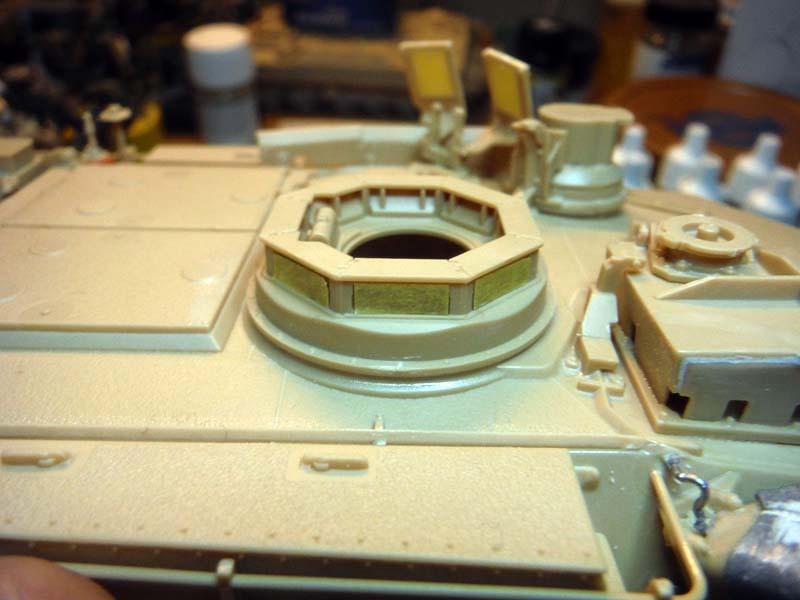
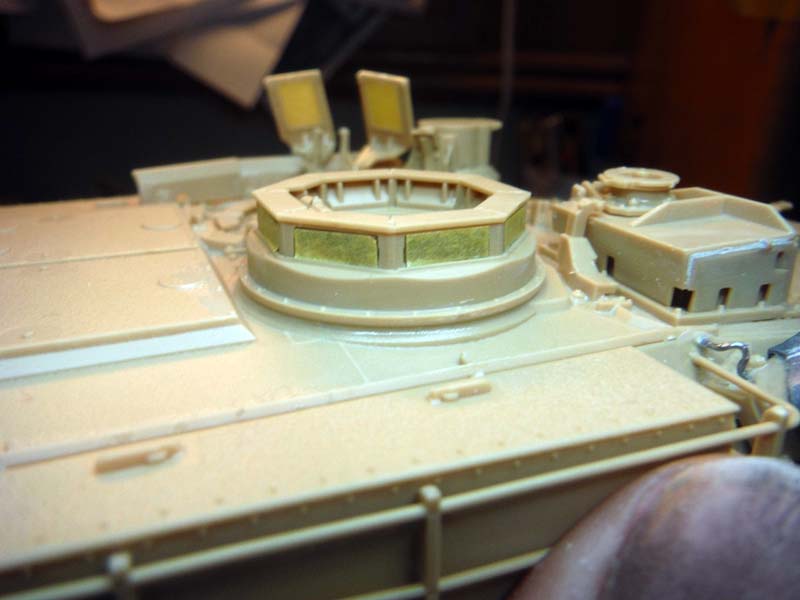
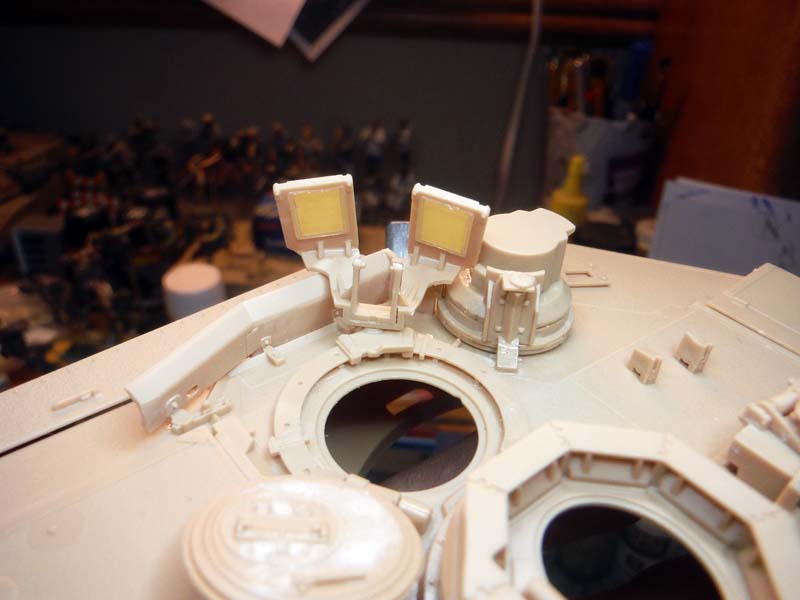
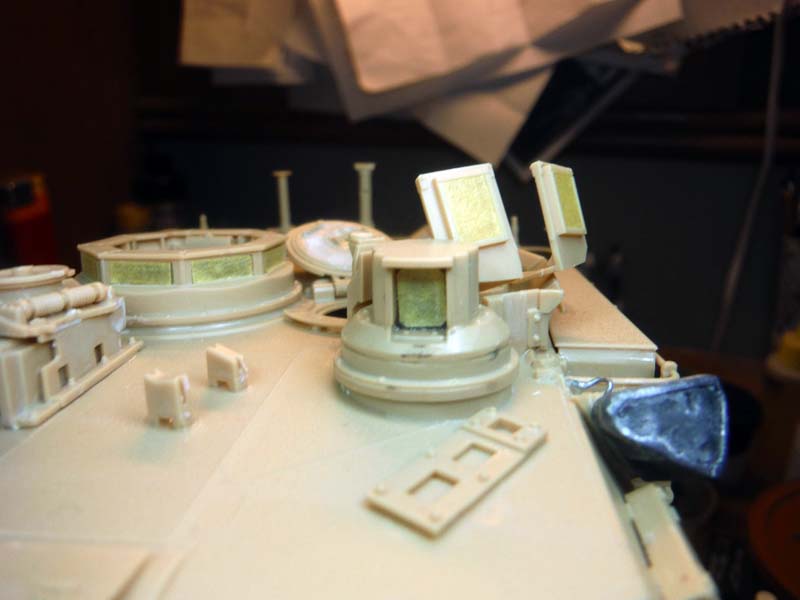
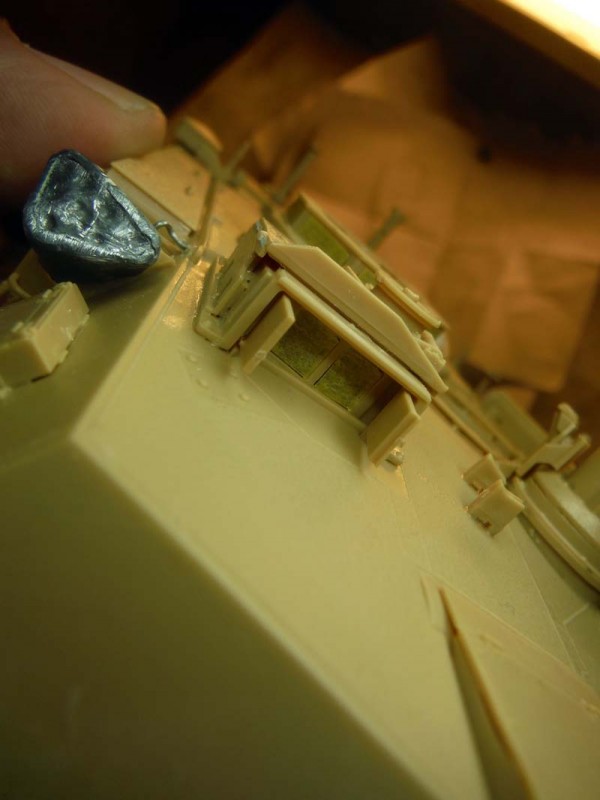
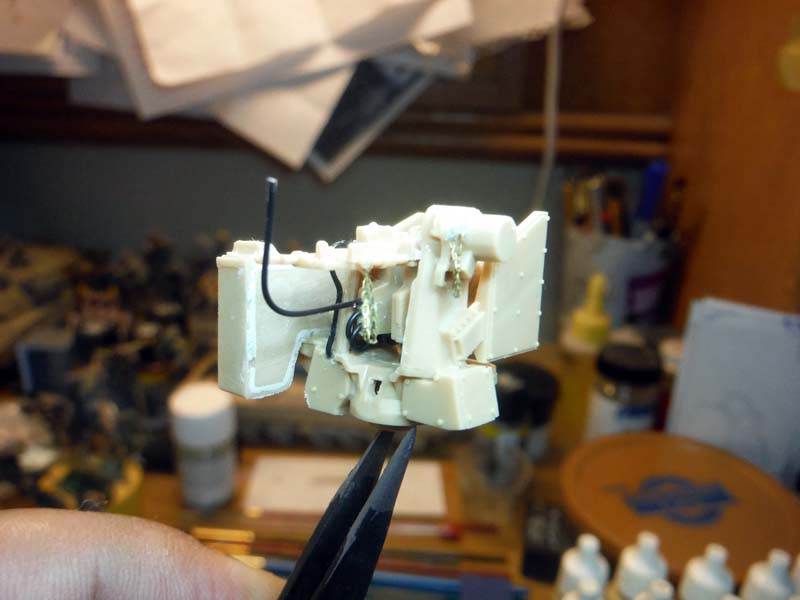
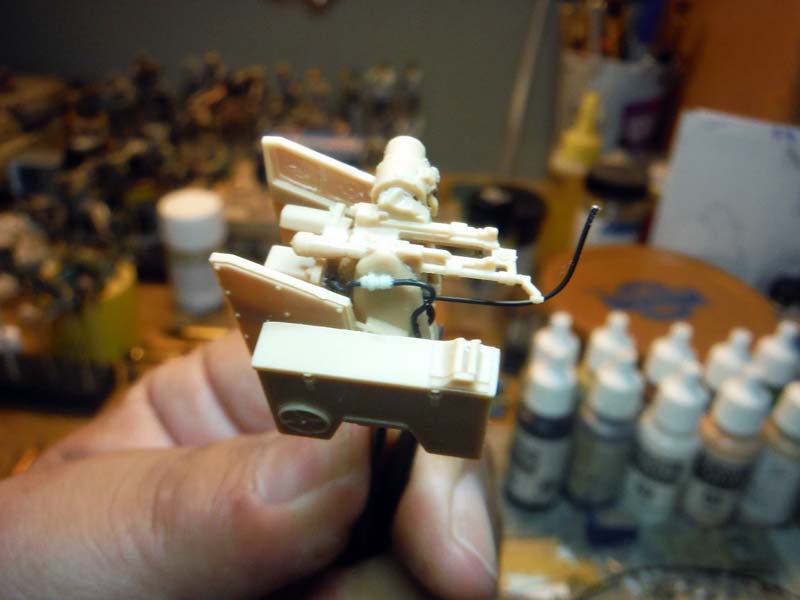
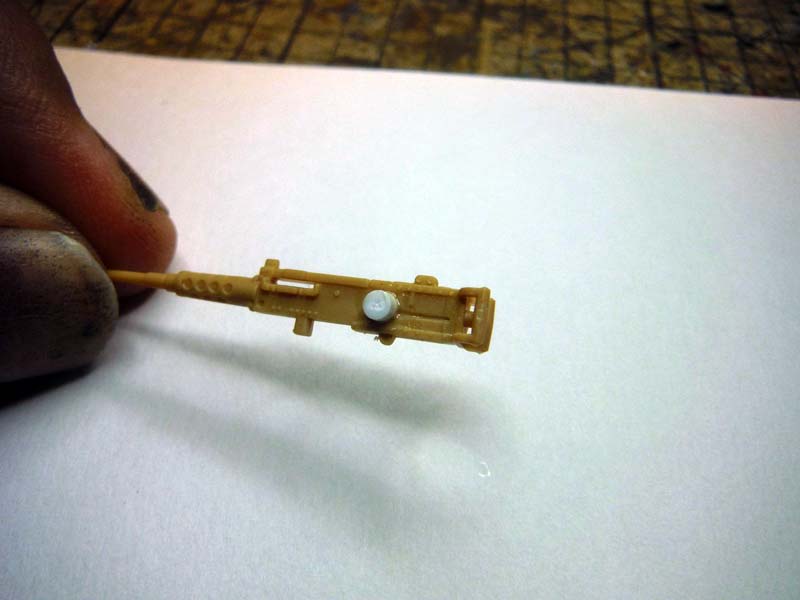
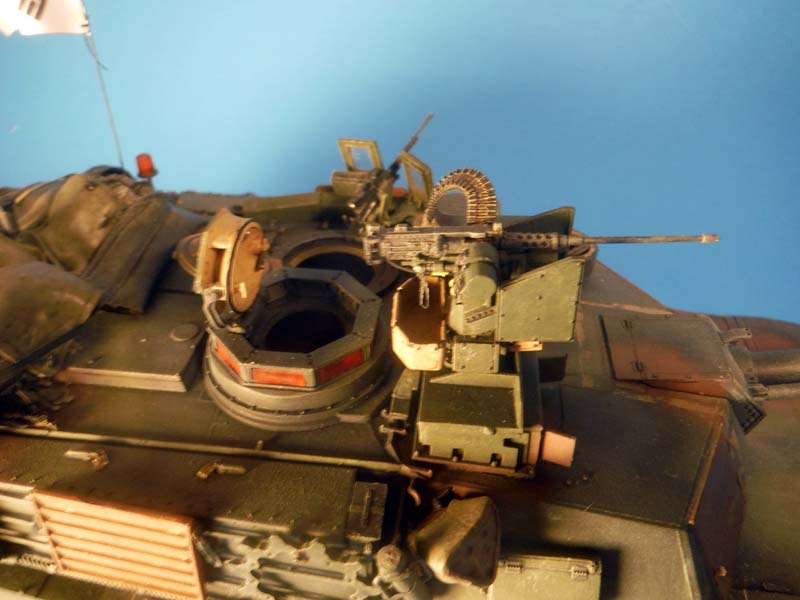
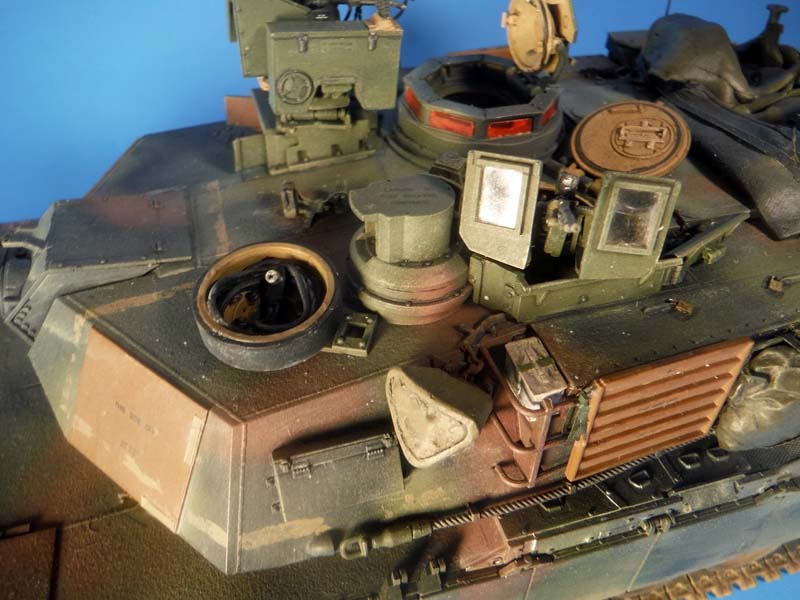
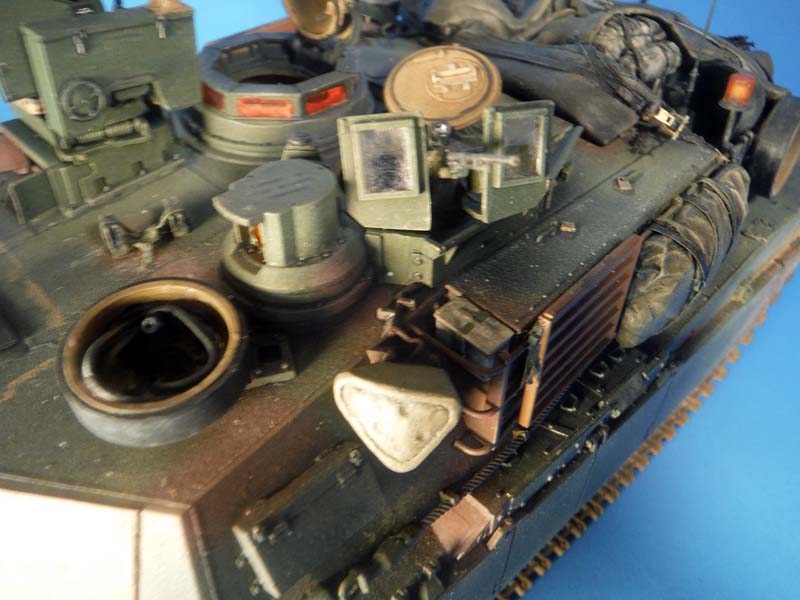
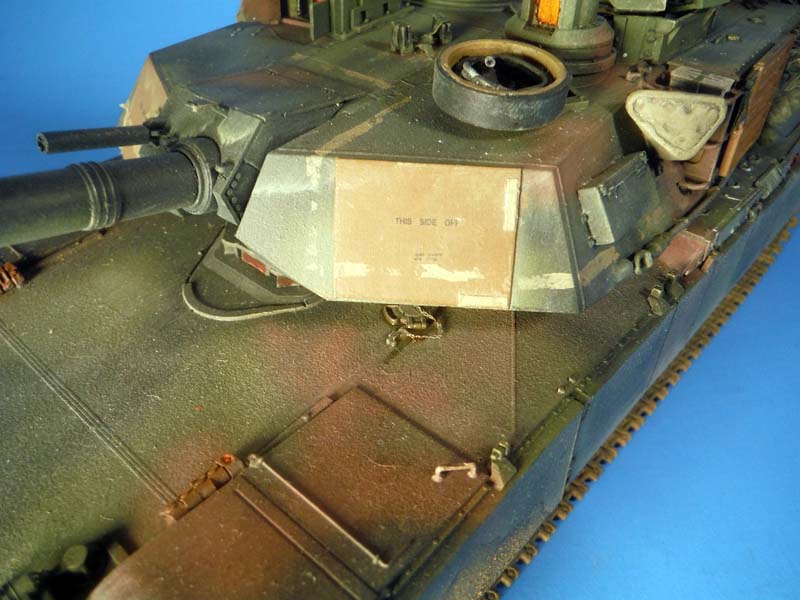
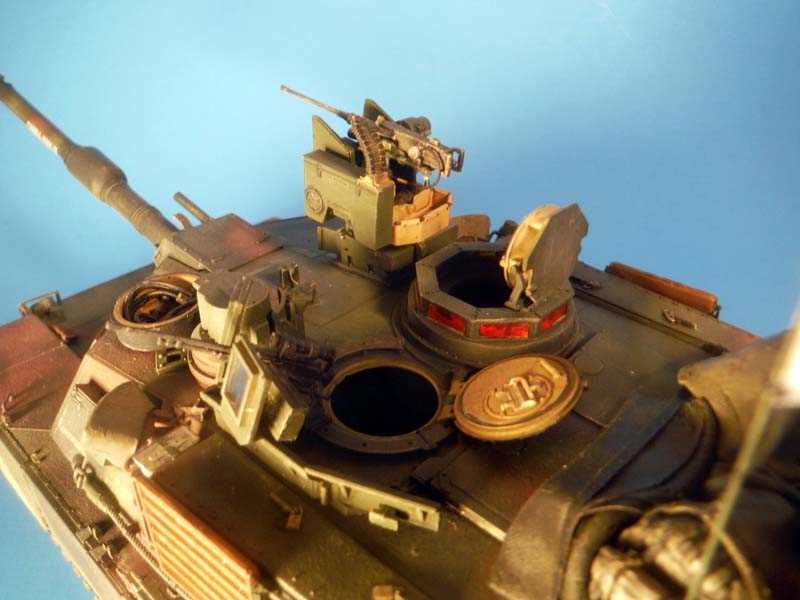
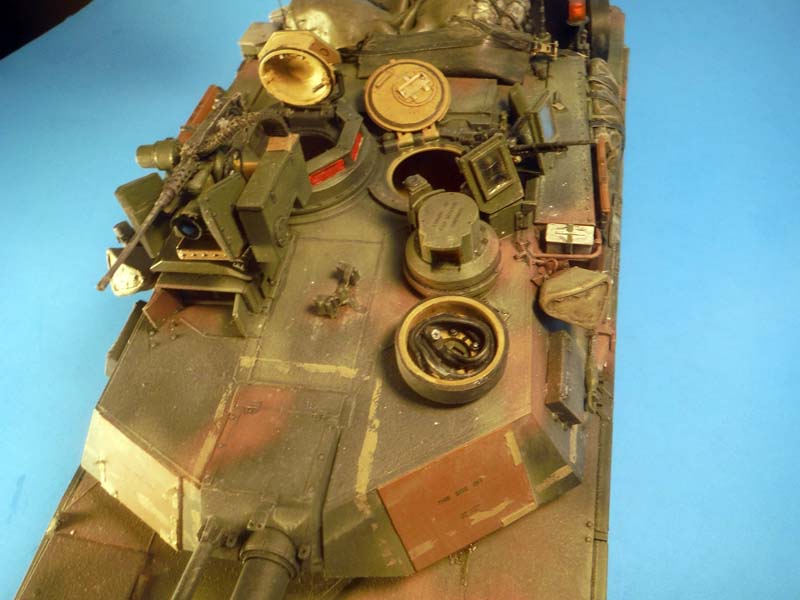
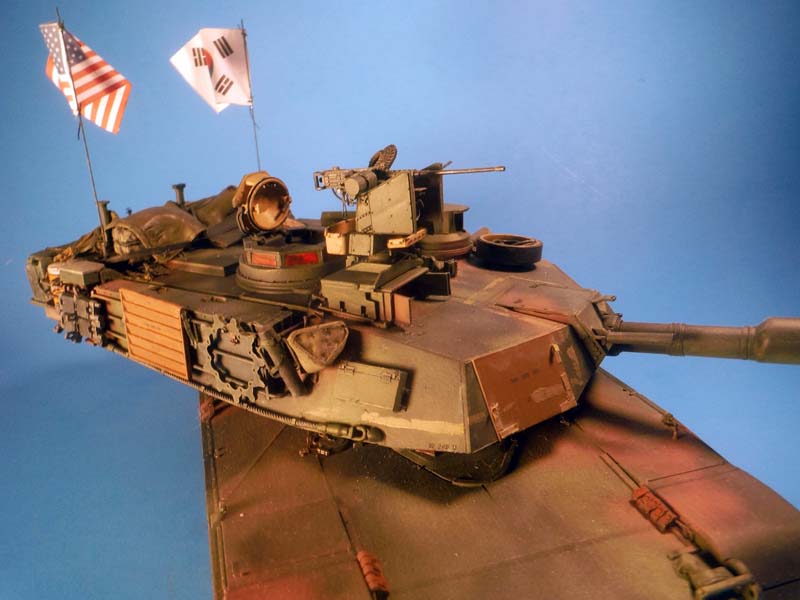
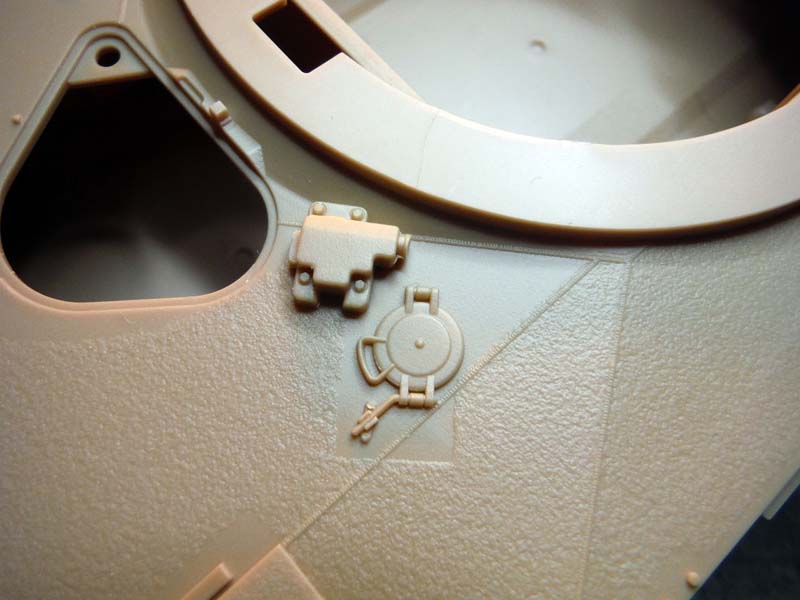
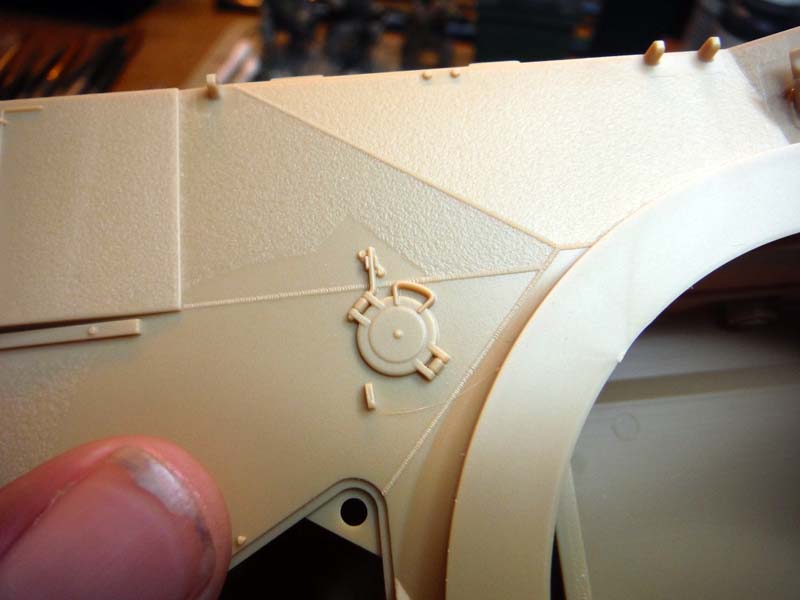
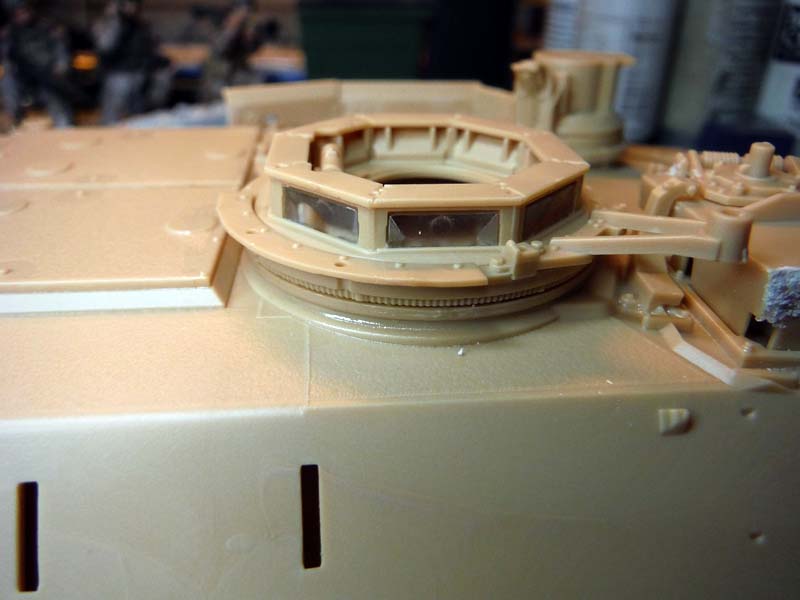
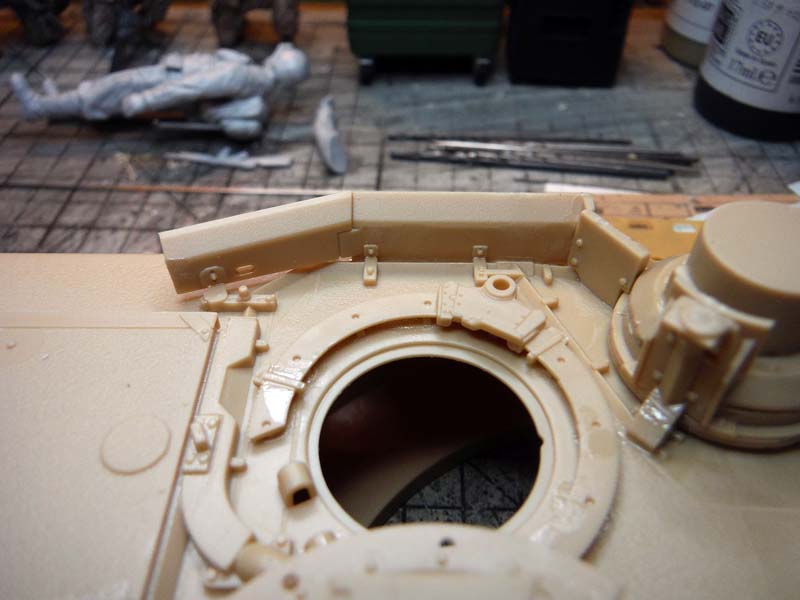
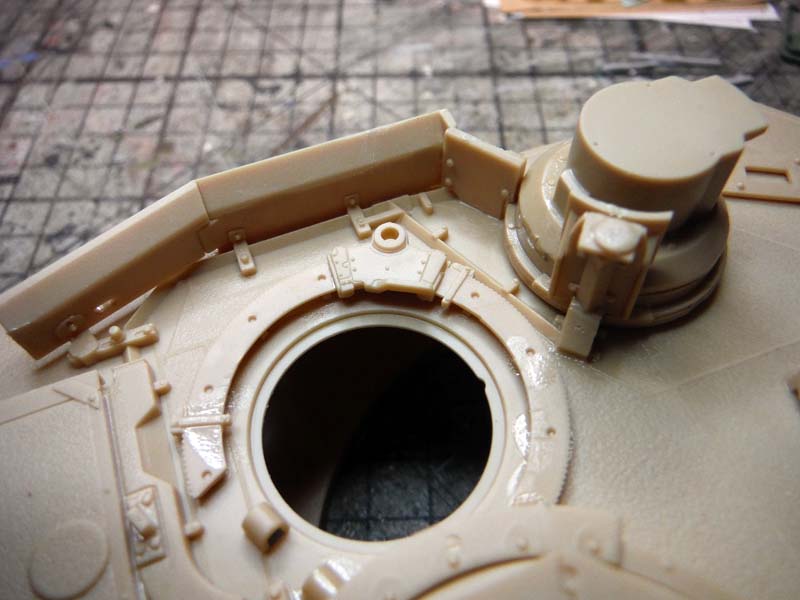
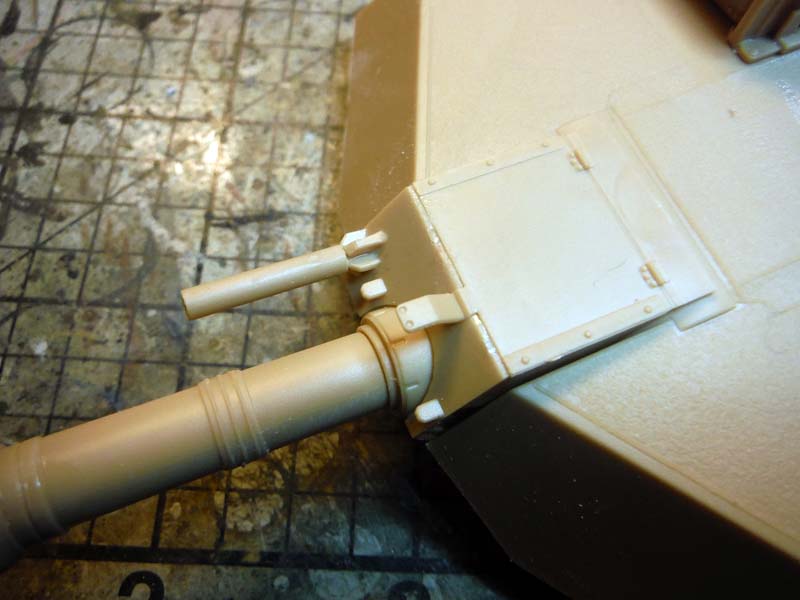
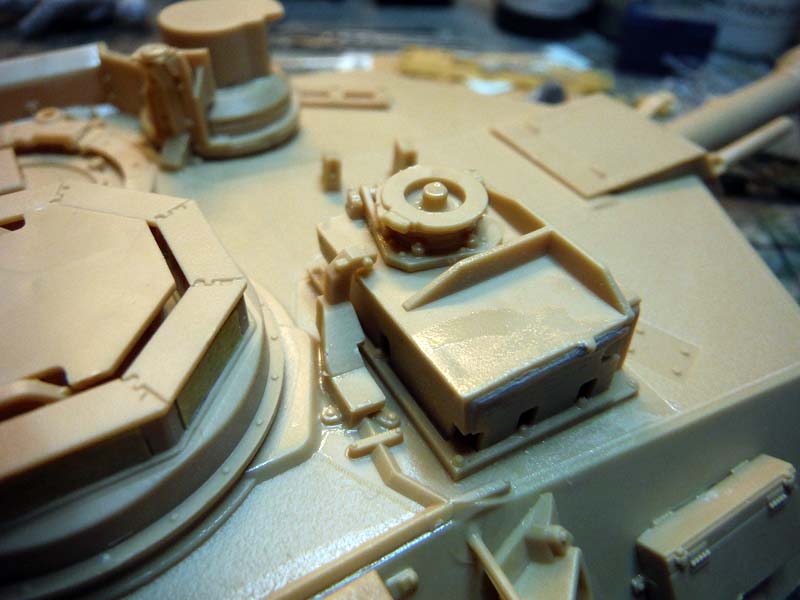
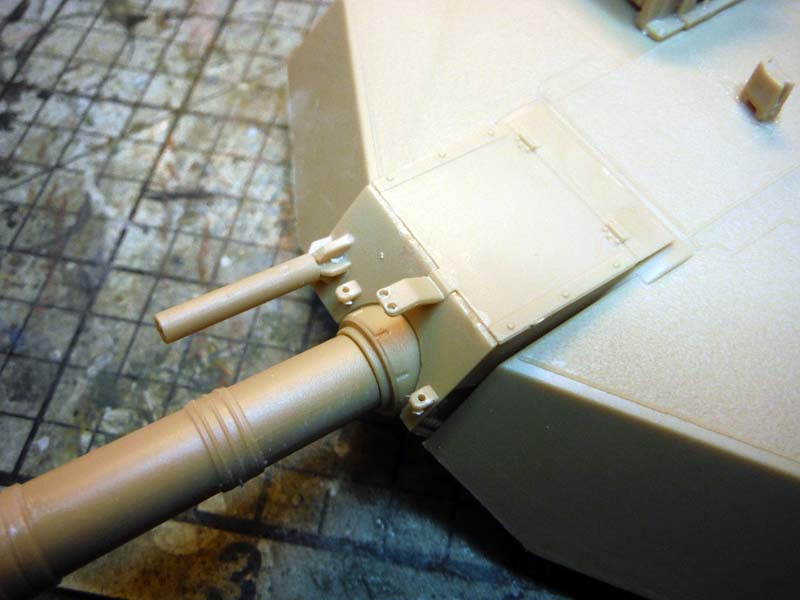
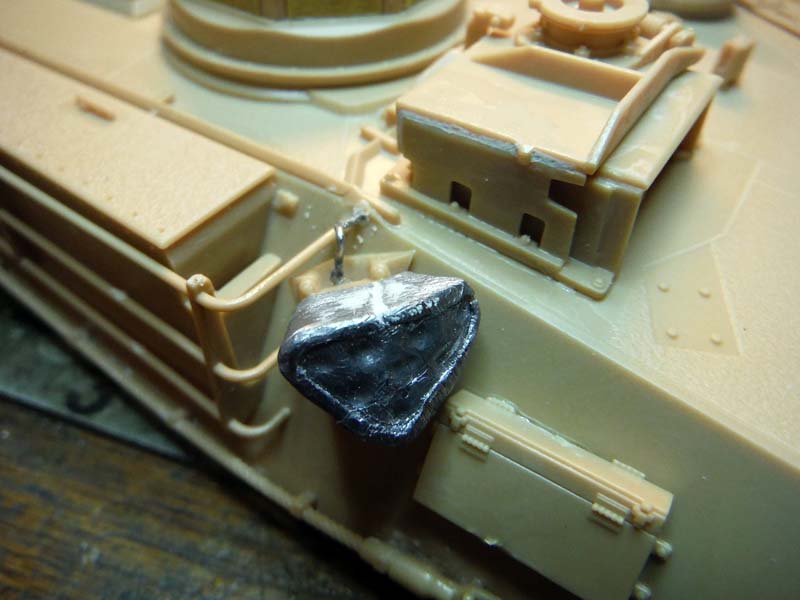
Steps 19, 20, and 21 are the basic construction of the turret for all 3 versions. In step 21, it will call out what holes to drill out for what version you are building. Because of the difficulty using the photo etch provided, I opted not to use Part PE9, the IFF panels. Instead, I used the Dragon IFF panels for a template and cut out my own out of thin plastic stock and glued those in place. Steps 21 and on is the rest of the construction of the turret, depending on what version you build is what steps you will follow. There wasnt to many issue with the construction of the turret. The main issue was all those pesky punch marks that needed to be taken care of. Another small issue I found was when I was gluing the periscopes (part H12) into the TCs station ring (part E15.) There are punch marks/pins protruding from the inside which prevents the periscope ring to fit properly. Simply remove these pins and the periscopes fit perfectly. Academy didnt miss much on the details compared to the real thing. Again, here, I added some of those small details that were missing. On C24, the smoke dischargers where covered, so I used lead foil to fashion covers for both dischargers. I also added the missing cable to the dischargers. The TCs hatch is missing the strap, so that was added with Tamiya tape and Meng nuts and bolts. Last missing details was added to the CROWS weapon station. I added all the cables to the station and added the missing actuator to the .50 Cal.
Painting:
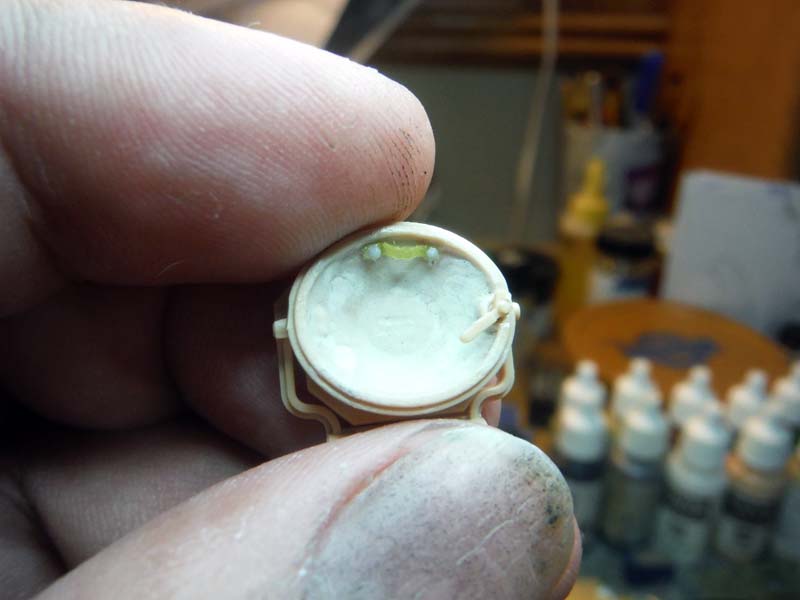
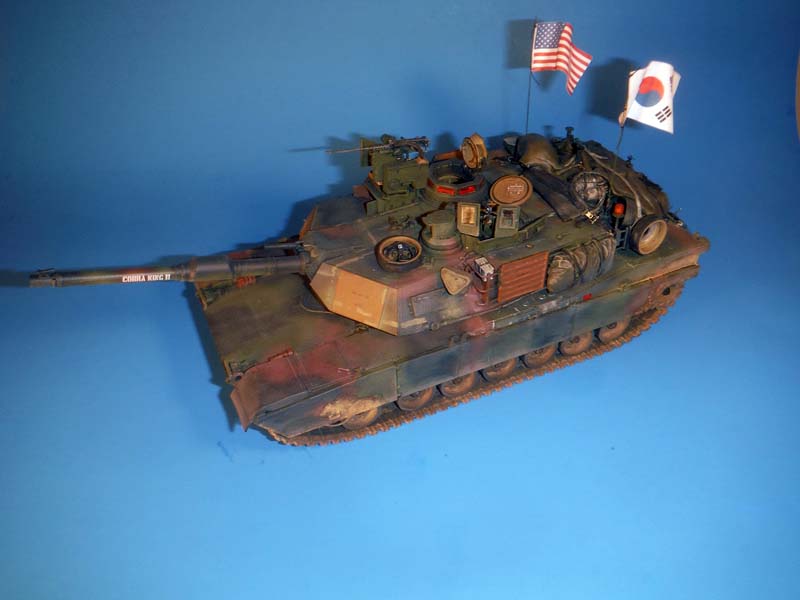
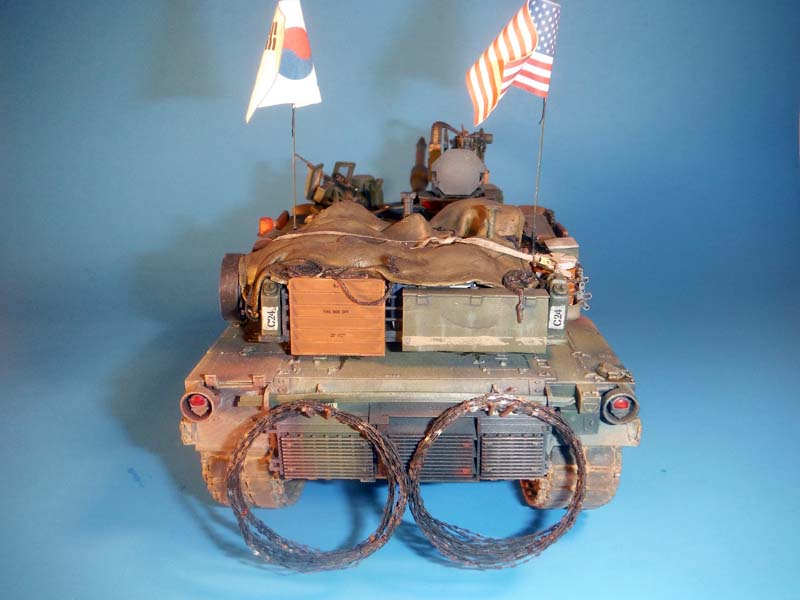
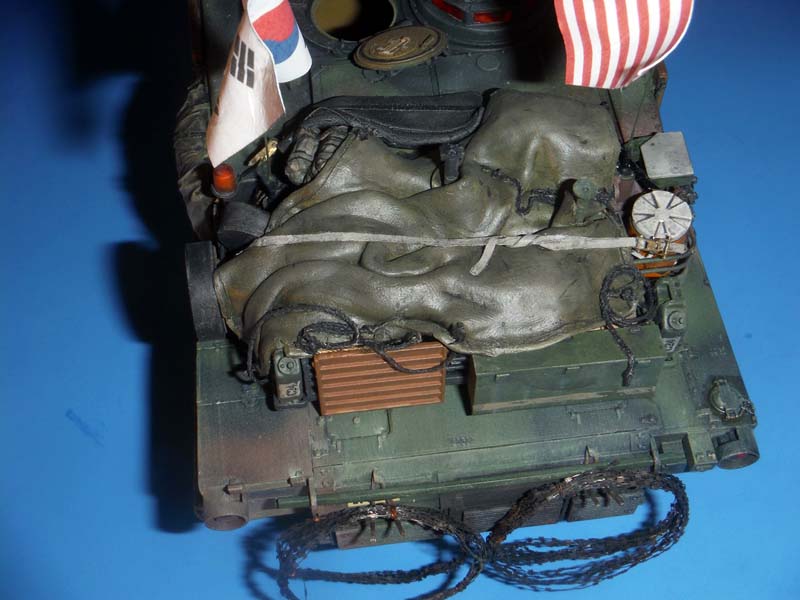
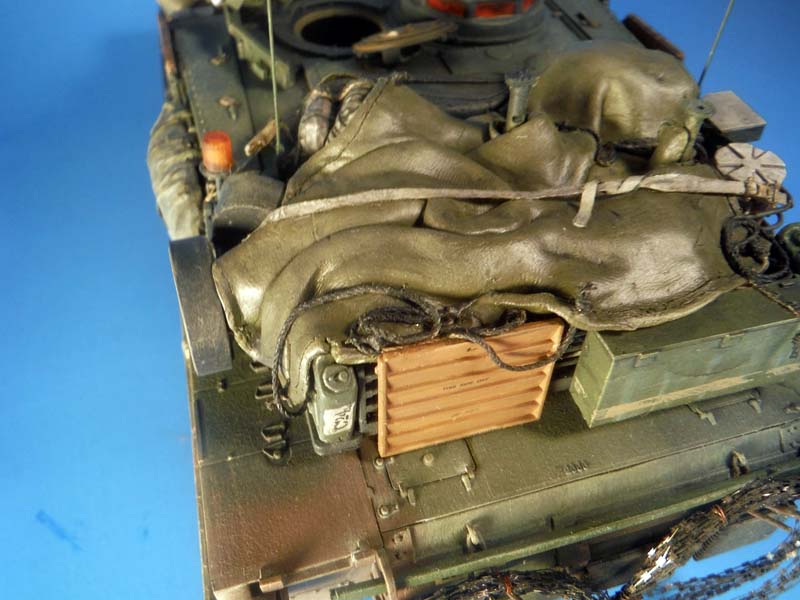
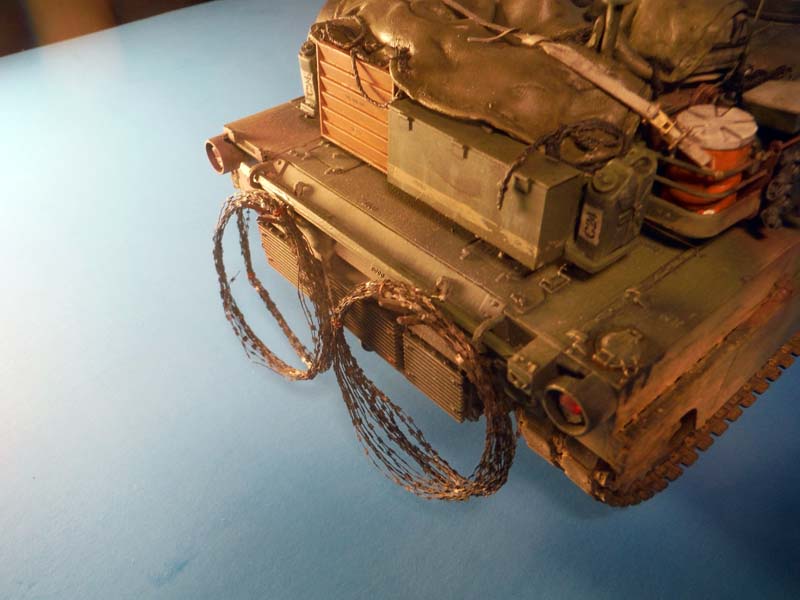
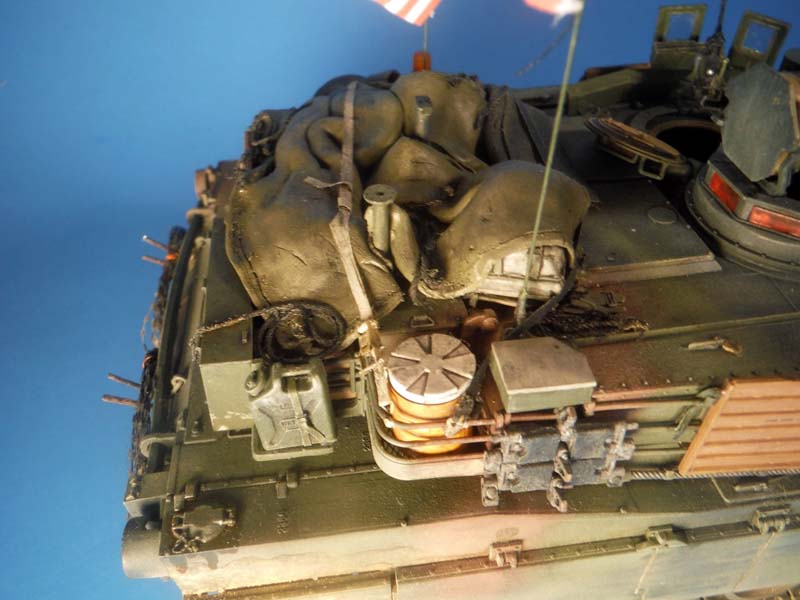
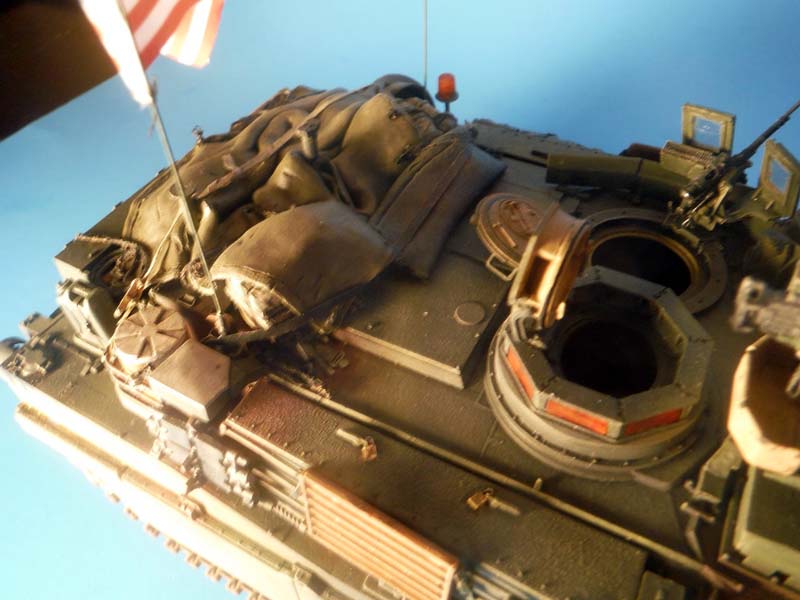
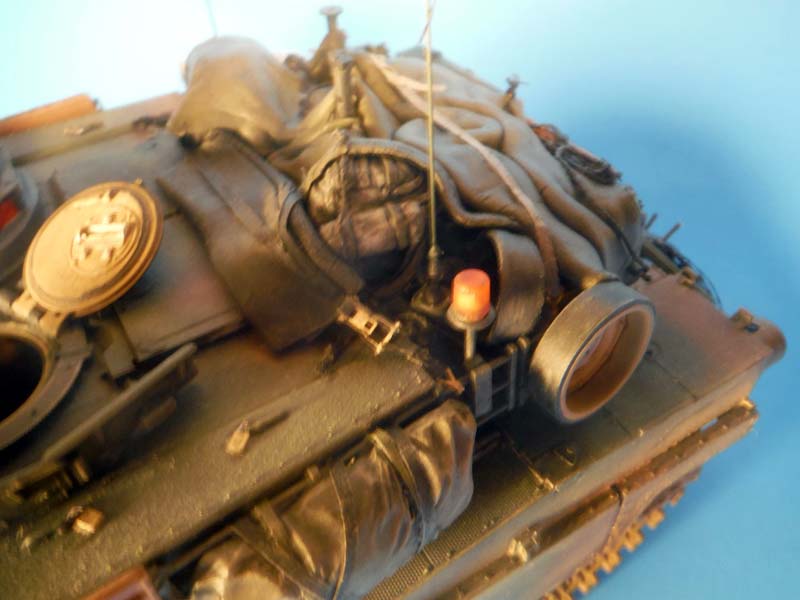
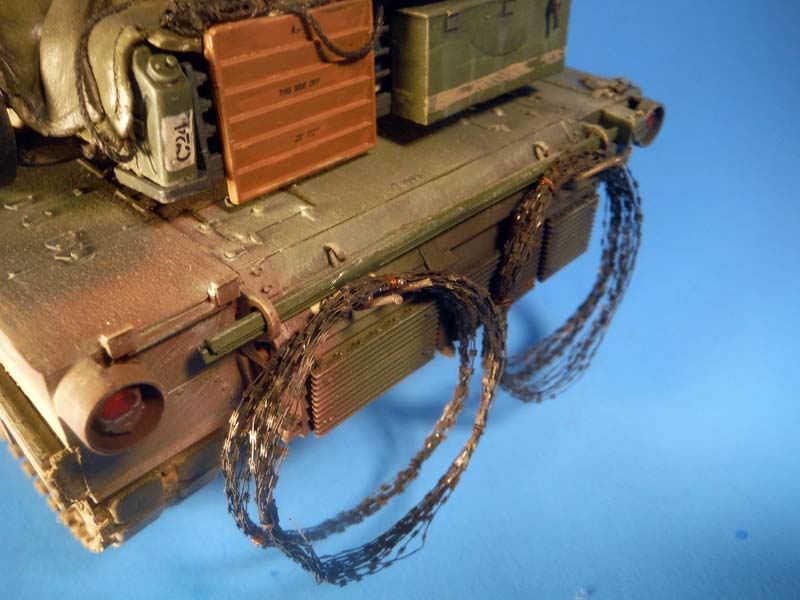
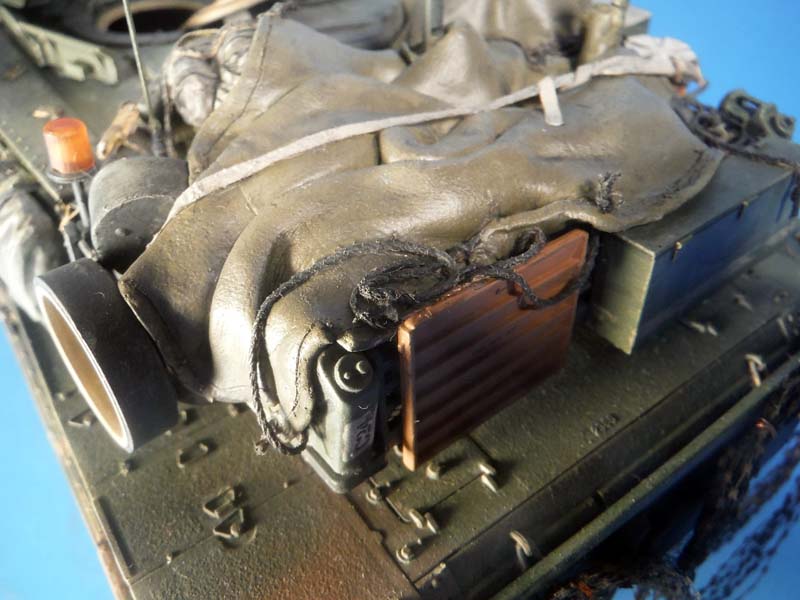
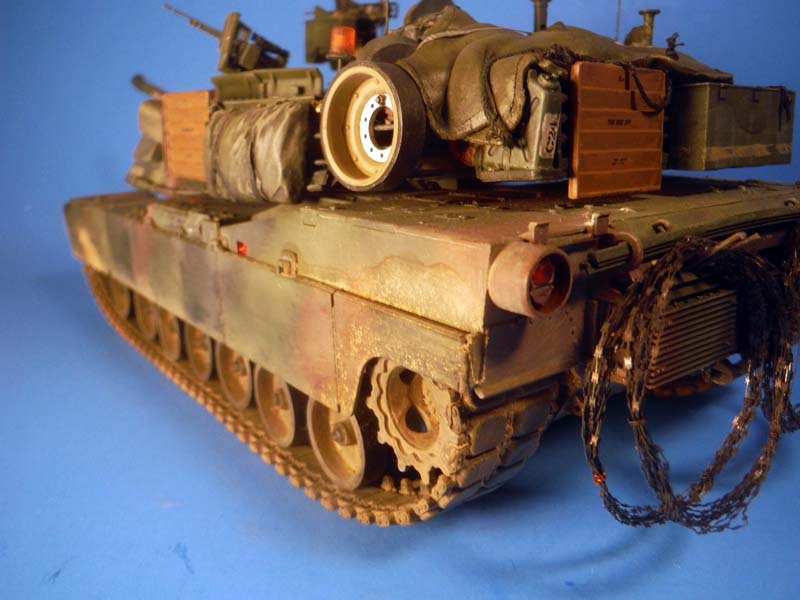
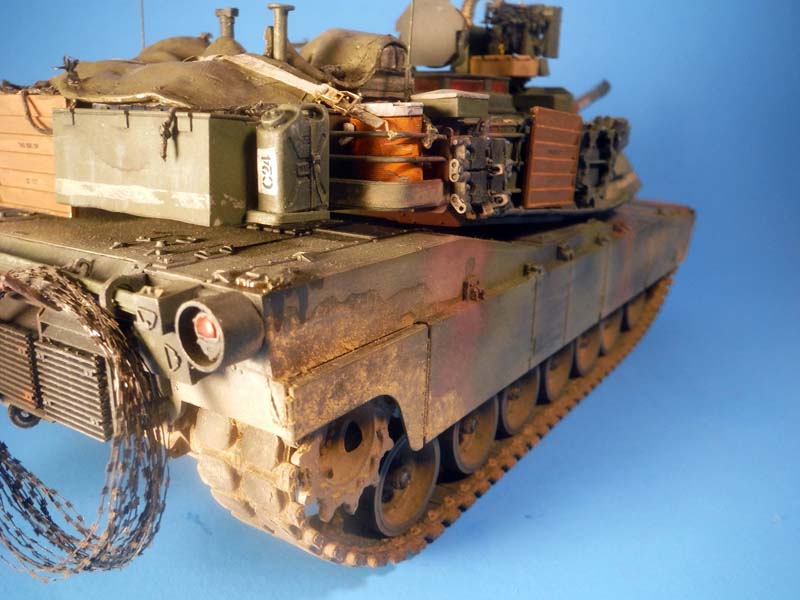
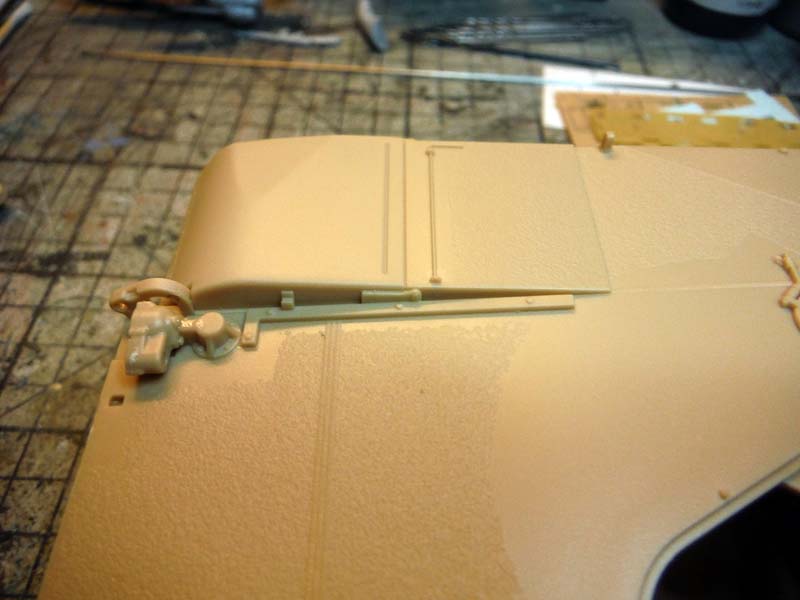
I chose Cobra King II C24 because of the American and South Korean flags flying from the antennas. This proved to be difficult at first, but as you can see, the end result turned out ok. More on that here in a little bit. I used the painting mask that Academy provided for all the periscopes and TCs and loaders gun shields. They fit perfectly and stuck well. Tamiya 3-tone NATO colors were used to paint this vehicle. As with the camo on the Rye Fields Model Abrams, I used the same technique to paint the camo on this kit. All detail and gear painting was done using Vallejo paints and weathering was done using Mig Pigments. Tamiya Clear Red was used on the periscopes once the masks were removed. I used Apoxie Sculpt to make the turret tarp covering the equipment. Not too much gear can be seen under the trap. From the reference pictures, what I can catch is some load bearing equipment, a non-flammable blanket canister, large can of oil, and drip pan. For the load bearing gear, I used Mengs Modern U.S. Military Individual Load-Carrying Equipment and placed the four packs in the kit under the tarp. The round and square cooler from the Rye Fields Model Abrams that was left over was also placed under the tarp and in the bustle rack. I scratched built the drip pan and non-flammable blanket canister from scarp plastic stock. I also scratched built the picket post hammer that is secured to the right tool box rails next to the smoke discharger. Homemade slave cable was placed in the road wheel in front of the commanders thermal sight. The BII box on the rear of the extended bustle rack came from Legend Productions M1A1 stowage set. On the real vehicle, the crew used rebar bent to shape and hung on the rear lifting eyes of the engine deck to hang barb wire rolls. I simulated this with thin brass wire. The razor wire came from Eduard and the ratchet straps came from Corey Sutton. I could have printed out my own flags for Cobra King II, but one, I did not have any color ink, and two, I dont like how a home printer prints out stuff like that. So I did a search on the internet for aftermarket flags and found only one company that made the South Korean Flag, Duplicata Productions Model and Diorama Accessories. Printed on paper, they glued nicely with an even spread of Elmers white glue and folded nicely once starting to dry.
Conclusion:
Academy has stepped up its game with this kit. Although it has issues with punch marks all over it, it proves to be an easy and quick build. The inexperienced modeler can build a close to accurate model straight from the box and the advanced modeler has a great start to a super detailed build. Also, for a 3 in 1 kit of the Abrams and compared to the Meng and Rye Field Models offering, you cant beat the price. Oh, and if you do end up with all 3 offerings, better get you a shoe box for all the extra parts you're going to have left over between them all.
For those of you who have built or is building this kit at the moment and find anything I missed, dont hesitate to add it to the thread. Also, comments and critiques are always welcomed.
SUMMARY
Highs: Second offering in plastic kit form of SEP V2 version. 14 different vehicles are covered in the decal sheet. Outstanding painting mask for all glass parts is included in the kit. Nice detail on the inside of the road wheels.Lows: Punch marks scattered all over kit, some located on parts that cant be hidden. Sponsons are open and you can see through hull. Even with annealing, the etch is still very stiff and hard to bend and work with.Verdict: Academy has stepped up its game with this kit. The inexperienced modeler can build a close to accurate model straight from the box and the advanced modeler has a great start to a super detailed build.
Our Thanks to MRC! This item was provided by them for the purpose of having it reviewed on this KitMaker Network site. If you would like your kit, book, or product reviewed, please contact us.
About Pete Becerra (Epi) FROM: TEXAS, UNITED STATES
I am 48 years of age. I have been modeling since I was around 8 years old. As you can see from my signature, I am retired from the US Army and Texas Army National Guard. I served 6 years in active duty from 1989 to 1995 and in 1998 I joined the Texas Army National Guard and been serving up unt...
Hello Pete,
It is good to see more examples of your modeling expertise. I appreciate the time and effort that you have taken to share your this information with us.
Respectfully,
Allen
Looks great! Thank you for the details in the review. Did you have any issues with the kit tracks? Mine were a bit too long, even before adding the styrene link part.
Hey Russ,
I did have trouble with the tracks. They were/are a hair to long, hence the floating track around the sprocket and trying to glue them down to the sprocket
MARK C.,
Man, that means a lot sir, thanks for the great comment I really appreciate that. To me, that means that my writing is getting better.
Next build review will be the RFM ODS 1991 M1A1 Abrams. That one will be dear to my heart since I was there and saw these beast first hand during that war.


Comments