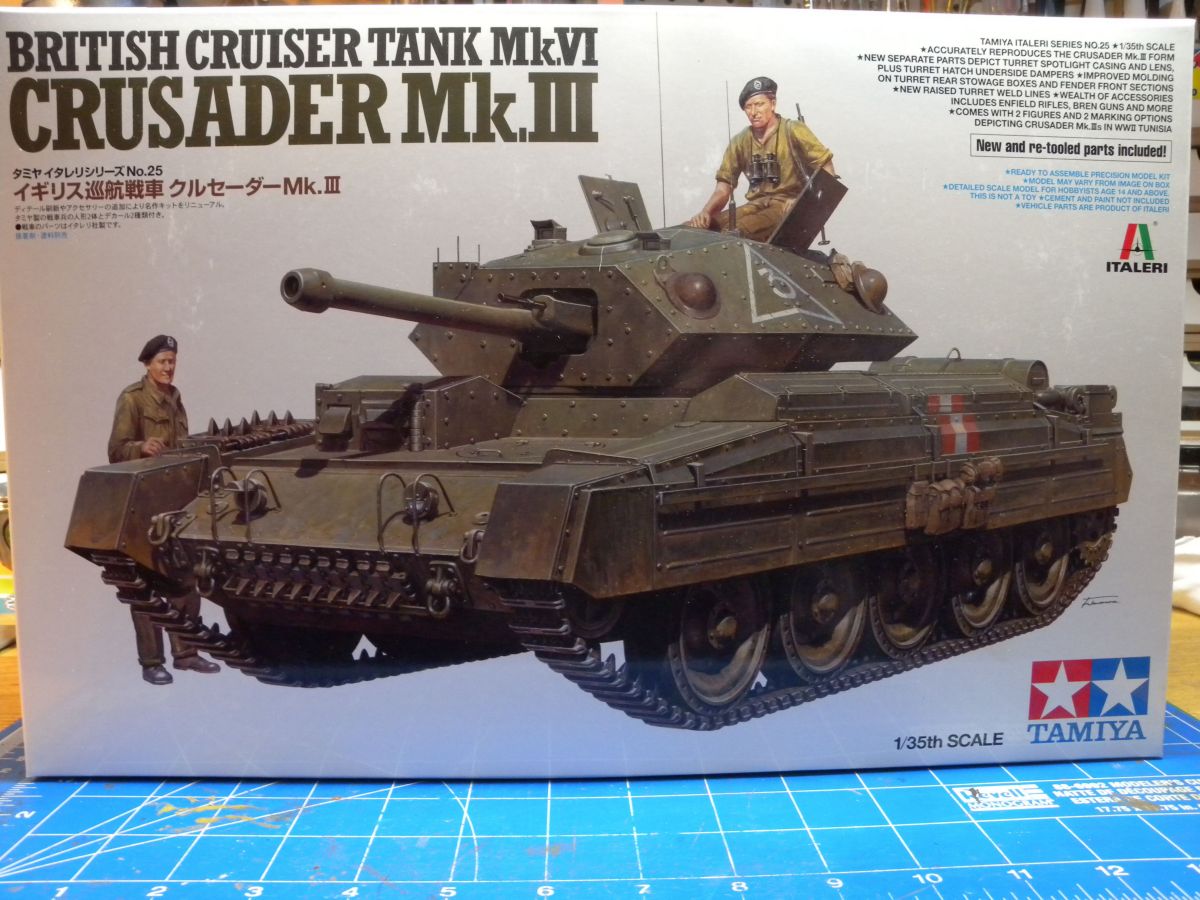
For the first part of World War 2, the Cruiser Mk.IV tank better known as the Crusader, was one of the primary British tanks. The tank saw most of its service in North Africa, contributing to many successful campaigns. The Crusader was a bit light on armor and under-armed compared to its German counterparts. The Mark III variant did add the QF 6pdr, but with the incoming American Grant(Lee) and Shermans, the Crusader was eventually phased out.
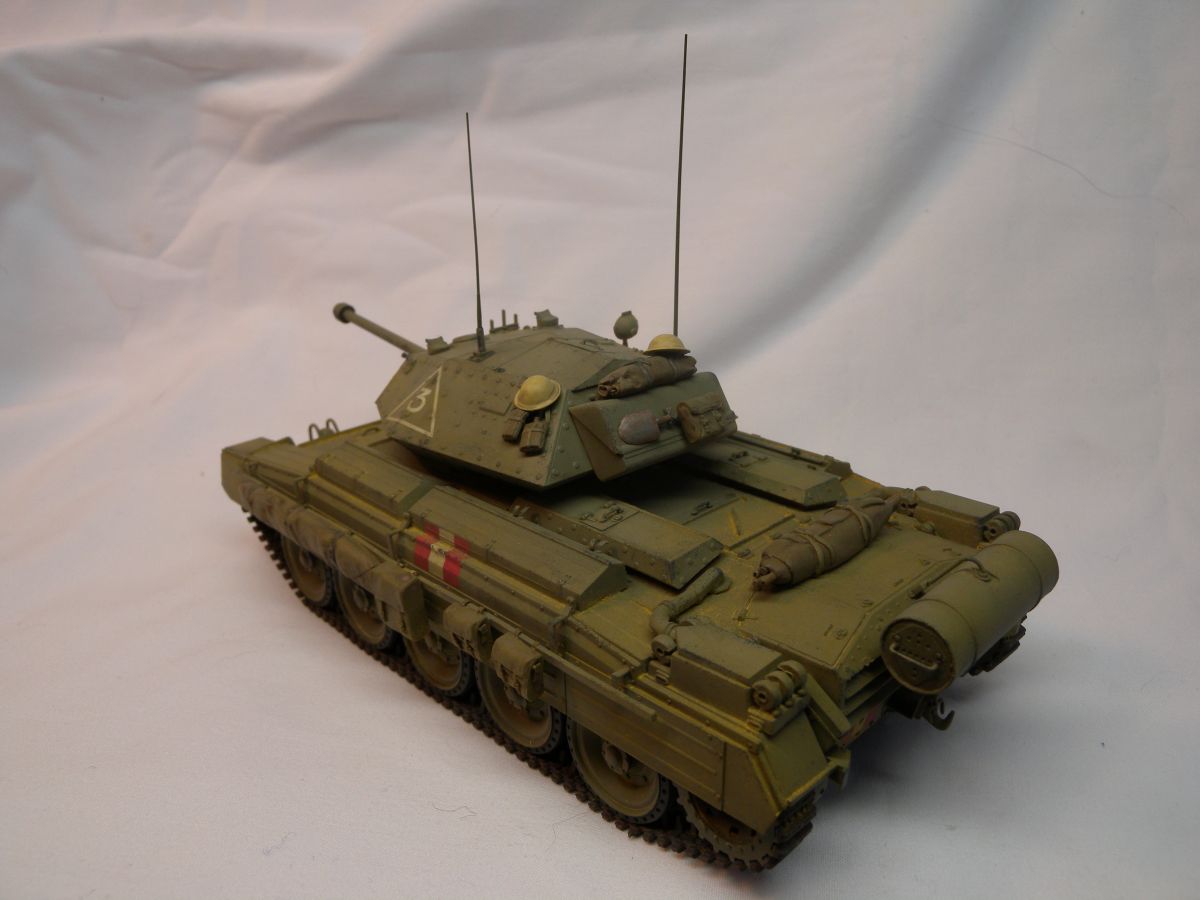
A recent release from Tamiya reflects the Crusader Mk.III as it arrived in Tunisia in 1942.
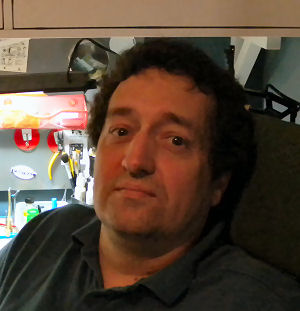
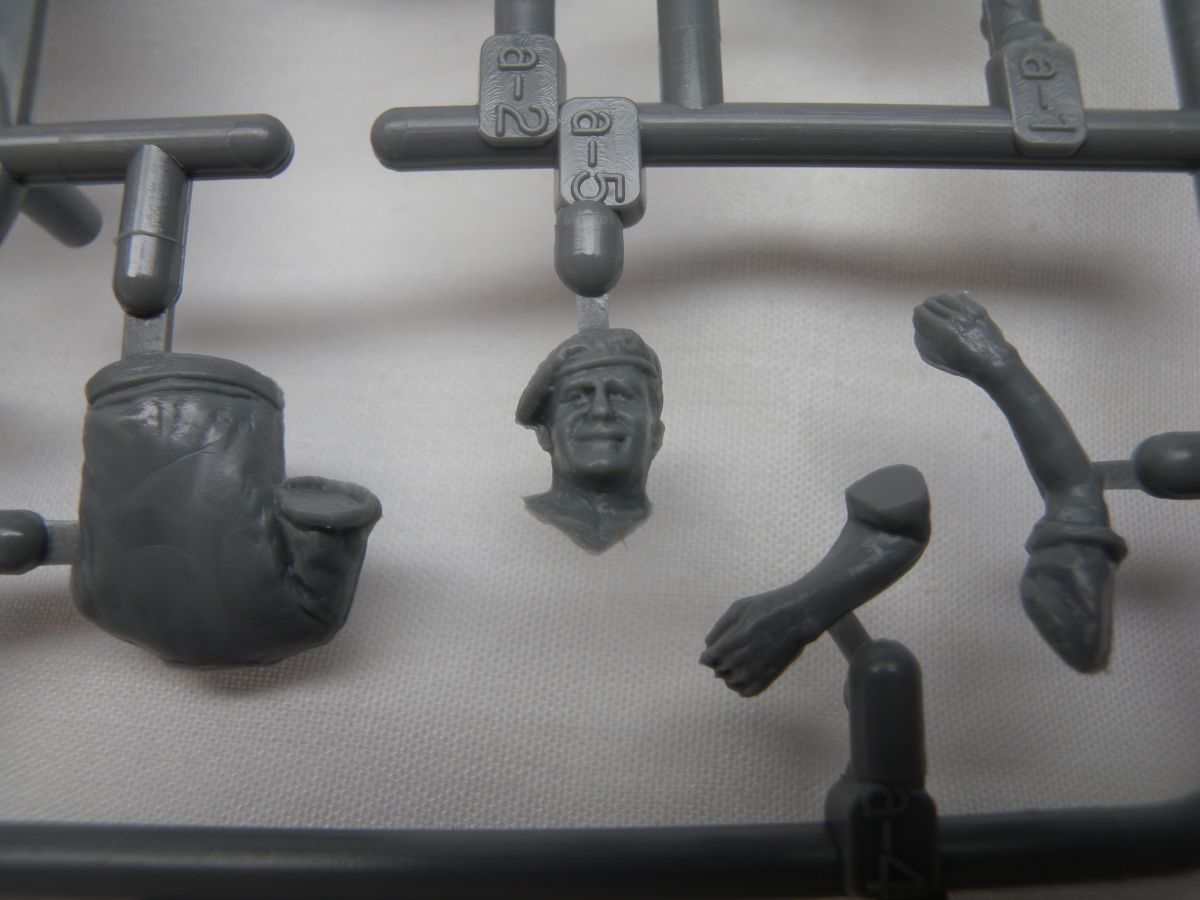
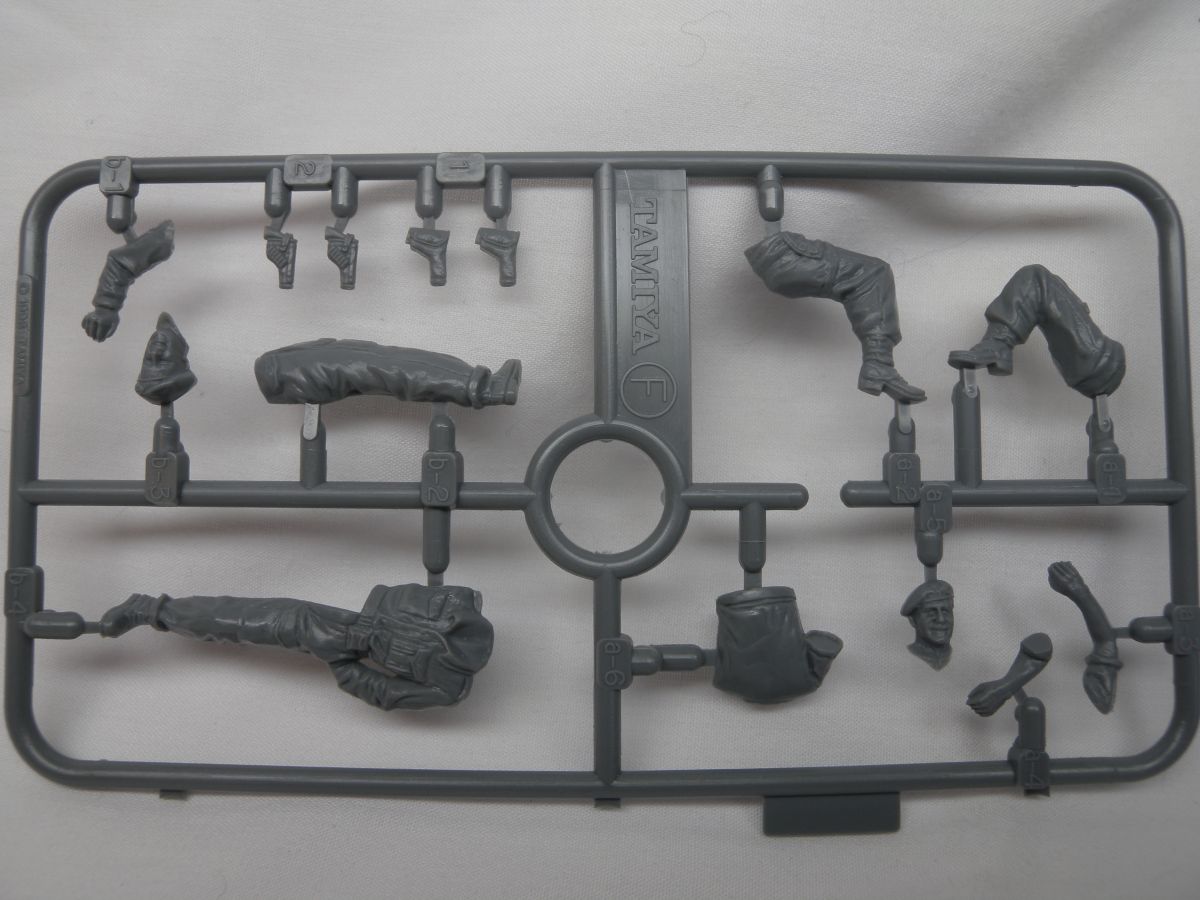
Well to start off with, those expecting a new Tamiya kit, you might be a little disappointed, the kit is actually a reboxing of the older Italeri kit. But that said, a look over the parts show some decent details, with little flash and no visible sink marks. And Tamiya has included two of their own sprues, molded in grey, that include some personal gear for stowage and two figures. Both those sprues are molded very well, and are a nice addition for this kit.
The kit does not include any clear parts for vision blocks and does include lengths of vinyl track. Though I must say the vinyl track does show some good track definition. There is also no photo-etched parts included, which is almost a standard today and a little disappointing. Being an older kit, some of the details are a little chunky, that maybe Tamiya should have address with some photo-etched.
So being an older kit, that I believe a lot of us have seen, I thought the best way to review it was to build it. So with tools and glue in hand, I started to see how this older kit would build.
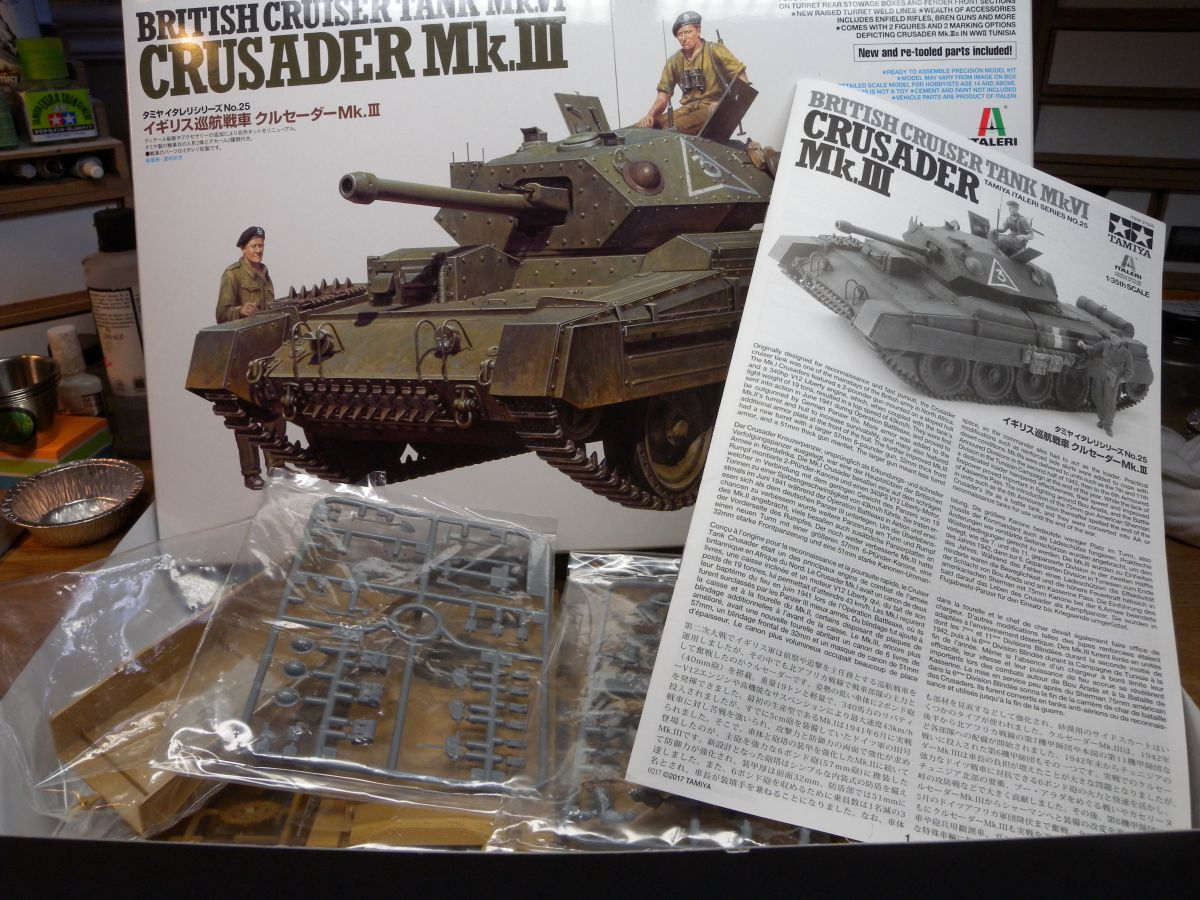
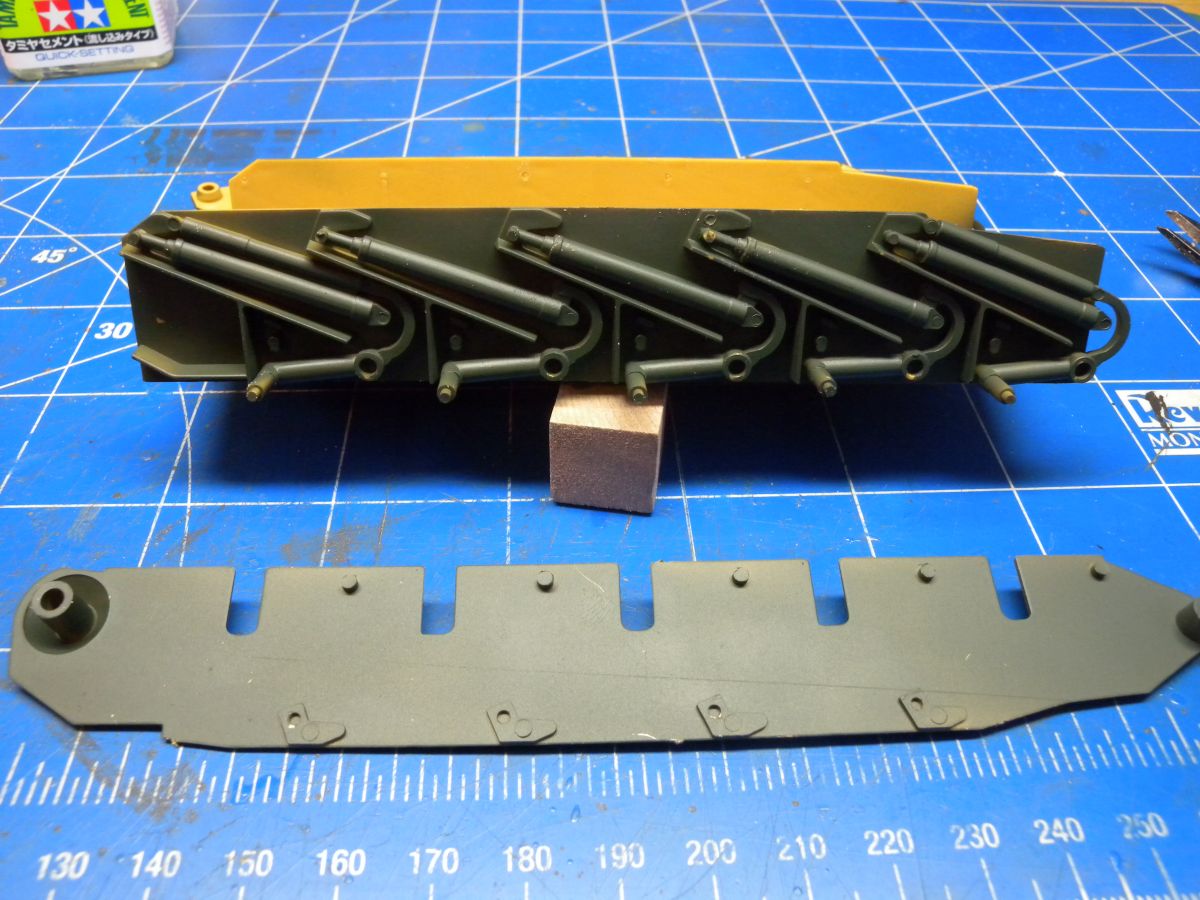
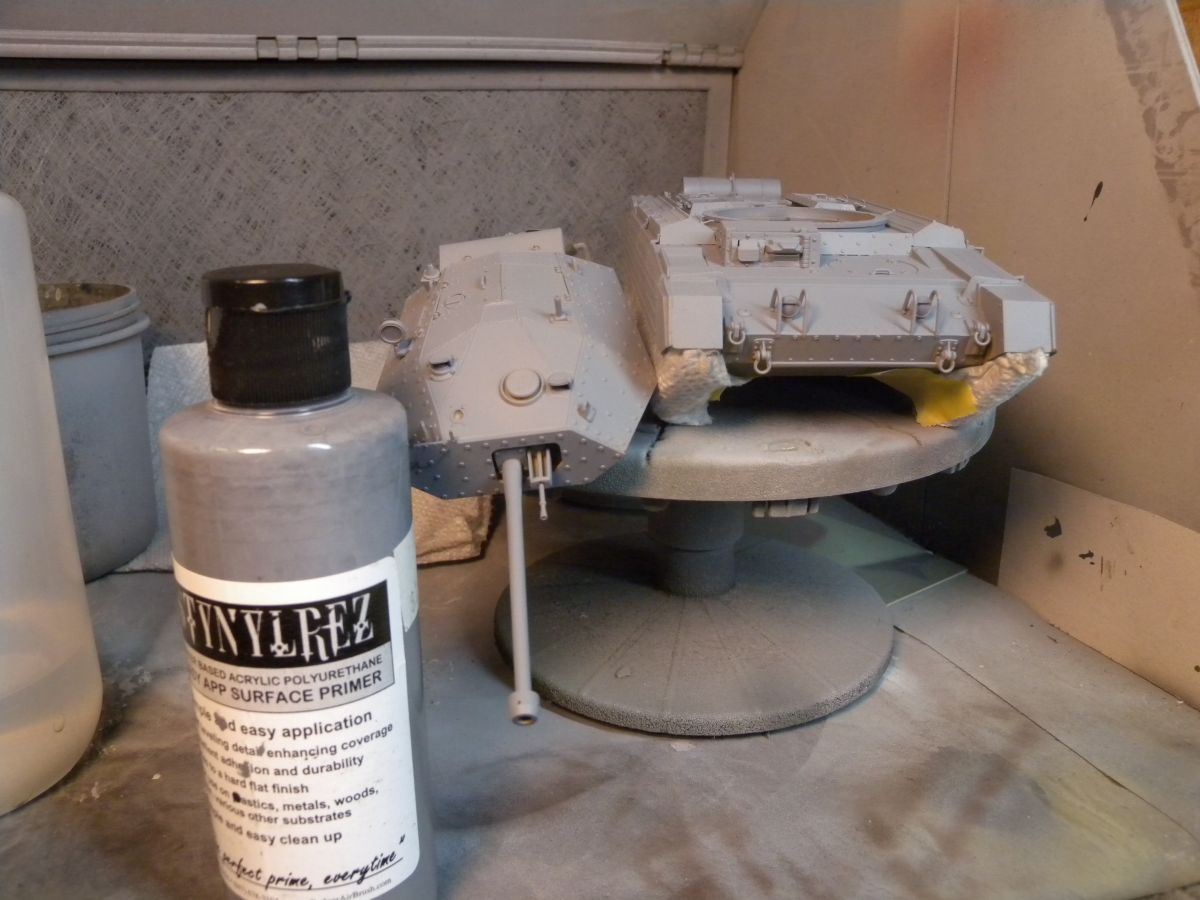
So with most tank builds, construction starts with the lower chassis and running gear. Each suspension arm and piston are a single piece and does have pins for alignment. This makes aligning the wheels pretty straight forward. With the Crusader, most of this is covered anyways, but I did add a coat of primer before sandwiching the suspension.
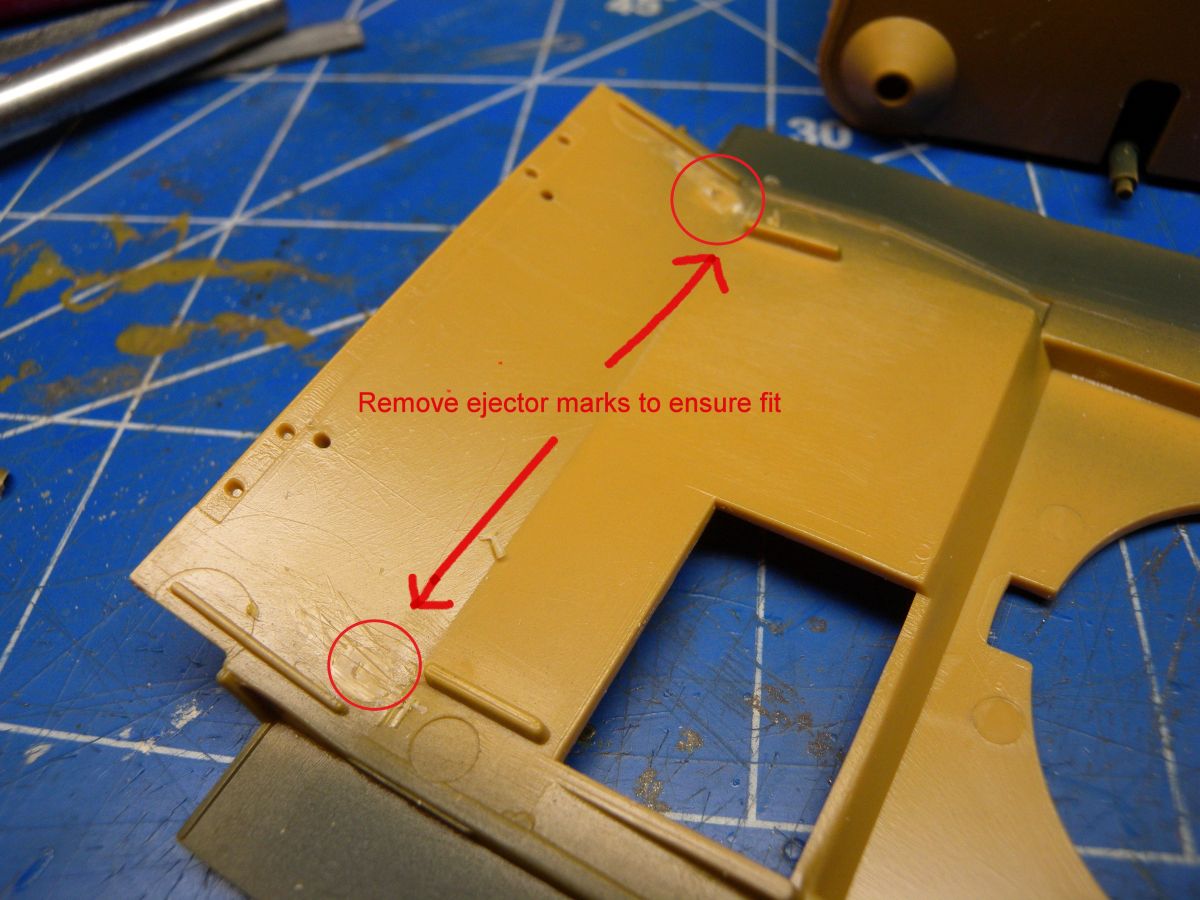
When attaching the lower chassis top, there are two ejector pins that will need to be shaved off to ensure the fit. Overall the fit for this is good, and some extra help, tape, was need to ensure that is all stayed together while the glue set.
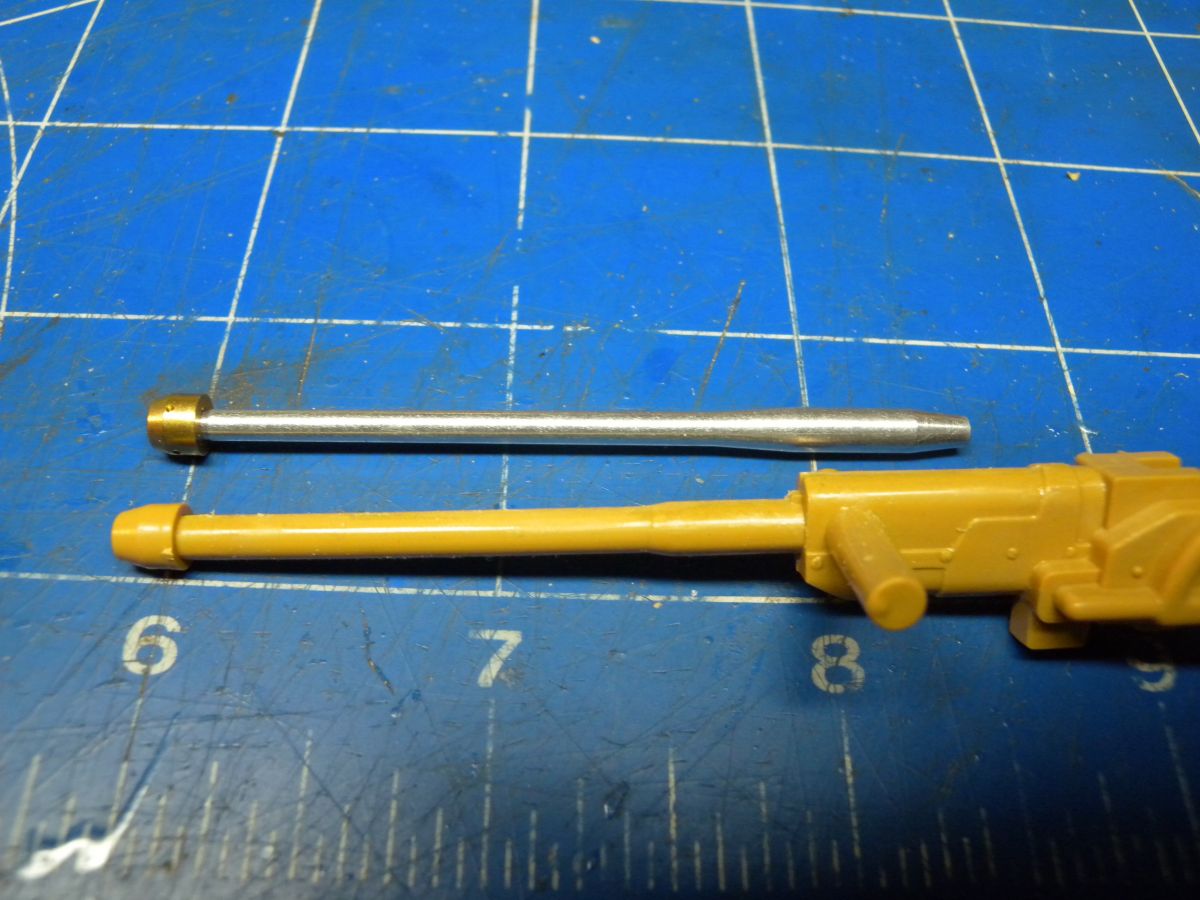
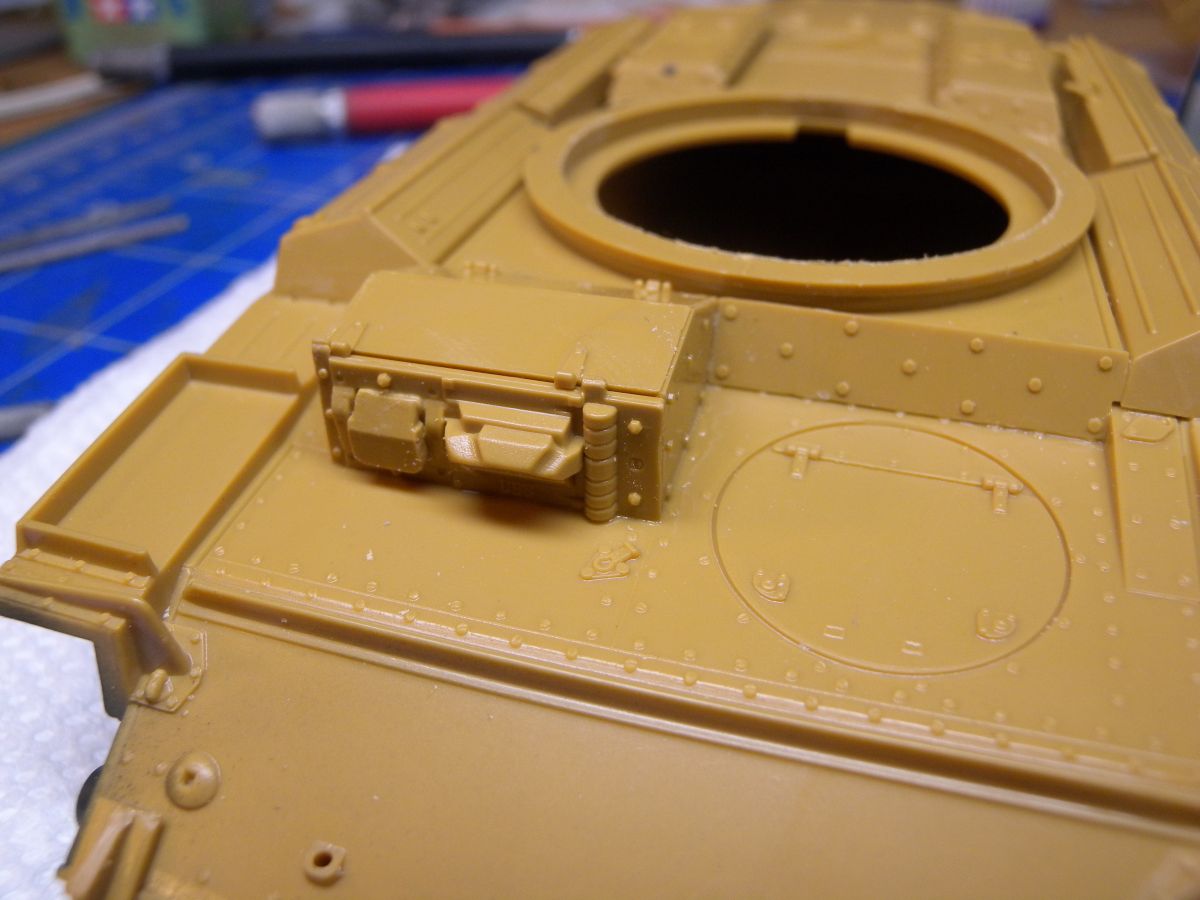
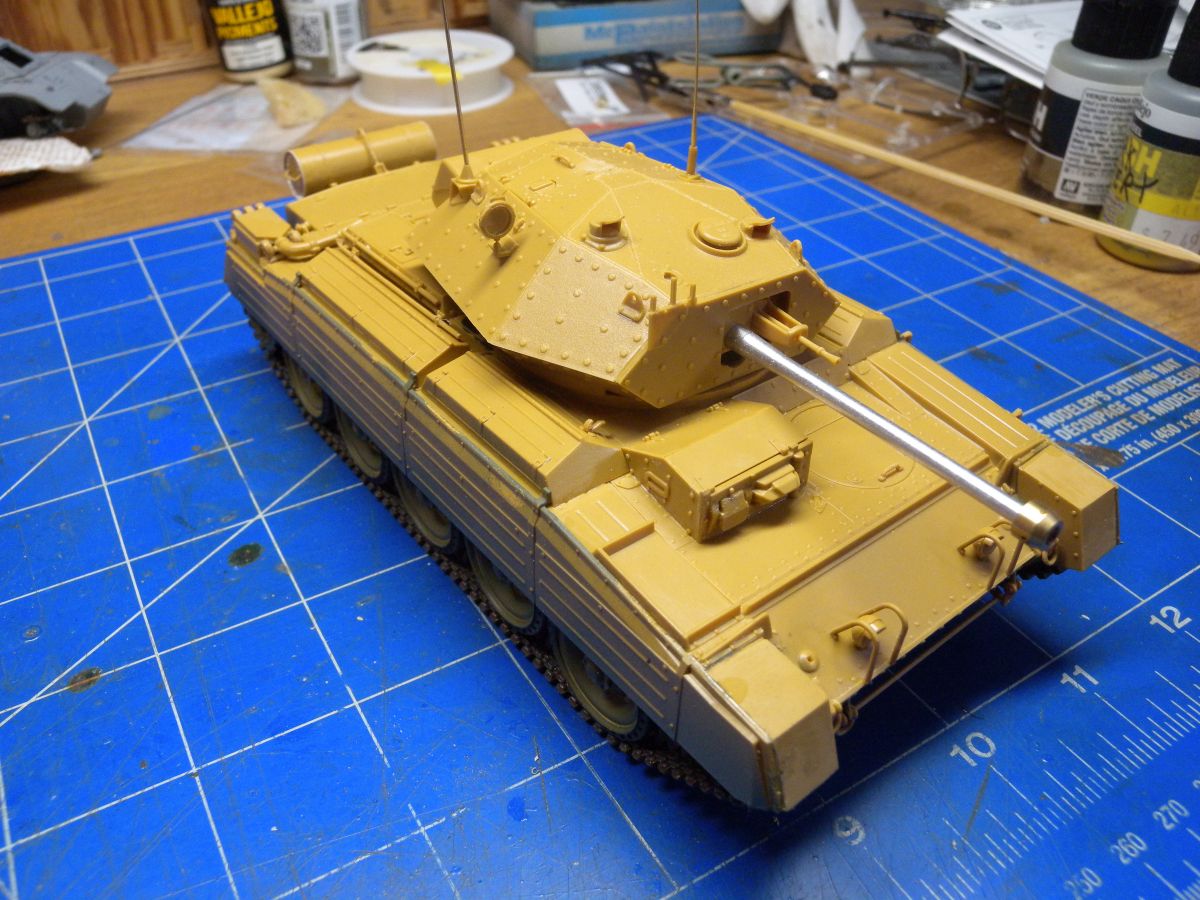
So while the lower hull was drying, I moved onto the turret. First up was the barrel, which is a two half assembly. The breech details is very weak, as well as the barrel end. I had decided that I would leave the turret closed up, so the lack of detail did not bother me. As for the barrel, I decided to replace the barrel with a RB Models barrel. This involved cutting off the existing barrel, drilling out the breech, and fitting in the new barrel.
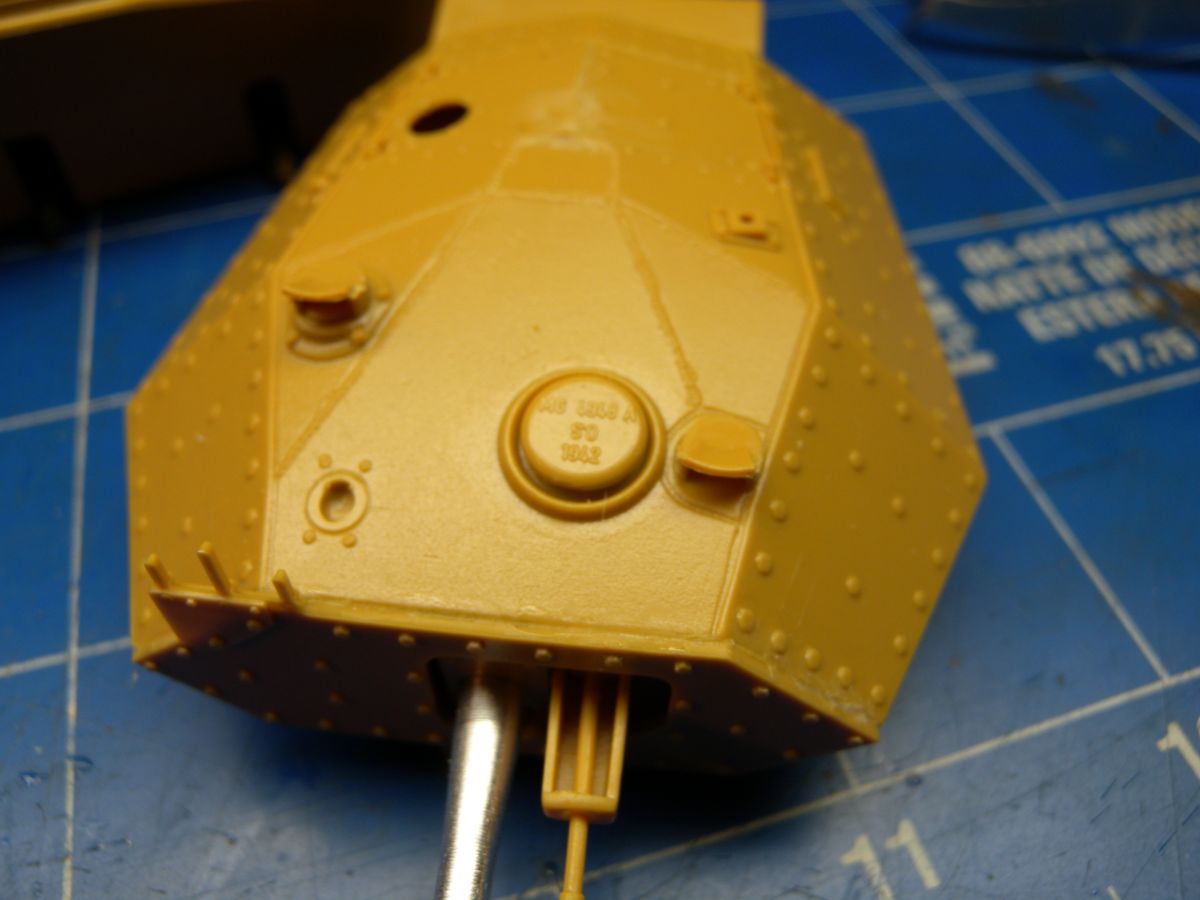
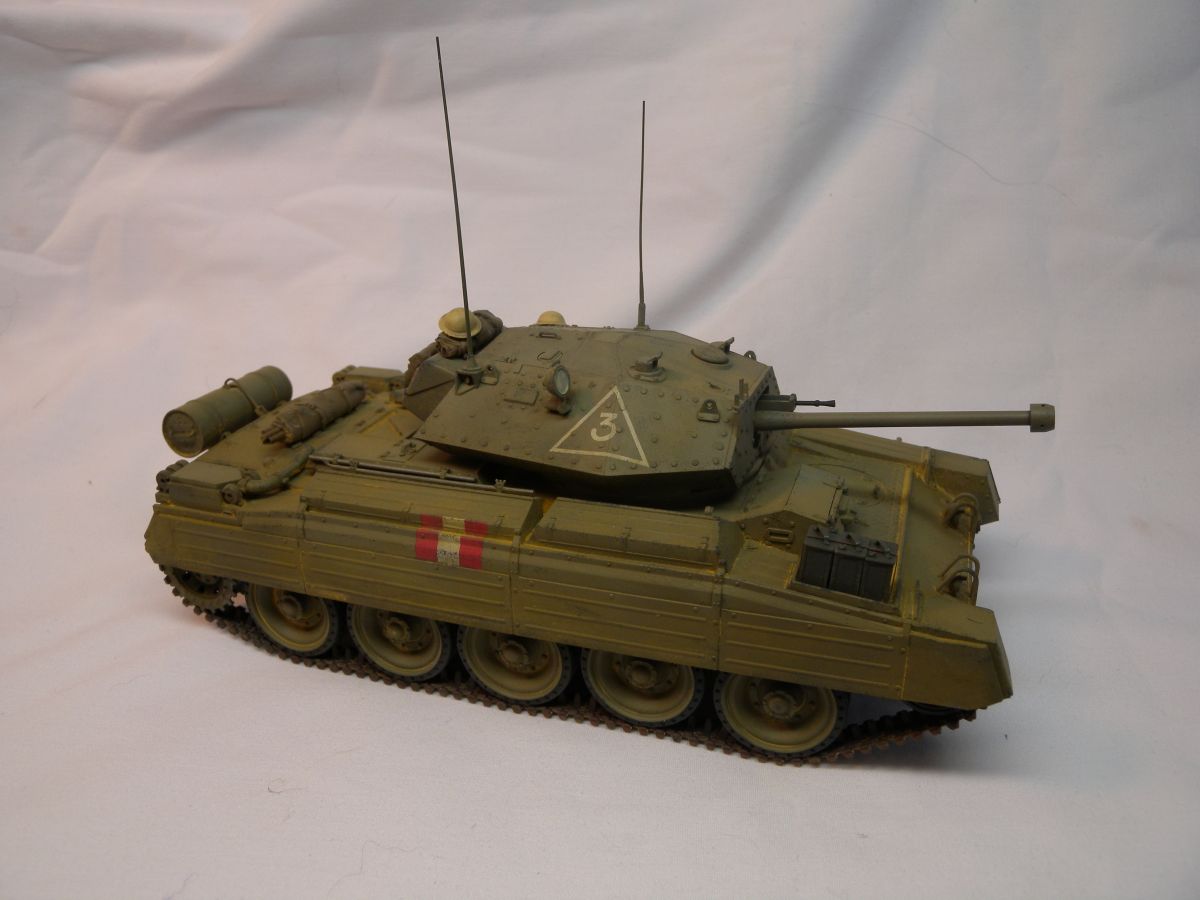
The rest of the turret assembled well, with good fit. The surface does include the rivet details as well there is cast detail lettering on the top of the turret air vent. One weakness is the lack of view ports inside the periscope covers. When placed, they do look empty. There was no issue with the turret hatches and attaching them in the closed position. For those wanting to leave them open, parts are included on the sprues for the inner details. For the coaxial BESA, I did drill out the barrel end for a little extra detail.
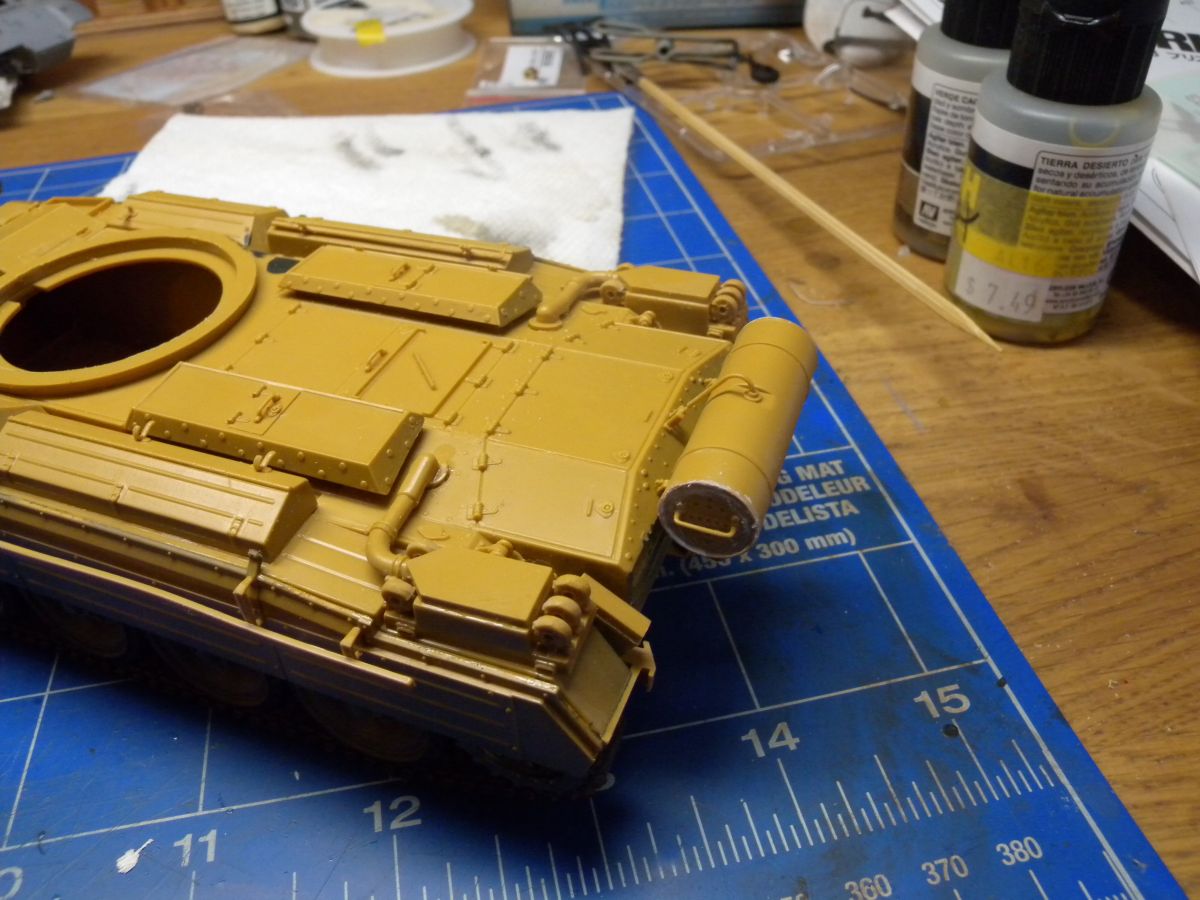
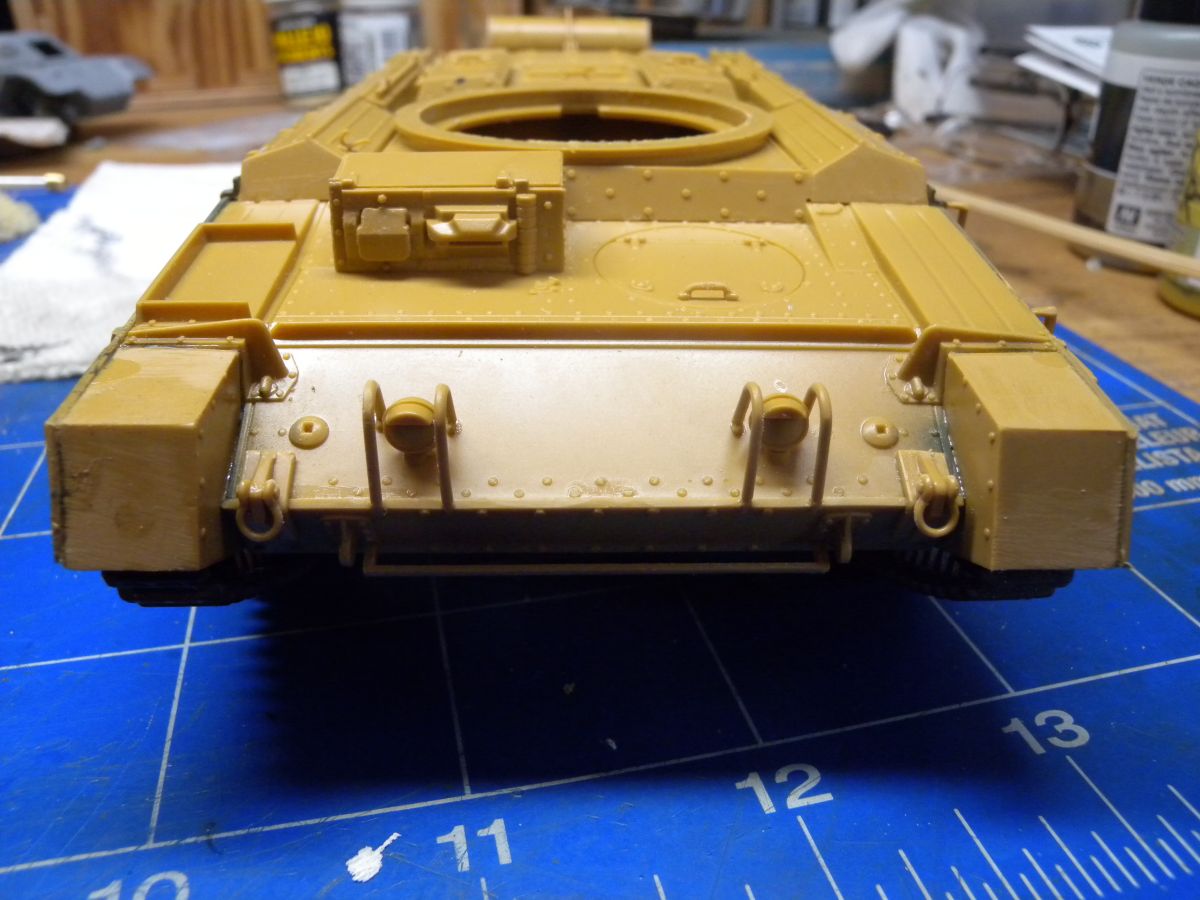
Back to the lower hull, I started to add some more of the parts, including the driver view ports and hatches. Then the air filters at the rear, again both assembled well with no fit issues. Before moving onto the side skirts, I decided it was best to assemble the wheels and tracks, paint them and put them in place.
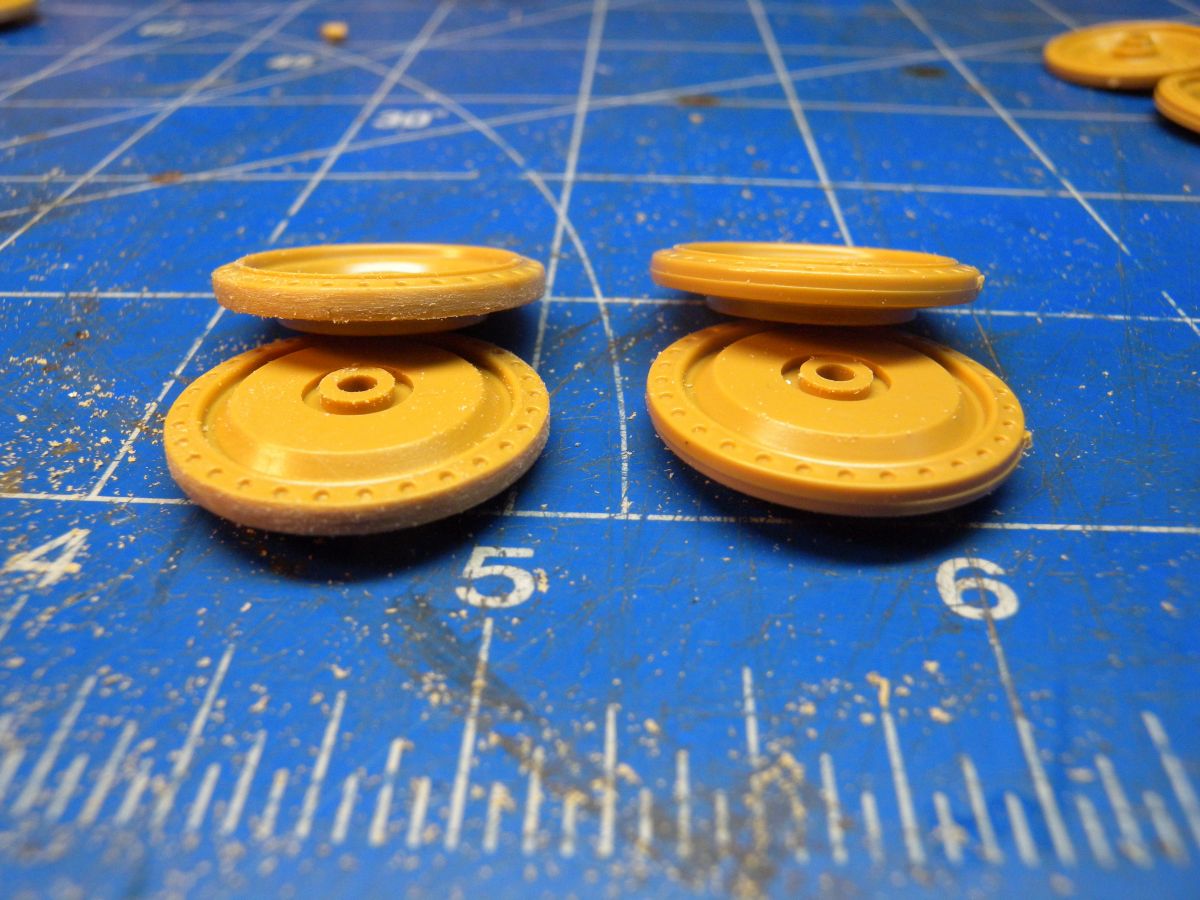
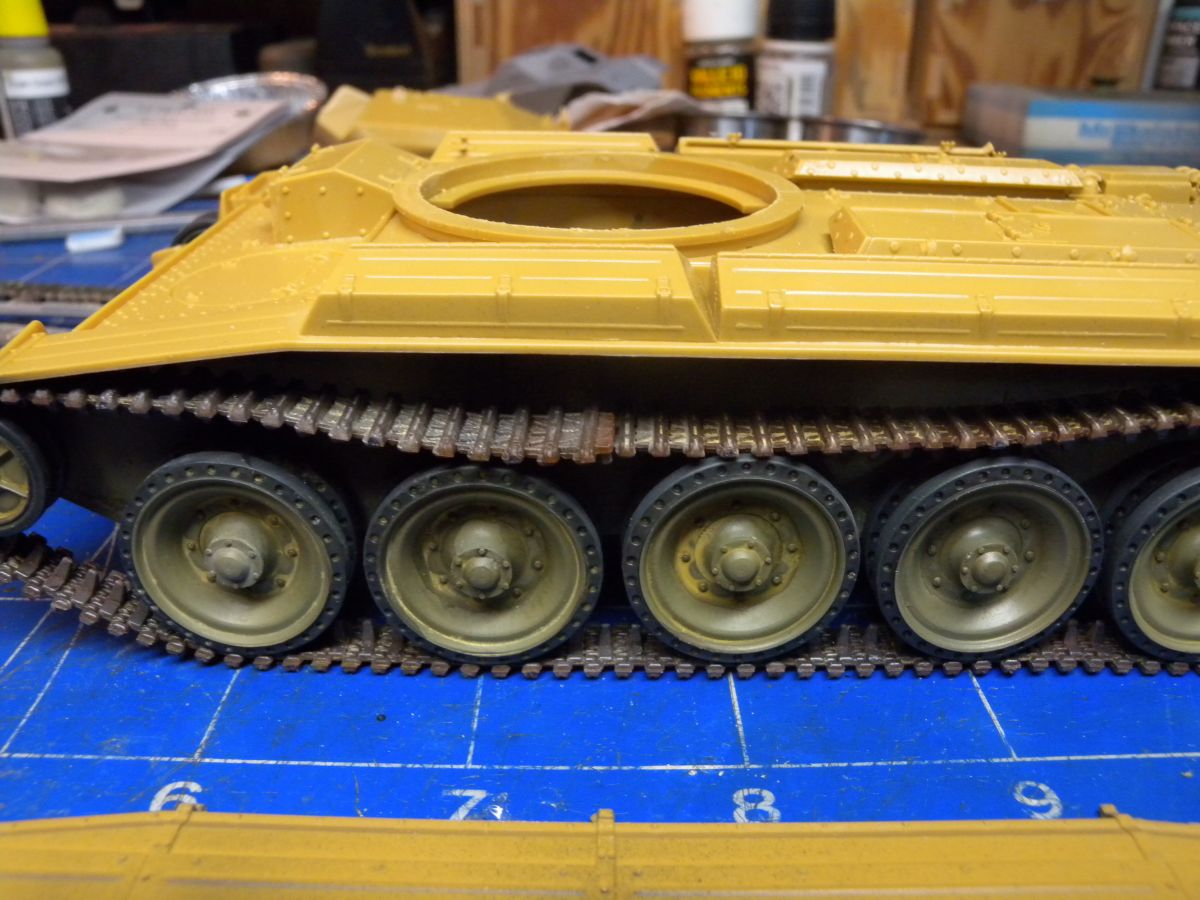
The wheels only needed a little sanding around the outside, and went together and mounted with no issue. The wheels and inner surfaces were all painted and weathered. The track being rubber vinyl was washed with soapy water then given a coat of Tamiya primer, before coating with Ammo by Mig Track Primer followed by washes of Vallejo Rust. Some pigments were then added, including Pinnacle Raw Steel pigments on the track treads and inner surface.
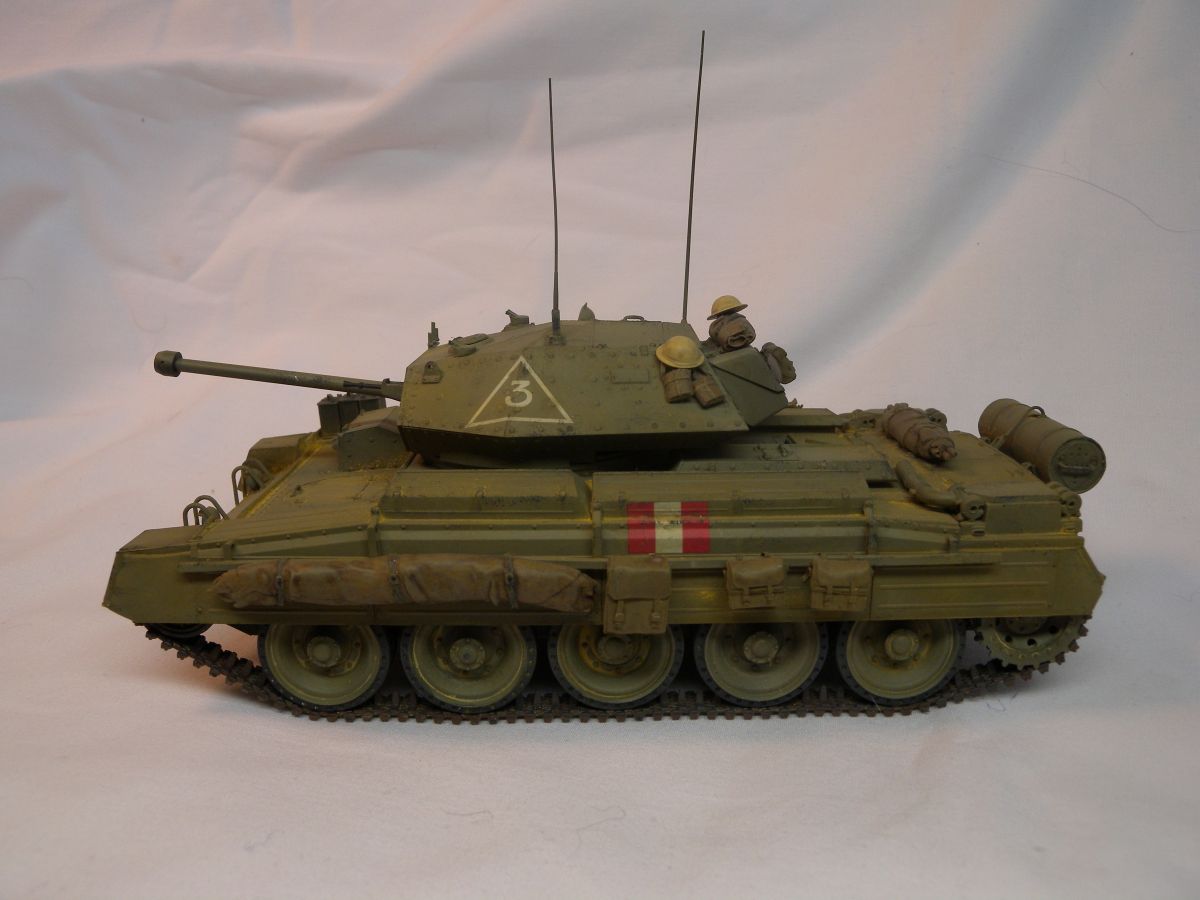
For fitting the track, I found the provided length was a little long and sagged a little to much for liking, so I cut about three lengths of and "knitted" the track together at the top as the soon to be attached side skirts would hide the connection.
I was told that there was issues applying the side skirts in the old Italeri kit, but did not find this an issue at all. They did require a little convincing to stay in place while the glue dried, but a couple pieces of Tamiya tape dealt very well with this.
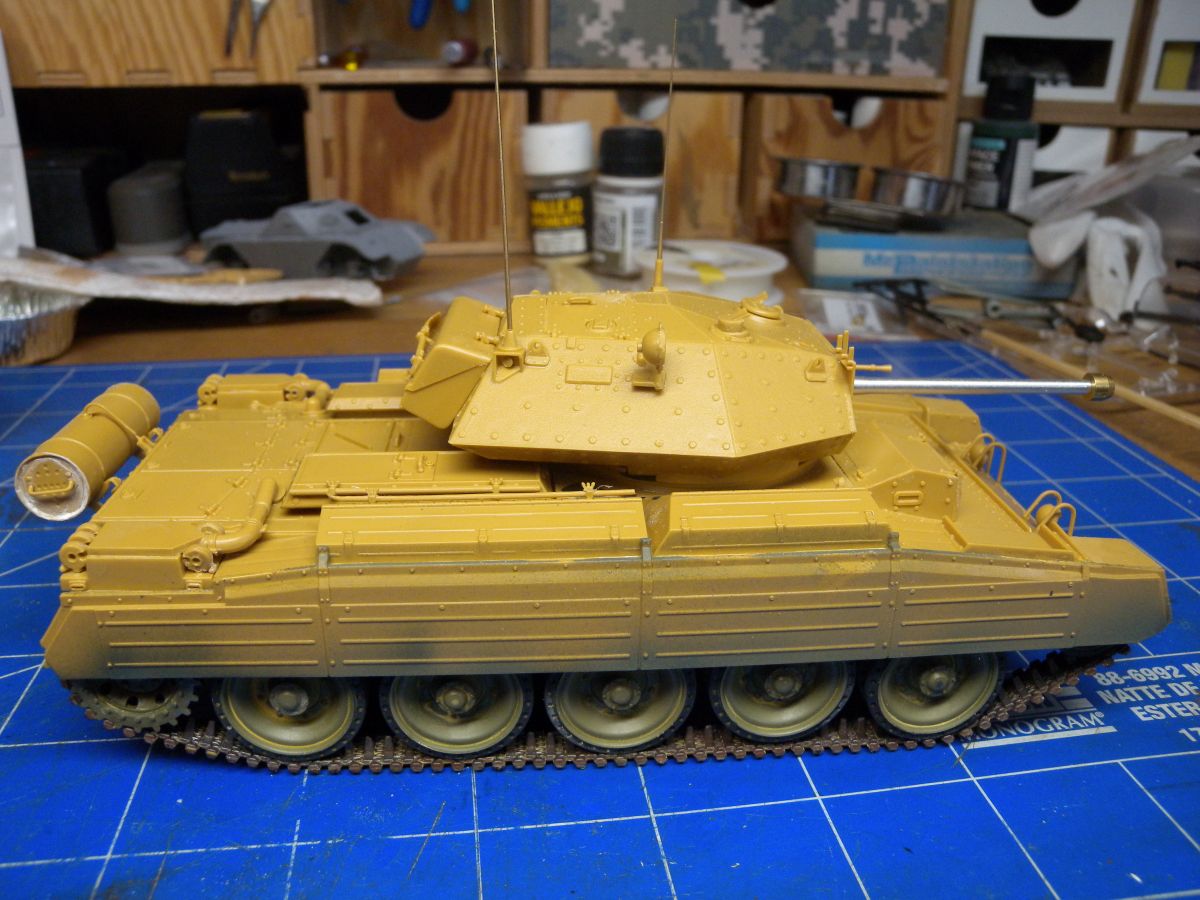
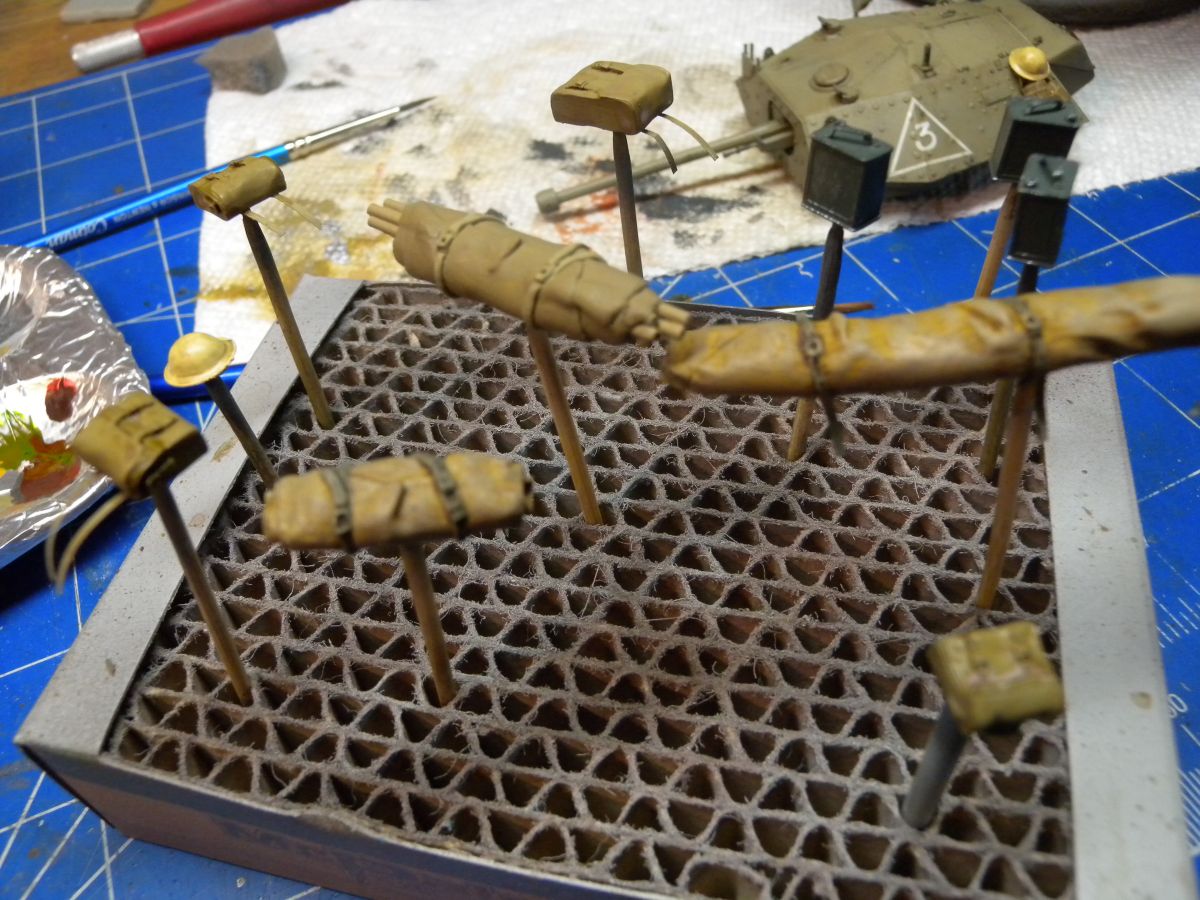
The rest of the assembly went well, I did replace the bulky looking antennas provided with the kit with a set from RB Models. I also added stowage from Tamiya sprue supplied in the kit, as well as some from Value Gear and Ultracast.
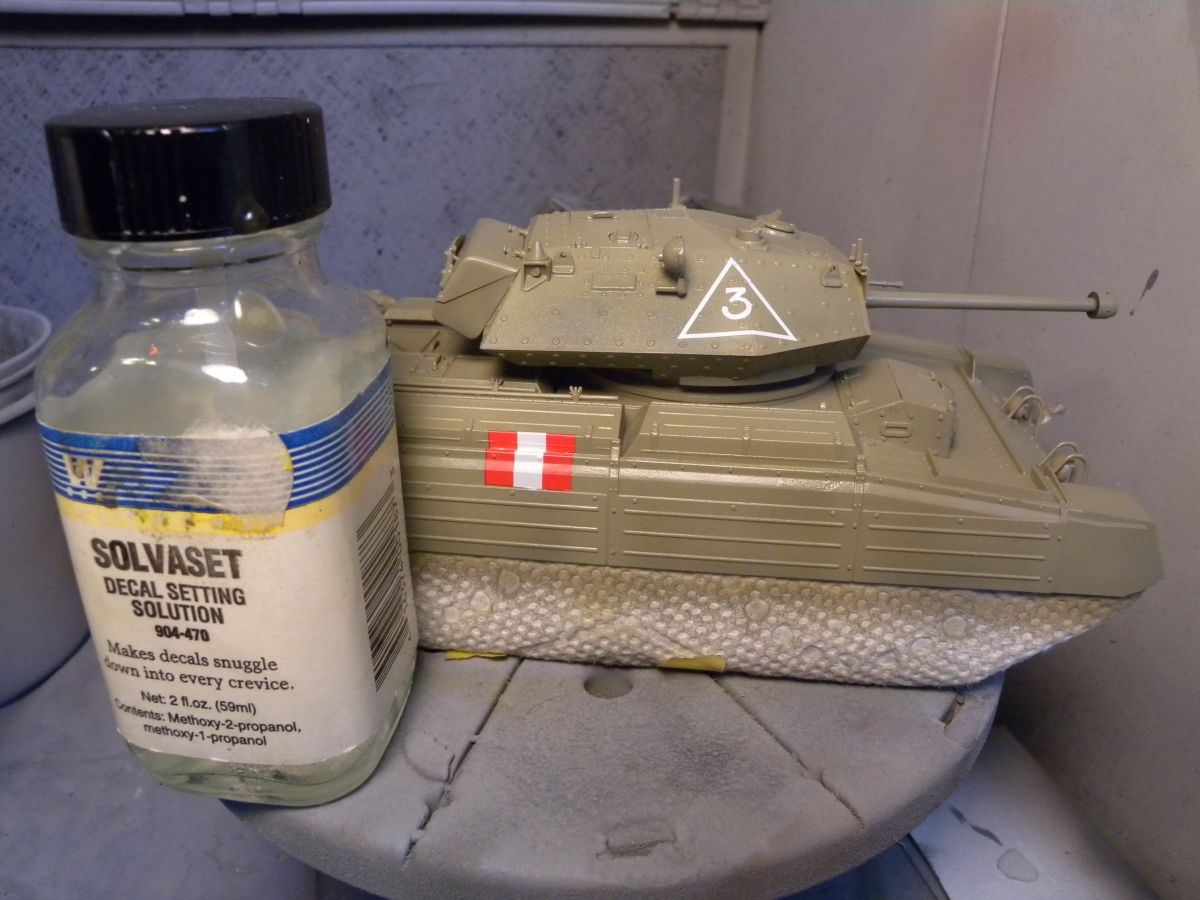
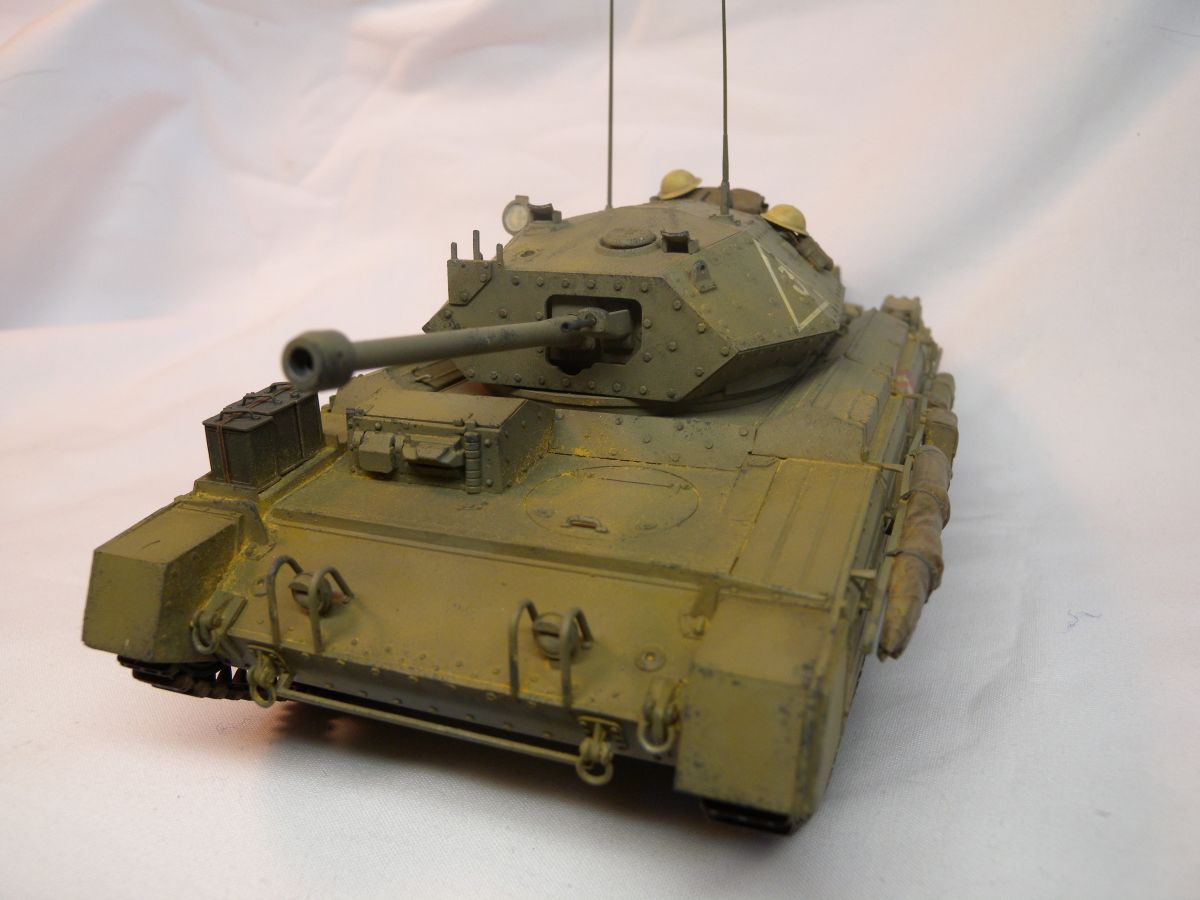
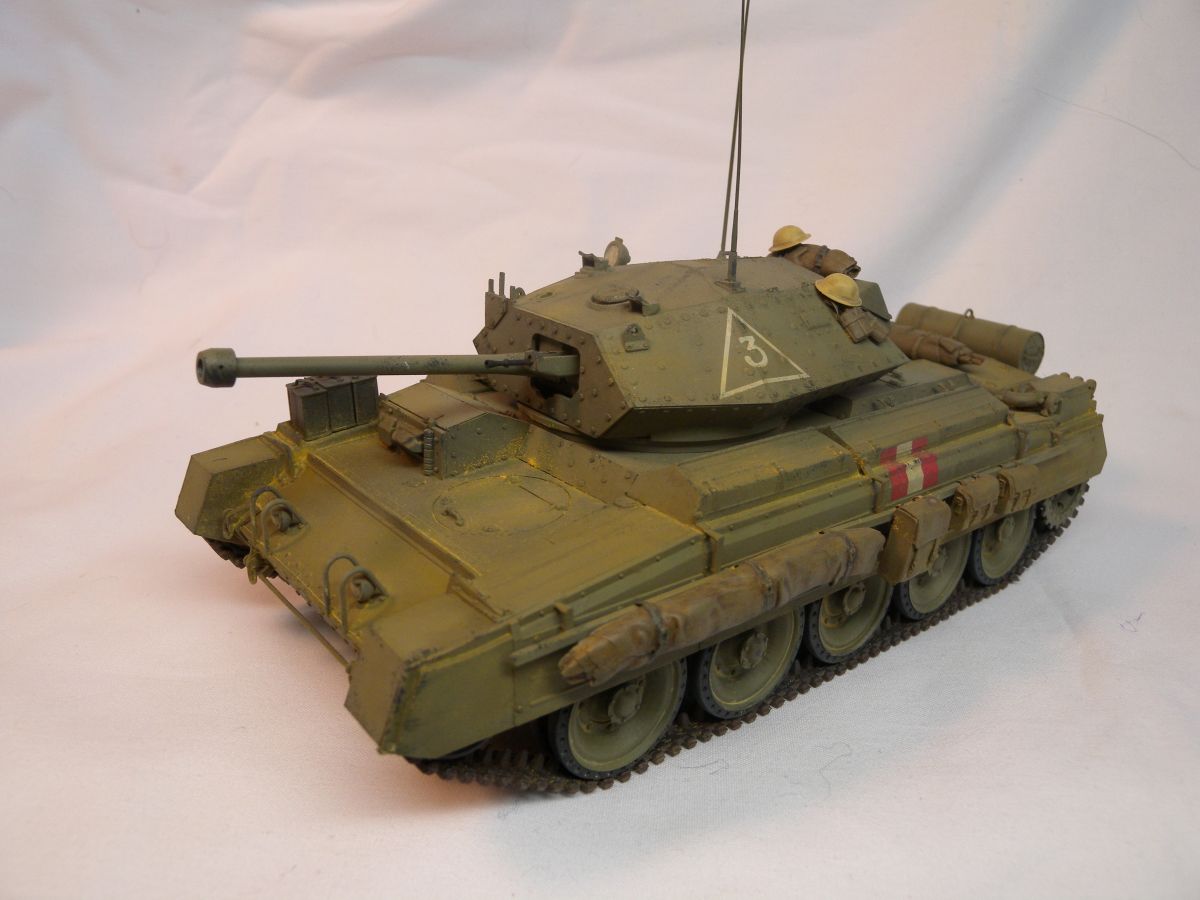
The paint applied was a bit of a dilema, the intructions from Tamiya suggest Tamiya XF-58 Olive Green. After some research, I saw arguments for the darker green, but saw a lot move the Kahki Green No.3, which was my initial thought. Thus, I used Ammo by Mig Khaki Green No.3. The kit decals applied very well and a little nudge from Solvaset sat them down perfectly around all those rivets. Tamiya was nice in providing the side skirt decal in three parts to allow for easy application over the step from the skirts to the tool boxes.
After the decal were sealed, some washes and pigments were applied lightly for a slightly used desert appearance look. Markings inlcuded in the kit represent two Crusader Mk.III's in Tunisia as part of the 6th Armoured Division, one set for December 1942 and other set early 1943.
As mentioned at the beginning, as part of the reboxing of this Italeri kit, Tamiya did include two sprues of their own. The stowage and personal gear set and two figures. Both are very well molded, and the figures look great.
Overview
Overall the Tamiya "boxing" of this old Italeri kit is not that bad. While it is not a true Tamiya kit, the overall plastic details and fit make this a decent kit. The addtion of the stowage and figures is a great plus. As for negativies, well it is an older molding, and some of the details are a little chunky in spots, but with the aftermarket parts out there, this could build into a masterpiece. While I build this quick and not my best work, I can say that I am overall happy with the kit, and would recommend it.
SUMMARY
Highs: Some nice details on an older kit, new figures and stowage addedLows: Not a new Tamiya kit, older Italeri moldings, some chunky details.Verdict: For an older kit, it does build up nice, and some new figures could make it a welcome kit.
Our Thanks to Tamiya, Inc.! This item was provided by them for the purpose of having it reviewed on this KitMaker Network site. If you would like your kit, book, or product reviewed, please contact us.
I am an IT Consultant and father, with a passion for plastic models. I mostly prefer 1/35 Armor and 1/48 Aircraft. My main interests are anything Canadian, as well as WW2 German and British Armor and Aircraft. I have been building models since I was a young kid, got away from it for awhile, but r...
Not really. The Tamiya runs a few dollars more than the last reissue Italeri did which did not have the re-tooling or new figures (in fact it was a retro-old box-art issue)
Naturally you could probably find one really cheap at a show but you can do that with nearly any older kit. Short of that, figure on $30 for an Italeri one and $40-45 for the new Tamiya.
This decidedly is not an old dog of a kit. An old dog of a kit is Tamiya's M113 or M3 Lee not the Italeri Crusader.
Pretty disappointed with this - minimum retooling - no transparencies or photo etch. And the tracks are a disgrace - they are way too big - not something that could have been missed by Tamiya but they clearly thought "CBA, let the customer sort it out, they had hide the mess under the fenders". A missed opportunity.
And watch, a year or two down the road Italeri releases their new re-tooled CrusaderIII and it'll include new link and length track, clear lenses for the search light and photoetch.
I agree, I appreciate why people are defending but this being released in the same price bracket as the all-new SU-76 and Valentine.
There is a world of difference between the Cusader effort and those two and compared with them, the Crusader is well over-priced.
Cheers,
Nigel


Comments