introduction
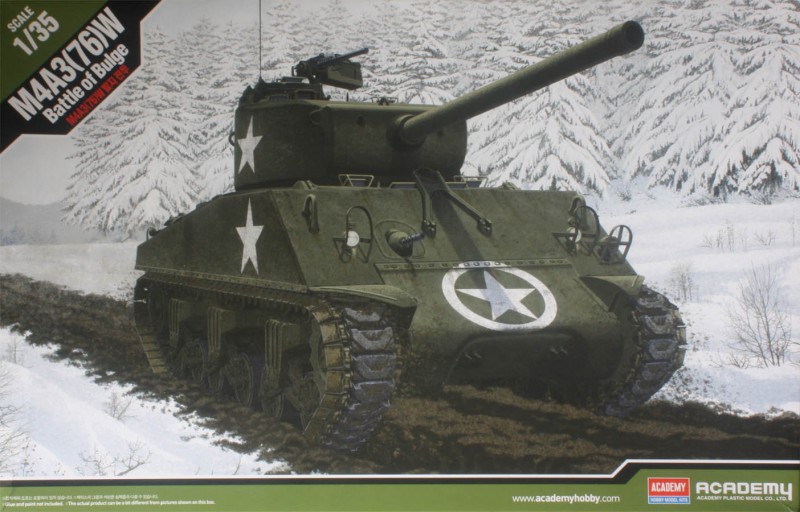
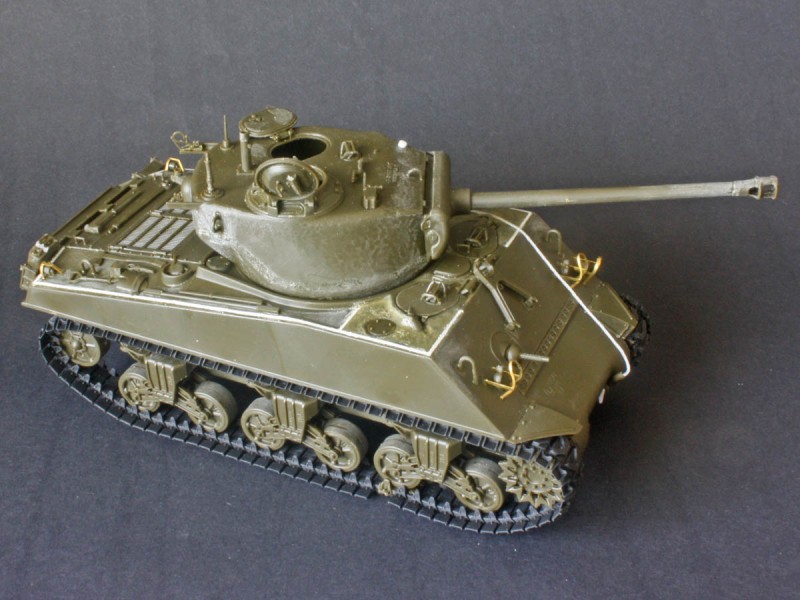
This latest release from Academy is based on the M4A3(76)W as they started turning up in Europe at the start of 1945. Early attempts to put the 76mm gun on a Sherman resulted in the M4A1(76)W, with the cast hull and a turret with large round split loaders hatch borrowed from the aborted T23 tank programme, appearing at the Front in July 1944. By September tanks with the 76mm T23 turret fitted to the new M4A3 hull with the 47-degree single-piece glacis (the so-called large hatch hull, assembled at both the Chrysler and Fisher plants) started arriving in Europe, but the split loaders hatch did not get replaced by the one-piece hatch on new tanks until after Christmas. The new turret was similar to the earlier one, but had an oval loaders hatch and a new part number, and a double-baffled muzzle brake on the gun. These tanks continued in use to the end of the war, but further changes in production meant that Shermans also started appearing with the new HVSS Easy Eight suspension instead of the old VVSS type seen on this kit. So, the timeframe for this kit suggests a tank issued to troops around Jan-March 1945.
This isnt the first time round for any of the parts in this kit Academy has offered the suspension in its M10/M36 kits for decades now, the hull in its Sherman Dozer (from 2001?) and M4A2 Russian Army kits, and the turret in its M4A2 Russian Army kit. Most of the hull parts appear in the Sherman Calliope kit of 2015 too,
reviewed by Russ Amott, whose comments are well worth reading. In fact, I think the only new parts are the decals!
Other manufacturers have offered this type of Sherman too notably
Dragon,
Tasca, and
Italeri, although these last two are of the earlier turret with split loaders hatch. (The Italeri kit is nominally an M4A2, but you get the A3 hull with a separate A2 engine panel to splice in. A properly labelled
M4A3 was released later.)
contents
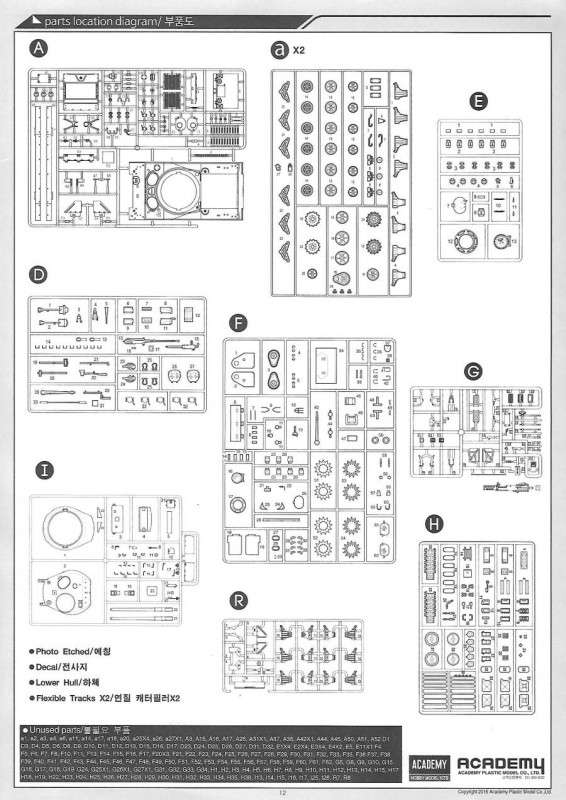
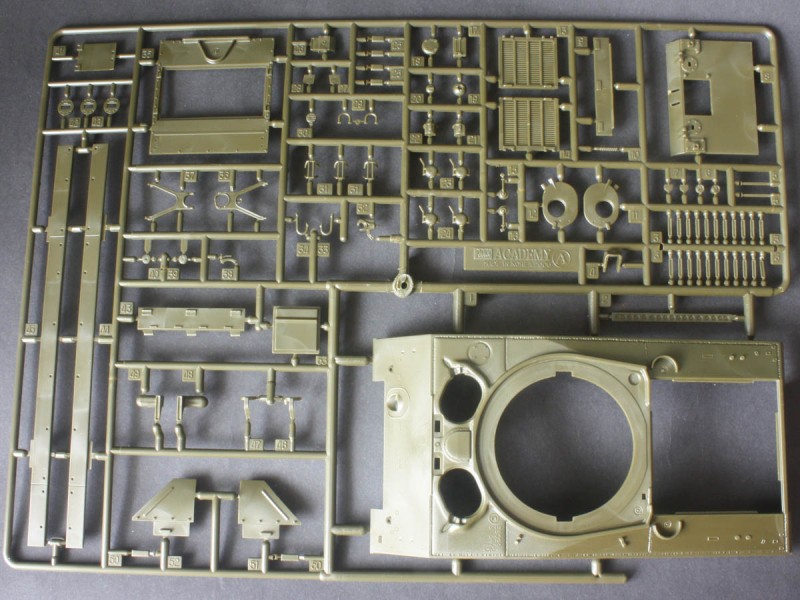
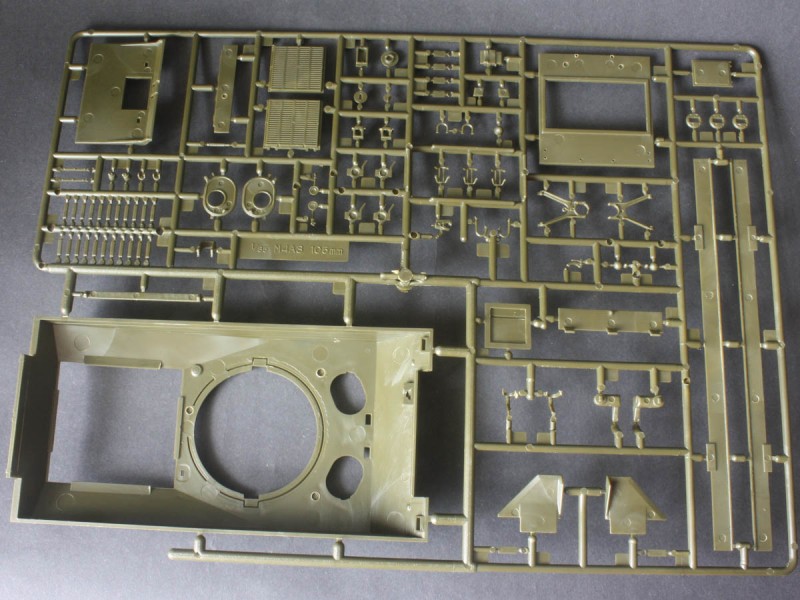
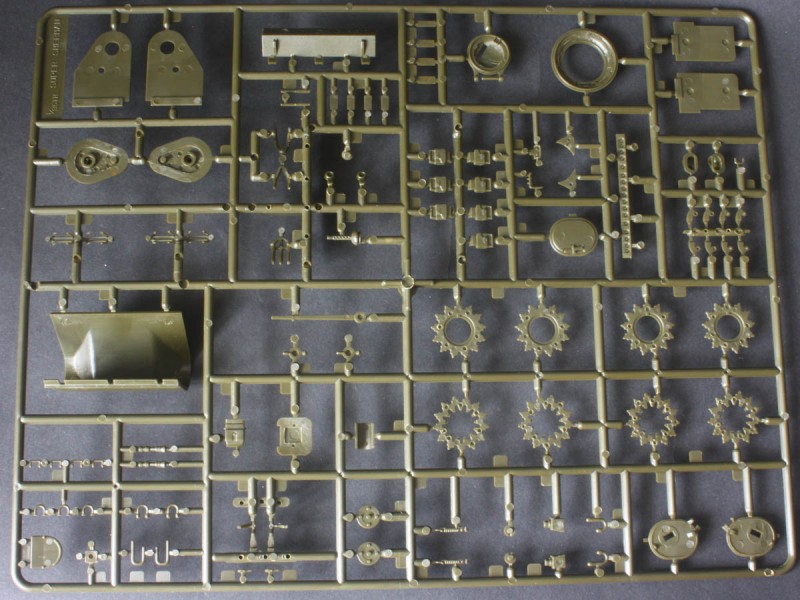
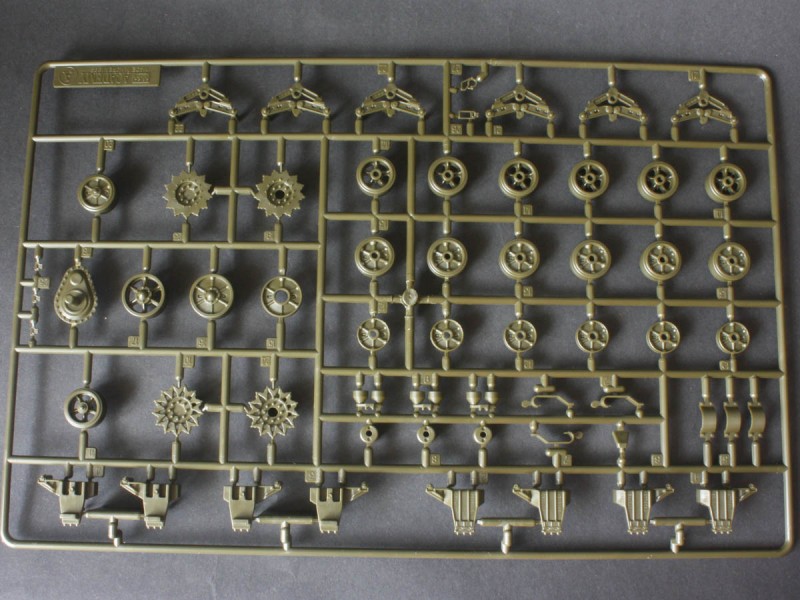
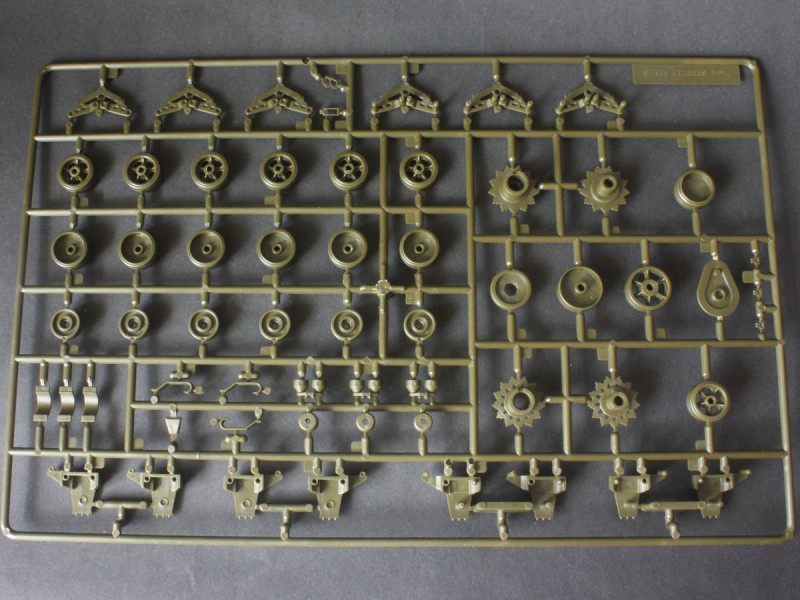
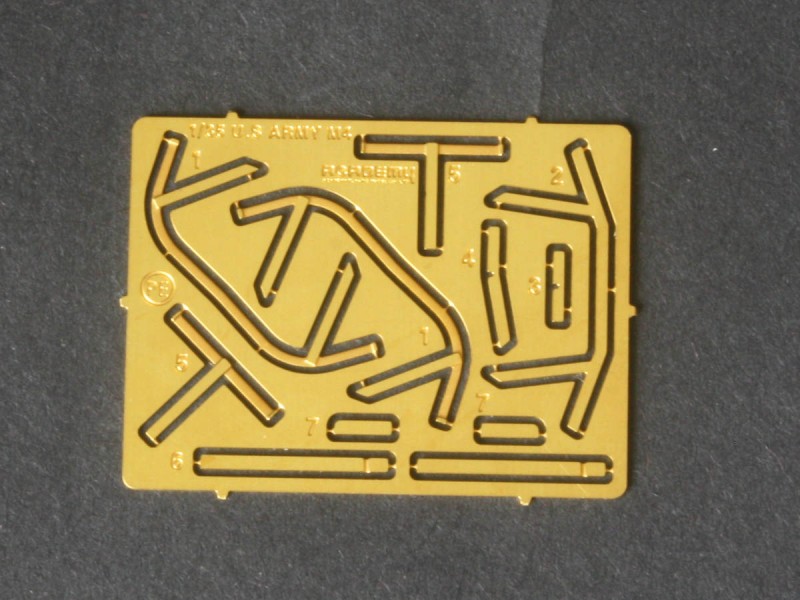
The box is filled by ten green sprues holding 553 parts, with the sprues packed two to a plastic bag. Then there are two vinyl tracks, a photo-etch fret, a decal sheet, and a piece of string. Flash on my sample was non-existent, and our old friend Sammy Sink-Hole makes very few appearances. However, the sprues have lots of holes in them where the ejector pins failed to retract, suggesting that tool maintenance is needed fortunately this did not affect any of the parts.
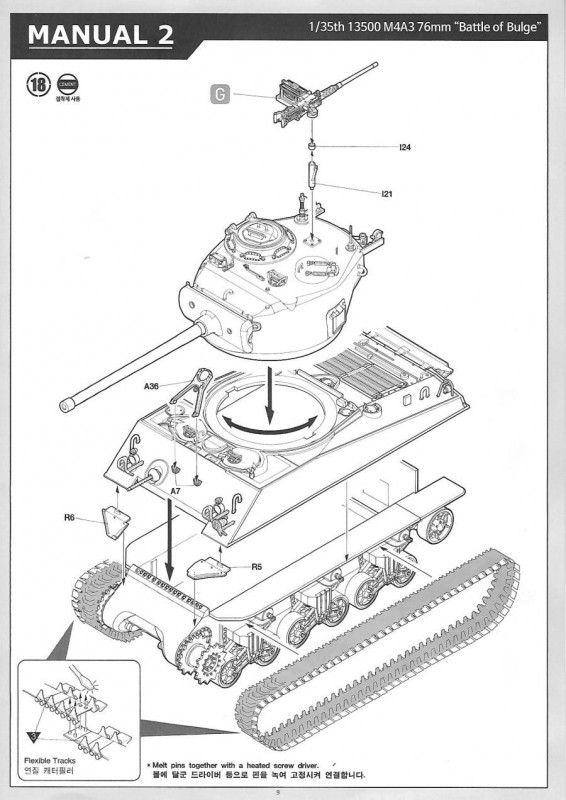
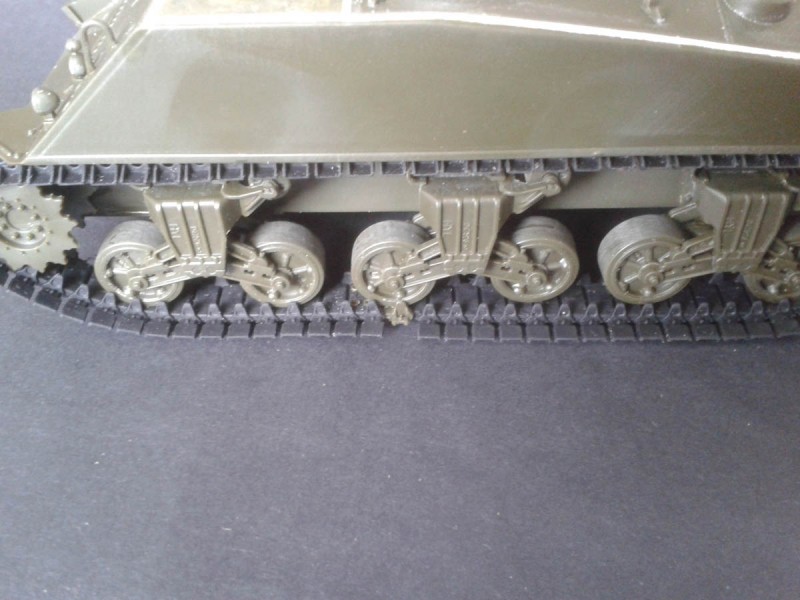
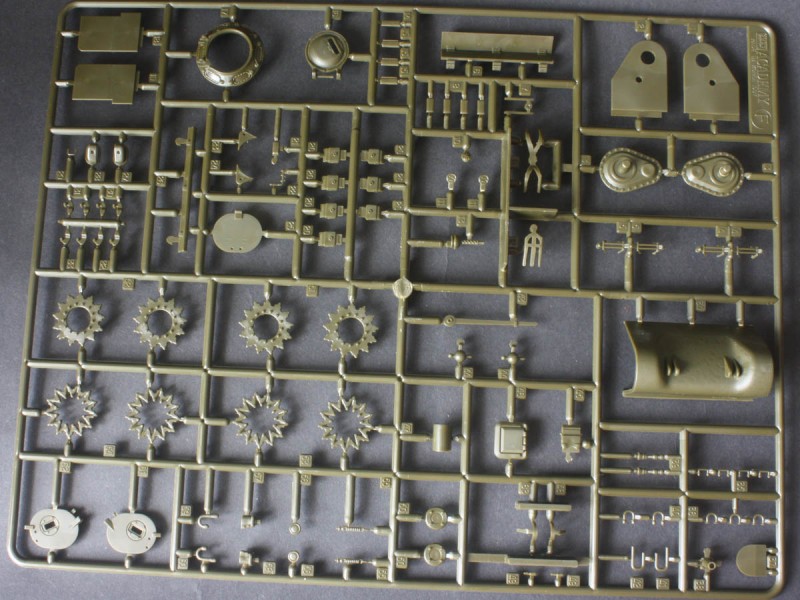
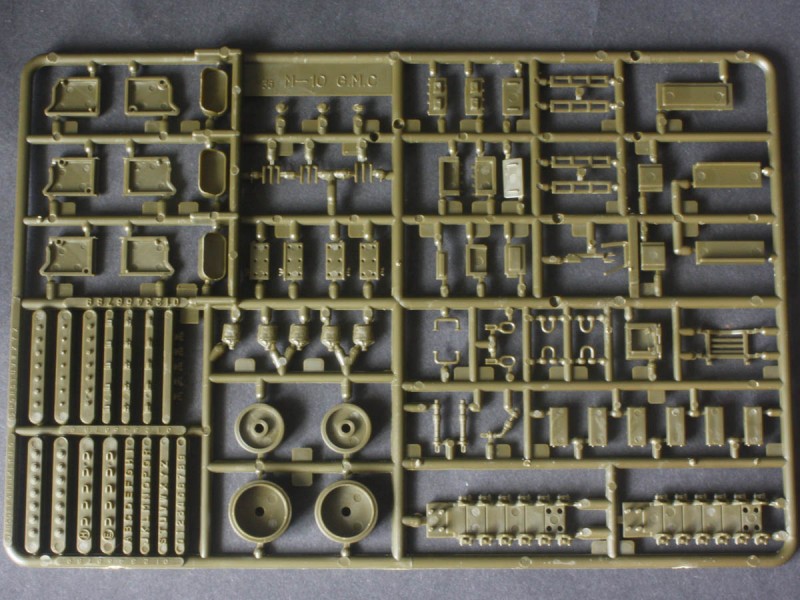
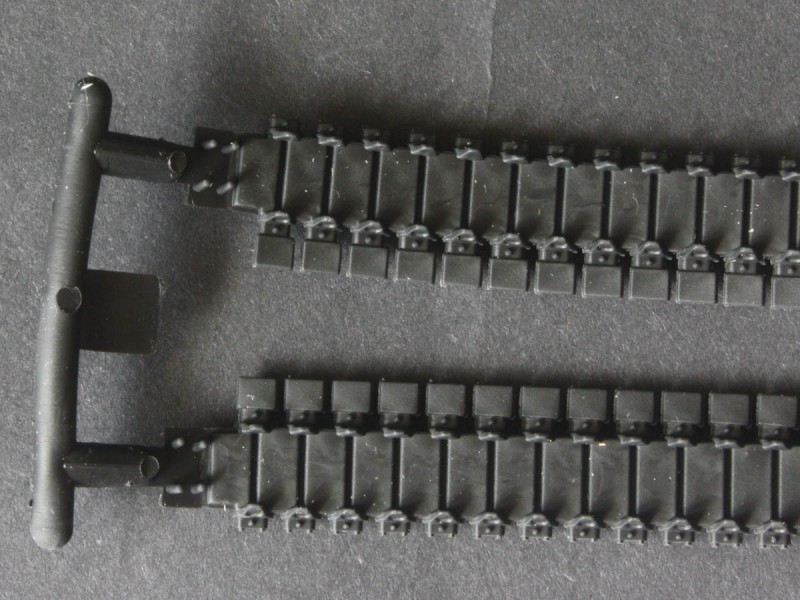
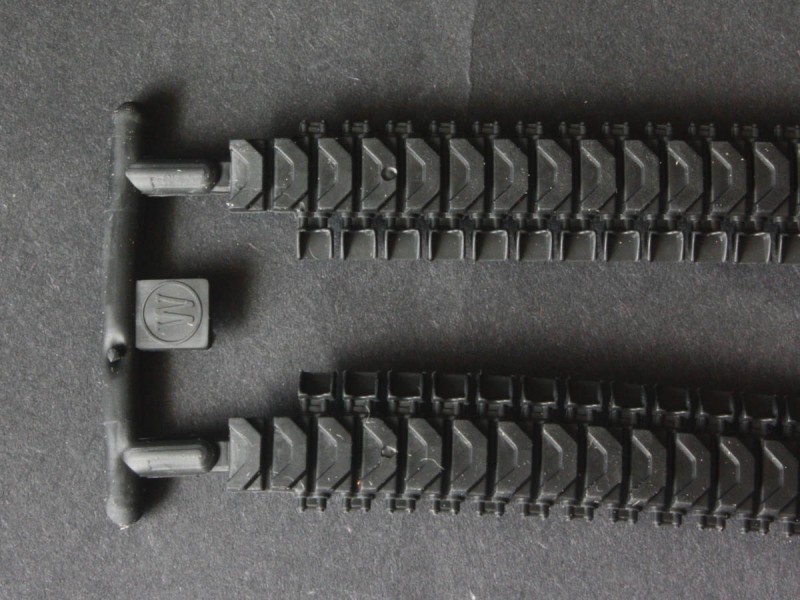
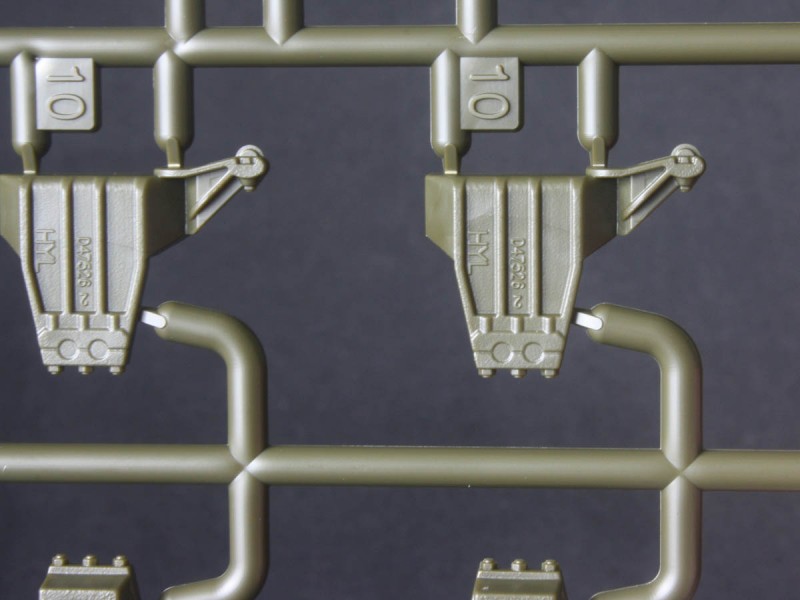
Tracks are the T48 rubber chevron type, with factory-made extended end connector (EEC) duckbills fitted to the outer edge. There are a few nubs to remove from the chevrons, and a few faint ejector marks on the inner pad surfaces. The vinyl is fairly soft.
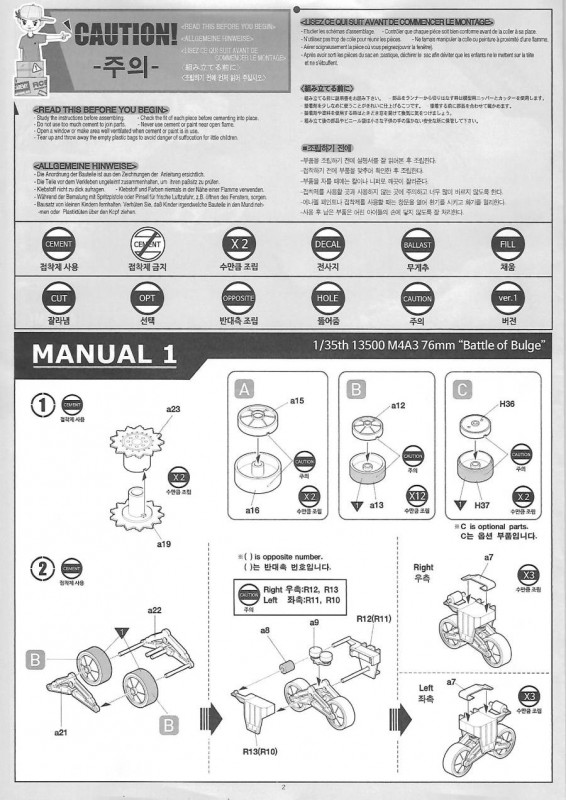
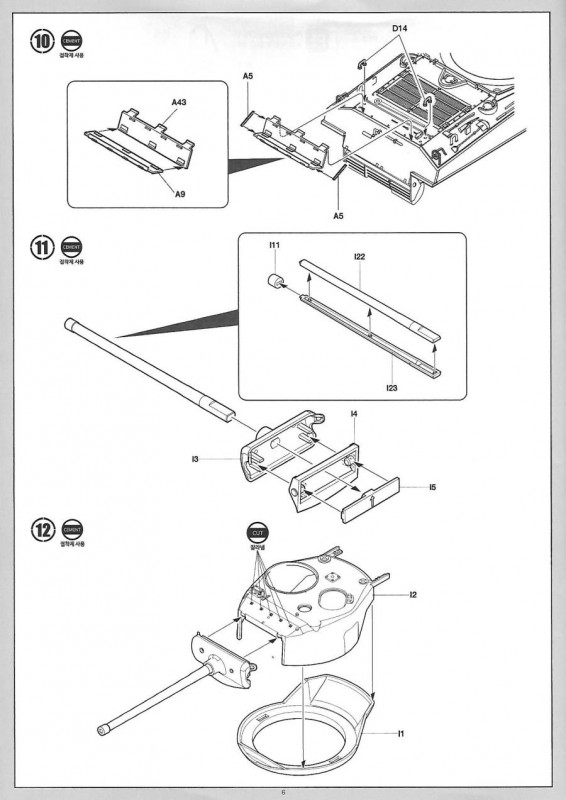
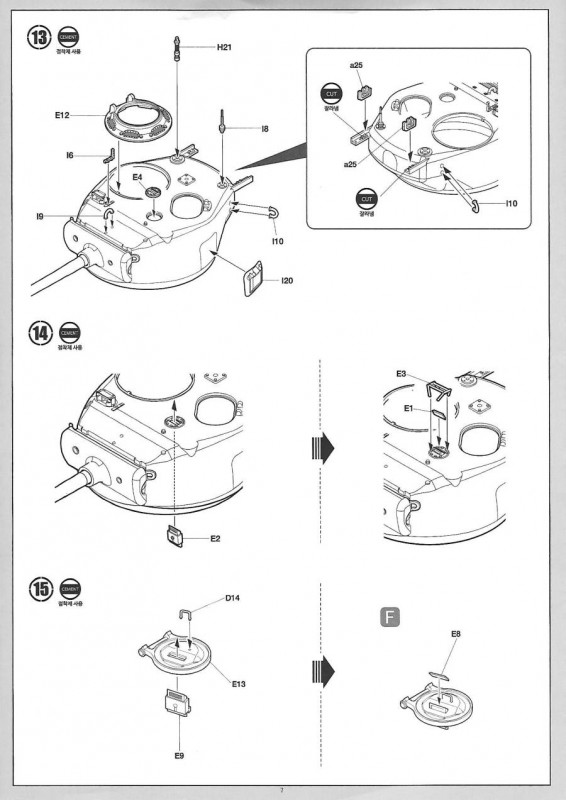
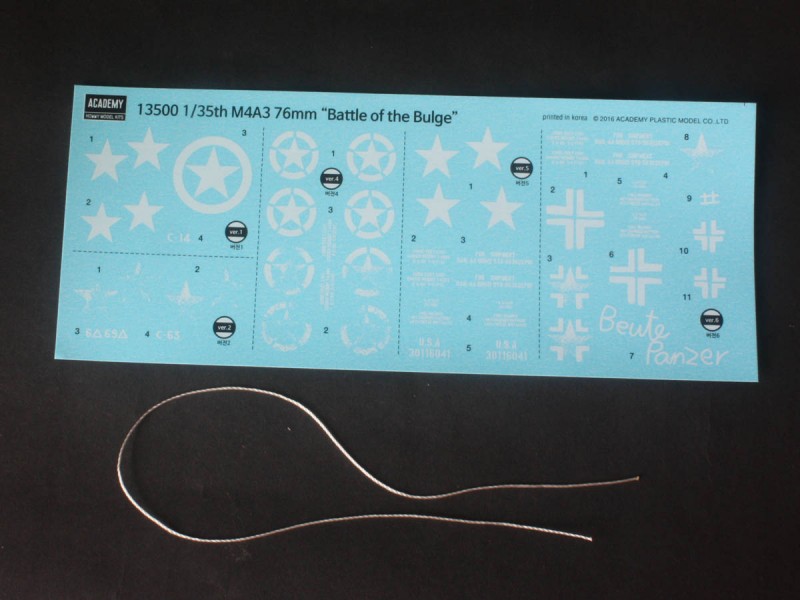
Instructions come as an A4 line-drawing booklet, with a separate folded sheet identifying the six marking schemes.
markings
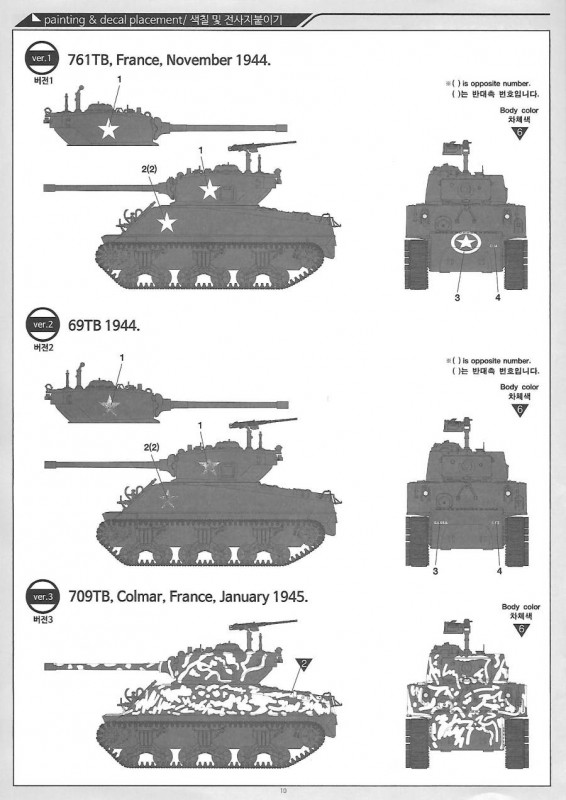
The six schemes are:
761 TB, France, November 1944
69 TB 1944
709 TB, Colmar, France, January 1945
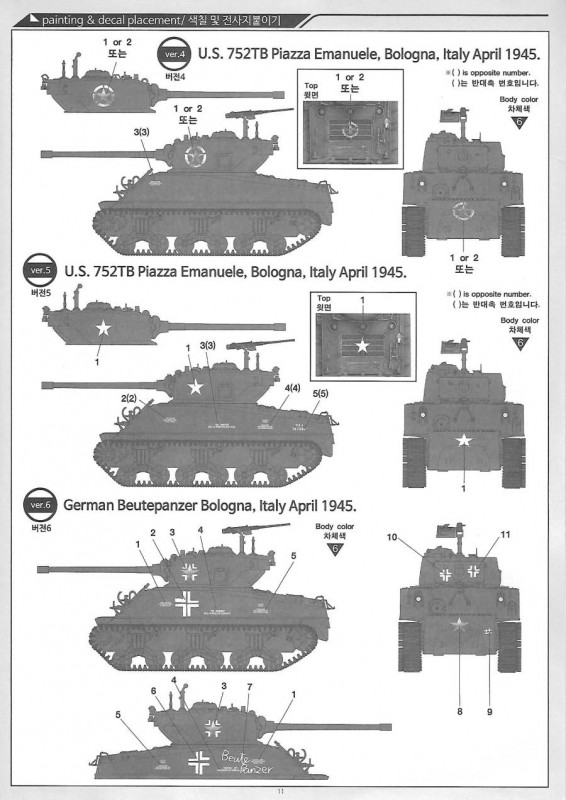
752 TB, Piazza Emanuele, Bologna, Italy, April 1945
752 TB, Piazza Emanuele, Bologna, Italy, April 1945
German Beutepanzer, Bologna, Italy, April 1945
Of these, the 709 TB scheme is from a well-known photo, but is an early split hatch turret instead of the oval-hatch turret in this kit. The Beutepanzer is likewise from well-known photos, but to build it you will need to use the muzzle brake (instructions call for the thread-protector cap instead) and trim off the extended end-connectors on the tracks. I could not find pictures of the other tanks, but the units they represent had a mixed bag of M4A3(76)W tanks over the course of the 1944/45 time period, so these might be correct.
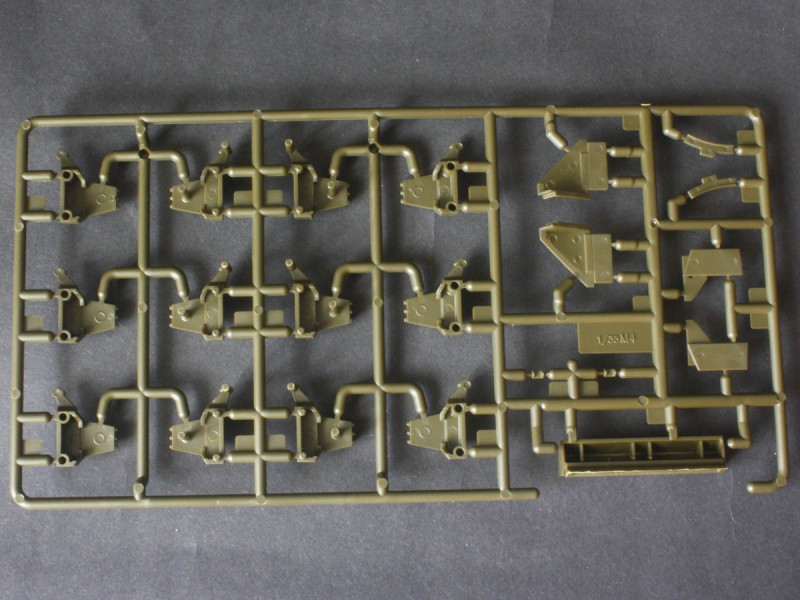
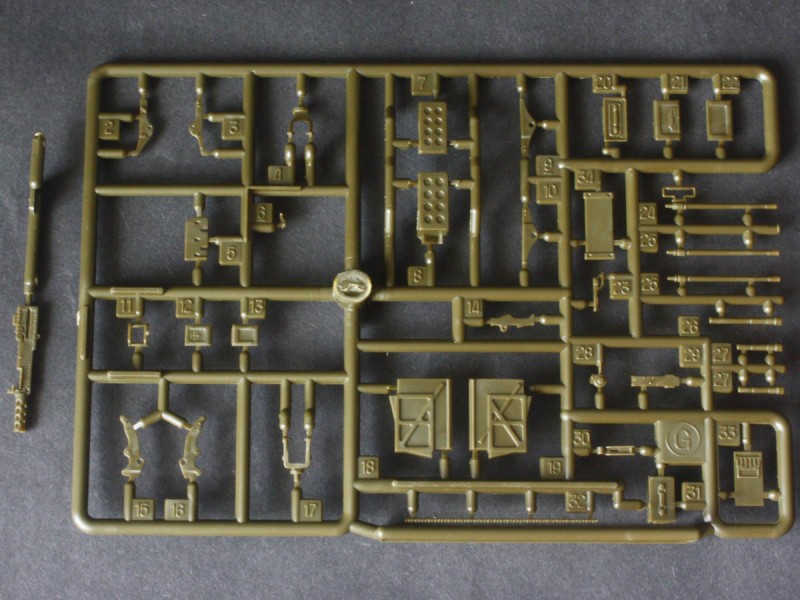
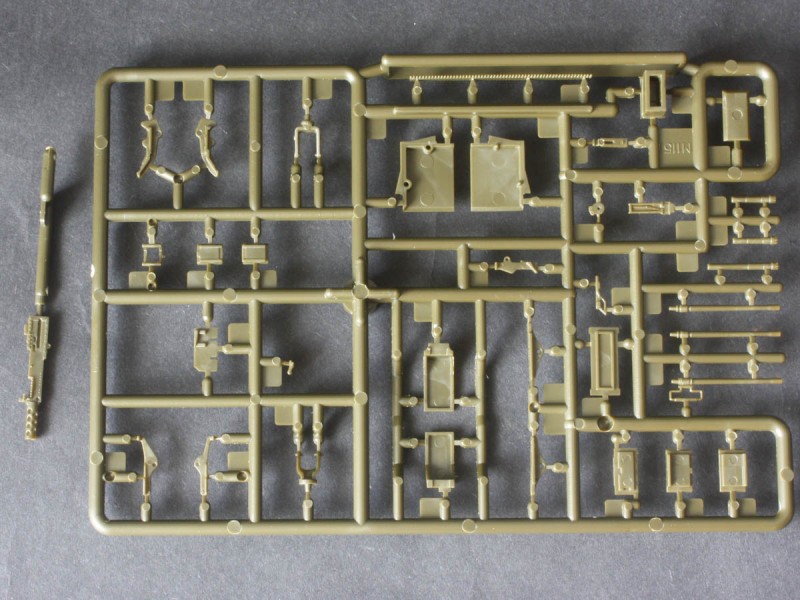
The parts
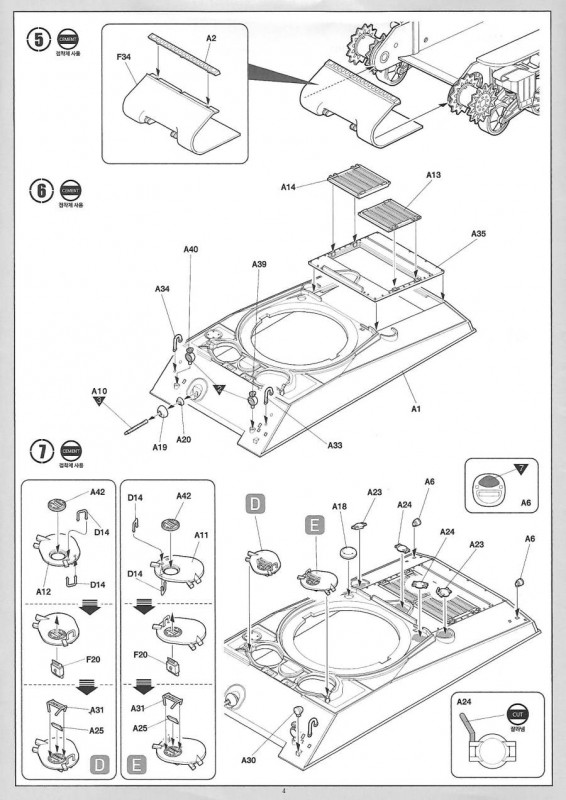
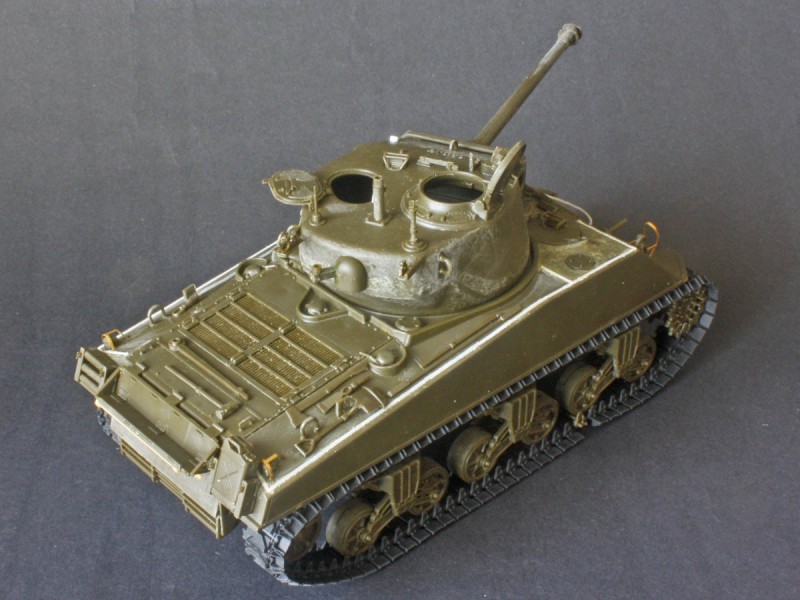
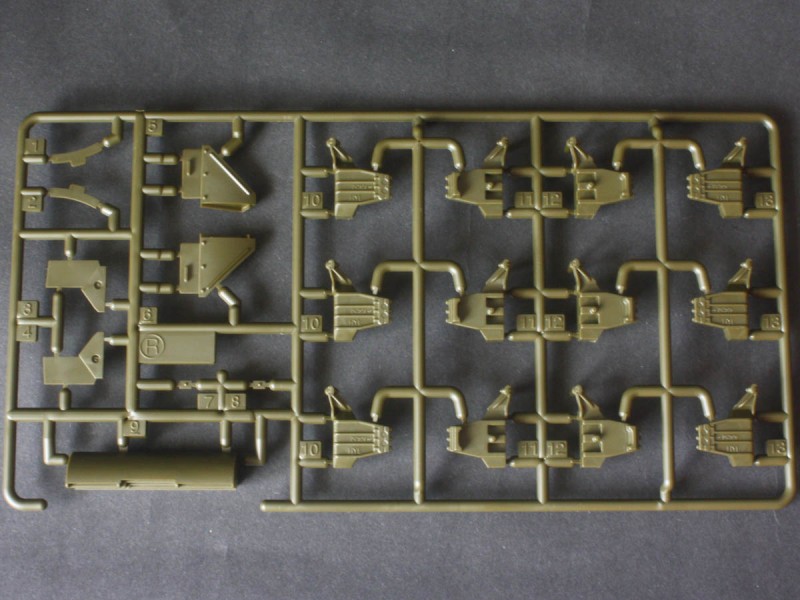
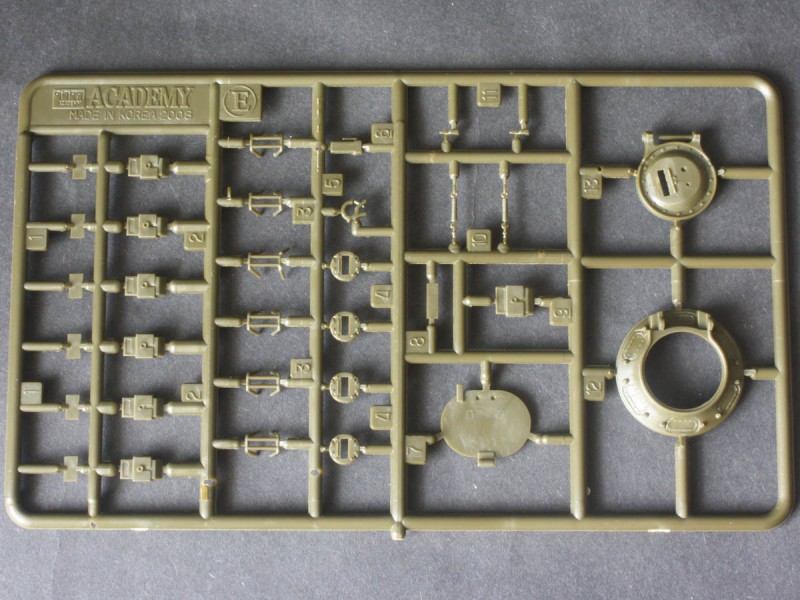
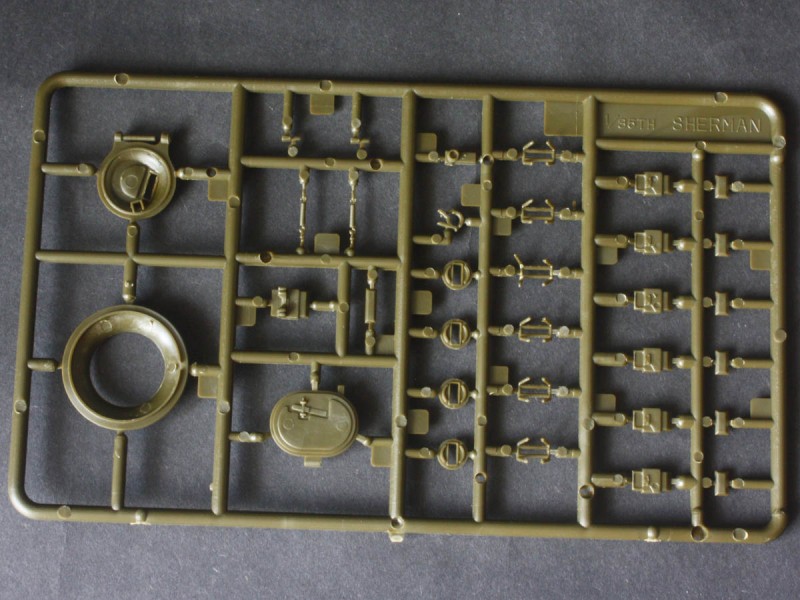
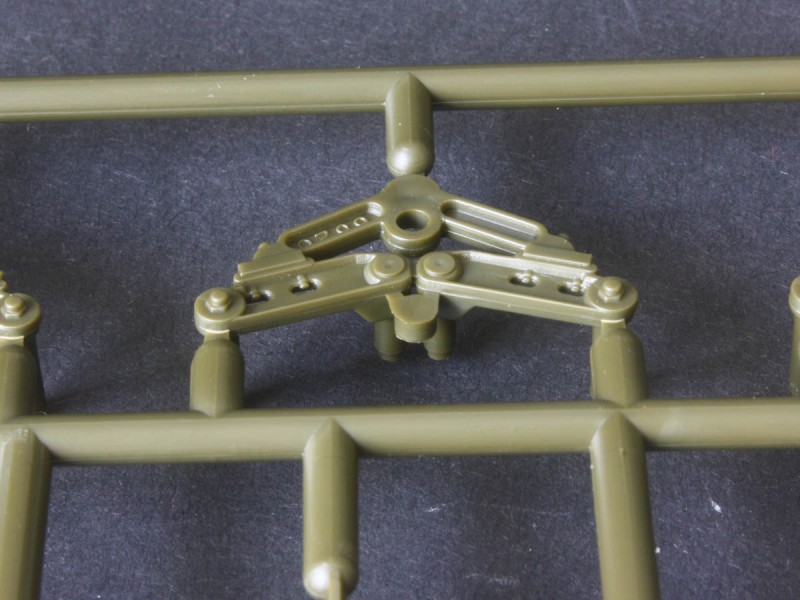
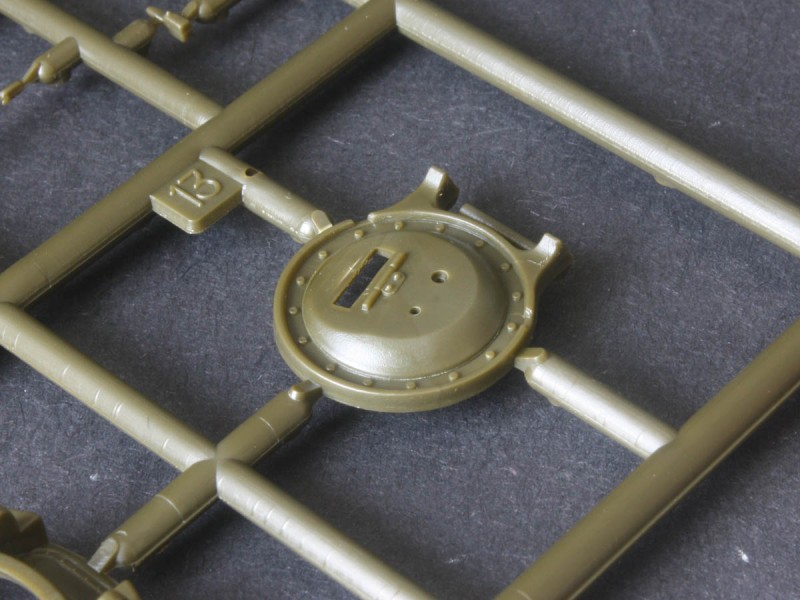
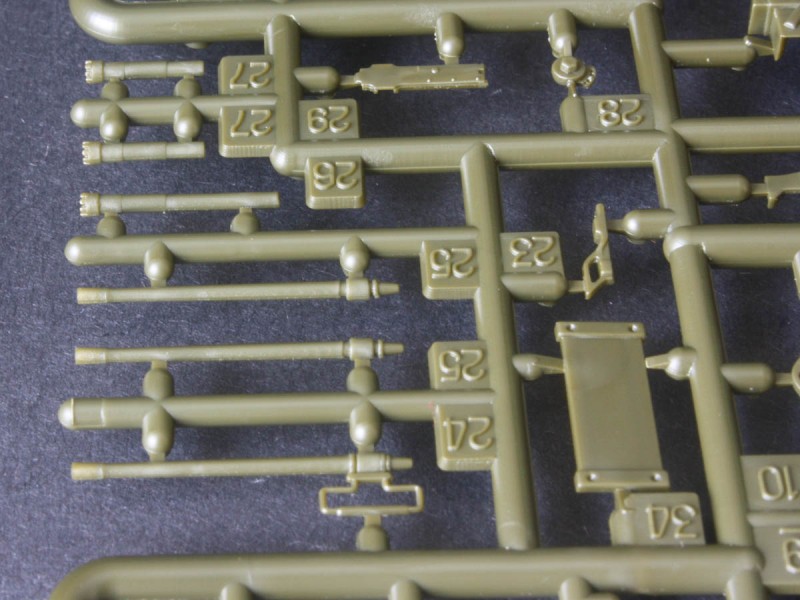
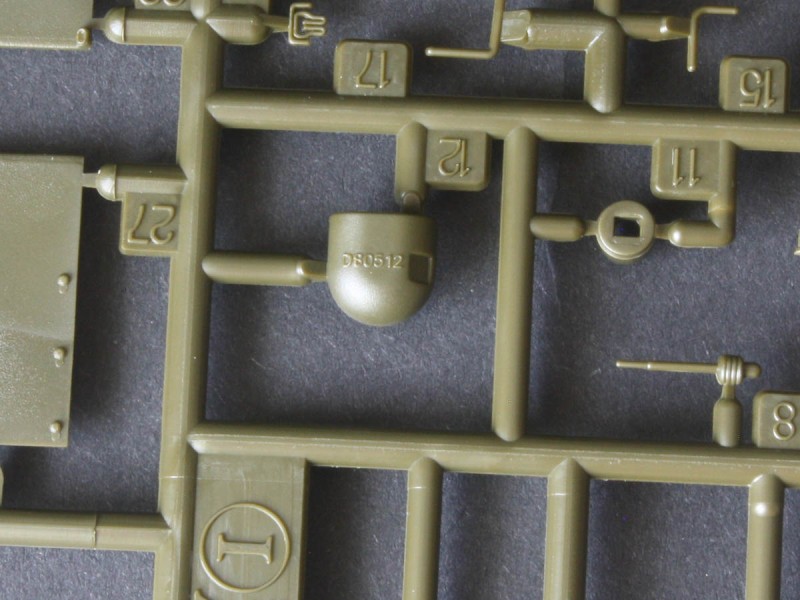
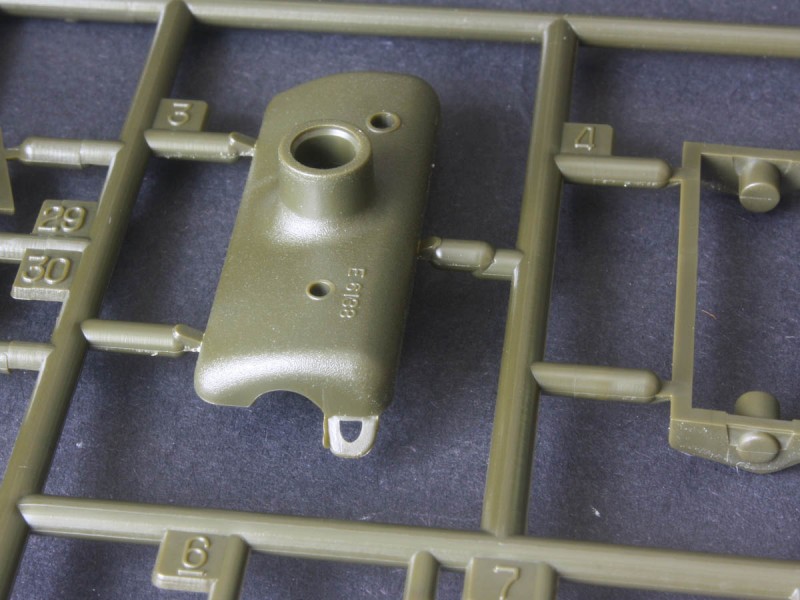
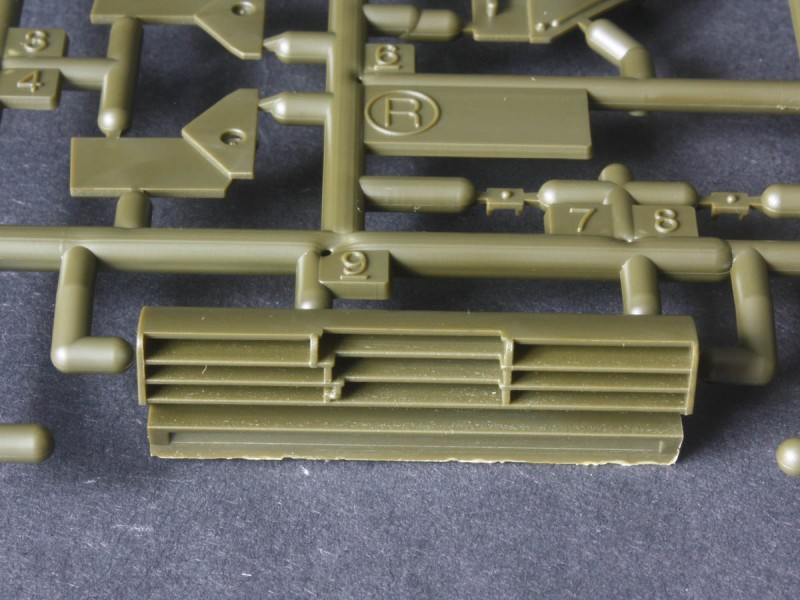
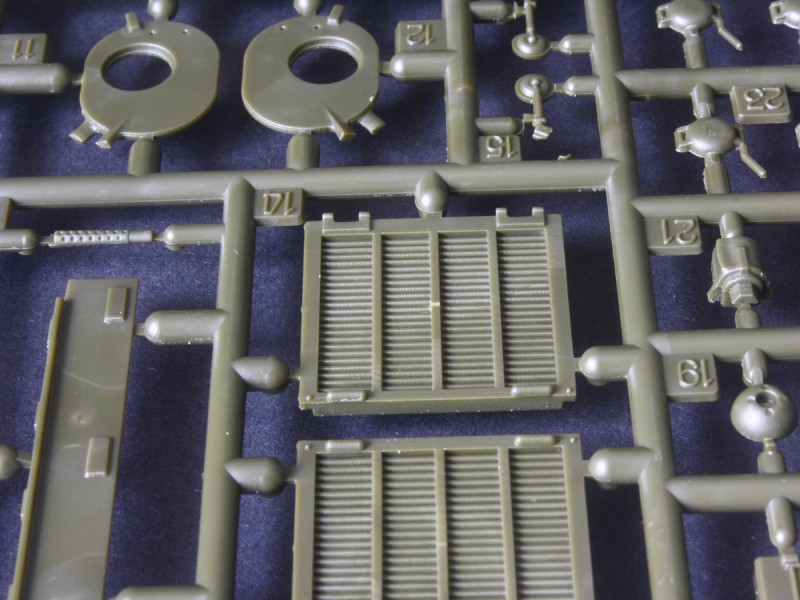
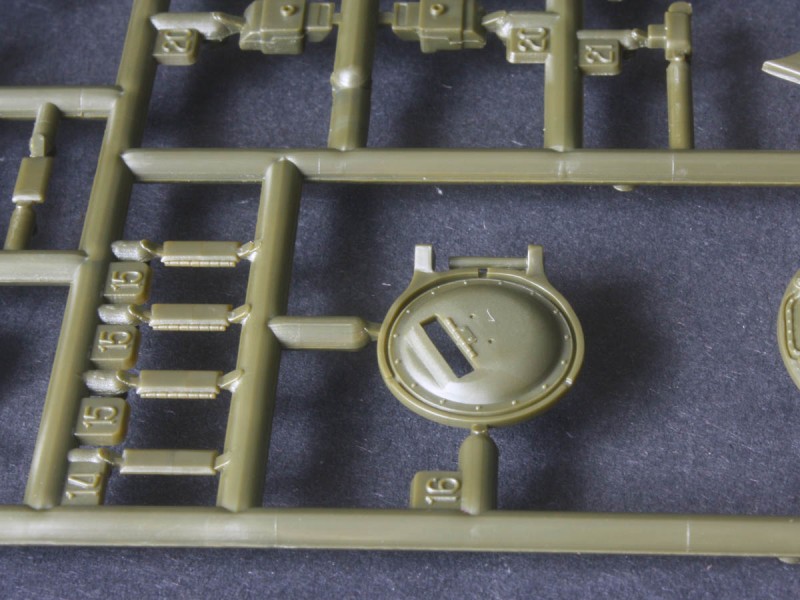
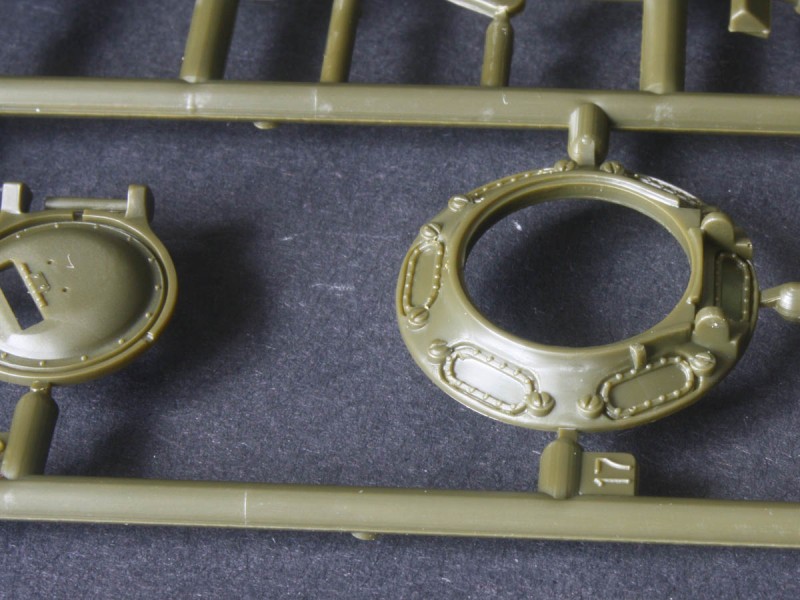
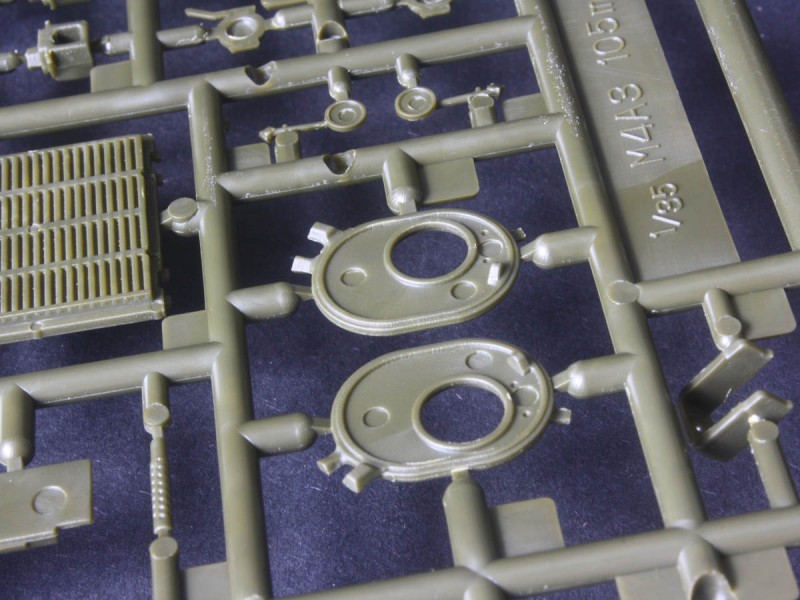
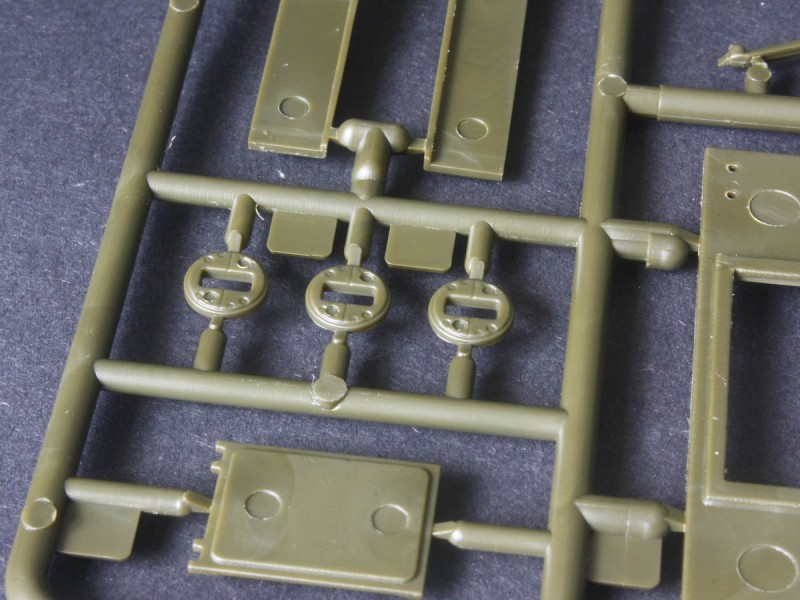
Academys pick & mix approach to sprues means there are parts to build most of the subtle flavours we have come to expect from Sherman tanks. Most (if not all?) of these would use the later upswept bogie frames on sprue R, but if you wanted field-repair variety the horizontal-roller frames on sprue a are perfectly useful. Likewise there are open-spoke wheels in the kit that might be used as replacements, even though they were old-hat by the time these tanks were built, and a couple of the later dished wheels too. Another option is the choice of muzzle brake or thread protector for the main gun, but tanks with the oval loaders hatch mostly left the factory with the brake installed, so it is odd that Academy calls for the protector instead. We also get two Commanders vision cupolas, and two sets of drivers hatches, representing evolutions in tooling in the kits family tree theres certainly lots of parts for the spares-box. Sadly for some, these are not clear, but Ive always preferred painting the glass anyway because it looks glossy blue-black from the outside and the clear plastic spoils the effect.
Headlight guards are provided in both plastic and PE, but there is no bending tool for the complex shapes Im fortunate to have one left over from a Tasca build, but others may be stuck. The lamps themselves are solid green (no clear parts here!), so my usual approach is to paint the lens area silver and then add several thick coats of Micro Gloss to build up a sort of glass lens effect. They were removable, so if your tank is heading into combat you can just leave the lamps off and say they are stowed inside.
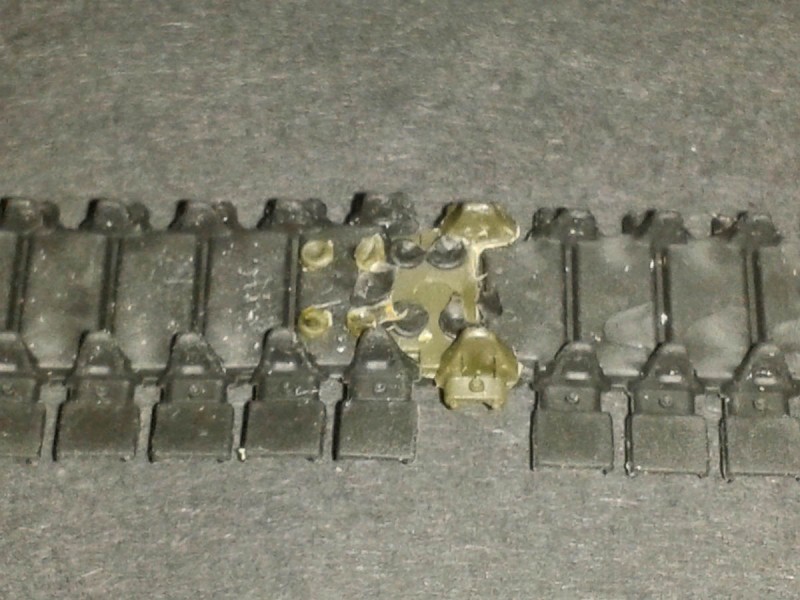
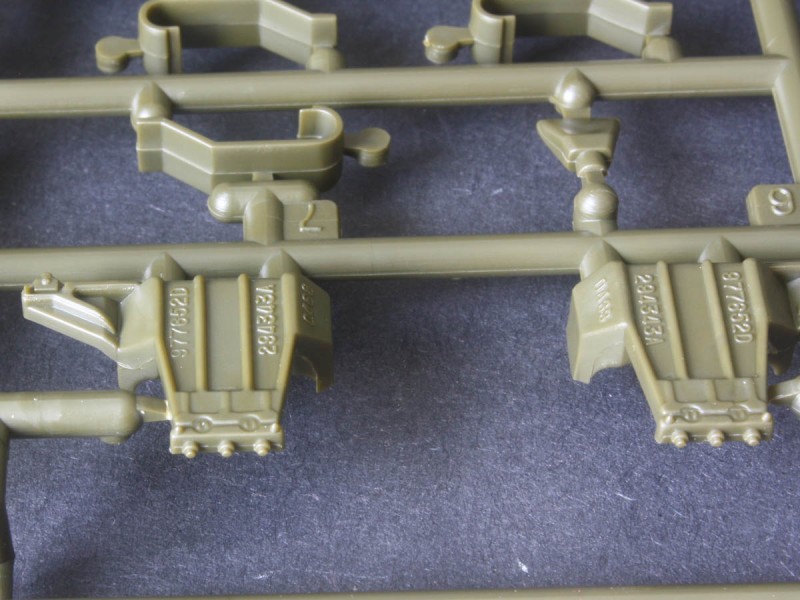
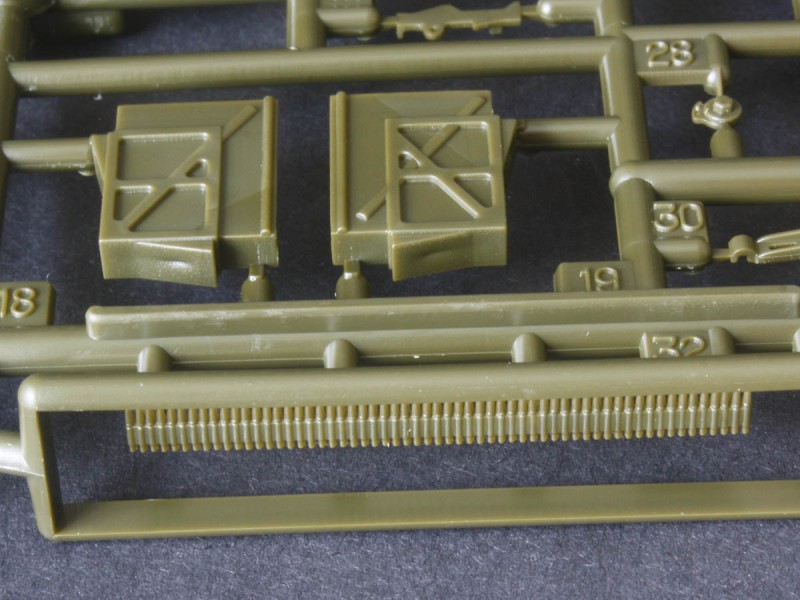
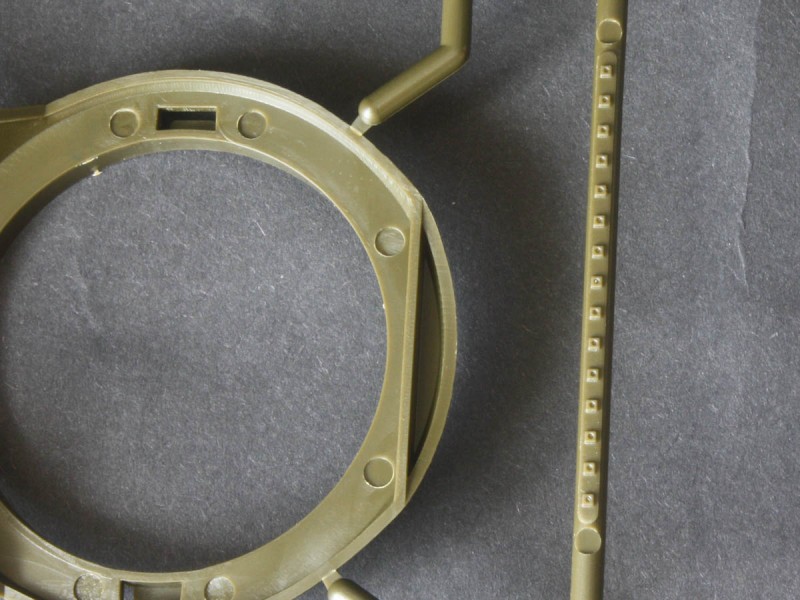
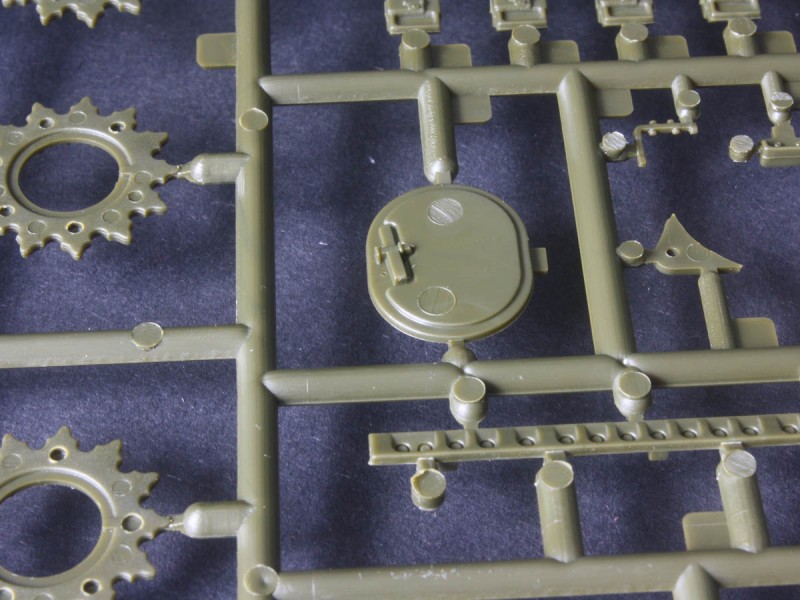
One big issue to note is the tracks they are too short. Mine need another link to stretch all the way around the suspension, so are useless as supplied. Real ones have 79 links, but these have 76. Fit was determined by stretching them around the built-up bogies rather than link-count, so Im sure mine will not fit. You could try to splice in a section of the plastic track on sprue H as I did, but it will be hard to hide the change, and the vinyl will not take glue so the pins need to be melted like rivets. Besides, the tracks are too narrow (by nearly 0.75mm) and are best replaced anyway. This however causes trouble with the sprockets, which will need a shim of 0.030 plastic inserted to cope with proper scale-width tracks. The funny thing is the spare track blocks (for stowage) are the correct size, so it isnt as if Academy didnt know
the build
I started a
build log about it, so will only give highlights here.
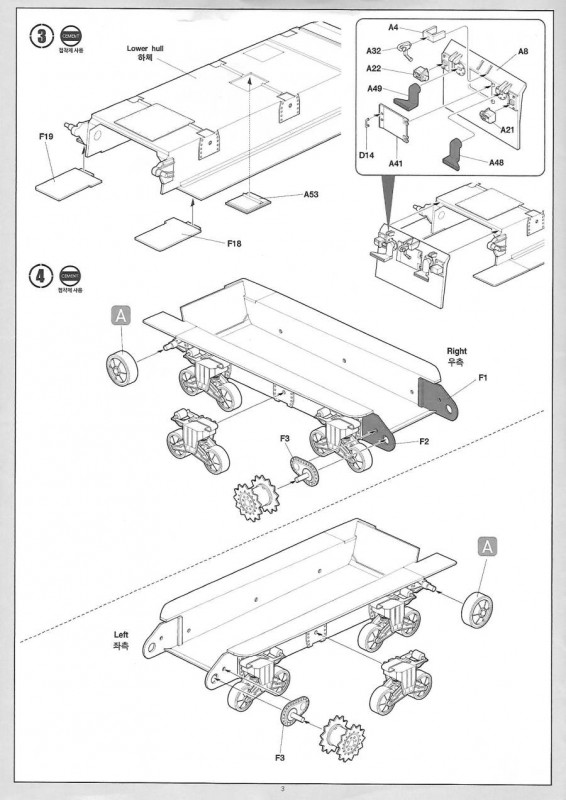
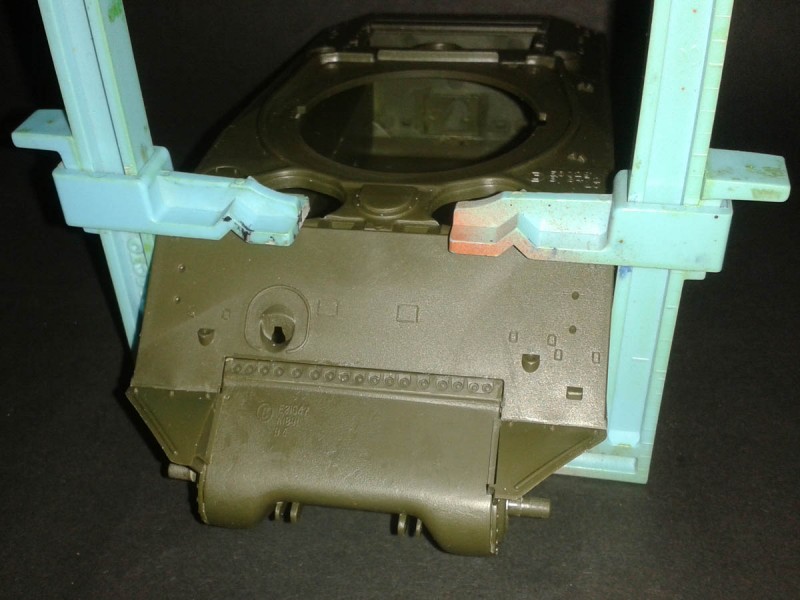
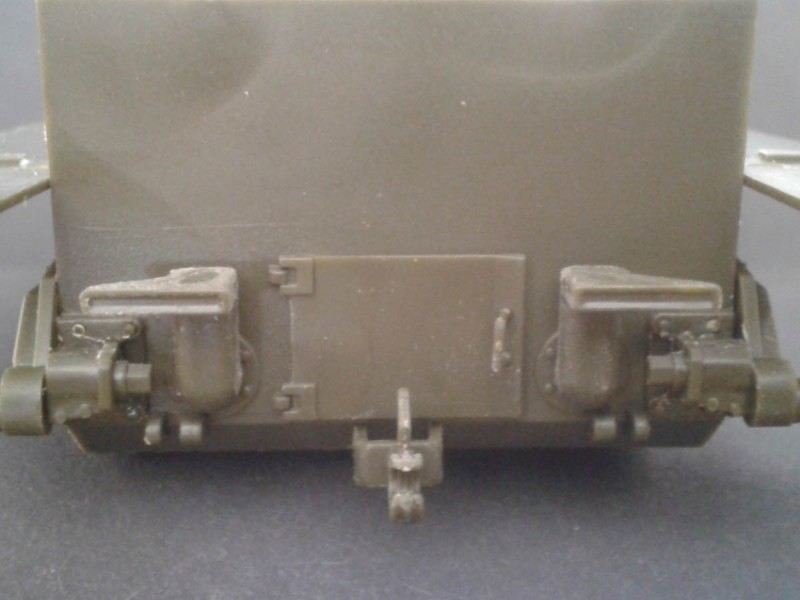
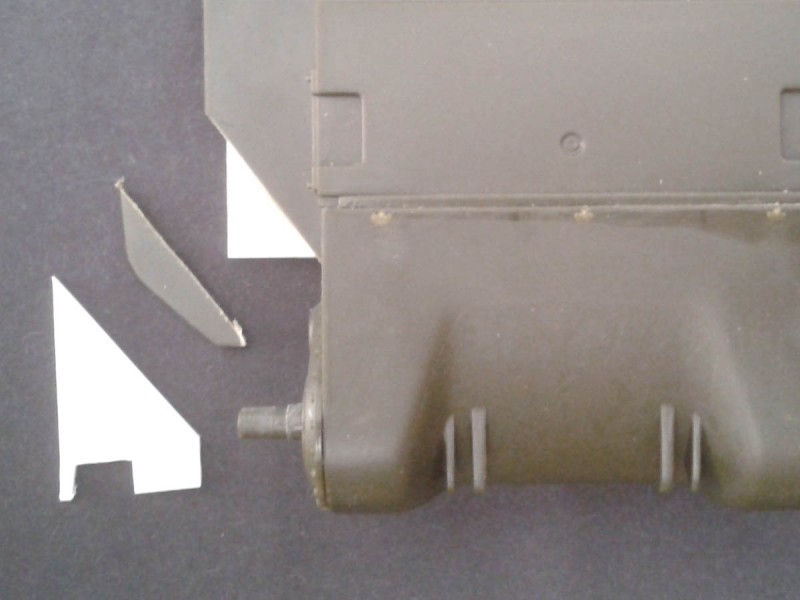
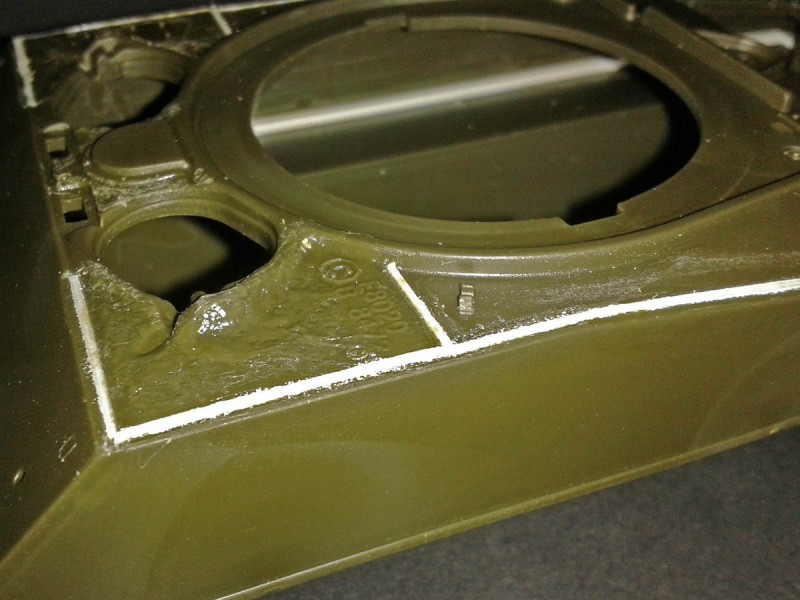
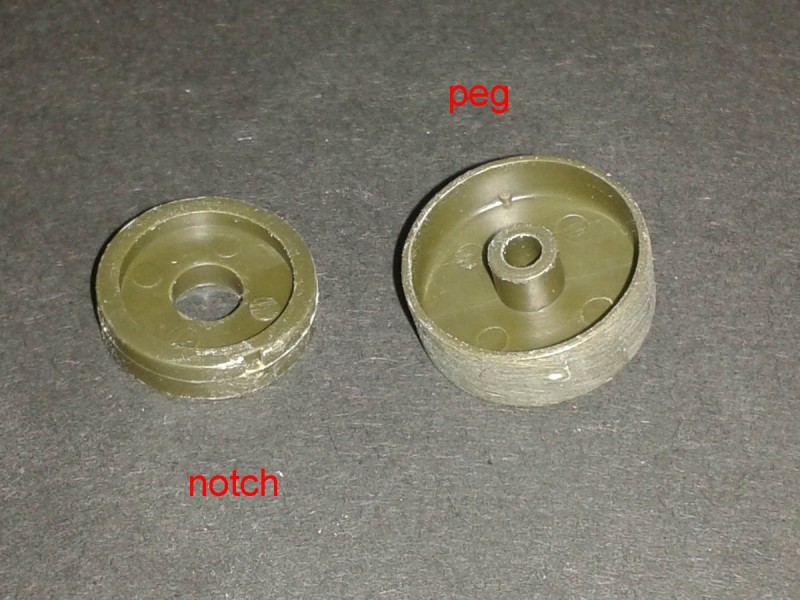
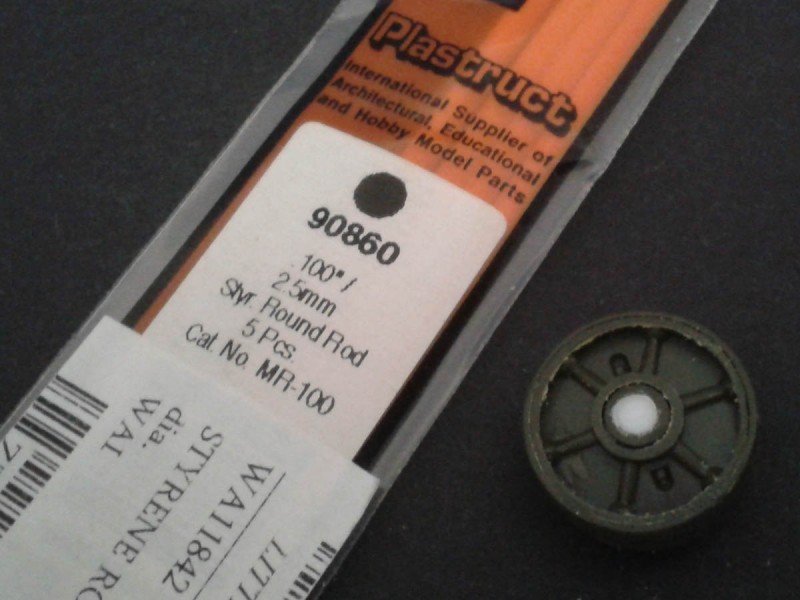
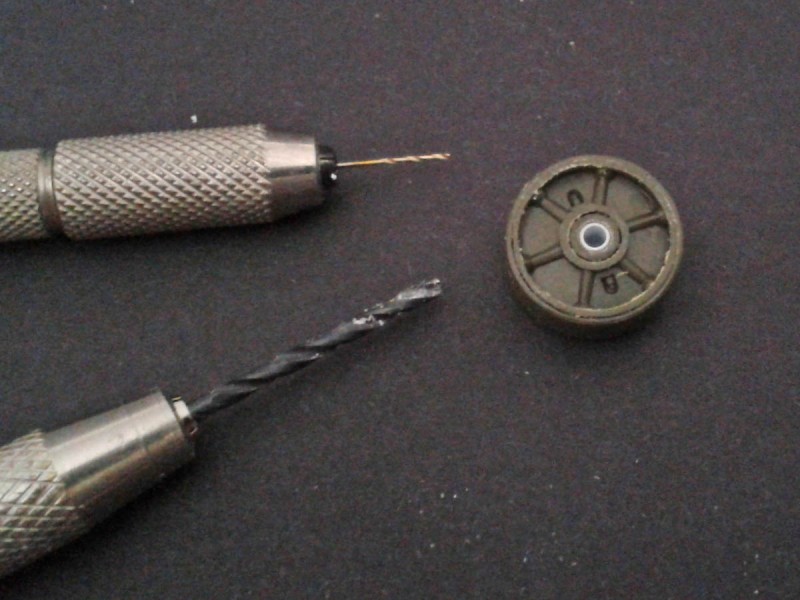
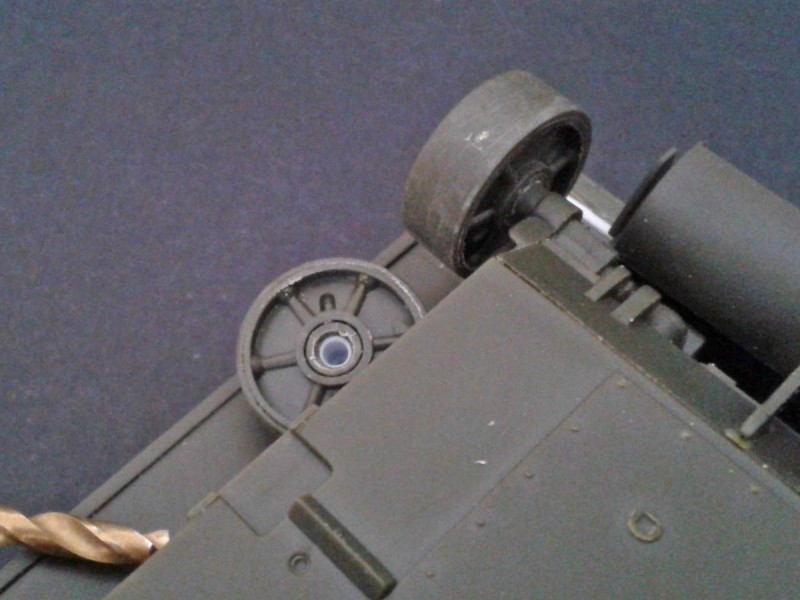
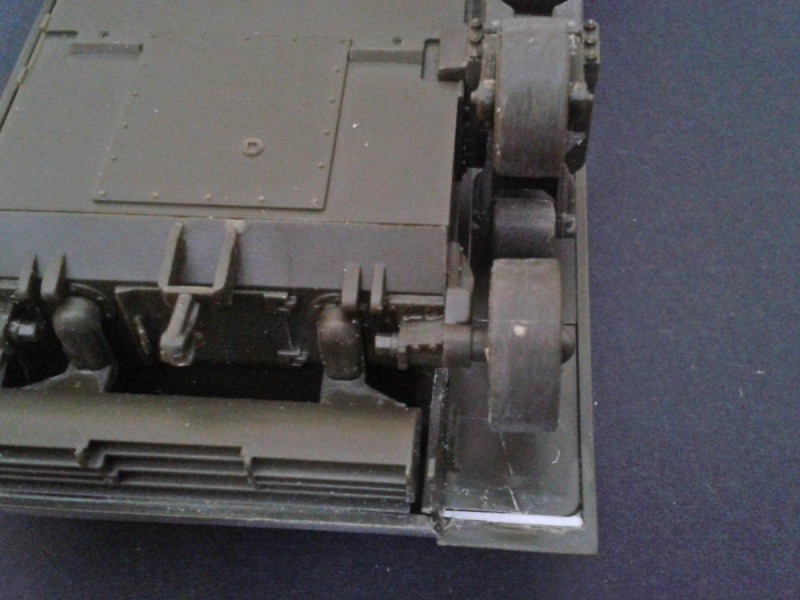
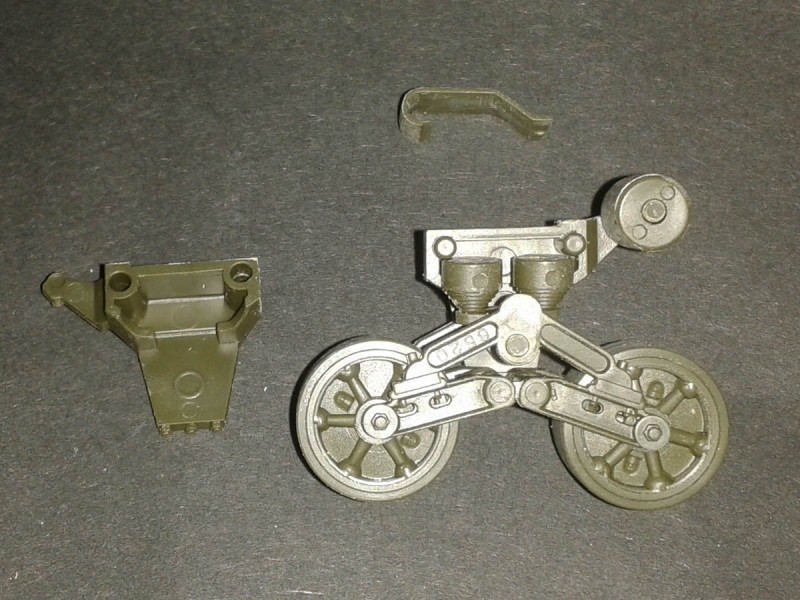
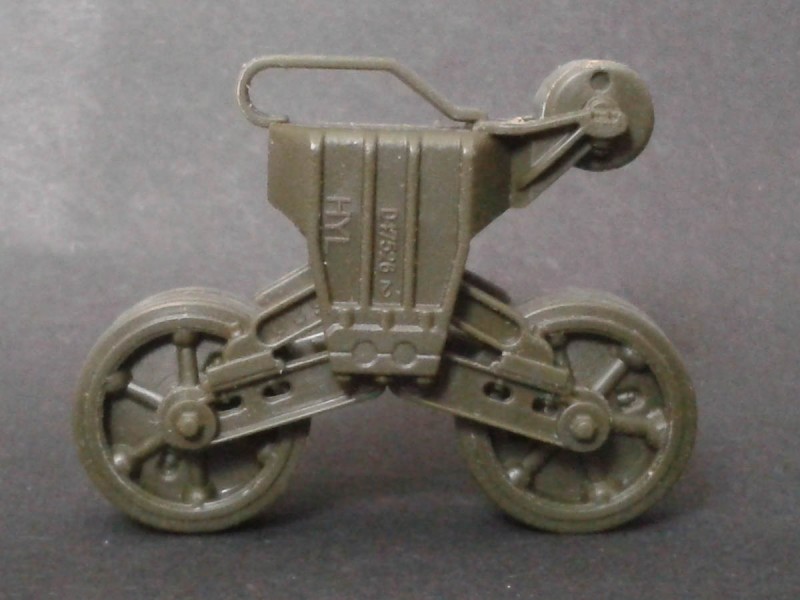
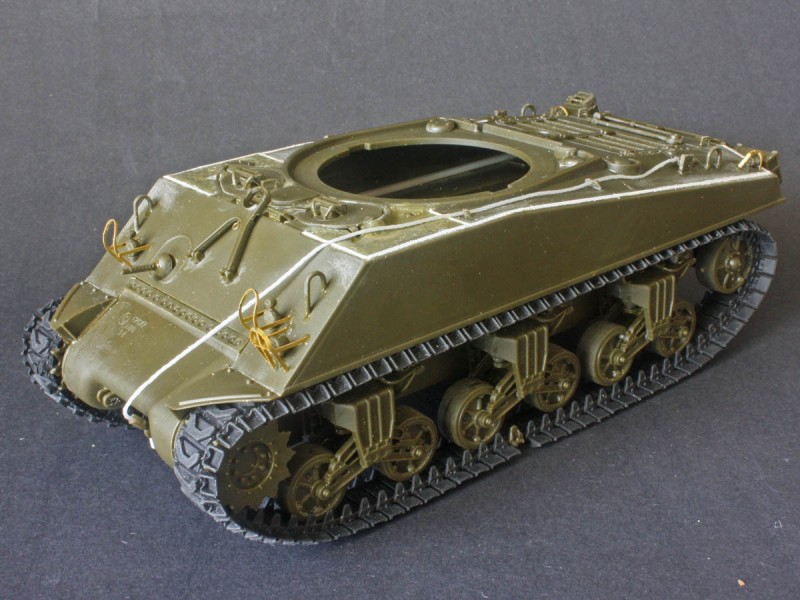
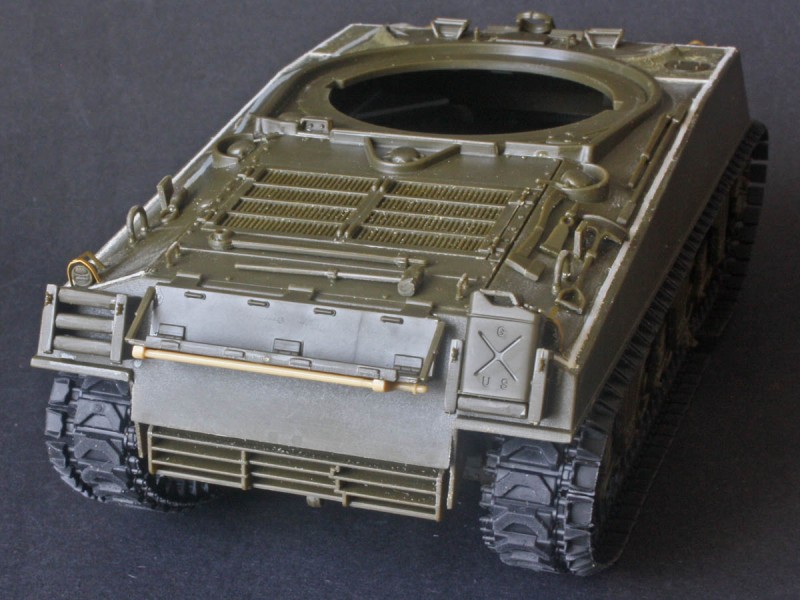
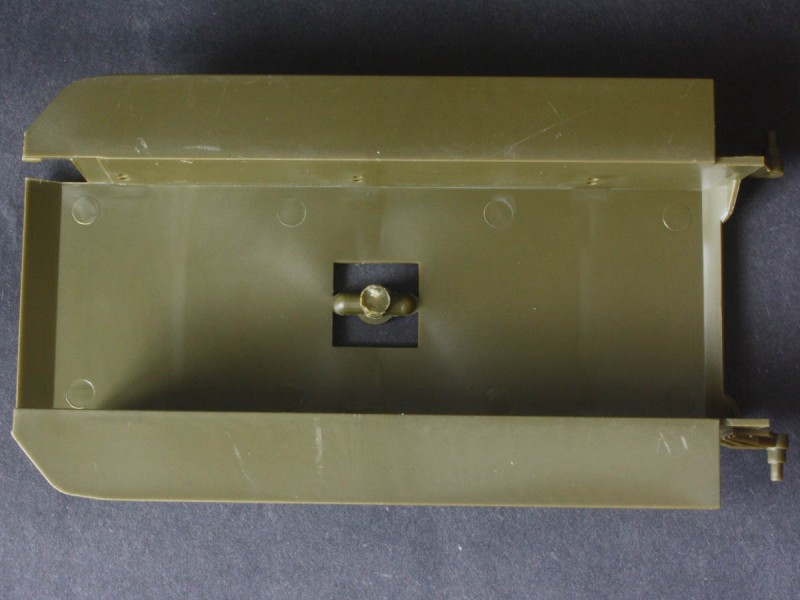
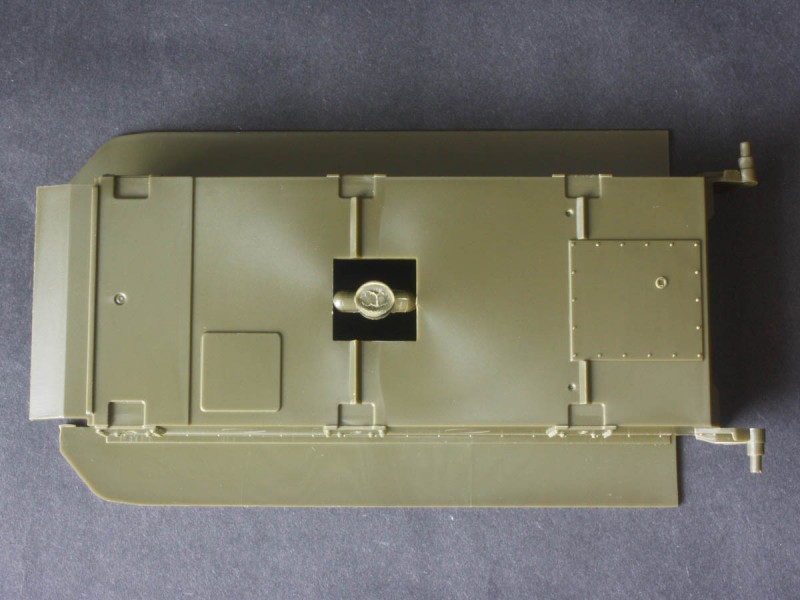
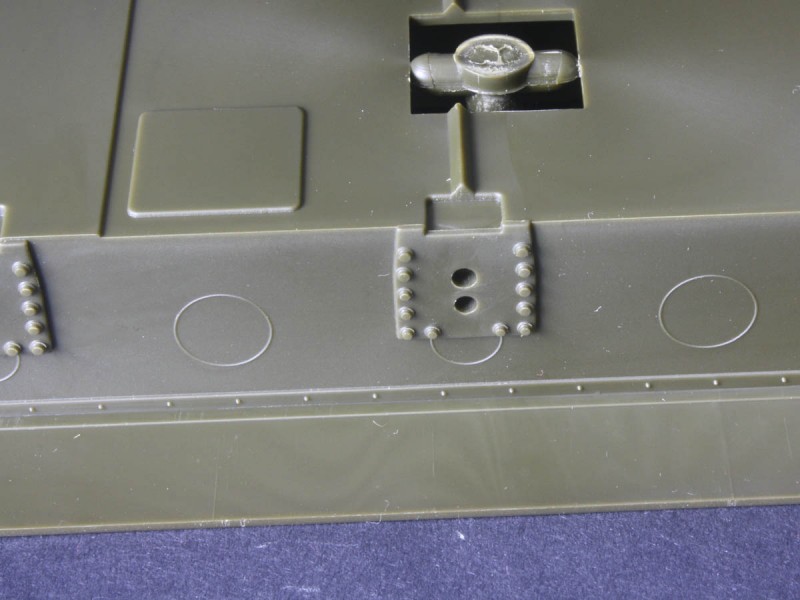
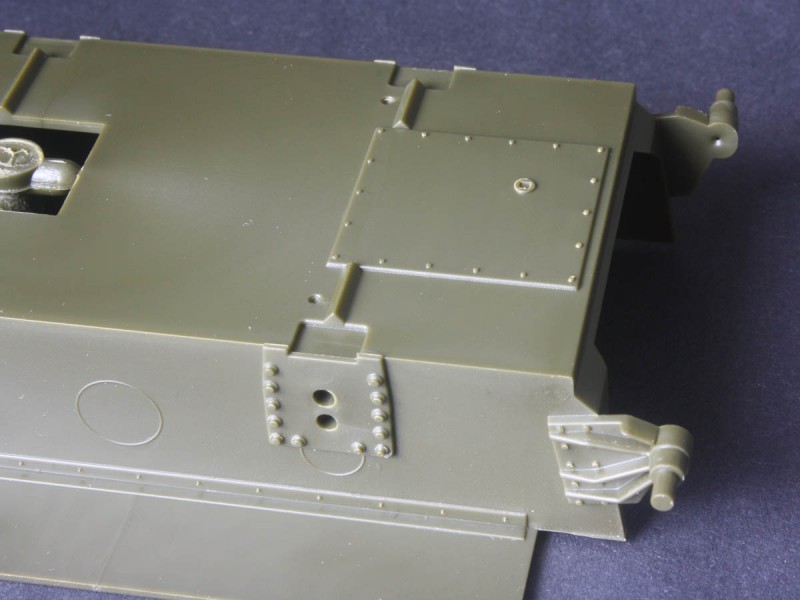
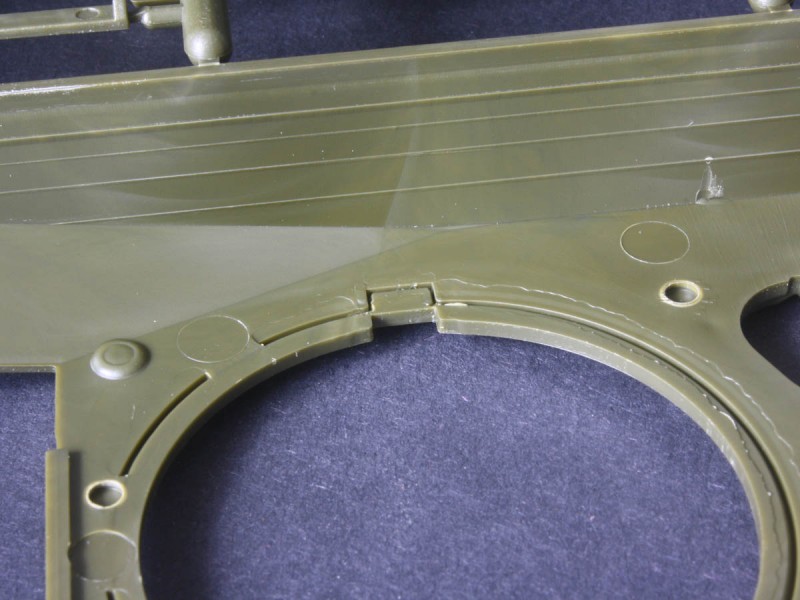
Starting with the hull, I plugged the useless square hole in the floor (thanks, Academy!) and added the tranny sides before adding the housing this avoided any fit issues that others complain about. Its a pity the details on the underside are so inaccurate for the M4A3 tank. Trouble came when I looked under the sponson floors, as there are big gaps to fill with plastic. The upper hull also needs some strip reinforcement along the edges to hold the sponson floor edges in place I added this through the turret and engine-deck holes while holding the upper hull in place. The idler wheels have a major problem, since the hull comes from the Easy Eight kit (where the idlers are different), and I needed to fill the holes and re-drill them to 2mm diameter. The hole also needs reamed out to 3.2mm to a depth of 1mm the resulting fit is then perfect. The bogie arms (parts a21/a22) dont fit the peg on the bogie frames (R11/12) drill the holes out to 2mm for a stiff press-fit. And the front bogie does not fit the hull because the floor is deeper at the front I filed down the bit of the bogie sticking out that goes under the hull until it fit. (Leave the peg/hole alone these are at the right height to match the other bogies
)
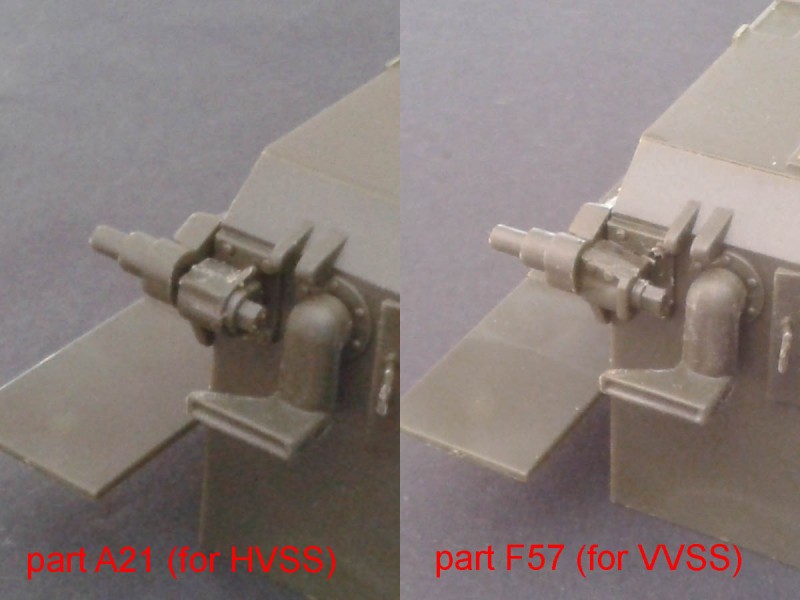
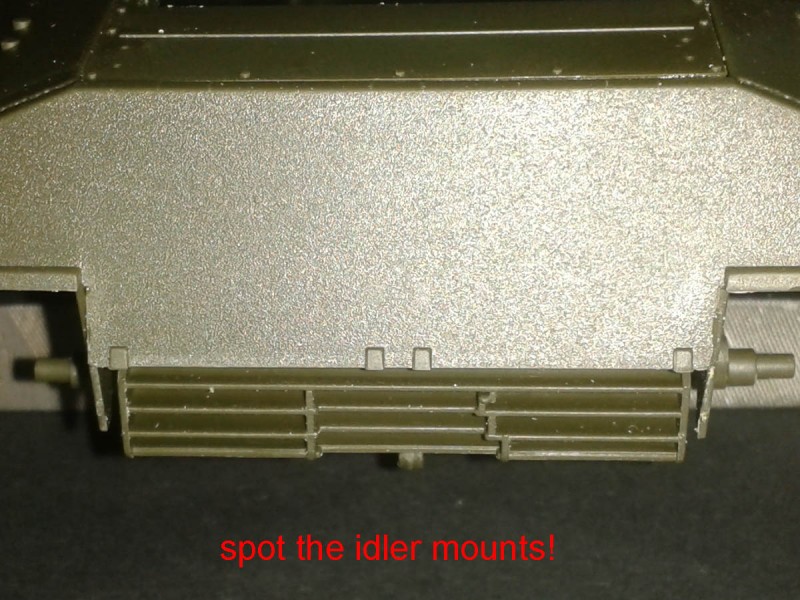
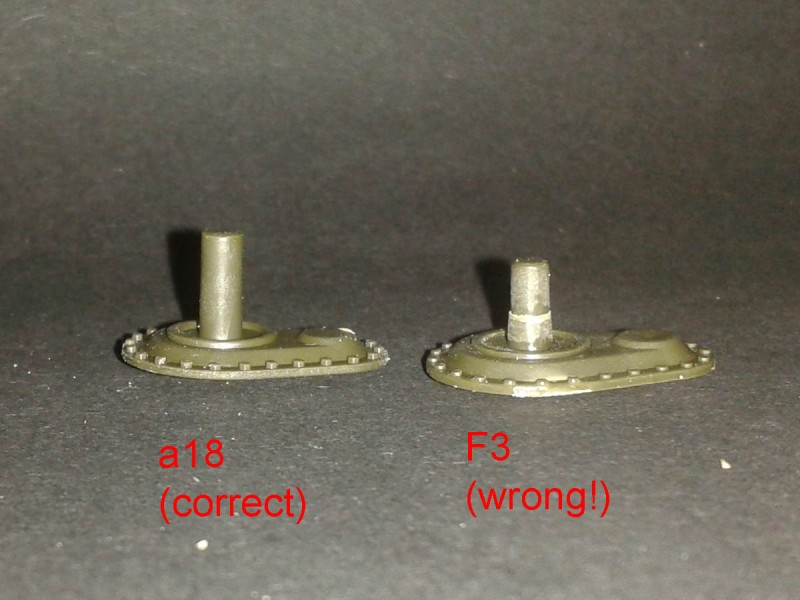
The idler mounts (A21/22) are wrong use F57/58 instead. And forget the final-drive housings F3 which are for the Easy Eight sprocket, and use a18 to fit the kit sprockets. The moulded-on mounting plate for the idlers is spurious (not matching either the VVSS or HVSS types), but fortunately is completely invisible behind the exhaust deflector. And dont use the crank handle D29 as it was only on the radial-engined M4 and M4A1 tanks.
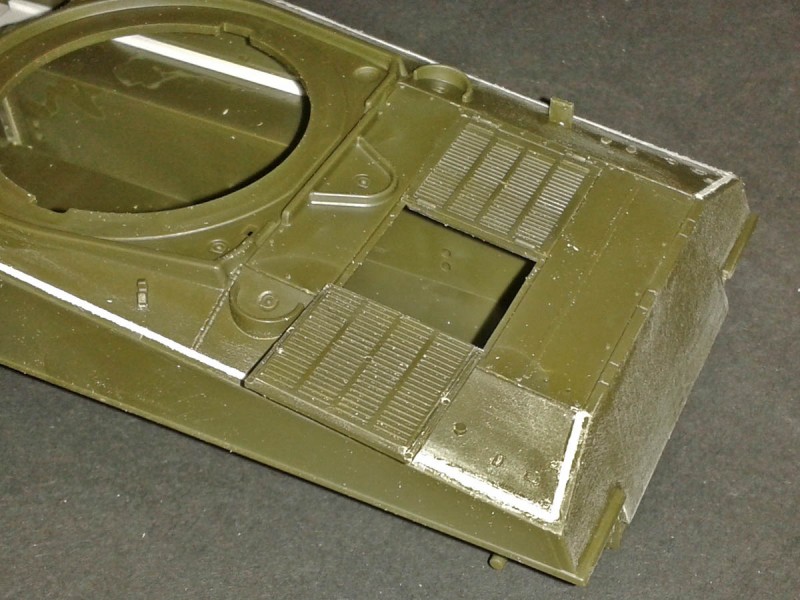
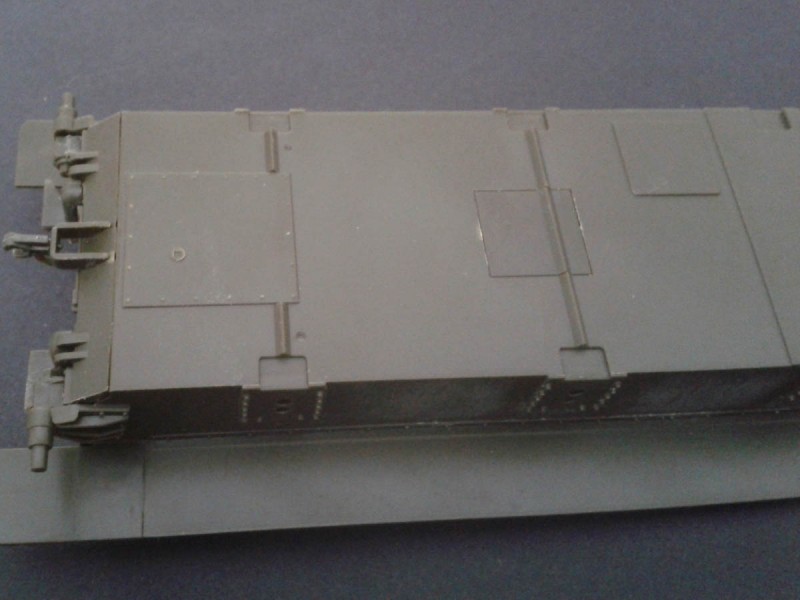
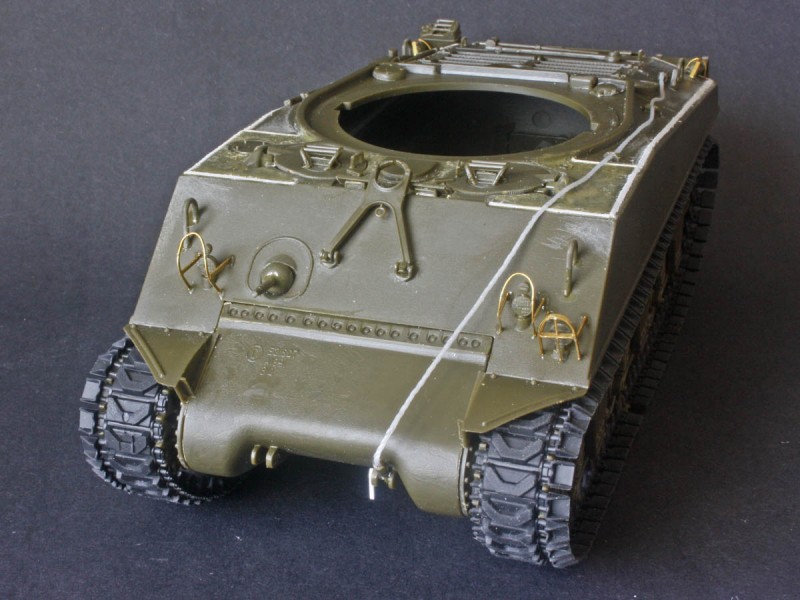
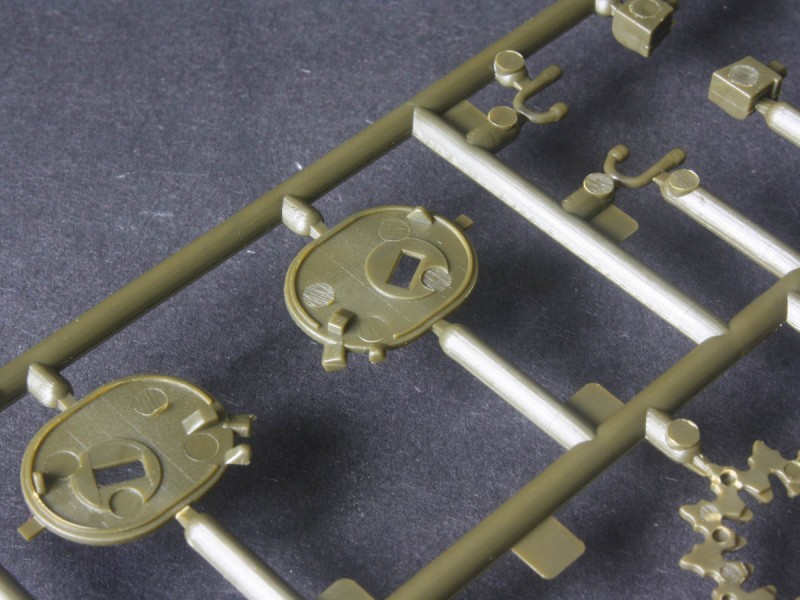
The welds on the upper hull are all trench-types, so I filled them with plastic rod and shaved it down. The real welds are raised flat surfaces. Cast texture on the drivers plate is inadequate, so I glue-stippled it. The shapes of the ridges around the hatches and the drain-gutters are slightly off, but theres not much can be done. The engine deck doors (A13/14) have interior detail for anyone brave enough to fit an engine conversion, but the handles are moulded on as lumps. Meanwhile the handles on the back of the deck are separate parts. Go figure!
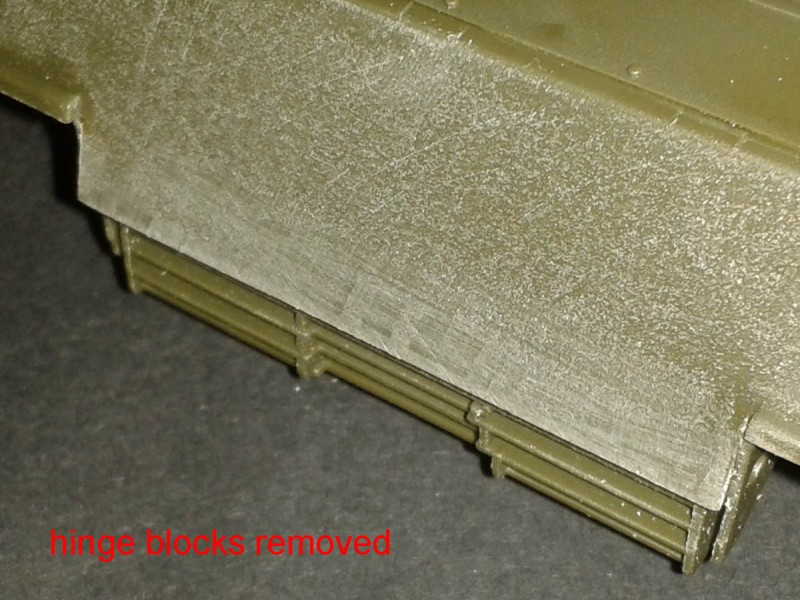
On the bottom of the rear plate there are four small rectangles that need sanded off. These are the hinges for the late exhaust deflector (the two-piece job that swings up for access), which is not in this kit. The gun cleaning rods that mount under the stowage shelf are missing despite being in Academys other kits. These are easy to make from rod and strip. Academy gives us the parts for the spare track holders on sprue H, but fails to mention them. Pretty much every M4A3 with VVSS suspension will have had these fitted at the factory. There is a tow cable to be made from the string, but no brackets to clamp it on the hull. I pinned one end into the front towing eye by scratching a quick-release pin from plastic scraps, since this was the most common type of attachment in period photos. There are shackles and even the late T-type hooks in the kit, but these are rare to see in photos around Dec 44 - March 45.
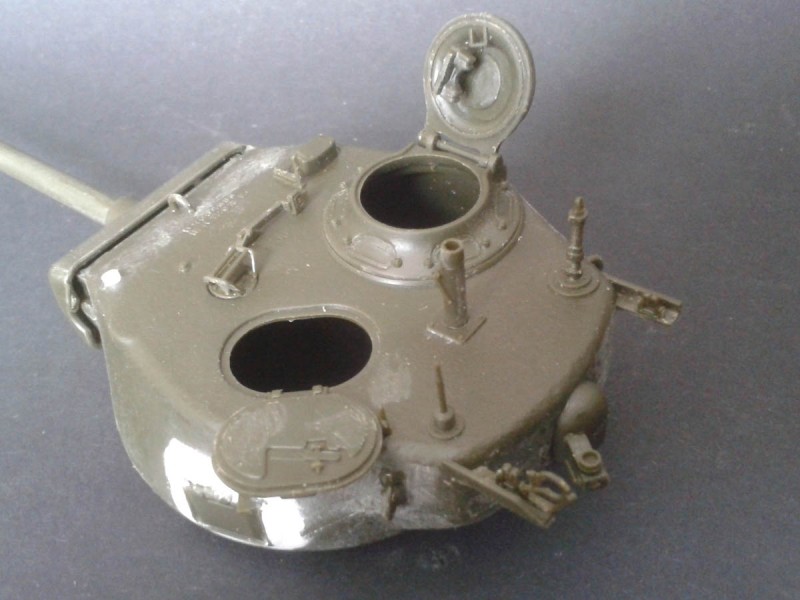
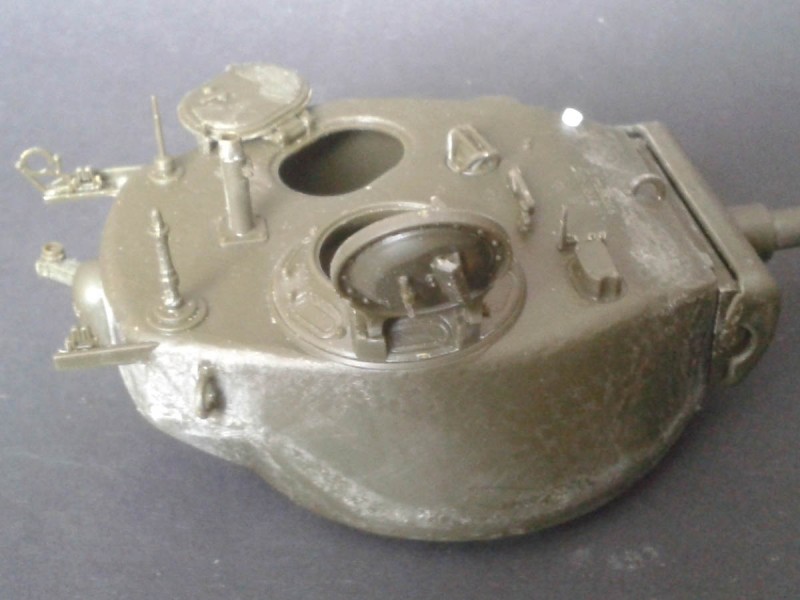
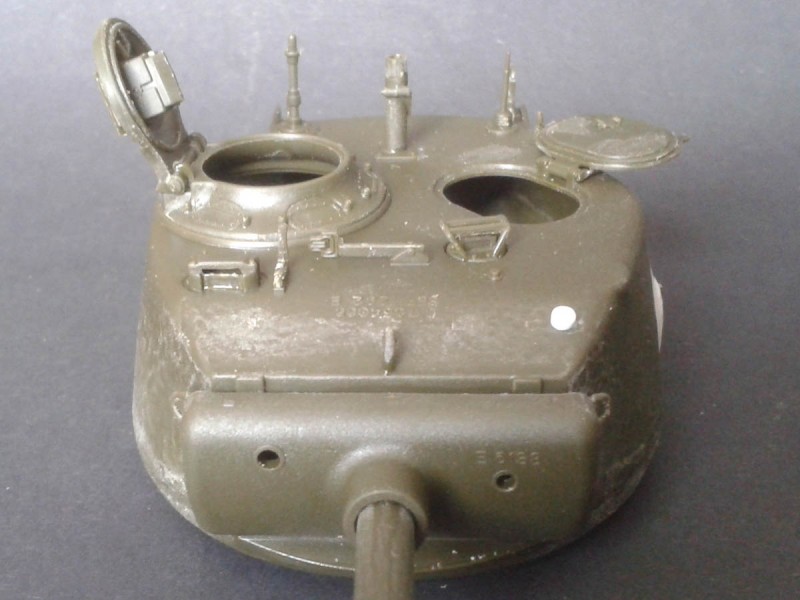
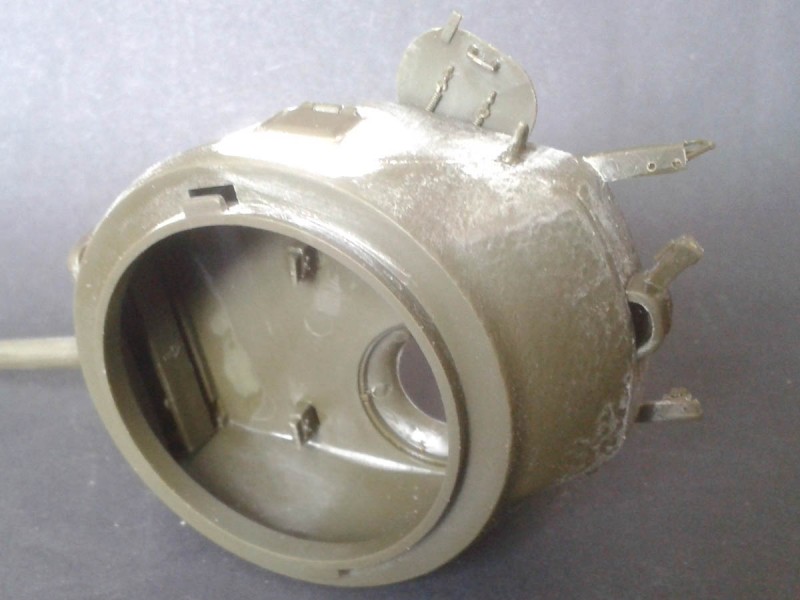
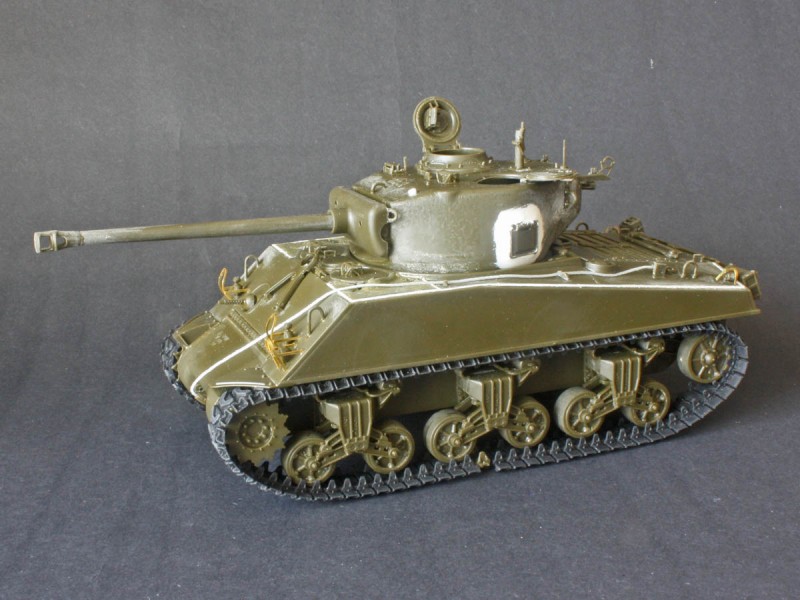
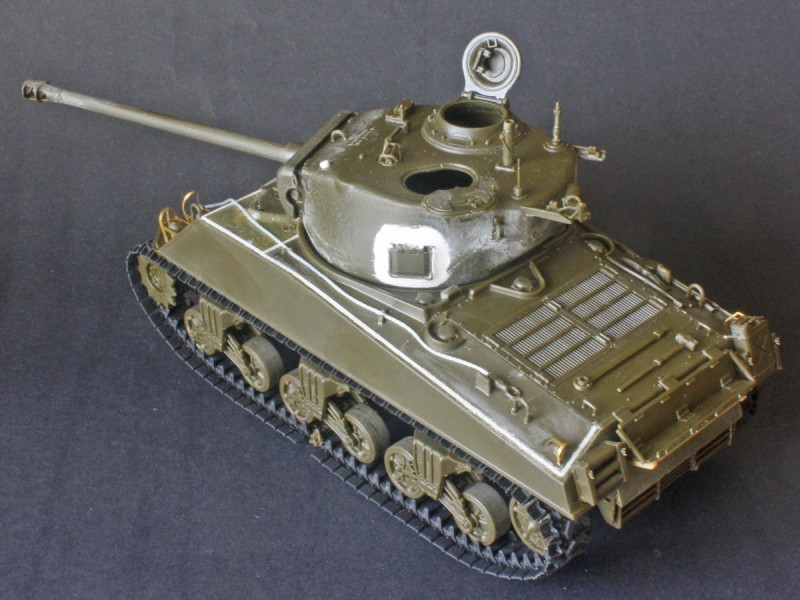
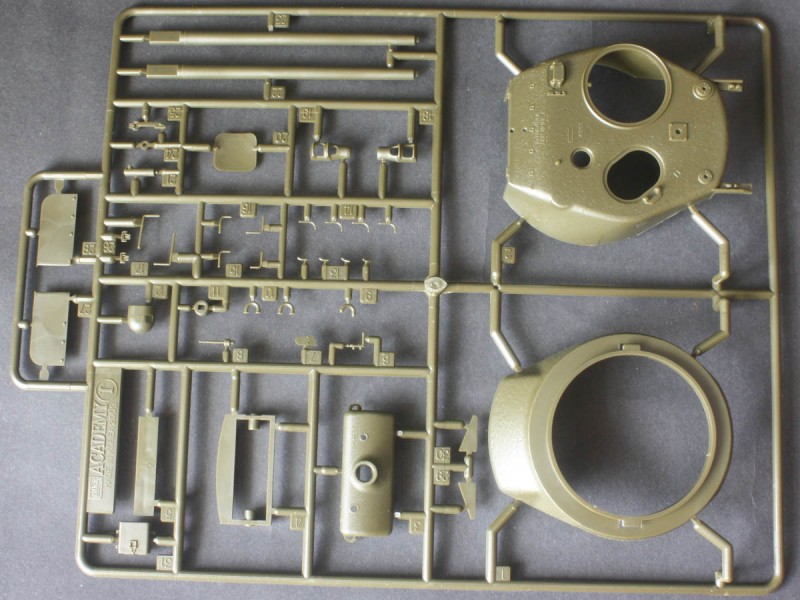
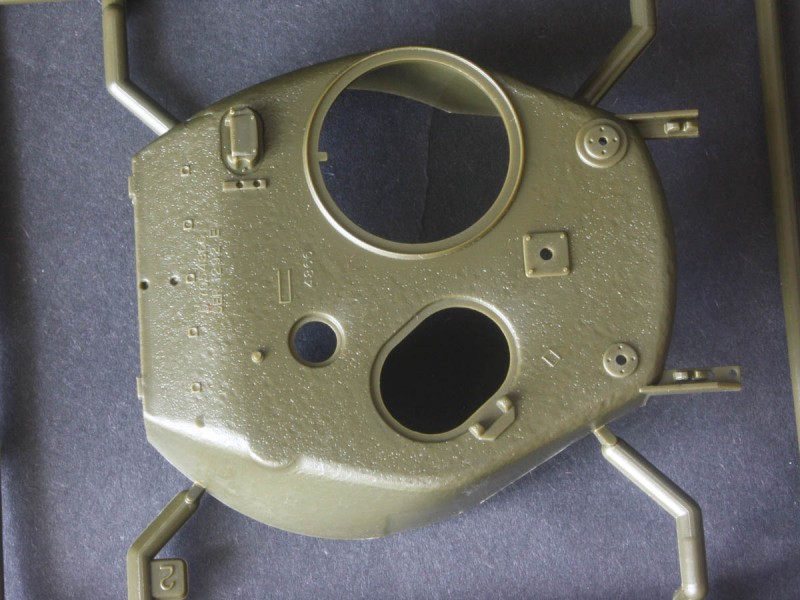
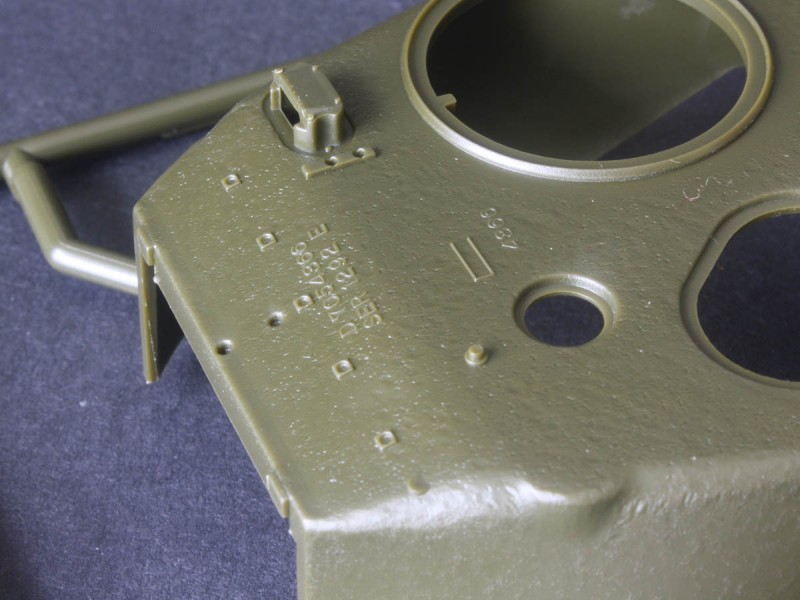
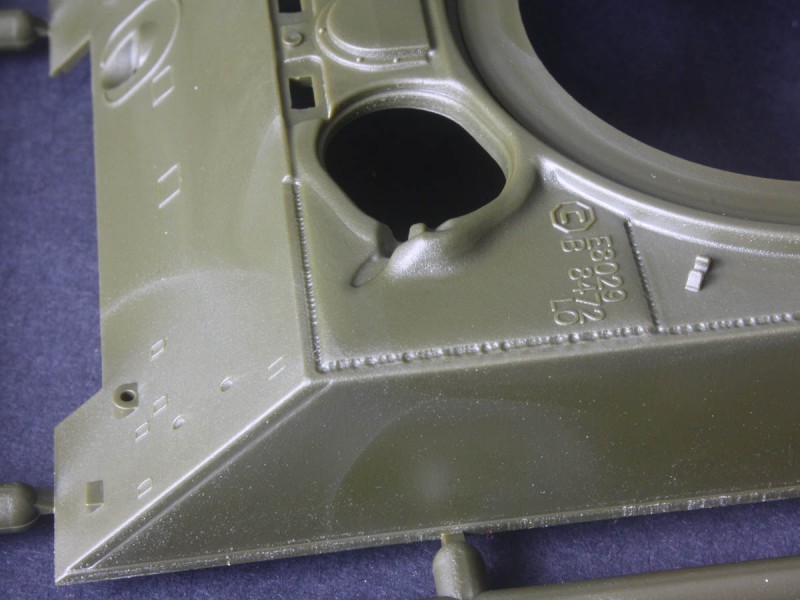
The turret shell has the spotting features of a Continental Foundry & Machine Co of Wheeling casting, but lacks the W in circle logo on the rear (to right of the vent dome) and under the bustle. Archer Transfers provides these as resin decals on its Sherman casting numbers set 35007. One issue I found was that the loaders hatch latch (E11) should be located next to the antenna base (so as to engage the round end of the hatch when open) but the antenna base is in the wrong position on the turret roof. It should be further forward, and it should have a larger base ring, like the other mount. This is fixable, if it bothers you I just added the latch where it touched the open hatch and ignored the discrepancy. Either way, the marked location is wrong.
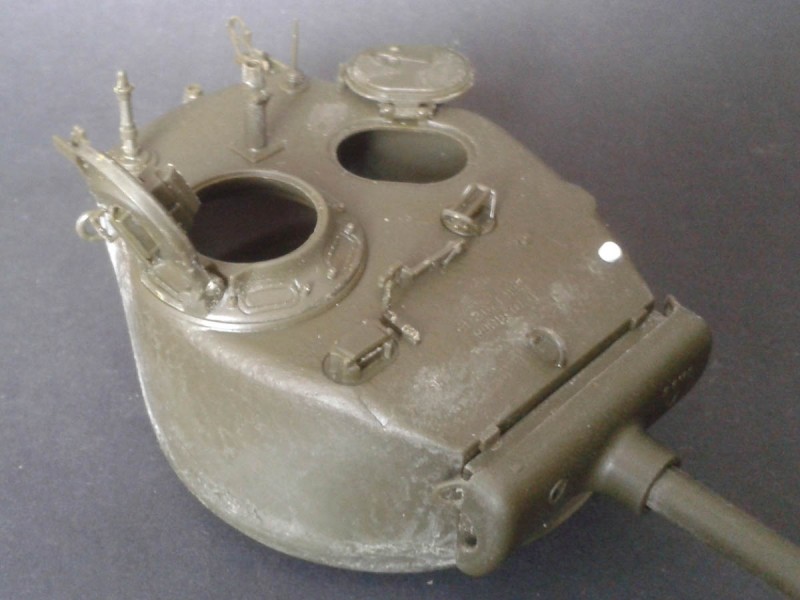
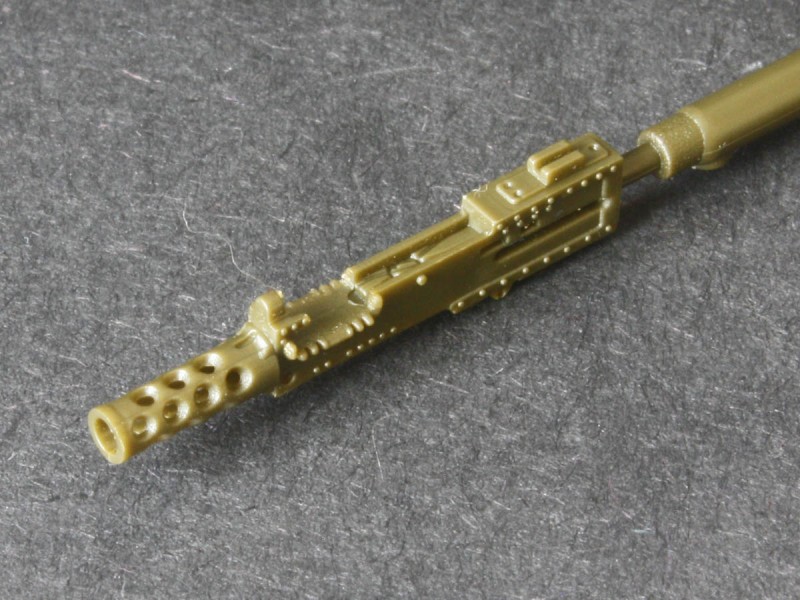
The gun tube is about 5mm too short, when compared with drawings in Son of Sherman. The muzzle brake lacks the fine detail around the locking ring (where it attaches to the tube). A metal replacement barrel could be used with a little effort, but that would add to the cost of the kit. The lift rings on the gun shield need to be sanded into rounded profiles, as they look extremely flat I found this to be delicate work. And assembling the gun shield to the frame that acts as trunions is tricky the part gets trapped between the shield and a backing plate, with little room for error when gluing. The same goes when gluing the frame into the face of the turret, since any excess glue will freeze the gun at a fixed elevation.
There are several tabs on the turret roof for the mantlet dust cover that Academy says to remove. These were added to tanks that arrived in theatre sometime after New Year 1945, and the actual canvas seems to have been held up for another couple of months, being a rare sight even at the wars end. One of the sprues has a number of these tabs on it to shave & stick on the gun shield and turret sides, and there are the metal rods on sprue I to complete the fittings, but no instructions to guide the modeller. (Instructions
here from the Academy Easy Eight kit on 1999.co.jp shows where the rods all go, but leaves out the tabs which run down the turret sides and around the gun shield.) I chose to shave off the tabs for an early appearance.
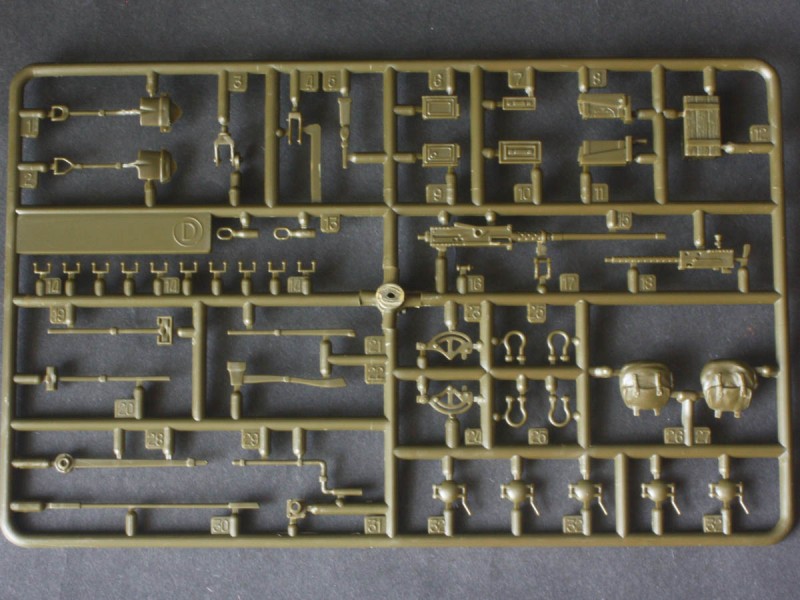
Academy forgets to mention the need for a periscope (E2) in the gunners position, but there are plenty spare. Then theres the fit of the shell-ejection port (or pistol port) on the left side of the turret. This needs to be blended into the turret, as the real thing was cast as part of the main shell. The .50cal MG is a serious little kit in itself, and is almost too good for this tank! It begs to be used disassembled in a gun cleaning scene. The older MG on sprue D could be used as an armature for sculpting the canvas bag seen over these when not in contact with the enemy. Another minor omission is the spotlight, usually mounted in front of the loaders hatch. (Thanks Carl for pointing it out to me!) A single stub is moulded in, but there should be a taller cylindrical socket next to it for the light. These lights were removable, so the lack of actual lamp is less of an issue.
conclusions
There is a lot of potential in this re-release of Academys M4A3(76)W, but there are major issues that will stump beginners and generally frustrate experienced modellers. With a little TLC (and perhaps a decent spares-box) a fine model can be made, but without creative work the running gear cannot be built straight from the box. Its a shame.


Comments