To be honest I did not know much about this vehicle; I picked it up because it looked cool and I wanted to see how W models' kits look like. This Lithuanian company specialises in Soviet era missile launchers, radars and other unique-looking vehicles in 1/72nd scale. I've known about these models for a long time; even when I was still living in the US I had my eyes on them. Back then I had very little disposable income, and the pricing took these models out of my reach; things have improved (somewhat) since then, so I took the plunge, and got one to see how they measure up as models.
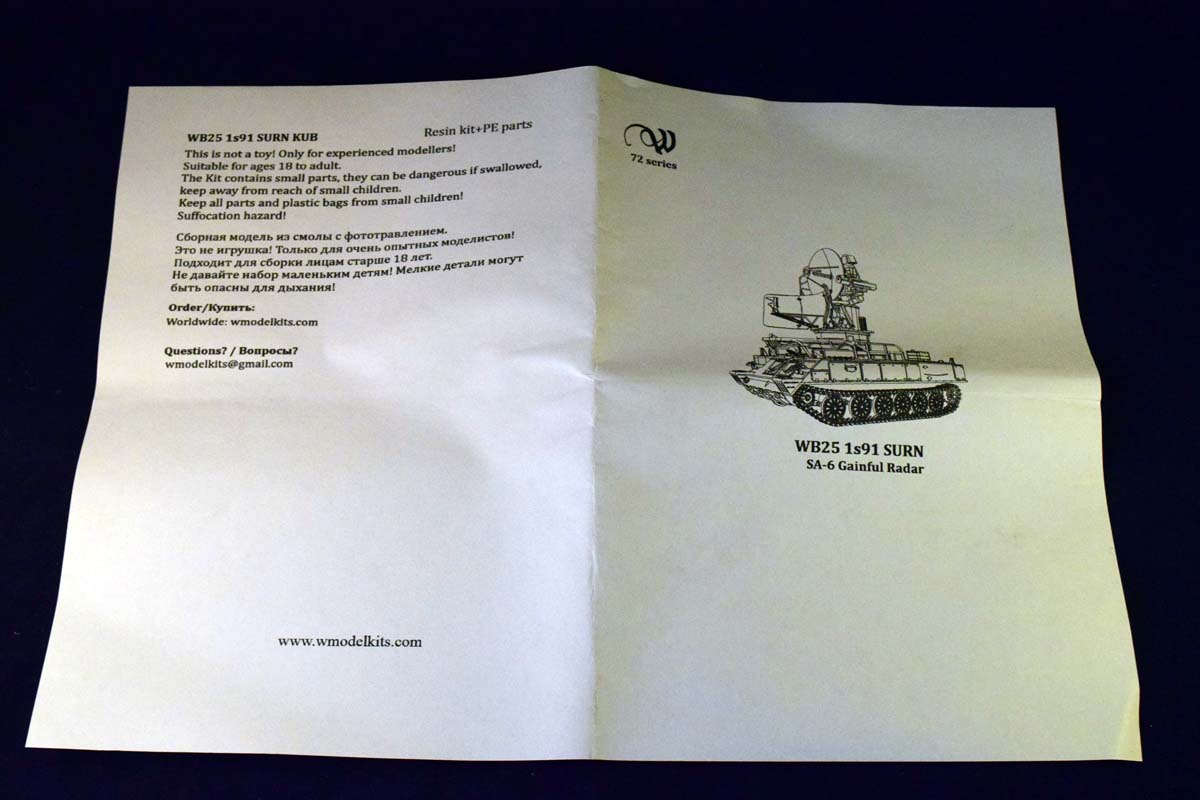
The 1S91 vehicle is a part of the 2K12/SA-6 Soviet mobile surface-to-air missile system to provide medium to low level defence for ground forces. The system itself typically consists of four missile launchers carrying three missiles each, four missile transports, and the 1S91 SURN vehicle. Interestingly there are several 1/35 and 1/72 options available for the missile launcher platform, but the mobile radar has not received much love from model makers, even though if I may say so, it does look wicked.
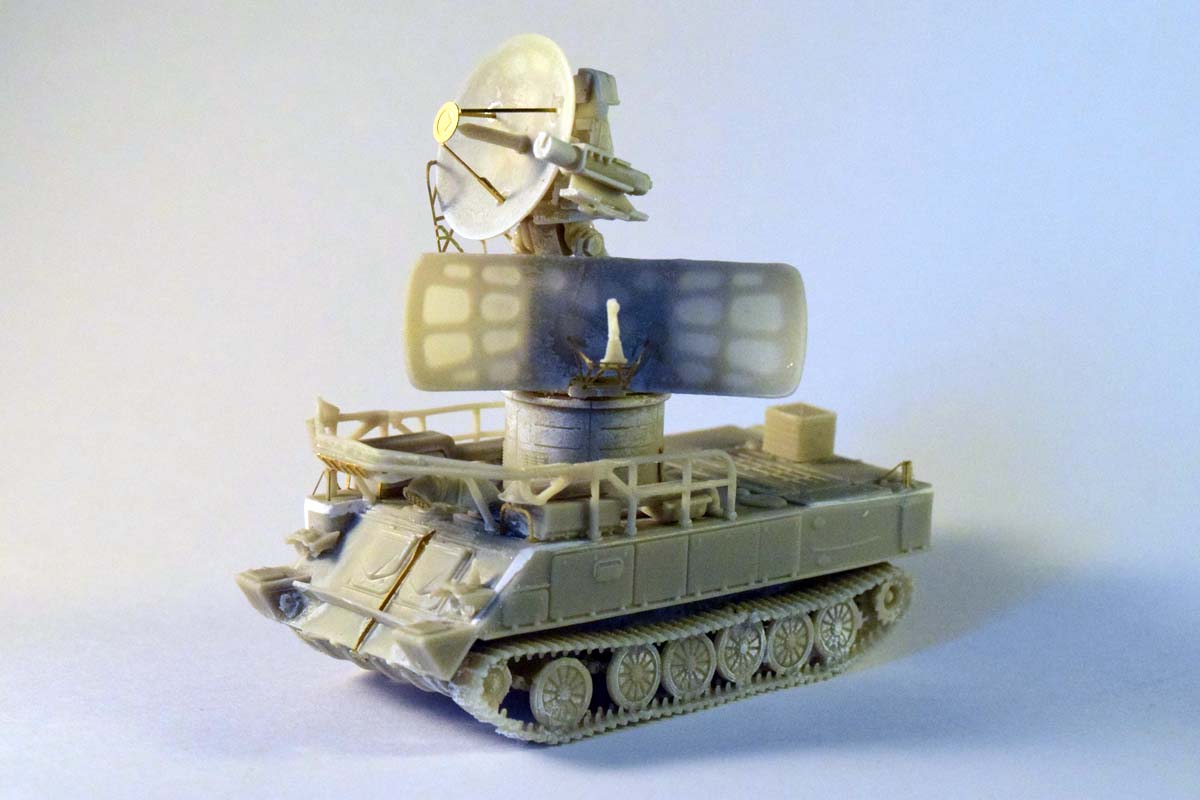
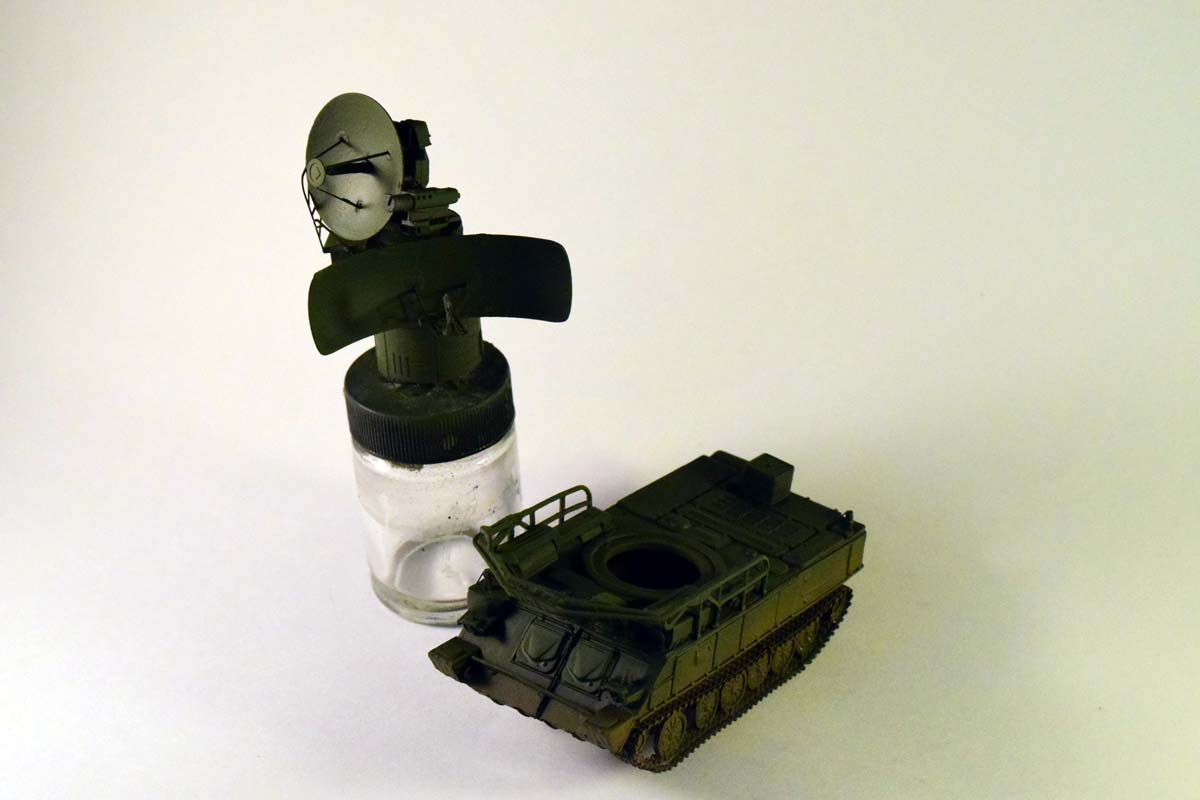
The 1S91 (SURN, NATO designation "Straight Flush") mobile radar is based on the GM-568 tracked chassis developed by MMZ (Mytishchinskiy Mashinostroitelniy Zavod). It is a 25 kW G/H band radar with a range of 75 km, equipped with a continuous wave illuminator, in addition to an optical sight. The vehicle has two radar stations a target acquisition and distribution radar (1S11; the lower radar station) and a continuous wave illuminator radar (1S31; the upper radar system), in addition to an IFF interrogator and an optical channel. The two radars can turn independently.
Review
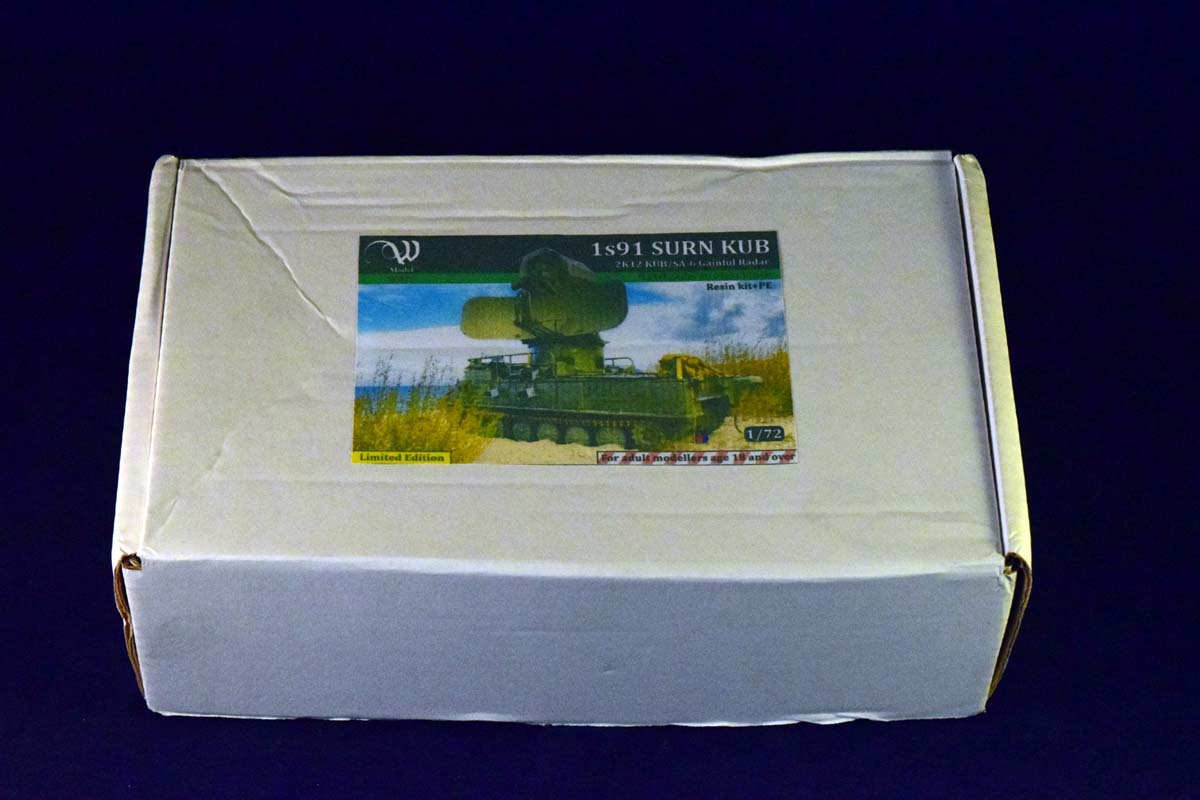
The model comes in a typical cardboard box with the box art printed on top. The parts are placed into zip-lock bags, and cushioned with newspaper. The system seems to work; even though the model has several large and delicate parts, nothing was broken. Some parts were detached from their pouring blocks, though.
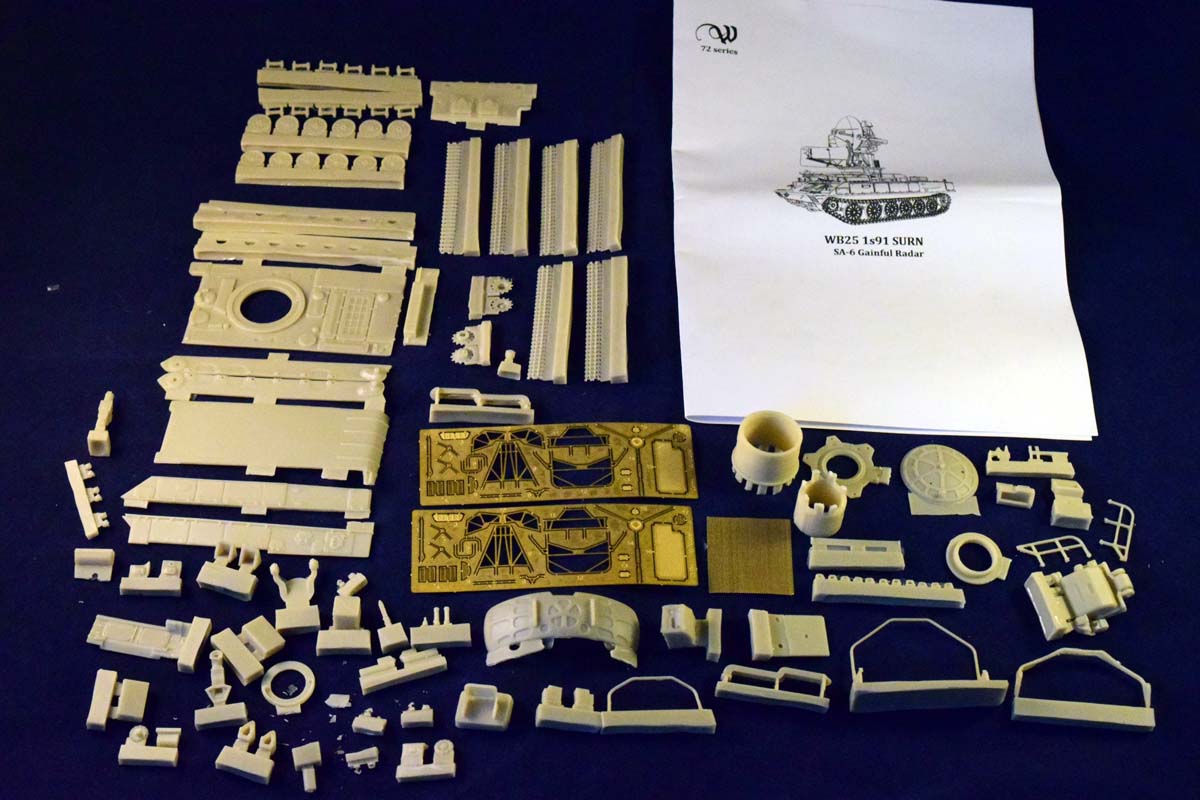
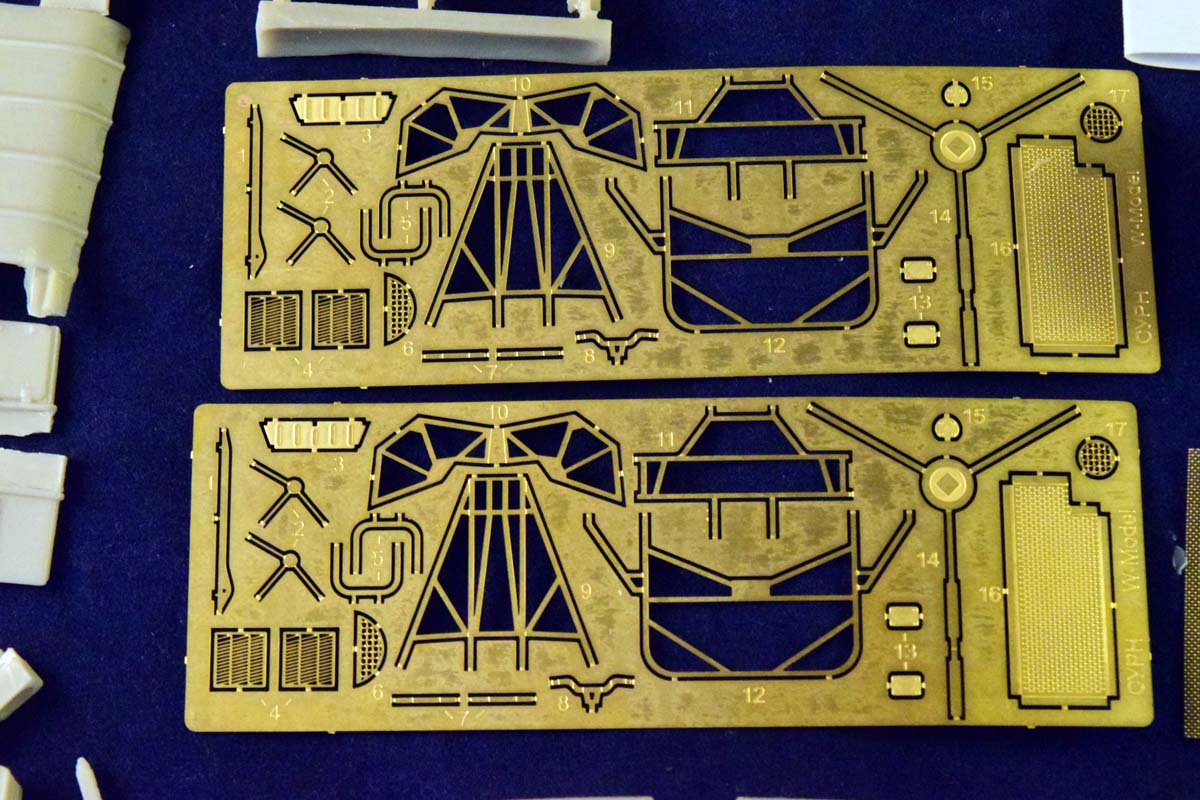
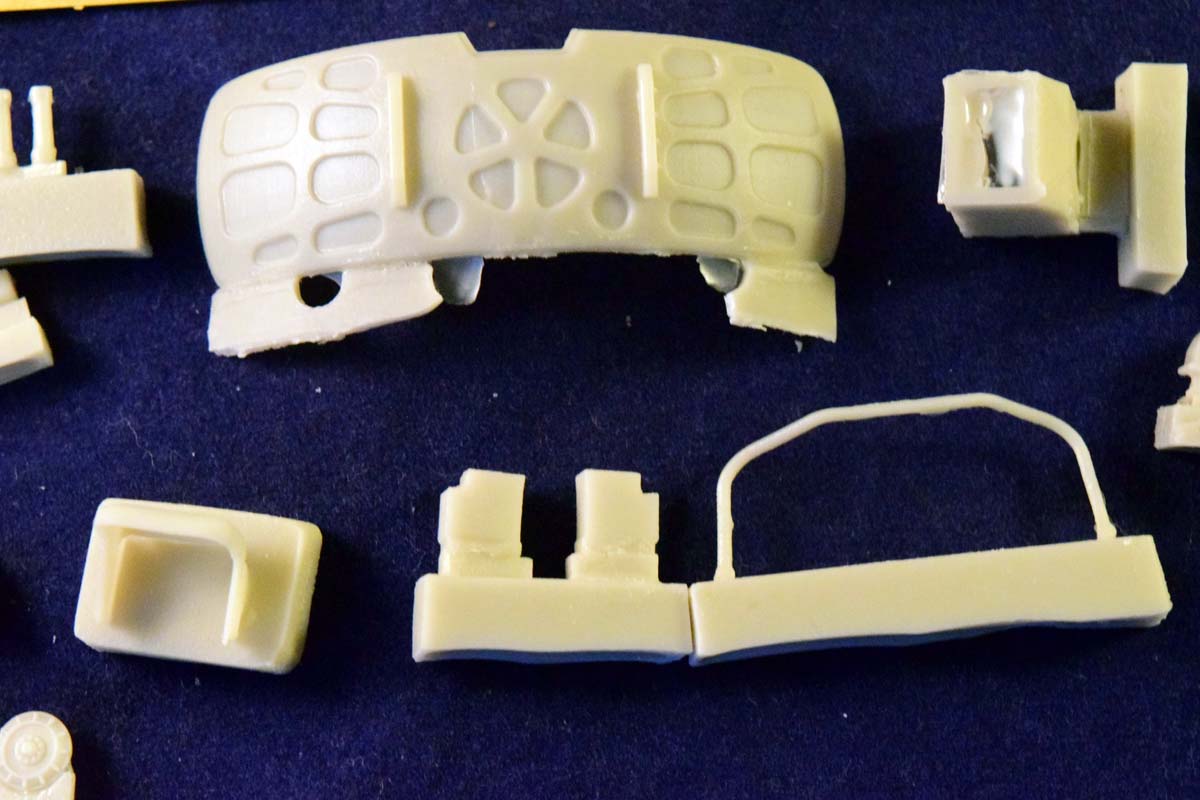
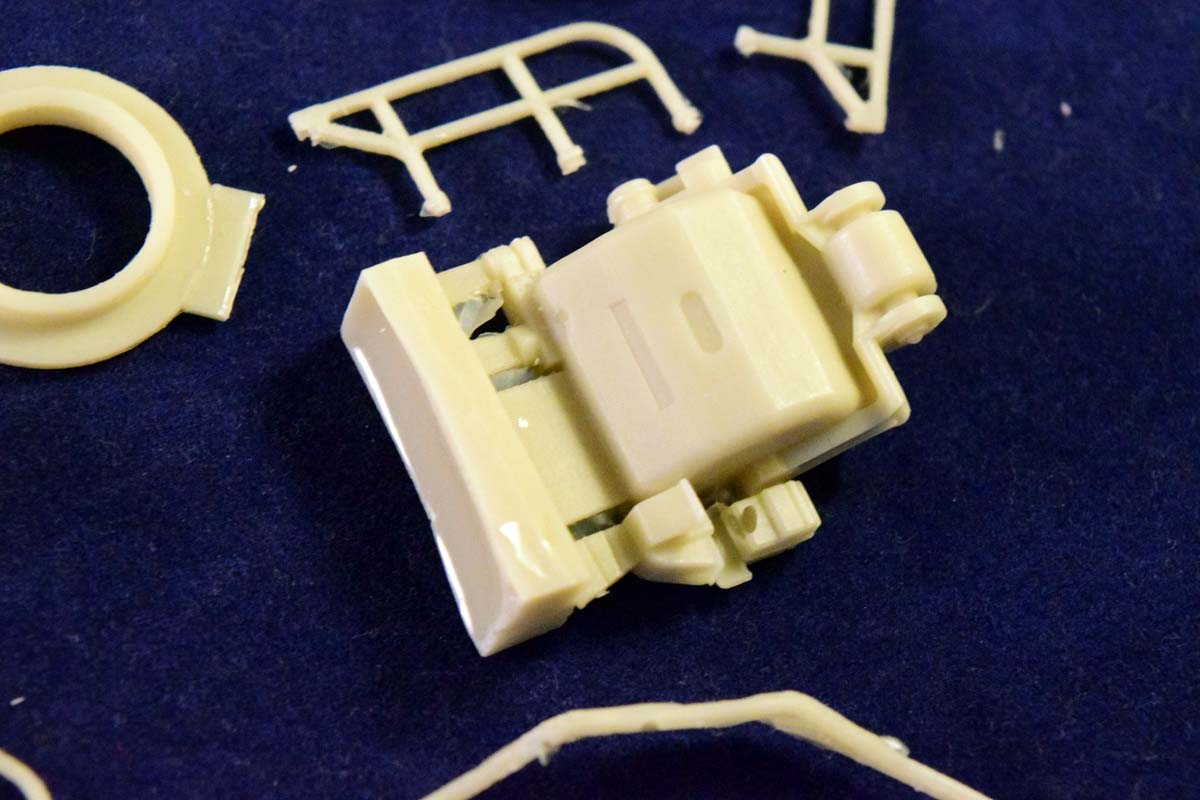
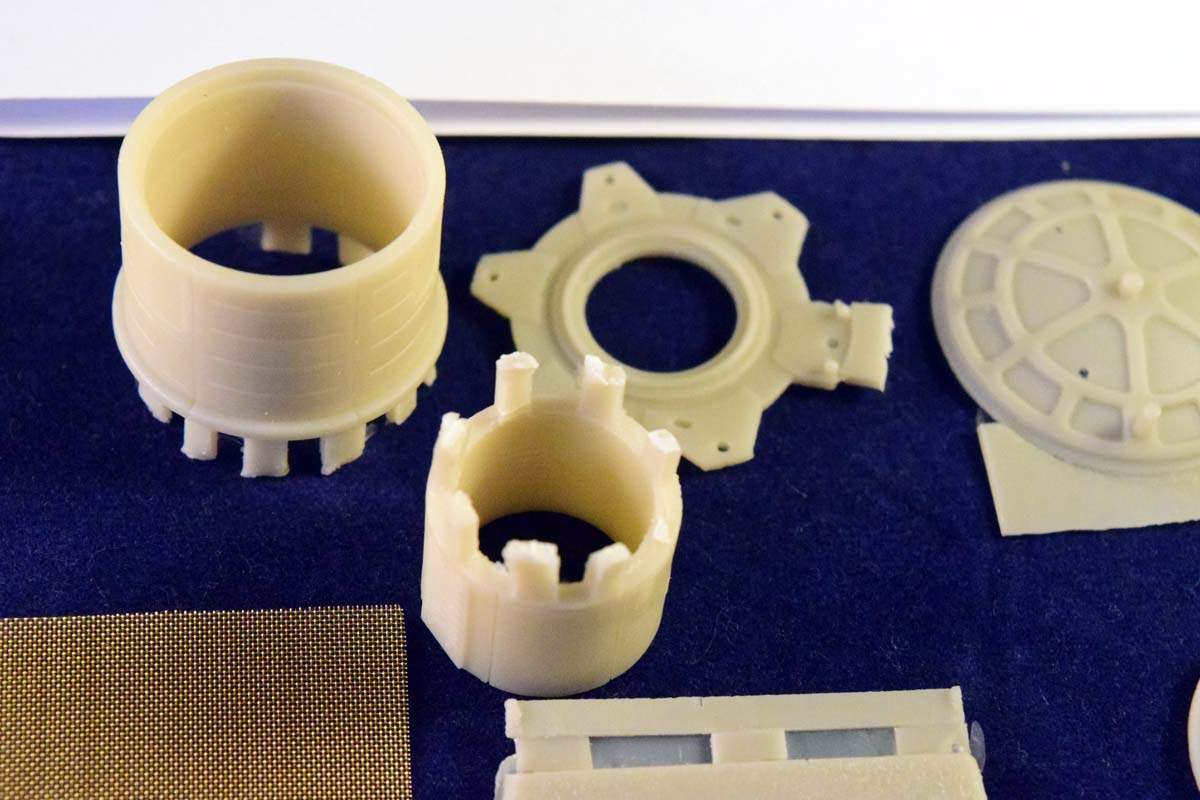
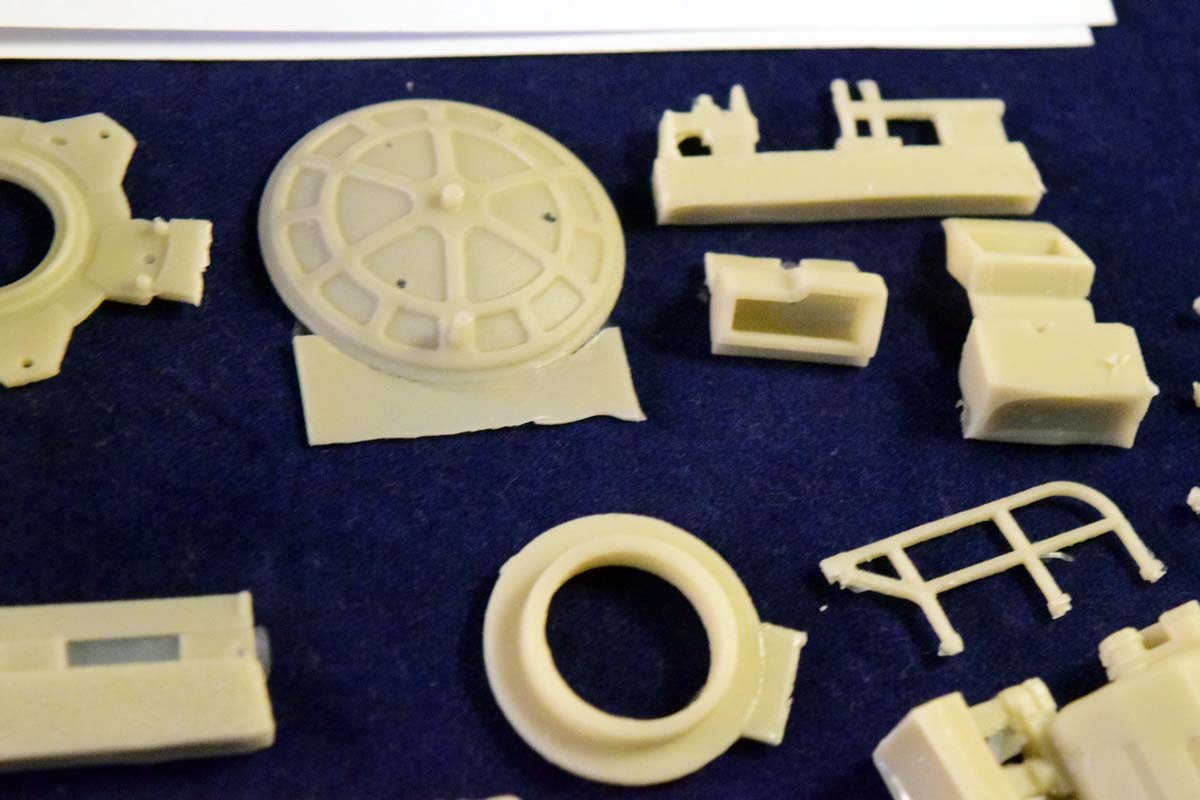
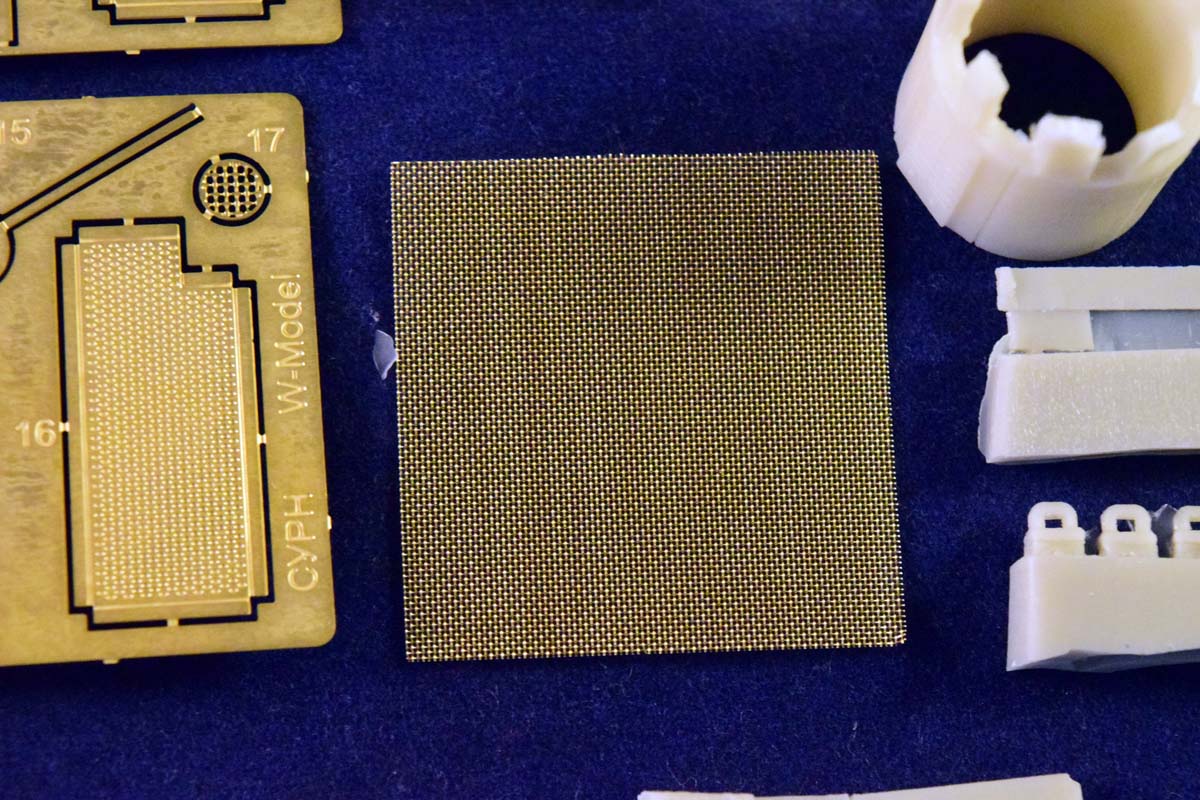
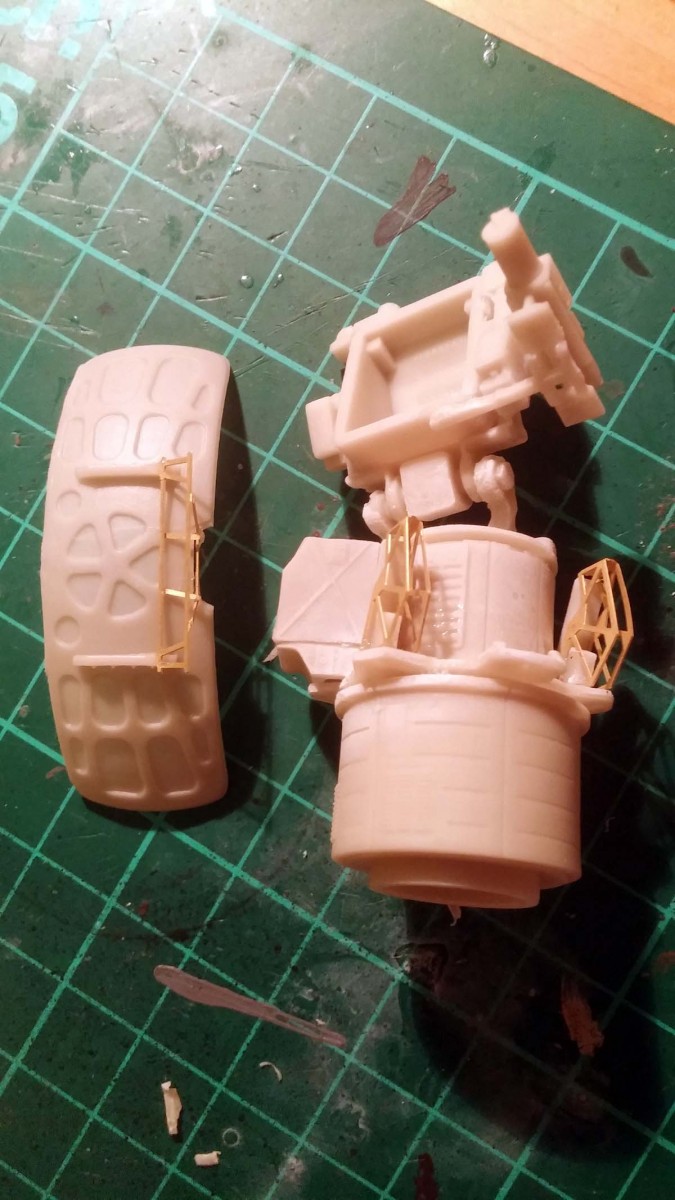
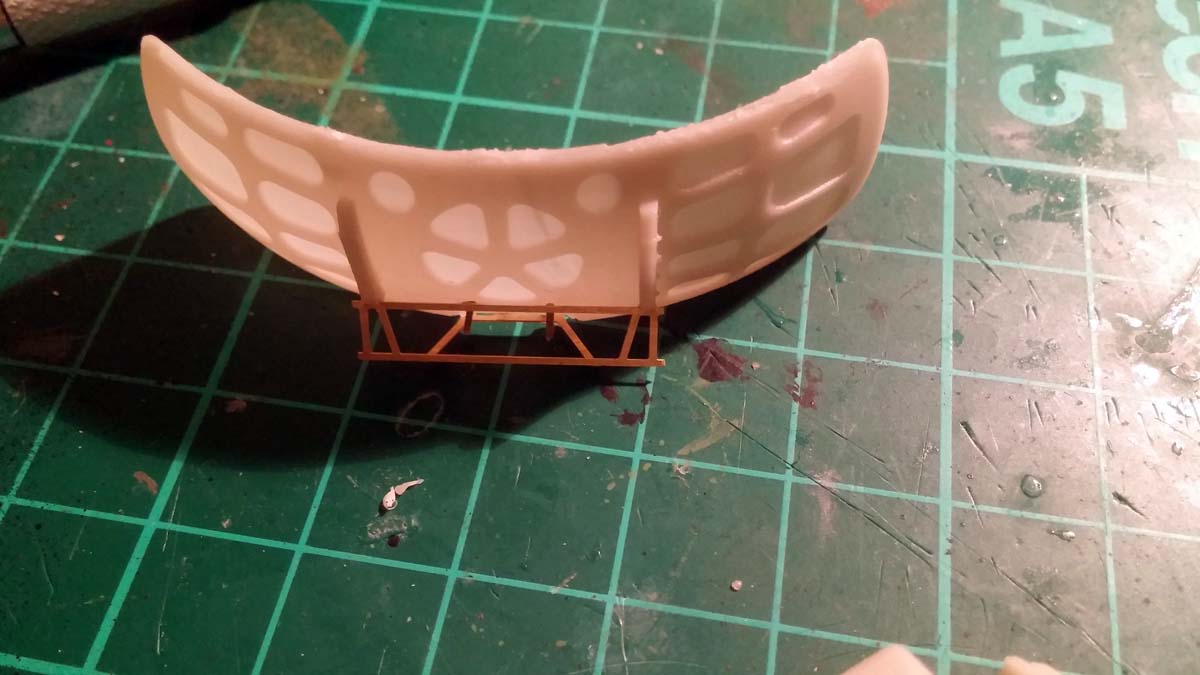
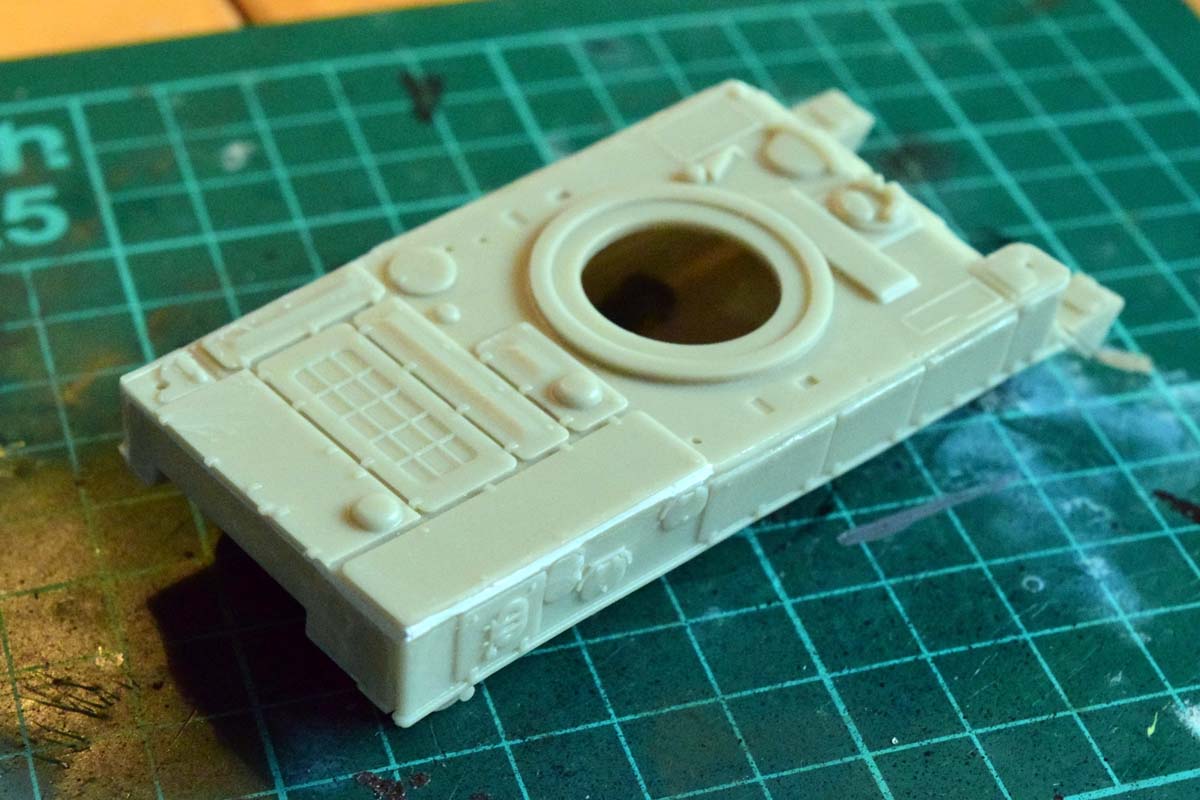
The quality of resin is excellent, no bubbles, flash or imperfections. The radar dishes are thin, and very nicely done. On the back of some larger, flat parts you can see the ribbing left over from the 3D printing process, but none of it is present on the visible surfaces. The PE sheet is really well done; it's just the right thickness. This is an important point, since the PE has structural functions in this model. I built kits that had PE so thick it was really difficult to cut even with pliers, and other sets had PE that was so thin it crumpled when you touched it. All in all, the detail is really good; W Models seems to have a very high standard of production.
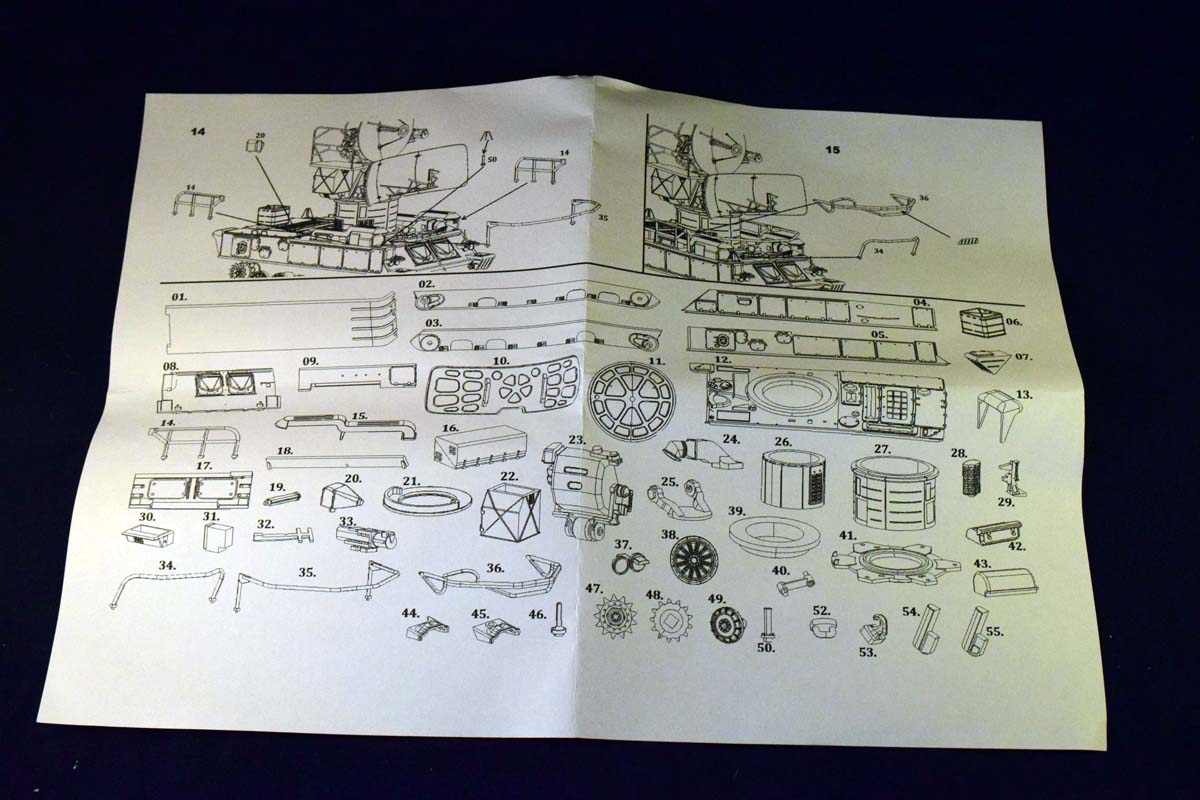
Unfortunately the parts are not numbered on the casting block, but despite the relatively large number of parts, finding the right one was not much of an issue during the building stage. The instructions are (mostly) clear and computer generated. Overall they do help a lot during the building process, but there were some issues which were difficult to sort out, and I could only do so with the help of reference photos found online. Henk's webpage has photos of the model and CAD drawings; they certainly helped a lot as well. It would be useful to show the different sub-assemblies once finished from several angles. The attachment of the optical sight to the side of the 1S31 radar was especially problematic. (The instruction has an arrow pointing to the middle section of the structure that holds the radar dish; the part should go to the bottom, however, where there is a small notch already.)
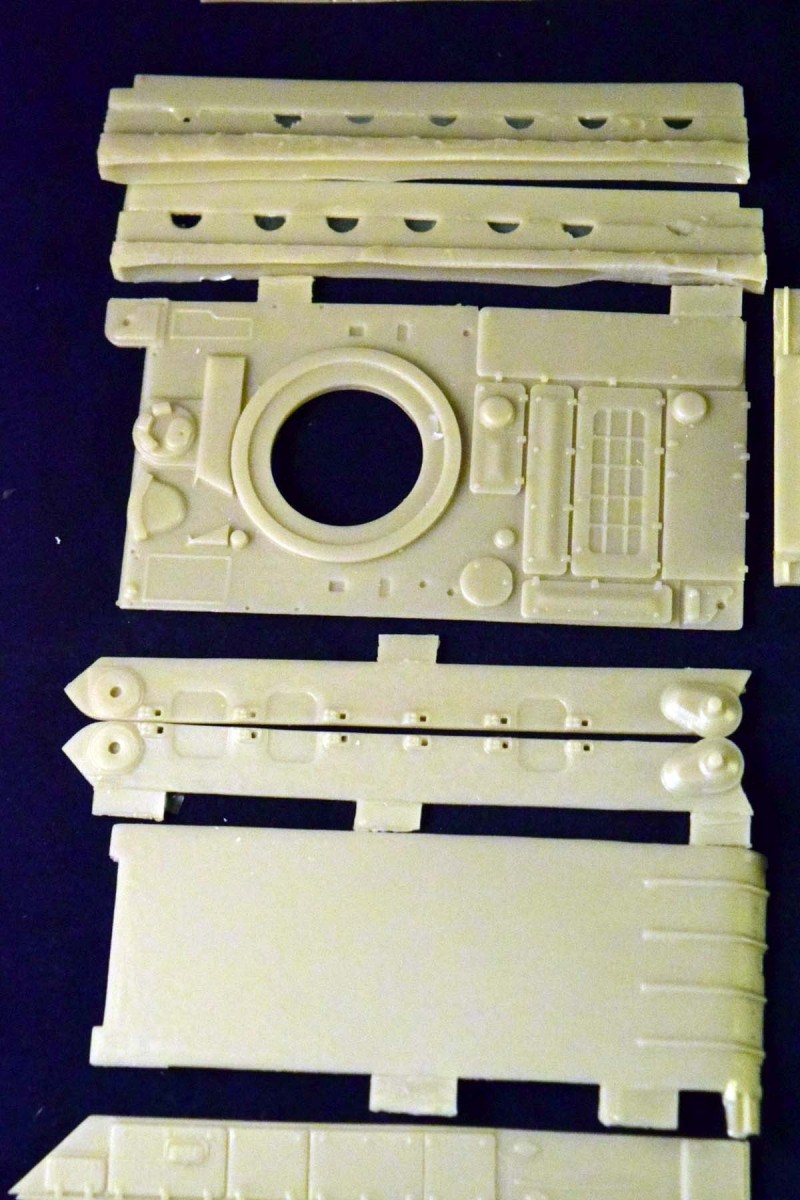
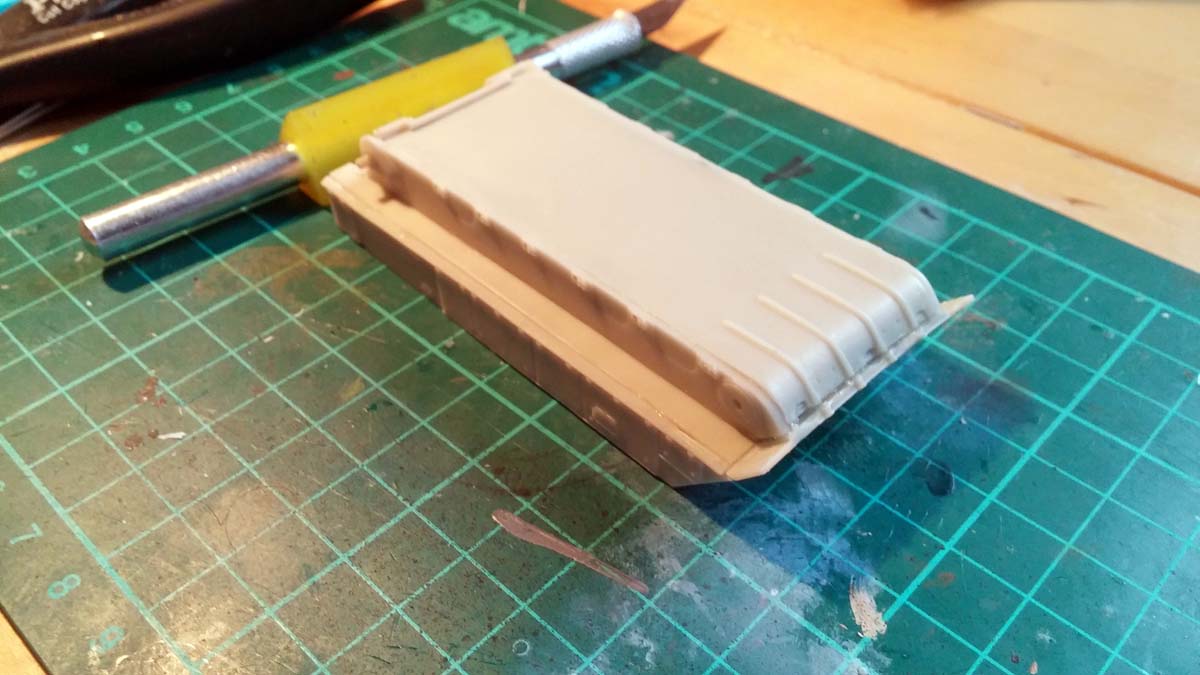
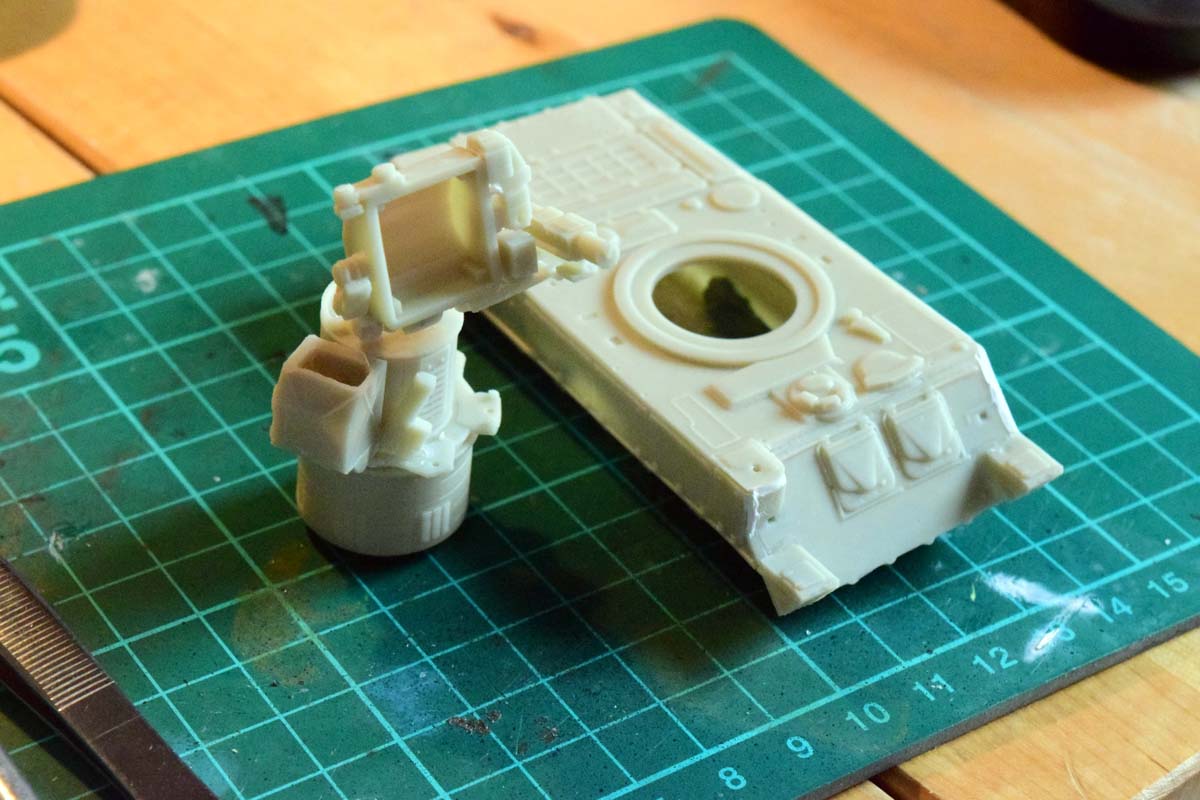
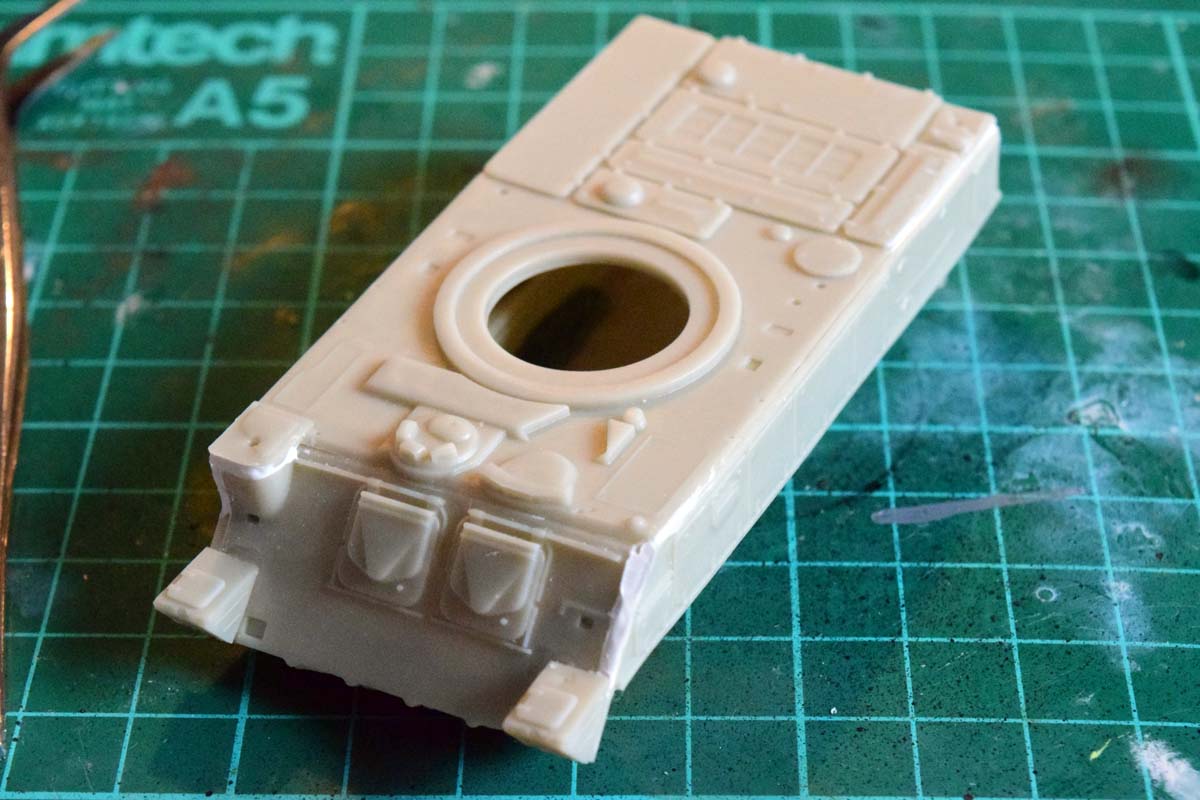
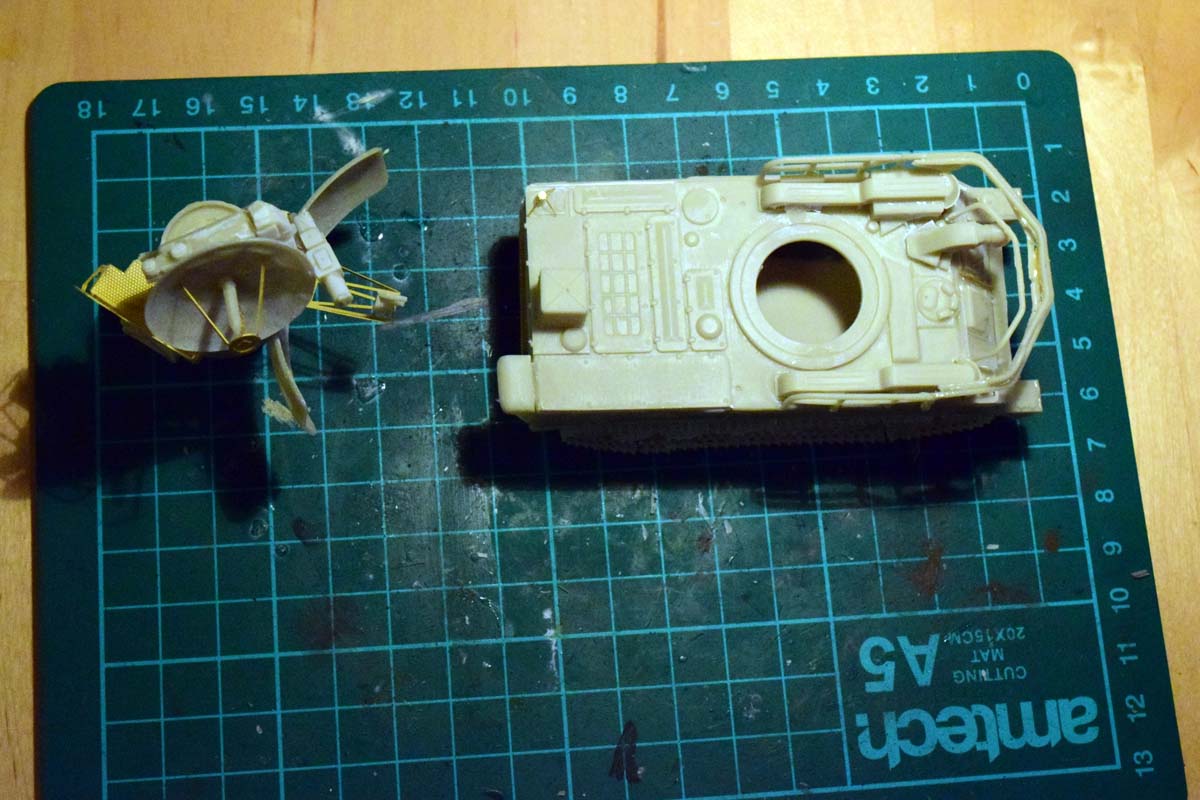
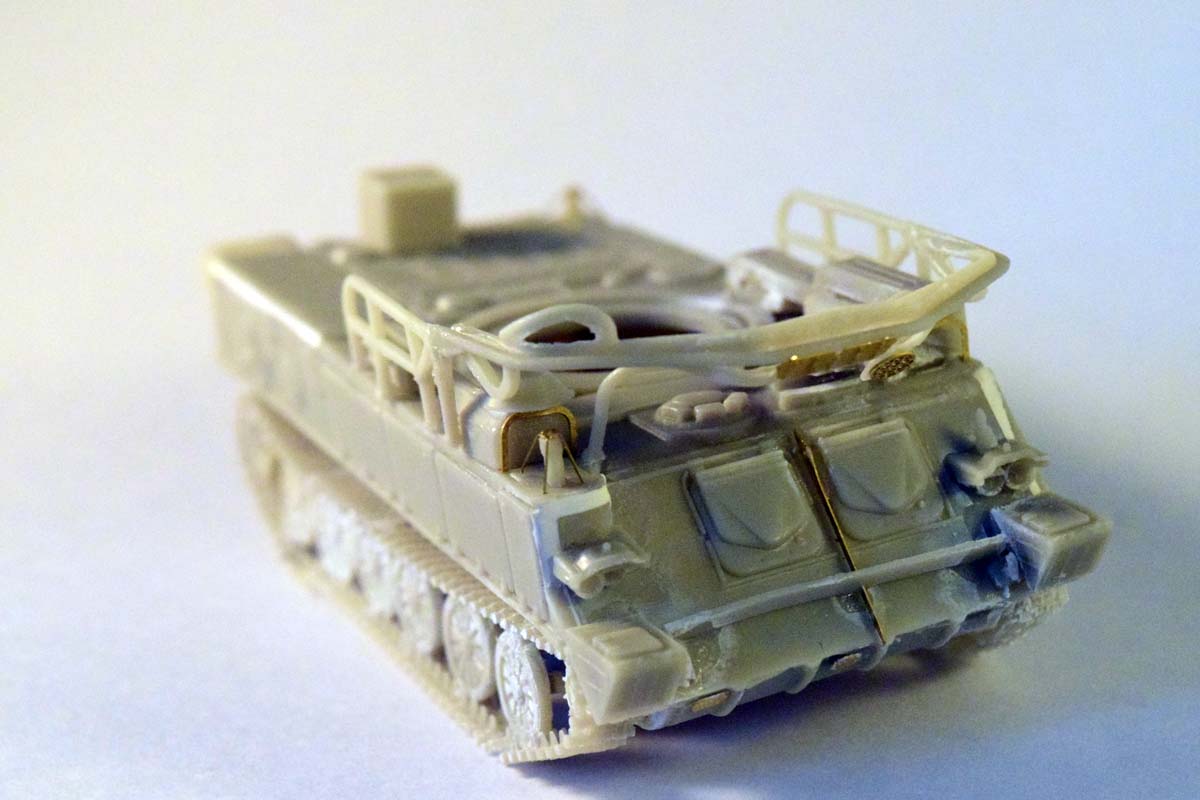
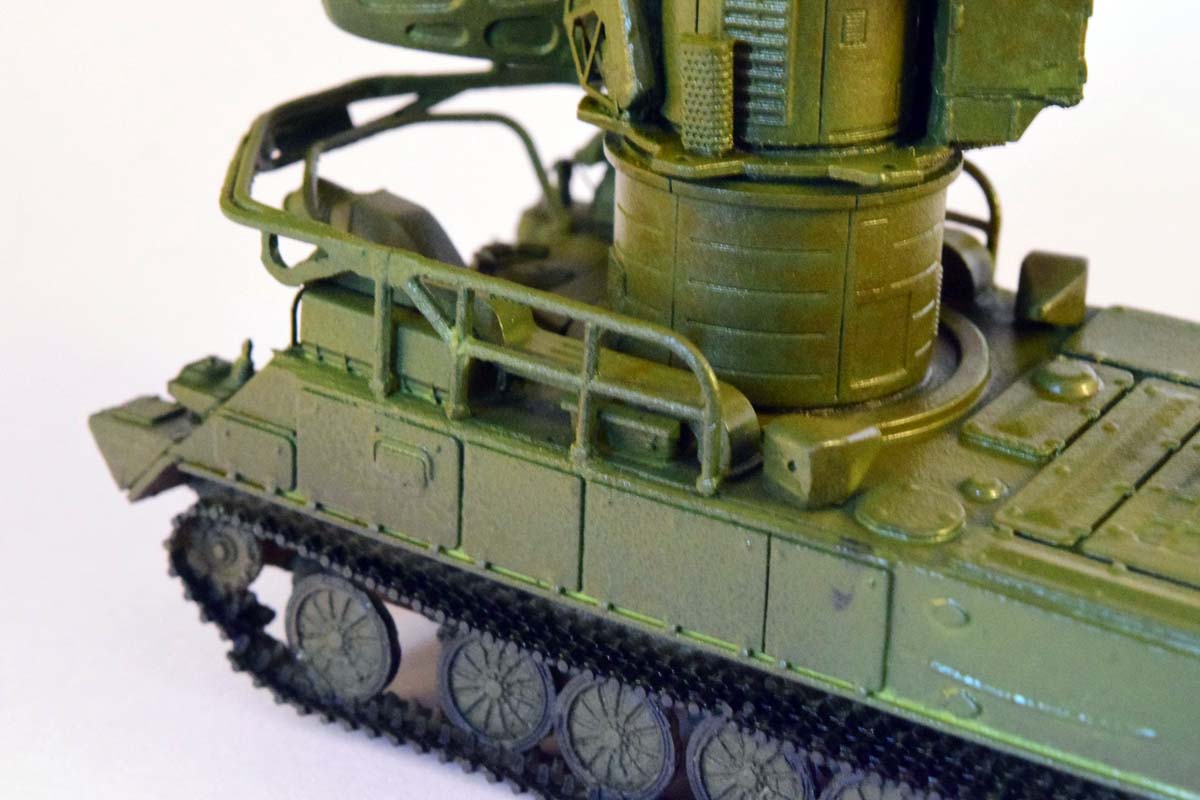
The assembly is relatively straightforward. The first steps detail the assembly of the hull. The lower hull needs to be assembled from flat parts. The fit is overall OK, but there were gaps between certain panels; this is why I prefer the "tub" style resin hulls. In this case I needed to use filler to fill these gaps. To make sure the attachment points of the hull sections are as sturdy as possible once the CA glue set I used some green stuff on the joints from within. It also served as filler for the larger gap on the back of the hull.
The holes for the swing arms for the road wheels need to be enlarged so that the locating pins fit; it's also a bit unfortunate that there's nothing to help setting the arms at the correct angle.
The tracks are the typical straight resin pieces. You need to put them in warm (~50C) water to soften them, and then gently wrap them around the drive wheels/idlers, and form the appropriate sag where necessary.
The drive wheels have very well defined teeth, but the fit to the tracks is a bit problematic; the drive wheels were a tiny bit wider than the distance between the corresponding parallel holes on the track. It's possible with a very careful application of force to push the teeth into the holes in the track, but one has to be cautious not to break them off.
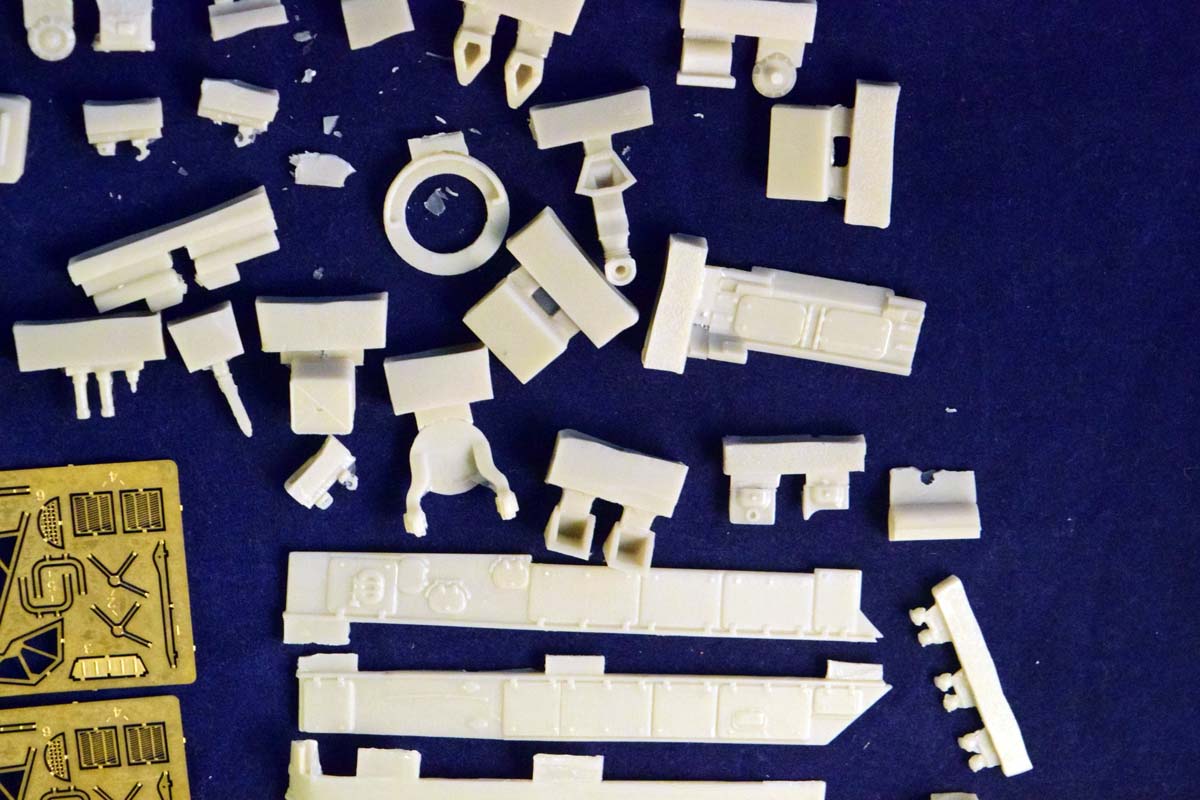
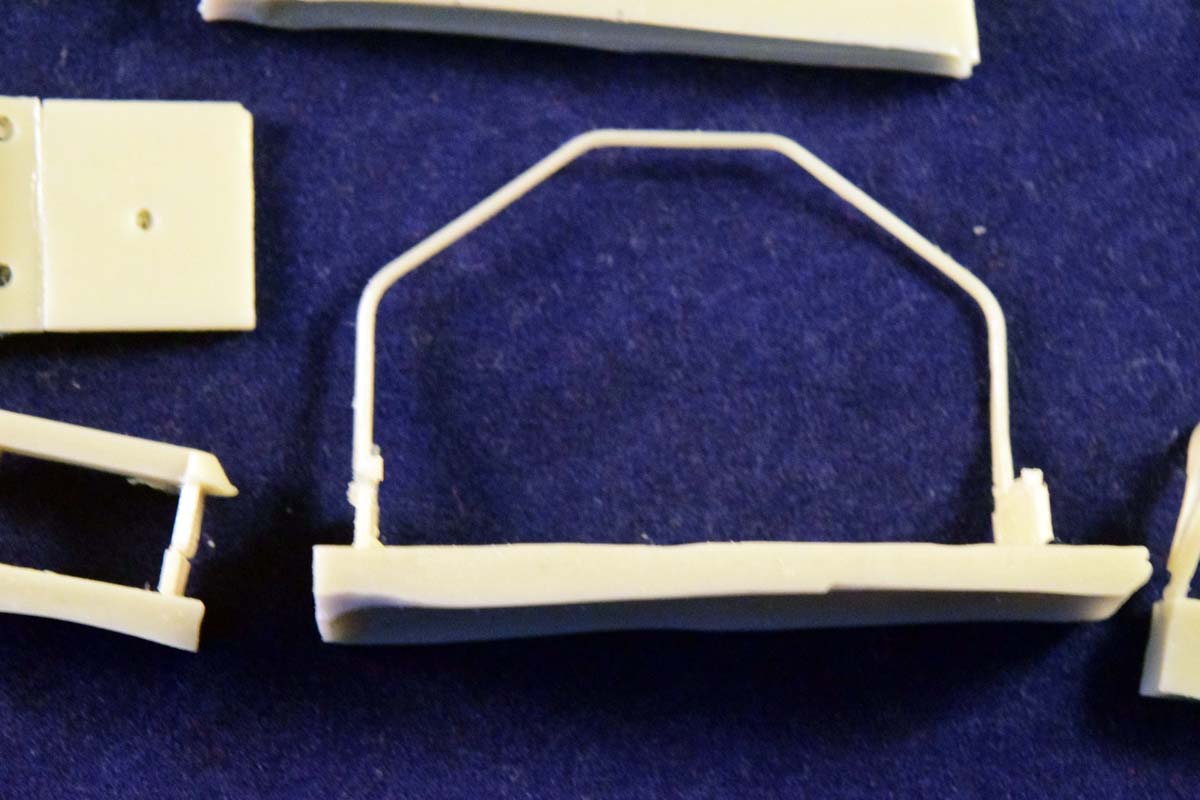
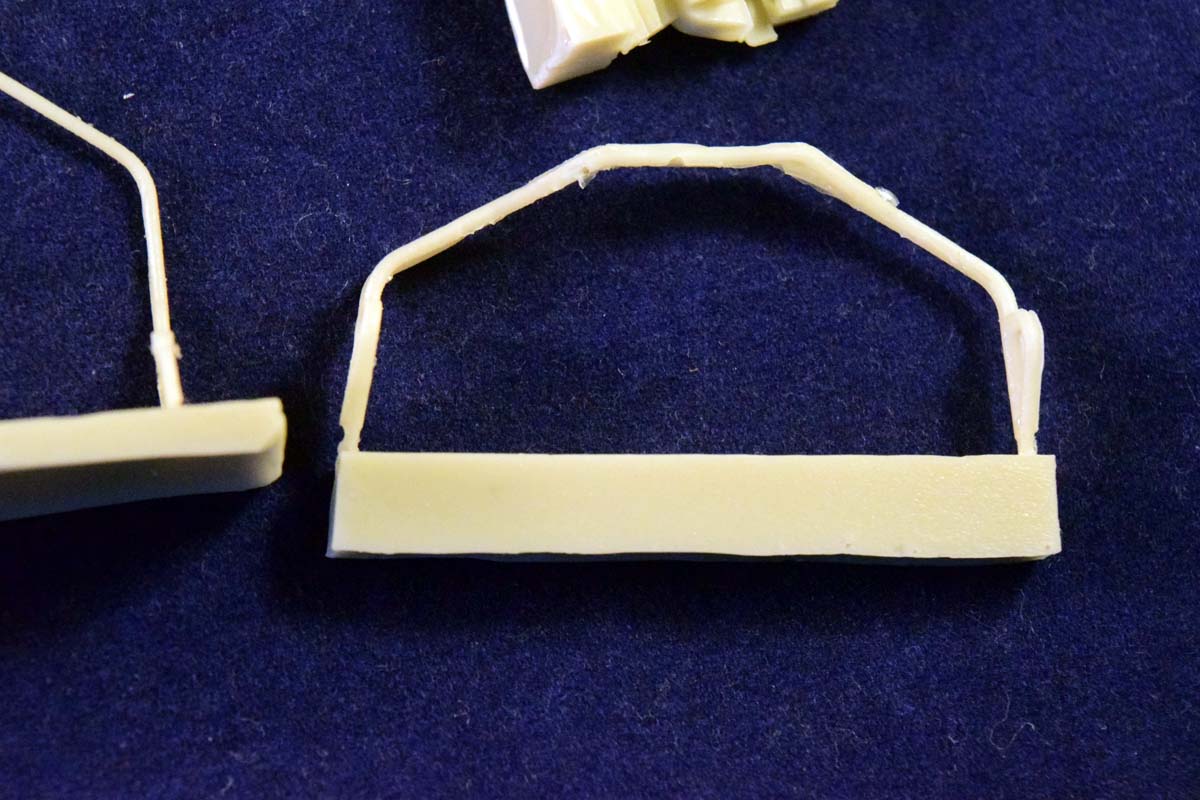
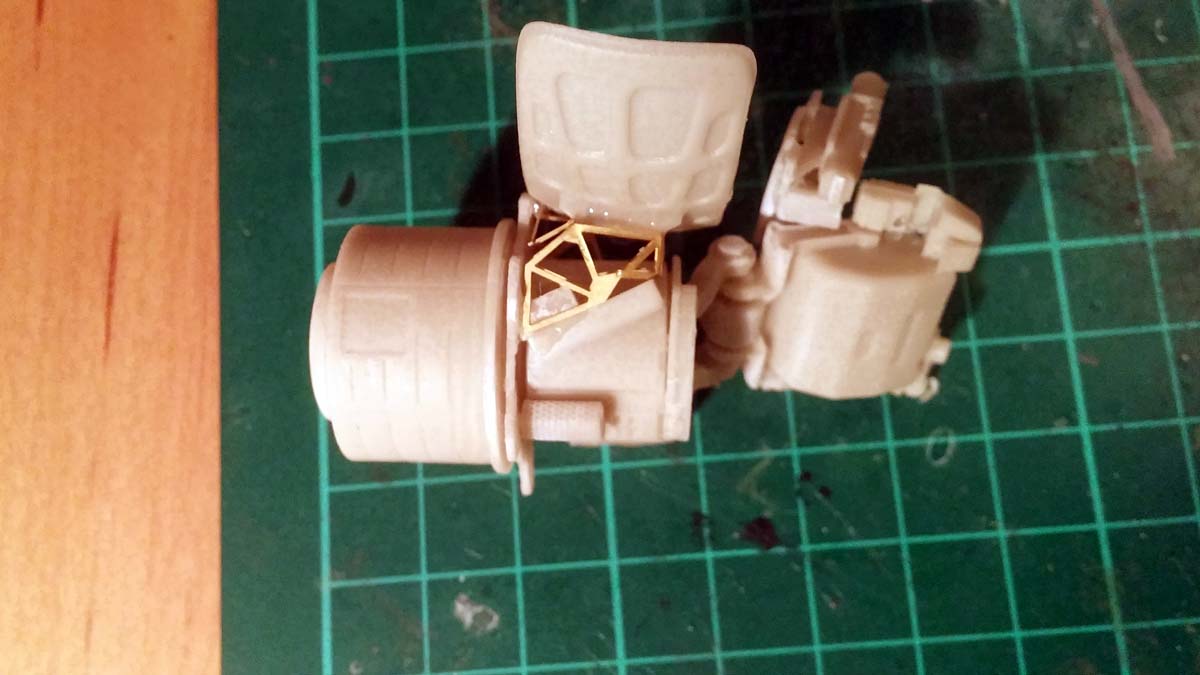
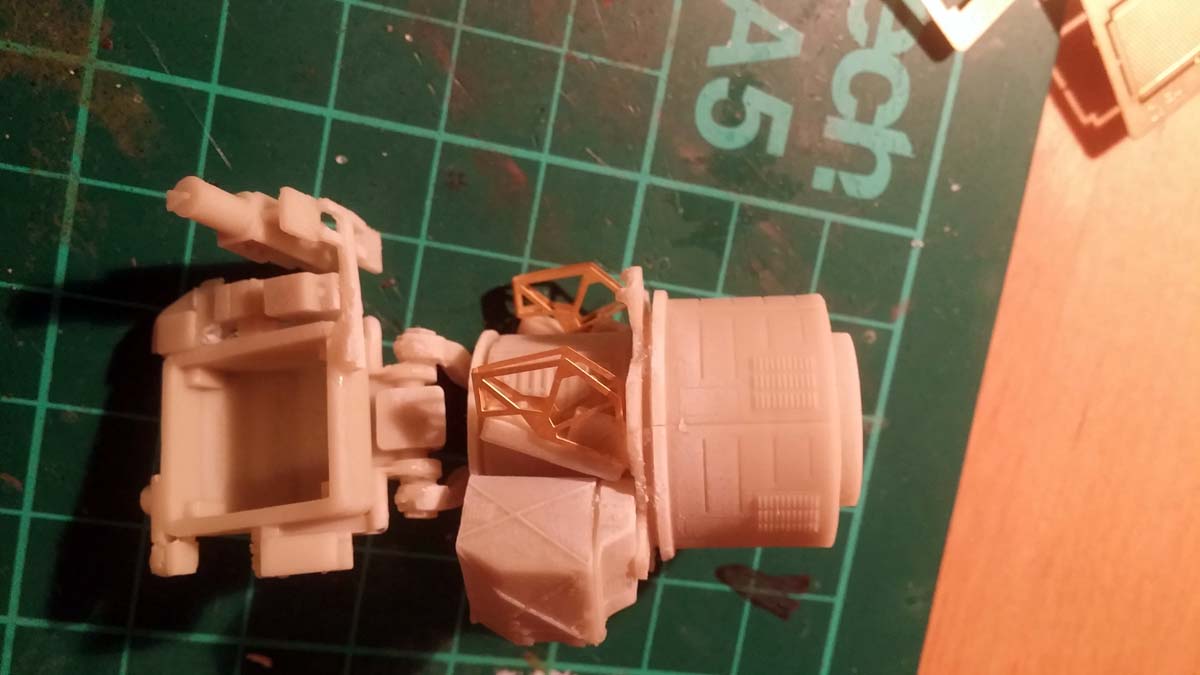
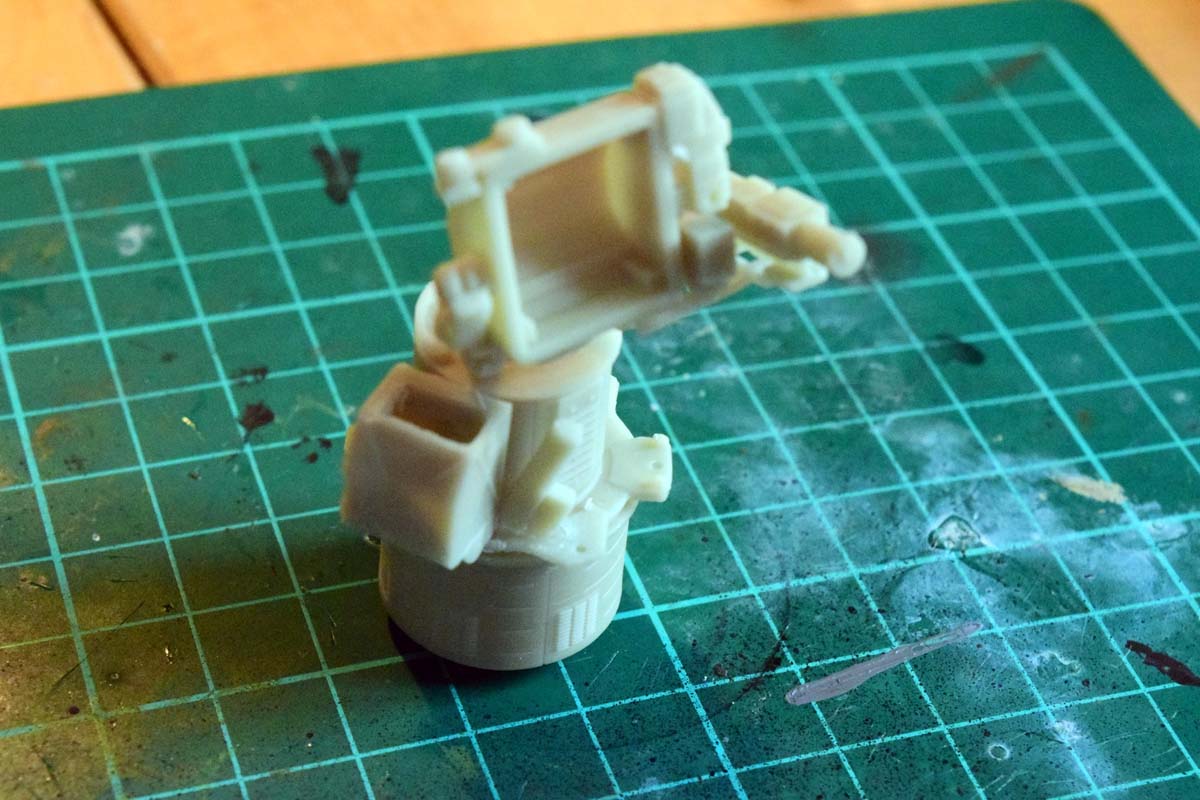
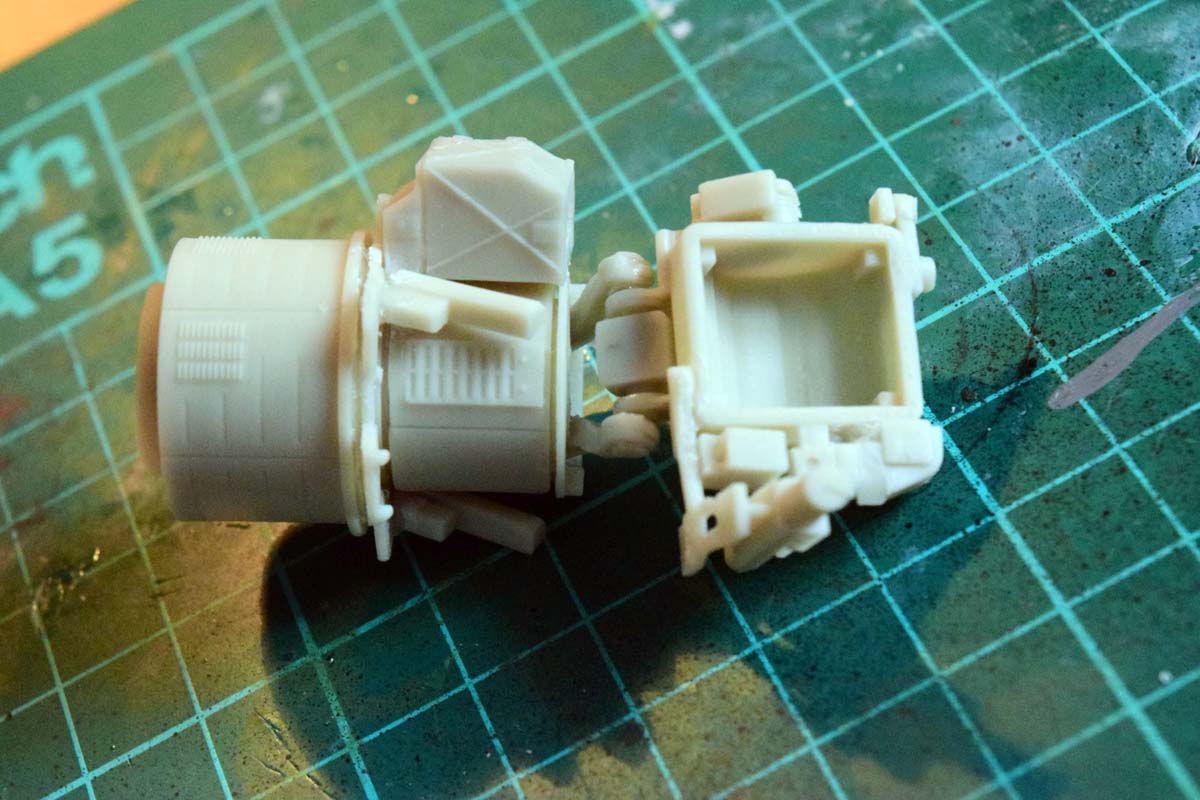
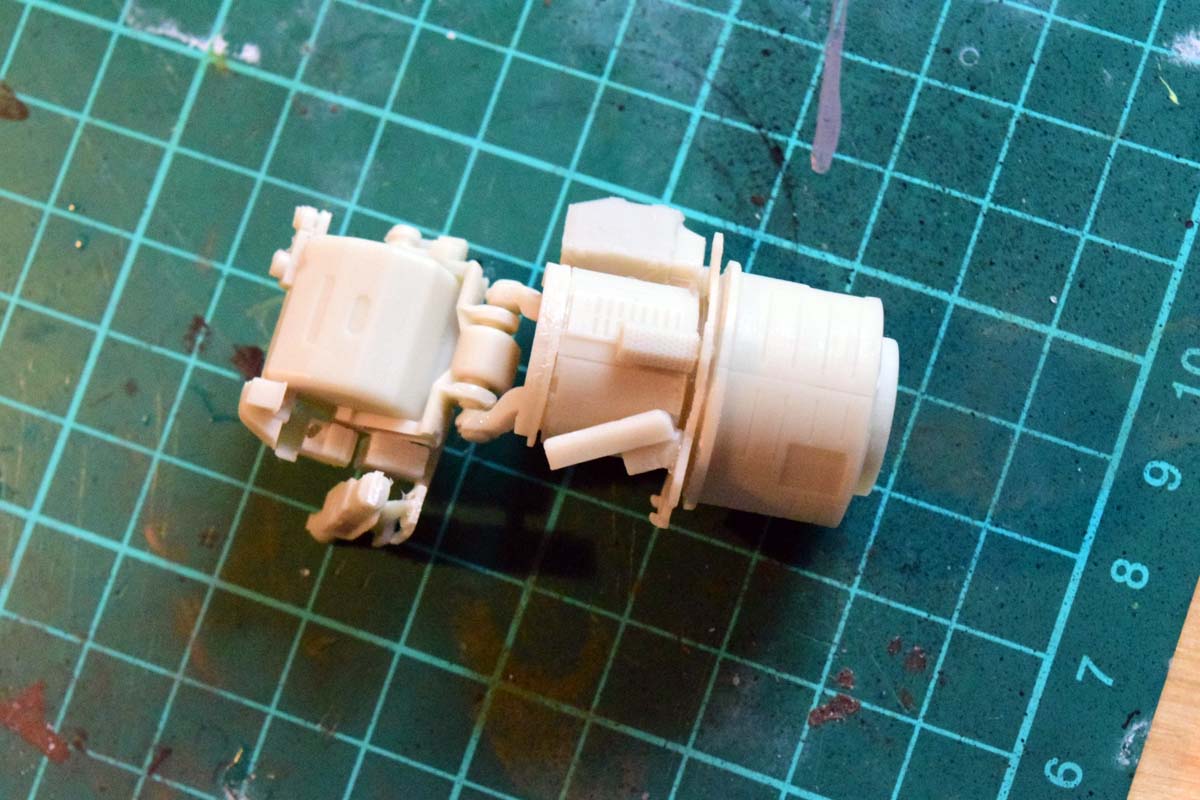
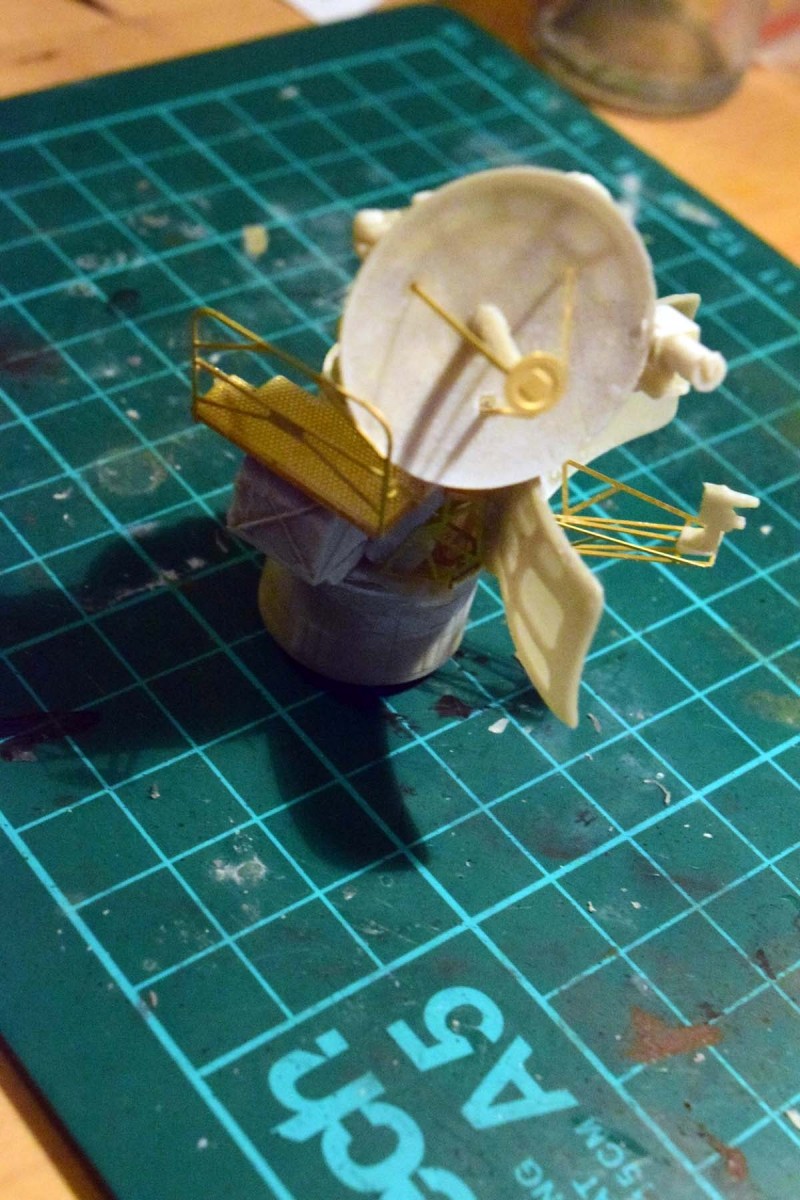
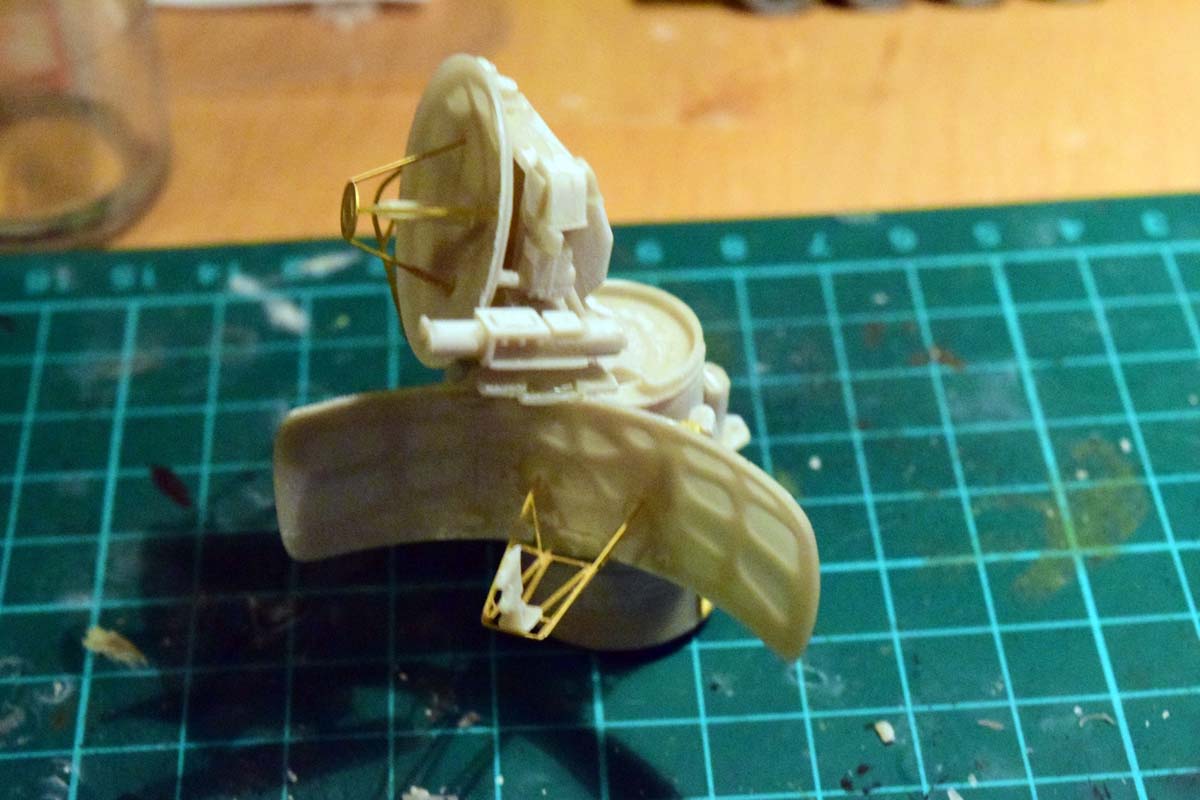
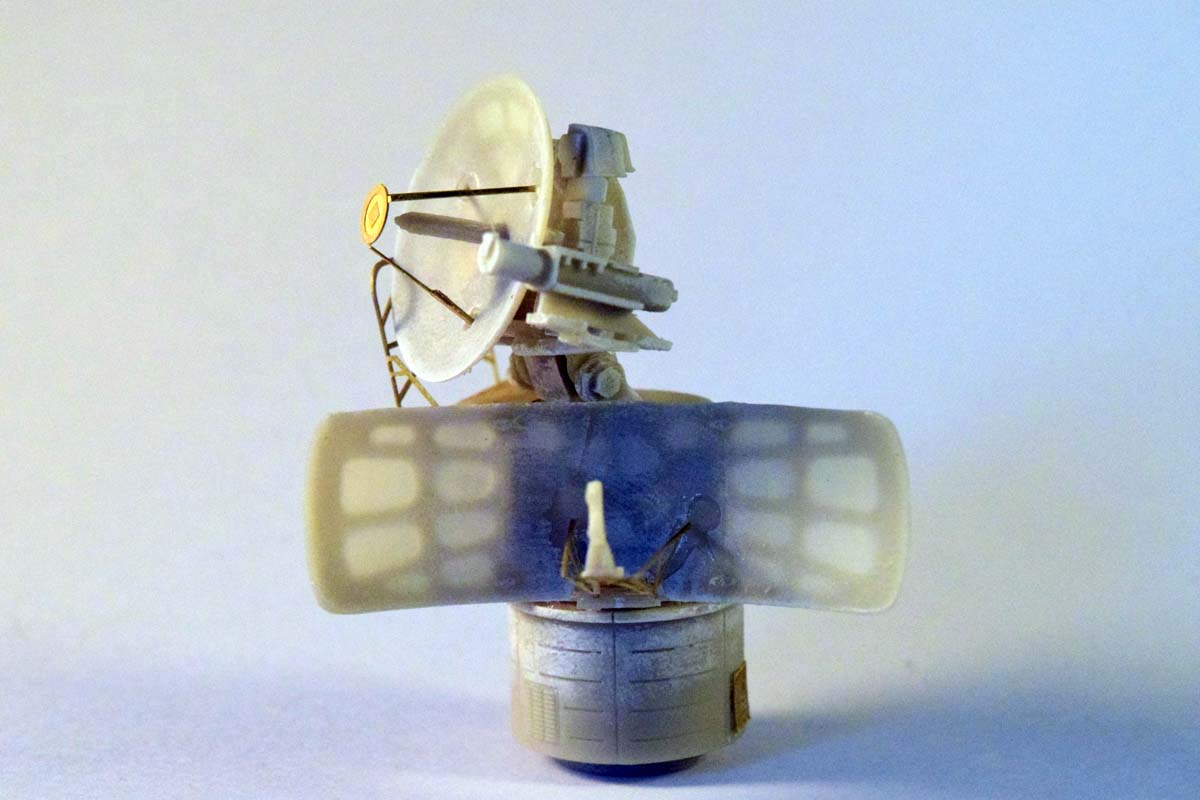
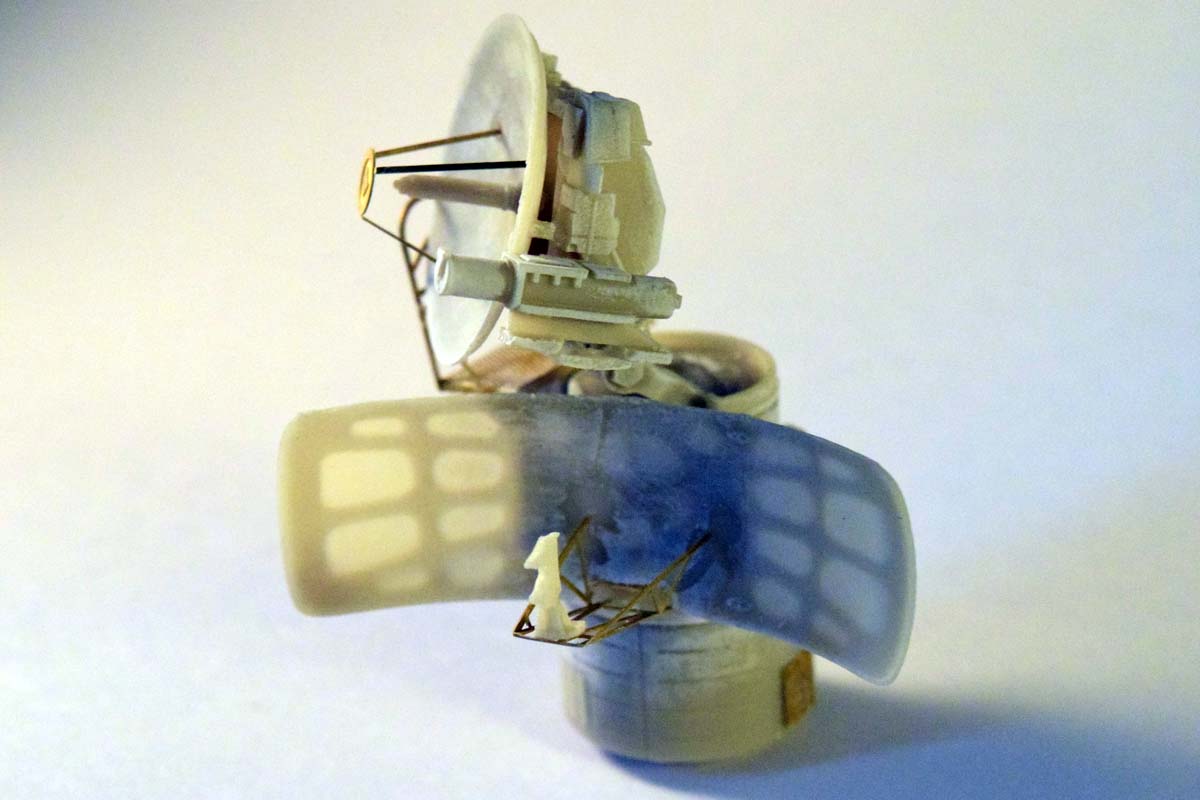
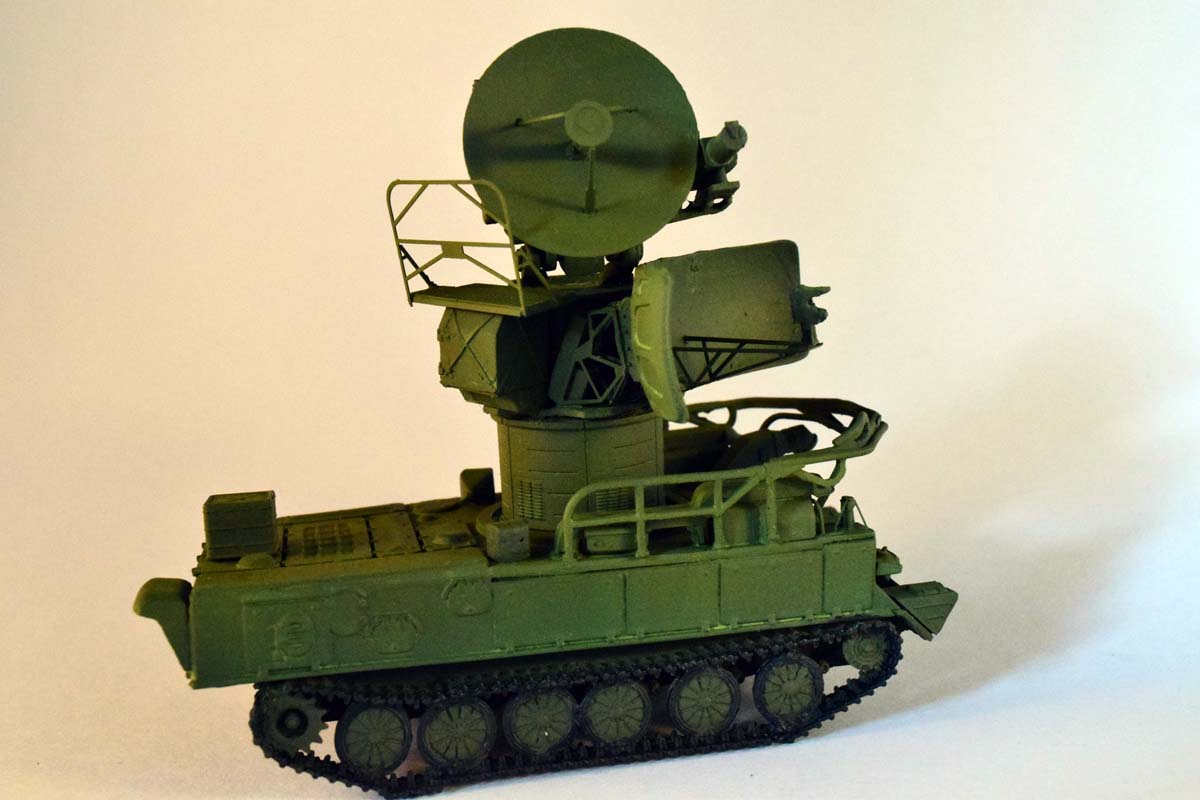
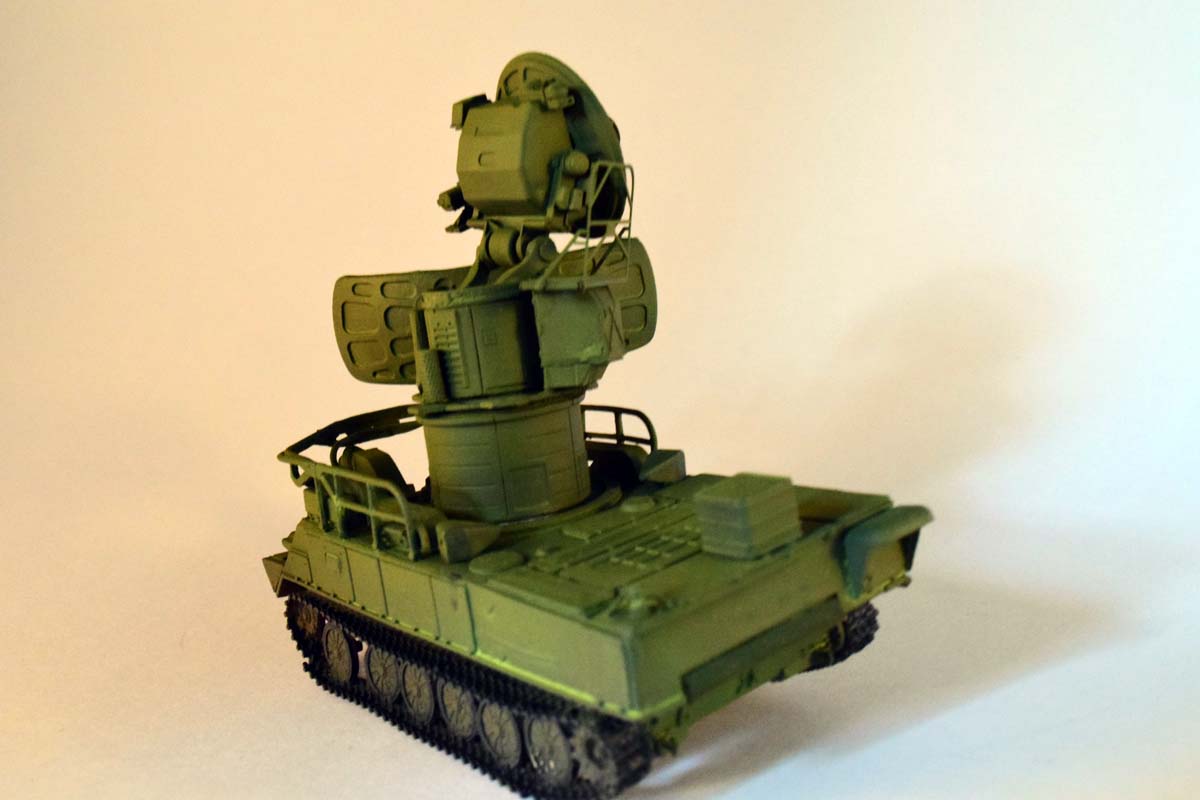
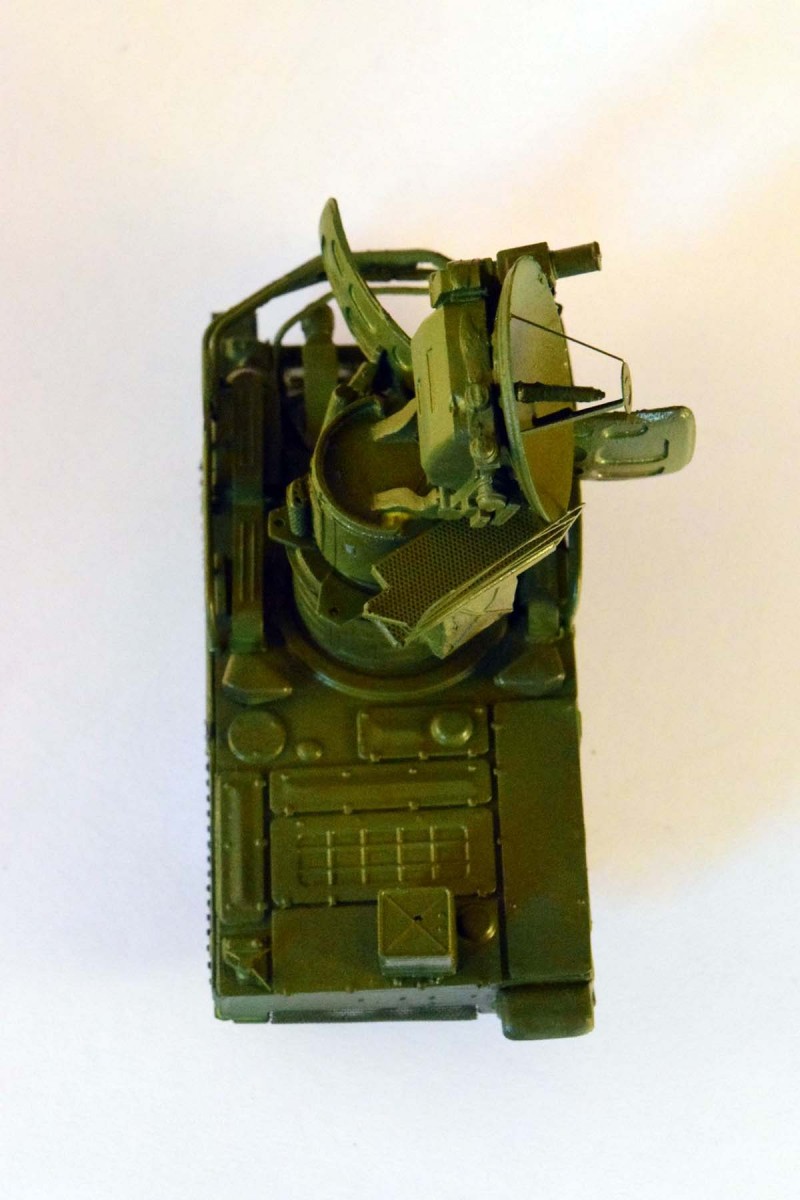
The second big assembly is the radar itself. As mentioned the two radars can rotate independently from each other, so it does not really matter how you orient them. Regardless, it is a good idea to actually decide before starting. The orientation of the radar dish will be determined by the first steps (step 7), so make sure you understand what part goes where, and how it will look once finished (mine is quite random, since I did not realize this in time). Another thing to mention: the service plank next to the top radar dish has a collapsible handrail. The instructions show the vehicle with the dishes in forward position, handrail erected. If the top dish is in use, the handrail would be in its way and is folded down. The instructions do not mention this possibility, and if you- like me- you build the model with the dish off-center, it will be an issue.
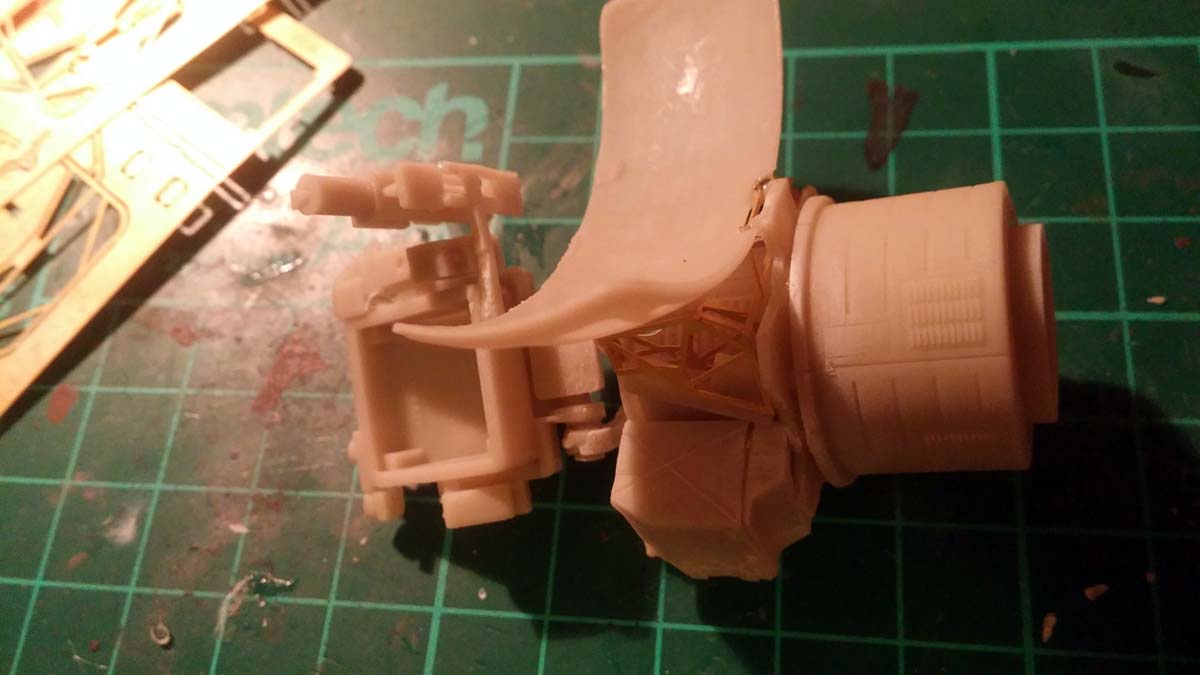
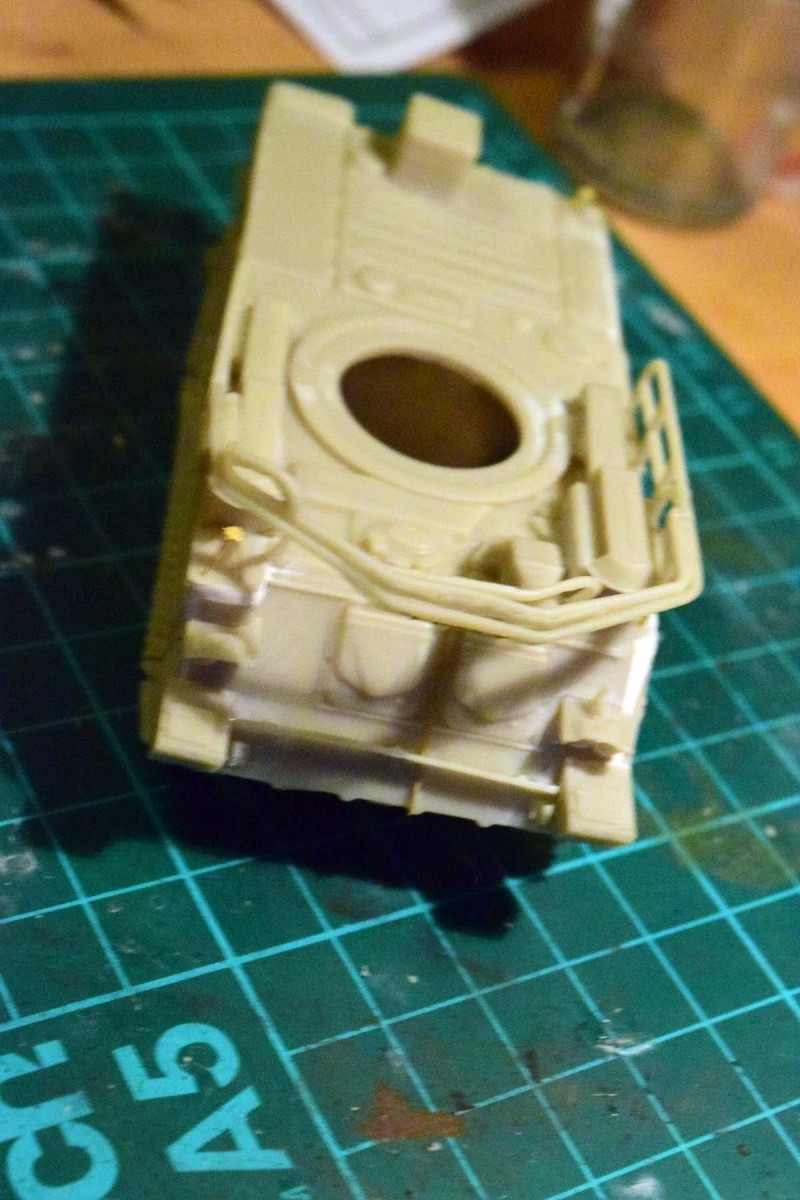
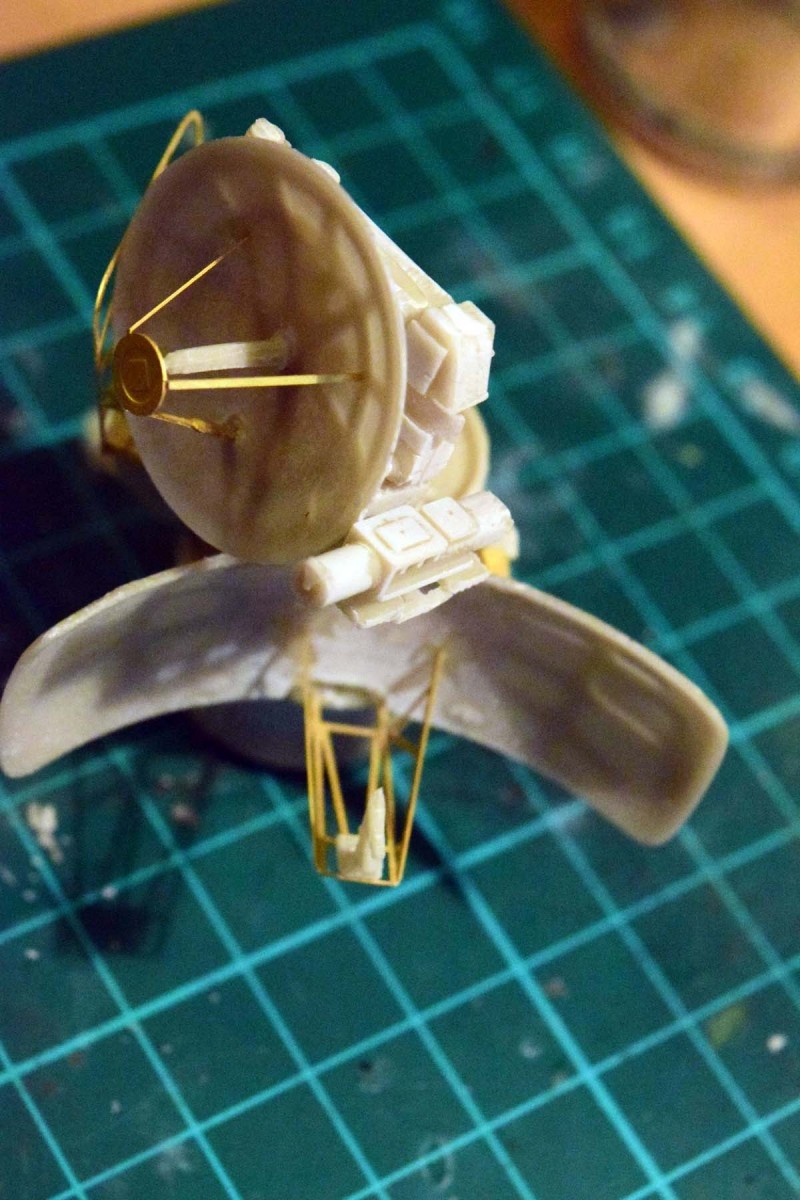
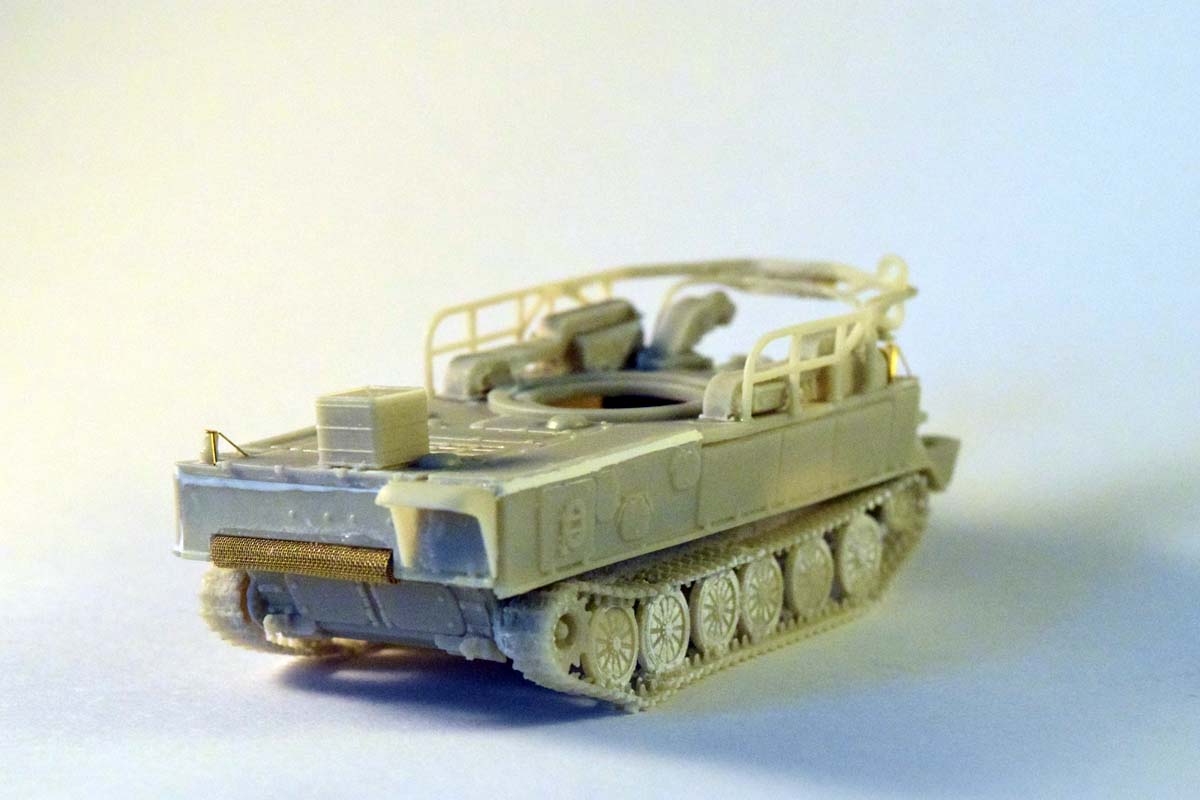
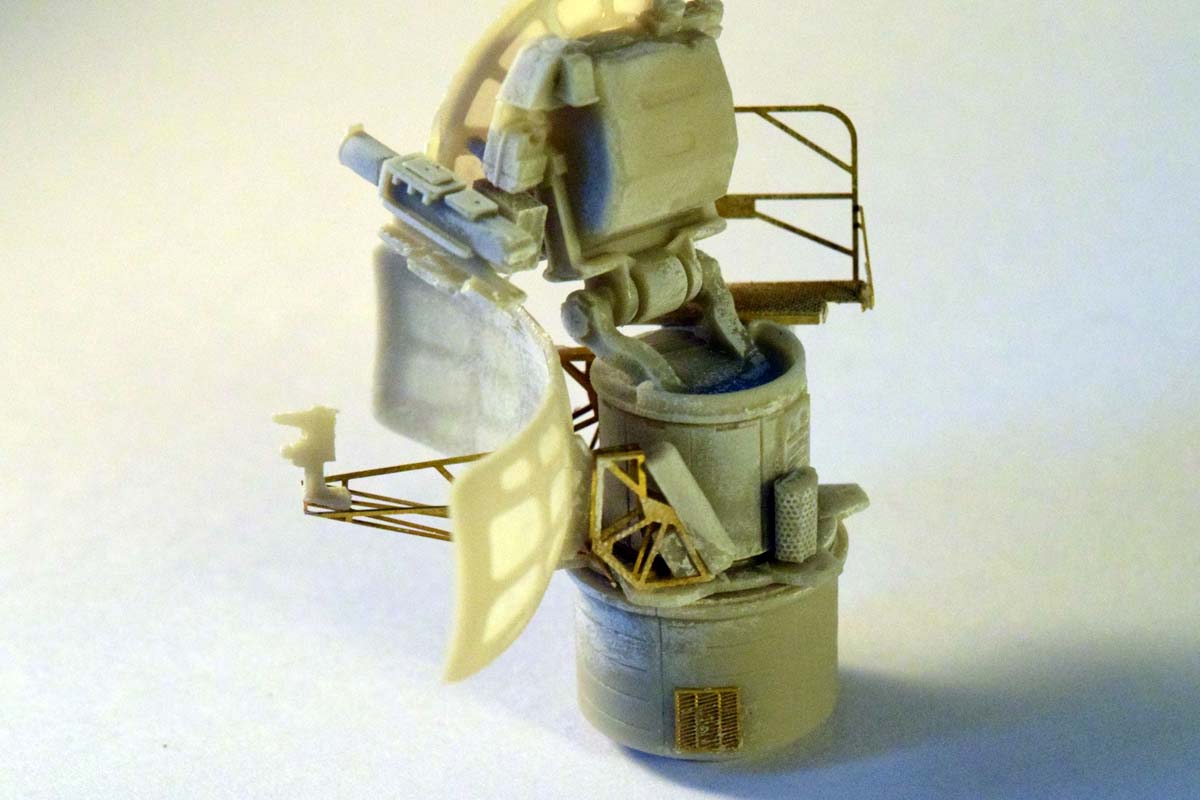
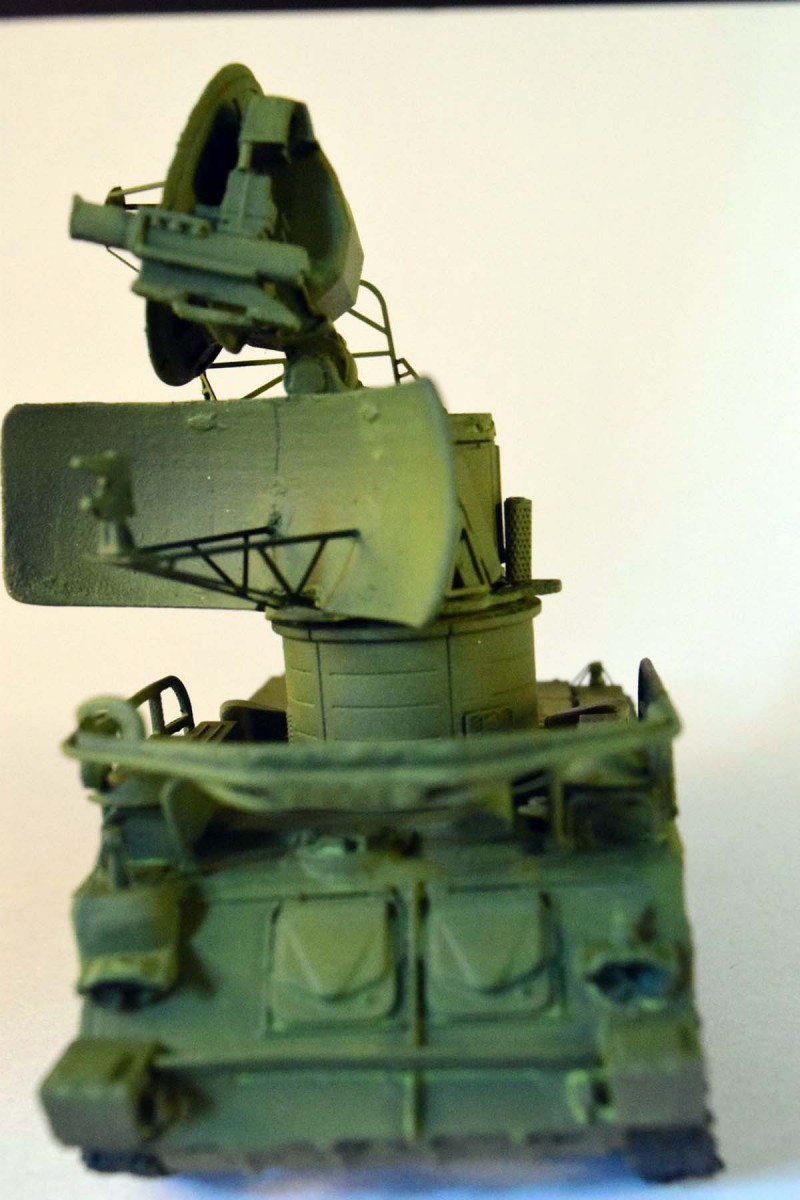
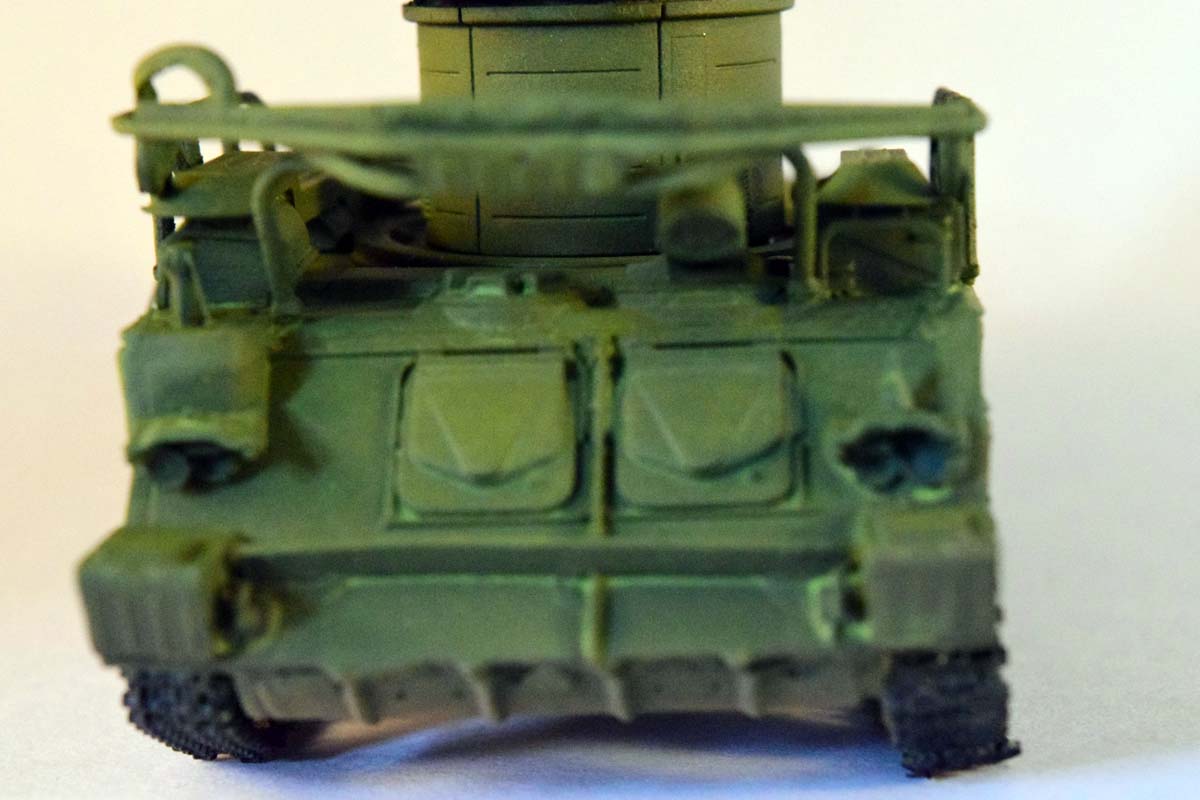
(It shows how the complex metal guard system on the front of the hull functions to protect the radars during transit.)
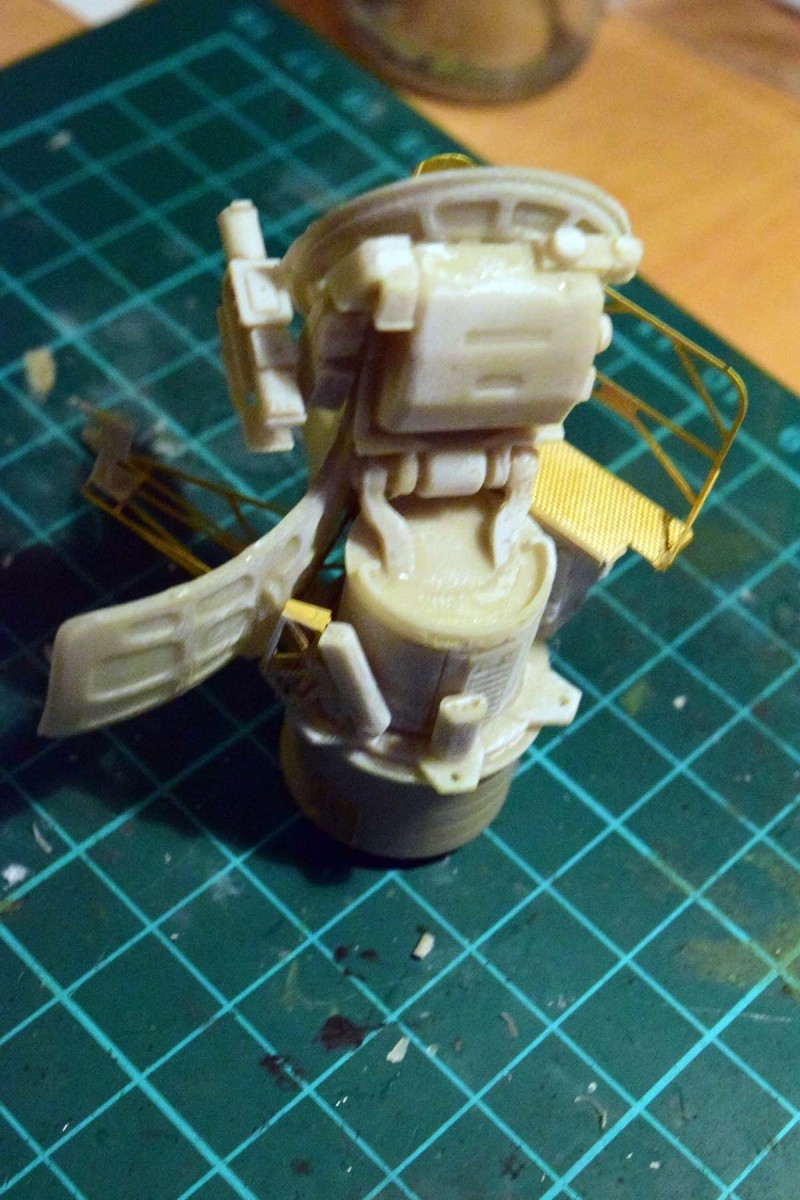
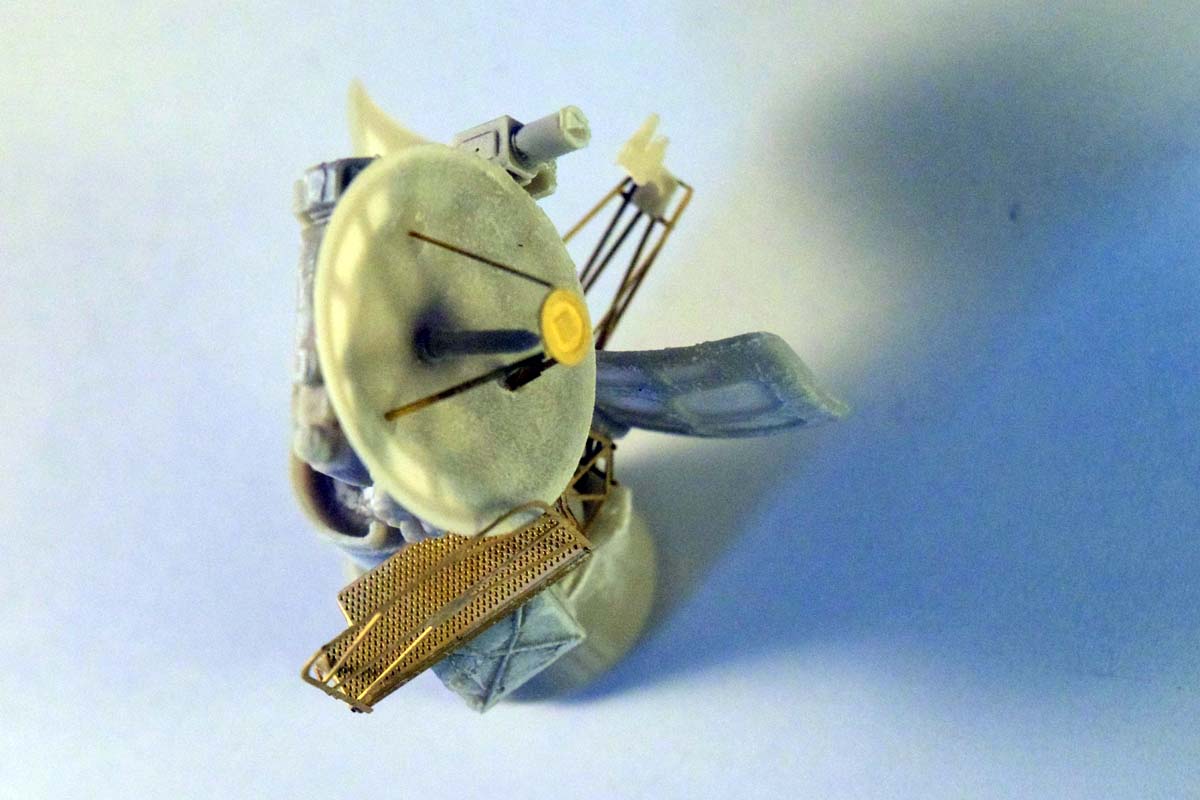
Once the radar assembly is complete, some further details are added to the hull, such as the already mentioned guards, and we're done. (The guard system seems to be consisting of two independent curved rails; one fixed, and one movable. They should be touching in the folded position (when the radars are erected and are in use); yet part 34 is shorter, and does not reach the others. Since it's literally just a curved piece of resin rod, it should be easy to fashion a longer replacement piece. I kept this part for the purpose of this review.
The model is actually quite complex, but not immeasurably so. It can be built with a reasonable amount of experience; even the PE handles well.
Painting
Vehicles like this do not get banged around as much as tanks and other armored fighting vehicles. They are normally kept in a pretty good order since most of their time spent standing in one place. If they do get to the wrong end of the enemy's guns, they usually end up a mangled, smoking wreck, so excessive chipping, rusting and battle damage was not really an option. They also tend to avoid heavy mud, and are kept in pristine condition by their crew. Since I wanted to depict a non-derelict vehicle, I kept the model reasonably clean.
I decided to put everything together before painting; that meant the tracks as well. I kept the radar installation detached for ease of handling but everything else was fixed.
I washed the model in warm, soapy water, and let it dry for a couple of days. (Very important step with resin models.)
The model received a German Grey primer coat (Vallejo) to provide a good, stable base for the subsequent paint coats, and also to pre-shade the model. There is an argument for not using primer: modern paints adhere to almost any surface. With resin I found that it's still a good idea to prime first.
Once the paint cured (about 24 hours) I misted a couple of coats of Tamiya OD dark green onto the model, following with subsequently lighter shades (lightened with tan and yellow). The lighter shades were concentrated on the areas which would be exposed to more light if the vehicle was standing outdoors - the top of the hull, the lower interior curve and the top of the radar dishes, etc. I decided to highlight a couple of protruding details: hatches, top of storage boxes, etc, with a slightly lighter green. (I used white to lighten the base color; normally it's not something I do as it makes the resulting color look faded, but in this case it is the look I was going for.)
The lower part of the hull was treated somewhat differently. The road wheels got a small spray of green each, and I went over the rubber rims with dark grey using a very fine brush. I also corrected the overspray on the tracks using the primer. The color was pretty good for the tracks; I used some rust wash to give them some variance, and a silver pencil to simulate the worn down, shiny parts.
I diluted earth colored pigments in white spirit, and after leaving the mixture on the road wheels and the bottom of the hull for half an hour, I wiped the excess away with a damp brush. I repeated this step with a couple of earth colors going from lighter to dark.
I sprayed some dark aging and light aging filters by True Earth on some selected areas of the vehicle without diluting the product: around the radar's base, on the lower part of the base, on the bottom of the tank; the effect is not as smooth as I wished it to be, but it does produce an interesting discoloration here and there.
I used some yellow, light brown and yellow filters on the model in several coats; the lighter ones were focused on the top parts, the darker on the bottom. As further filter I used Tamiya's transparent yellow sprayed from above; it provides an interesting brighter highlight. Once the model dried, I gave it a coat of semi-gloss varnish, and applied pin washes to make the details stand out. (I usually don't use black; dark brown is a good color for a wash.)
The model does not come with decals, which is a shame; right now I've stopped with the painting process until I manage to print out some decals using an inkjet printer.
That's pretty much it. I have to say the model is quite impressive, both in quality and in appearance. If you don't mind the scale and the price, it is highly recommended.
SUMMARY
Highs: very interesting subject, well designed model, reasonably good instructions.Lows: no decals, high price.Verdict: Recommended for anyone who is fascinated by "support" vehicles, strange-looking Cold War stuff, and has some resin/PE experience.
I am a biologist by trade, and as a hobby I've been building scale models for the last twenty years. Recently I started to write reviews of the models I bought. These reviews are written from the point of view of an average model builder; hence the focus is on quality of the model, how easy it is to...
Glad you spotted why I asked the question about wash colours...
Robin's suggestion sounds a good one, you could also try very very thinned dark yellow sprayed over, so thin that one coat will barely be visible at all, then build up more if and where you need it - letting each dry in between. You should find it tones things down, although if using Tamiya paint it will also make it very matt. That can always be adjusted again afterwards if you want a satin finish.
Tamiya paint thinned with their own thinners should spray without turning into droplets, I think, it should go on as a fine mist.[/quote]
and you can also try with thinning a mix of all three colours.
Make a few test surfaces with the three camo colours and then try different variants of the suggestions from Matthew and me. If one method doesn't work you have only ruined a test surface ....
/ Robin
I usually use water or windex, so that might be it... I'll try (as soon as I get my hands on some )
Robin, thank you for the help; I will experiment on a piece of plastic as you suggest.
Thanks for the build review. I have this kit in my stash, and now I know that I need to soak the tracks in warm water to get them on properly. W Models has excellent Russian SAM system components.
You are welcome. The tracks are essentially thin resin which can be formed when slightly heated. A little heating with a hair dryer on a low setting would work, too. (I like the water option as a hair dryer might melt the thing. It happened to me once.)


Comments