Armory seems to be interested in fictional German tanks for their injection moulded kits; this is the second of such vehicles, and they share several parts. (Lowe being the first one, which I also reviewed, and which underwent some development since then.)
When I was told I had a chance to review a model that has not even been issued yet, obviously I said yes; after all it is a rare opportunity to get your grubby hands on something so fresh out of the moulds. An added point of interest is that Armory is mostly known as a producer of high quality resin and PE aftermarket company, and their foray into the plastic scale model world is quite an interesting -and daring- step (with other resin manufacturers following suit lately).
For this reason I cannot comment on the box art or the instructions, because they were not yet ready the time I got my sample.
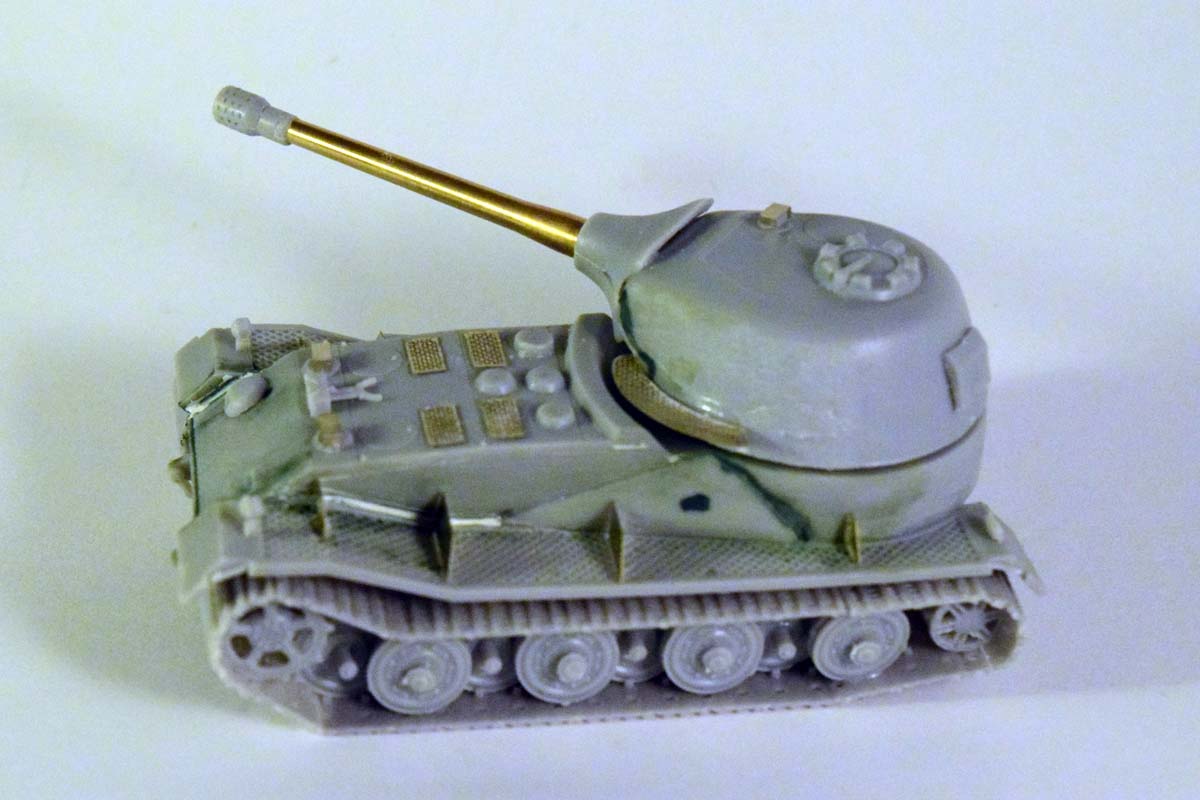
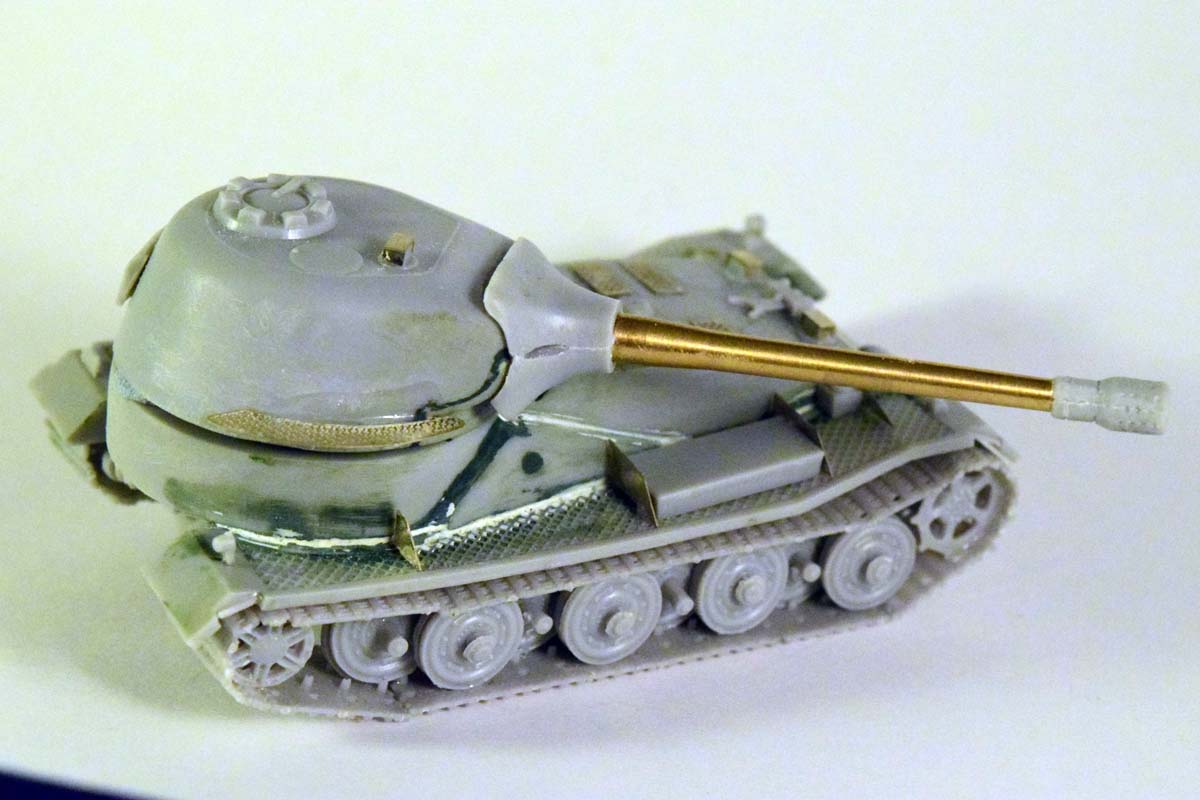
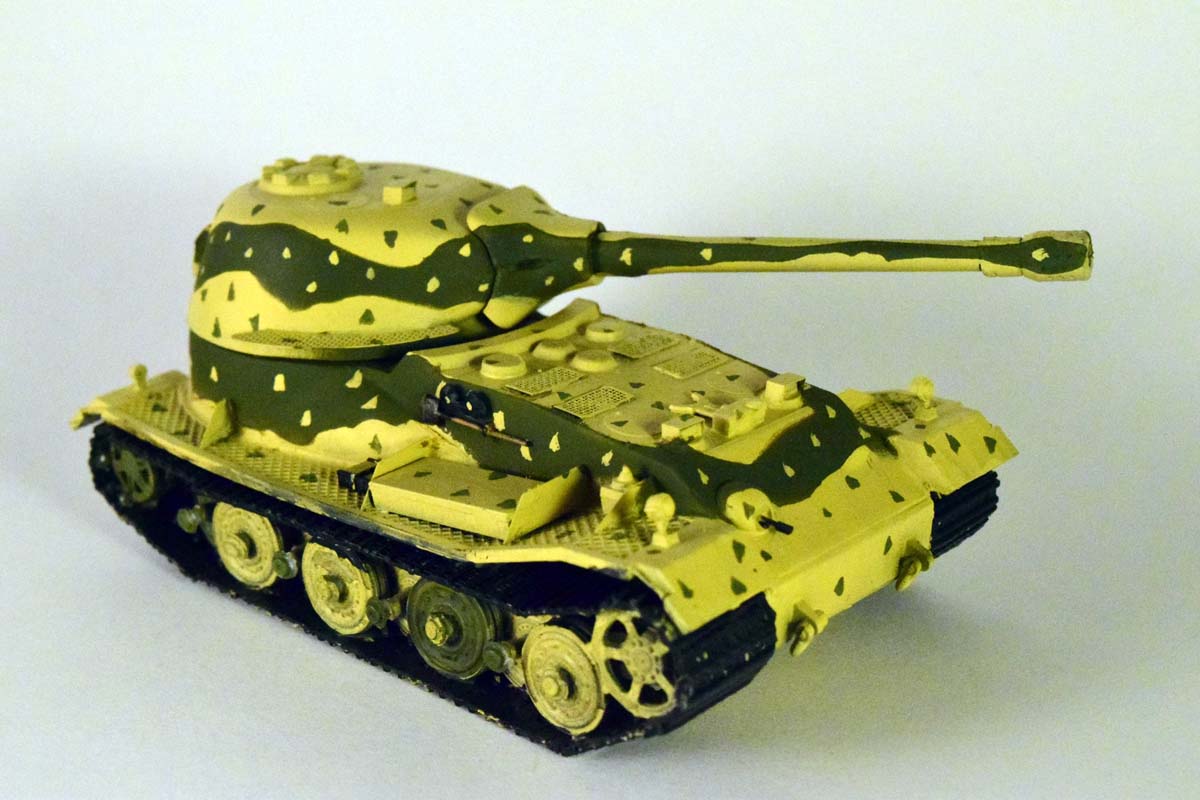
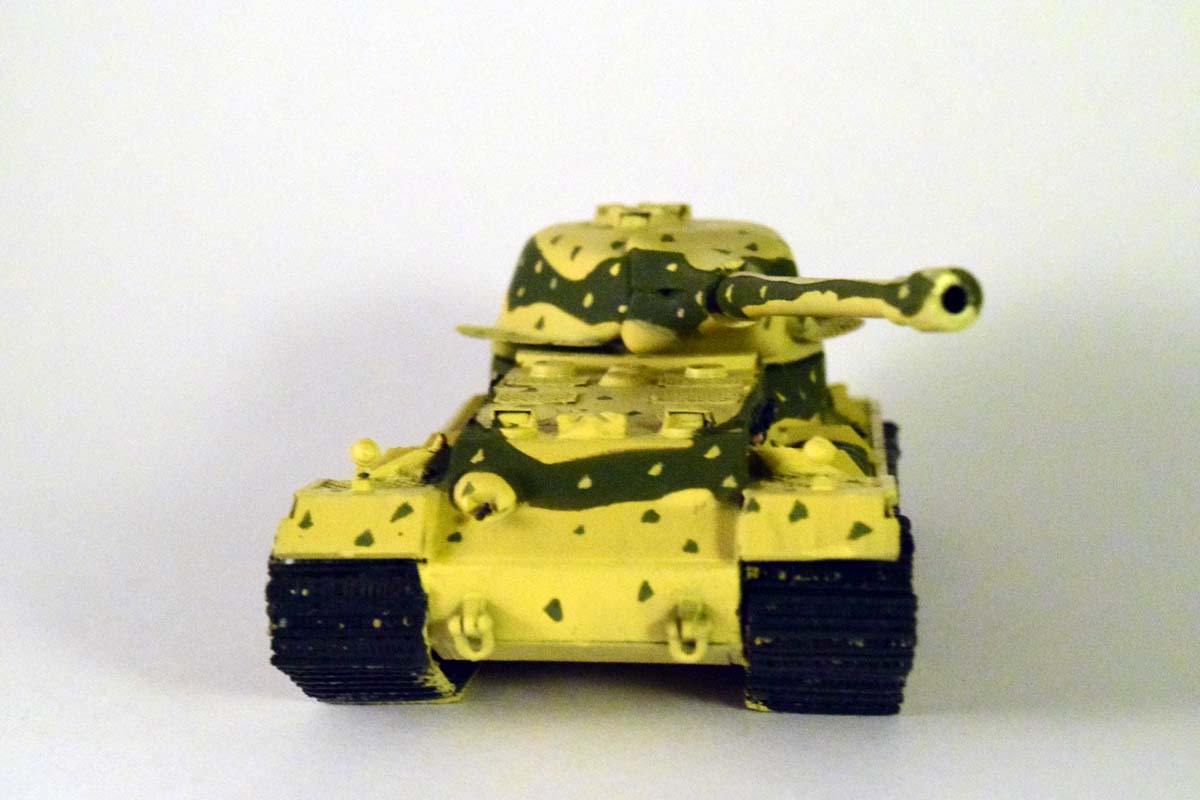
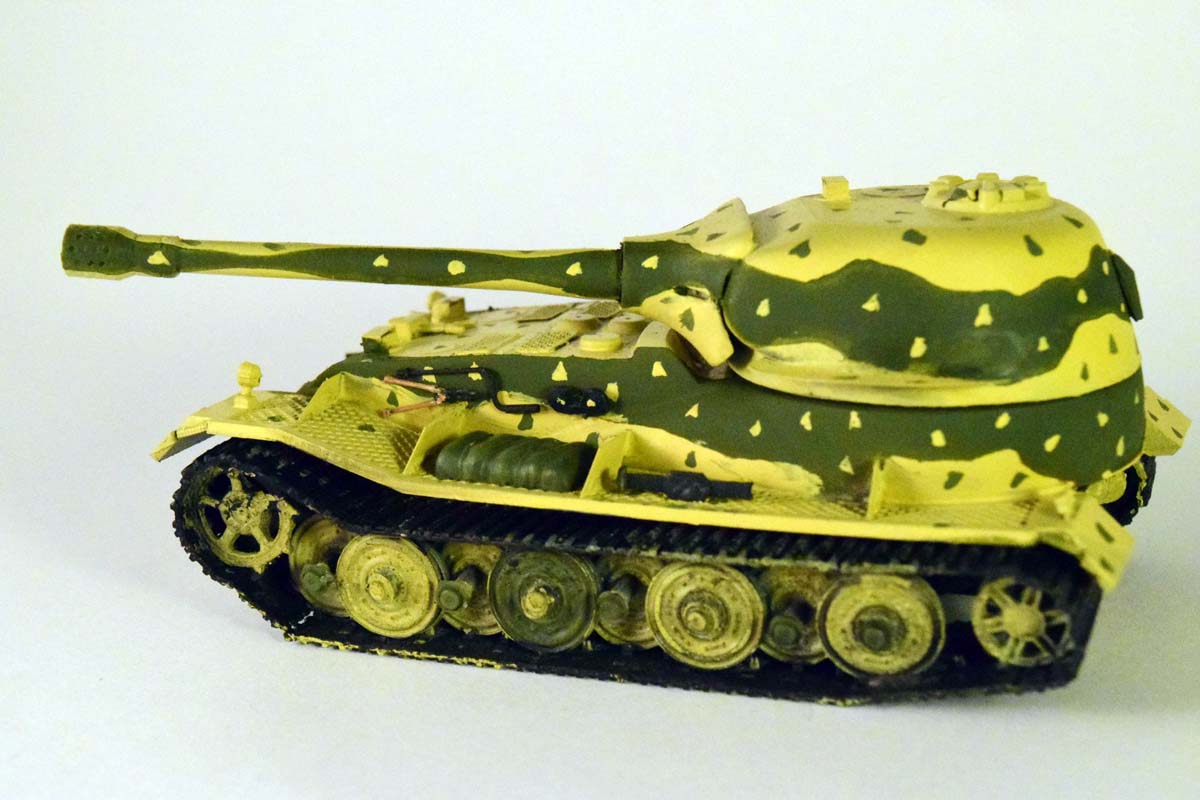
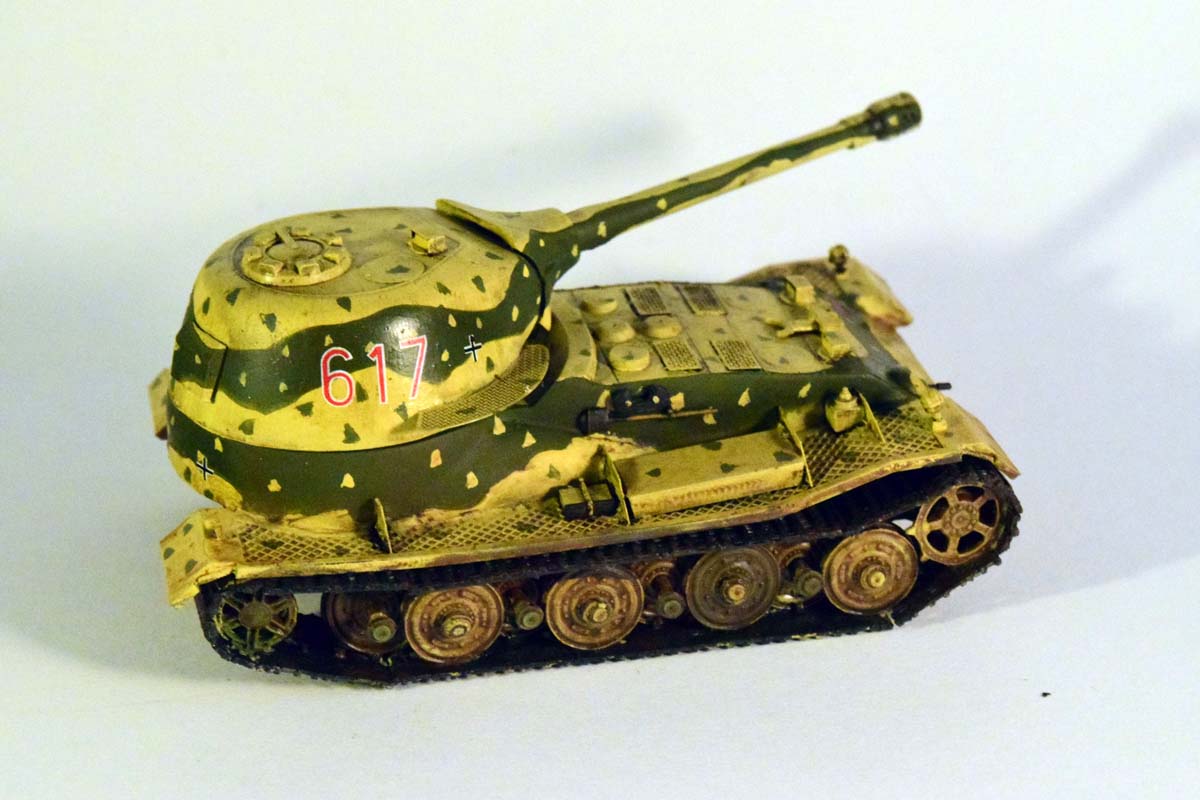
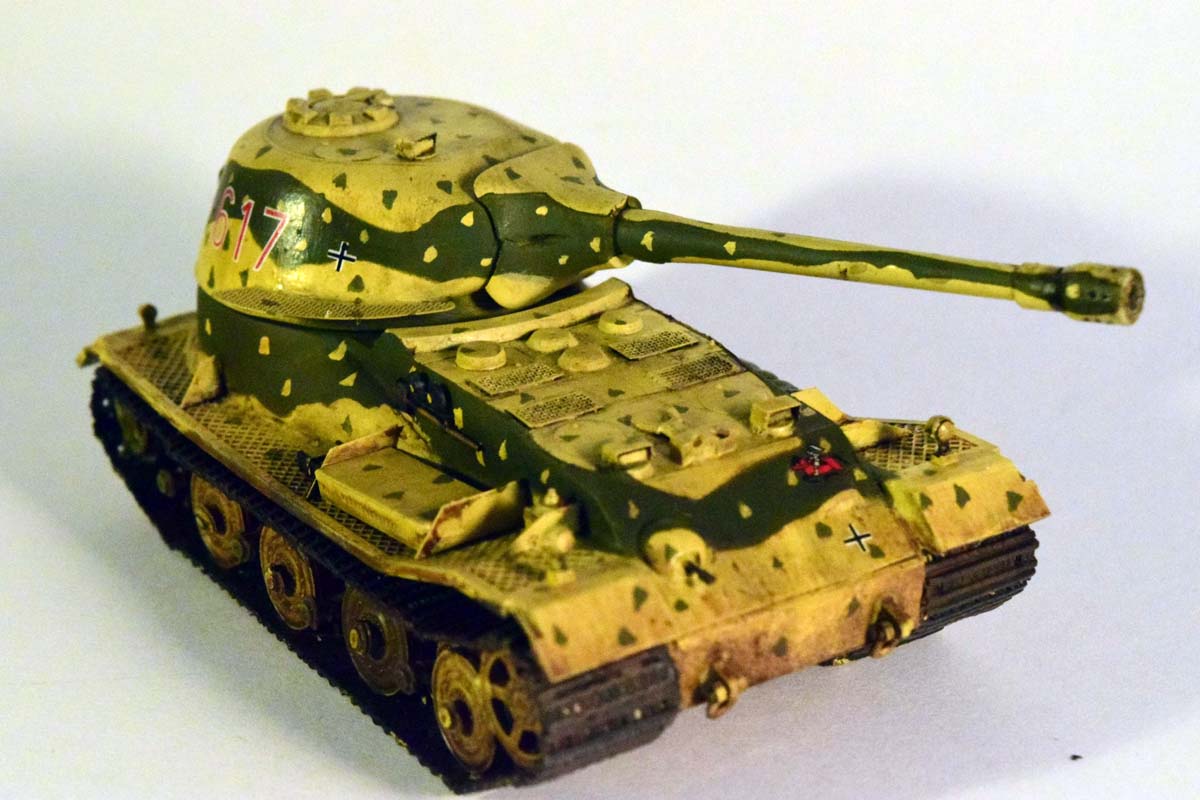
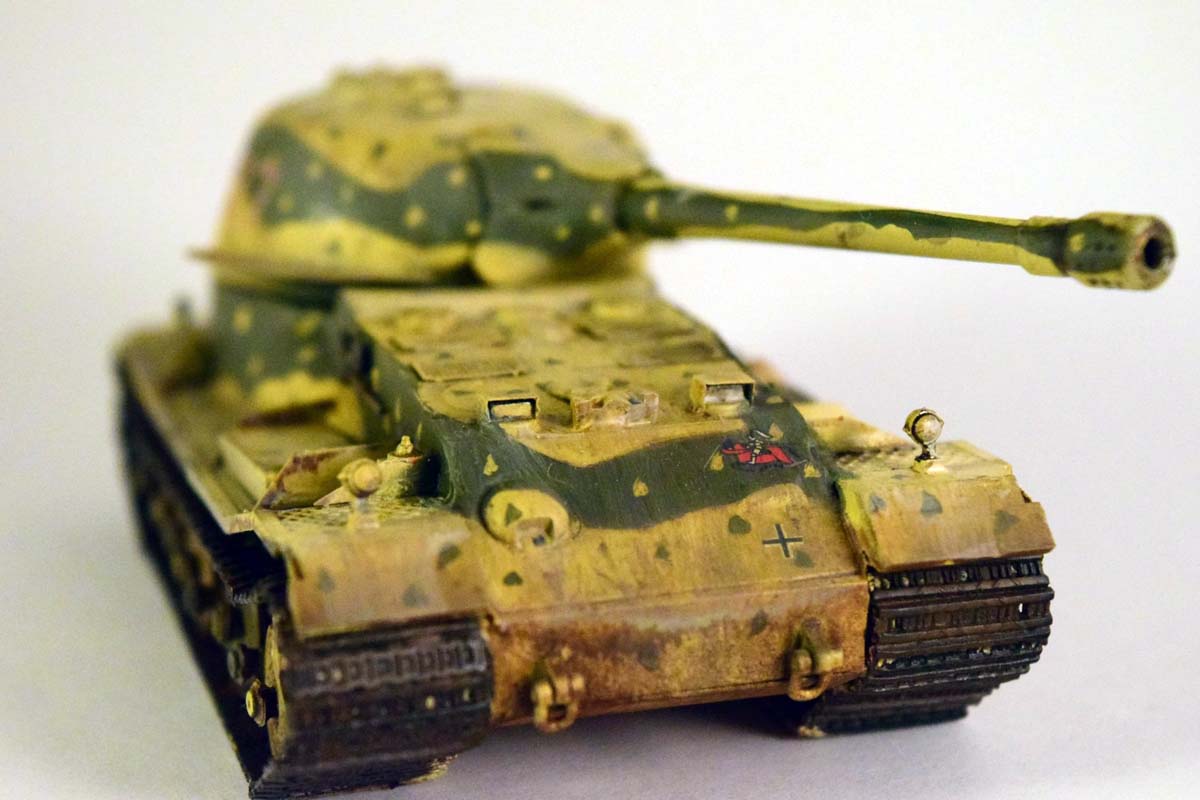
The subject of this kit is a fictional vehicle which I first met in the online game World of Tanks. It is a German super heavy gift tank given out at Clan Wars, and in general it is regarded as a less-than-effective tank in-game. (Well, it might be an understatement. Its called the Fail Lowe for a reason.) It is possible that there was an actual plan during the war, and there IS a weird looking concept art of a similar tank available, but it really does not make a difference if we call it a paper panzer or a 46 German tank. The merits of the design are debatable; it looks very unbalanced, especially with the turret turned sideways or even backwards. In this regards it mostly resembles a tank destroyer than an actual tank. The small "walkways" on the turret cheeks also indicate how impractical the design really was: one misstep and you're on your way to the ground directly with no hull to break your descent. It's especially problematic if the tank needs to be evacuated under enemy fire; I'm not sure how you can safely exit towards the back (assuming the tank is facing the enemy). Anyhow, since it's not a real tank, all this is purely academical. Amusing Hobby issued it in 1/35 scale; now we have a more manageable sized 1/72 version.
Review
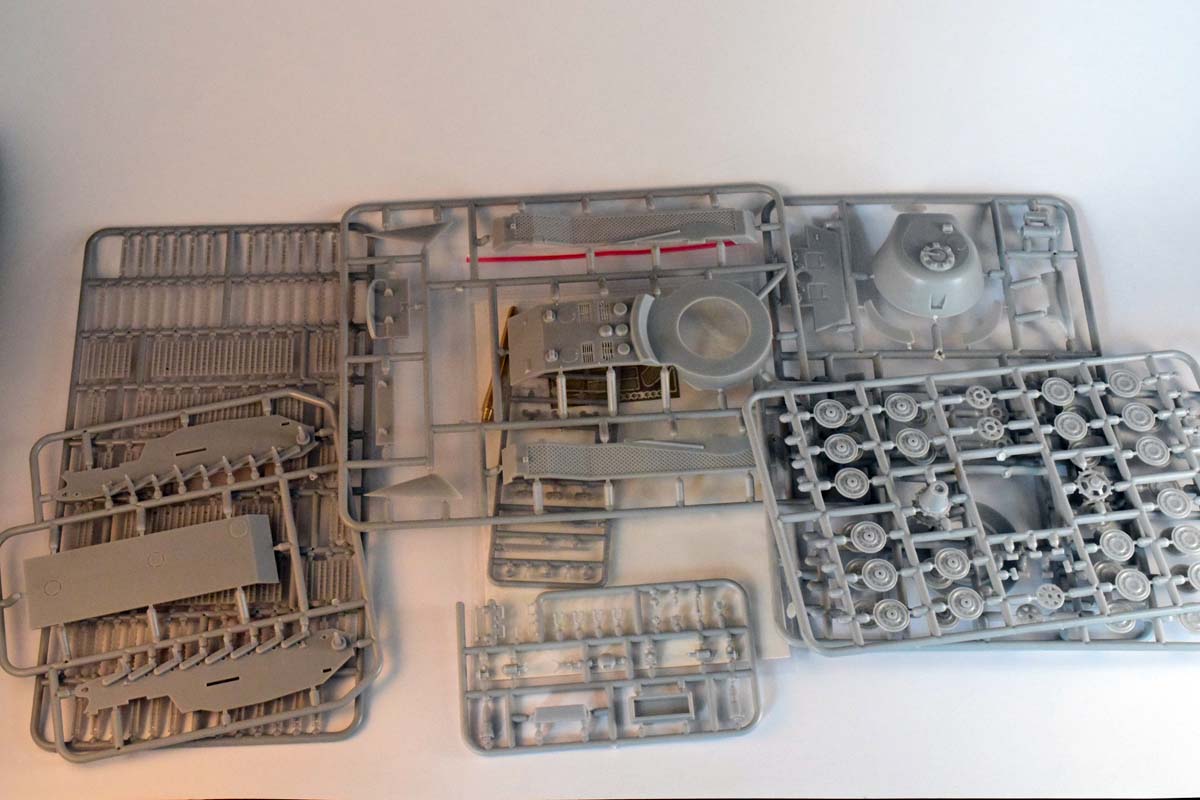
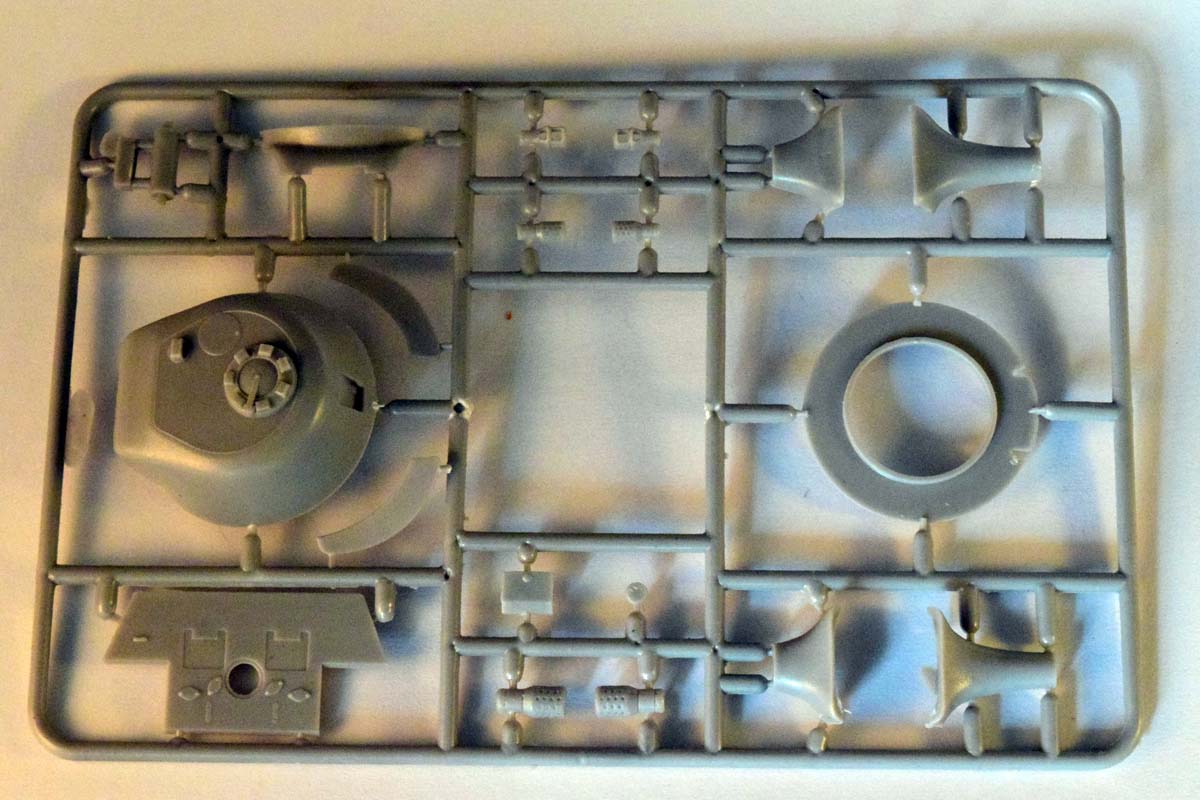
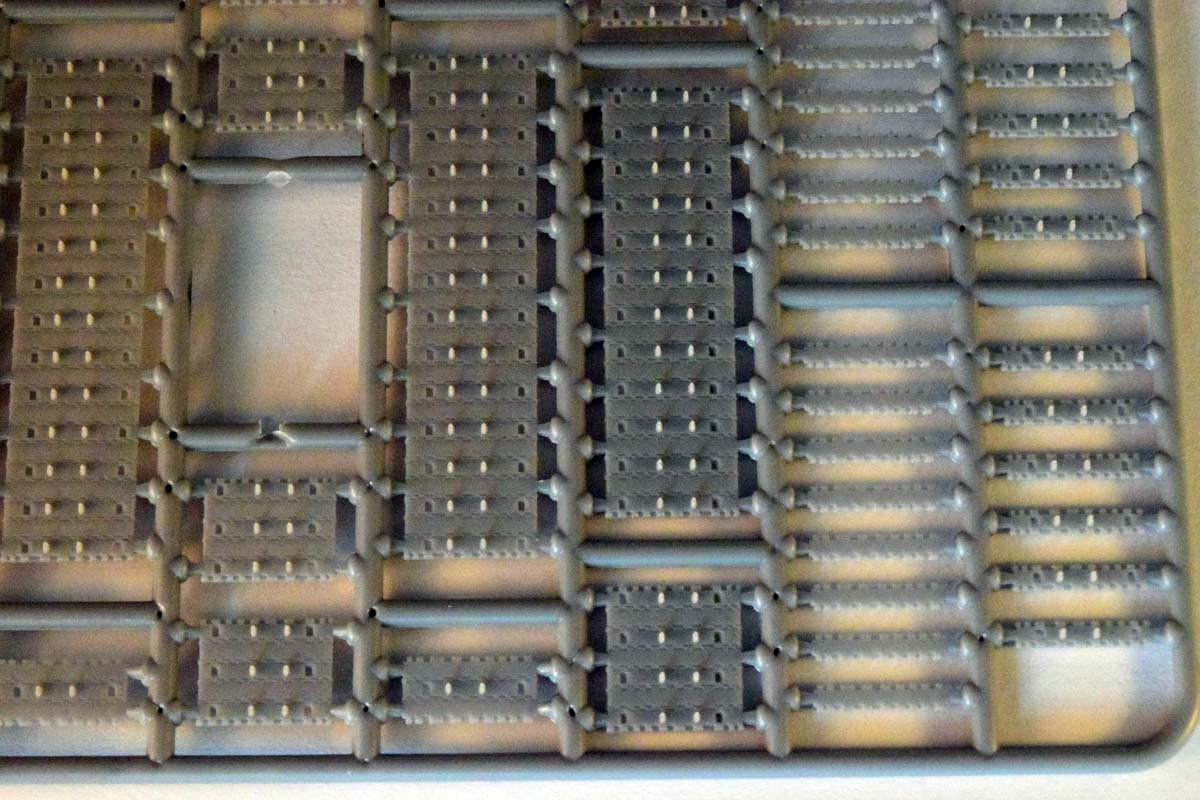
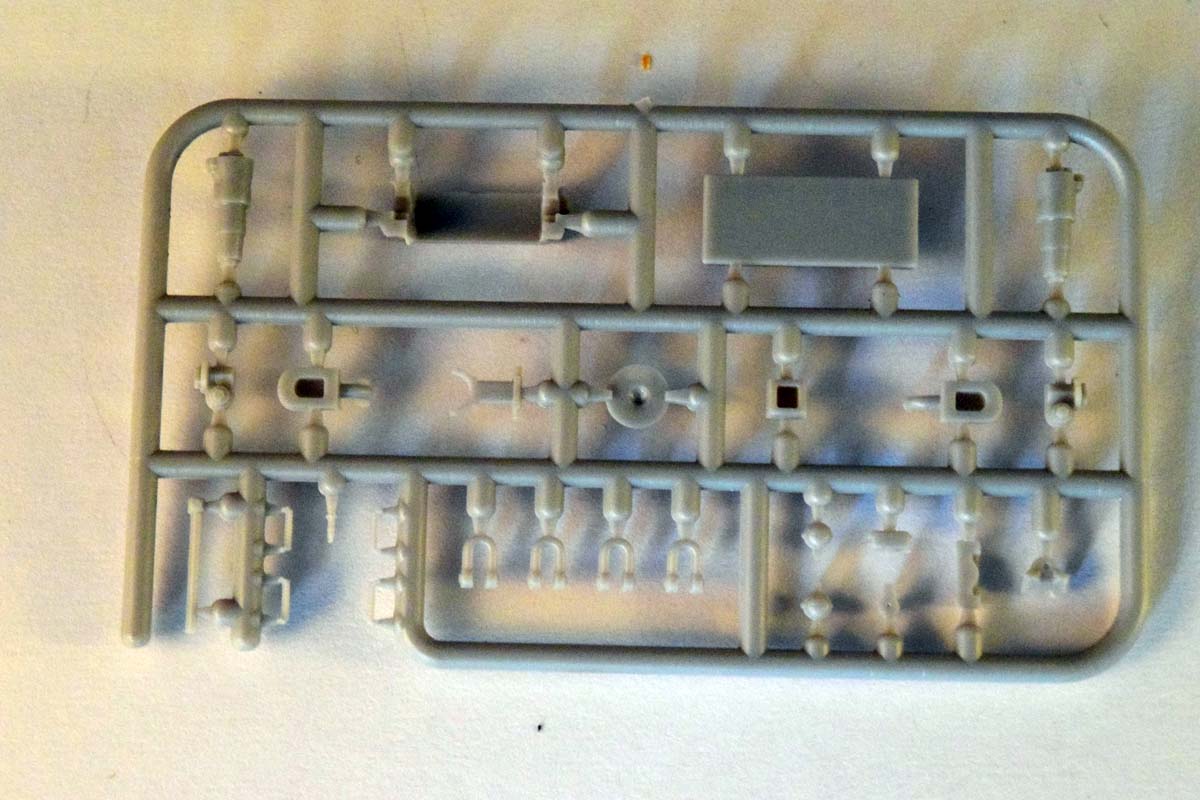
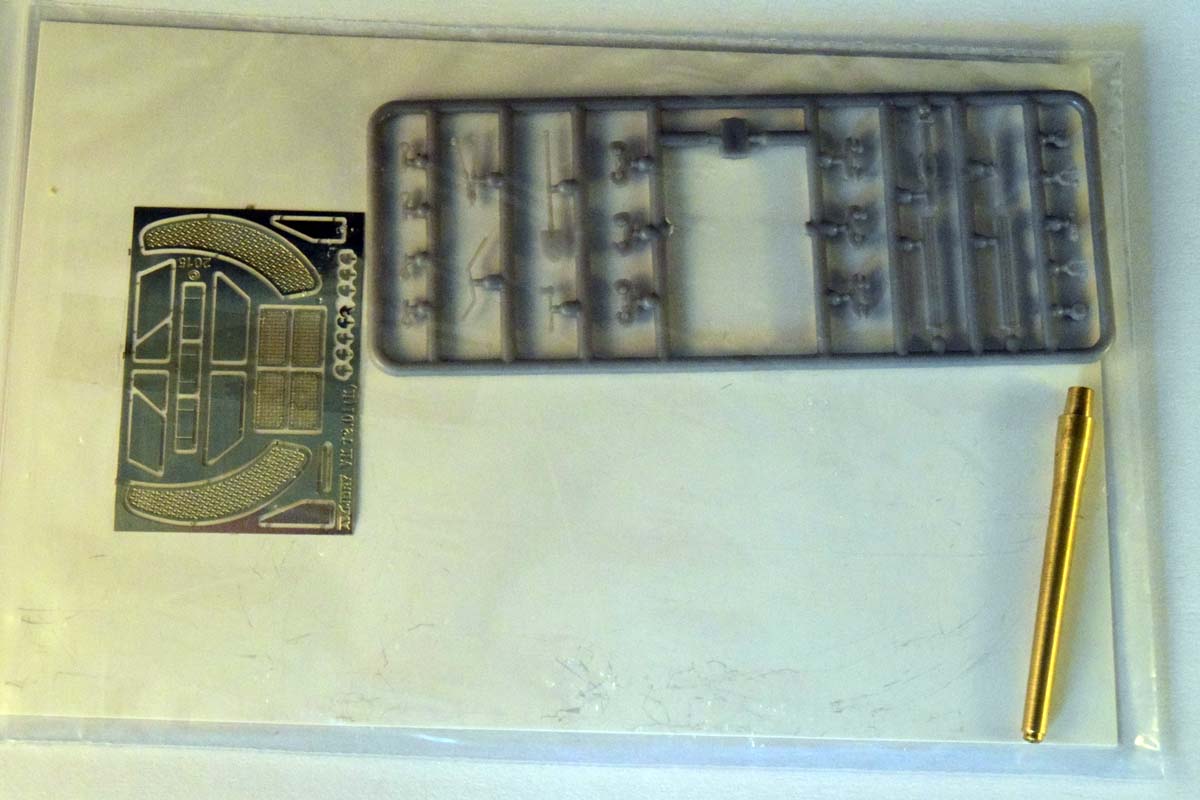
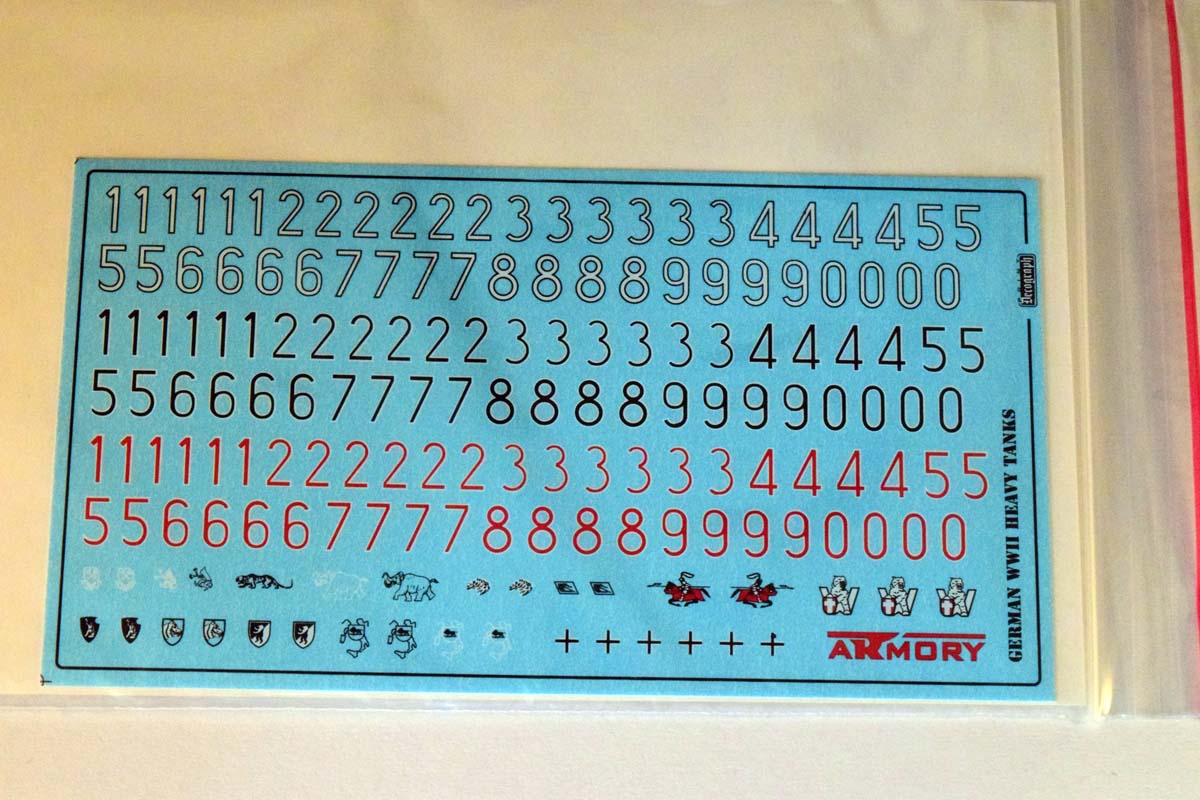
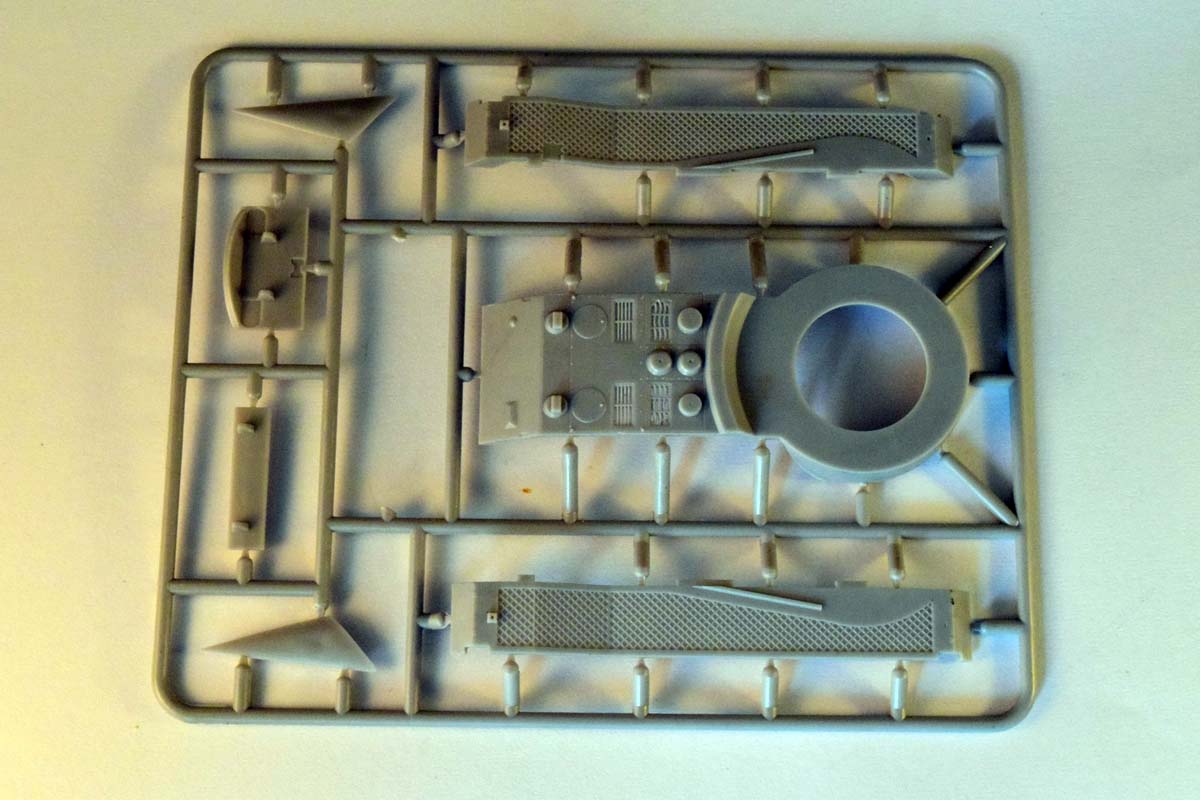
The model comes in 187 plastic and 26 PE parts - and a turned barrel. We get a comprehensive decal set as well, which allows for customization of the model. (Lots of individual numbers for markings in three different styles; the decal sheet will come useful for long time to come if you build a lot of German armor in Braille.)
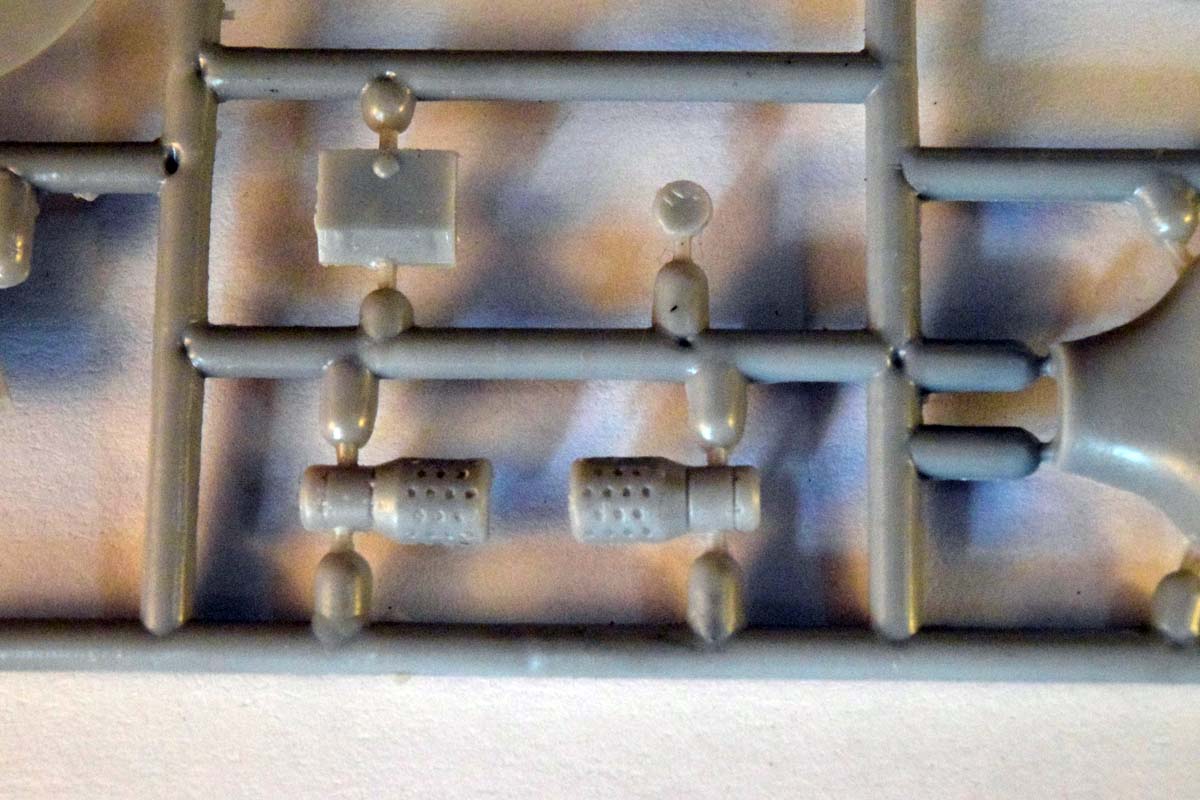
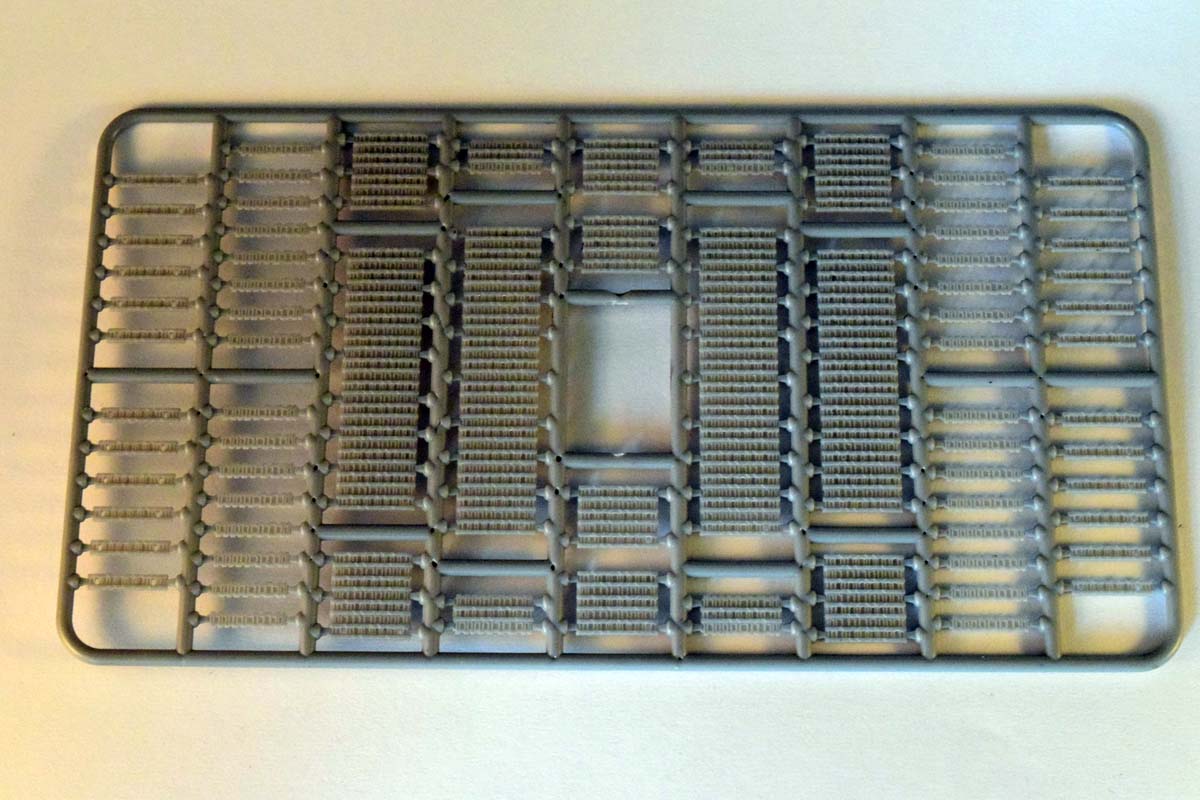
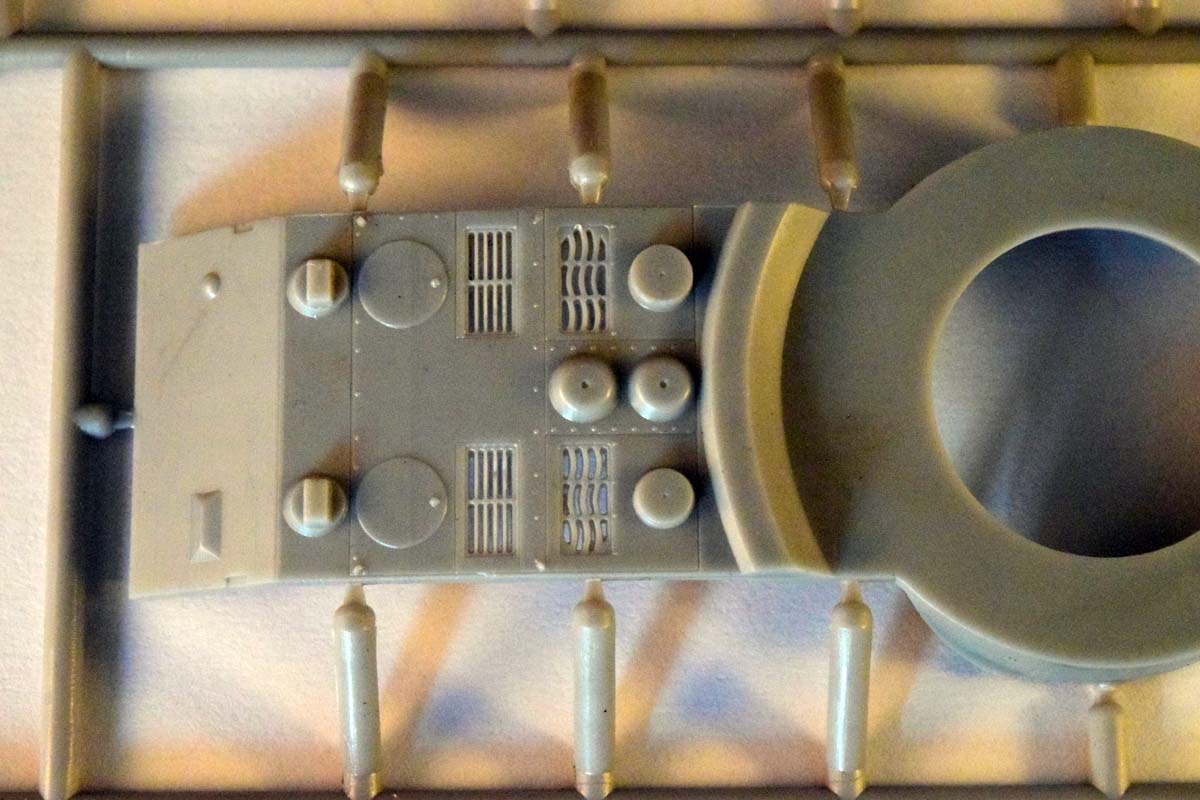
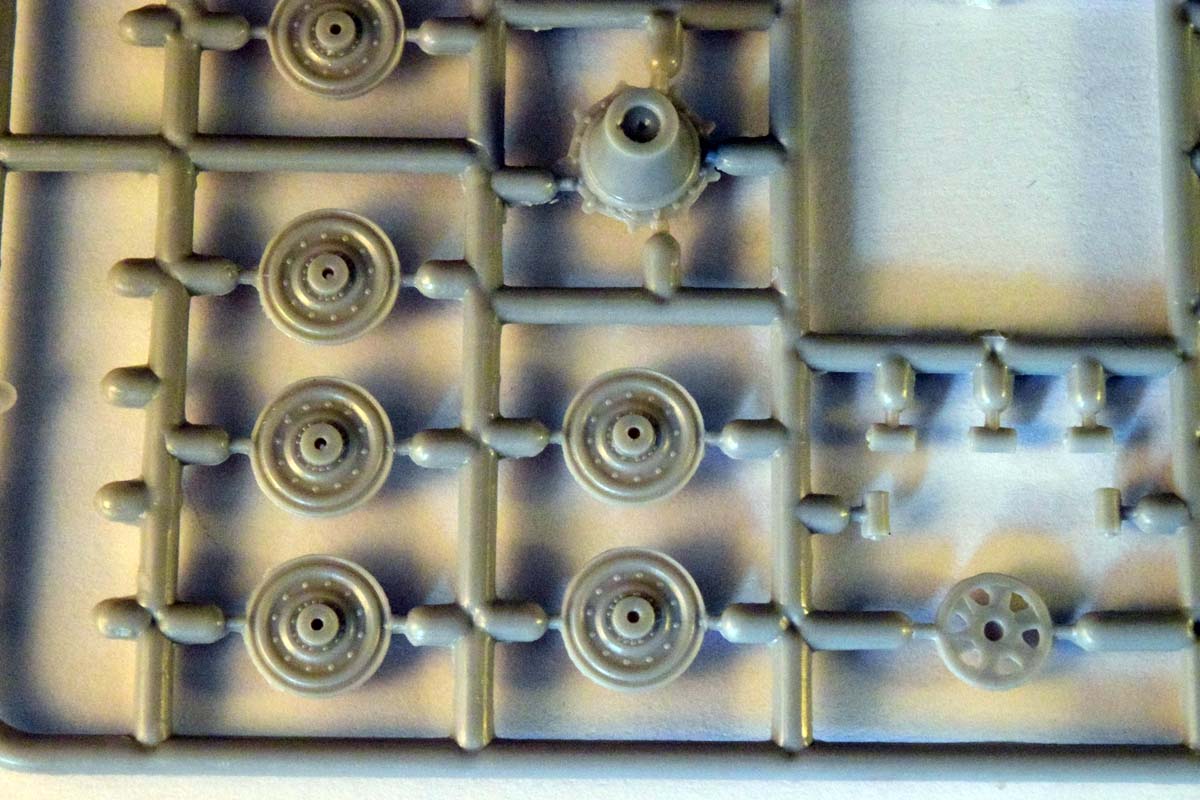
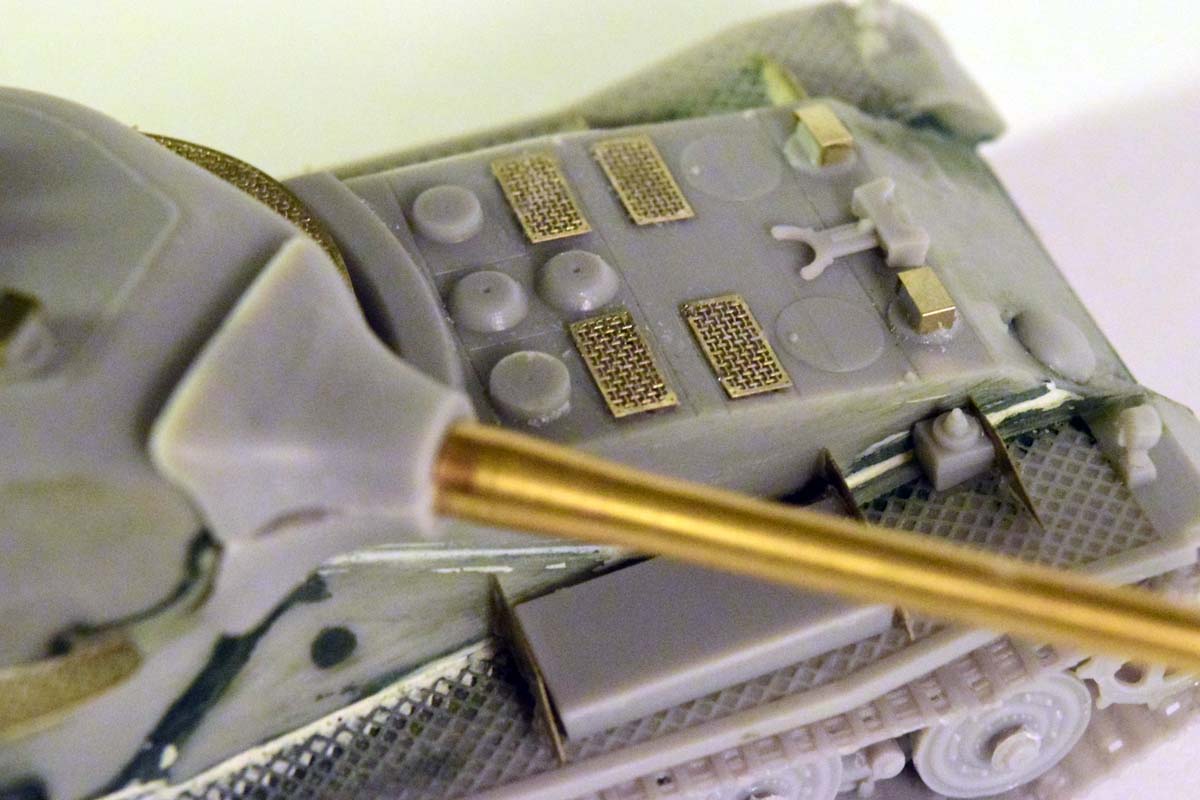
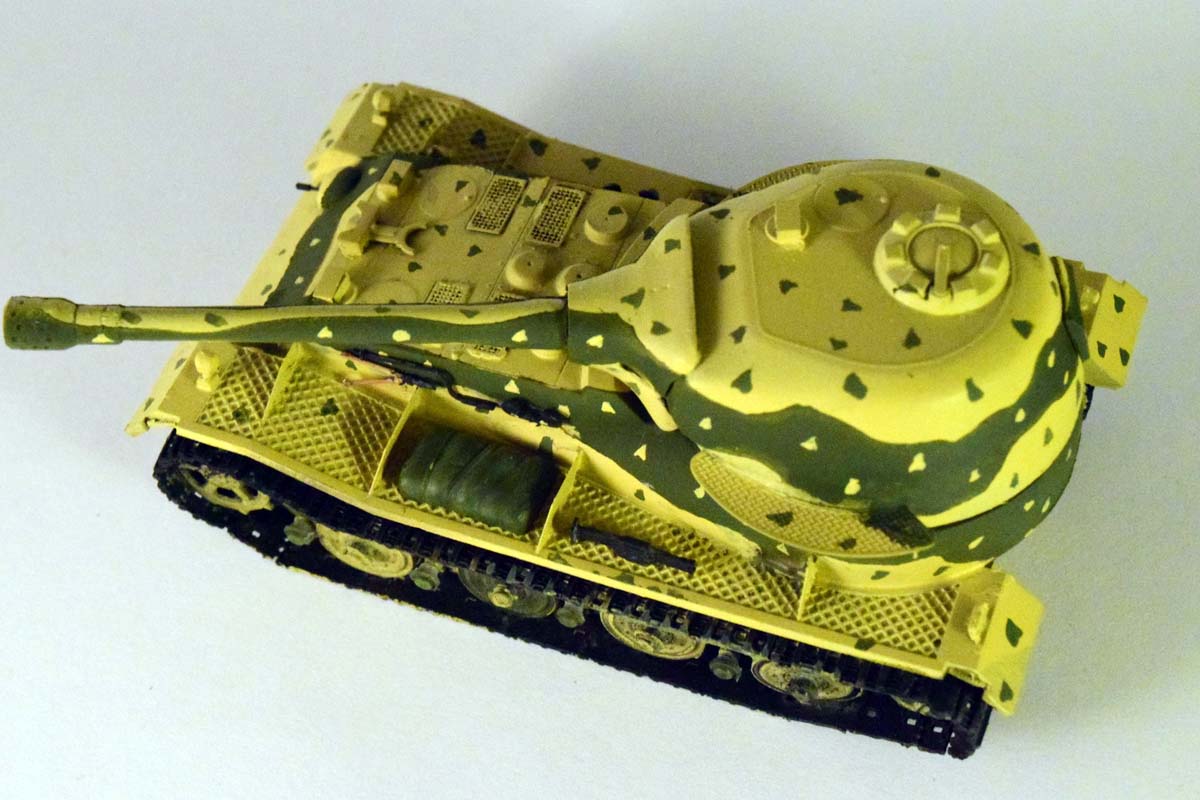
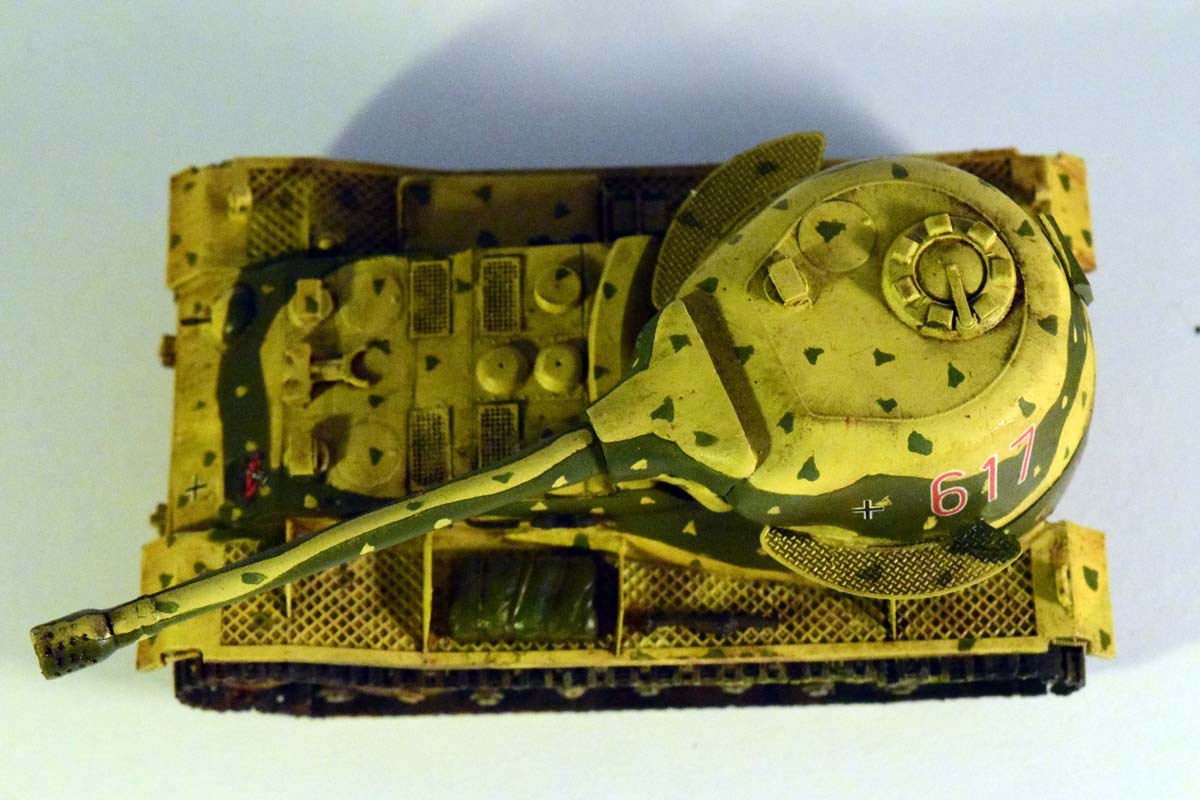
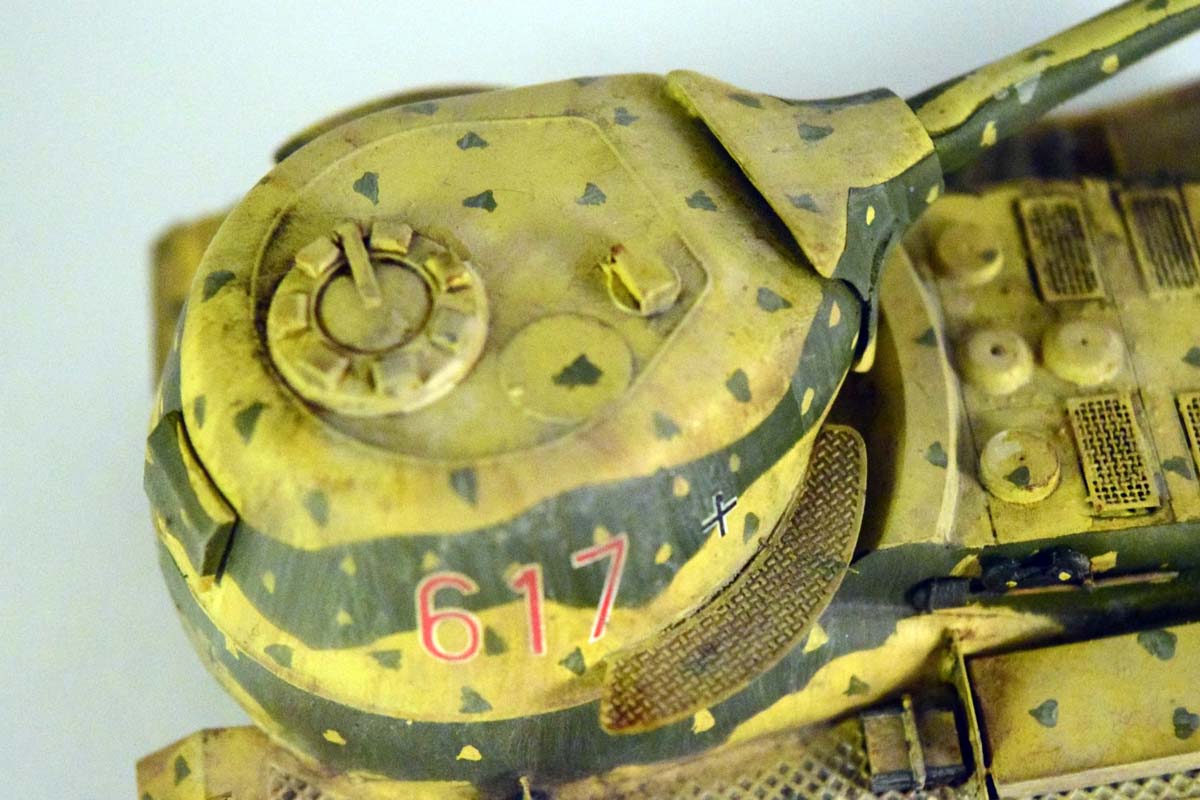
The plastic is OK quality; theres some flash here and there, but nothing major. The detail on the plastic in general is somewhat lacking. A lot of the detail is created by using the PE parts. The plastic seems to be the base which is beefed up using the brass; the periscopes being a prime example of this: they look like tiny bricks sitting on the hull and turret, but once you add the PE cover, they actually look good. Having said that there are some nice welding seams on top of the turret, and the rivets on the road wheels are nice, too. Some details are quite soft: the bolt heads which fix the gun to the turret, for example, are hardly visible. (On the reference images you see some prominent bolts, or bolt-like protrusions.) Ive left them as they were, but they definitely would benefit from some enhancement. The tracks are link-and-length, and pretty good; they are marked improvements over flexible tracks. There will be some leftover tracks should you want to attach some onto the turret.
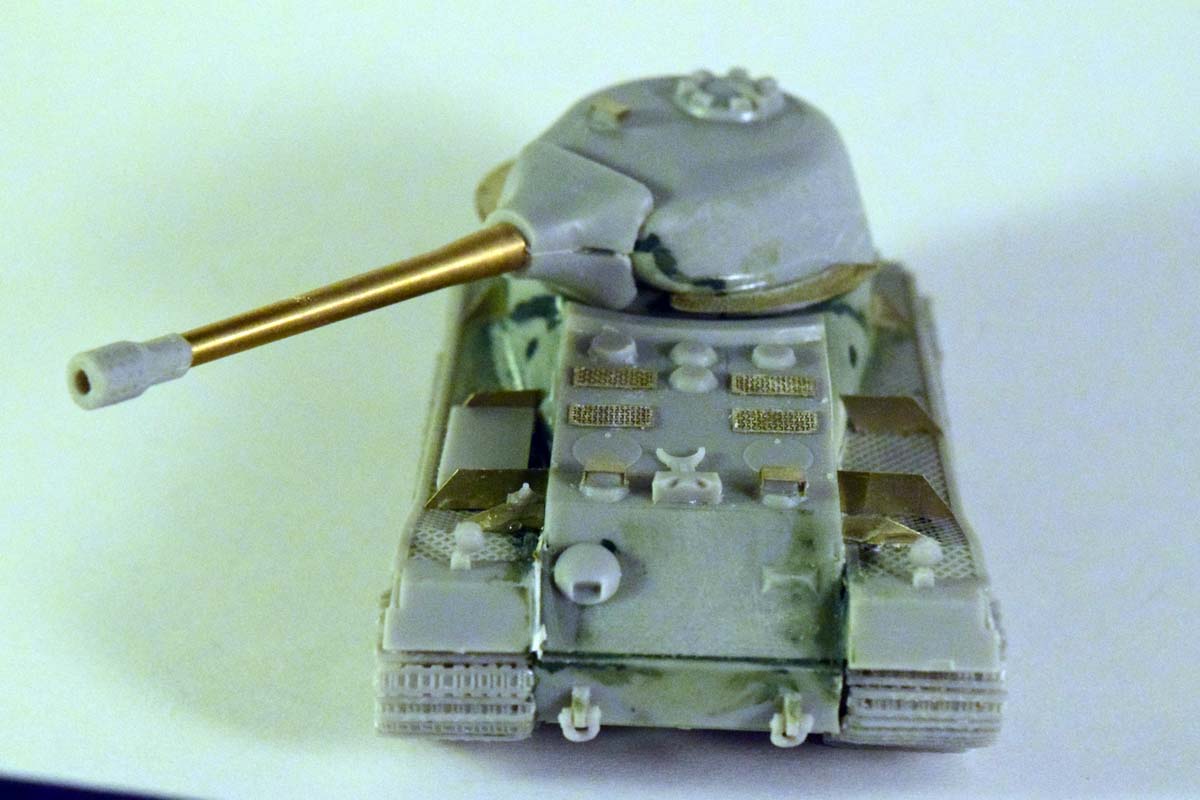
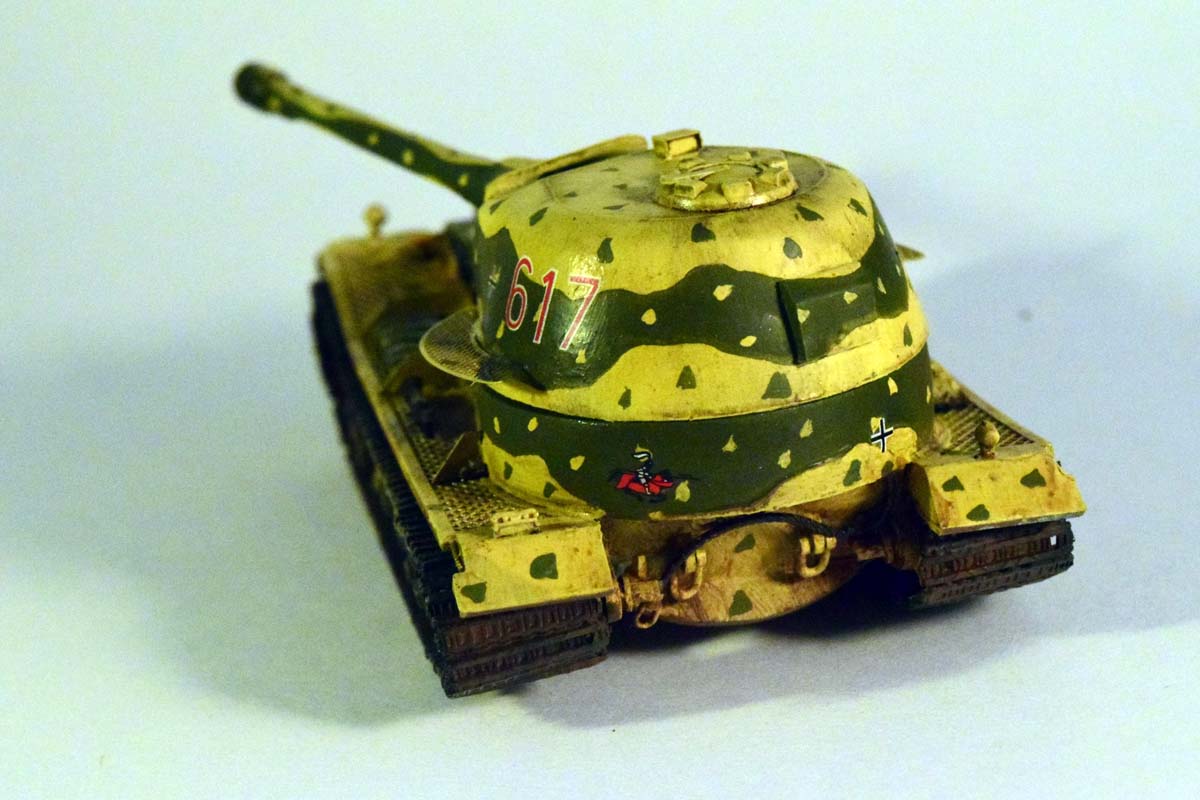
The hull has a complex shape, and the surface seems rough in several places; I needed to sand the round part on the back, for example. The pattern of the interlocking armor plates on the front and back is not depicted. This is a prominent detail on all German heavy tanks, and its quite unfortunate its left out. (I did not attempt to recreate them.)
The PE is top-notch, which is to be expect of Armory; they have a long experience with producing PE conversions for both armor and aircraft, and full resin/PE models.
Assembly
The model is not difficult to build, even without instructions (I used Armorys Lowes instructions, photos of the 1/35 kit, 3D renders, and the Tanks.gg website during the build). The hull is a conventional assembly of several flat parts; we dont get a bathtub-like lower hull. The fit is OK, but filling was necessary; and at the edges its somewhat rugged.
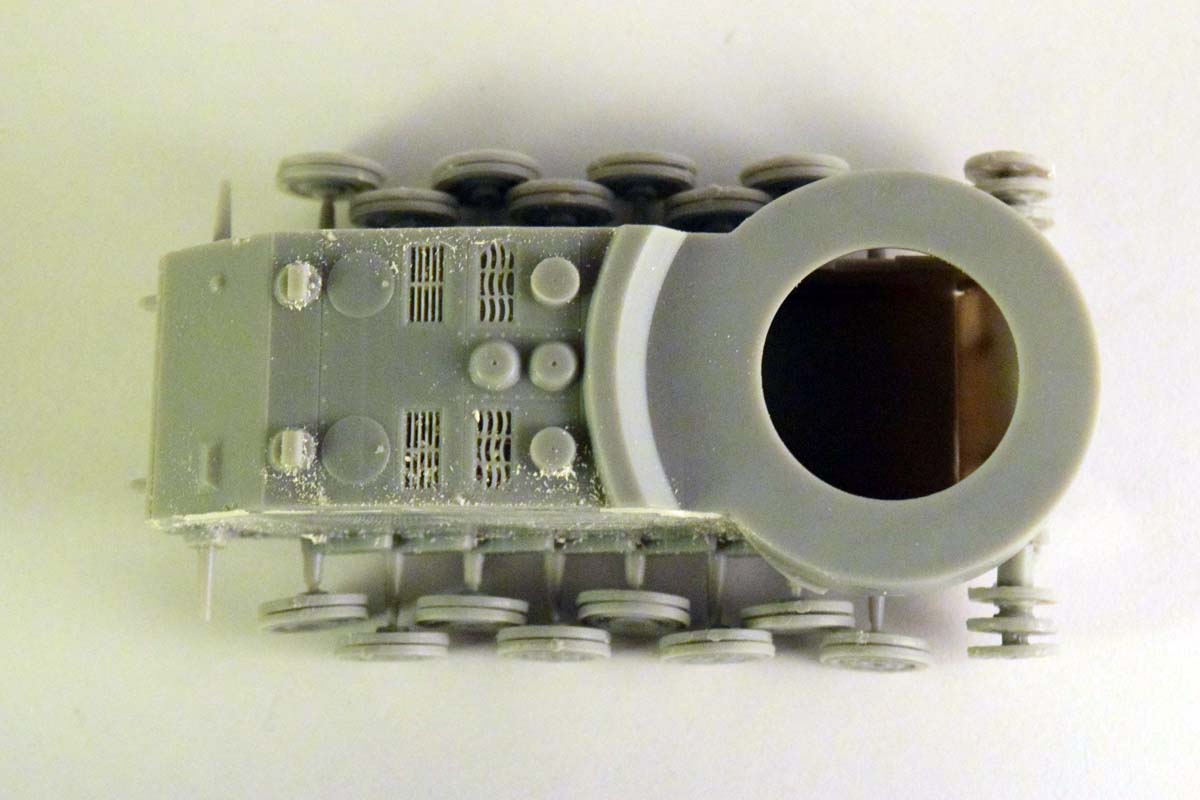
At this point I chose to assemble the running gear and the tracks before adding the mudguards.
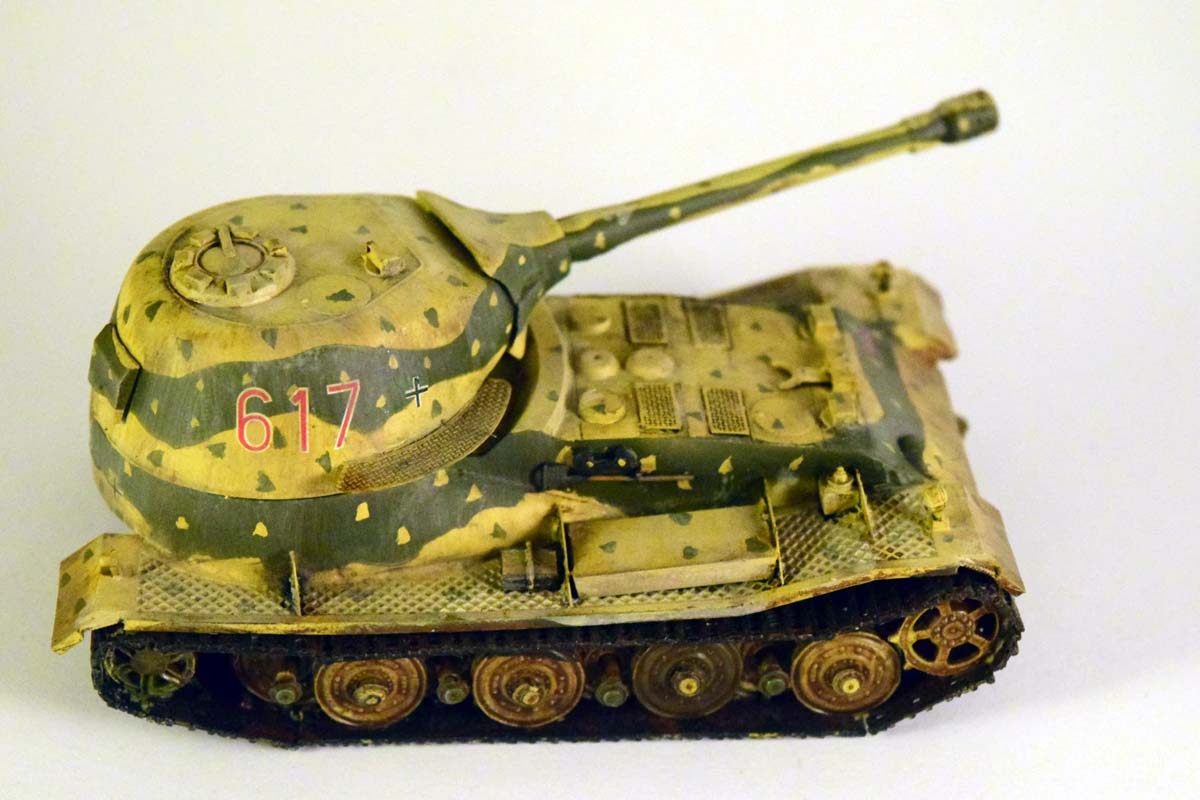
The running gears attachment points are somewhat flimsy and weak; the wheels can detach quite easily after assembly, so be careful. (This seems to be a common issue; I had some problem with the running gear of Modelcollects E-100, too.) The idlers are done in an interesting fashion: the individual disks had to be glued on a shared axis. I did have to enlarge the holes on these wheels.
Since I did not have the instructions I was unsure how close the tracks needed to be mounted to the hull; it turns out I mounted them a bit closer than should have, and it meant some trimming and cutting on the back, which is somewhat noticeable. (You wont have this issue if you use the instructions. I felt it was important to mention, since its the result of my circumstances and not the models fault.)
And this is the part where we come to the less-than-ideal part. The mud guards have small protruding sections sticking out to help with the attachment to the hull. These should fit into the corresponding holes placed on the side of the hull. The fact is that they dont fit; the mudguards are quite thick and chunky, and the holes are not wide enough. This is a recurring issue with the model: several plastic parts are somewhat thick, which suggests a need to refine the plastic injection moulding process Armory uses (or replace the mudguards with PE parts ). Interestingly other parts, such as the tools and towing hooks are very finely moulded.
The top of the hull is a little bit wider than the bottom, which required some sanding to bring them to the same width. The top part is sitting on the top of the sides, which means there is a seam to be filled on the side.
This leads us to the next issue: the need for filling seams. The fit is not as good as to eliminate the need for filler. The seams between the mudguard and hull are quite wide and need to be filled. The triangular parts on the side under the round section also need filling (and they have a sink-mark as well). The turret also needs some trimming and filling to fit properly. The armored mantle does have a seam on the artwork,so I decided not to touch it. Due to the nature of the moulding process, the muzzle breaks (there are three options to choose from) have also seams to fill, which is a bit more difficult due to the fine details. If you are patient, its worth drilling out the holes.
As I said the PE considerably improves the model; the engine deck grilles, etc are very nice additions; once they are on, they really do transform the model. The tools are pretty finely moulded but lack details somewhat; I've replaced some of them with DML offerings (mostly because I had them pre-painted already). I could not figure out where to put the towing cables (you only get the hooks, and will have to provide the cables yourself), so I stuck them onto the back. I've also put a resin folded-up tarp onto the mudguard to dress it up a bit.
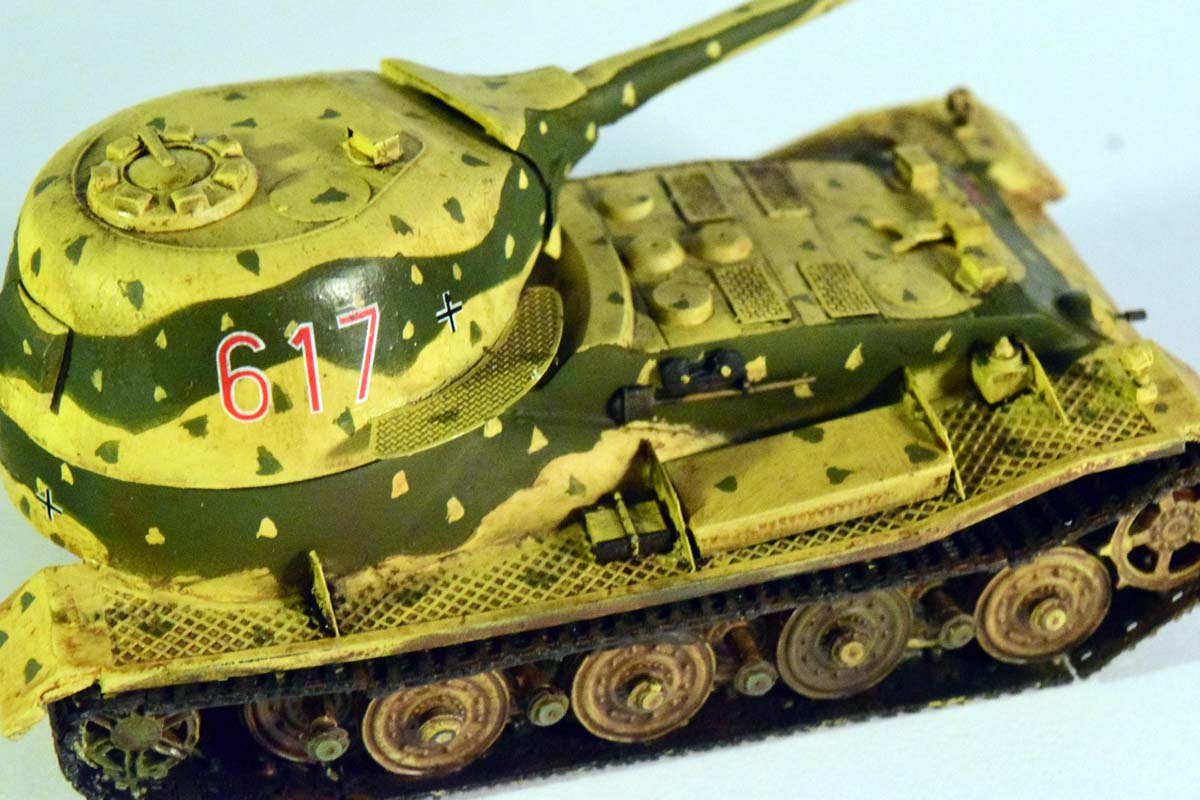
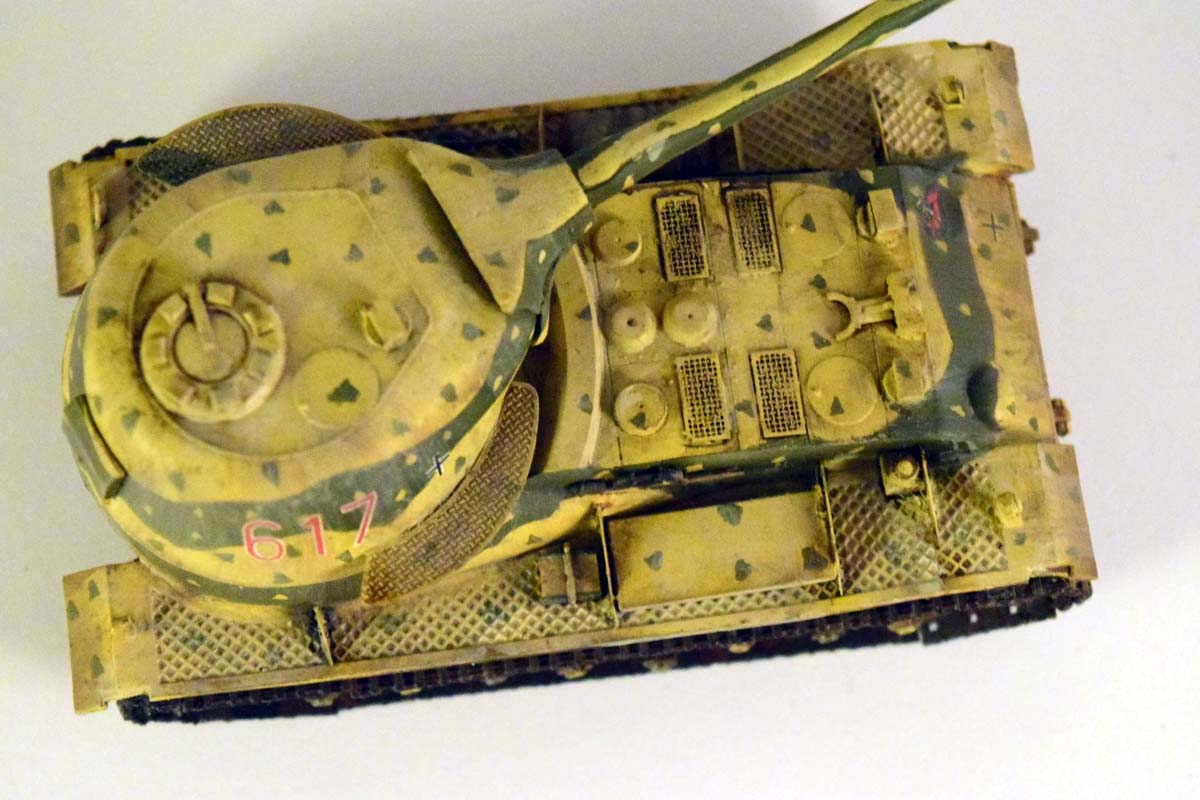
For painting I chose a fictional camouflage with fictional marking (the numbers correspond to my wifes birthday). The decal sheet gives you a very comprehensive set of markings, so you can make up your own divisions and tank corps.
Due to Christmas fast approaching I will not be able to work on if for a while, so the weathering is not yet complete; I intend to add some paint chips, and more dust and mud to the tank. (Being a fictional vehicle at the later stage of an alternative WWII I want to keep it relatively pristine.)
Conclusion
In summary the model is OK. Once I finished with the fitting and filling the build was quite enjoyable. The model looks unique, and once it takes shape, the detail is actually pretty nice. If I had to compare it to other models I would say it builds like a PST or Ace Models kit with a very comprehensive aftermarket addition. The subject might not be everyones cup of tea, the model does require some work, but overall it was a good experience.
SUMMARY
Highs: Rare subject, good PE.Lows: Fit is not the best, some details are soft/missing.Verdict: Recommended if interested in 1946 style armor, or fan of the vehicle in WoT.
I am a biologist by trade, and as a hobby I've been building scale models for the last twenty years. Recently I started to write reviews of the models I bought. These reviews are written from the point of view of an average model builder; hence the focus is on quality of the model, how easy it is to...
Andras, nice review, and decent build of a kit that seems a bit of an oddity. A lot of quality PE for a 1/72 kit, and a big decal sheet, both of which are good, but then poorly fitting parts, a disappointment in a new injection moulded kit.
Then there's the fact that the turret sort of looks like an upside down saucepan...
Well, to be honest the whole design is kind of goofy; I don't think there was any reality of actually building it. If you can get over the fit issues, it's not a bad kit, though. The PE definitely helps a lot. The weathering will be refined in January; will post some updates once I get back.


Comments