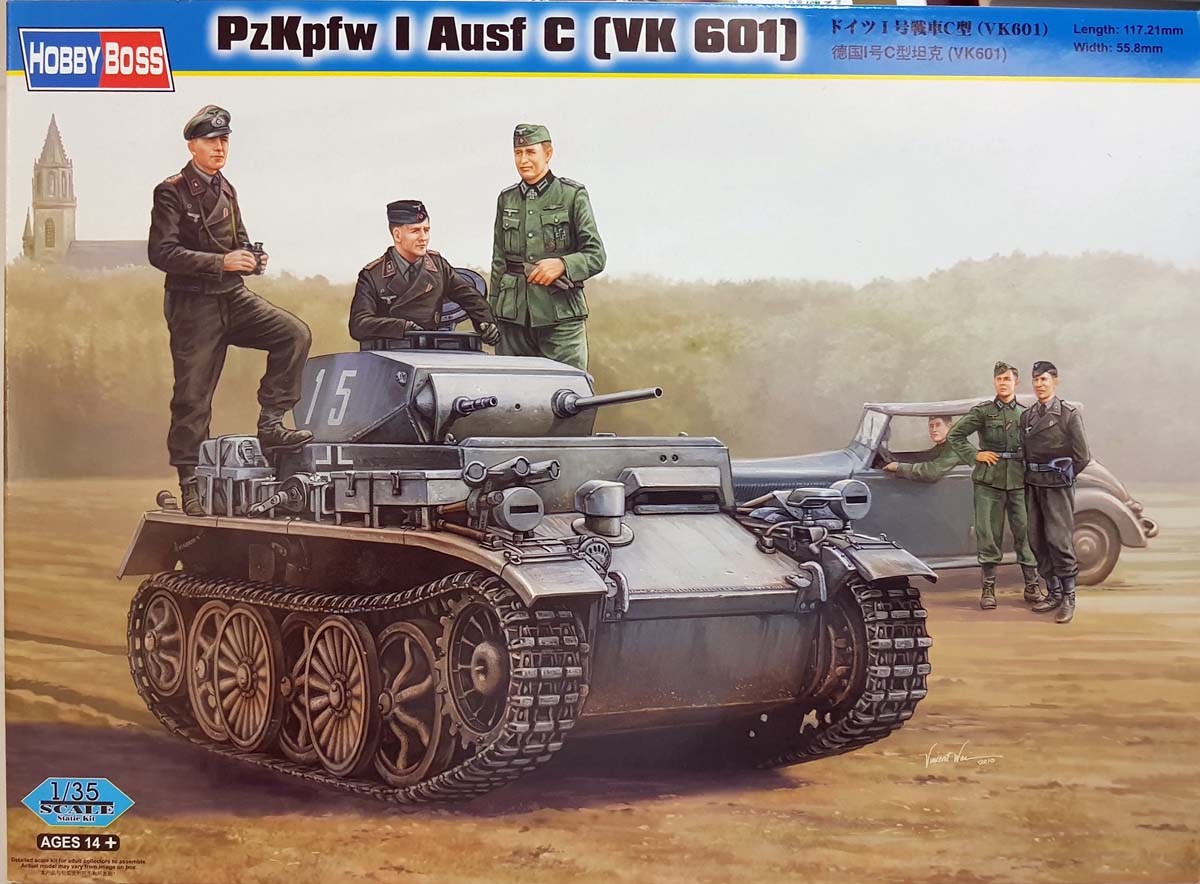
The Ausf. C was born from a program begun in 1937 as a design exercise for a fully tracked vehicle (Vollketten or VK). By 1938, development had advanced to version VK6.01. A contract for six test vehicles was issued to Krauss-Maffei in October 1938. The vehicle had a 6-cylinder, 150 Metric HP, Maybach HL45 engine connected to an 8-speed semiautomatic gearbox.
In February 1940, Krauss-Maffei received a production contract for 40 chassis. Daimler-Benz was awarded the contract to provide the superstructure and turrets. Krauss-Maffei was also given the contract to assemble the superstructure to the chassis.
The vehicle was armed with one type MG34 machine gun and one 7.92mm E.W. 141 semi-automatic gun. There were only two crew members, gunner/commander and driver.
The designation, Pz. Kpfw. I Ausf. C, first showed up in official reports in mid-1942.
Whats in the Box
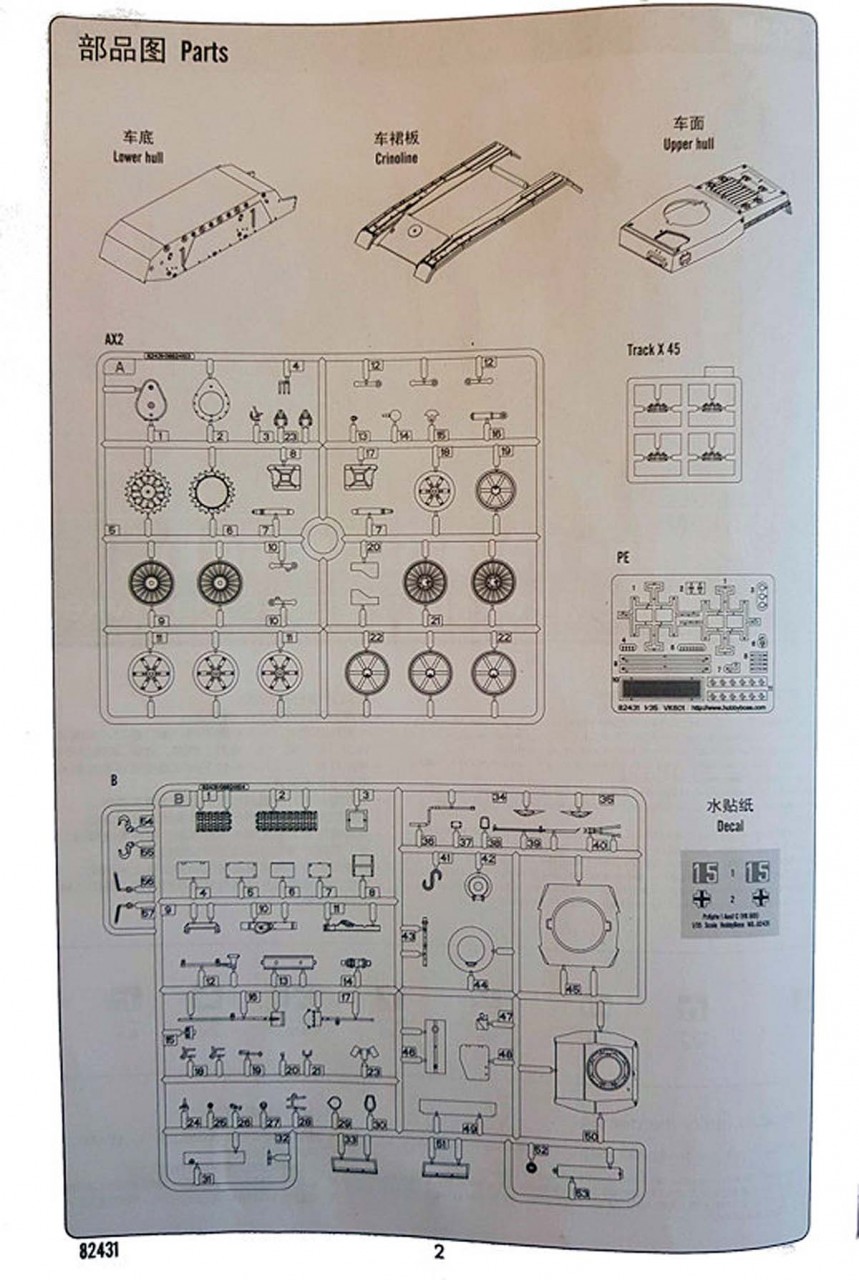
The kit is from Hobby Boss and was released in 2010. The kit includes just over 340 parts on the sprues, 180 of which are the track links. Whats in the box:
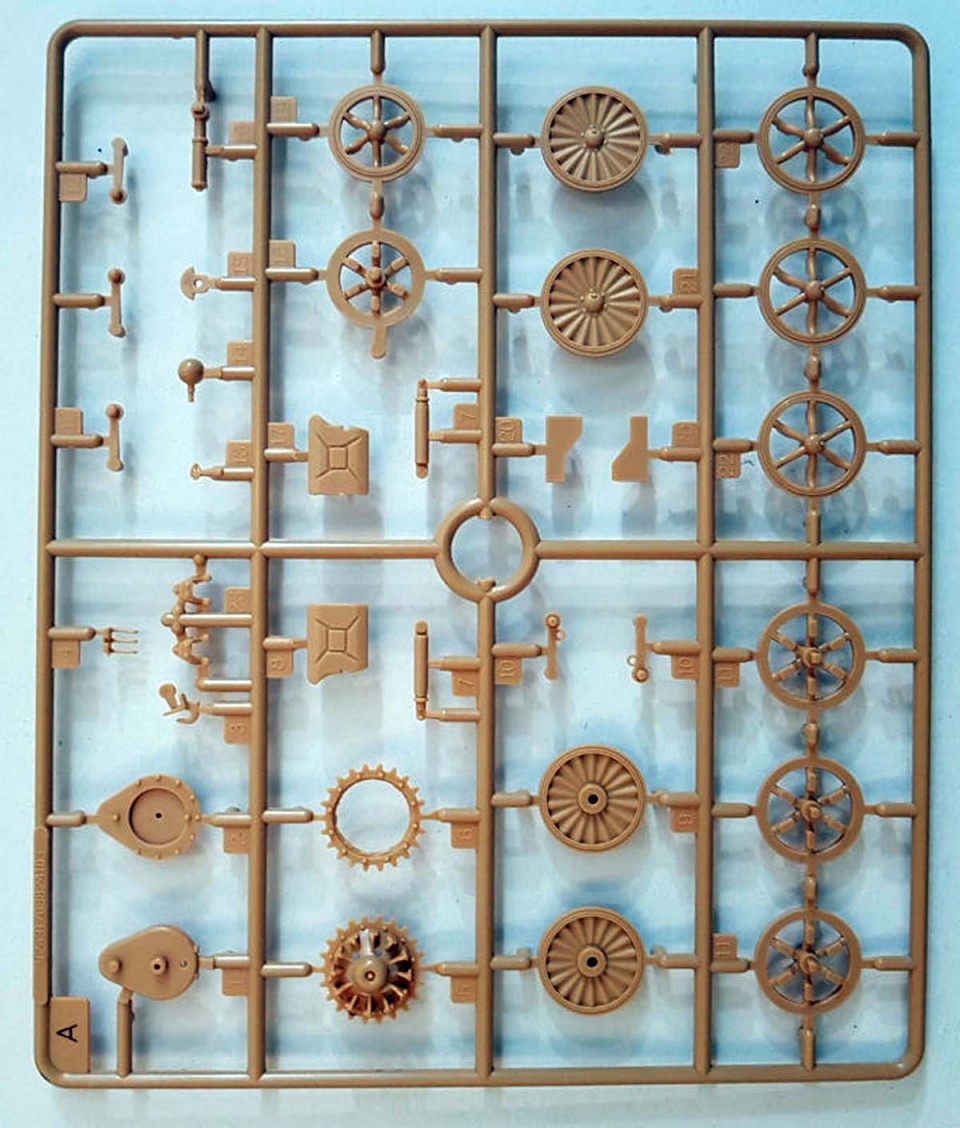
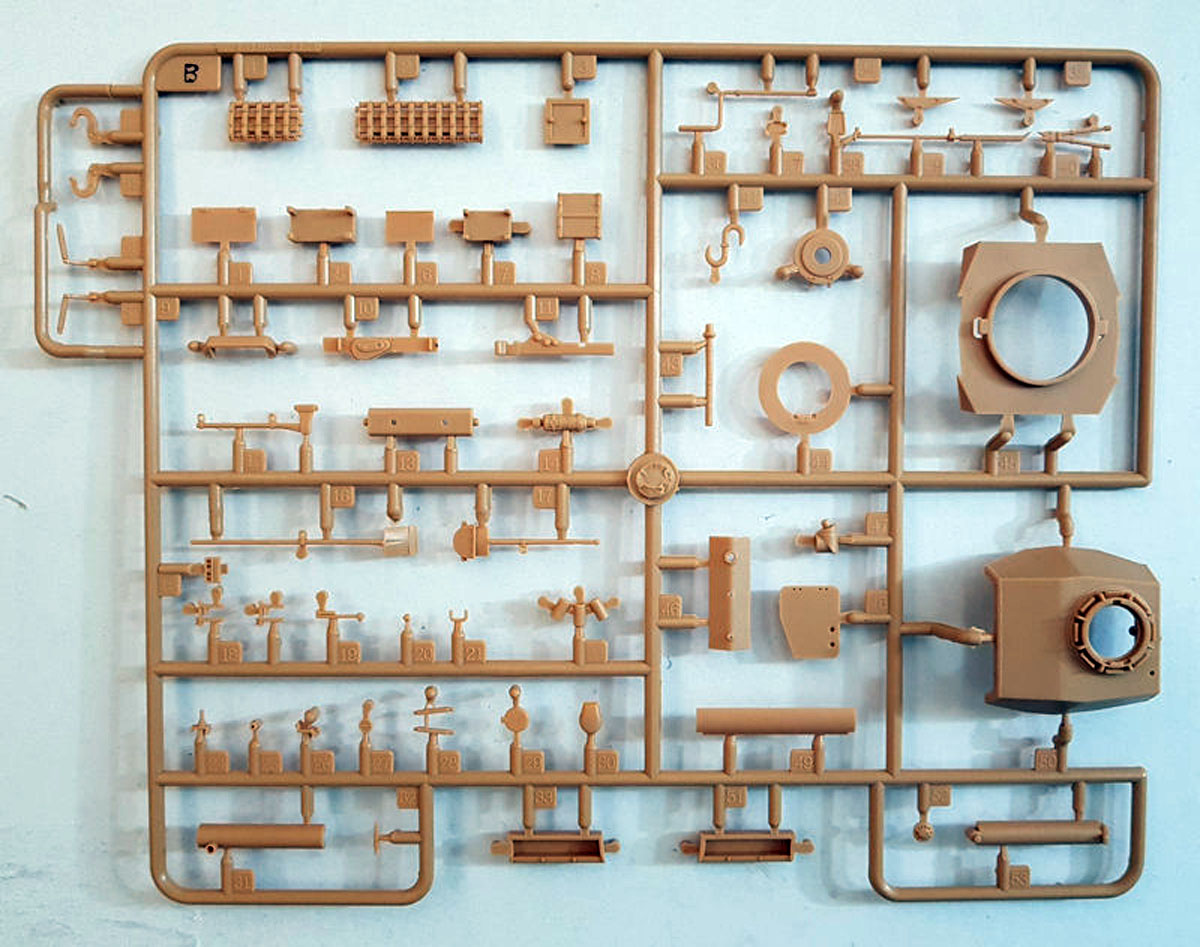
3 sprues molded in beige
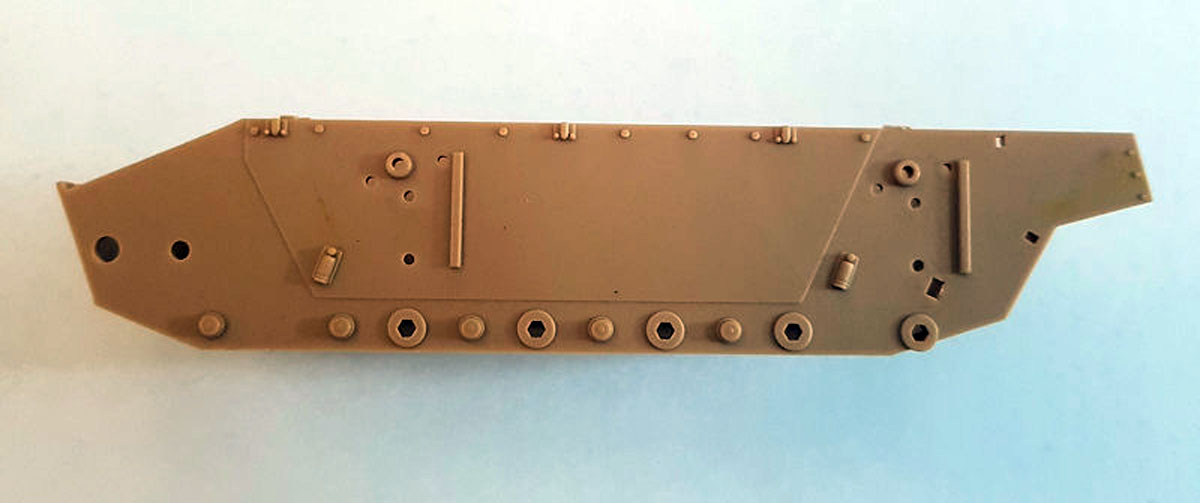
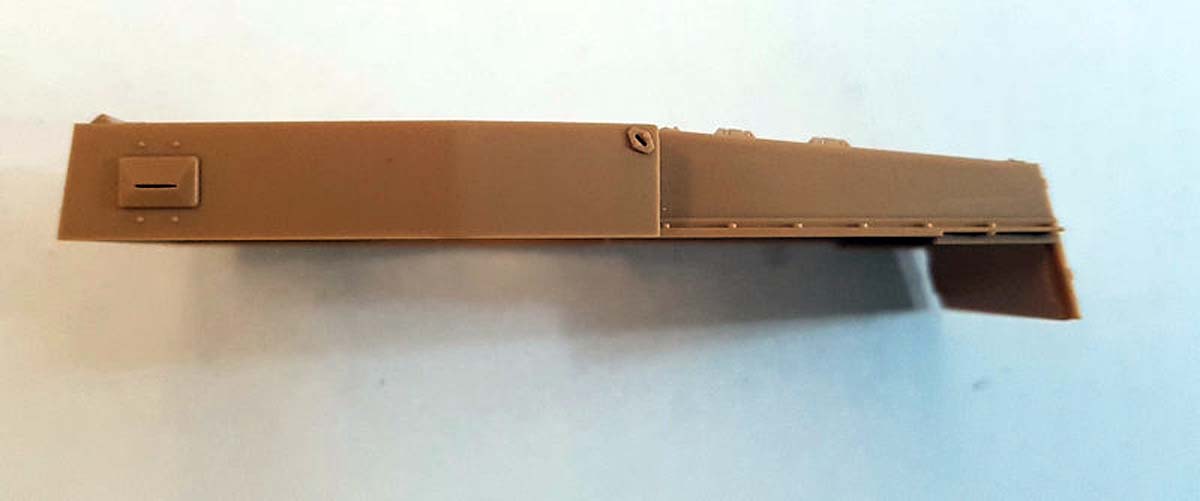
Lower Hull molded in beige
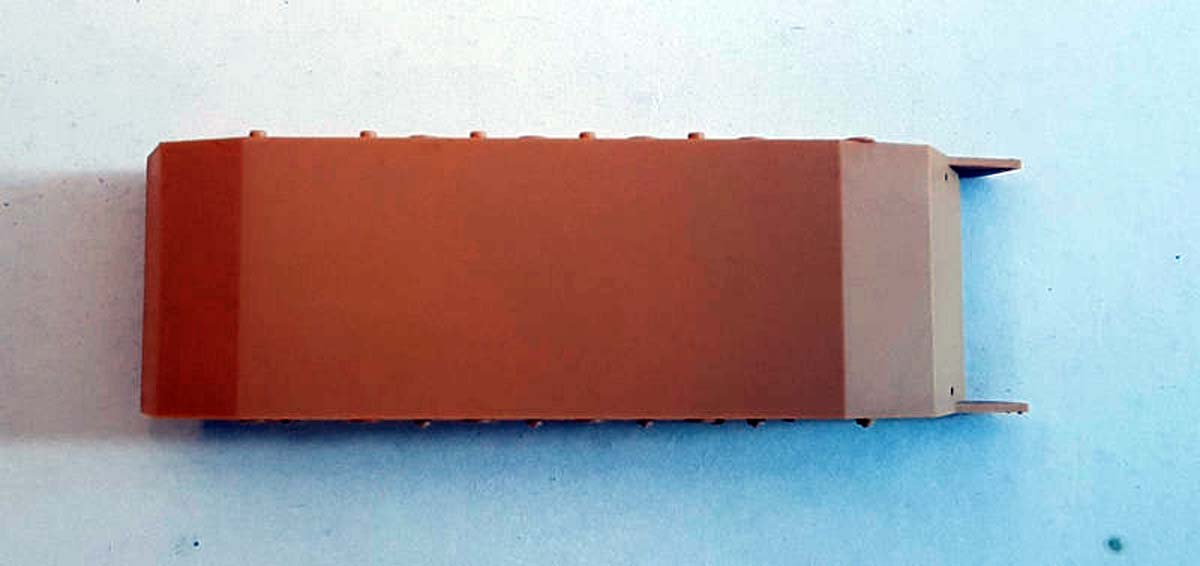
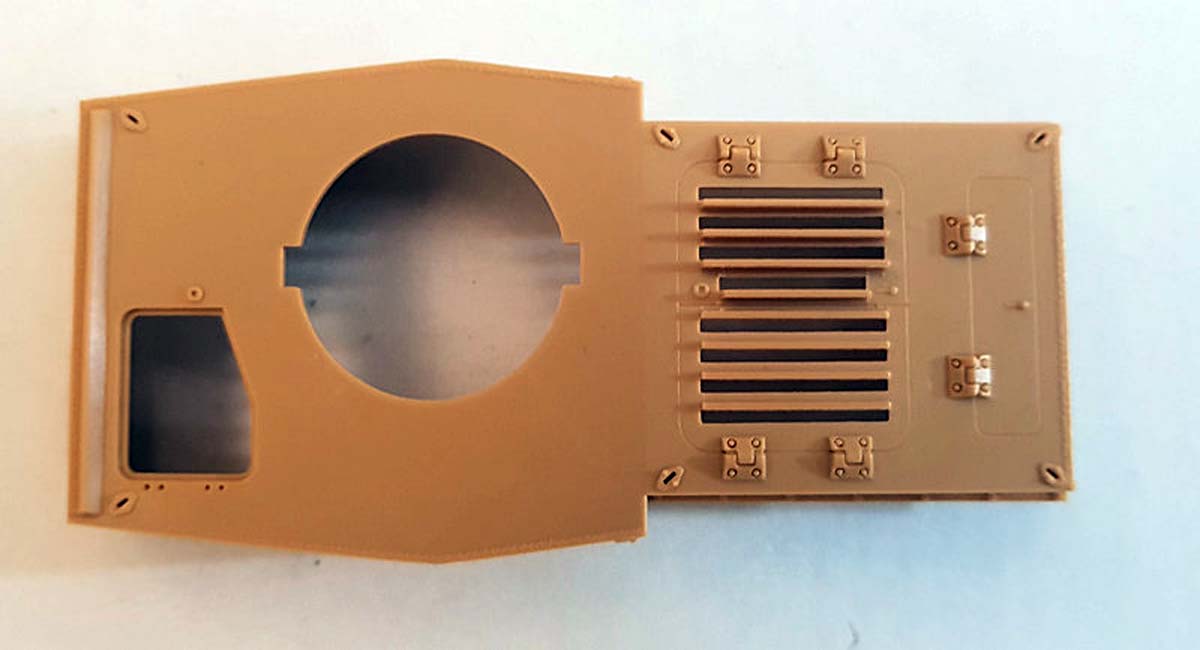
Upper Hull Part 1 in beige
Upper Hull Part 2 in beige
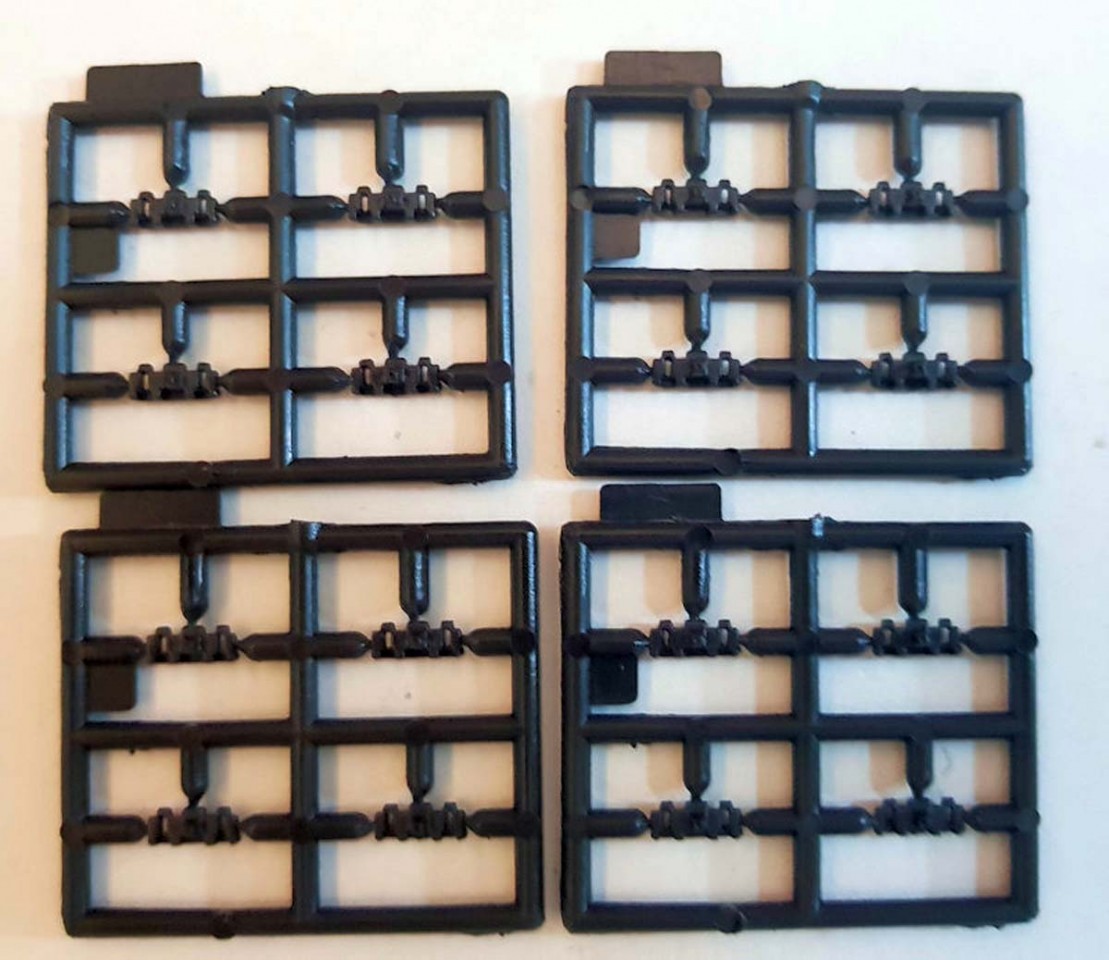
45 sprues of track links molded in gun metal
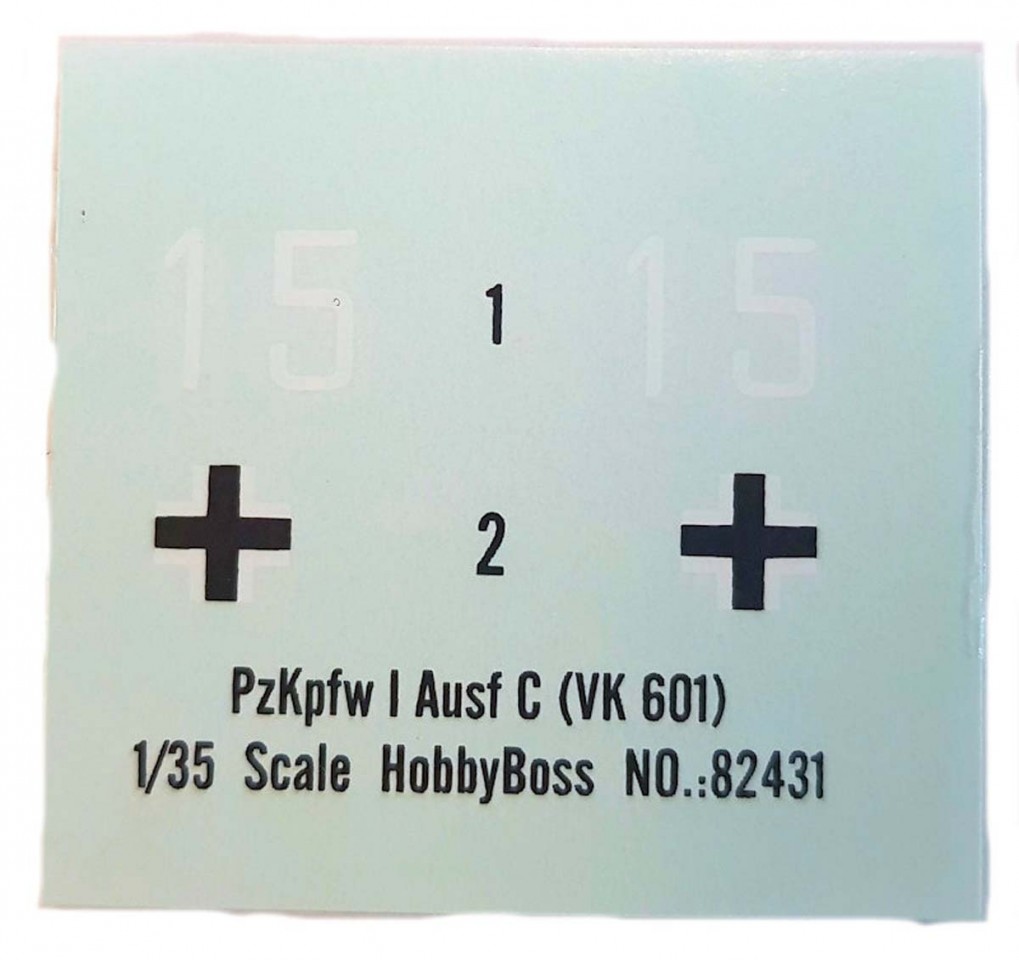
1 Decal sheet
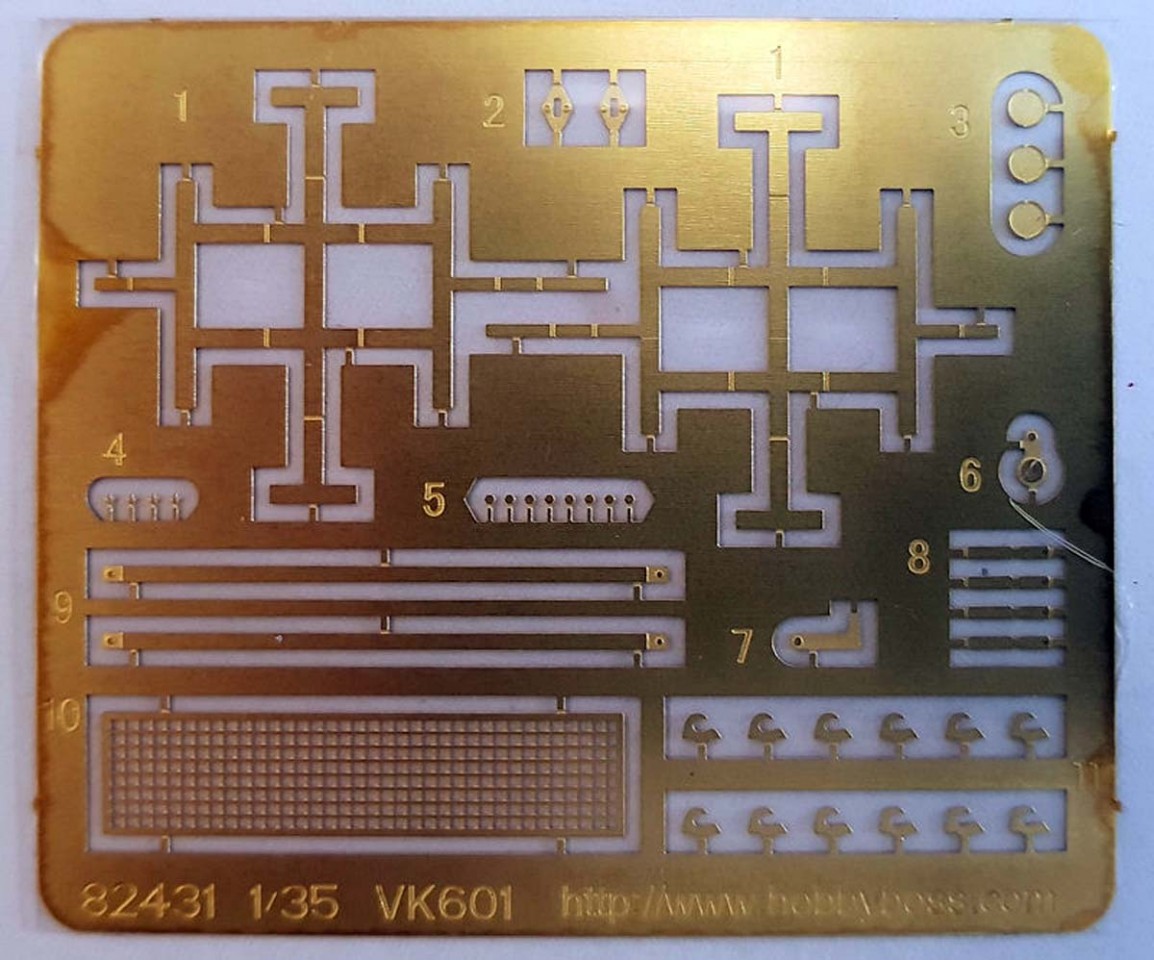
1 PE sheet
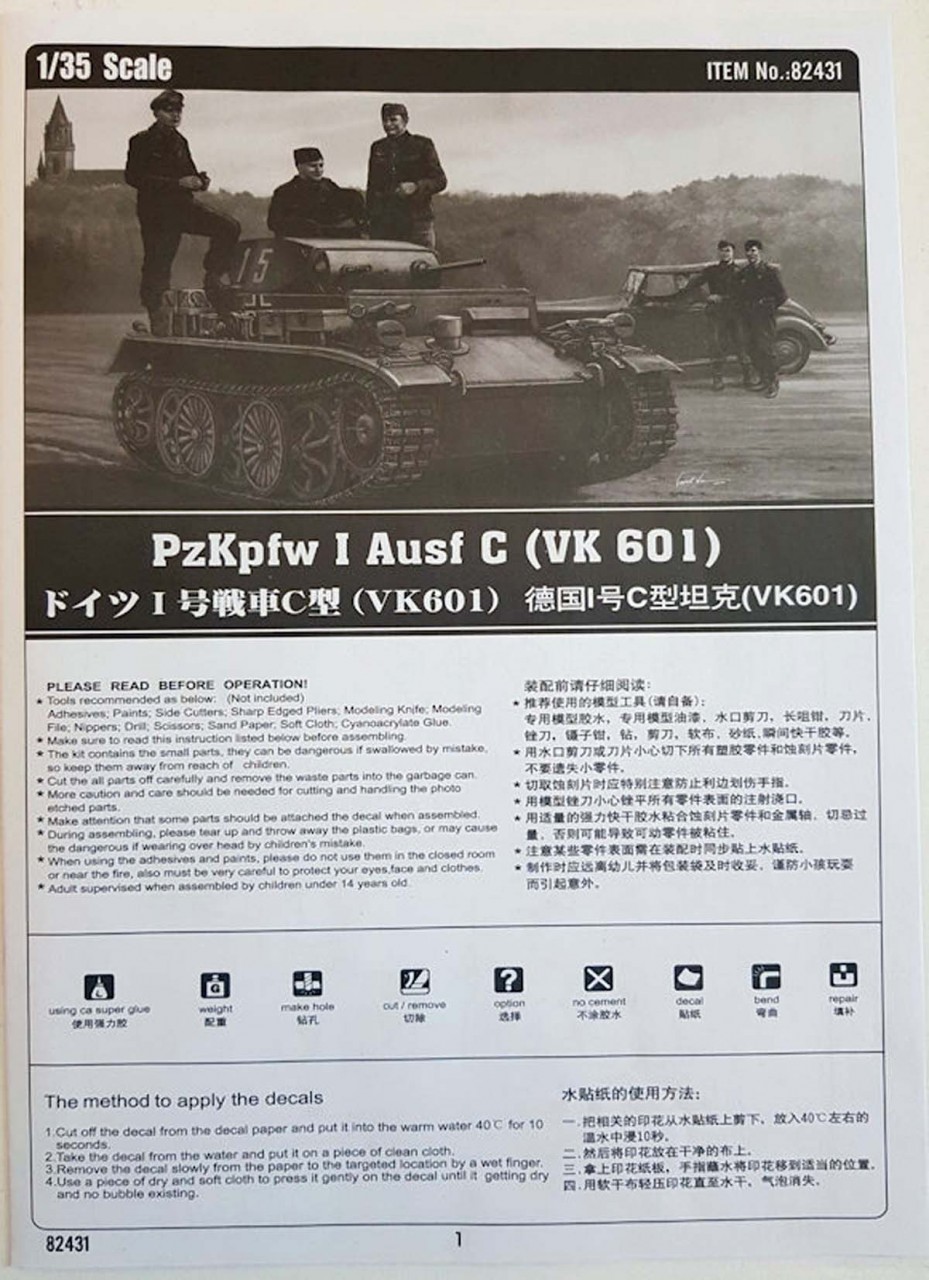
1 8 page Instruction manual
1 Paint guide sheet
One issue with the sprues is that the attach points are a good 50% larger than necessary. This will lead to a lot of clean-up being required on every piece removed.
Looking at the Kit
The quality of the styrene is on the softer side. There is very little flash on a few of the parts. Most ejector pin marks are located such that they shouldnt be seen once built, but the underside of the fenders have large marks.
Instructions Standard line drawing format, consisting of 8 pages. Assembly is broken into 8 steps. However, each step is made up of multiple parts. Everything is clearly marked and easy to follow.
Step 1 is really made up of four separate sub-parts. The step begins with the road wheels, idler wheels and drive sprockets. The road wheels do not have the rubber as a separate piece. This just adds an additional step to the painting process. Next are the suspension, exhaust and rear tow hooks. This is followed by the final drives and covers for the shock struts. Lastly, the idler wheel suspension is installed, along with the inner road wheels and the drive sprockets.
Step 2 begins with the installation of the rest of the road wheels and the idler wheels. Now, we come to the biggest problem with this kit, the track links. The links DO NOT FIT the drive sprocket!. The kit includes a 22 tooth sprocket. The actual vehicle had a 21 tooth sprocket for the unlubricated tracks, which are included in the kit.
Searching on the net about this problem showed one common solution to correct this issue. Carefully cut off the sprocket teeth where the tracks need to be attached. Glue on the track links. Then carefully glue the teeth back in the track link slots to get the proper appearance of the tracks on the sprockets.
The instructions say to assemble 86 links per side. Per Panzer Tracts 1-2, there should be 89 links per side.
An easier solution would be from Friulmodels. Set ATL-118 corrects the track issue by including a set of sprockets in the box with the metal track links.
Step 3 attaches the two upper hull sections. Hobby Boss has removed the hull parts from the sprues prior to packaging. So, you will need to clean-up the attach points.
Step 4 is really three sub-parts. All of these install the externals to the upper hull. There are a few things to highlight. The lifting hooks are all pe parts. These are small and easy to loose. You do get one extra on the pe sheet in case you lose one. The spare track rails are also pe parts. The big issue is with the S-hook for towing. It is oversized for 1/35 scale. It is also shown being mounted to the rear panel. This is wrong. This part should be installed on the left aft fender, inboard of the ax. However, because it is so oversized, it cant be installed in its proper location. If possible, have a look in your spares box for one in the correct scale and install in the proper location.
Step 5 continues installing the tools and the fuel cans on the right fender. The brackets that hold the fuel cans are pe parts that require some simple folding to shape. The front horn is mounted using a bracket made from two pe parts. There are no extras if you lose one of them.
Step 6 finishes installation of the externals on the left fender. You also assemble the brackets for the tow ropes. Four of these are to be assembled from two pe parts each. You have no extras provided if you lose either of the parts. Two of these brackets are installed on the aft engine deck. No tow cables are included in the kit.
Step 7 assembles the turret. The upper and lower parts fit are not perfect. Putty will be needed to fill in the gaps. The guns are poorly detailed and need to be drilled out. There is no internal detail included. Again, you attach three pe lifting hooks. The forward two also require a pe base piece. Only two are provided on the sheet. The other two tow cable brackets are installed on the rear of the turret. Again, no tow cables are provided.
Step 8 completes the assembly. The upper hull is attached to the chassis. The turret is installed into the upper hull. The front tow hooks are installed last. Each tow hook has four pe bolt heads attached. Eight are required for the two tow hooks, and only eight are included on the pe sheet. So, dont lose any.
Painting The vehicle is painted in RAL7021, Dunkelgrau.
Decals Only one option is provided for an unidentified unit.
SUMMARY
Highs: A simple kit of an unusual vehicle. Not expensive.Lows: Styrene is too soft for my liking. Sprue attach points are too large. The track links dont fit the drive sprocket. There is no excuse for the lack of extras on the PE sheet for the small parts. No tow cables are included.Verdict: If you need to complete your Panzer I family, there are not many other options in plastic.
About Mark (d111298pw) FROM: OKLAHOMA, UNITED STATES
I'm from the US, but have lived most of my adult life around the world due to my work.
I started building models when I was 6. Took a 30 break as other priorities took hold (work,family, etc..). Got back into it a number of years back building F1 kits (Ferrari only). When I got to India, the modell...
I'd personally rather that they spent the time and offered interesting soft skins rather than "what-ifs" and "Sorta mades" as they have a rather limited appeal. Or so I would believe, but then I'm one of those crazed individuals anxiously awaiting the release of the Takom Bergepanther...a god radio truck with interior would be a good start.
I bought this kit just because I like the look of it and WOT. Two things I would have liked changed is the barrel to a metal one or at least an option to an AM one which I don't think there is an option for at the moment. The turret also catches on the hull near the hatches detail so that also need to be moved/replace so the turret can turn around. I bought AM tracks for it just because I like the look of this one.
Actually if you look at the pictures of the real barrel, the plastic one pretty much nails it. A metal one would be overly complex, and probably not add much to the look. On the other hand the tank really needs new tracks, the rubbery plastic used doesn't fit at all which is a shame. I had to scratch build the PE tow cable holders on the back because one of them flew off into the unknown, so more PE on the fret would have been good. But it does build into an interesting little tank, but it still looks undersized when placed next to a Sherman, especially the small top hatch that does not fit any comander figure I tried.


Comments