The Ausf. H Panzer IV (Sd.Kfz 161/2) was one the most widely produced variant of the Panzer IV series during WWII. The Ausf H. was equipped with the powerful KwK 40 L/48 main gun that was first seen on the earlier Ausf. G models. Most of the Ausf. Hs modifications were aimed at simplifying the manufacturing process by taking away some detail such as the drivers side vision port and also sharing parts with Panzer III. In addition, the Ausf. H was given factory applied zimmerit and extra armor added to both the sides of the hull and turret. The Ausf. H was the first of the series to receive an anti-aircraft MG mount for the turret as well as other minor modifications to the commanders cupola.
Academys German Panzer IV Ausf. H Ver Mid (Kit #13516) released in early 2018 is a new tooled kit with plenty inside the box. There are no photo etched elements or clear plastic parts included but the initial impressions from looking at what Academy has included will leave any modeler pleased.
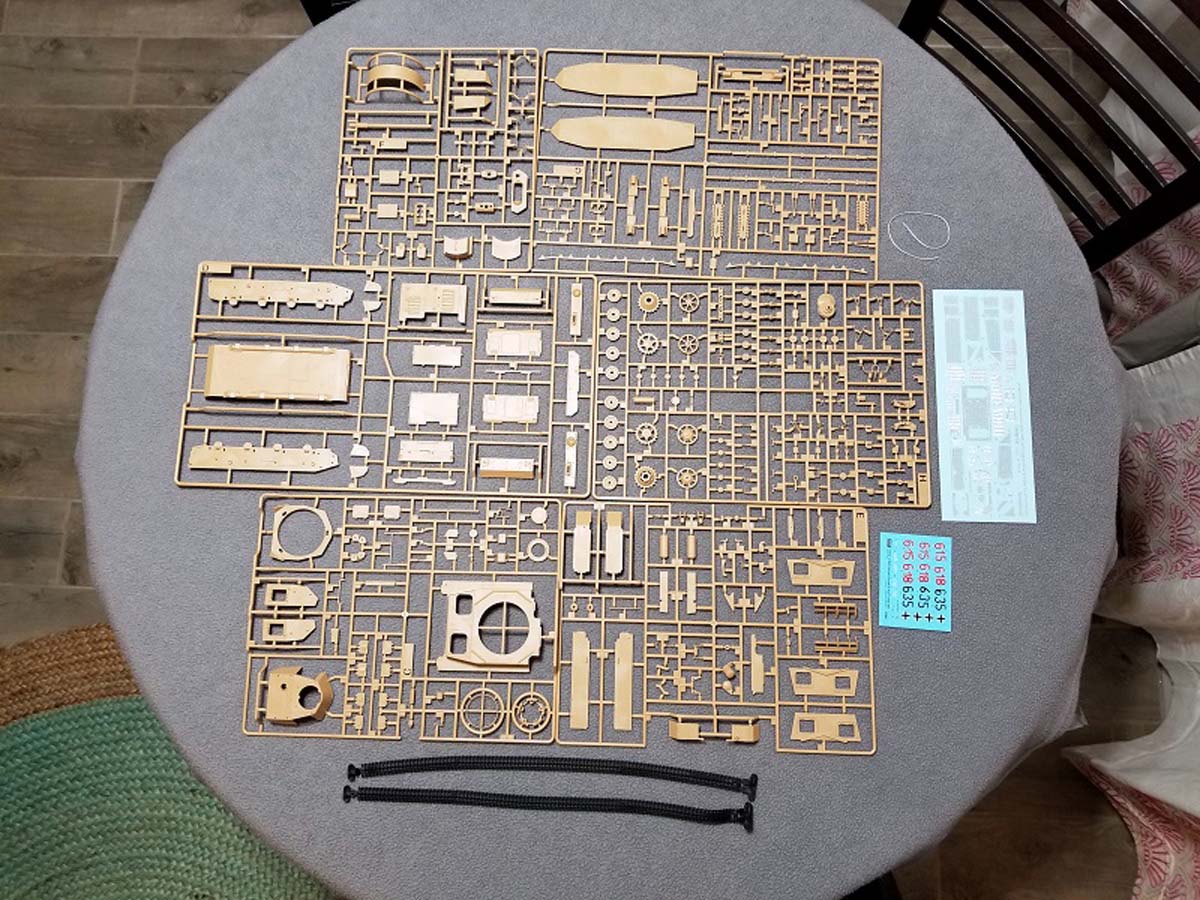
Inside The Box
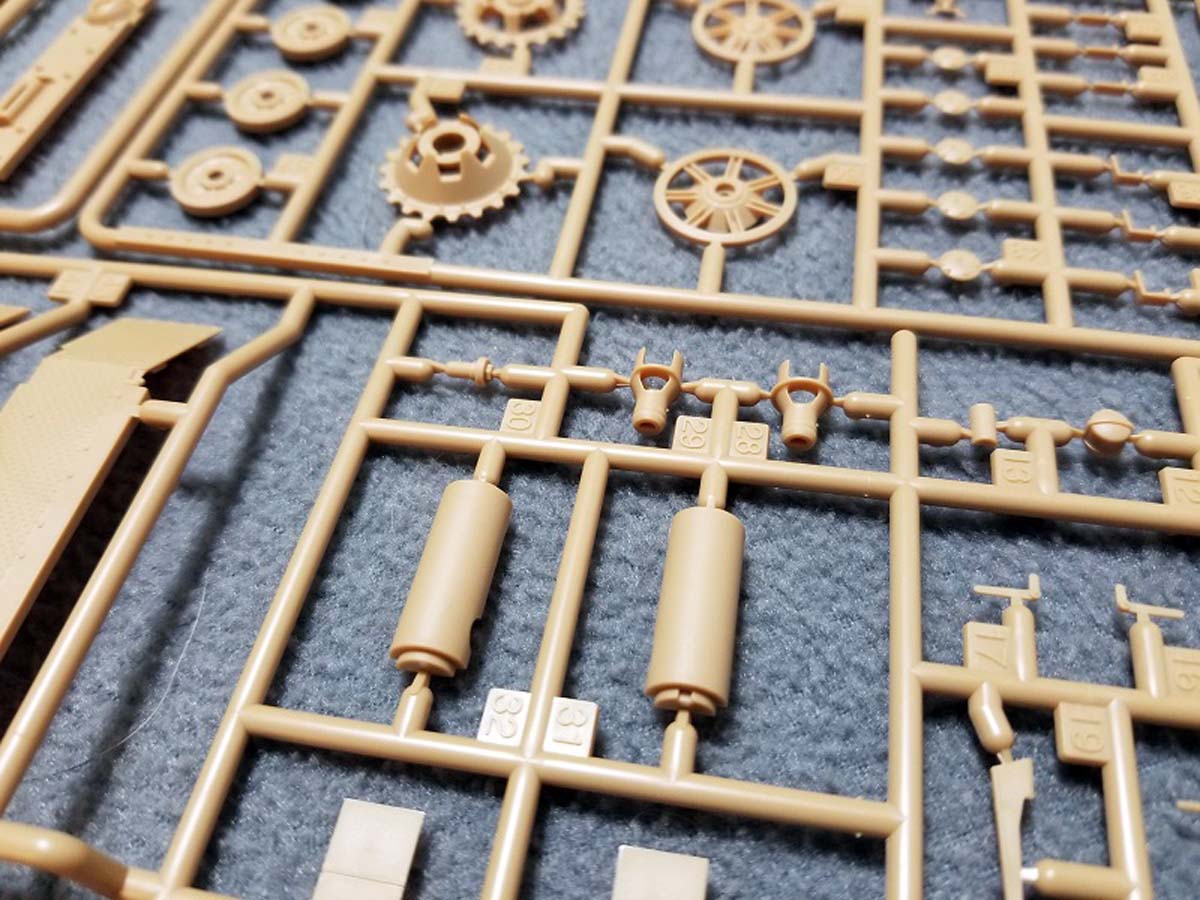
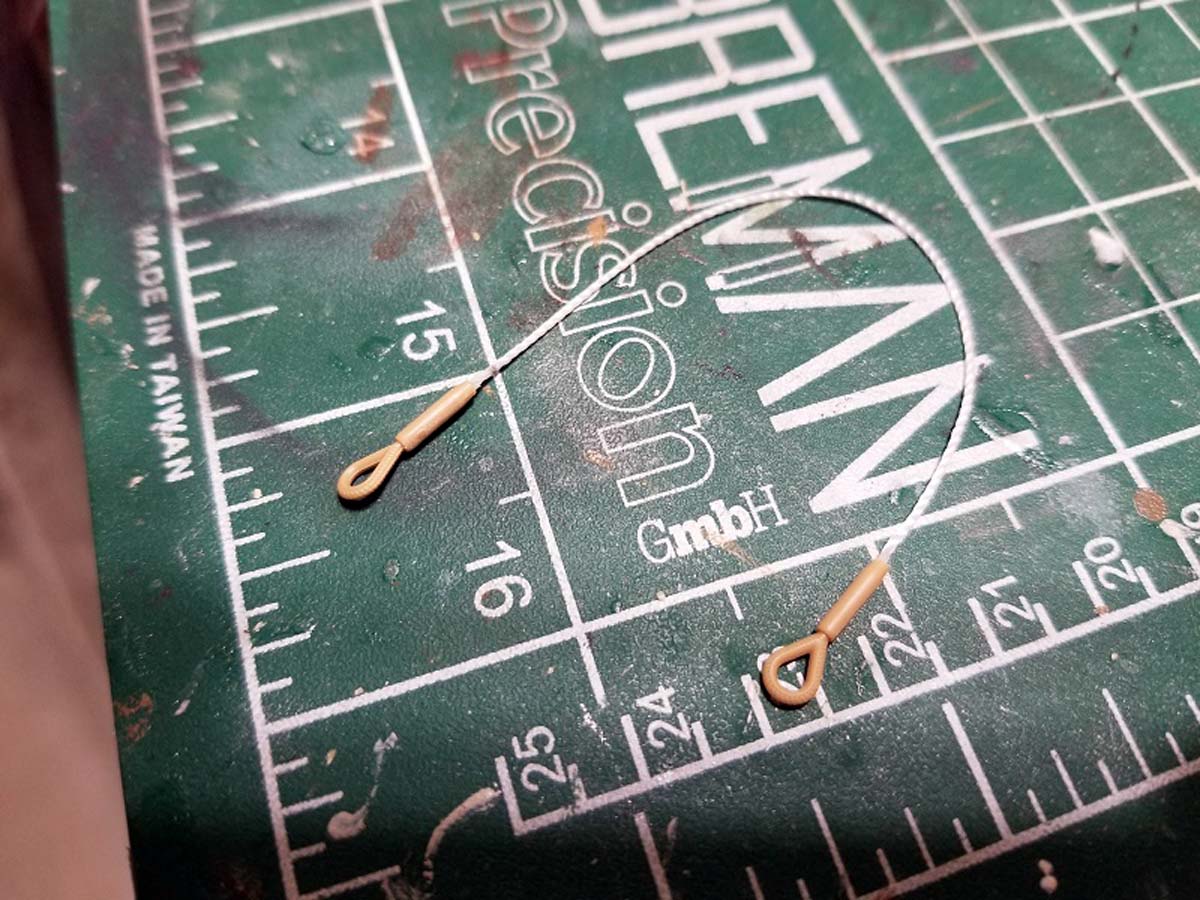
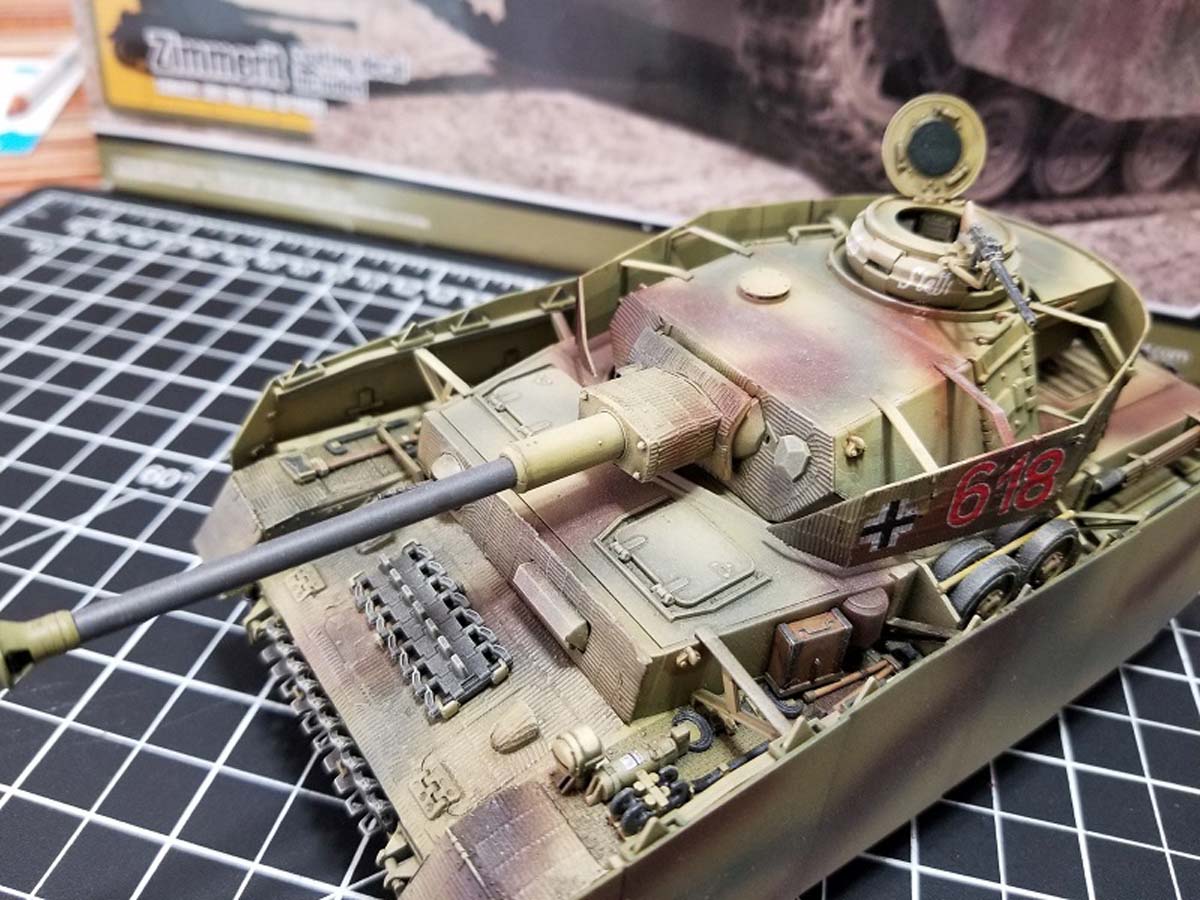
The box art depicts the tank rolling through an open dusty field in the traditional German tri-tonal color scheme. The amount of plastic inside the box is impressive, there is a total of 9 sprues molded in tan styrene, rubber band, tracks, decal sheet, zimmerit decal sheet, instruction manuals, and piece of string for the tow cable. As mentioned earlier there is no photo etch or clear plastic included, however given the quality and level detail on the mold this isnt a problem. Probably the most noticeable item included is the zimmerit decal sheet made by Def Models, the zimmerit decals have a nice texture to them and are specifically made to contour to the details of this model.
Other notable items are the instructions which are printed on 3 separate booklets, only one of the three is printed in color and it includes the painting and marking guide. There are 31 steps to build the model and an additional step which includes the zimmerit application reference. There are 3 marking options referenced and all of them are from the 12 SS Panzer Divison Hitlerjugen deployed in Normandy 1944 and all are painted in different variations of the German tri-tonal color scheme with names of different women marked on the commanders cupola:
12 SS-Pz Dv Hitlerjugen Normandy 1944, Wilma #615.
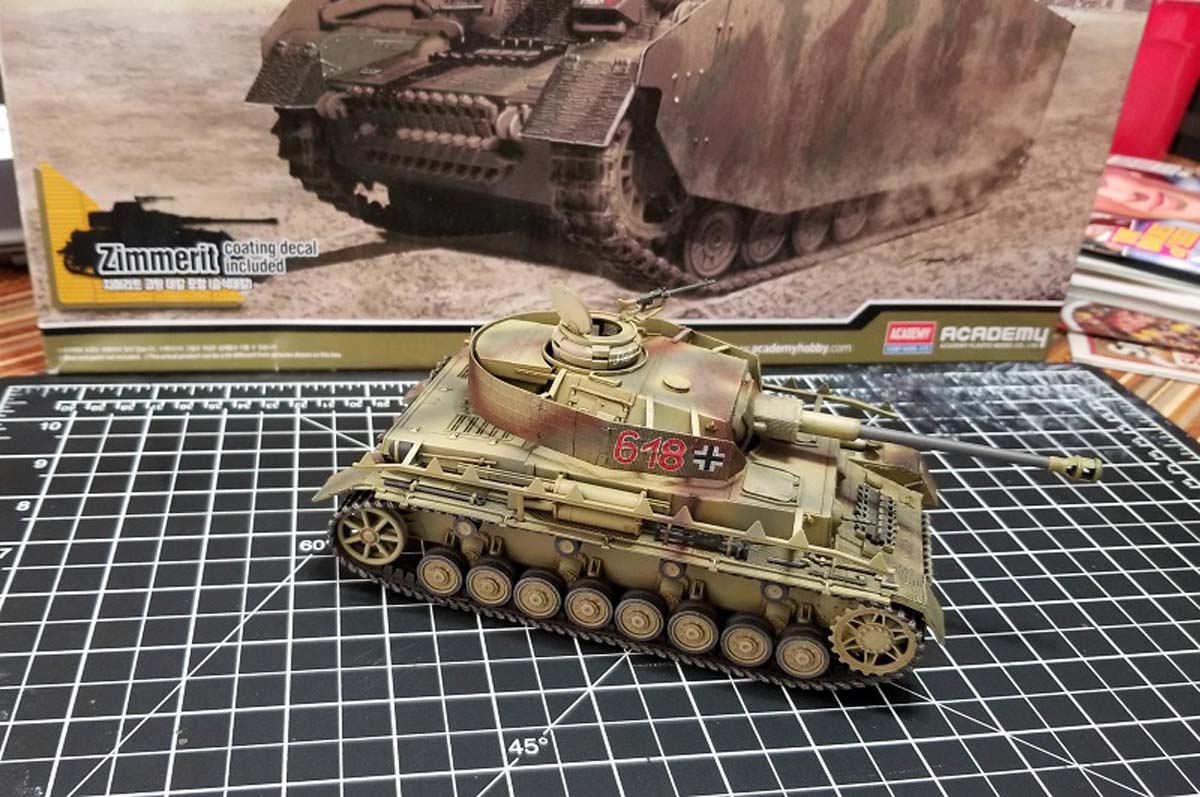
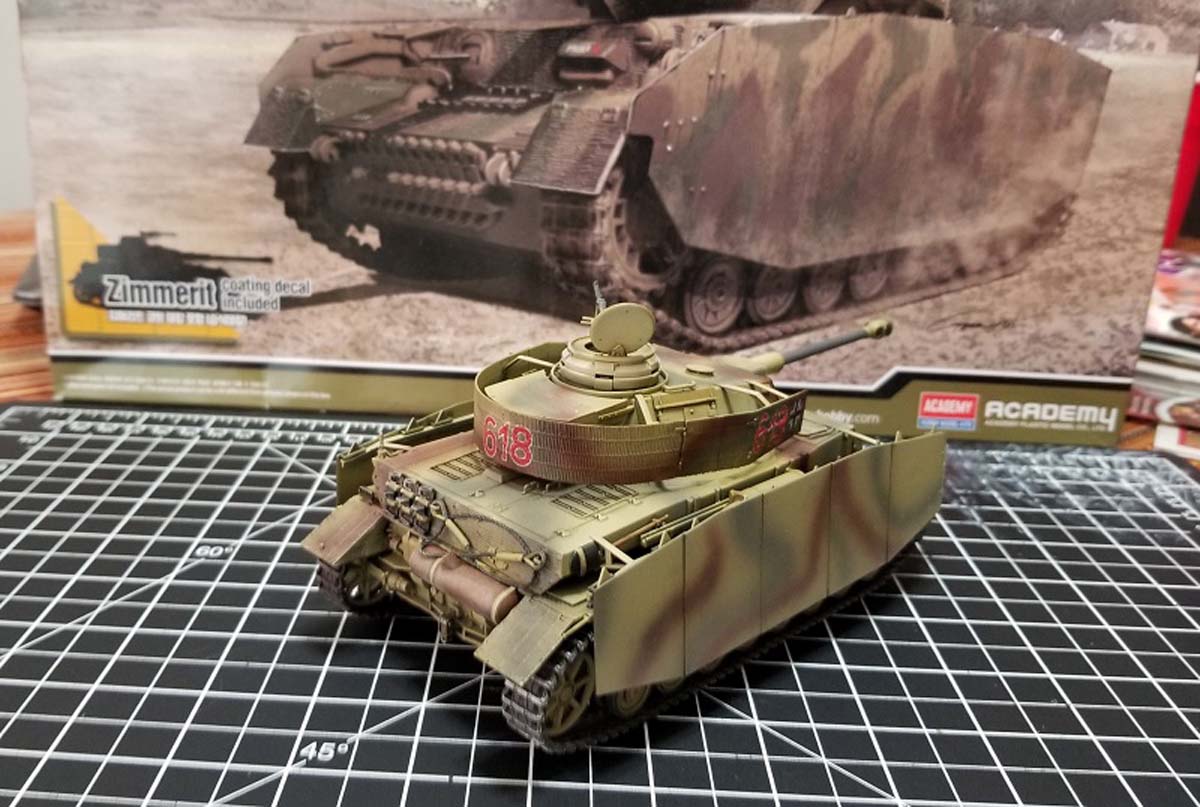
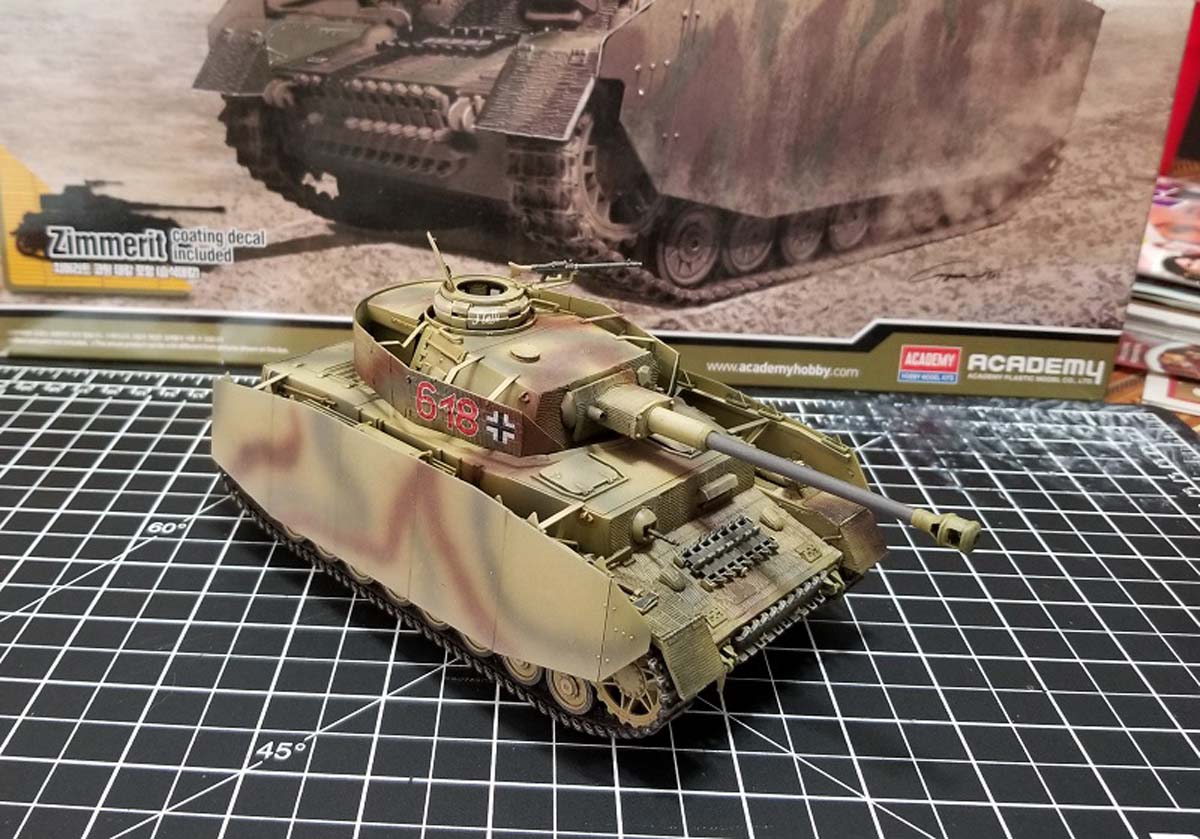
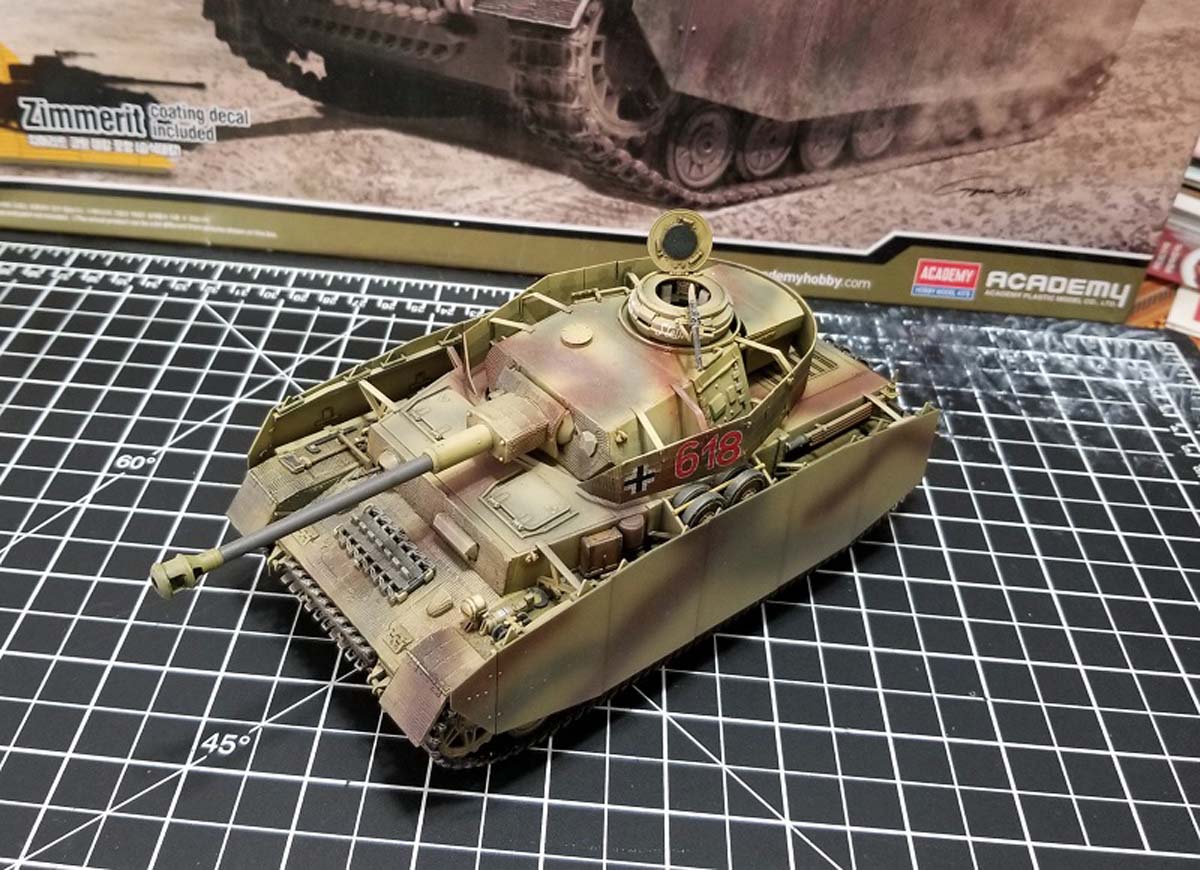
12 SS-Pz Dv Hitlerjugen Normandy 1944, Steffi #618.
12 SS-Pz Dv Hitlerjugen Normandy 1944, #635.
The Build
Step 1
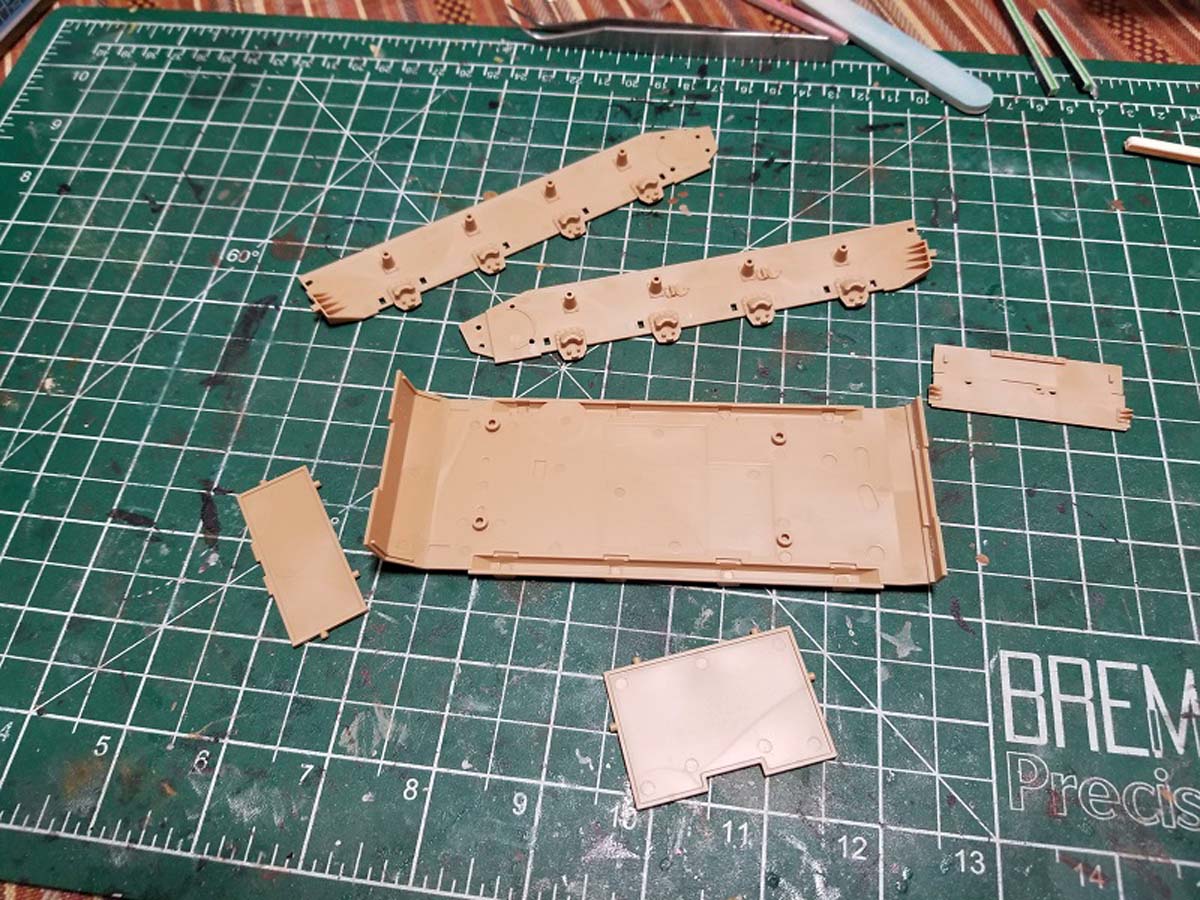
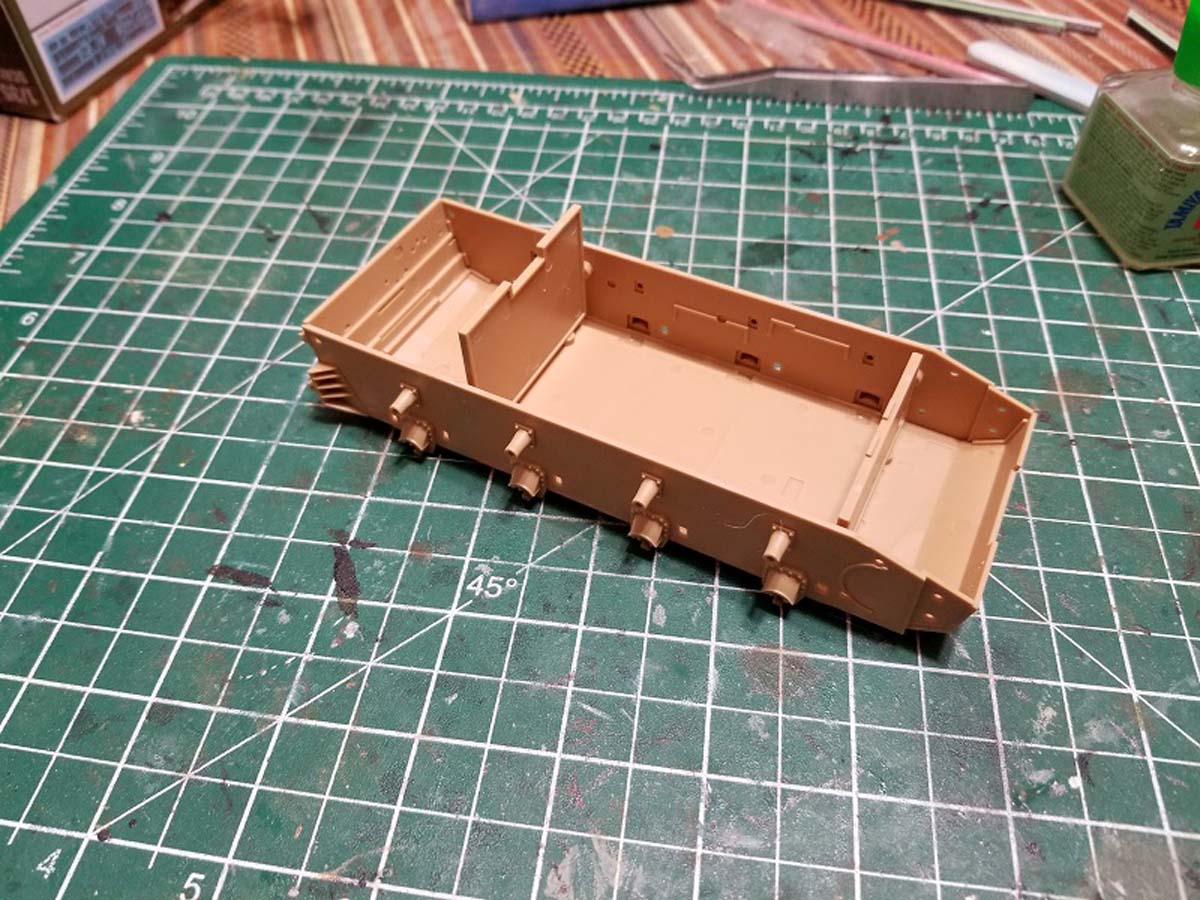
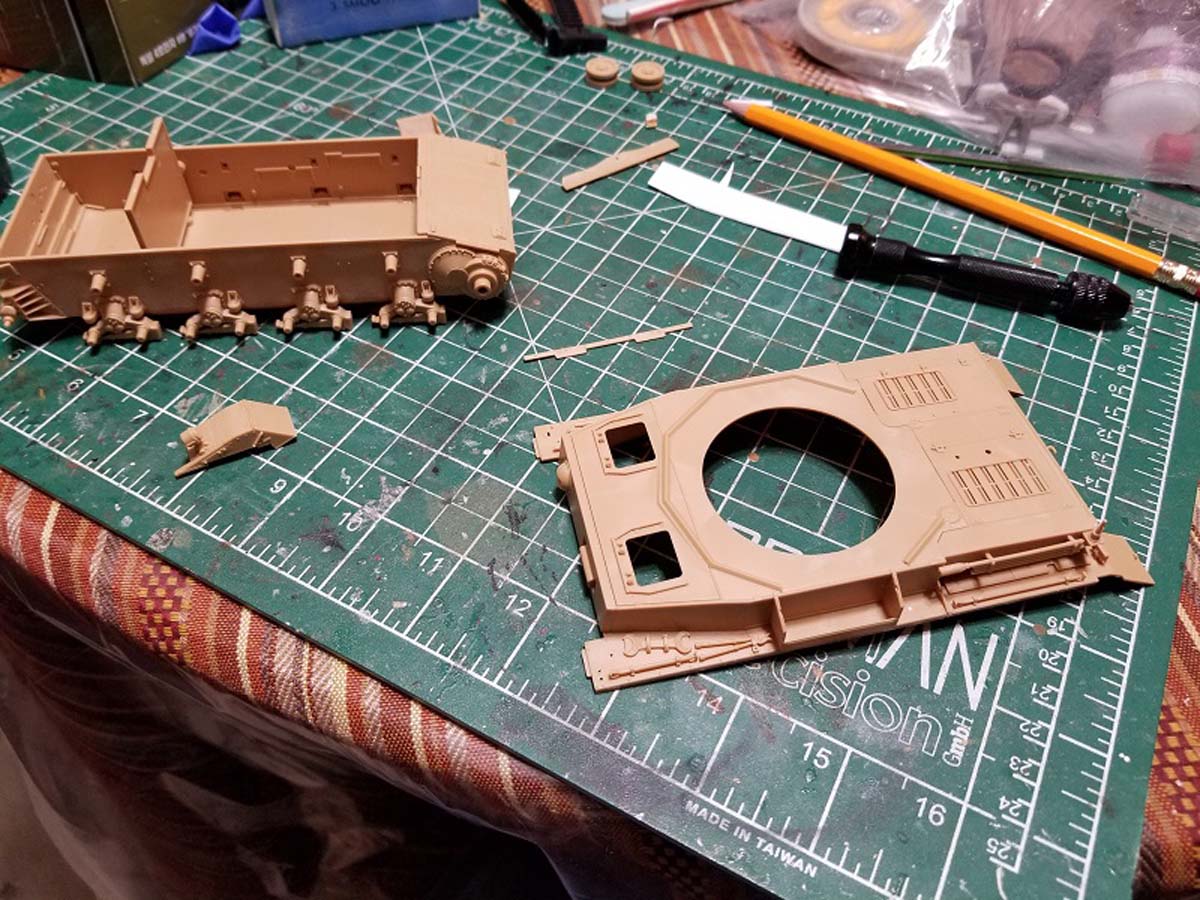
The first part of manual 1 call out all the parts that need to be drilled where the holes need to go, all the holes are marked on the underside of the parts so there is no guess work here, which is convenient. Step 1 begins with the assembly of the lower hull components, the lower hull is made of up of 6 parts and they snap into place easy. The detail is very nice and the minor gaps left behind are easily remedied with a little bit of pressure and some plastic cement.
Step 2
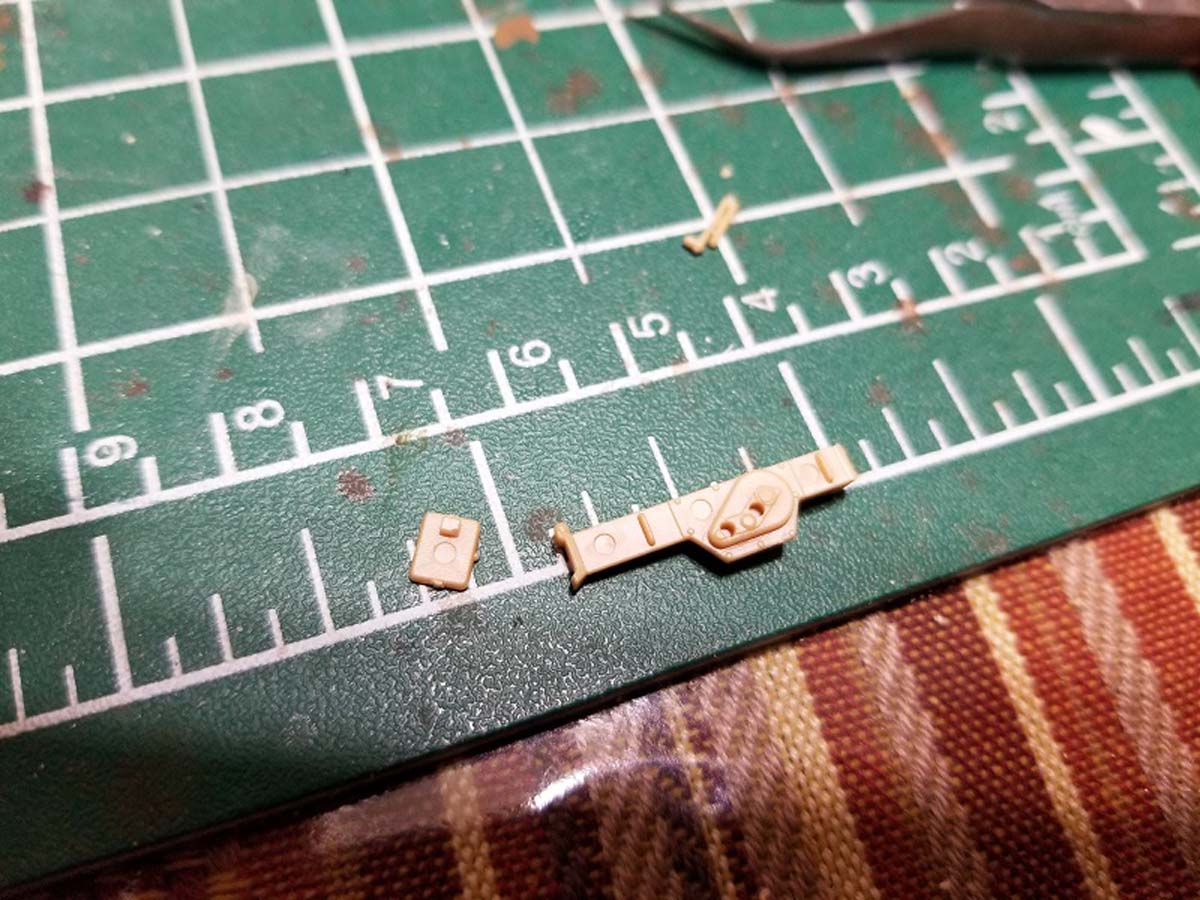
Next up the instructions have you installing the final drive covers, the lower hull plate and the idler wheel axis covers. A tip here would to be apply the zimmerit decals before you assemble these parts. The zimmerit instructions dont pop up until you make your way to the 3rd manual and the way Academy recommends to apply to zimmerit is apply it individually on each of the parts before you assemble them on the model.
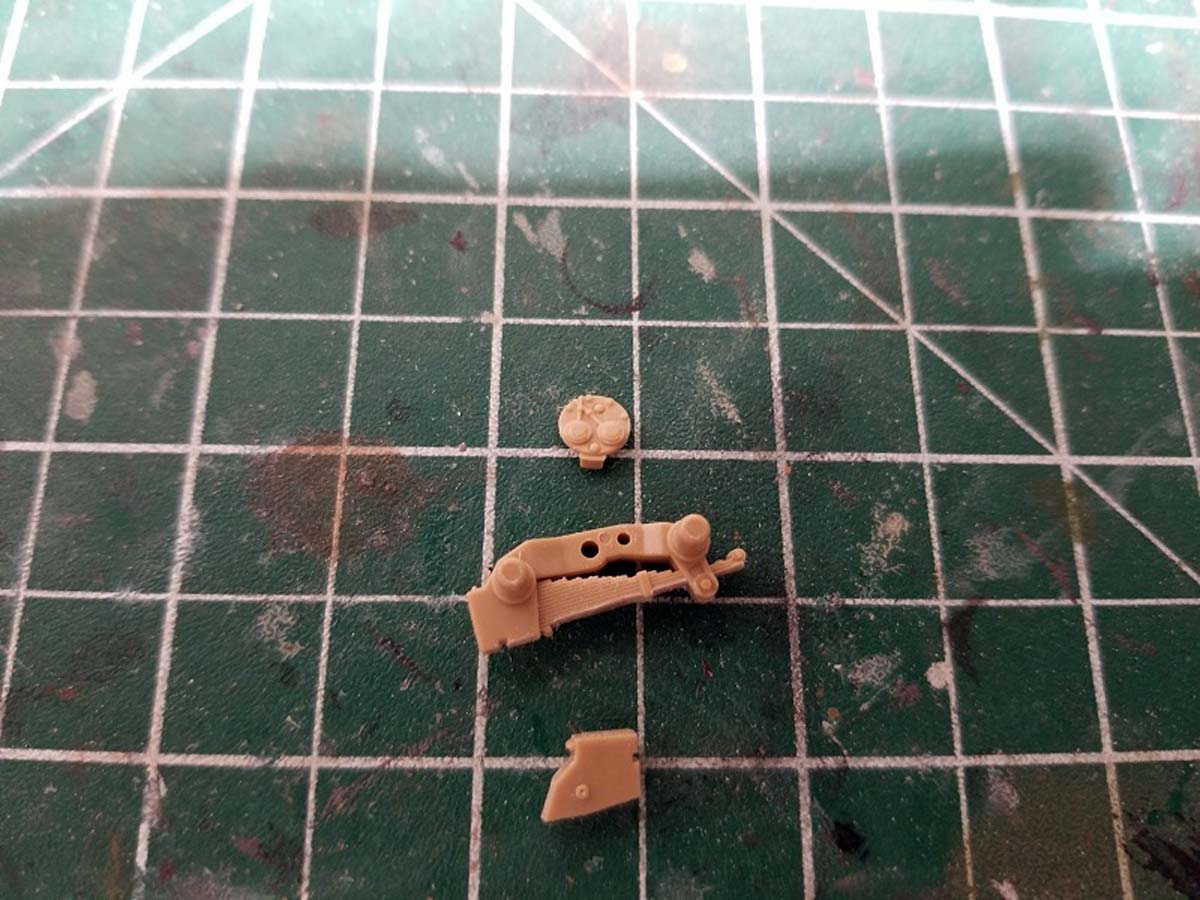
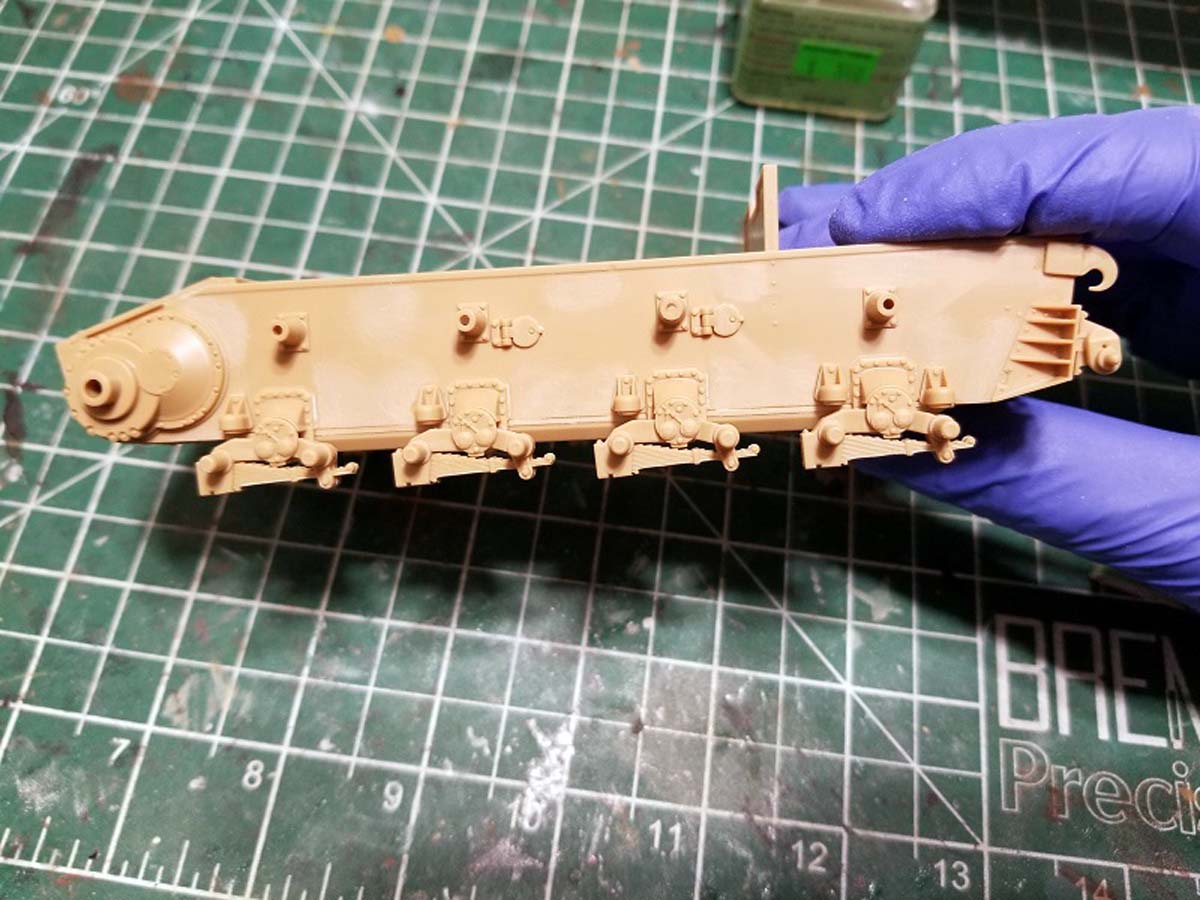
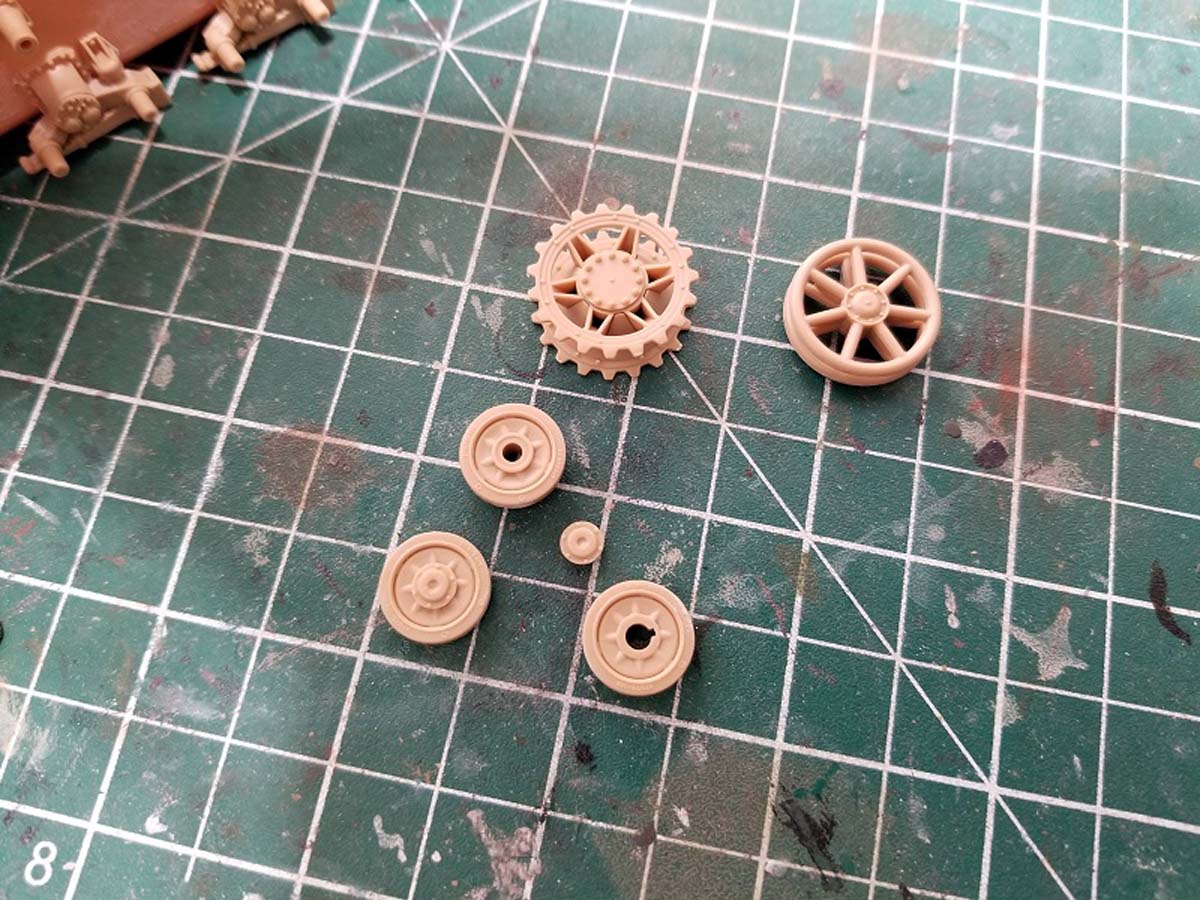
Step 3-5
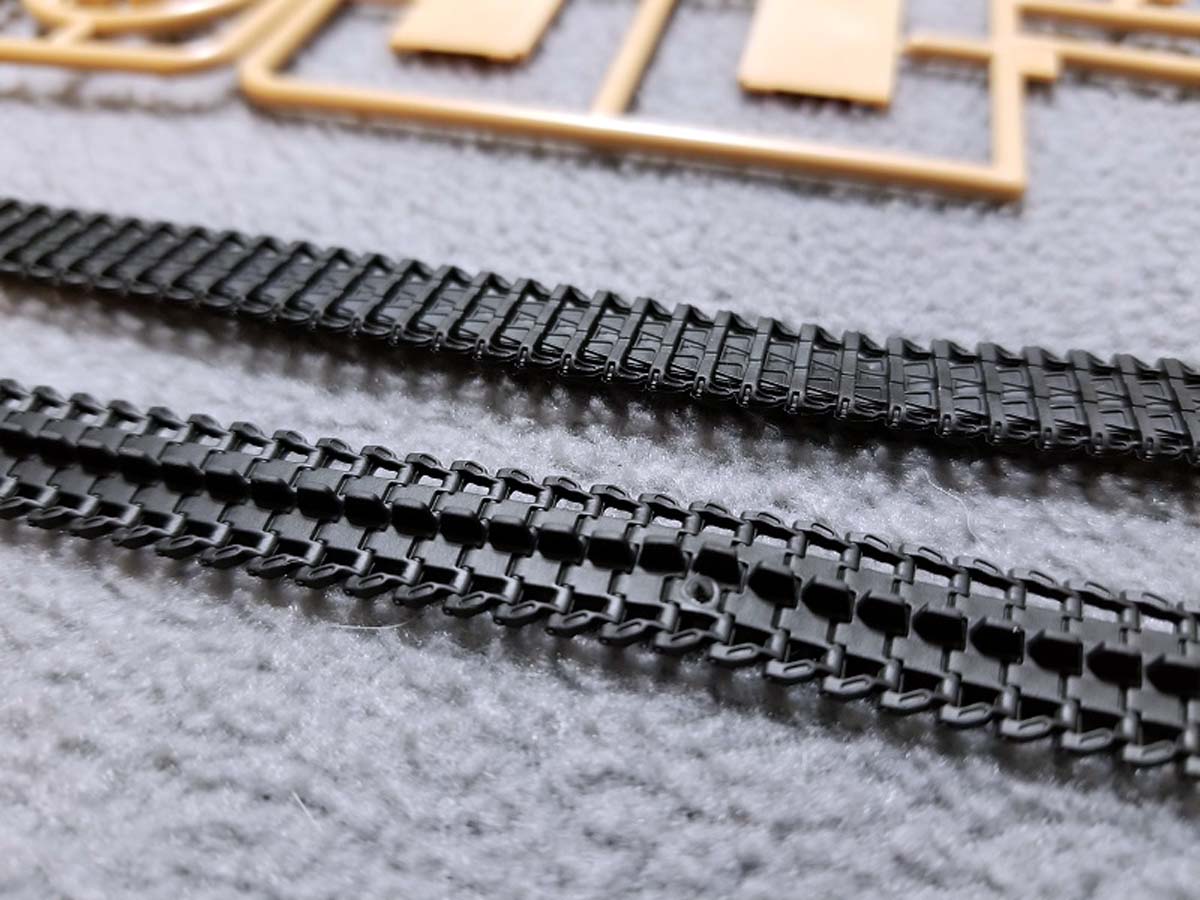
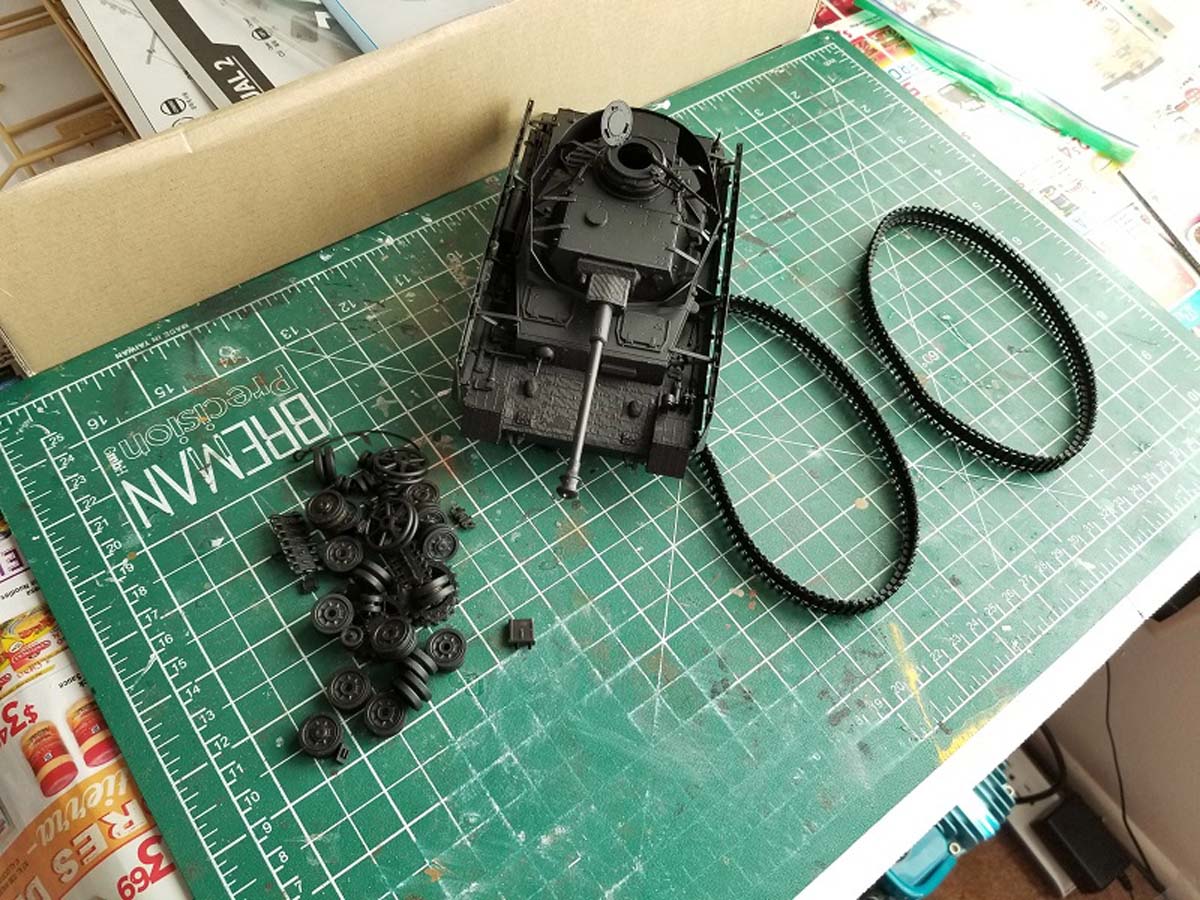
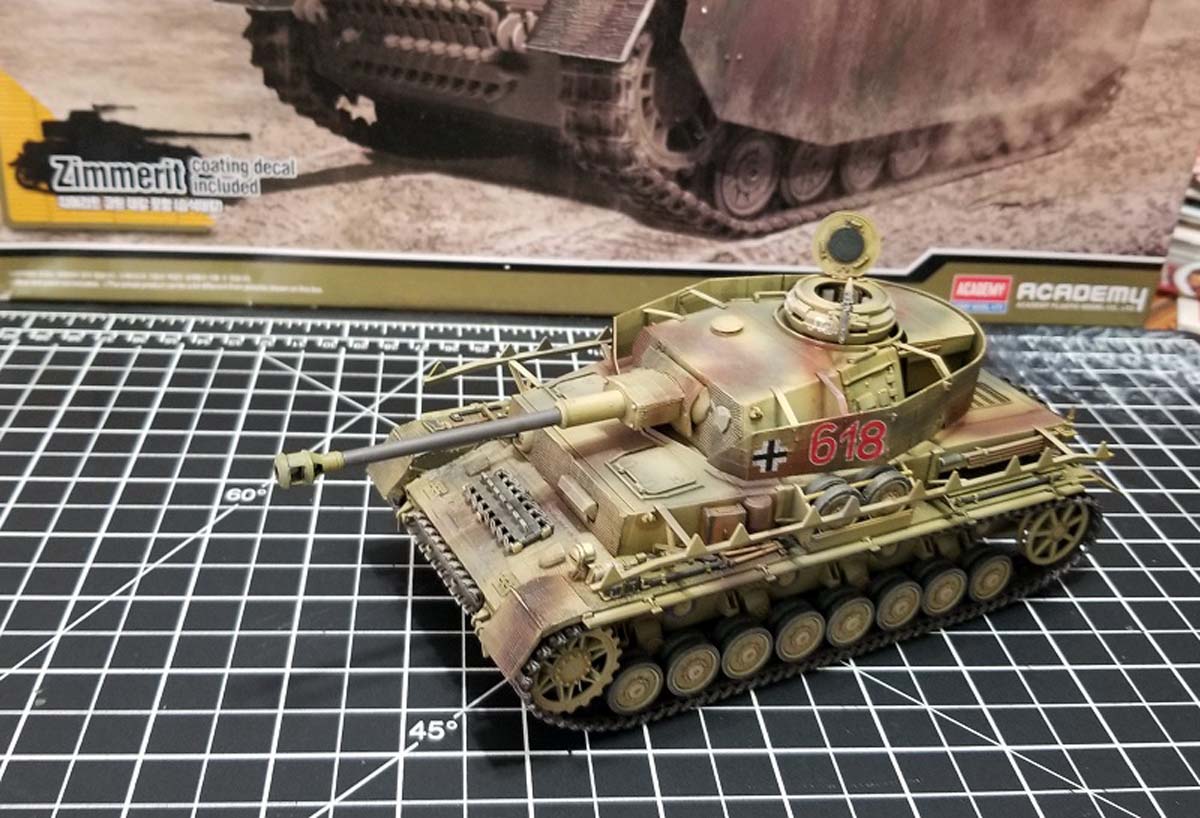
In step 3 the instructions call for the assembly of the glacis plate, final drive, and suspension bogeys. In step 4 you assemble the road wheels, idler wheels, drive sprockets, and return rollers. The sprues include several variants of each type and give the option to choose from the different return rollers and idler wheels. Step 5 has the gluing of the rubber band tracks which were by far the biggest disappointment of the kit. Ive worked with Academy tracks before and never had as much of hard time as I did with these, in the end I was able to get the tracks super glued together with the help of some clamps.
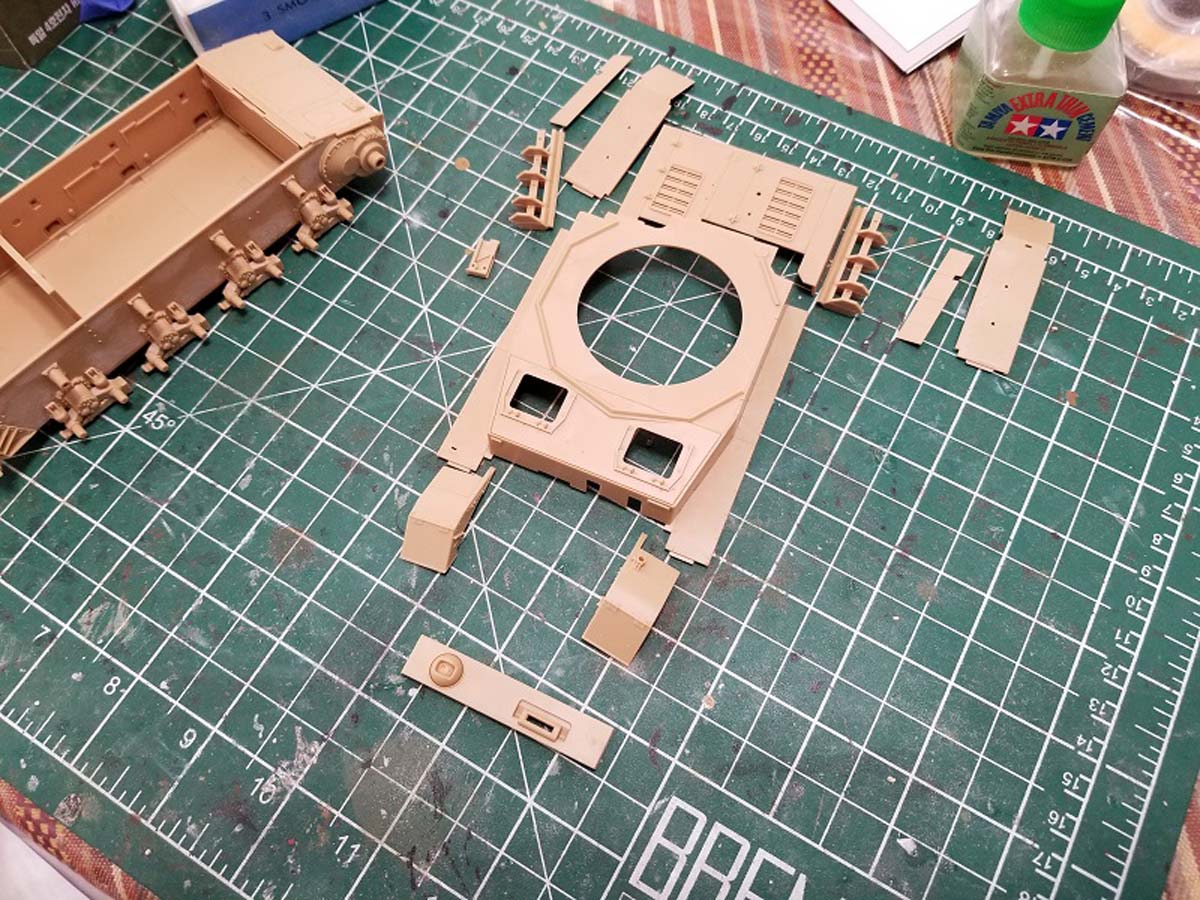
Steps 6 & 7
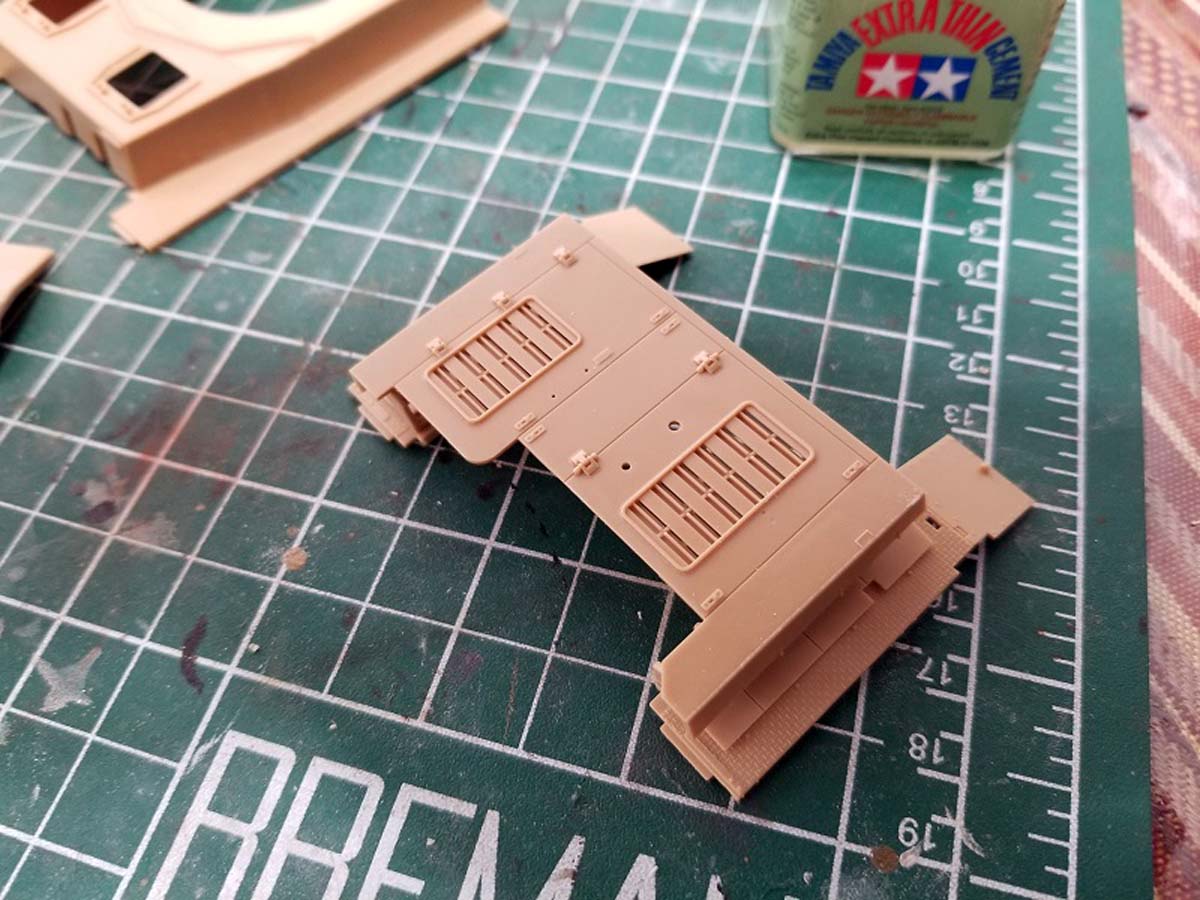
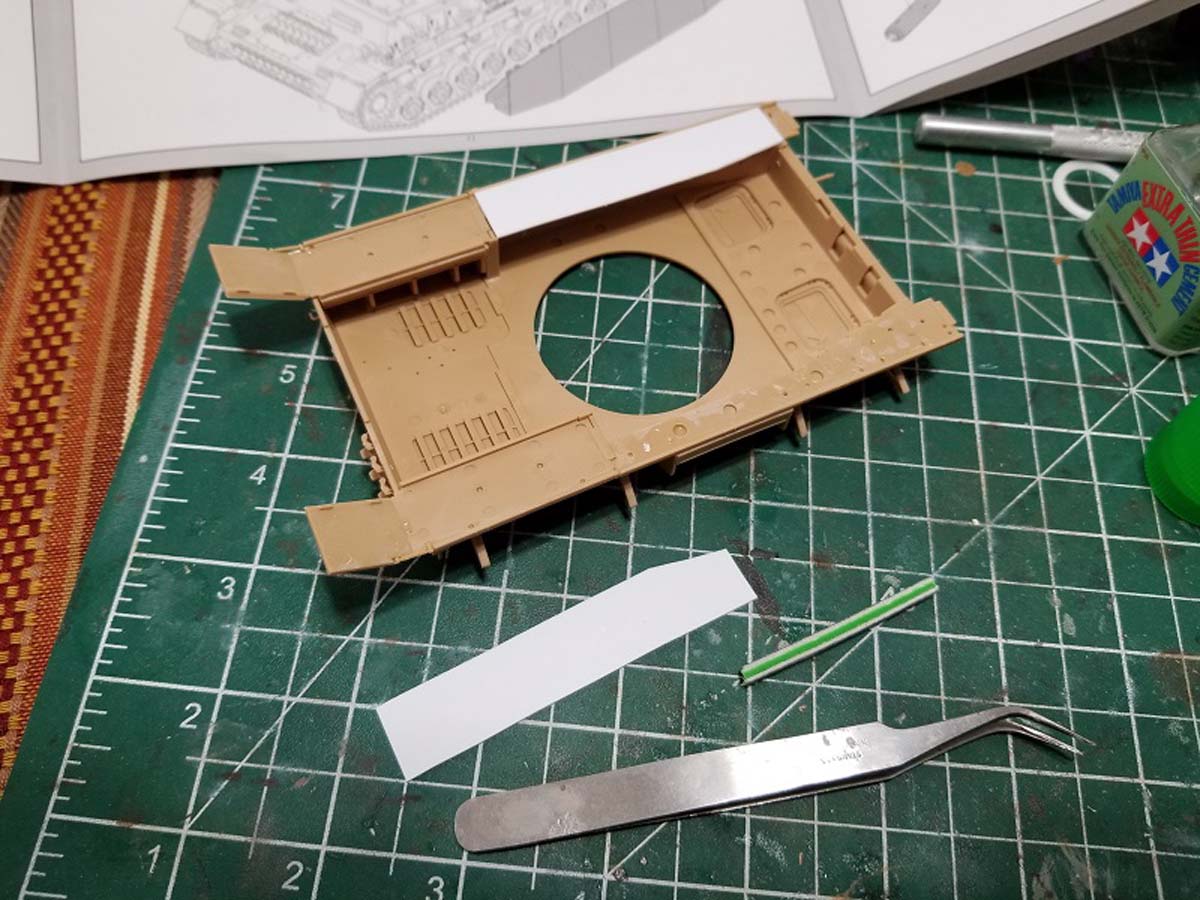
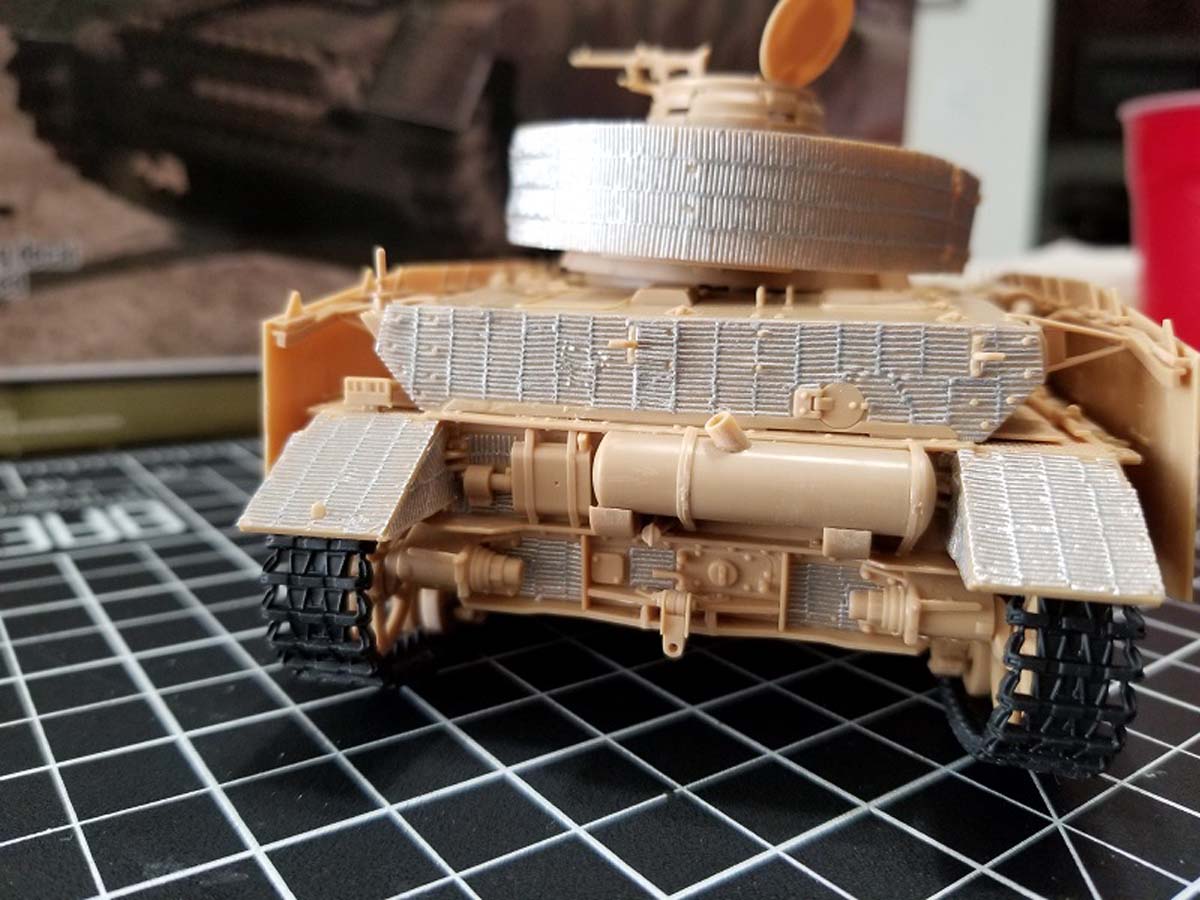
The next two steps have you installing the different parts that make up the upper hull together and attaching that assembly to the lower hull. Remember to drill out all the parts of the hull before attaching it to the lower portion. When attaching the two halves of the hull together you will notice that you can see through the inside of the tank because of gap on the bottom side of the sponson pieces. This might not be that big of an issue to some people as it will be difficult to see the gap once the model is completely built especially with shertzen side armour. I opted to fill the gaps in with some styrene sheets I had.
Steps 8-11
The next 4 steps have you install parts to the rear hull of the tank. Again be sure to apply the zimmerit on all the parts that will need them before the you apply the accessories as it becomes virtually impossible to apply the zimmerit later on in the build.
Steps 12- 17
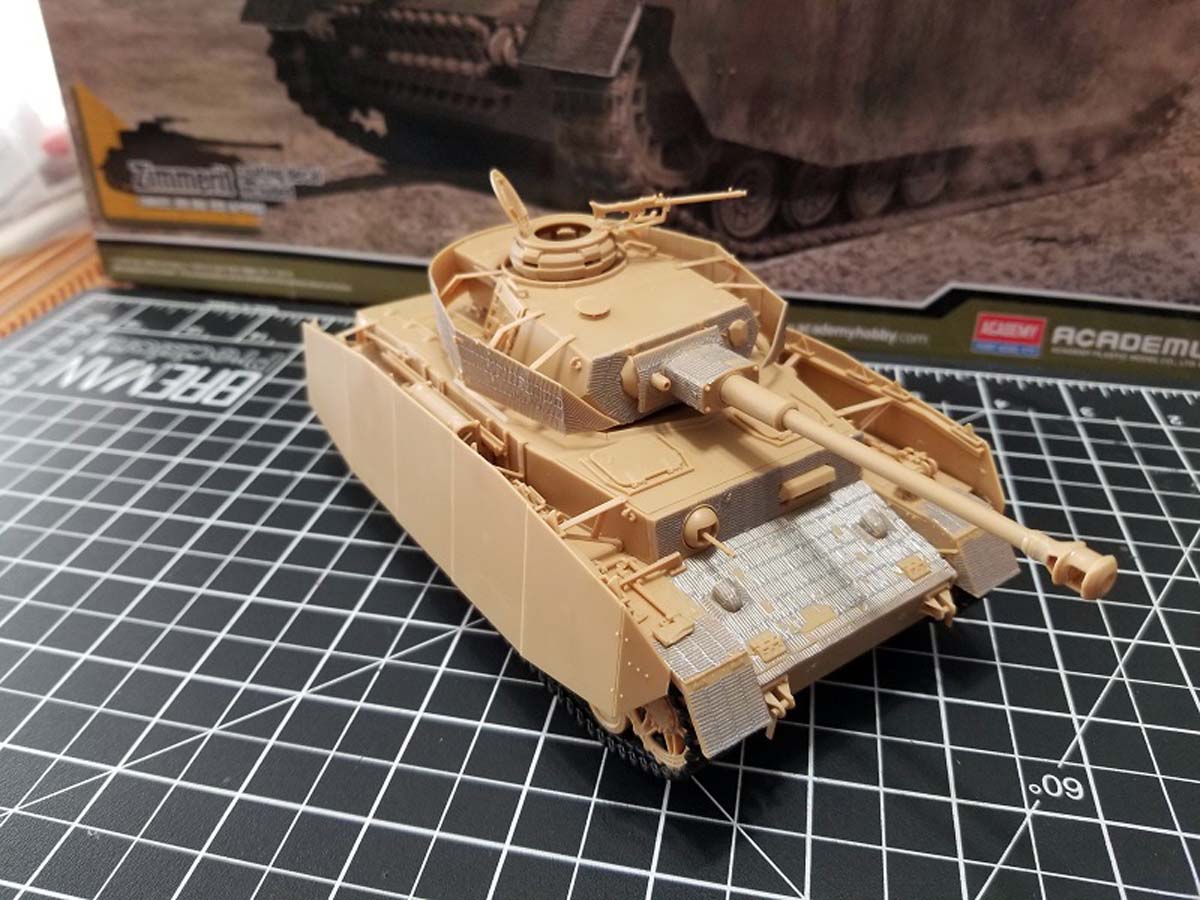
In the next 6 steps you will be installing the pioneer tools, shertzen armor brackets, and other detail on the model. If you are not too confident getting your paint brush in tight areas I would recommend leaving some the tools off, I had a real hard time painting some of the tools because of the confined space.
Steps 18 & 19
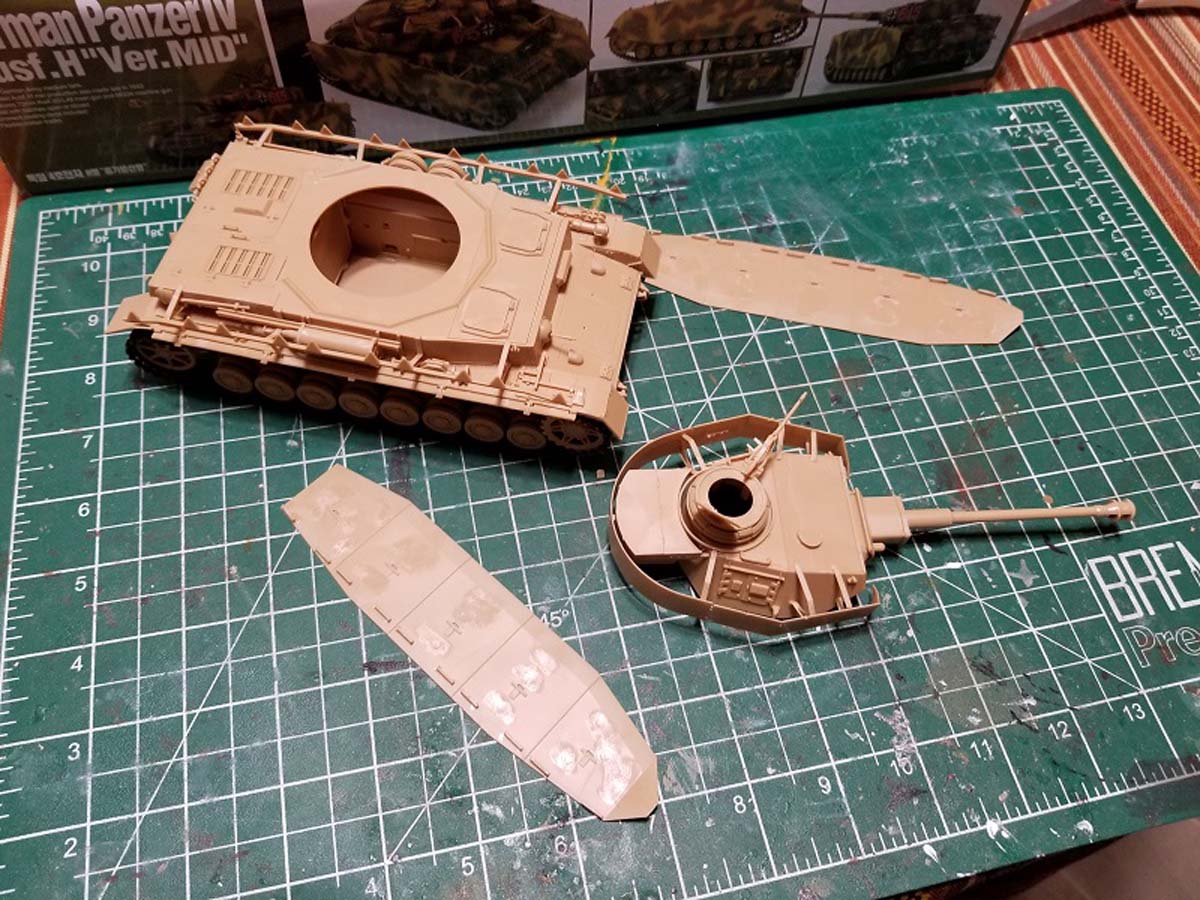
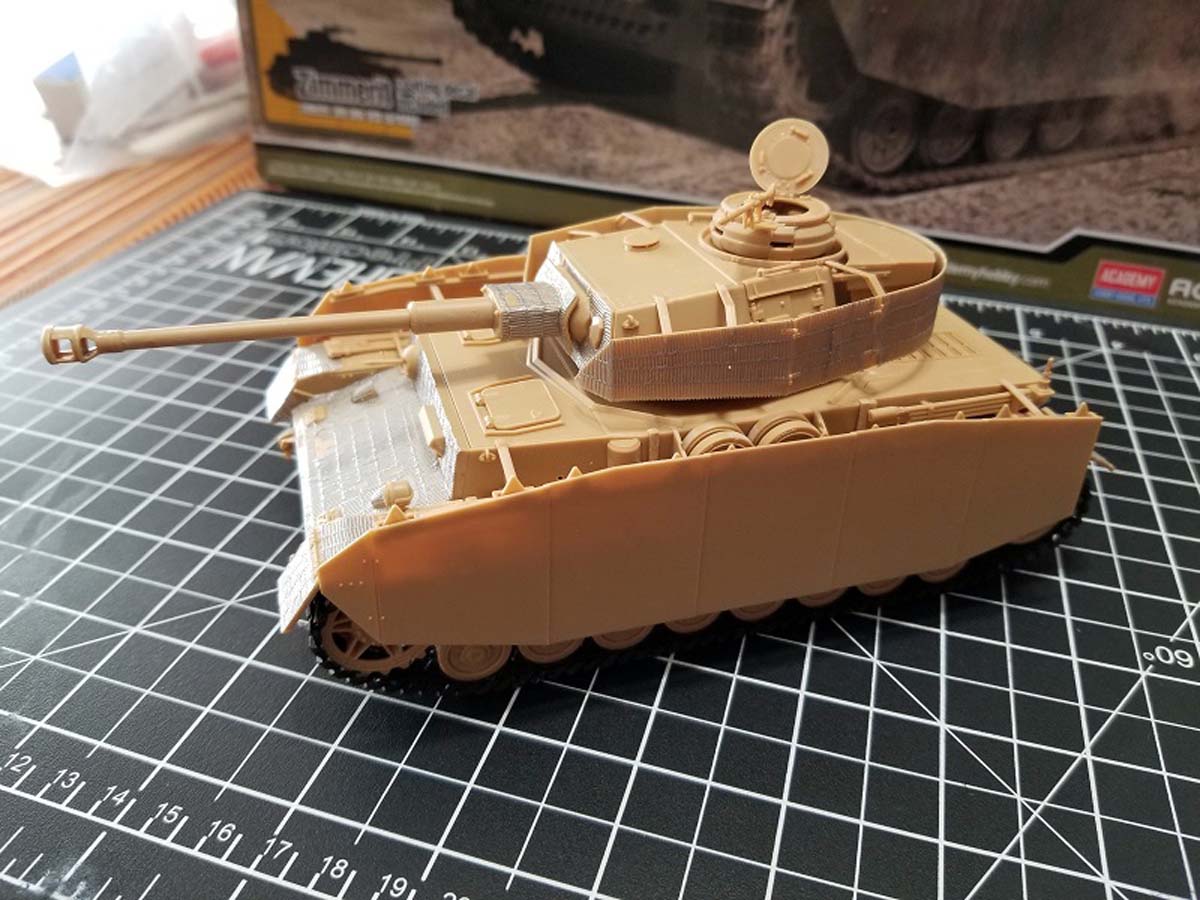
In these steps you put together the brackets onto the shertzen as well as add the beams that carry the shurtzen onto the sides of the tank.
Steps 20-28
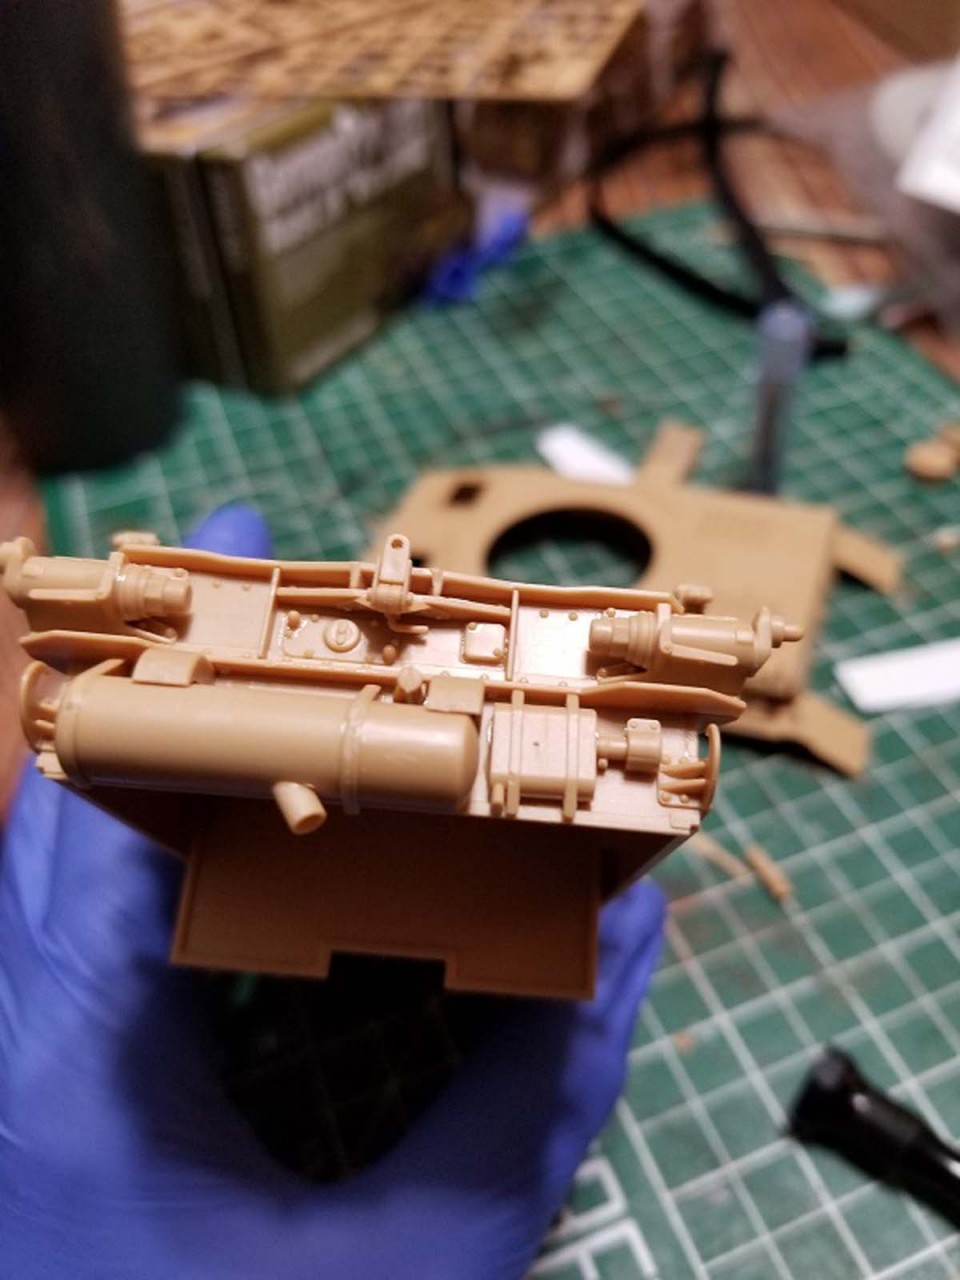
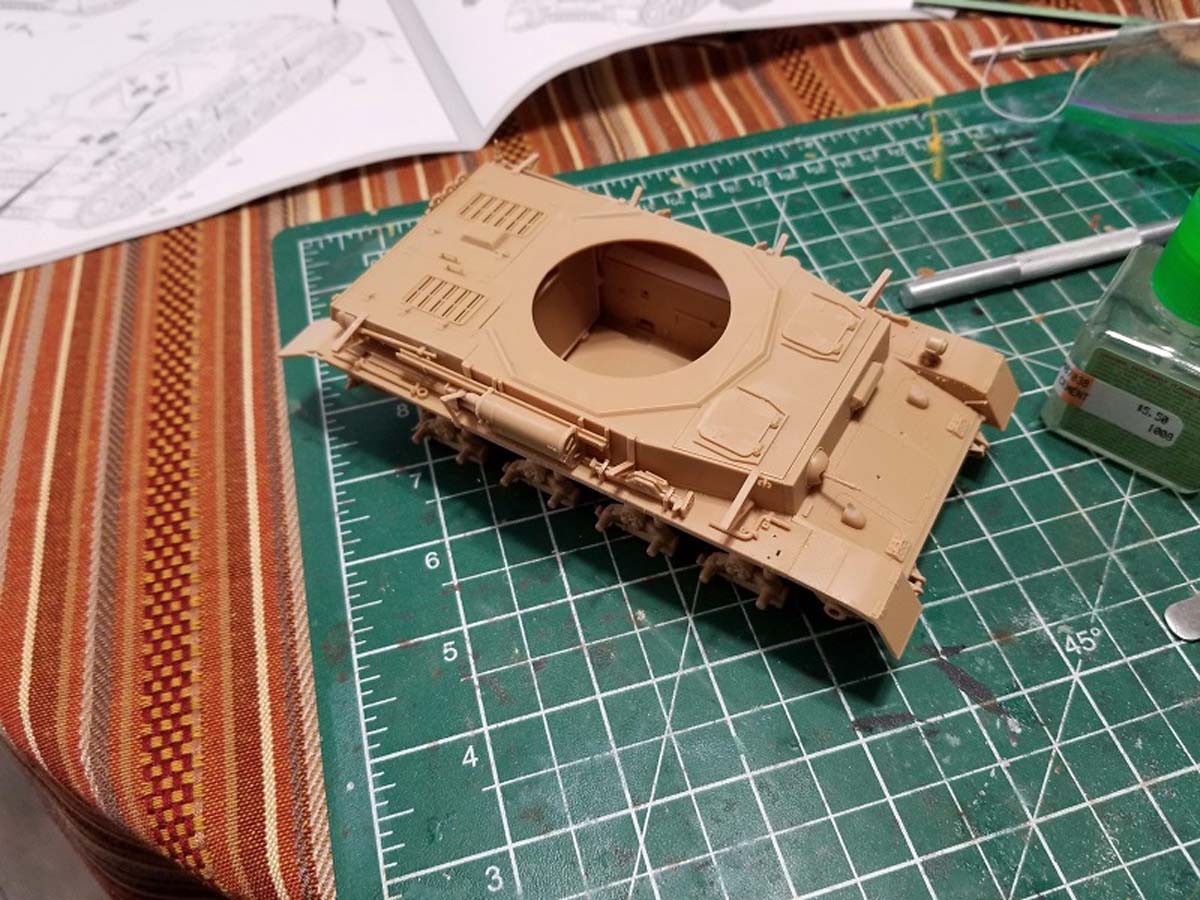
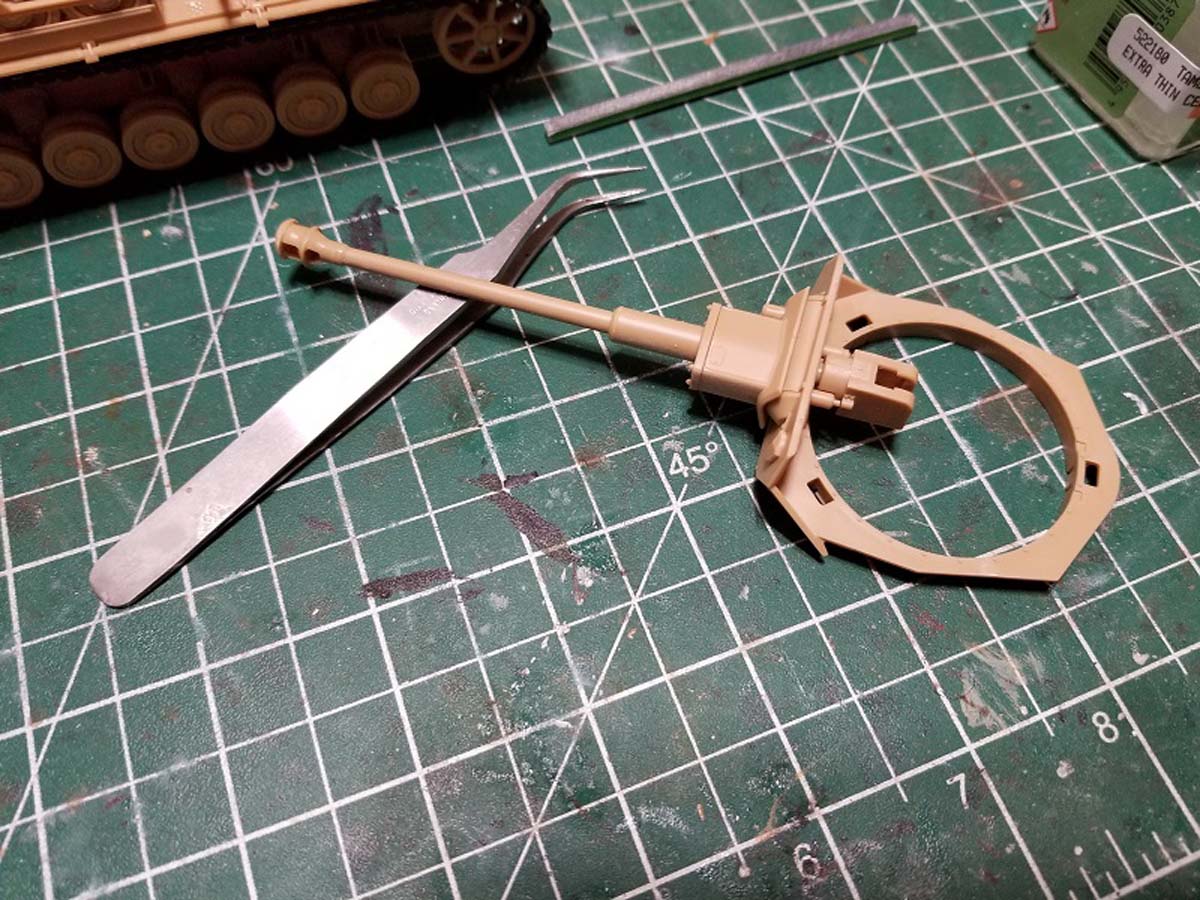
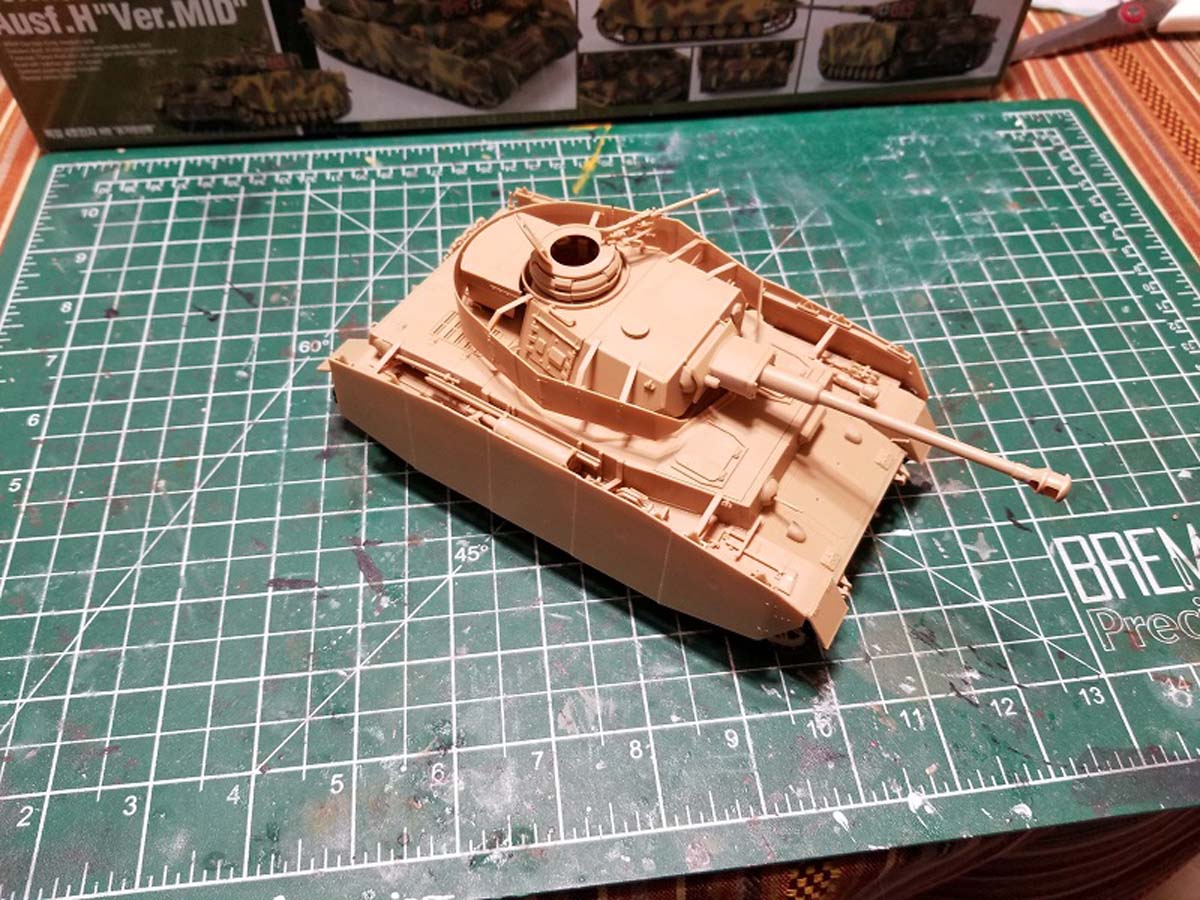
The next several steps walk you through the build of the turret as well all the side armor that goes around it. There wasnt an abundance of parts used up for these steps and the fit was spectacular. The slide molded barrel was nice touch too. The instructions give you the option to leave the hatches open which are also detailed on inside but given that there no interior detail besides the inside of the hatches and a simplified gun breach you will probably want to leave the closed.
Steps 29-31
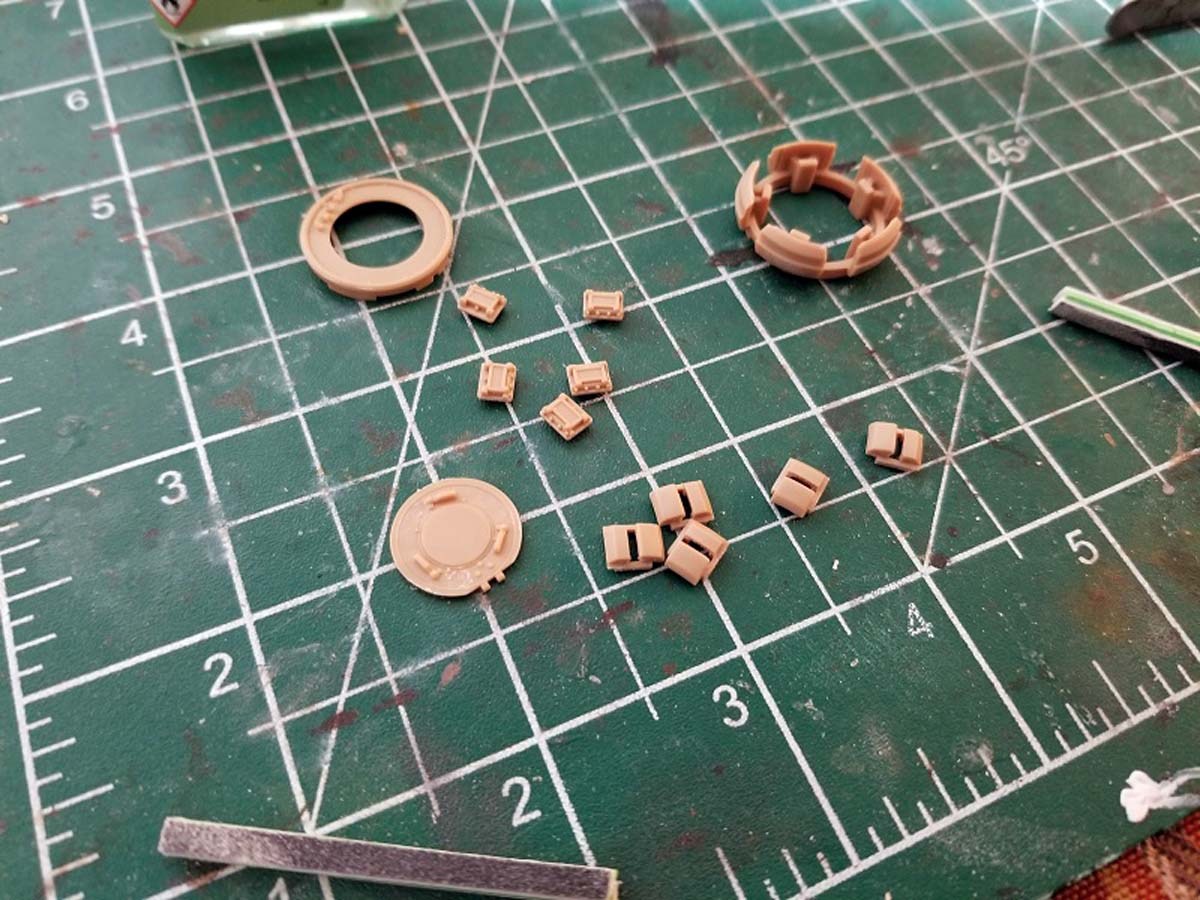
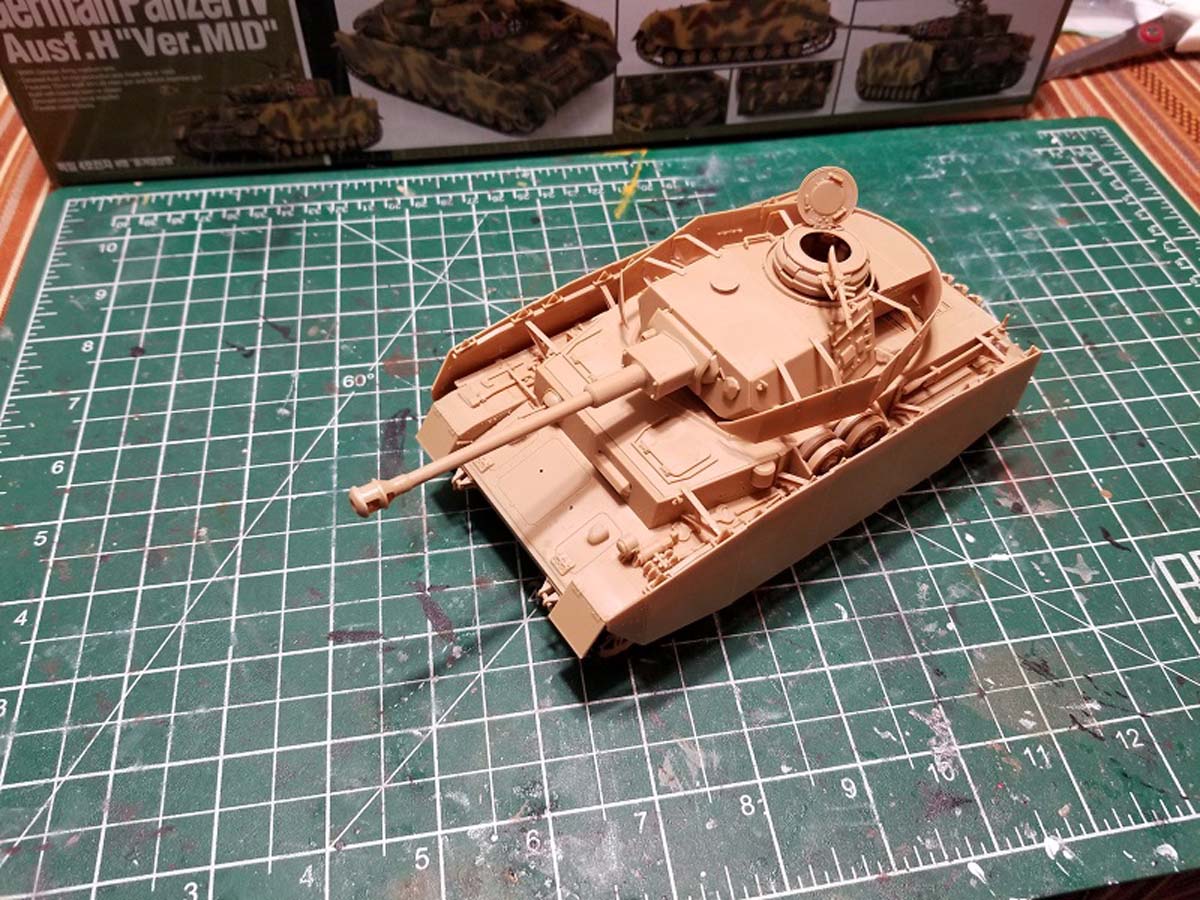
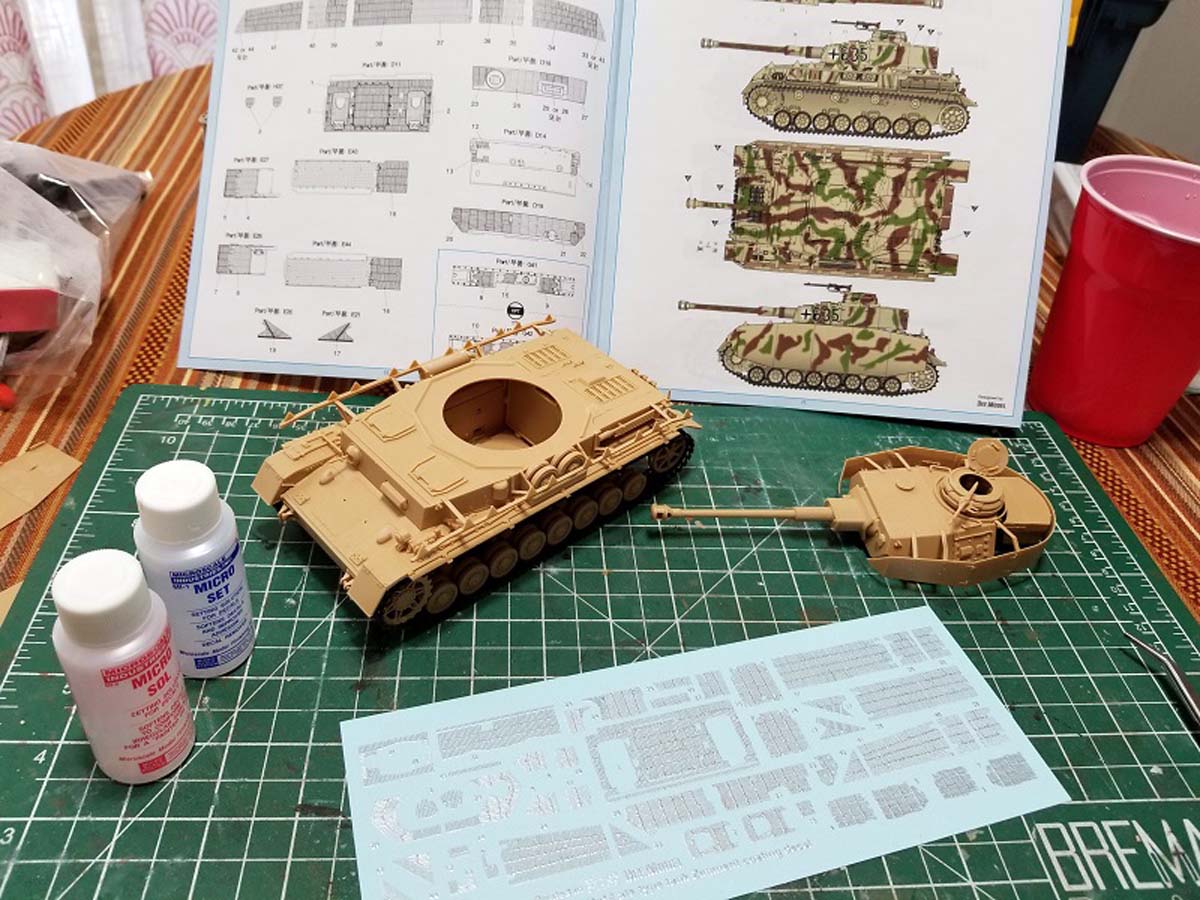
The final steps have you putting together the commanders cupola which can be built the vision ports in the open or closed position as well the cupola hatch. Keep in mind that vision ports are not made from clear plastic but are nicely detailed however. The last step is just attaching the turret to the rest of the model and with that the build is complete. The rest of the 3rd part of the manual provides a reference to which parts get the zimmerit and also the marking guides. I found that when applying the zimmerit decals they work best with just plain water and nothing else. The Micro Sol and Micro Set I was using was causing the decals the bubble up after I applied them, I also found the if you leave the decals submerged in hot water for more than 10 seconds they tend to fall off the sheet while they are still in the water.
Conclusion
This was a very fun kit to put together, with about 400 parts it falls in the mid-range category and is suitable for intermediate and advanced level modelers. There are tons of extras left at the end of the build which any German armor builder will be pleased with. The zimmerit came together nicely, they were easy to apply and I really like this approach of using decals as I have always been intimidated by applying from scratch with paste. The biggest disappointment in the build were the tracks which required some work to get them to stick together and also gaps the in sponsons. Overall this is one model I would definitely recommend to any German armor fan.
SUMMARY
Highs: Excellent mold quality and detail. The zimmerit decals are a nice touch. Tons of extras for the spare parts box.Lows: The rubber band tracks were hard to work with and the gaps underneath the sponsons could have been avoided. Verdict: Overall a great kit to put together. It has all detail you would need to make it an accurate despite the lack of PE and clear plastic.
Our Thanks to MRC! This item was provided by them for the purpose of having it reviewed on this KitMaker Network site. If you would like your kit, book, or product reviewed, please contact us.
Looks like another fun build from Academy. Shame about the lack of individual link tracks and the other detail parts that so many of us have come to expect. Maybe at a later release.


Comments