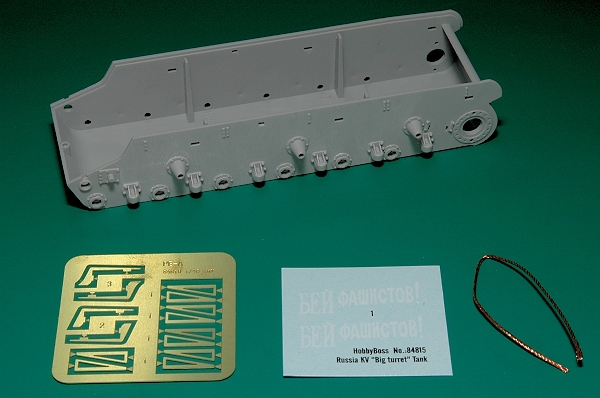
The kit consists of186 plastic parts in 8 sprues, 1 photo-etch fret consisting of fender supports, an oversized copper wire meant to be used for tow lines, a decal sheet, a one piece lower hull, a glossy coloured decal placement sheet and 10 clear pages of instructions.
Here are some issues I found while building the model,
Step 1
The lower hull tub has engraved locator marks that need to be filled in, these locator marks are meant for the "Ehkranami" applique armour version, apply a fine bead of CA glue and follow with some careful sanding. The locator pin for the track tensioner (part C10 on step 3) needs to be shortened, clip it in half.
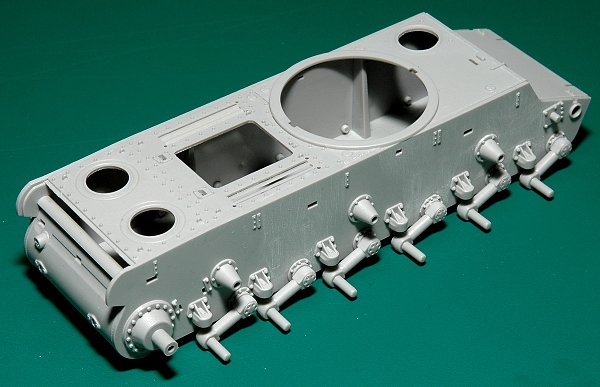
Step 2
The axels (N12) have hexagonal locating pins which ensure a uniform horizontal alignment for the road wheels, unfortunately there's serious mis-alignment depth wise. Fortunately, the pliable plastic that Hobby Boss uses allows you to apply considerable pressure without fear of damage.
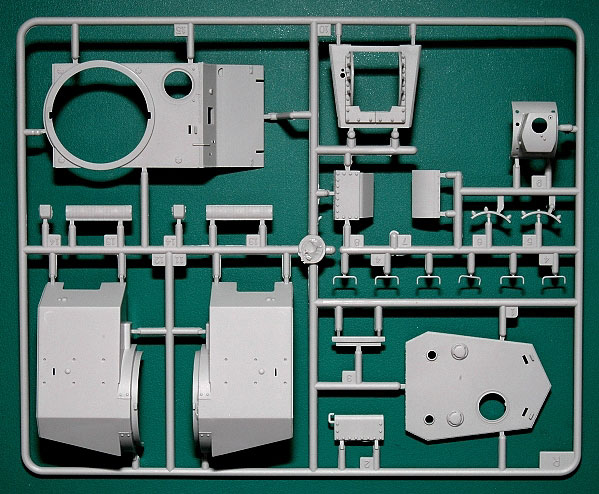
Steps 3 and 4
Most of the finer parts suffer from flash and a lack of detail, again this might be due to the shrinkage from 35th scale, care must be taken to retain the detail of the parts while removing the flash. On some of the most affected parts (Q1 and C12) you almost need to reshape the blob of plastic into semblance. The locator pin on the front of the hull (for the bow machine gun parts on other KV variants) should be sanded into a round plug.
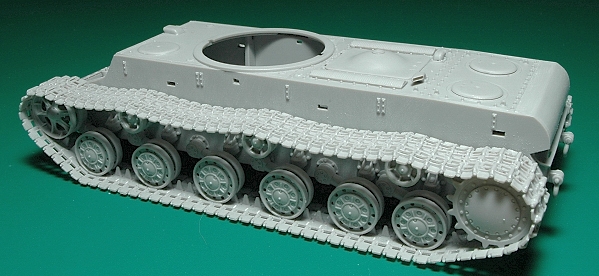
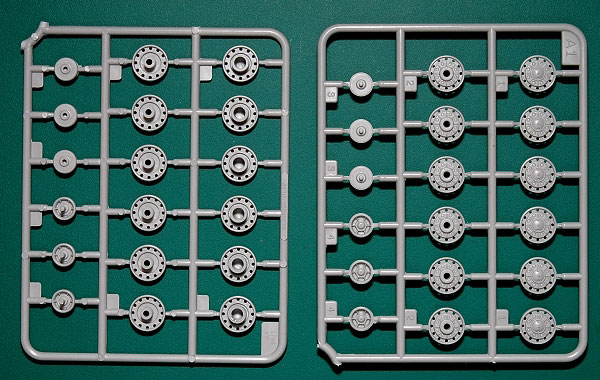
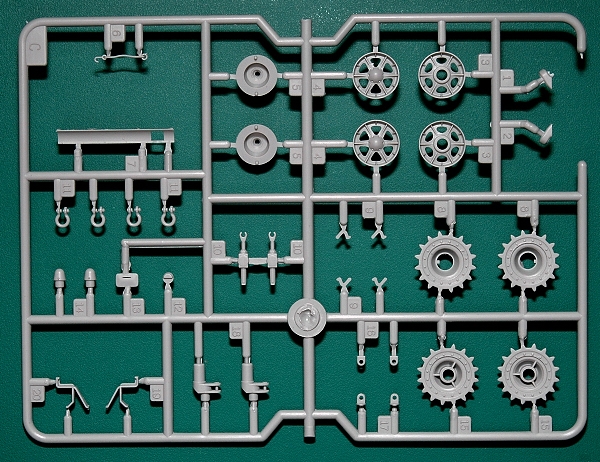
Steps 5,6 and 7
The road wheels, drive sprocket and return rollers are straight forward, again care must be taken to align all components. I strongly suggest that you not glue the drive sprocket until you have cleaned and prepared the link and length tracks.
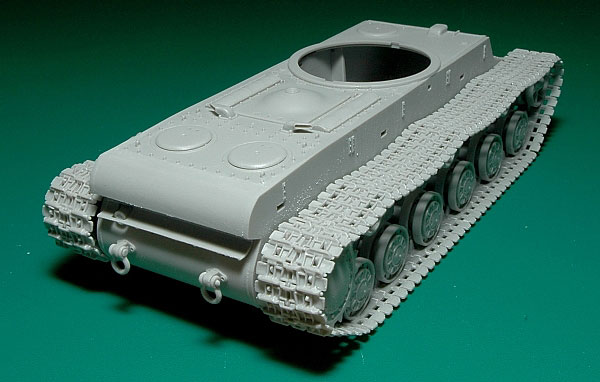
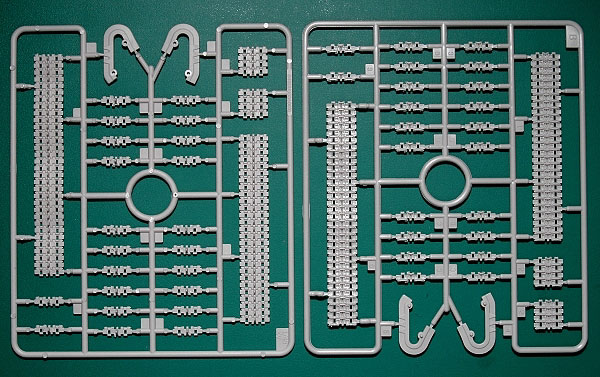
Steps 8 and 9
The link and length pre-formed sagged tracks are good but do require you fill in the pin ejector marks. A useful set of jigs are provided for the drive sprocket and return rollers.
Steps 10 and 11
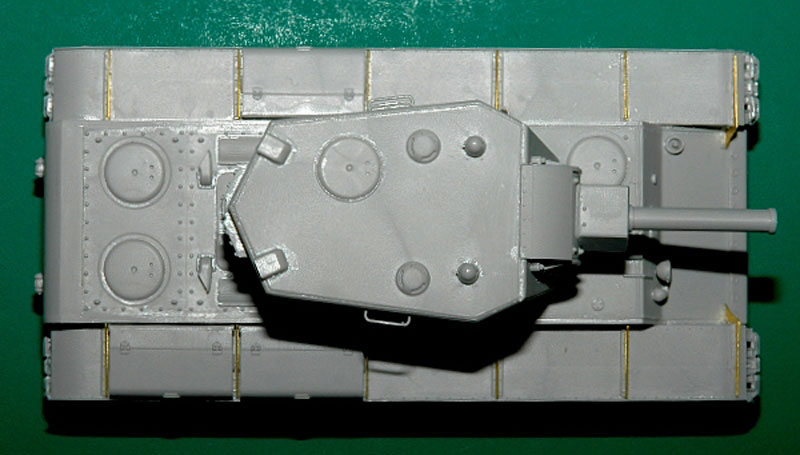
The fenders gave me the most difficulty, the photo-etch fender supports fit well with the exception of parts PE-A3, you are best to remove the locator pins which won't be easy thanks to the thickness of the PE.
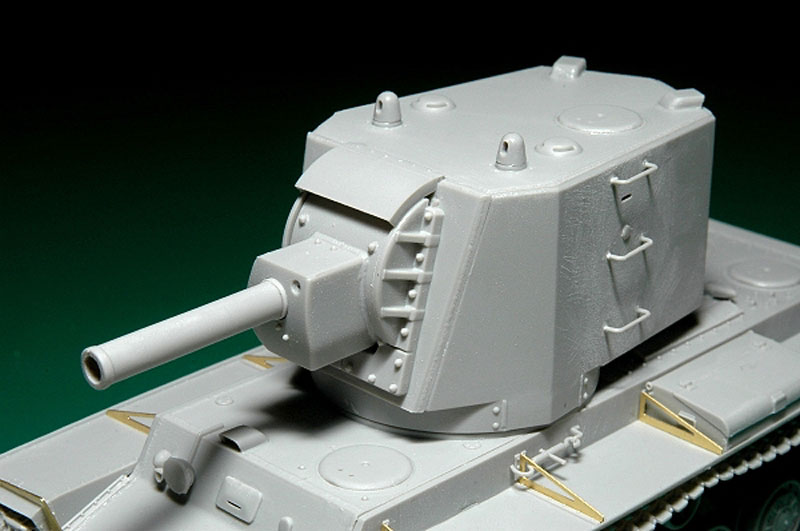
Step 12
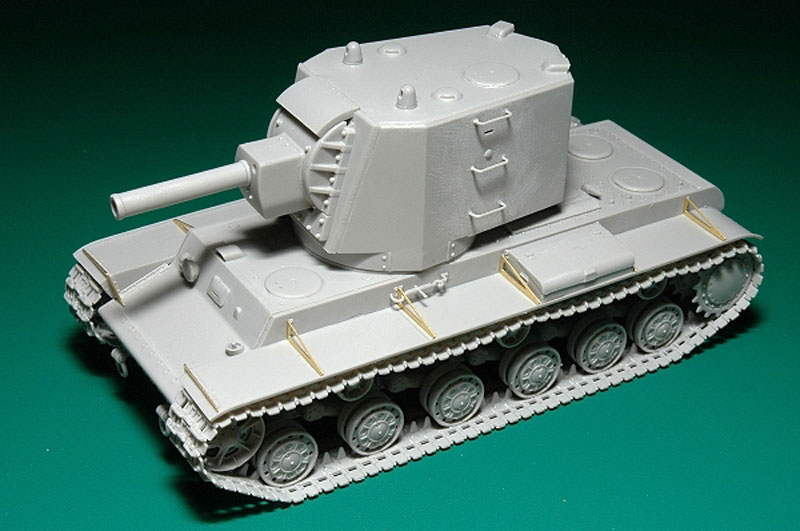
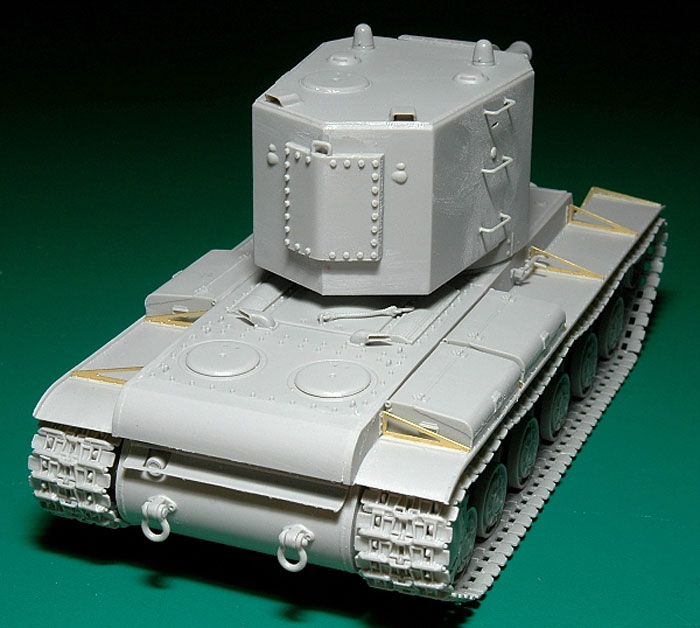
concentrate on the 'Big Turret', straight forward construction.
Step 13
completes the model with the addition of tow cables, throw out the kit copper wire and clip off the plastic end sections, find some suitable wire or string and fit to size.
SUMMARY
Highs: Great range of KV tanks from Hobby Boss, offering a slightly higher grade of detail than the Tamiya offerings.Lows: Hobby boss kits have suffered slightly from the shrinkage process, fit issues are present and greater care must be shown by dry-fitting parts.Verdict: Great range of models that fill a void for 48th scale afficionados.
About Frank Portela (Clanky44) FROM: ONTARIO, CANADA
I'm an avid modeller, with about 20 odd years of experience. I belong to a very small group of modellers here in Guelph, Ontario that formed GPMG (Guelph Plastic Modelling Group) over 12 years ago. We have our annual show (WELCOME - Wellington County Modellers Exposition) in the spring. We pride ou...


Comments