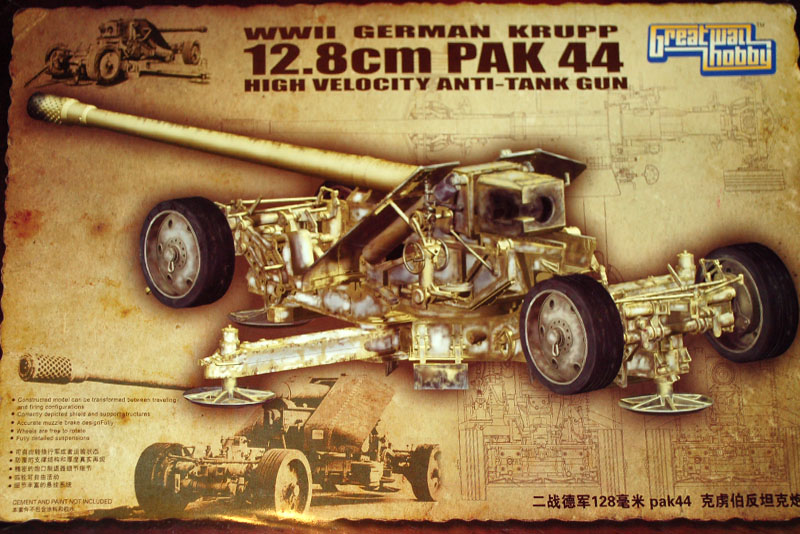
Great Wall Hobby have made quite a name for themselves over the last couple of years releasing a small number of German WW2 artillery guns, German vehicles, and German upgrade items. An interesting approach that Great Wall Hobby has taken is to release some of the models with a variety of upgrade parts. The model I am reviewing here is the improved model, which consists of plastic parts and a small PE fret and turned metal barrel. The base model is available without the turned metal barrel.
Contents
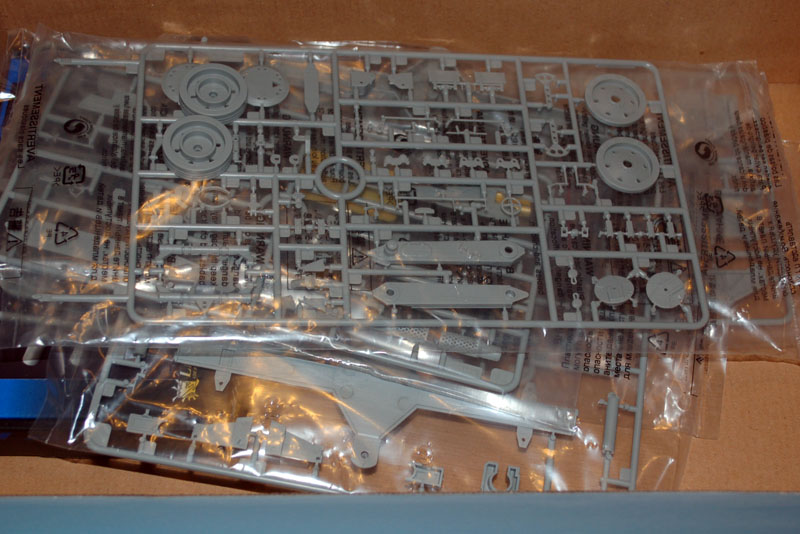
The top opening box contains;
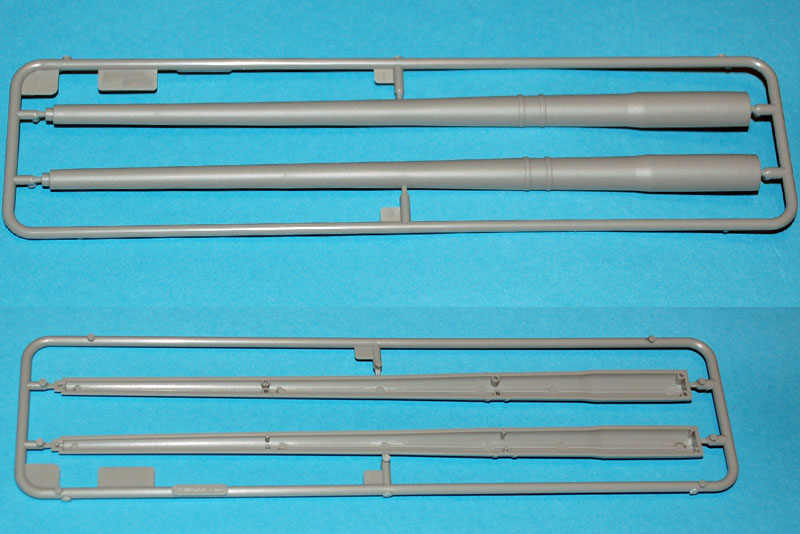
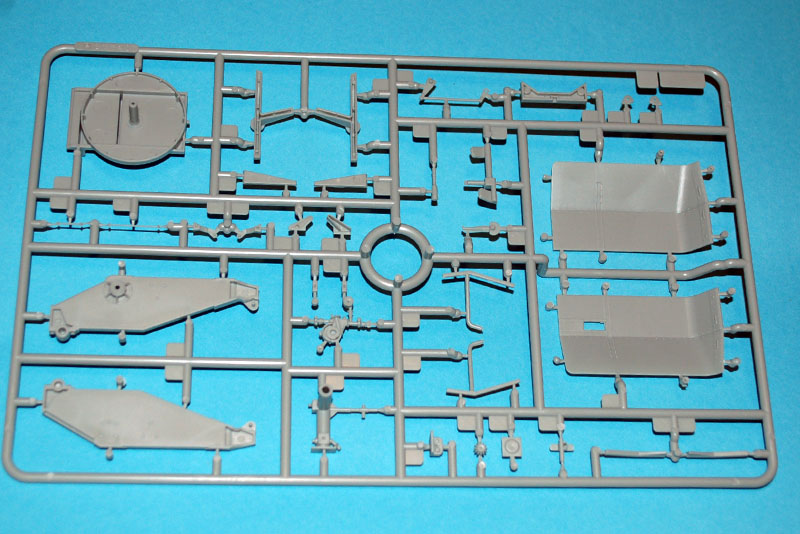
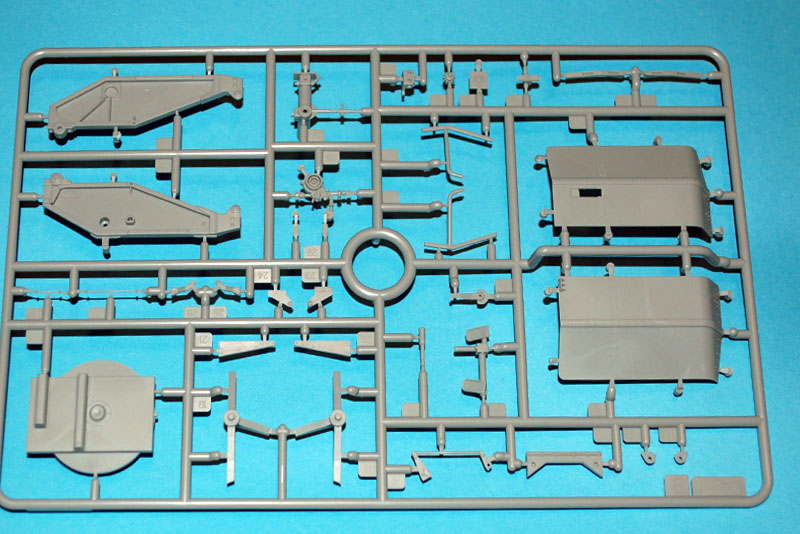
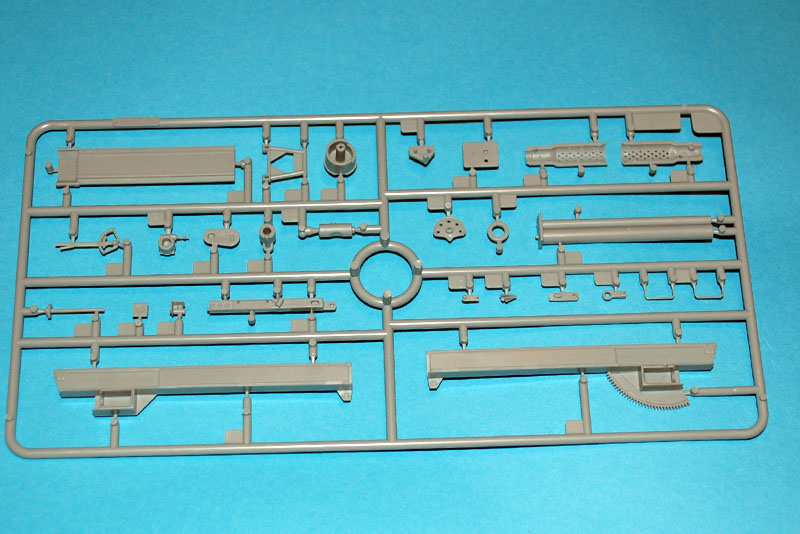
Six light grey sprues each packaged in its own poly bag
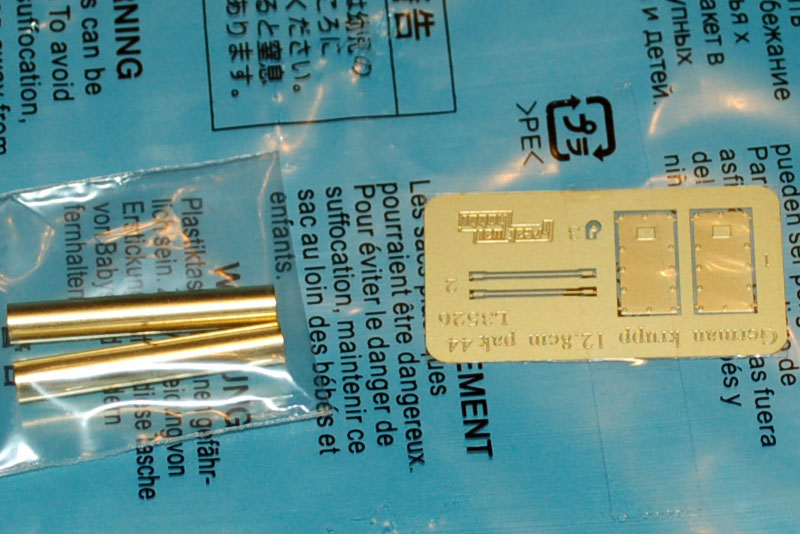
A small PE fret in its own poly bag which is taped to one of the sprue bags
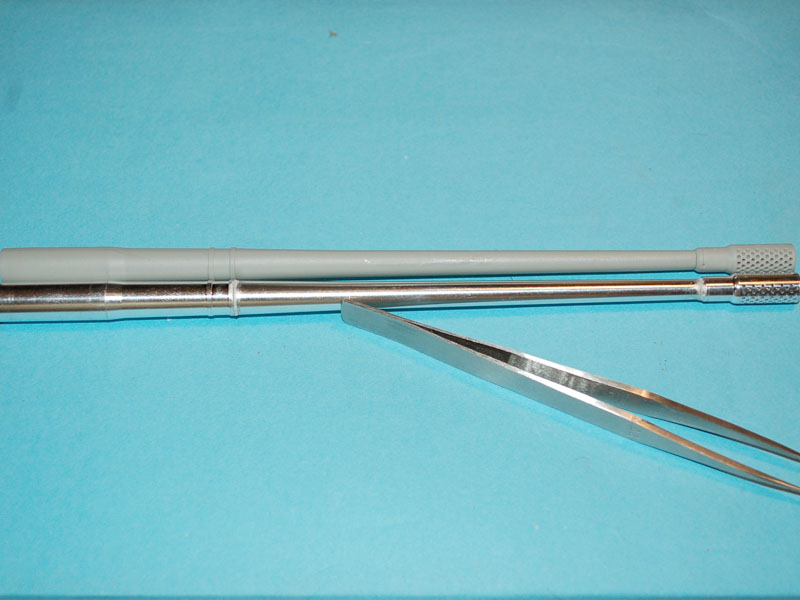
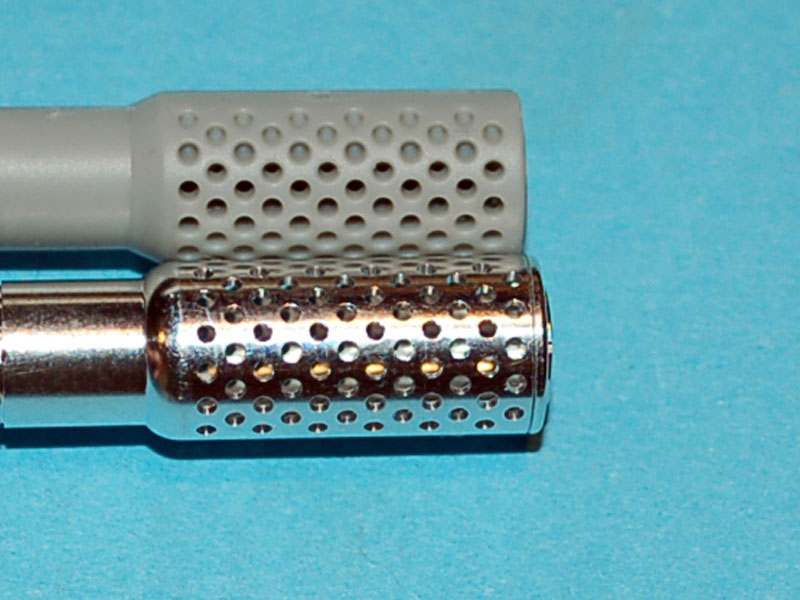
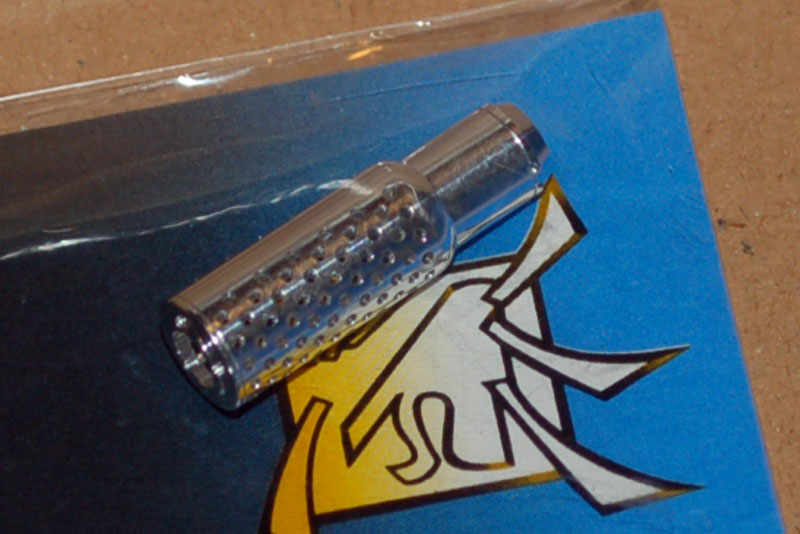
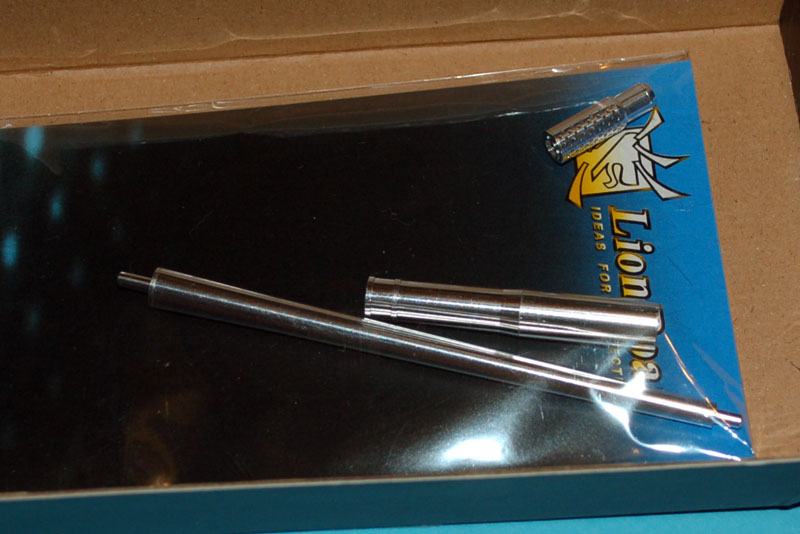
A turned metal barrel in its own bag and box
Two brass tubes
A booklet of instructions
A glossy colour print of painting instructions
Build review
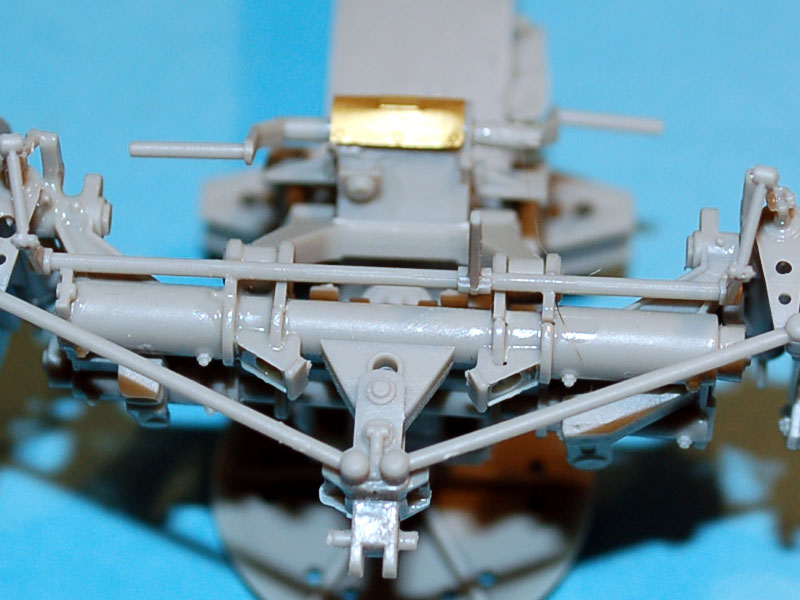
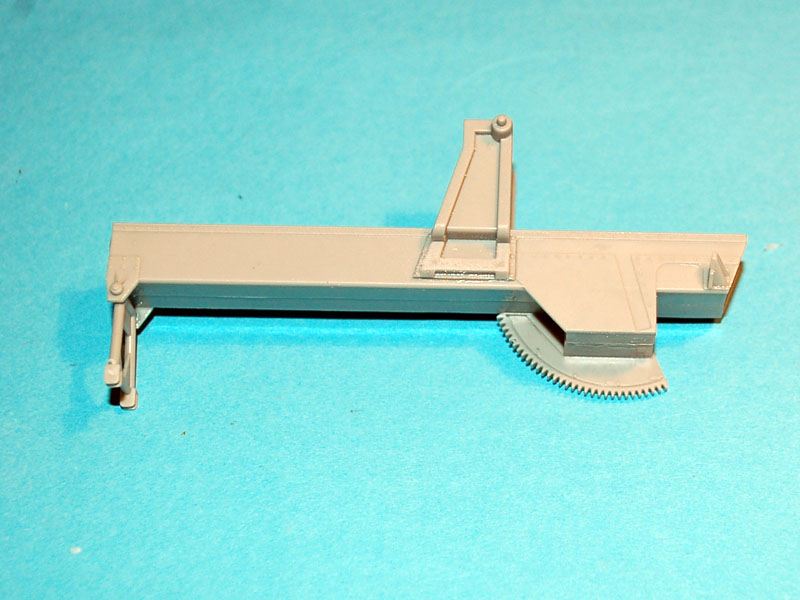
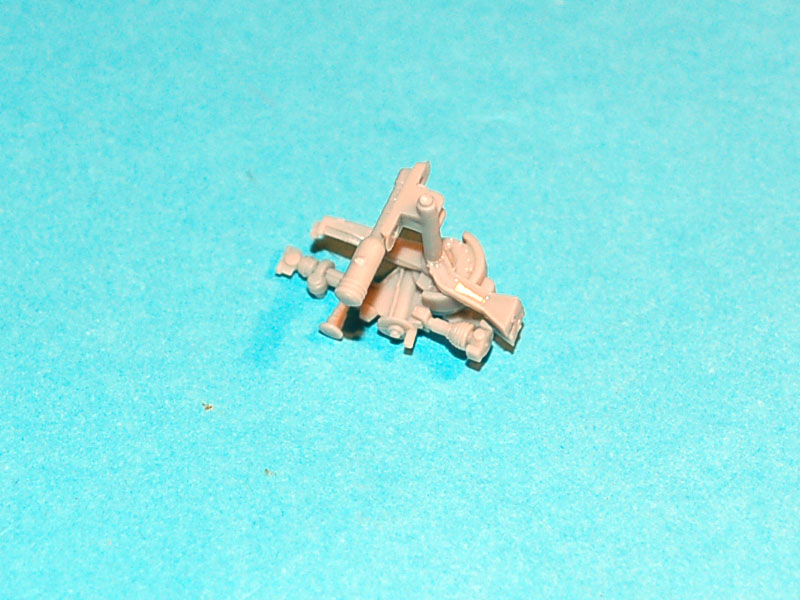
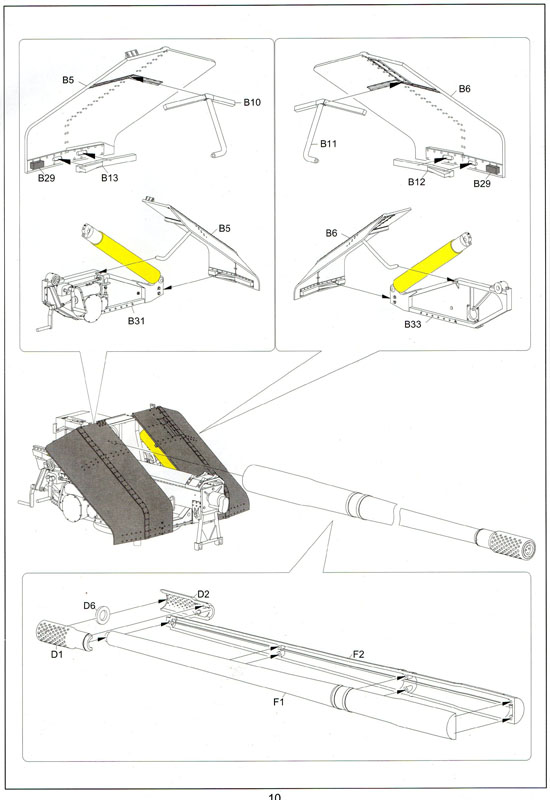
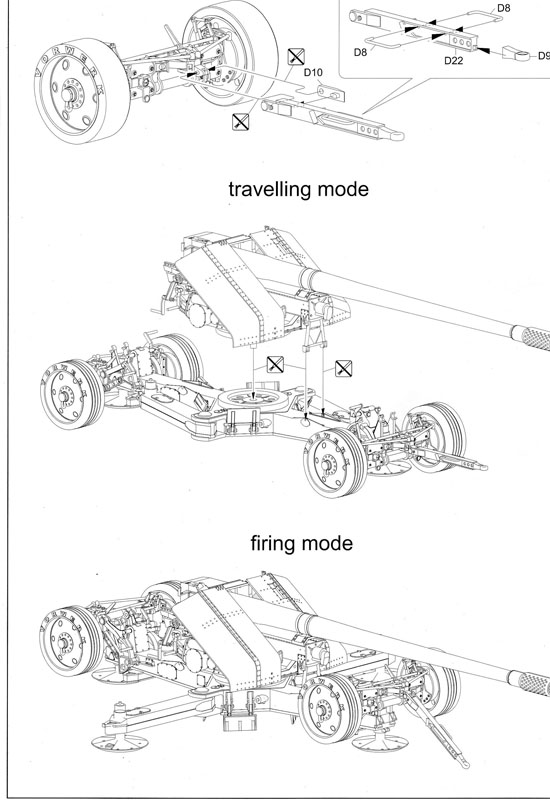
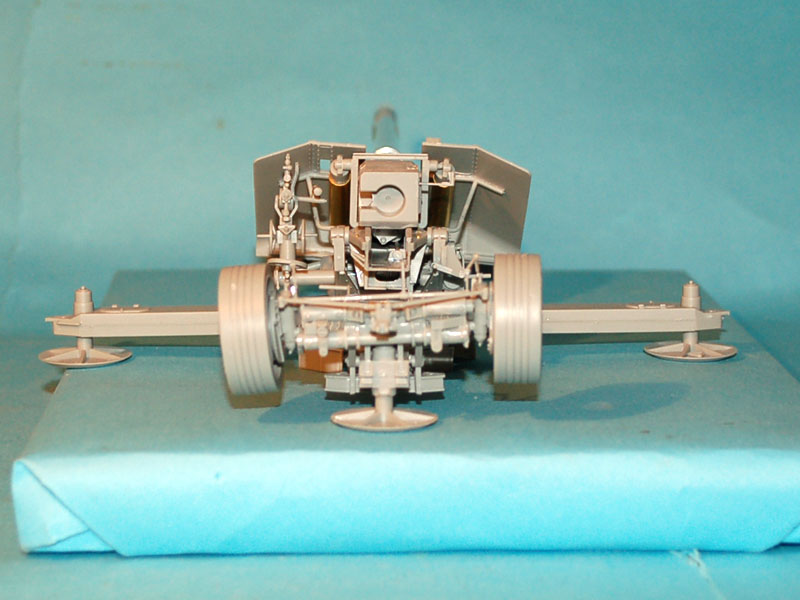
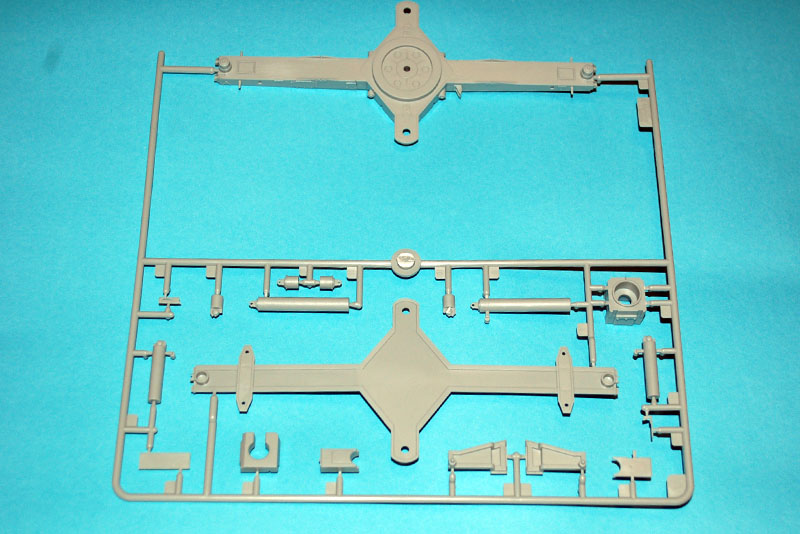
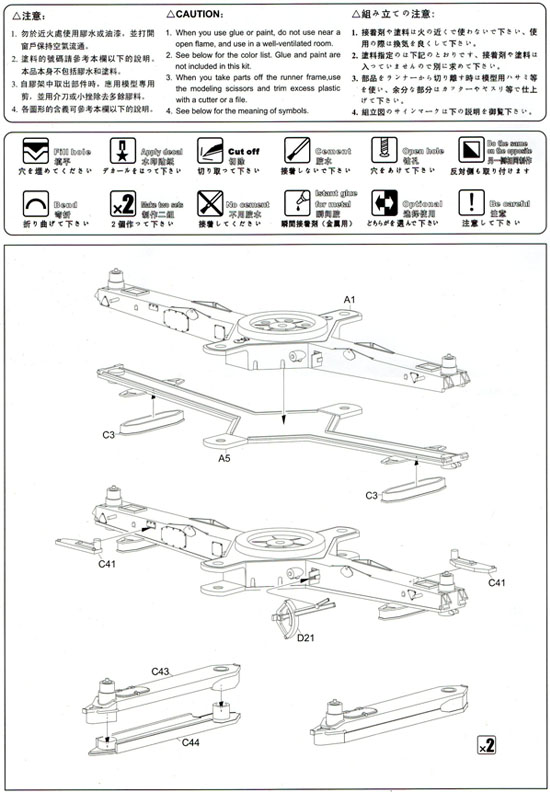
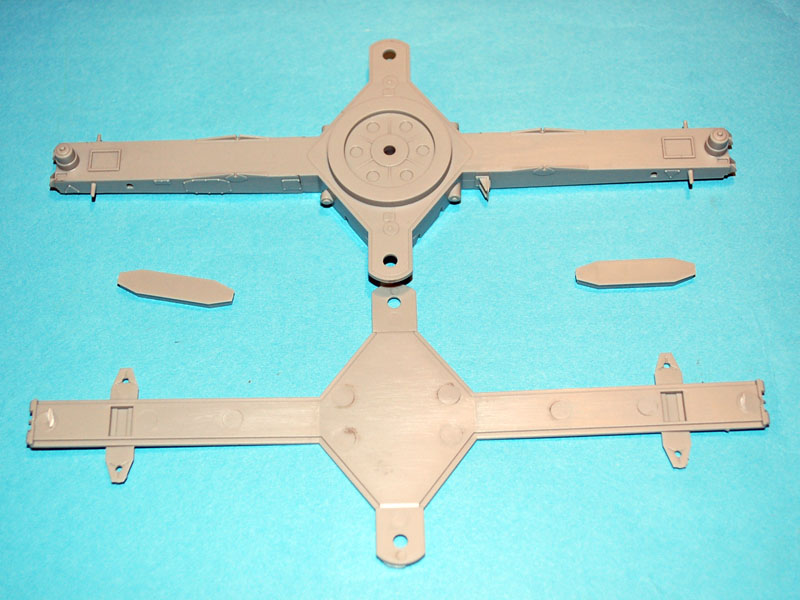
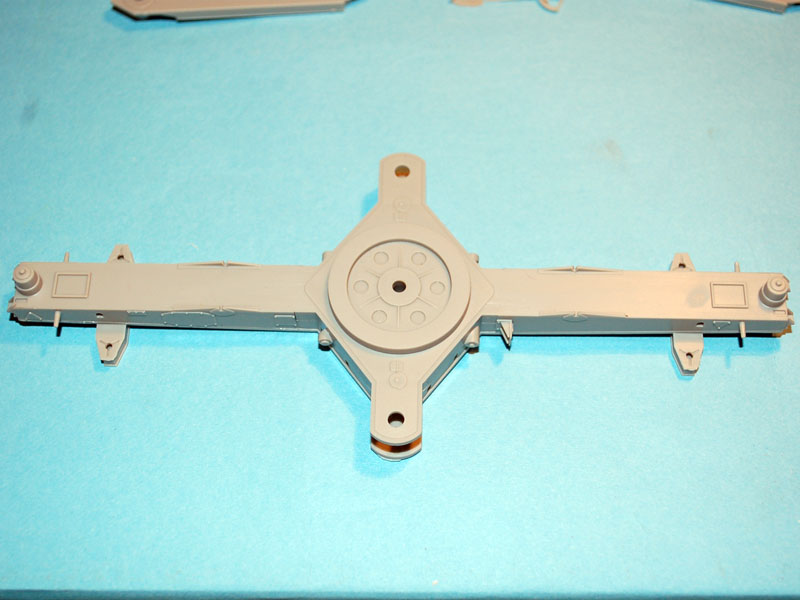
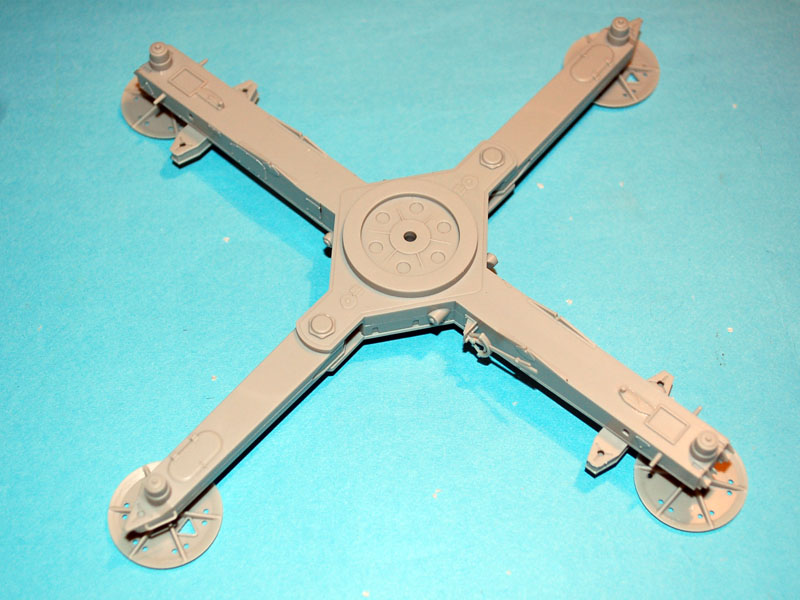
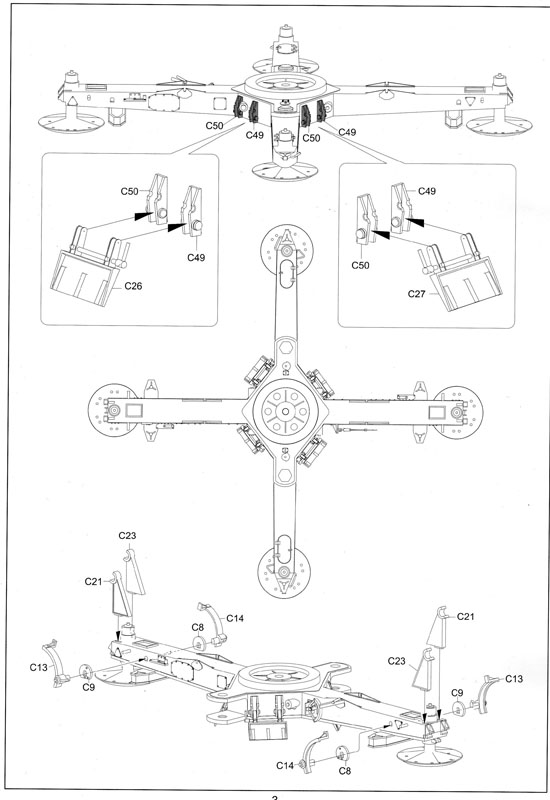
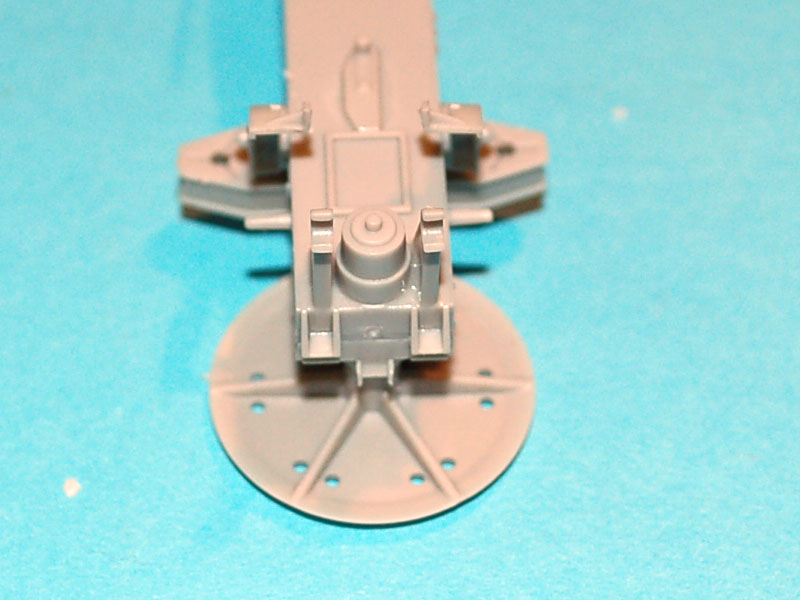
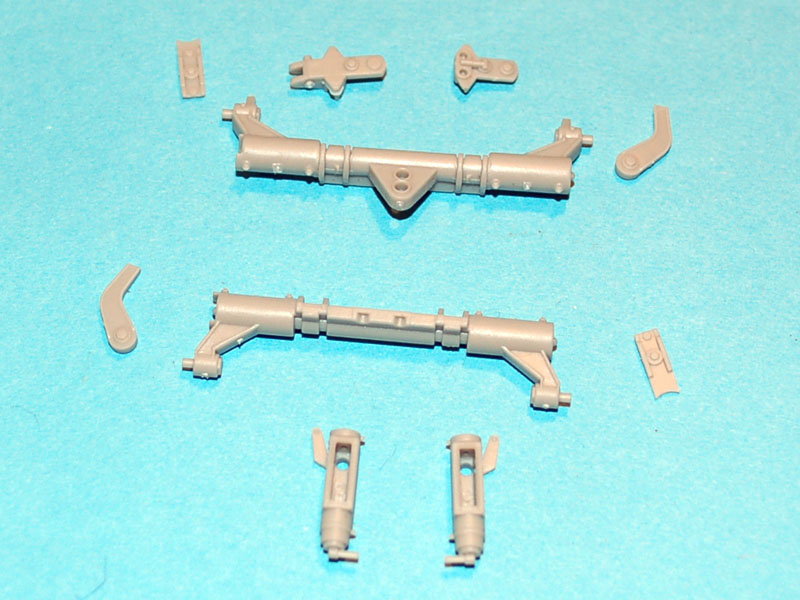
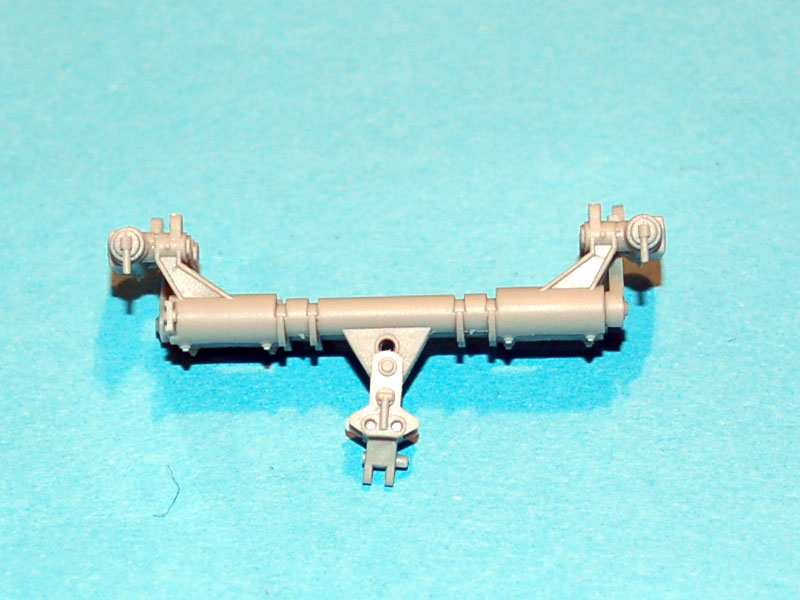
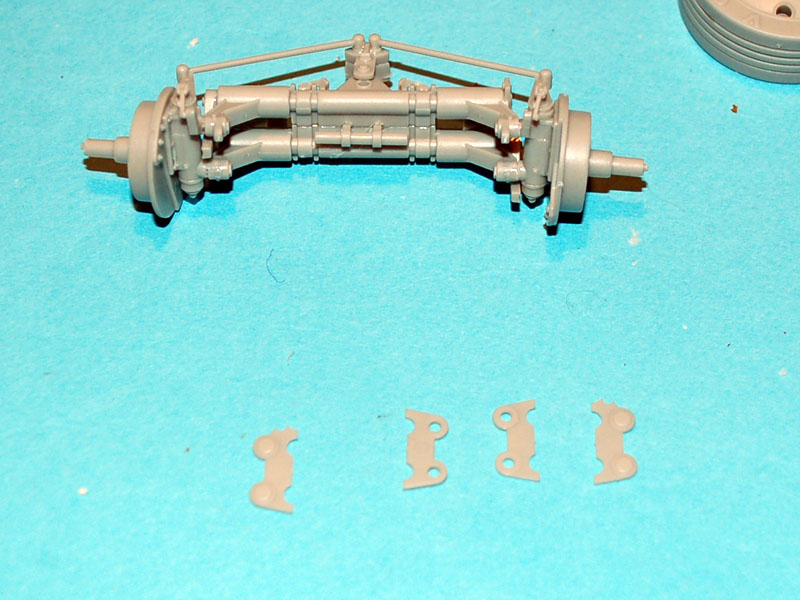
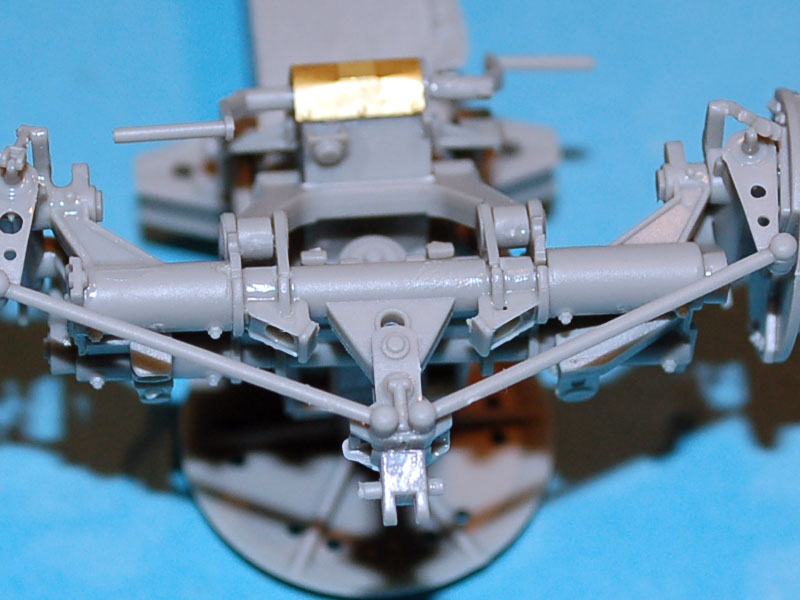
Page one covers assembly of the cruciform and only consists of eleven parts. Construction is straight forward with no issues to contend with. Despite all of the parts going together easily it is my belief that the cruciform body is bowed over its length due to what I discovered on the next page.
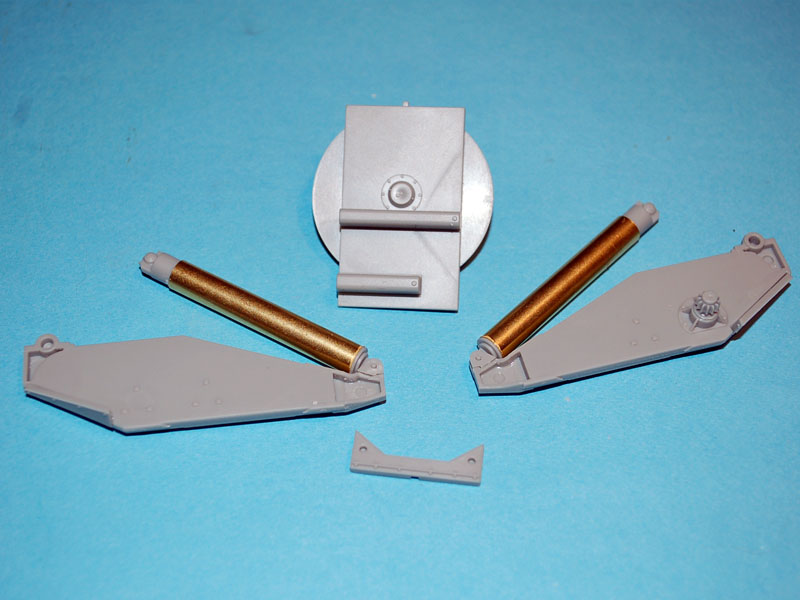
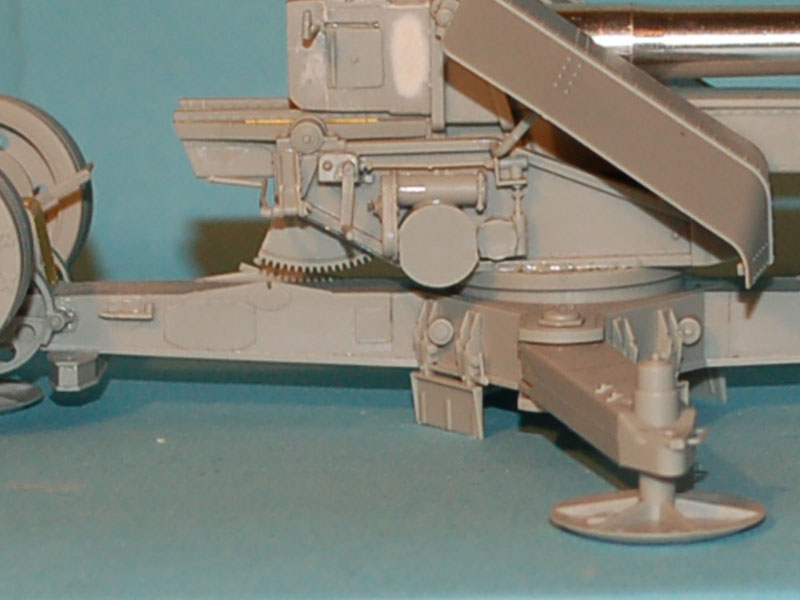
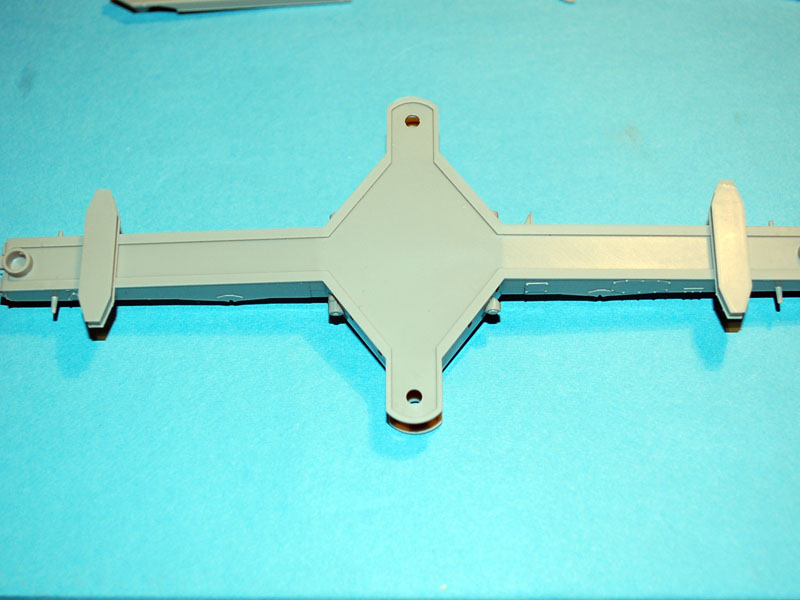
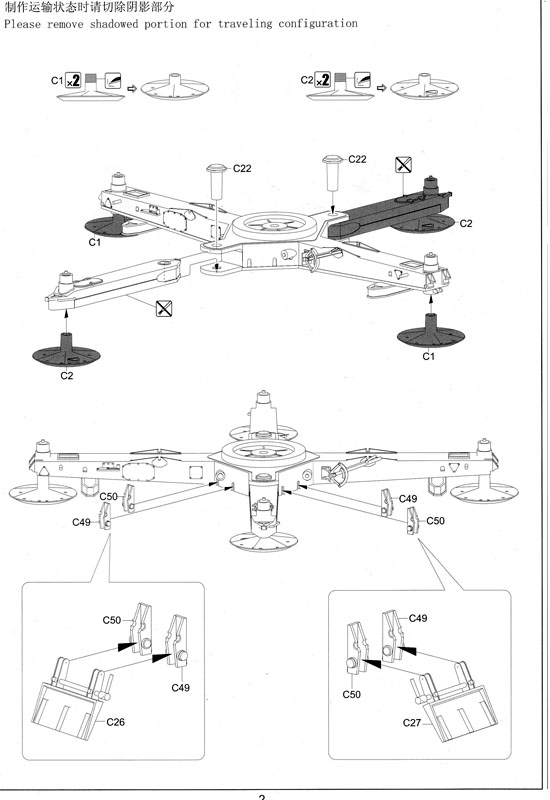
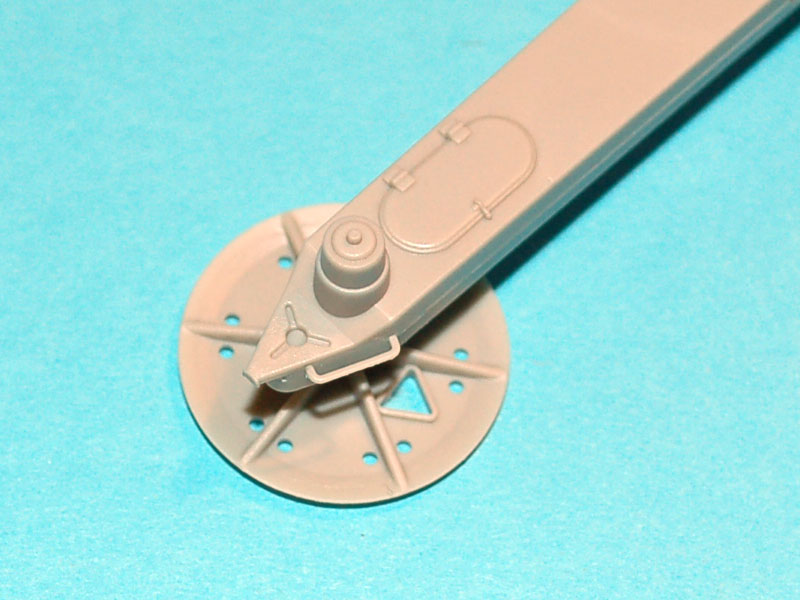
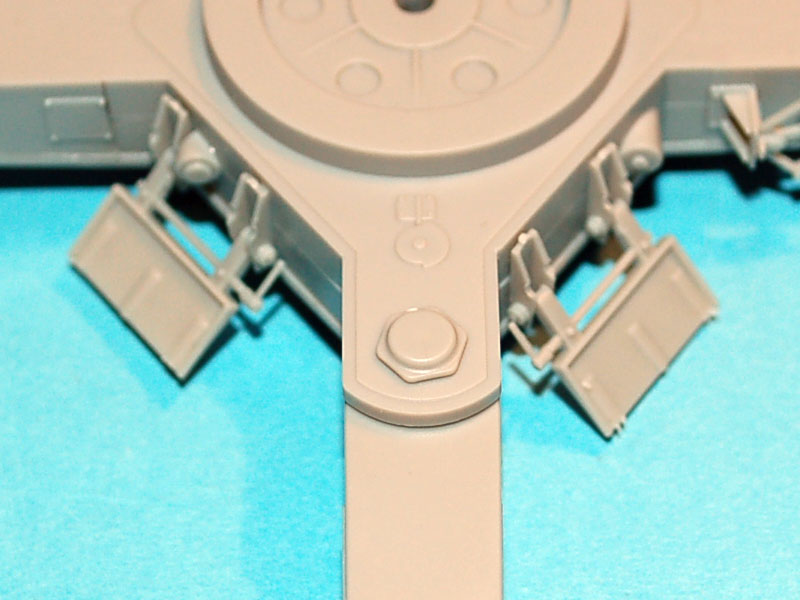
Page two covers the addition of the four ground pads, the out riggers, and what appear to be four blades to the centre of the cruciform. I encountered no problems during assembly. The four blades I believe are designed to dig into the ground to prevent movement during recoil of the gun, with hindsight I recommend that if you are going to display your gun in a diorama that you do not attach the blades until you have the diorama base ready in order to get them correctly positioned. The reason I believe the cruciform may be bowed is that the blades are lower than the outrigger supports.
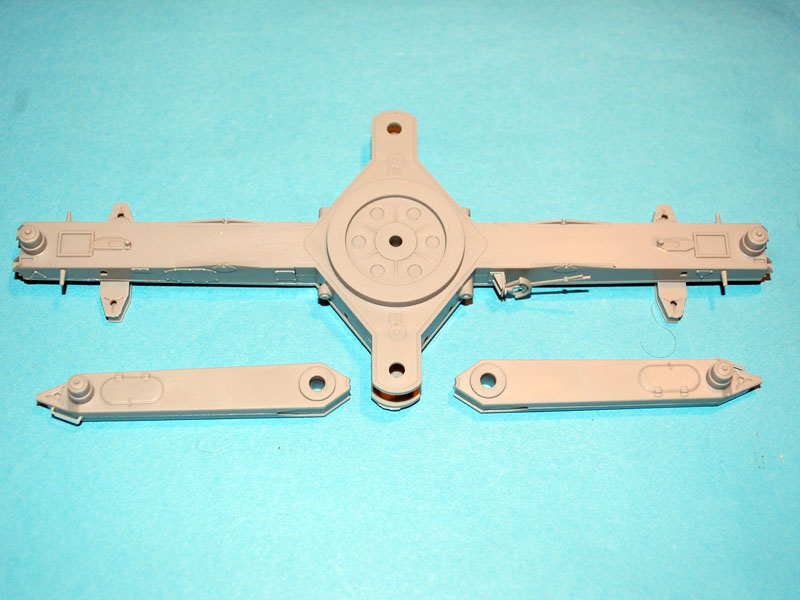
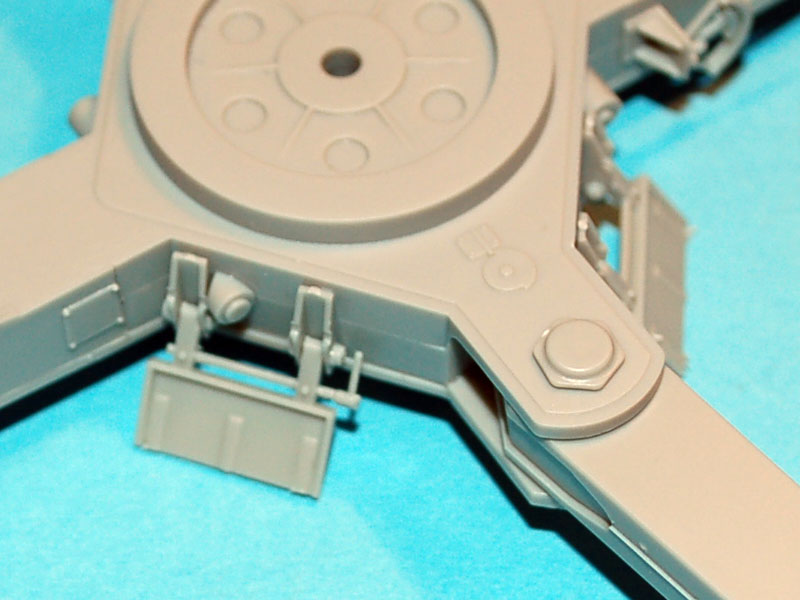
Page three and you are still working on the cruciform base adding the two blades on the other side of the base, and adding part of the jacking mechanism for raising and lowering the axles. It was by this point I was starting to get a little fed up with the minimal and non-existent connection points which makes assembly of this model challenging.
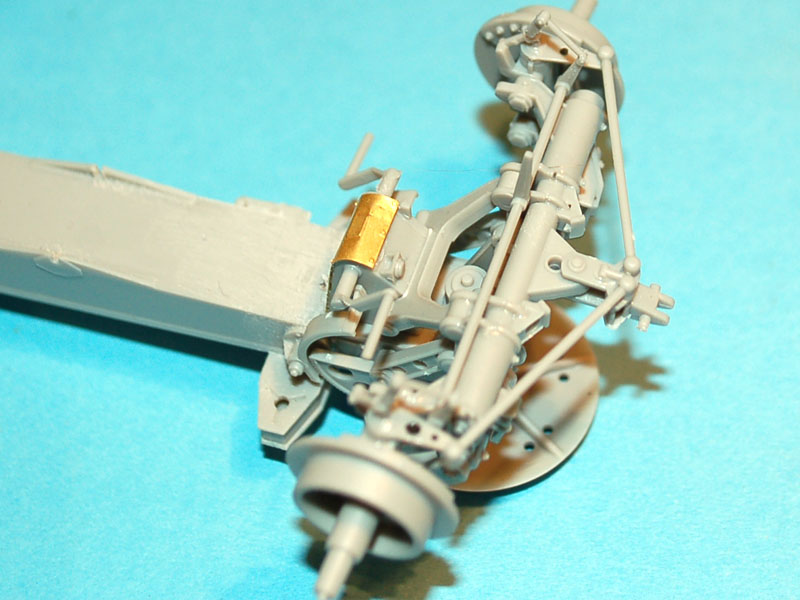
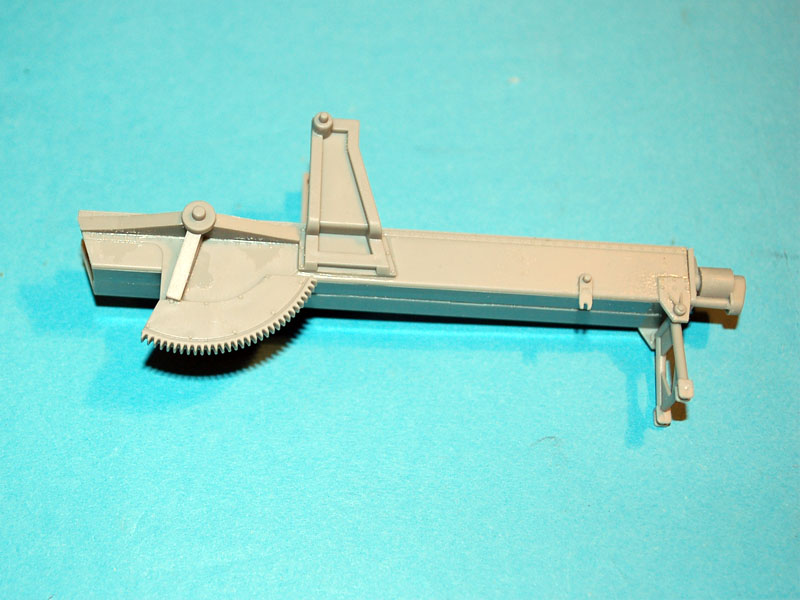
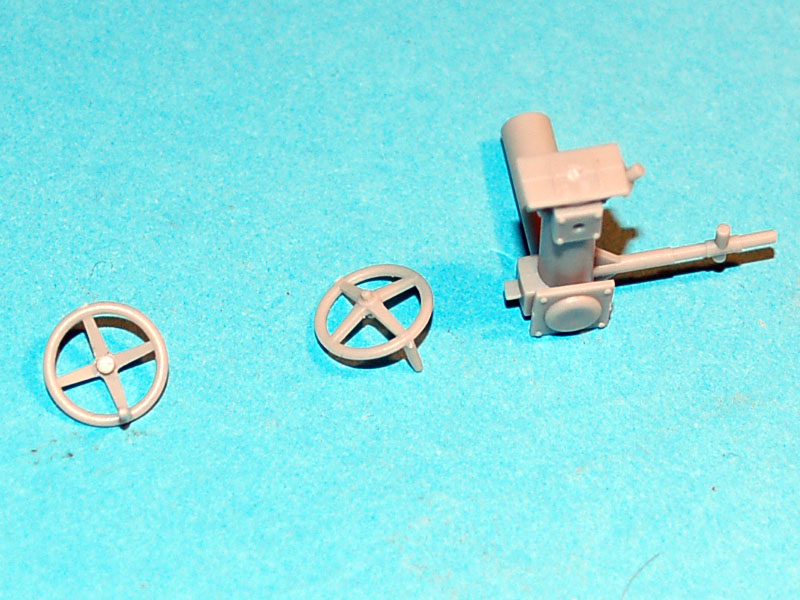
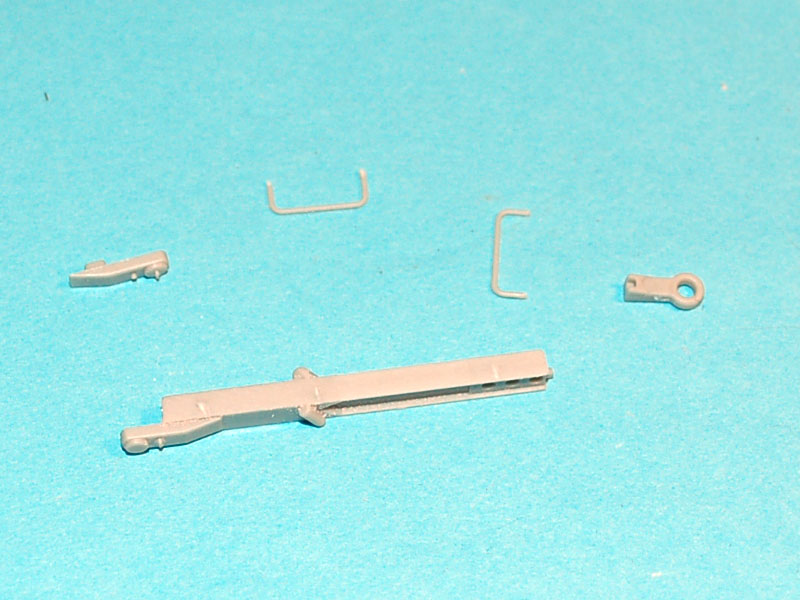
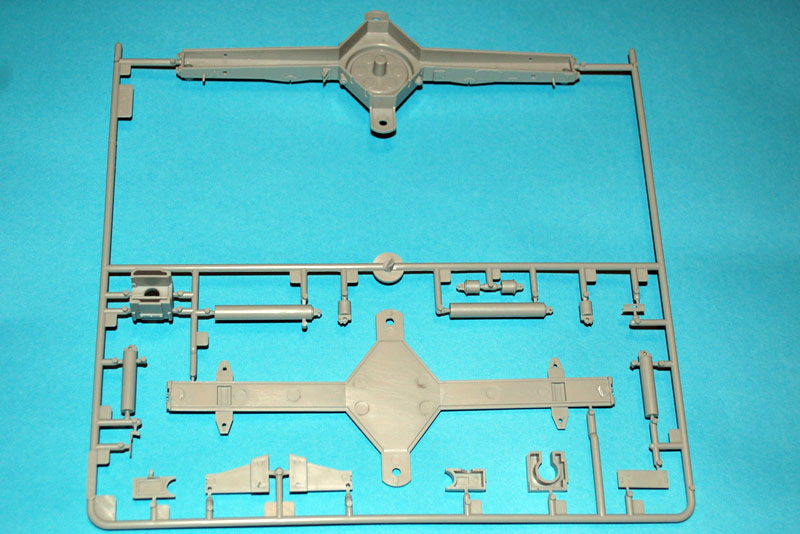
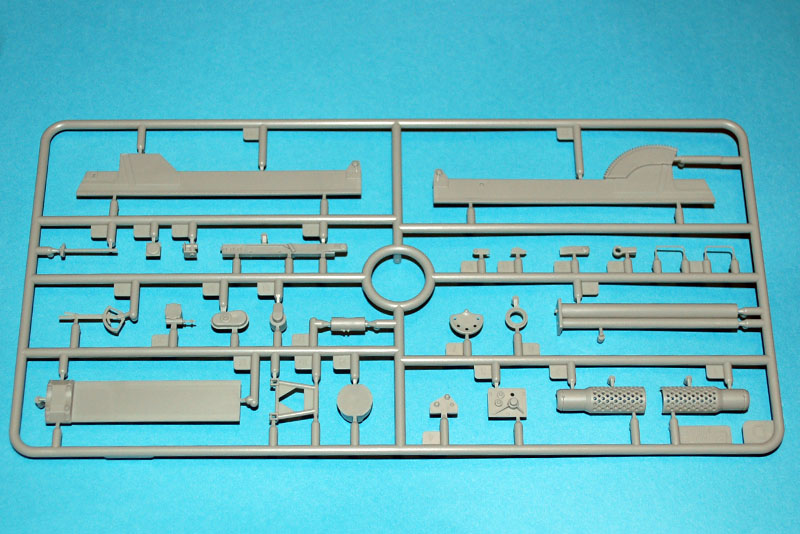
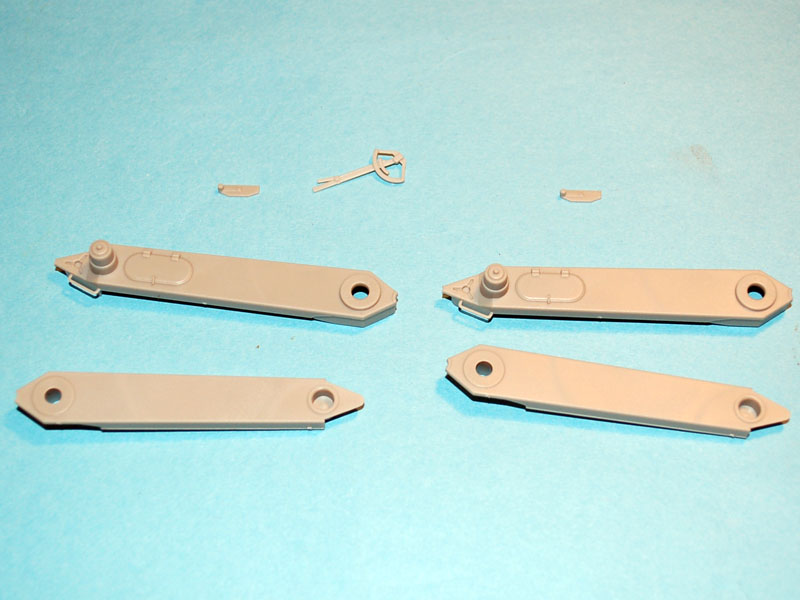
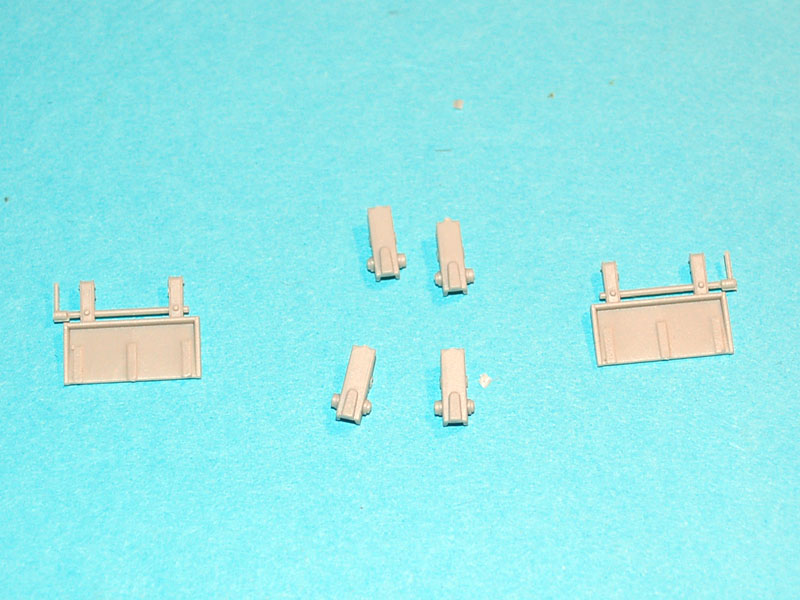
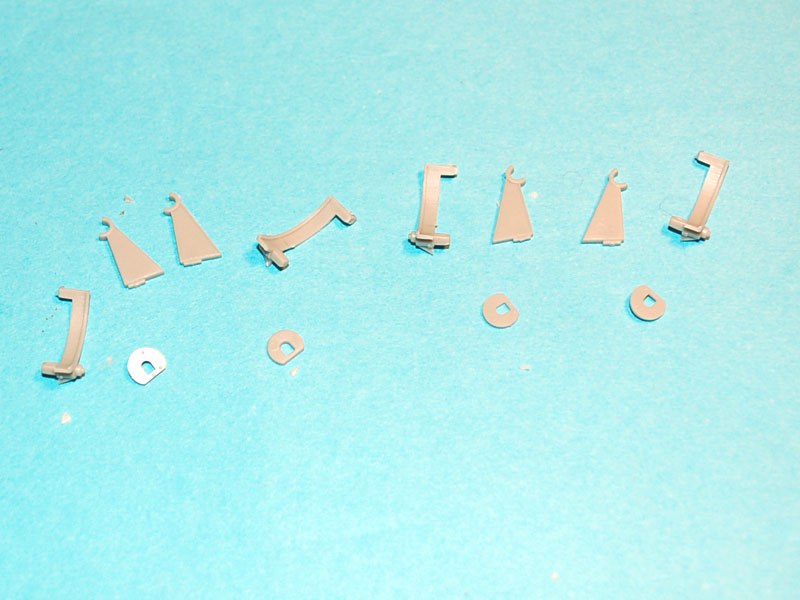
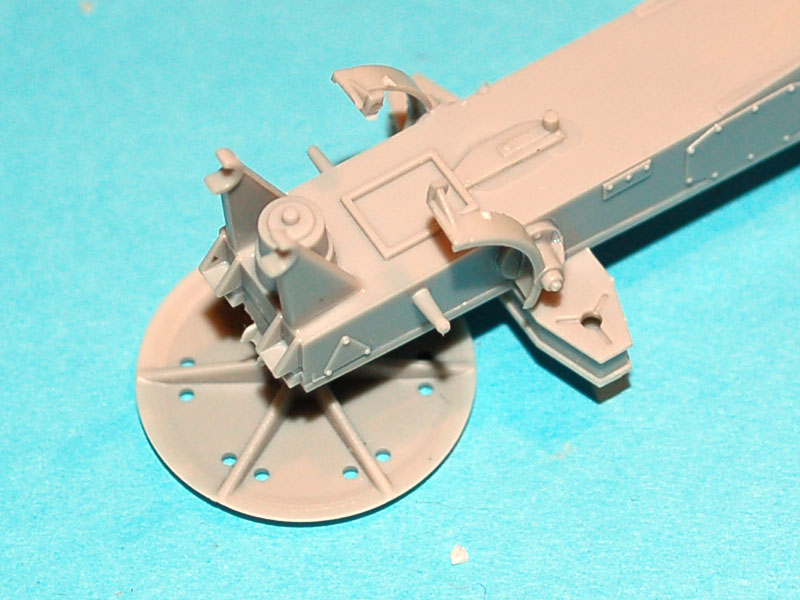
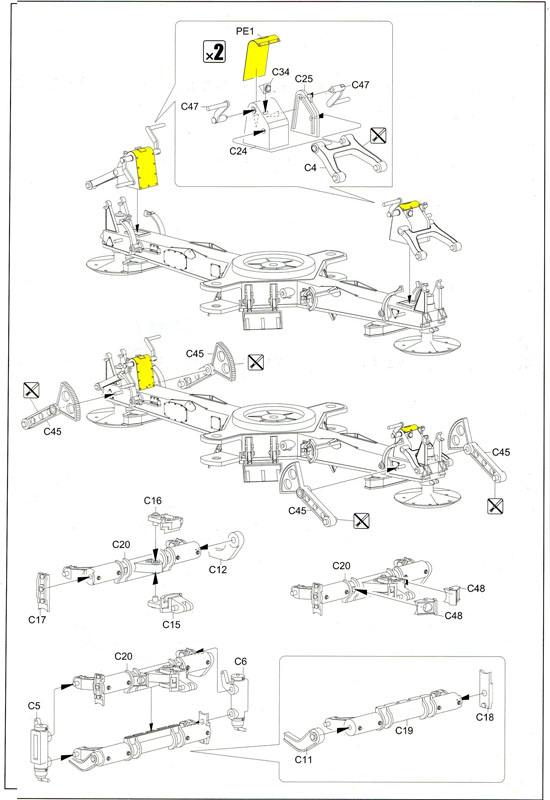
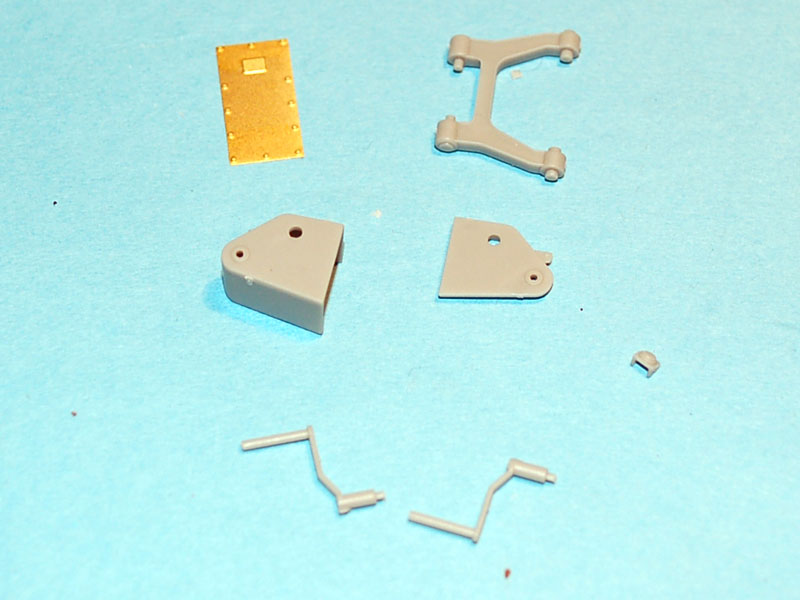
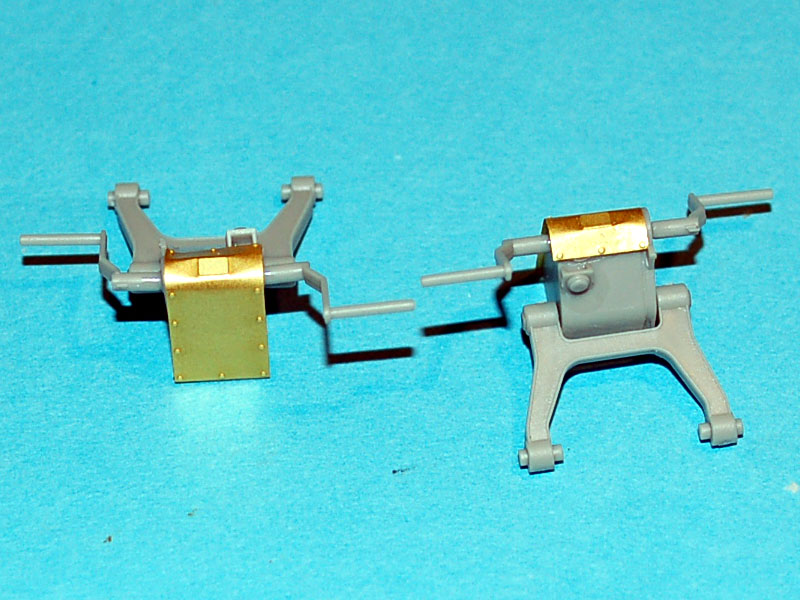
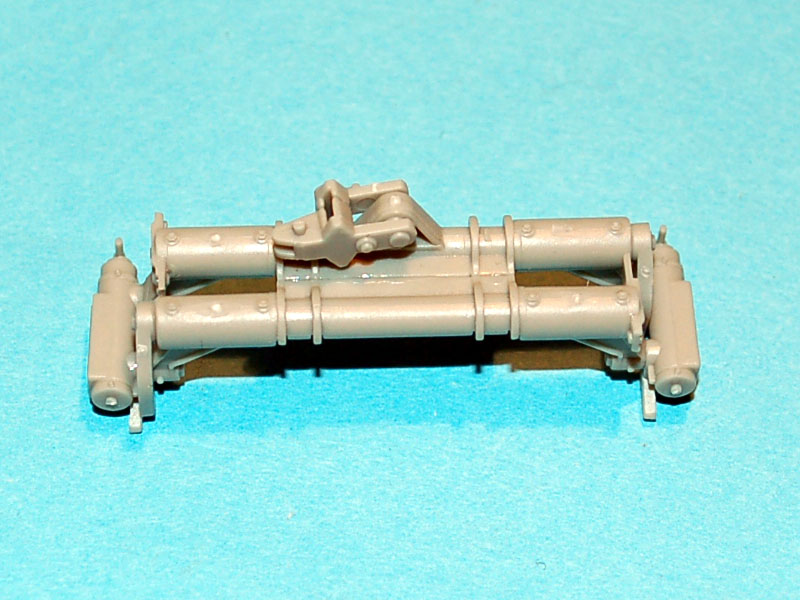
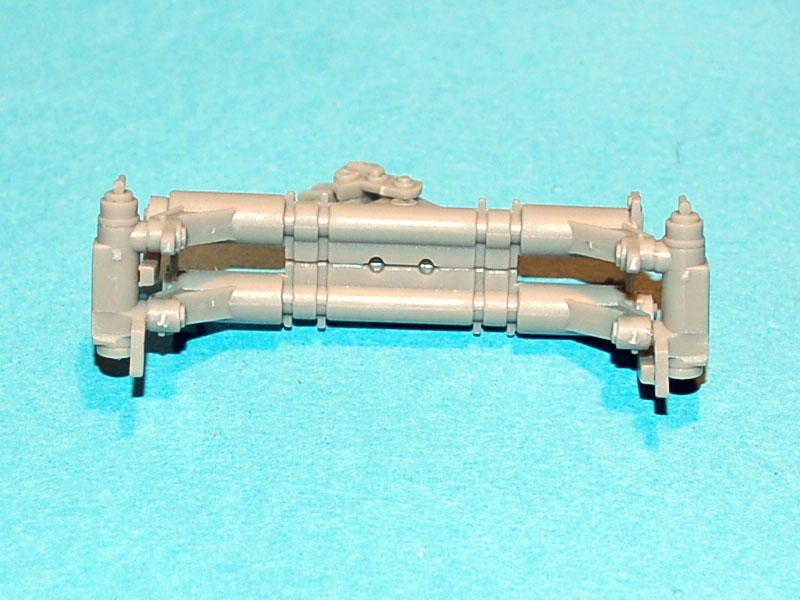
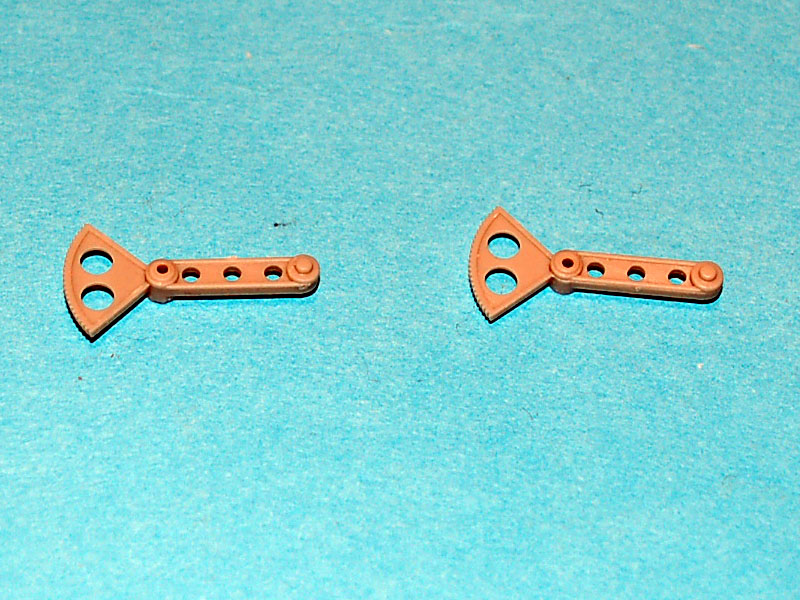
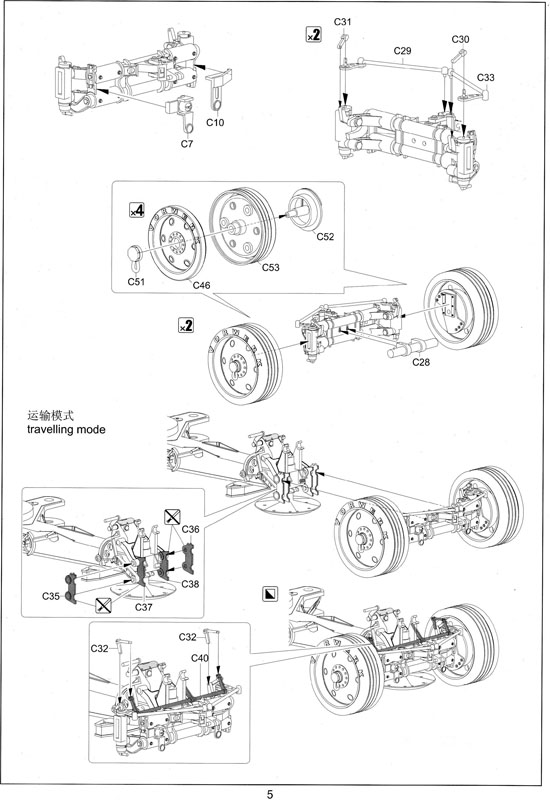
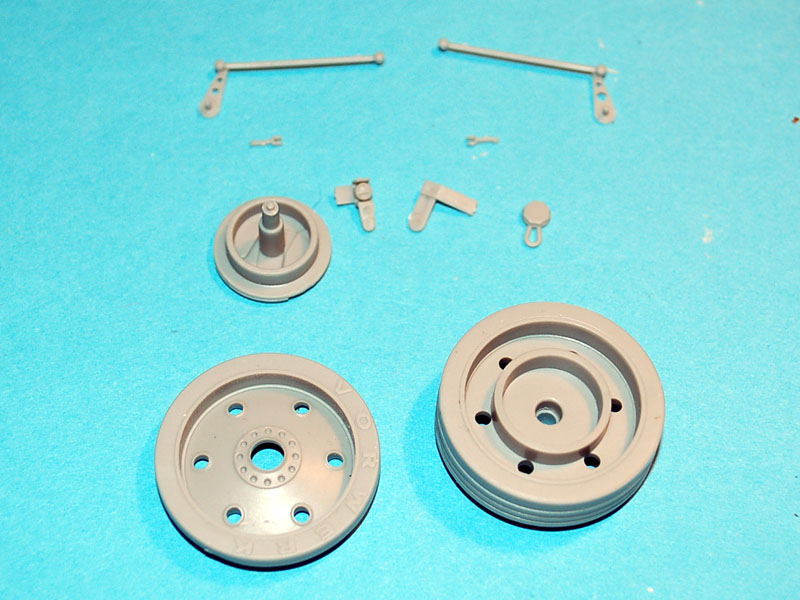
Pages four covers assembly of the axle winches, the axle lifting arms, and begins work on the axles. Construction of the winches is easy enough, and even the addition of the PE panel is straight forward. The axle lifting arms, which are not glued in place, should be left for page five or six depending on display choice, the reason for which I will explain better shortly. Construction of the axles is clearly explained but you must pay careful attention to getting it right as it is easy to attach parts the wrong way around.
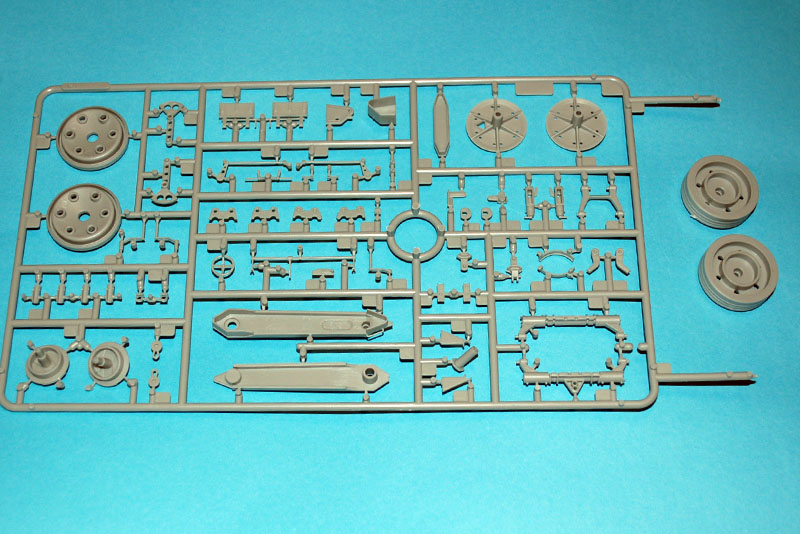
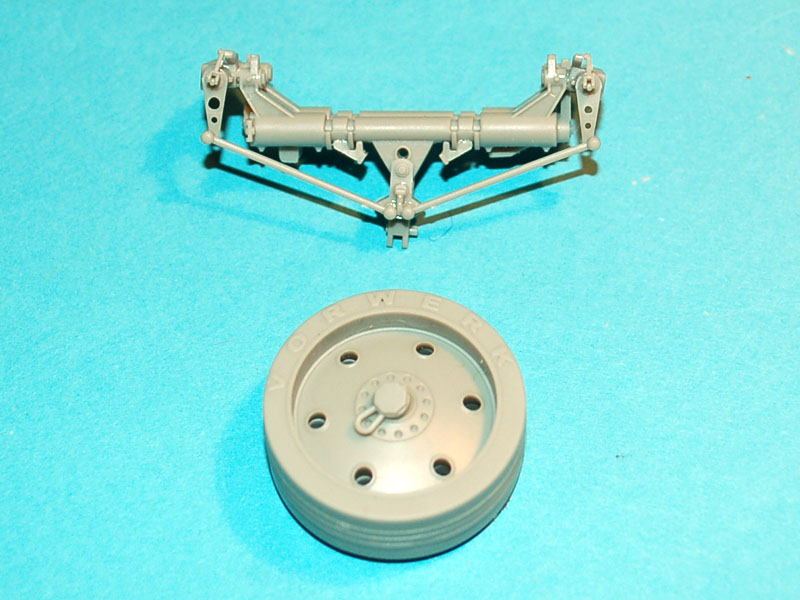
Page five covers the finishing of the two axle assemblies and addition of them to the model if you wish to display your model in travel mode (I have built this one as being ready to fire). It is in this stage that you assemble the four wheels and mount them on their hubs. The wheel assembly is easy enough but DO NOT attach the locking nut (part C51) as the rope loop has to hang down when on the model. The wheel hubs have a locating eye on their back face but there is no peg on the steering arms to fit into them, this is another case of making our lives harder.
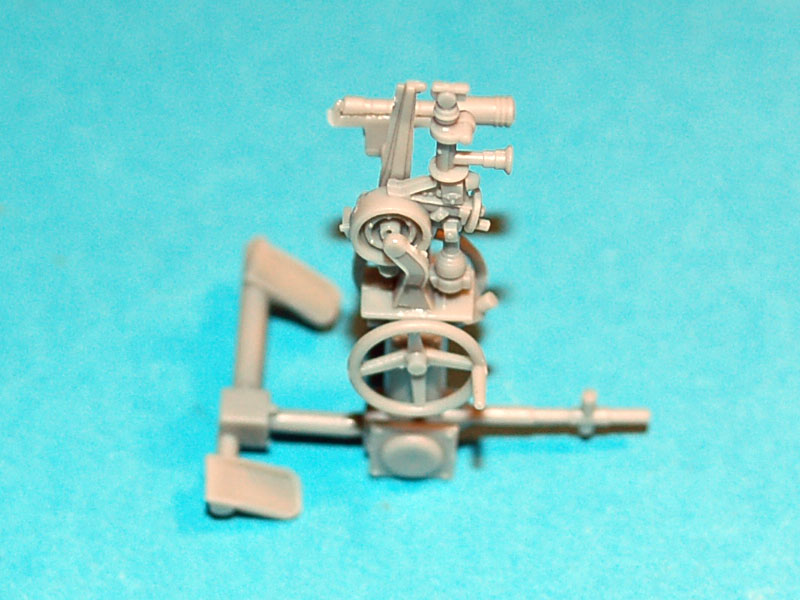
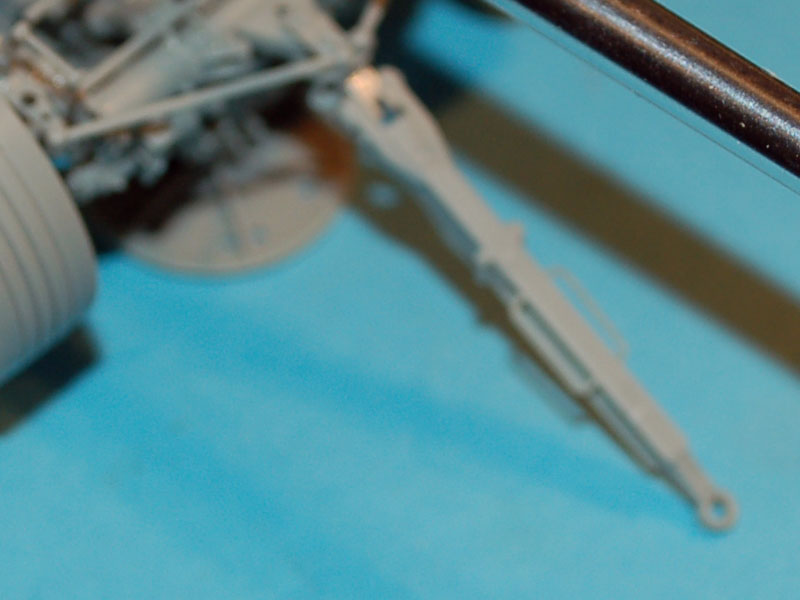
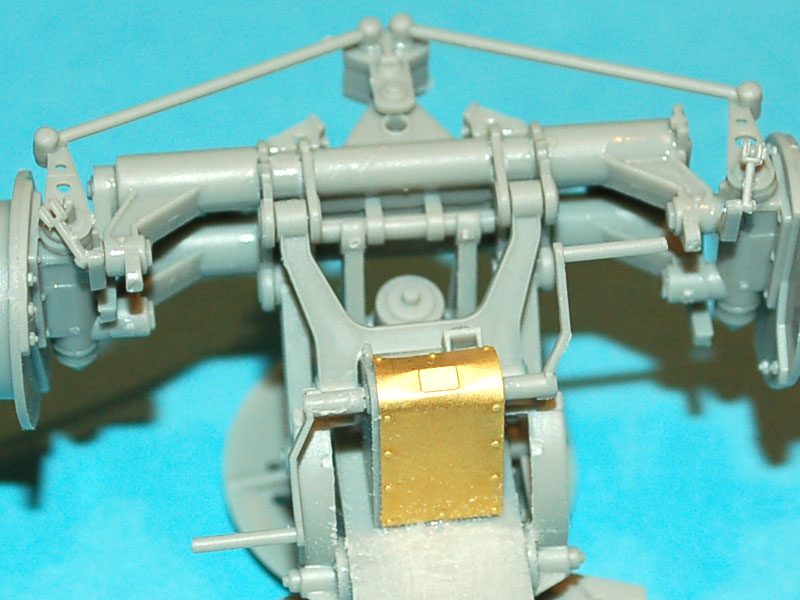
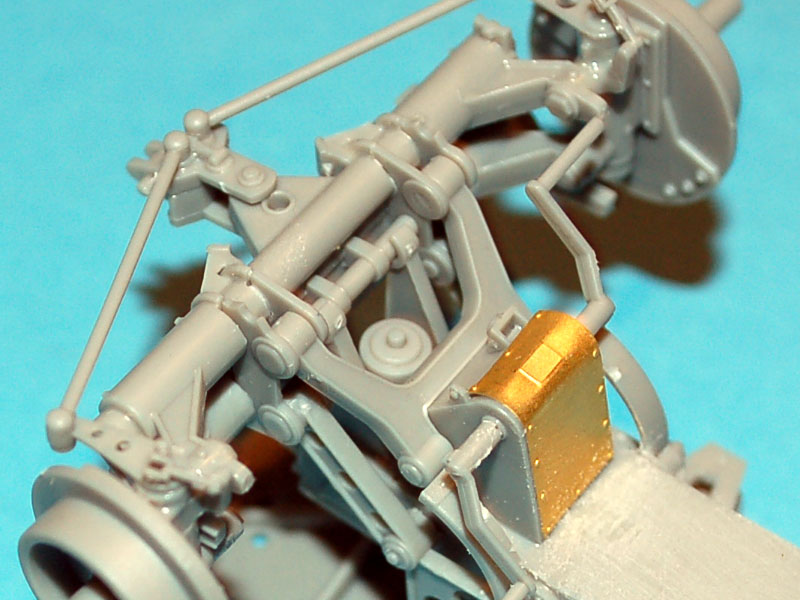
Page six covers adding the two axles to the cruciform in its firing configuration and the start of the main gun. The instructions tell you to attach parts C35, 36, 37, and 38 to the lifting arms but to not glue them in place, this however is an exercise in dexterity rather than construction. Instead attach parts C36 and 37 into the recessed slots in the axles and allow them to cure. When cured lock them onto the lifting arm attached to the winch and cement part C28 onto the two support arms which were added on page three. Now add the two lift arms that were supposed to be added on page four (C45) and again cement them in position (the instructions tell you not to cement them but as they cannot be moved once in the up or down position I see no point in leaving them unsecured). Finally attach parts C35 and 36 to finish the assembly of the axles.
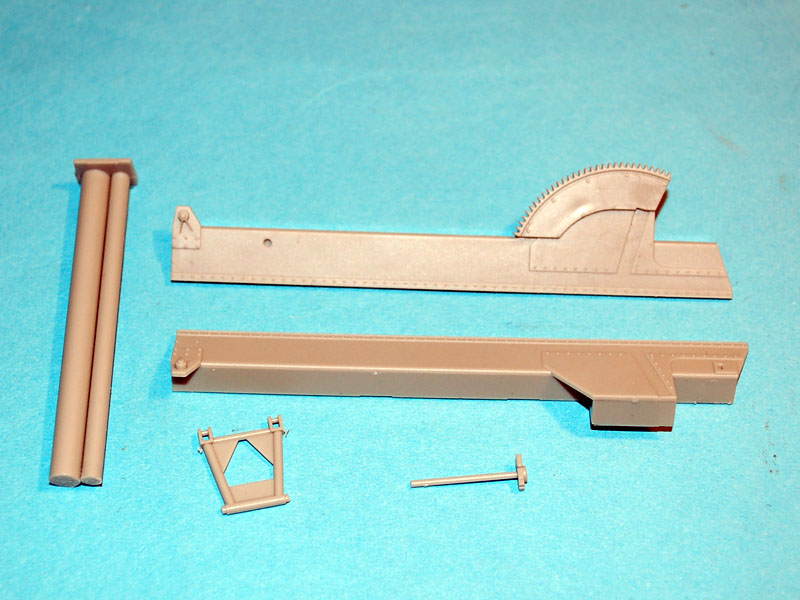
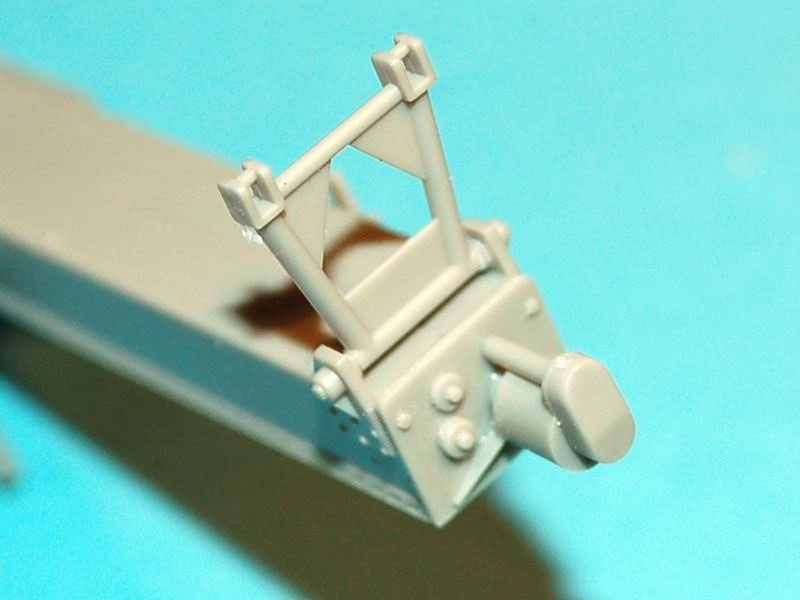
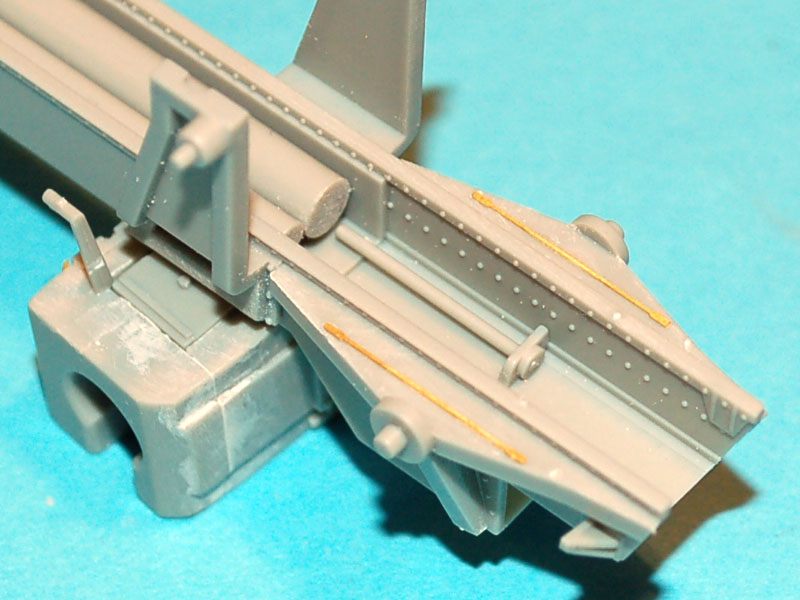
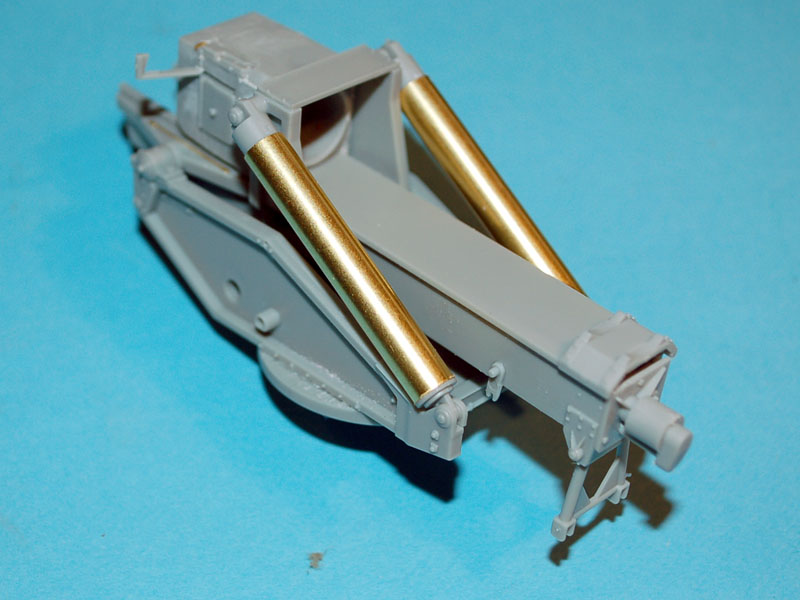
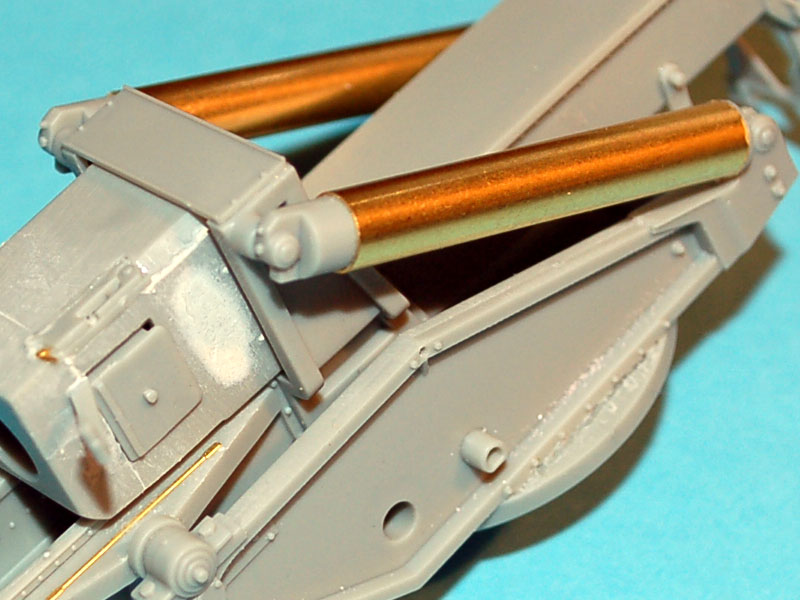
The gun recoil slide assembly is another area that could have done with some connection points as lining it up is a royal pain, plus the two uprights also do not have connection points which requires careful positioning to get right.
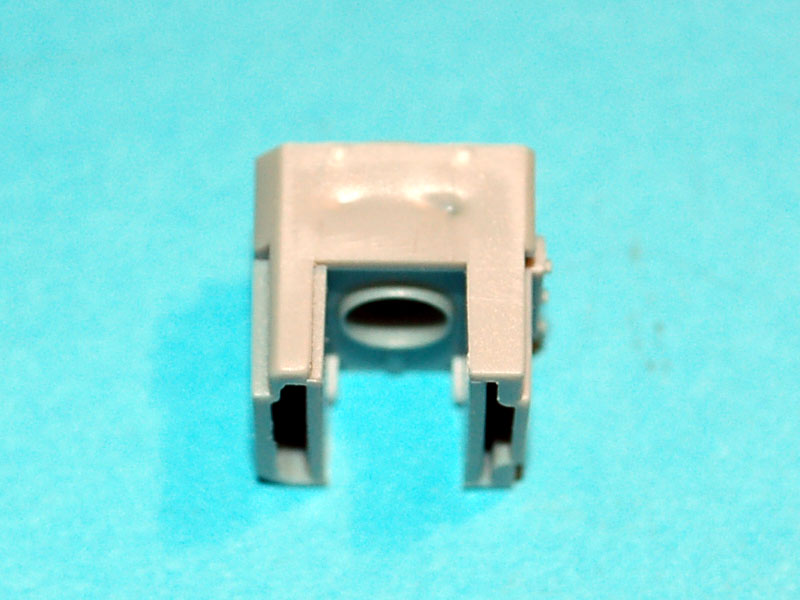
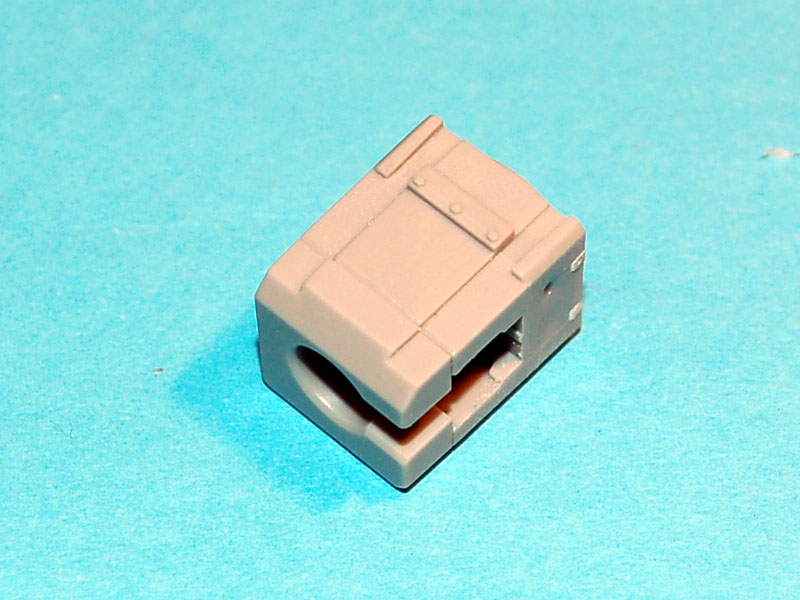
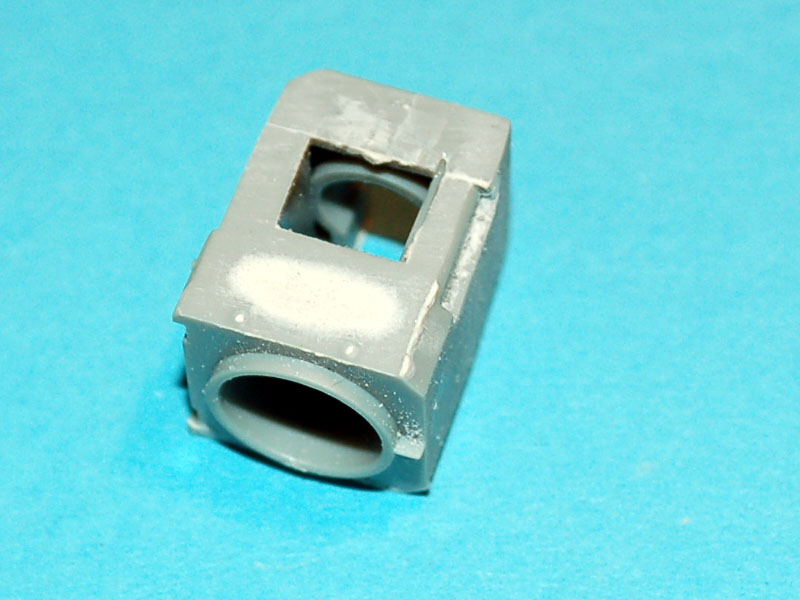
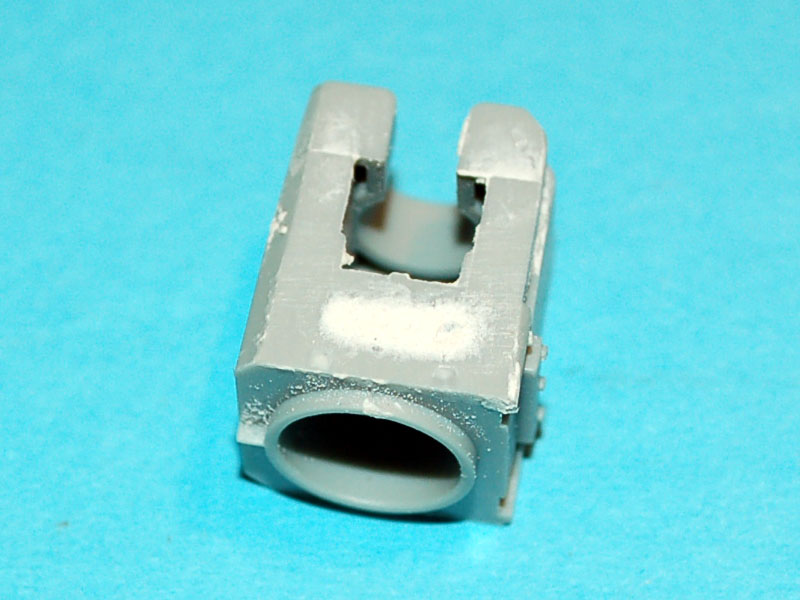
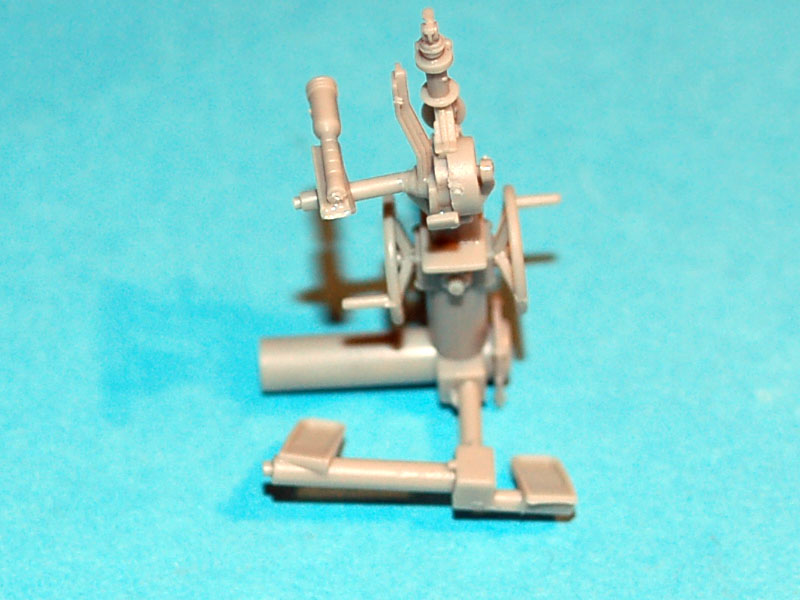
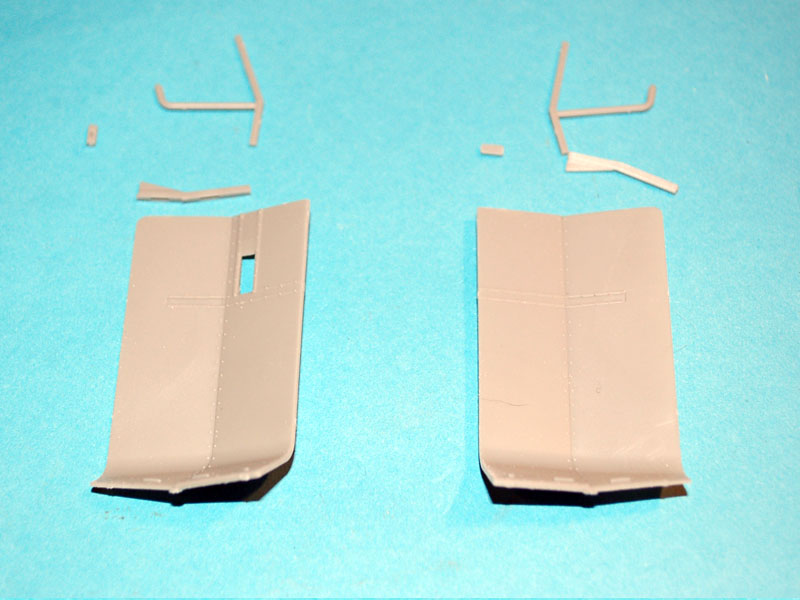
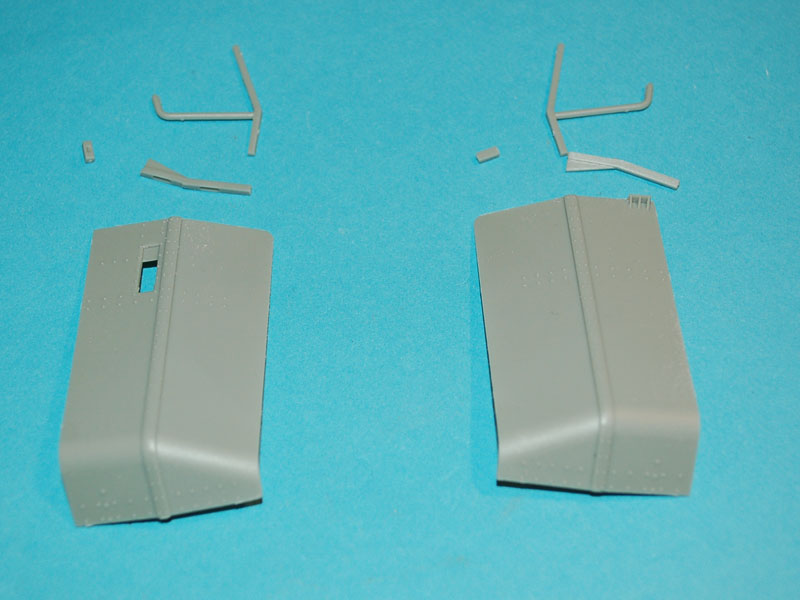
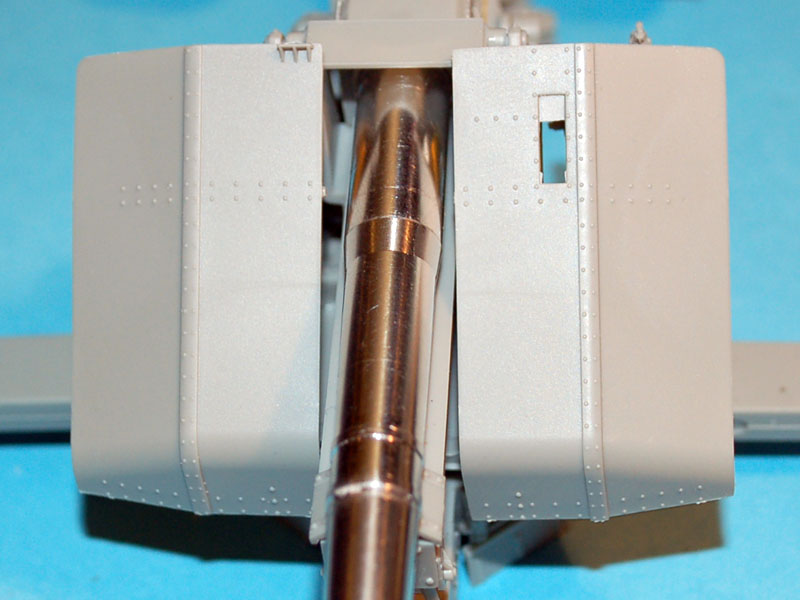
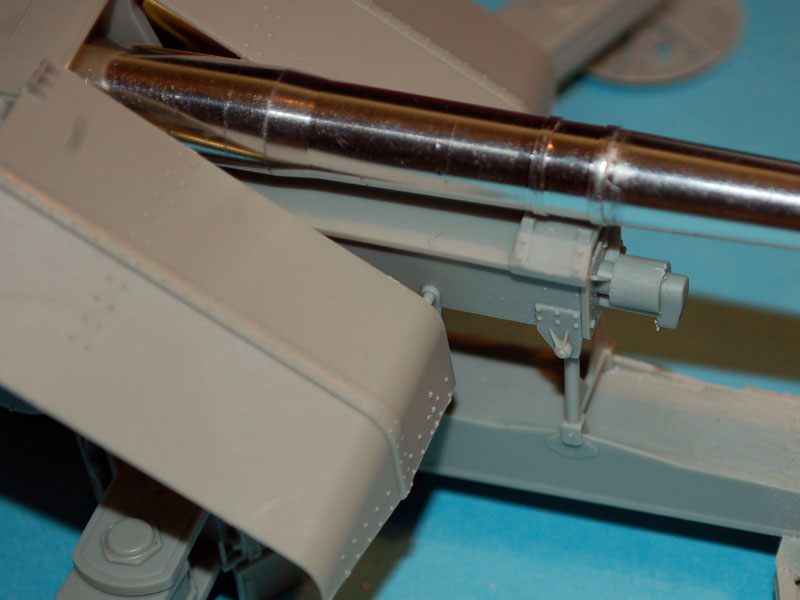
Page seven finishes the recoil assembly, the breach, and the gun mount side panels. Most of the parts here have identifiable location areas with the exception of the two PE pieces which is left to guess work. The two pieces that lock the moveable piston shaft have an especially weak connection area which can easily result in the piece being broken free. Part B16, which is a cog for elevating the gun, is shown on this page and I suggest installing it when on page 8 and not gluing it in place.
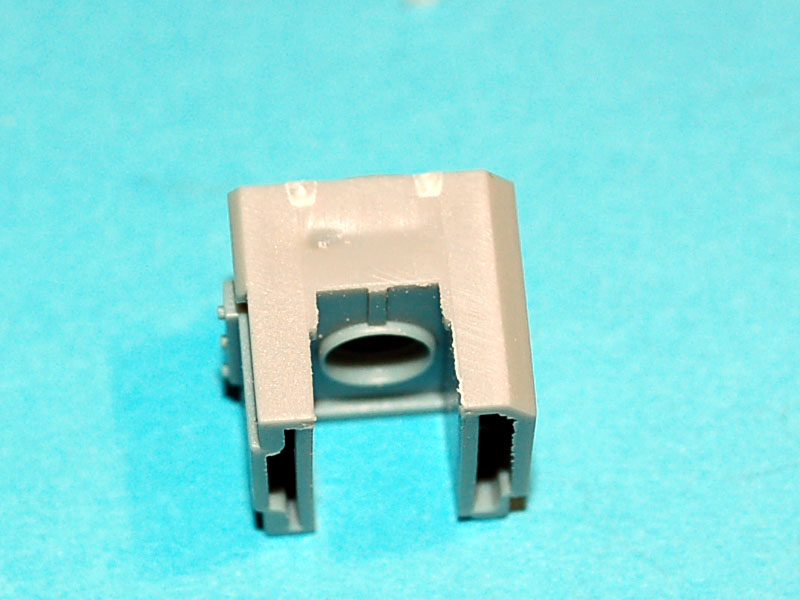
The breach of the gun was especially poor having very deep sink mark in two faces of the breach requiring filling, also the mating face between the front and rear part of the breach will need filling as the real life breach would have been made from a single piece of metal. Part D4 which fits under the breach also does not have a clearly defined attachment point.
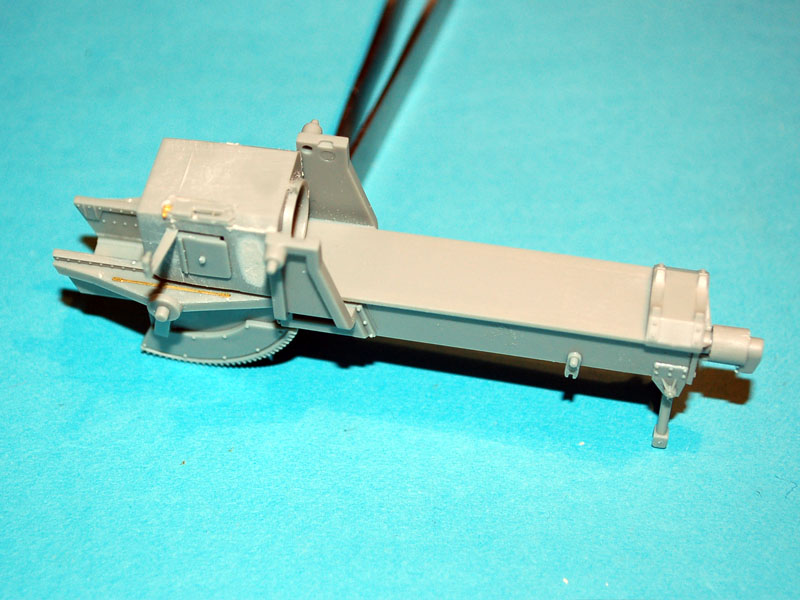
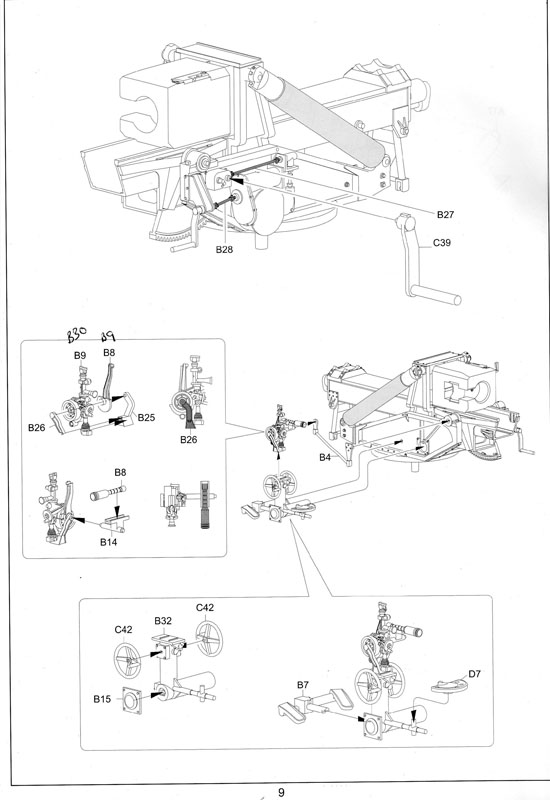
Page eight covers attaching the gun body to its base and is a straight forward assembly step, which then moves on to the various control parts for the right hand side of the gun. It is here that you again run into guessing exactly where parts are supposed to be placed.
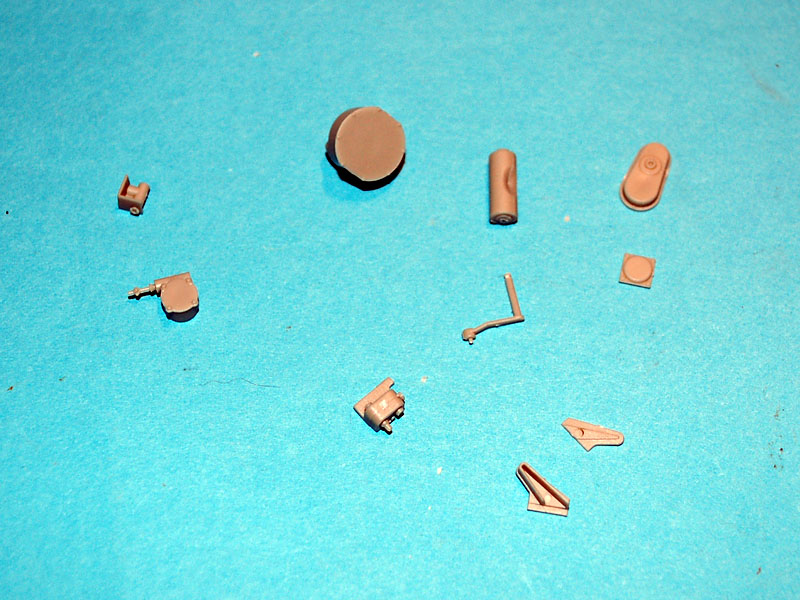
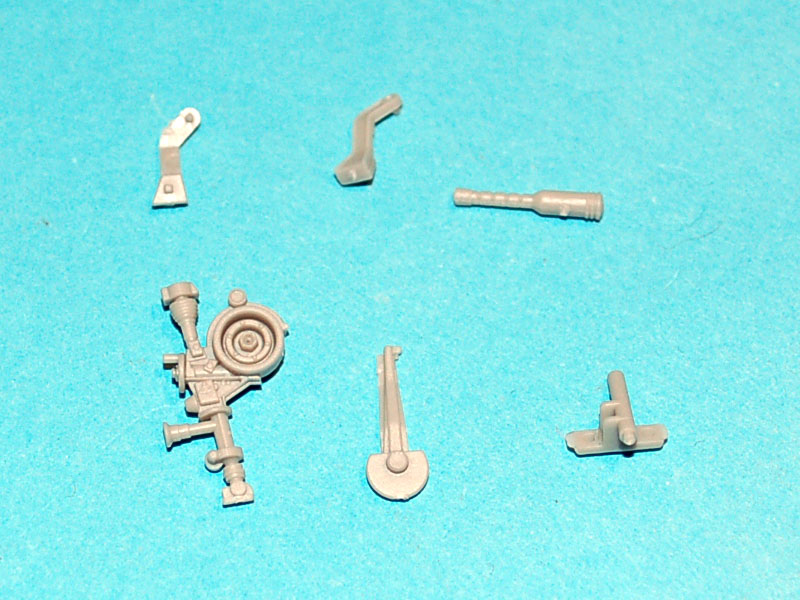
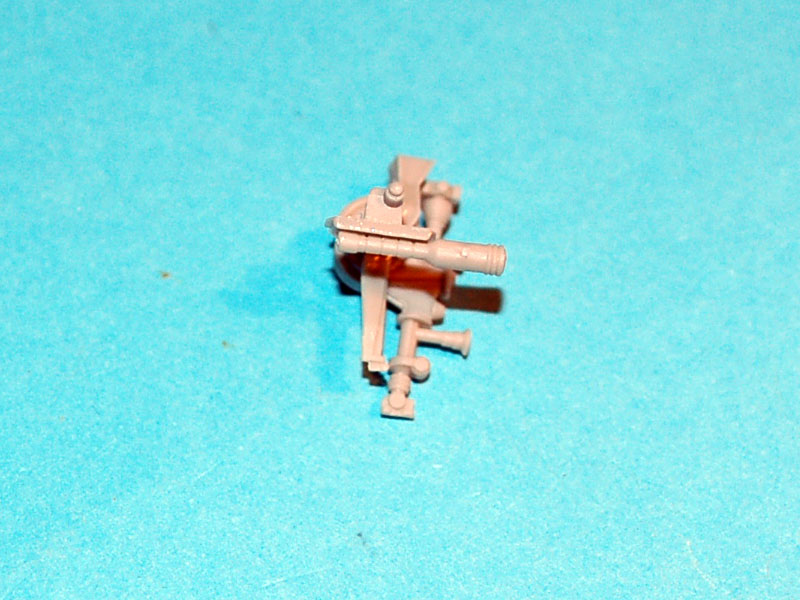
On page nine you assemble the gun aimers position and sighting equipment before attaching the assembly to the left side of the gun. The only problem you will encounter here is that two parts are incorrectly numbered, part B9 is actually B30 and part B8 is B9 (be aware part B8 is used in this assembly but it looks like a telescopic site). You also attach two shafts to the right hand side of the gun which is where you will find out if you got the position of the parts placed on the previous page in the right place.
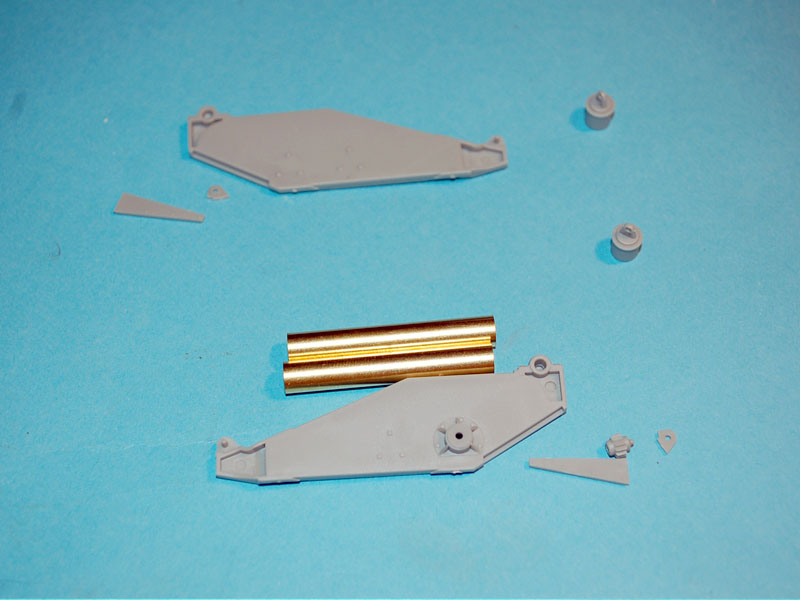
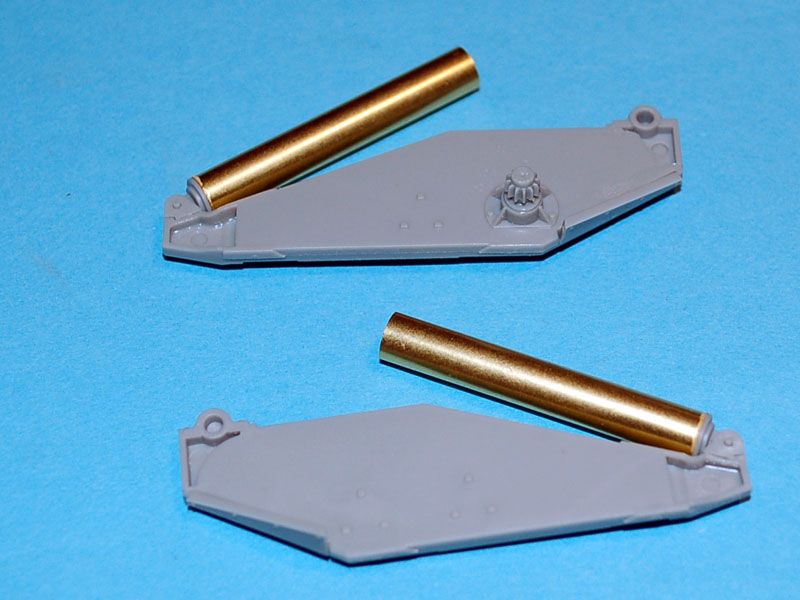
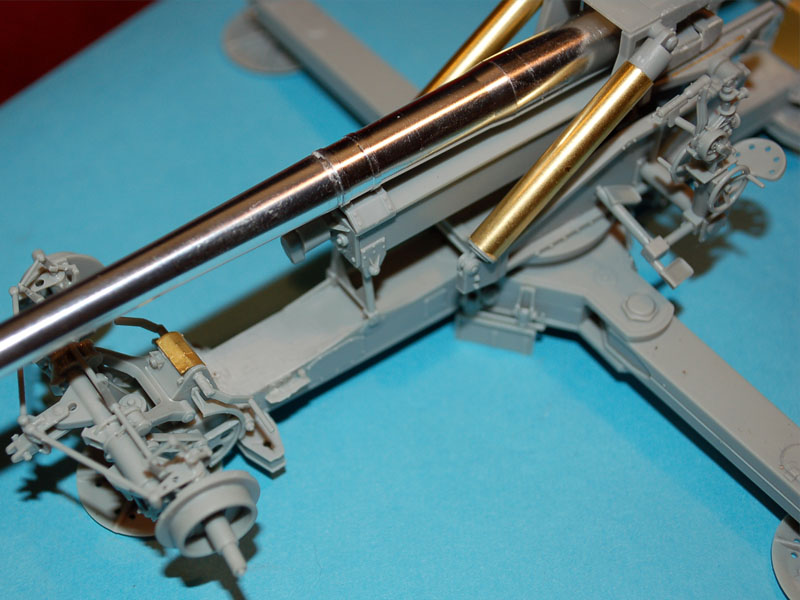
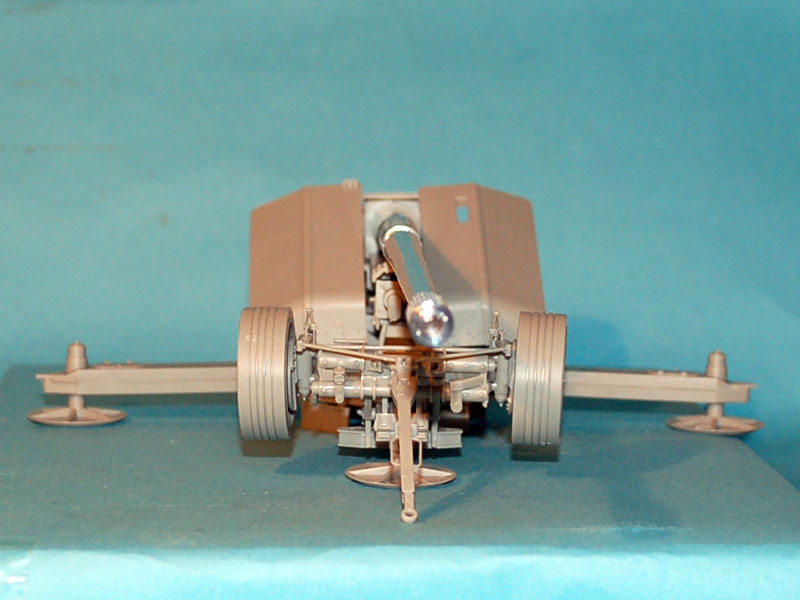
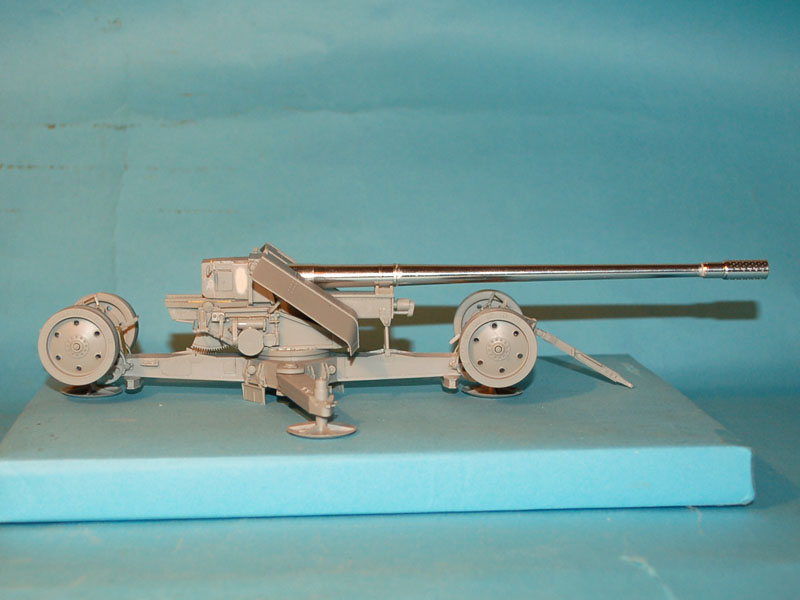
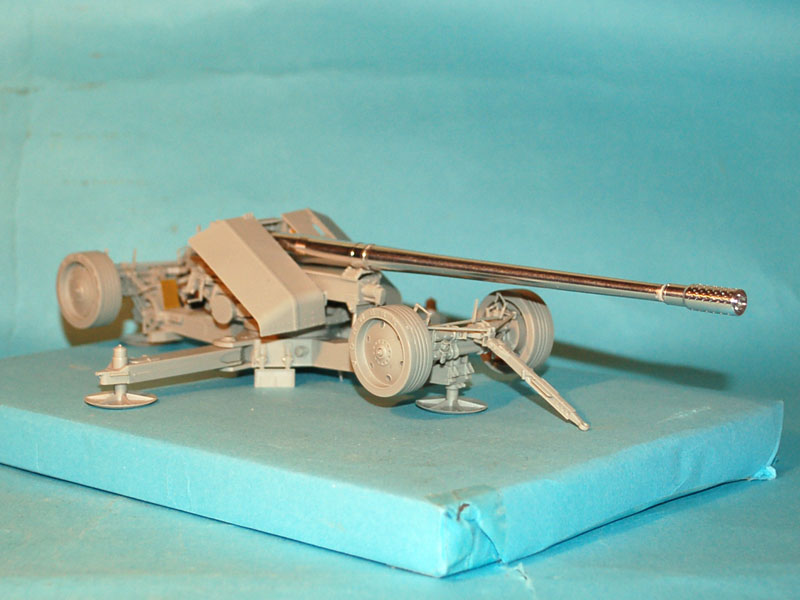
Page ten covers assembly of the gun shield and gun barrel. All of the pieces go together well and (surprise!) just as you get near the end of assembly you finally get good connection points which are along the barrel. As my version has the metal barrel I have assembled both the plastic and metal one so that you can judge their merits, assembly of the metal barrel is not shown but as it only consists of four pieces it is easy to work out the correct steps. The plastic barrel fit the breach perfectly, but the metal barrel had to be forced home with a hammer and even then has not seated fully.
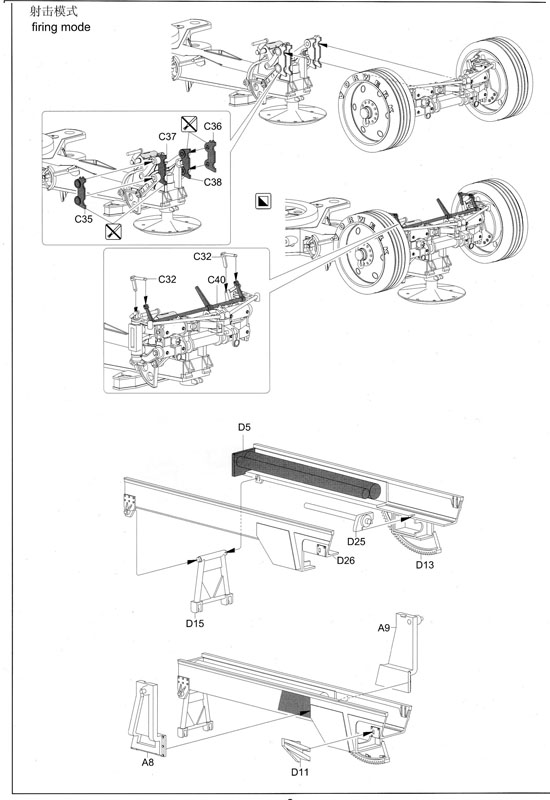
Page eleven covers assembly of the towing arm which is easy enough, and mating the gun assembly to the gun carriage in either firing or travelling mode. The model is now ready to be painted.
Conclusion
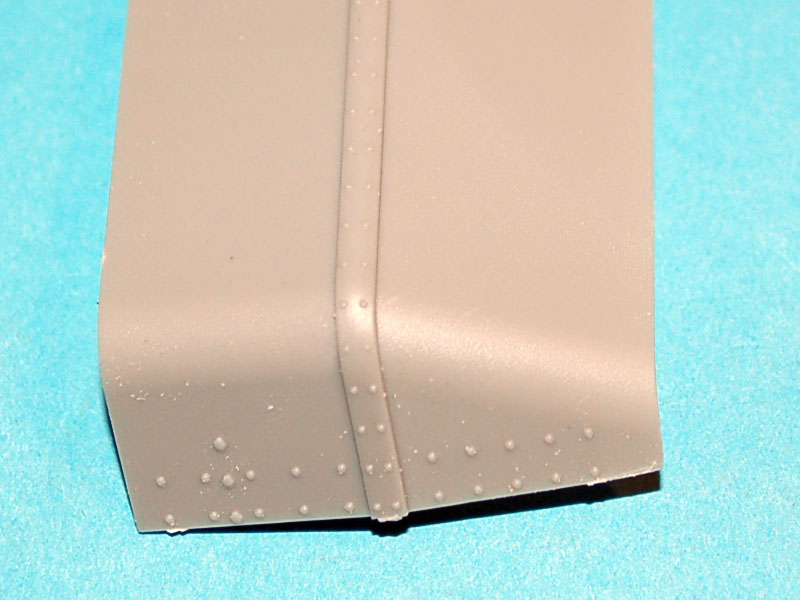
I was unable to find any verifiable information on this gun other than a few black and white photographs which, in my opinion, make this a rare but interesting artillery piece. When assembled it has an imposing look about it due to the huge gun barrel, and the interesting overall configuration of the gun. The model itself looks good when finished and the parts for the most part are well moulded with the exception of the very poor breach assembly.
The lack of positive locations for parts is a big disappointment in this model and is not easily overcome if you guess wrong. The instructions, while laid out reasonably clear, cannot have been drawn/written by a modeller as it would require two, three, or more pairs of hands during some steps.
Finally, a bit about the price, the kit without the metal barrel is £37.99 which I believe is reasonable as current model prices go, or £58.50 for the kit with the metal barrel. The metal barrel is a very nicely made barrel but is it worth the added £20. 51 for it? I will leave that for you to decide. The metal barrel is also available on its own at a cost of £22.99 (order No GWH-L3526-T).
SUMMARY
Highs: An interesting model of a very rare artillery piece, which looks impressive when finished with excellent mouldings for the most part.Lows: Very bad sink marks on the breach and a lack of positive locations for parts, partnered with minimal mating surfaces make this model a challenge.Verdict: If you like German artillery guns, or artillery guns in general this is one that will catch the eye. I would not recommend this model for a novice model builder due to the amount of guesswork that is required.
Our Thanks to Airbrushes.com! This item was provided by them for the purpose of having it reviewed on this KitMaker Network site. If you would like your kit, book, or product reviewed, please contact us.
About Darren Baker (CMOT) FROM: ENGLAND - SOUTH WEST, UNITED KINGDOM
I have been building model kits since the early 70s starting with Airfix kits of mostly aircraft, then progressing to the point I am at now building predominantly armour kits from all countries and time periods. Living in the middle of Salisbury plain since the 70s, I have had lots of opportunitie...


Comments