introduction
While Don Roeblings name will probably never become as well known as Orville and Wilber Wright are to the general public, among the fans of amphibious vehicles he is in a class by himself. Roebling developed an early amphibious vehicle to carry out rescue work in hurricane-prone areas throughout the southeastern United State. These vehicles caught the eye of the Marine Corps who put Roebling to work on a military version, the results of which were the LVT family of vehicles, the ancestors of todays modern amphibians and hovercraft.
For the plastic-model world the number of amphibian vehicles has been a bit limited. First we had the truly awful Blue Tank/Nitto offering (I built one of these back in the stone age of modeling - oh my, where did the years go?), then the much nicer offerings from Italeri who did a series of at least four versions that I am aware of. You can read an earlier review
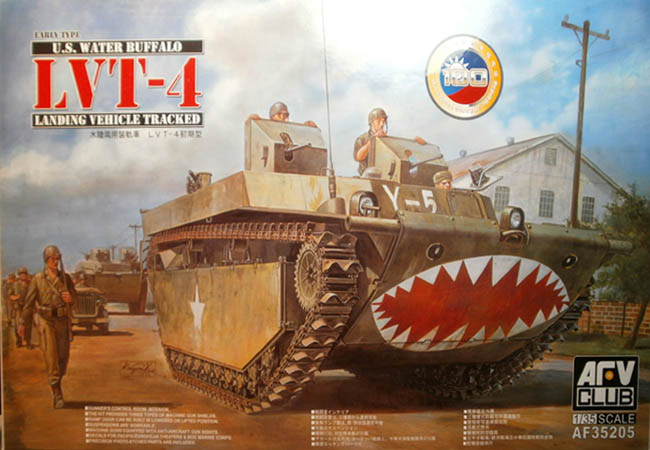
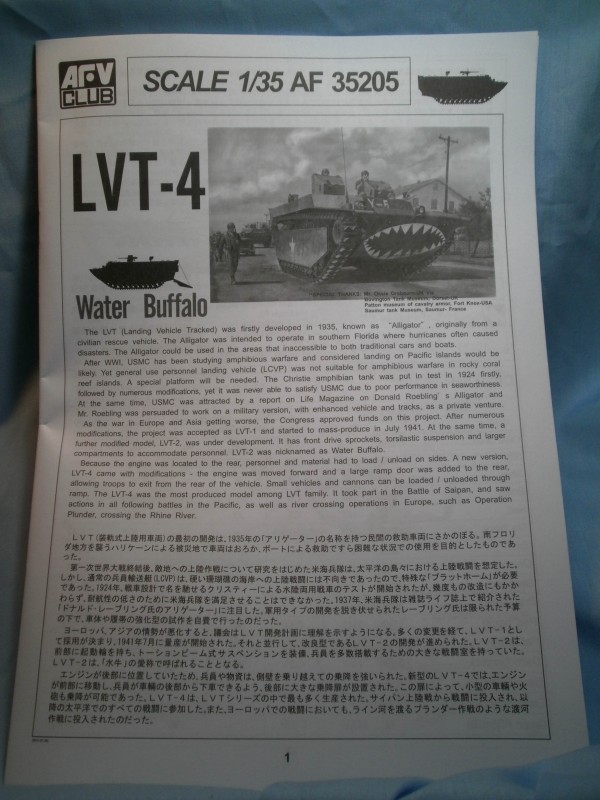
here on Armorama by DJ Judge of one of their earlier offerings. Now AFV Club has released the first of what may well be a goodly number of amphibians, the first of which is the early version of the LVT-4 Water Buffalo.
The LVT-4 was an update of the earlier dash 1 and 3 series which provided better protection for troops leaving the vehicle. The dash 4 offered a relocated engine, from the rear of the vehicle, forward to just behind the drivers station. This relocation allowed a drop-down ramp for troops to egress (a nod to P.T. Barnum!) the rear of the vehicle without exposing themselves to undue fire by climbing over the sides. This version of the vehicle did not become common until mid-1944 but eventually became the most produced version of the LVT family, taking part in all the landings after that time as well as the Rhine crossings in Europe.
The Kit
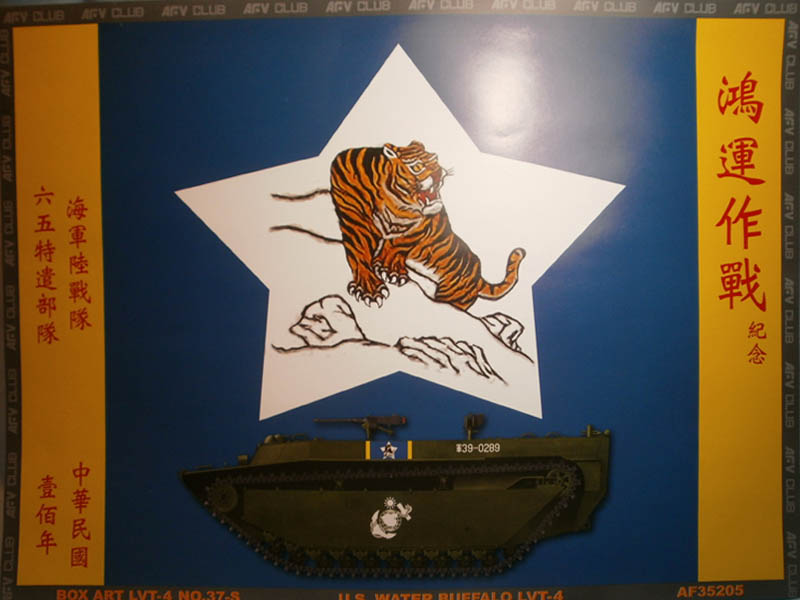
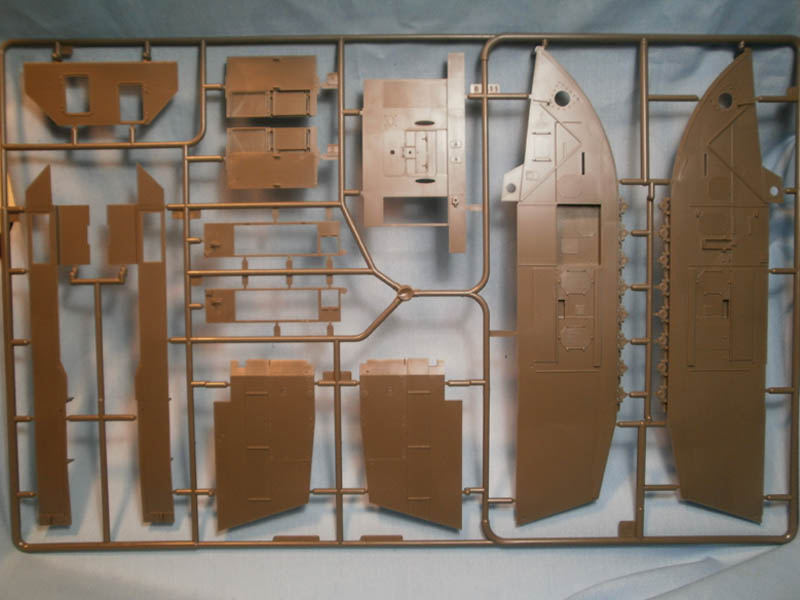
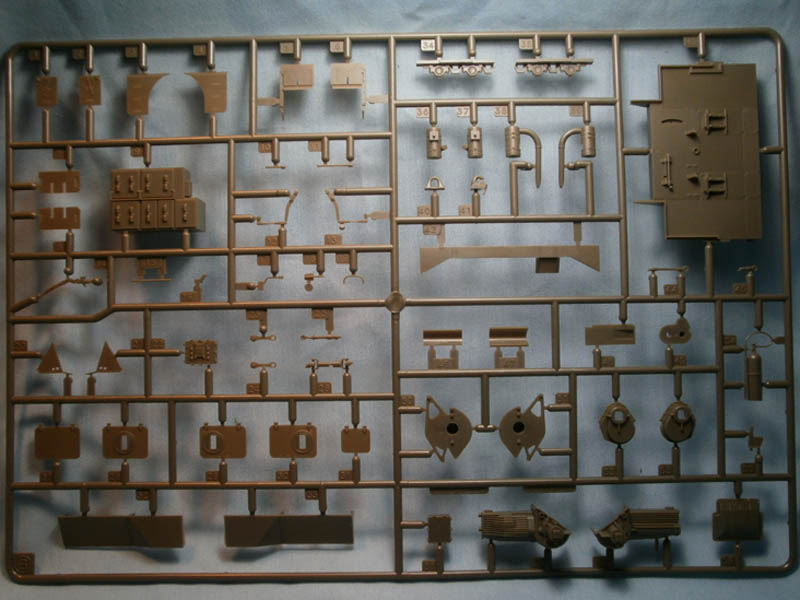
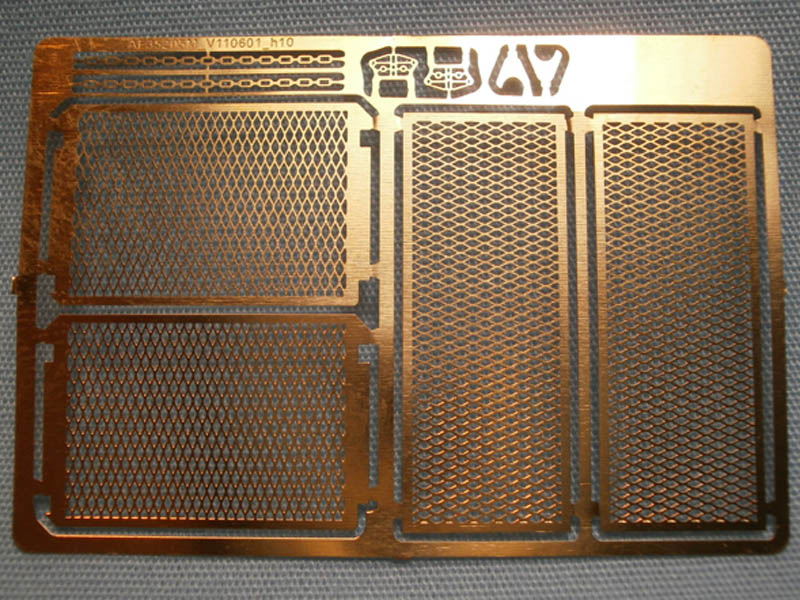
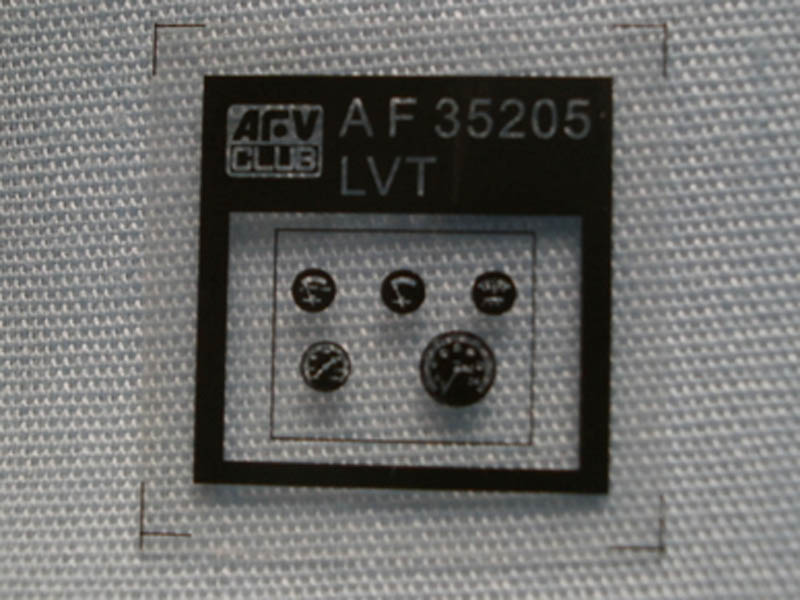
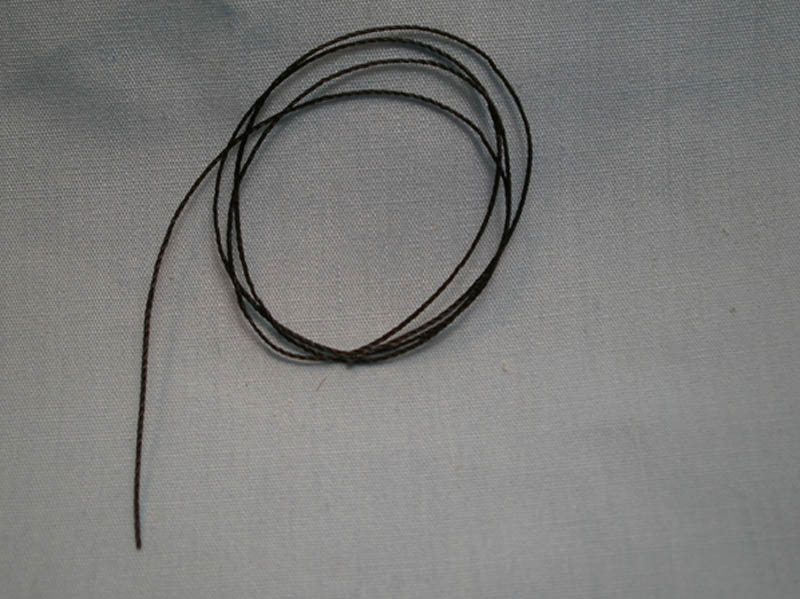
The AFV Club offering comes packaged in the standard top-loading box, and when you open it up you are confronted with some mighty big hunks of plastic. To give you an idea, the upper hull front piece by itself is as large as the entire Humber armored car I have been slowly working on for the last several weeks. What you get are 8 sprues of olive drab plastic; a nice sized decal sheet, two sprues of vinyl tracks, a small photo-etch sheet, a short length of string, one clear plastic sprue, an acetate film piece for the instrument panel, a 20 page set of instructions, and a nice piece of artwork that can be framed.
The build
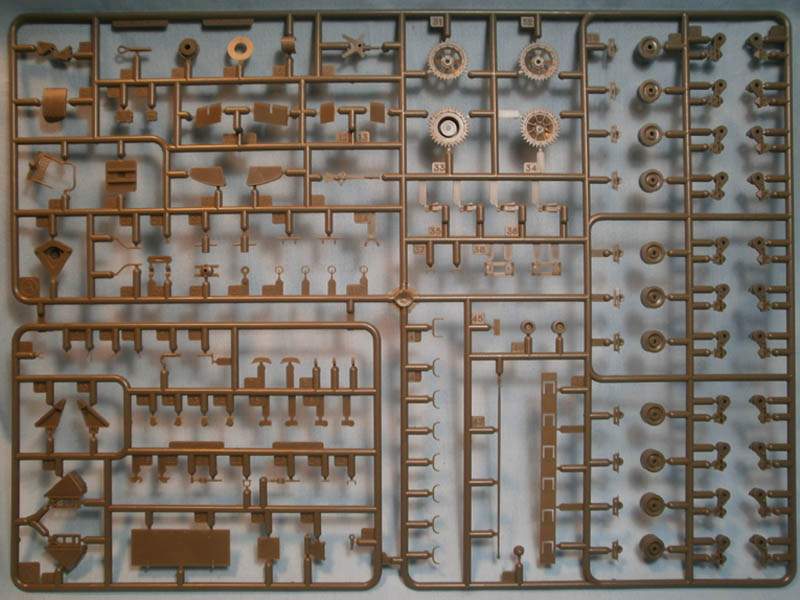
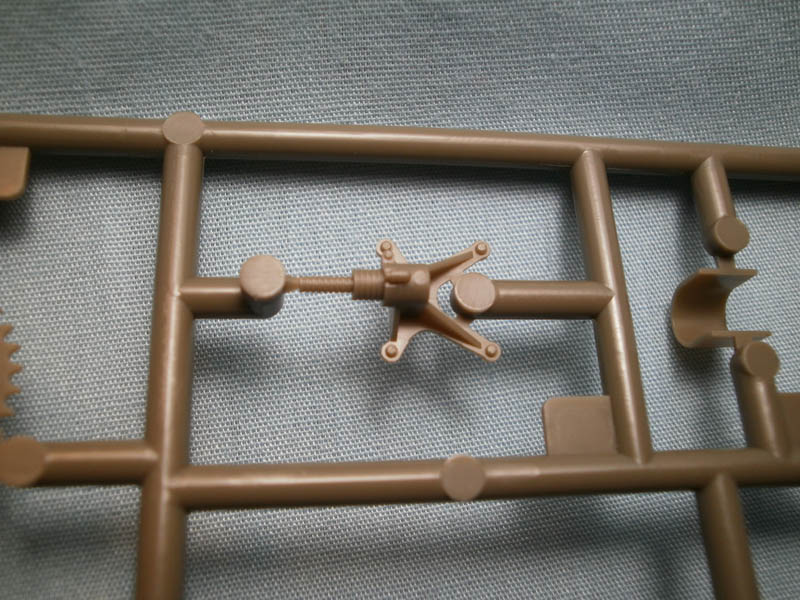
I have not yet built the kit, so what I will do here is give a quick rundown of the assembly process as documented in the 37-step instruction booklet. To get us started AFV Club devotes the first four steps to constructing the outer hull sponsons, idler wheels and accompanying tension adjustment assembly, as well as the two upper return rollers. All of this looks very well molded, in particular the tension adjustment assembly as well as the sponson sides. The return rollers are really nice as well, with some very well-done bolt detail up underneath which is easily seen on the vehicle. The sides have very delicate and well-done welding seams; sadly, they will be covered by the extra armor plates that are fitted to provide extra protection. Mind that you dont misplace the small piece of instruction errata which corrects the mistake in the instructions that implied that parts A16 and 17 are single piece track guides when in fact they are two part assemblies that are added to the lower sponson.
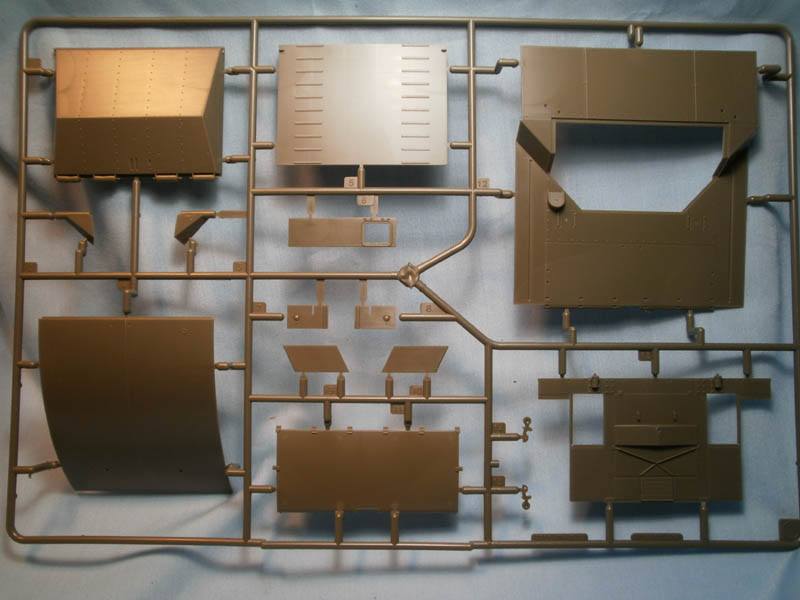
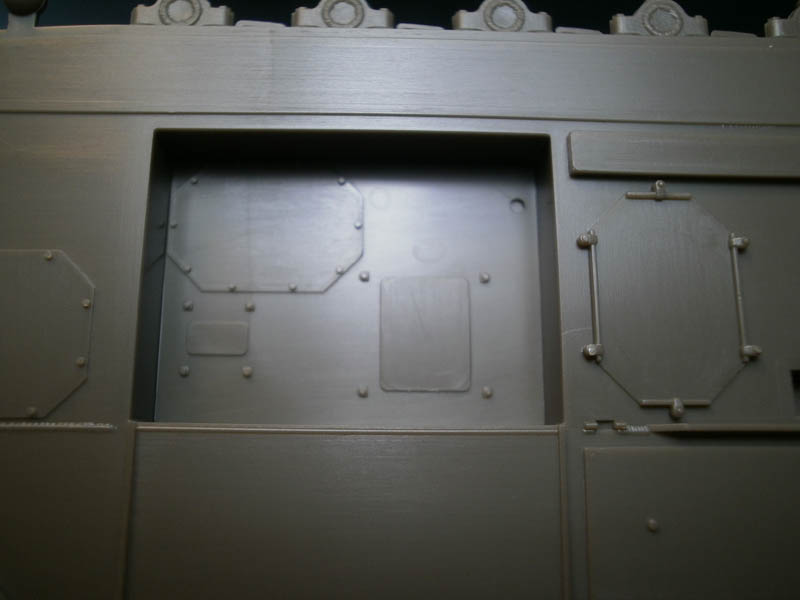
Steps five through nine all deal with the assembly of the hull sides. The kit provides the inner hull sides as completely separate assemblies from the outer sponson sides. These are some really good-sized hunks of plastic that start life as single pieces that run the full length of the impressively-sized vehicle. Each of the two pieces are very well done with lots of satisfying detail in the form of bolts, rivets, and weld work, that should look really nice under a coat of paint and some weathering. To these assemblies are added parts to create the fender pieces, access hatches, and engine grills (from photo-etch) under which the tracks will run. The instructions also call out the beginning of the painting in this area with flat white for what will be the sides of the drivers compartment.
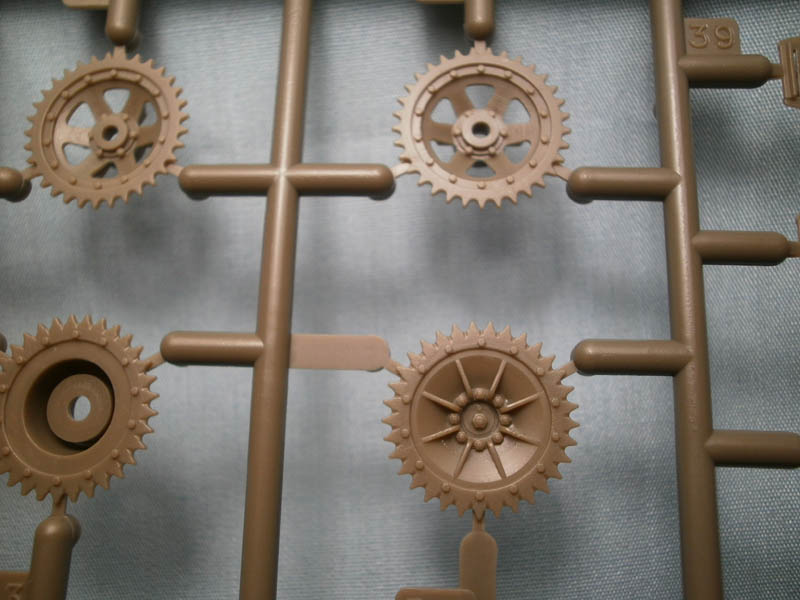
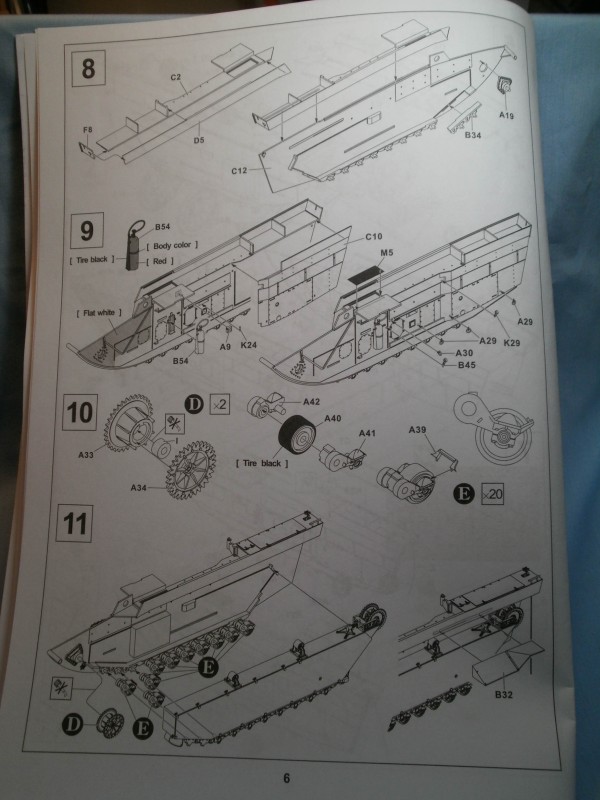
Steps ten through twelve concern the construction and assembly of all those little bogie units (you knew this would be in there somewhere, didnt you!) as well as the drive sprockets. Youll have twenty four-part assemblies for these little jewels, or perhaps devils, that choice is up to you - Ill take a quick break while you finish them up. Okay, now that that is done we can move along. This is also when you add the hull sponsons to the outside of the hull sides. With this, as well as a few extra odds and ends, AFV Club sends you deep into the interior.
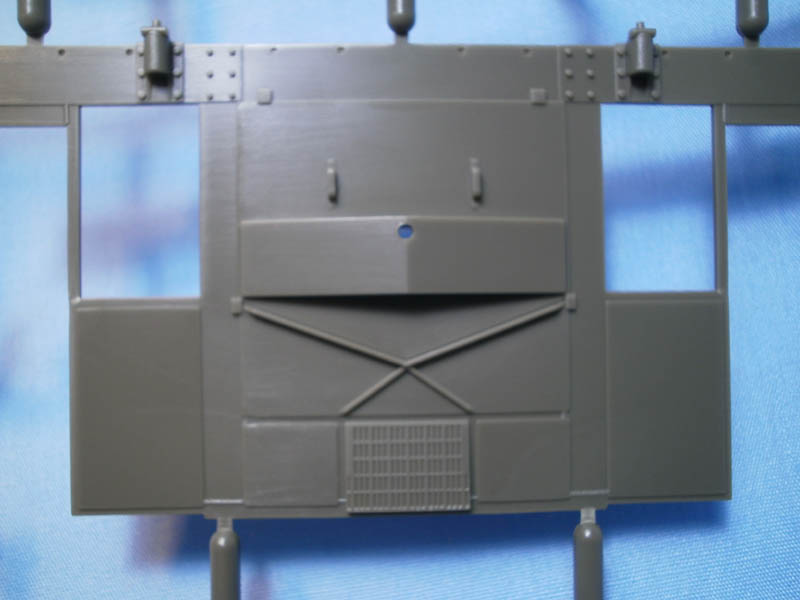
The next seven steps of the assembly are for the construction of the driver/crew compartment, the cargo floor, and the lower hull sections. The floor and lower hull both feature very delicate and convincing weld beads. The only drawback to this section is the molded-in grates on the cargo floor; I wish AFV Club had included a couple photo-etch pieces here as they are much more easily seen than some of the other grill sections that they have replicated in PE. Here is also where you will attach the large hull side and sponson assemblies to the floor/lower hull section. It looks like it should fit together well, but Im guessing that it will be somewhat critical that you keep everything square at this point in order to ensure that everything mates up correctly later down the road. At this point it should really start to look like an LVT rather than a collection of assemblies.
The kit provides a pretty complete set-up for you here, nice floor and lower hull section which together create the front lower inside and outer hull, nice seats that are built up from three pieces (be careful here, very delicate tubular frame, mine was broken in packaging) a fairly complete transmission, separate foot pedals, gear box, instrument panel - well you get the picture! To sum it up its a very complete compartment. All of this is done to the very highest standards, with maybe a bit of plumbing to add but thats it. Now the downer; very little (if any) of it may be visible. The rear bulkhead has only the one doorway behind the drivers station, which is then blanked off by the rear engine bulkhead wall. The only access into the crew area is through the topside hatches. Now if you wanted to shorten the assembly process and close the hatches up you could skip most of this outside of the upper and lower floor/hull parts. Of course you could add it all, close the hatches up, and still be a happy camper because after all, at least YOU would know it was all there. Its up to you!
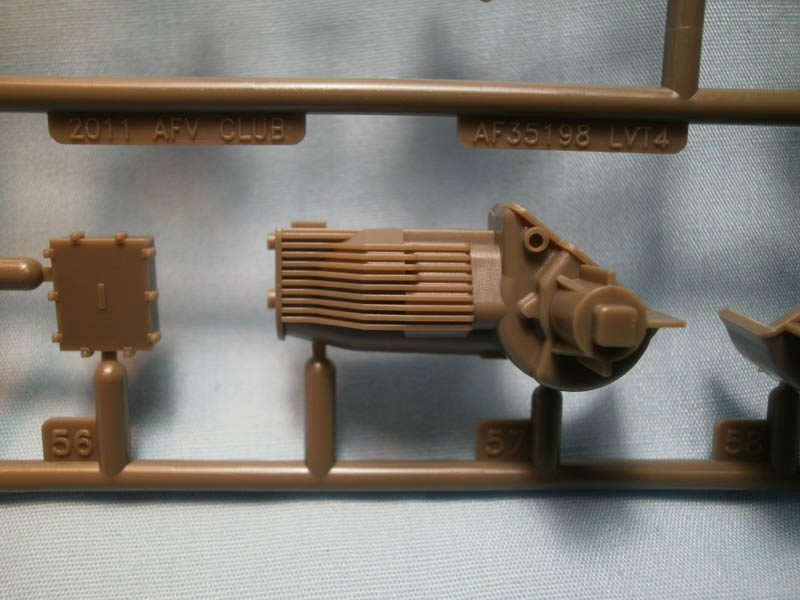
The next step is a fairly quick one; here is where you will add the engine compartment bulkheads. The kit provides no engine, so it is simply the bulkheads that surround the compartment where the engine would be. There are a couple of nice photo-etch screens, but again, this will be mostly hidden from view.
The next three steps in the process have you building the front upper deck including the crew hatches, periscopes, hatch handles, lights and other small fittings. The front piece features a separate opening visor; AFV Club may change this out with a piece that includes a fitting for a mounted hull machine gun along with the vision port in order to create a late model LVT-4. The clear domes for the periscopes are a particularly nice piece and the boat hooks, well hey - and come on - who doesnt love a nicely done boat hook!
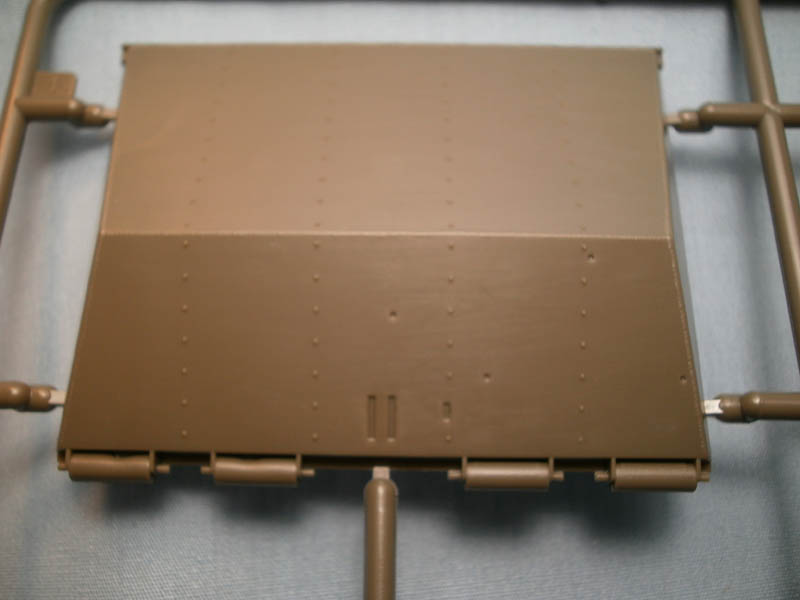
The next five steps are devoted to the construction of the rear cargo ramp. It may seem like a lot of steps but this includes the somewhat complicated procedure to add the cable to raise and lower the ramp, not to mention the numerous fittings that go along with the hinges which will be functional when you are done. Again, the detail on the ramp pieces is superlative - delicate weld beads that are really well done. You do need to drill out a couple of holes for the cable thread to pass through or you could just glue the ramp closed and forgo a good bit of this.
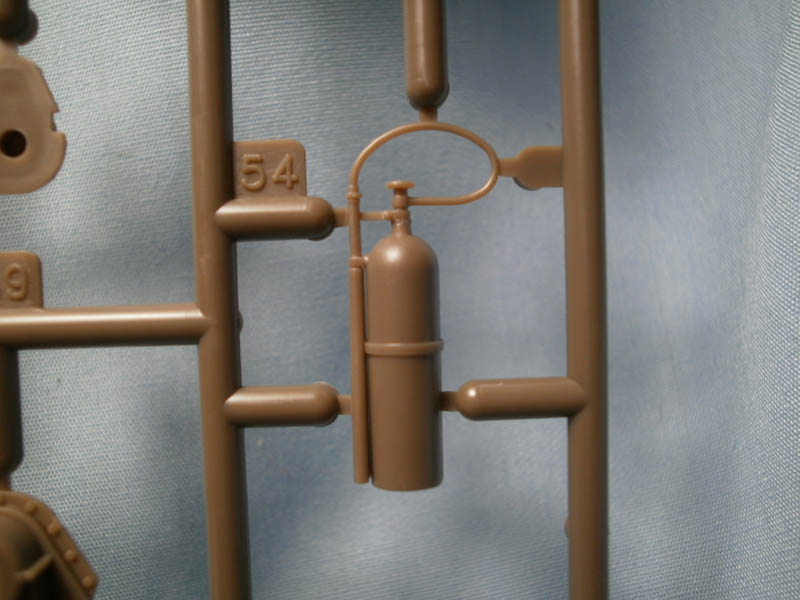
The next three steps involve the construction and installation of the wash vanes to the rear outer hull tub. If you remember the old Italeri kit these were one-piece assemblies. AFV Club uses no less than eight pieces to recreate the same assembly - as you can guess, the AFV Club offering is just a bit more detailed. It is a somewhat complicated assembly so take care to keep everything lined up correctly. Again, the small details are what make this such a nice kit; here it is the small bolts and angles that set it apart.
The next two steps take you through the process of adding all the small grab handles and storage box covers for the rear upper hull. Once you finish this up it is on to the home stretch.
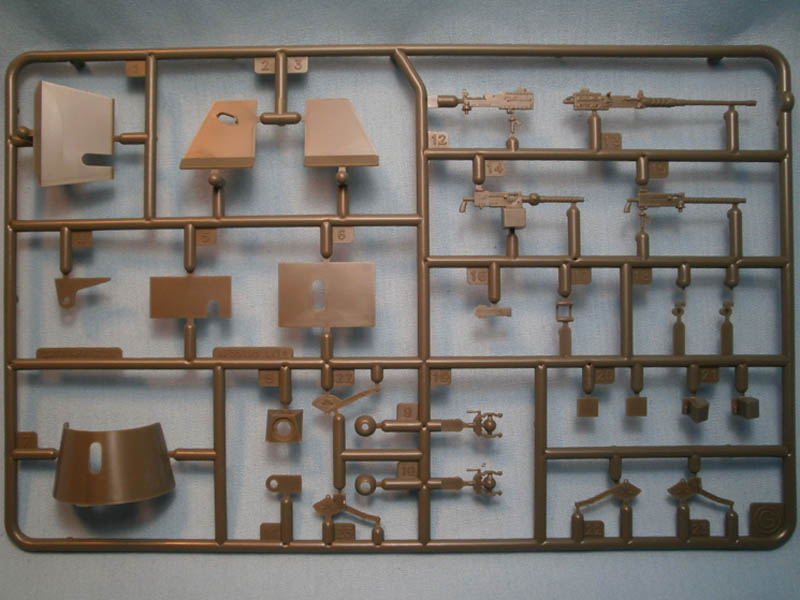
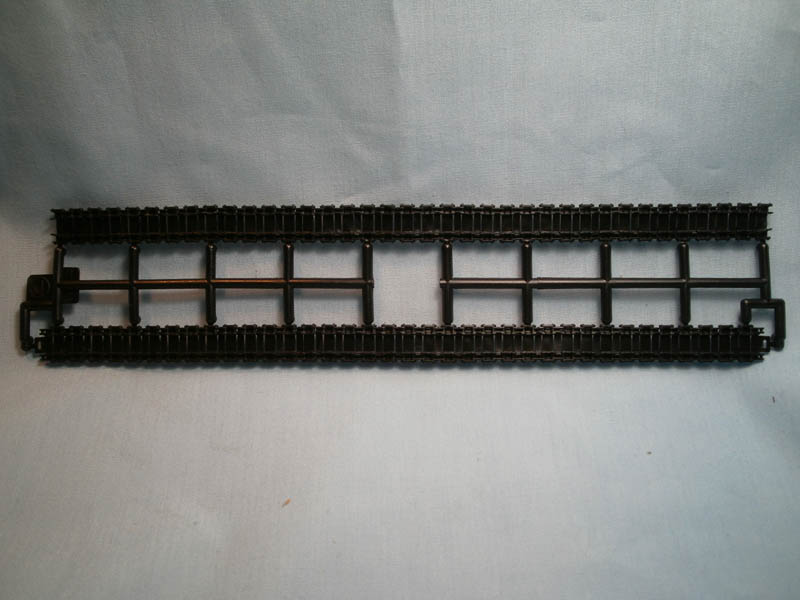
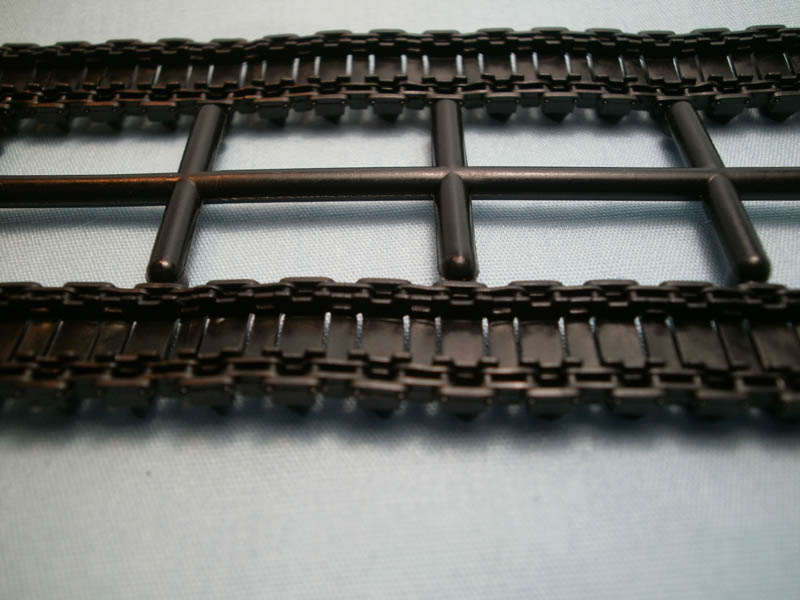
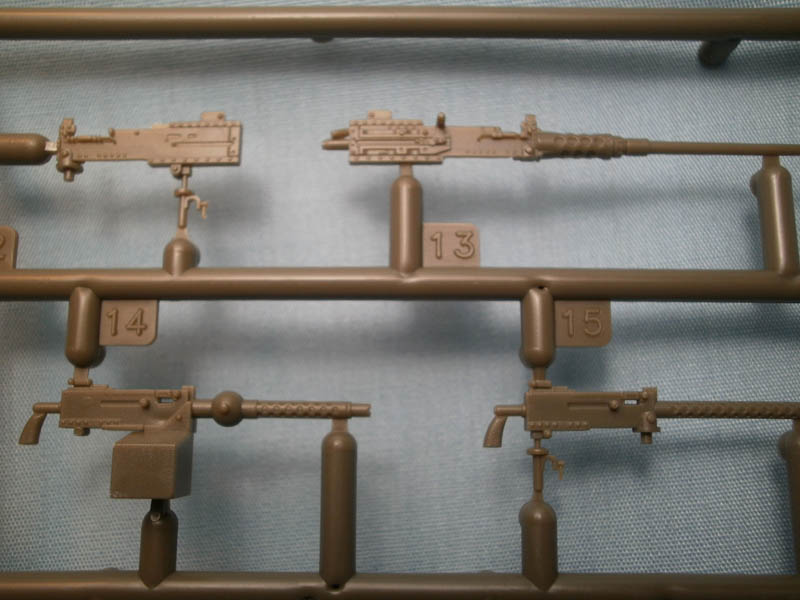
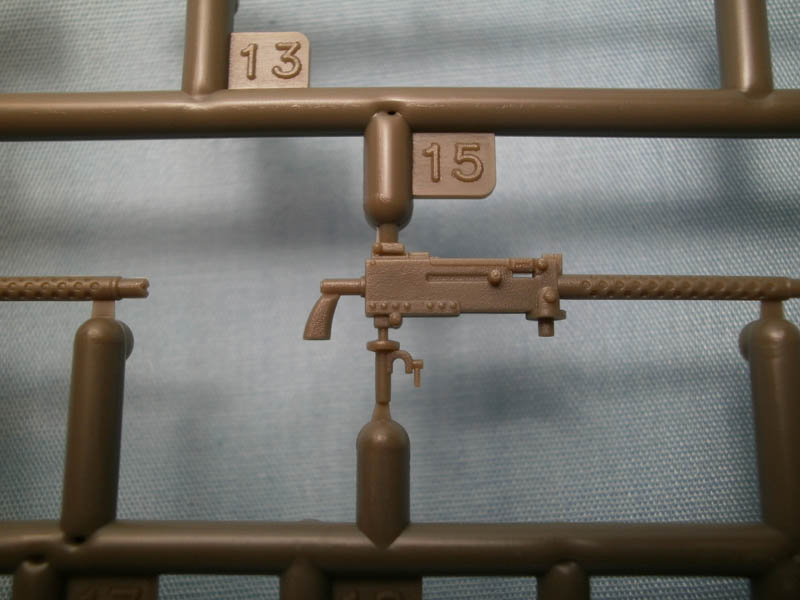
The final three steps are for the construction of the machine guns and installation of the tracks to the finished model. The machine guns are simply some of the best in plastic. You have a pair of .30s and a matching pair of M2 .50s to install. The cradles and are all the D36960 style and are very well done, constructed from six pieces including the ammo box. The M2 machine gun is also very well done: drilled out barrel, three parts to the receiver, separate handle and an option for replacing the plastic trigger with one from photo-etch. The M2 comes with the choice of three different styles of gun shield; the flat plate, the one with sides and top added, and the simpler curved one-piece shield. After you have decided how to arm your LVT the last step is the tracks. The tracks come in two lengths per side and are the gluable variety of vinyl. The detail on the tracks is simply sublime, with gaps between the track links - what could be better!
decals
With that, you are finished with the model and ready for the paint, decals, and weathering. The kit provides markings for four US vehicles and one ROC example. The US vehicles are Army vehicles from the Philippines (the box art illustration with the famous shark mouth), Okinawa, and Italy, a Marine Corps Iwo Jima vehicle, and a post-war ROC unit. The decals are well printed in perfect register with a nice thin carrier film.
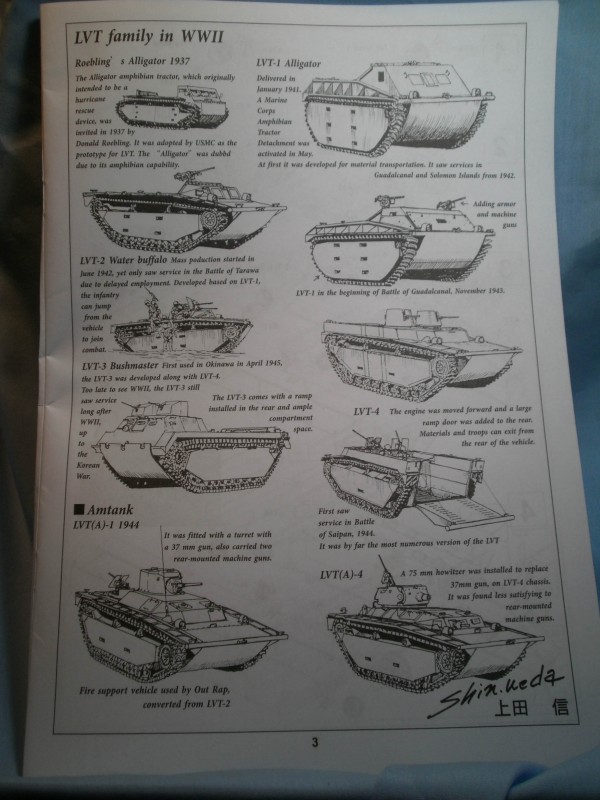
Some final thoughts and notes: the instruction sheet includes a page with drawings of six other versions of the LVT family as well as the original Roebling alligator, perhaps a sign of further releases down the road from AFV Club? Several of the sprues are already labeled as AF35198 for the future release of the LVT-4 late model; hopefully that will just be the first of what will prove to be several LVTs to make their way to hobby shops shelves somewhere near you!
Conclusion
Wow! This looks like a very nice kit, leaps and bounds beyond the Italeri offering and several light years beyond the Nitto release. The model features great tracks, and superb detail throughout. The biggest drawback seems to be that lots of detail remains relatively hidden inside the crew compartment. Im looking forward to seeing what some of the masters do with this kit - it should paint up to be a real showstopper. I know I can hardly wait to get a crack at actually building the one I have on my bench; as nice as this kit is, it is moving straight to the top of my build pile.


Comments