introduction
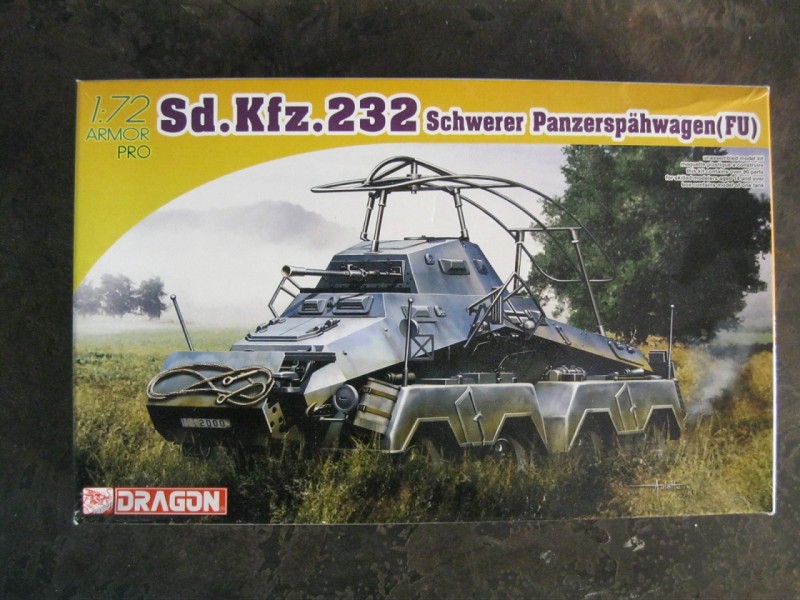
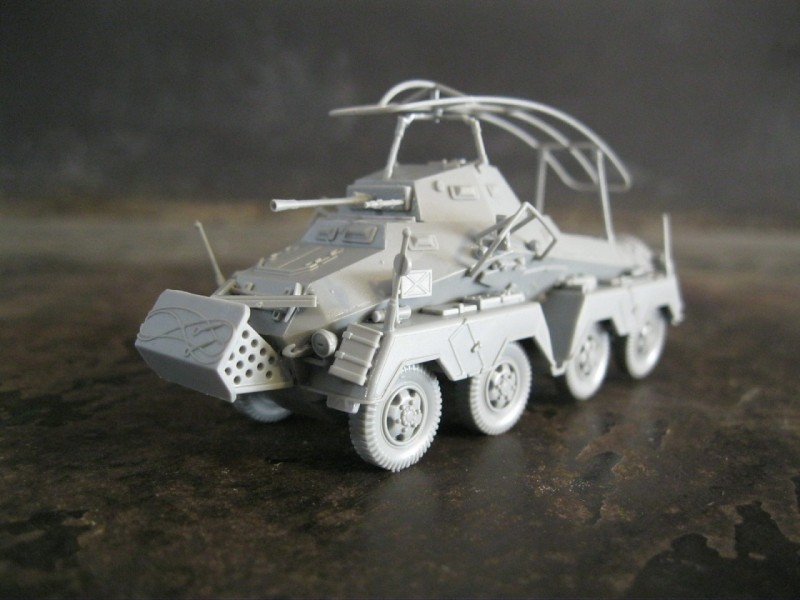
The Sd. kfz. 232 Schwerer Panzerspähwagen (FU) was an eight-wheeled heavy armored car used for reconnaissance by the German army in WWII. Based on an earlier 6-wheeled version with the same numerical designation, it entered production in 1936, and continued until 1943 when it was replaced by the Sd.Kfz. 234 series. Vehicles remained in service, however, until the end of the war.
All eight wheels were powered and steerable. It was armed with a 2cm KwK 30 L/55 cannon and a secondary co-axial MG 34. The four-man crew consisted of a commander and gunner in the small turret, and a driver at either end of the vehicle. There were six gears, both forwards and backwards, allowing the vehicle to be driven either direction with ease. The 232 was the same as the Sd.Kfz. 231, but with the addition of radio communications equipment. The large frame antenna over the vehicle was attached with a special joint over the turret that allowed the turret to traverse freely. It carried both medium- and short-range radios, which were upgraded throughout the war. When it was discovered that the thin front armor plate provided insufficient protection for the vehicle, a separate armor plate was added to the front on a small frame.
This link from Warwheels provides detailed information.
Dragon has offered modelers a new version of the Sd.Kfz 232 in 1/72 scale as part of their "Armor Pro" series.
the kit
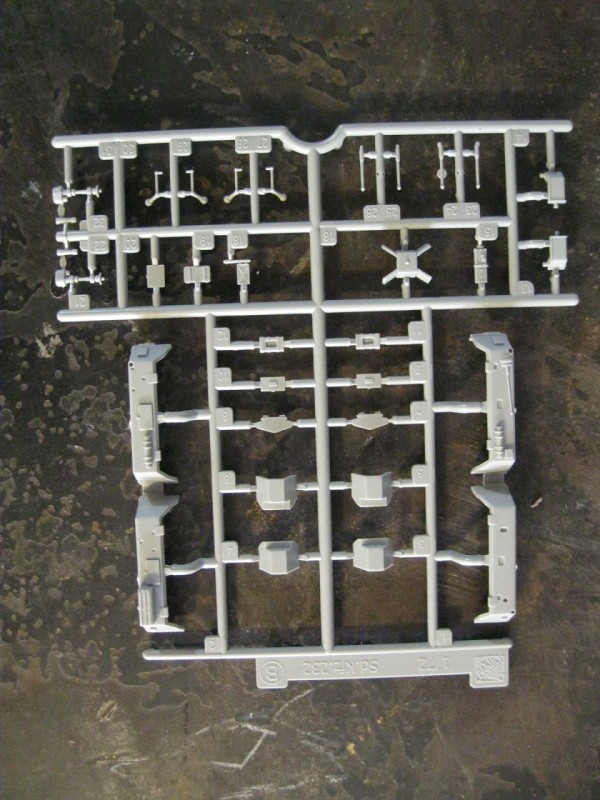
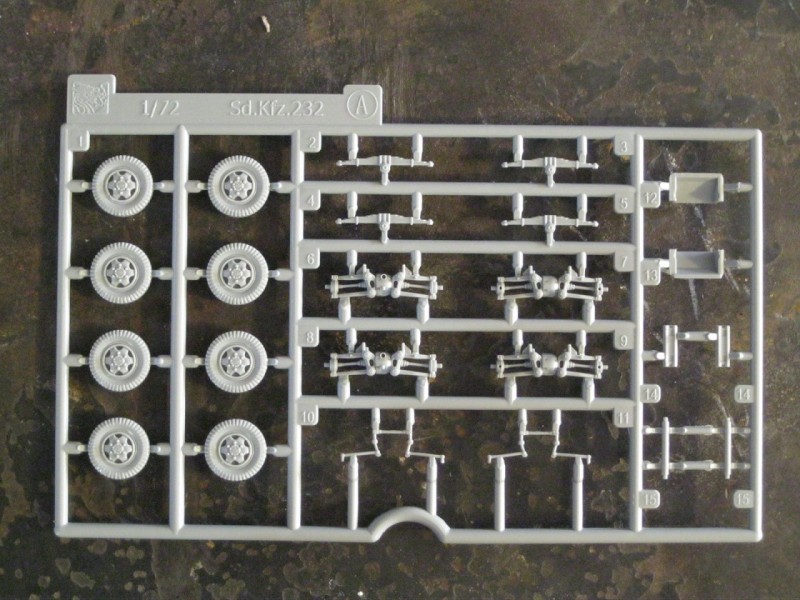
The vehicle comes in a small, top opening box with the sprues individually packaged. The upper and lower hull sections are separate parts. The model has been carefully designed, and extensive use of slide molding provides an excellent level of detail. Parts breakdown for the kit is fairly simple, with none marked not for use:
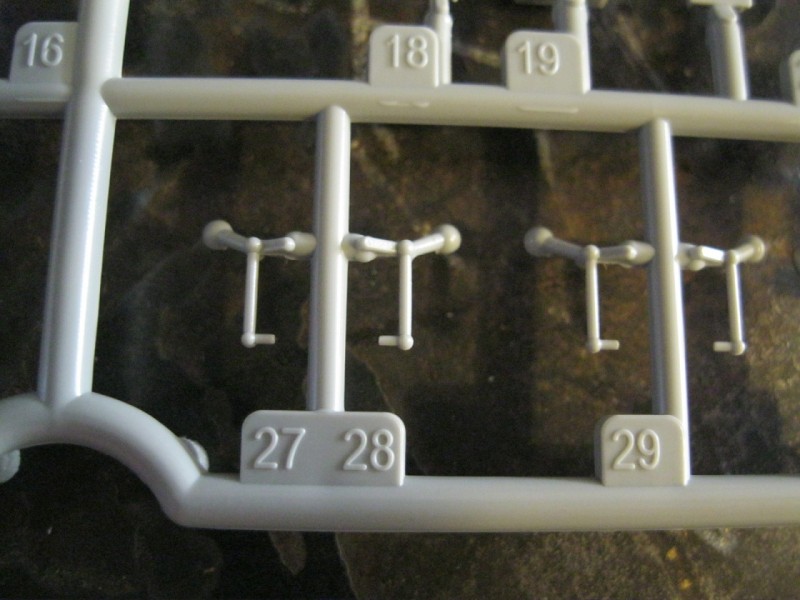
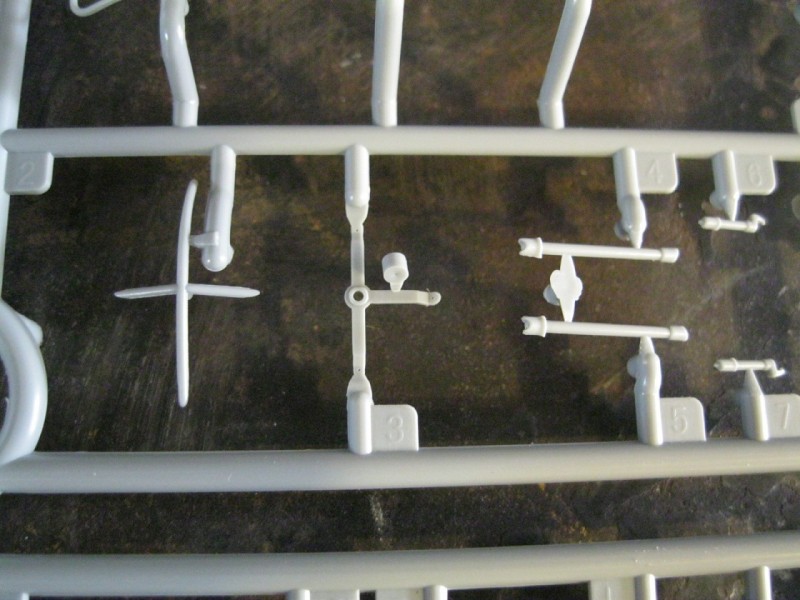
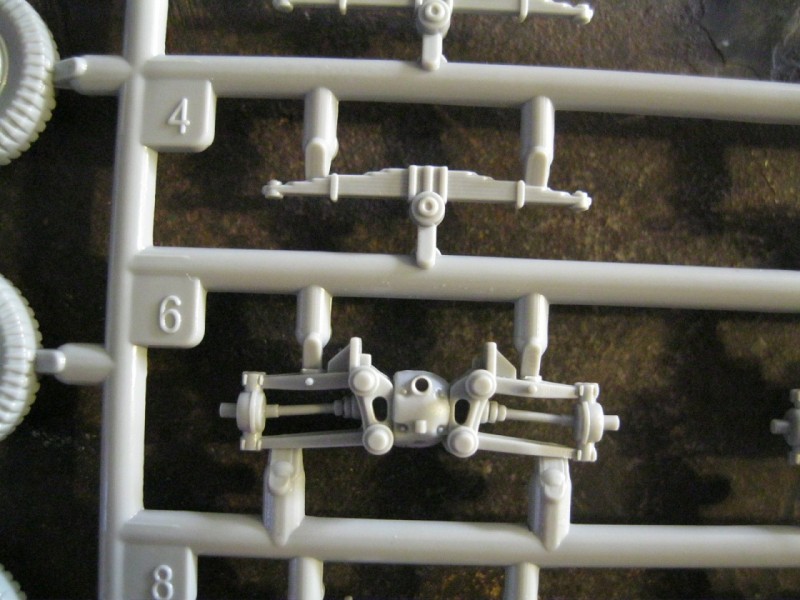
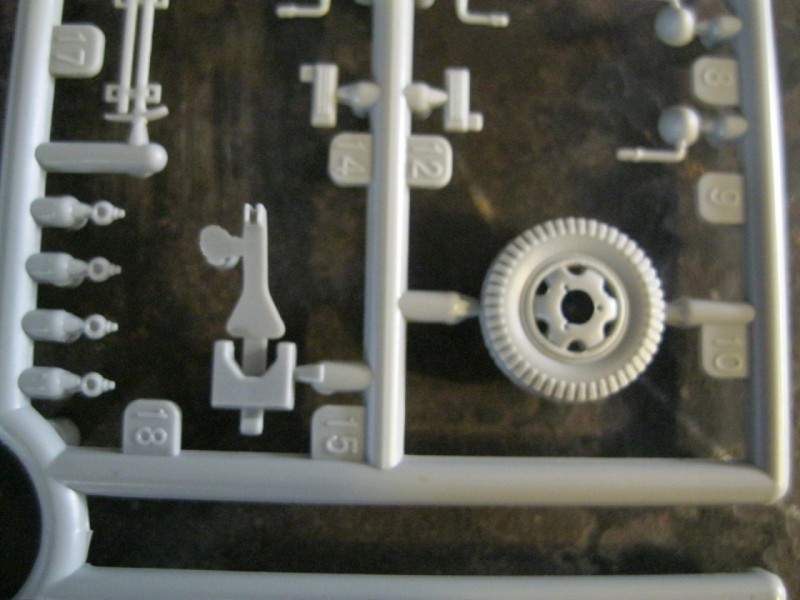
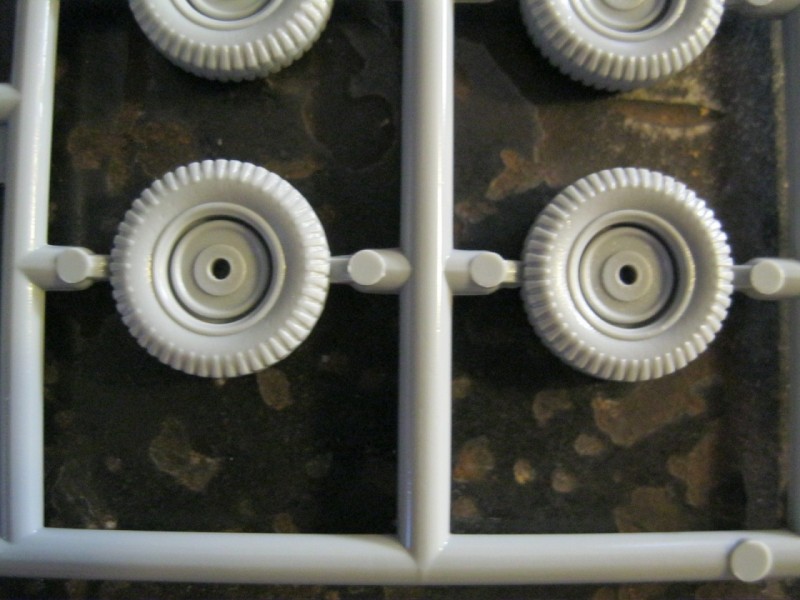
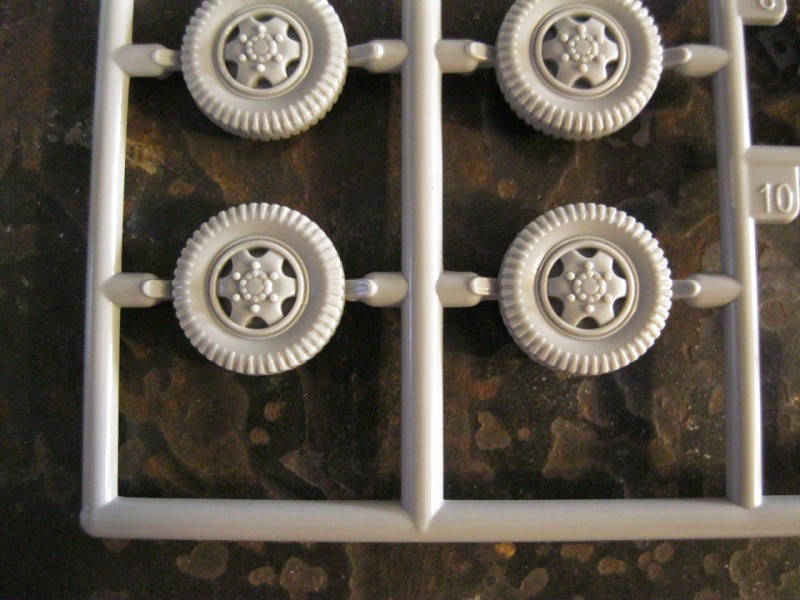
"A" sprue has the wheels and suspension parts.
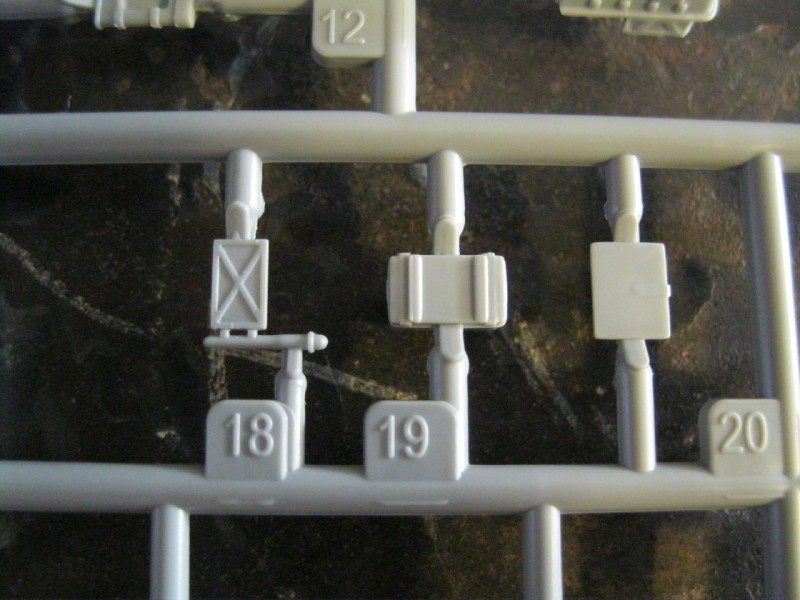
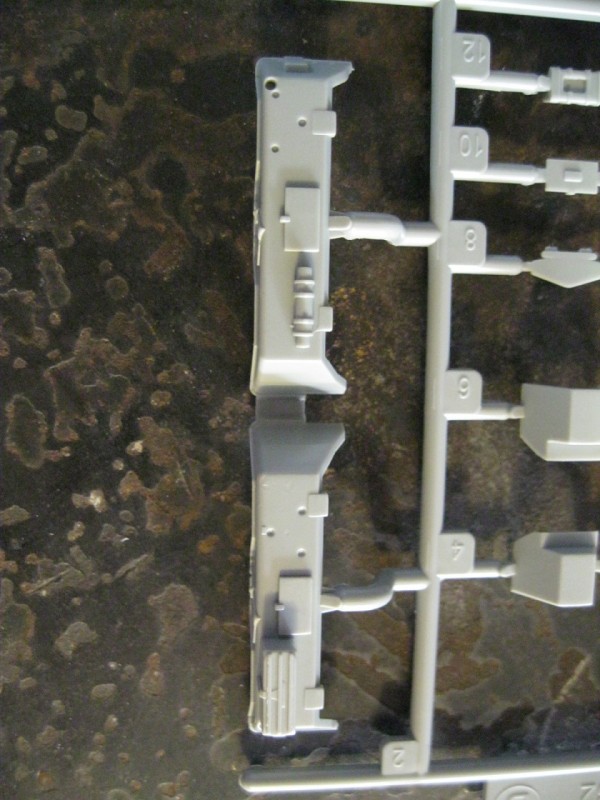
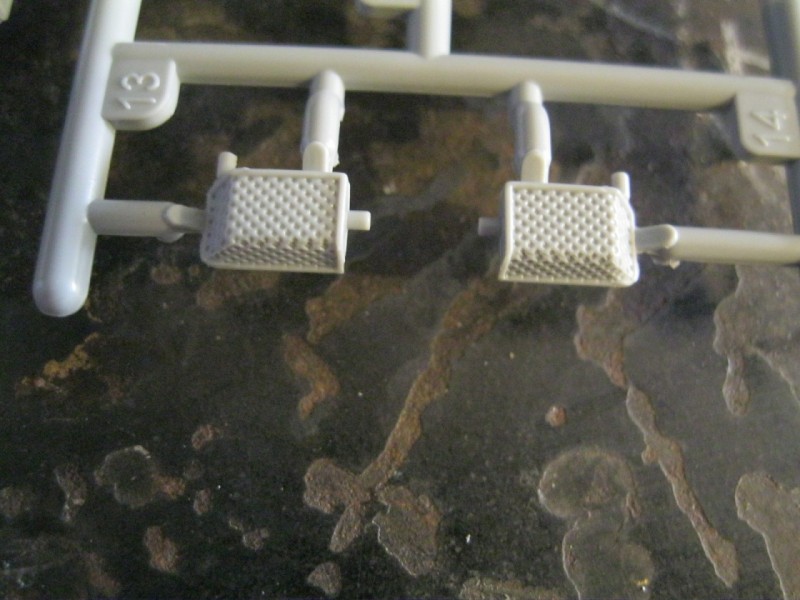
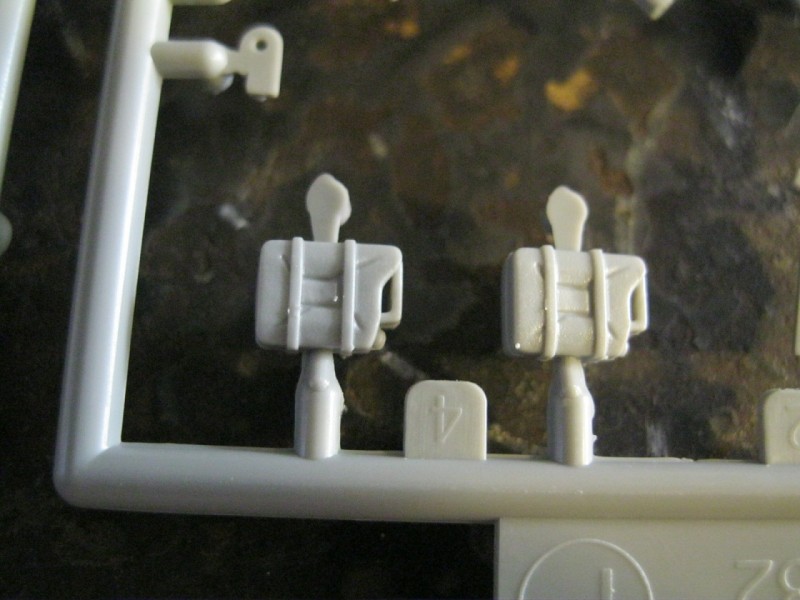
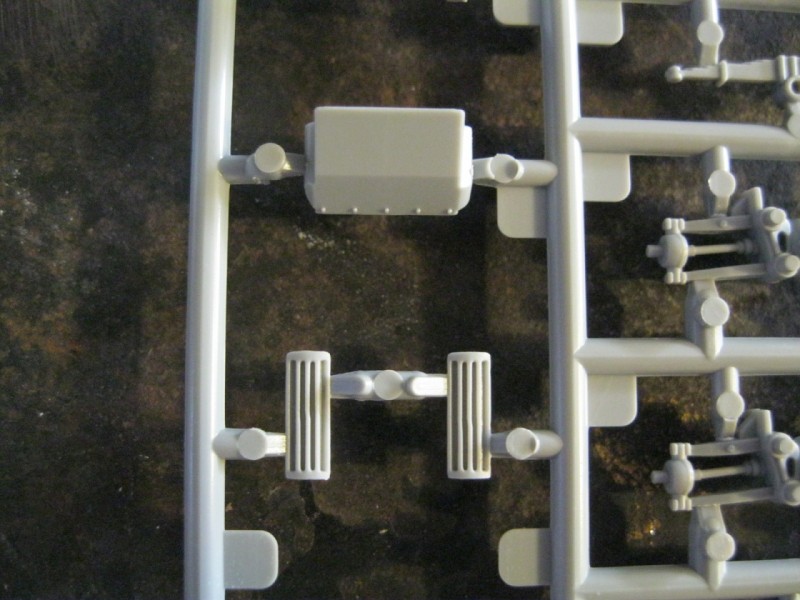
"B" sprue has fenders and various detail parts attached to them.
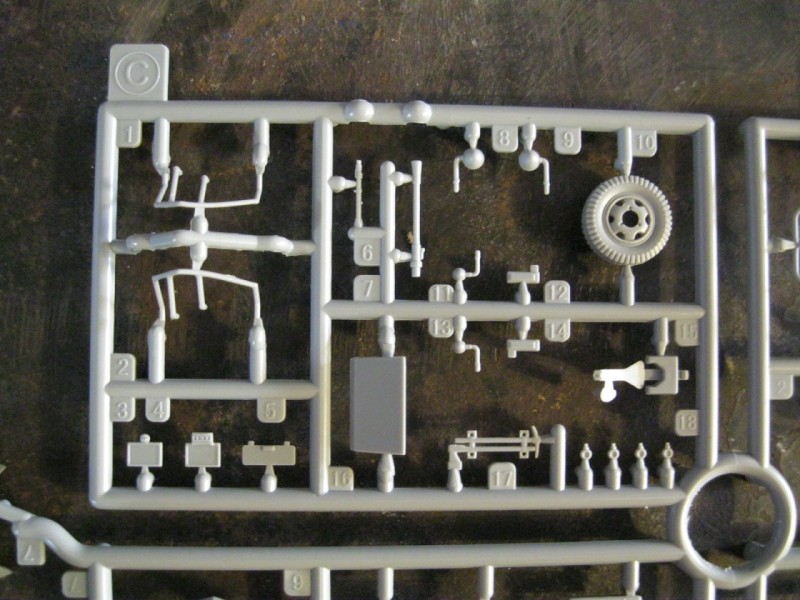
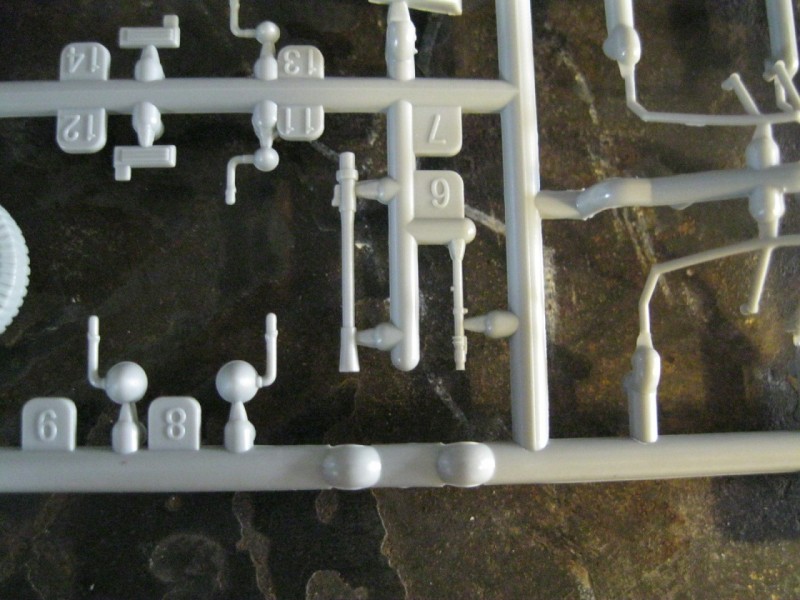
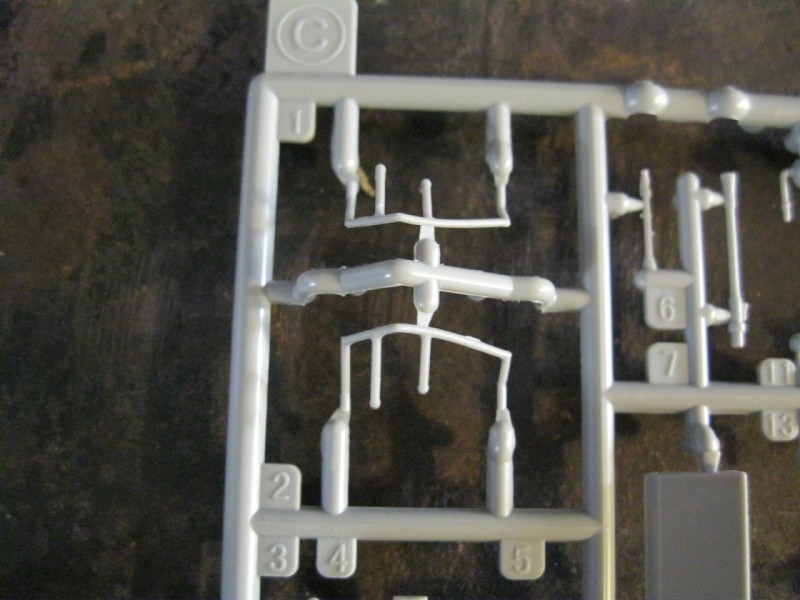
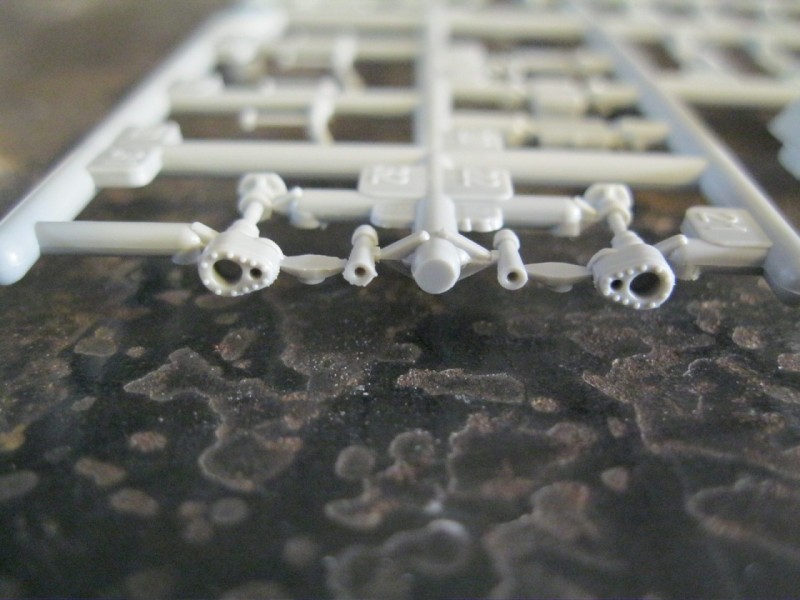
"C" sprue has upper hull fittings and the two guns, with the muzzle openings pre-bored.
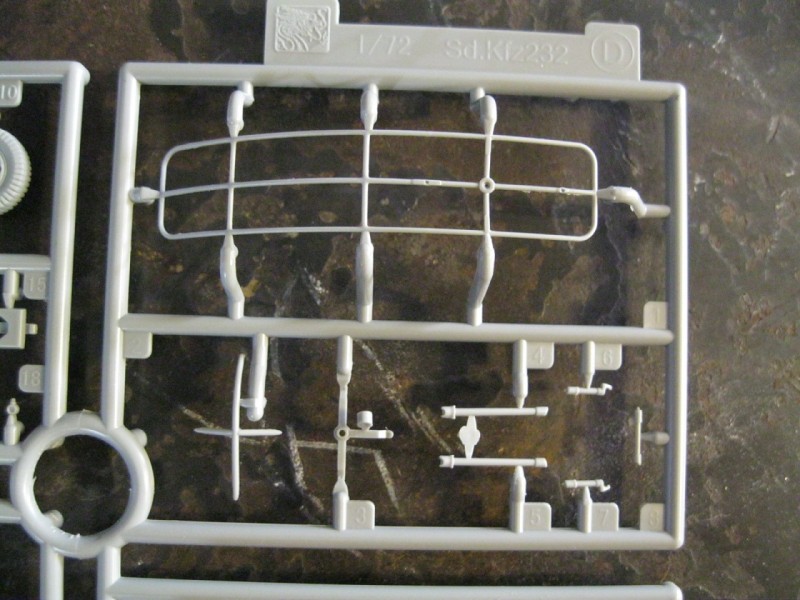
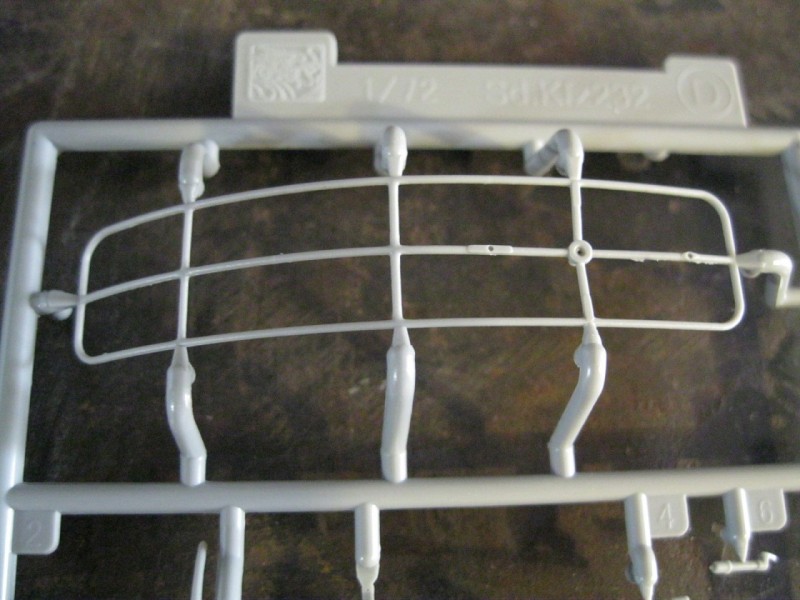
"D" sprue is the antenna.
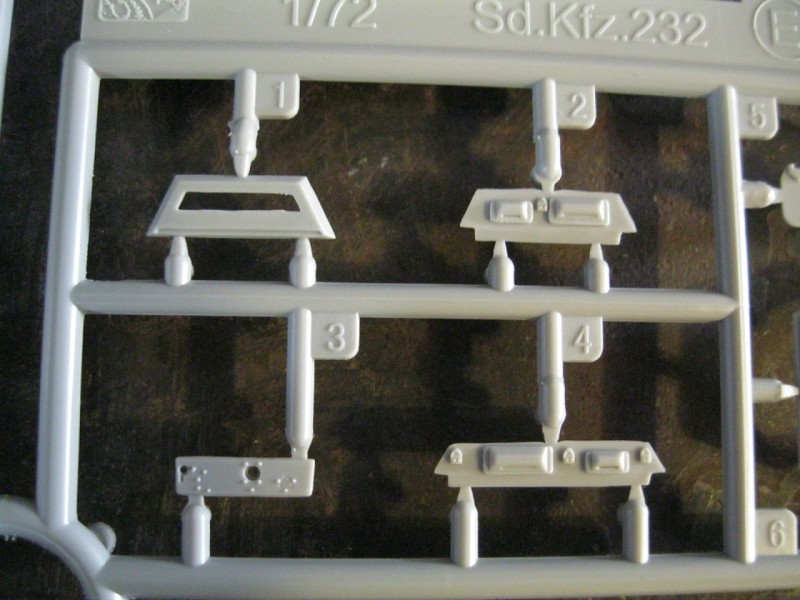
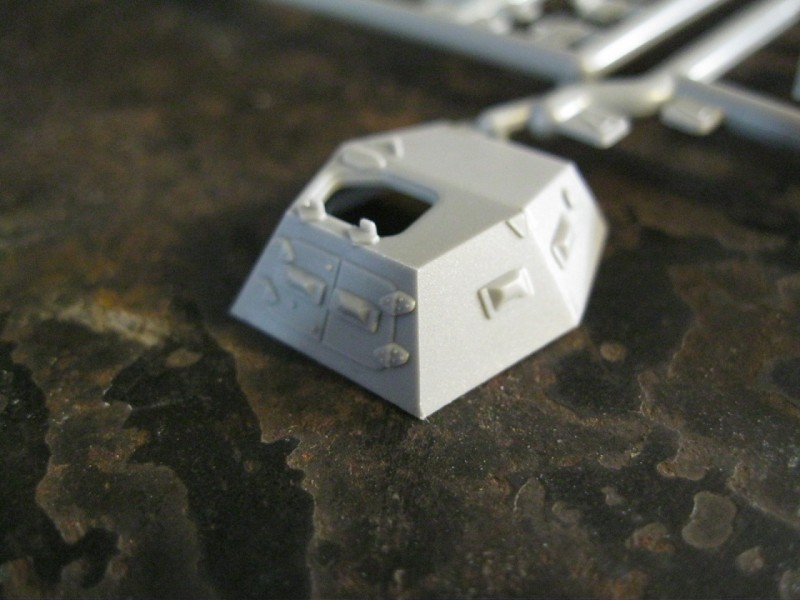
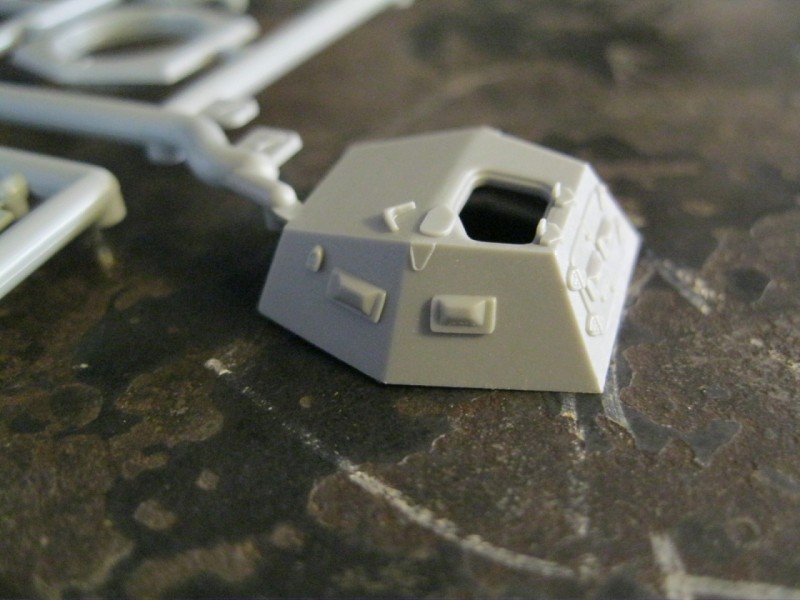
"E" sprue is the turret with the turret upper extending out as a nearly separate part for improved detail for the molding.
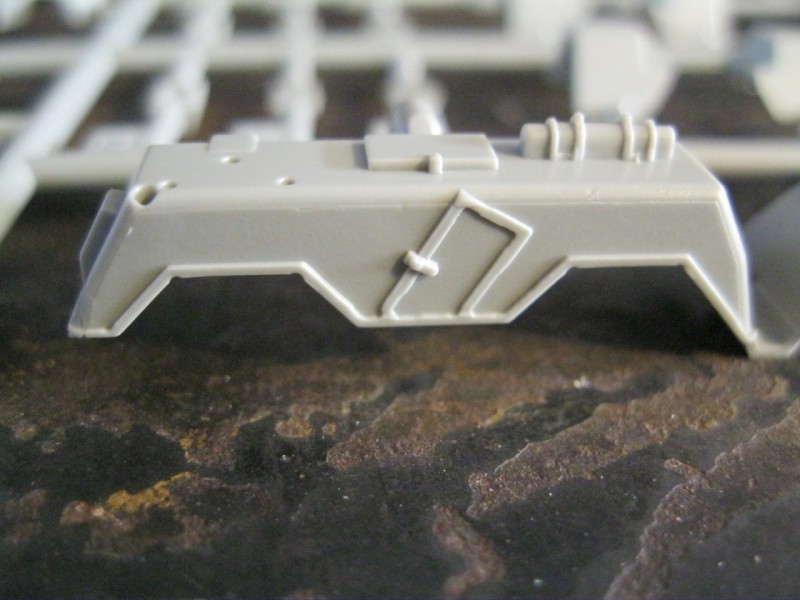
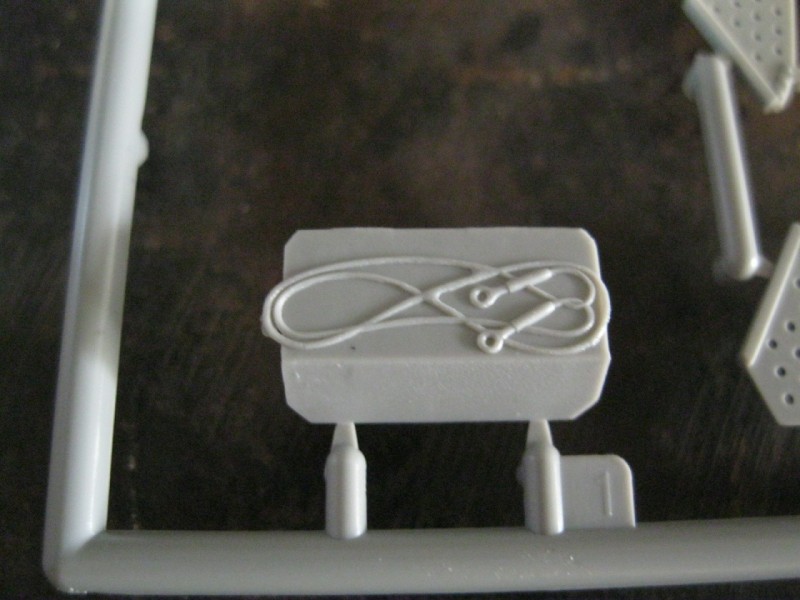
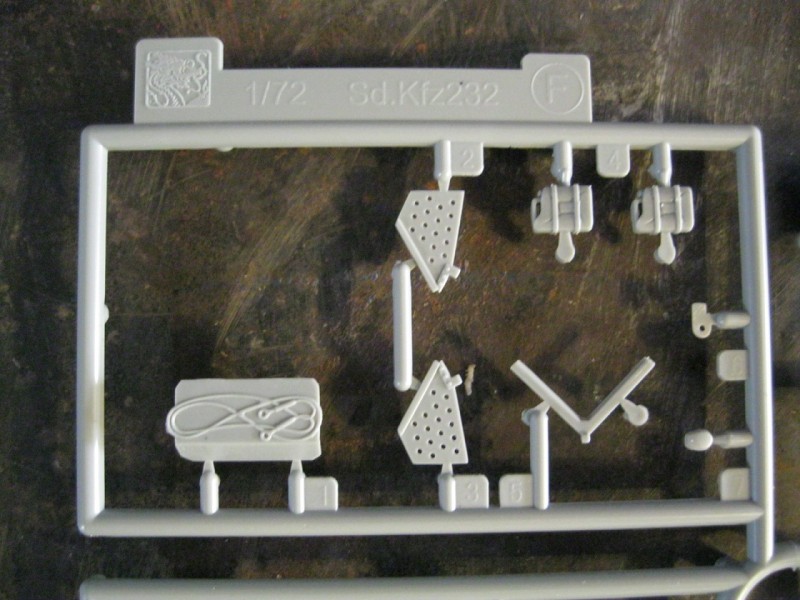
"F" sprue is the front stand-off armor plate and bracket.
The C, D, E and F sprues are all attached as a single sprue.
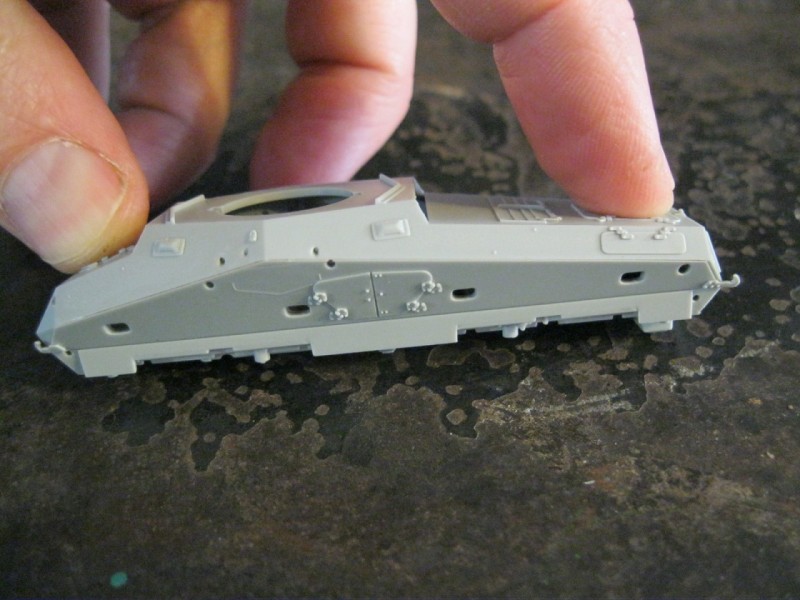
"G" is the main upper body.
"H" is the lower hull body.
production values
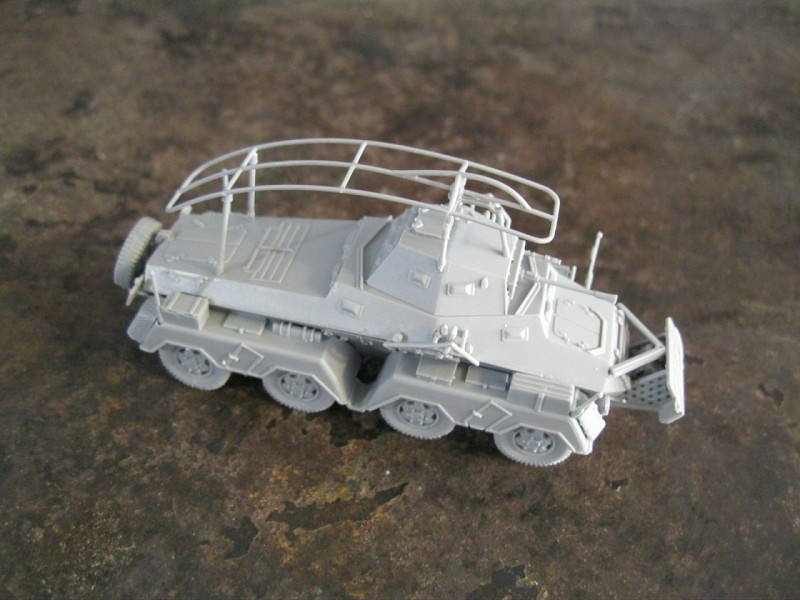
All parts are very well-molded with crisp and precise detail. There were no sink marks and only a small amount of flash around the antenna frame. Preliminary test fit of the upper and lower hull showed good alignment of the parts. Some details, such as the tow cable, have been molded in-place for simplification of assembly.
decals & painting
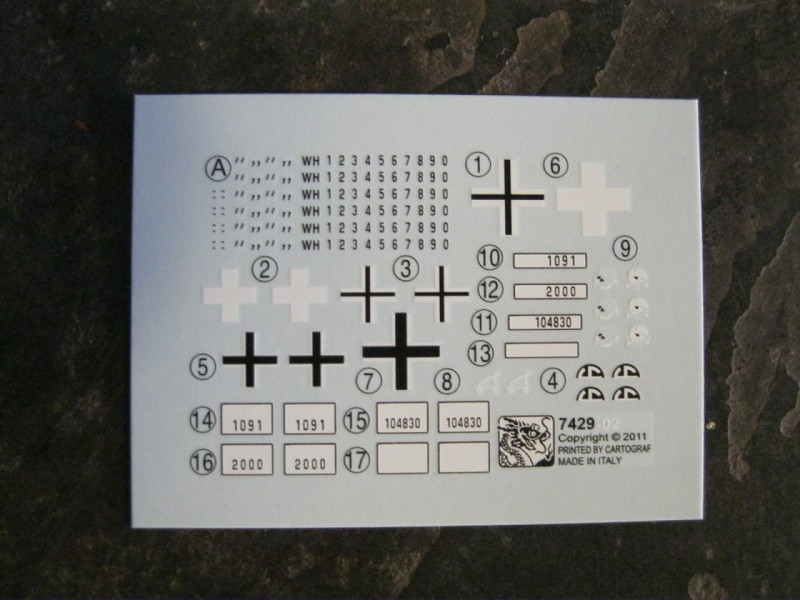
A small decal sheet is included with appropriate license plates and Balkenkreuz markings for four separate vehicles from early- to mid-war. They are printed by Cartograf and are clearly detailed.
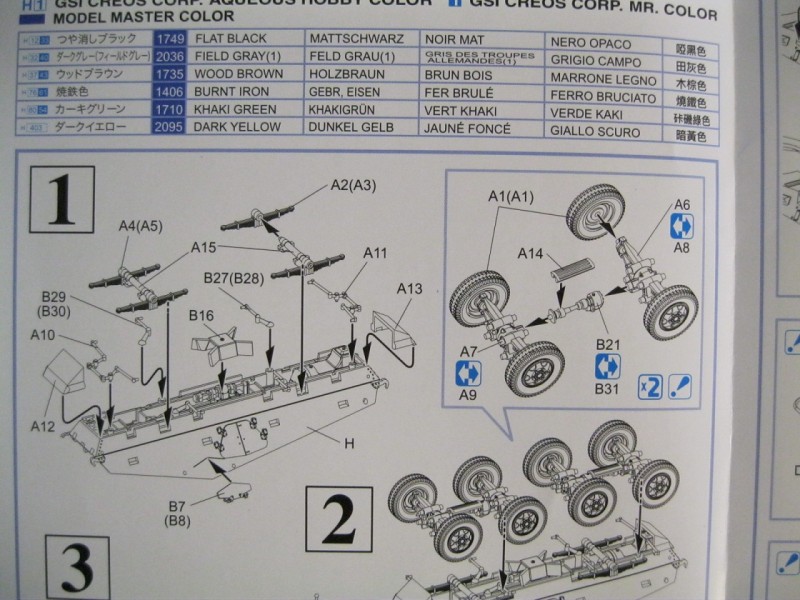
The pamphlet-style instructions consist of six construction steps with small side boxes for detail assembly. Paint colors are provided in a chart with colors called out specifically for GSI Creos Aqueous Hobby Color, Mr. Color and Testors Model Master color enamels.
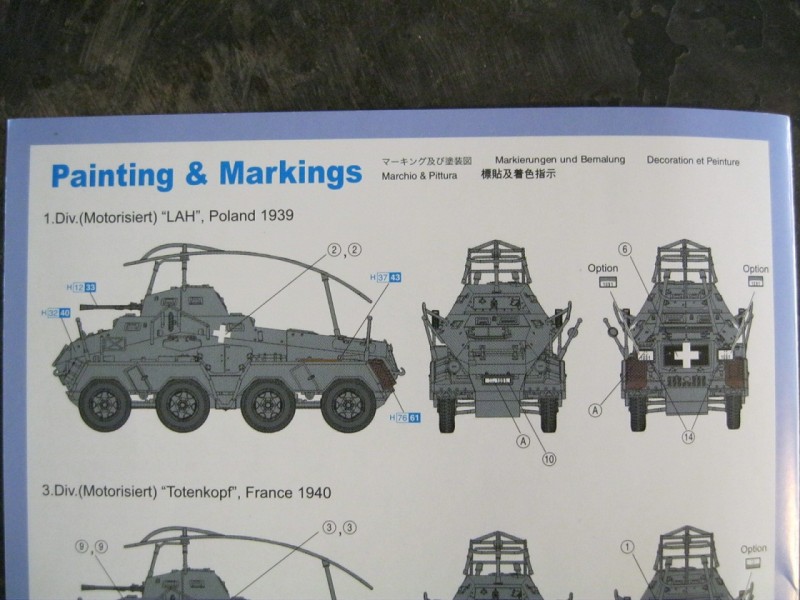
Four full-color paint schemes are provided in the instructions. They are for the following vehicles:
1.Div (Motorisiert) LAH, Poland, 1939, overall dark gray with plain white Balkenkreuz.
3.Div. (Motorisiert) Totenkopf, France, 1940, overall dark gray with thin black and white Balkenkreuz.
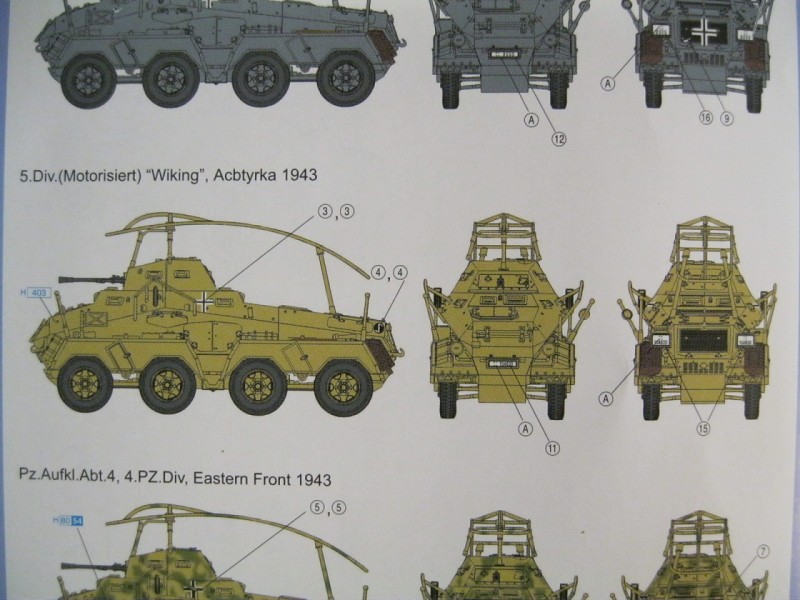
5.Div (Motorisiert) "Wiking", Acbtyrka, 1943 overall dark yellow, thin black and white Balkenkruez.
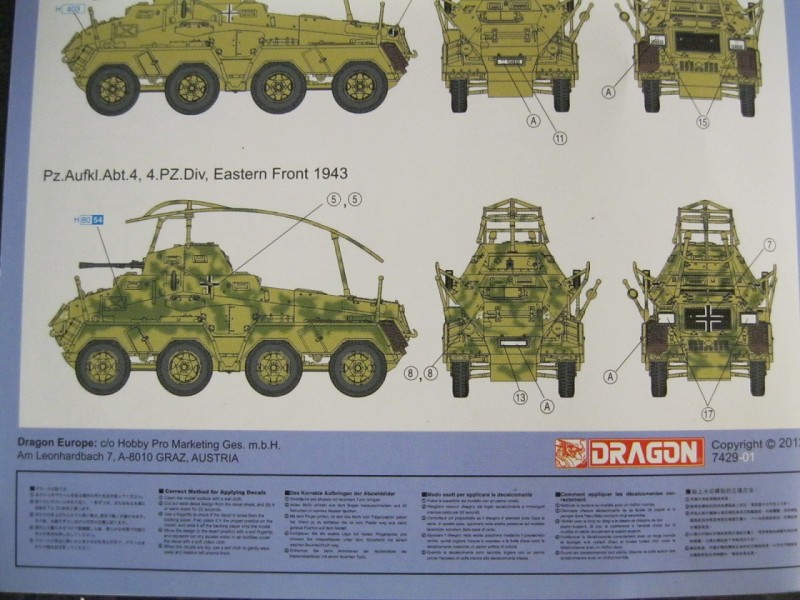
Pz.Aufkl, Abt.4, 4 Pz. Div. Eastern Front 1943, dark yellow base with olive green overspray, thicker black with white outline Balkenkreuz.
build review
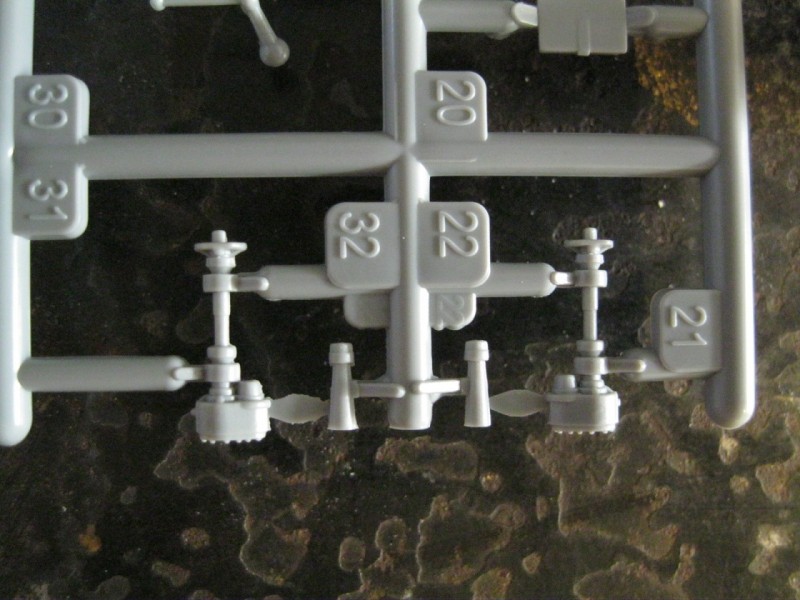
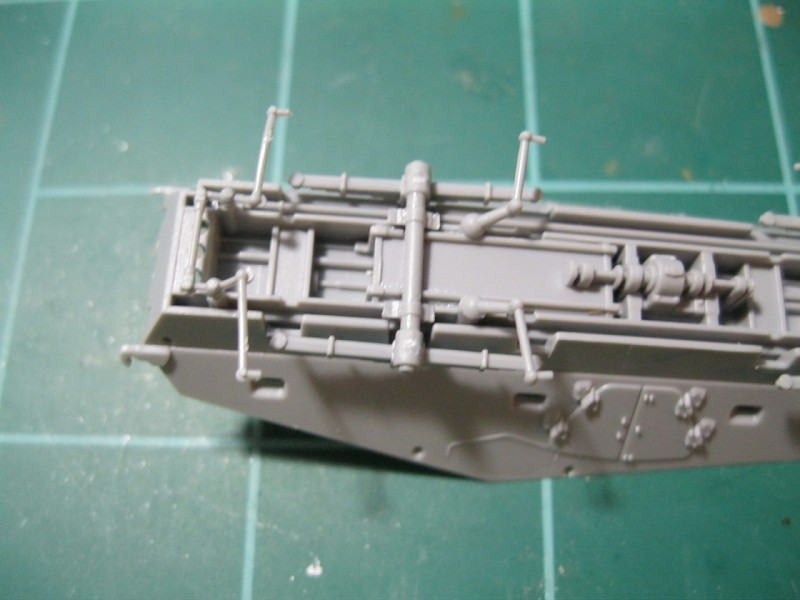
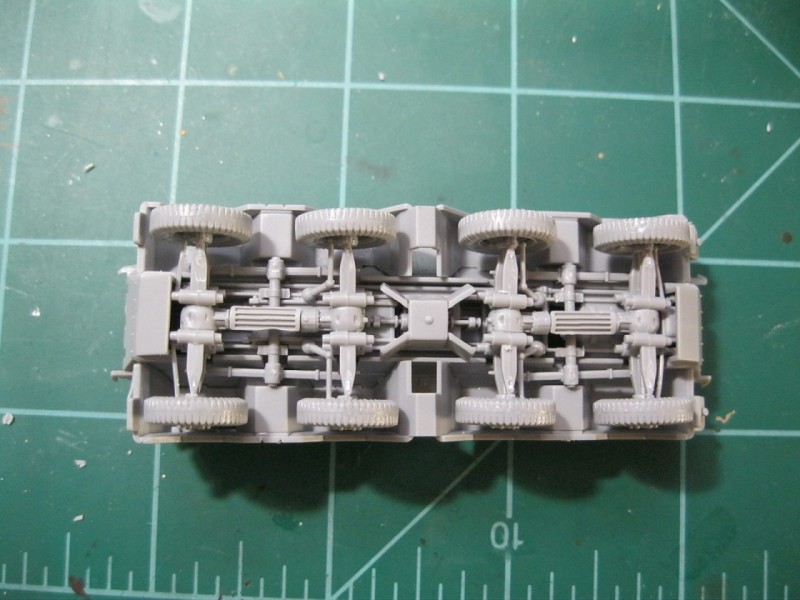
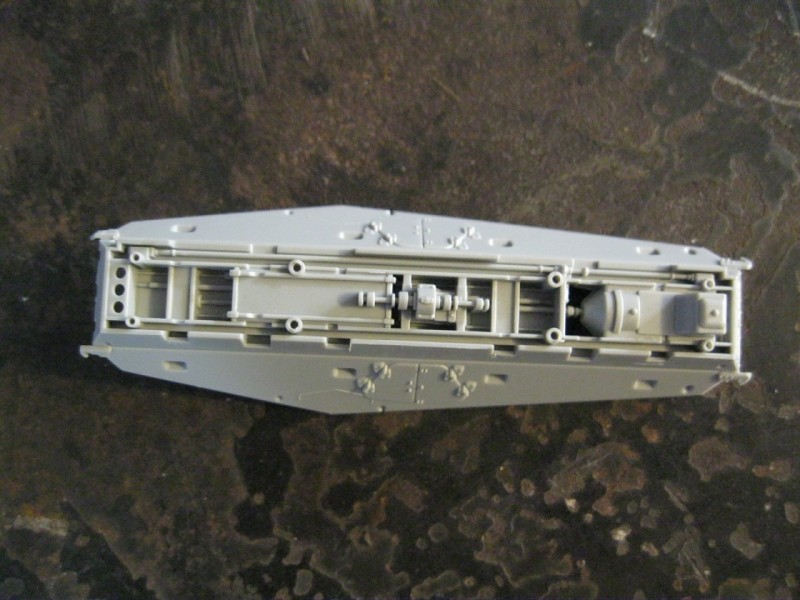
As I was sick with the flu and had time to kill, I jumped on the kit to see how it would go together. Step one is the assembly of the underside details: leaf-spring suspension and steering. The steering rods will attach to the suspension assemblies in step 2, so they shouldn't be left sitting too long before you continue with the build. I didn't encounter any problem in this step, but check to make sure everything is facing the right direction.
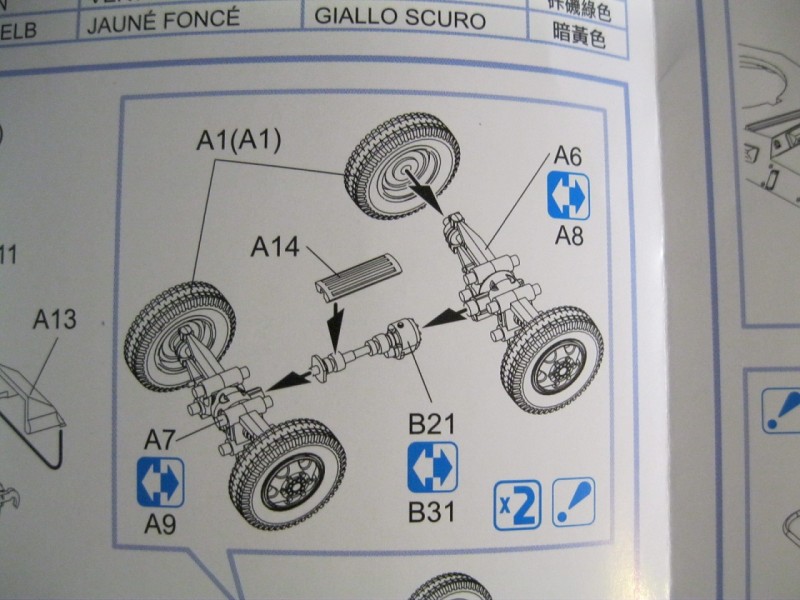
Step 2 shows parts of each assembly as optional. I think they meant to indicate a repeat assembly, as all parts are needed. A7, B21 and A6 are for one end, and parts A9, B31 and A8 are for the other. The drive shaft parts (B31 and 31) are tooled specifically to mate to parts A6 and A8, which have two locator pin points on them. The locator pin attachment to parts A7 and 9 isn't a great fit, but it does go in flush. Again, check alignment. Once they were set up, I attached them to the steering arms. You may need to drill out the locator pin holes on the axles to help seat the steering arms. The locator pins for the wheels are undersized, so setting the wheels may also require some care in getting things aligned. The tires themselves have excellent wheel detail, but the tire tread looked flat and a little undefined.
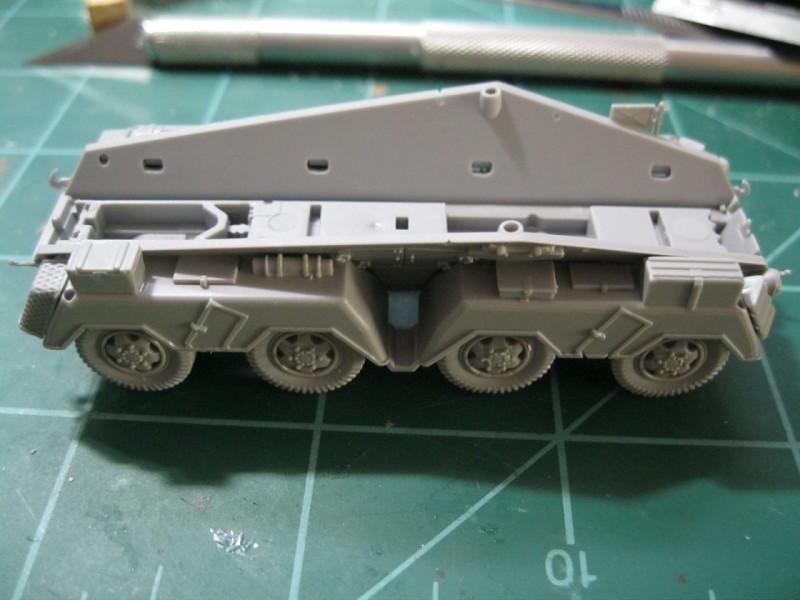
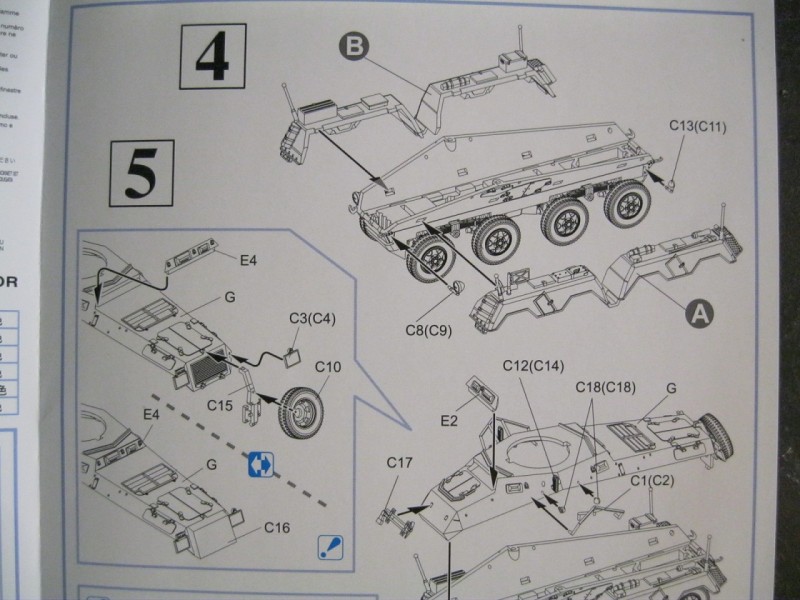
Step 3 is the assembly of the fenders. Attachment points for the tool boxes and other accessories that go on the fender tops are different for each side, a very nice touch to prevent you from putting the parts on the wrong fender and foiling my occasional dyslexia.
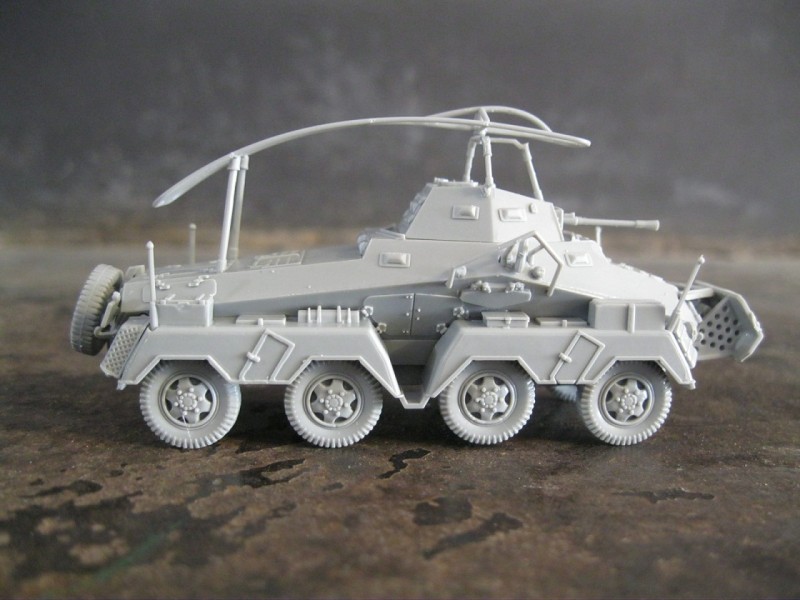
Step 4 attaches the fenders to the vehicle sides. If you wait, as I did, to put the wheels on until after these were attached, there is still plenty of room for the wheels to go. However, fit of the head and tail lights is fiddly either way.
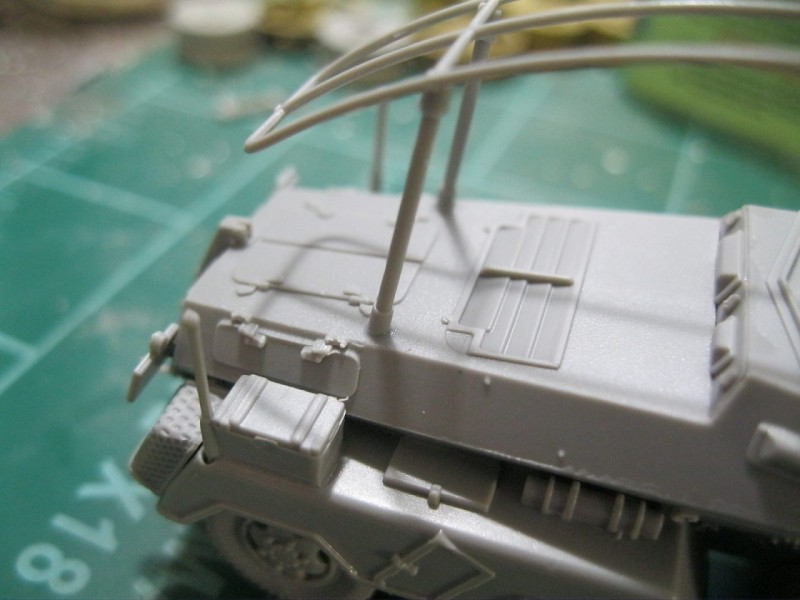
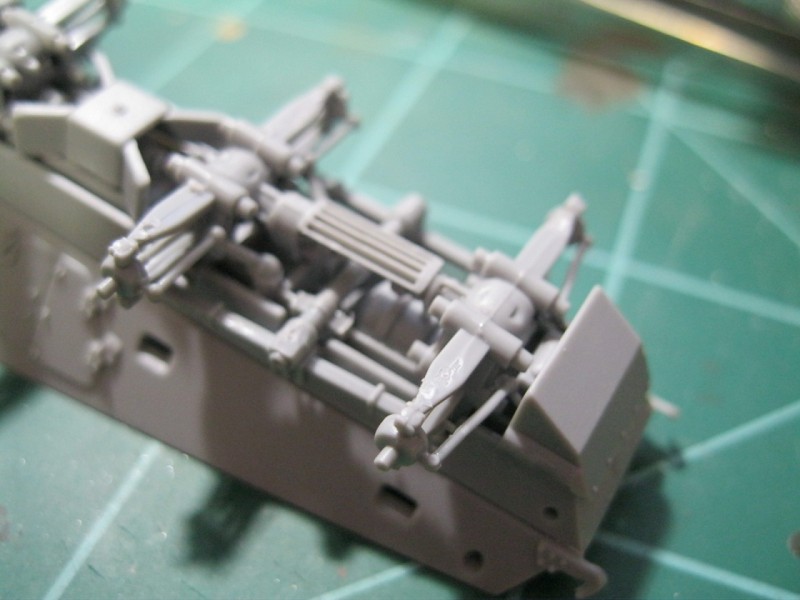
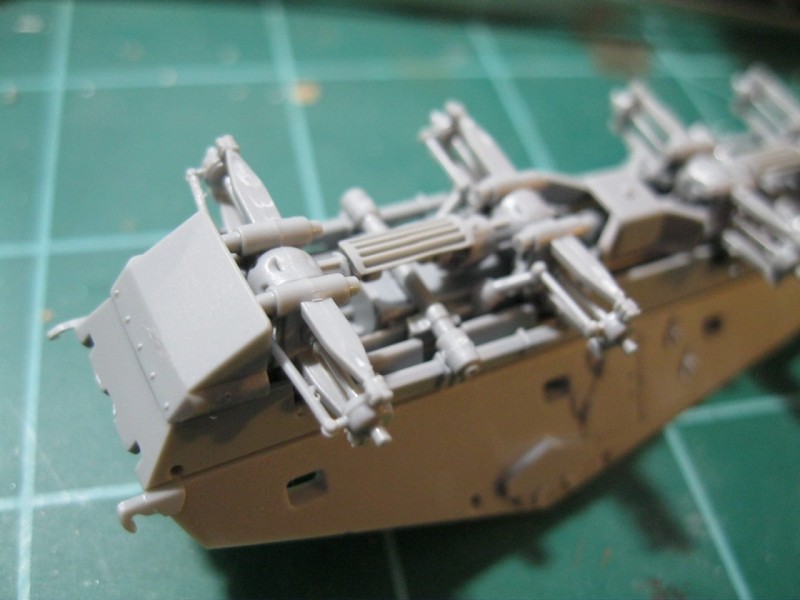
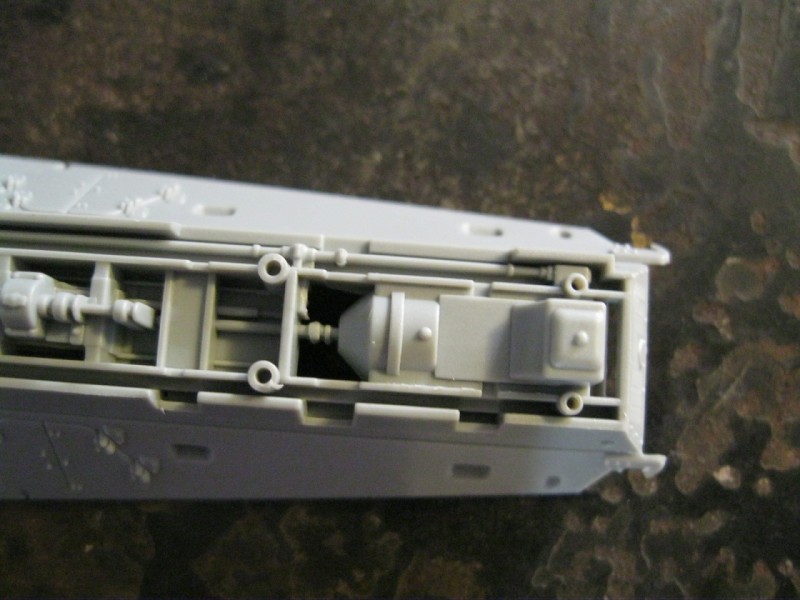
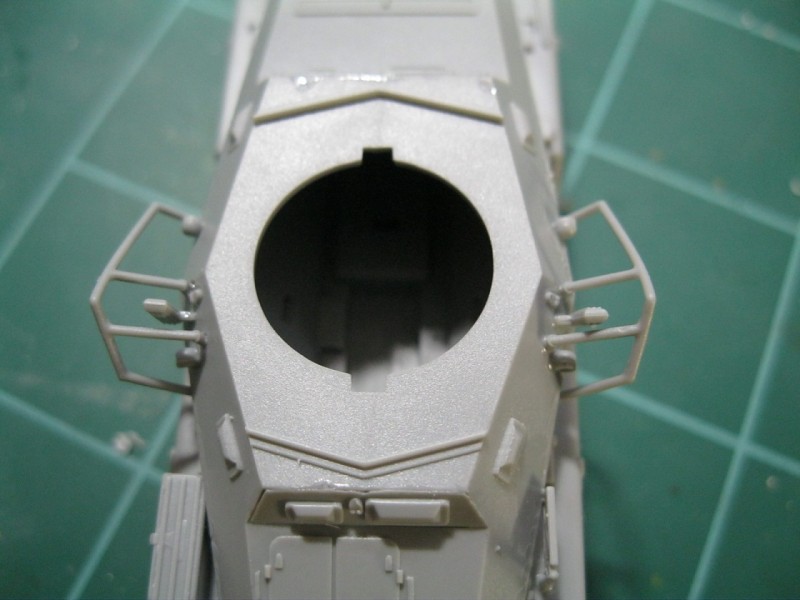
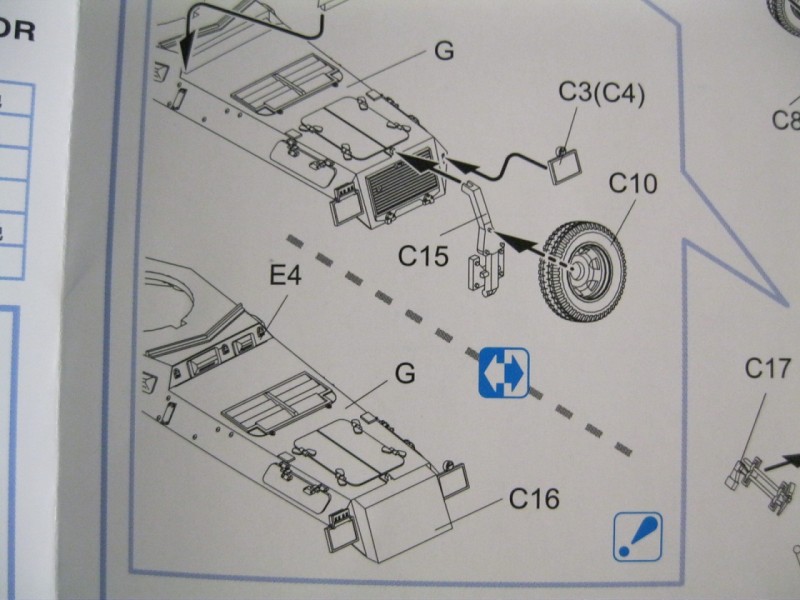
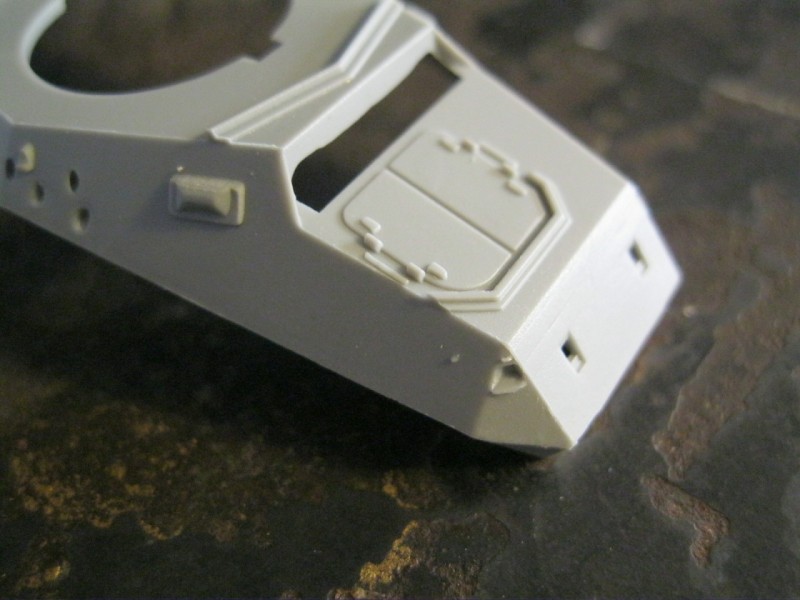
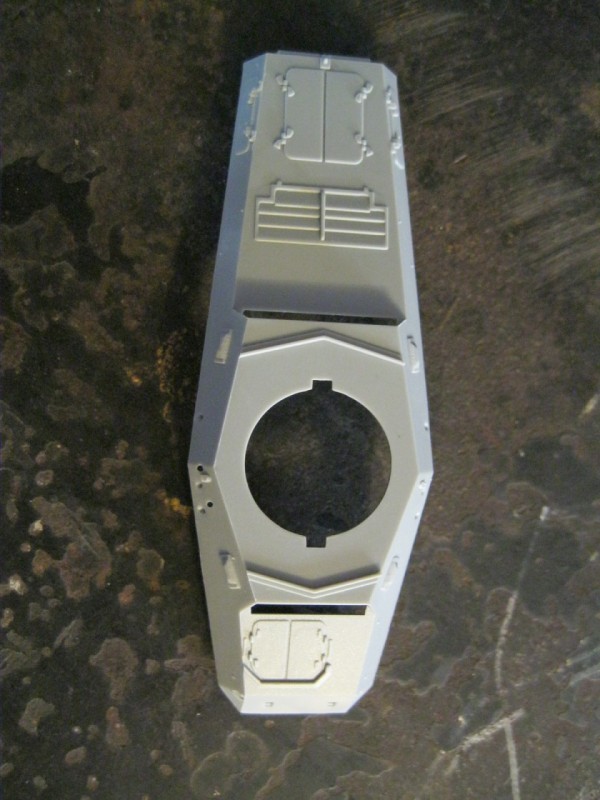
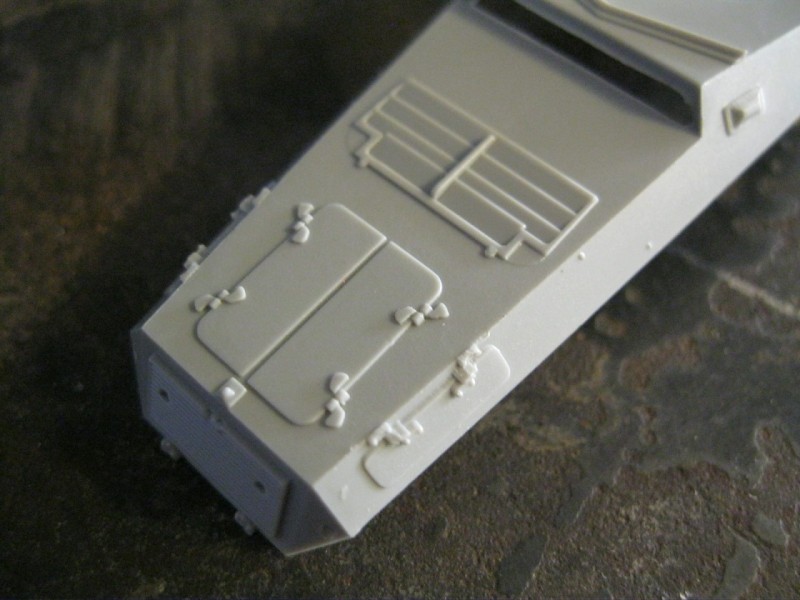
Step 5 assembles the upper hull with vision ports, license/data placards, mirrors and pioneer tools. There is an option here of open rear intake with spare tire covering, or what appears to be an armored cover over the rear intake. The upper hull is then mated to the lower hull. I did find that adding the side frames was a little tricky. One side of the hull has locator holes for the pins on the two inner arms to aid in placement. But the other side lacked locator holes. Rather than guess and try to drill holes, I trimmed off the locator pins on the other frame until I had the fit I wanted.
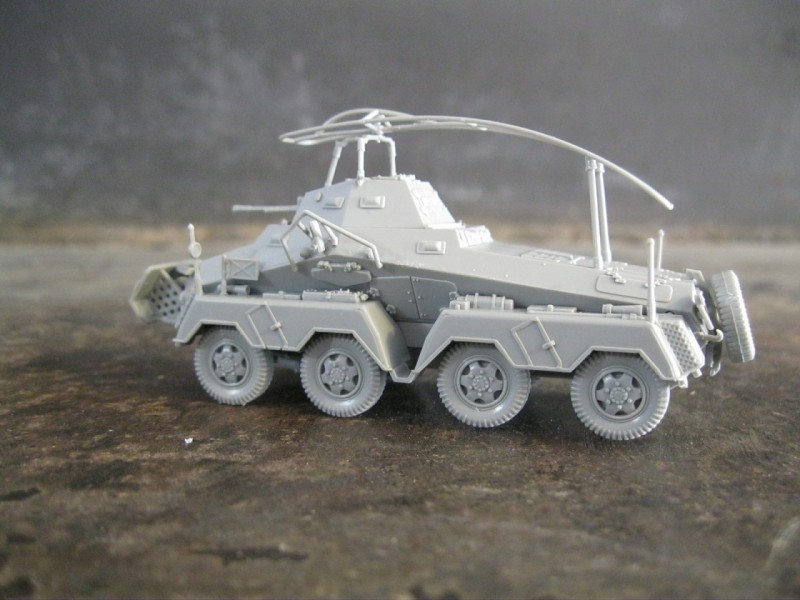
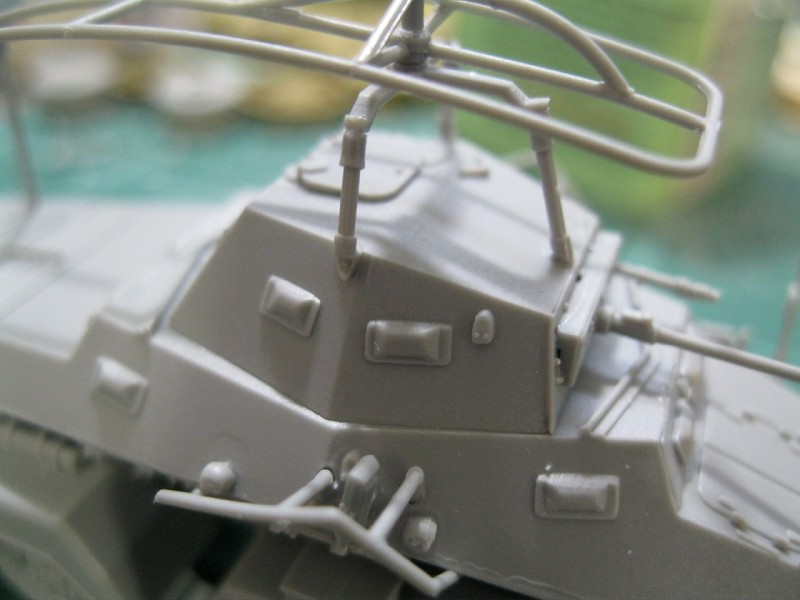
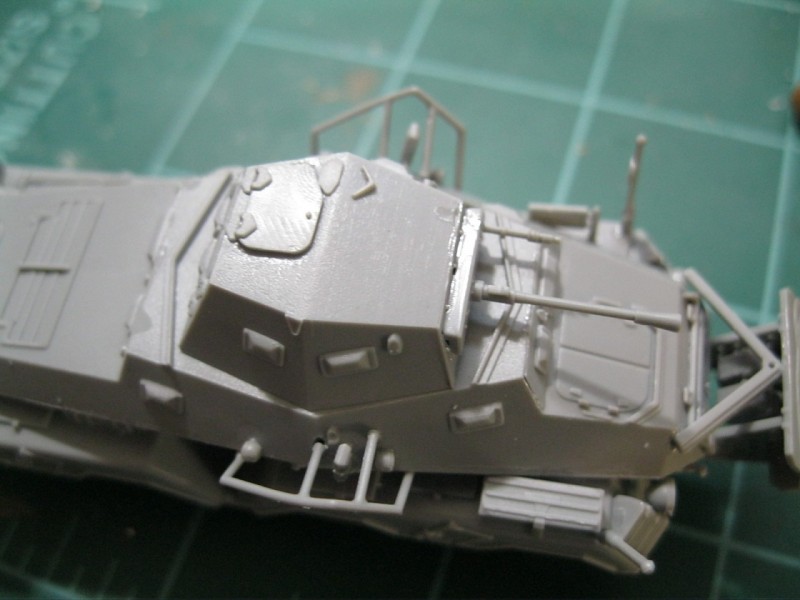
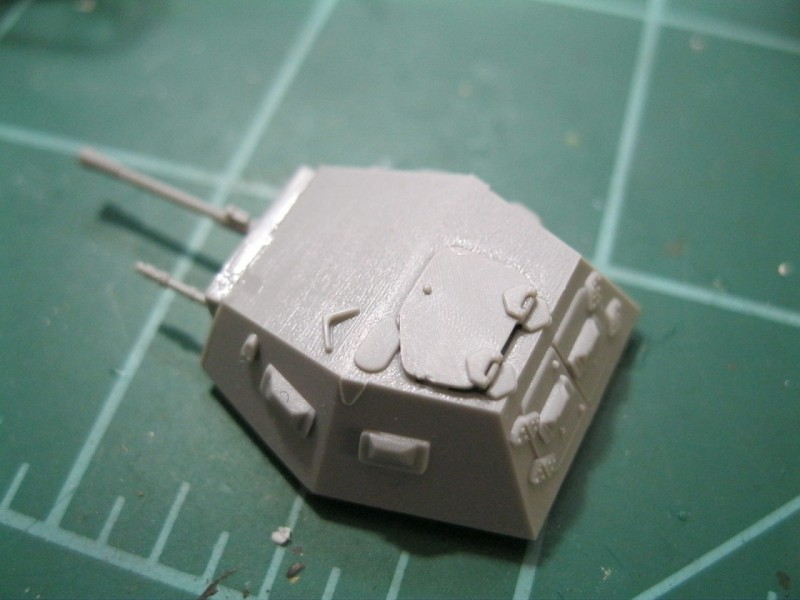
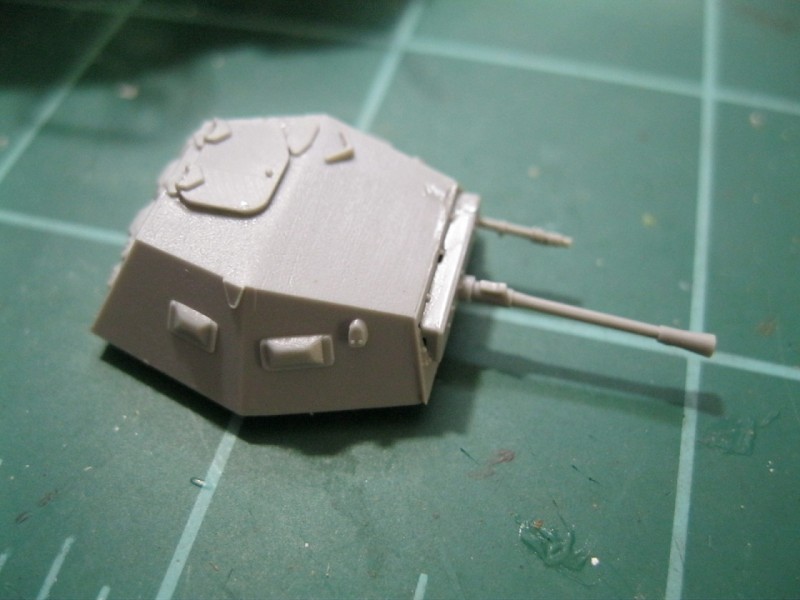
Step 6 assembles the turret, antenna frame and stand-off armor section. The turret went together without any fuss, although the end of the MG34 barrel was too long and needed some trimming. There is some detail on the inside of the turret hatch if you can find a figure small enough to fit in the opening. Fitting it to the hull was difficult and very tight. The antenna frame was somewhat fiddly, and broke in one section during removal, though it was easily glued. I assembled the main frame, then the smaller section that attaches to the turret. Contrary to the instructions, there is no base plate molded to the top of the turret for the front leg to attach to.
Once the front support was in place, I added the main frame. The two rear supports were placed by best guestimate. as there was no indicated spot on the surface of the kit, though (again) the instructions appear to show a base plate on the surface of the vehicle. This assembly took a little patience. If left unglued, the turret will rotate freely under the antenna (if you can get it to turn).
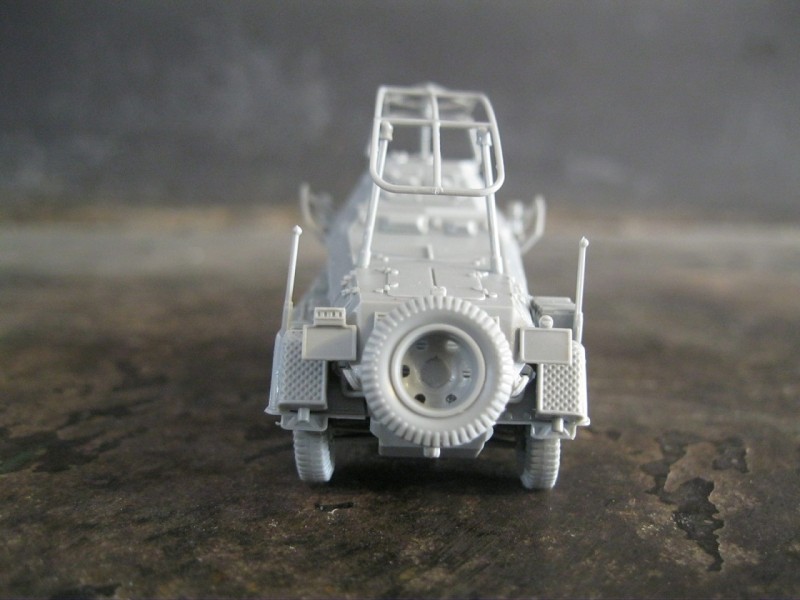
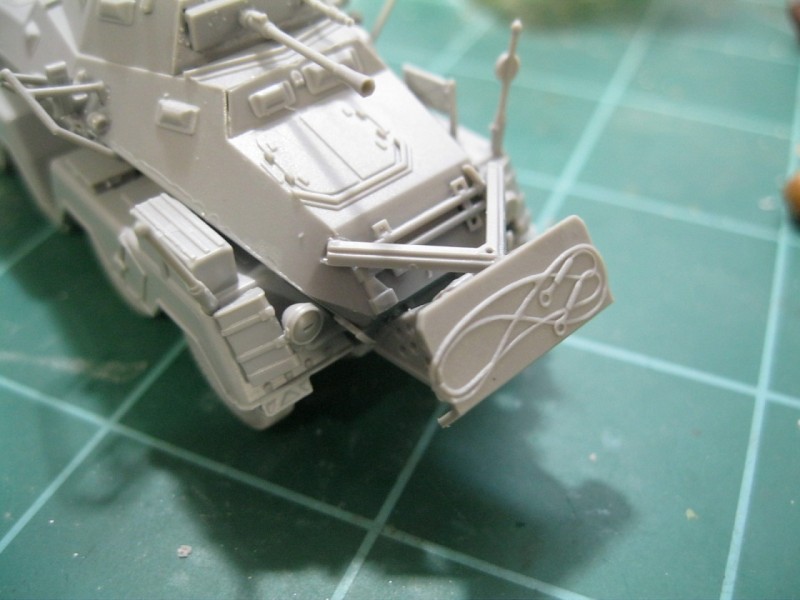
The stand-off armor section again assembled easily, but the top brace didn't fit well against the hull. The instructions show molded-on tabs at the two ends that fit into recesses on the body. These were not present on the actual part. In place, it also bumps into the pioneer tools, specifically the shovel head. The two jerry cans provided also have little detail on them. The handles are molded solid.
On a side note, none of the painting & decal options shows the stand-off armor installed. I had no reference source that I could verify the vehicle information with (Acbtyrka didn't even show up in a Google search), so if you build for accuracy, check references.
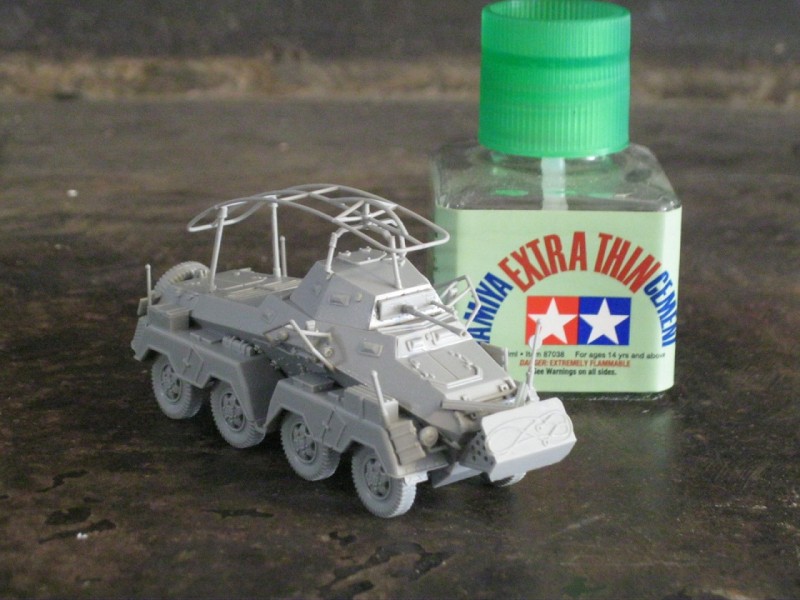
With that part added, the kit assembly is complete. No major issues, just a couple of minor things that were relatively simple to resolve.
conclusion
This would be a good project for a younger modeler, as long as they had some help with the suspension and antenna. It would be a good travel kit, as it is compact and easily transported. The completed kit is fairly small, but still has excellent detail to show. If you are a fan of German armor, unique vehicles, or anything else that is fascinatingly ugly (this vehicle makes me think of a warthog with the forward-canted, top-heavy appearance on little legs), this kit is for you.
Thanks to Dragon USA for providing this review kit. Be sure to say you saw it reviewed here when ordering.


Comments