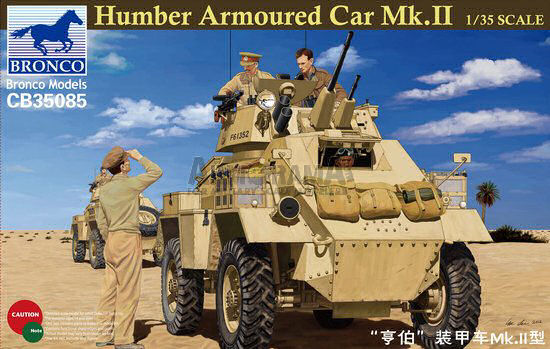
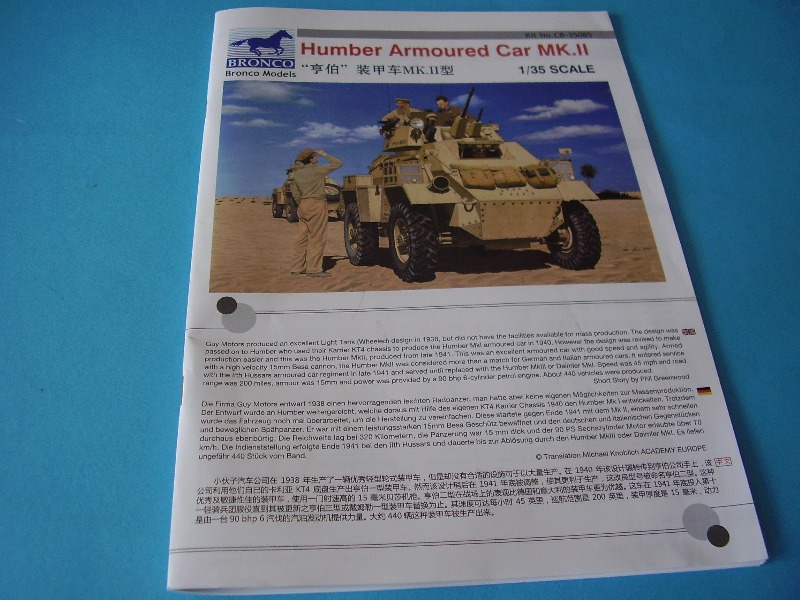
history
In 1939 the War Office offered tenders to motor manufacturers for a four wheeled drive armoured car. The Birmingham Small Arms company, who were working on the Daimler Scout Car, showed interest but problems with the development of the Daimler and bombing raids in 1941 caused a few problems. The Rootes Group also expressed an interest and in October 1939 they were asked to develop a chassis for a Tank, Light (Wheeled) Mark III in cooperation with Woolwich Arsenal and Guy Motors.
Karrier Motors of Luton in Bedfordshire, England were a subsidiary of the Roots Group and had a long history of military vehicle production, but Guy Motors had the rotary jig equipment for welding the hulls and turrets and it was impossible at that time to move the equipment . So it was agreed that once Guys armoured cars was complete they would modify the jig to take the assembly for Karriers AFV s and continued producing these throughout the war. These were then sent on by rail to Luton for final assembly.
If the original designation of Tank, Light (wheeled) Mk III had been kept, Karrier would probably have received more recognition for their work, but you can imagine the confusion another Karrier named vehicle might cause with all the Bren, Scout , Cavalry, Universal etc carriers about. So unlike normal practice of naming armoured cars after their manufacturer Roots opted to name the vehicle after their best known motor manufacturer; Humber of Coventry, and so the Humber Armoured Car Mk I was born.
At this point Im not concerned with the Mk I other than to say that externally it resembled the Guy Mk IA and as with all vehicle production the Mk I underwent some modifications along the way. It went into service in June 1941 and arrived in Egypt in September 1941 where it served until the end of 1942.
Karrier (aka Humber) built around 300 Mk I's but even before these had been produced work had already started on the design for an improved vehicle. The hull which Humber had inherited from Guy was a complex assembly with many small plates to tack weld together before final welding could be done. It also had too many vertical faces and the exposed drivers cab proved to be a very tempting target for the enemy gunners. The original hull had been designed as a riveted hull and did not take full advantage of welding construction methods available. It was therefore decided that of the original 500 Mk Is ordered the remaining 200 would be built to a better design Tank, Light (Wheeled) Mk IV aka the Humber Mk II. The original order for the 500 Mk Is was placed in July 1940 presumably with Guy but a month later an order for 200 hulls to the new design was placed with Braithwaite and Company who were most probably a sub contractor of Guy Motors.
Why is all this of interest you might ask, it is because the revised hull of the Mk II went on to be used for all subsequent Mks of the vehicle. There were detailed changes made to the stowage and fitting of the later Humber Mk III and Mk IV, but the basic hull remained the same.
The MK II was designed to simplify production and improve the protection of the crew. The vertical plates of the Mk I were eliminated and the only points shared with the original were the chassis mountings and turret ring. The sloping glacis plate was extended to the roof and a recess cut into it for the drivers visor. The upper side of the armour was extended forwards thus enclosing the driving compartment and bring him within the protection of the main hull. The disadvantage of this was that the driver could become trapped being able to use only the hull side doors or turret hatch to escape, as exit through the visor opening was now blocked. Escape through the turret hatches was only possible if the traverse was between 11 oclock and 1 oclock. The drivers vision was also more restricted and the need to rely on the Commanders steering instructions increased.
The fighting compartment of the Mk II was more spacious, the rear of the vehicle was completely redesigned to improve airflow around the engine and the reverse driving vision arrangements were improved. The whole engine deck was raise by a hydraulic pump and as the engine deck rose it now opened the bulkhead port with it by means of a chain pulling the flap upwards and outwards.
The turret fop the Mk II was identical to that of the Mk I and although a little heavier than the Mk I weighing in at 7.1 ton the speed and range of the vehicle remained the same. Armour was 15mm all round and the vehicle was armed with two Besa MGs (15mm and 7.62mm) , a Bren gun, and two 4 inch smoke bomb throwers.
Acknowledgements need to be made here as the bulk of this information came from previous publications of Tankette in 1989/1990 serial 25/3 and 25/1 specifically. George Moore and Dick Harley did a series of detailed reports on the Humber Armoured Car Mks and I have drawn on their knowledge and expertise for this brief opening summary. Peter Brown also contributed to the articles adding useful date regarding AFV contracts.
If you come across these old publications 24/6 1989, 25/1, 25/2, 25/3, 25/4, 25/6 1990 then they contain a wealth of data. I dont have 25/5 but I assume there is another Humber article in that one too.
Special thanks are included in the box to Ryan Gill, Jim Burrill and George Moor for their assistance in the project . A link to Jim Burrills Public Gallery Photo Album is provided for good reference photos.
So...whats inside the box?
The Kit
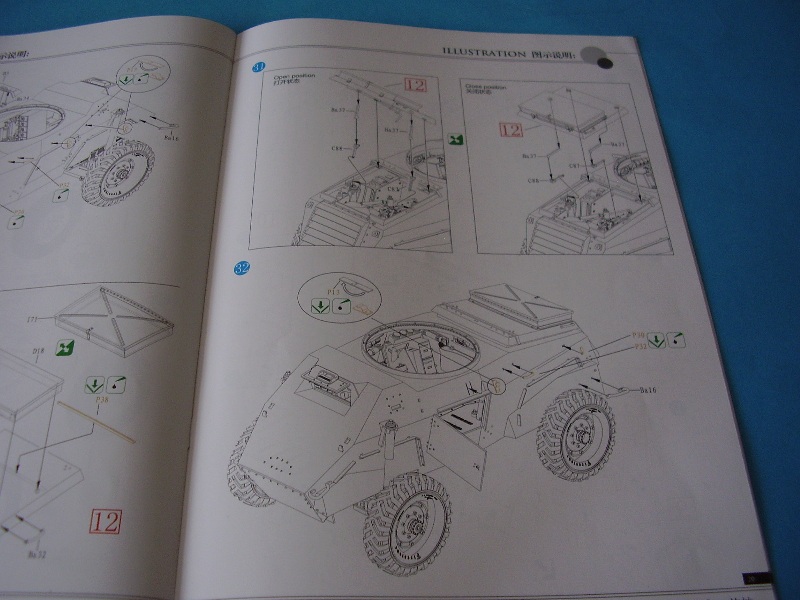
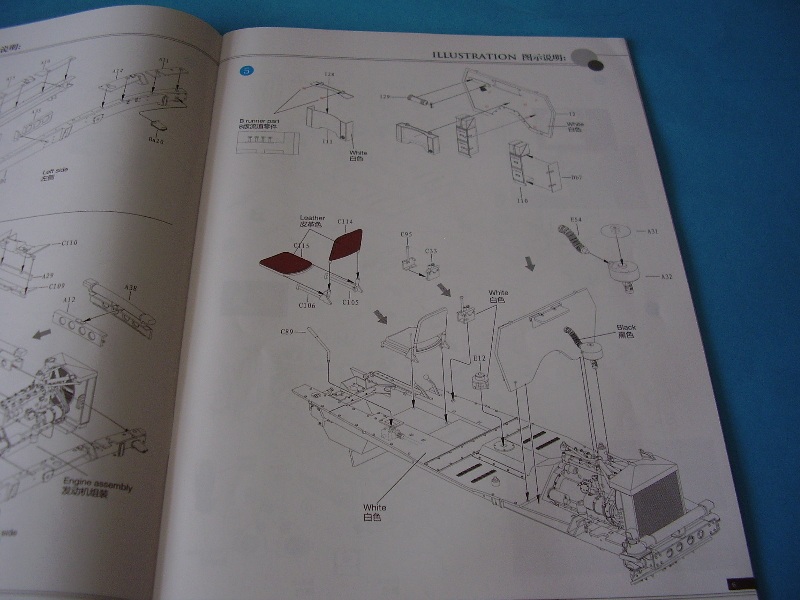
Included in the kit is a 36 page colour booklet of instructions detailing the 55 steps to build the model and 4 pages of painting references. The booklet is of extremely high quality and the steps laid out in the exploded picture format.
It is worth saying at the start that this is a highly detailed kit, giving a full interior with engine and consists of many small and detailed parts. Not your shake and bake weekend kit but one you will need to spend some time on.
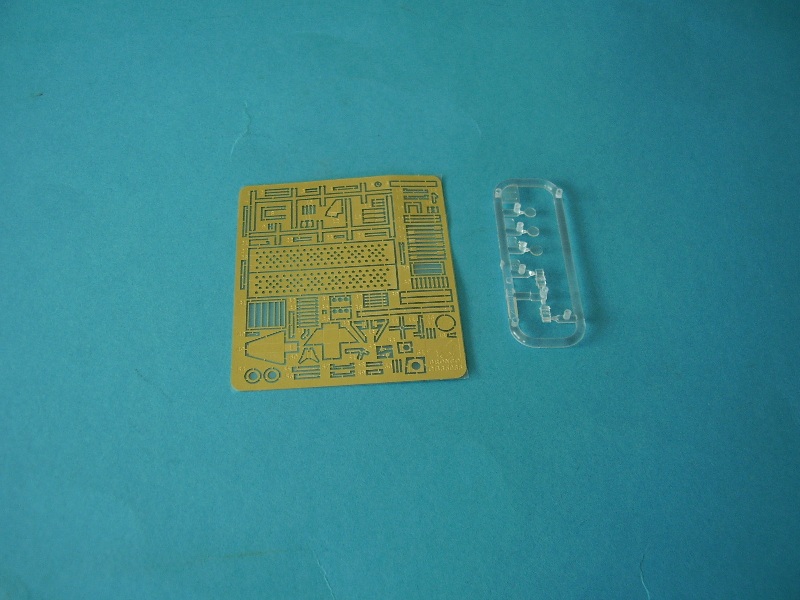
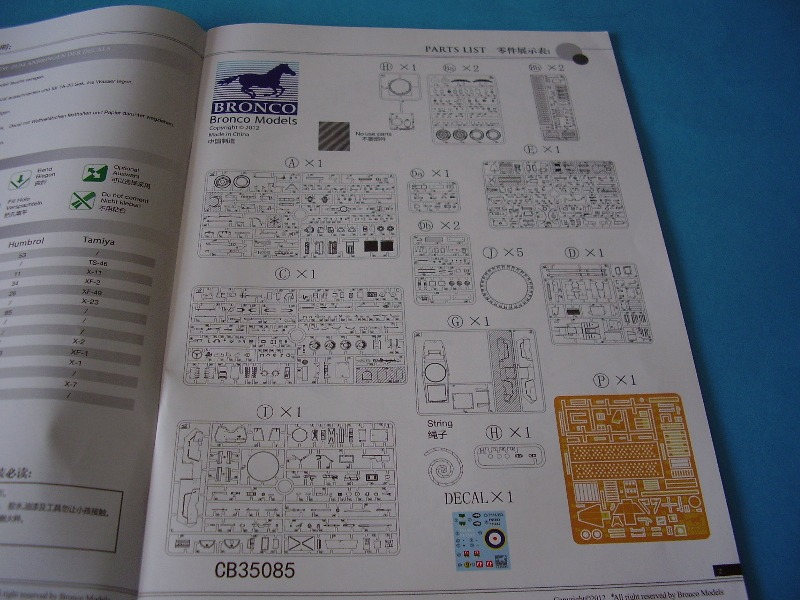
The box contains 10 sealed bags of parts in a desert colour plastic, the instructions, a decal sheet, PE fret, full colour picture of the box art and a page of acknowledgements and possible reference sources plus some rope (thread), and clear plastic parts.
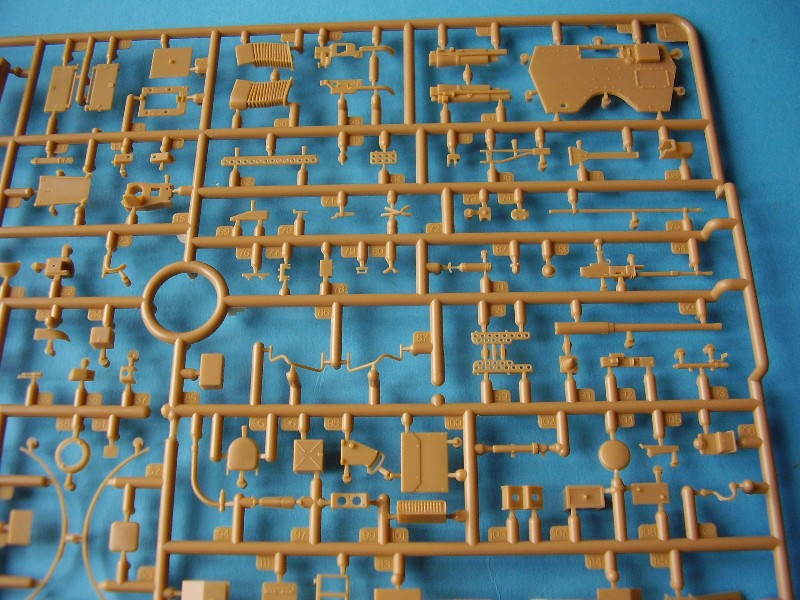
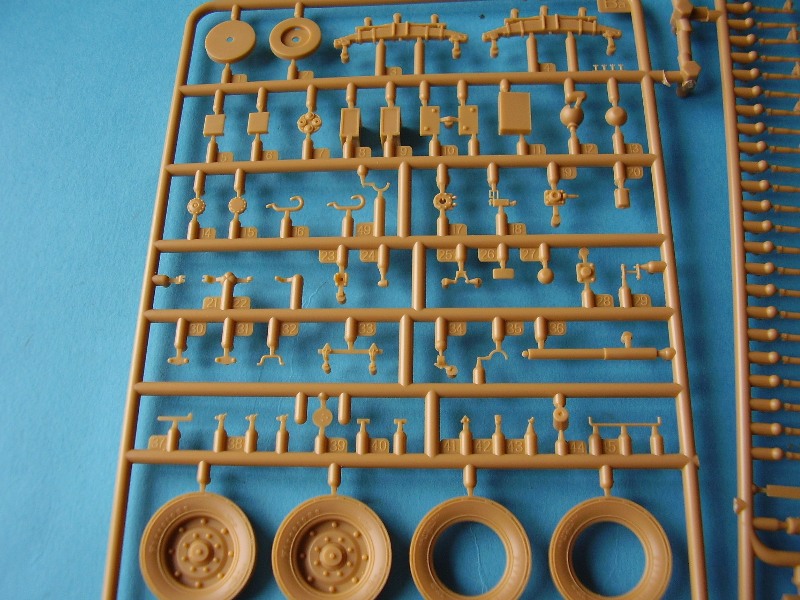
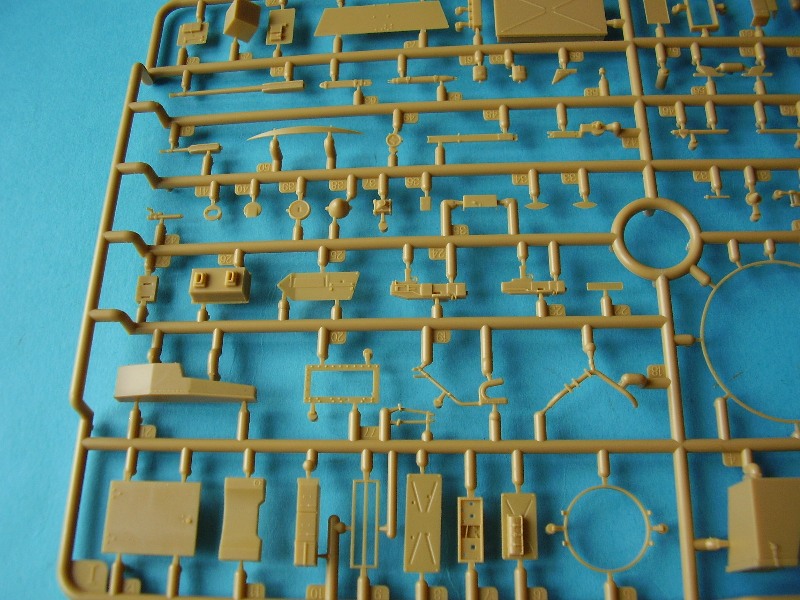
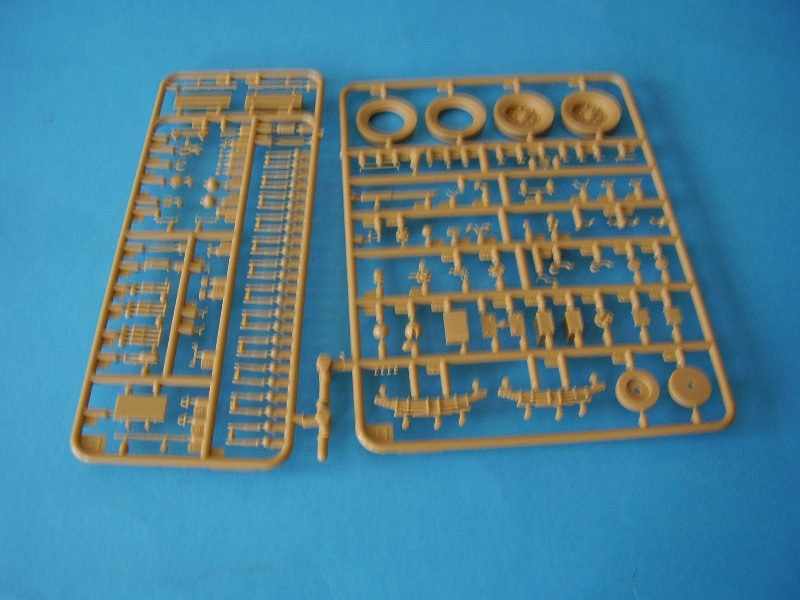
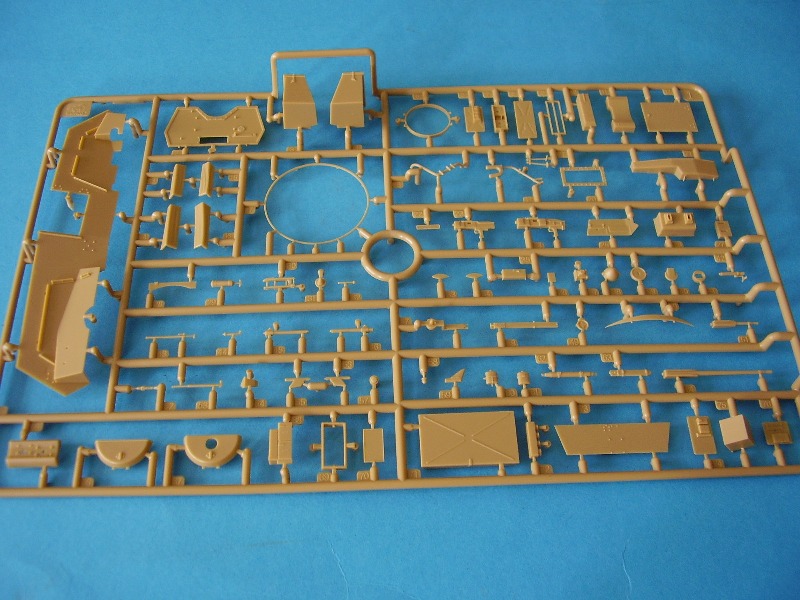
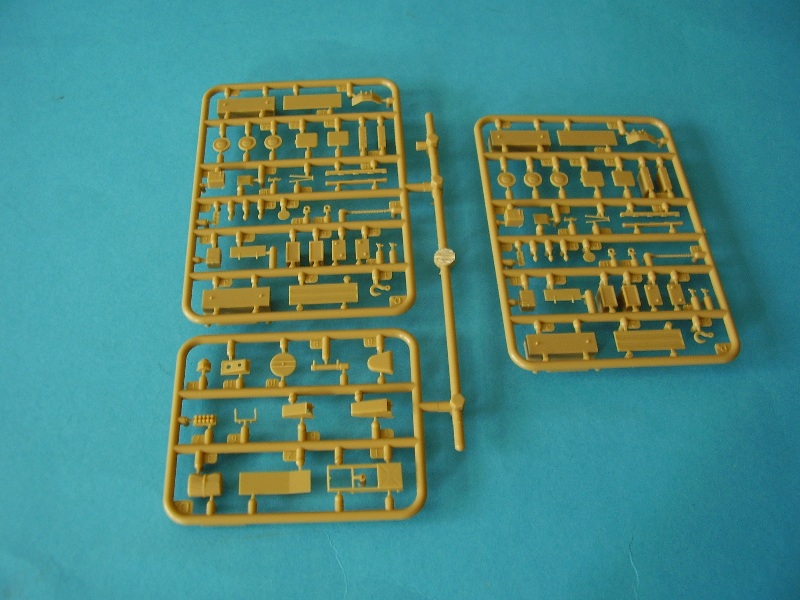
Sprue A x 1
This contains the parts for the engine, radiator and axles for the kit. Plus part of the sub frame for the chassis. The parts are highly detailed. There are one or two ejection marks on the sub frame (parts A33/34) and a small seam on the axels but these should be easily cleaned up. There are quite a few small and delicate parts that will need careful removal. Lots of great detail here which should make for an interesting engine sub assembly.
Sprue Ba & Bb x 2
Ba is the wheel rims and part of the tyre, various boxes and small fittings whilst Bb has what looks to me to be some 37mm ammo probably from the Mk V, vehicle light fittings and more boxes. The tyres have the Firestone and two stamp markings. Again everything is very nicely detailed with more small parts for detail. This sprue also contains the leaf springs for the vehicle.
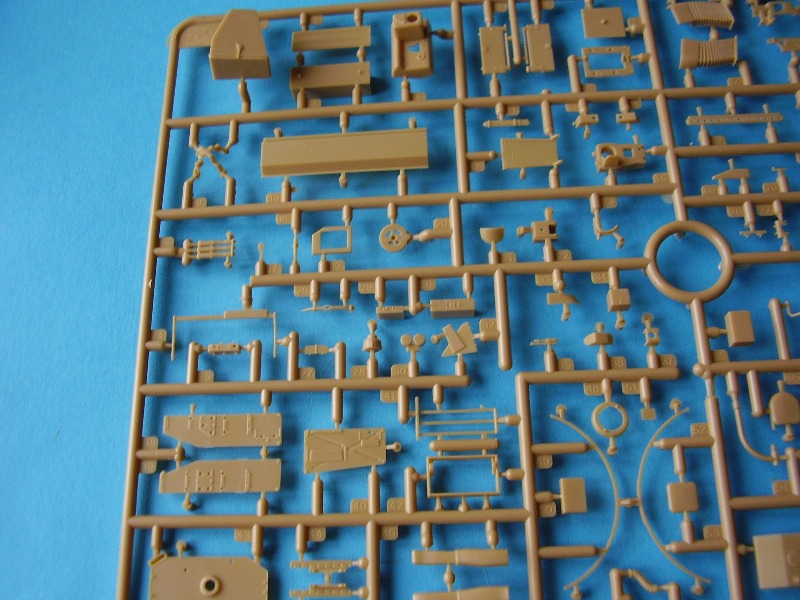
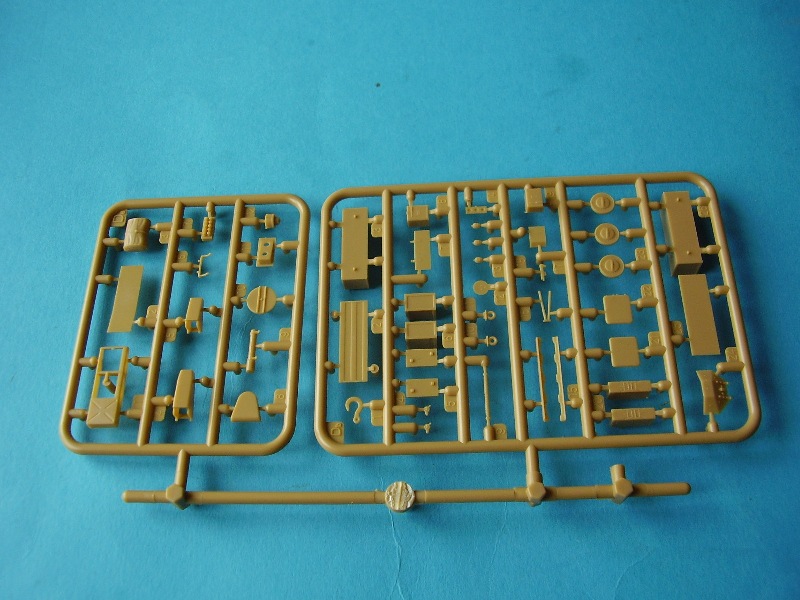
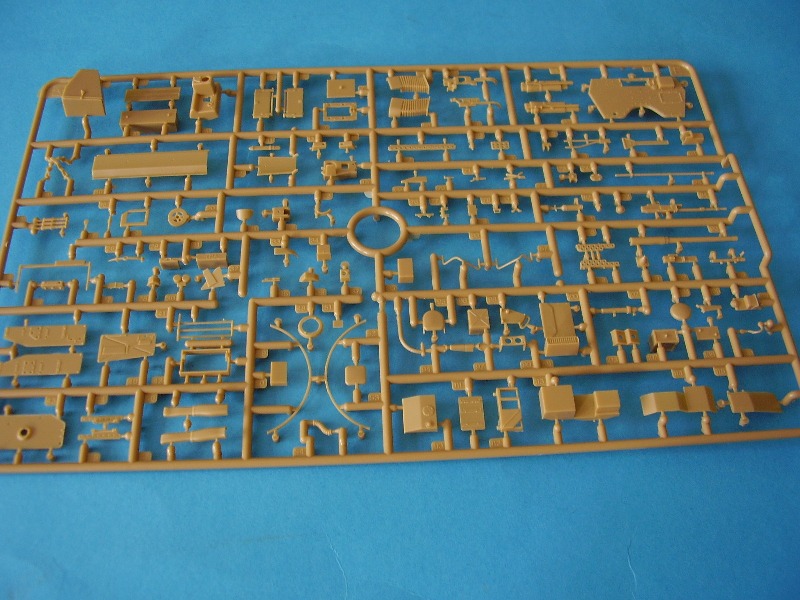
Sprue C x 1
This contains tools, Bren gun, No 19 radio parts, steering wheel and driver's seat plus a host of smaller detailed parts. These all look beautifully done, but as many are tiny be careful not to lose them to the carpet monster.
Sprue D
This holds more of the chassis sub frame, the floor of the armoured car, side fenders and the rear louver hatch. Various bins and parts. There are some ejection marks on the underside of the floor, but these should be easily fixed.
Sprue Da x 1
More small fixings and fitting
Sprue Db x 2
Ammo boxes for the MGs and more small detail.
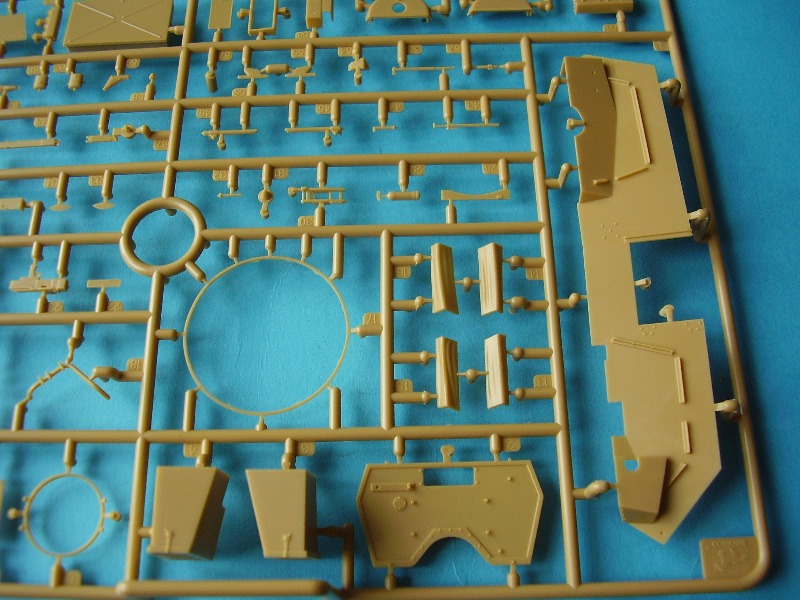
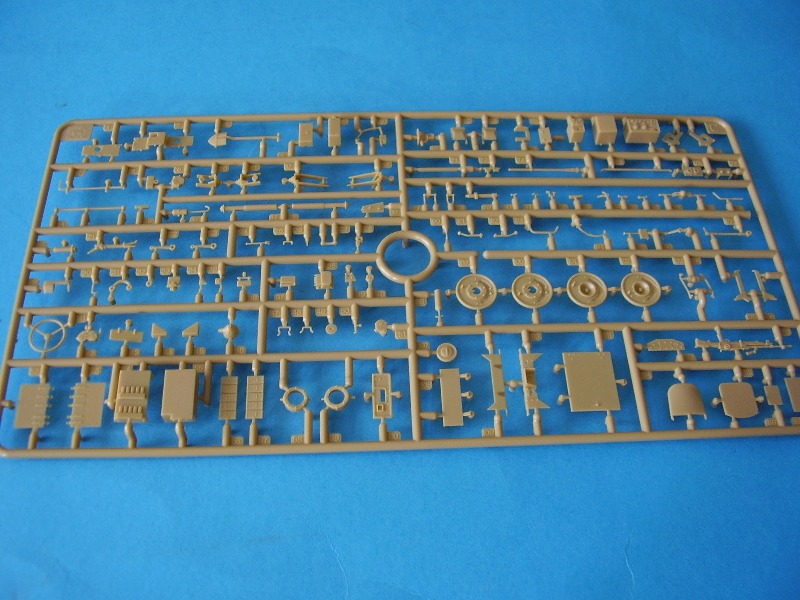
Sprue E x 1
Here you will find a 37mm Gun, left over from the Mk V and .7.92 Besa MG, gun mantle more tiny parts and various storage boxes. As on the other sprues many of the parts are quite delicate and will need careful handling.
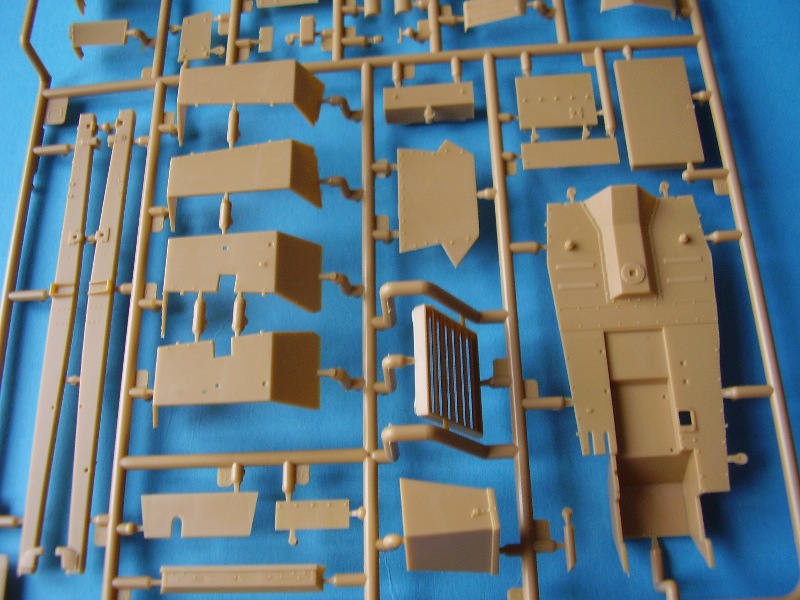
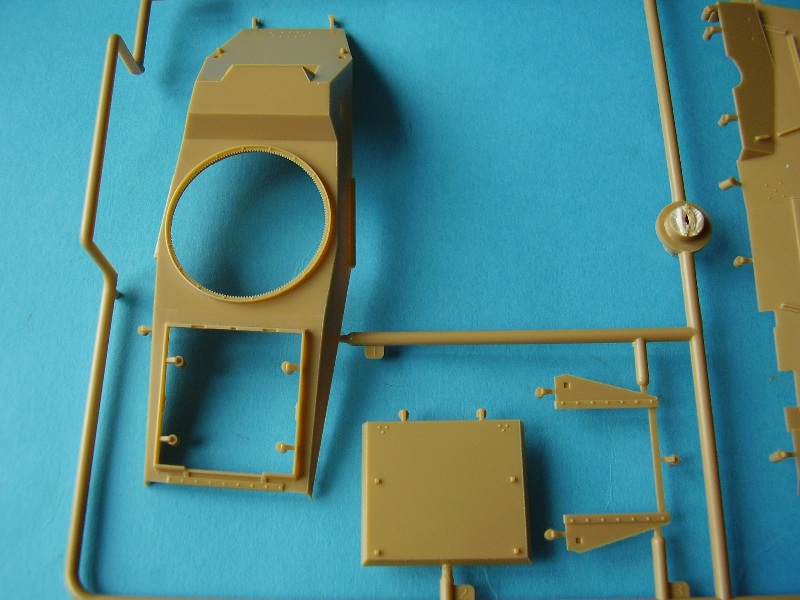
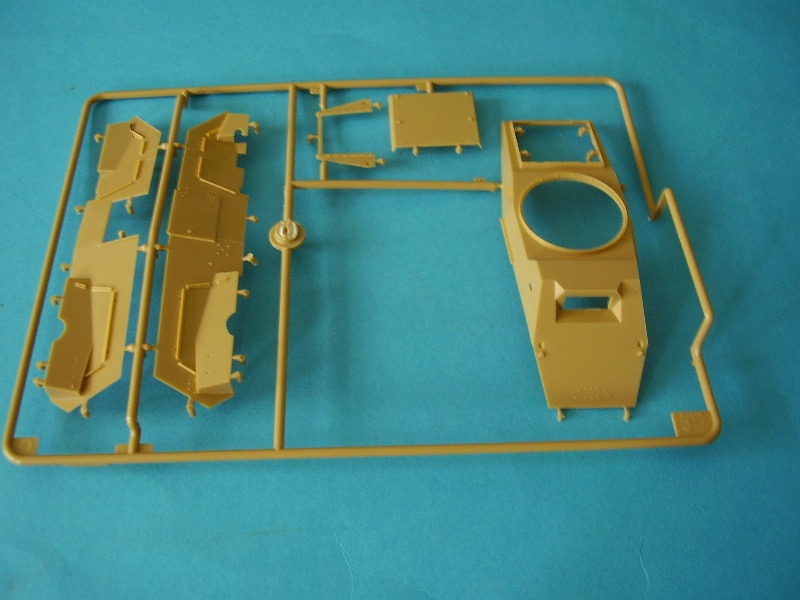
Sprue G x 1
This contains the upper side hull and top hull structure. You need the side structure I 1 and G 5 which allow you to build the vehicles with open side doors. Part G4 appears to be the same as Part I 1 (RHS upper hull) but G 4 has a closed door section. Id stick with the instruction guide here as G 4 probably needs further investigation.
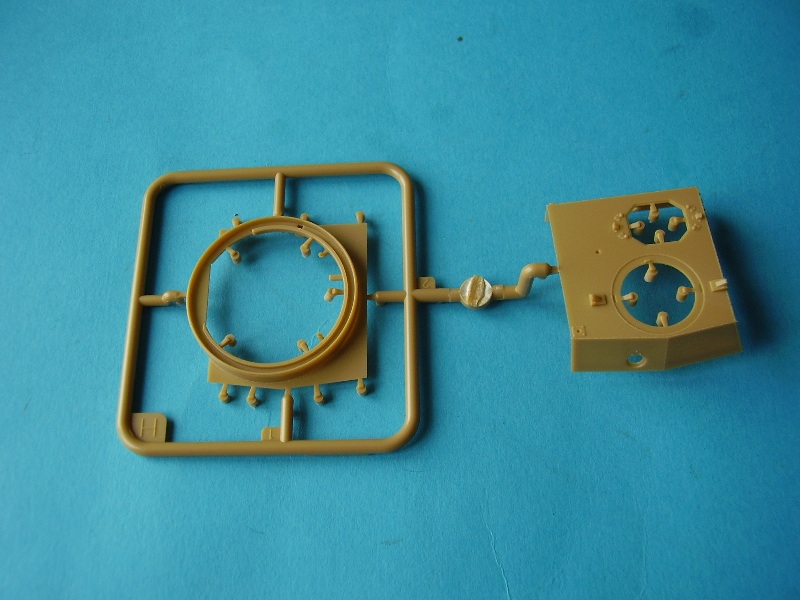
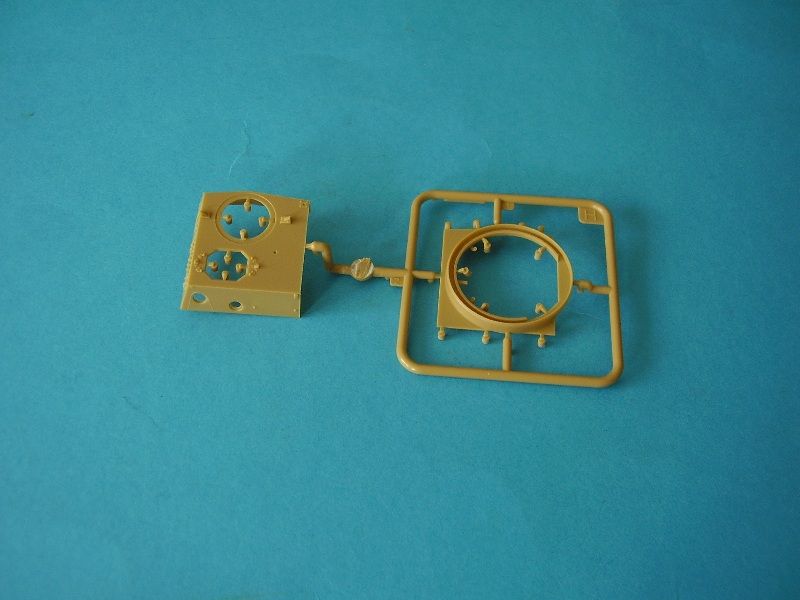
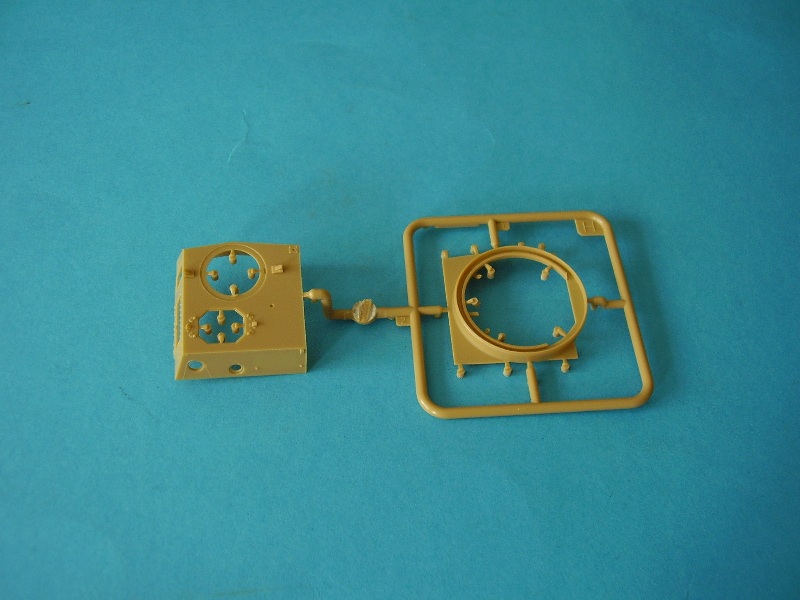
Sprue H1x 1
The turret ring and upper part of the turret are include here, again very nicely detailed.
Sprue H x 1
This has clear plastic parts of periscopes and lights.
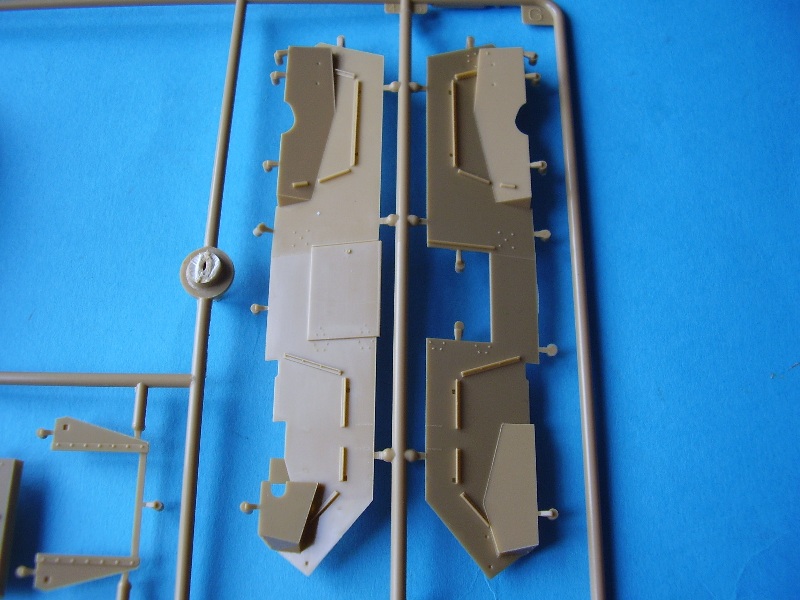
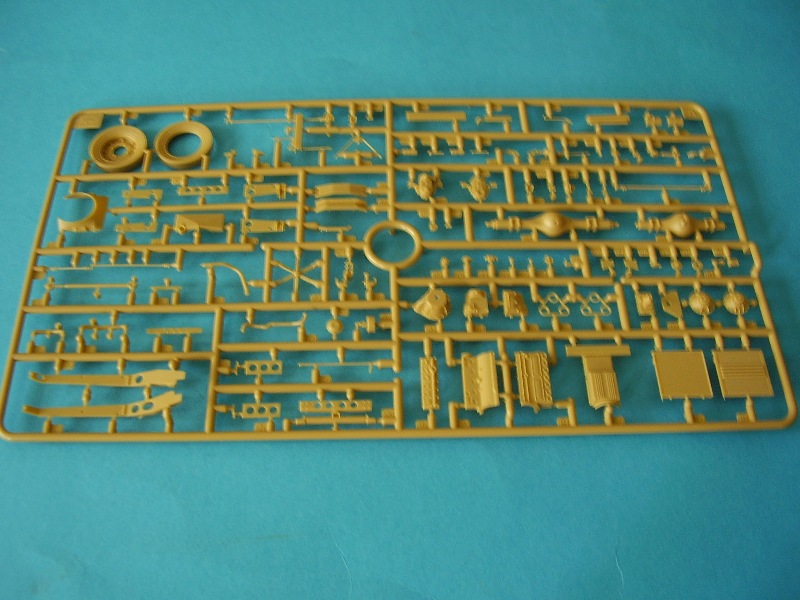
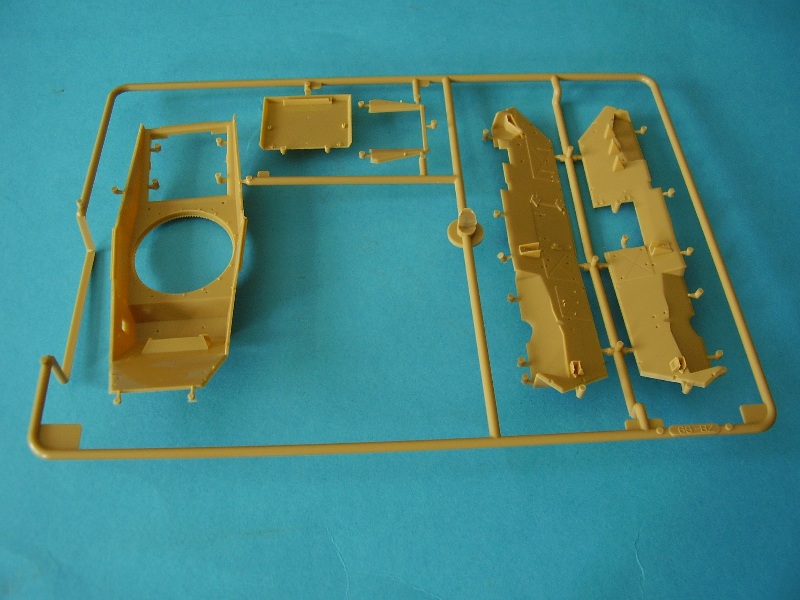
Sprue I x 1
This contains the upper RHS hull side, more storage bins both the 15MM HMG and another 7.92 BESA MG. The RHS hull is nicely detailed on both sides, could spot any pin marks here. The BESAs come with separate barrels making additions of AM parts easy. Detail on the parts is again excellent.
Sprue J x 5
This related to the five tyres. Detail on the tread looks sharp and correct.
Sprue P x 1
Additional PE parts including the Sand Channels. Im not a big fan of PE at the best of times. The Bronco frets tend to be very soft so you need to take care when handling them and they will bend out of shape very easily.
To round off the parts trees, you get a length of string and a small sheet of decals.
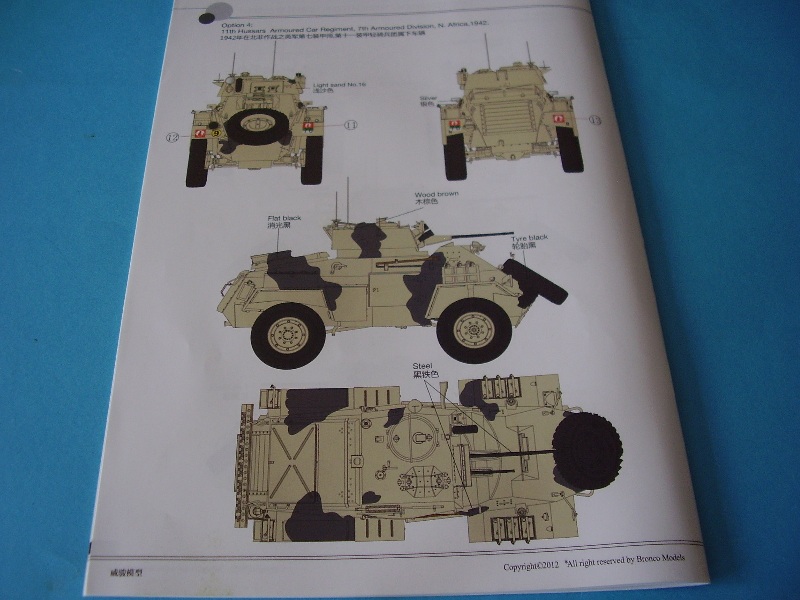
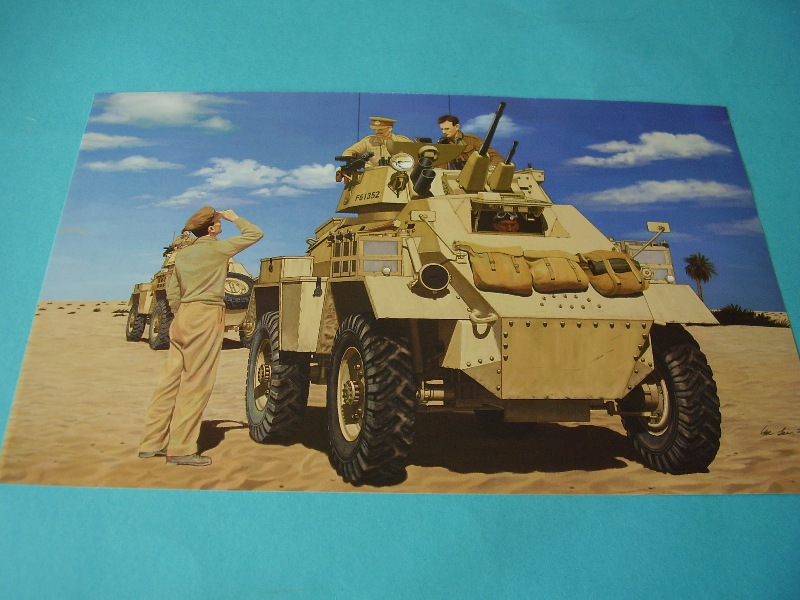
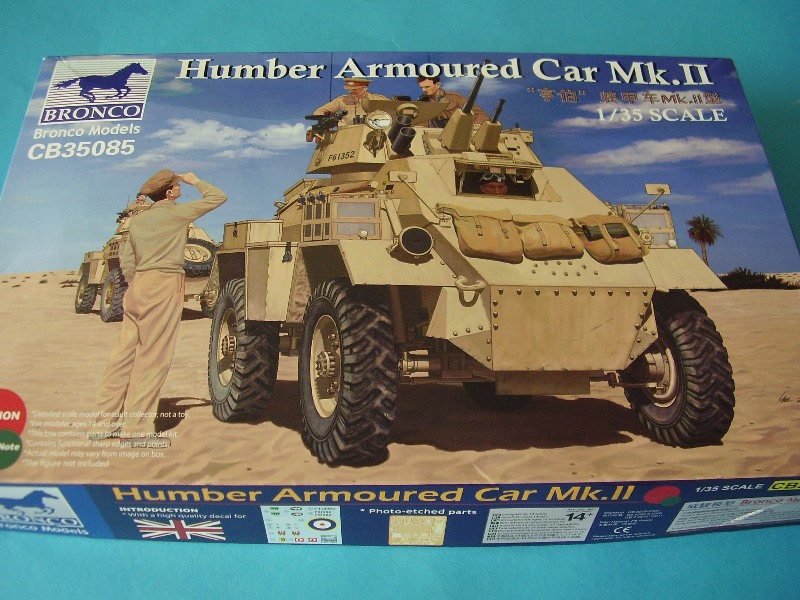
Marking on the instructions show four options:
Option 1 Unknown vehicle (WD F61352)
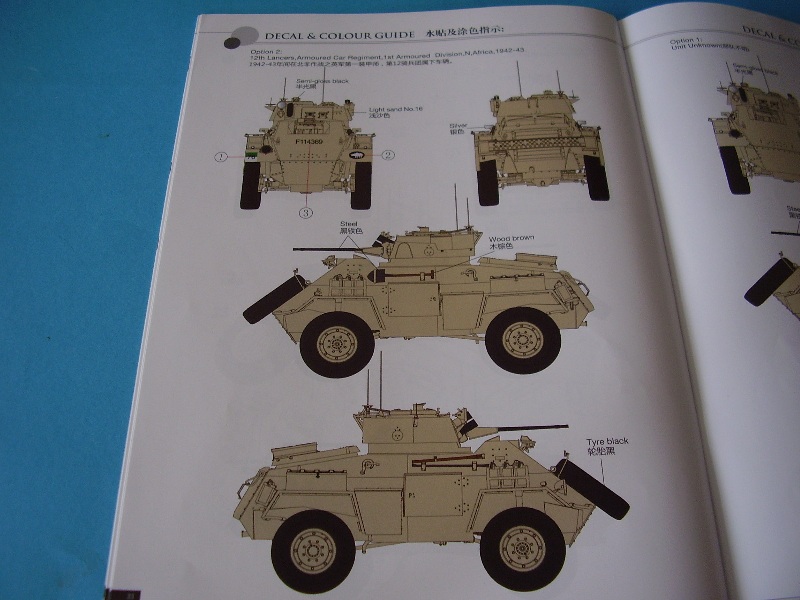
Option 2 - 12th Lancers, Armoured Car regiment, 1st Armoured Division North Africa 1942 43 (WD F114369)
Option 3 Unknown vehicle (WD F16307)
Option 4 11th Hussars Armoured Car regiment, 7th Armoured Division, North Africa 1942 (WD not shown)
Ill need to do a bit more research into these to see how they check out. You also get a British roundel although there is no indication of where this lived, probably atop the turret or rear engine.
As with many British AFVs a bit or research and some reference photographs of what you want to build is time well invested.
Conclusion
This build is not for the beginner, you need time and patience to build the sub assemblies but the end result should be a highly detailed model of the Humber Mk II.
The detail on the parts looks excellent. Modellers have for many years been asking for better detailed and more accurate kits and Bronco have certainly raised the bench mark here, there are bucket loads of detail for you to add to the kit. This is the first of their AFVs Ive really looked at although I have built their 17pdr and 25pdr artillery pieces. They would indicate that it is worth checking and cleaning up each individual part as needs be, so that nothing interferes with the overall fit.
There are those who will say the kit is over engineered but Bronco have set out to provide as detailed a model as possible so you cannot fault them on that. This build may challenge your patience and skill level but the end result should be a terrific AFV of a very important Mk in the Humber series.
There are clearly many parts from the original Mk IV so you should have some useful stuff leftover for the spares box.
I thought there was a sprue from the Bronco weapons set in the kit? Whether Ive set it aside for use elsewhere, or it is just a memory from the Mk IV kit I cant quite remember!
Bronco have put a tremendous amount of work into this model, I didnt do a parts count but there are probably around 600 to 700 pieces in the build, so it is not for the faint hearted, but the end result should be a terrific model and one that will give pleasure to many. A pretty amazing kit all round.
Further Reading:
Humber Mk IV review by James Bella:
Humber Mk IV Review
Tankette 1989/1990 serial 25/3 and 25/1 if you can find a copy
Osprey The British Reconnaissance Corps in WW2
WWP Humber Mk IV & GM Fox Mk I in detail
War Wheels:
War Wheels Data


Comments