Introduction
The model I am taking a look at here is the second SU-152 from
Bronco Models and it is impressive in that it reminds me of the heady early days when DML released their first all singing and all dancing kit. This one may not have a metal barrel and the photo etch parts are less but getting it back in the box and lid shut after looking it over is neigh on impossible.
Contents
In one of Bronco Models larger boxes you will find;
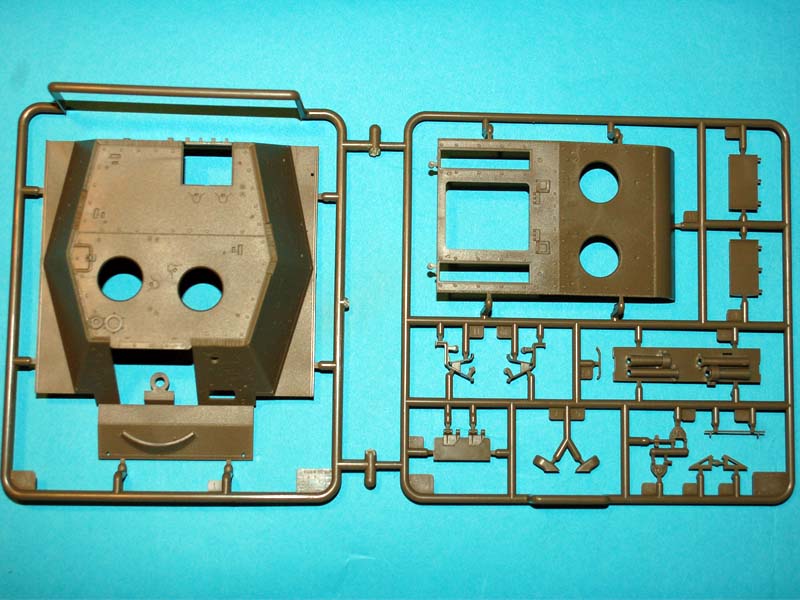
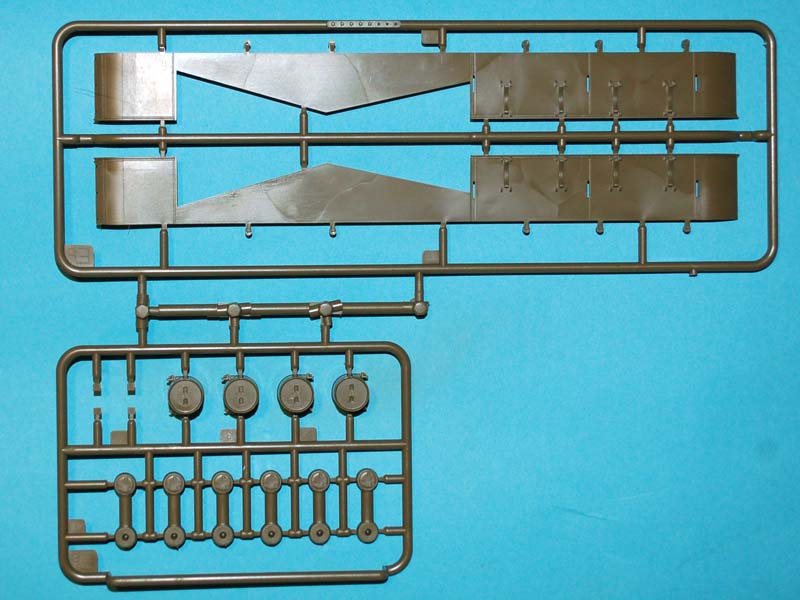
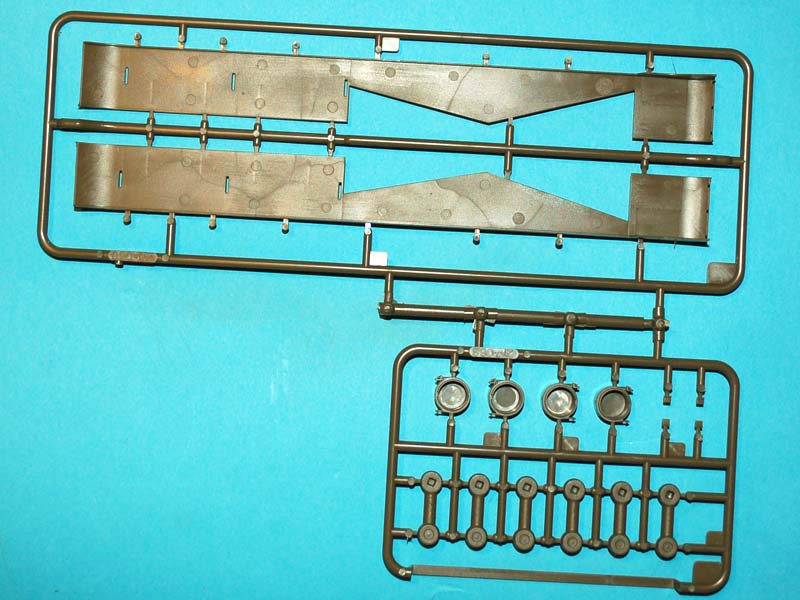
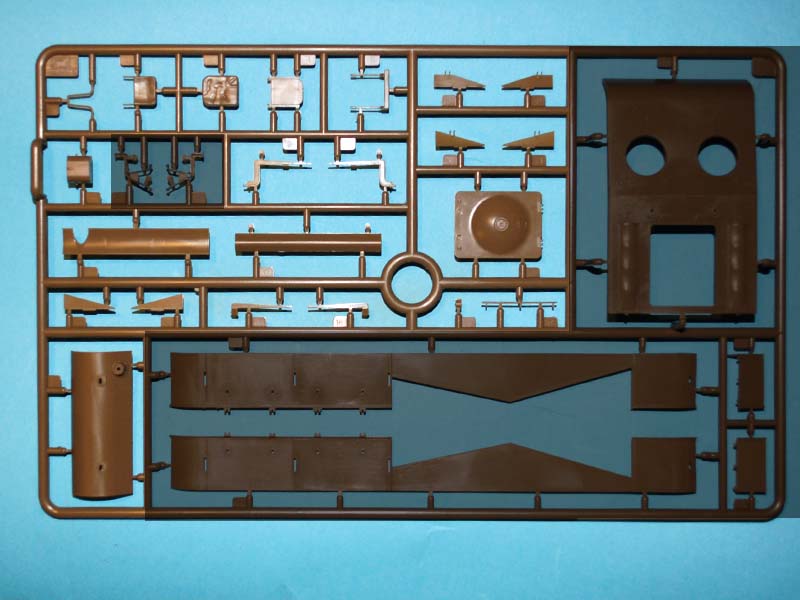
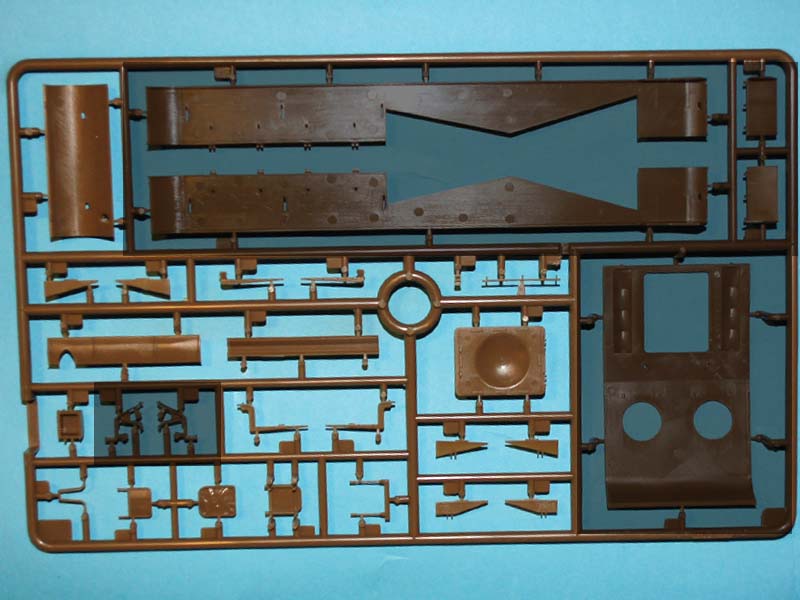
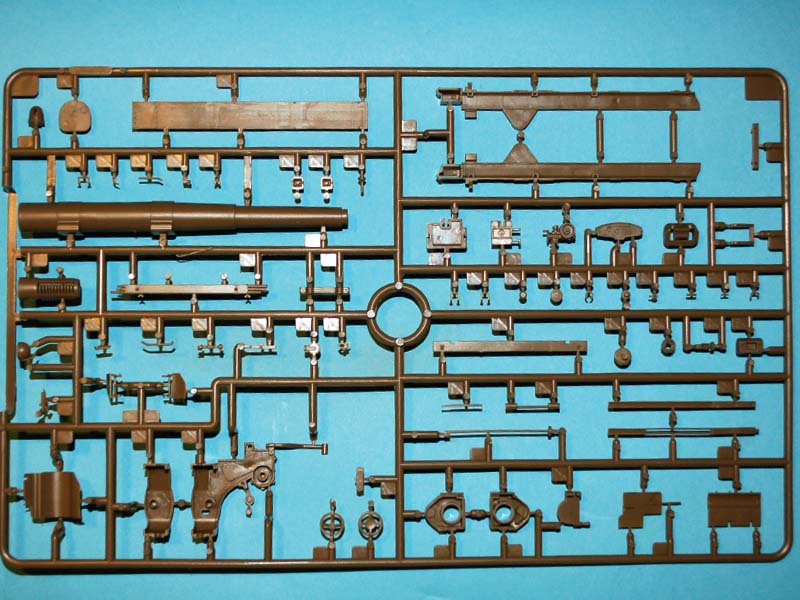
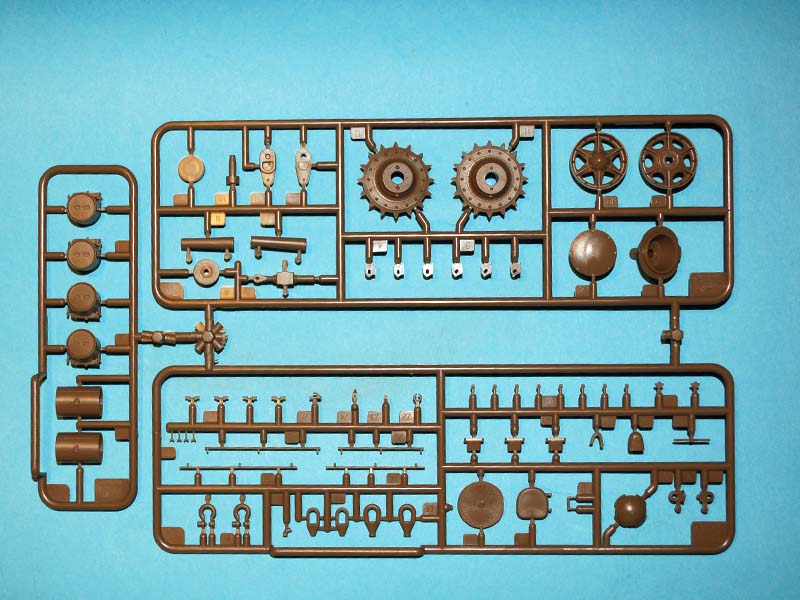
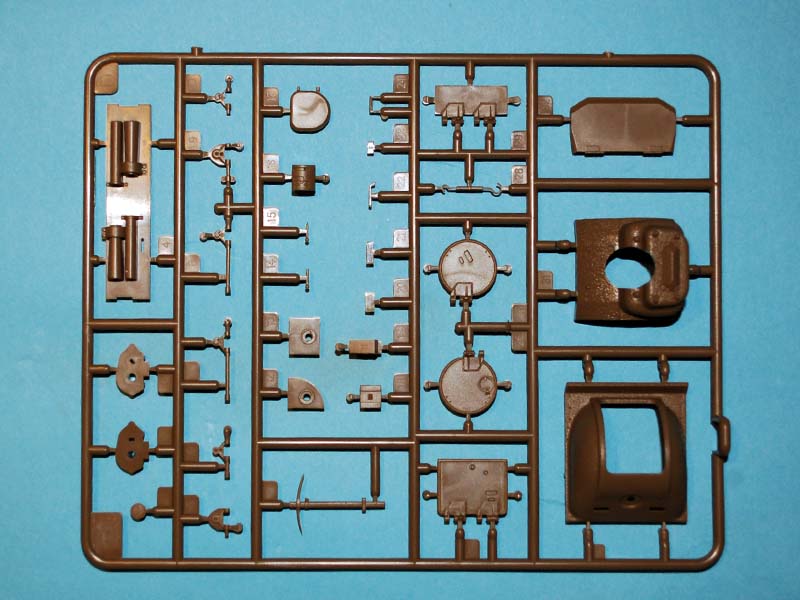
23 green sprues
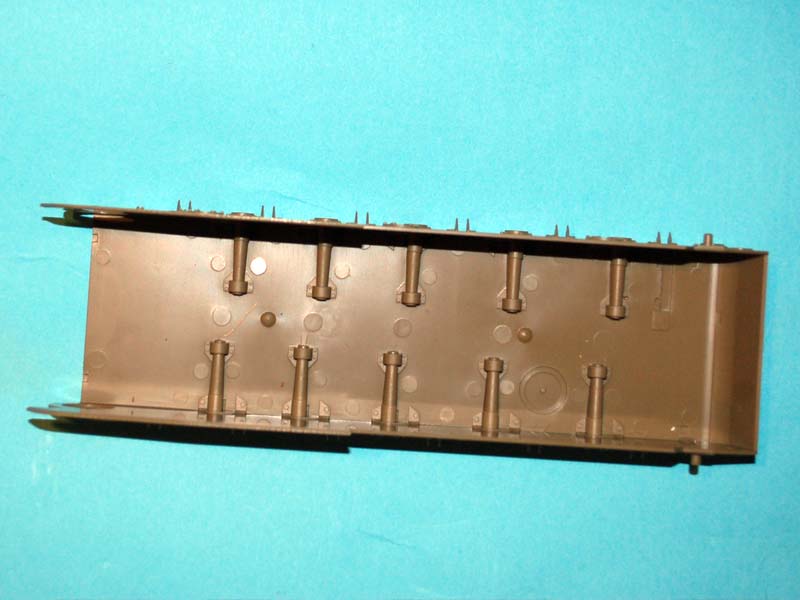
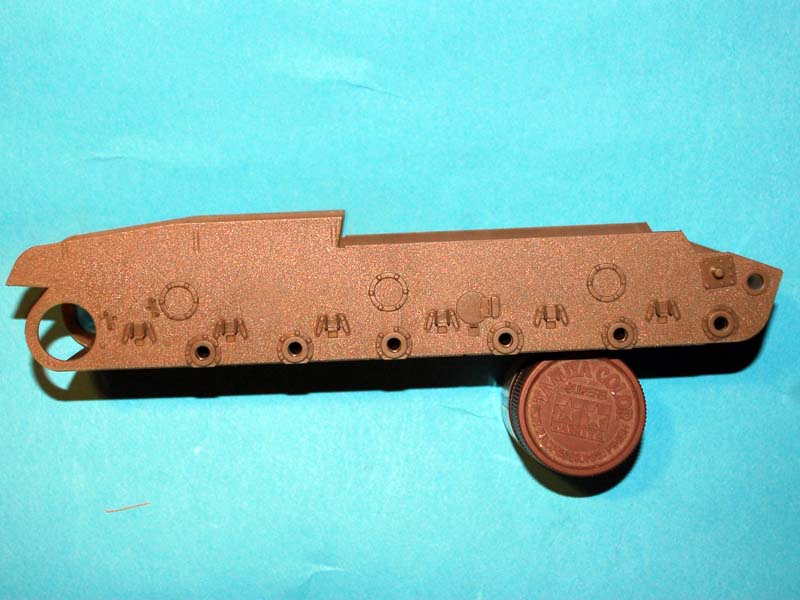
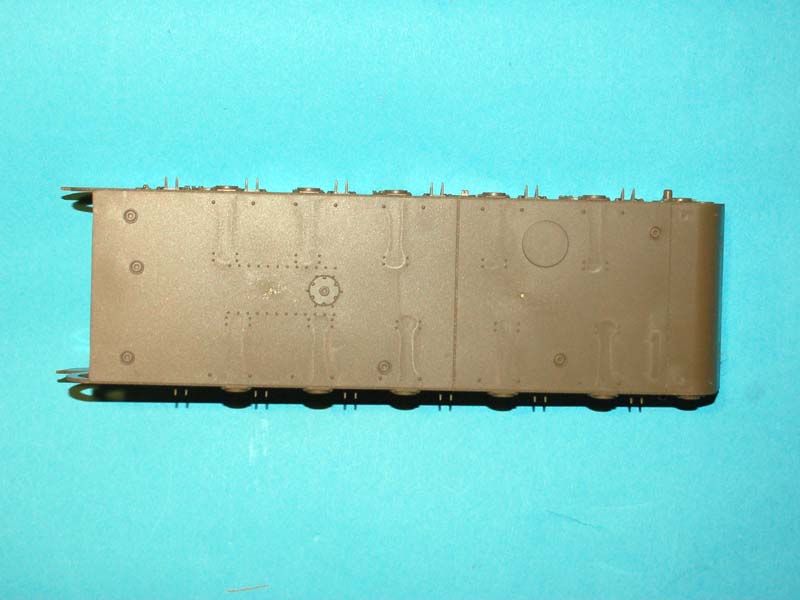
Lower hull
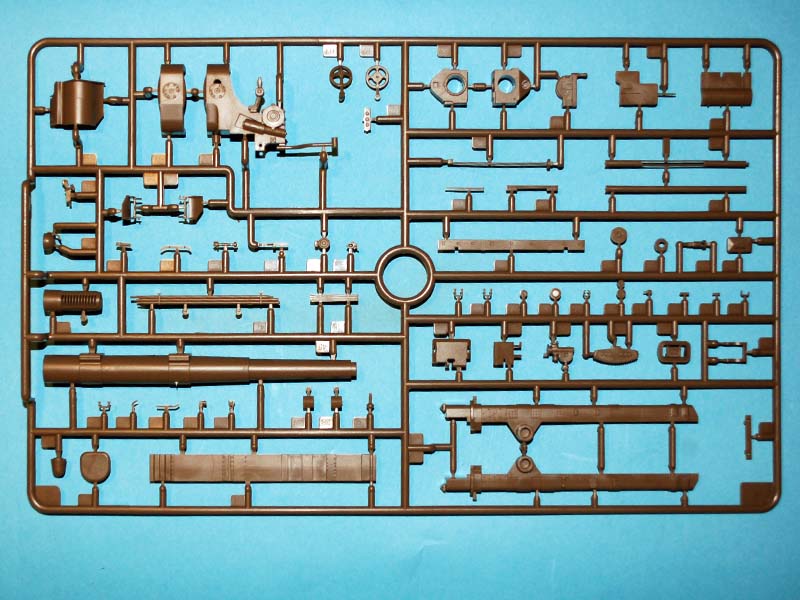
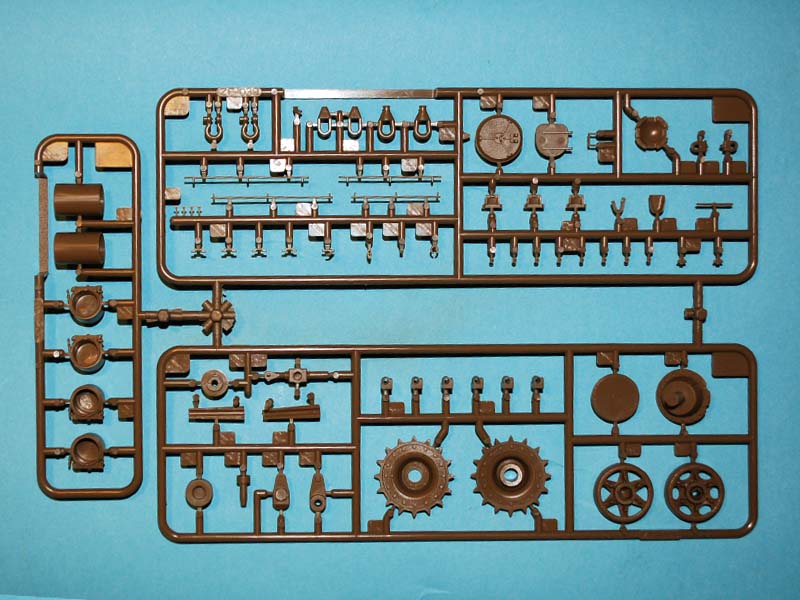
33 brown sprues
Track assembly tool
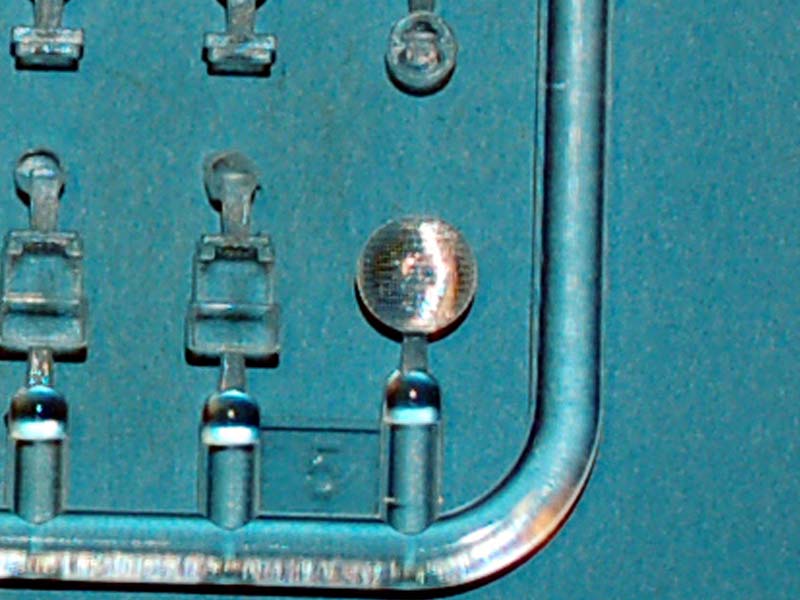
1 clear sprue
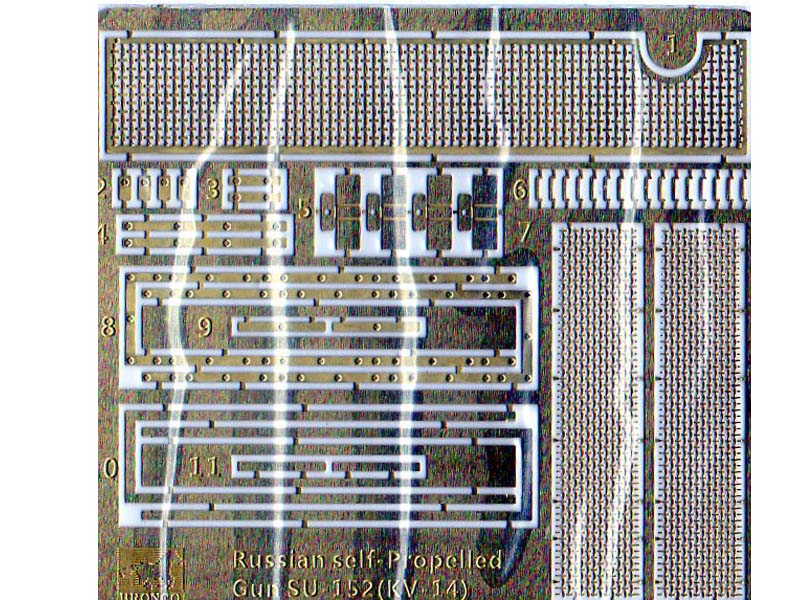
1 photo etched fret
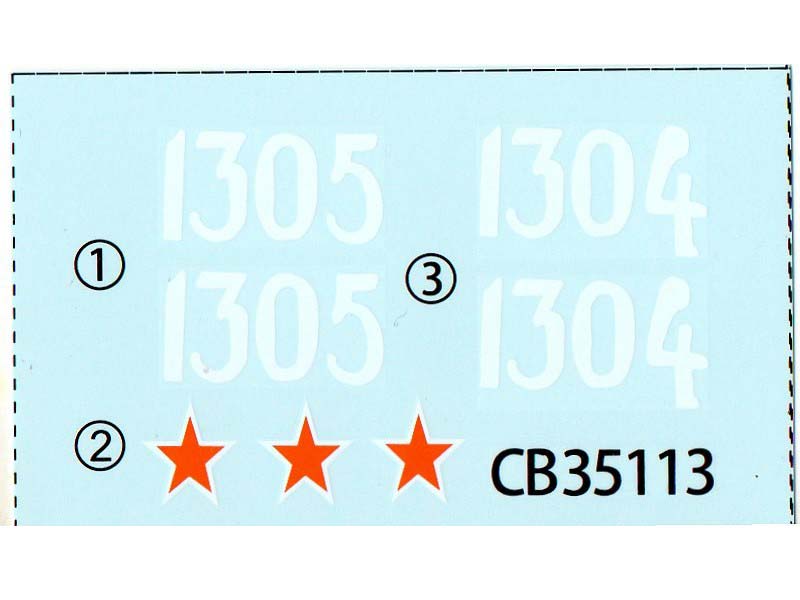
Decal sheet
2 lengths of twisted copper wire
Instruction booklet
Poster of the box art work
And yes you need to get that lot back in the box!
Review
Starting this review with the instruction booklet seems as good a place as any to begin; the high quality glossy instruction booklet consists of 24 pages with the front having an image of the box artwork and a short introduction in English, German, and Chinese. On the next page you will find a guide to applying the included decals then a breakdown of the construction symbols used, finally there is a paint guide with four manufacturers paint listed which are;
1. Mr Hobby
2. Hobby Color
3. Humbrol
4. Tamiya
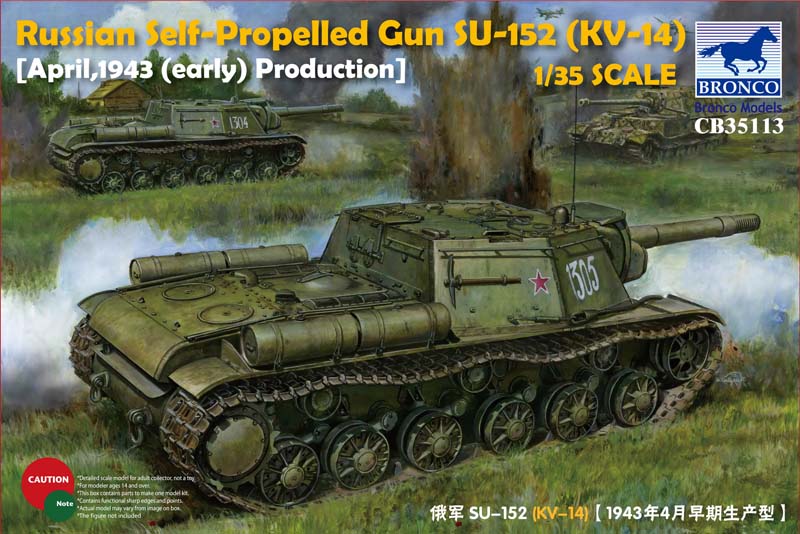
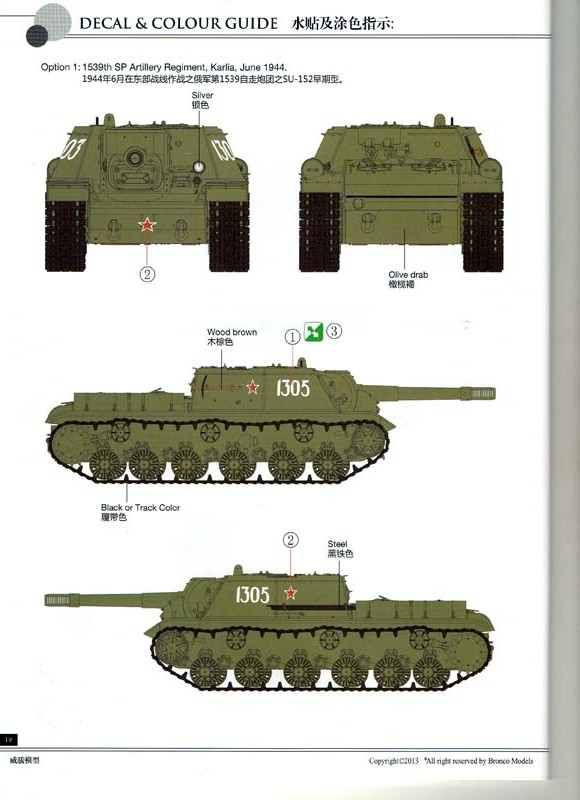
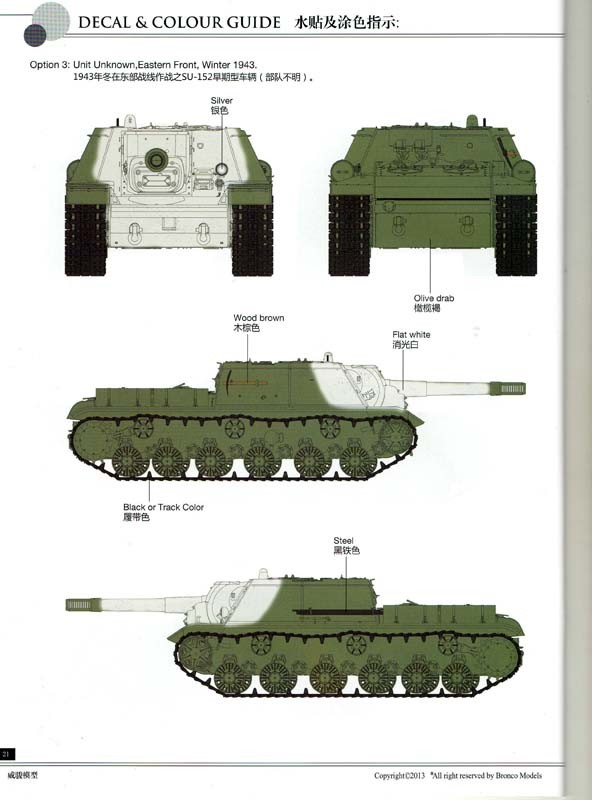
Before you finally get to the construction stages there is a parts list in order that you can check all of the needed parts are in the box. You now get to the construction stages in the booklet which uses the line drawing method to show the way. Construction is complete in 32 stages and are very clear and not overly busy. The instruction booklet finishes with four finishing options for your Russian Self Propelled Gun SU-152(KV-14) [April 1943(Early) Production]:
1. 1539th SP Artillery Regiment Karlia June 1944
2. Unknown unit Russian Front Summer 1943
3. Unknown unit Eastern Front Winter 1943
4. Unknown unit Eastern Front Winter 1943
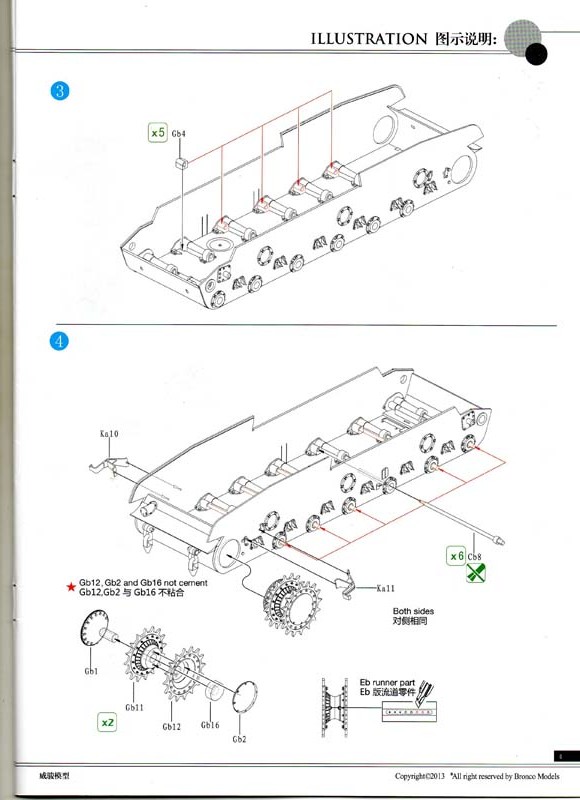
Stages 1 4:
These four stages start the process of adding the partial interior supplied with the model and the installation of the workable suspension for the model. The workable suspension uses the torsion suspension method where the suspension arms are secured to a bar that is across the floor of the model and secured on the opposite side of the model just as it is in the real vehicle.
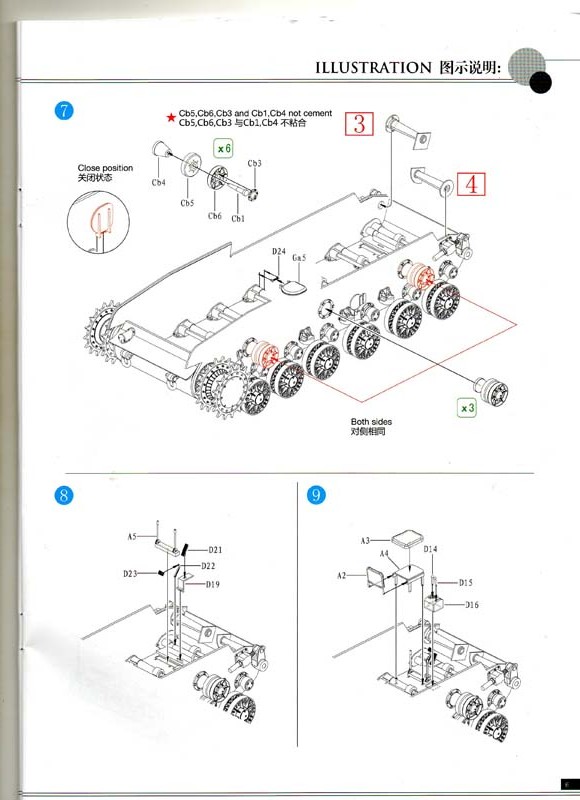
Stages 5 7:
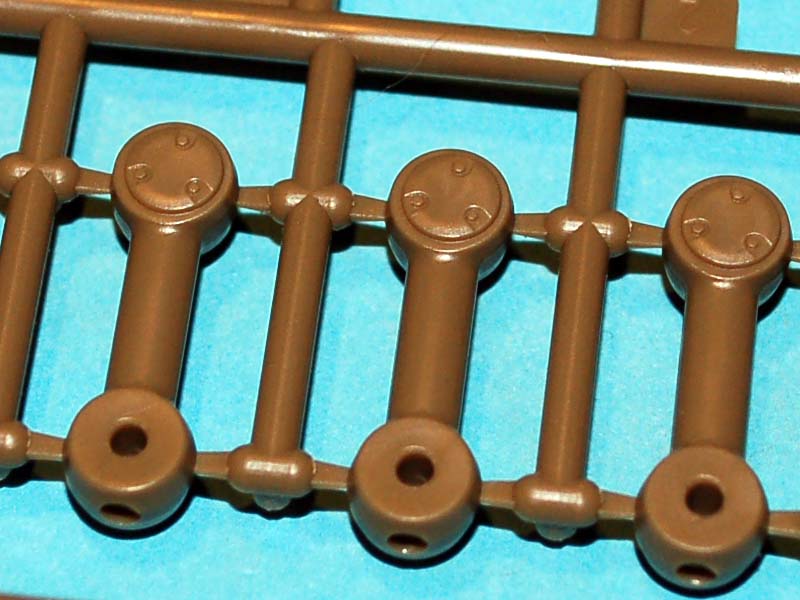
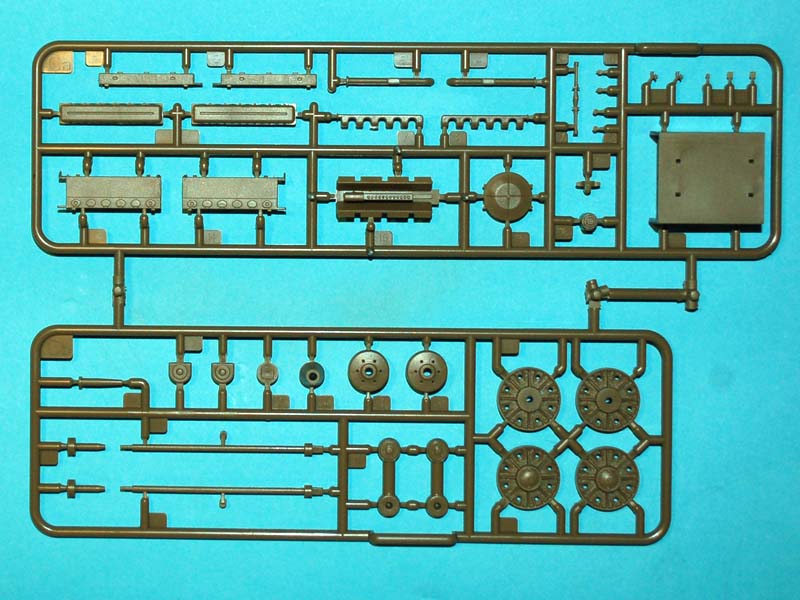
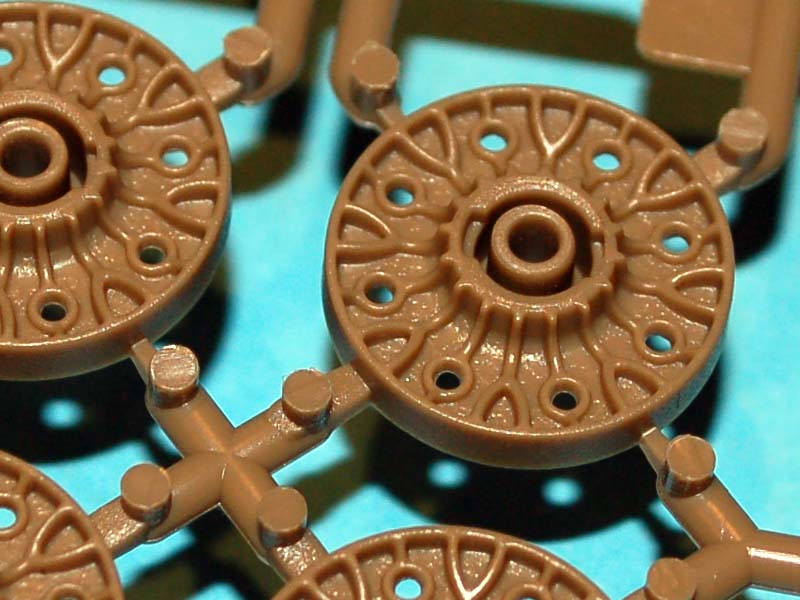
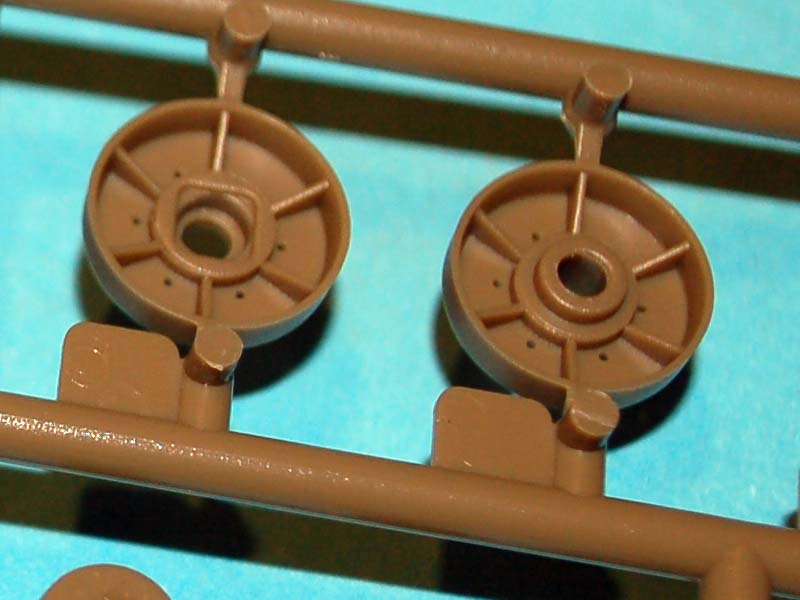
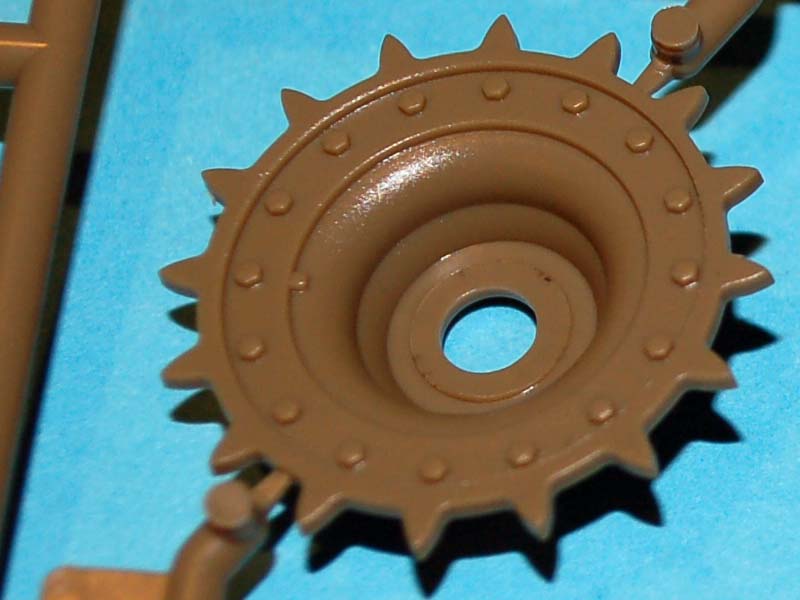
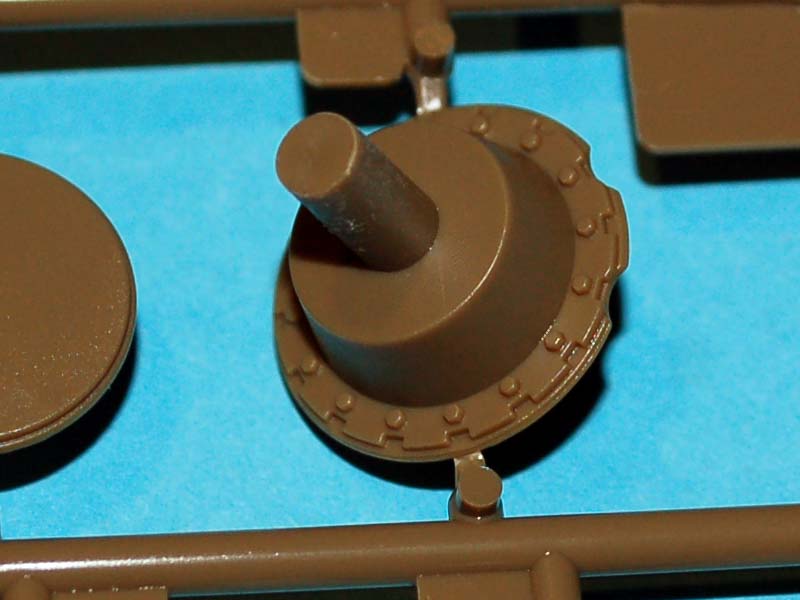
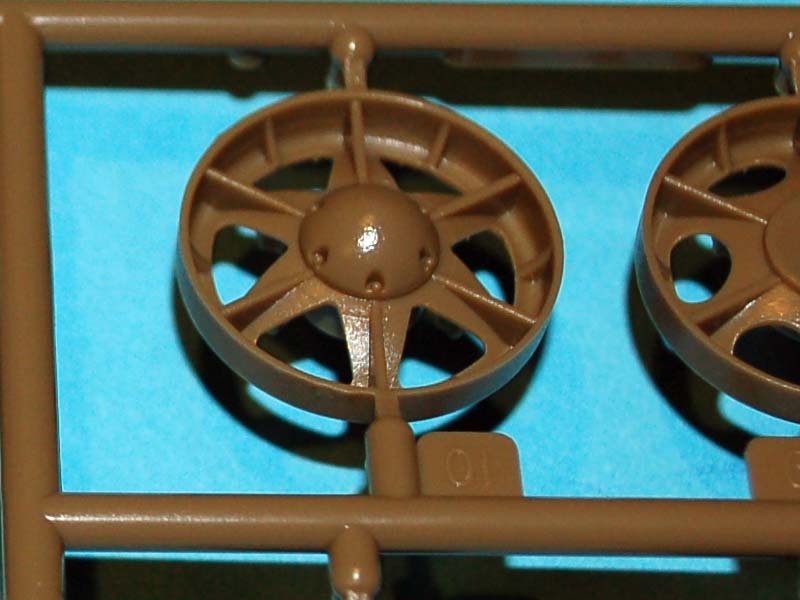
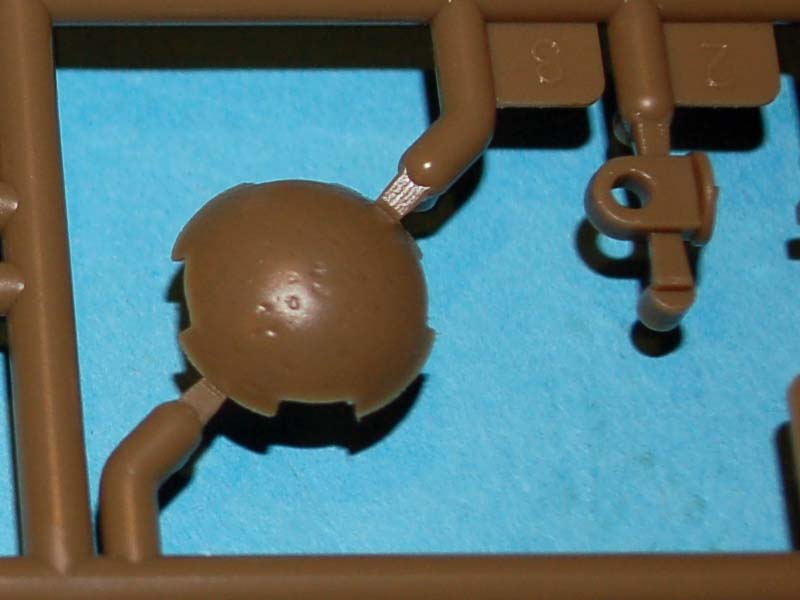
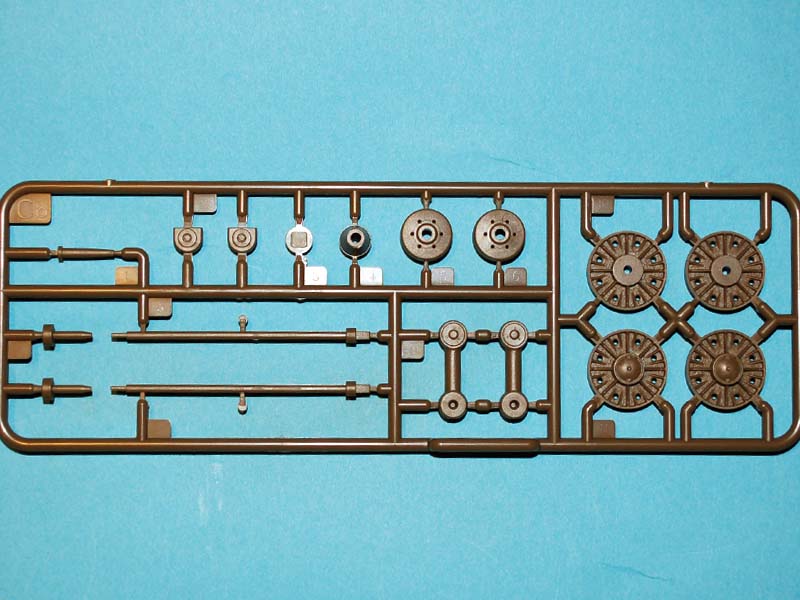
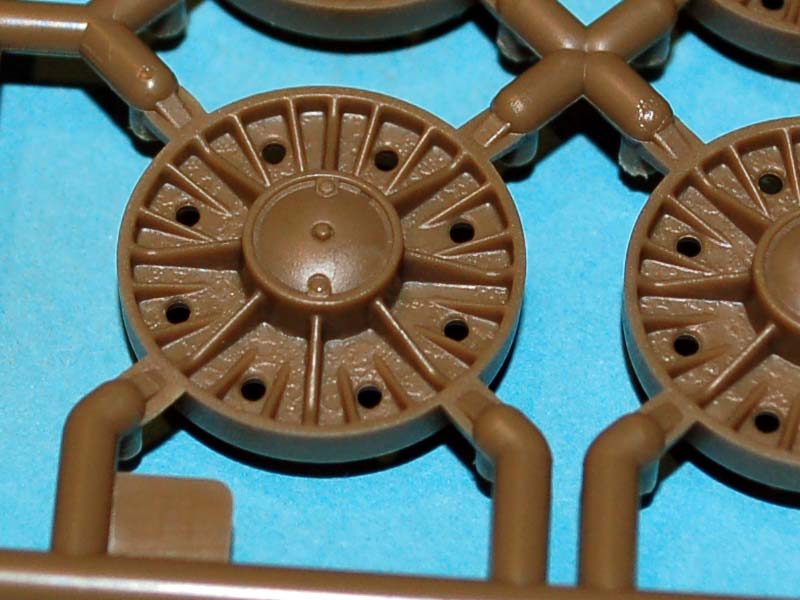
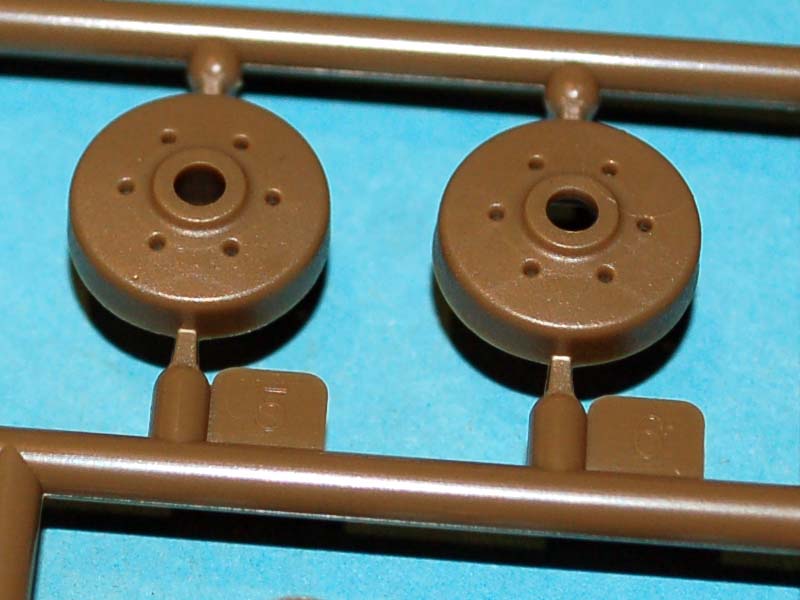
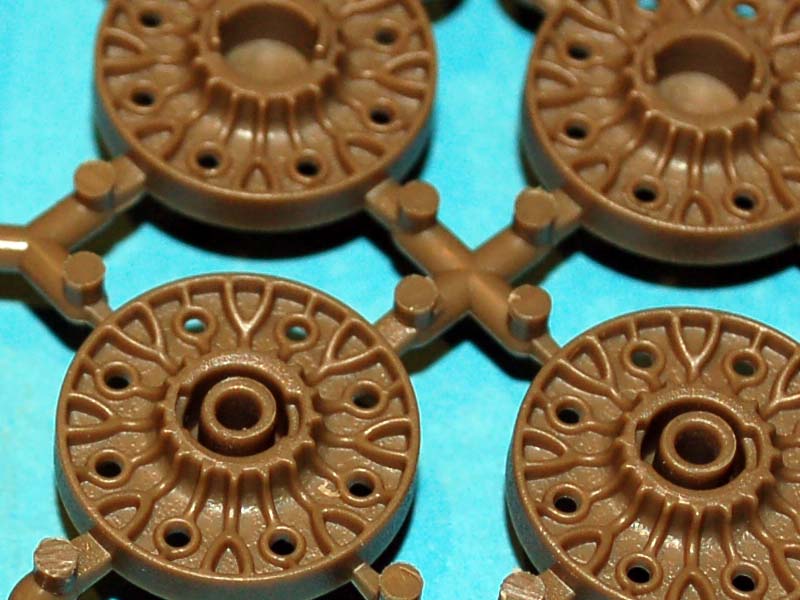
These stages cover attachment of the suspension arms where care will need to be taken to retain the workable aspect of the model. They also cover the addition of the road wheels, return rollers, and the drive wheels to the model, all of these wheels and rollers can rotate after attachment to the model. Unless you are in the habit of playing with your finished models I see little benefit to this aspect of the wheels with the possible exception of when the tracks are attached. The drive wheels, according to Neil Stokes site, are correct having the lightening holes faithfully replicated in the kit.
Stages 8 10:
These stages finish the last of the partial interior and cover the installation of the front towing eyes to the vehicle. The partial interior supplied with this kit is a nice addition as it allows the access hatches supplied as separate parts in the model to be left open even if no figures are installed, if figures are installed either in a diorama setting or as a stand alone model this partial interior retains its appeal due to the glimpses of it around the figure.
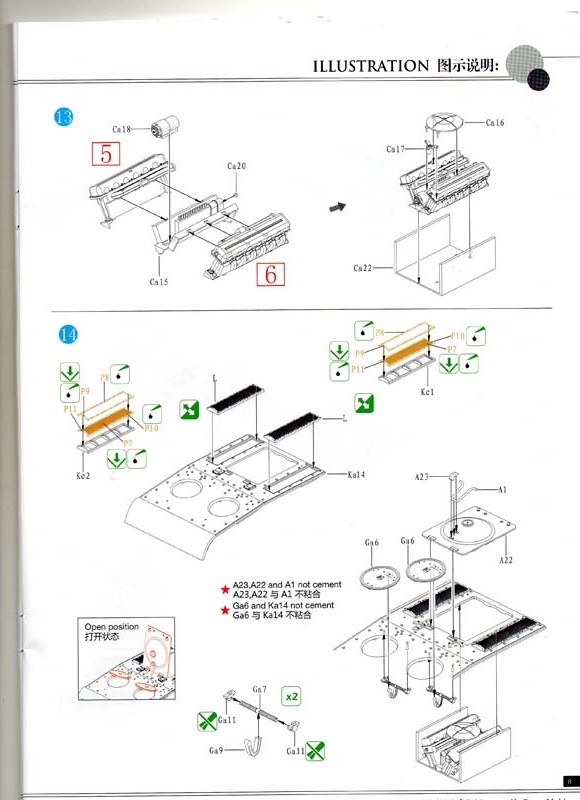
Stages 11 13:
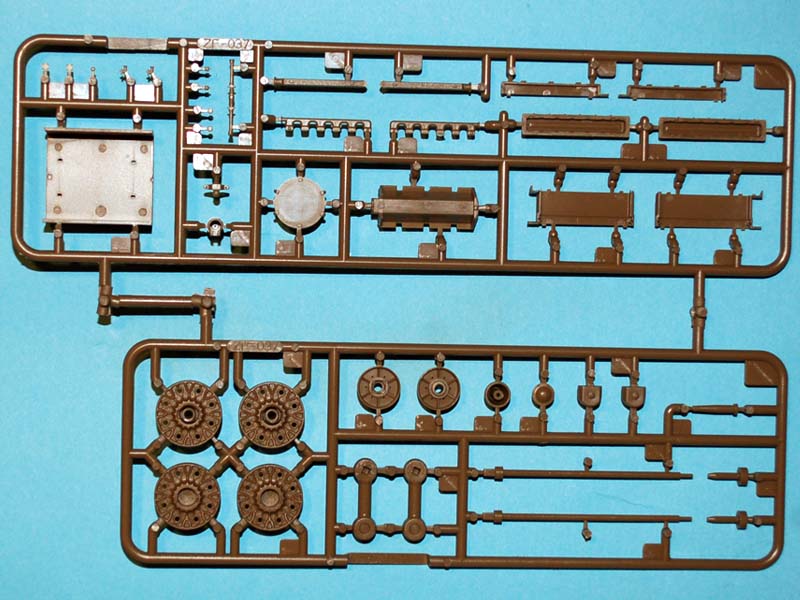
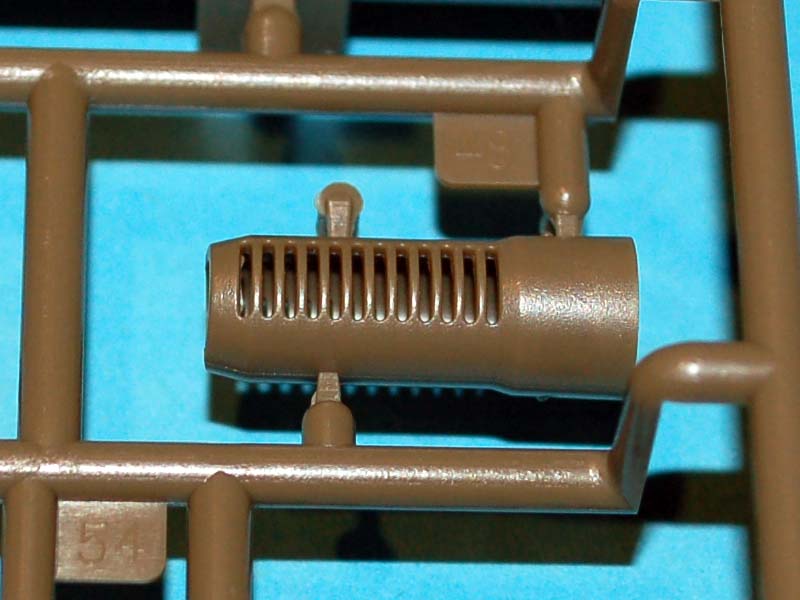
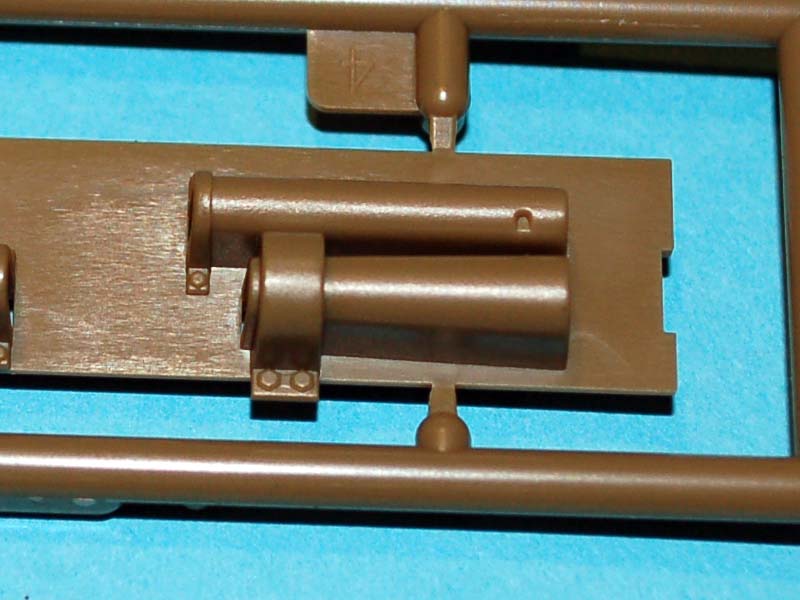
These stages cover assembly of the included engine for the model and again is another big plus for me as I can see a mechanic scratching his head or hitting it with a hammer, regardless of if the engine in your model is viewable or not it does provide a lot of options for display that would normally require an expense in aftermarket products.
Stages 14 15:
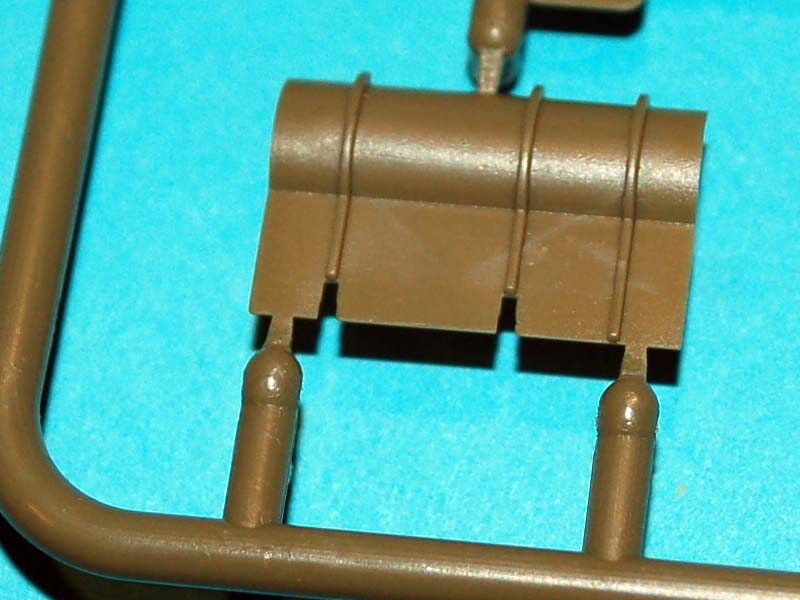
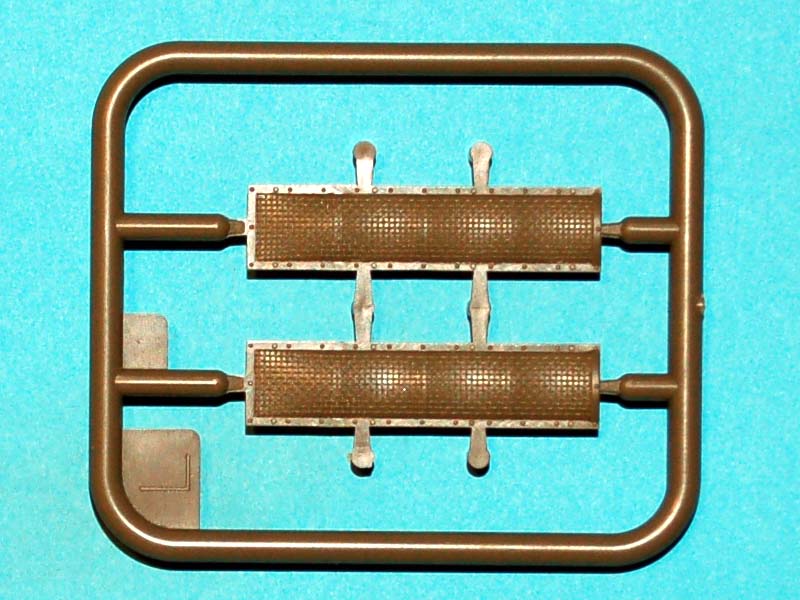
These two stages cover the assembly of the engine deck and its installation on the model, and I have to say thank you Bronco Models as they have included photo etched engine grills for the model as well as the option of plastic parts for those that dont want to tackle the photo etched parts. I do believe these photo etched grills add an awful lot to this model especially if the engine hatch is open exposing the engine and inviting any viewers to study the area closer.
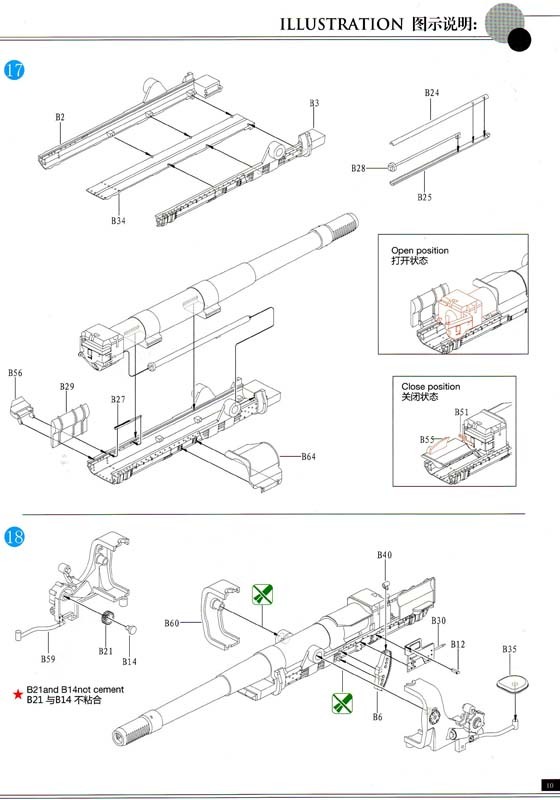
Stages 16 19:
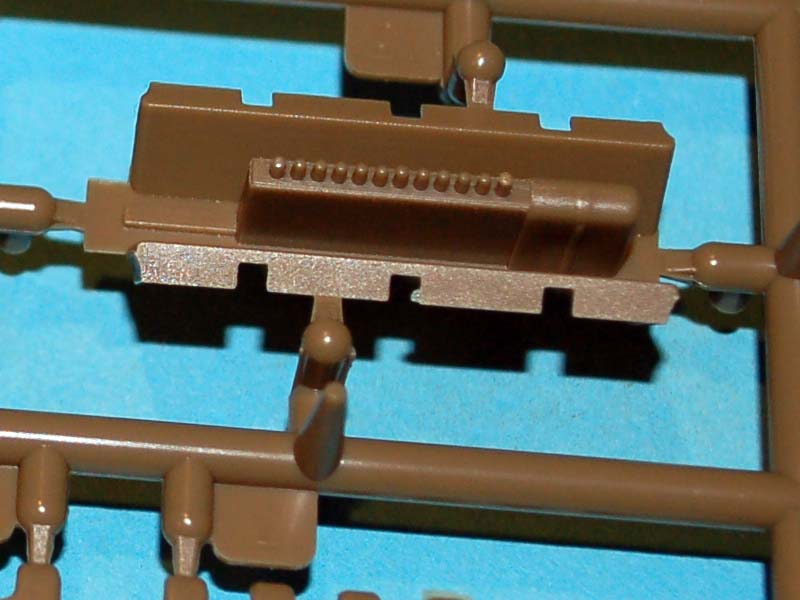
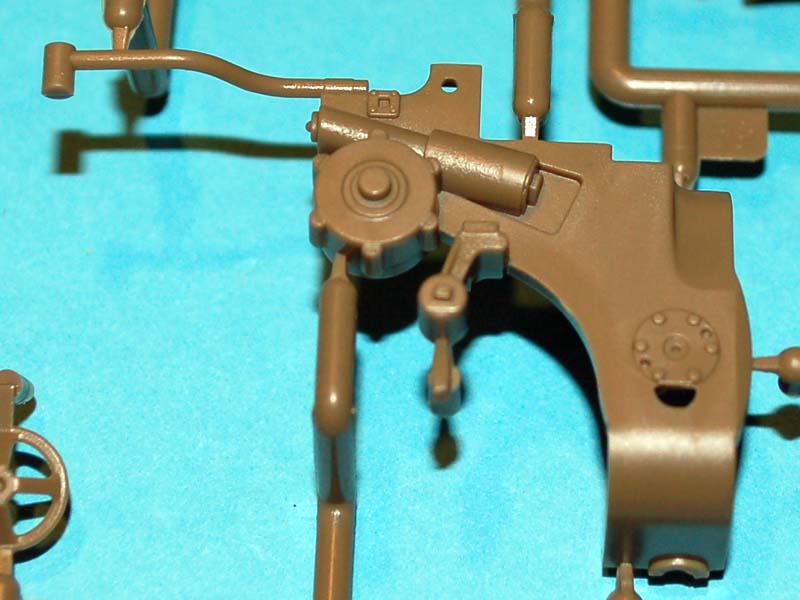
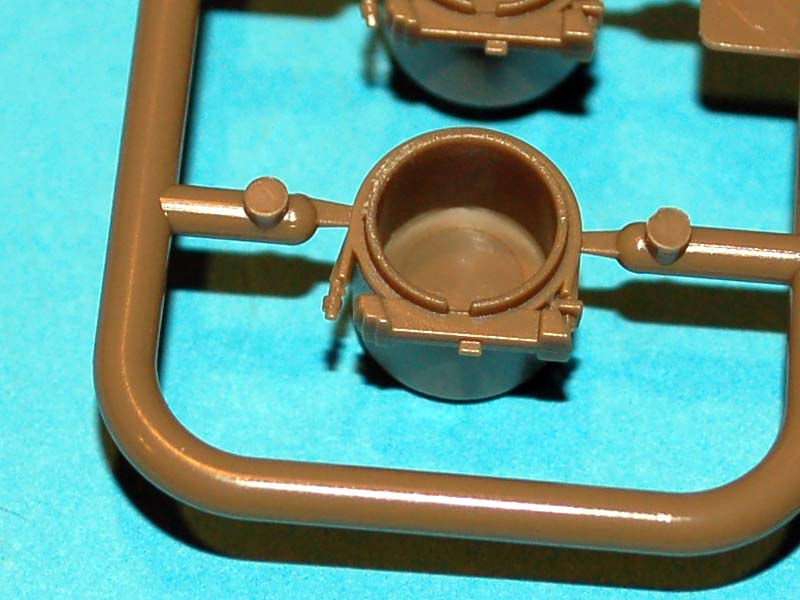
These stages cover assembly of the main gun and due to the detail that Bronco Models has added to the breach and cradle of the gun goes a long way to increasing the interest in the fighting compartment of this model. The detail includes the loading tray either in a loading position or firing position and the option of having the breach open for loading or closed for firing, along with this you get a detailed gunners position and control surfaces on the gun. One area that I am surprised Bronco Models did not look at was the inclusion of some ammunition for this big gun.
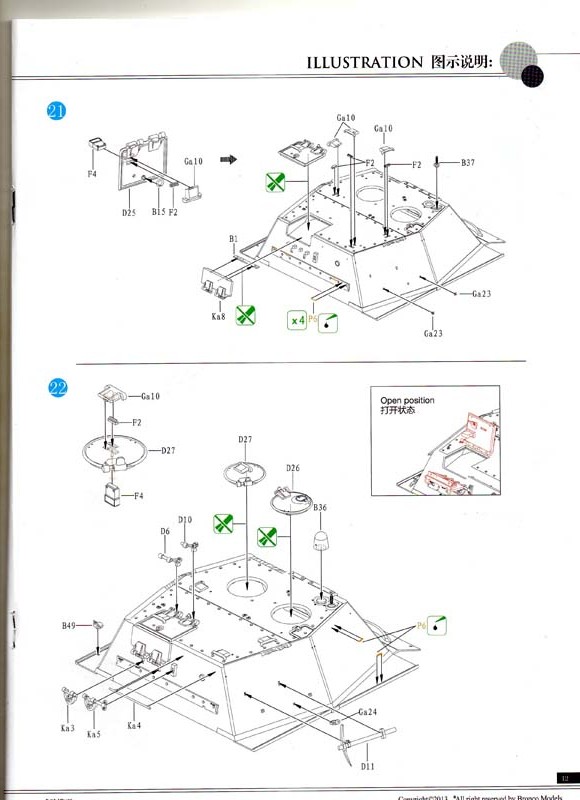
Stages 20 23:
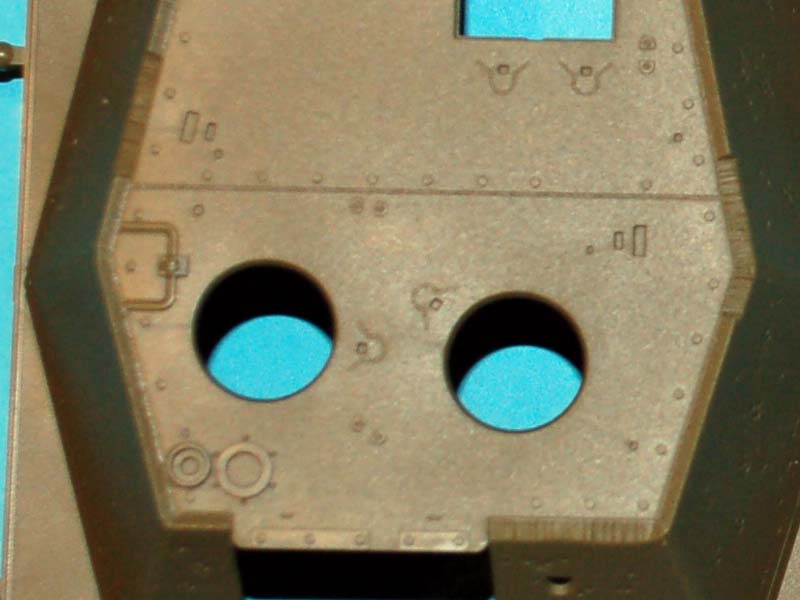
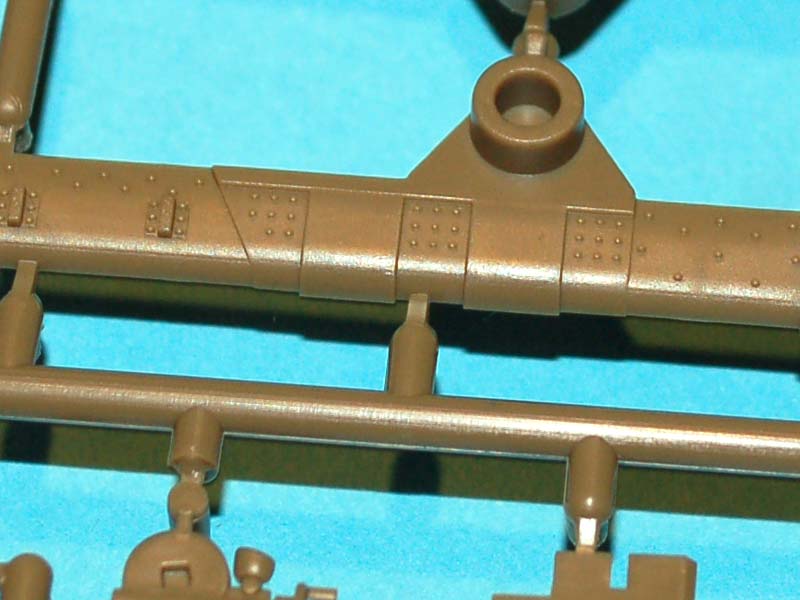
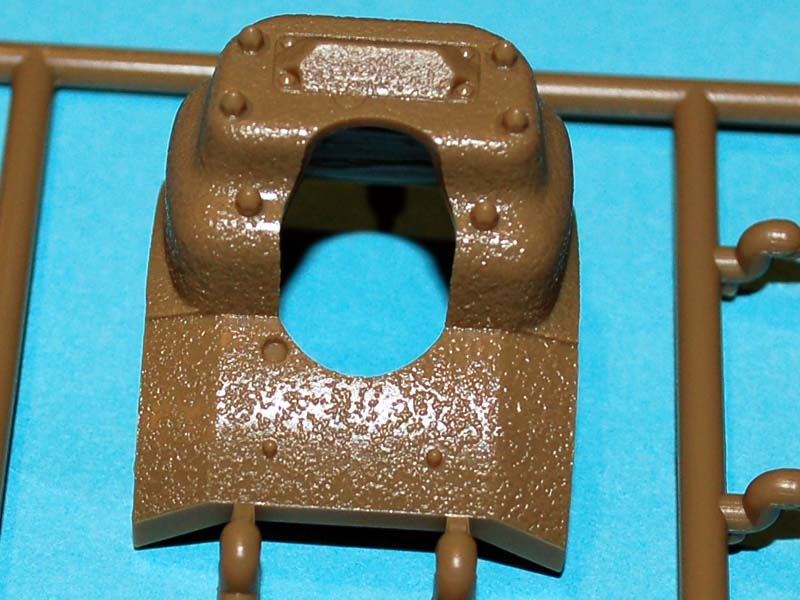
These four stages start the assembly of the fighting compartment; this begins with adding a reasonable amount of detail to the interior of the fighting compartment providing some nice detail in areas that can be seen through the open hatches. You then progress by adding the exterior detail adding armoured viewing devices, access hatches, tools, and grab handles to name a few. These details help bring this blocky structure to life by providing good detail. The texture on the fighting compartment was criticised on the previous release but I like it as it will create interesting contrast on what is a big slab sided structure.
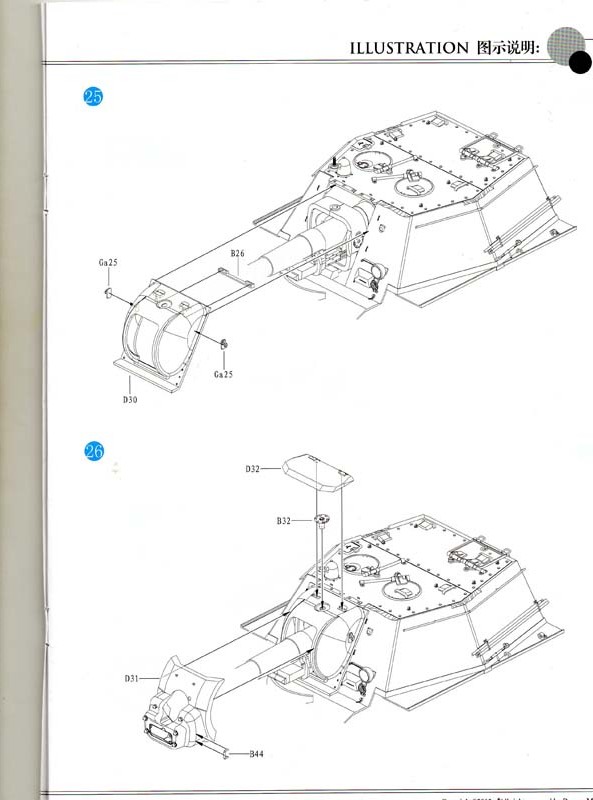
Stages 24 26:
These three stages cover the mating of the main gun to the fighting compartment. This starts by installing the gun which surprisingly is not glued in place but is placed on a pivot and then the various shields are applied. During these stages there are still a few external details to add such items as the tow rope securing clamp and the drivers viewing port.
Stages 27 28:
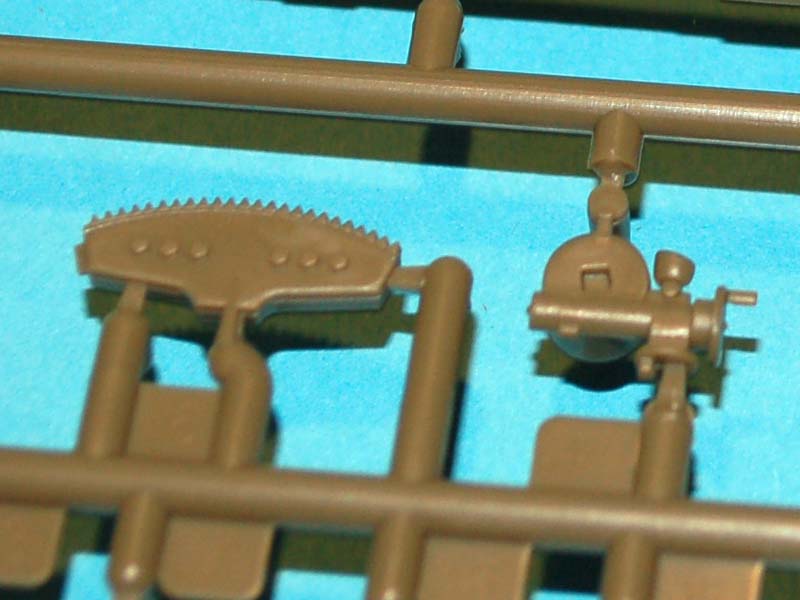
These two stages for the most part cover mating the fighting compartment to the fenders and then adding that to the hull, these stages look to have been deliberately kept easy to insure the step is carried out successfully. There is one other detail added at this stage but that is too the engine deck and is the addition of 8 ring holder which serve the purpose of lifting of the panels on the engine deck, however it has not been indicated that these should have small rings attached to facilitate that purpose.
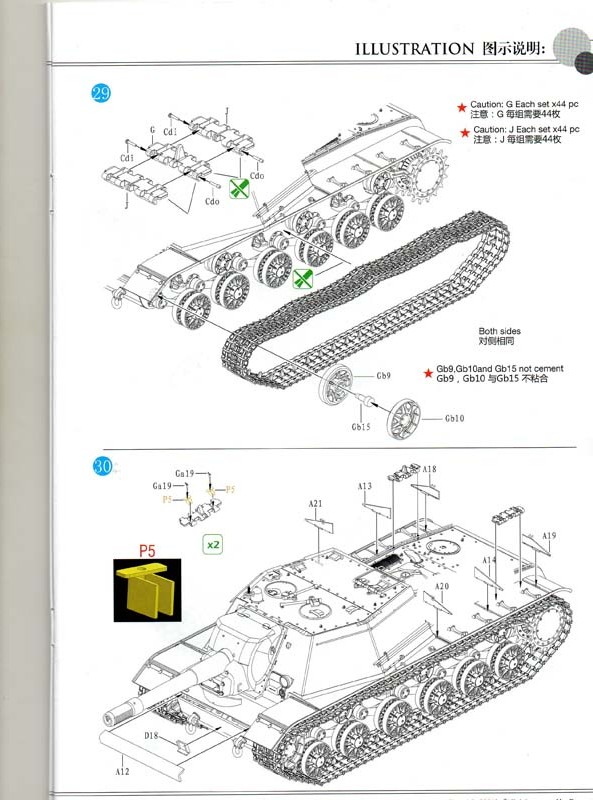
Stage 29:
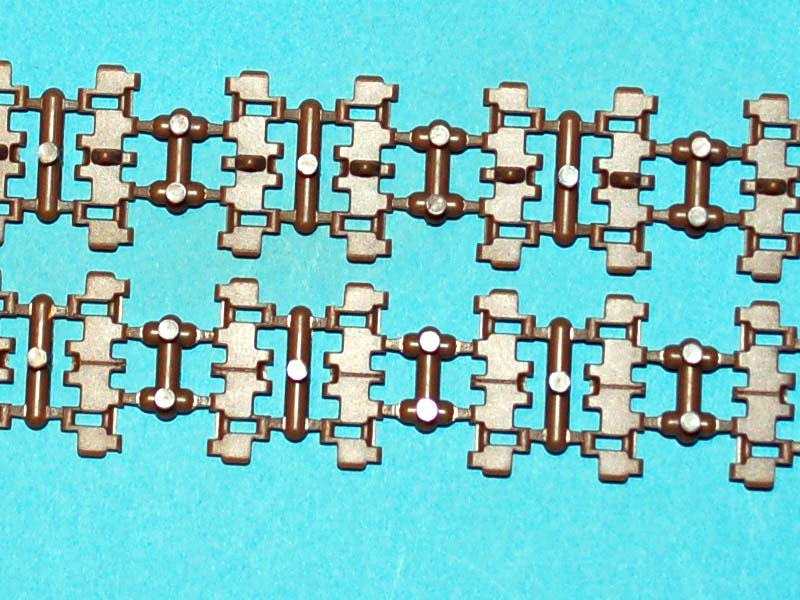
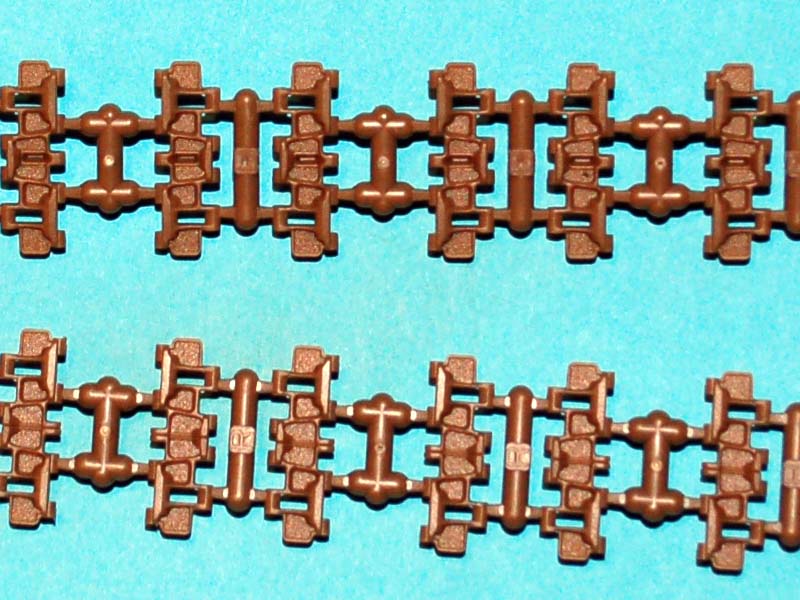
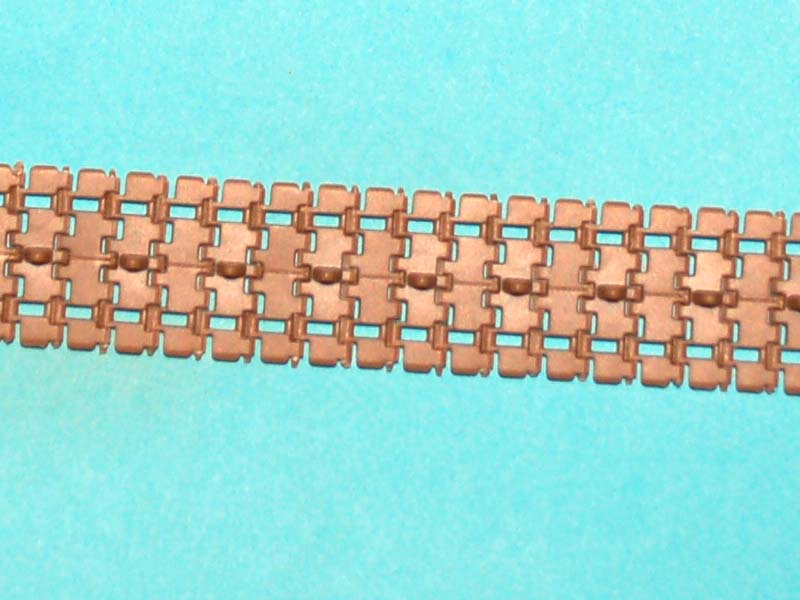
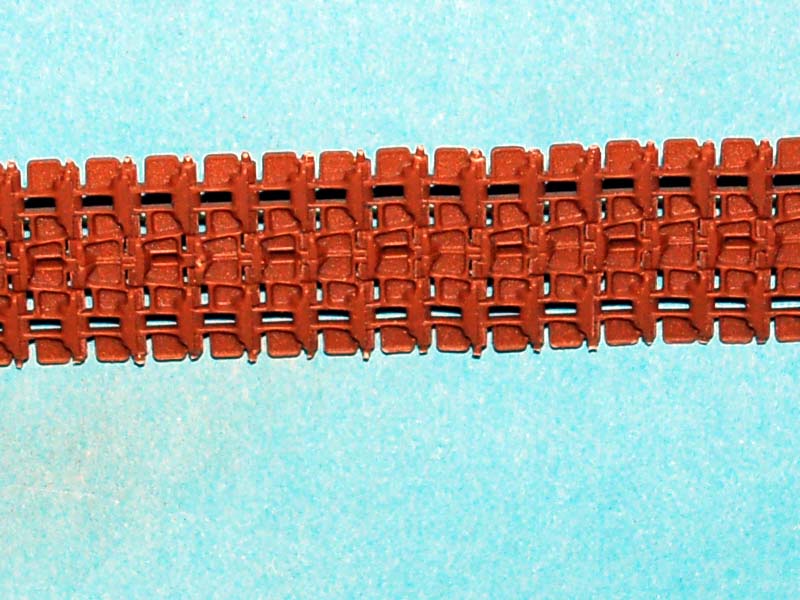
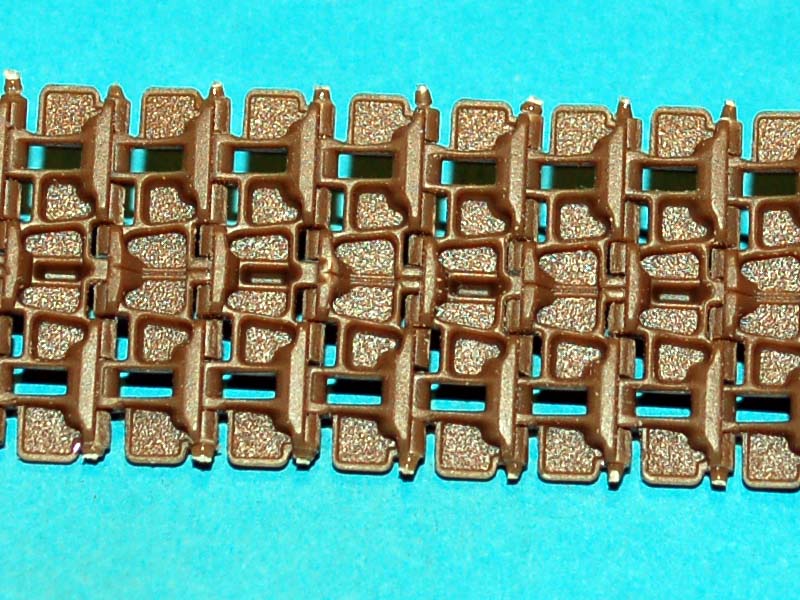
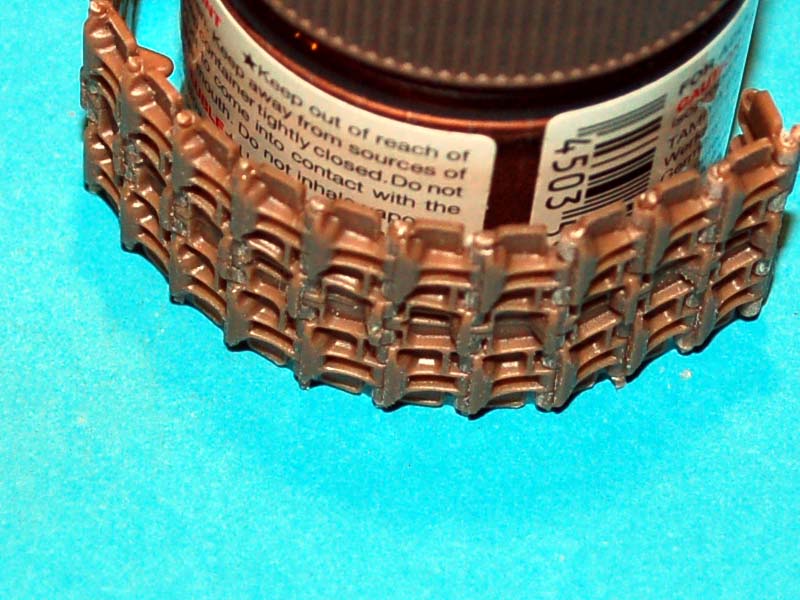
This stage covers the installation of the idler wheel which again can rotate after being attached, and the assembly and addition of tracks to your model. The tracks are an excellent addition to this model as they are fully workable allowing a modeller to indicate weight and natural sag, this also makes it easy for the diorama fan amongst us to show the model looking completely natural on any surface which is further improved by the addition of the workable suspension added near the start of the build. I should mention that I spent a lot of time on Neil Stokes site while looking at this model and it would indicate that these tracks are the correct width for the vehicle and it would seem is also the first company to get this width correct.
The tracks themselves are supplied in two separate bags as you need to add one link with a guide horn followed by one without, and Bronco Models gives you 120 of each of the two track link types and 221 track pins. The instructions indicate that you require 44 of each of the track links for each track run, I will also mention here that Bronco Models has released these tracks as a separate item should you be looking for a track set for an alternate model.
Stage 30:
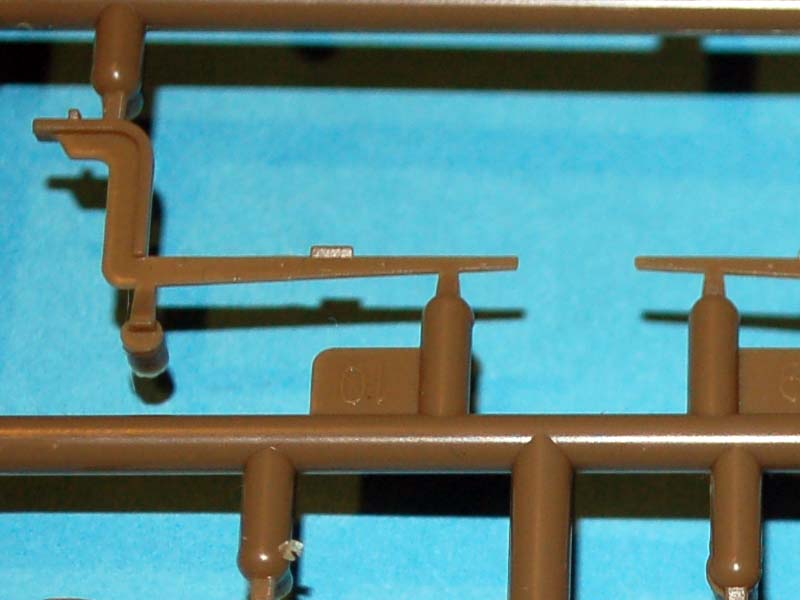
This stage covers the addition of the braces for the fenders, the spare track links, and the angled armour strip for the glacis plate. The spare tracks link are held in place using a photo etched clamp with an injection moulded butterfly nut, yes I know very small parts but they will provide a very realistic looking attachment.
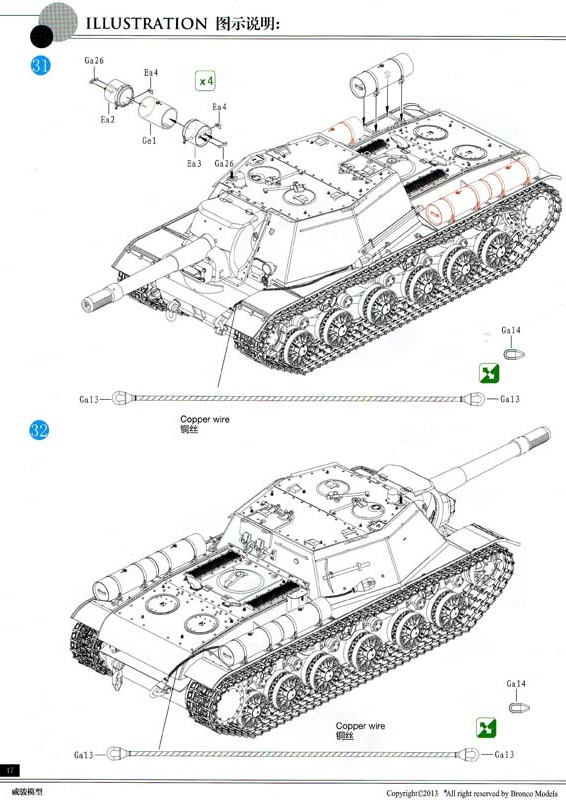
Stage 31 32:
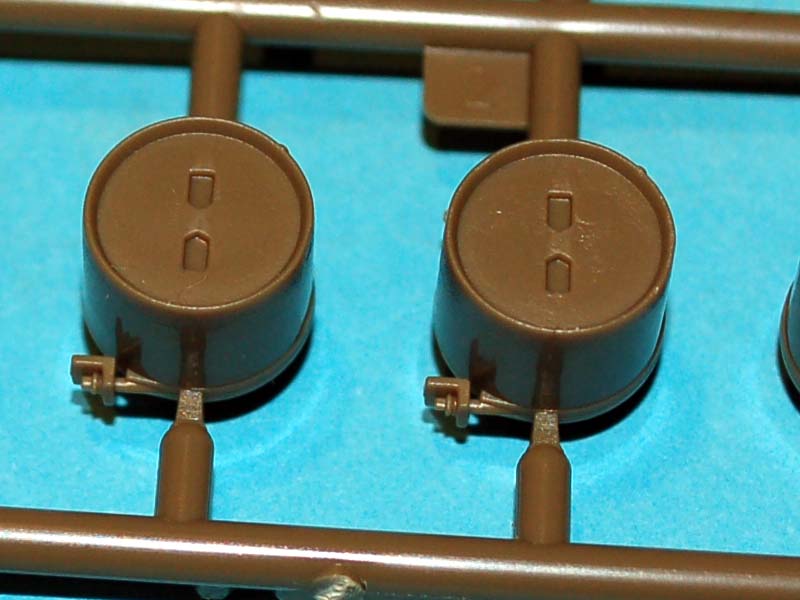
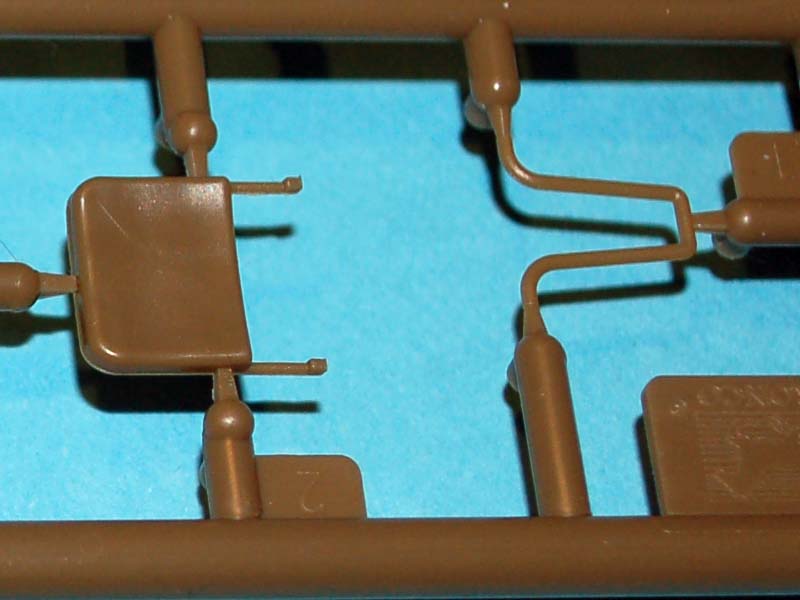
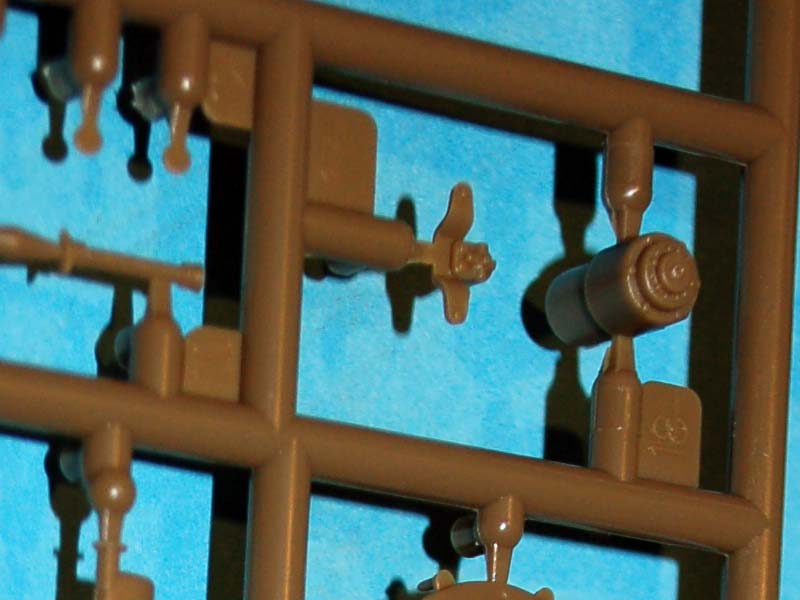
These two stages start with the addition of the four external fuel tank stored on the rear of the fenders, these have been tackled by providing 3 cylinders that go together without leaving a moulding seam along the length of the fuel which is the usual way this aspect has been tackled . One of the mounting brackets needs to be attached as does a handle attached to each end of the fuel tanks. The model is then finished with the addition of two towing wires using plastic eyes and the copper wire provided with the model. The model is now finished as far as construction goes and you get to apply your chosen paint job, it is a little upsetting that there is only one specific unit supplied as a finishing option but if you can find the reference this kit will do it justice.
Product quality:
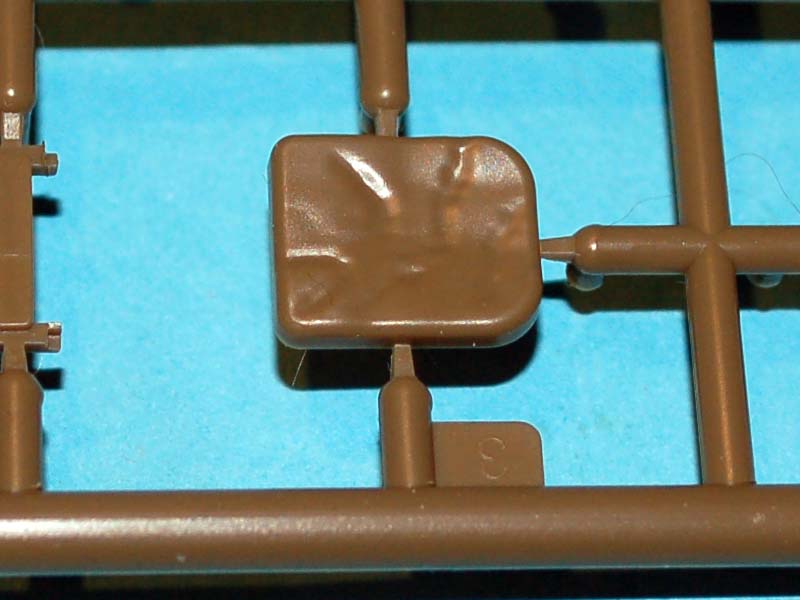
The mouldings in this kit are very good with crisp detail throughout and in my opinion nice texture which holds appeal to me. Something that will surprise you I suspect are the number of sprues that are completely new and the number of parts that have been altered on others, this for me shows a company that is willing to go that little bit further to improve their products and the accuracy rather than trying to just get maximum return on the moulds they already have. It is also good to see Bronco Models simplify some parts to increase the build ability of a model where possible without sacrificing accuracy.
Conclusion
For me this is a superior model to the previous SU-152 Bronco Models released if for no other reason than the inclusion of the photo etched screens on the engine deck. Detail wise Bronco Models referred to the excellent book by Neil Stokes KV Technical History and Variants" which I believe has improved the overall quality and accuracy of this model to no end. The workable suspension and tracks will be a godsend to the diorama fans amongst us allowing the model to be displayed realistically on any surface with ease. If you want an SU-152 in your collection this is the model to get from the selection currently available.
A
Build Log has been started in the forums.


Comments