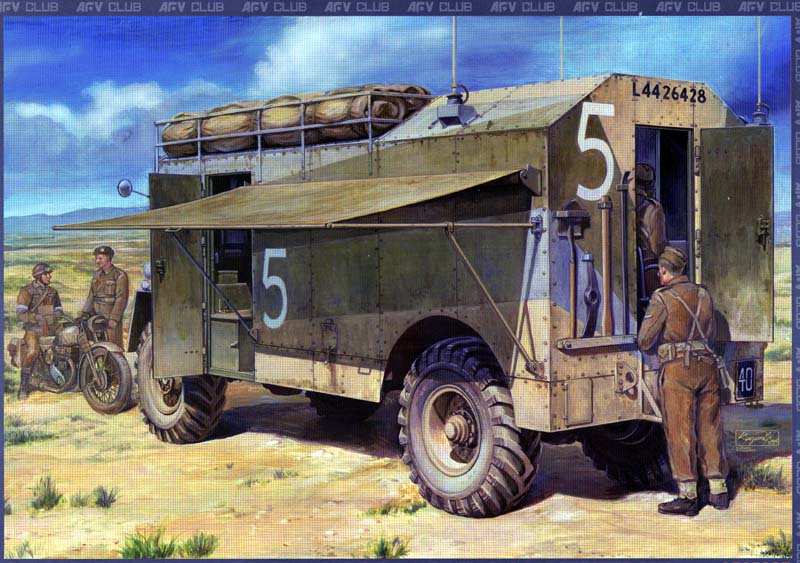
AEC Armoured Command Vehicle came into being in 1941 and quickly acquired the nickname "Dorchester" from troops. The nickname "Dorchester" was in reference to the famous London hotel and was said to be because of how comfortable it was. The AEC Dorchester was built in two types with the first being the 4x4 version built from 1941 and which is by far the best known of the two variants, and it is the AFV Club version of this version which will be reviewed here, the other version was a 6x6 version which entered service in 1944.
Both of these versions were built by the British Associated Equipment Company which was more commonly referred to as AEC, which is most likely best known for building the red London buses of the day. Three AEC Dorchesters were captured by German forces near Derna during the North African campaign with two of them being used by Rommel. These two vehicles were given nicknames by the Germans being called Moritz" and "Max. Both vehicles went full circle when the Axis forces in North Africa were defeated as they were found near Cap Bon and returned to British service.
Contents
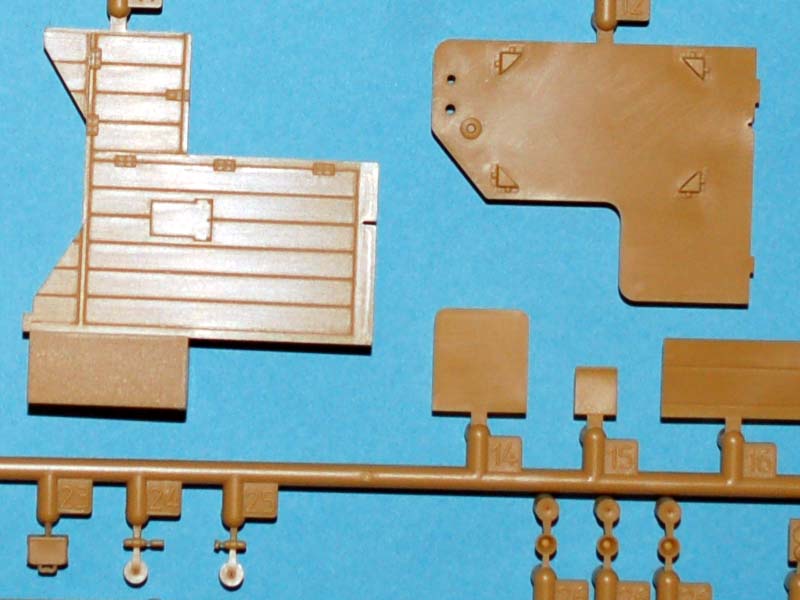
This model from AFV Club of the AEC Dorchester is packaged in a large card box, with the contents breaking down as follows;
A colour print of the box top artwork
A4 sized instruction booklet
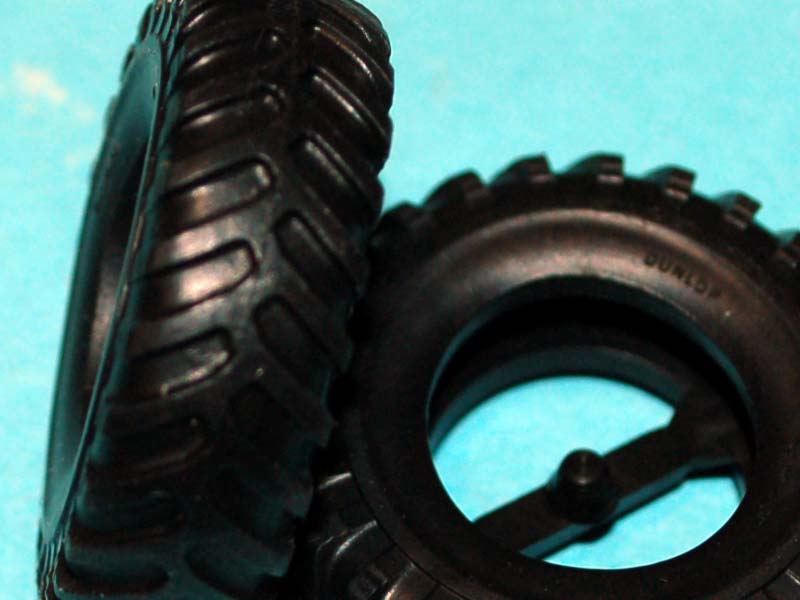
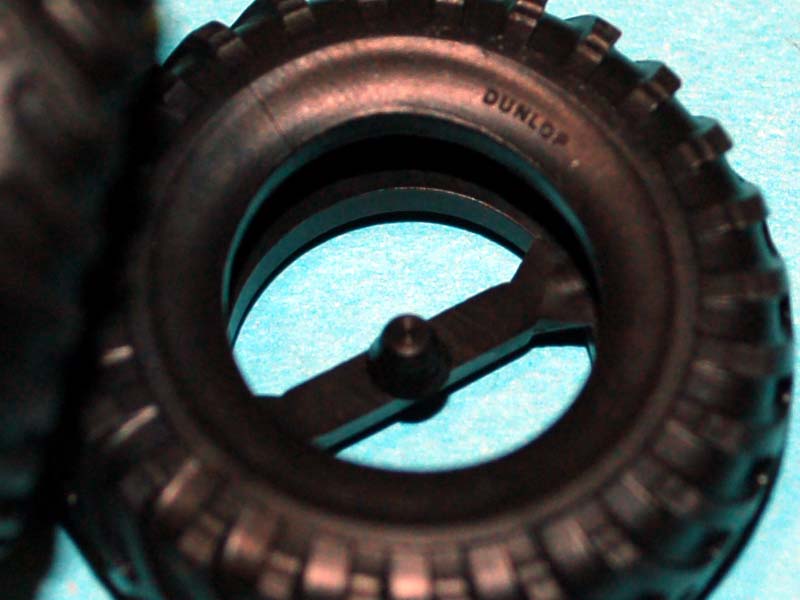
4 vinyl rubber tyres
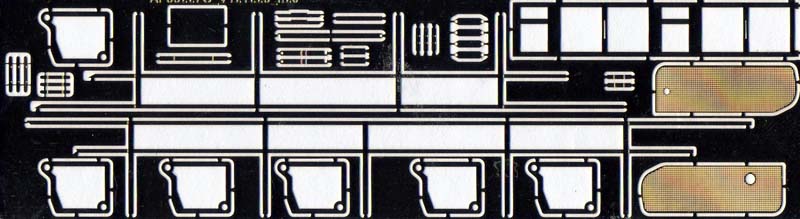
Photo etched fret
A sheet of tissue paper
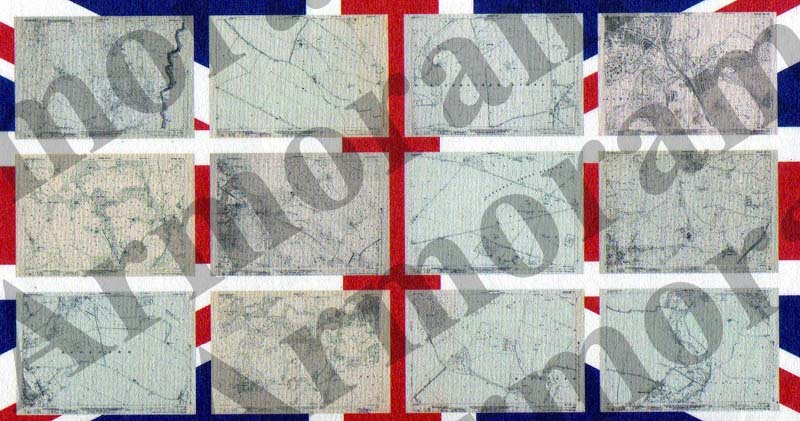
12 maps on a single sheet
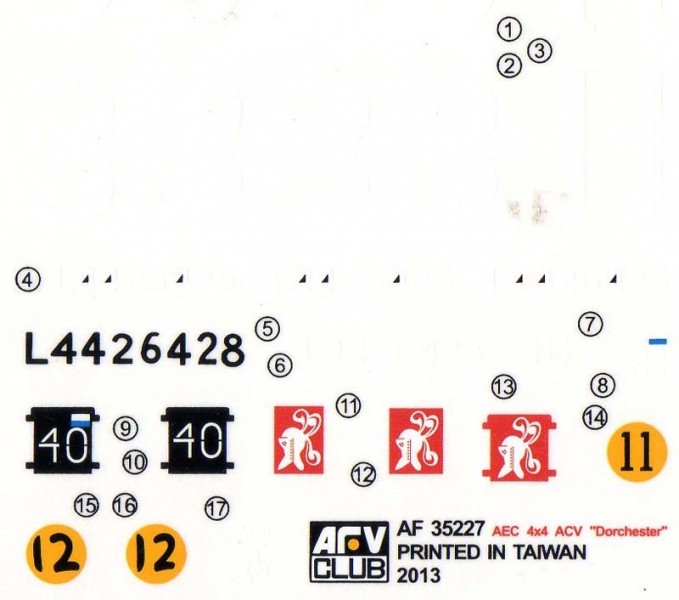
A decal sheet
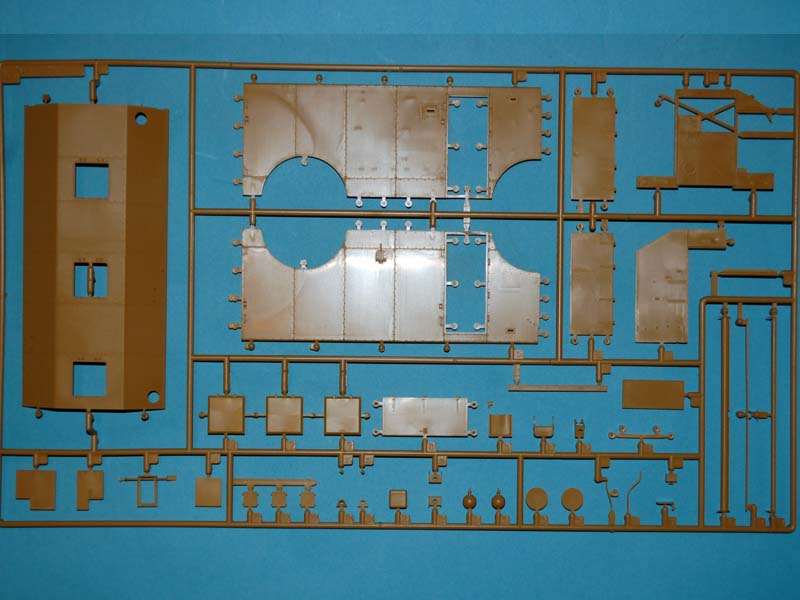
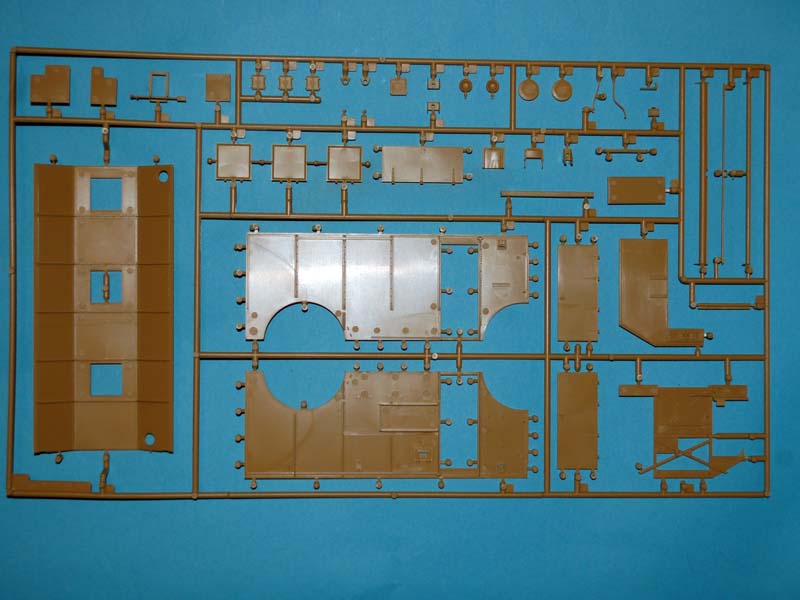
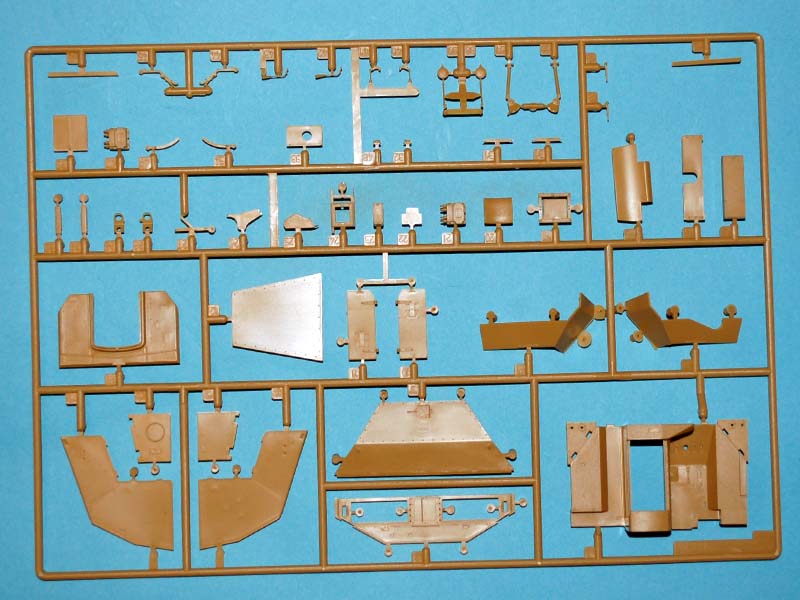
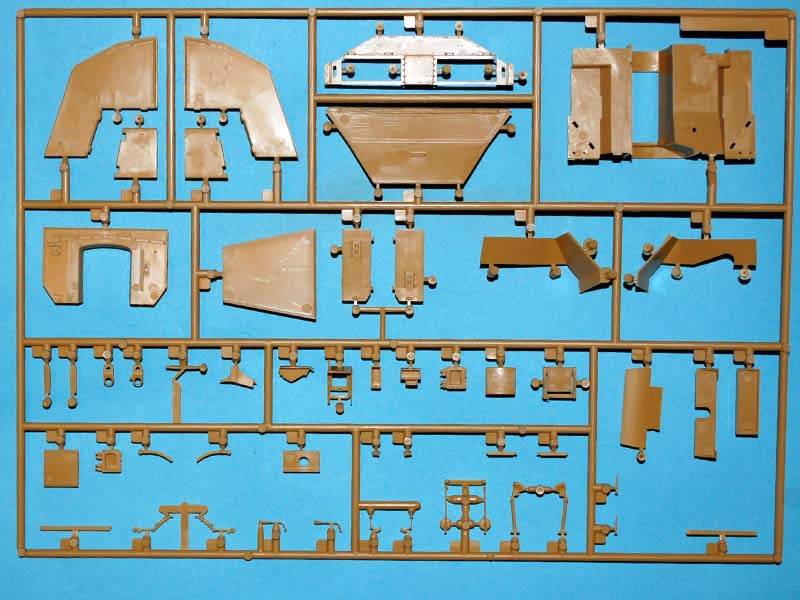
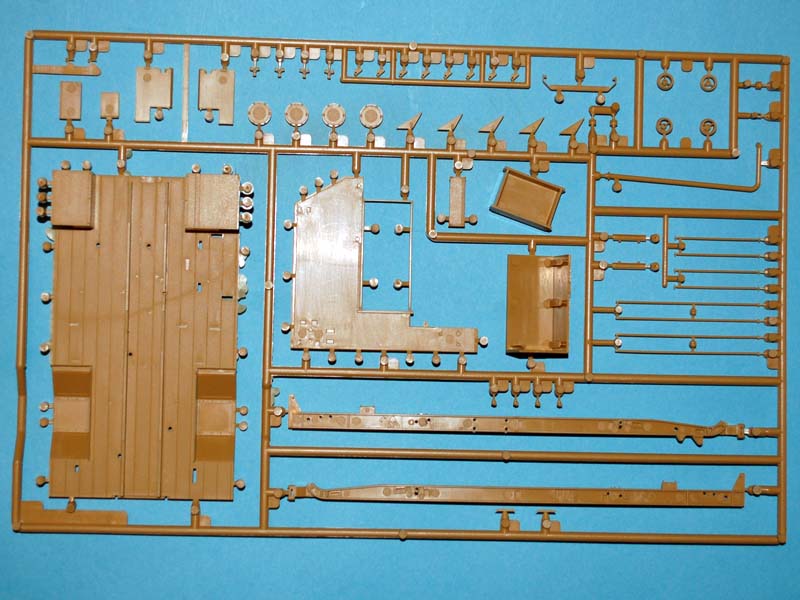
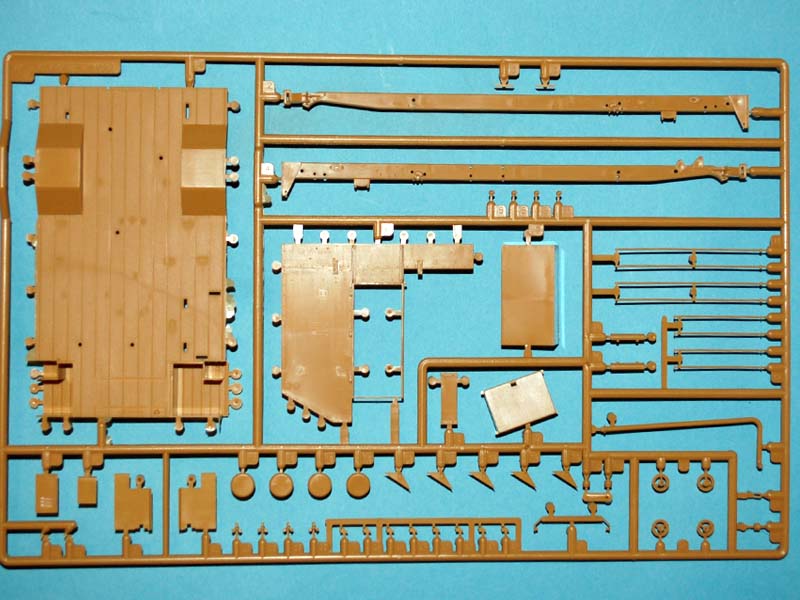
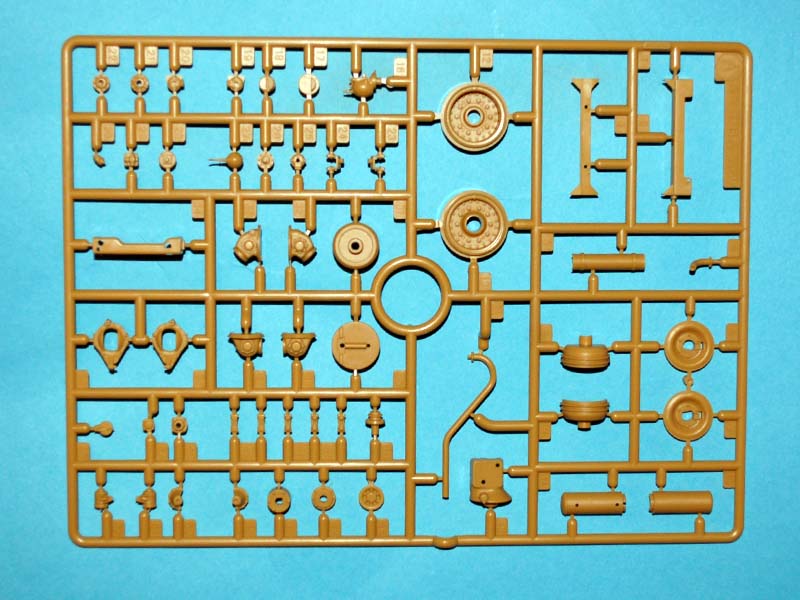
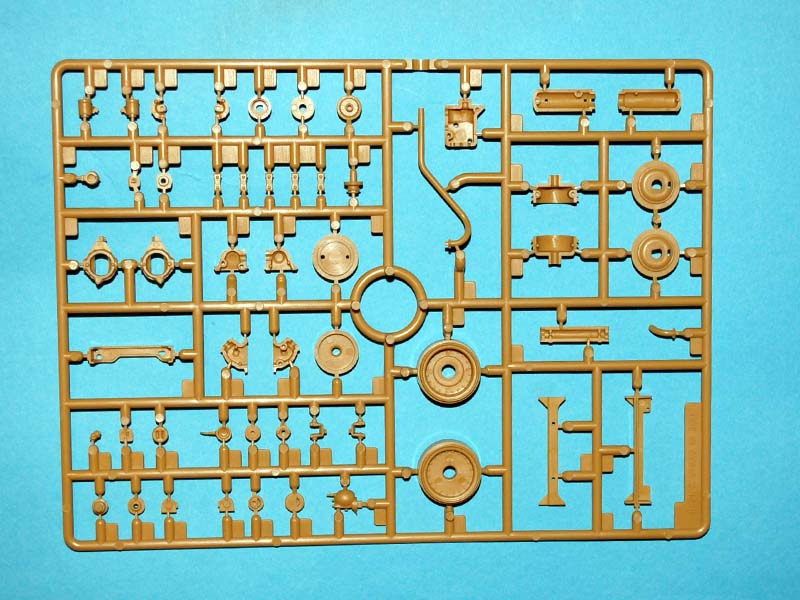
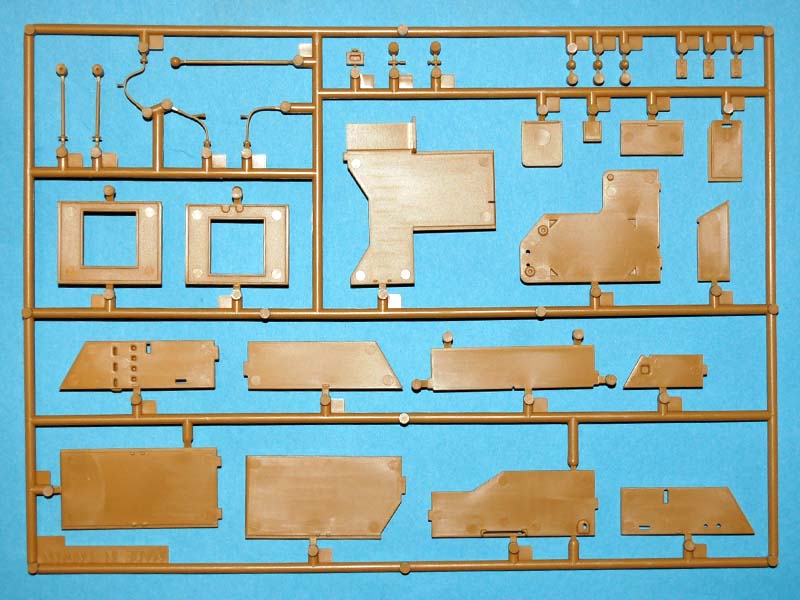
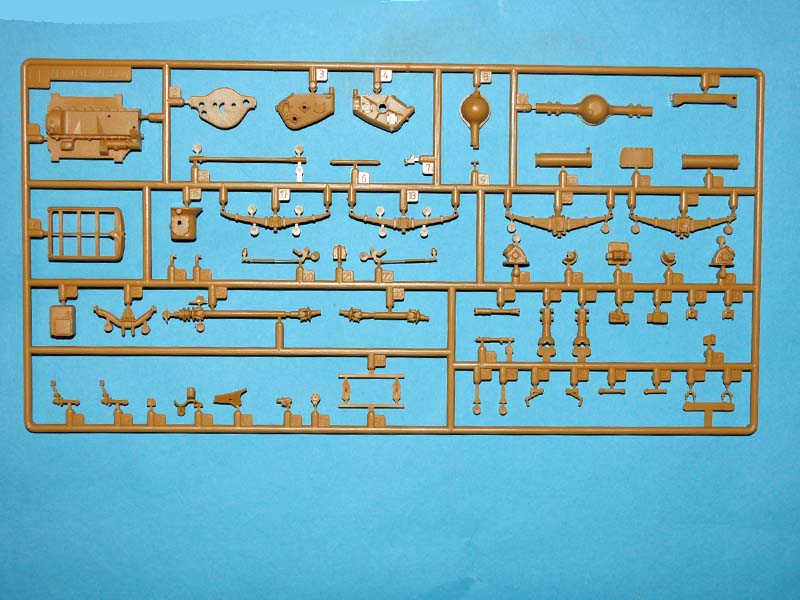
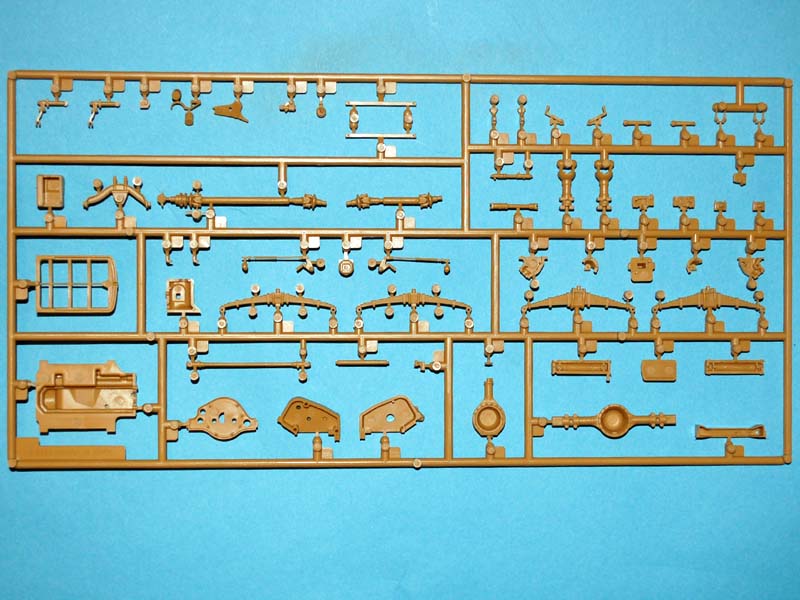
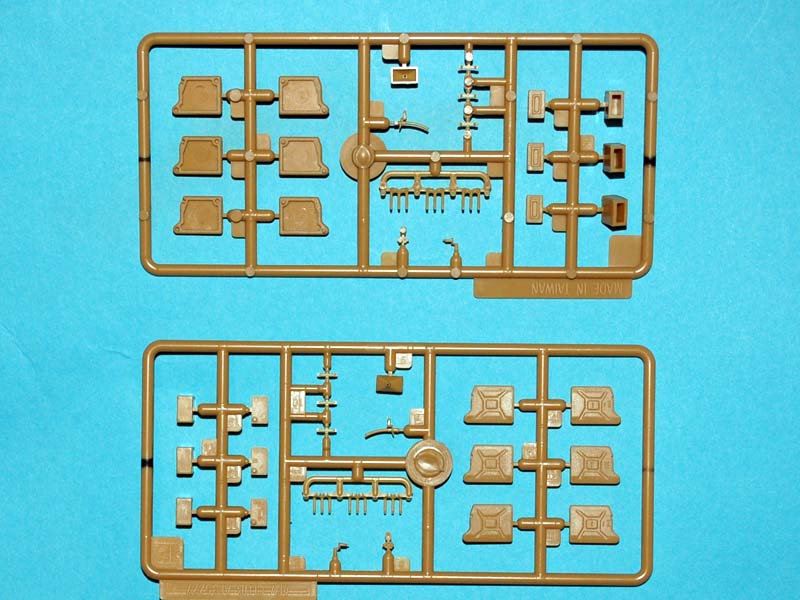
2 dark tan sprues
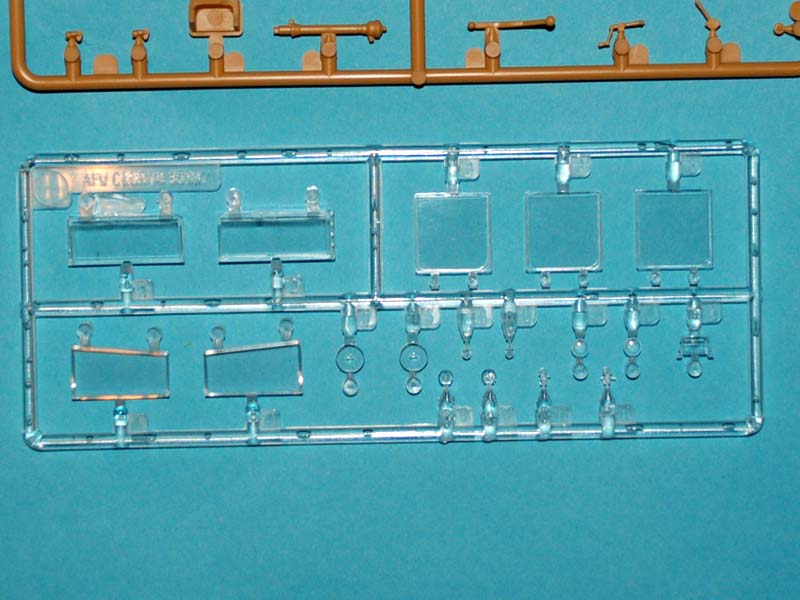
1 clear sprue
10 tan sprues
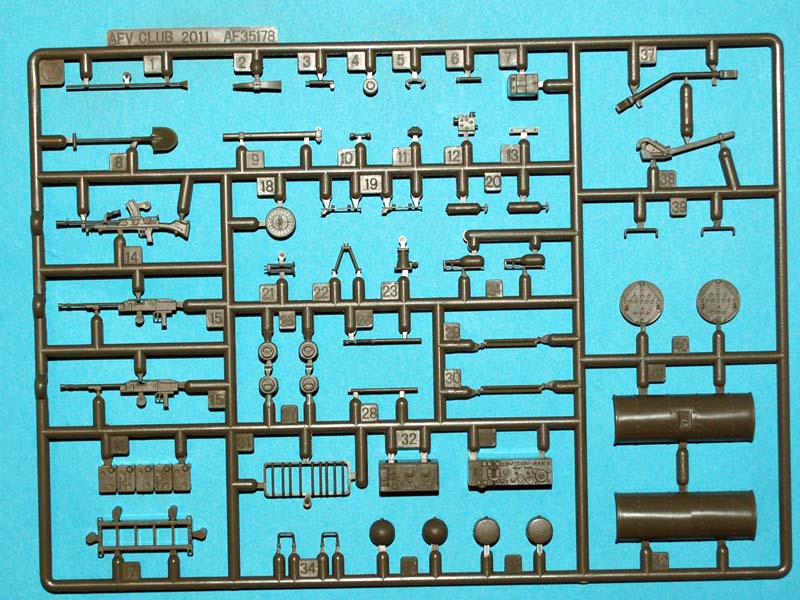
1 green sprue
Review
First impressions of the model upon opening the box is that it contains a lot of plastic, and that a lot of thought has gone into providing items such as maps. The one thing that this kit really needs to make it complete are some figures, which are sadly not included and I cannot think of a suitable figure set readily available on the market. It is possible that the Allied reporters set on the way from Bronco Models could answer some of the needs when it comes to manning the vehicle and of course there is the drivers set from MiniArt to satisfy the need for someone behind the wheel.
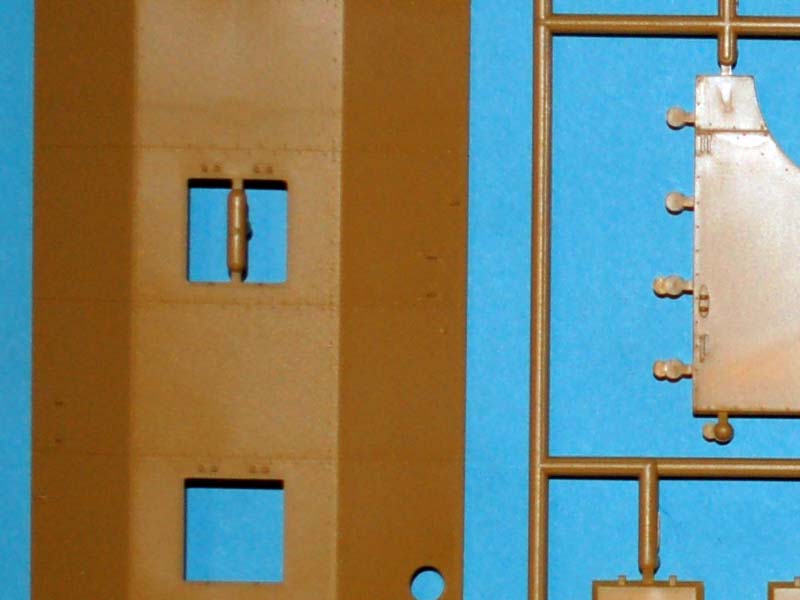
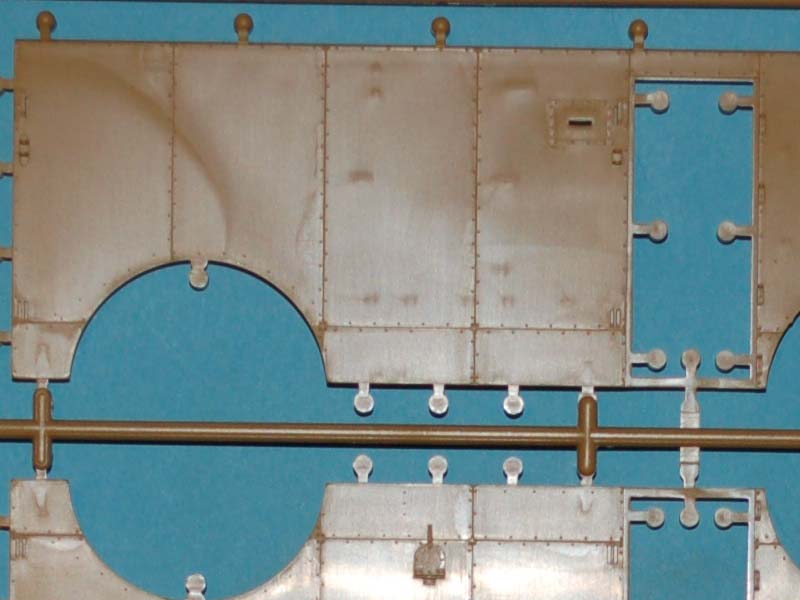
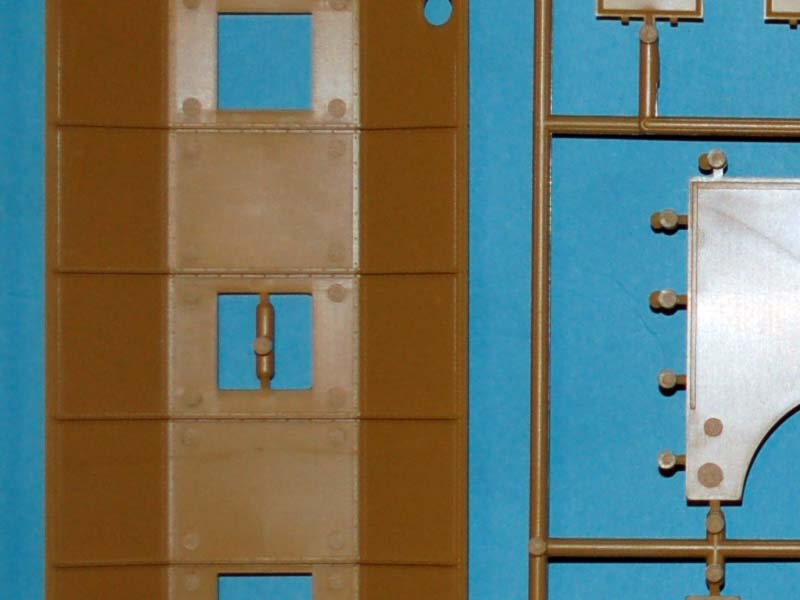
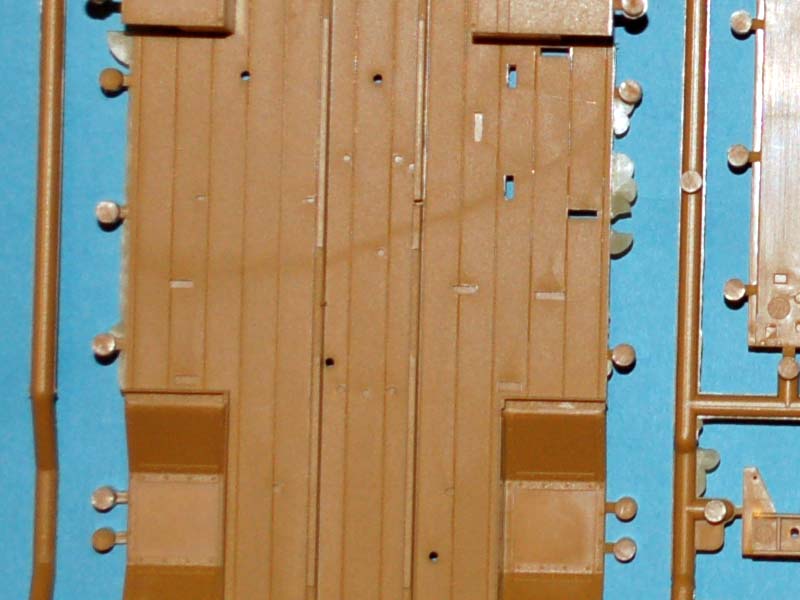
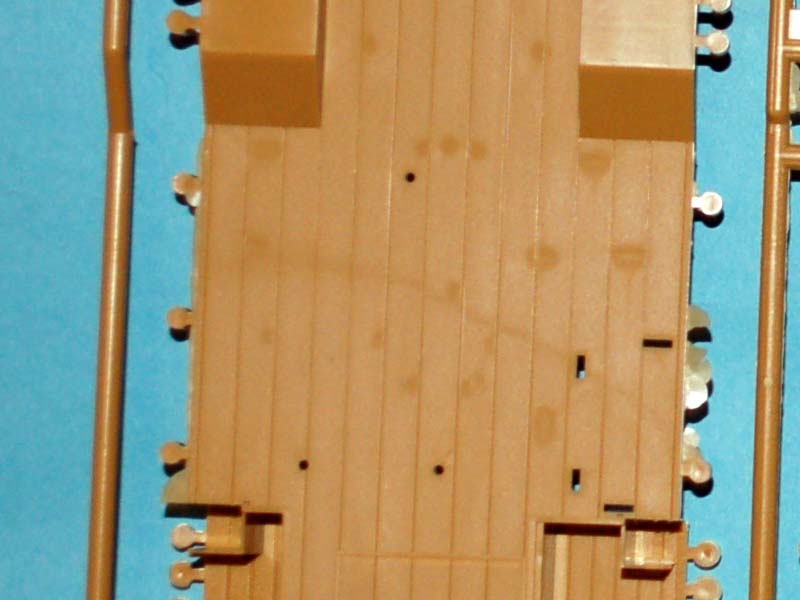
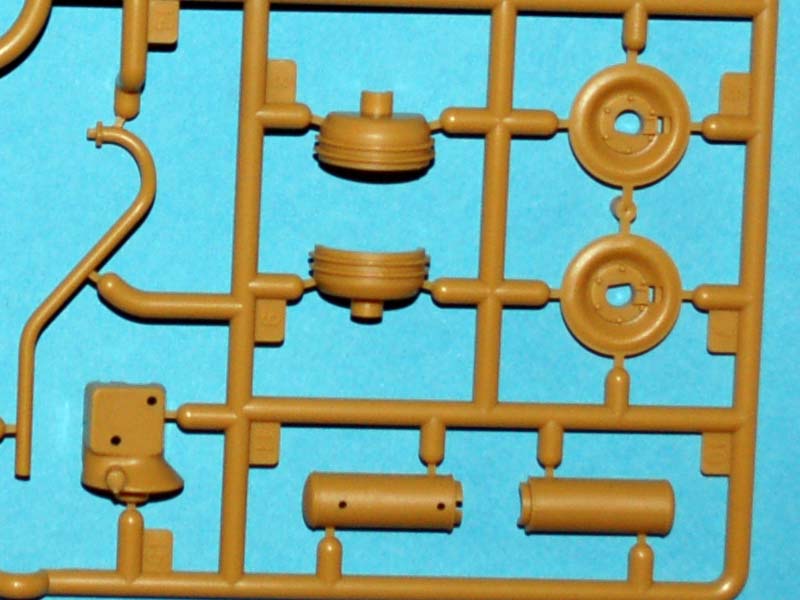
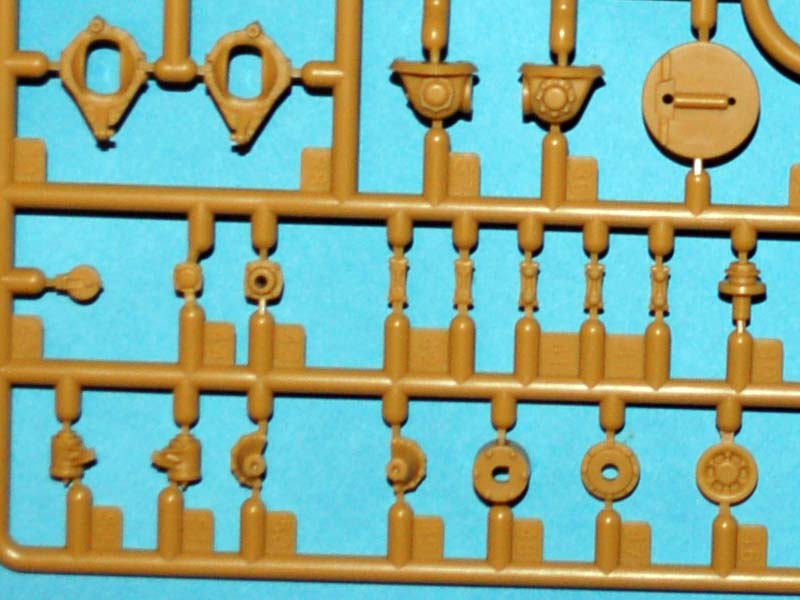
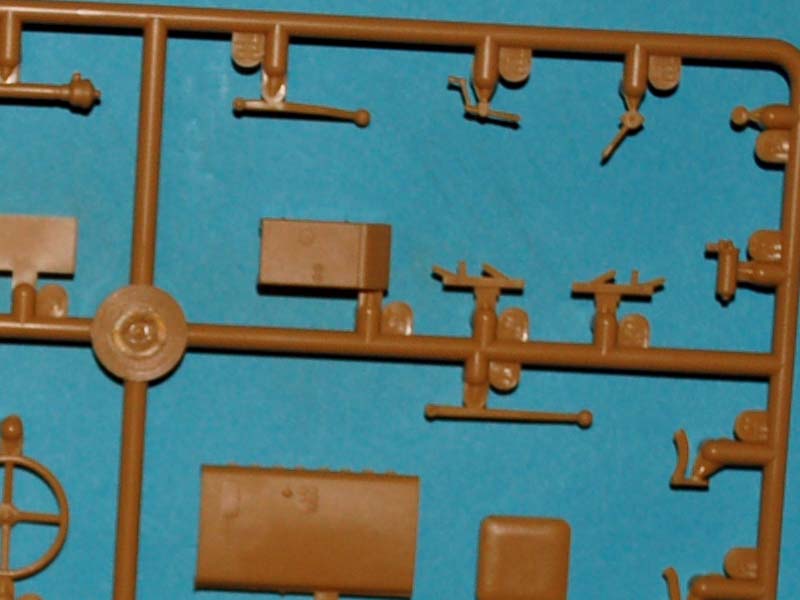
The injection moulded plastic parts seem very good with no obvious faults that I was able to discern. Problems such as flash and shrinkage look to me to be completely absent with the only possible complaint being the high number of injection nodes on some parts. There are some flow marks visable primarily on the sides of the vehicle's body. There are a few ejection marks present on pieces a few of which may be in viewable areas once the model is complete such as on one of the roof segments, however it is difficult to be sure of any others until the model is assembled. It should be mentioned here that AFV Club have done an excellent job of imparting detail on both sides of some of the mouldings where needed and avoided any marks that would have needed attention on these parts.
Build Sequence
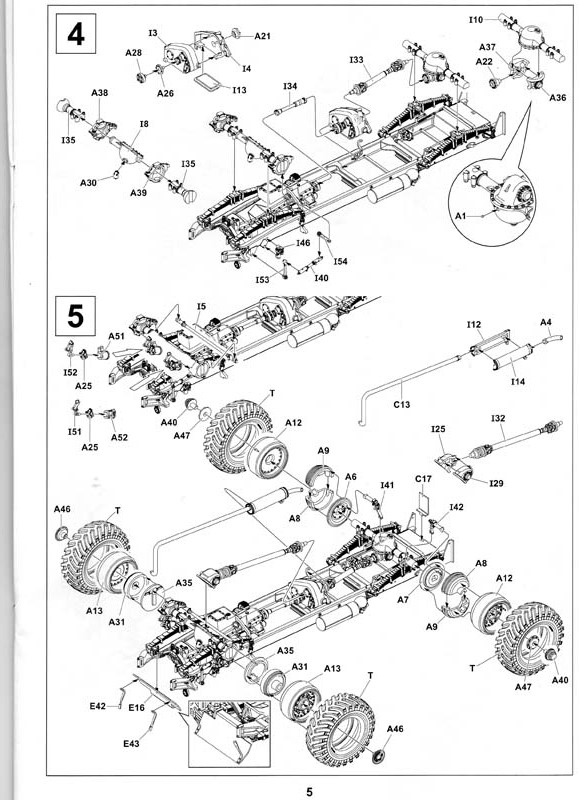
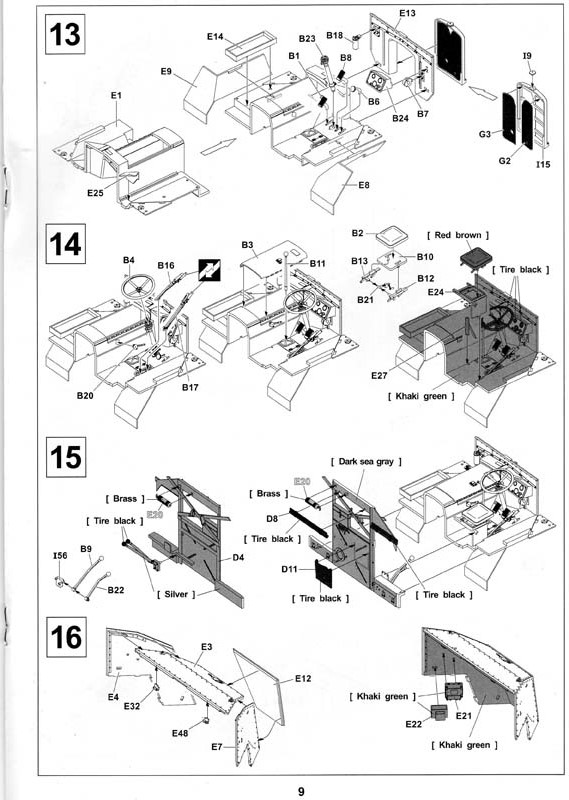
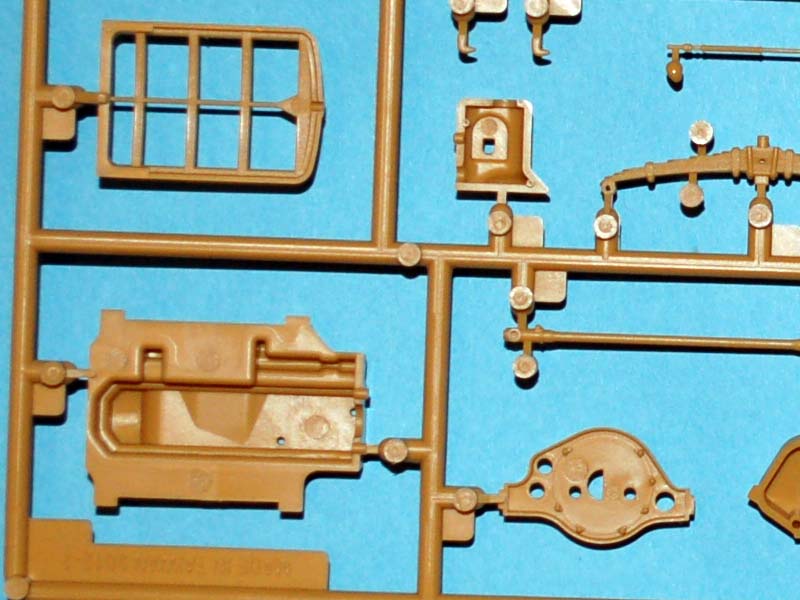
Stages 1 5
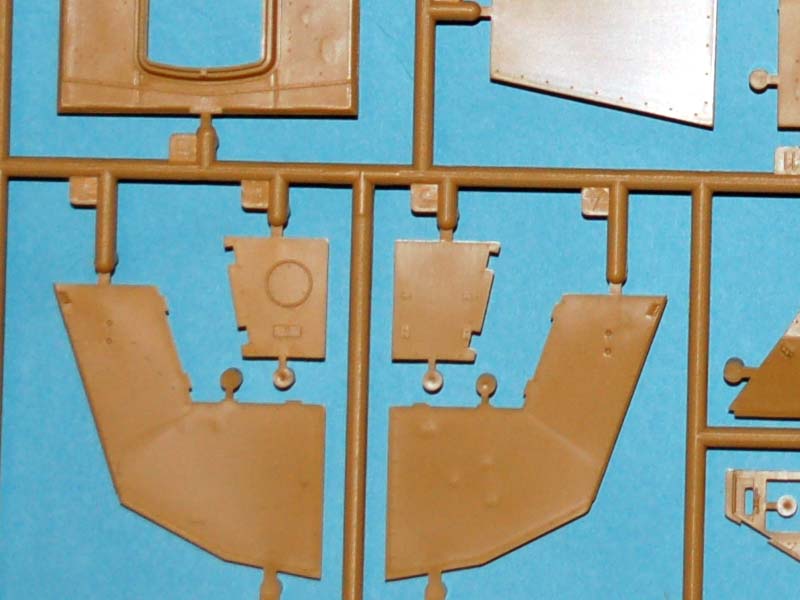
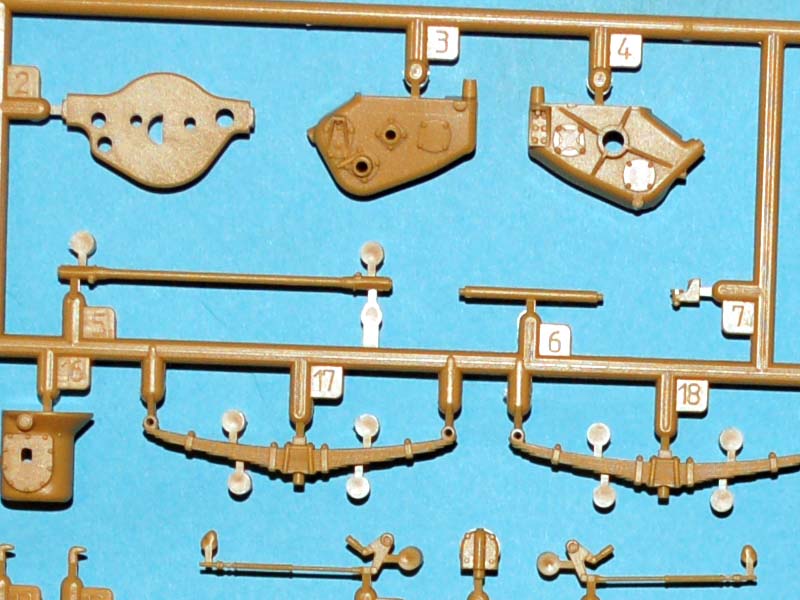
These stages of the build concentrate on the chassis, transmission, and suspension. These five stages are from what I can see well laid out but they are very busy, because of this I recommend a lot of trial fitment is attempted before cementing anything in place. This way you will not get caught out by placing a part that prevents the fitment of another. The chassis of the model is assembled from scratch which will mean that great care will need to be taken to ensure everything remains square/true. This part of the model should look very impressive when complete and it is a shame that it will not be seen in the finished model unless picked up or displayed on a mirror base.
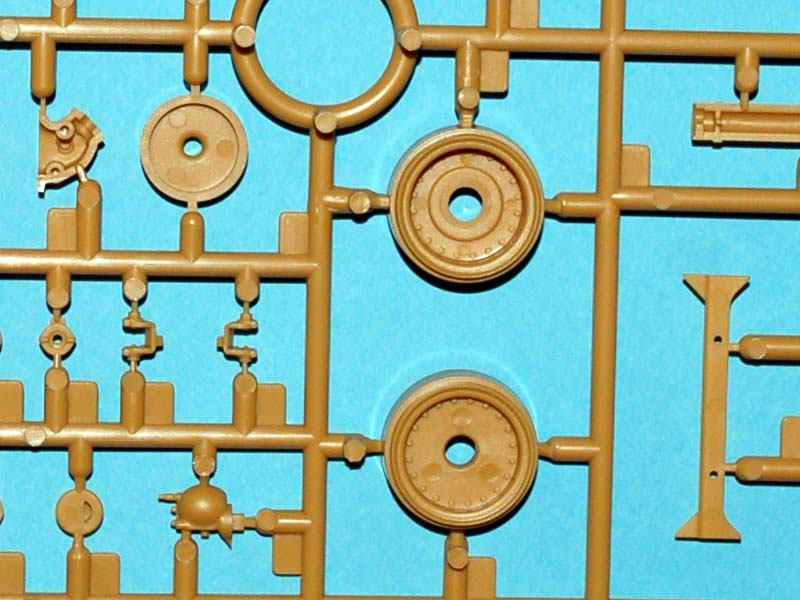
The tyres on the vehicle carry an authentic tread pattern of the time and are the same pattern found on the tyres of the Morris Quads and 25pdr guns that I help renovate. An interesting observation of the instructions shows the front right hand tyre fitted on the model with the tread pattern reversed to the other three, I am unsure if this is deliberate or an error and I will be doing some more research to answer this question.
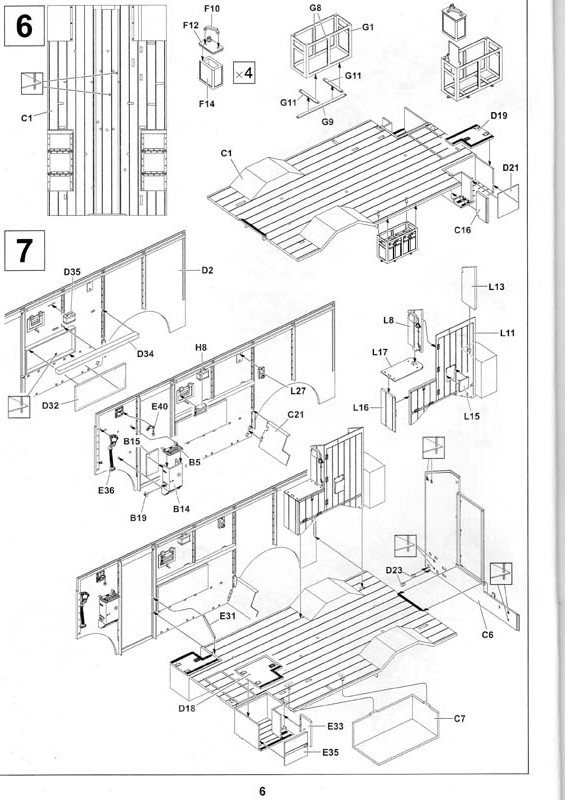
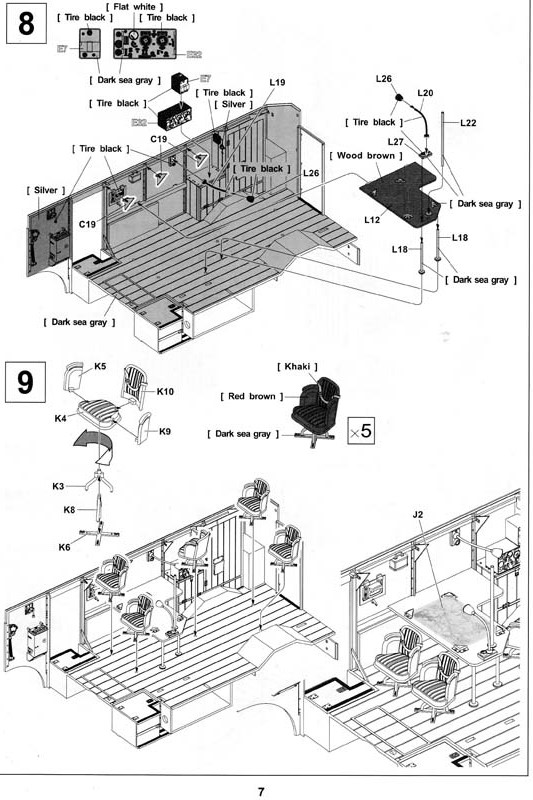
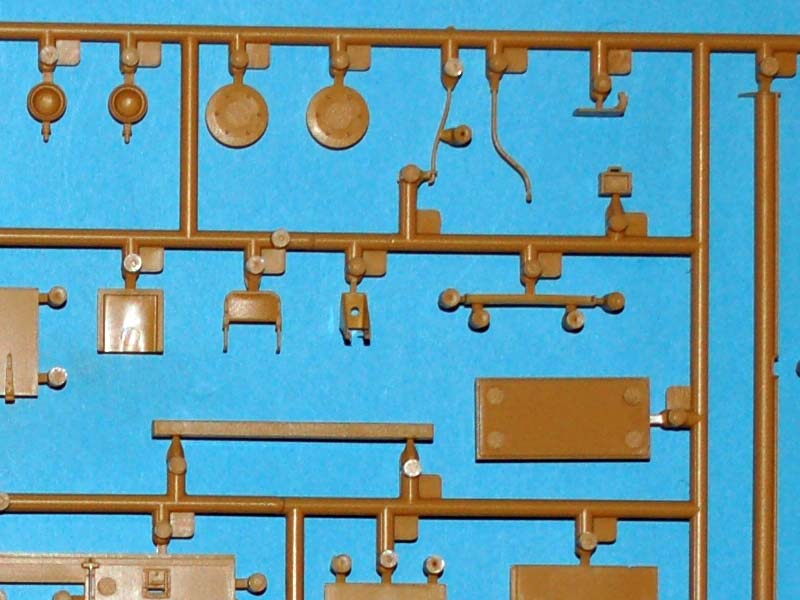
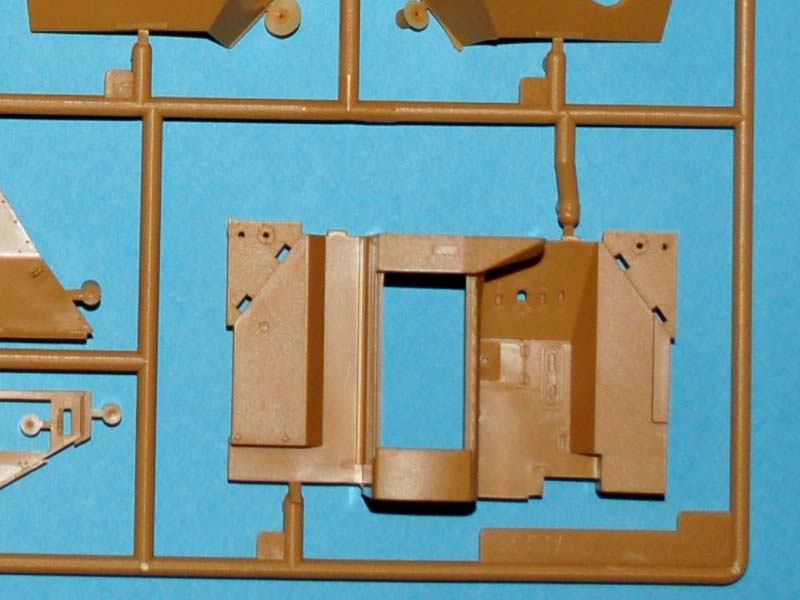
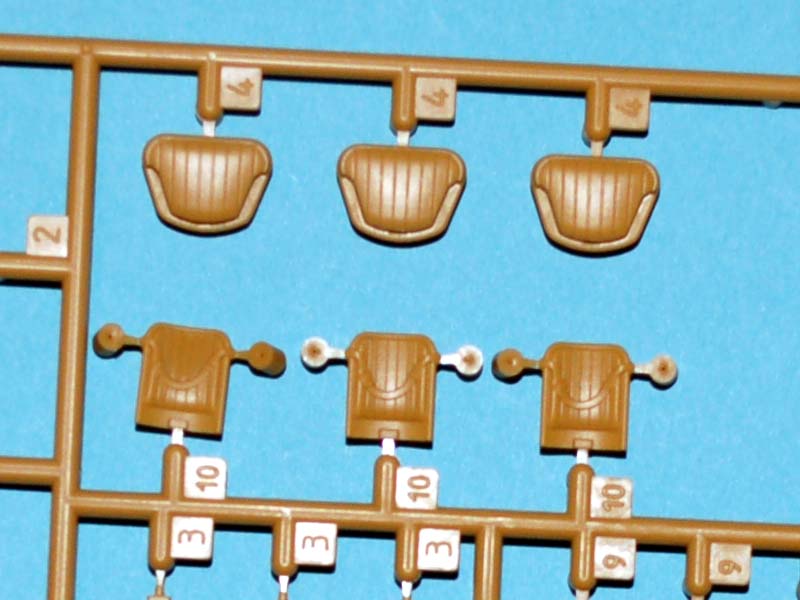
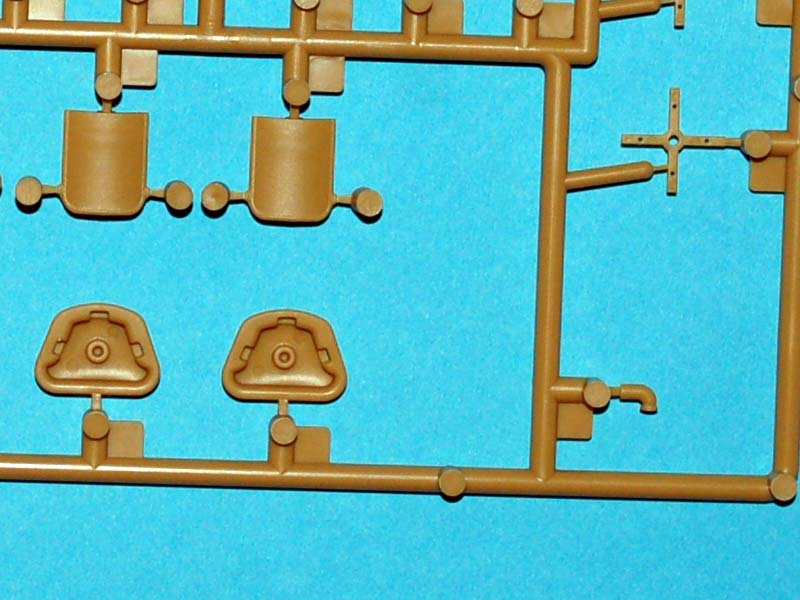
Stages 6 12
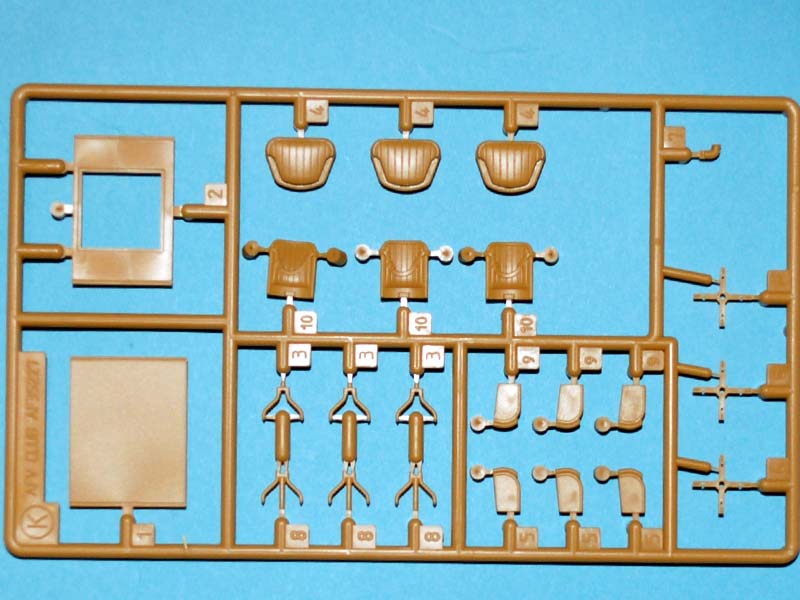
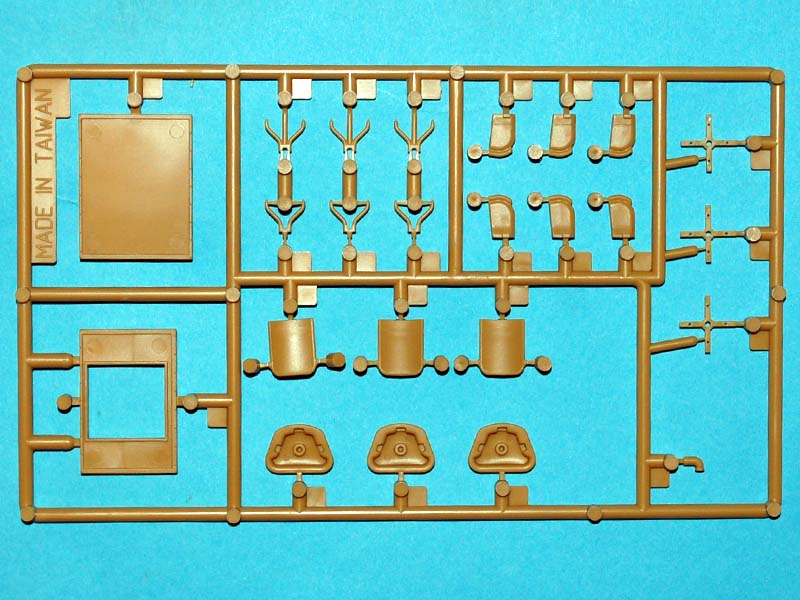
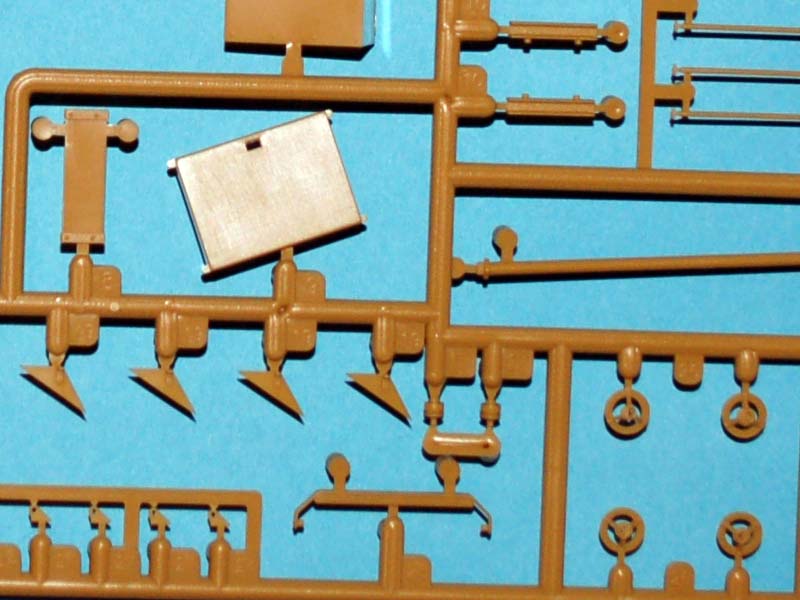
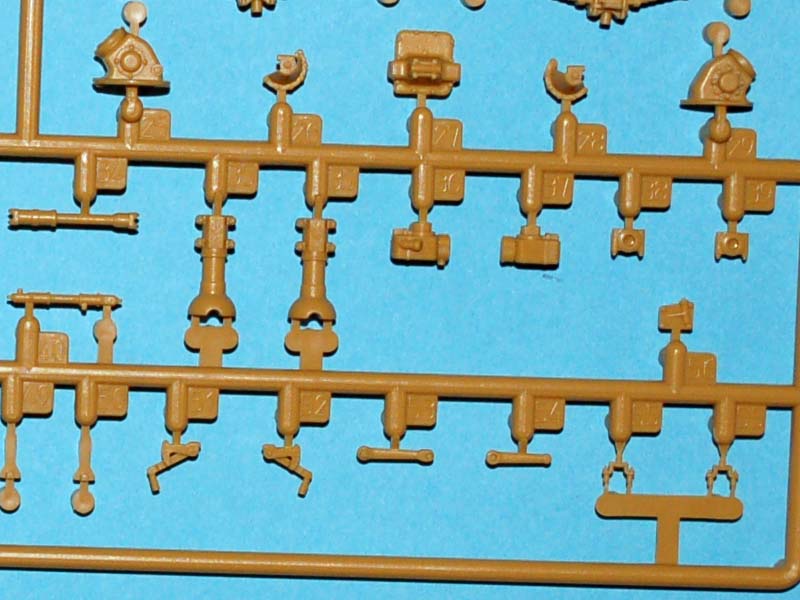
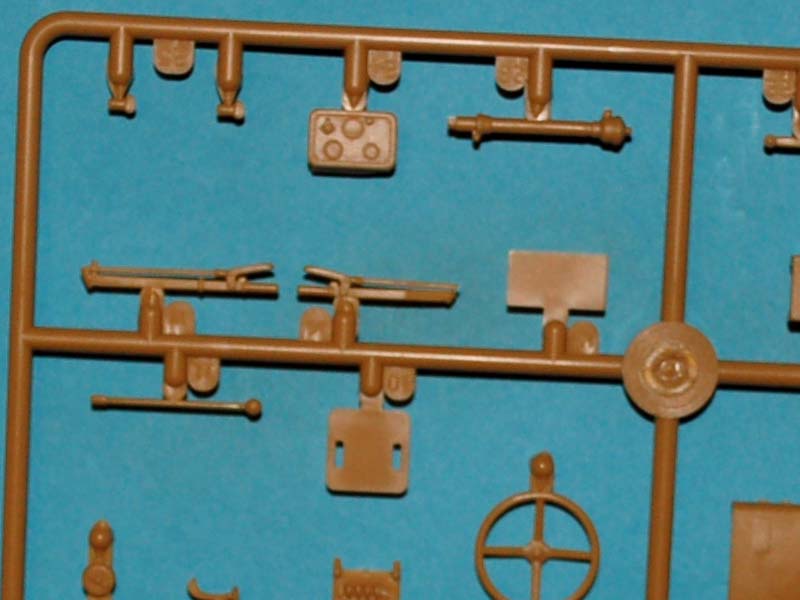
These stages cover most of the interior of the rear of the vehicle and starts with the rear and right hand side. The instructions then continue logically around the entire rear compartment finishing at the rear again. Some things that struck me here was the effort put into simple structures like the swivel chairs which are made up of seven separate parts, it is also good that AFV Club has included items like the adjustable desk lamps. It is also good to see detail painting called out as construction progresses as it allows the modeller to decide when they want to add ancillary items such as the radios. While talking about the radios it should be pointed out that the detail painting for them is very good. I am no expert on the AEC Dorchester and the interior layout is a mystery to me, but there are certain items I cannot seem to locate that I would have thought should be viewable, these items are items such as microphones and headsets which seem to be completely absent.
Stages 13 16
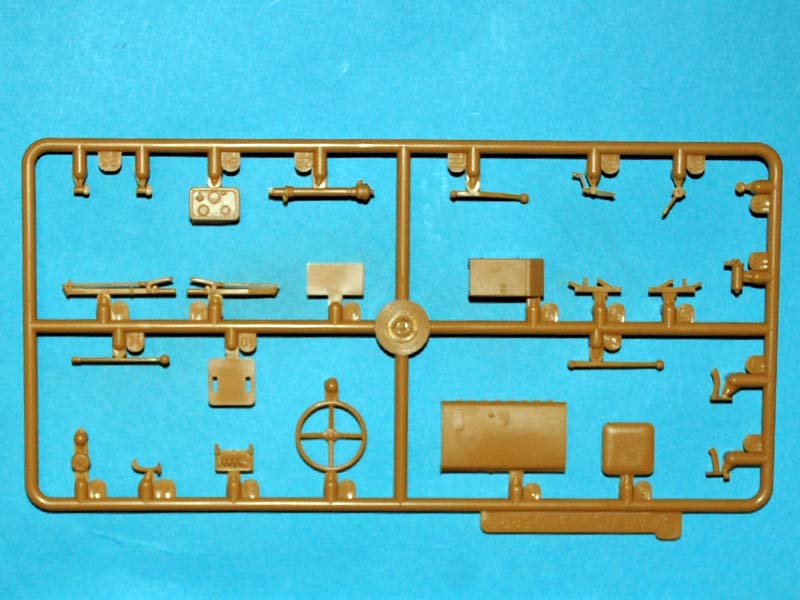
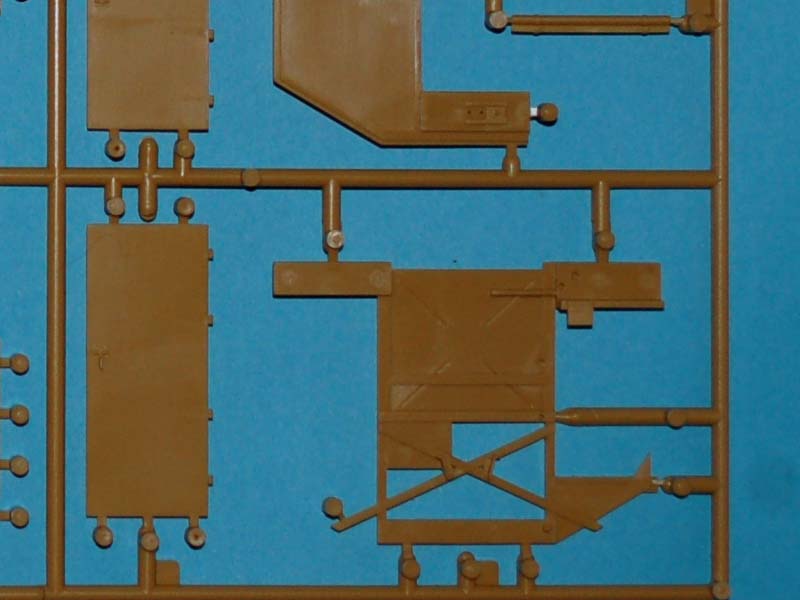
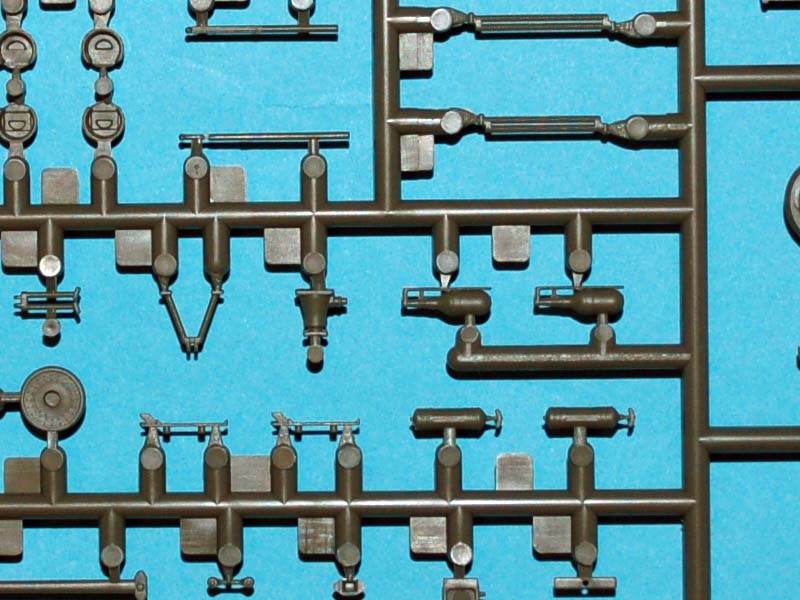
These stages cover assembly of the cab interior and bonnet (hood) structure. Detail is again very good and detail painting is again called out where needed and this should make for a busy looking cab. While on the subject of the cab it is my understanding that a Bren gun was usually carried with the vehicle for defence and while there is a Bren gun on one of the included sprues it is not indicated for use with the model. The sprue with the Bren gun on it is from the AFV Club kit of the British Infantry Tank Mk.III Valentine Mk.I.
Stages 17 19
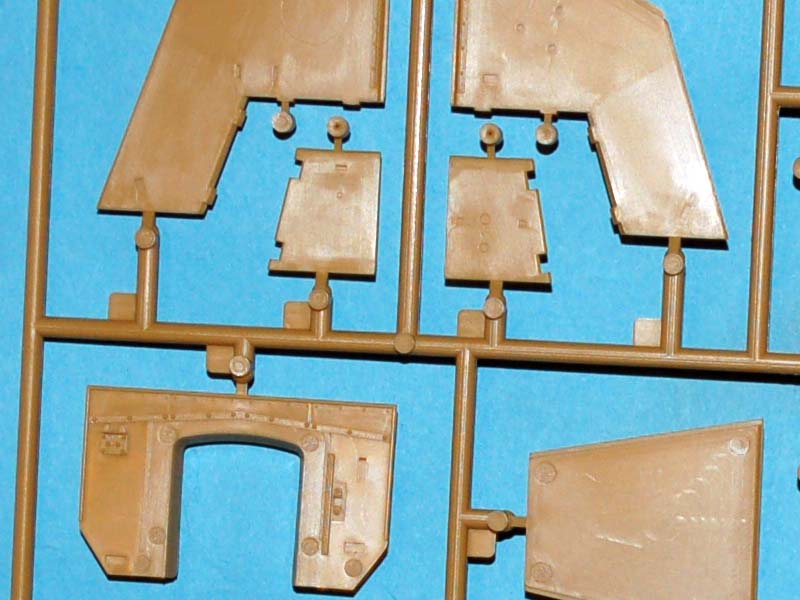
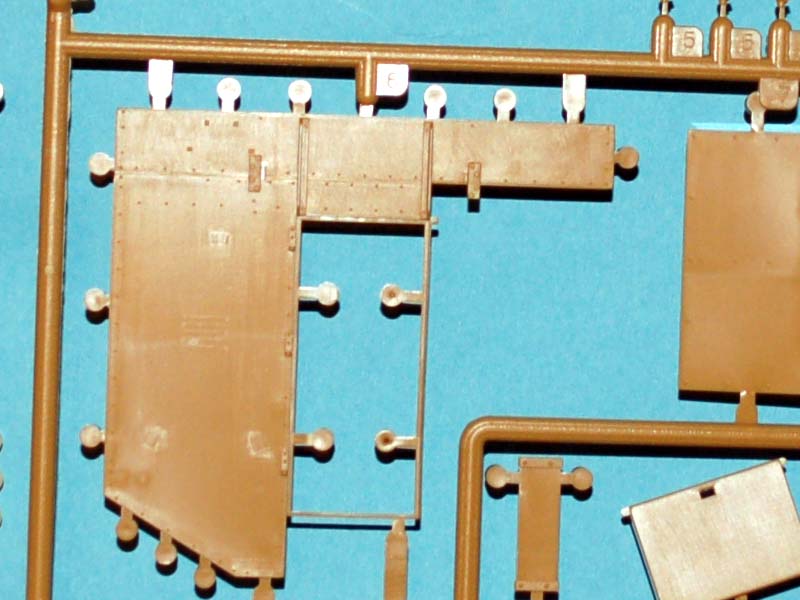
These stages start by adding the cab interior and bonnet to the main body of the vehicle. This is followed up with the attachment of the windscreen armour panel and clear parts. The best part of this model are all of the hatches and doors that can be secured in open positions allowing a good view of the interior detail.
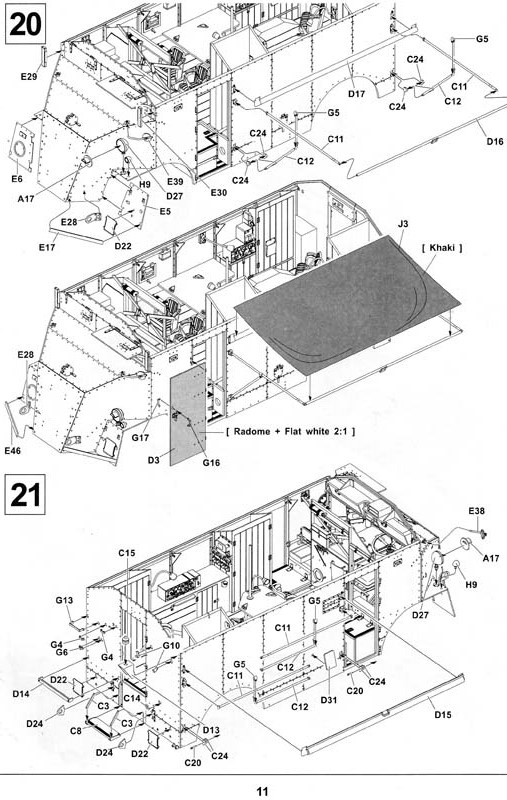
Stages 20 22
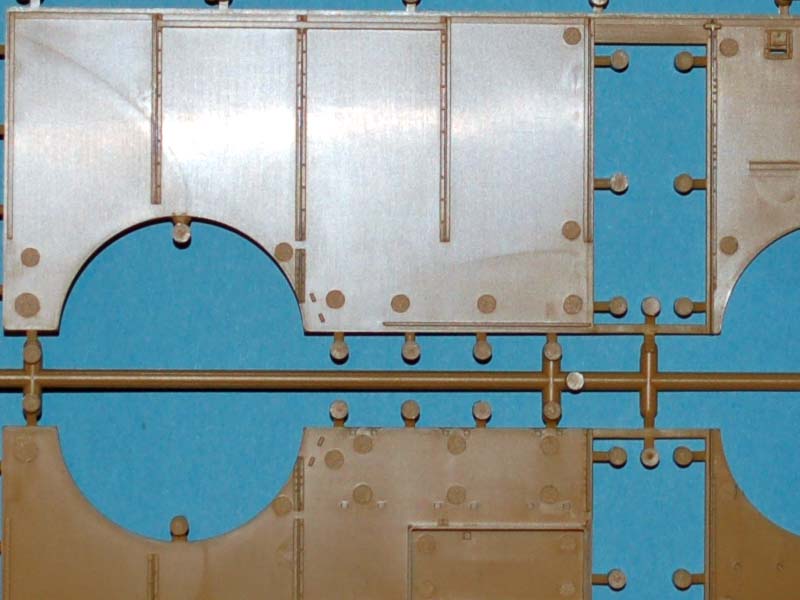
These stages primarily work on the exterior of the vehicle. Some of these stages are very busy and will again require careful following of the instructions to avoid missing adding parts or for that matter misplacing parts. One excellent addition during these stages is a framed canvas sunshade using the tissue paper supplied with the kit, I would however strongly suggest that this is added after the model is completed. I believe that while the sun shade is shown on the left hand side of the truck it could also be used on the other side, on neither side, or with a little work deployed on both sides. I suggest that as the frame is shown stowed on the opposite side of the vehicle.
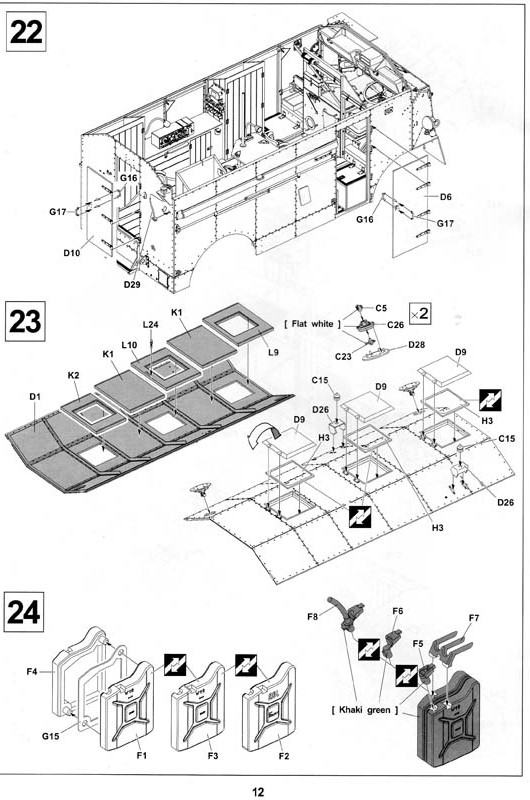
Stage 23
This stage covers assembly of the roof and again provides the option of having open areas, by this I mean the roof vents that are provided in multiple parts specifically to offer this option.
Stage 24
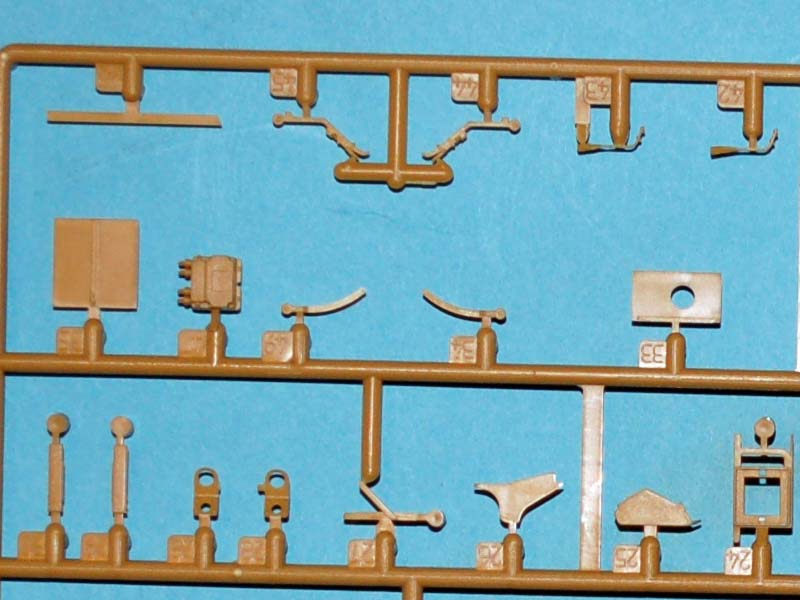
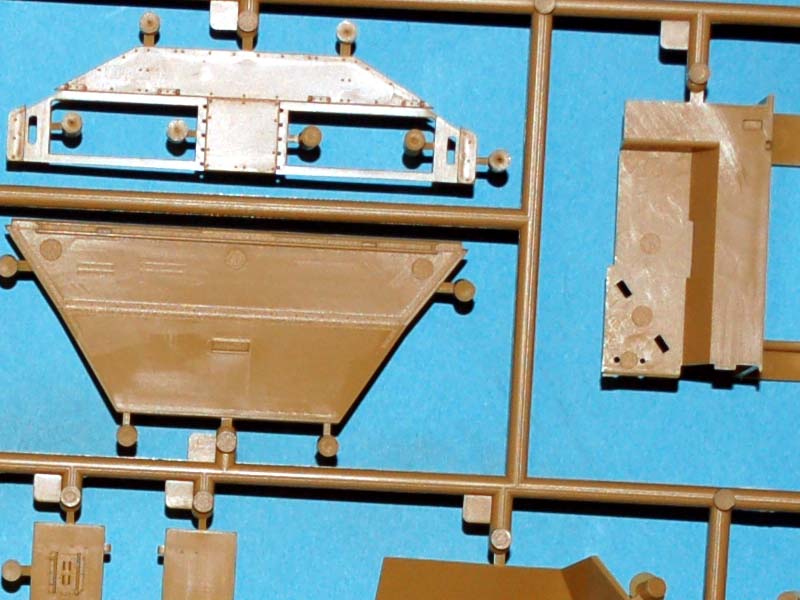
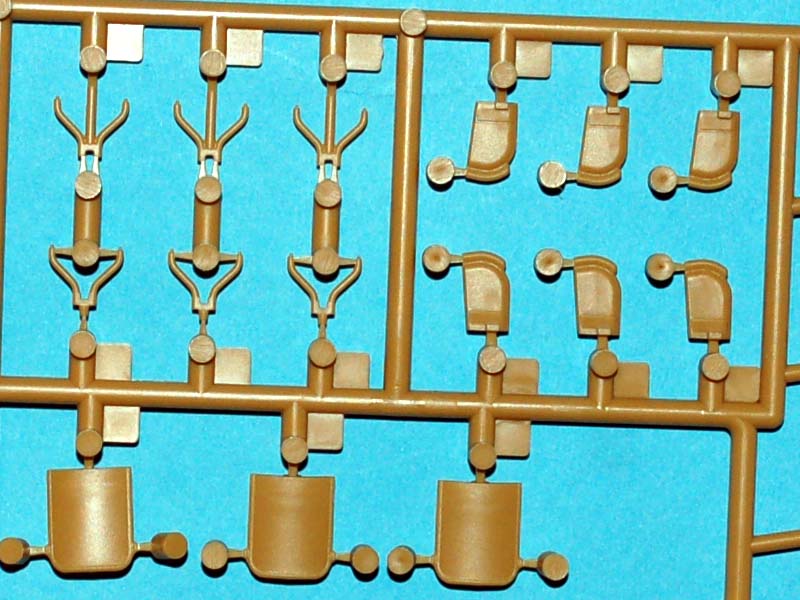
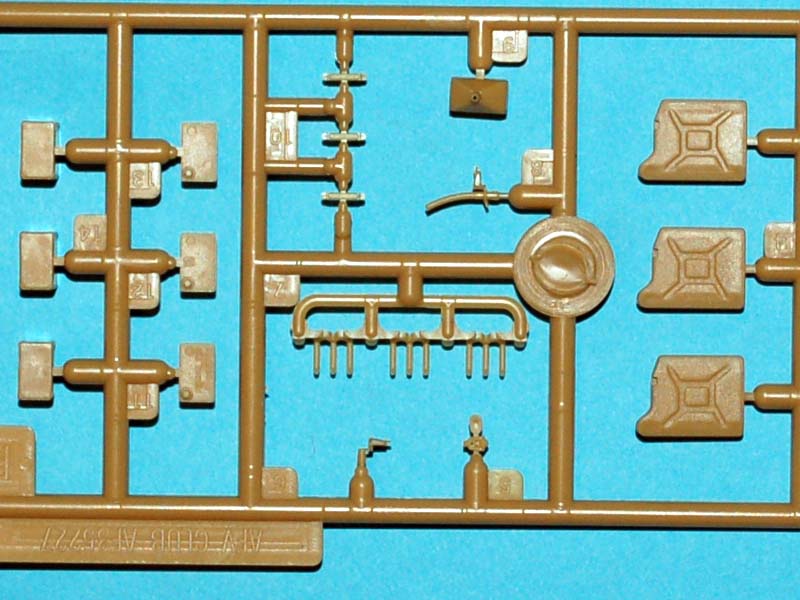
This stage covers assembly of the five gallon fuel cans supplied in the kit and which are I believe the product that has now been released as WWII British Fuel Tank Set. I have been informed that there are issues with the size of the fuel cans in this model, however they look good enough to me and as such if they are the wrong size it cant be by much, this is however another area I need to look into further.
Stage 25
This stage is where you add the roof to the body of the vehicle but I would consider trying to keep the roof removable to allow a better view of the interior. You will also be instructed to add some roof storage racks in photo etched parts which should look good. The last thing you are shown is the addition of the aerials on the roof useing heat stretched sprue, however AFV Club has neglected to mention the lengths that these aerials should be.
Decals
There are three finishing options for this AEC Dorchester model all of which are for the 3rd Armoured Brigade, 2nd Armoured Division, Spring 1941. The only differences are in numbers displayed on the vehicles as they are numbered 1, 3, and 5 with the biggest difference being the three colour Splinter camouflage design the vehicle is painted in. I suppose this model could be a good reason to buy the LifeColor set CS-16 Middle East British vehicle camouflage paint set.
Conclusion
I will admit to be unsure what would be gained by having an interior for this model, but having had a good look at this model and all of the open hatches it could be that I am a convert. I would go so far as to say that with a suitable crew this model would make for an excellent central element of a diorama with the only items needed in addition to a crew being things like cigarette packets, cups, and discarded uniform to make a very lived in diorama with a lot going on to attract the eye. So with the possibilities of some excellent dioramas in the pipeline with this model I have no option but to very highly recommend it.
SUMMARY
Highs: The high number of display options as regards hatches and shelter make this kit very appealing with its interior.Lows: The lack of microphones and headphones seems a little odd to me but I am willing to listen if others know something I dont.Verdict: Very highly recommended
Our Thanks to AFV Club! This item was provided by them for the purpose of having it reviewed on this KitMaker Network site. If you would like your kit, book, or product reviewed, please contact us.
About Darren Baker (CMOT) FROM: ENGLAND - SOUTH WEST, UNITED KINGDOM
I have been building model kits since the early 70s starting with Airfix kits of mostly aircraft, then progressing to the point I am at now building predominantly armour kits from all countries and time periods. Living in the middle of Salisbury plain since the 70s, I have had lots of opportunitie...


Comments