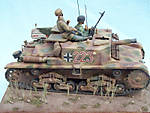
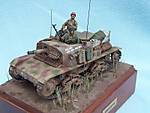
1⁄35SEMOVENTE DA 75/18
7
Comments
Painting and Markings
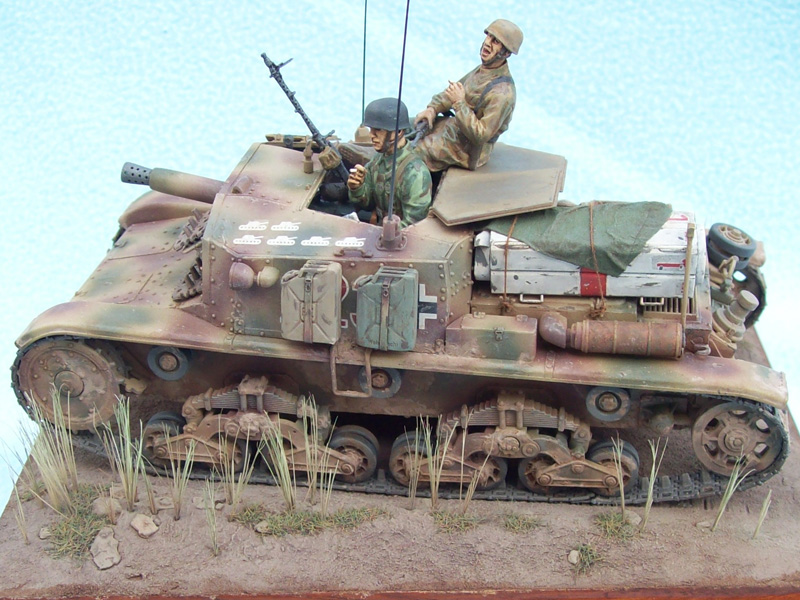
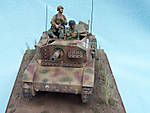
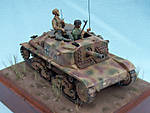
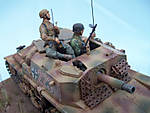
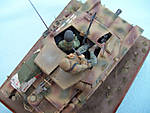
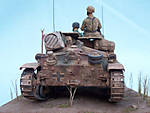
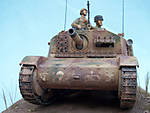
I like to spray with Tamiya acrylics and brush paint with Humbrol enamels, and that was the case here. For the interior I mixed up an off white using Tamiya XF 2 and a spot of XF 55 and base coated the entire internal upper and lower hull. Details and chips were all then painted using a wide range of Humbrol enamels based on colour pics of a preserved semovente, and once dried washes were applied using Windsor and Newton oils (black and burnt umber). Finally some Mig Pigments were used to create some dust and dirt that inevitably collects inside these vehicles. I keep ready-mixed diluted Tamiya acrylics for colours I use often, including dunklegelb, rotbraun and olivgrun, whose colours vary every time I top them up and so the actual colour mixture is a mystery to me! However, ‘captured’ Semovente retained their Italian pattern camouflage, something which I am no expert on. From looking at references I lightened my dunklegelb mix slightly, along with the olivgrun and made the rotbraun a little more red than brown. The kit was then given several coats of the sandy yellow with slight improvements to the shade being made between coats, I then added the blotches of disruptive red and green to mimic the interesting Italian camouflage pattern. Decals were then selected to best mimic reference pics I had of Semovente’s in German service, this included the large red and white vehicle ID number and Stug brigade markings taken from the spares folder, balkenkreuz from the kit sheet and a Verlinden dry transfer for the Fallschirmjager divisional logo (However, after finishing the build I believe this marking is actually a post-war symbol). The areas where markings were to be applied were sprayed with several light gloss coats to reduce decal silvering and this was re-done after the decals were applied to blend them in, while on the subject odd decals I used the kill marks from DML’s flak 88.Weathering
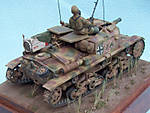
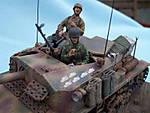
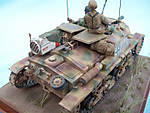
The entire model was first lightly dry brushed with a light sand colour, I feel dry brushing is an important step to help blend together the base colours and add some wear, however it needs to be done in moderation as too much can look terrible. With this done chipping was done in two stages using enamels, firstly with a the same light sand colour used previously, and then with Humbrol brown bess (now discontinued) was added in the centre of larger chips already marked with the light sand colour to give the appearance of depth to the chips and scratches. Then it was a case of painting all the items such as the exhausts, road wheels and stowage etc. that would not be the base colour of the vehicle. The air drop supply canister was given a base of white with a red band and lettering replied. This was loosely copied from reference photos which show these being brightly coloured to aid their retrieval and to indicate their contents. The crew would no doubt be aware of this and so have thrown a field grey tarp over it to prevent it standing out from the air. The kit tracks were used as they have good definition on both sides, although they are a nasty rubber like material and had a few sink marks to fix. They looked quite good when in place and I find individual-links tedious to build and so ran with the kit tracks as most of my reference pics show minimal track sag anyway. These were sprayed with my own special blend of Tamiya acrylics to recreate the colour of digger and bulldozer tracks I see at work (I work at a mine) which is essentially a dull brown with a metallic sheen. They were then dry brushed with silver enamel on the areas that would receive wear. Everything then received a wash with burnt umber oils and pin washes of black oils were added to certain areas. Mig pigments were brushed on in places and also mixed with static grass and white spirit to create a mud mixture that was applied to those areas that usually collect a build up of muck.Figures
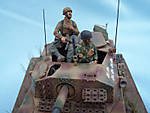
The figures came from DML’s set no. 6113 (3rd fallschirmjager division, Ardennes 1944) as this had seated fallschirmjager figures in the poses I required. With a bit of manoeuvring I got one figure to sit in the drivers position and changed his head to one wearing a cap and looking back over his shoulder as if listening to the crew behind. The gunner was pretty much left as he was but had to have his feet angles changed slightly to sit on the hatch, his head was replaced by a resin version from Verlinden. The standing commander also received a Verlinden resin head, and also arms, this meant all 3 figures were smoking, giving the impression of a break on a journey or after combat. A word of warning is that these figures are large in comparison to other DML sets meaning I could not use arms from other DML fallschirmjager kits I have. They were painted in a variety of uniform patterns for variety using enamels and washes with oils, I won’t get into my figure painting techniques here.Base
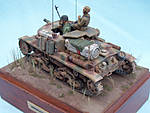
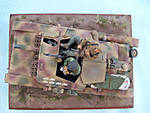
Now I just needed a base for my figures and fortunately the same (not so) local hobby shop had a few lying around that a local guy makes in his spare time, I found on of a suitable size and varnished it, before masking the varnished areas of and scribing the upper surface, this gives the wall filler I use for groundwork something to adhere to. A mix was made using artists acrylic paints to create an earth colour, this is important as ant chipping or flaking of the plaster at a later stage would otherwise be bright white! With a rough shape of the groundwork created with a palette knife I waited until the mixture was almost dry and then dabbed the contours smooth with a damp finger. Small rocks were then added to selected areas and various sized pieces of wire stuck in to form holes for reeds. Once dried this was spayed with a diluted earth colour that was also lightly sprayed around the base of the Semovente to blend them together. The rocks were then painted using a variety of sandy coloured paints and finally these and the groundwork were lightly dry brushed using a mid –stone colour. Reeds were then added from paintbrush bristles and ‘dyed’ with an enamel green wash. Static grass was then applied with white glue before the groundwork (with the exception of the reeds) was given a wash with burnt umber oil paint. Finally with the tank glued in position and the making tape removed a small name plate was added, made from plastic card painted gold and a ‘Semovente da 75/18’ transfer applied taken from the kit sheet. This was just big enough to work and saves the cost of getting a plate engraved, while still looking the part.Conclusion
In all this was a fun kit to build and I’m very happy with the finished piece. Although it needs a bit of TLC, the Italeri kit is still easy to make a good representation of this AFV despite its age and should not be written off. I must say a big thank you to the Modellers Nook in Belfast where I not only got the Italeri and DML figure kits along with the base, but also some great help and tips for how to display the finished piece.Comments
What's a pity that the rubber tracks are so bad we can even see the join on the right one.
Cheers
seb
OCT 21, 2008 - 10:17 AM
Hi James
Are these the reference photos you used?
http://www.ambbrescia.com/photofile/Veicoli_terrestri_uniformi/_1/m75_18sum41/m41_75_18.html
I've built the Tamiya equivalent as well as Italeri's and the Tamiya interior is marginally more accurate as far as layout goes, but not as detailed. The Breda Modello 30 Italeri give you for the interior puzzled me too and I wondered if Italeri had managed to include it after looking at an M13/40 based Semovente as they used the Modello 30 as an AA MG instead of the Breda Modello 38 of the M41s. Just a guess though.
David
OCT 21, 2008 - 09:05 PM
Nice job on that one, James. Good to see what nice builds can be achieved with old kits.
Thanks for sharing
OCT 21, 2008 - 11:55 PM
Hi Guys, glad you enjoyed the article.
-Darren; thanks for putting up with my many e-mails and getting this up on the site, appreciated!
-Seb; the tracks themselves actually have quite good detail for their age, although of course suffer from the issues that rubber band tracks have. For this build I couldn't justify spending twice the price of the kit on indy links. The join you see was due to some over zealous heated screwdriver work that prevented this side from closing properly. Obviously hiding it under the roadwheels didn't prevent your eagle eye from spotting it!
-David; Yes that site was the inspiration for some of the interior scratching and the interior colour scheme, the other big online reference used was the beutepanzer site which has several pics of Semovente's in German service.
I havn't built the Tamiya kit (which looks like will be re-released with new figs soon) but I know it includes the ammo storage bin that is missing in this kit.
Can't comment on the Italian MG's with any certainty but what you say sounds plausible. It's unlikely they would have had both, my feeling is that it was added simply as something else to put in the interior.
-Jesper; Thanks for your kind words. I'm a big advocate of not writing off old kits, with some TLC they can make some lovely builds.
Thanks guys, I welcome any more questions.
James
OCT 22, 2008 - 01:35 AM
It's always nice to see these older kits being built and still enjoyed.
Nothing wrong with exercising a little modeling skills to update older kits instead of simply writing them off.
Having built both the Tamyia and Italeri kits back in the land of real teeth, I always liked the finer details on the Italeri kit, over the Tamyia kit's more chunkier parts. But just my opinion of the two kits.
OCT 22, 2008 - 05:42 AM
Dave,
Thanks for the comments. As mentioned I havn't built the Tamiya kit, but having seen it built and under construction i'd be inclined to agree with your assesment. I'd definately recommend the Italeri/Zvezda offering anyway.
James
OCT 24, 2008 - 01:35 AM
Copyright ©2021 by James McFarlane. Images and/or videos also by copyright holder unless otherwise noted. The views and opinions expressed herein are solely the views and opinions of the authors and/or contributors to this Web site and do not necessarily represent the views and/or opinions of Armorama, KitMaker Network, or Silver Star Enterrpises. All rights reserved. Originally published on: 2008-10-21 00:00:00. Unique Reads: 29024


