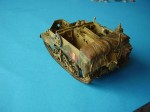
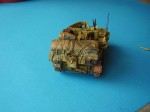
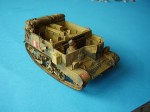
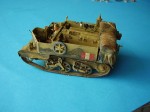
1⁄35Building the Resicast Universal Carrier Mk I
9
Comments
Painting and Weathering
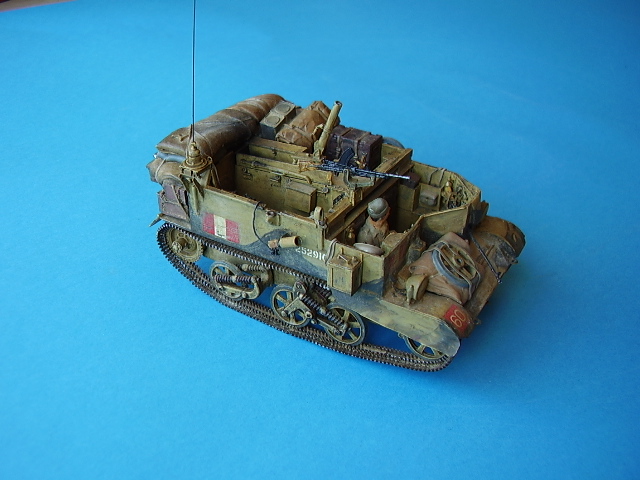
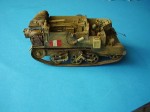
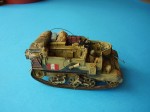
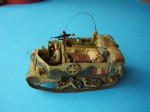
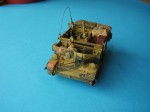
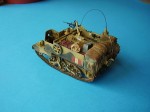
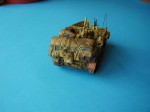
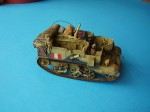
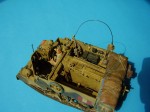
A lot of the vehicle had been painted as the build progressed, at least with a base coat and some weathering on the internals. I then started on a longish experiment on the camouflage scheme. I painted the basic vehicle with White Ensigns WW2 Light Stone and used their Blue/Black disruptive to hand paint a basic camouflage scheme. Then I went through a series of experiment to wear the whole scheme down. I came a bit unstuck at this point, not having used enamel paints for years I applied a filter not having let the paints dry properly and the result wasn’t too good. When it had dried I tried to fix it but still wasn’t happy. Also enamel builds up quite quickly and in some areas the paint was getting a bit too thick so I cleaned off a large amount, left it to dry for 12 hours and then started all over again. I repainted a fainter outline for the camouflage scheme and used Mig Filters P402 Brown for Desert Yellow and P401 Ochre for Grey Sand to blend the whole scheme together with a worn look. I’m no expert here so for me it was trial and error. When I got the blend to what I felt reasonably realistic, I added a variety of Mig pigments to help finish it off. The final look isn’t exactly what I had hoped for, but it’s probably as close as I’ll get at this stage in my painting development.Stowage
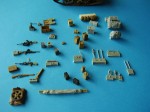
This came from the Resicast Universal Carrier Mk 1 stowage No 1 set which I previous reviewed here. Mk 1 Carrier Stowage Set Plus small additional items from the Tamiya kit, with SMLE Rifles from Ultracast and the Boys Anti Tank Rifle form the old Italeri set. There are a lot of possibilities as to how you finish and kit out the vehicle. The Mk I carrier served in all the major theatres of war and you final choice of ‘stowage’ may well depend on the setting, so lots of opportunity for a bit of individualism with this one. The only thing I didn’t like about the stowage set was part 14, the ‘water can in holder’ for the side of the vehicle. This comes as a cast part and doesn’t have the depth of 3D for some reason. My feelings are that the can holder would have been much better as a PE item, allowing the modeller to put the can in or leave it out as desired and just giving it that depth of reality needed.Decals
Decals for this one came from a variety of sets; recognition markings form the Tamiya carrier set, 2 NZ Div sign from the Echelon set and the AOS from Archers. I chose to mark the vehicle as belonging to 14th (Motor) Battalion Sherwood Foresters, 9th Armoured Brigade, 2nd New Zealand Division in North Africa around October/November 1942. I had no specific reference for this vehicle so viewed a number of reference pictures and then decided on decal placement.Paints Used
- Humbrol Matt 70
- White Ensigns WW2 Light Stone
- White Ensigns Blue Black Disruptive S.C.C No 14
- 70820 - Vallejo Off White
- XF 1 -Tamiya Flat Black
- XF-66 Tamiya Light Grey
- XF-56 Metallic Grey
- X-1- Gun Metal
- XF-61 Dark Green
- XF-59 Desert Yellow
- XF-49 Khaki
- XF-57 Buff
- XF-64 Red Brown
- Mig Filter P400 Grey for Dark Yellow
- Mig Filter P402 Brown for Desert Yellow
- Mig Dark Wash P220 (be careful with this one it is very strong)
Comments
As usual, Al does great things with a very old kit and some TLC.
Nice job Al !!!!
jjumbo
OCT 13, 2008 - 02:32 PM
Hi Darren,
Thanks for getting the article organised. - Nice Fern.
John,
Thanks, appreciated.
Al
OCT 13, 2008 - 07:20 PM
Great write-up and photos, Al, easy reading with a lot of great pointers. And the Carrier ain't too shabby either!
OCT 13, 2008 - 07:35 PM
Hi Al
Nice resurrection of Tamiya's dodgier moments from the past How long before you add a 9AB Sherman to it??
David
OCT 13, 2008 - 10:03 PM
Hi David,
Thanks, much appreciated. I though you have been very quiet during the build lol, lol - I took that as a 'sign' I was heading in the right direction lol, lol.
The Tasca Shermans are shipping as I write, well I hope, but in the mean time company will be in the form of an M3 Grant and a DIngo Scout Car - well when I get the troops complete and the base finished.
 You'll have noticed I'm very taken with Graham's new carrier sets, very impressive and fun to work with despite the silly glue.
I'm afraid the Sherman's are stacking up, this year seems to have been one of Boats, Carriers and Trucks, well with the odd ARV .
Cheers
Al
 You'll have noticed I'm very taken with Graham's new carrier sets, very impressive and fun to work with despite the silly glue.
I'm afraid the Sherman's are stacking up, this year seems to have been one of Boats, Carriers and Trucks, well with the odd ARV .
Cheers
Al
You'll have noticed I'm very taken with Graham's new carrier sets, very impressive and fun to work with despite the silly glue.
I'm afraid the Sherman's are stacking up, this year seems to have been one of Boats, Carriers and Trucks, well with the odd ARV .
Cheers
AlOCT 13, 2008 - 10:44 PM
Alan:
Even though I followed along on your build of this I still enjoyed your review this
morning.
Great review and model
Thanks for letting me watch
...Tony the Mutt...
OCT 14, 2008 - 04:04 AM
Hi Tony,
Glad you enjoyed the blog and the article. Thanks for the support and taking the time to post.
Al
OCT 14, 2008 - 05:57 AM
Copyright ©2021 by Alan McNeilly. Images and/or videos also by copyright holder unless otherwise noted. The views and opinions expressed herein are solely the views and opinions of the authors and/or contributors to this Web site and do not necessarily represent the views and/or opinions of Armorama, KitMaker Network, or Silver Star Enterrpises. All rights reserved. Originally published on: 2008-10-13 00:00:00. Unique Reads: 24195


